

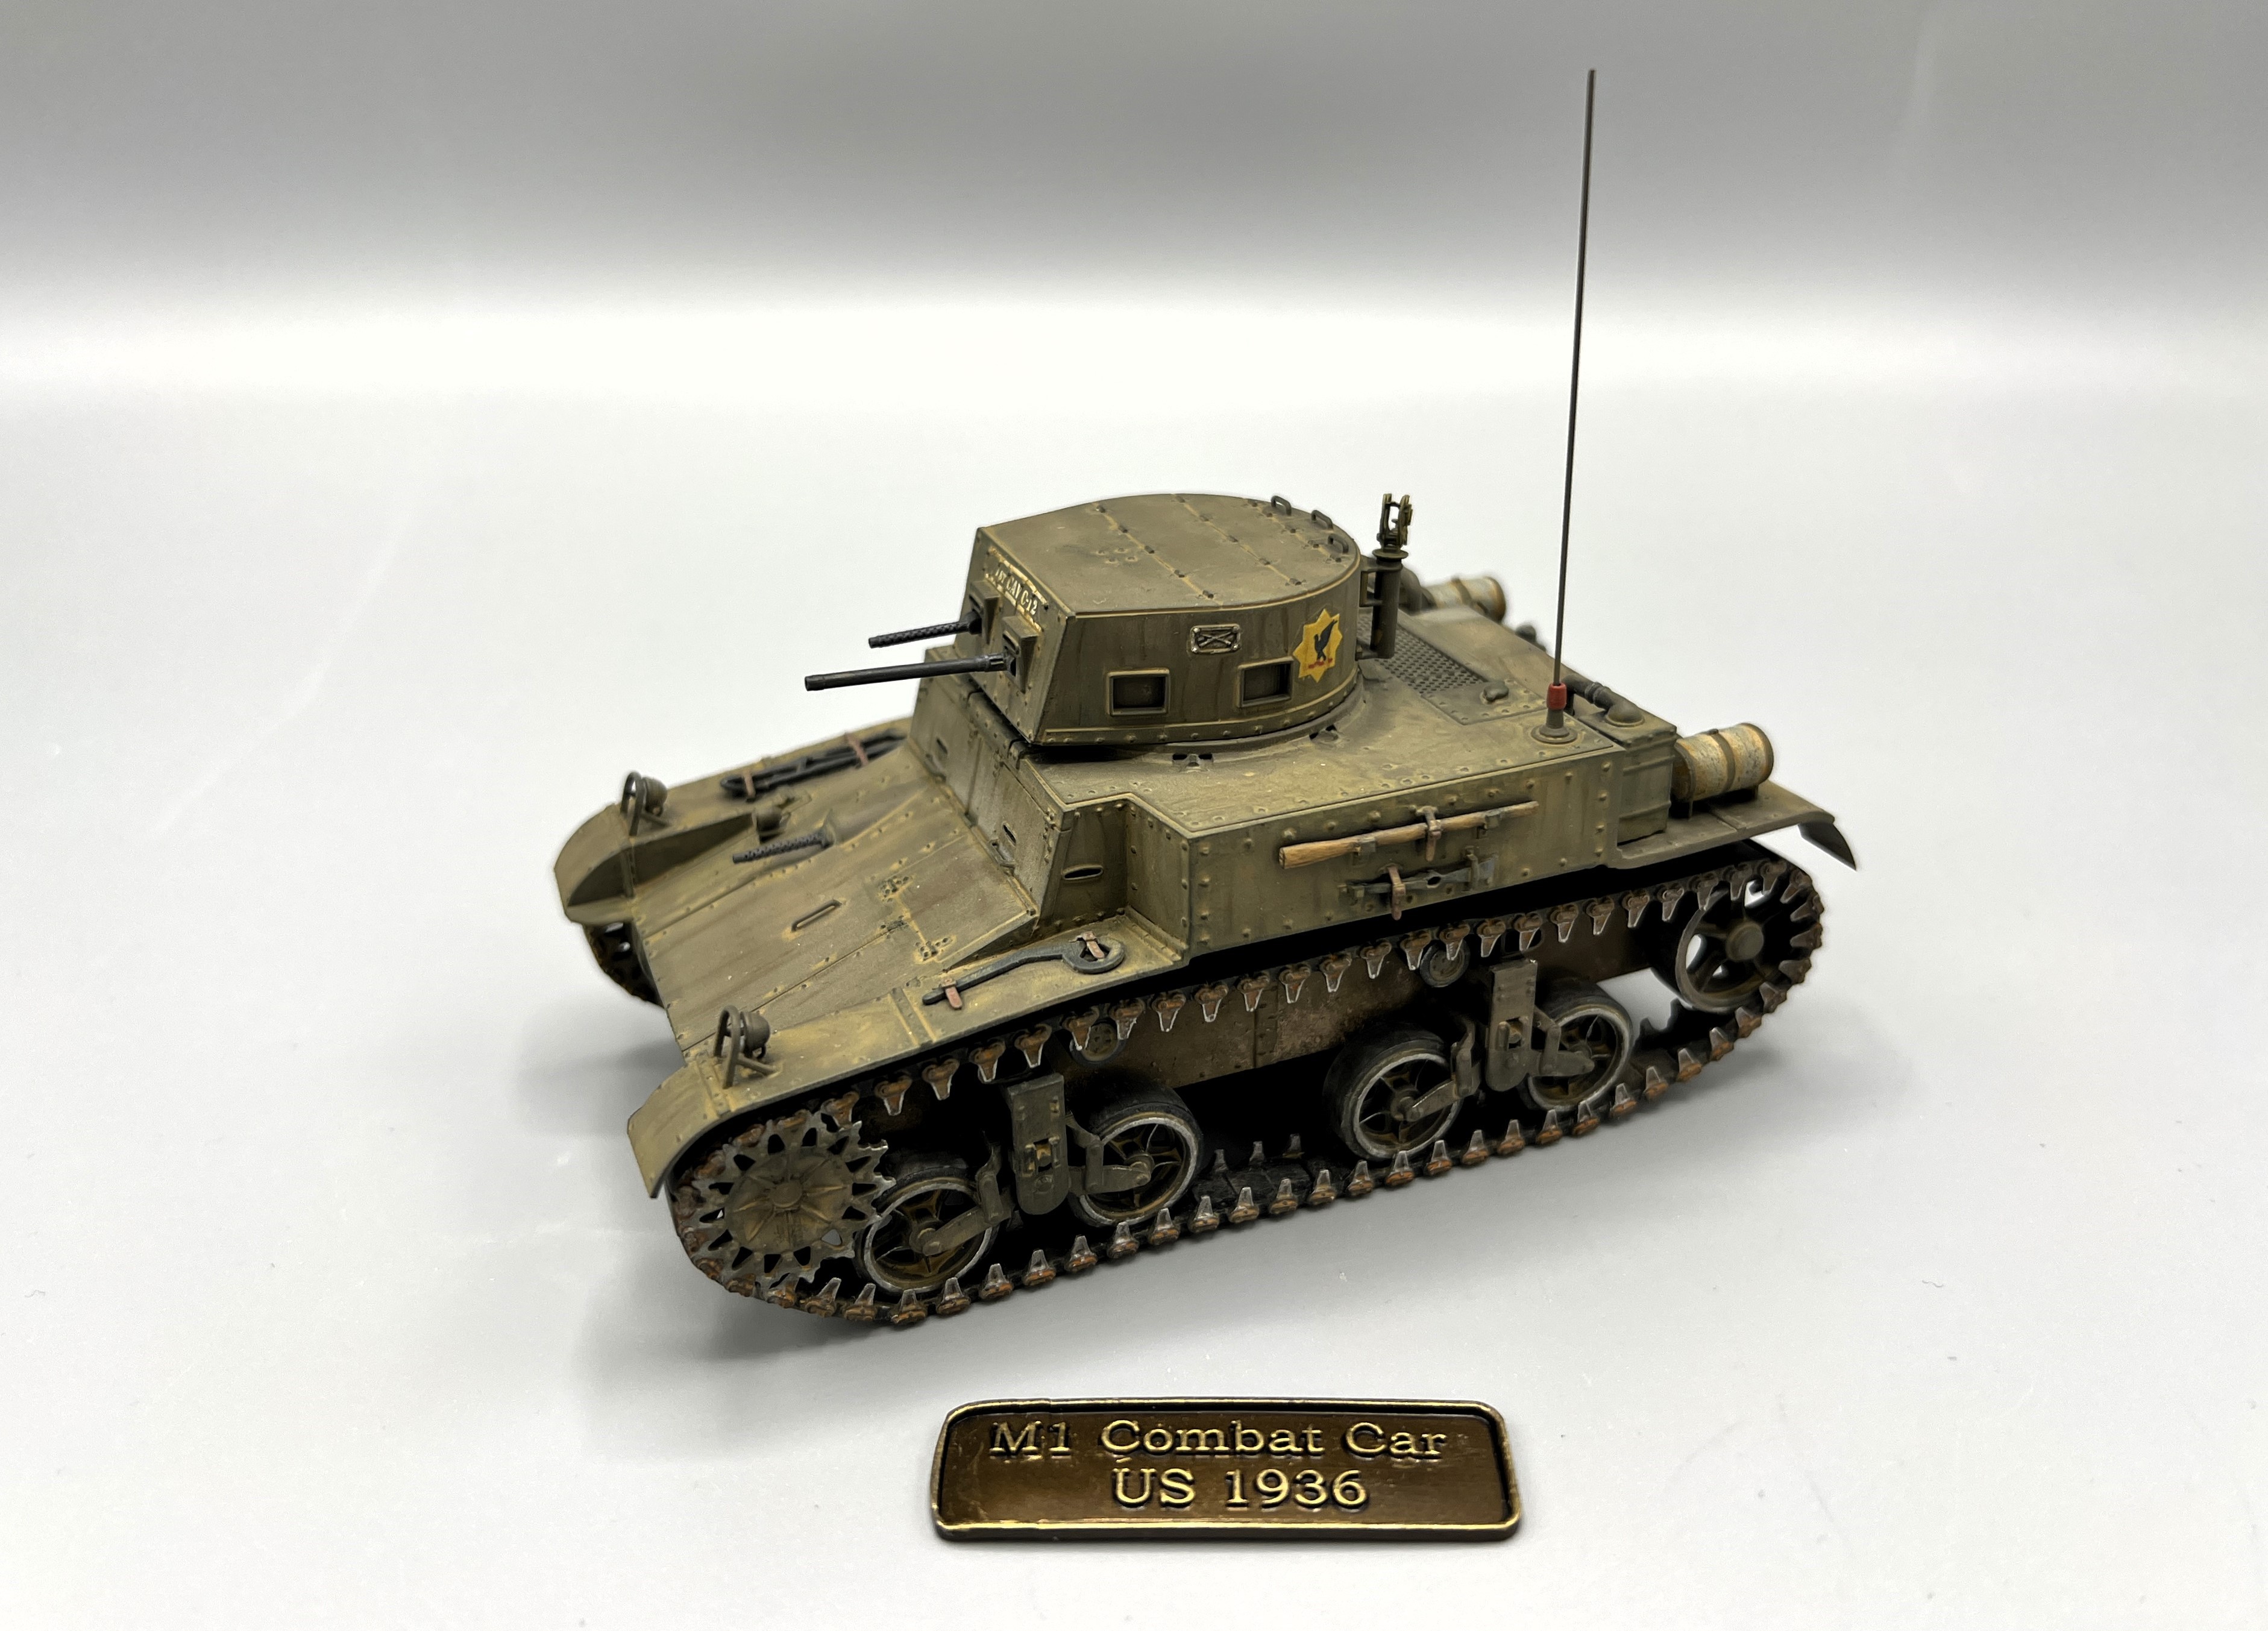
History
The US experimented with tank designs at an impressive rate in the 1930's despite the recession and accompanying military budget issues. After many different experiments and one-off prototypes, the designs started to solidify in 1934. The T5E2 prototype was selected and standardized in 1935 as the M1 Combat Car. It had most of the elements of the later Stuart light tank - vertical volute suspension, rubber pad live track, front drive sprocket and a rear mounted radial engine. It was light and fast - 45mph; but lightly armored and only armed with a .50cal machine gun and three .30cal machine guns. It underwent continuous design evolution during production, with changes to the bow machine gun bulge, turret shape, engine deck shape, and hull length all cut in at various times. Many of the changes were then retrofitted to existing tanks leading to a mix and match set of characteristics in period photos.
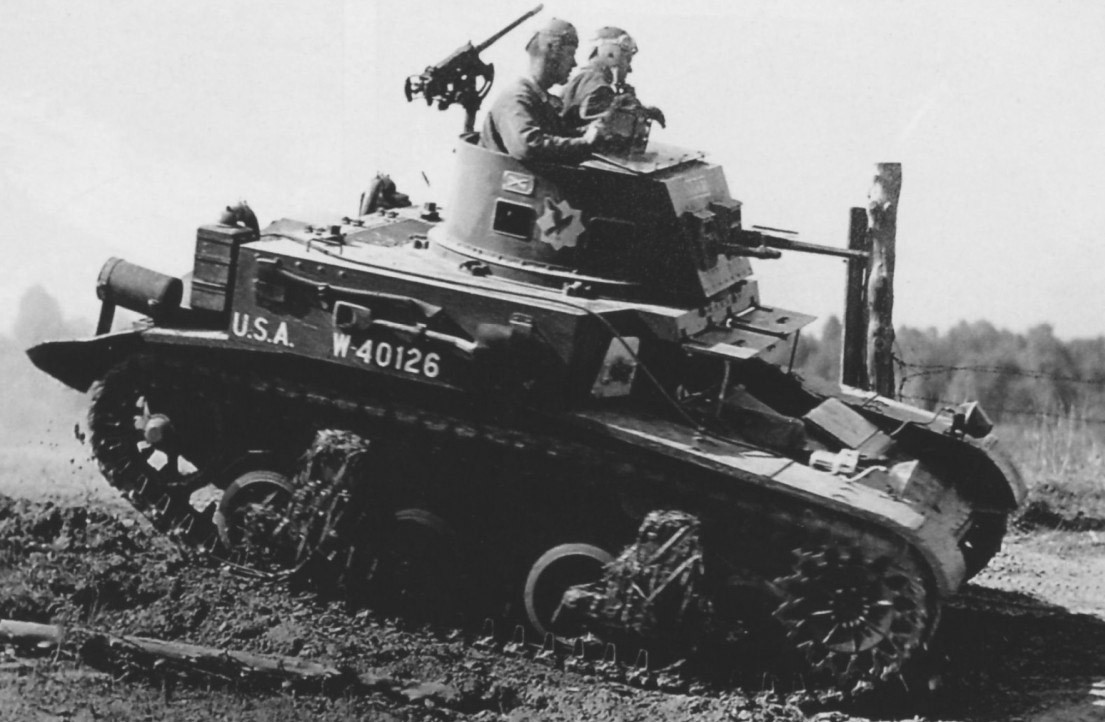
In total 90 tanks were built to equip the 1st and 13th Cavalry Regiments. To further confuse things, it went by two names. The US Congress prohibited the cavalry from having tanks - cavalry was to remain the domain of horses as it always had been. By 1940 the world had changed and OCM 15993 dated 22 July 1940 redesignated the modernized M1 combat car as the M1A2 Light Tank. Although it did not see combat, it served as a training vehicle into 1942.
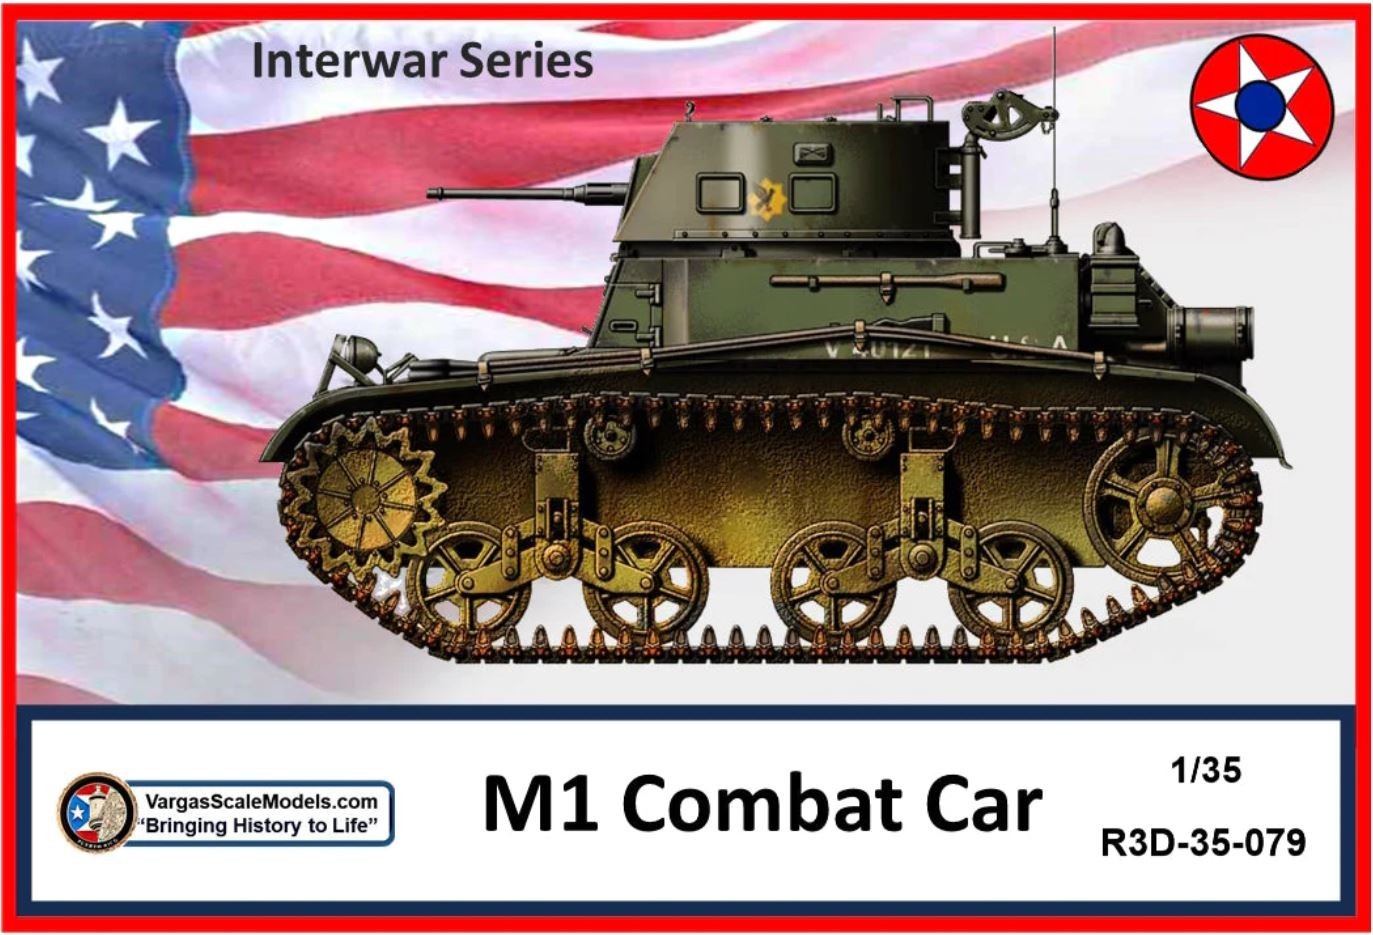
Kit Contents
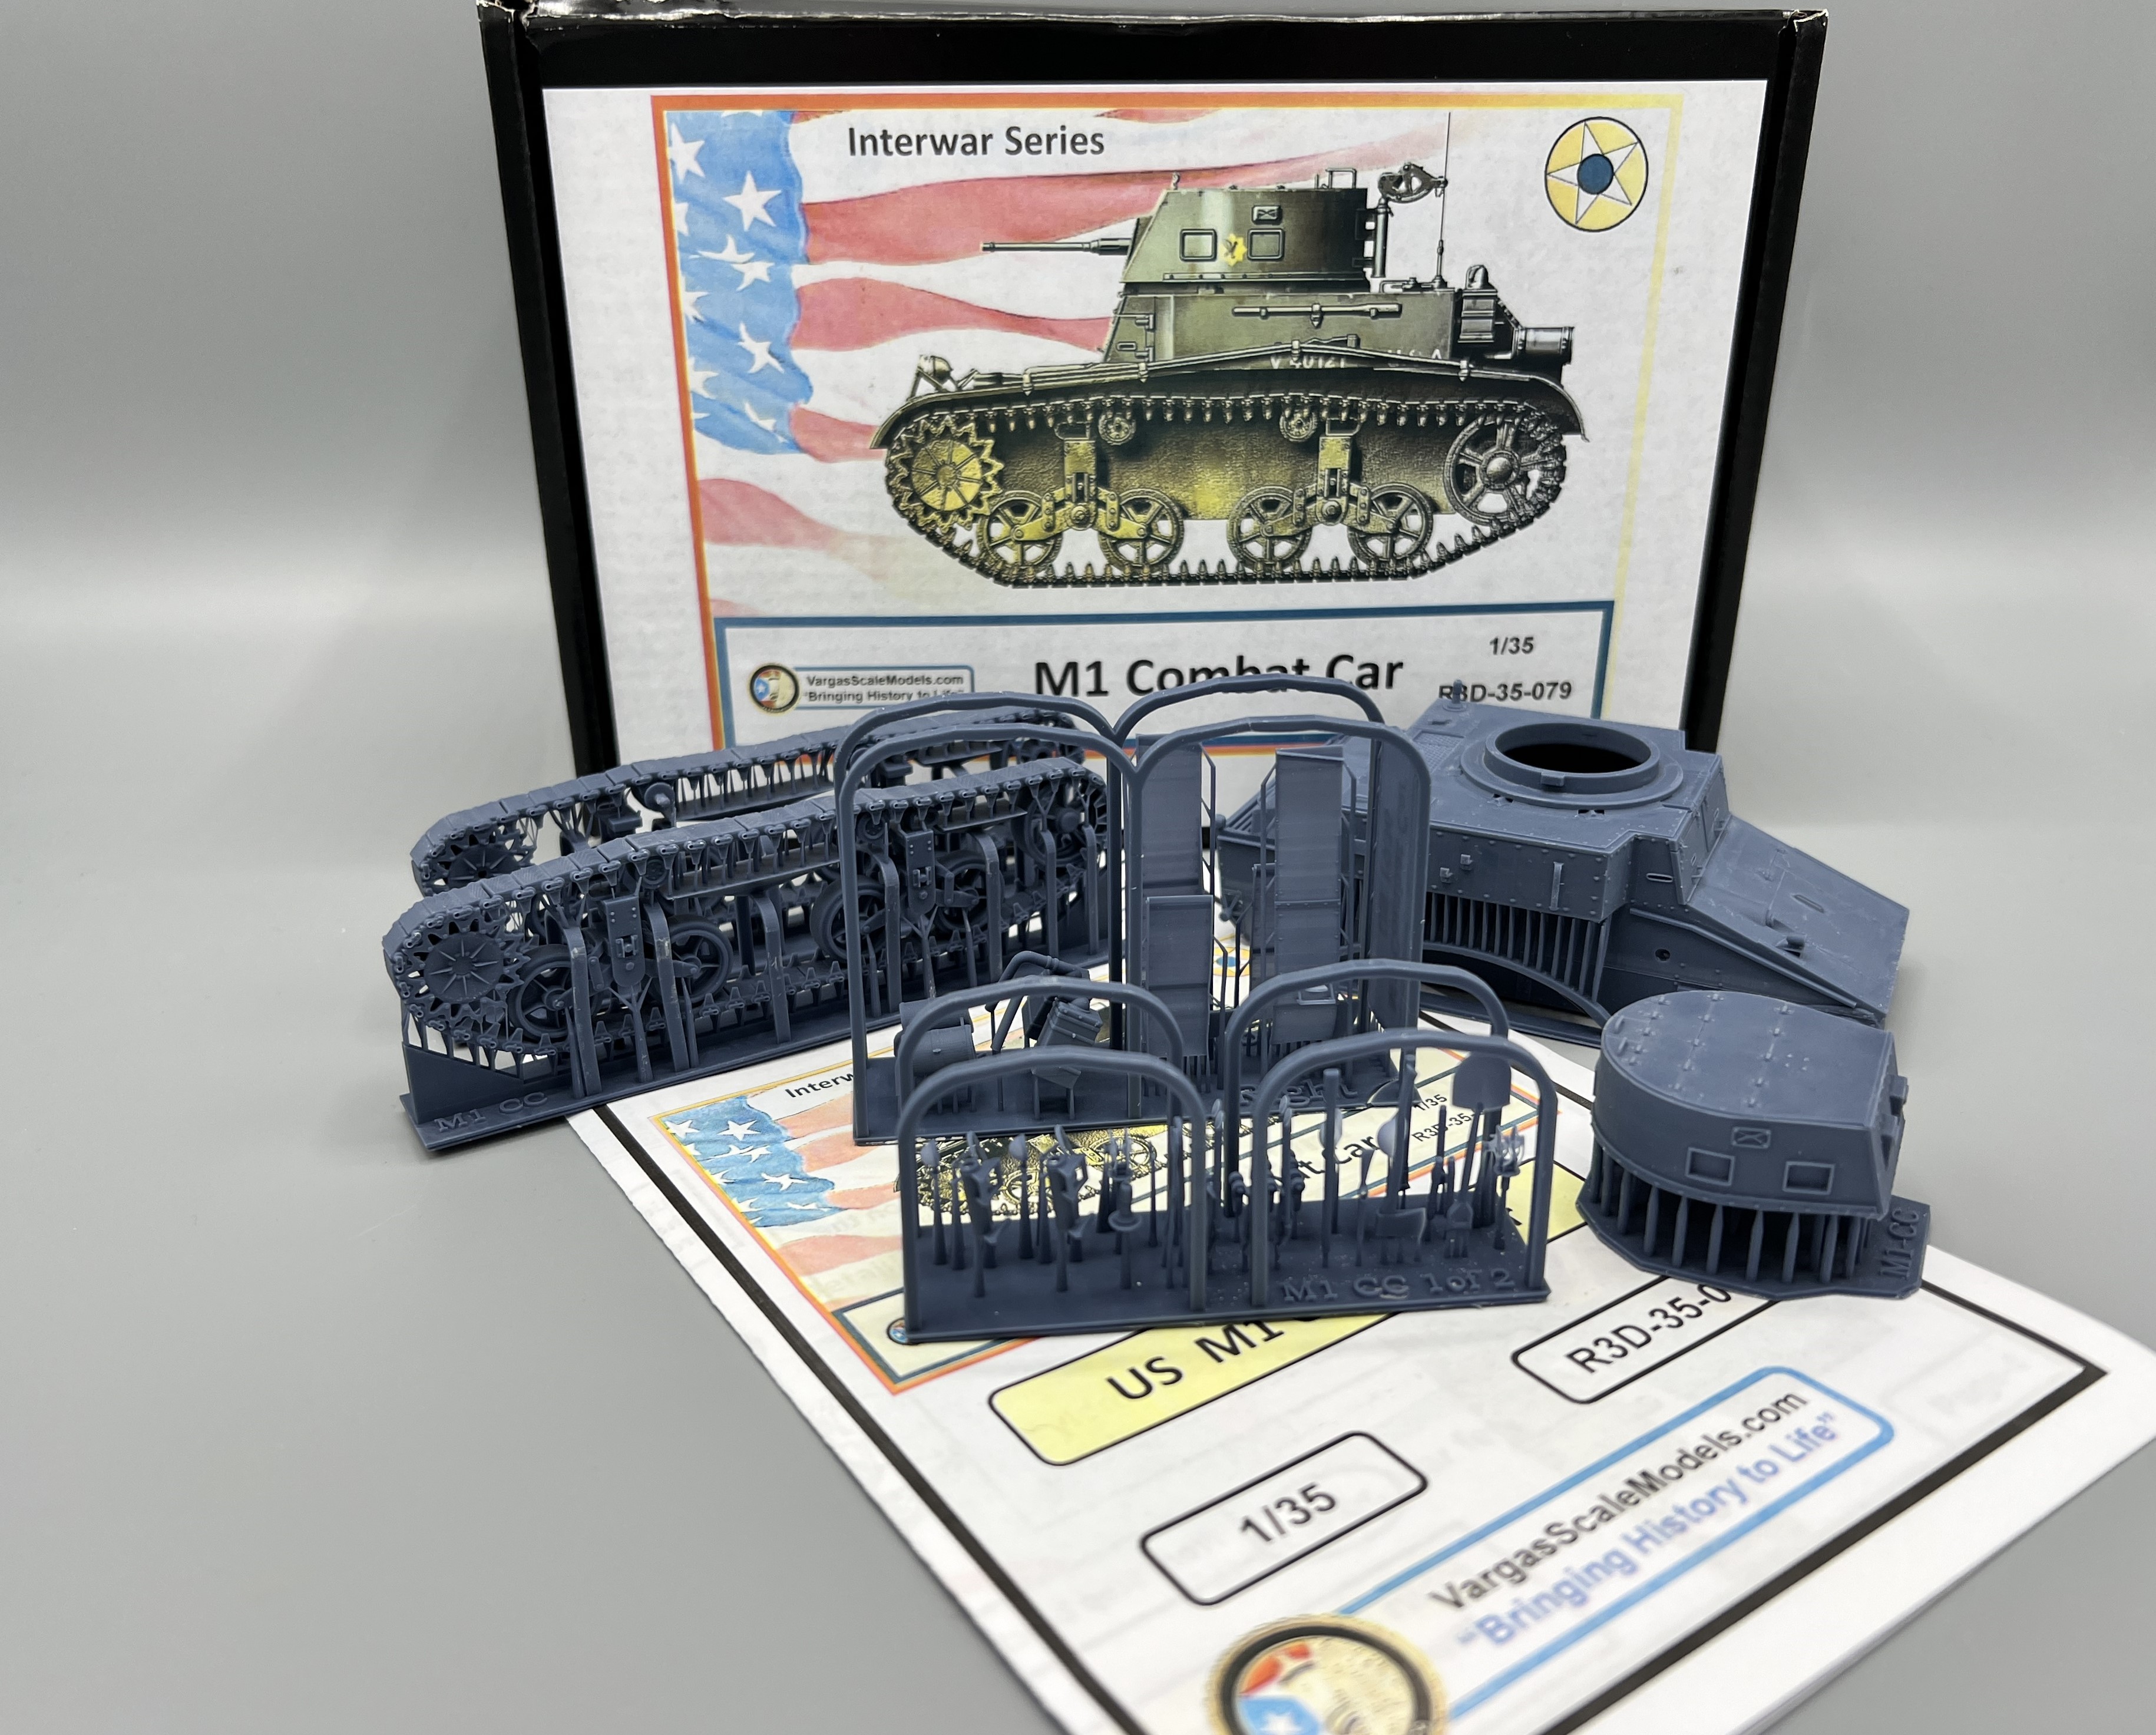
Until now, the modeler only had two options in 1:35 - a non-trivial conversion of an early M3 Suart, or the Commander Models challenging cast resin kit. Vargas Scale Models came to our rescue in December 2023 with a 3D resin printed kit of the M1 Combat Car. The kit consists of 44 parts, plus spares for the really delicate parts, printed in a surprisingly soft gray resin. The kit comes in a sturdy, post office proof box with the contents bagged and bubble wrapped. The instructions are minimalist but adequate color renders showing how the parts fit together. No decals are included in the kit but, Decalcomaniacs! comes to the rescue with two sets that contain decals for the M1 Combat Car - DM-015 and DM-049 on eBay. I purchased my kit directly from Vargas Scale Models at vargasscalemodels.com
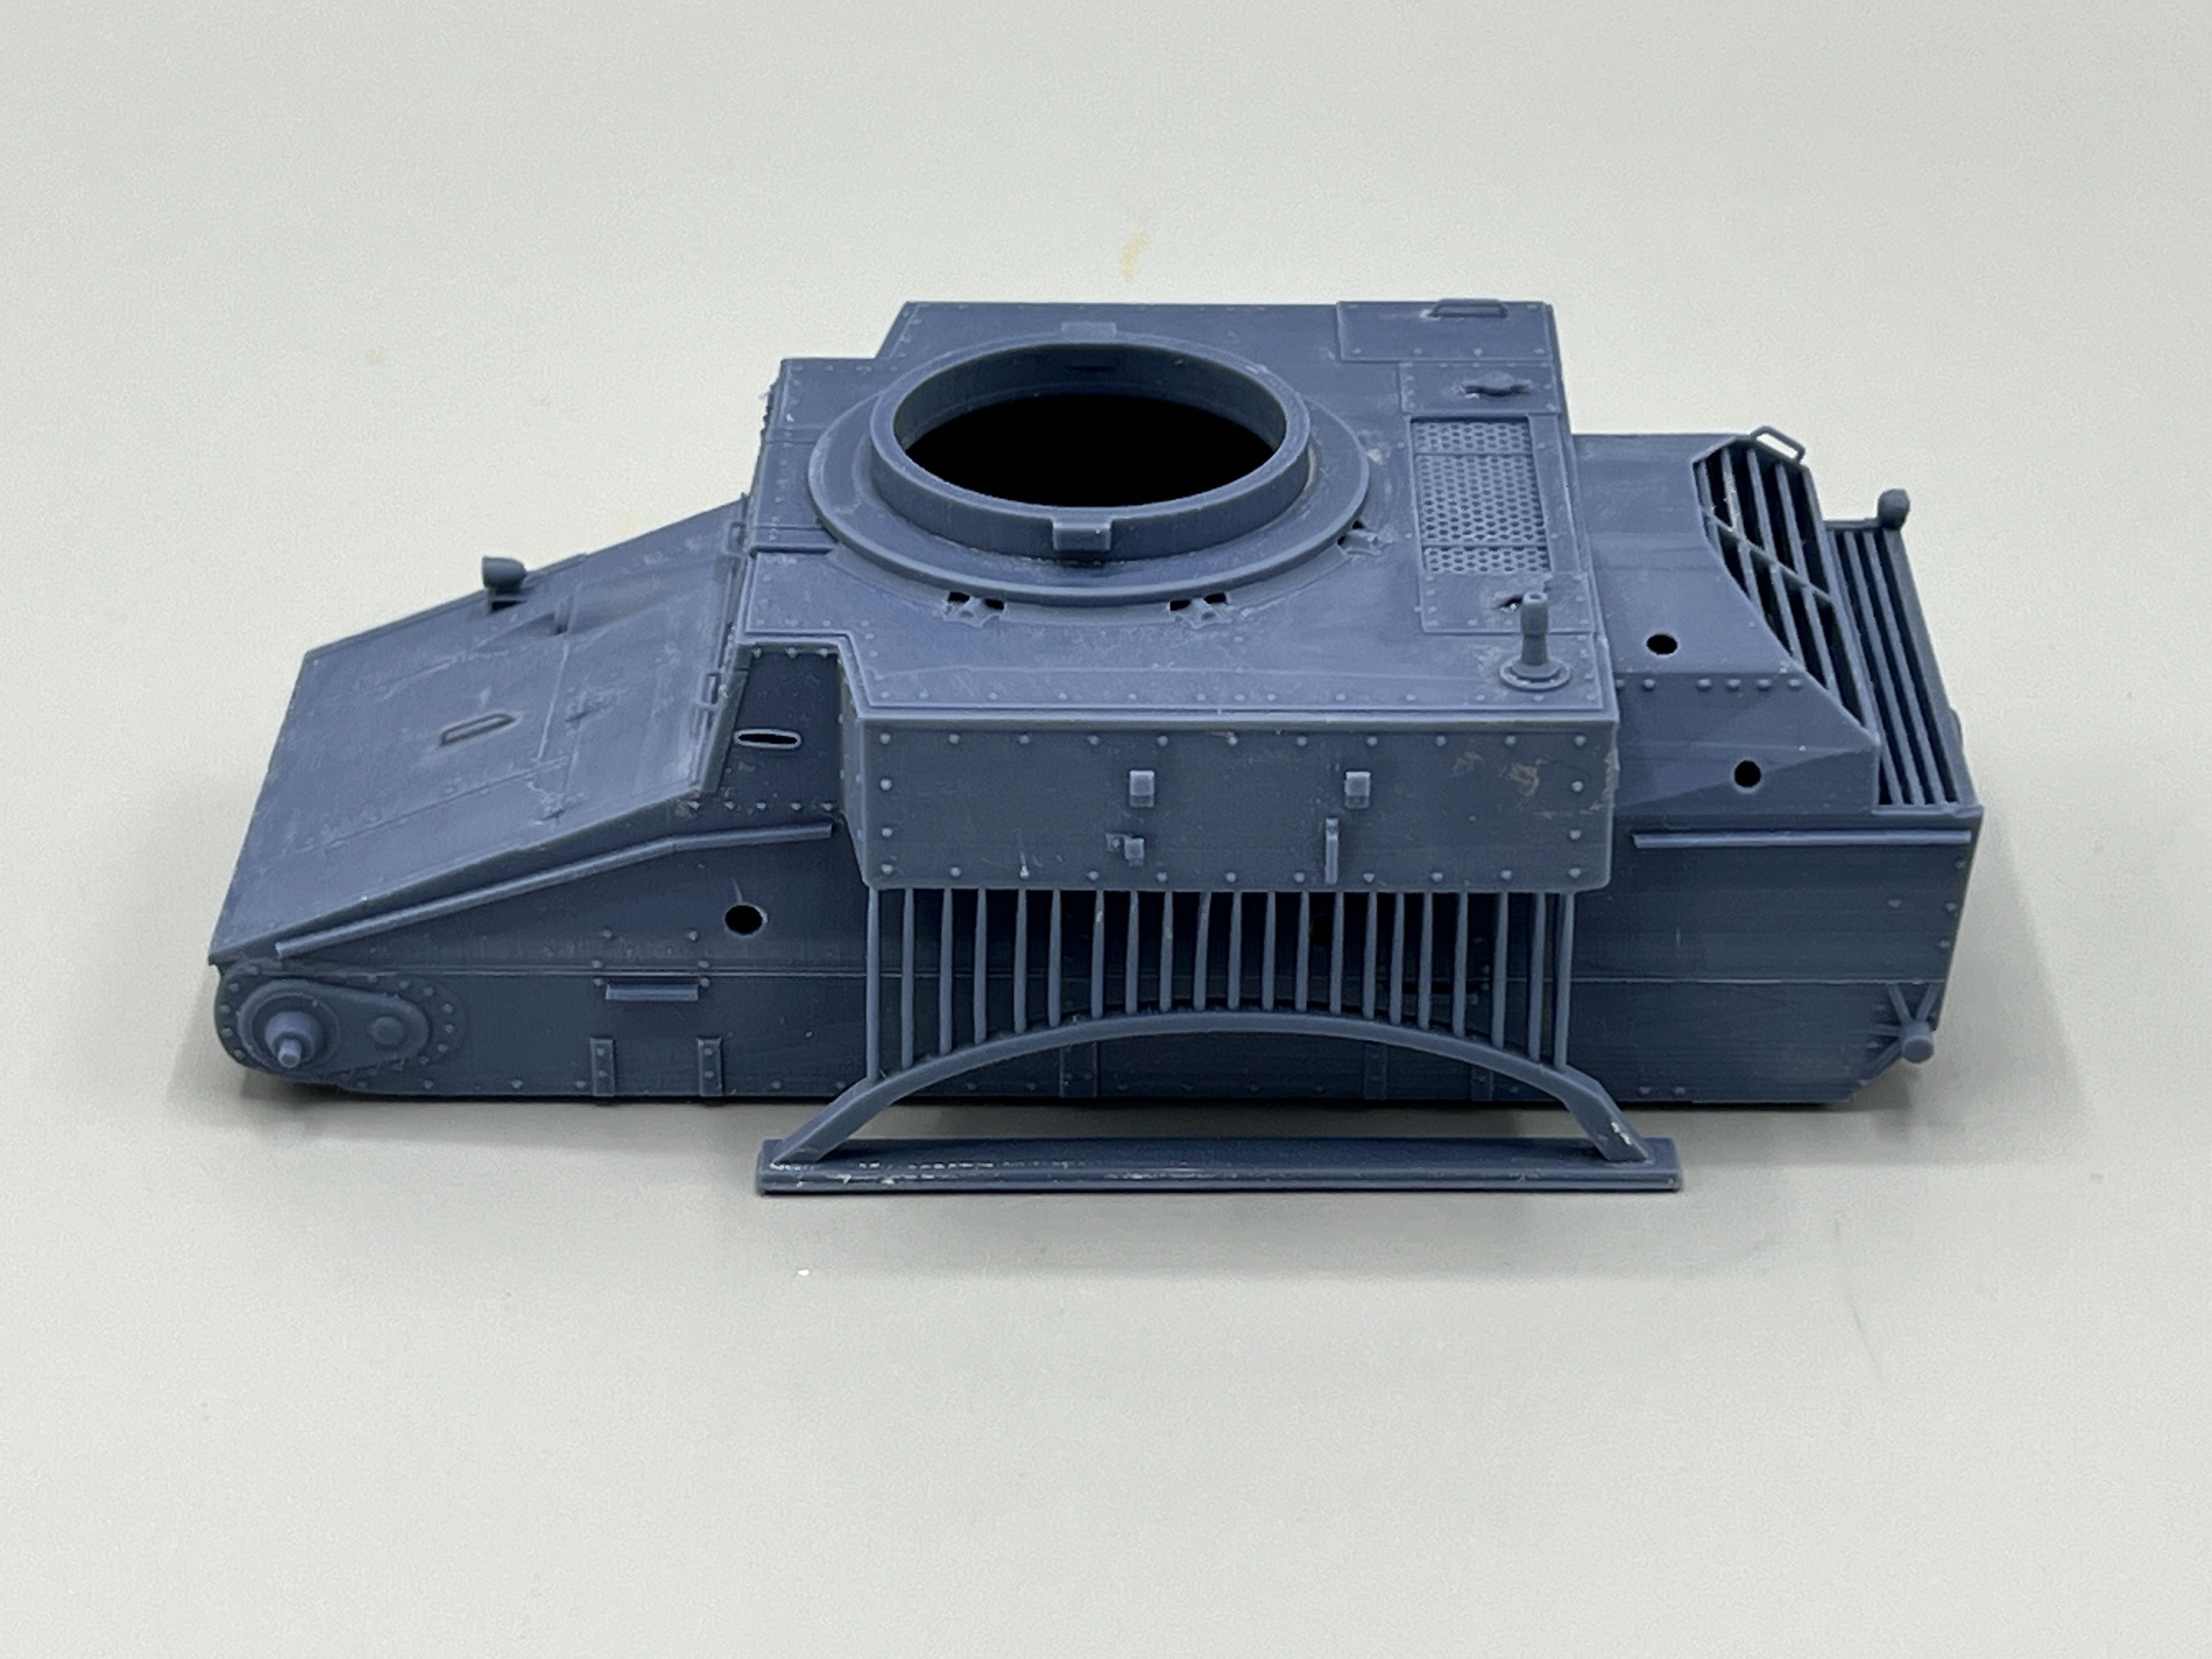
One-piece hull with working tool brackets.

The engine is printed inside the hull to avoid that empty look through the grill. Note the very fine top grate.
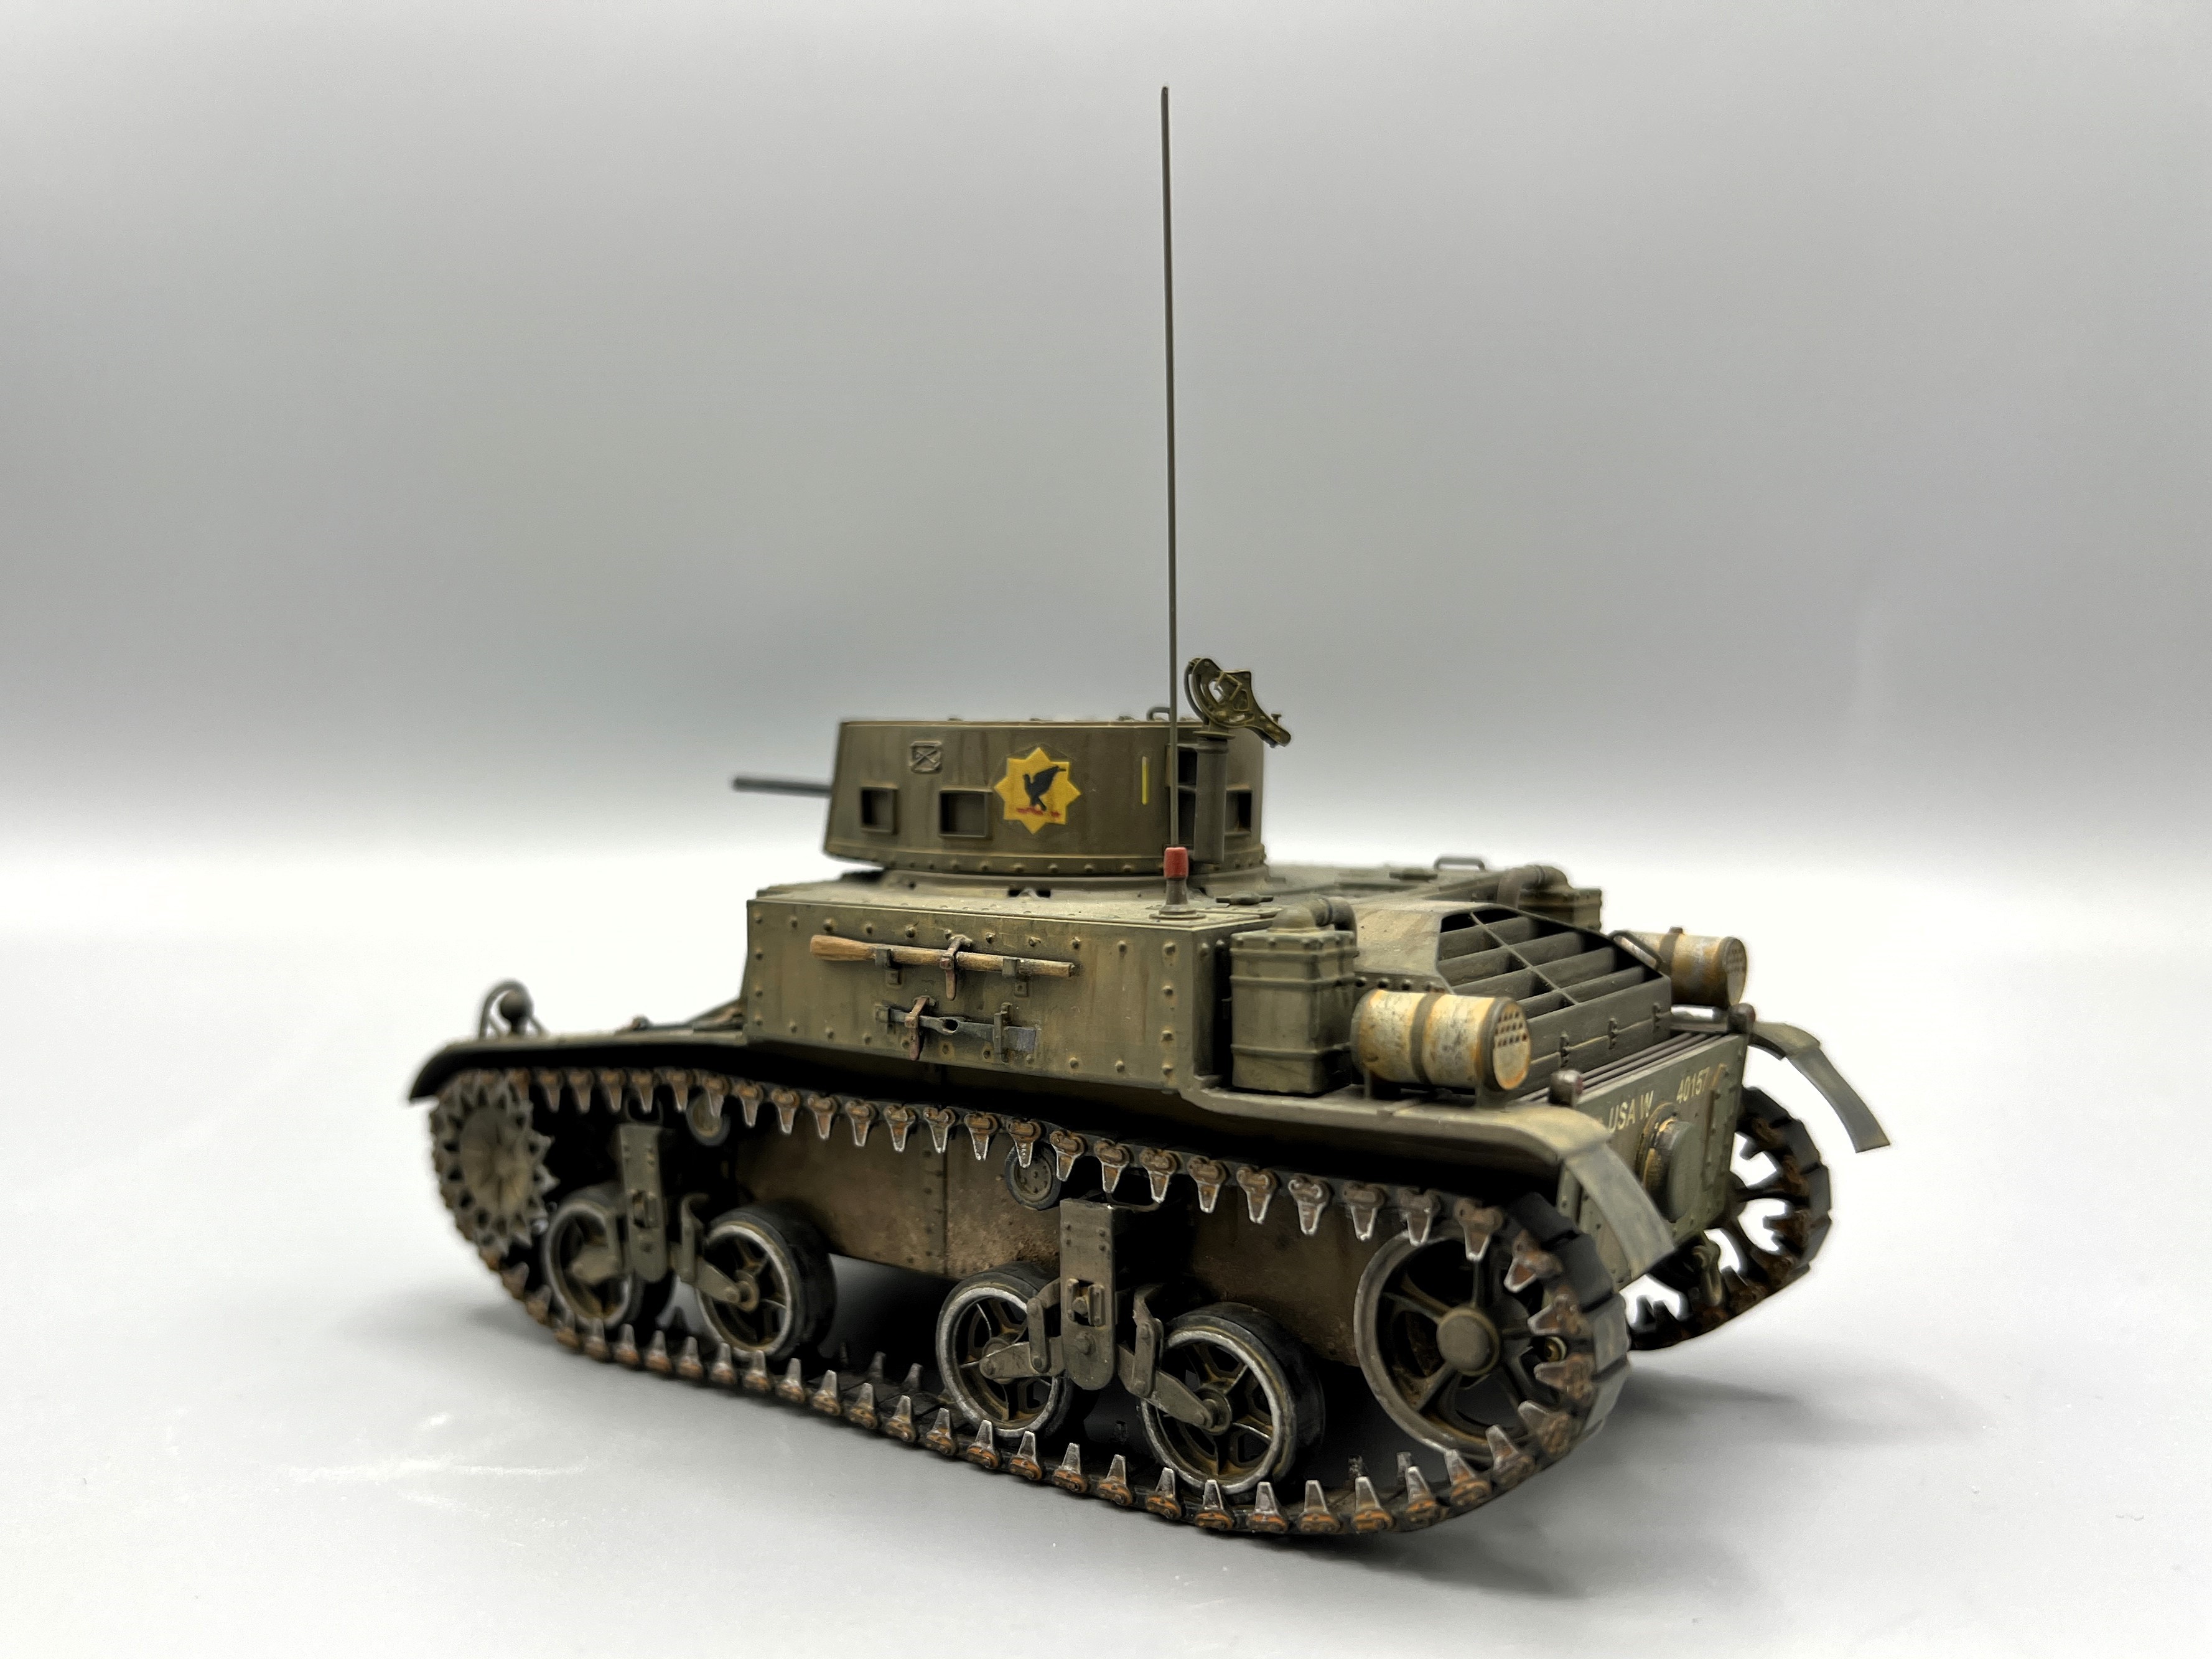
Note the printed on brass branch plaque and nice hinges.
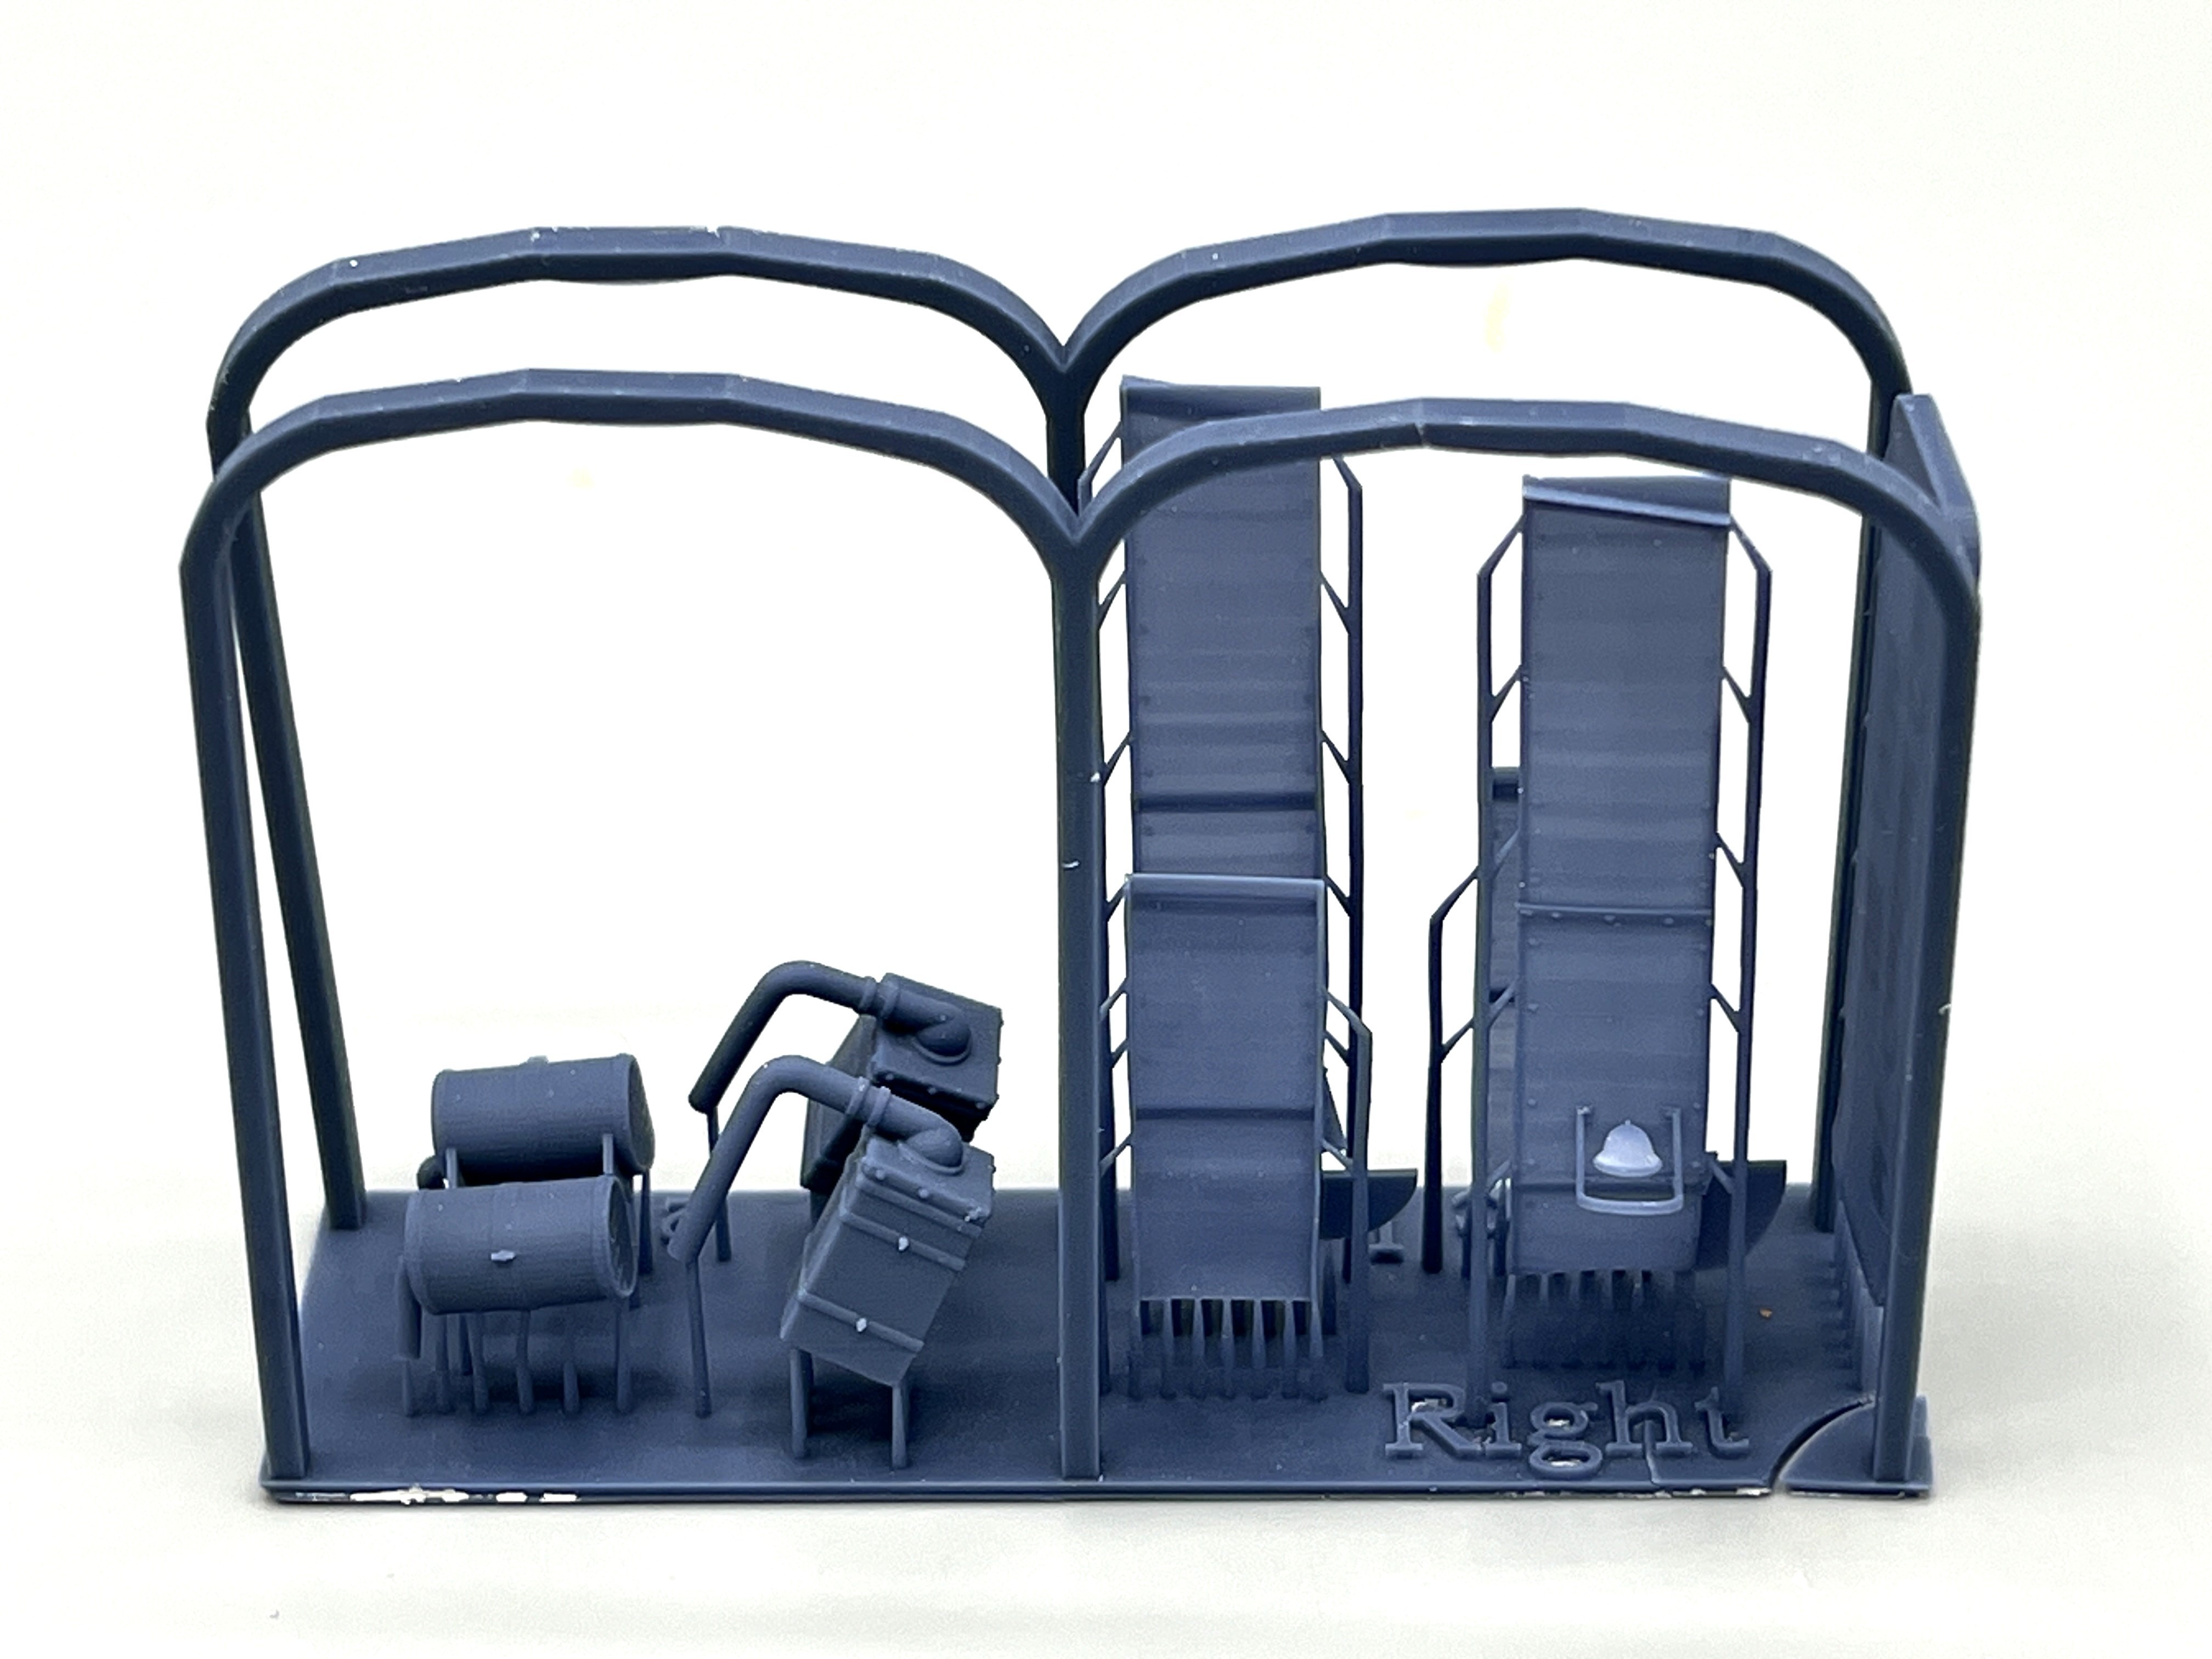
The fenders and headlight guards are as thin as any photo-etch.
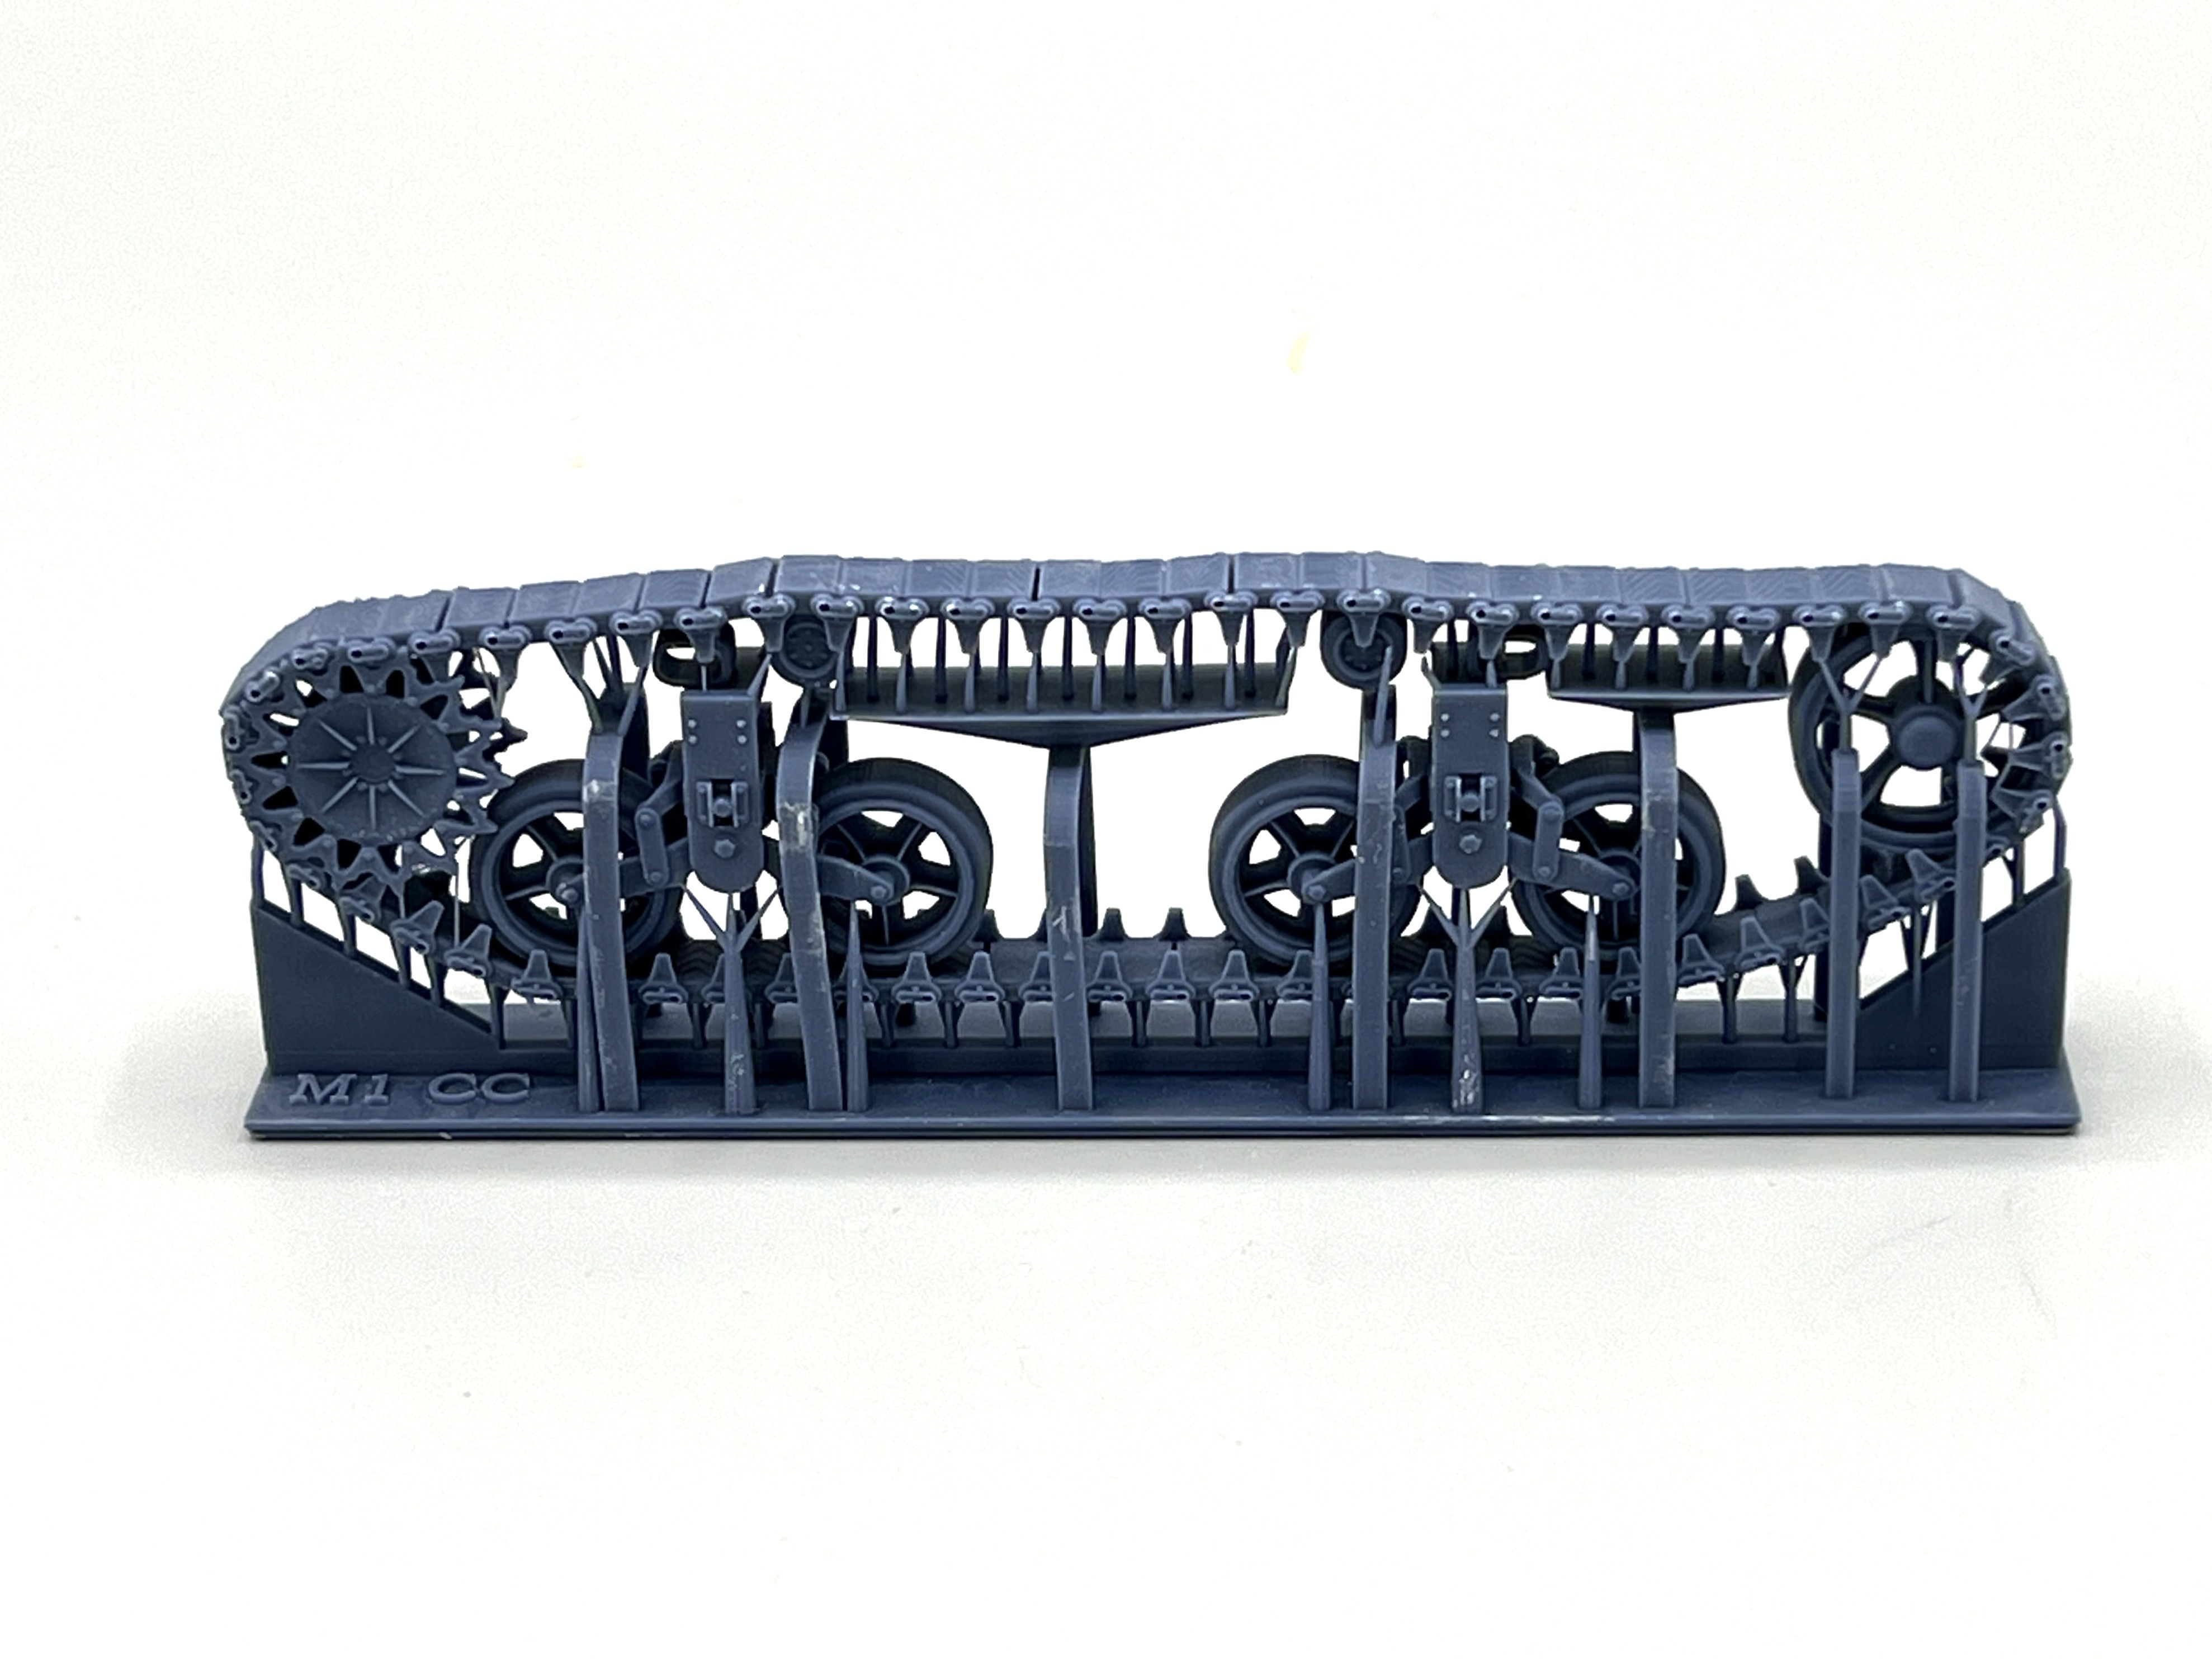
Tracks, suspension, and running gear are printed as a single piece.

The pioneer tools are some of the finest that I've seen. Vargas includes extra headlamps and guards for those of us with fat thumbs.
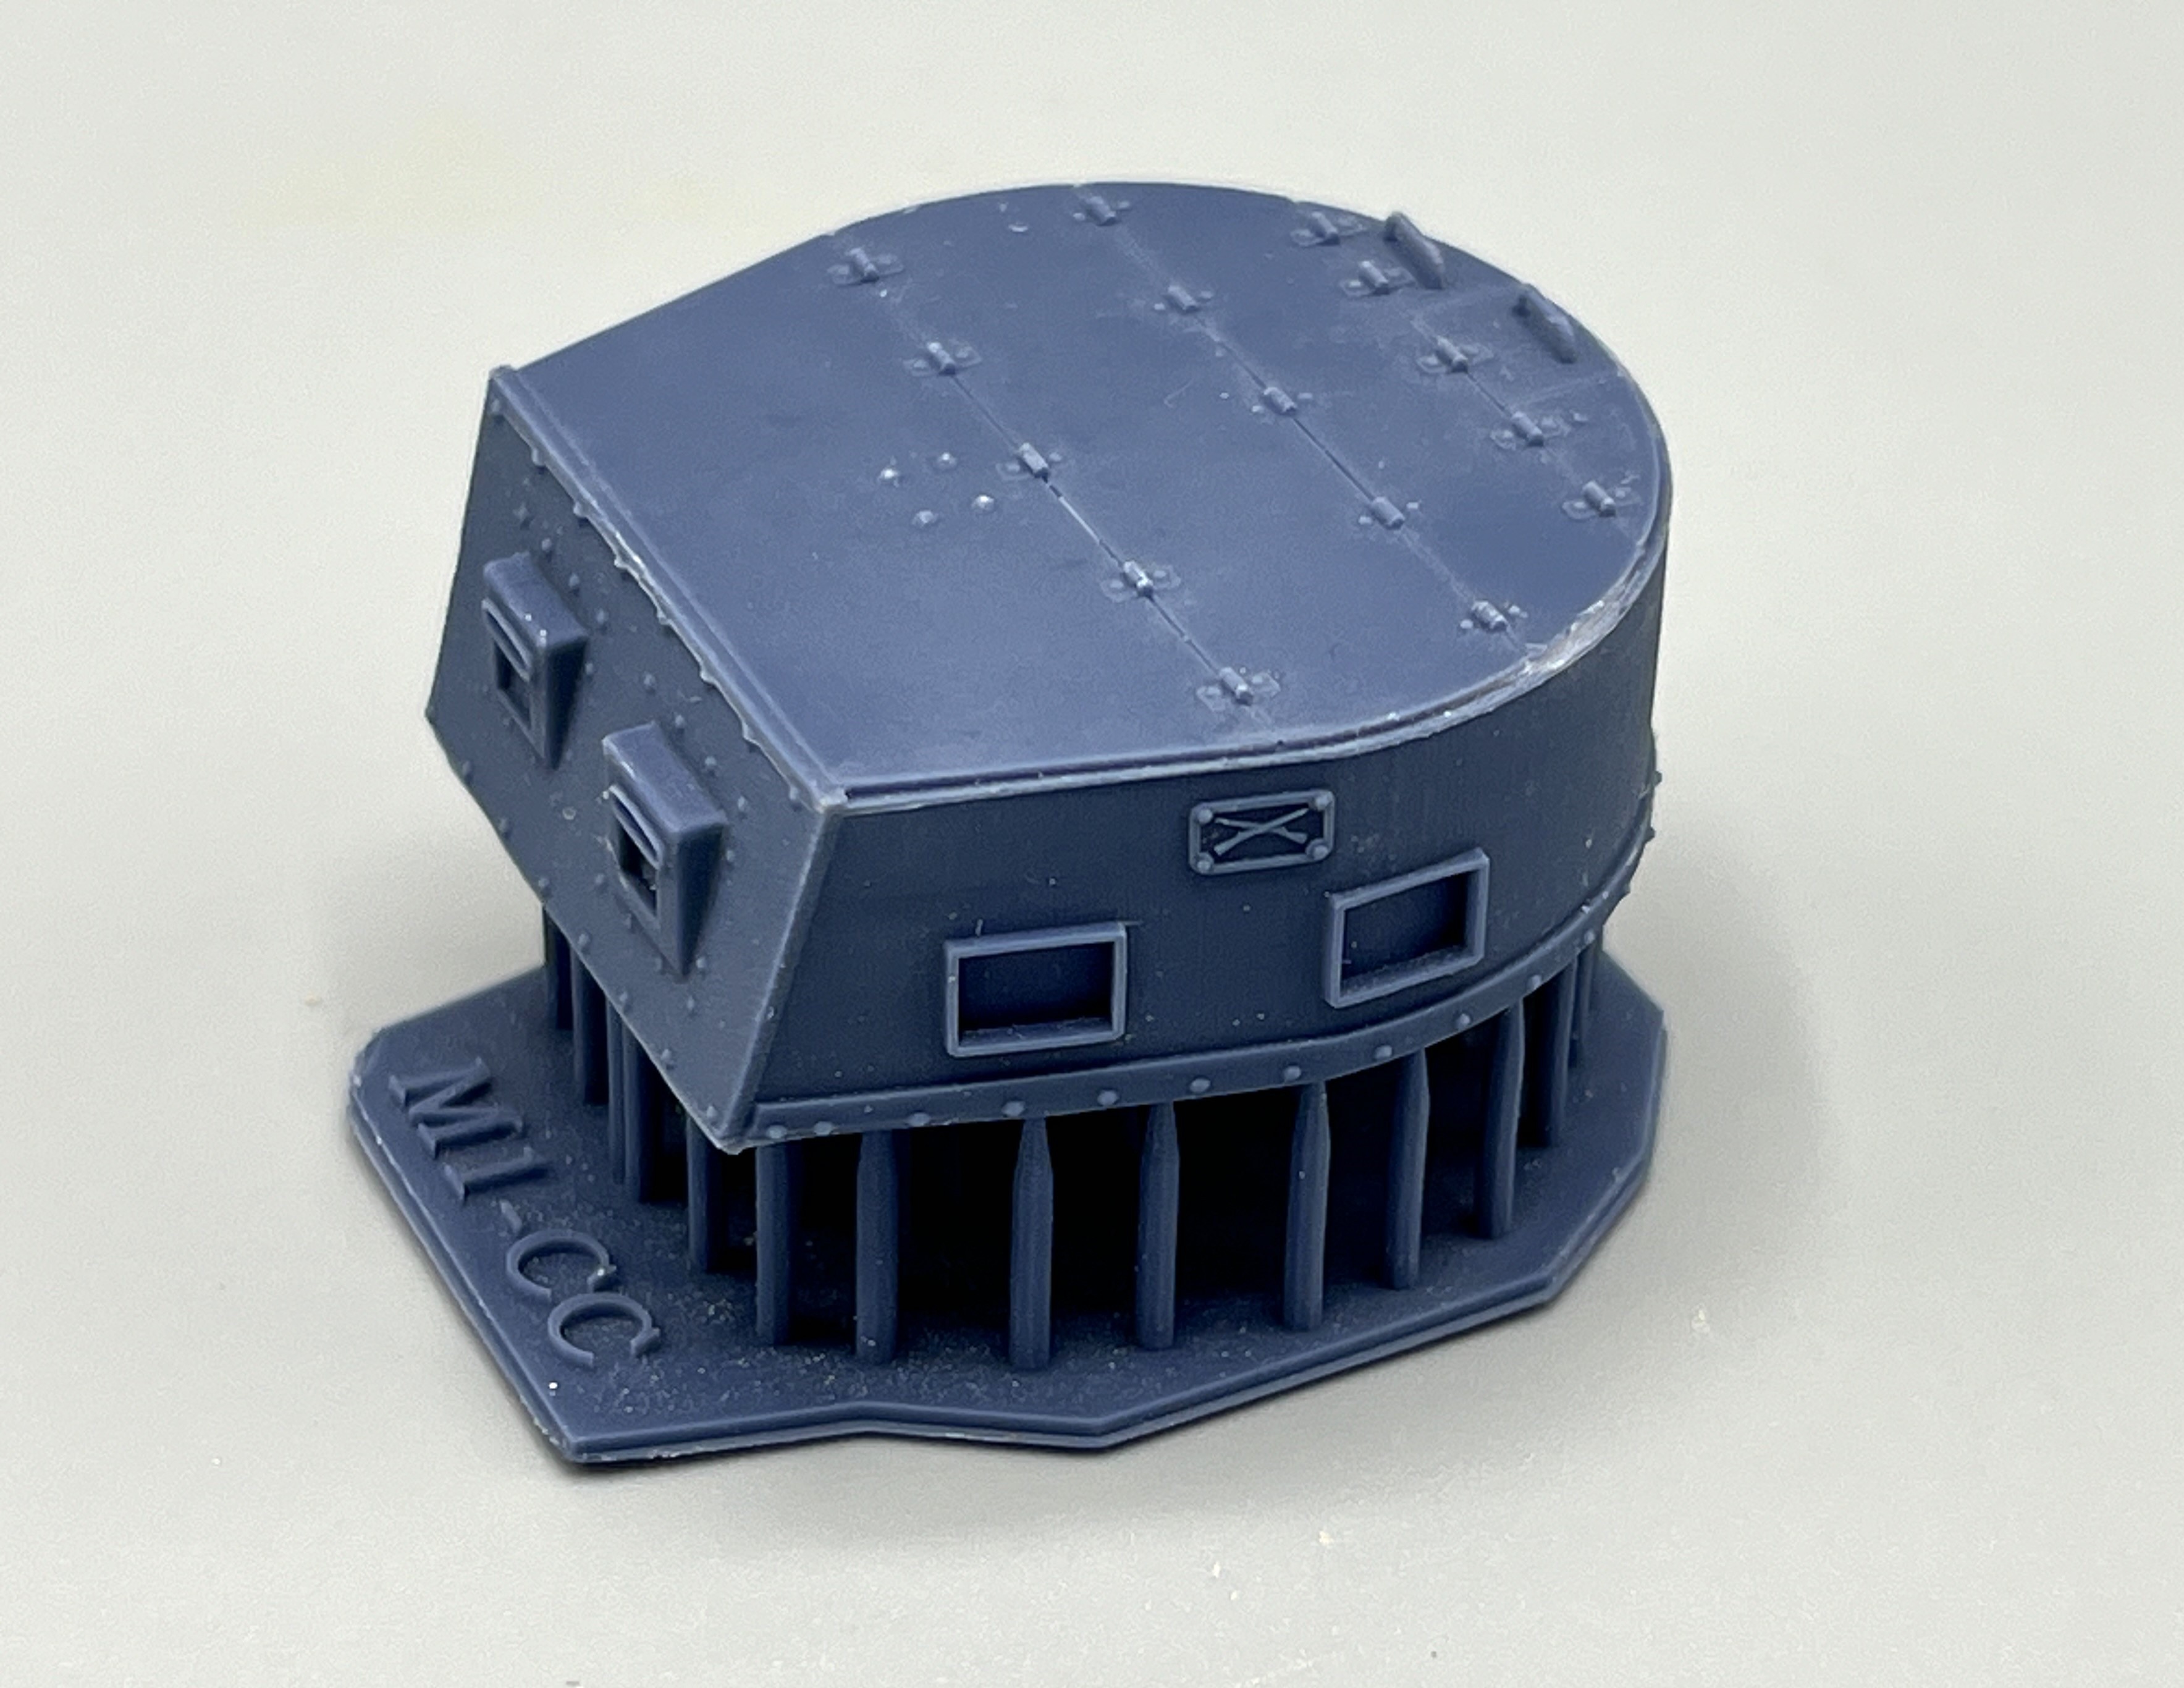
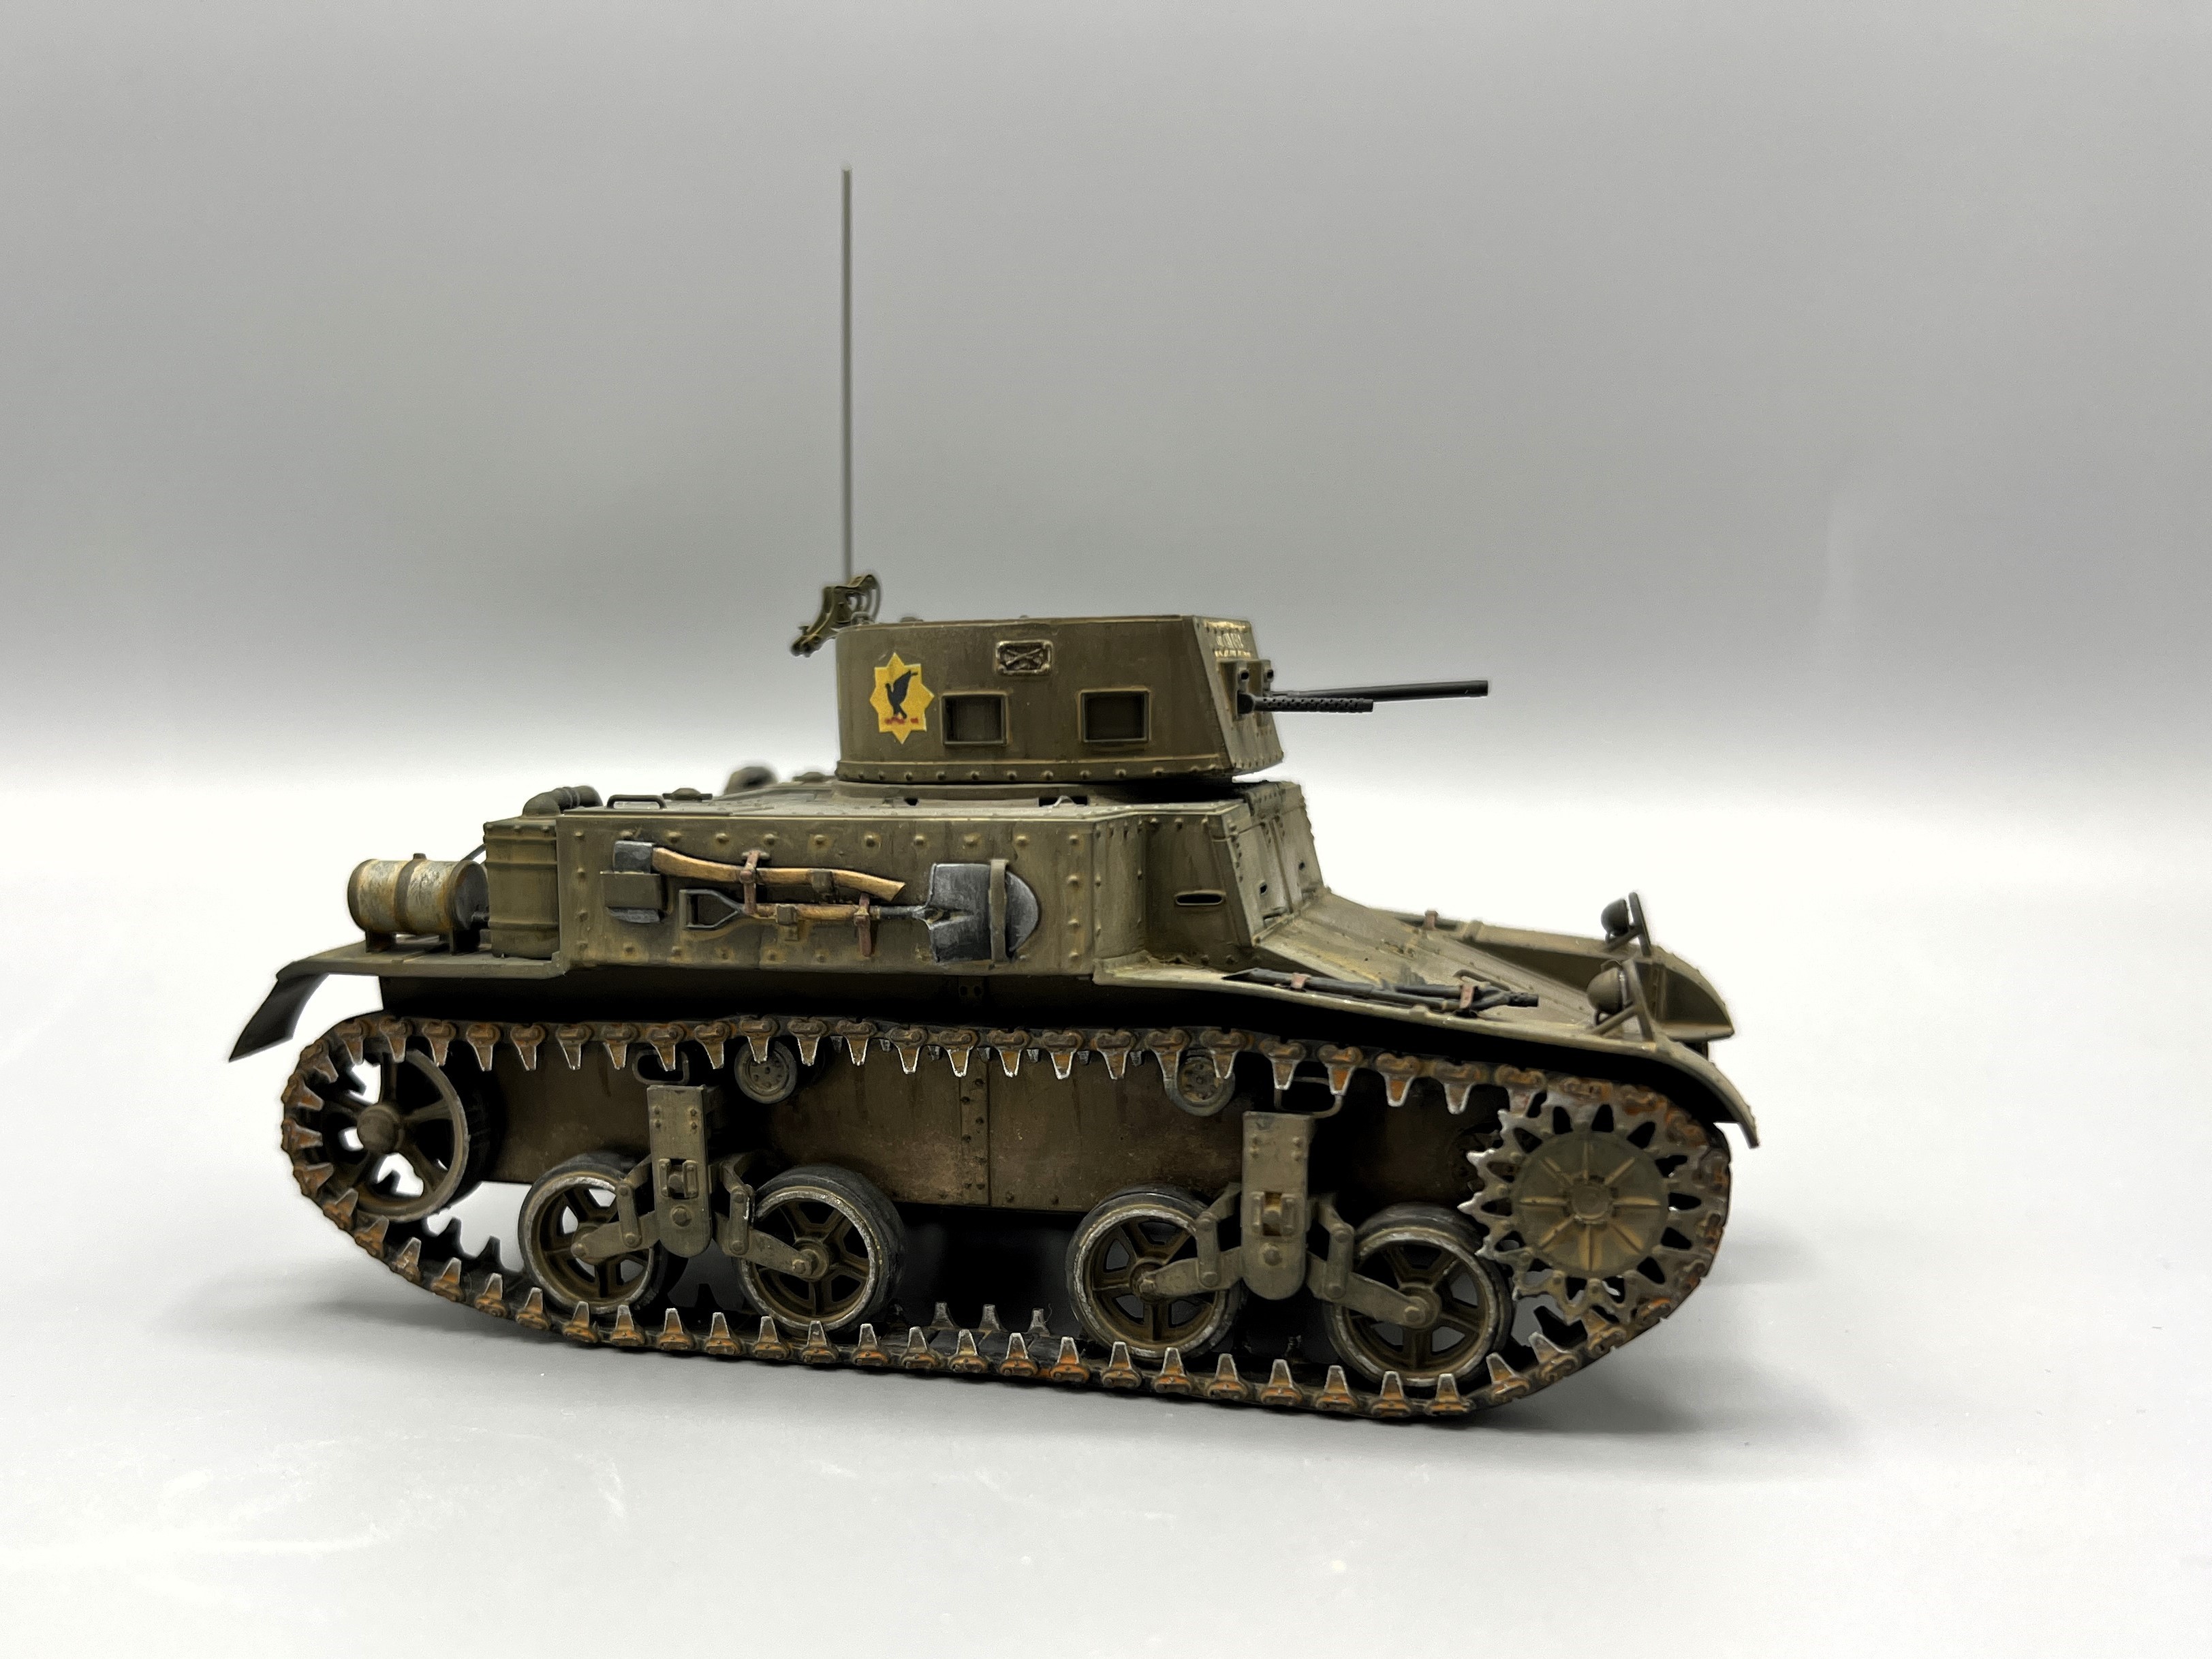
As is typical of Vargas kits, the tracks and suspension are printed as a single piece thus saving the tedious process of cleaning roadwheels and assembling track links. The level of detail on the kit is very good. The pioneer tools are excellent and fit into the tool holders that are printed on the sides of the hull. These are amongst the finest tools available. If desired, the footman loops and retaining straps must be scratched or use aftermarket. The headlight brackets are printed in place on the fenders and are as thin as any photo-etch. The fenders are also as thin as photo-etch. The hull is nicely detailed with sharp hinges and bracing. The grab handles are very fine and printed in place. The panel lines are sharp and deep to grab a wash. The mount for the .30cal antiaircraft machine gun is exquisite - no need for aftermarket. The detail on the gas caps is excellent, they are undercut on two levels. The .30cal machine gun barrels are excellent - no need for brass aftermarket here. The bane of 3D printed kits is the print lines. Fortunately, these are minimal on this kit. There are very fine print lines on hull and turret. There are some deeper print lines on the track pads. On my early print, the end connectors on the track have a hole instead of one of the two pins. This may have been corrected on later prints.
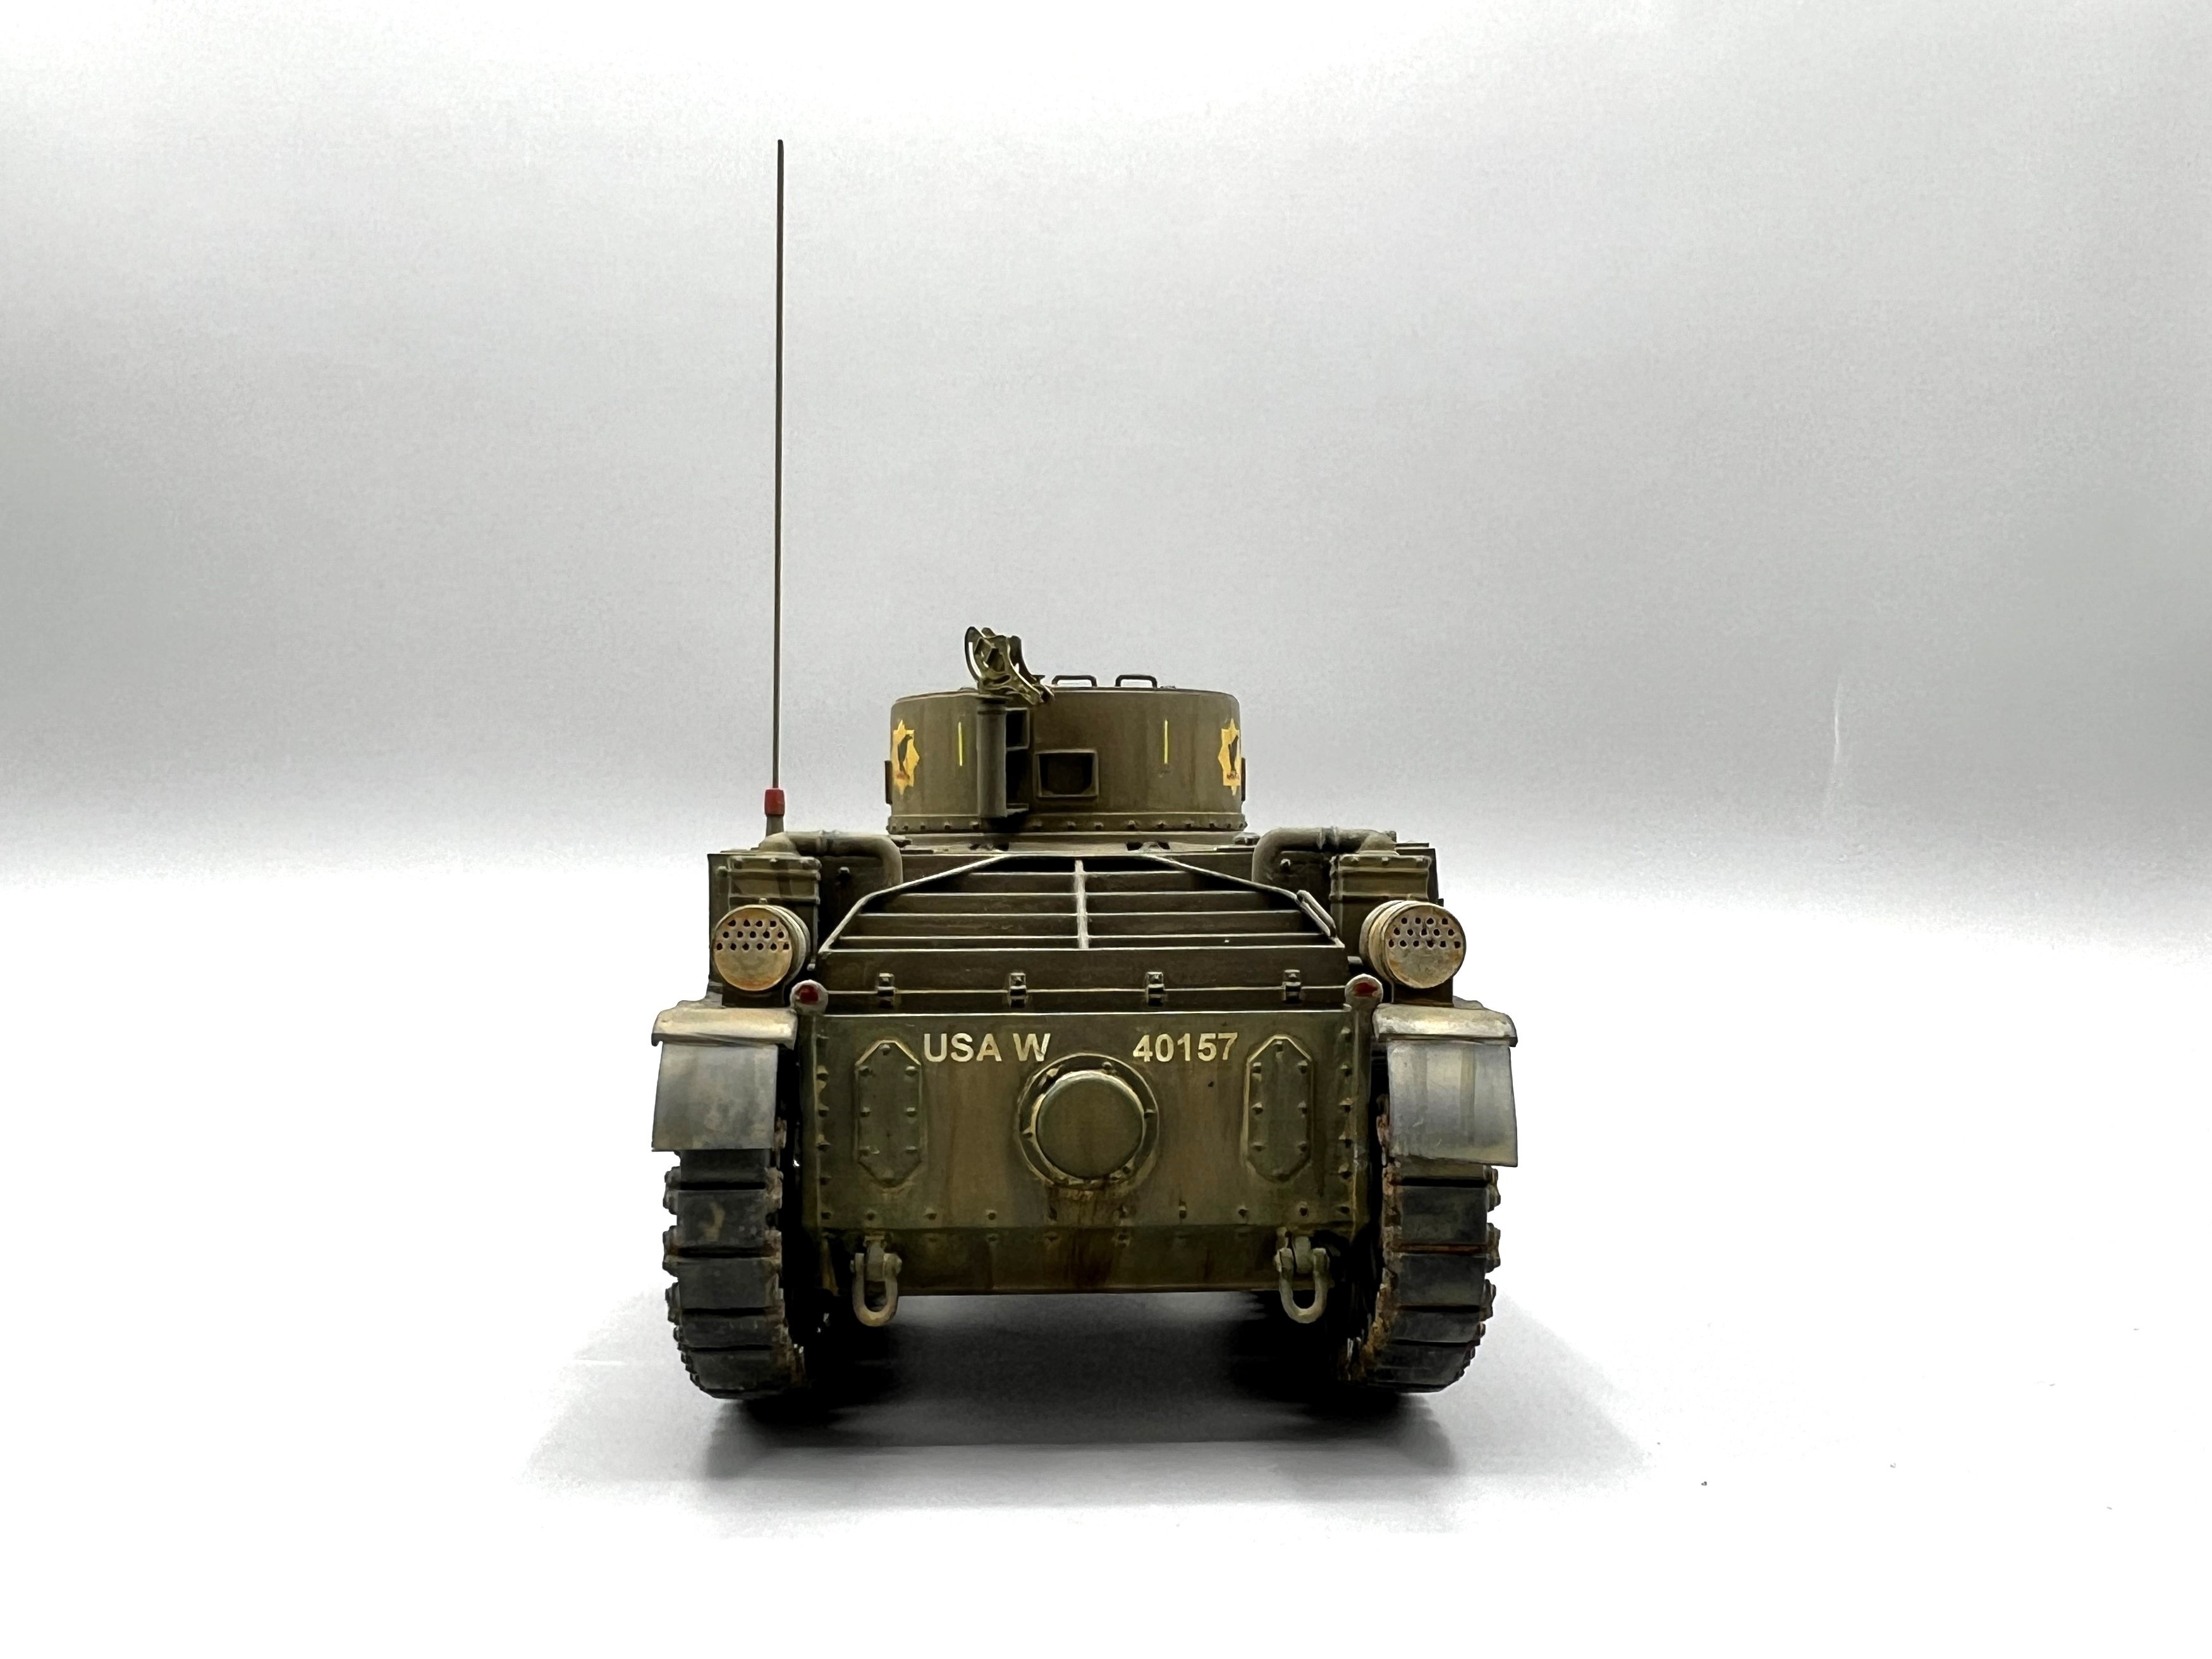
The kit overall dimensions are good. As previously stated, a lot of changes were cut into production with some retrofitted to earlier vehicles, but not all. The kit most closely resembles an example illustrated in Vanguard number 245, Early US Armor by Steve Zaloga with the early D shaped turret and a later stretched hull. The hull was put together with counter-sunk slot head bolts which are rarely visible in photos. Vargas chose to exaggerate these on the model. They are easily removed to provide a more visually to scale appearance.

The Build
The construction was relatively painless. I spent some time sanding the fine print lines down. On my early print, the end connectors on the track had a hole instead of one of the two pins. I filled the holes with .5mm styrene rod, put of drop of Tamiya extra thin glue on each to hold them in place and trimmed to length with my Godhand nippers. The whole process took about an hour. In spite of the many fat-thumb warnings in the instructions, I managed to break off one the fine printed-on grab handles and had to replace it with copper wire. The fenders were so thin that I had problems with them staying flat; so, I laminated some strip styrene to the underside to keep them from bowing. I opted to add mud flaps to the rear fenders cut from fine brass shim. I added footman loops and straps from MJ miniatures to the excellent pioneer tools and track adjusting wrench. I used PE straps, buckles and footman loops for the tripod stowed on the fender. I used a caron fiber rod for the antenna to allow some flexibility. I used black, "tire glue" CA for the assembly. It contains powdered rubber which gives it greater shear strength and makes it an excellent filler.

Summary
Vargas Scale Models continues to release subjects ignored by the larger model companies. The kit builds up nicely without any significant issues. As it does require the use of CA glue, it is not a kit for beginning modelers or young modelers. I heartily recommend this kit to US armor enthusiasts. Overall, I am very happy with the model. I wish that I had sanded off the exaggerated rivets on the sponsons to give a truer to scale appearance. I look forward to building the other US light tanks that Vargas is releasing and hope that he builds out the entire line.