











Review
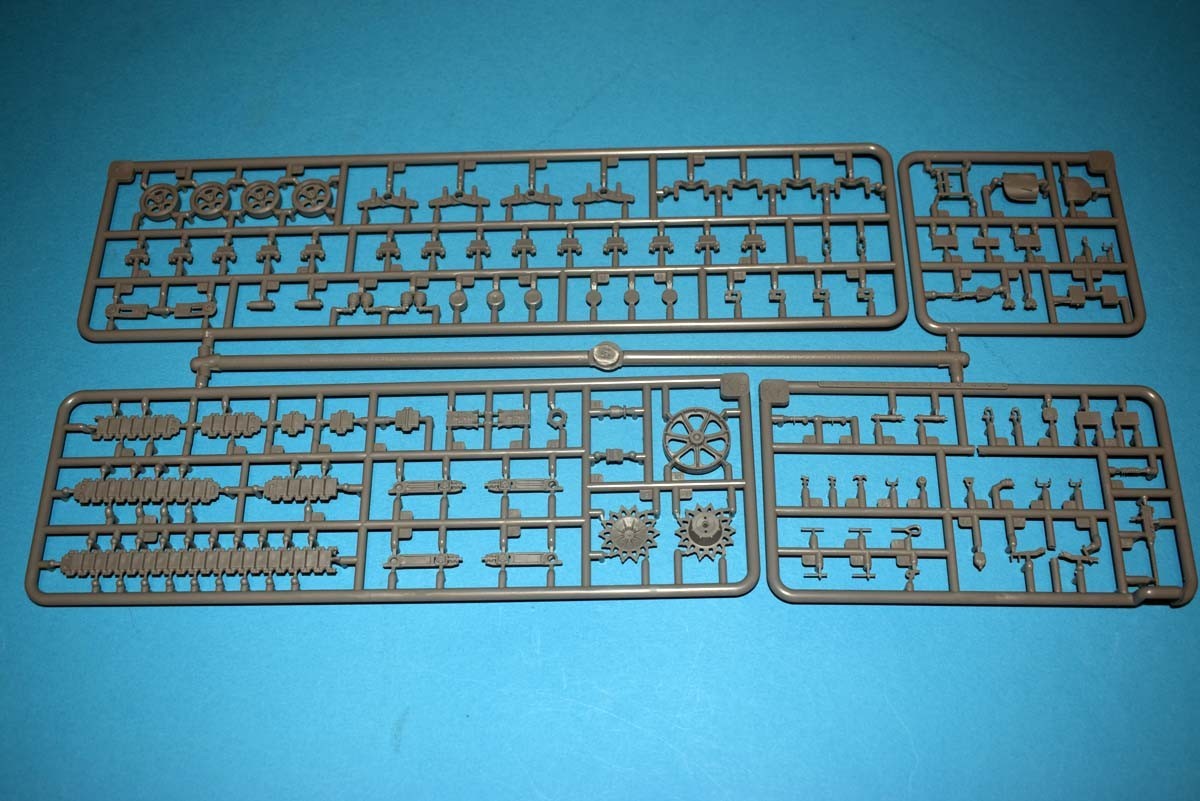
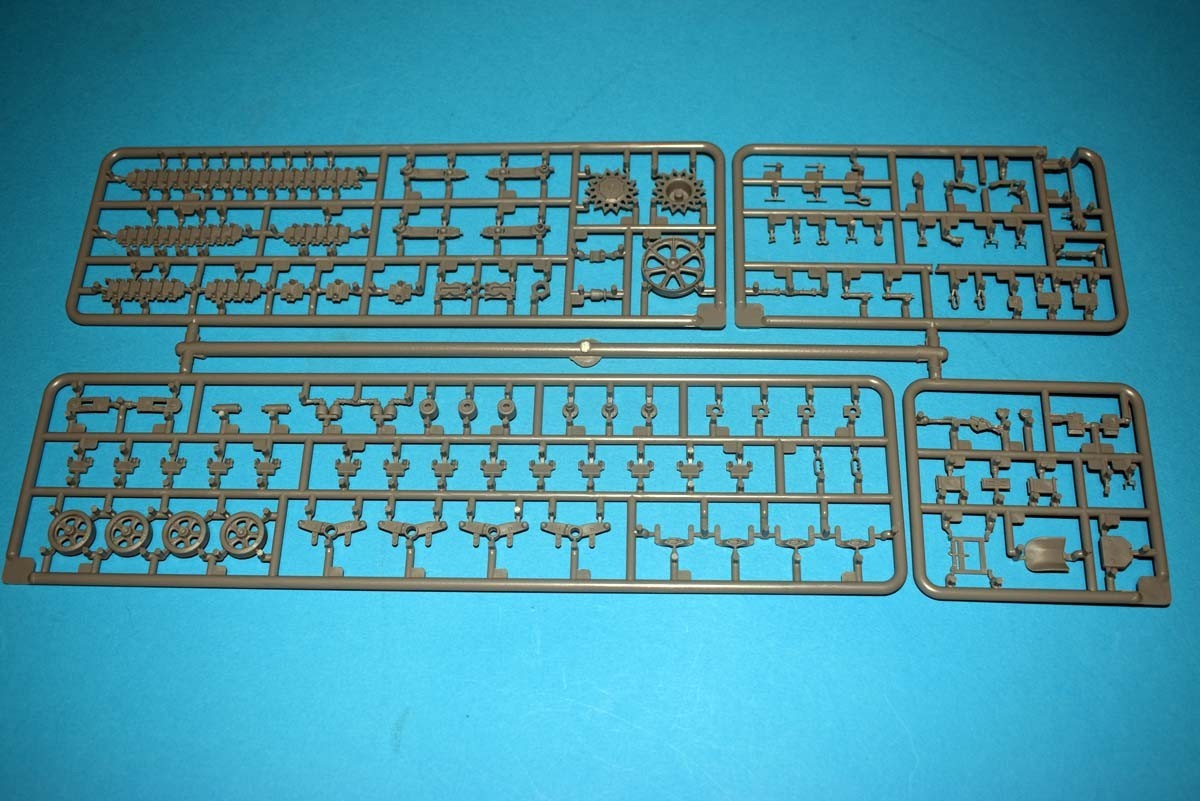
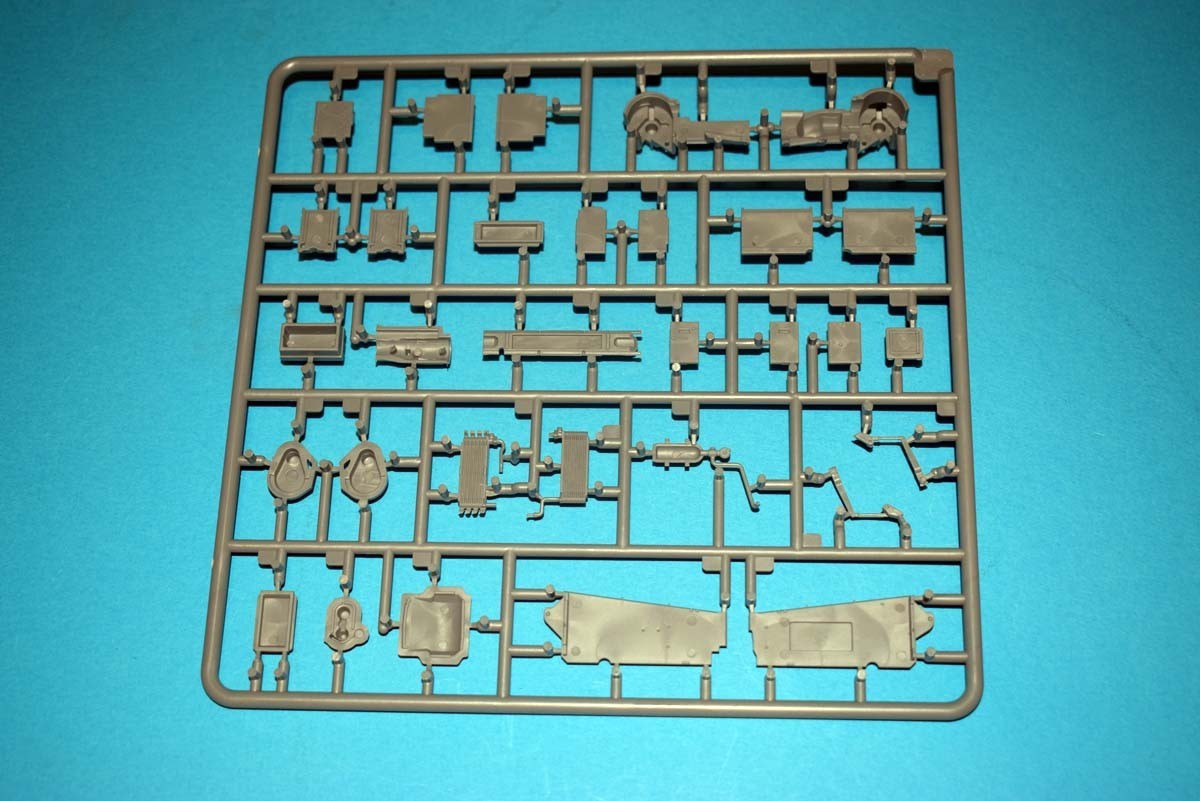
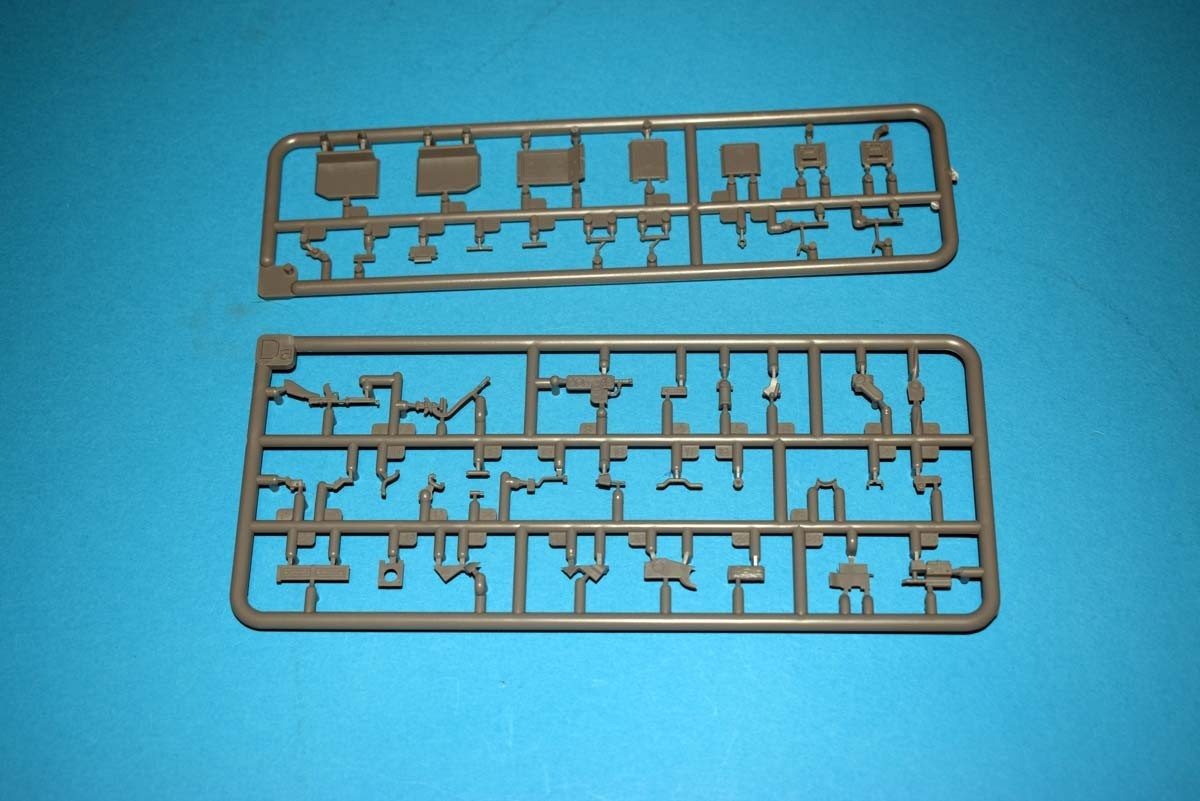
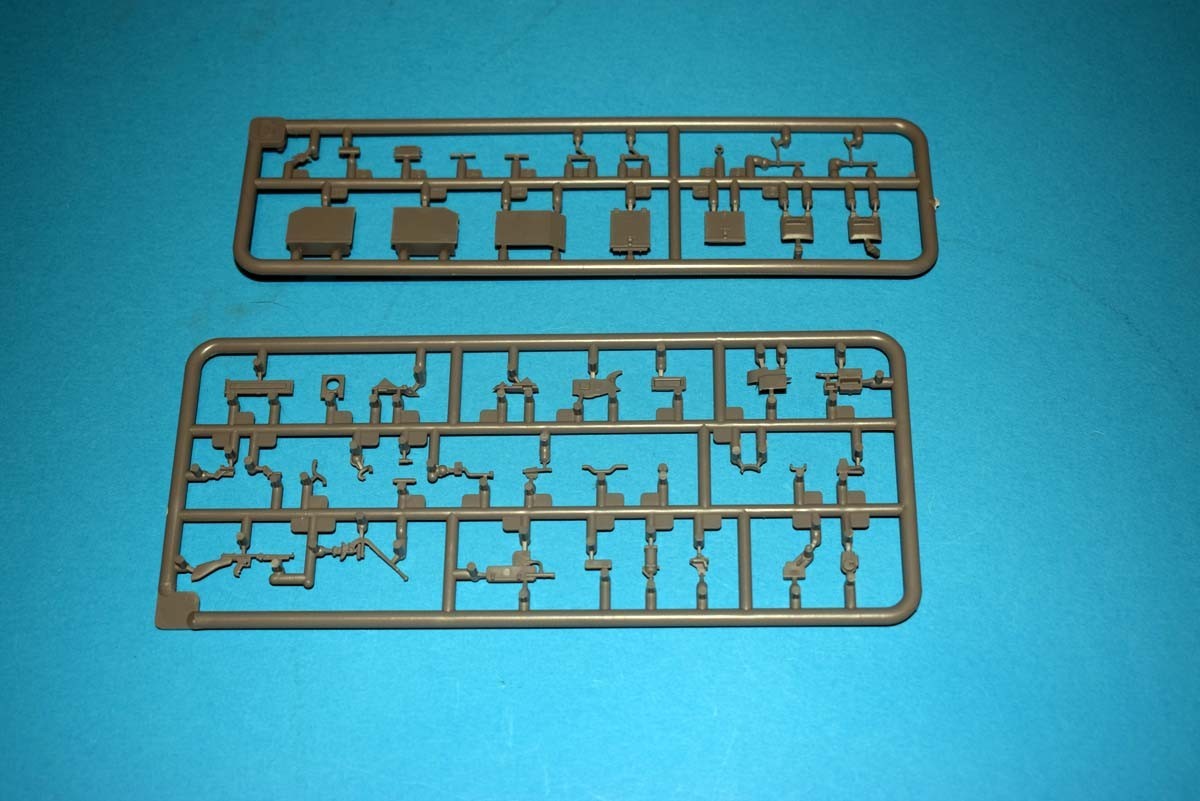
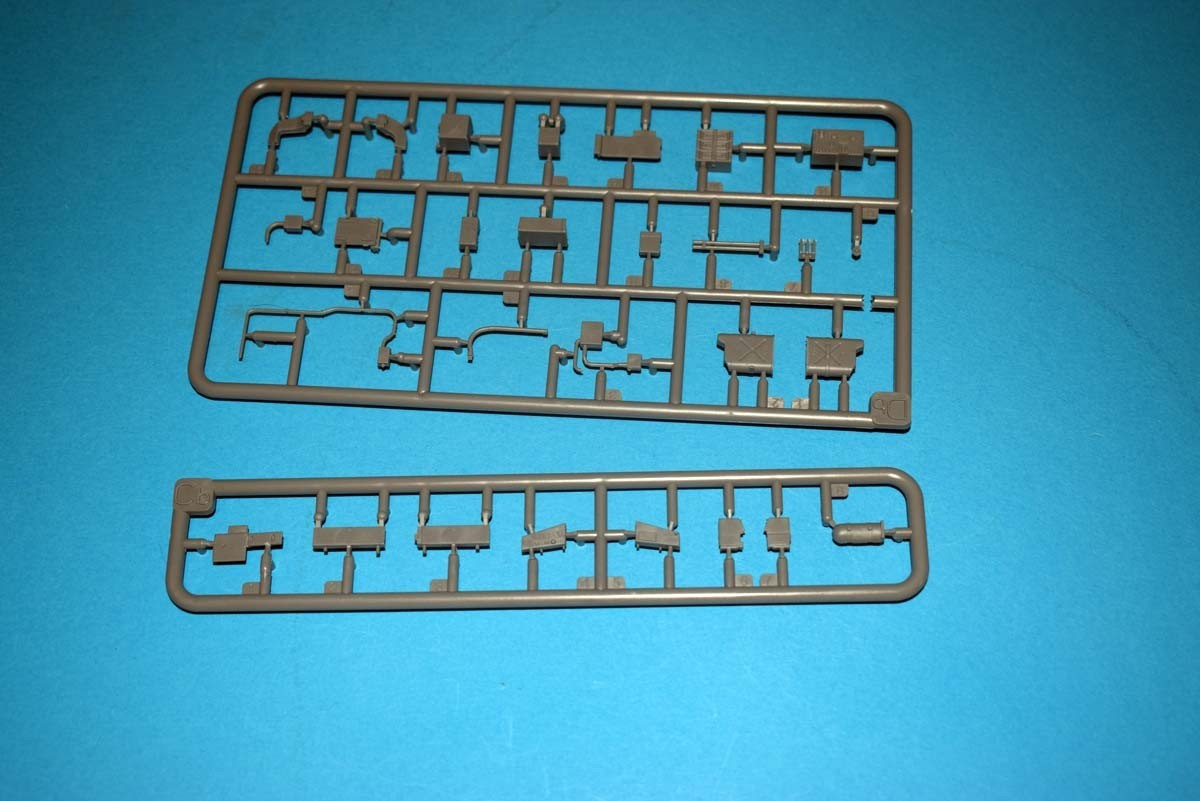
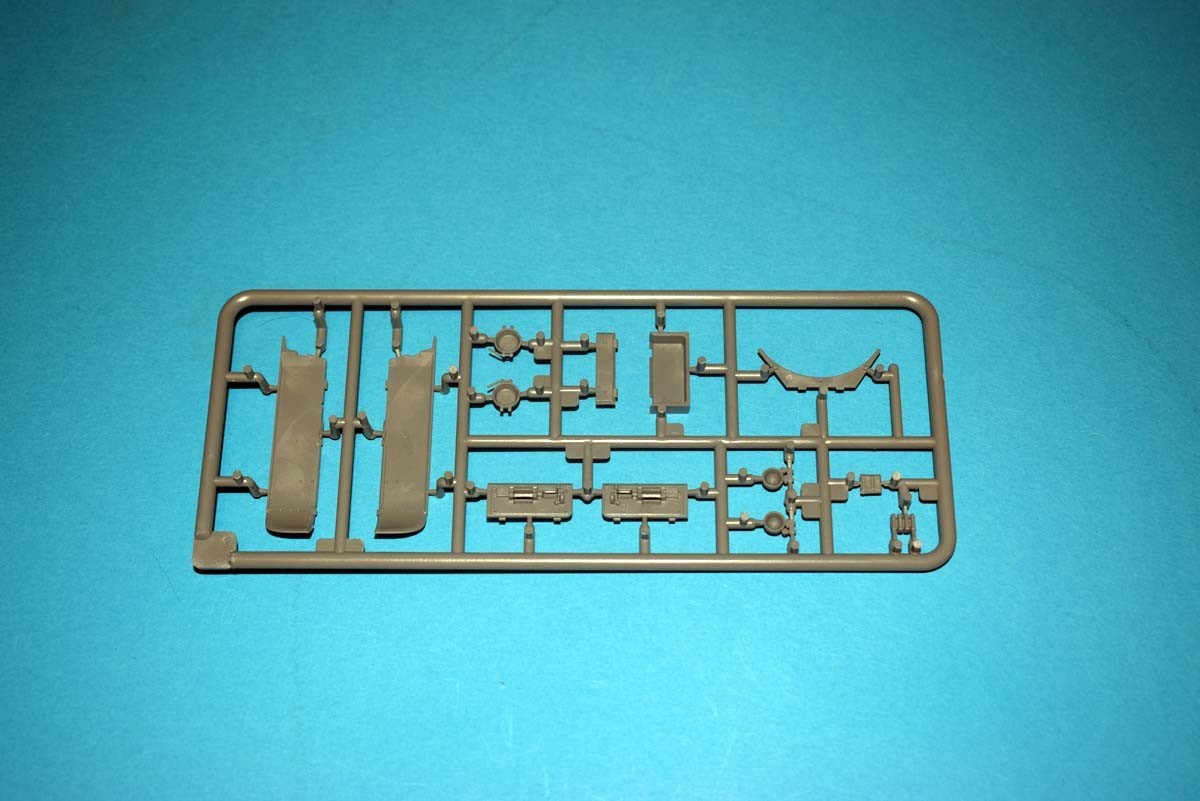
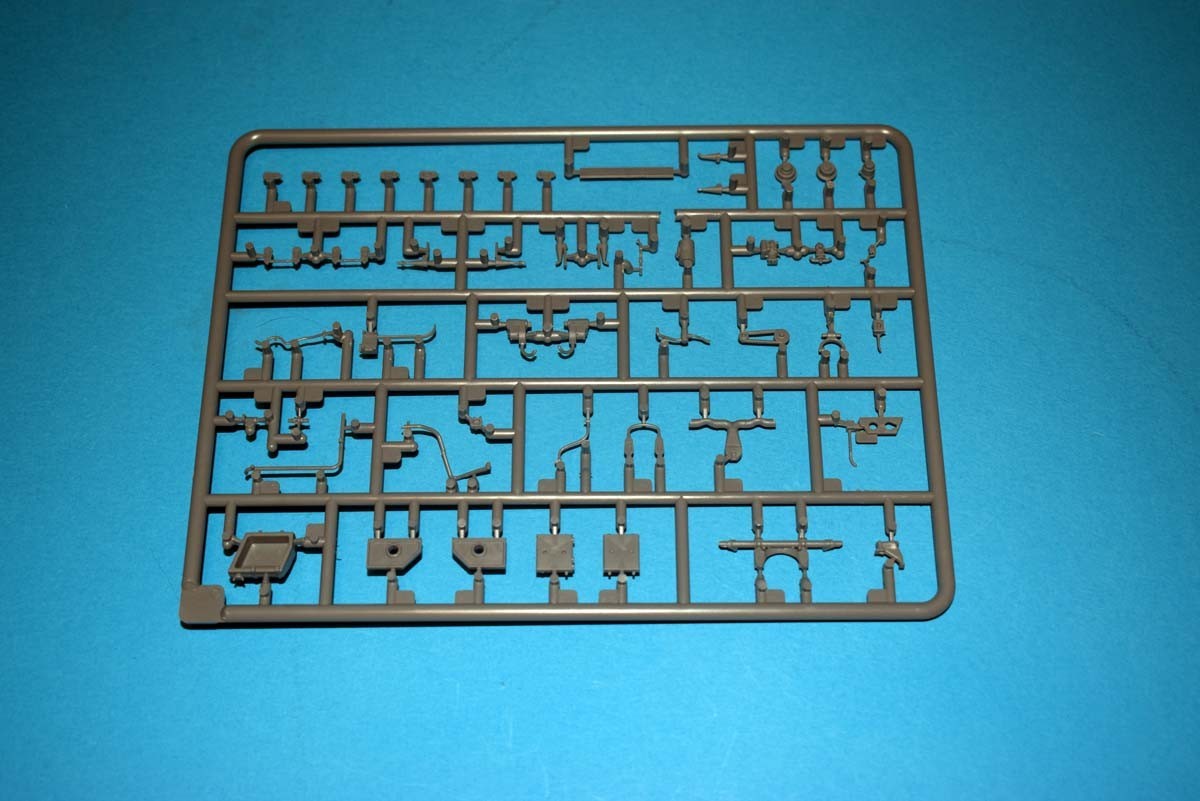
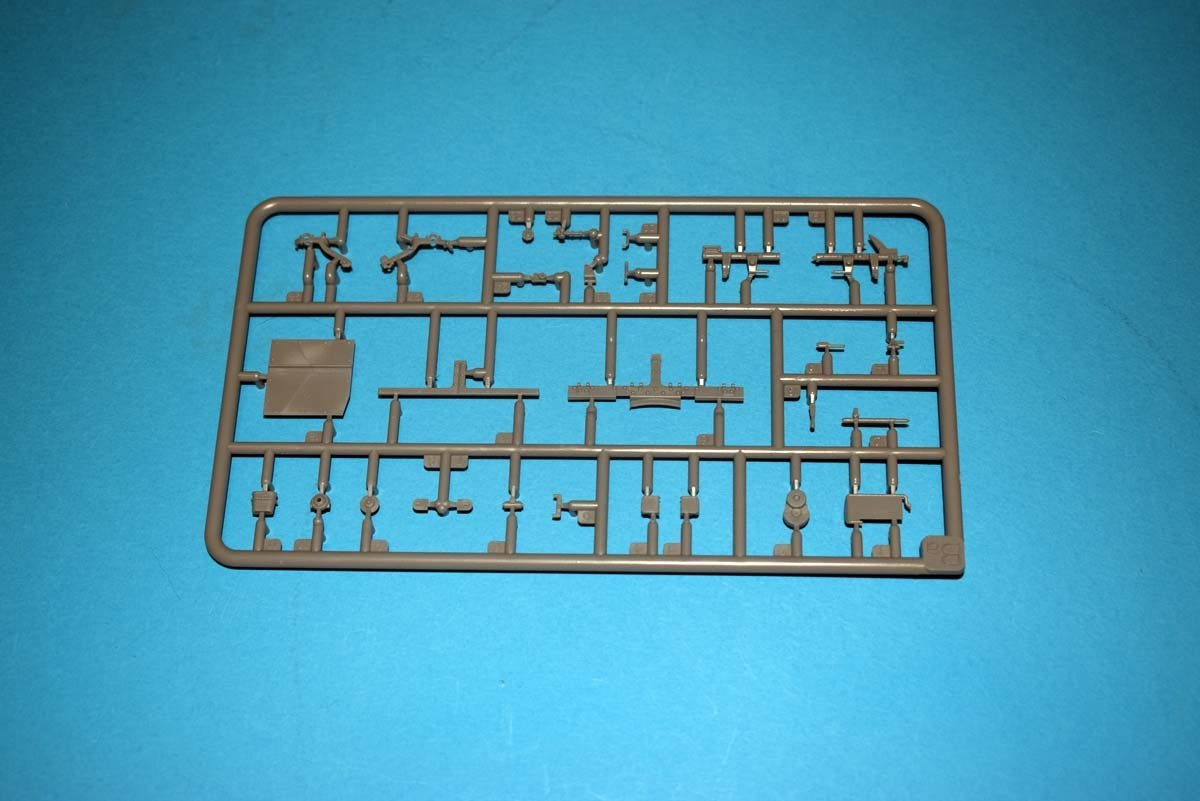
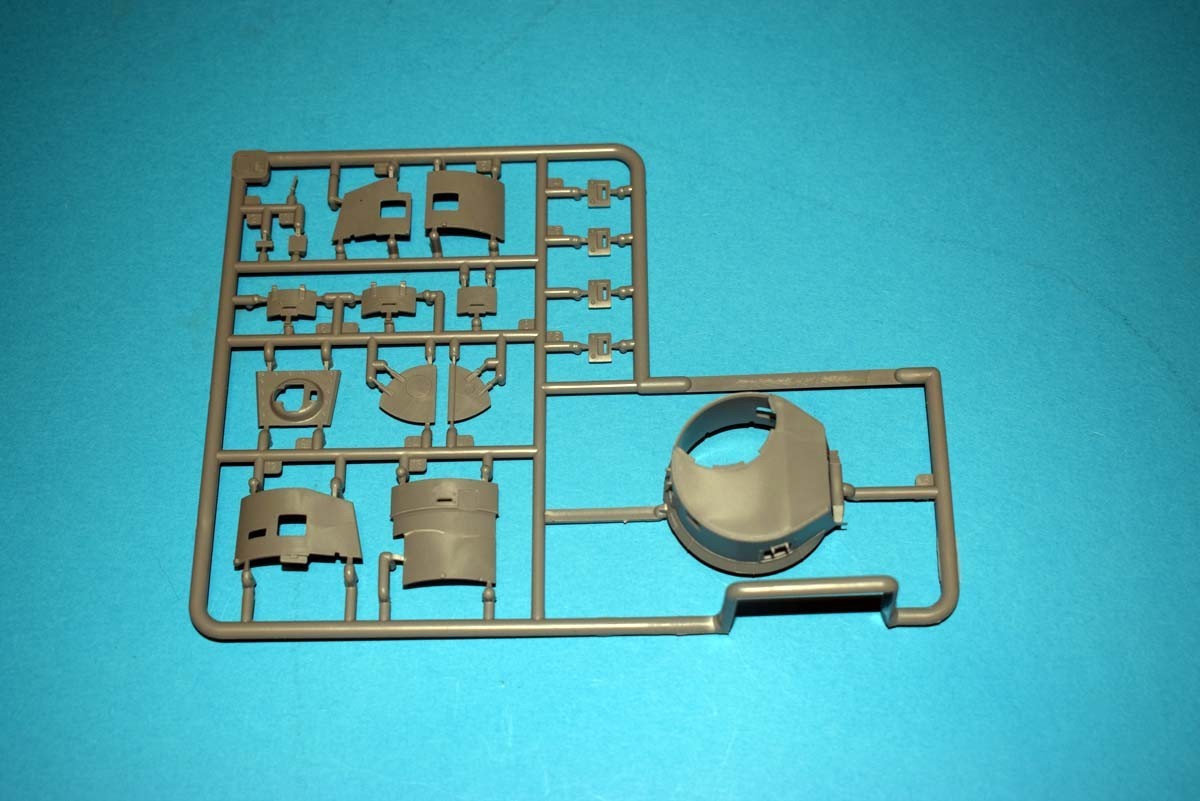
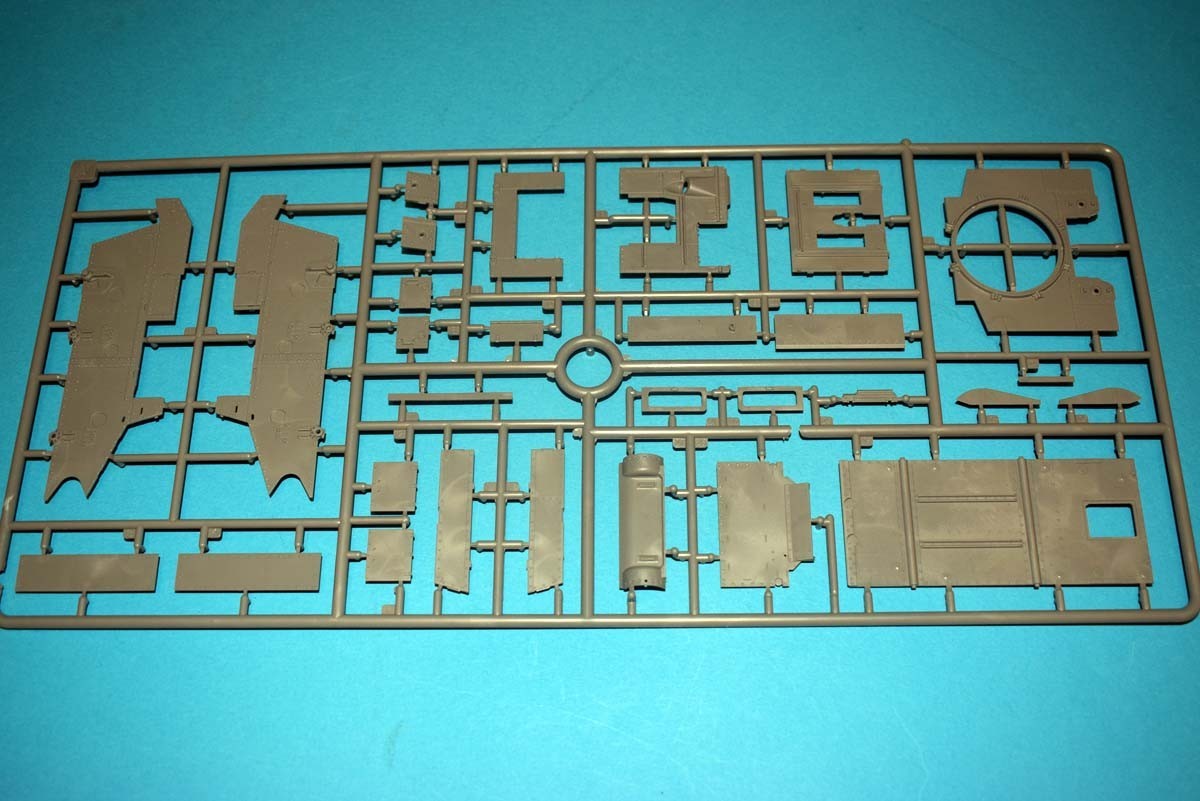
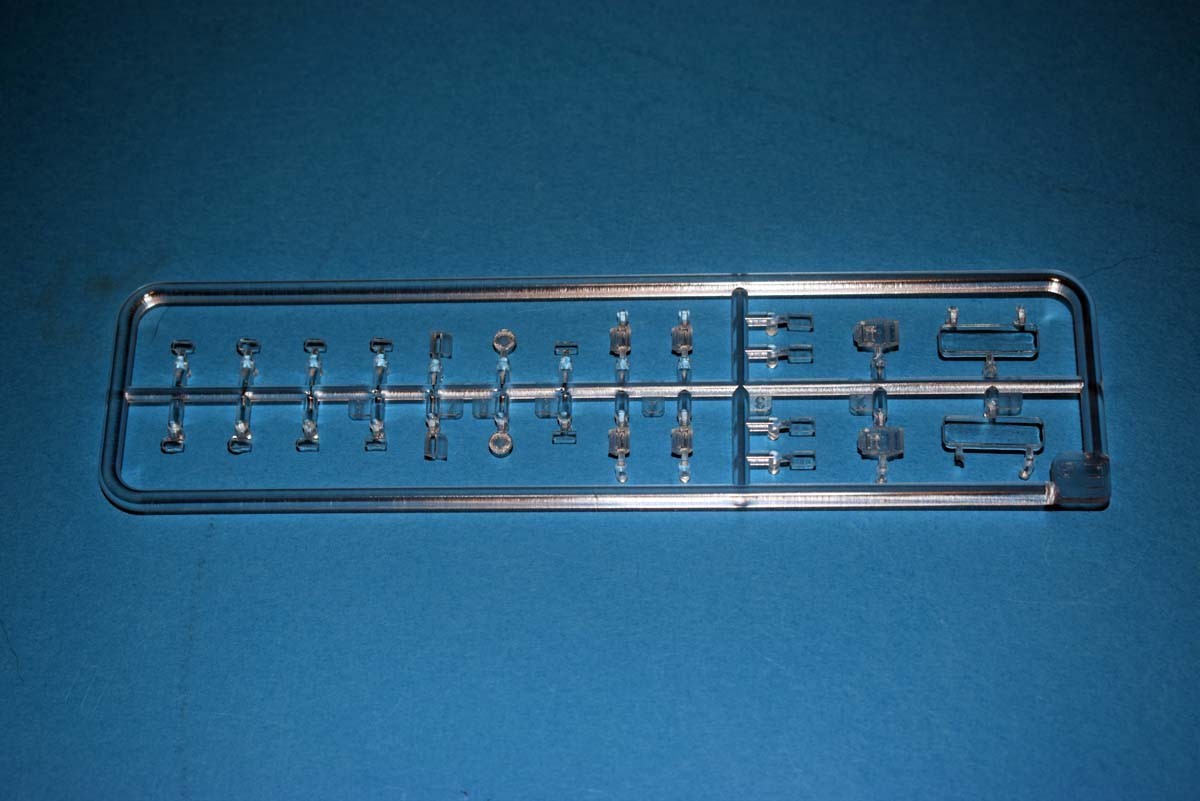
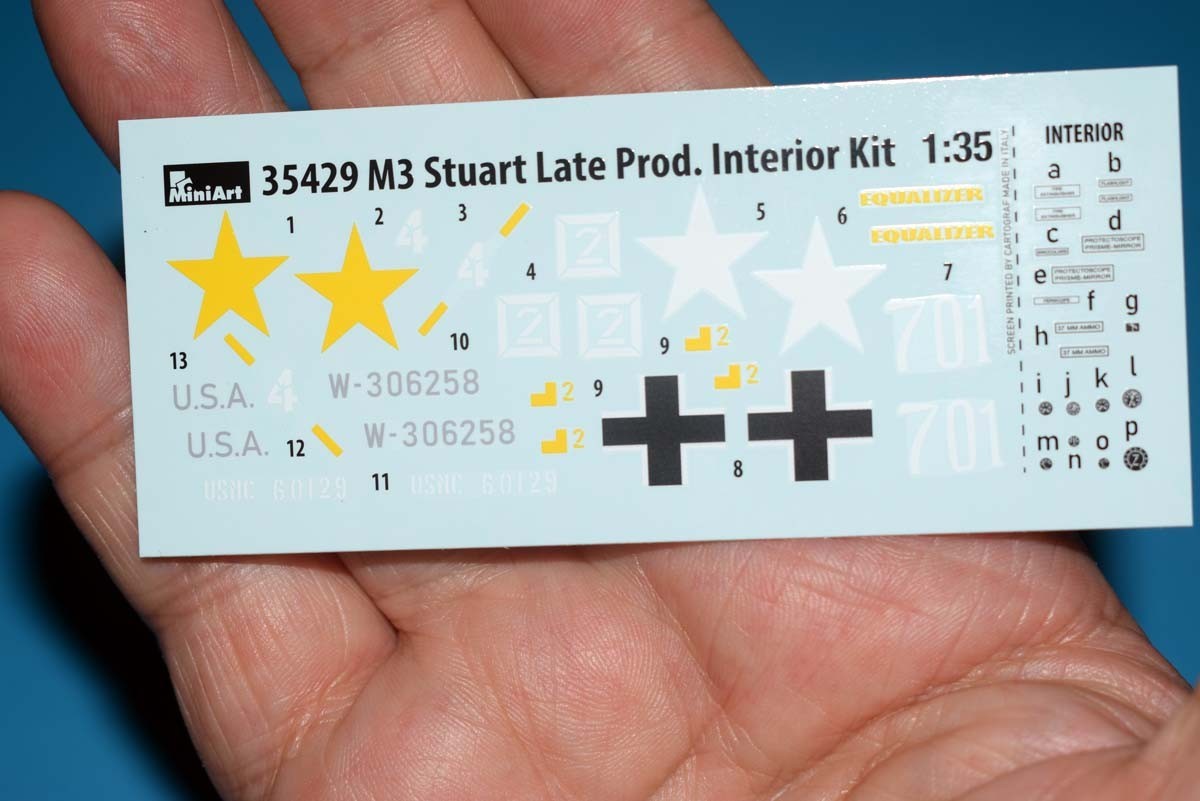
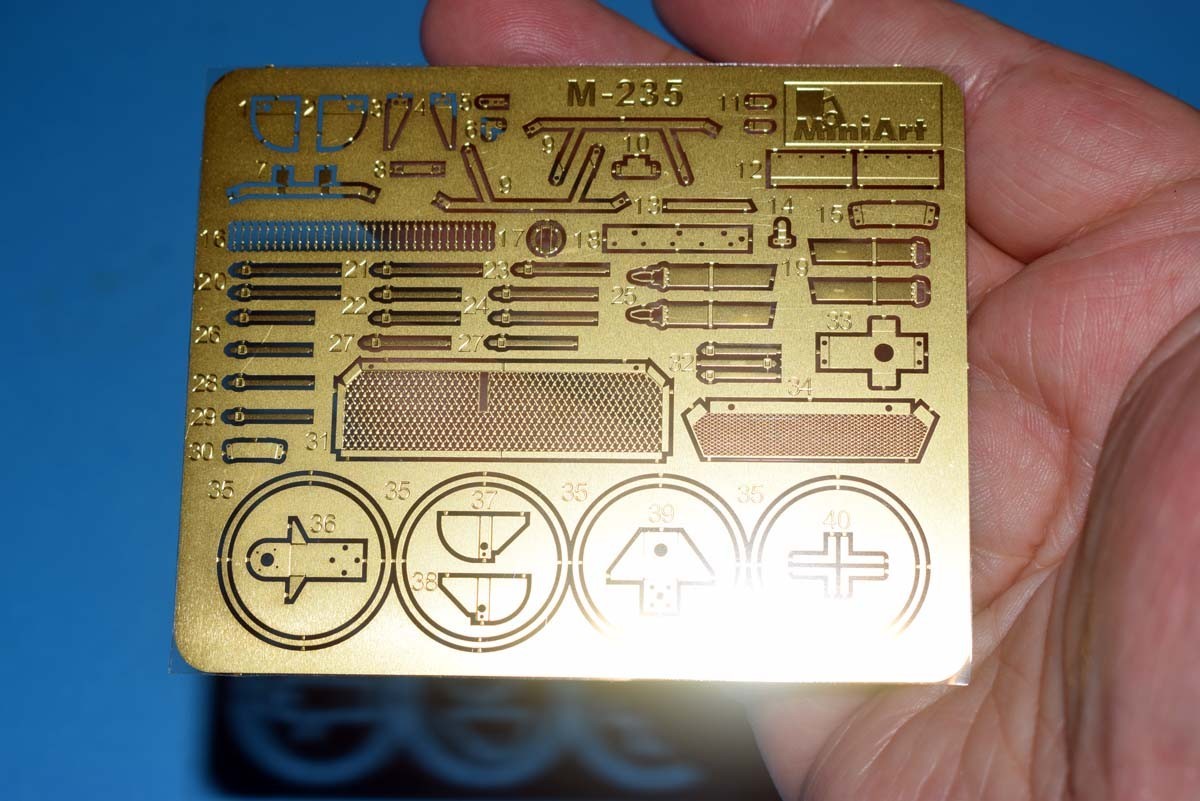
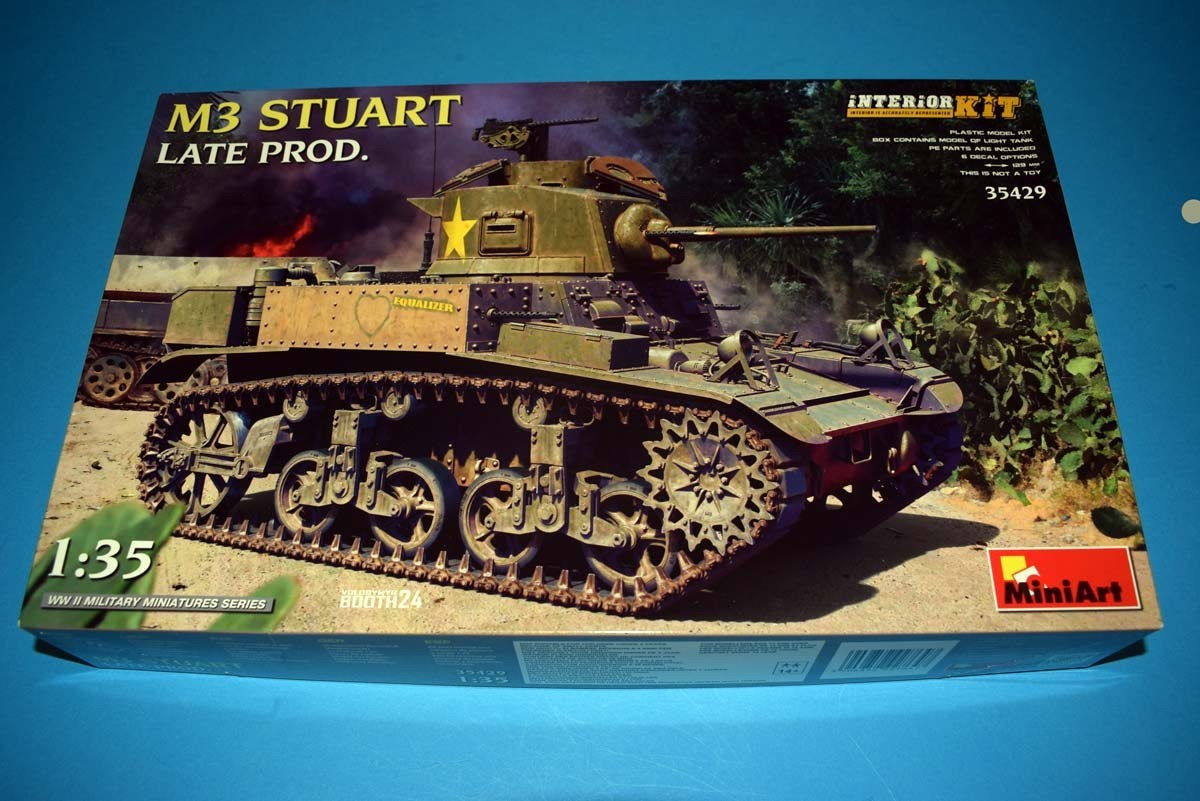
This model offering from MiniArt is packaged in the usual manner of a cardboard tray with a separate card lid. Inside the plastic parts are packaged in a single plastic bag, in which there is another plastic bag that contains the clear parts, the photo etch and the decals - a practice of which I do not approve and I wish that MiniArt would return to providing the photo etch and decals in a card envelope which they had started to do. An examination of the contents, shows the usuaul high level of detail and mould quality that we have come to expect from MIniArt. The gates are reasonably sized, and other than the risk of breakage during removal of parts I see no problems with this product.
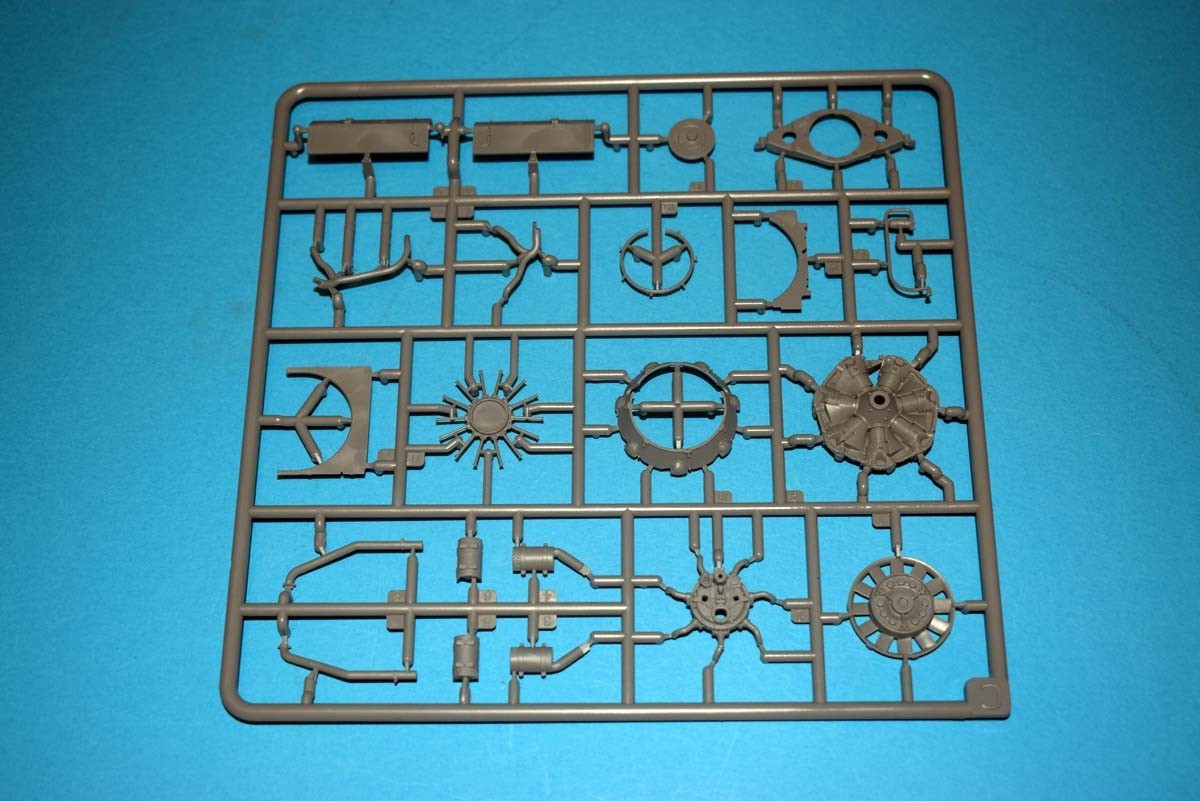
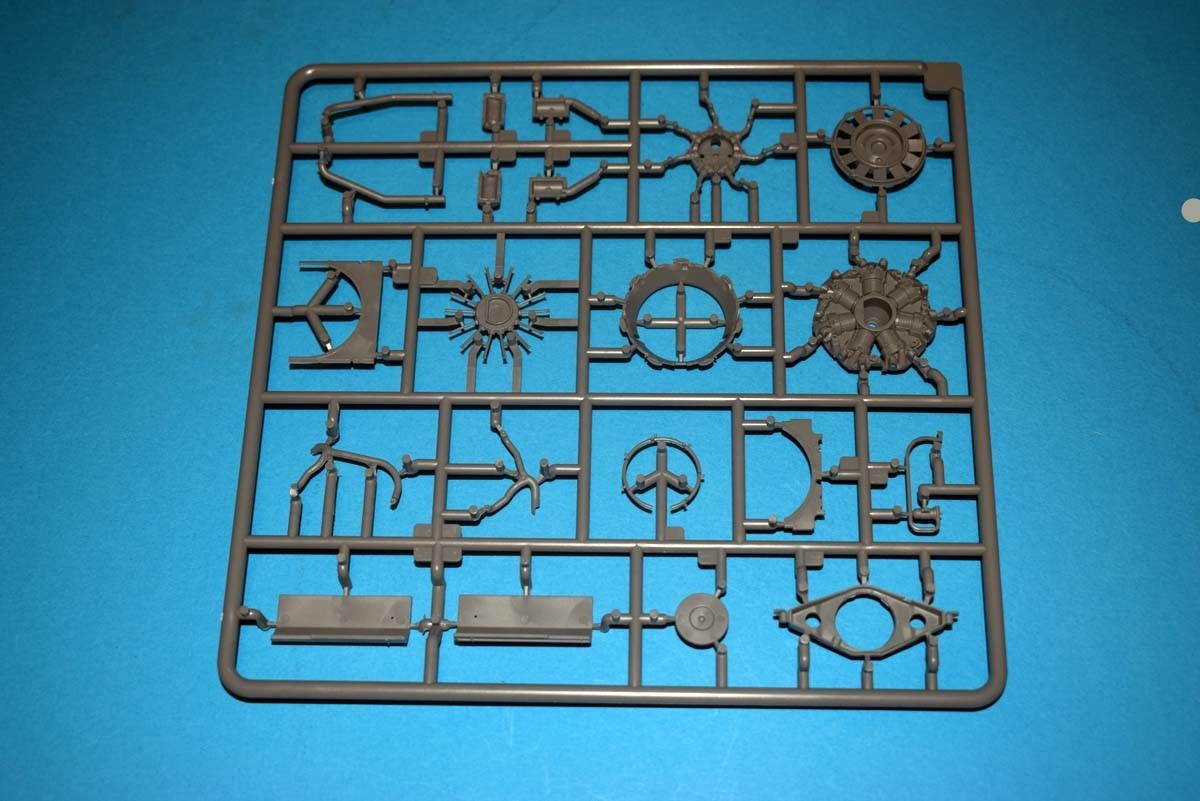
This release being one of the internal kit release, requires modellers with a steady hand and a good eye topped off with heaps of patience. If you have access to books showing the interior of this little tank, you should be able to provide an excellent representation, only I believe requiring some wiring to be added. Moving to the rear, you will find a very nicely detailed radial engine for which there is a host of small parts that do present the risk of breaking or feeding the carpet monster! However, if you avoid those 2 issues, I do believe you will find the results pleasing.
Do to MiniArt having provided all of that internal detail, you will not be surprised that all of the panels can be opened, which while a nice feature it does mean that I you decide to leave everything open, you are going to have to be creative with your paint finish to avoid paint getting inside and wrecking the finish on the interior that you would have worked so hard on. Aspects of this model that I am not keen on, is that you need to cut off tiny little bolts to add around the turret ring, and I feel that these should have been included are part of the model.
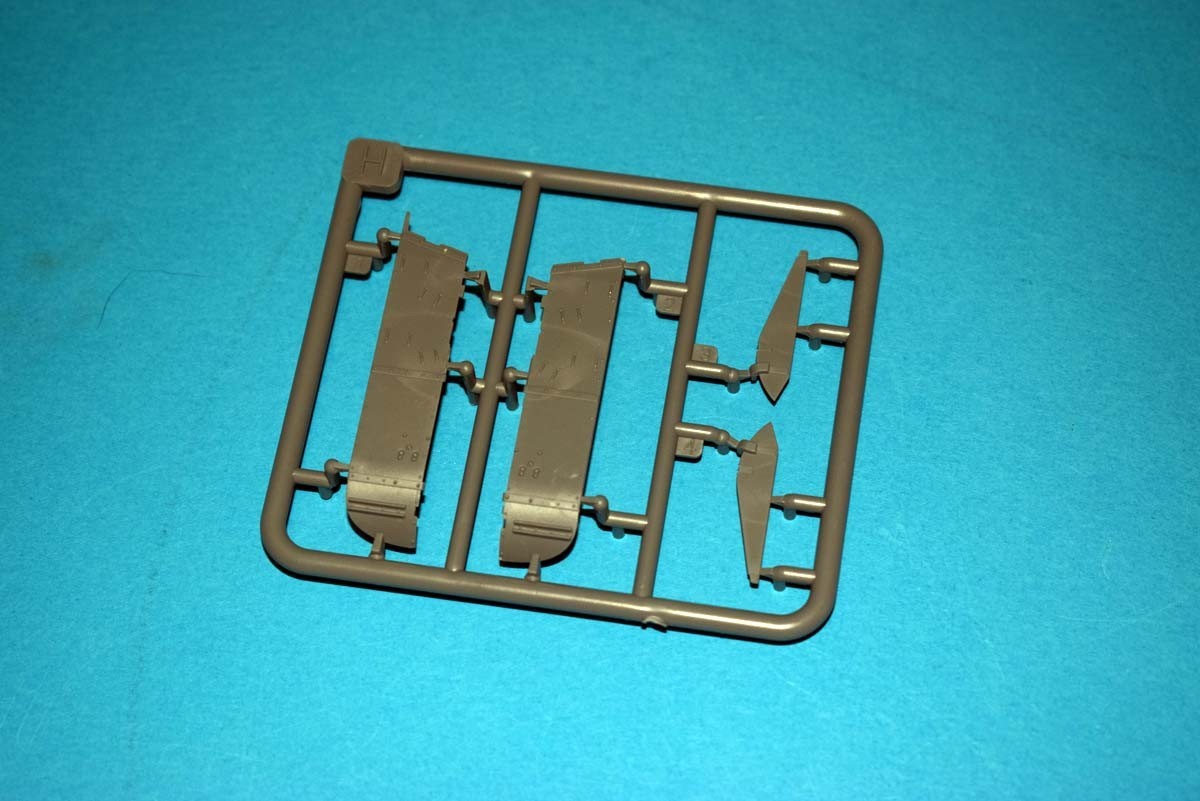
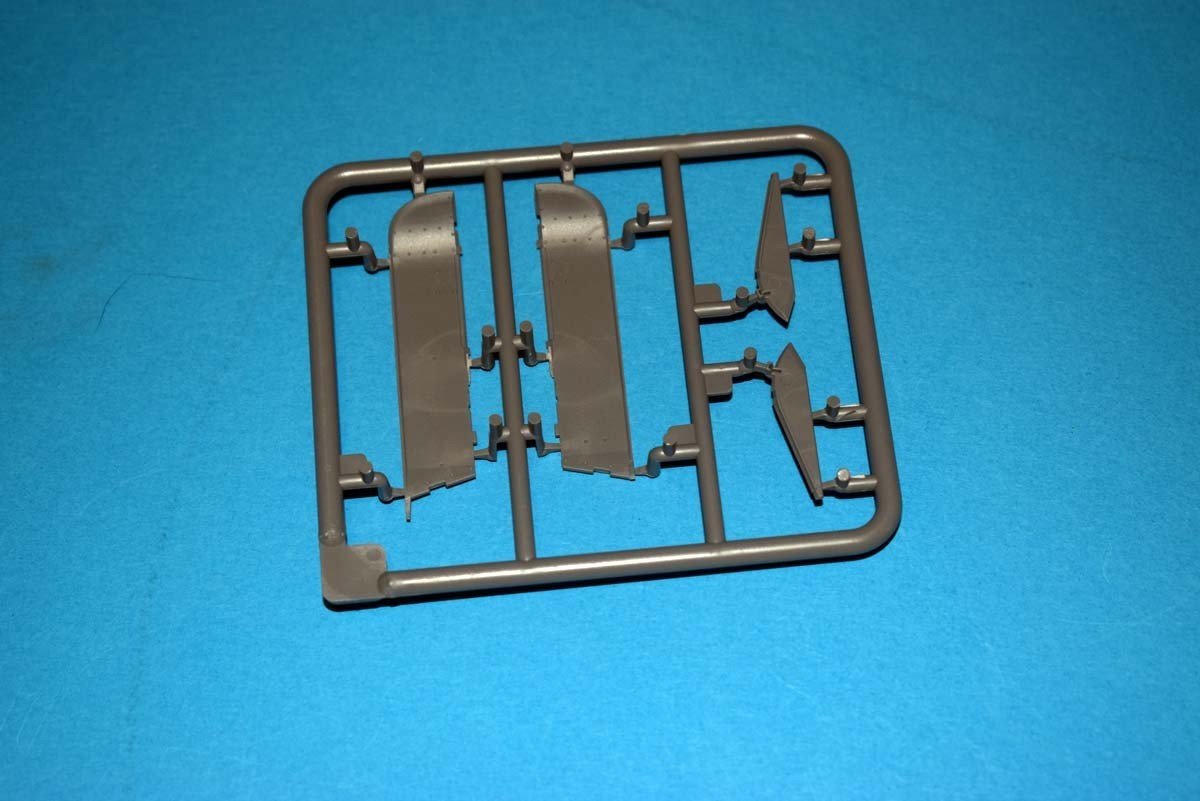
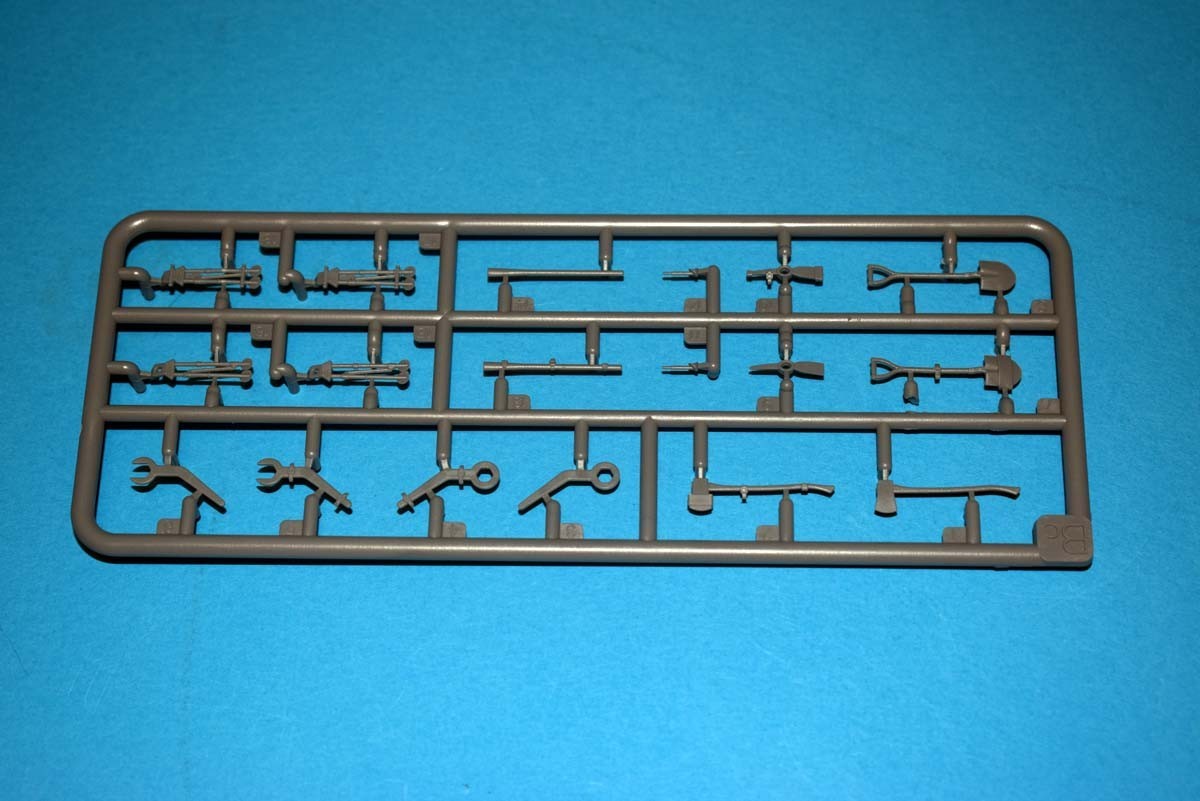
Once you have decided how you are going to display your model, you move onto the wheel assembly and again MiniArt has gone down the high detail route without really considering the abilities of the modeller who will be tackling this. My only advice would be, clean your parts up well and do not try to rush the assembly. I am sure that I am not alone, as regards with trying to go one step further and wrecking all my work. The suspension units are all set in a neutral position, with the tracks provided and link and length. I feel this approach is the perfect balance between individual track links that many get upset about and the rubber band tracks that do not provide the detail that is possible with injection moulded tracks. The skirts/track guards are another multi part option, with detail on both faces and just require you to be careful during installation. The tools themselves are provided clean with photo etched non workable clamps, plus the option for tools with moulded on clamps.
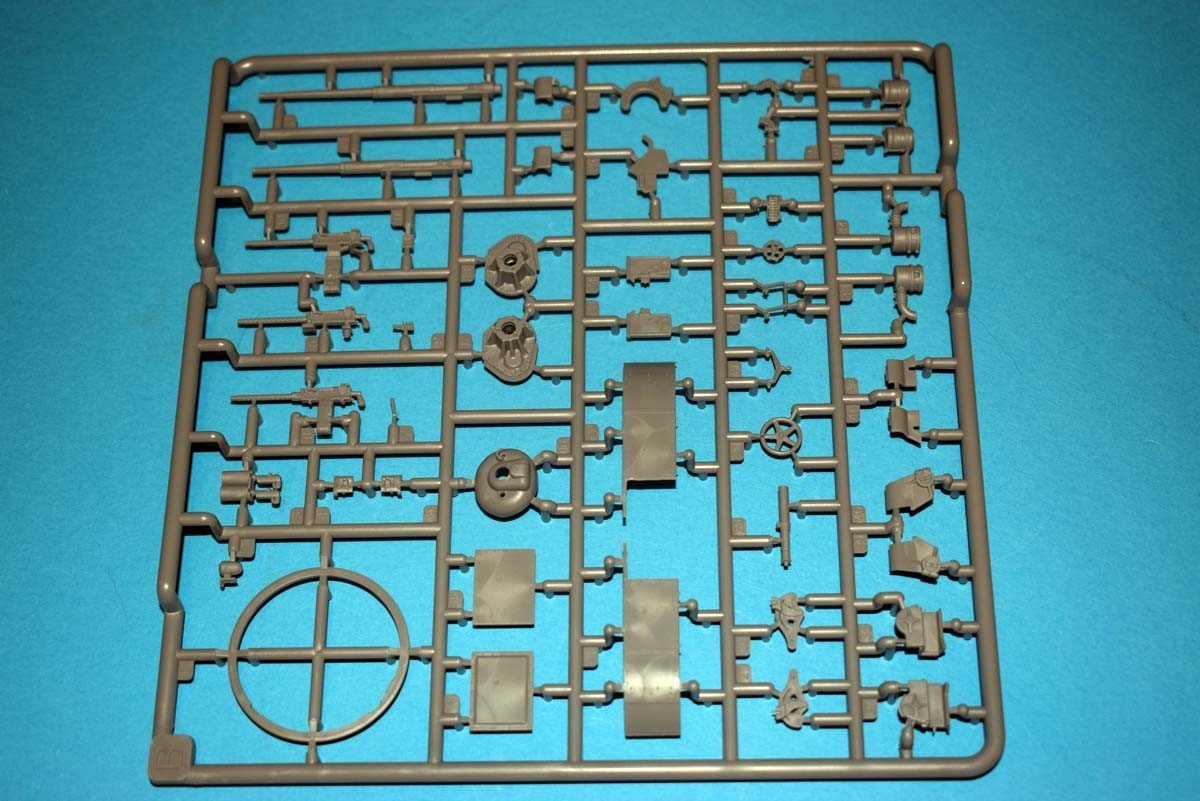
The tow cables require you to add your own cable material, which you glue into eyes which are provided, and I again approve of this as most modellers after a while in the hobby have there own personal preferences. The main gun in that little turret, in moulded in a single piece, which I like. All of the detail right the way through to the breech appears accurate to my limited knowledge and that includes the ammunition feed for the Browning 30 where the ammunition goes over the barrel before going through the gun. The turret is moulded as a single piece, but you have fillet details to glue inside. Again you hit the issue of a small space requiring a lot of careful manoeuvring by yourself. I did wonder, if the parts that need to go inside the turret, could be added to the fillets prior to installation, but I am not 100% sure, which is why I cannot recommend this.
The raised cupola needs to be assembled from a number of panels with glazed apertures included, and the relevant detail on the rear. You have the option of having the copula open or closed, but I personally think that if you are going to go to the expense of an interior kit, I would want everything open that I could.
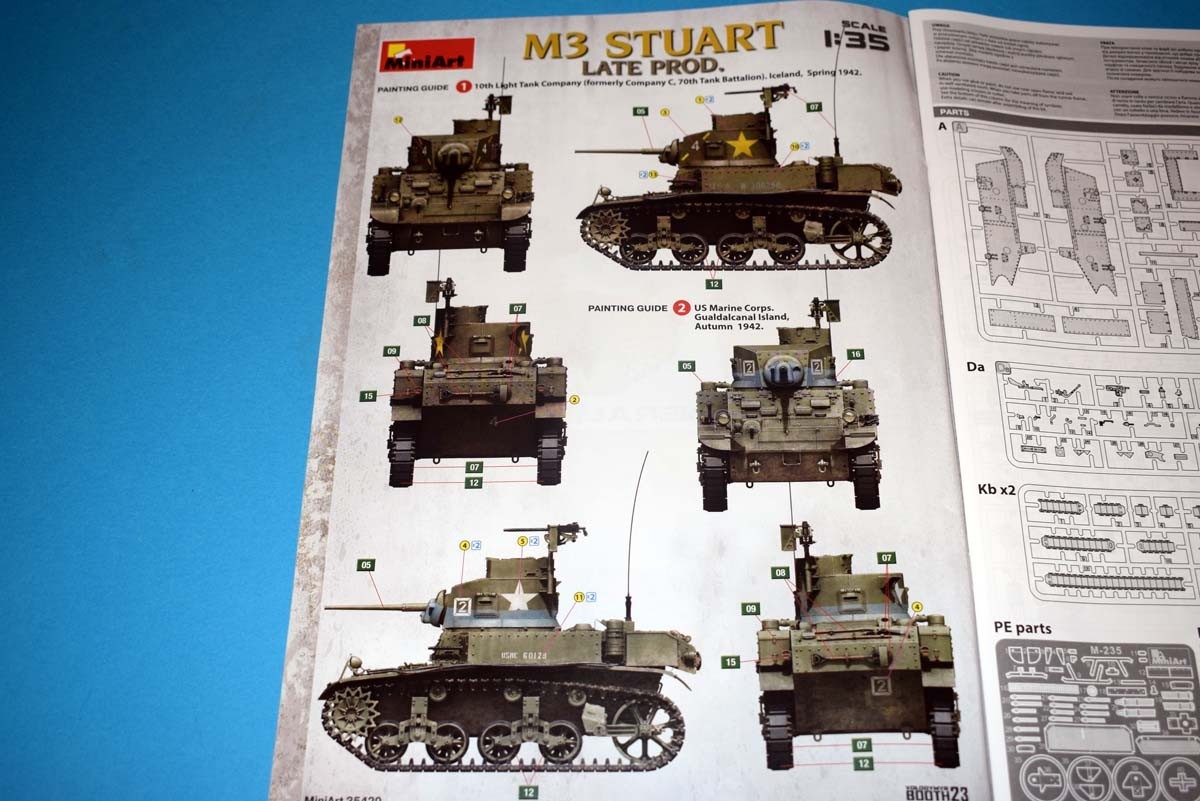
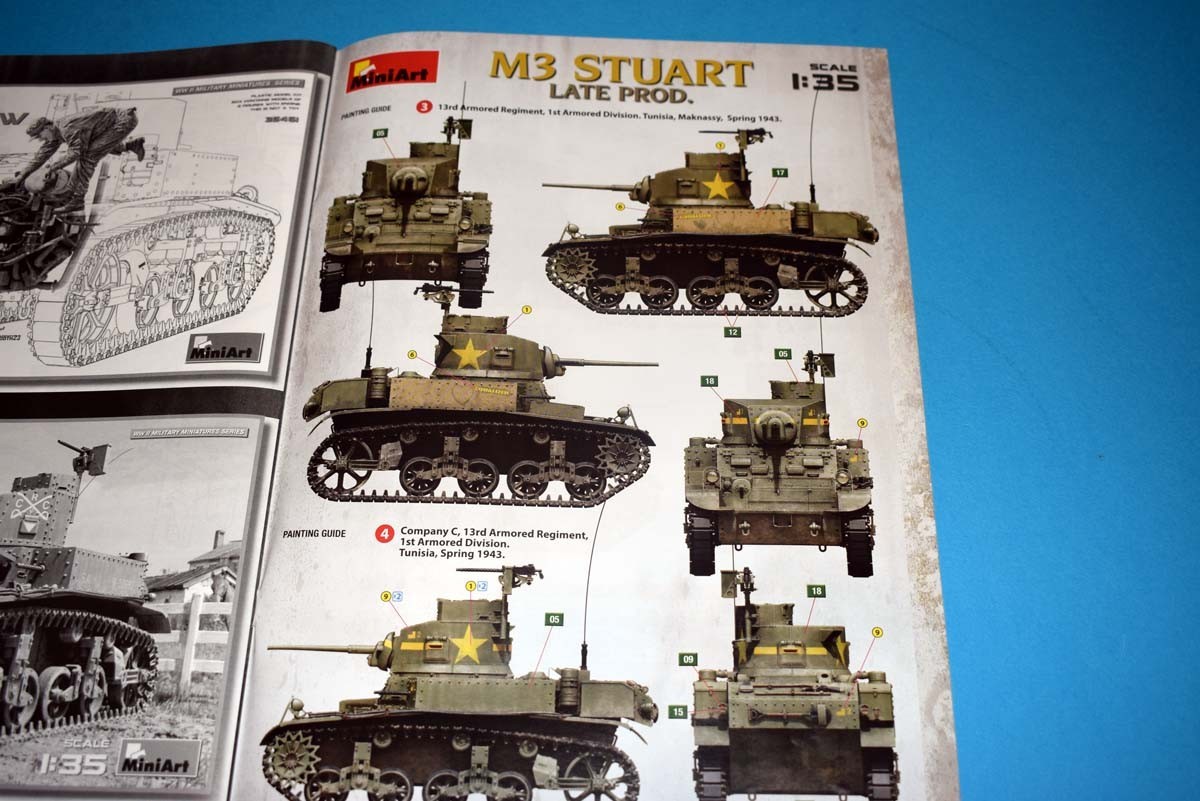
MiniArt has provided 6 finishing options for this release, but before I cover them. I have been giving some thought to the use of a spray gun to finish the model, and I think that a good number of the opening panel options could be placed un-cemented and so protecting the interior, allowing you to spray the outside for the most part, and then opening up the areas that you wish to.
Finishing Options:
10th Light Tank Company, (formally Company C, 70th Tank Battalion), Iceland, Spring 1942
US Marine Corps, Gualdal Canal Island, Autumn 1942
13th Armoured Regiment, 1st Armoured Division, Tunisia, Maknakssy, Spring 1943
Company C, 13th Armoured Regiment, 1st Armoured Division. Tunisia, Spring 1943
Undefined Unit, Red Army. Baltic Front, Autumn 1944
Deutsches Afrikakorps. Tunisia 1943