Introduction:
Mission Master is a modular autonomous unmanned ground vehicle (A-UGV) designed and manufactured by Rheinmetall Canada. The all-terrain UGV is based on an 8×8 platform with a length of 2.95m and weight of approximately 750kg. The vehicle can be configured in different modules and used for reconnaissance and surveillance operations, mount and dismount forces and increase operational effectiveness. In April 2020, the UK armed forces placed an order for four Mission Master UGVs which will form part of the UK’s Robotic Platoon Vehicle program.
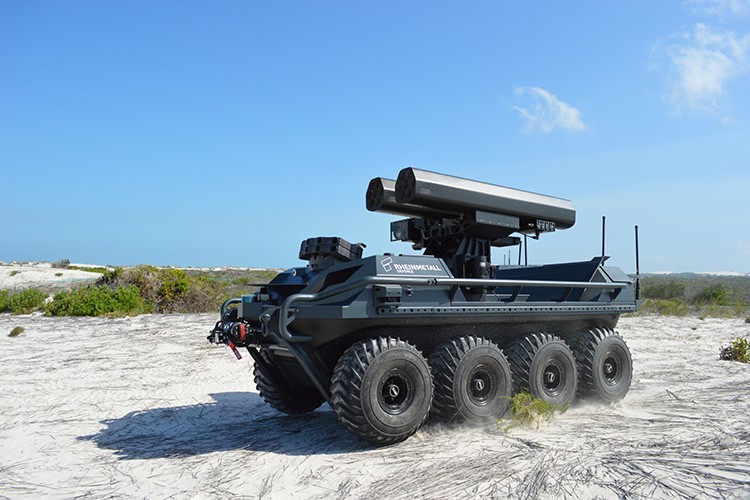
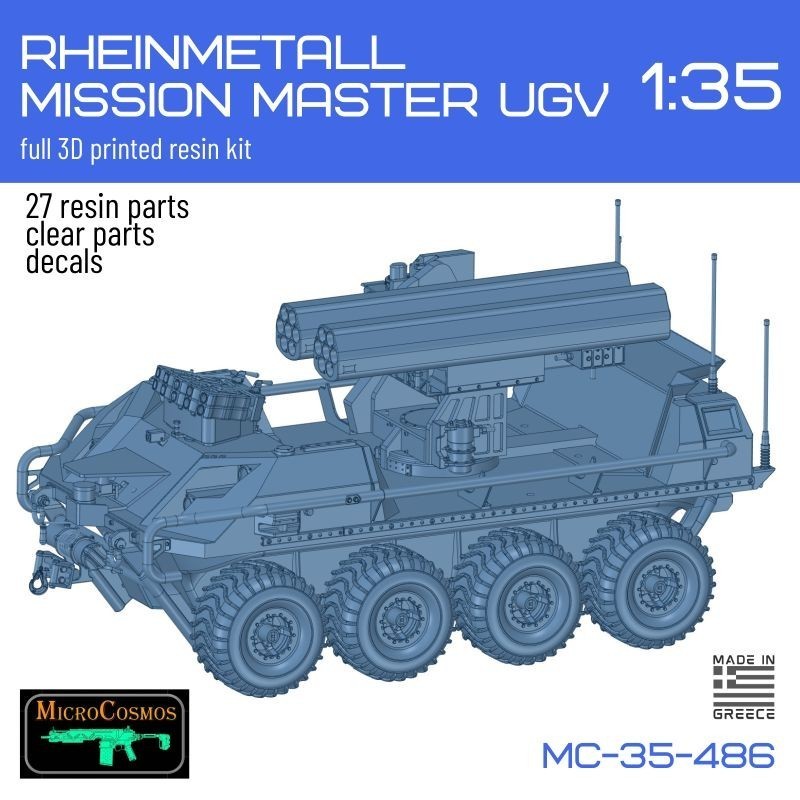
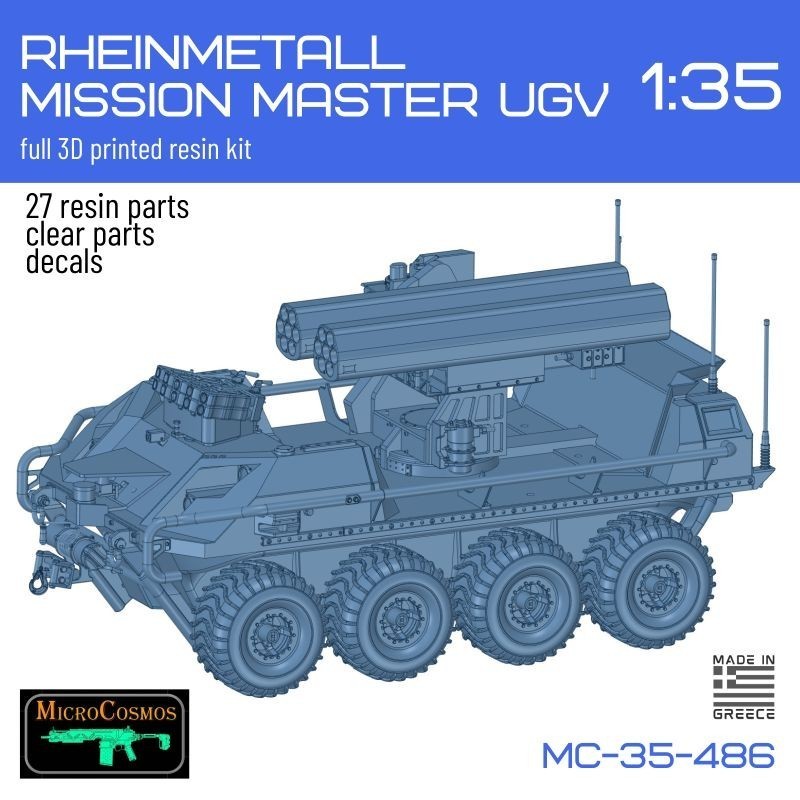
3D MicroCosmos offers Mission Master UGV as their first full 1/35 scale kit. The company decided to go with Mission Master SP – Fire Support vehicle, which features a Rheinmetall Fieldranger Multi Remotely Controlled Weapon Station, equipped with two seven-tube 70mm rocket launchers from Thales.
Review:
I haven’t been this excited about the kit for a long time… although my workbench is swamped with several ongoing projects, after receiving the Mission Master kit from 3D Microcosmos, I cleared the area and committed to doing this little gem.
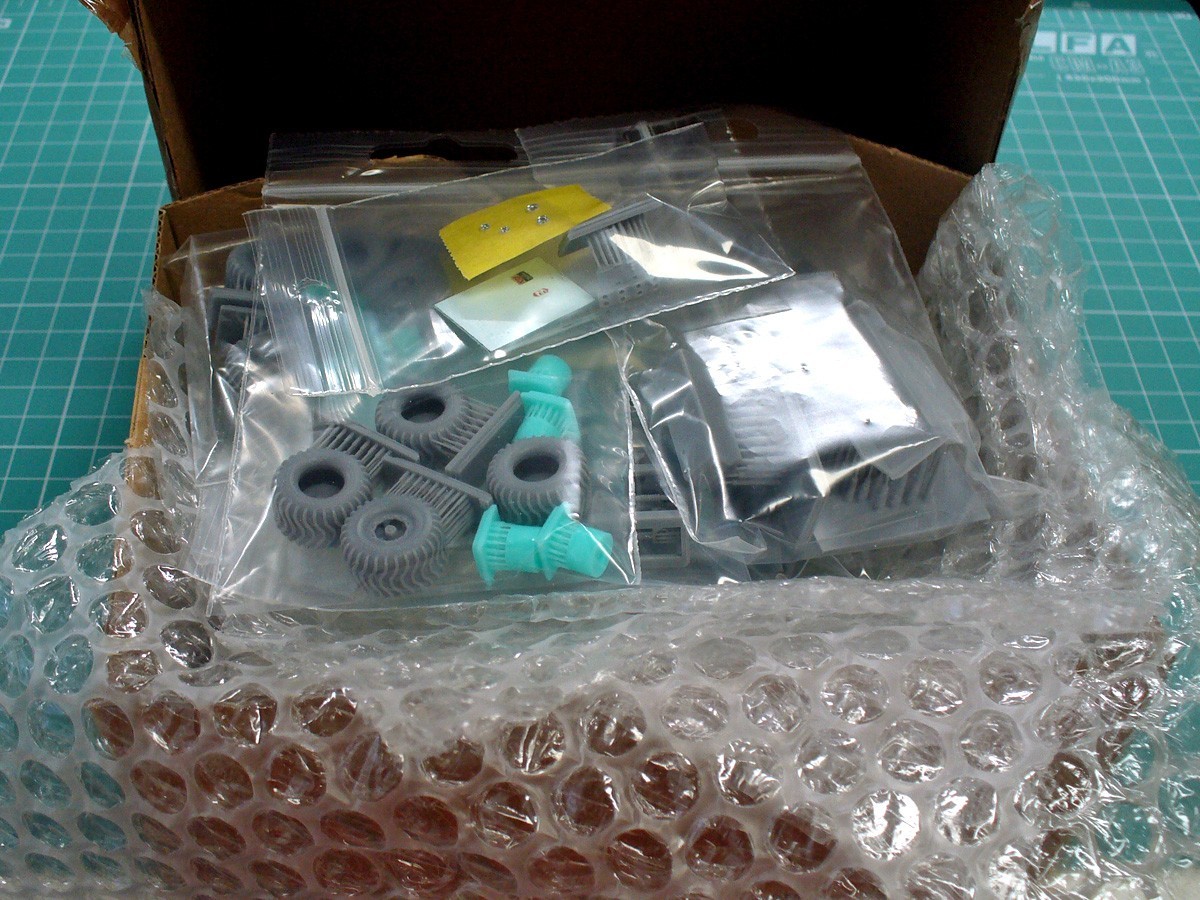
The kit is packed in a hard cardboard box, with eight zip-lock bags full of parts additionally protected using bubble-wrap.
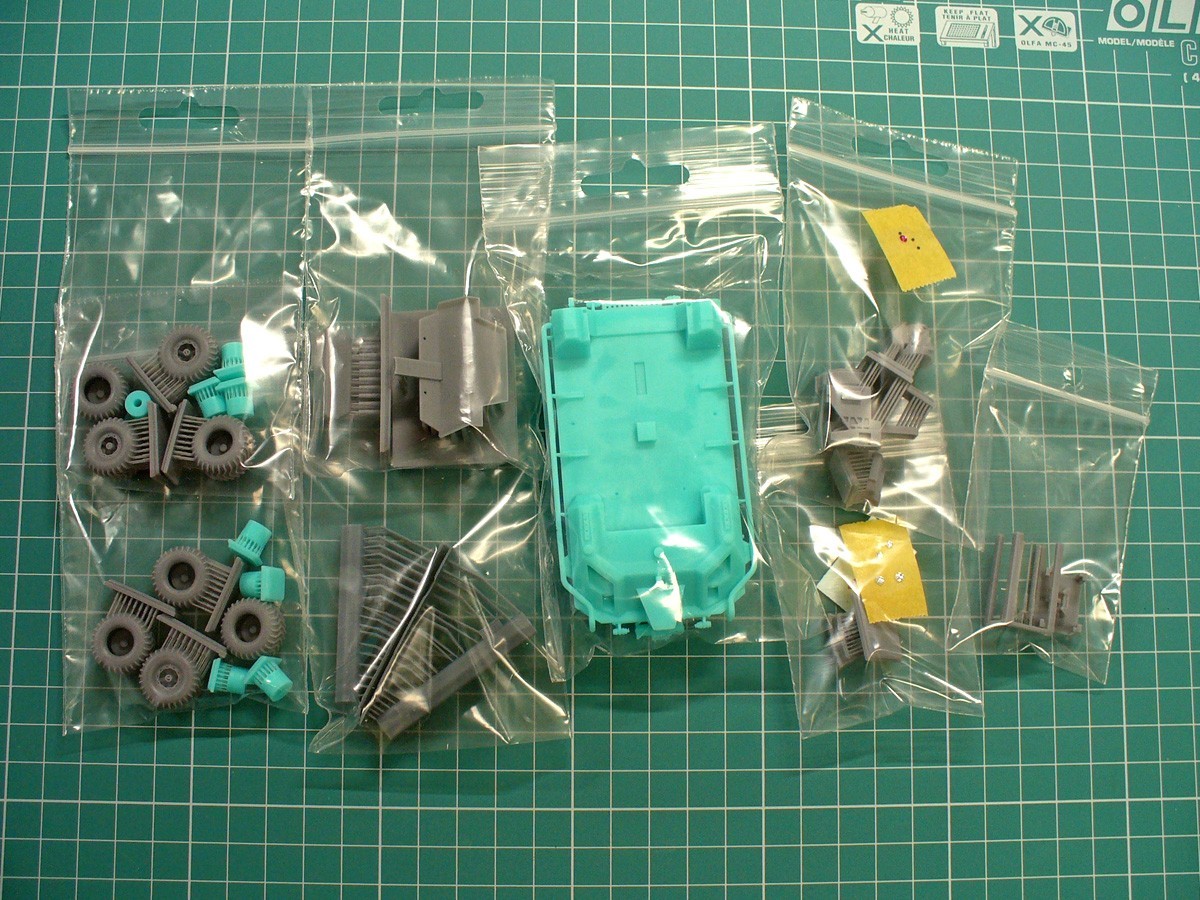
Along with the 30 resin pieces delivered as 3D prints, the kit also contains two types of lenses (4 clear and 4 red ones) secured on a piece of masking tape, as well as a small decal sheet.
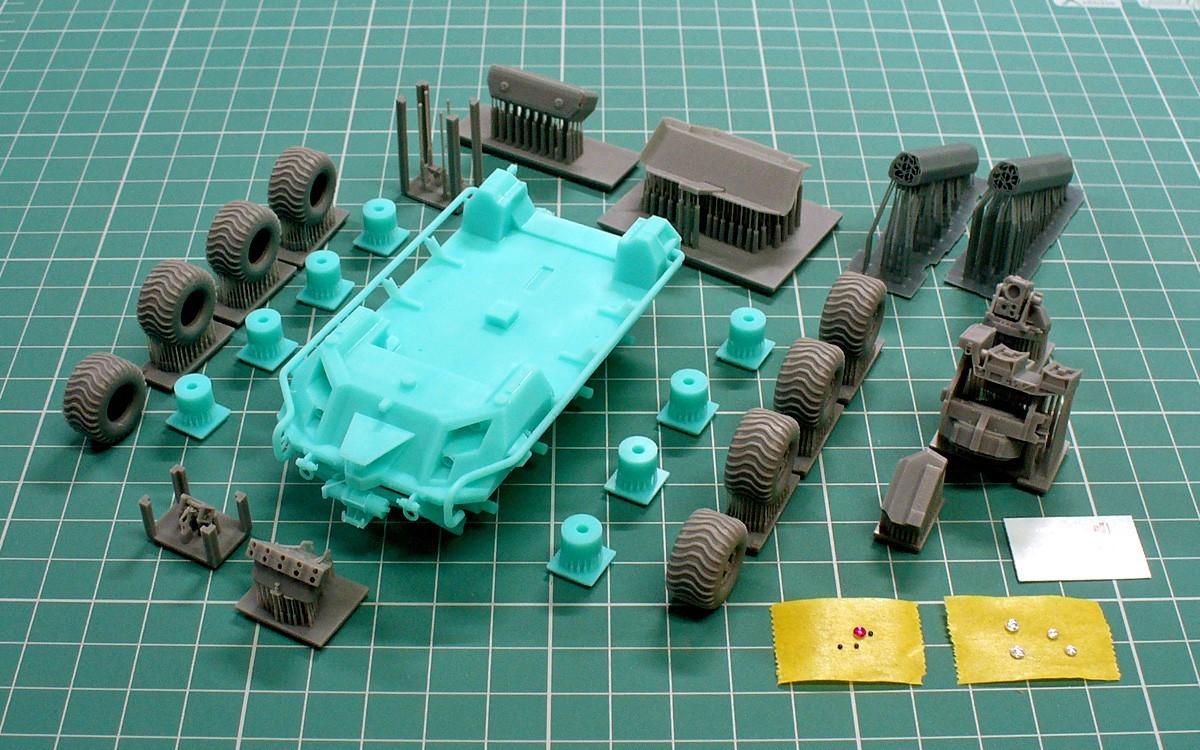
Closer inspection reveals a really good print with no visible printing defects. The details are sharp and well delivered.
There are a lot of printing supports on each piece and cleaning those is a long process. I used Tamiya pointed side cutters, patiently removing the supports one at the time, followed by cleaning the pieces using a sharp blade and fine grit sandpaper to achieve a smooth finish. The pieces are very delicate and don’t tolerate manhandling, so I would suggest being extra careful to avoid damaging the details and having to resculpt them afterwards.
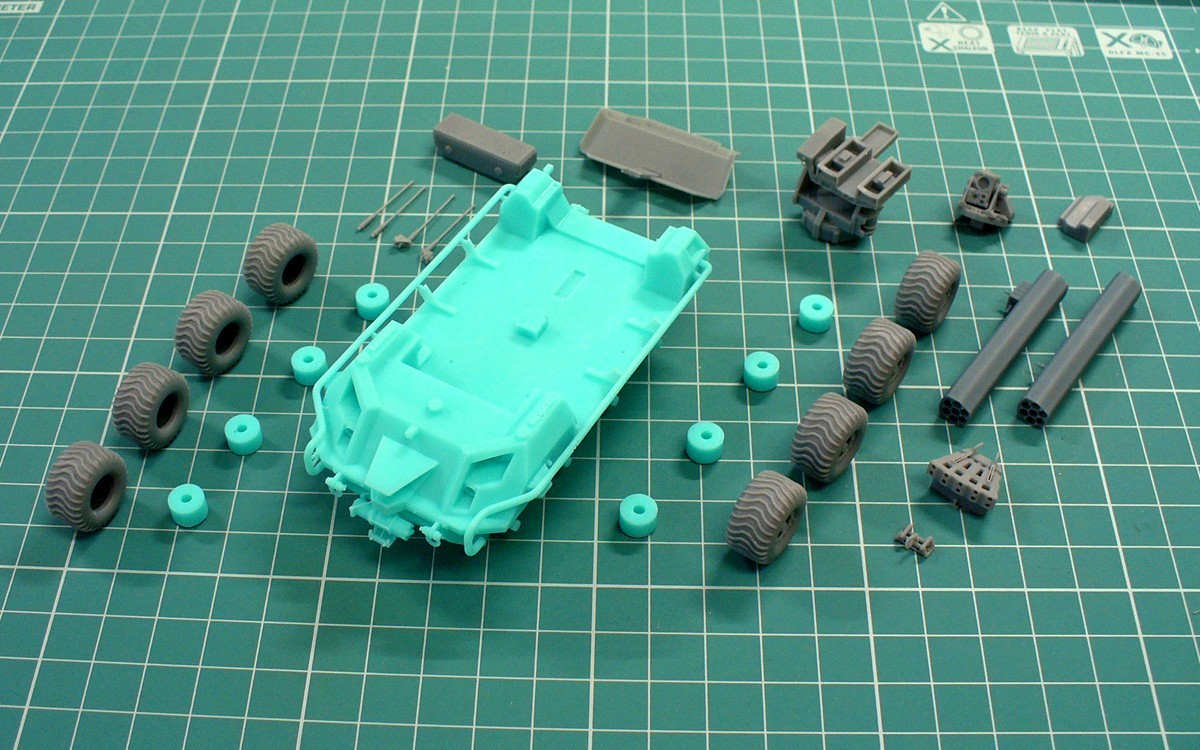
After finishing the cleanup I started putting the kit together. The instructions are available at this link, but I wanted to provide my own assembly sequence in this review. Here it is:
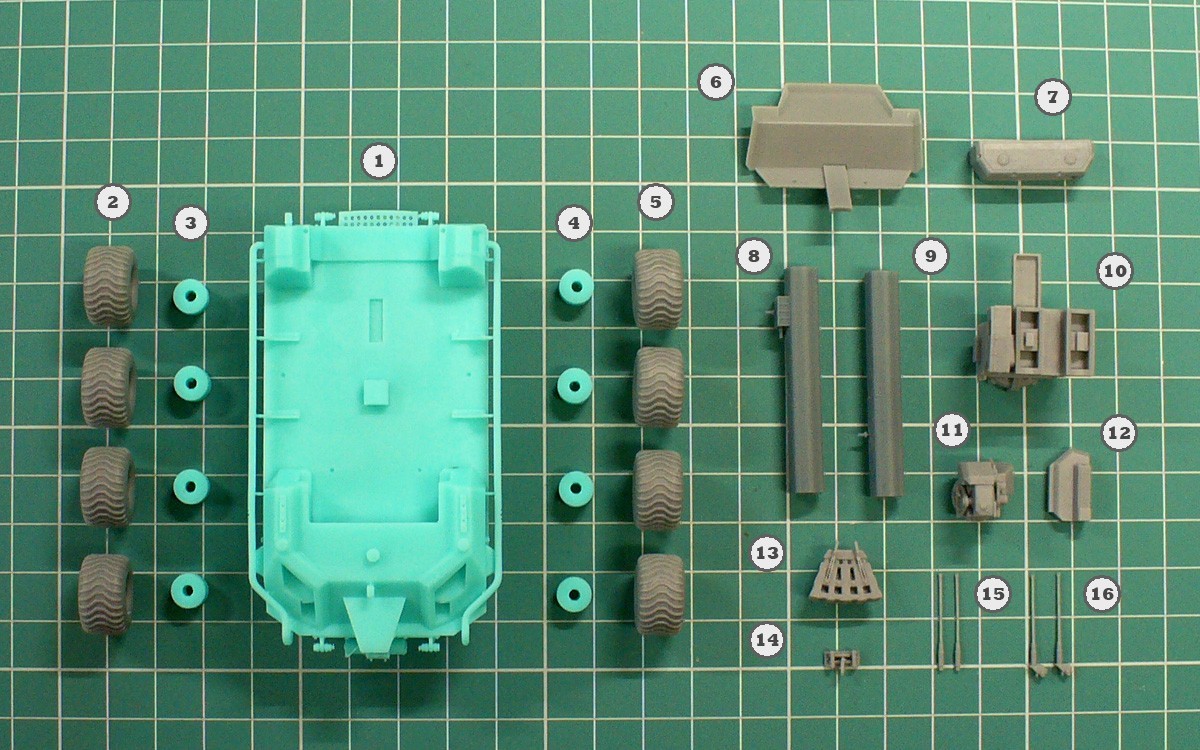
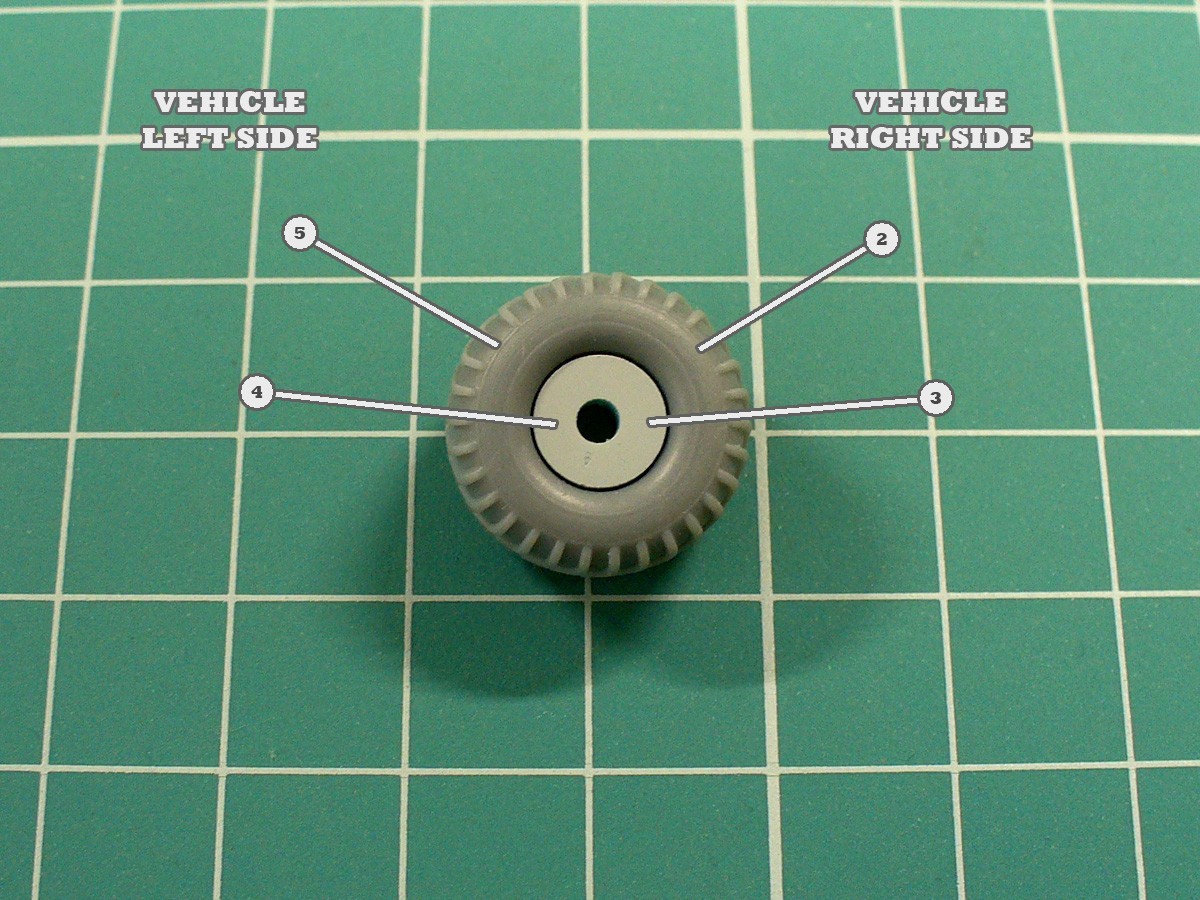
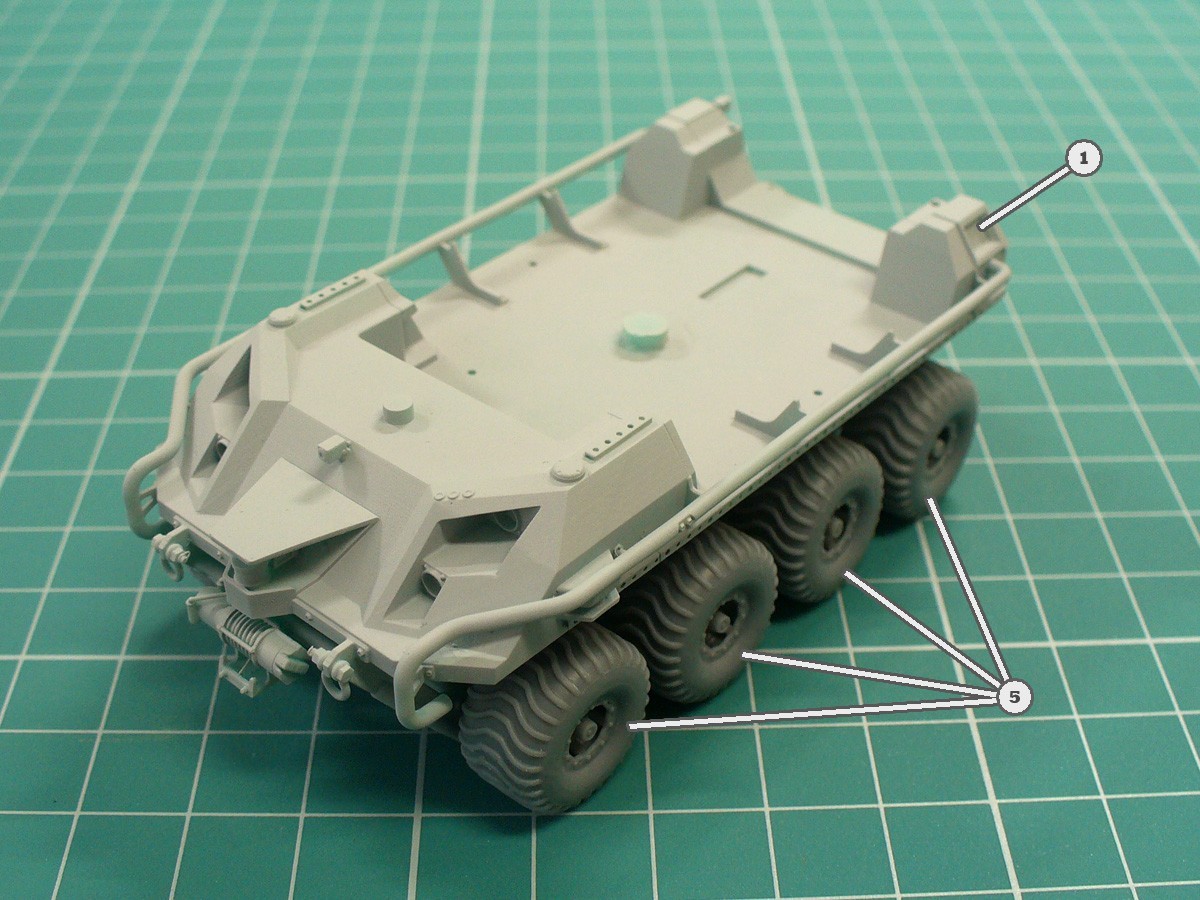
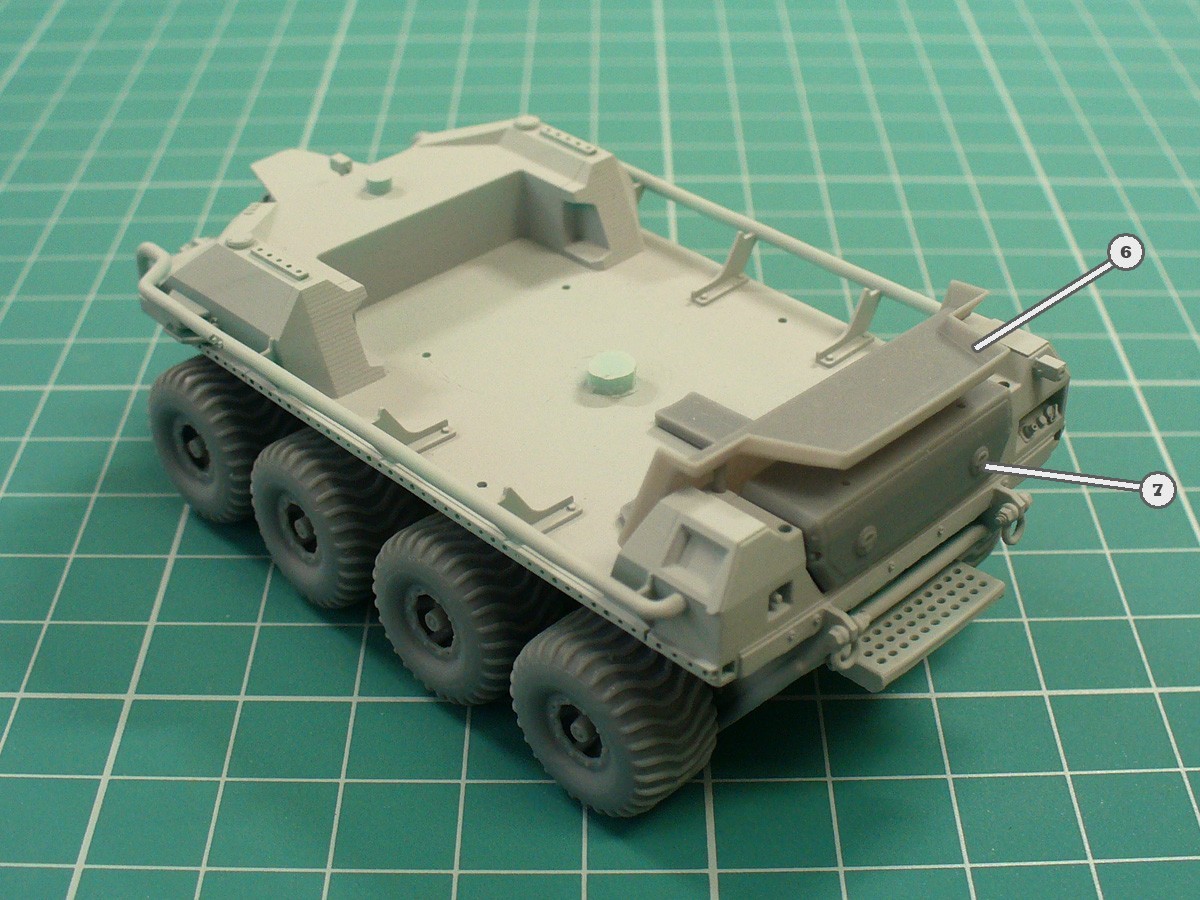
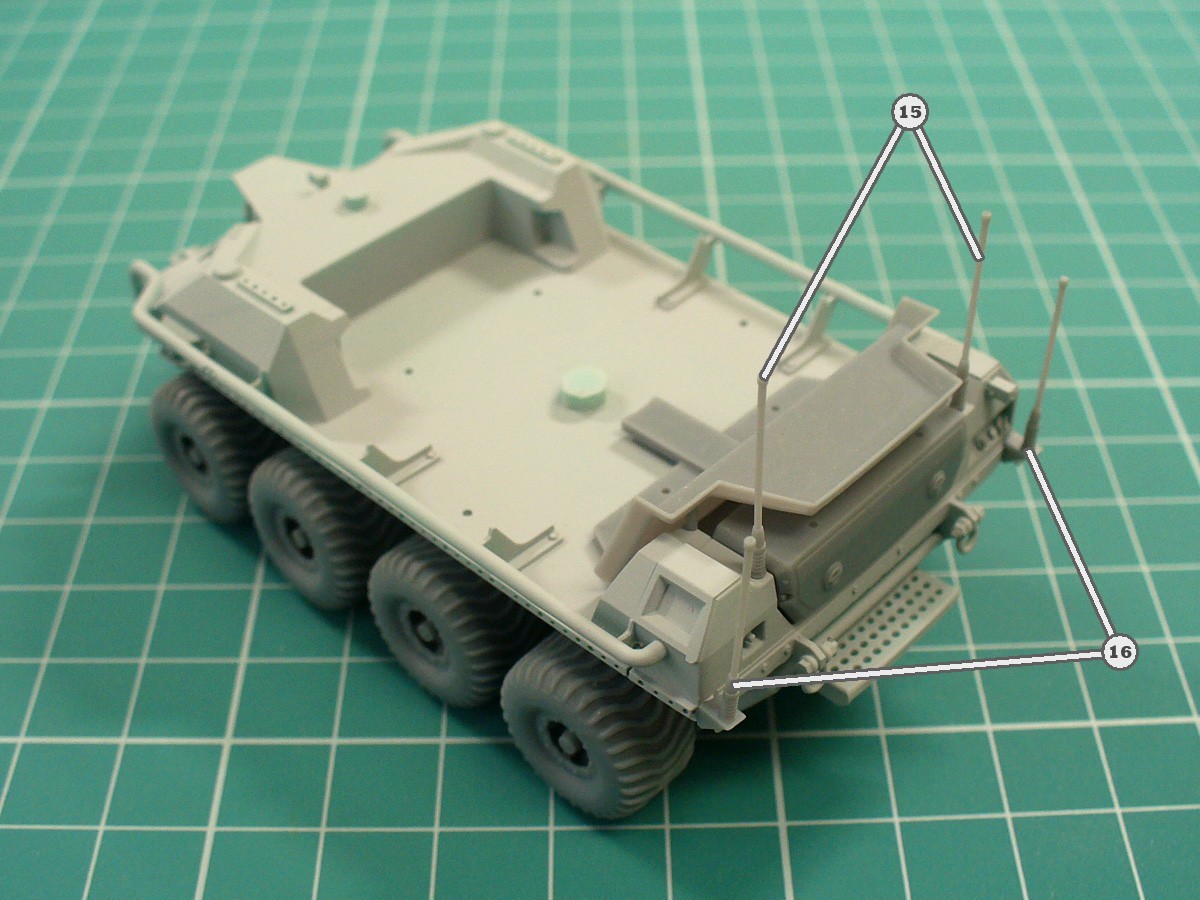
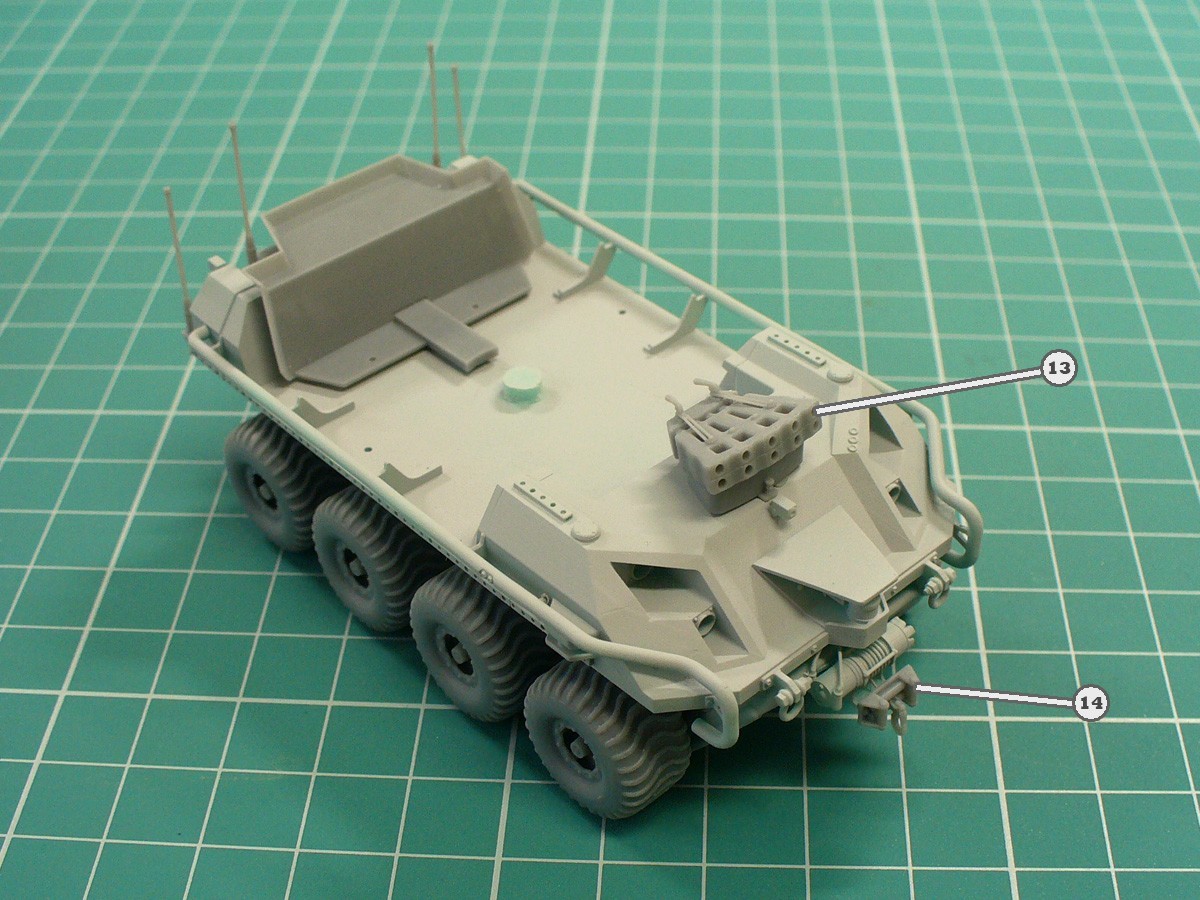
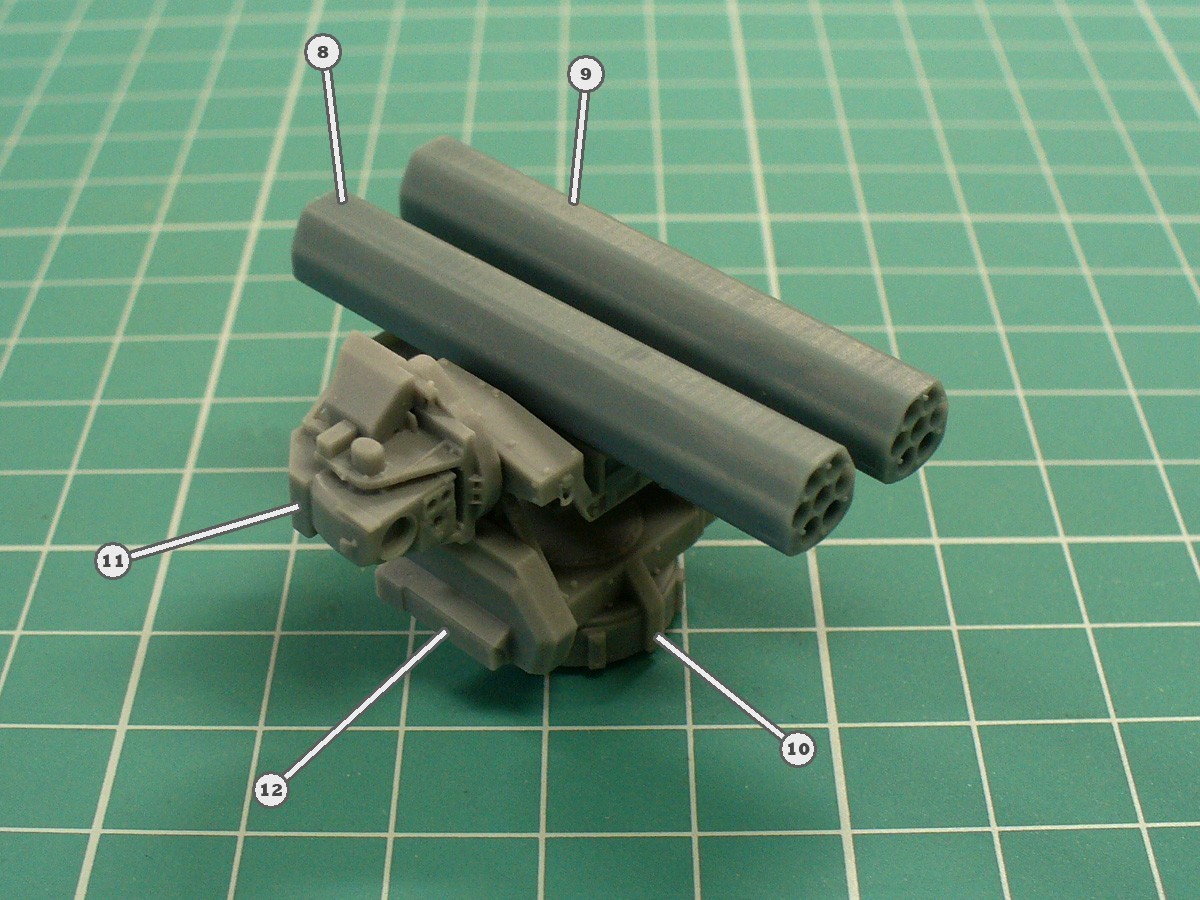
Overall, the assembly is not too complex. The fit is really good and optimal positioning of the pieces is ensured by protrusions and indentations in corresponding parts. The protrusion on the vehicle body which serves as an attachment point for the Remote Weapon Station is a square, meaning the RWS can be fixed parallel or perpendicular to the vehicle only. I used a rotary tool to make this particular protrusion round in shape, which enabled rotating the RWS to the position of my own liking.
Finally, here’s the assembled model, minus the lenses and decals which will be installed after the painting.
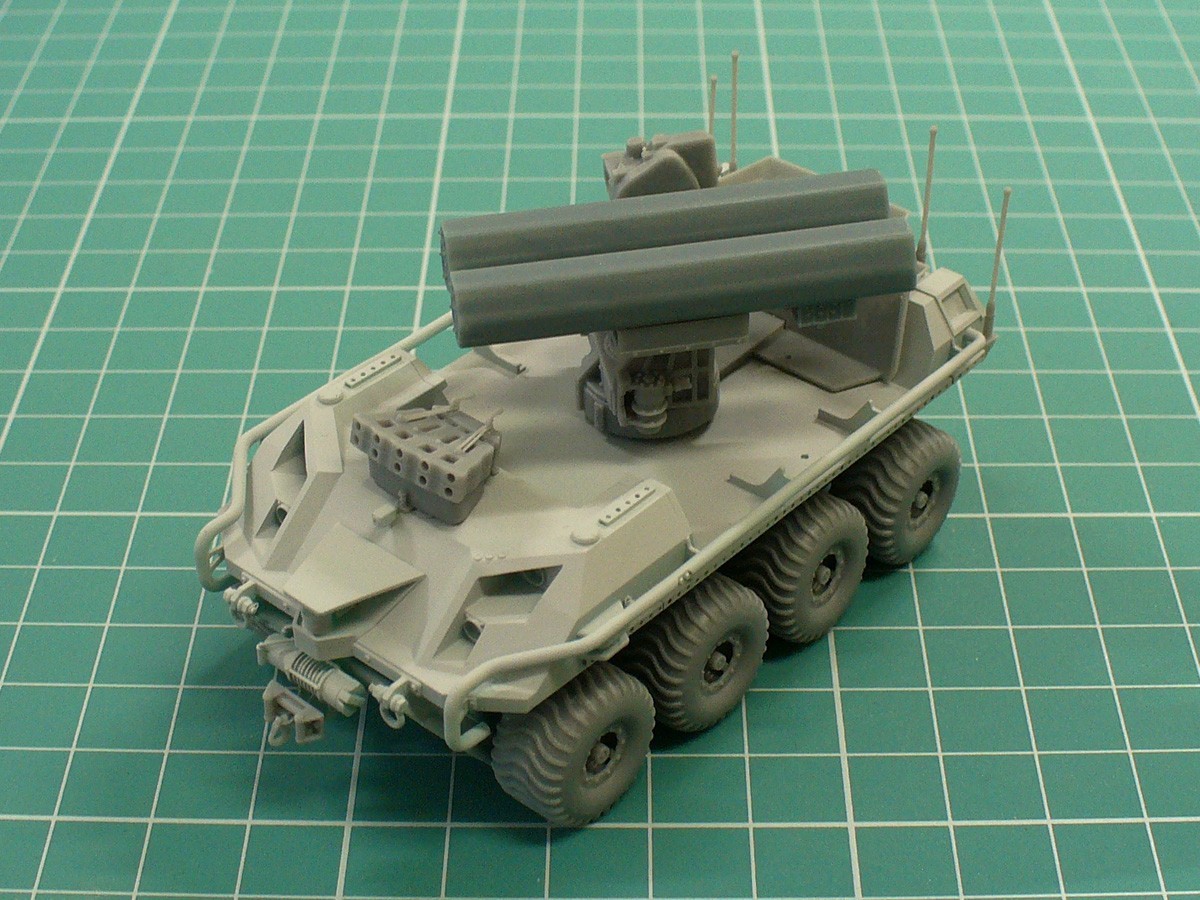
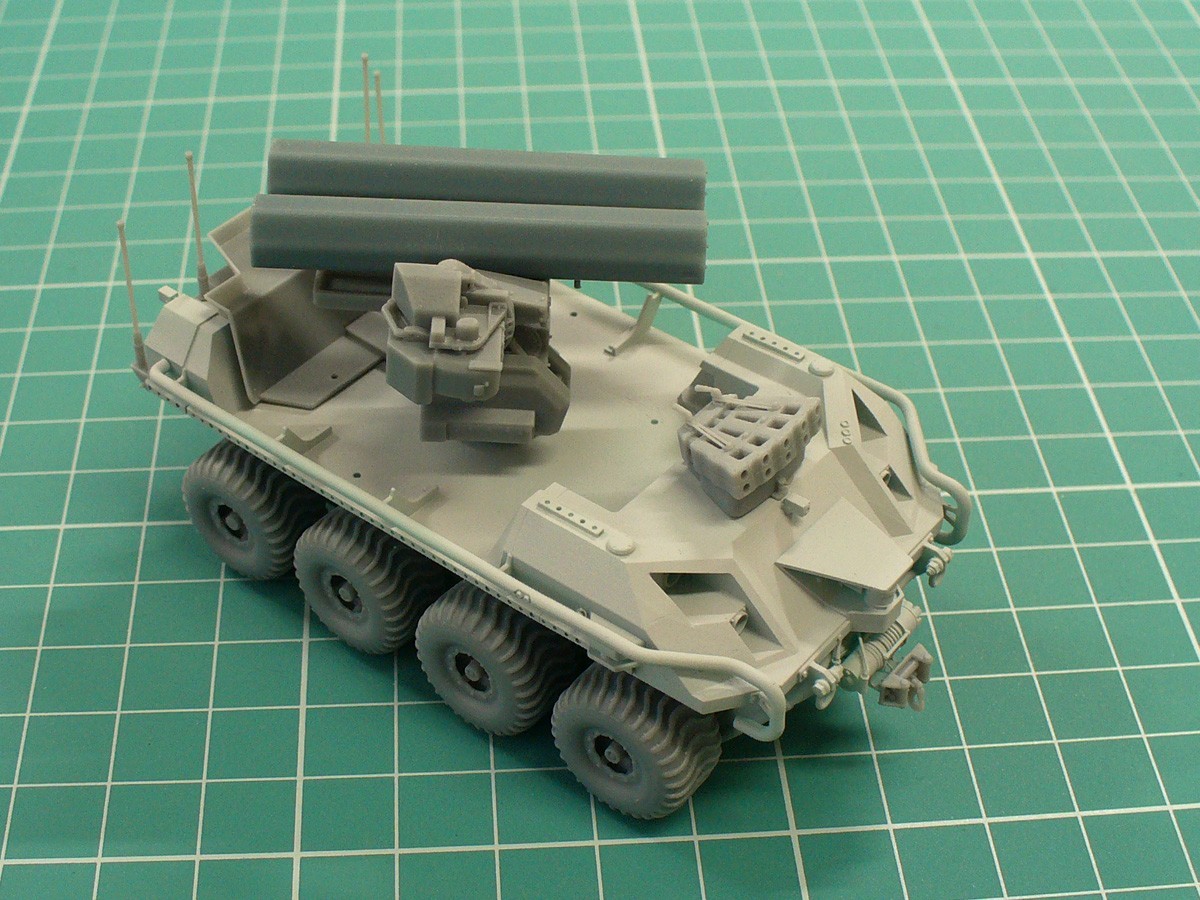
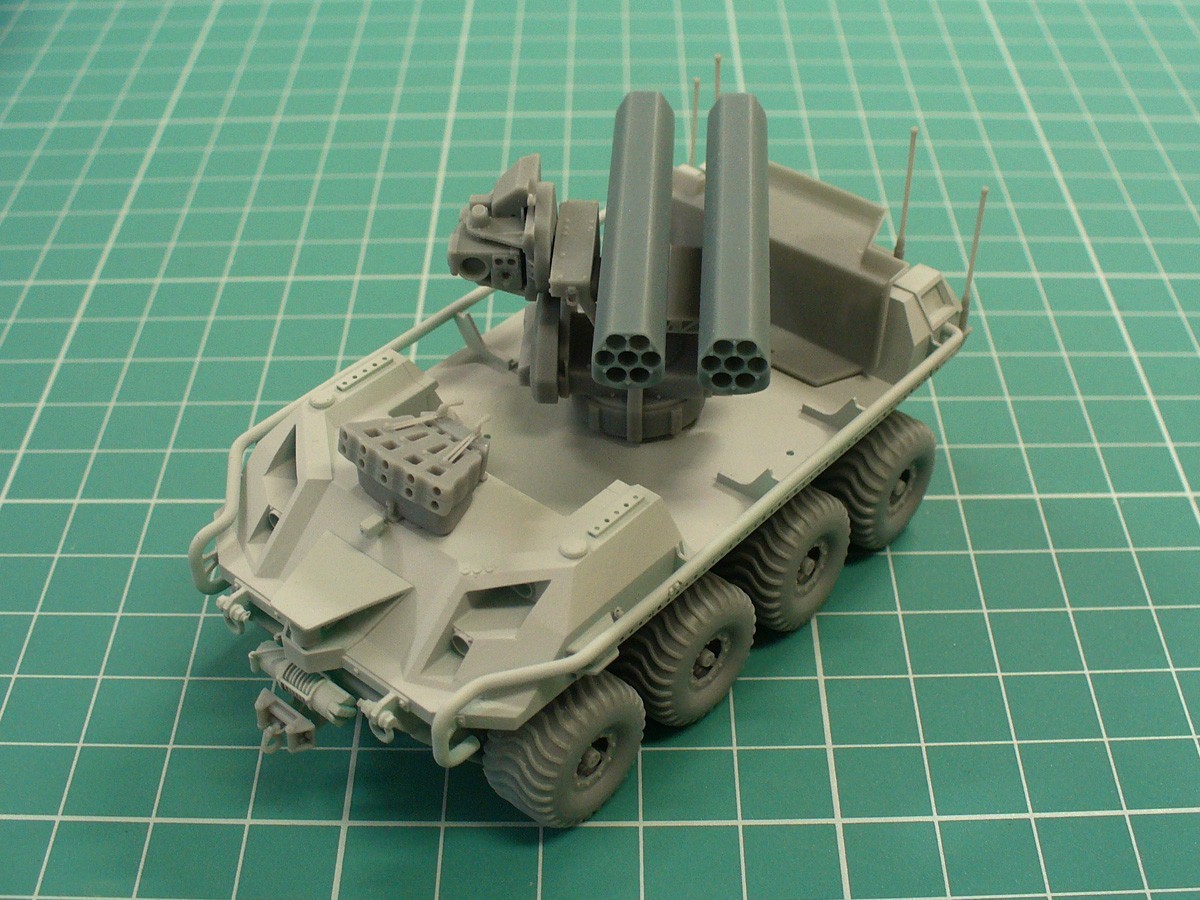
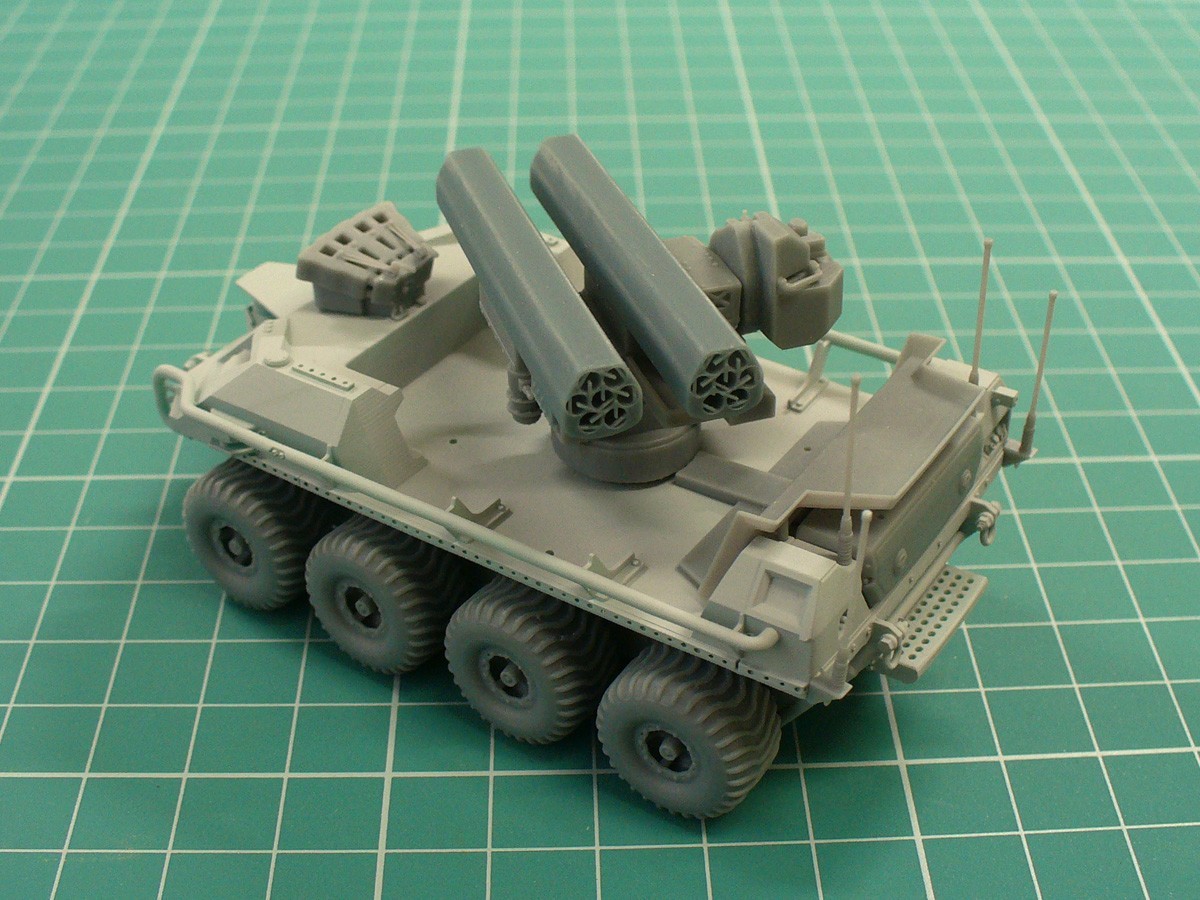
I’m thinking of making a small vignette with this model, so stay tuned to Armorama for a build log which will feature painting and weathering the vehicle, as well as making a winter groundwork.
Conclusion:
Is there anything more to tell besides the fact I decided to put all the other half-built models on the side and start this little gem right after receiving it?
If you are looking for a cool model to build over the weekend, this is it. The parts are nicely delivered and feature a ton of well-defined details. Yes, the cleanup is tedious, but well worth the extra effort. The pieces fit well and the assembly is very much straightforward. The addition of clear lenses and decals is a welcomed bonus.
3D Microcosmos stuff is available at: https://hobbymarket.gr


