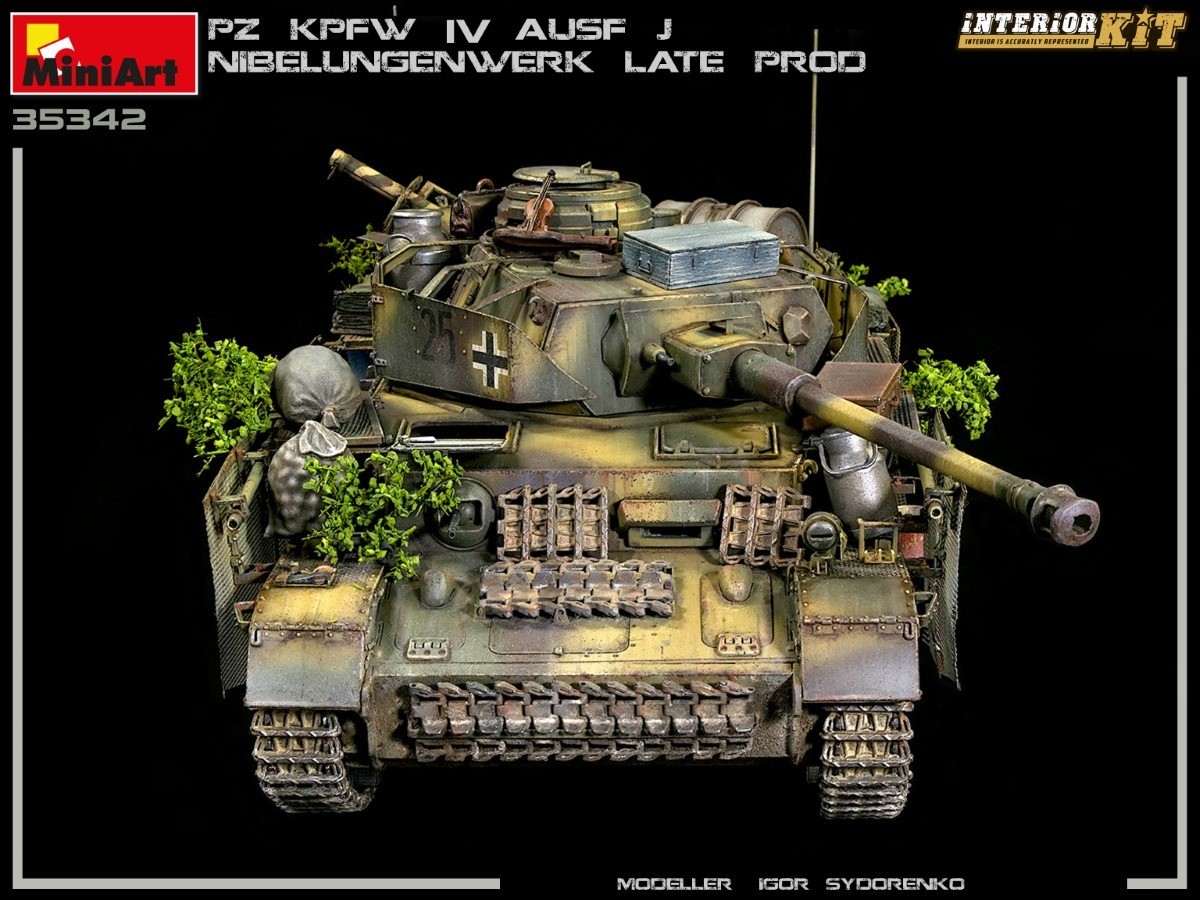


Introduction
This offering from MiniArt, is one of their Panzer IV releases in 1/35thscale with interior. The Ausf. J version of the Panzer IV was the last variant to see service during WWII, and so brought to an end the last of the workhorses of the German Army. MiniArt is releasing a line of Panzer IV tanks, with and without interiors plus other extras. With this being the last production vehicles the interiors have some unique features due to weight reductions and simplification.

Review
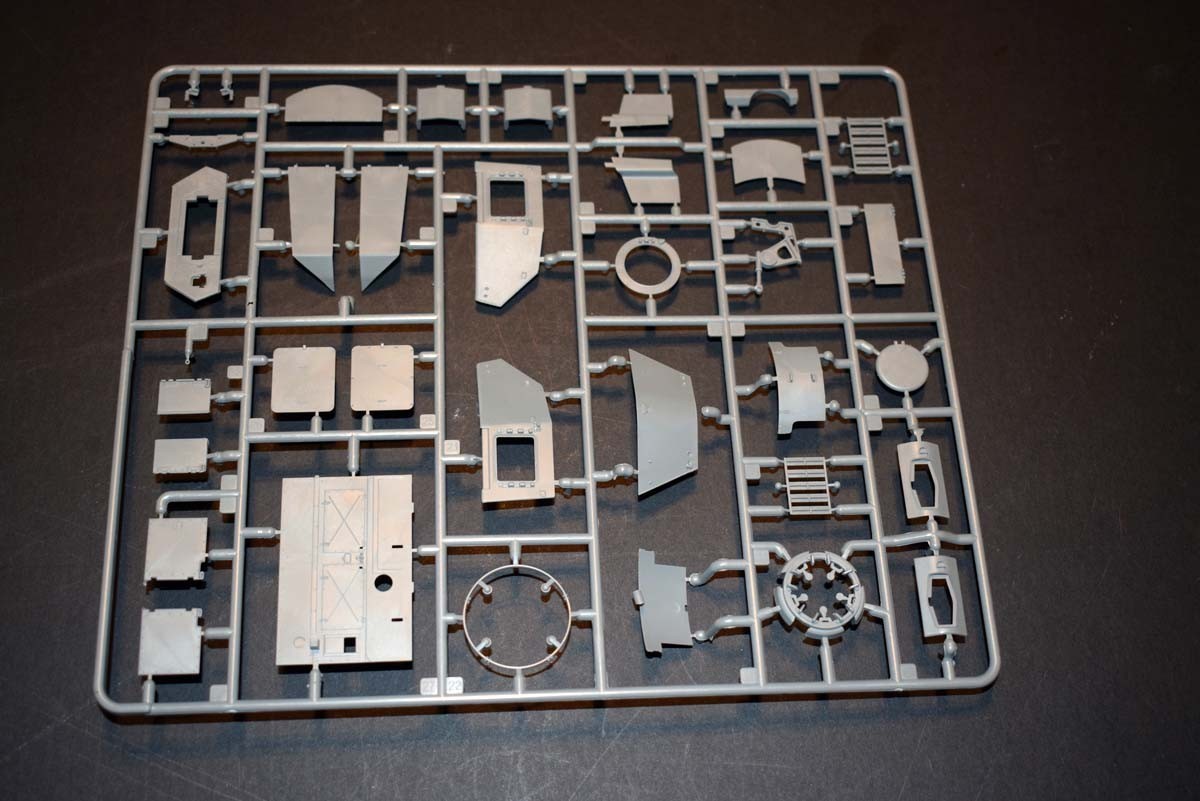
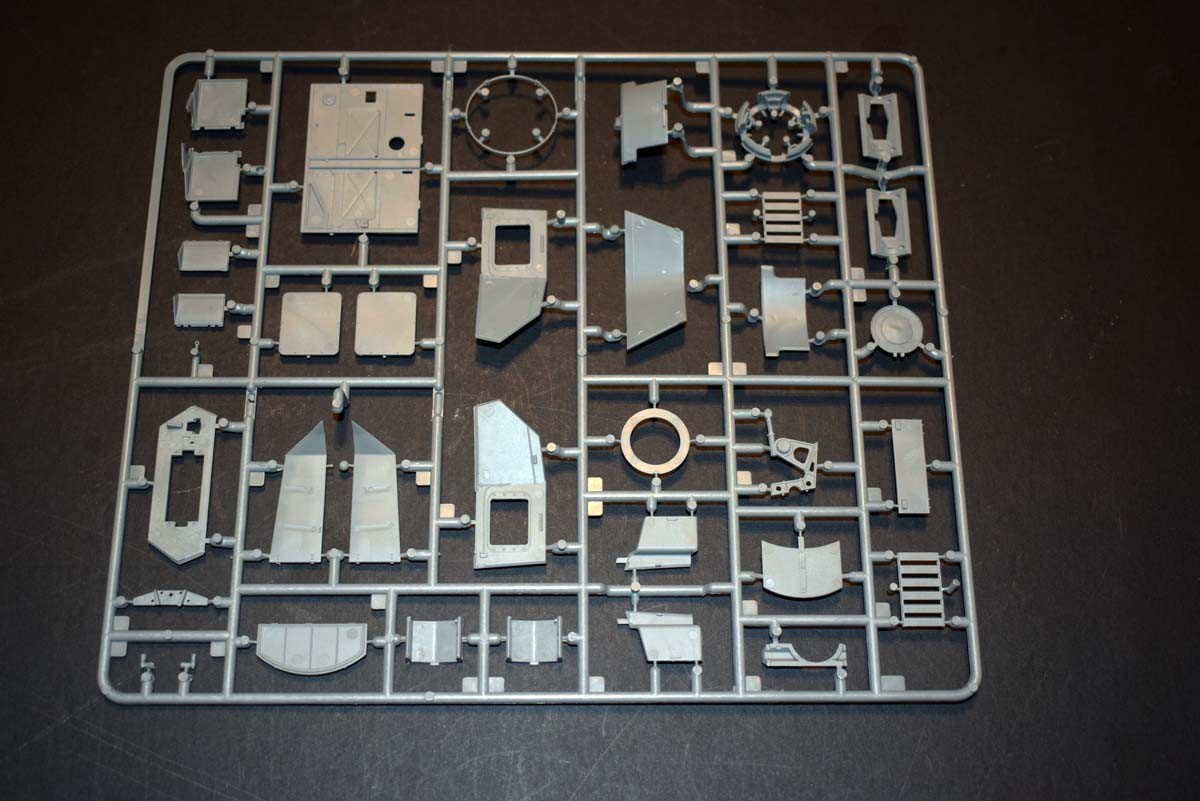
This offering from MiniArt, is provided in a cardboard tray with a card lid. This form of packaging is fine for storage at home, but is easily damaged in the postage system. Inside the parts are packaged in a single plastic bag, which also contains the clear sprue along with the decals in their own bag, and the photoetch in a card envelope. I would at the very least, prefer that MiniArt packaged the decals on their own, as they can easily be damaged by the clear sprue.
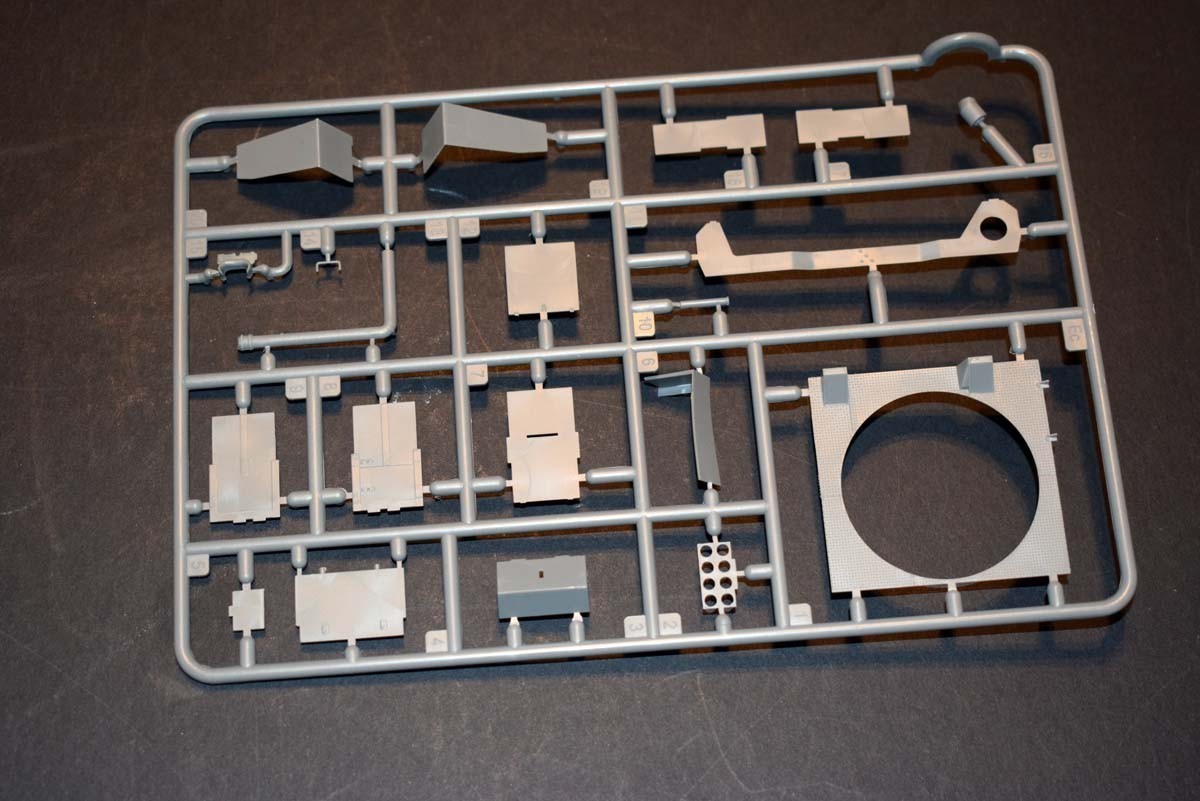
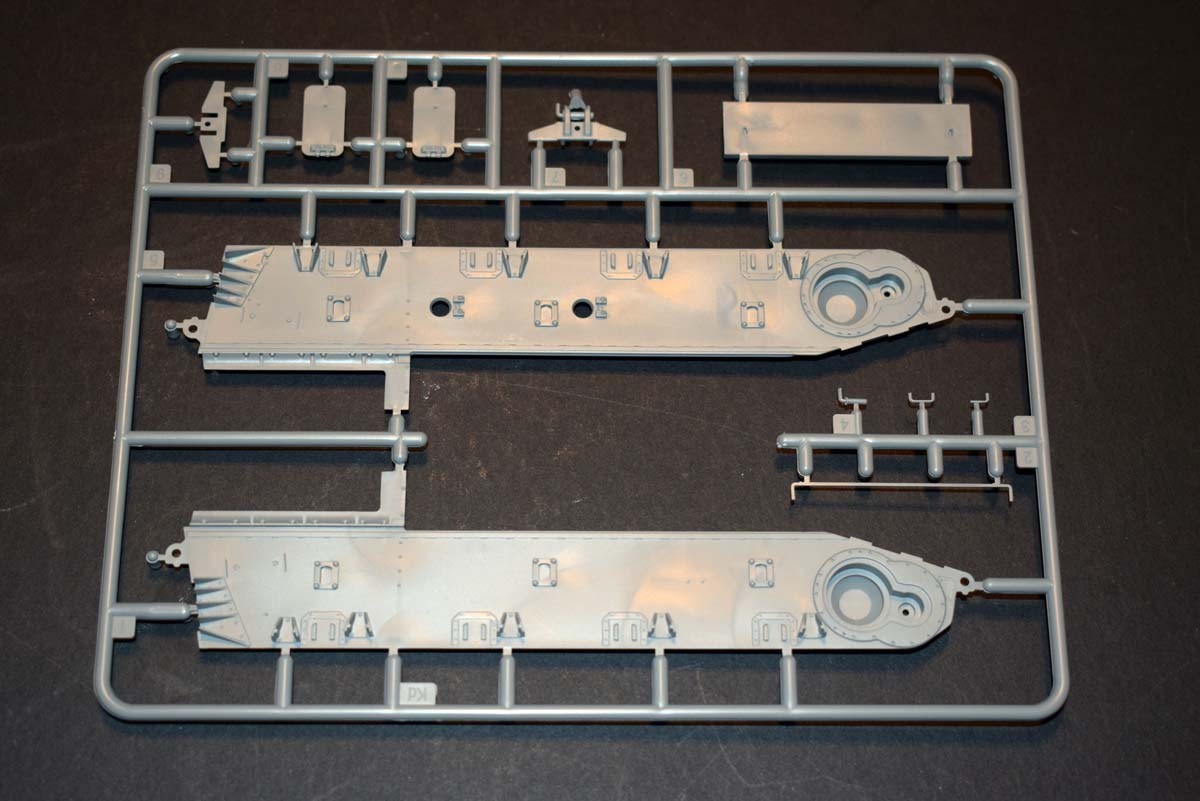
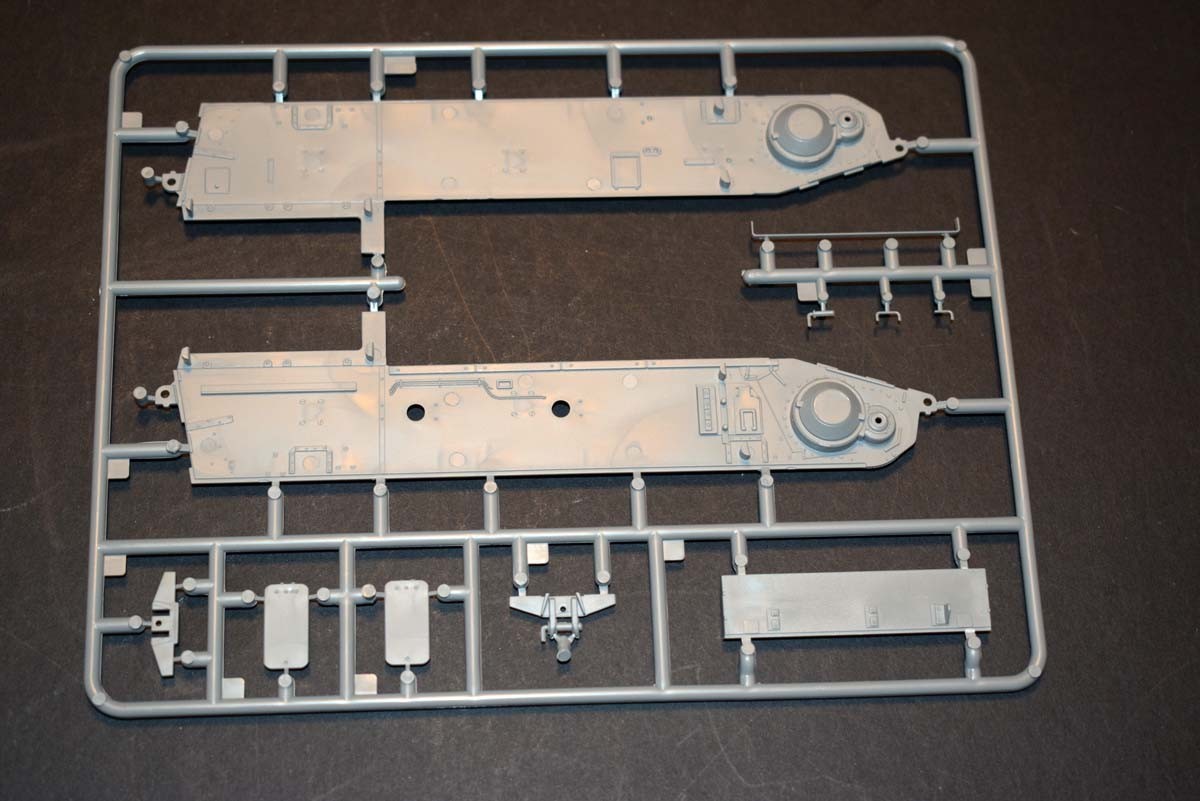
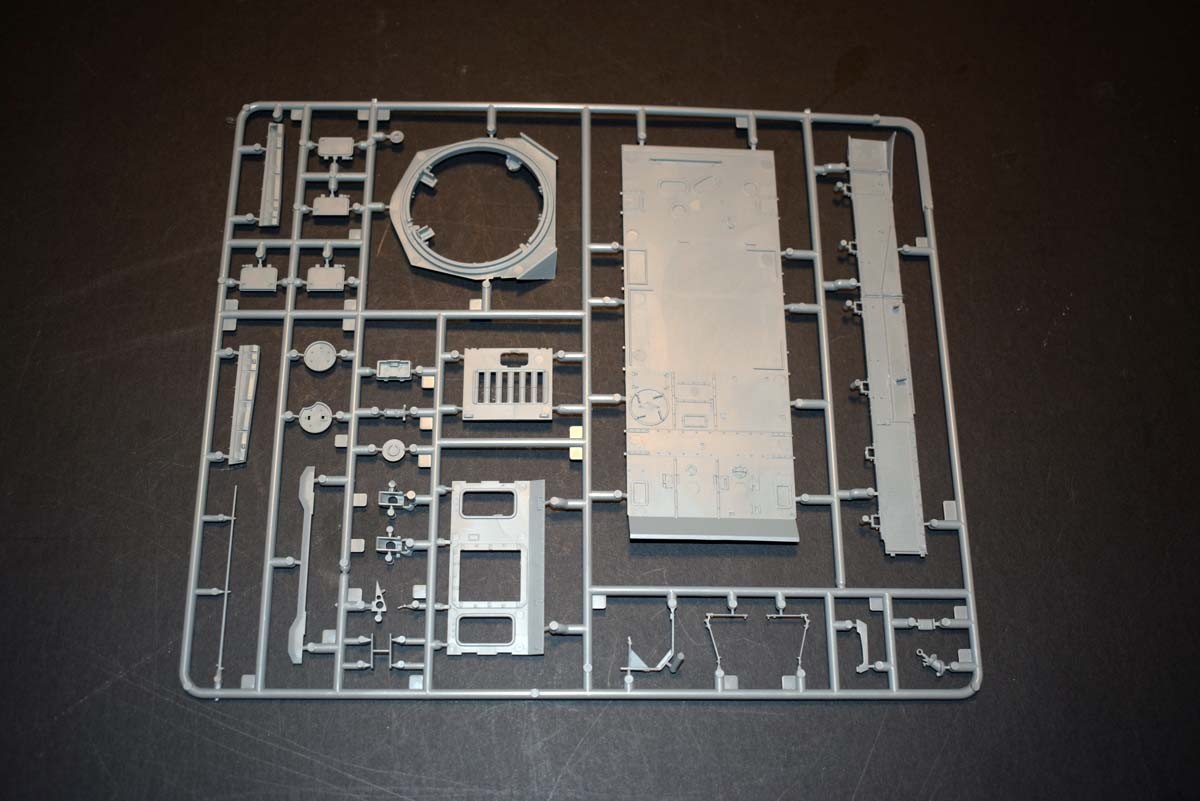
Hull Interior
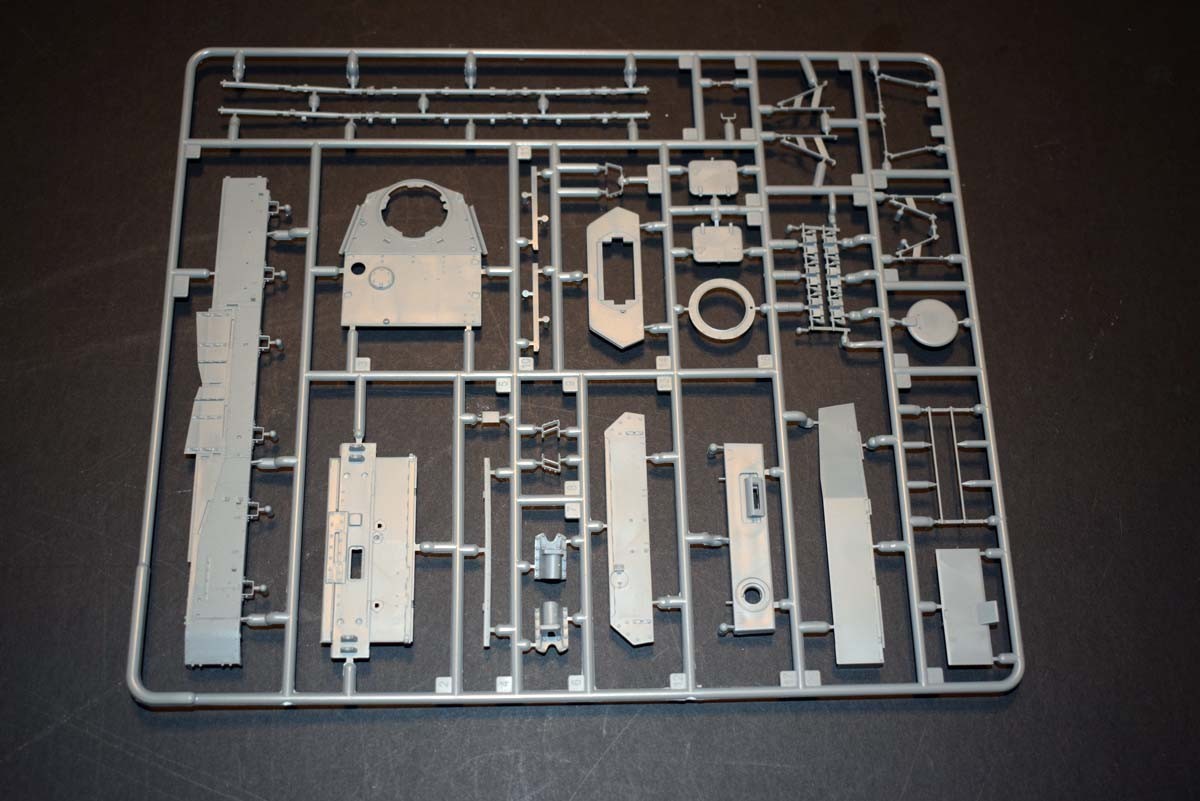
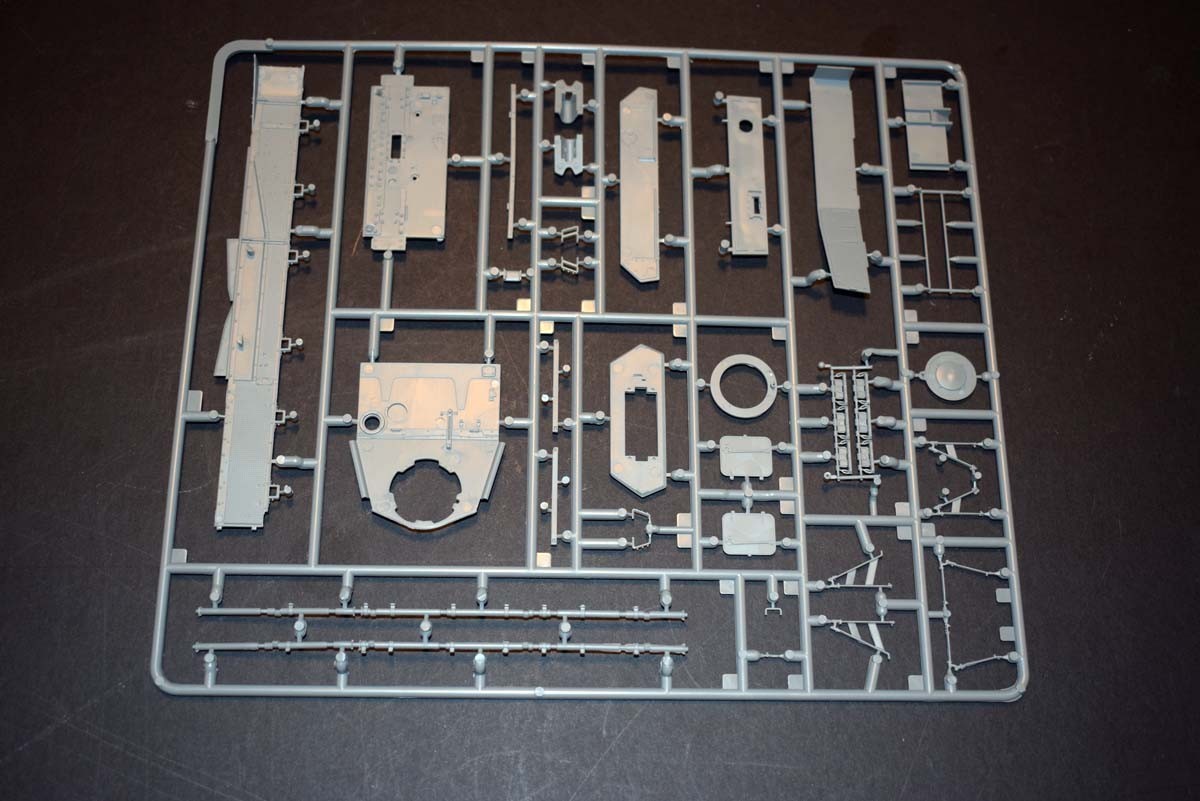
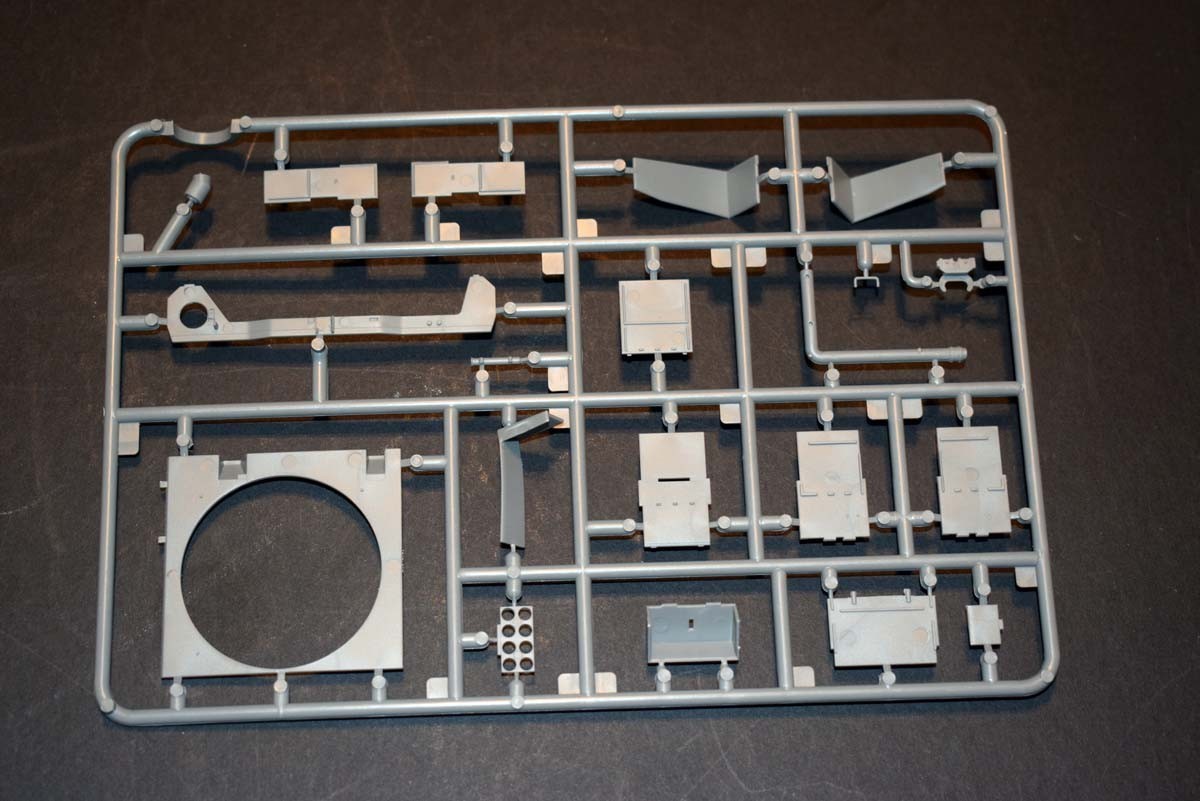
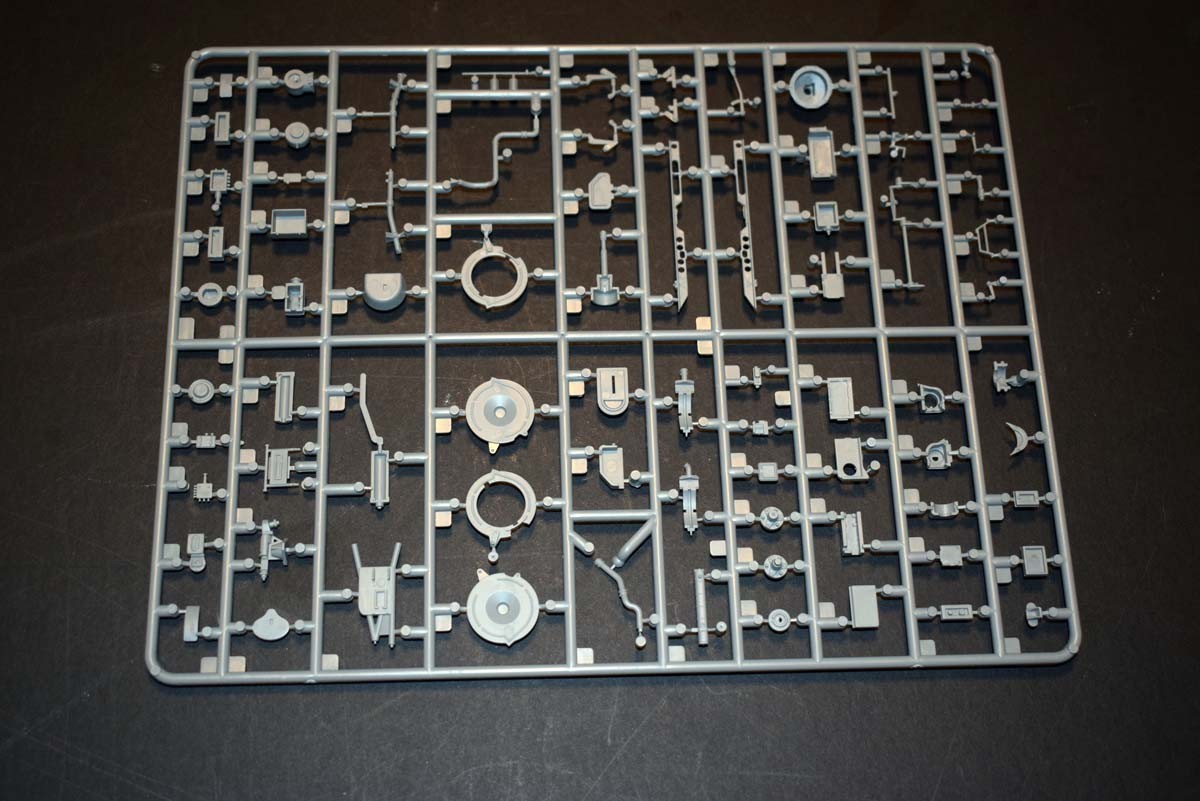
The interior of the lower hull, involves a lot of detail. I like that it begins with the main structure, for the floor and fire wall between crew compartment and engine. Also praiseworthy is that MiniArt has gone through the painting of the shells, covering three different types. One of the things that I would like to have seen covered, is detail painting of the detail as you progress on the whole. The transmission for this model has a lot of nice detail present and I was pleased to see decals provided for the instrument panel mounted on the transmission. One thing the modeller needs to be aware of is that there are several options during the build, and so the modeller will need to be on their toes as to what is and is not needed. There is a lot going on in the interior of this model, and I wish that MiniArt had given a little more consideration to the instruction booklet as you could easily make an error. The final drives behind the bell housings have been especially well detailed, but these also have a large amount of very small photo etch detail, which could be problematic. A little forward planning should enable the modeller to show off all this glorious detail, via the lifting of the raised hull platform as from what I can see it looks to be assembled in such a way that you could leave it free floating. Alternately, mounting the turret separately will also allow a very good view of the interior detail.
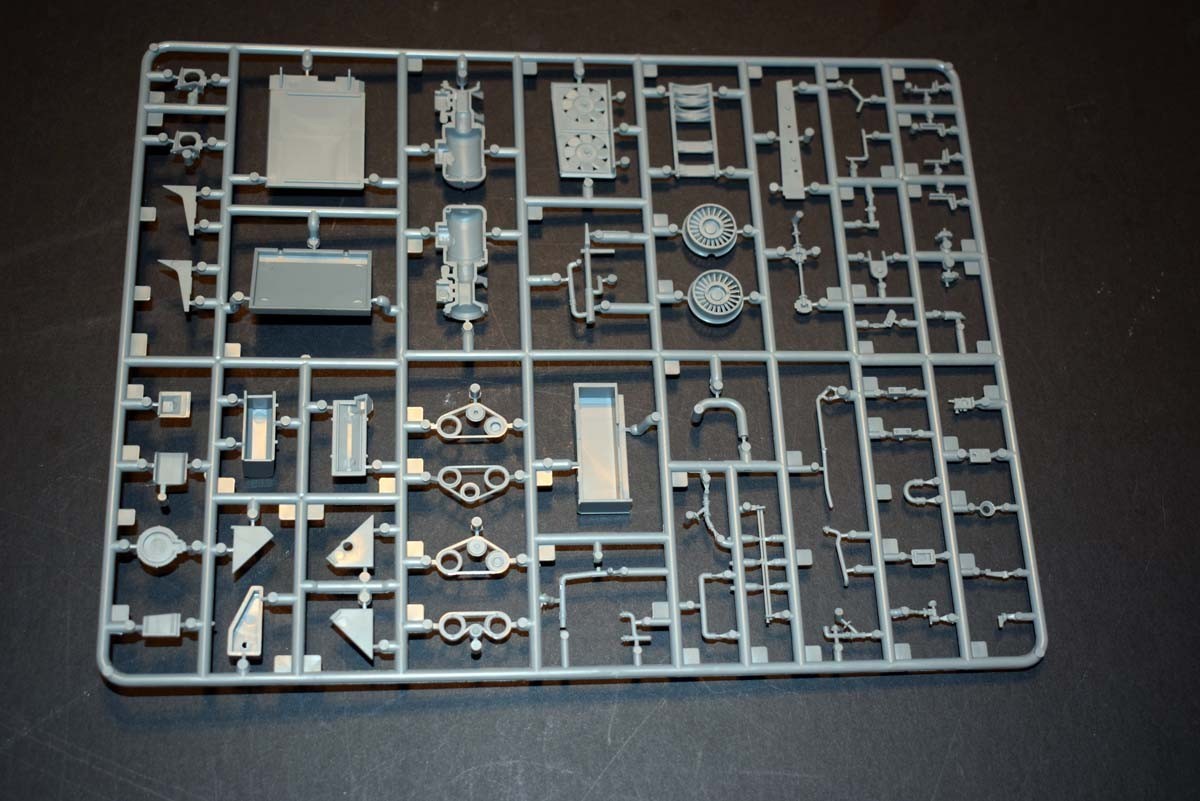
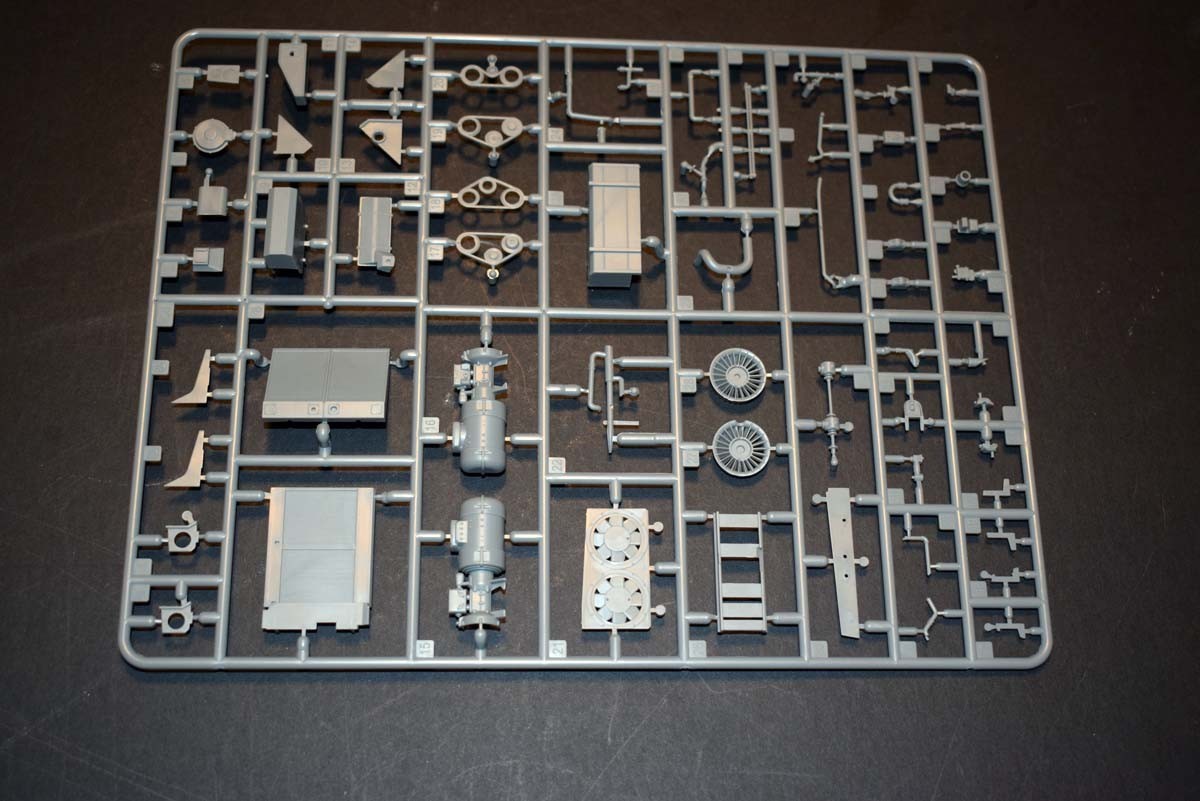
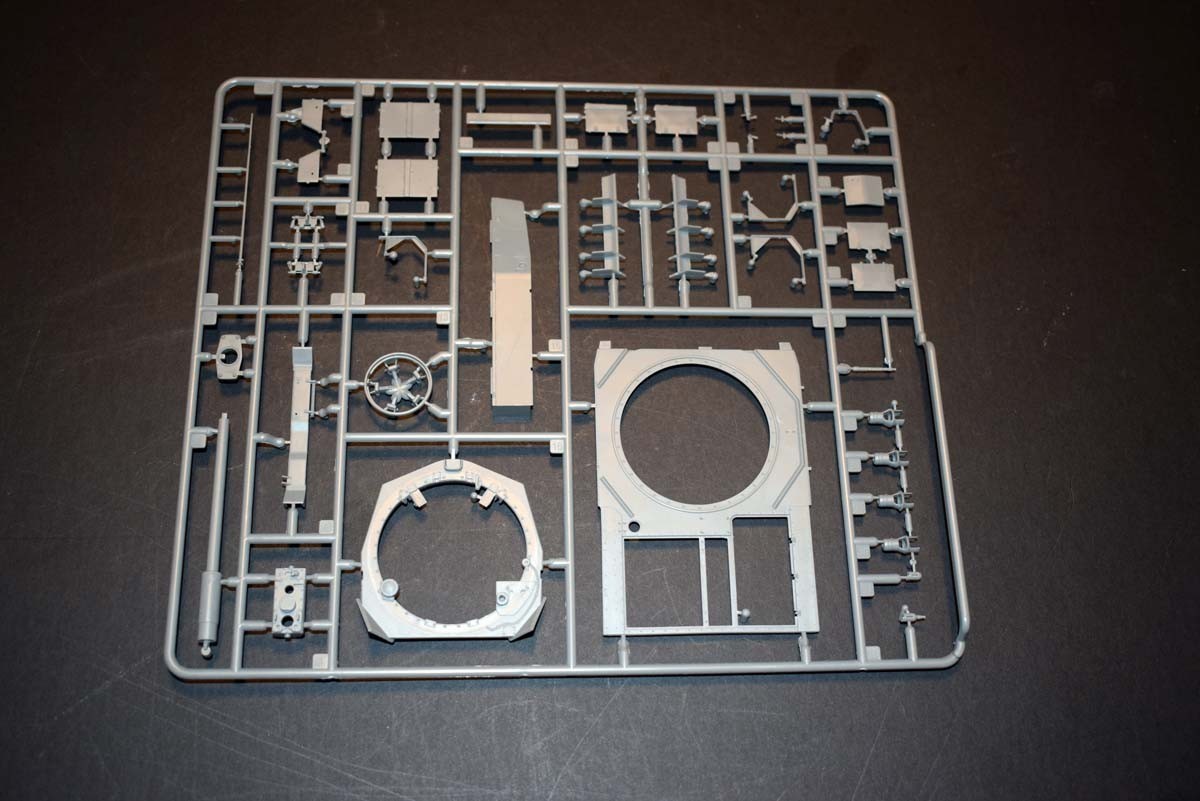
The Engine
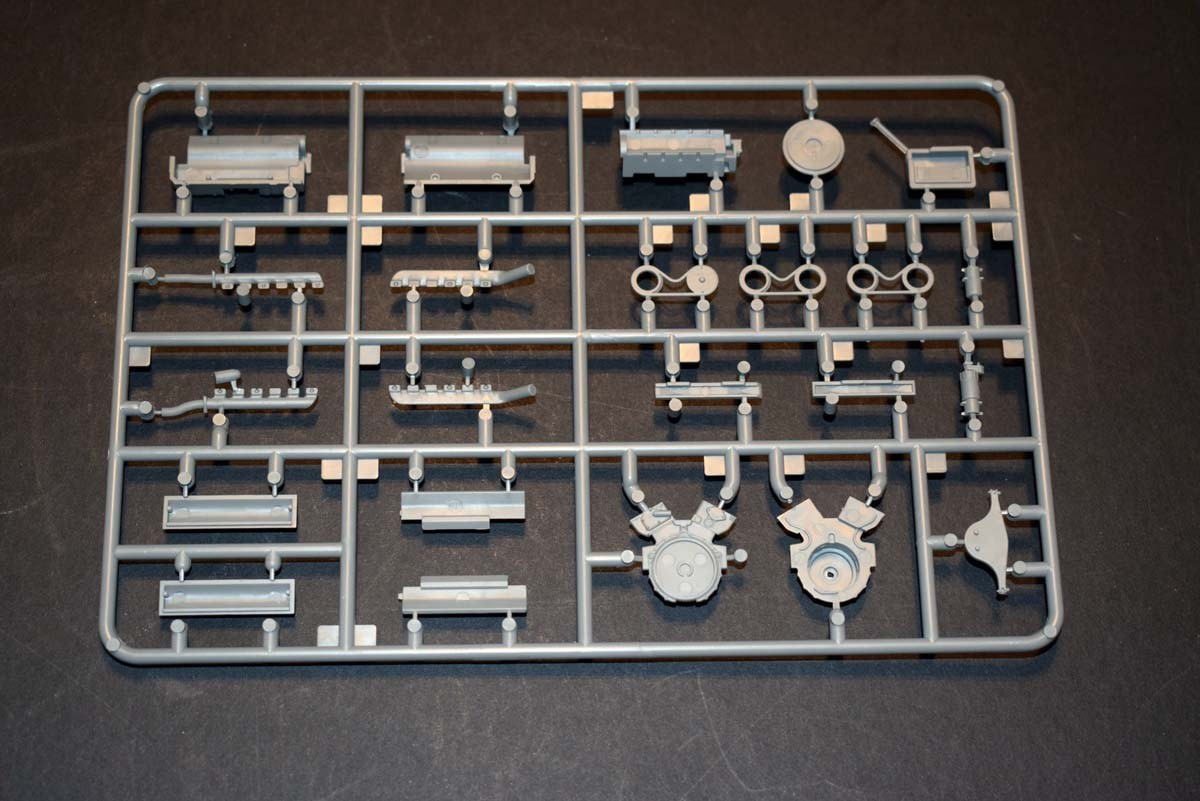
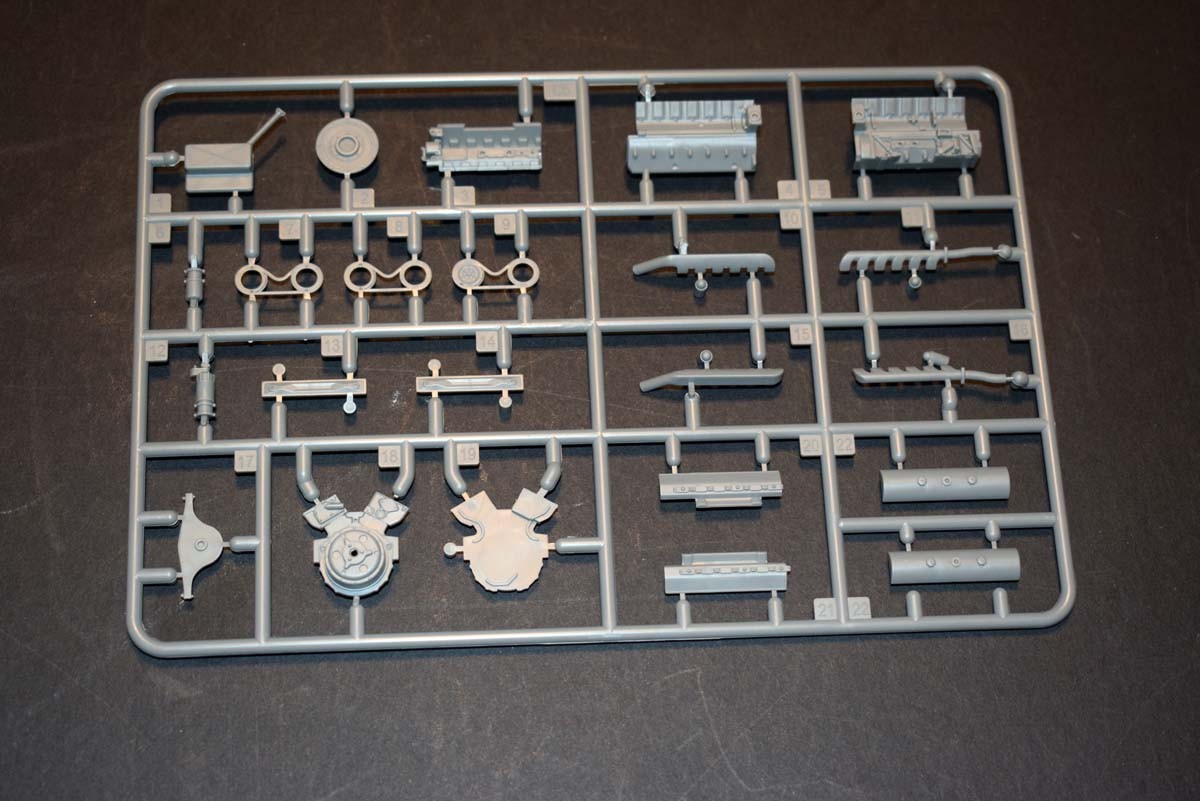
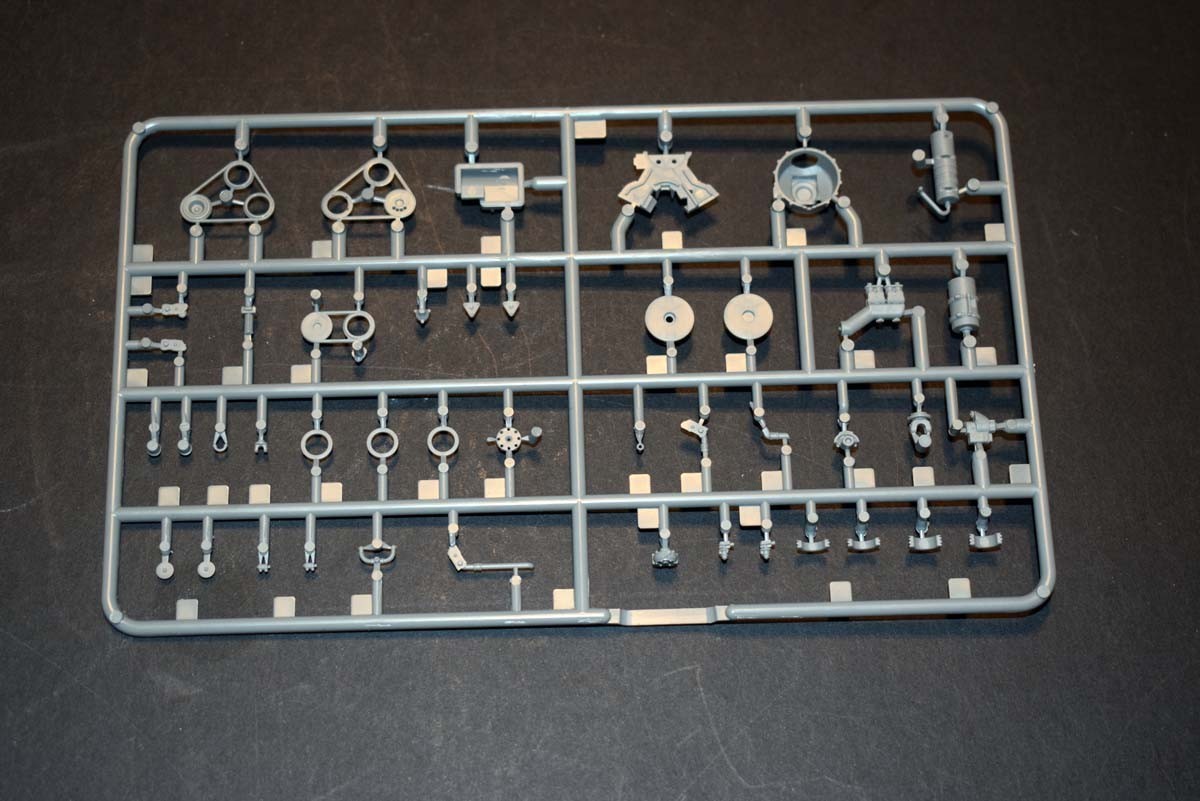
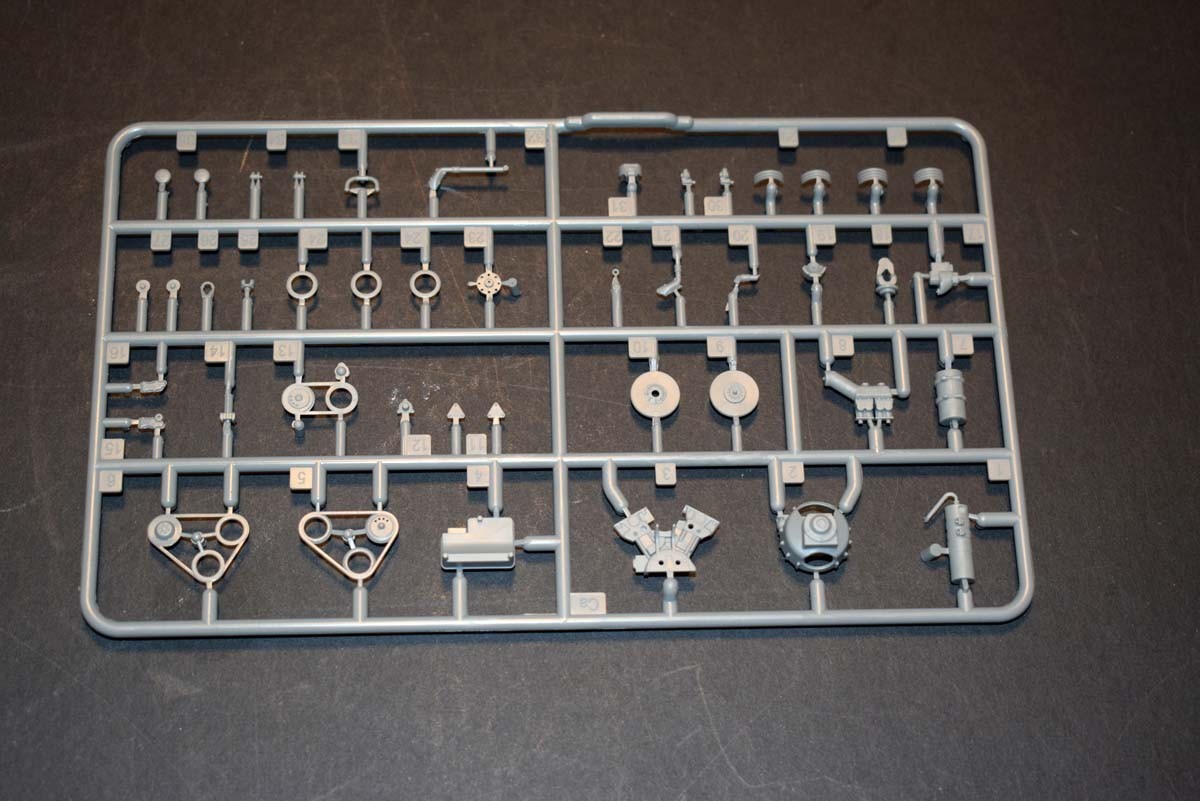
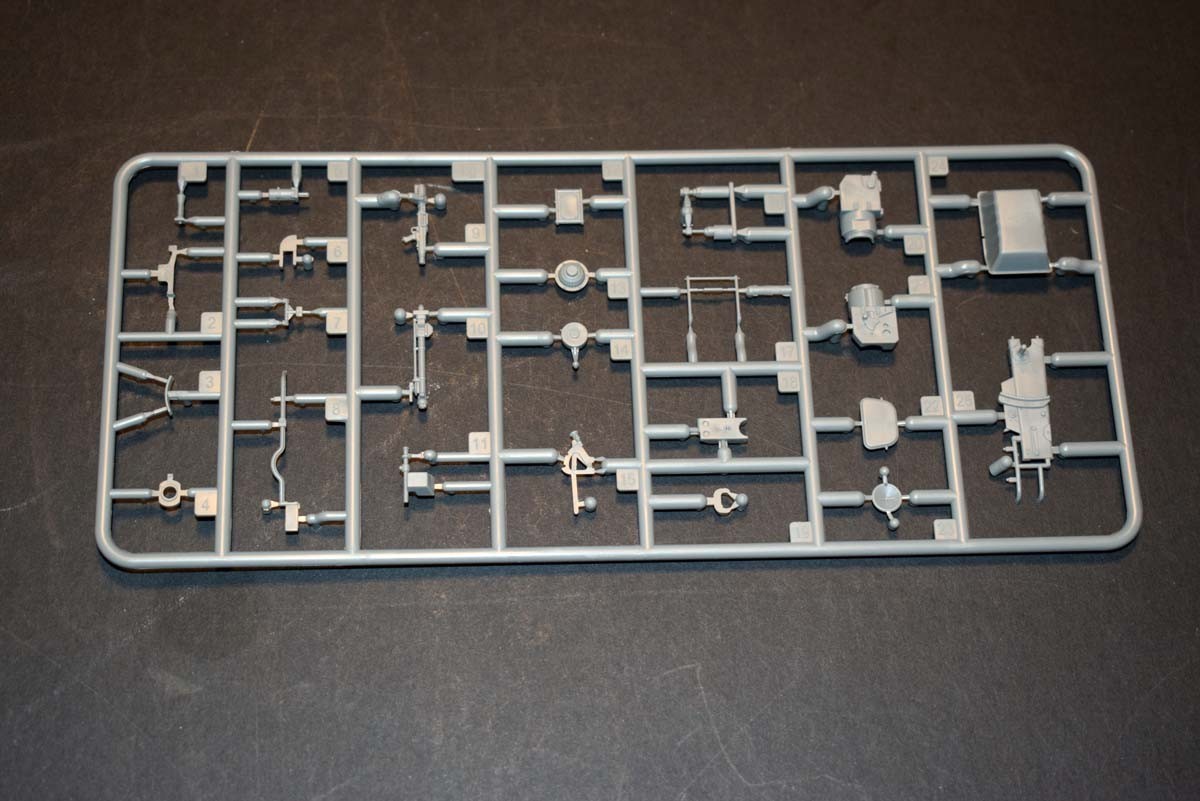
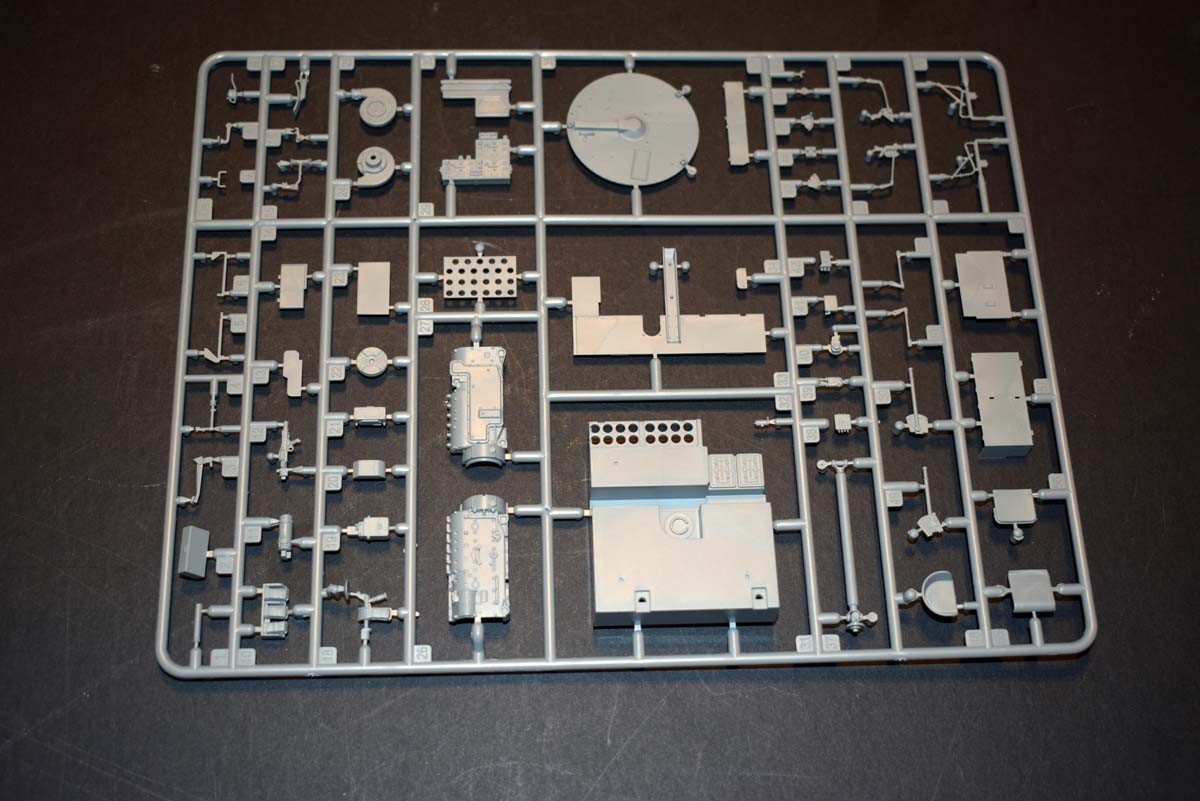
MiniArt has not stopped at the inclusion of the crew interior, as they have also provided a very good engine model, which along with the detail of the floor and fire wall that is pretty much a model in its self. Beyond the cables and wires I believe this offering from MiniArt to have a full interior, as even the fuel tanks are present in the engine bay. The hull itself has not been provided as a tub, and is instead a multi part affair; this has provided the modeller with good moulded on detail and save a lot of fiddly building. MiniArt has not skimped on the detail of the roof of the hull, as they have made sure they have included detail there, such as the radio mounts, rear end of the hull machine gun, and details on the inner face of the hatches. The radios have also had the detail painting covered prior to installation.
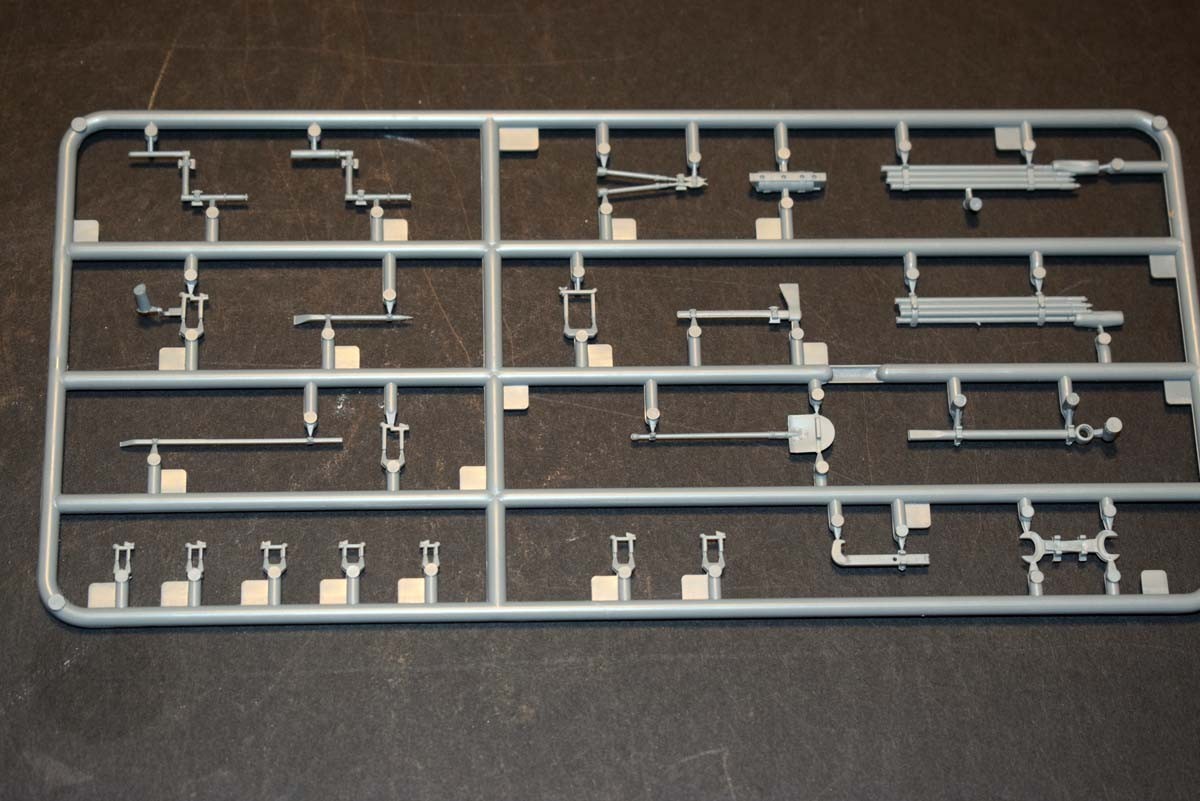
Suspension, Wheels and Tracks
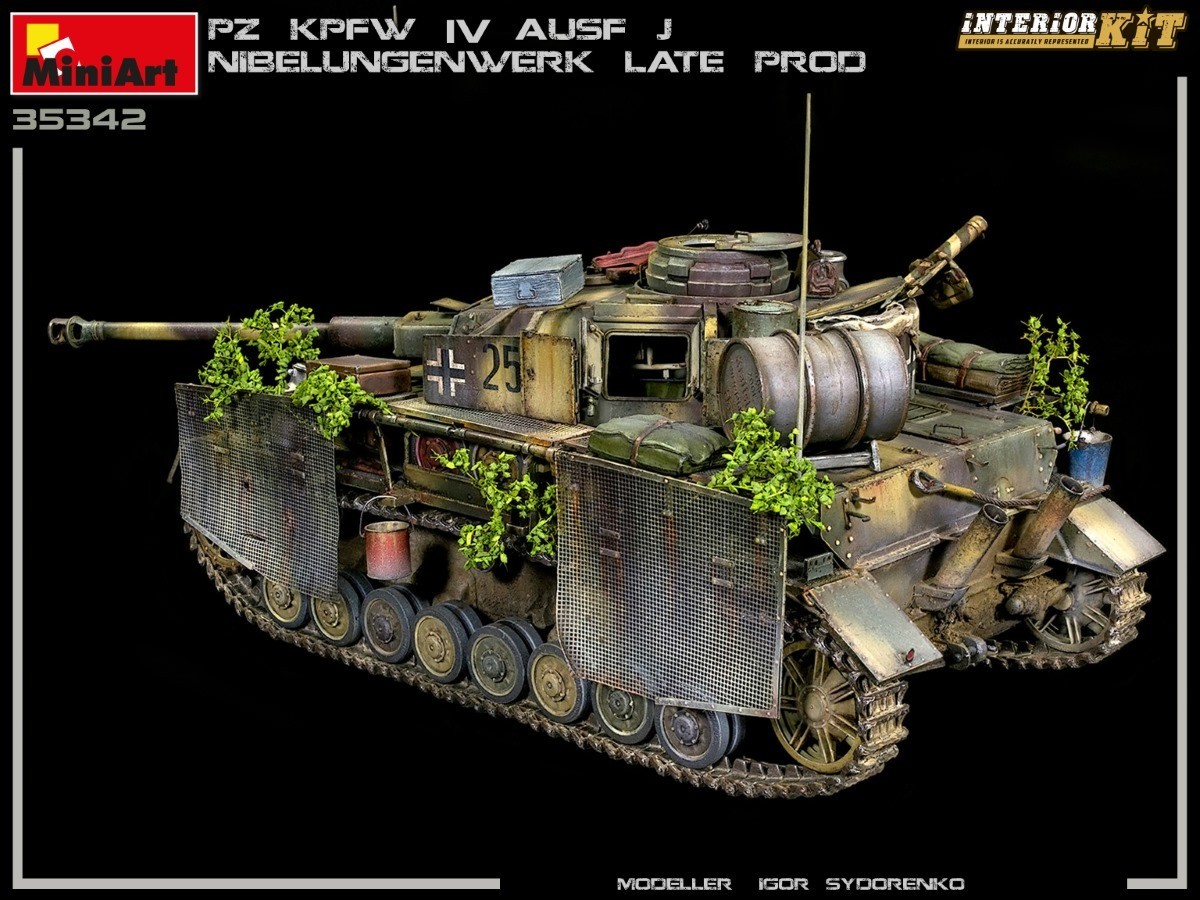
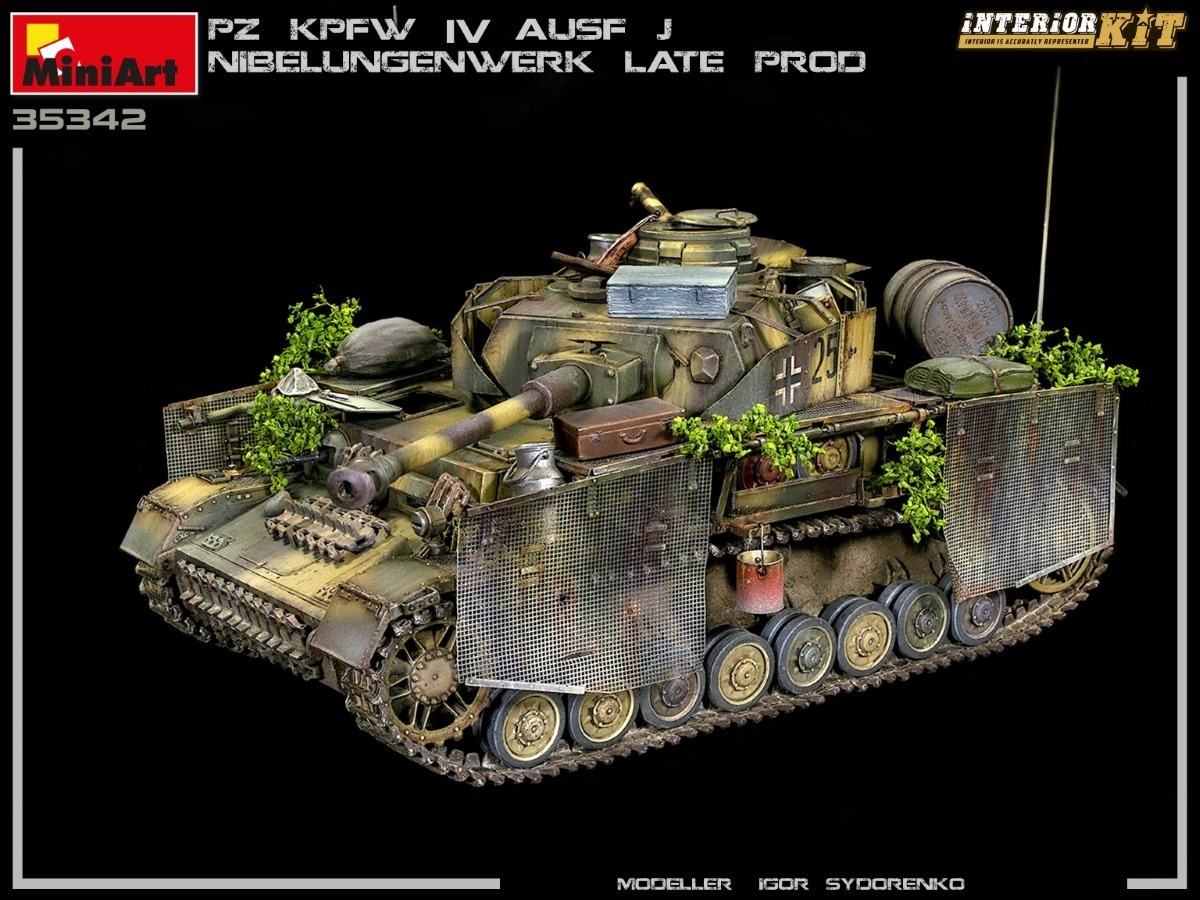
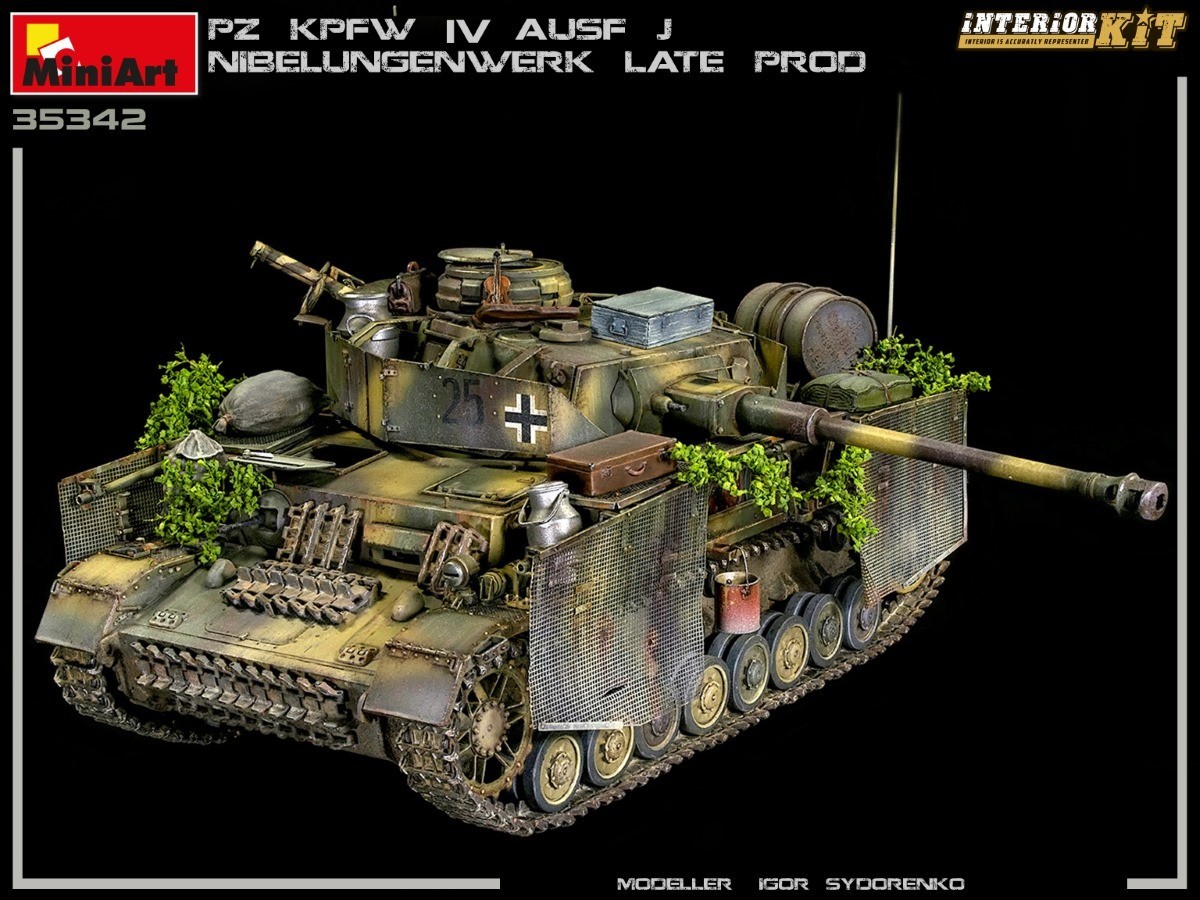
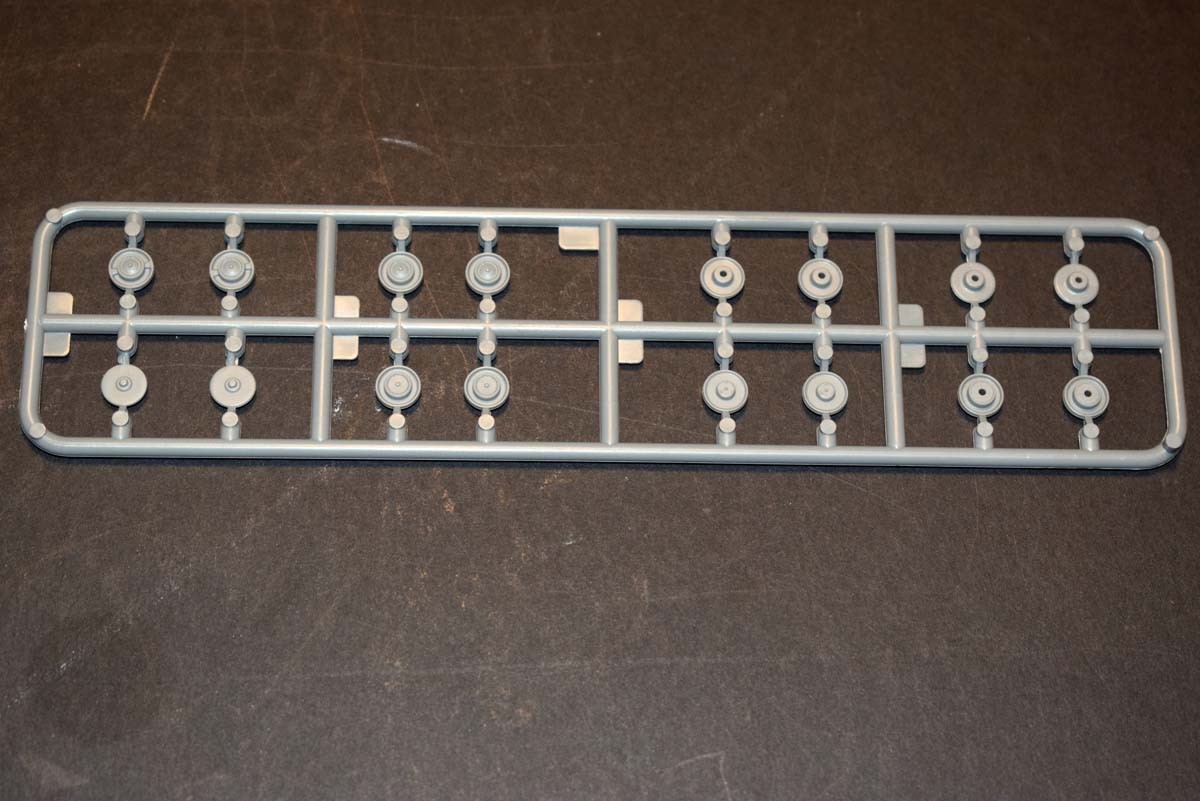
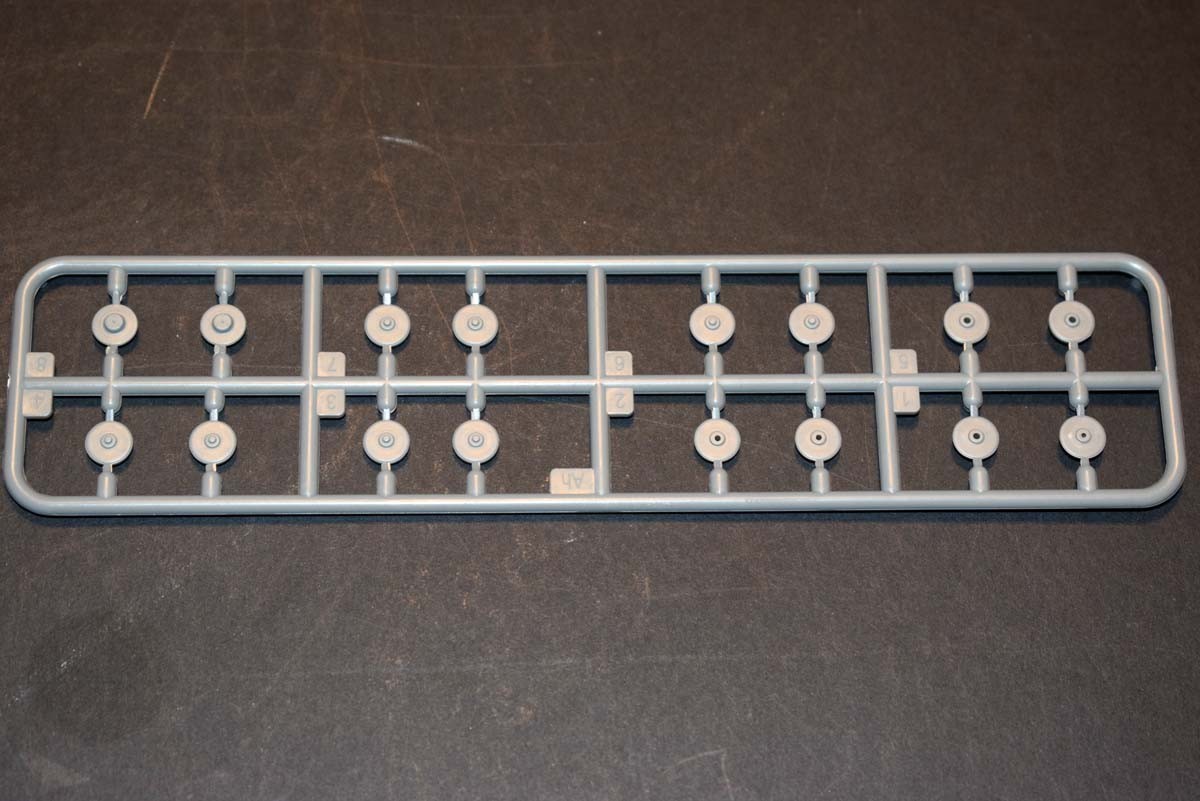
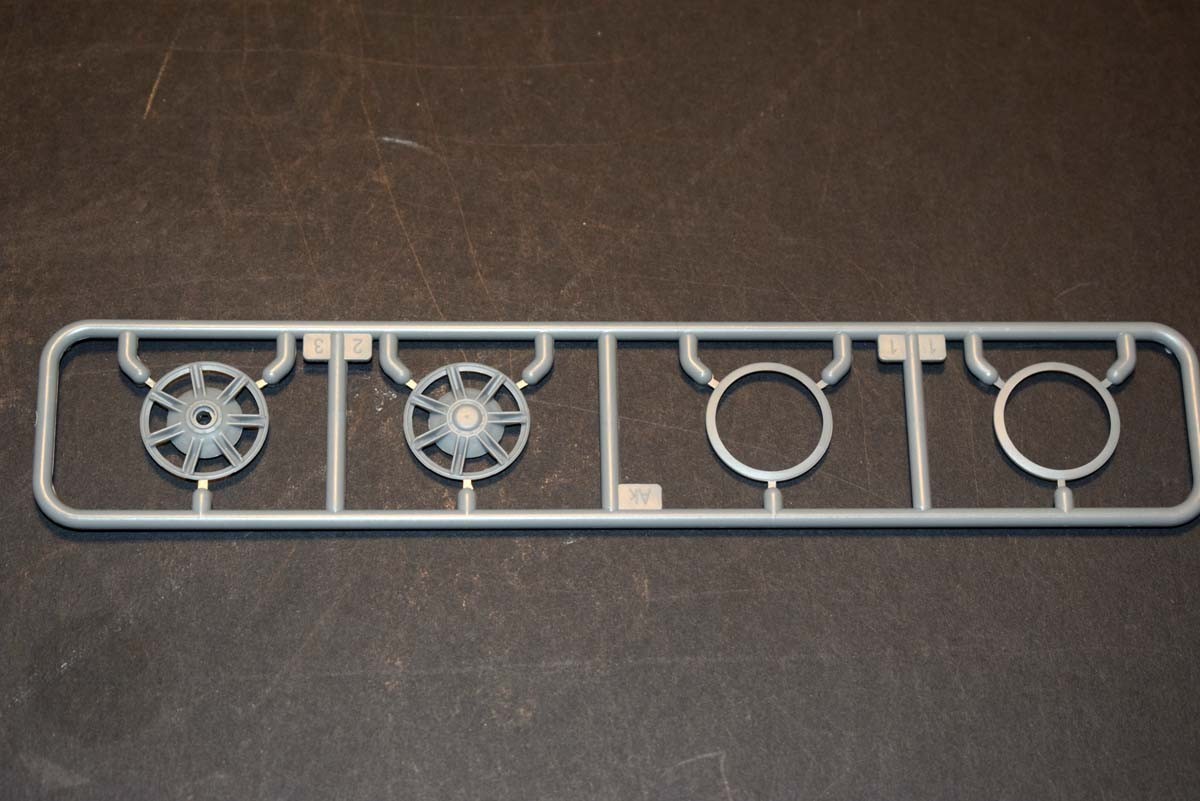
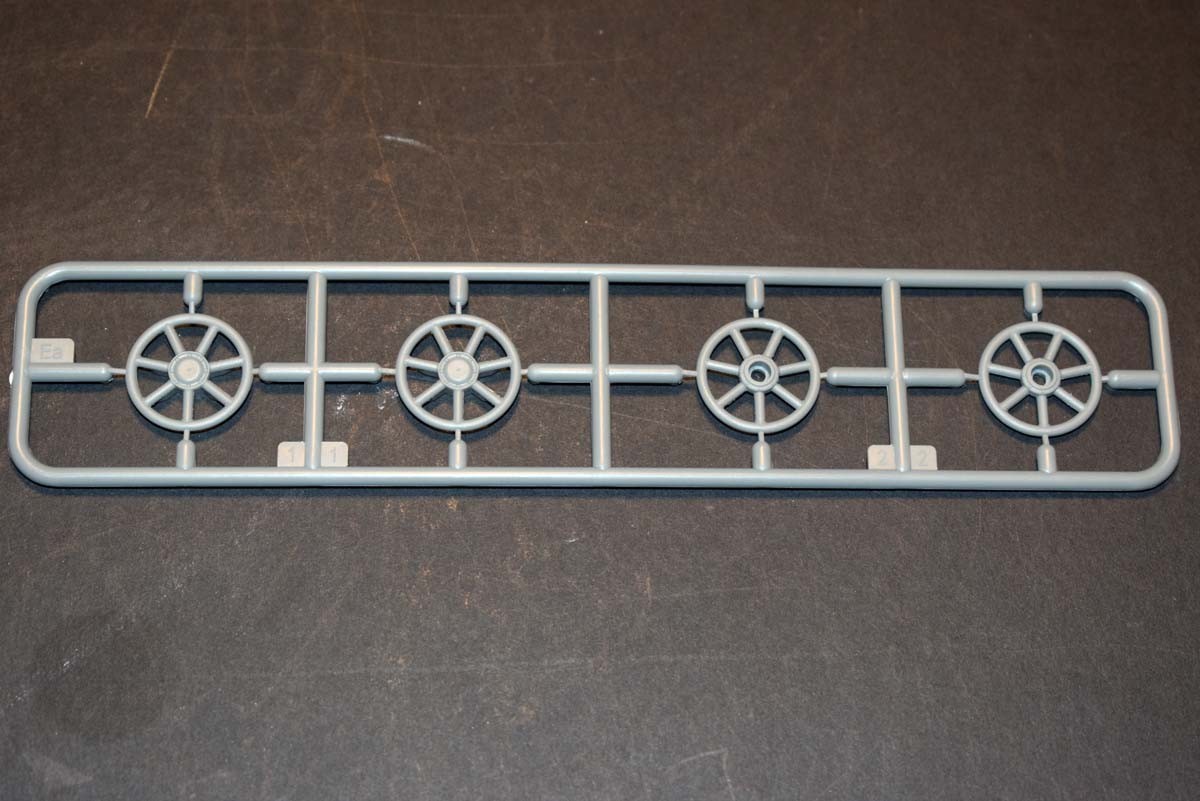
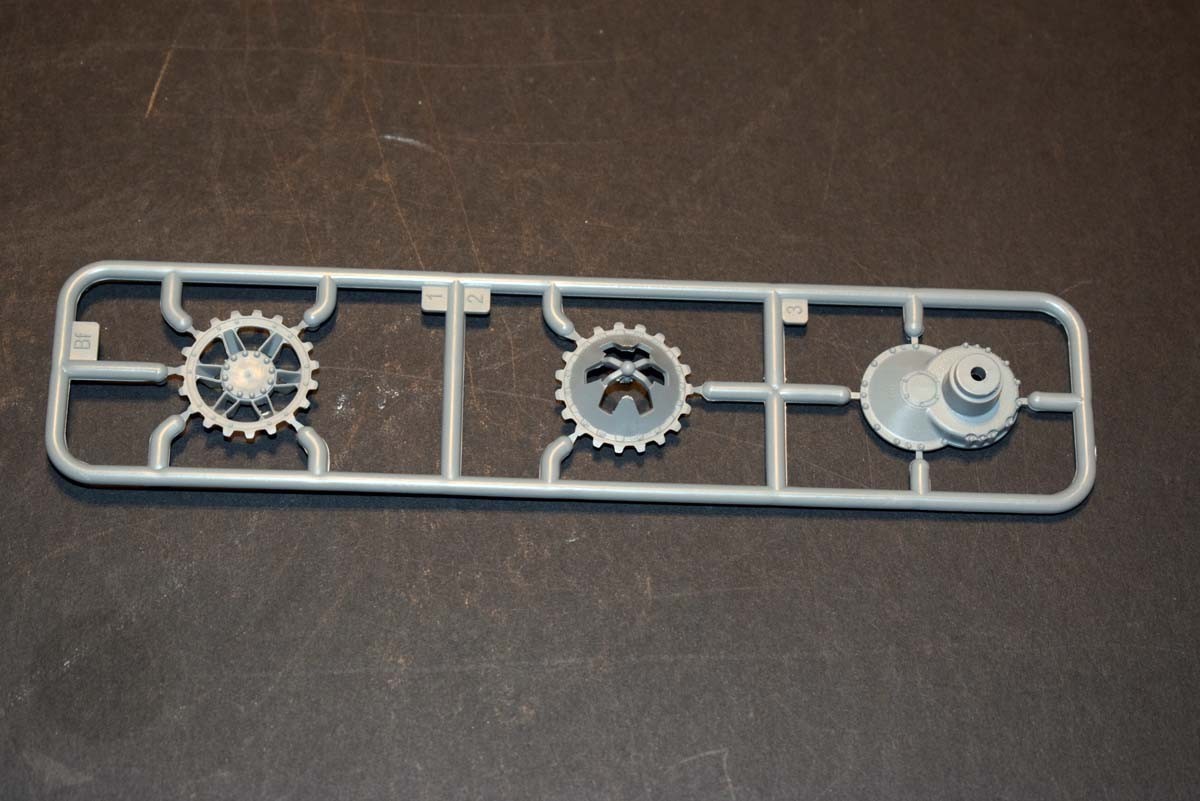
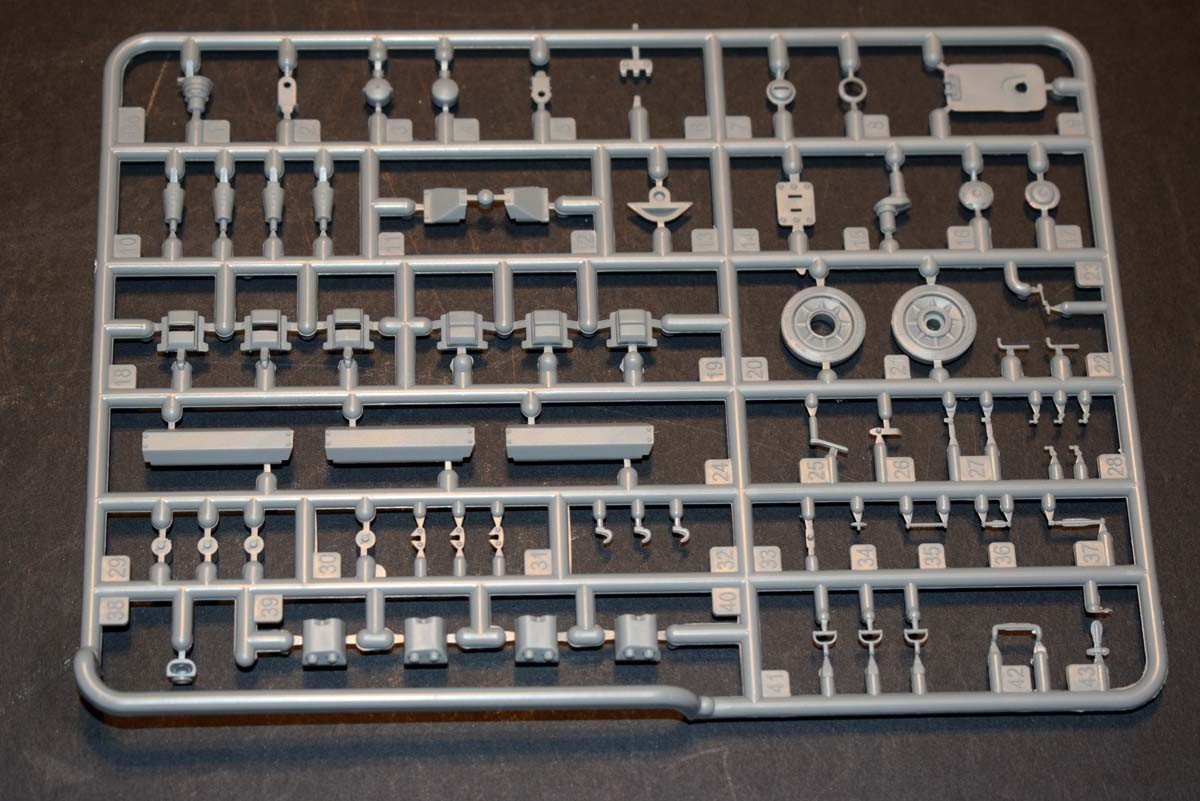
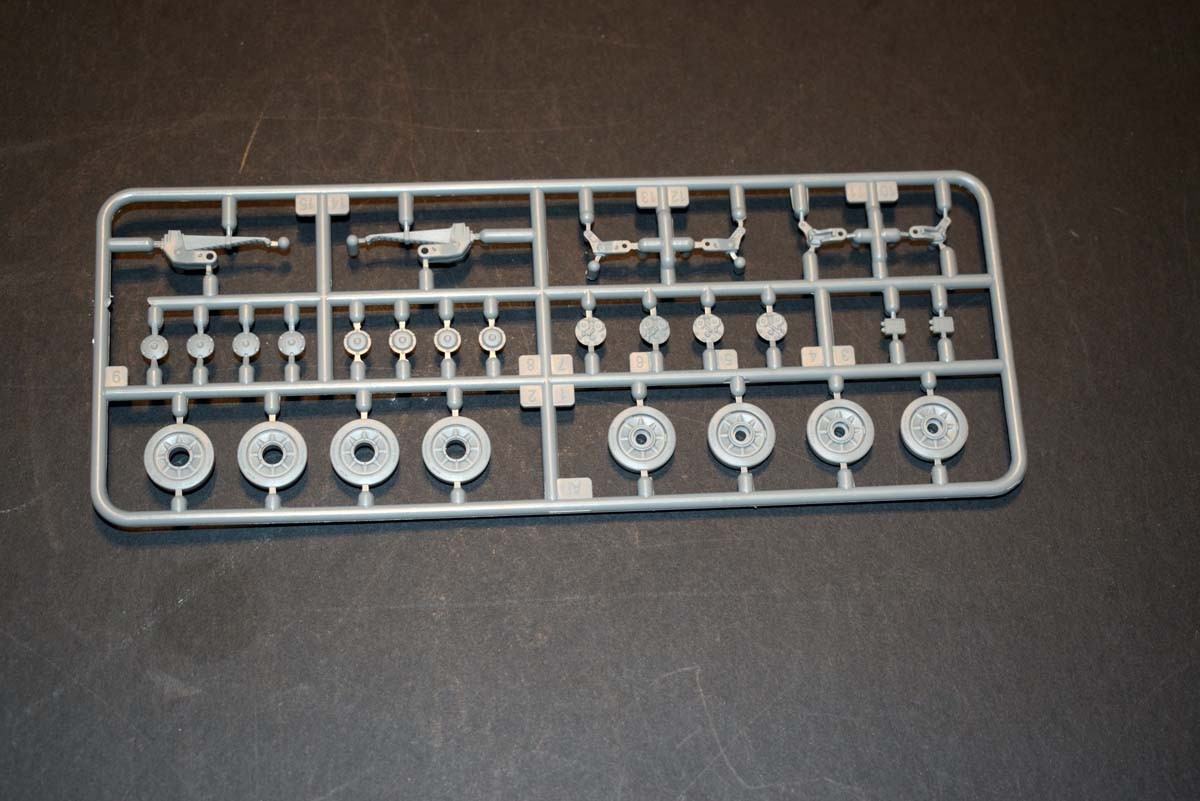
The tracks for the model are individual workable links, tackled via interlocking links, with pins to secure them. MiniArt has also provided a jig for the assembly of the tracks. The wheel axle mounts, has been tackled by MiniArt in such a way that should allow them to be manipulated in order to display the model on an uneven surface, should you so wish. A particularly nice touch to the plate that mounts to the hull has casting detail in the form of letters and numbers on them, this adds that nice touch. The wheels have been provided with nice raised lettering on the tyres. The return rollers are provided with no less than five options and so far as I can see, no information has been provided which is for the different models.
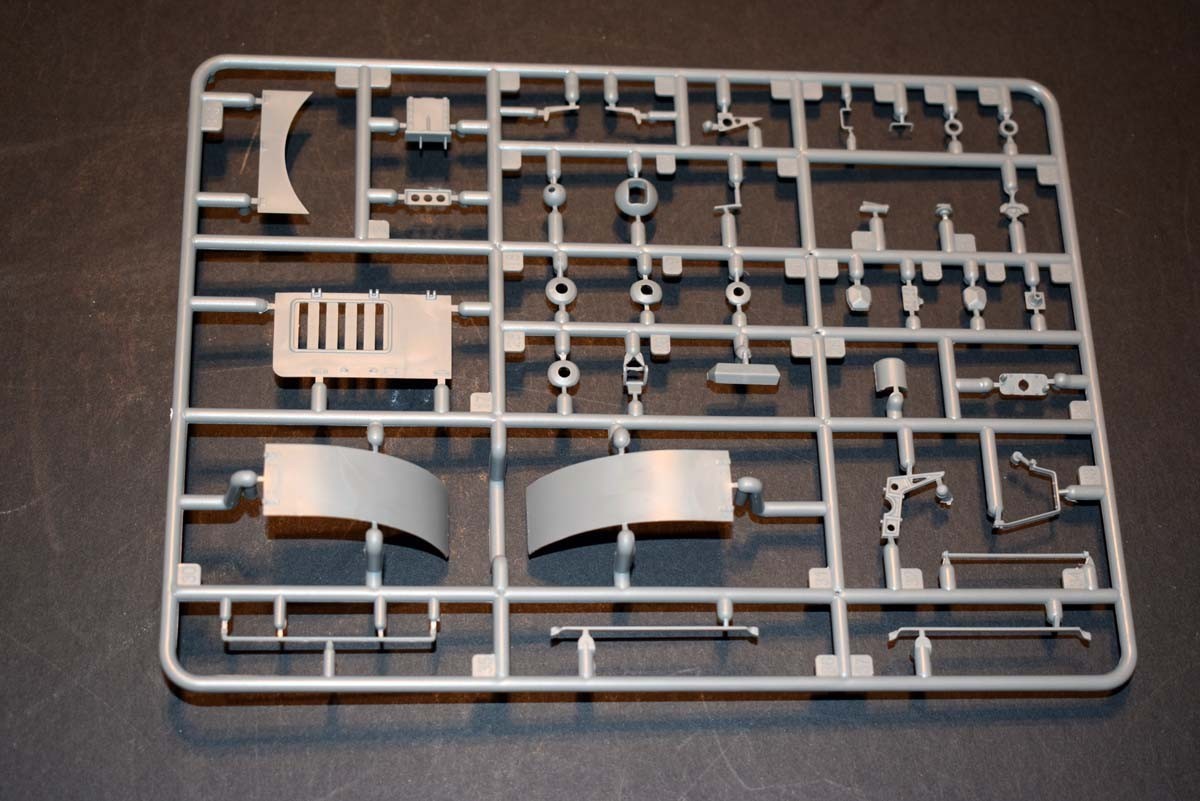
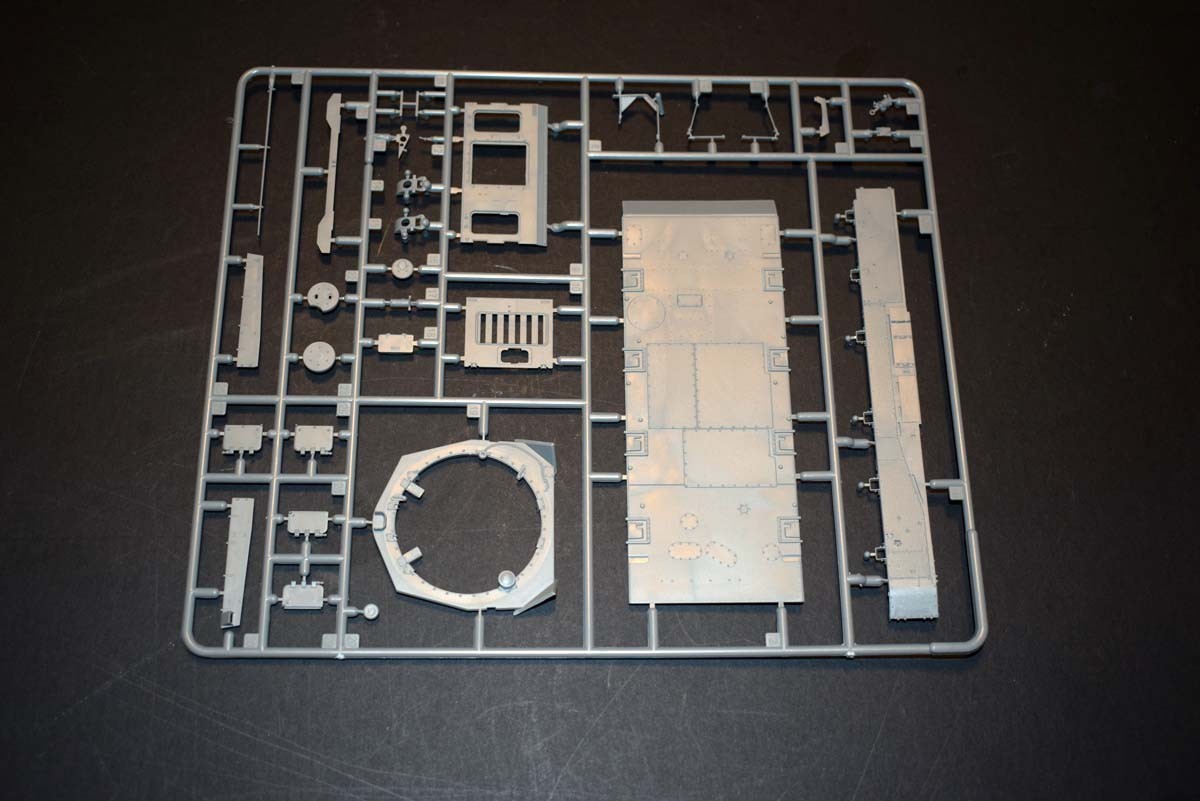
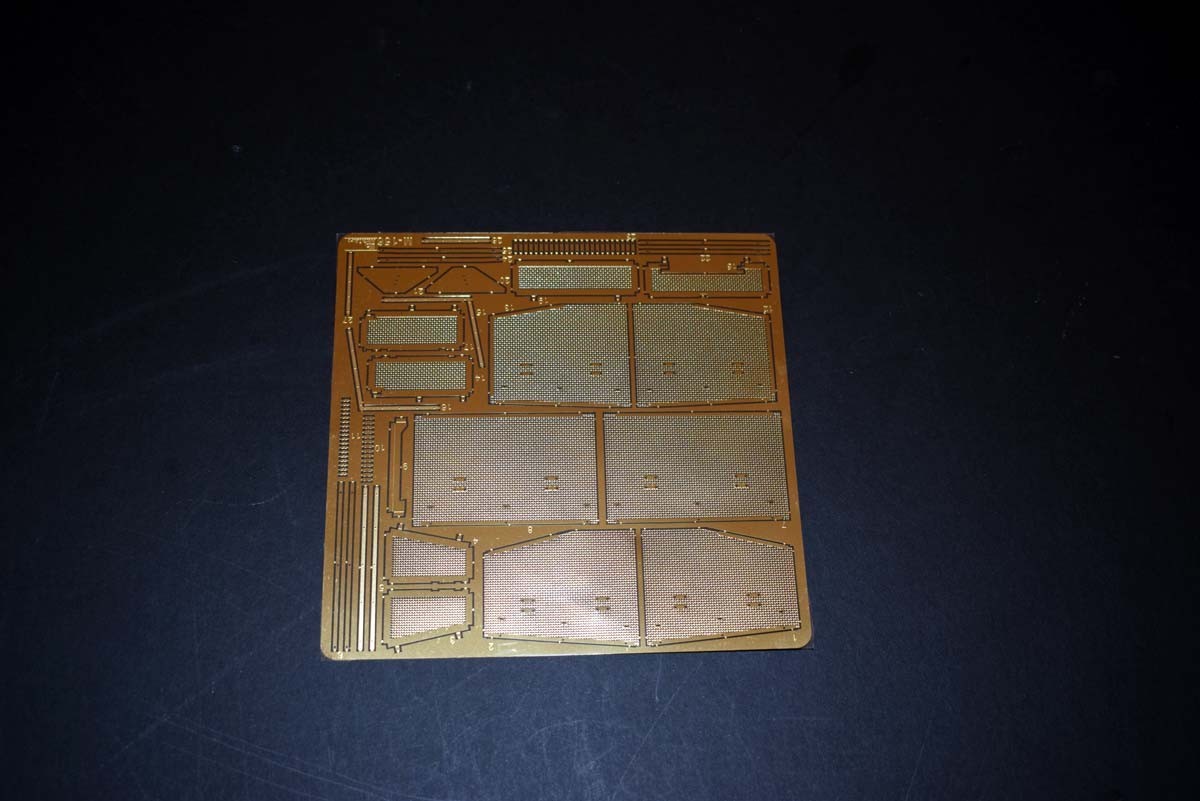
Outer Hull
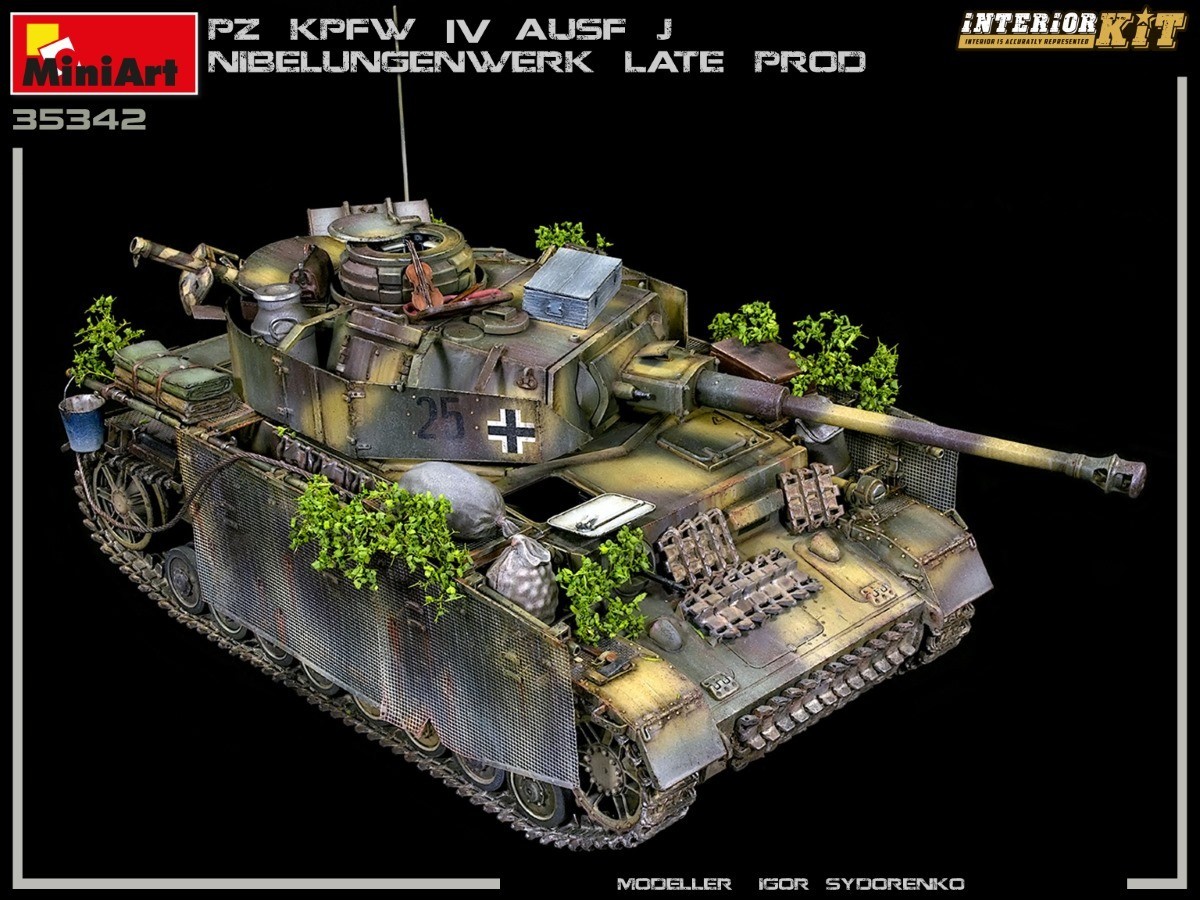
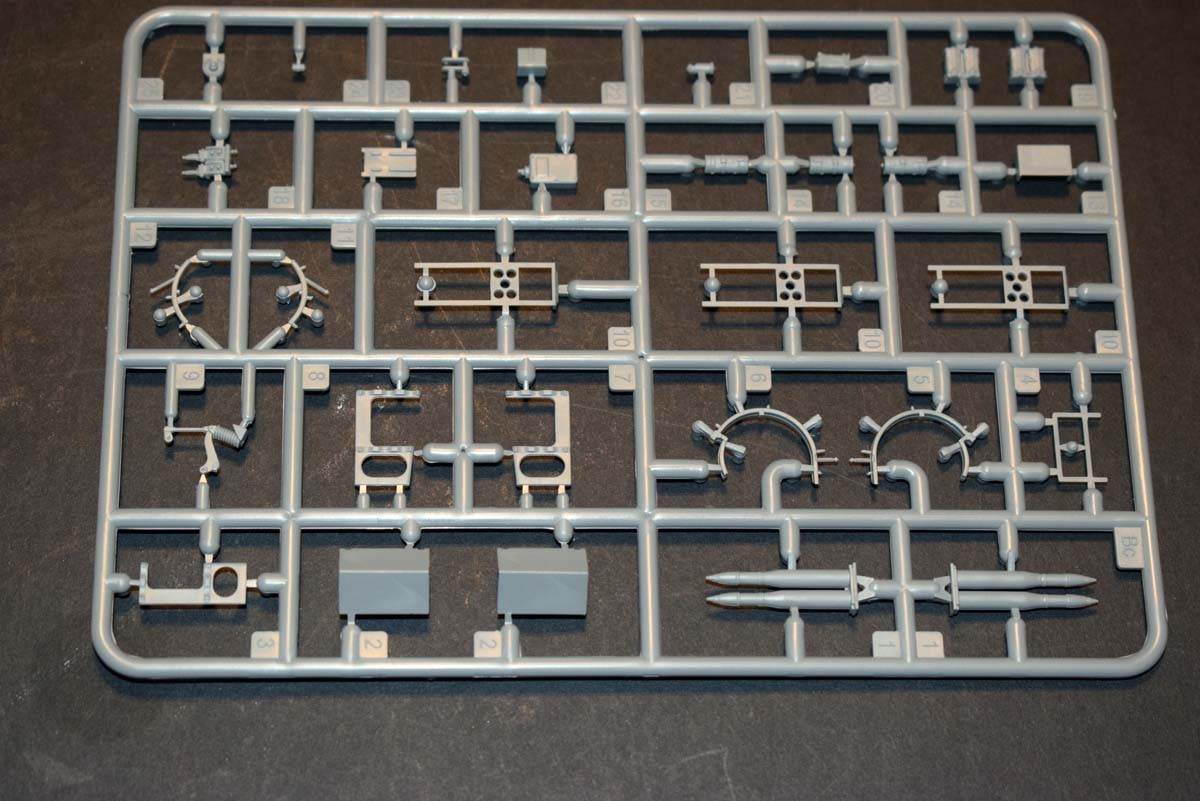
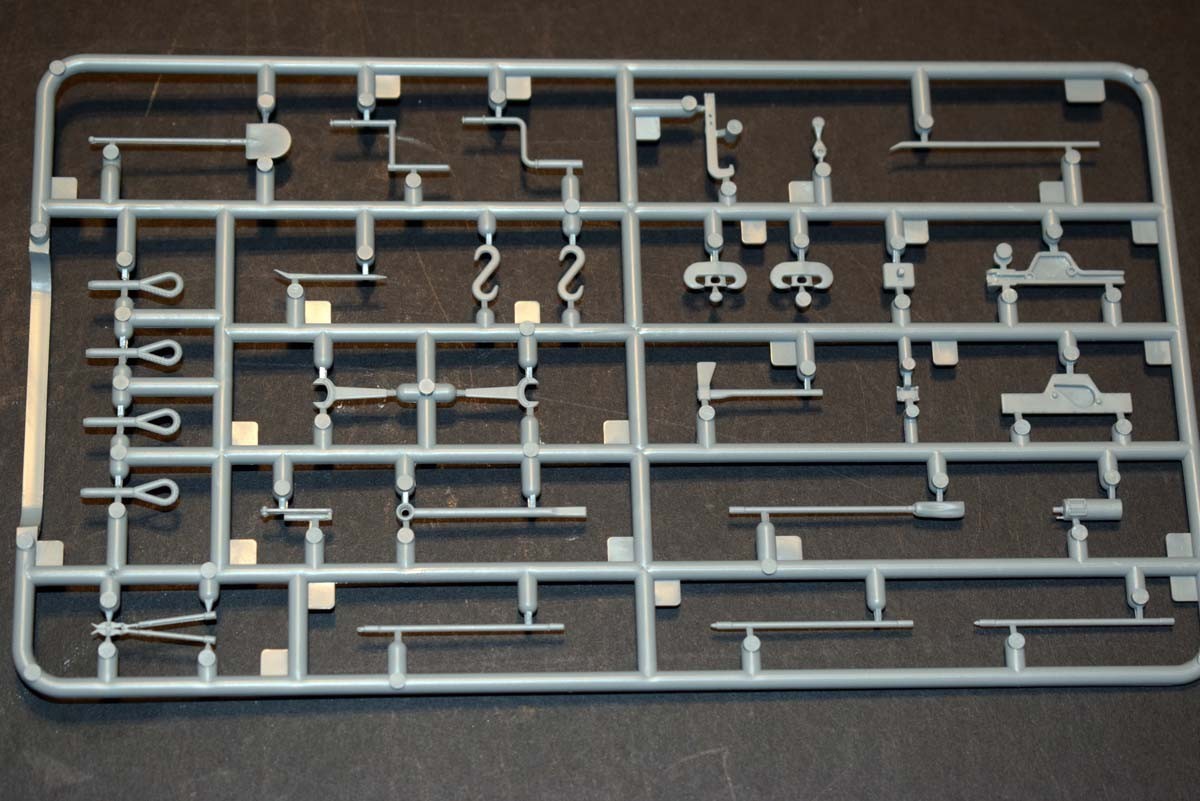
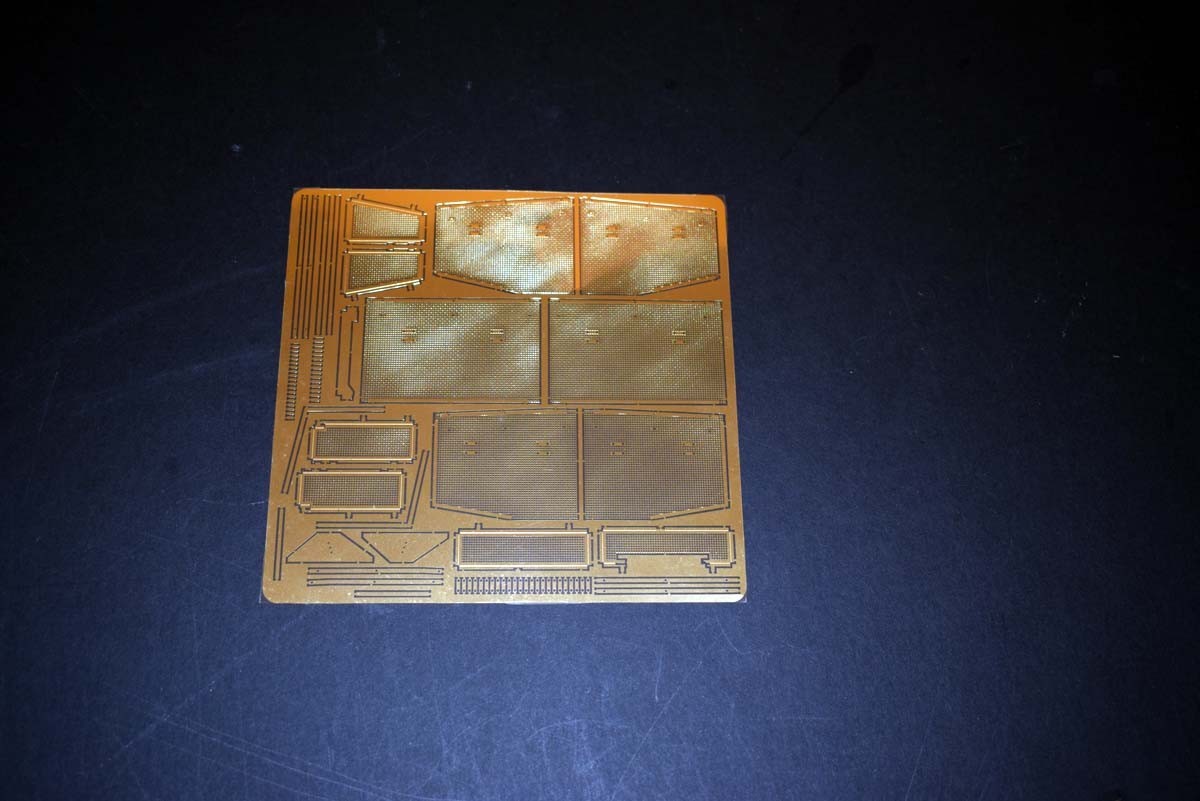
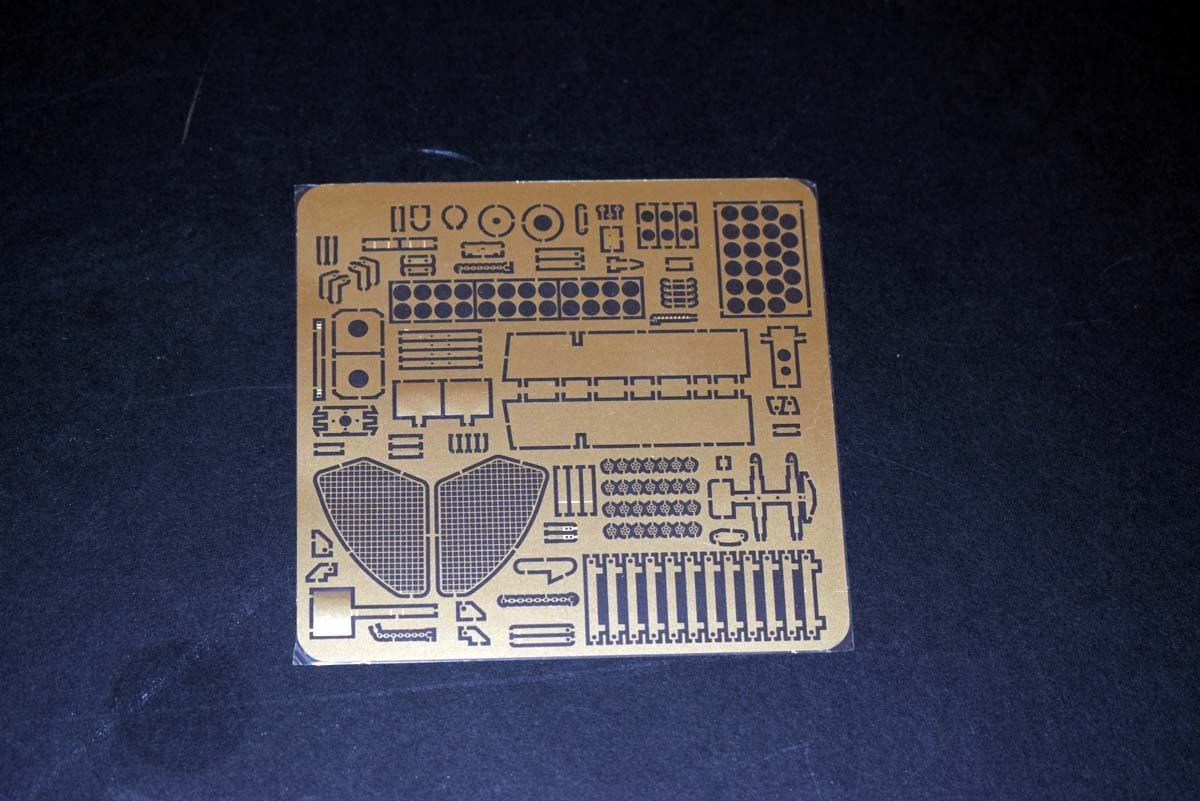
Photo etch has been provided for the guards, and these are quite large pieces, that are easily damaged in the packaging, and while MiniArt has taken the effort to package them in the card sleeve, this example had a crease in one of the panels that I had to repair by rubbing the creased side with a hard smooth object, while it sat on a cutting mat and this did eventually remove the crease to my satisfaction. The photo etch armour has been well designed, in that the locations for brackets are clearly marked and so should be easy to use and locate all aspects. I do suggest that if you purchase one of these models, you remove the photo etch envelope and the decals and store them in the middle of the instruction book, in order to prevent damage. The rail systems running down the side of the tank for mounting the armour does mean that most of the items, stored on the side of the hull are hidden from view. But something worthy of note, is the fire extinguisher which has been provided not only with a photoetch mounting rack, but has also had the decals for the extinguisher included which I consider a very high level of detail. The tools included in the set have been supplied with a number of mounting options, and a mix of moulded on and photo etch brackets. Looking at the photo etch provided for these areas of the kit, they may initially seem excessive, but I feel MiniArt has used photoetch only where it will benefit the model, rather than (just because).
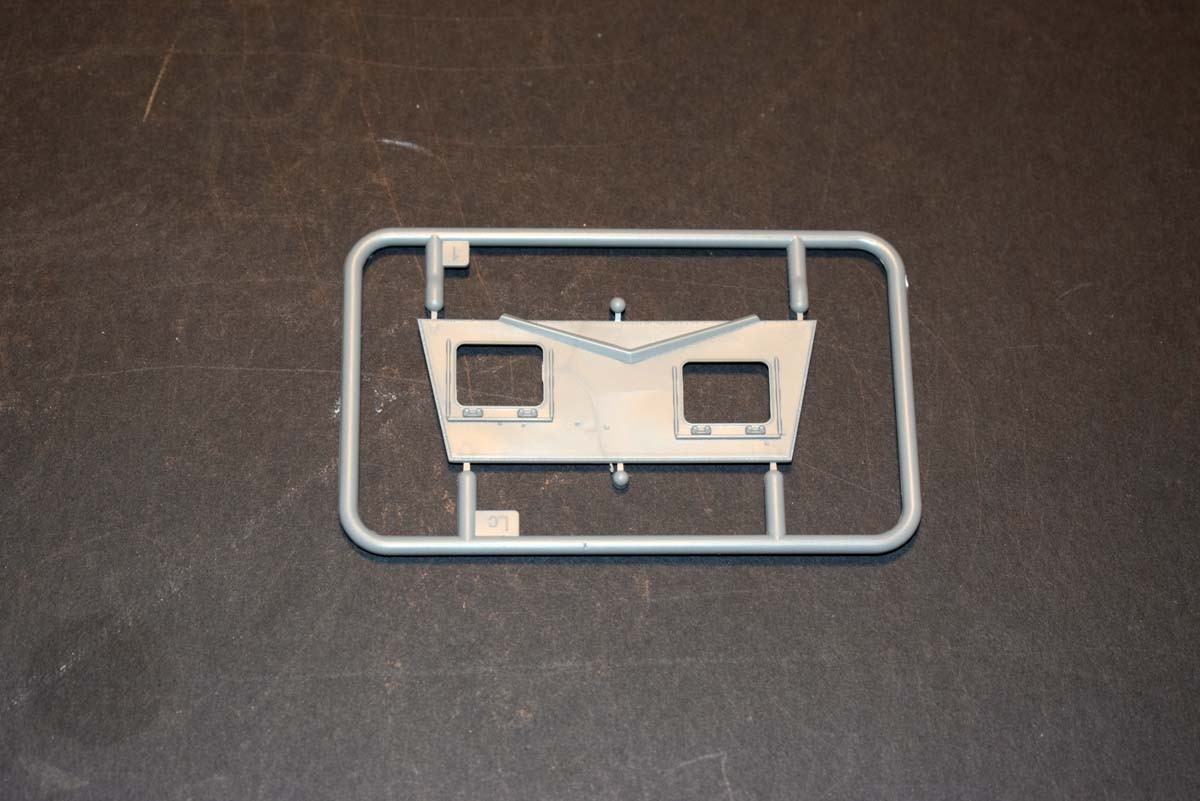
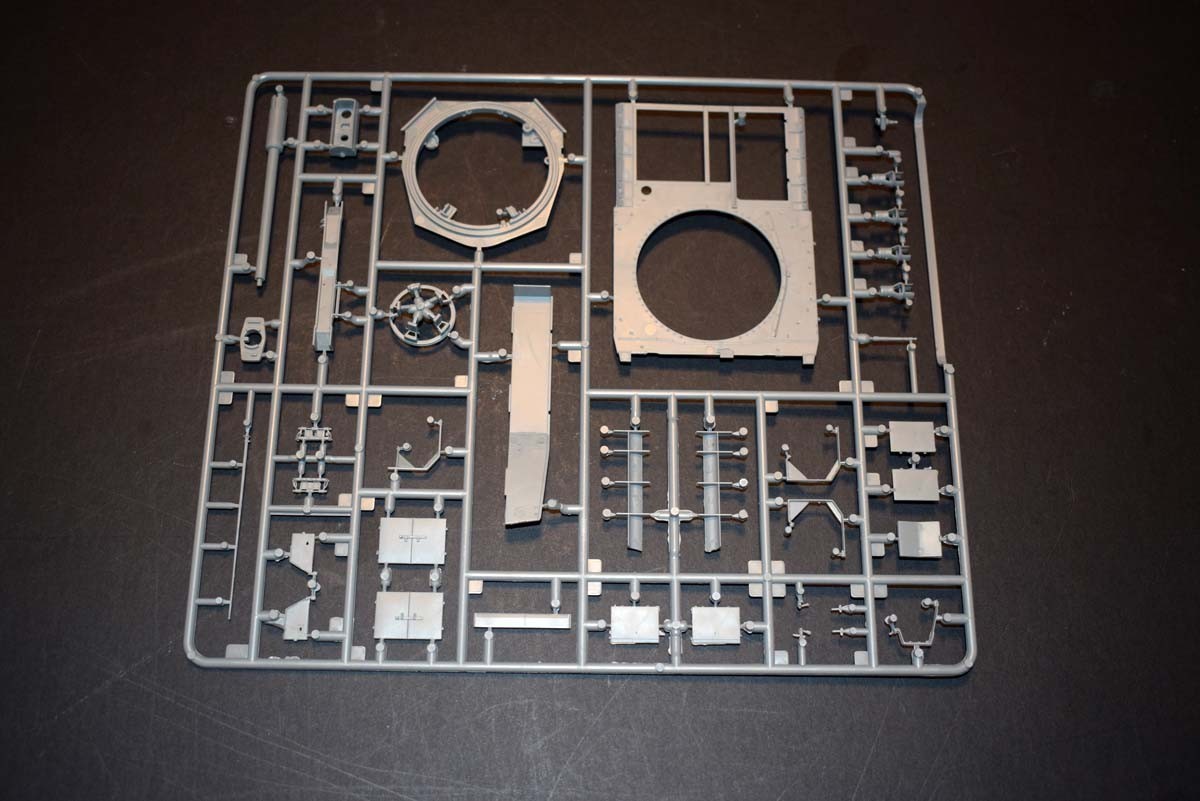
Turret Interior
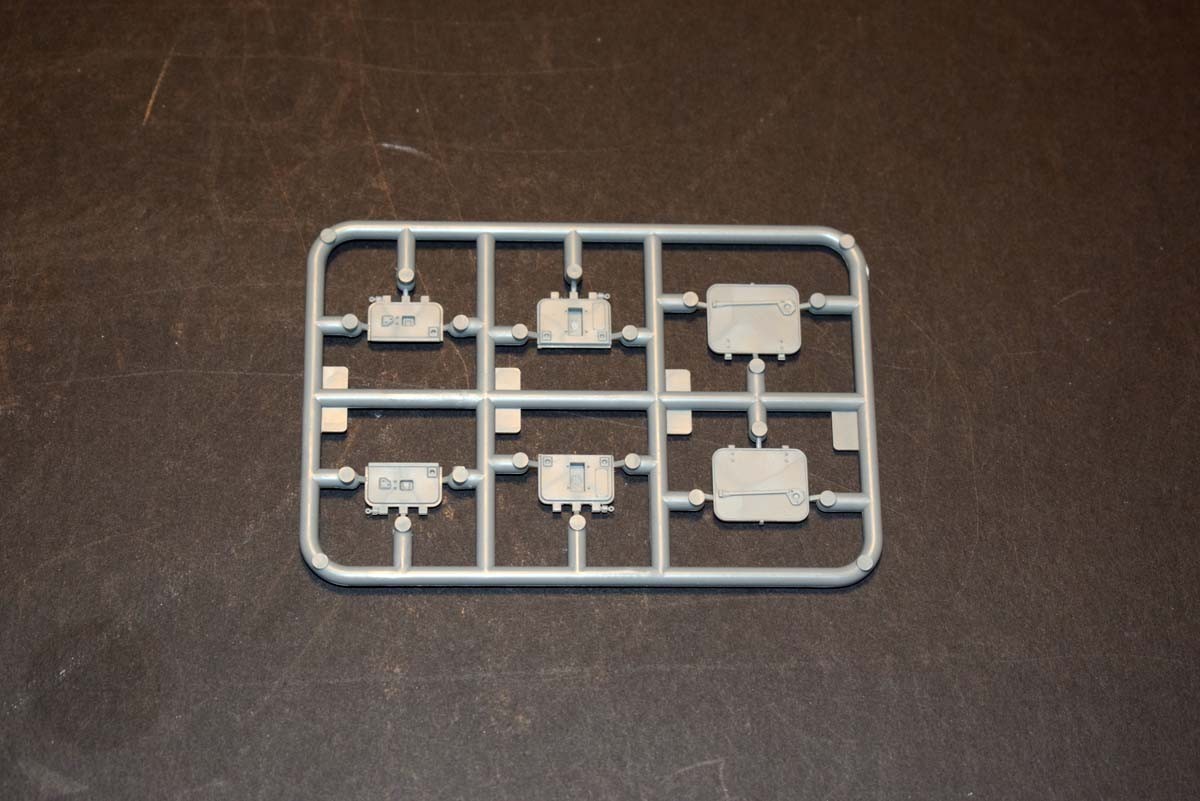
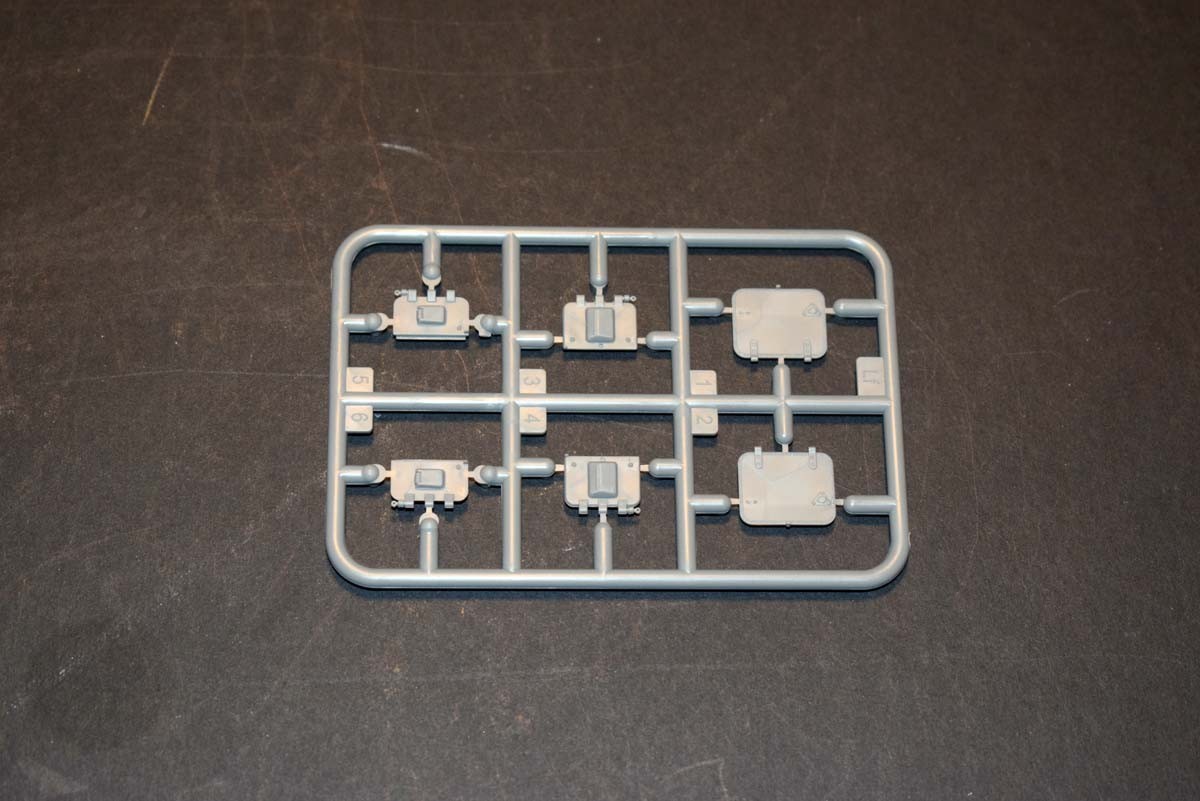
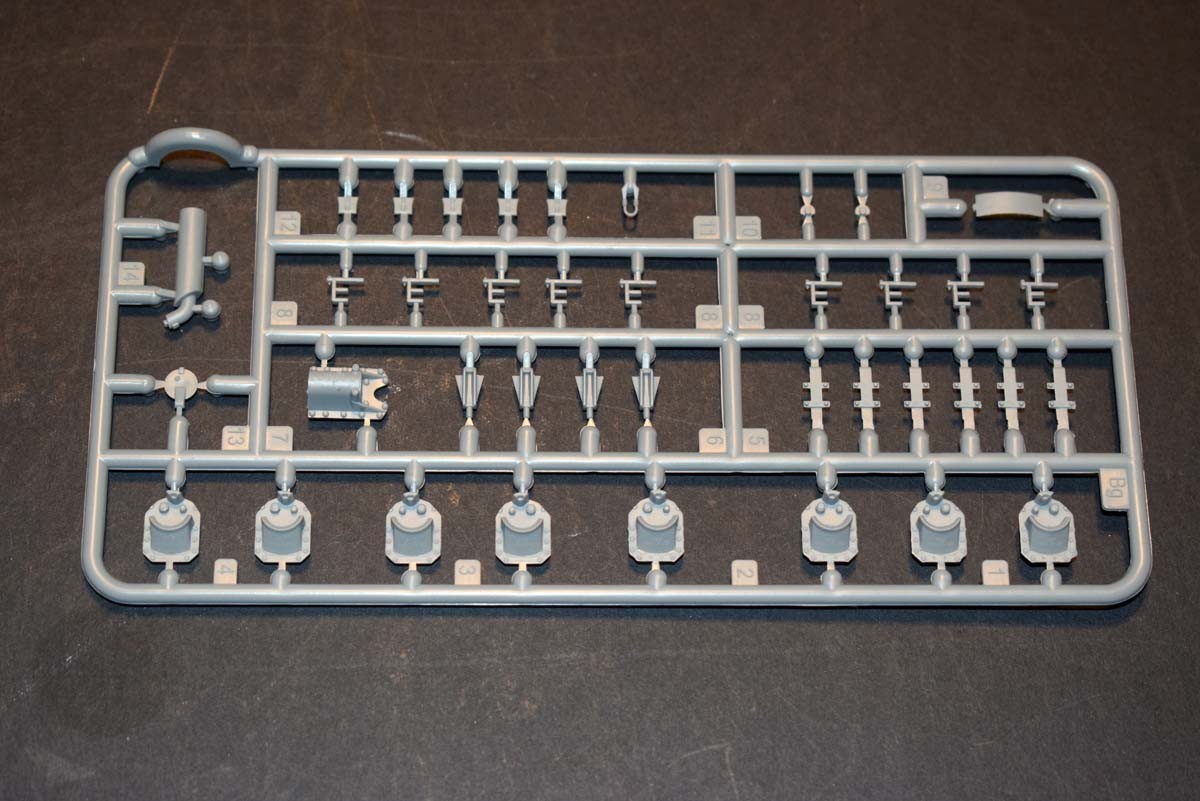
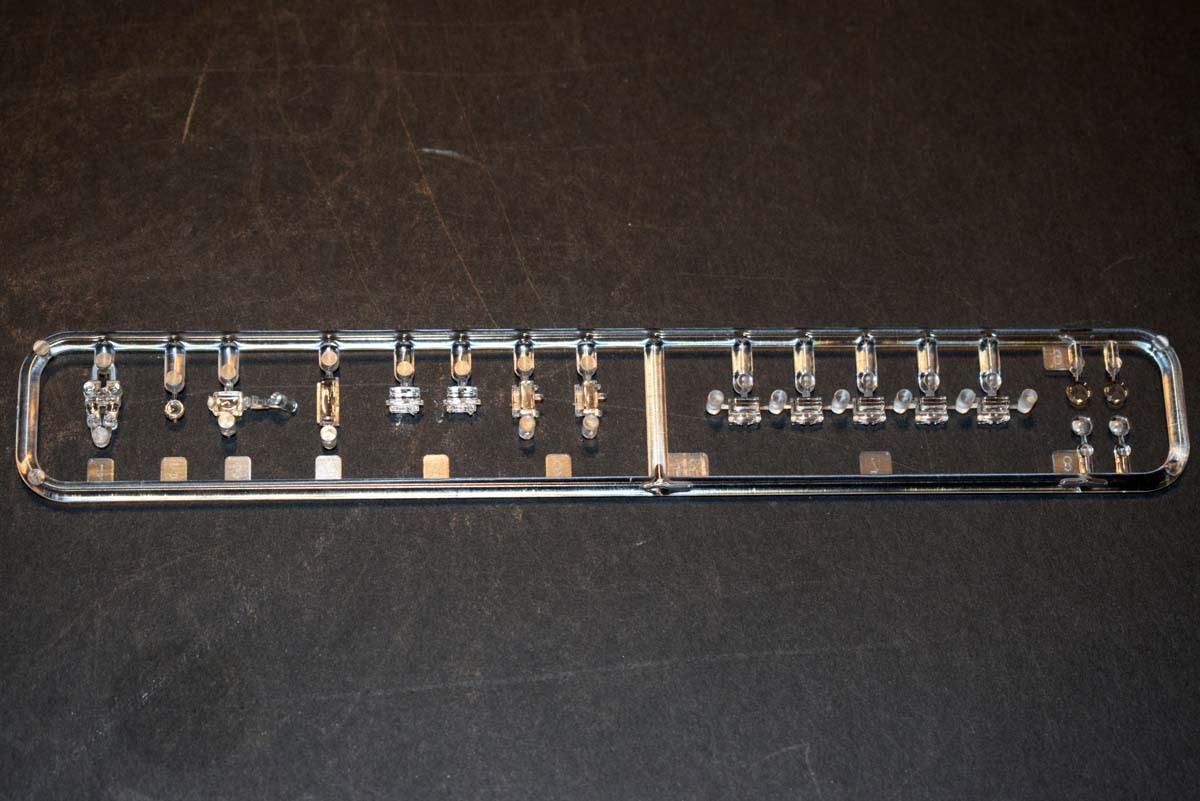
The interior detail provided for the turret would appear to match on line reference. The parts that fit around the turret ring have also been well replicated. It needs to be remembered, that the J version of the Panzer IV was a backwards step in that a number of the design improvements were dropped, possibly the worst of these was the fact that the turret rotation was manual only, and at a time when the Germans were facing superior forces in the terms of numbers, the extra second sit could take to rotate the turret may have been the difference between life and death. The manual traverse has been replicated in this model. The main gun breach has been well replicated and gives the modeller the idea of just how little space there was inside the turret of these tanks. Clear lenses have been provided for the periscopes around the Commander’s cupola which I approve of,and I also like that the viewing ports for the periscope has been provided with the option of being open or closed. Interior hatch detail has been provided and they can be displayed open or closed.
The Turret Exterior
The turret exterior is as you would expect is of a high standard, and includes options such as: Open or closed rear turret bin, four different muzzle breaks, and the option of two mantlet shields. The barrel is a single piece offering, which I approve of and could only really be improved on by including a metal barrel. The brackets and armour around the turret, have been well designed and I like that MiniArt has also provided photoetch inserts that site either side of the turret bin, and so provides the tank with extra storage space. The armour plates that would interfere with the opening of the turret hatches have been provided with the option of being open or closed and so the model can be displayed fully opened up. The turret mounted machine gun was done away with and a grenade launcher fitted.


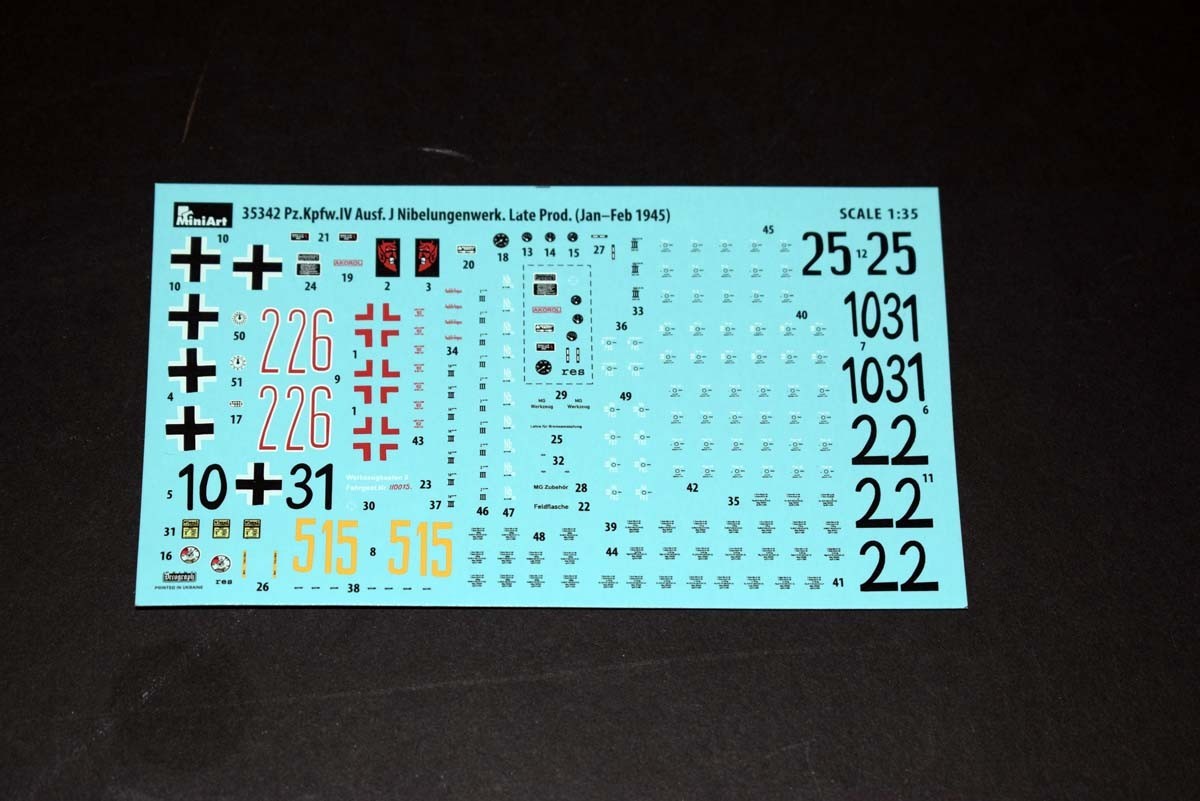
Finishing Options
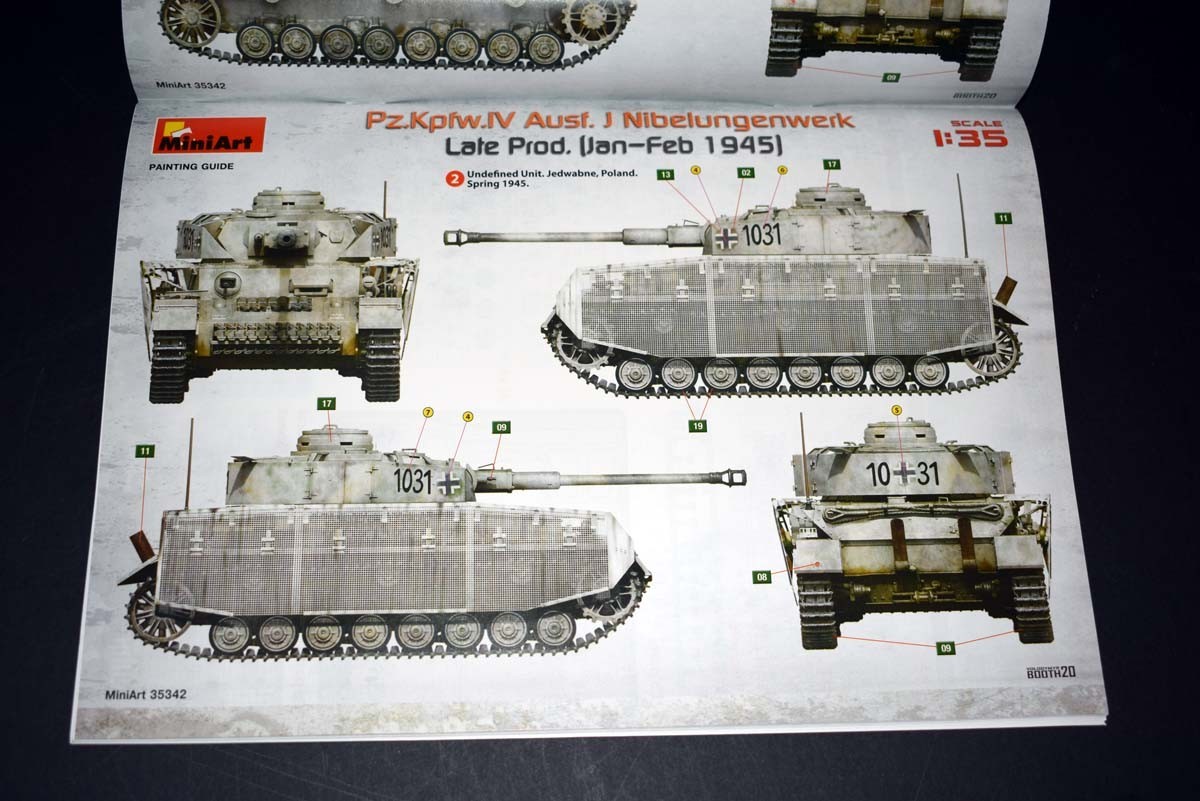
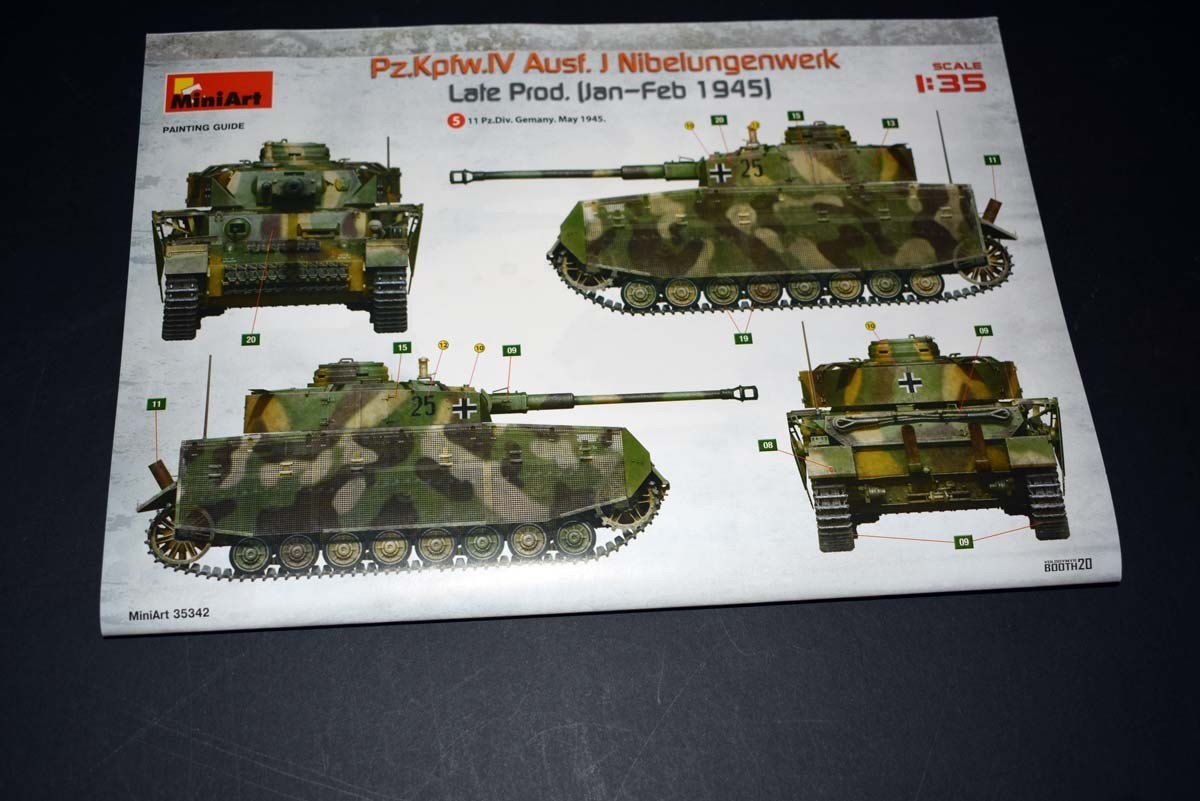
The finishing options provided by MiniArt for this kit cover five vehicles, which are as follows:
31st Panzer Regiment, 5th Panzer Division, Eastern Perusia, March 1945
Undefined Unit, Jedwabne, Poland, Spring 1945
Unidentified Unit, Germany, Spring 1945
Unidentified Unit, Germany, Spring 1945
11th Panzer Division, Germany May 1945
I do like that MiniArt has offered five finishing options with this kit, but I wish they had restricted it to specific units, rather than unknown units. As such, I would recommend that modellers look through reference, and use that to decide on how to finish the kit.
Conclusion
This offering from MiniArt, is certainly no five minute build, or one for the beginner. I say this due to the high parts count, and the amount of photo etch utilised, some of which is very small, and so will require that the modeller is comfortable with its use. When it comes to negatives, I restrict them to the packaging of everything in one bag, which resulted in some deformation of the photo etch, which had to be remedied. A particularly nice aspect of this kit is the barrel, multiple muzzles brakes and individual track links. All told this kit could be built up into a very impressive model, but I would have liked some extra detail on the painting of the interior. The interior looks excellent in terms of what is offered and a super detailing modeller will love adding those extra little details that make the model really shine.