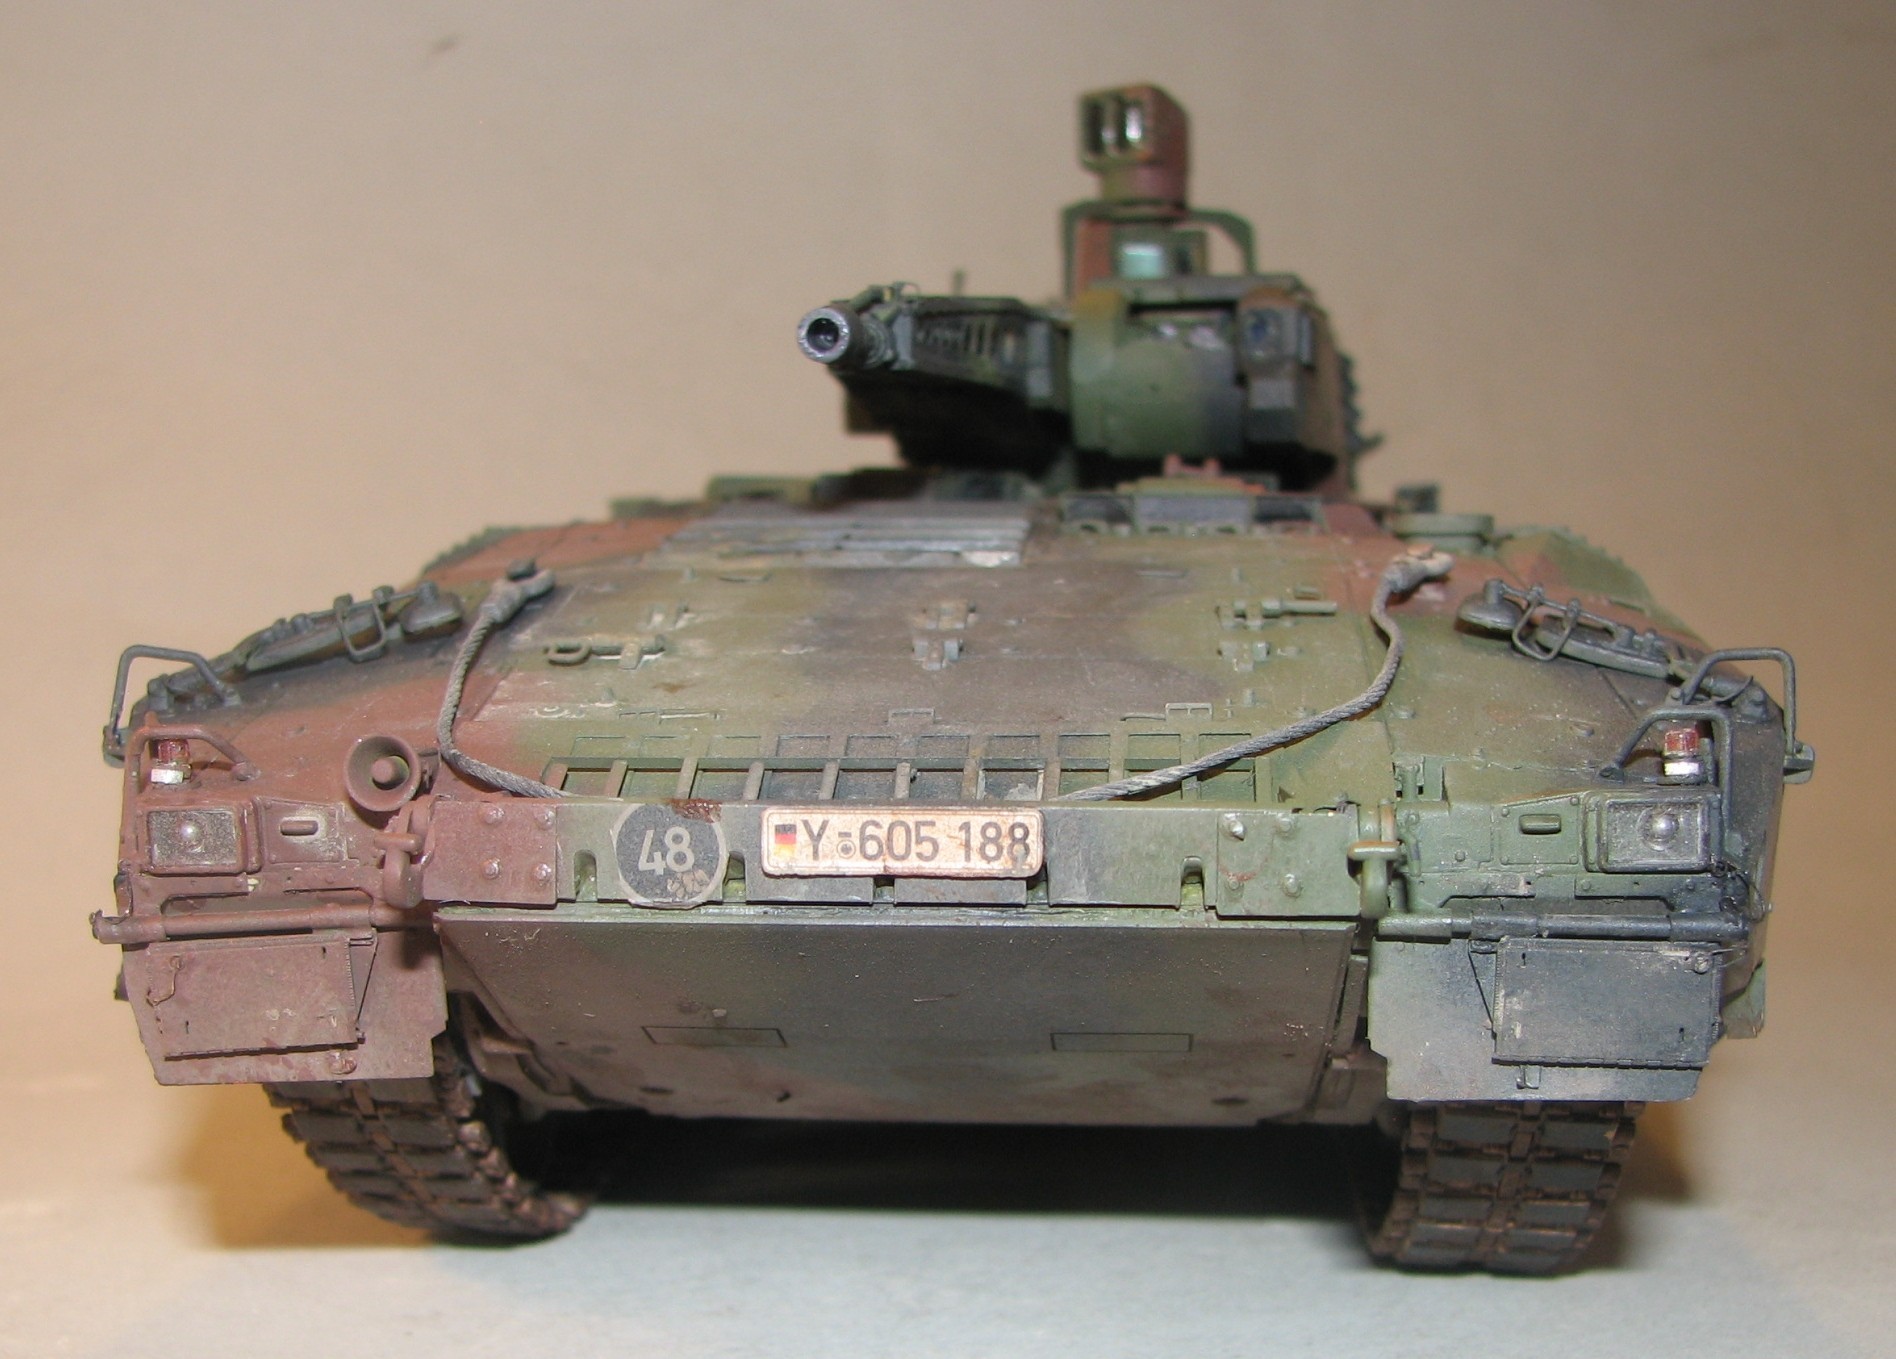
Materials used:
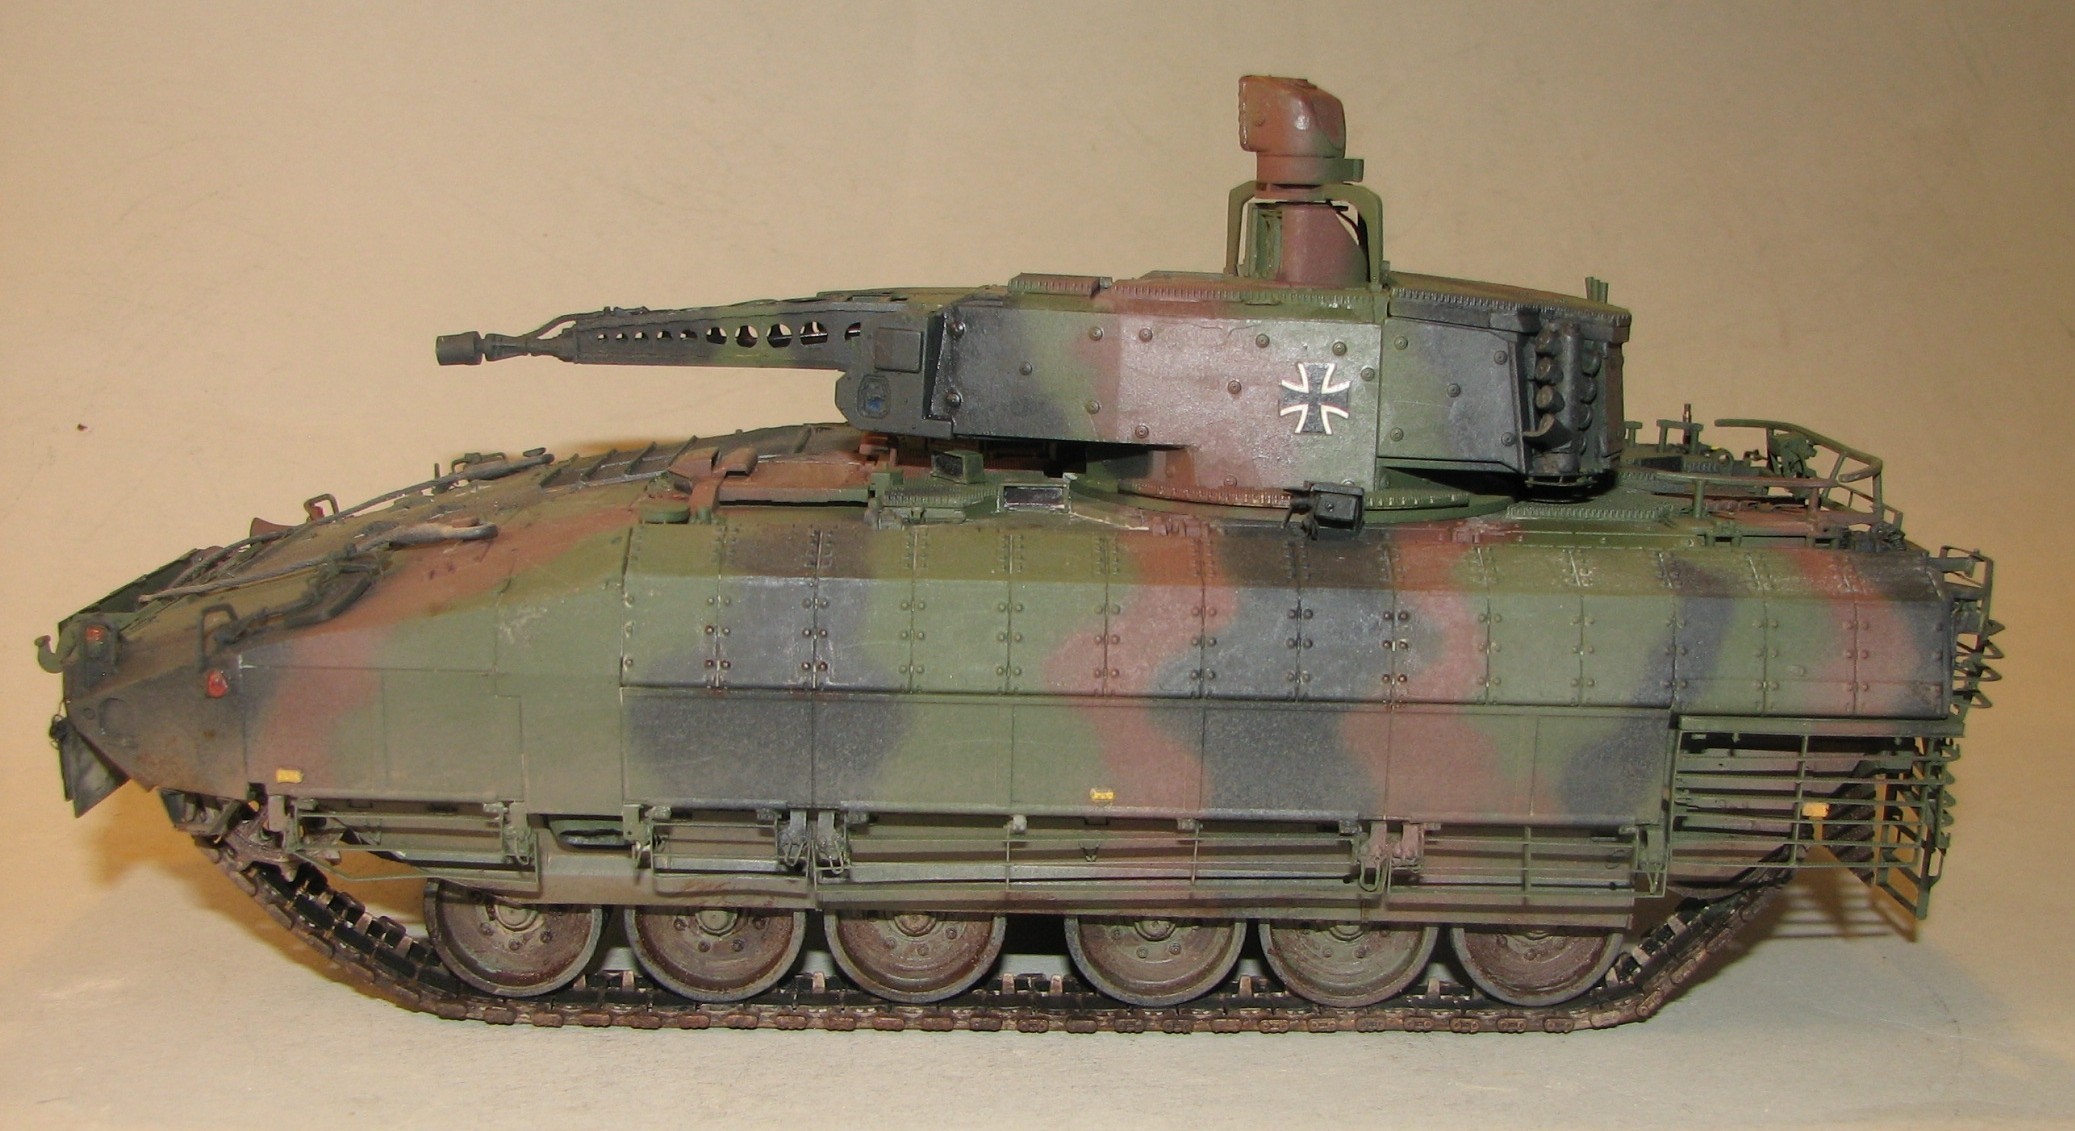
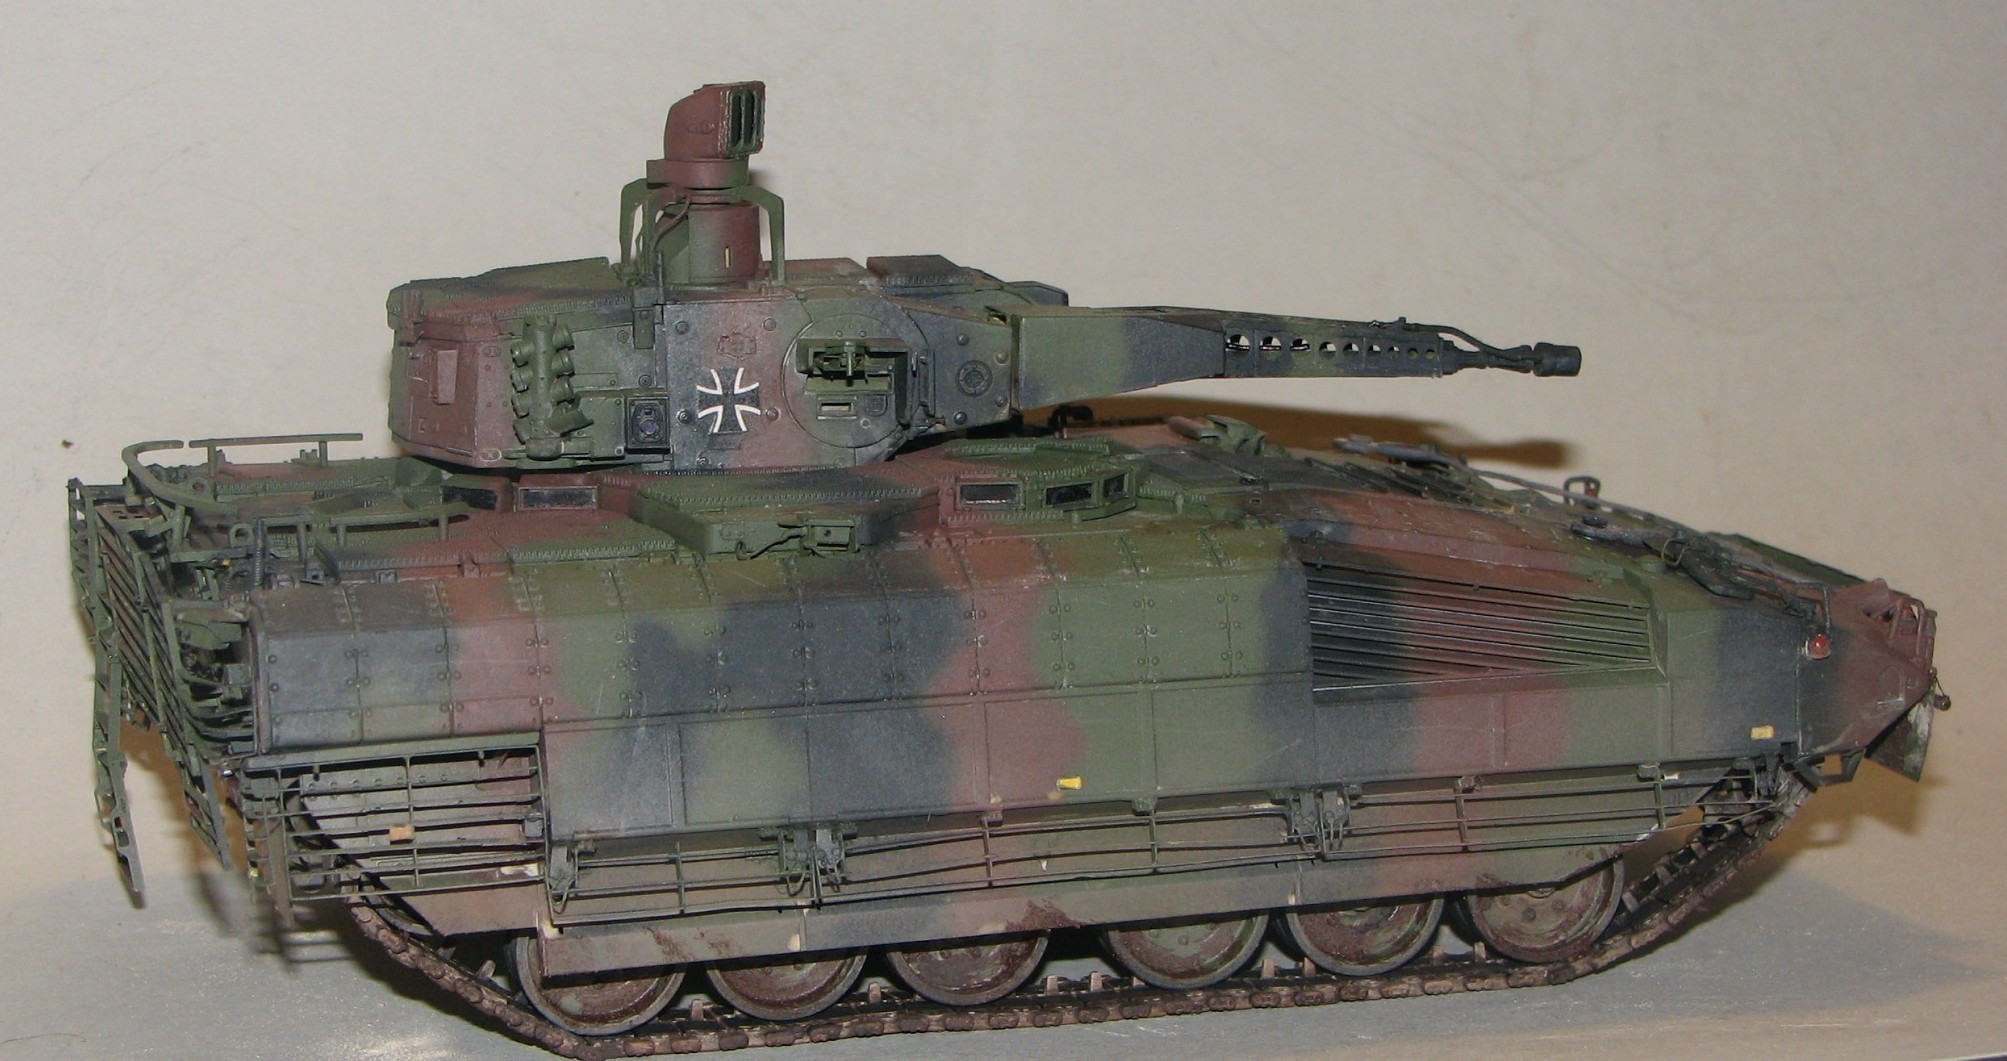
- Puma Schutzenpanzer from Rye Field Models.
- Photo etch from Voyager Models.
- Nuts and bolts from Plus Model.
- Reference cd from MNS-Militärfotografie (https://www.mns-militaerfotografie.de/shop/index.php)
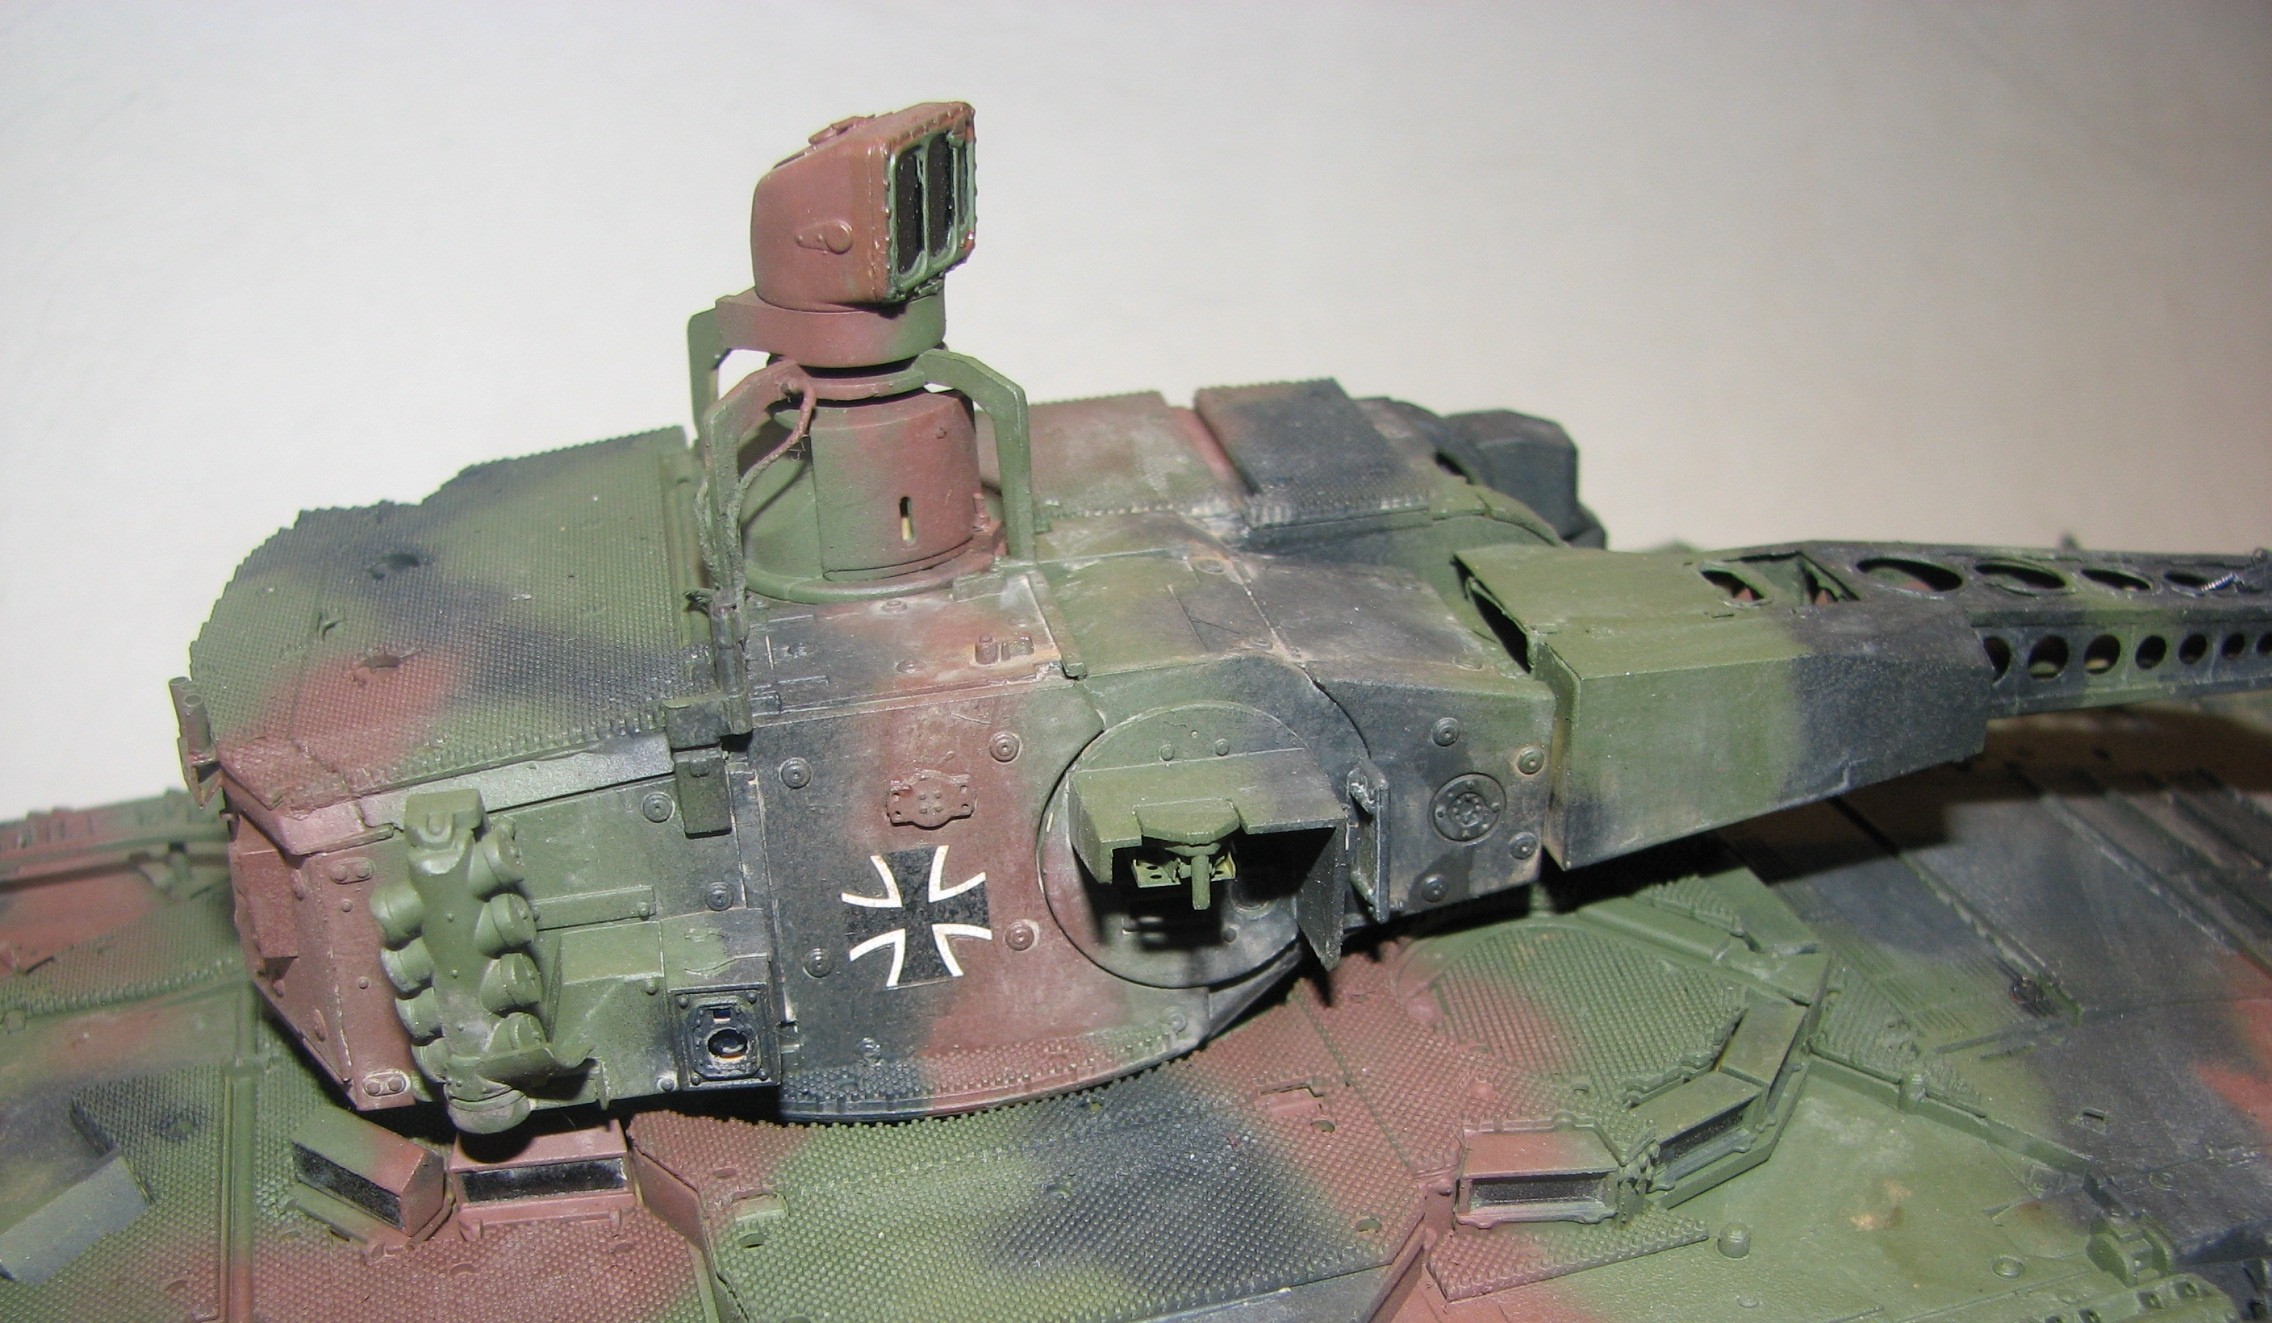
Painted with Tamiya colors and weathered with products from Mig and AK.
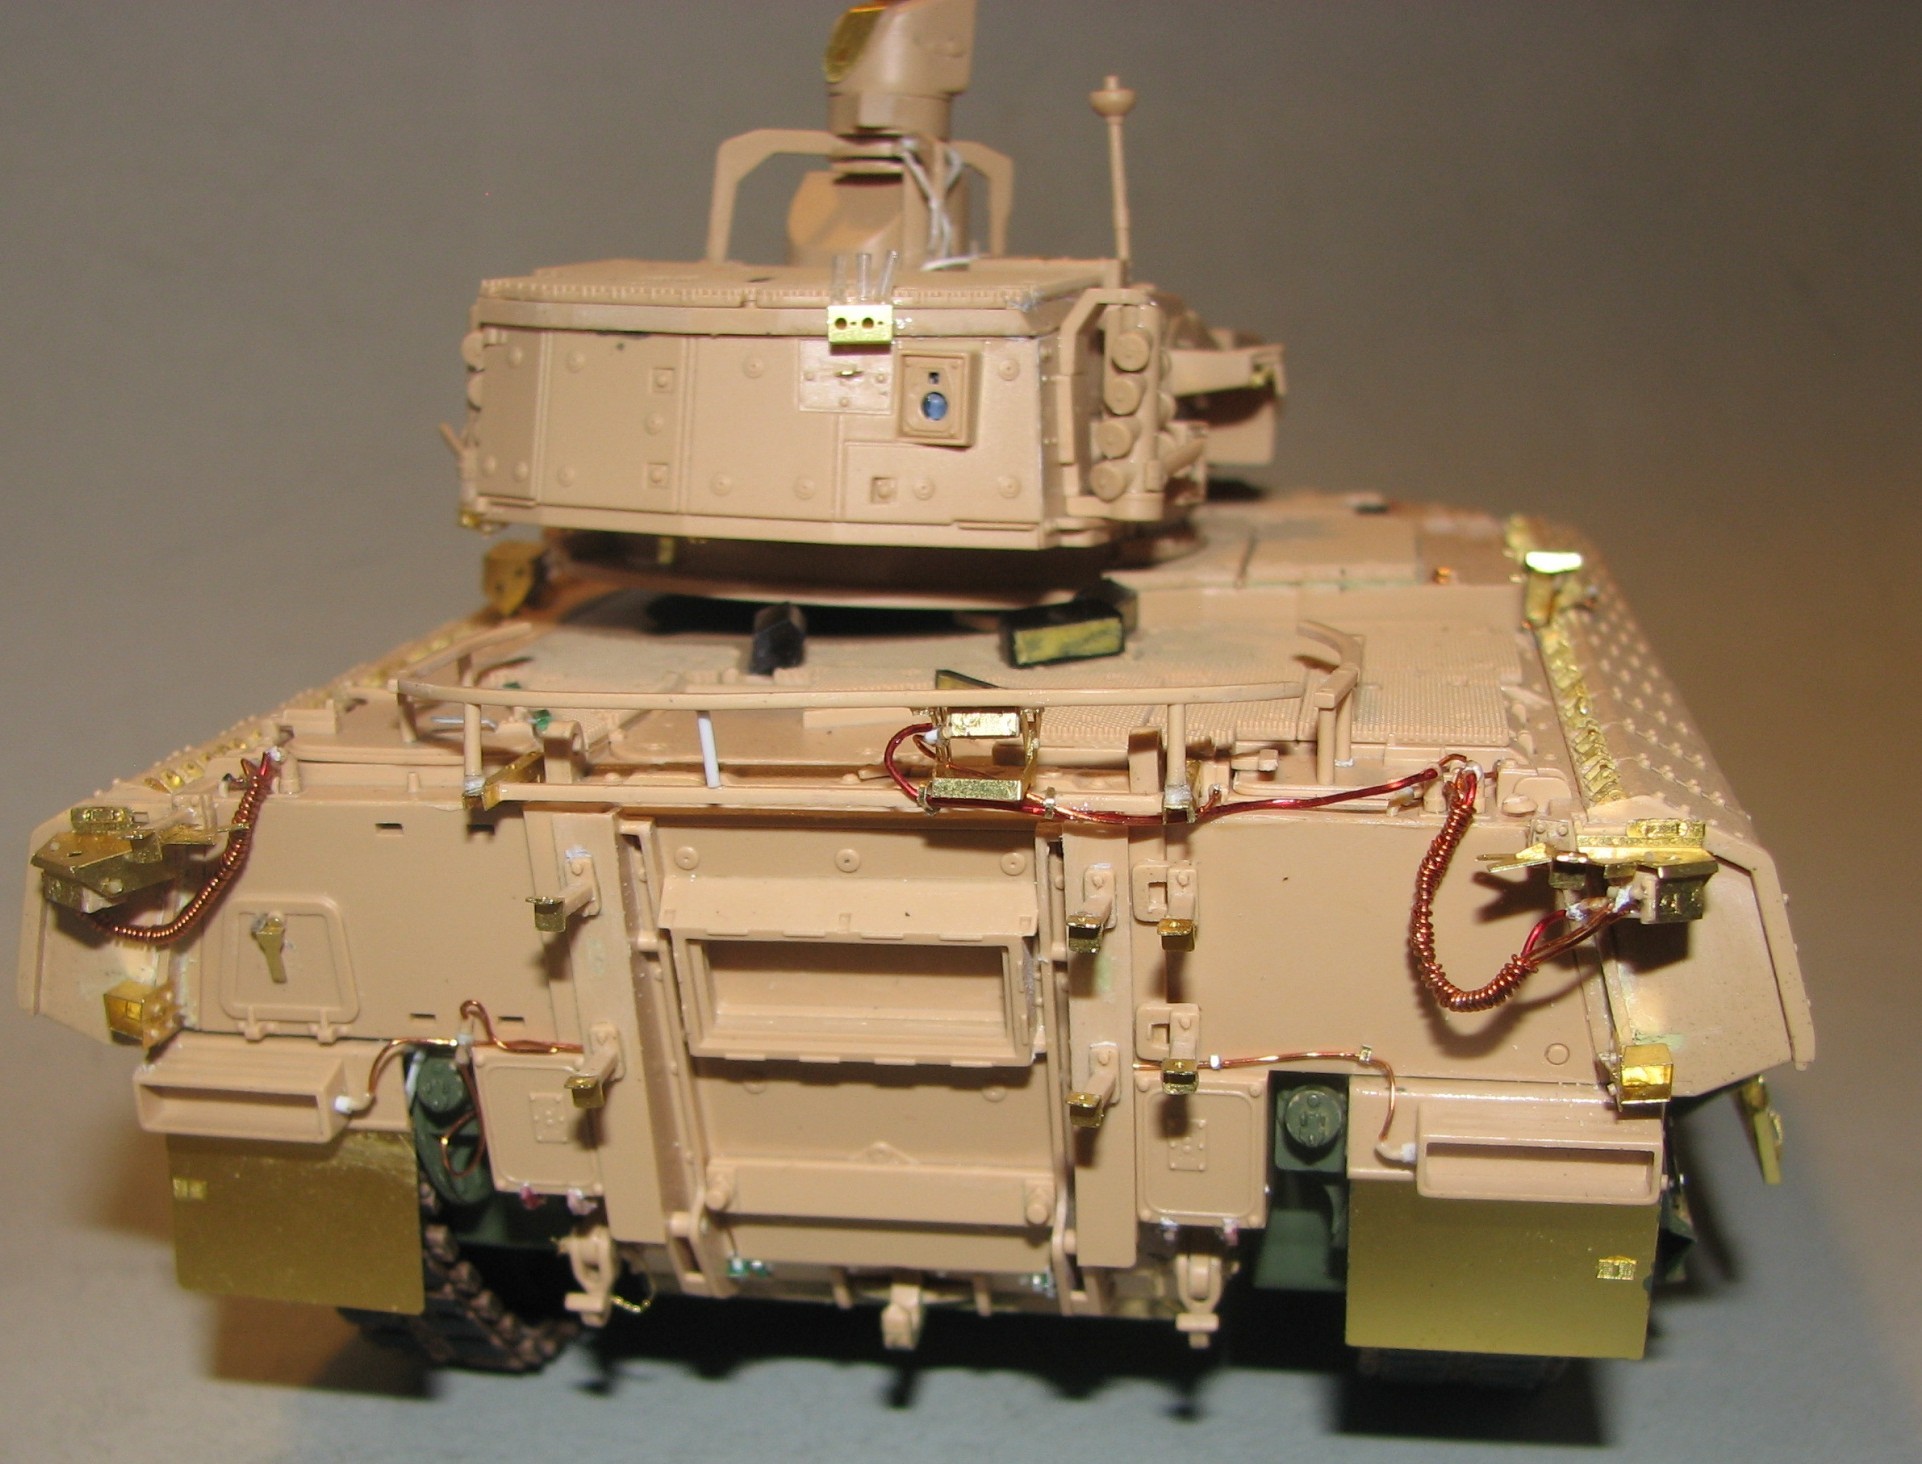
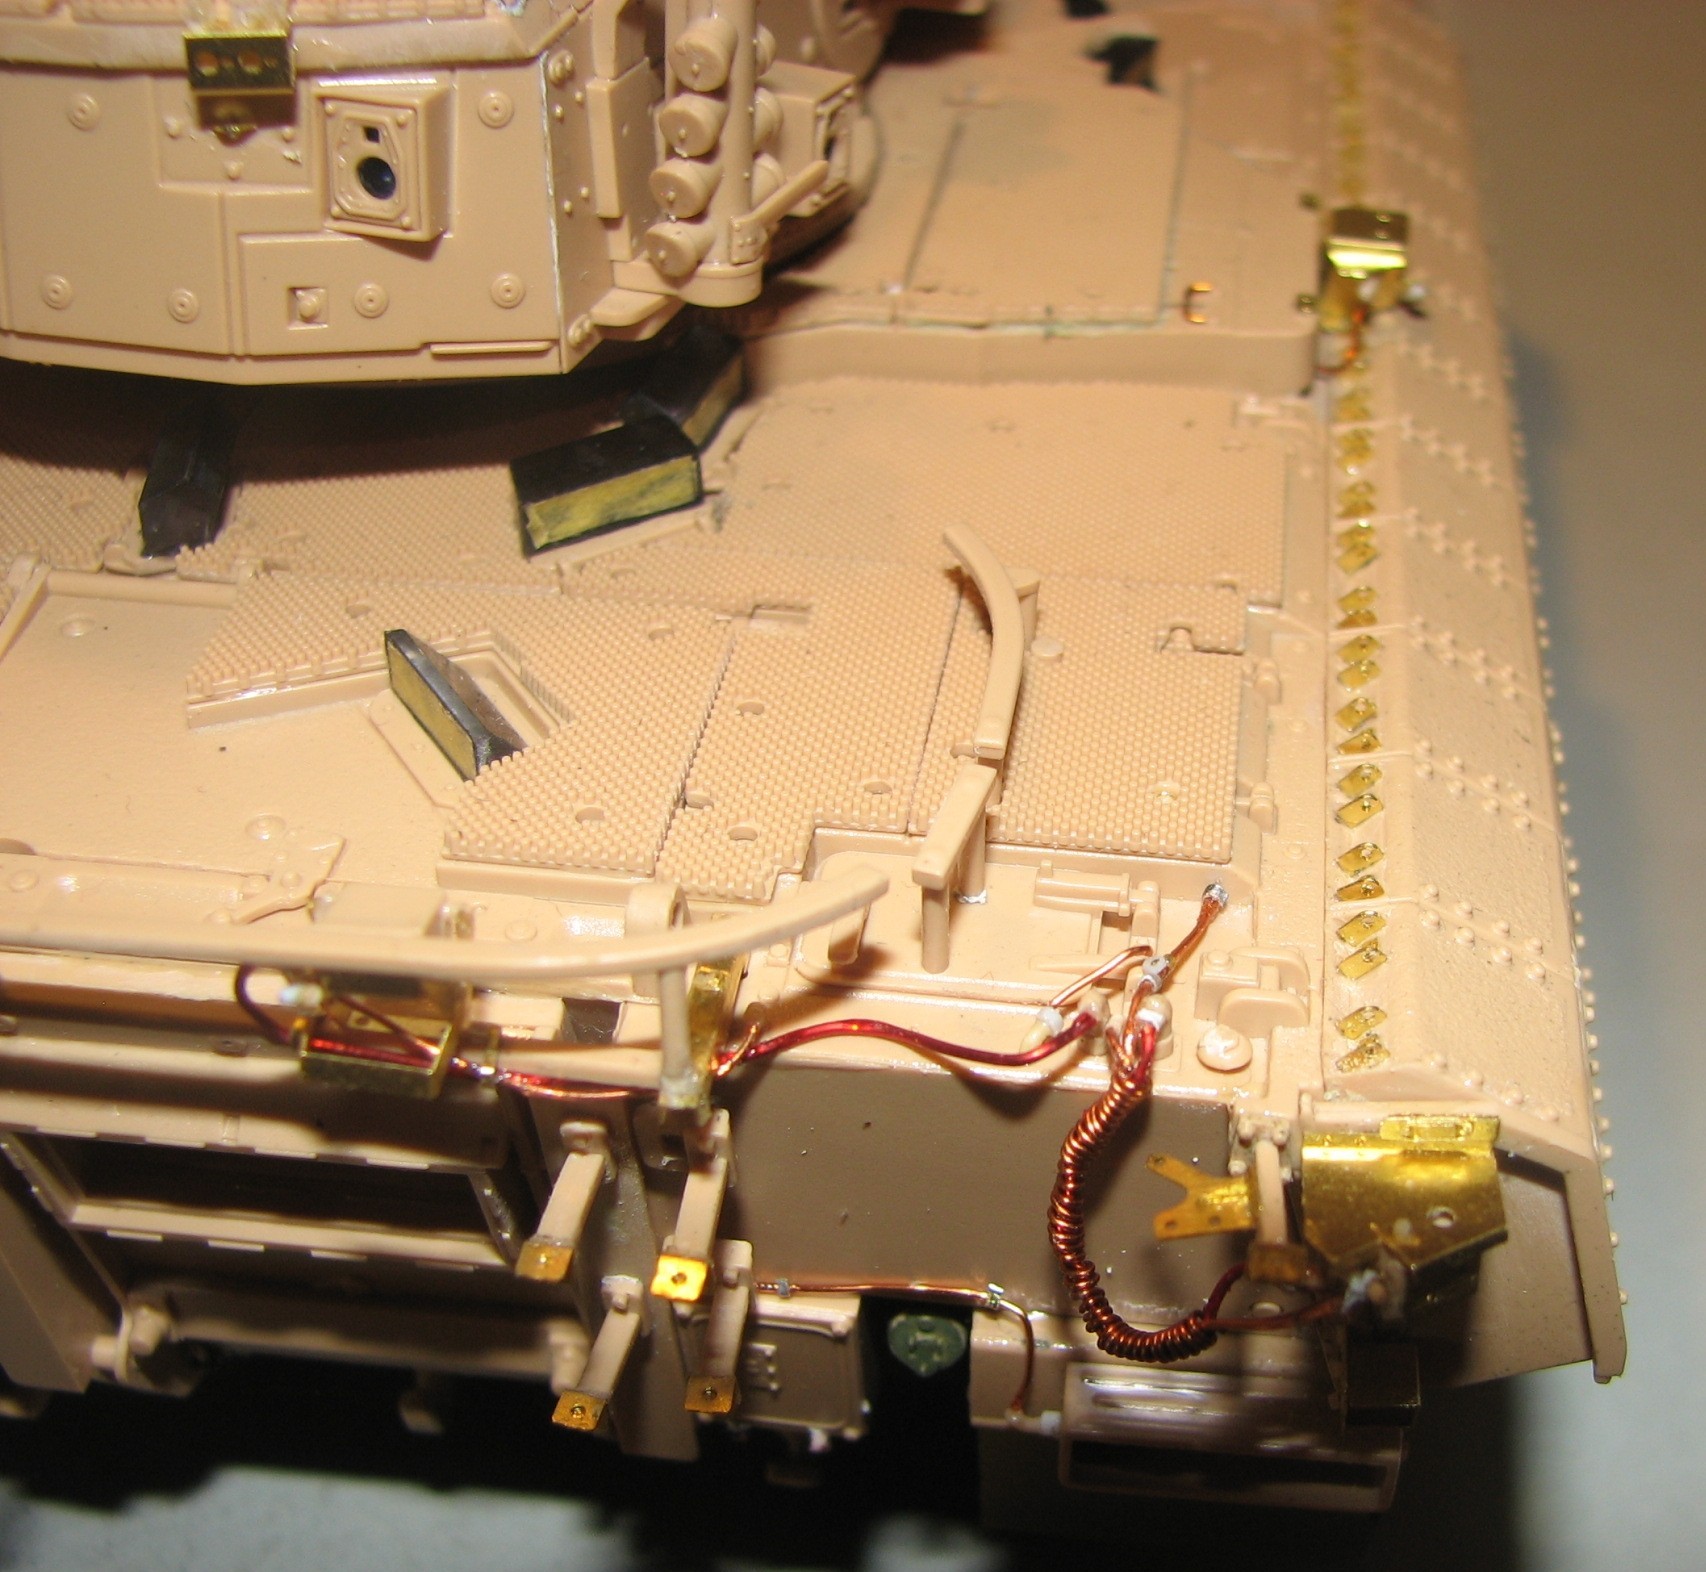
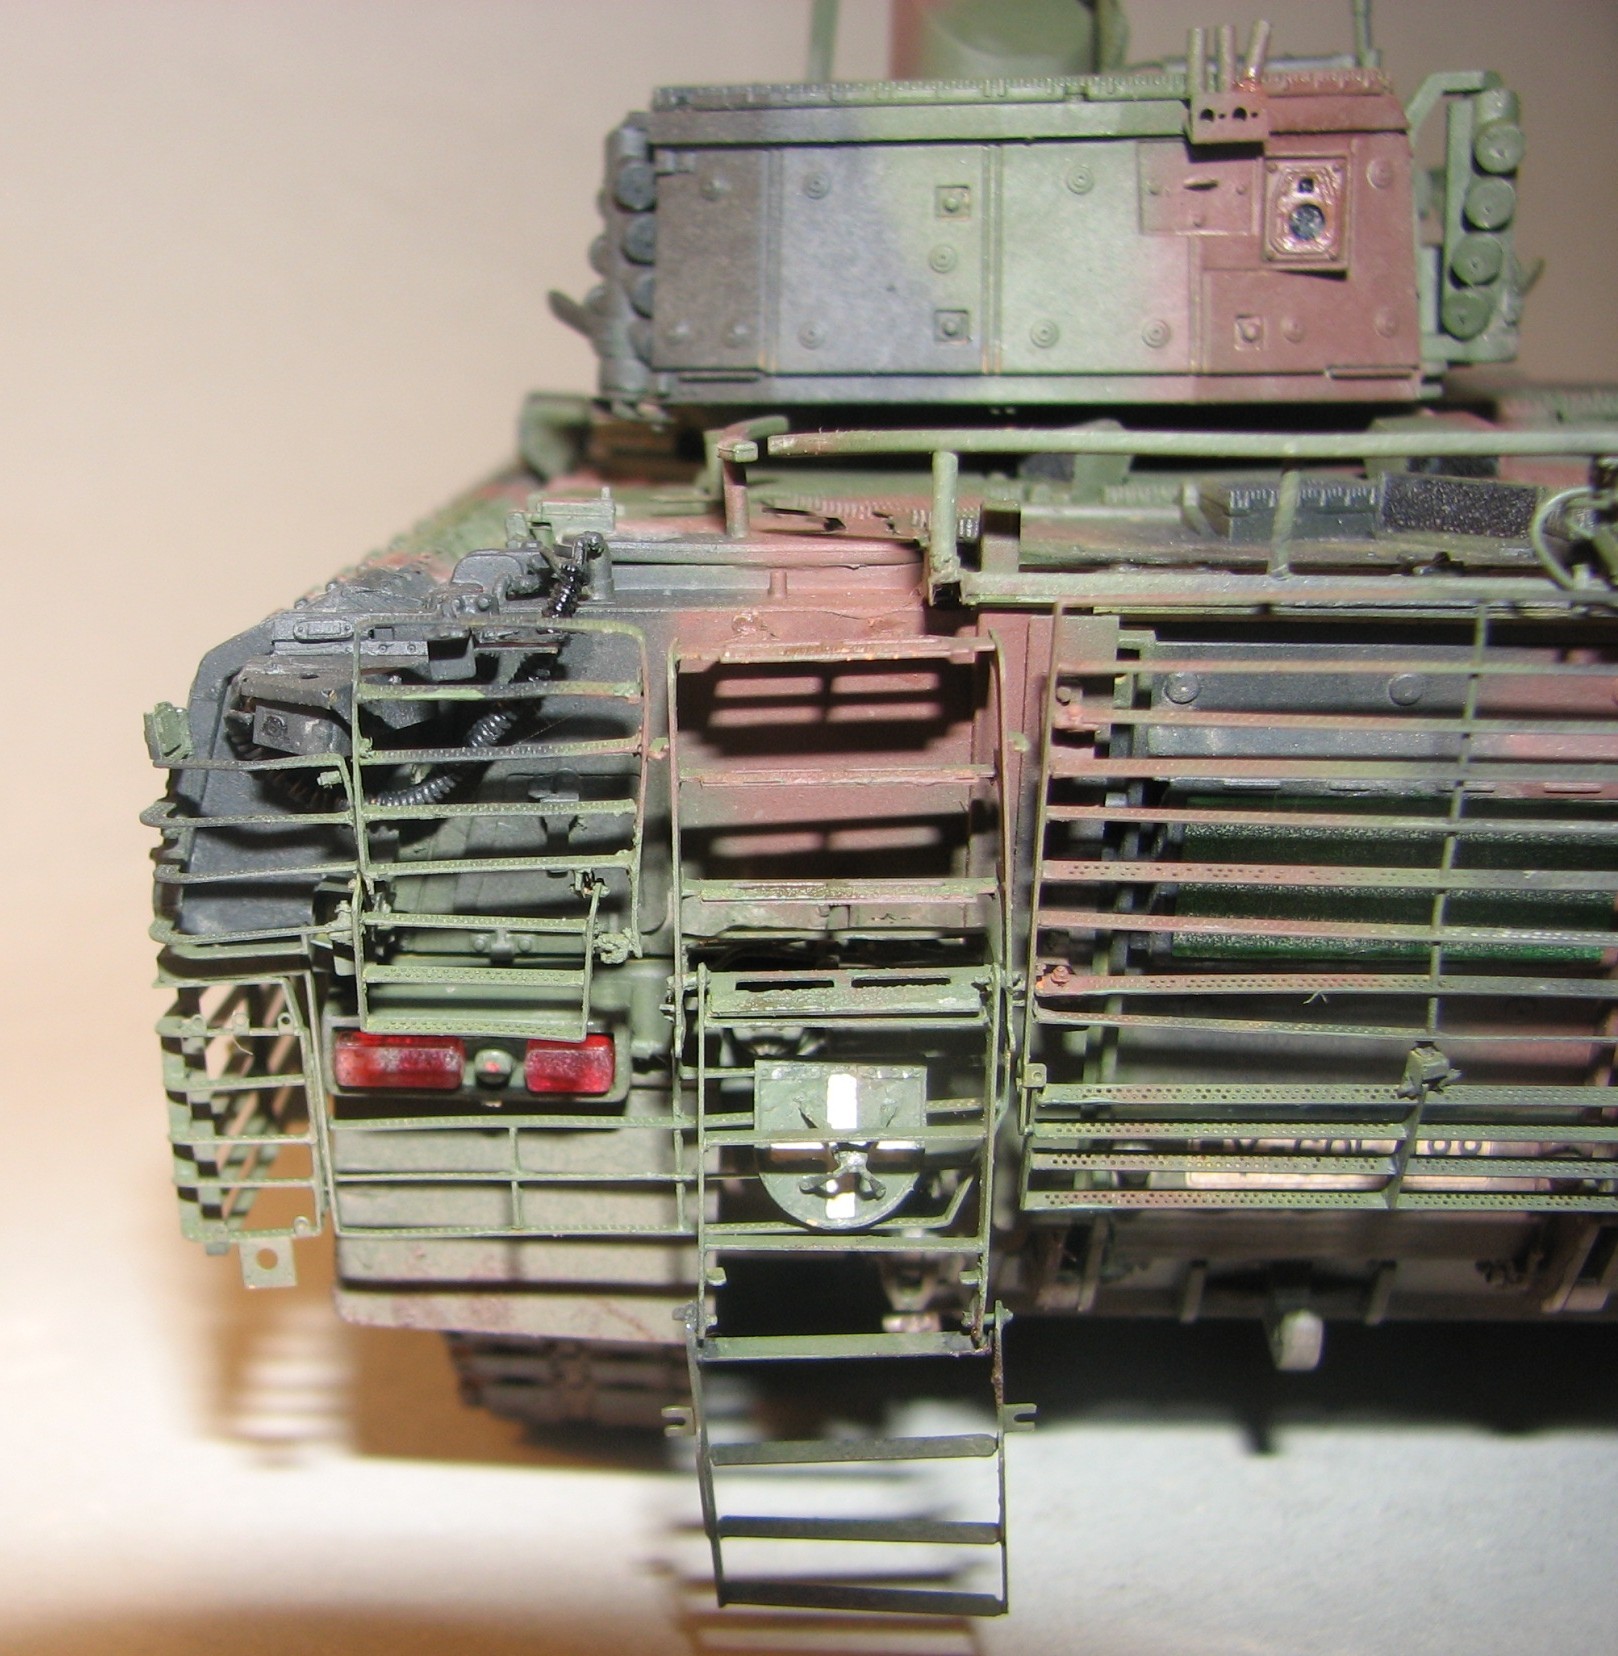
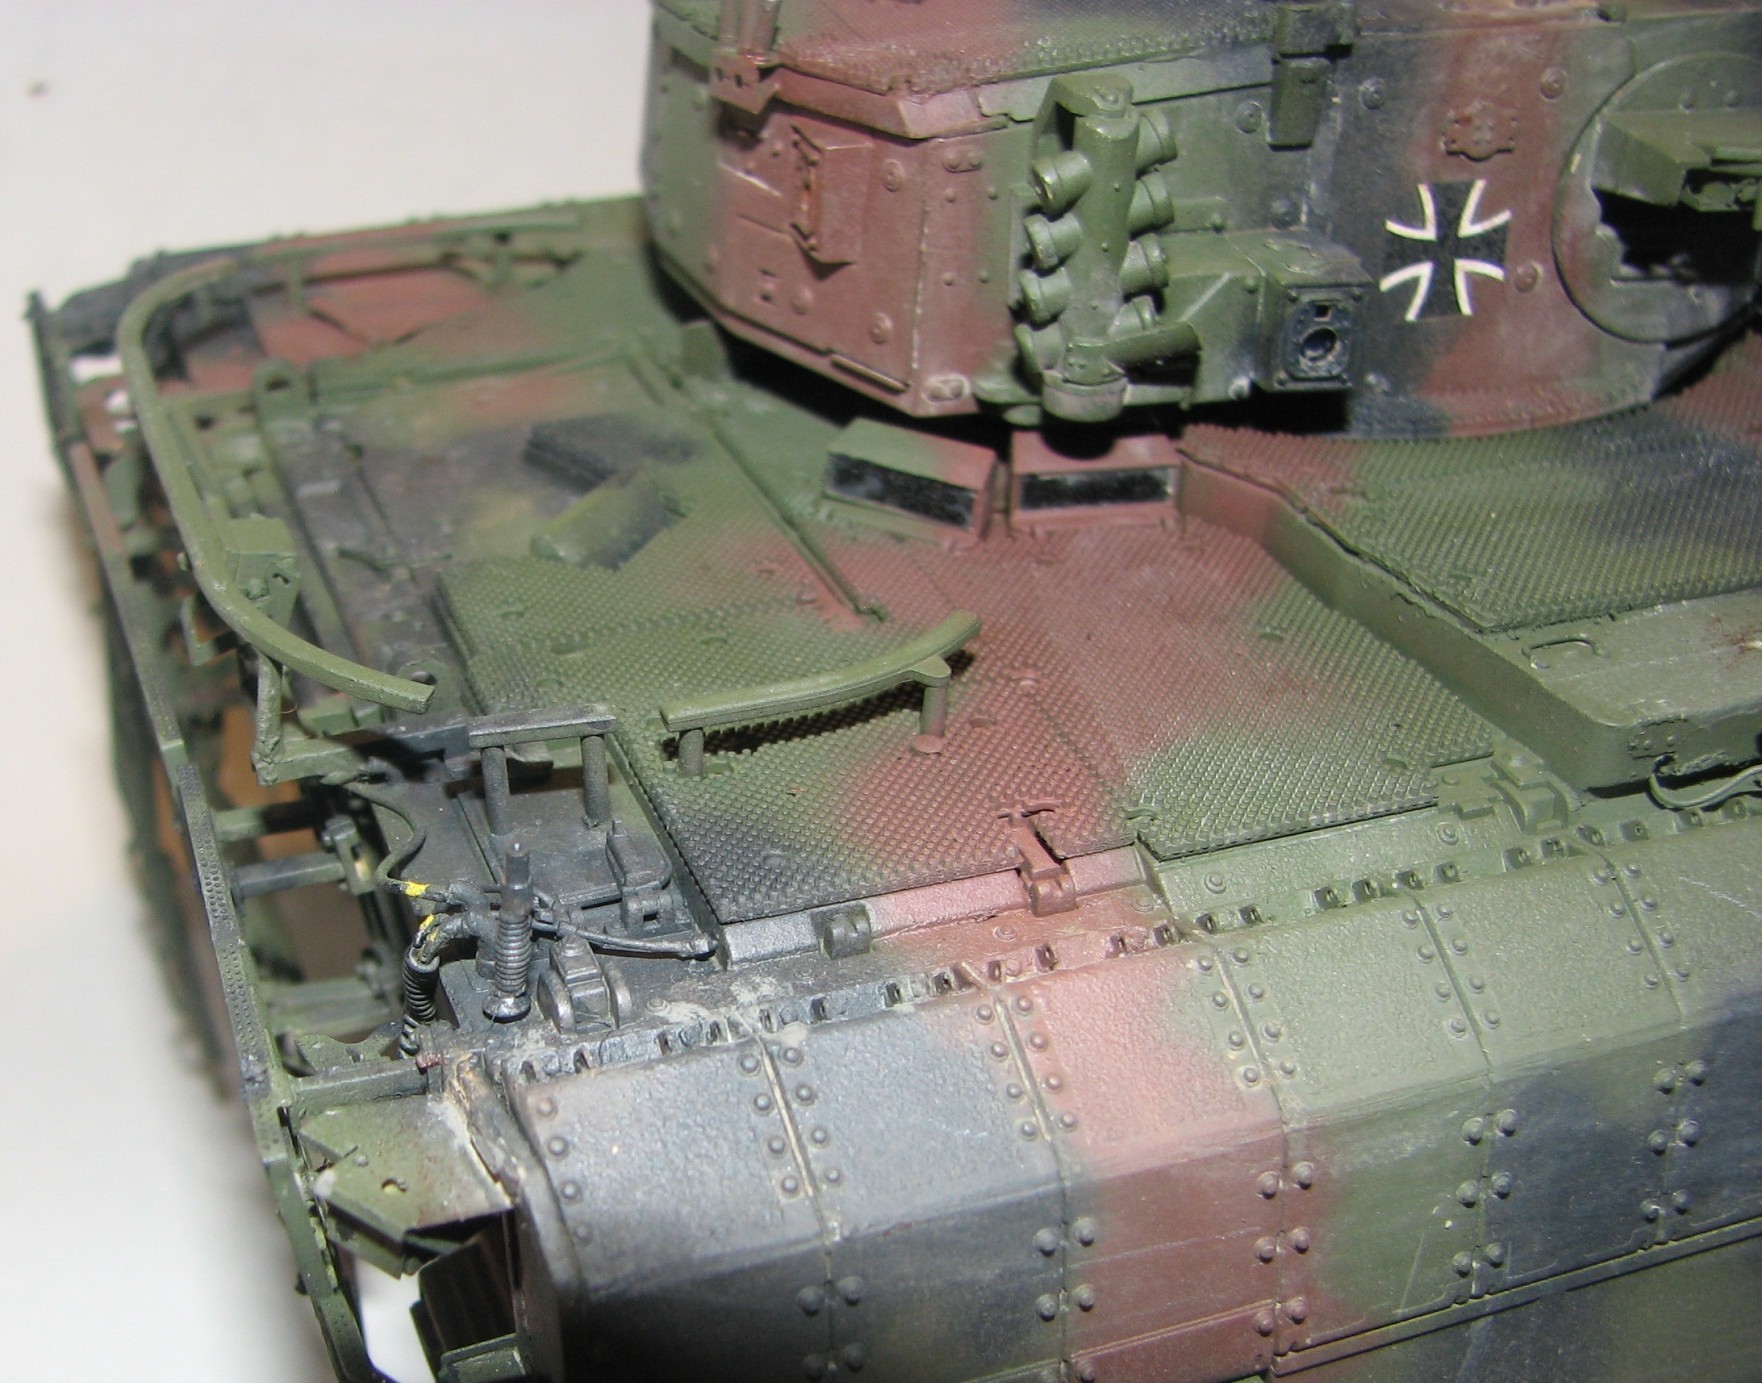
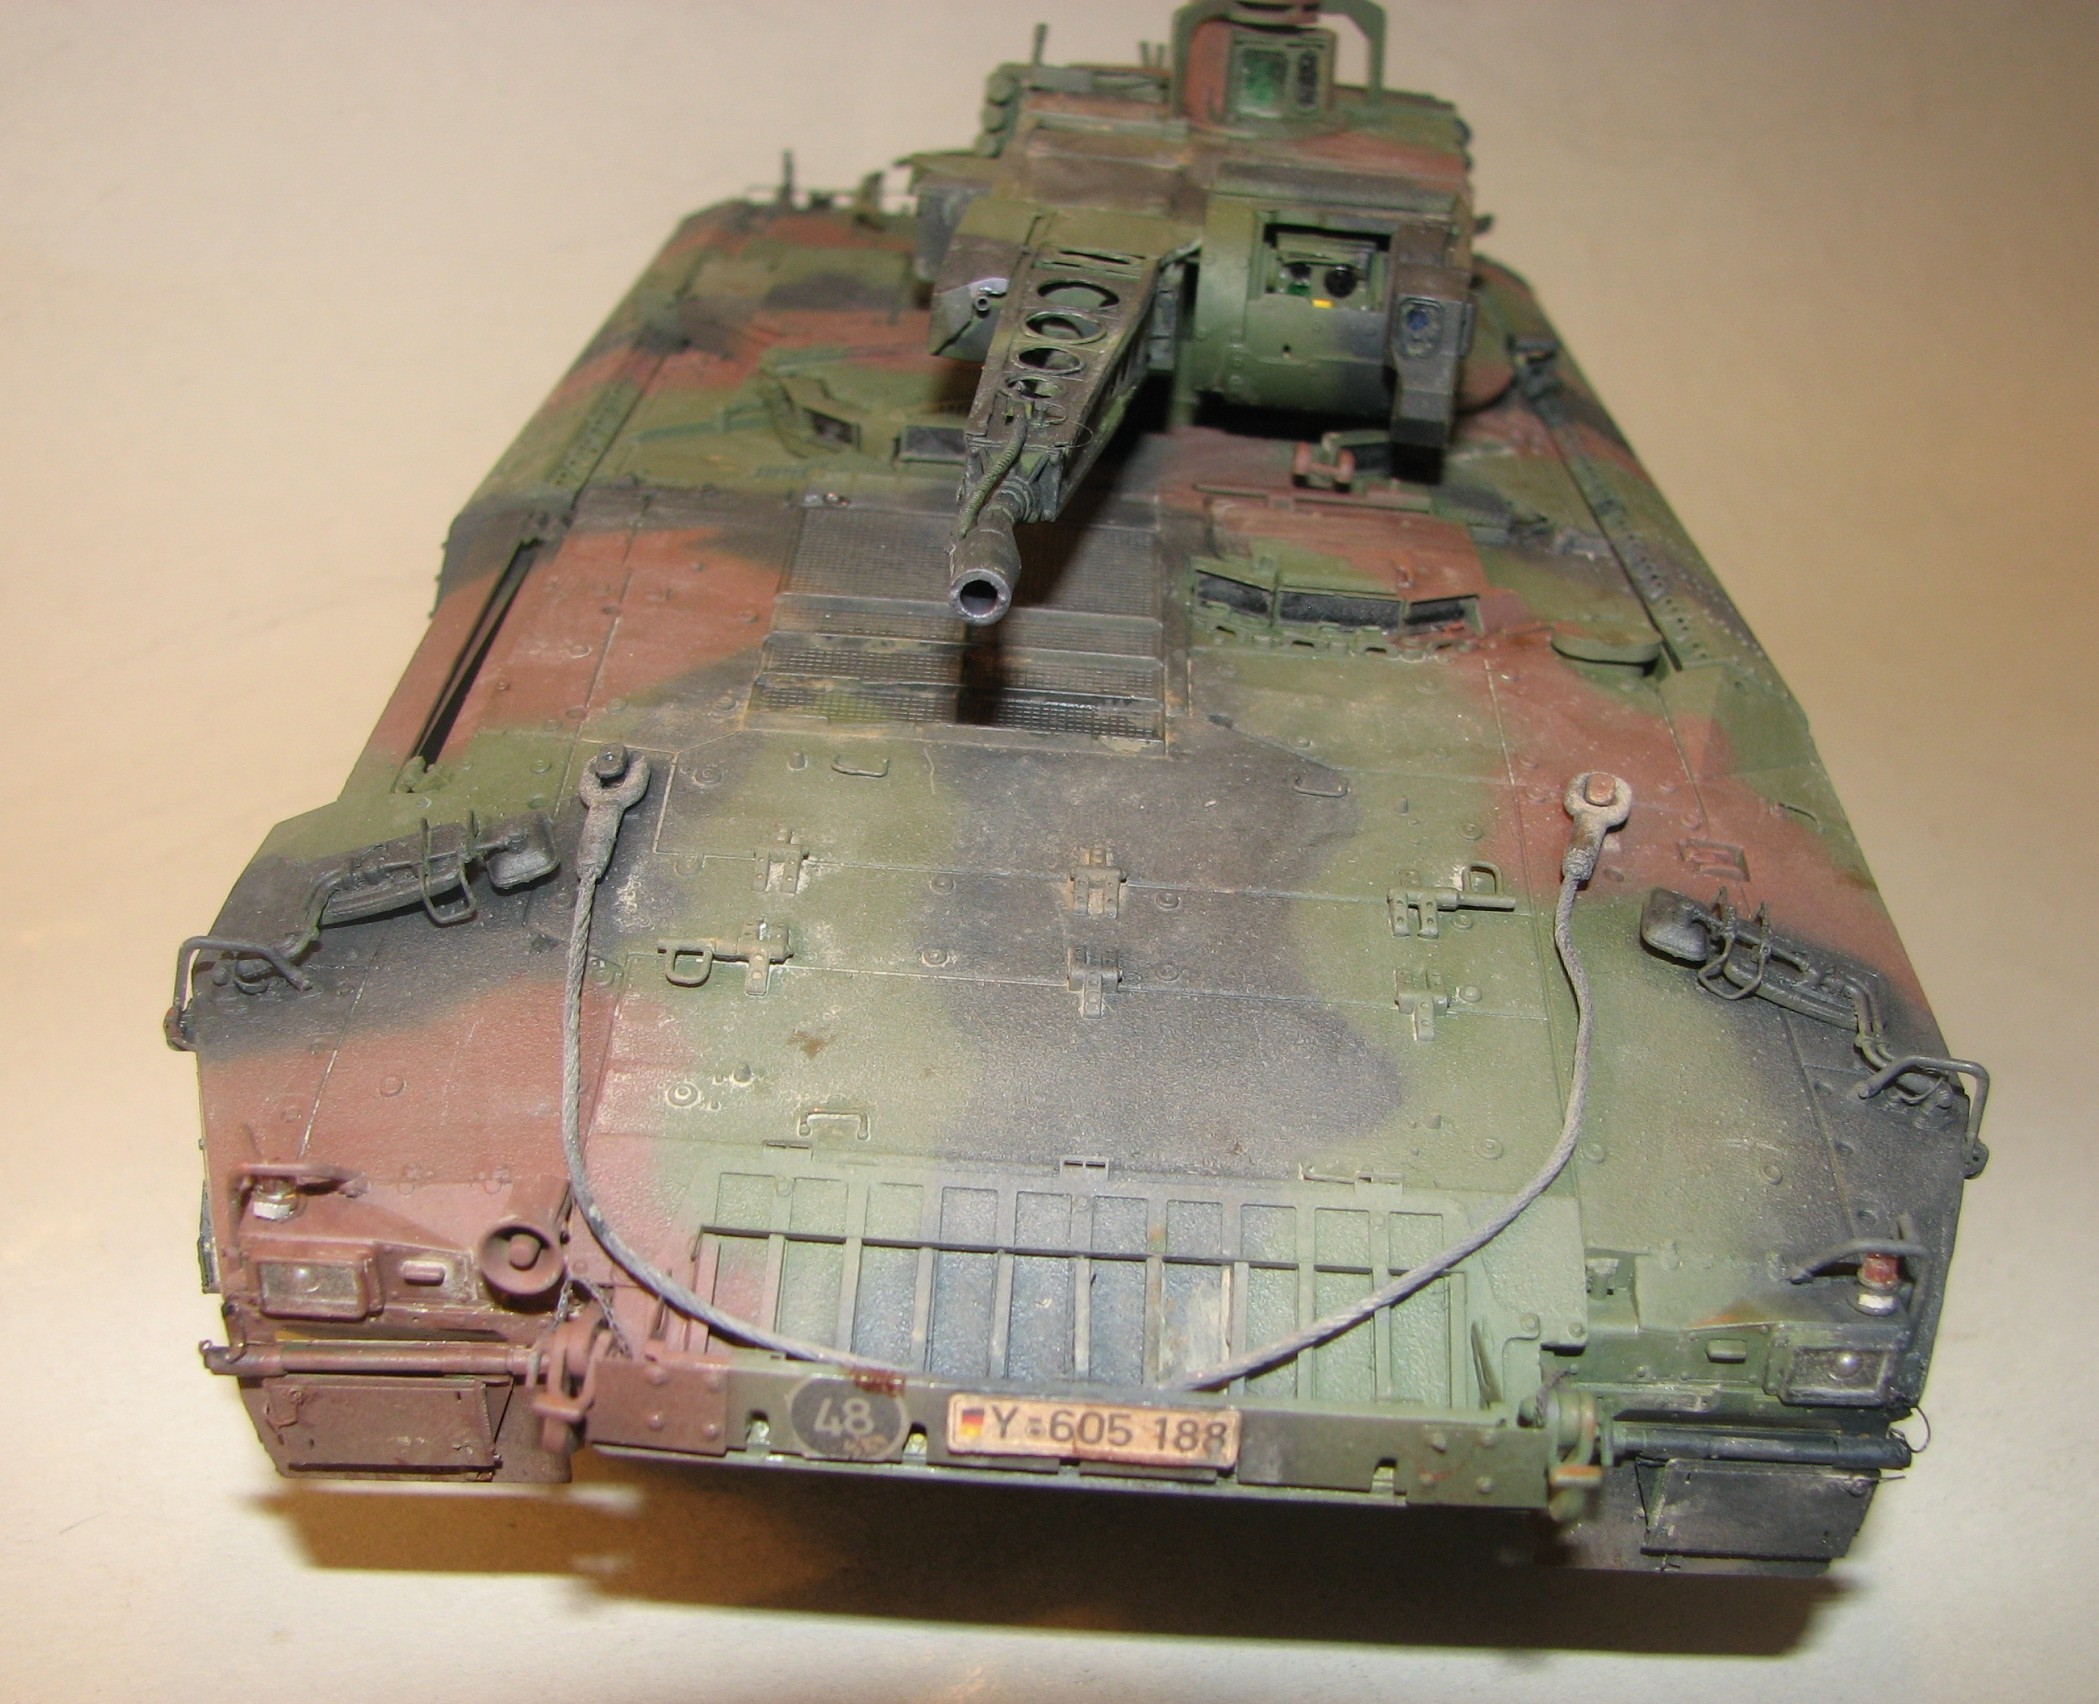
Those who wants a fast build better skip the PE and references as using them will take at least the double time. The model kit from RFM has good details although there are some misses. There is an indentation just under where part B18 is placed that has to be cut out (is present on the offering from Hobby Boss) and a hole drilled for the camera cable. There are also a couple of hinges on each of the two boxes on either side of the back door that needs to be scratch built if you want to add them.
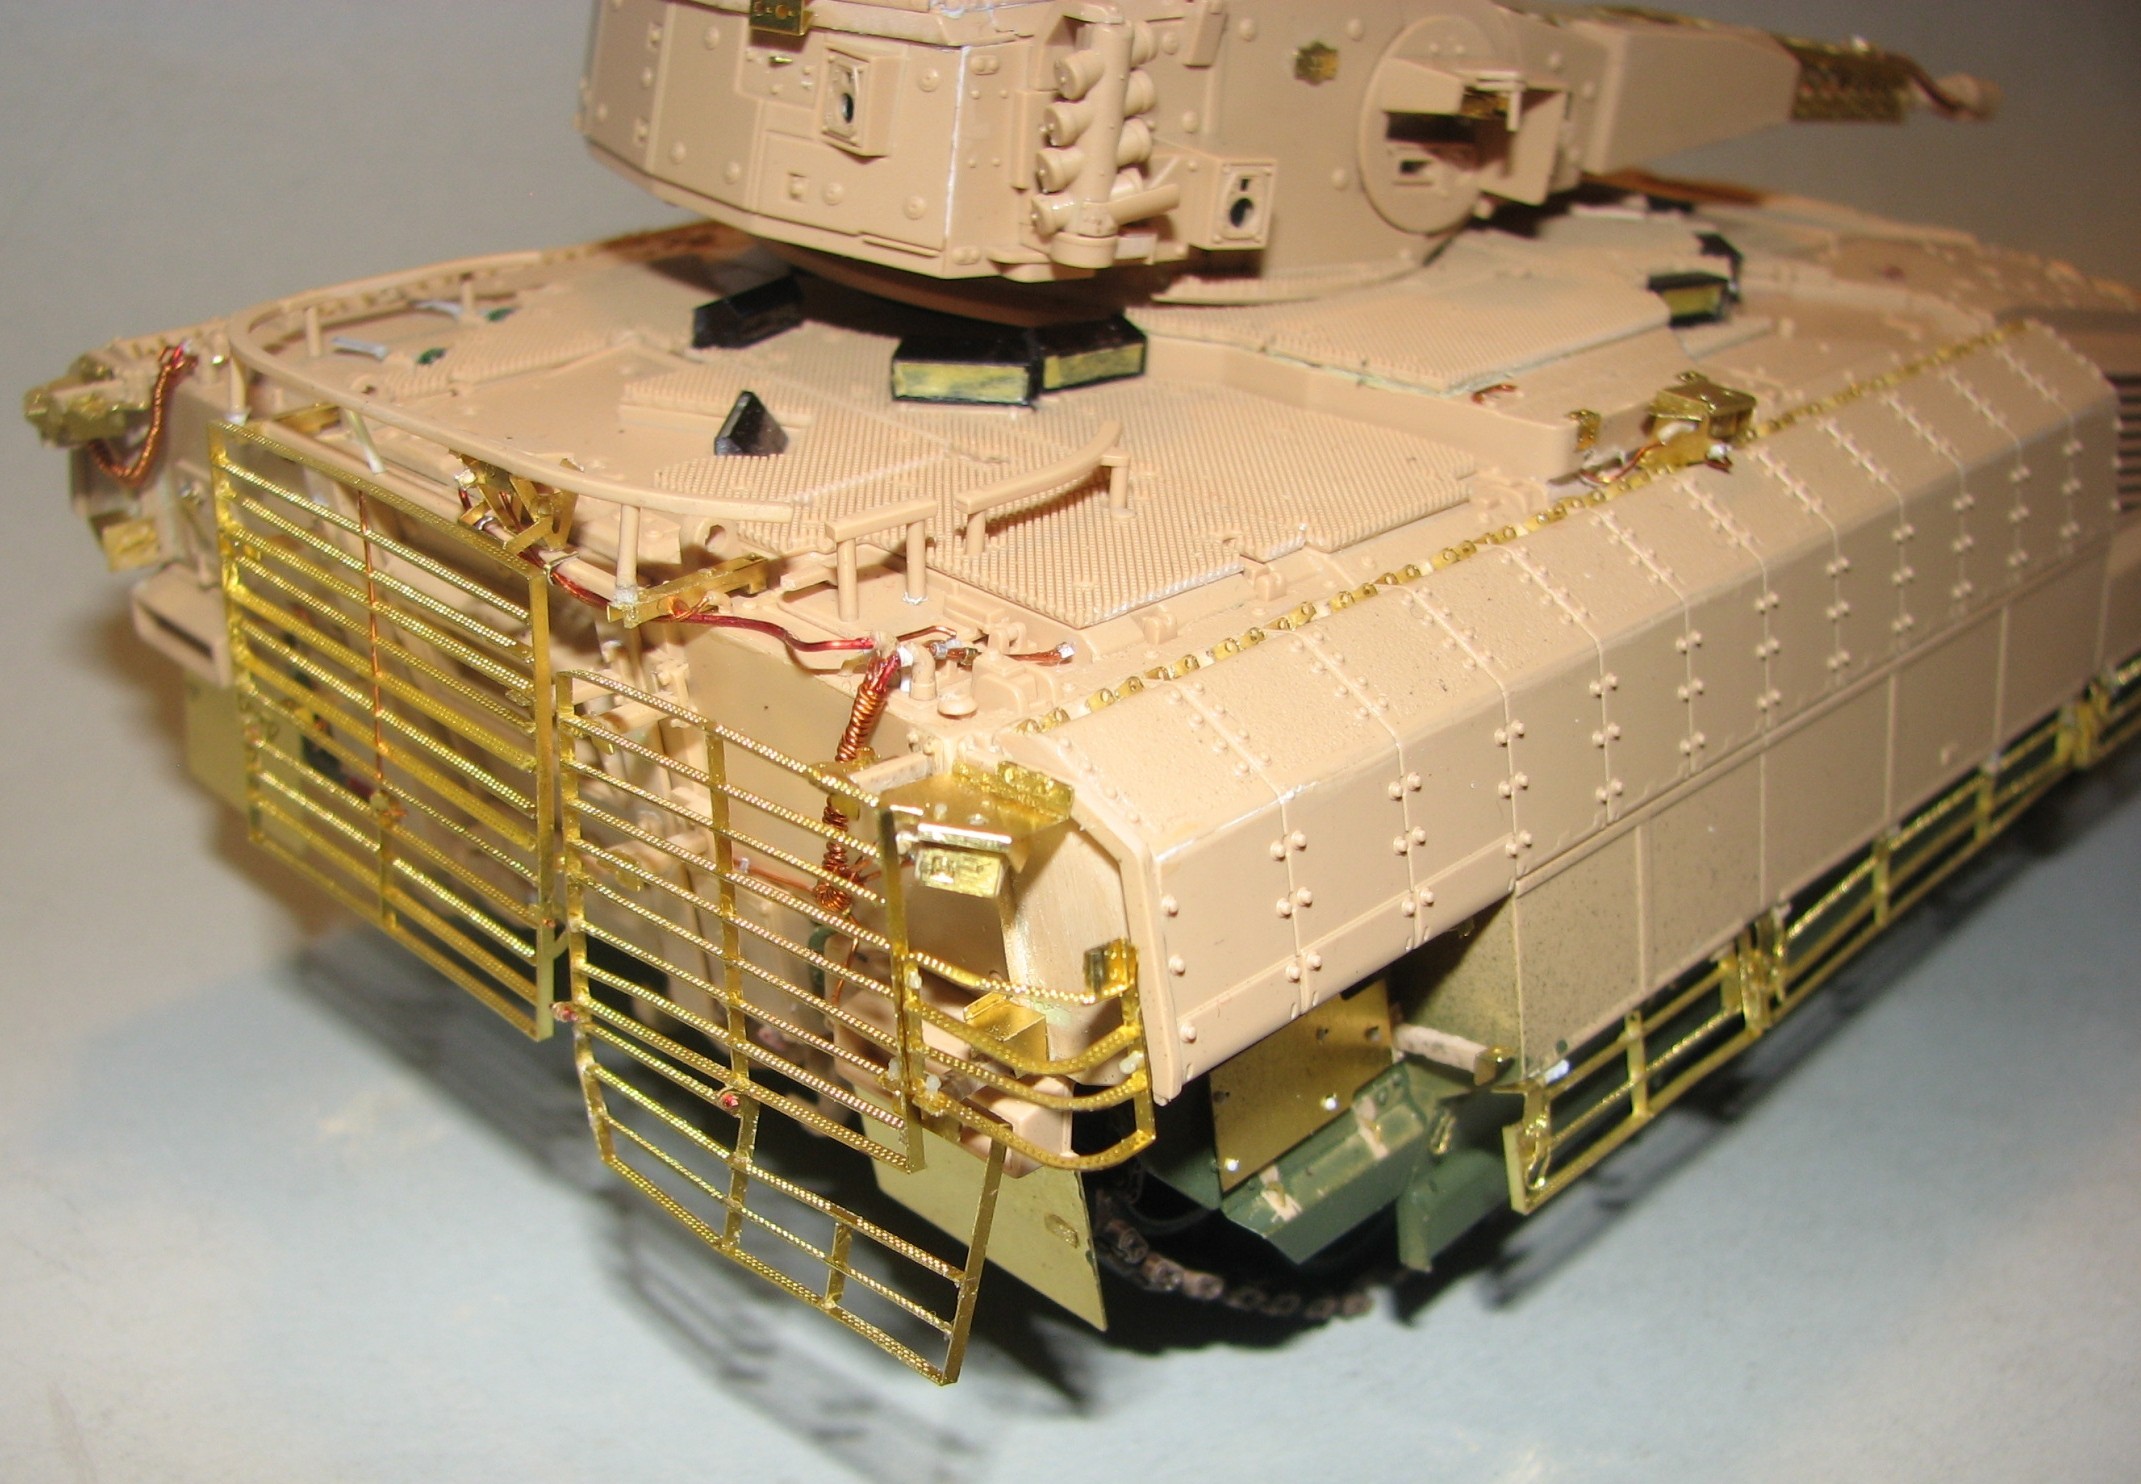
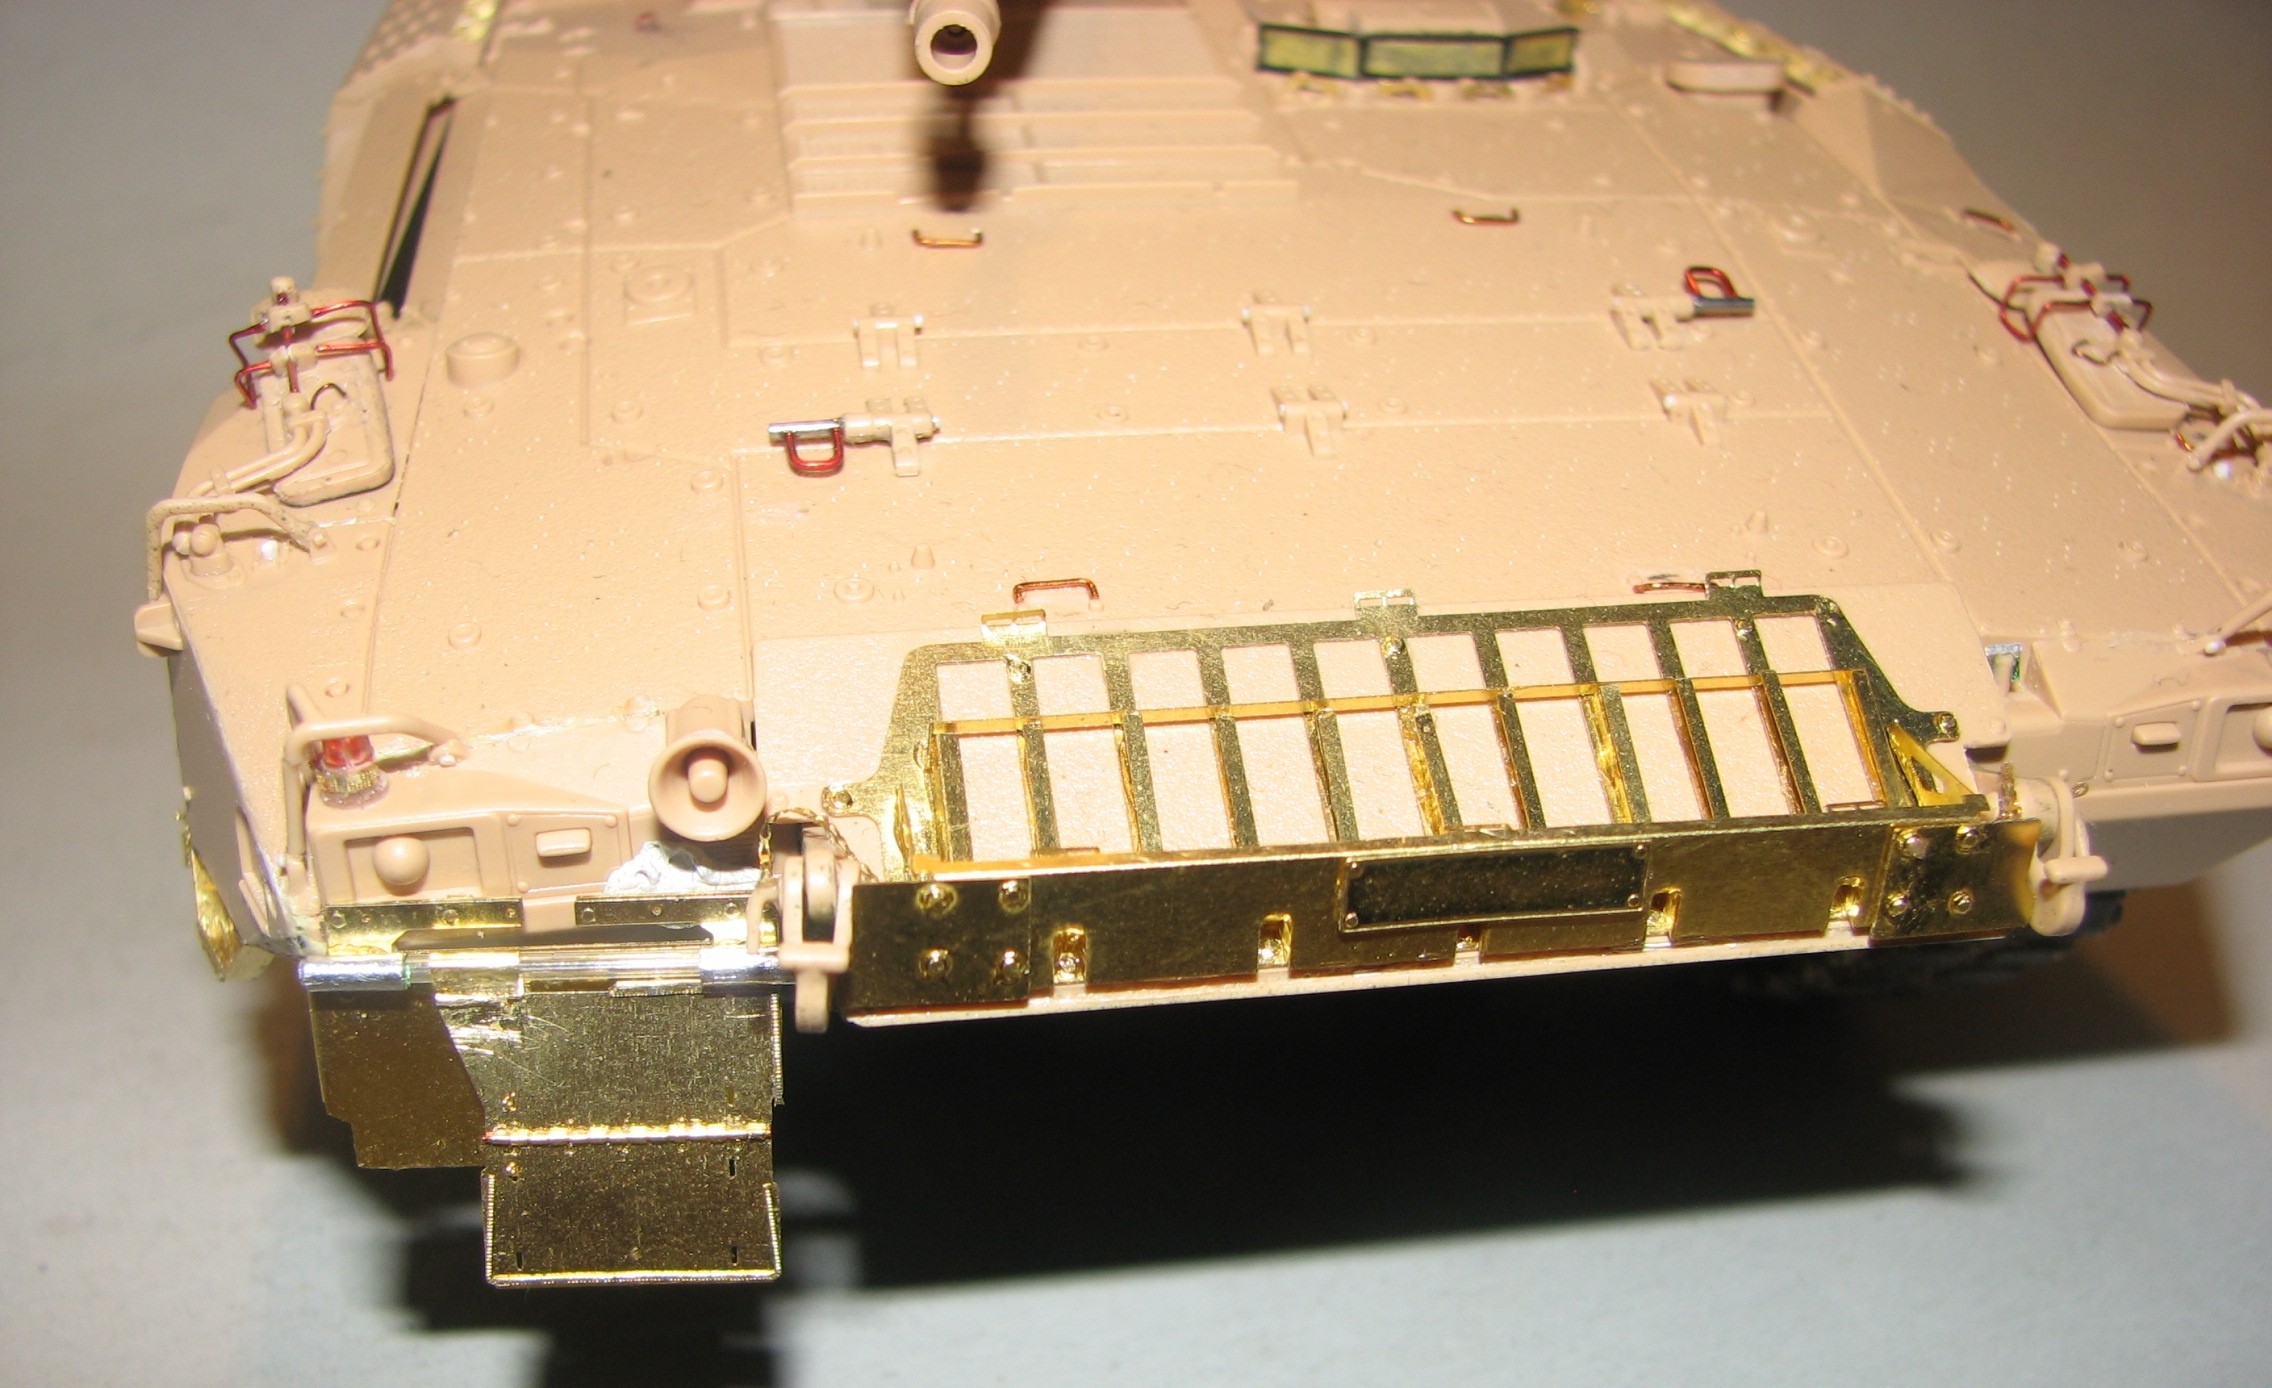
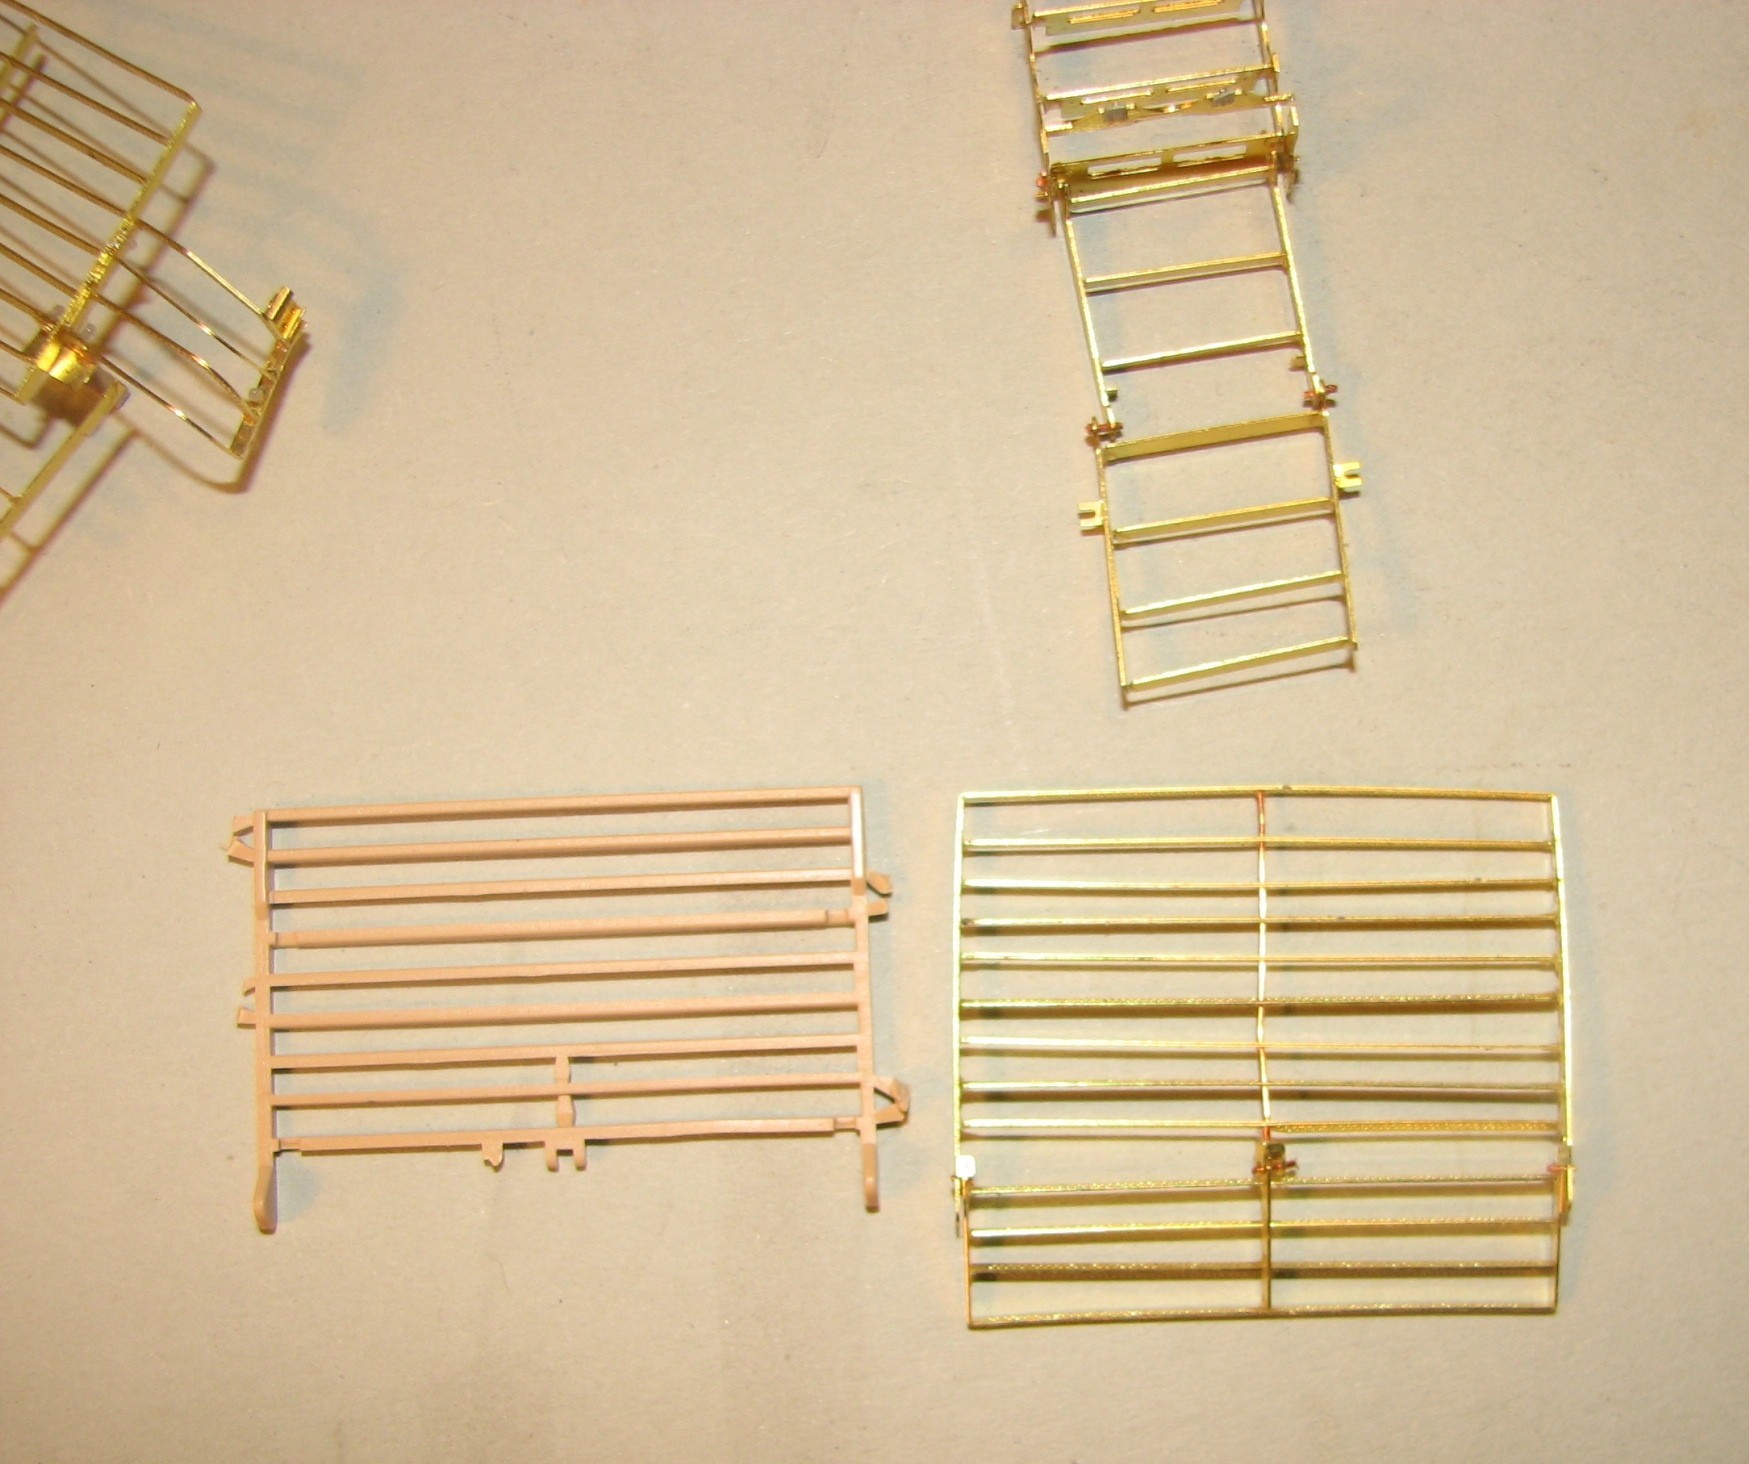
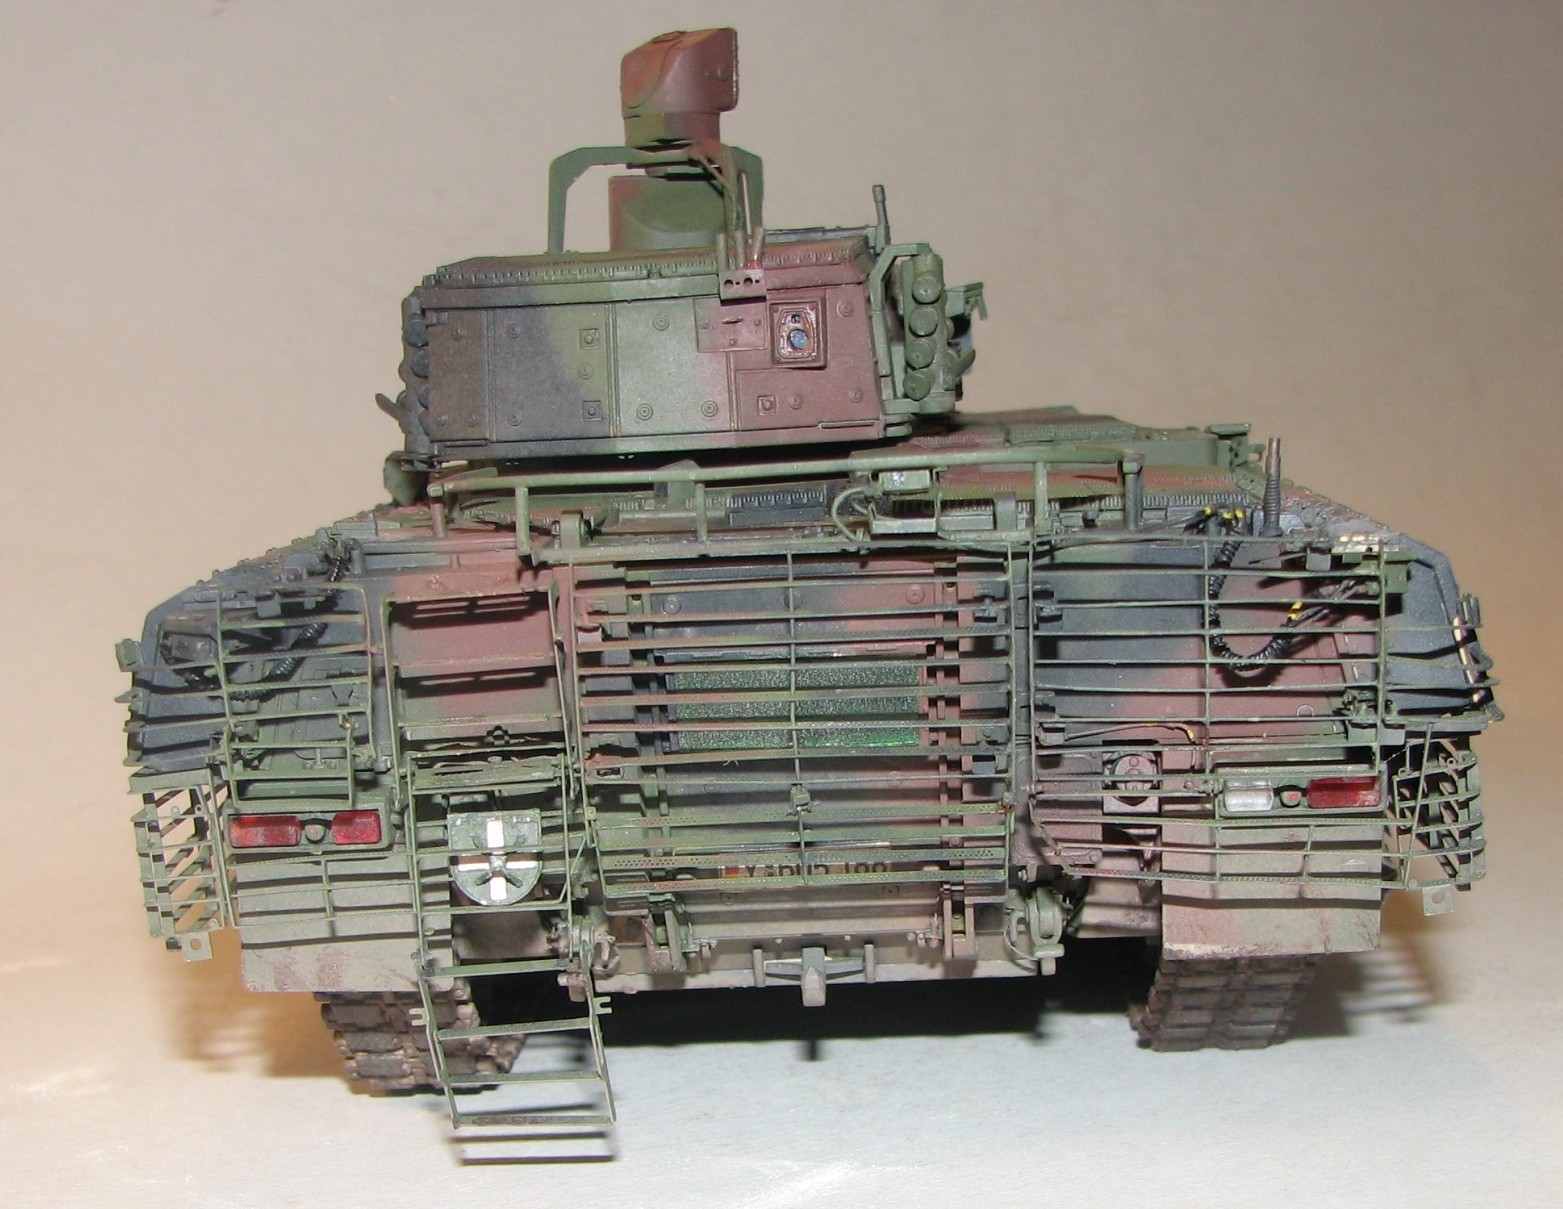
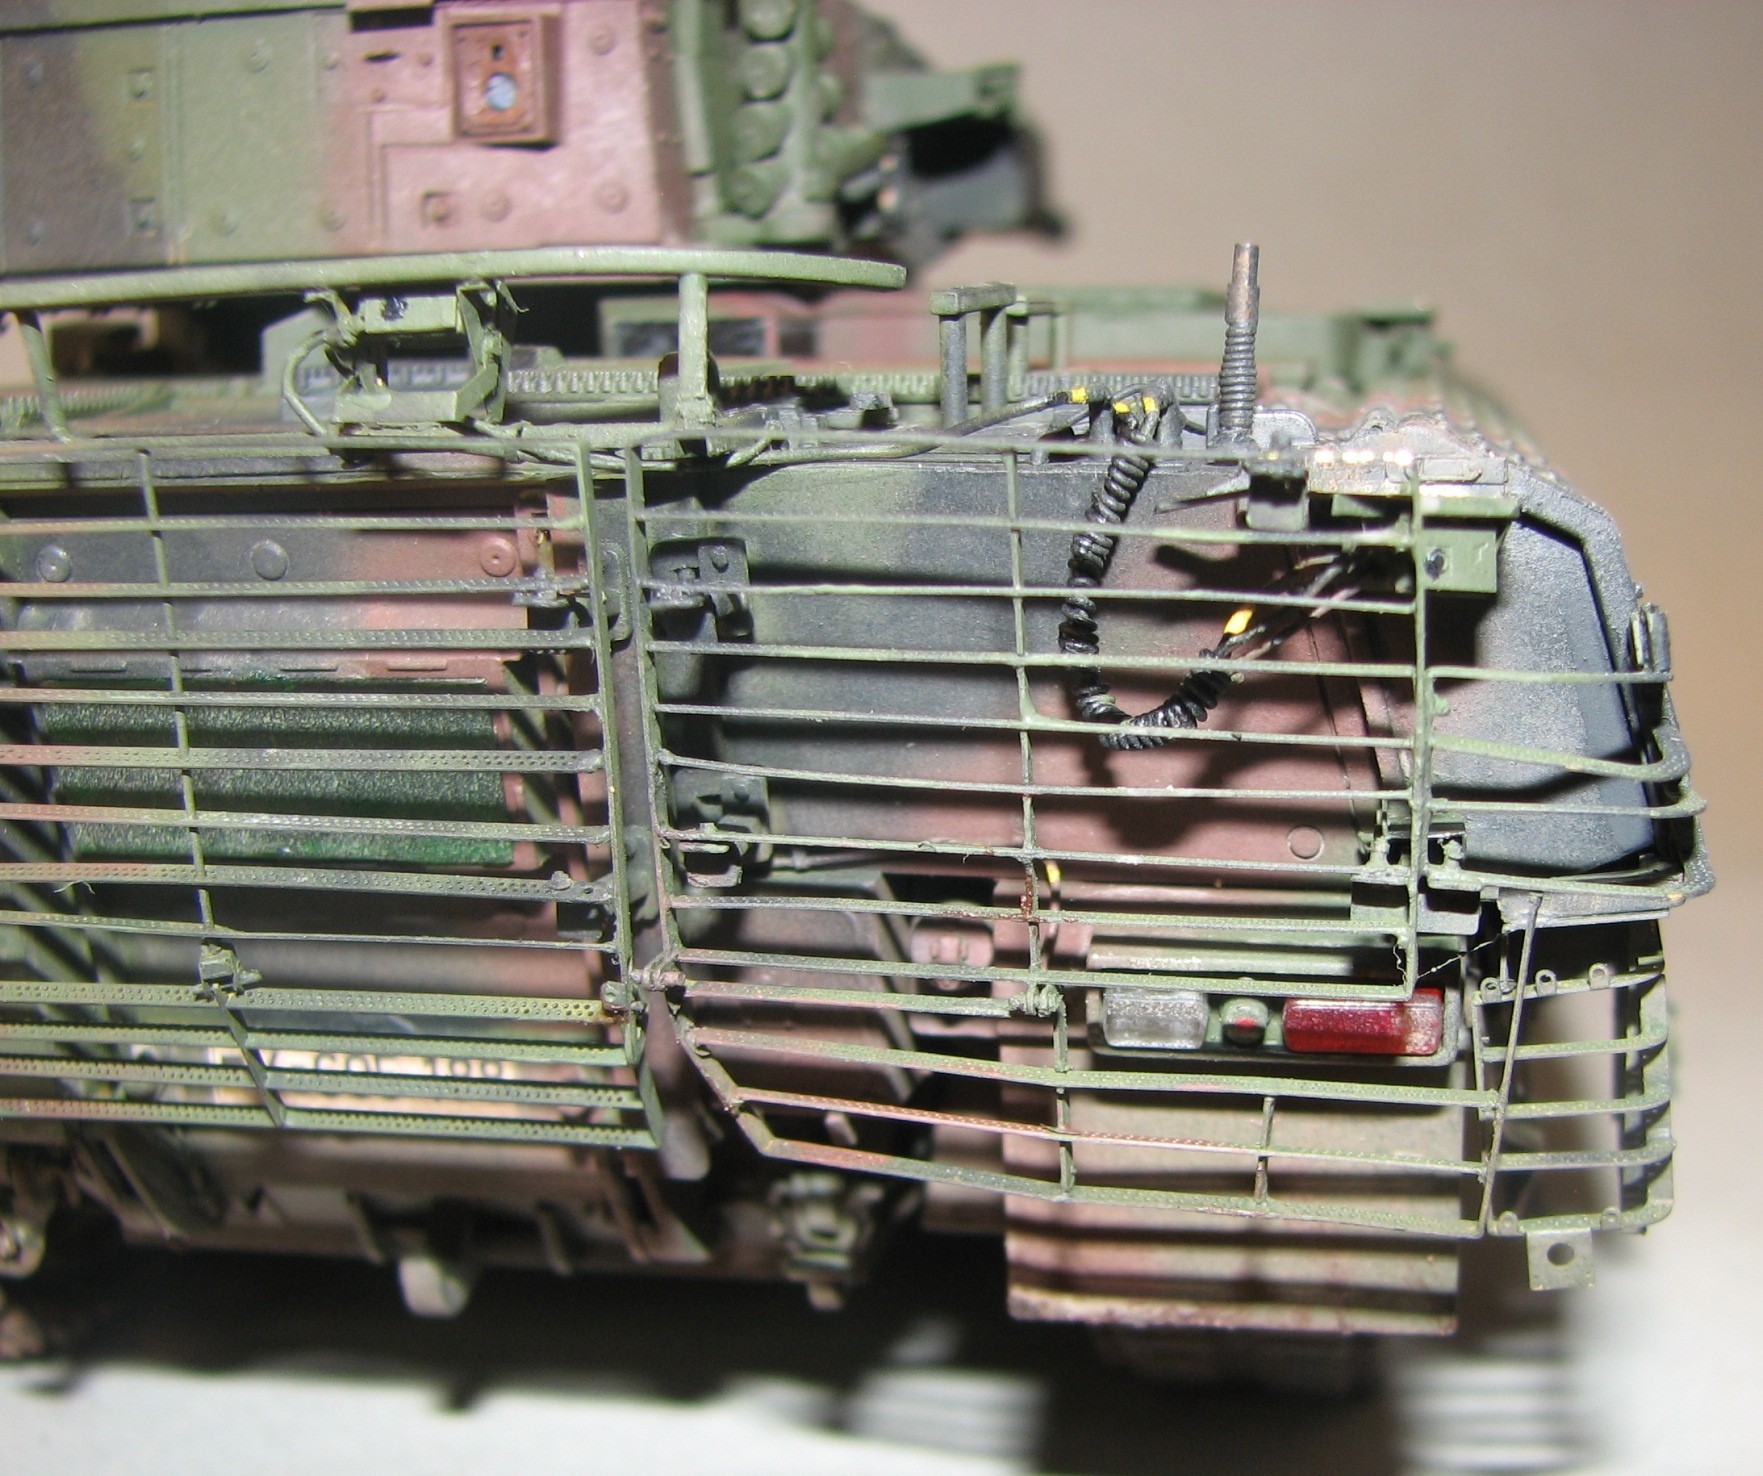
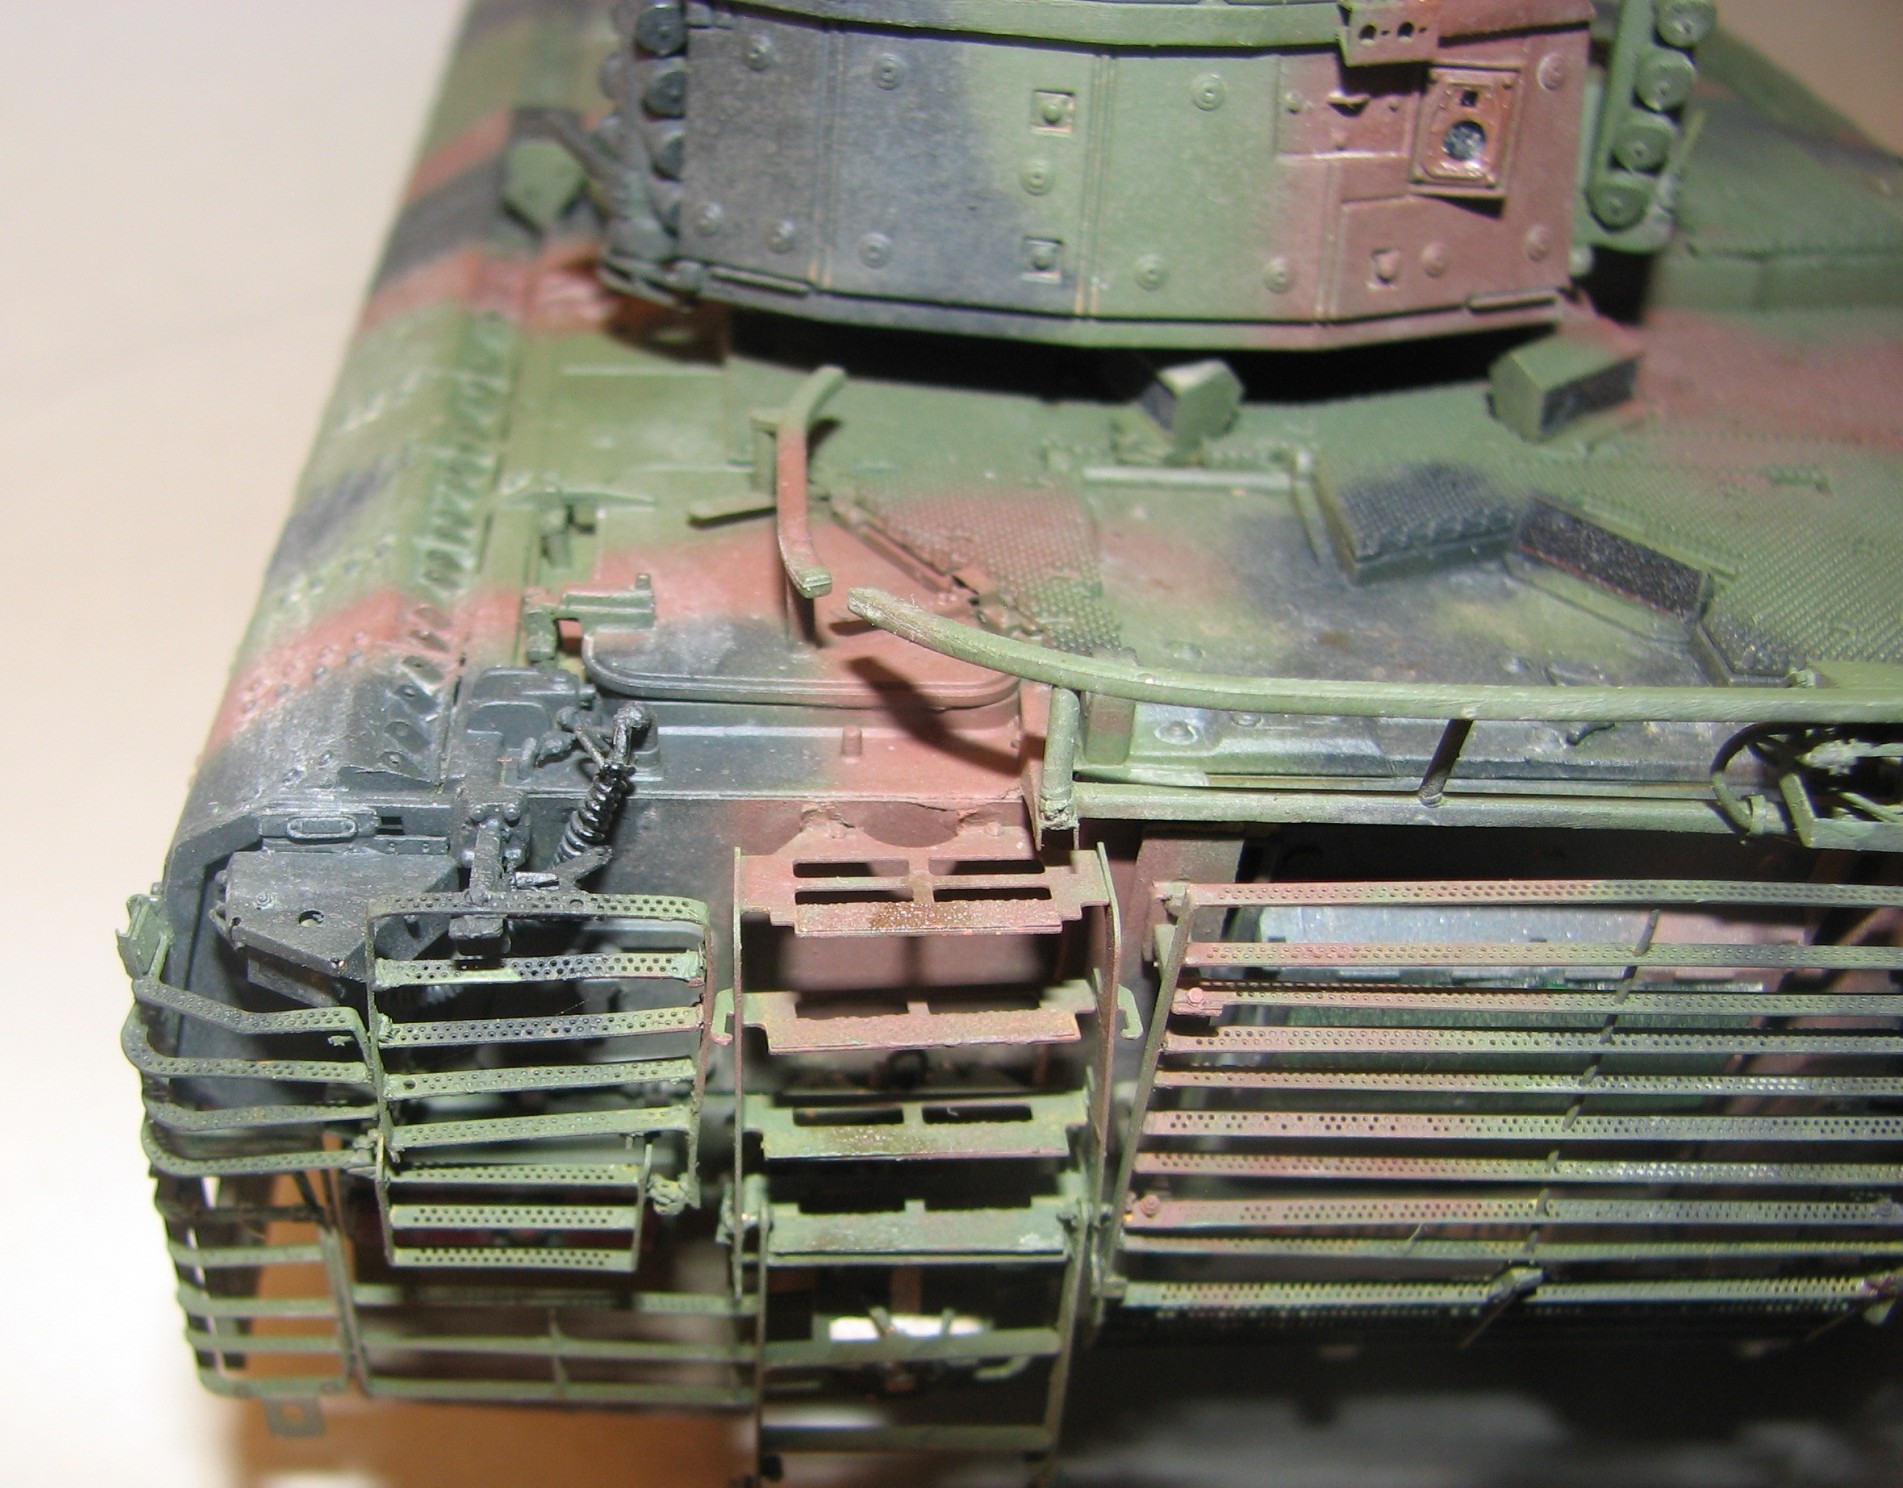
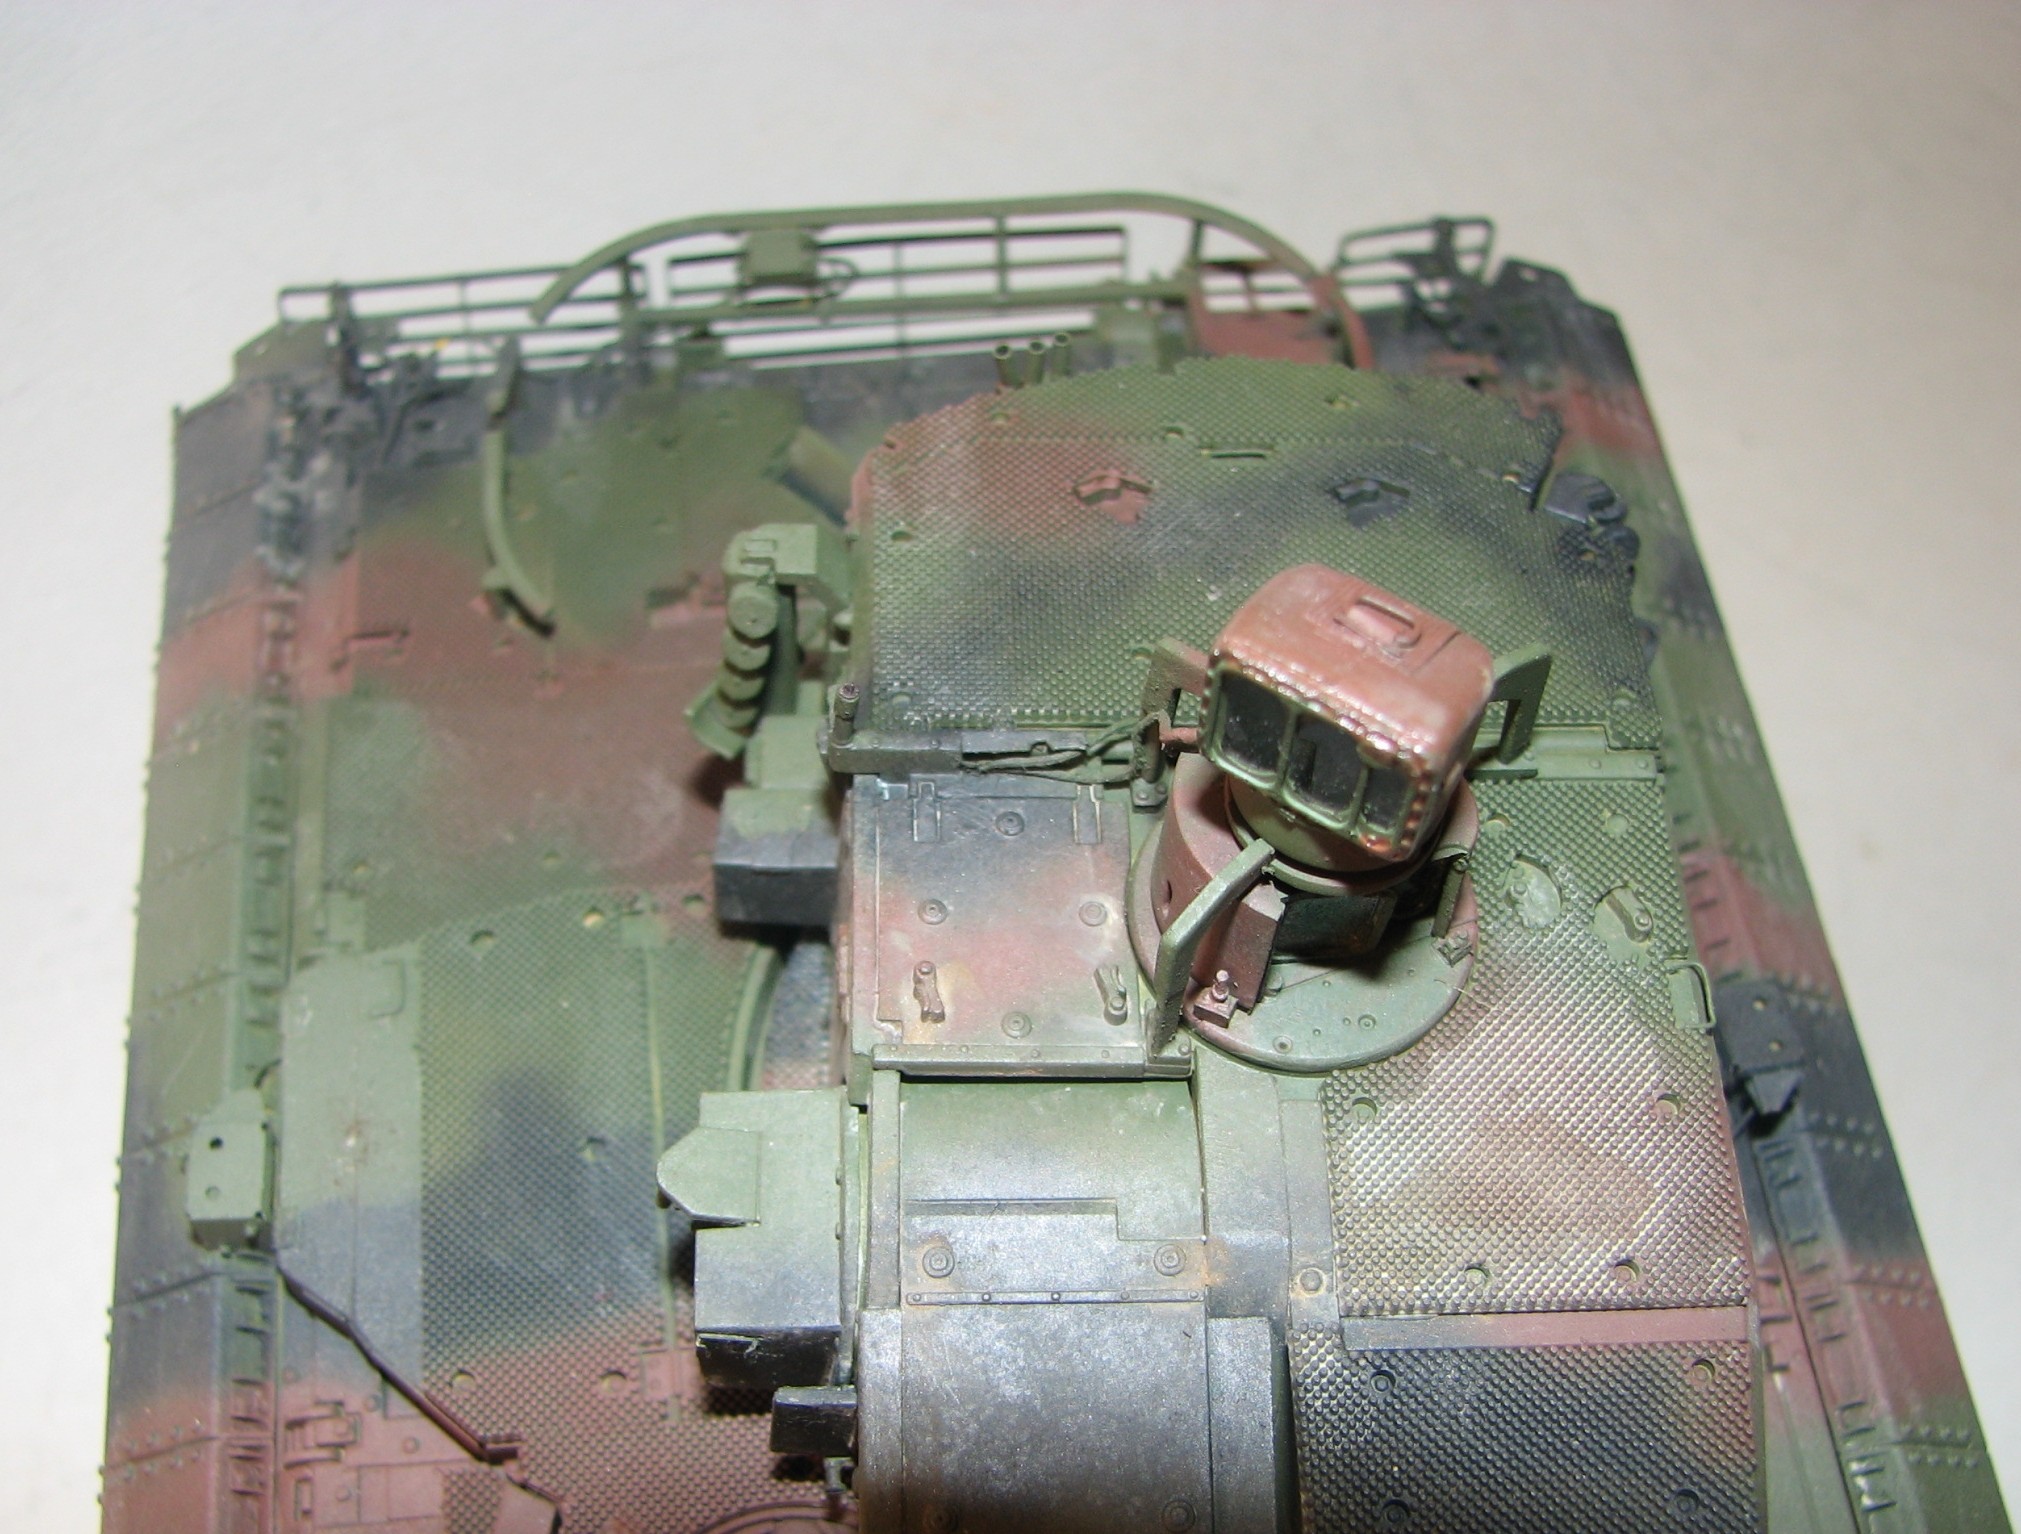
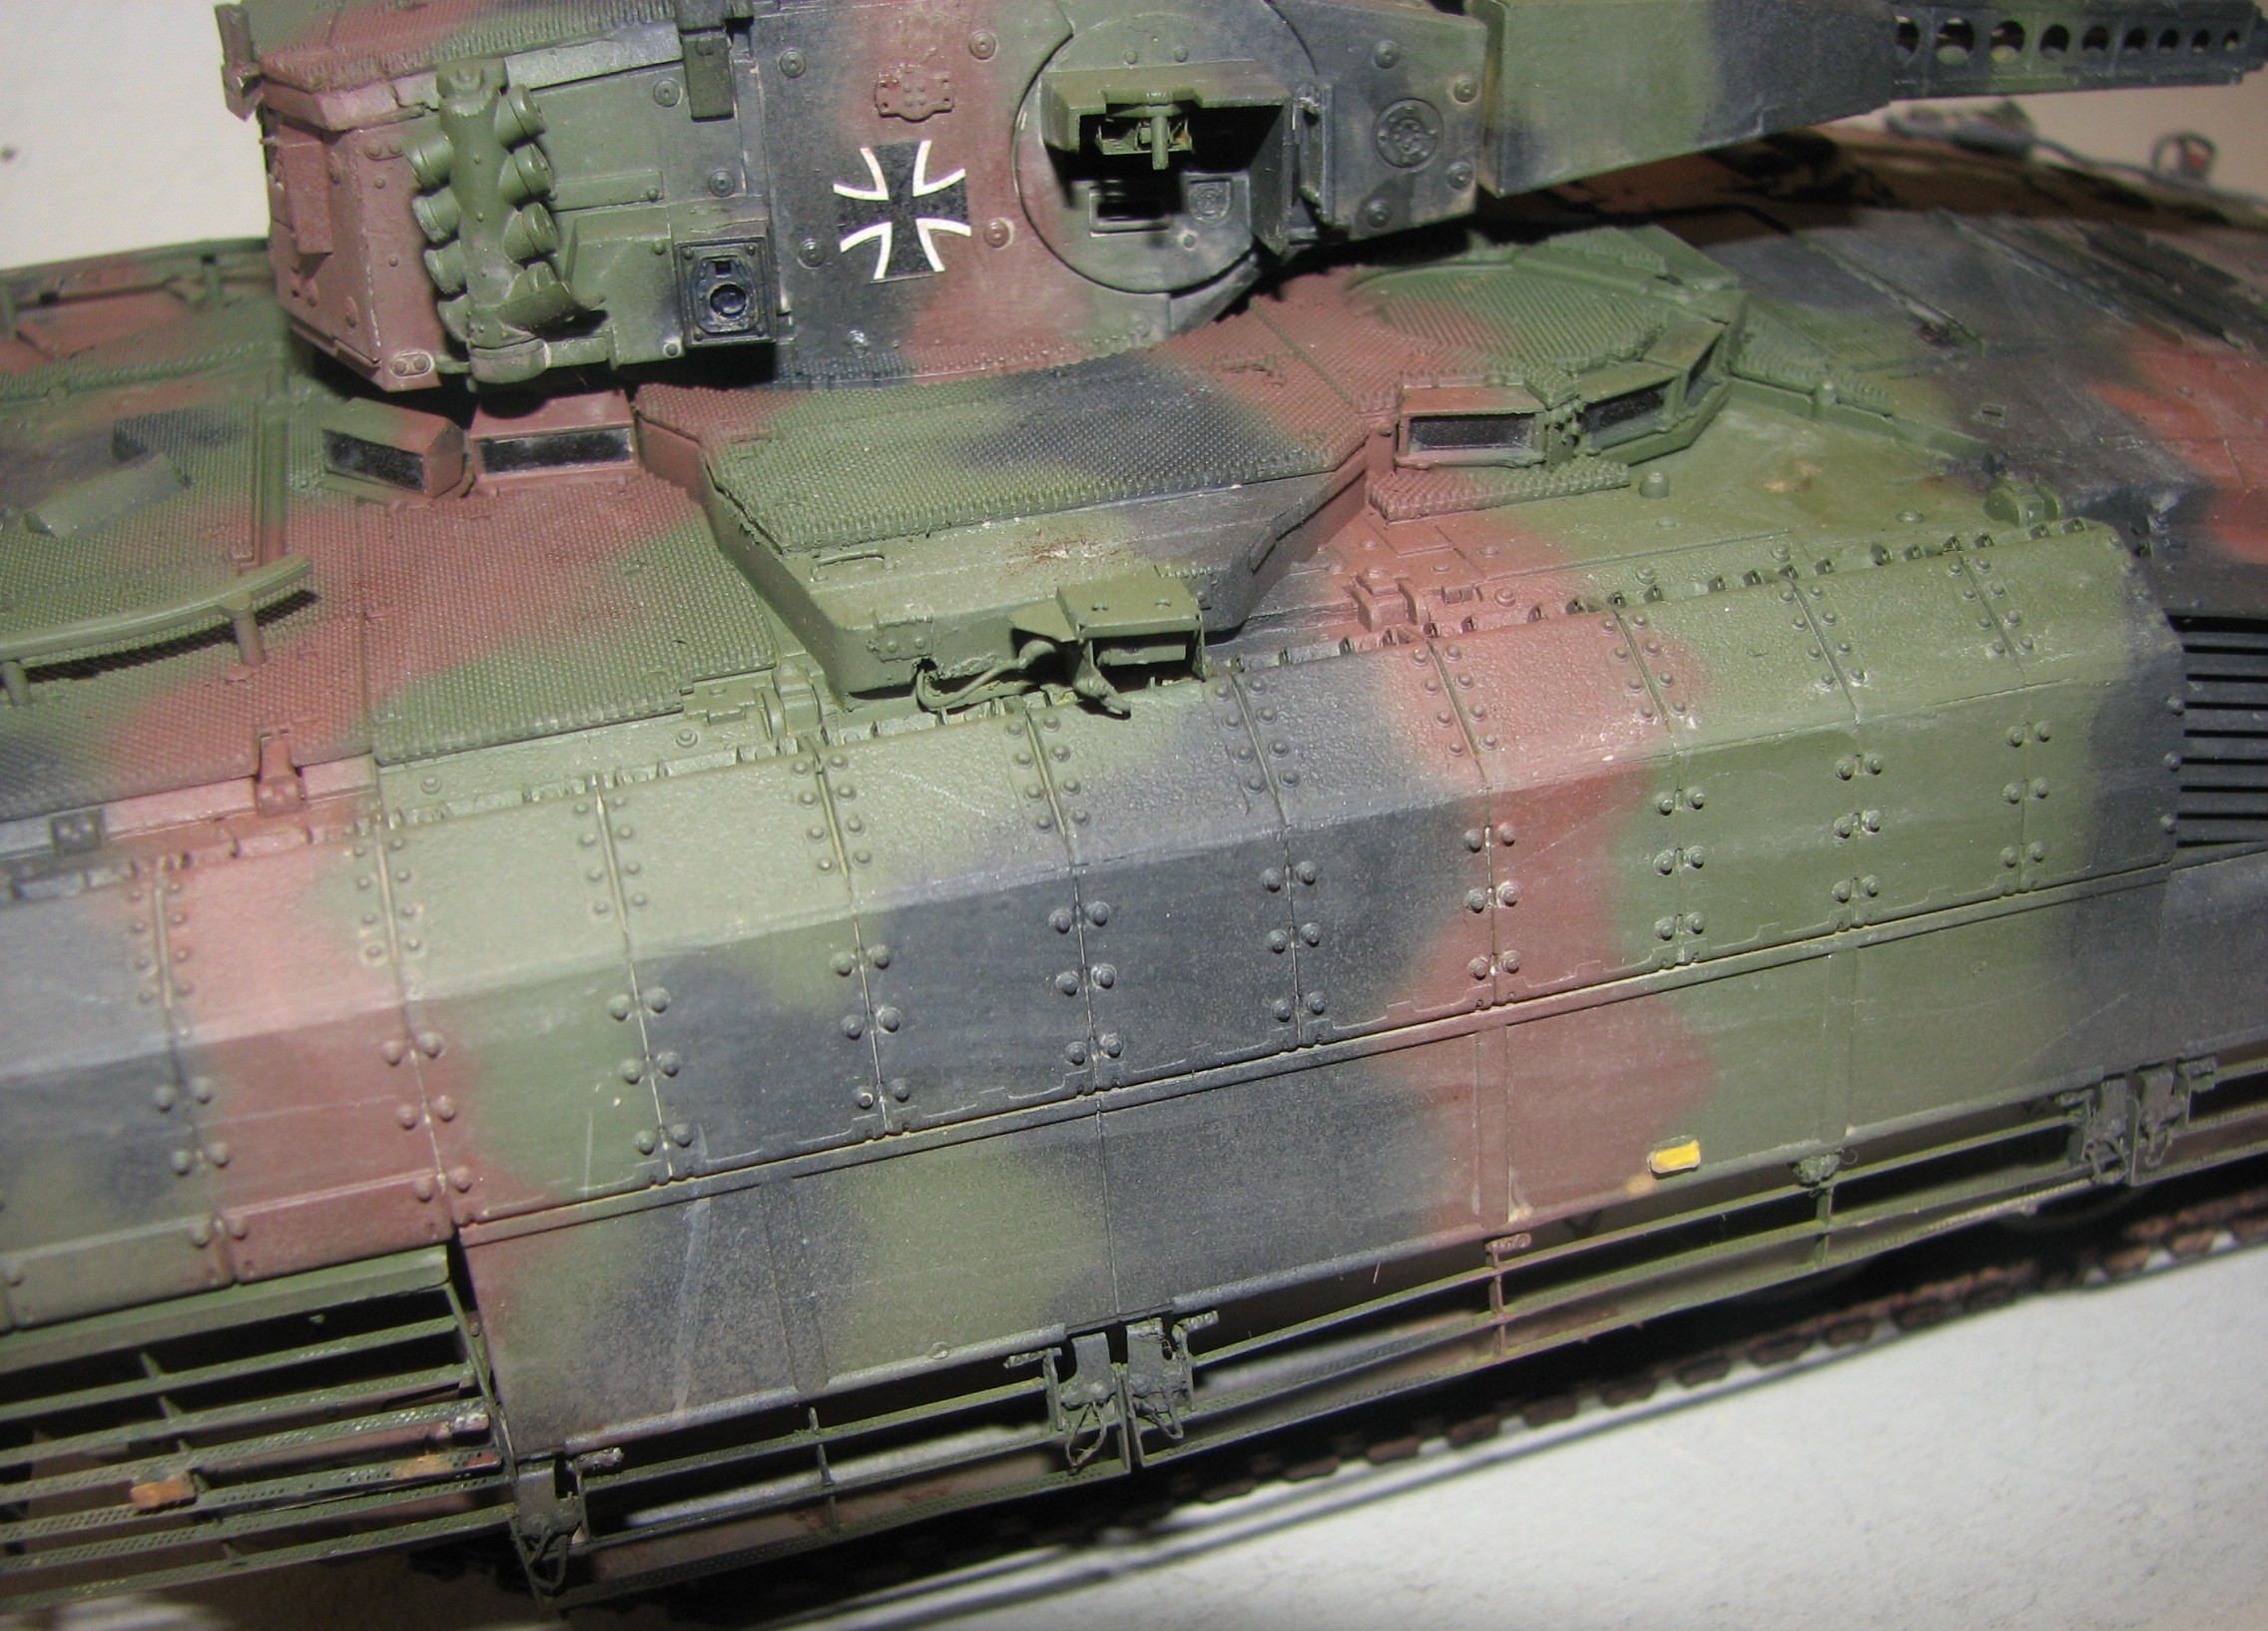
The PE from Voyager replaces some parts that are over scaled such as the slat armor and with finer details such as the tiny holes. There are also holes for bolts in the slat, which were filled with nuts and bolts from Plus Model. However, there is the usual problem with Voyager that the numbers for the parts are wrong or on the wrong sprue, so study the instructions carefully. The parts C72 are not correctly placed. Study the references to find the right position for them. They actually need to be cut in half and place on two different places. The handles on part E25 are molded on and there are no PE replacements for them. Probably was not room for them on the spruces. These was replaced with plastic card. Part E24 is replaced with a more detailed one from Voyager.
There was a walkaround page on https://www.panzer-modell.de/ that, at least for the moment, is down. Therefore, if you want to add details and need a good reference there is a cd available from MNS-Militärfotografie, which contains 210 pictures, with the possibility to zoom in on. MNS-Militärfotografie is a small firm in Germany that sells reference CD's of vehicles of the German Army. The CD is just a simple CD that comes in a plain envelope, but contains the information needed to add details such as the snake nest of cables for the cameras on the back of the vehicle and the above-mentioned omissions from the model.
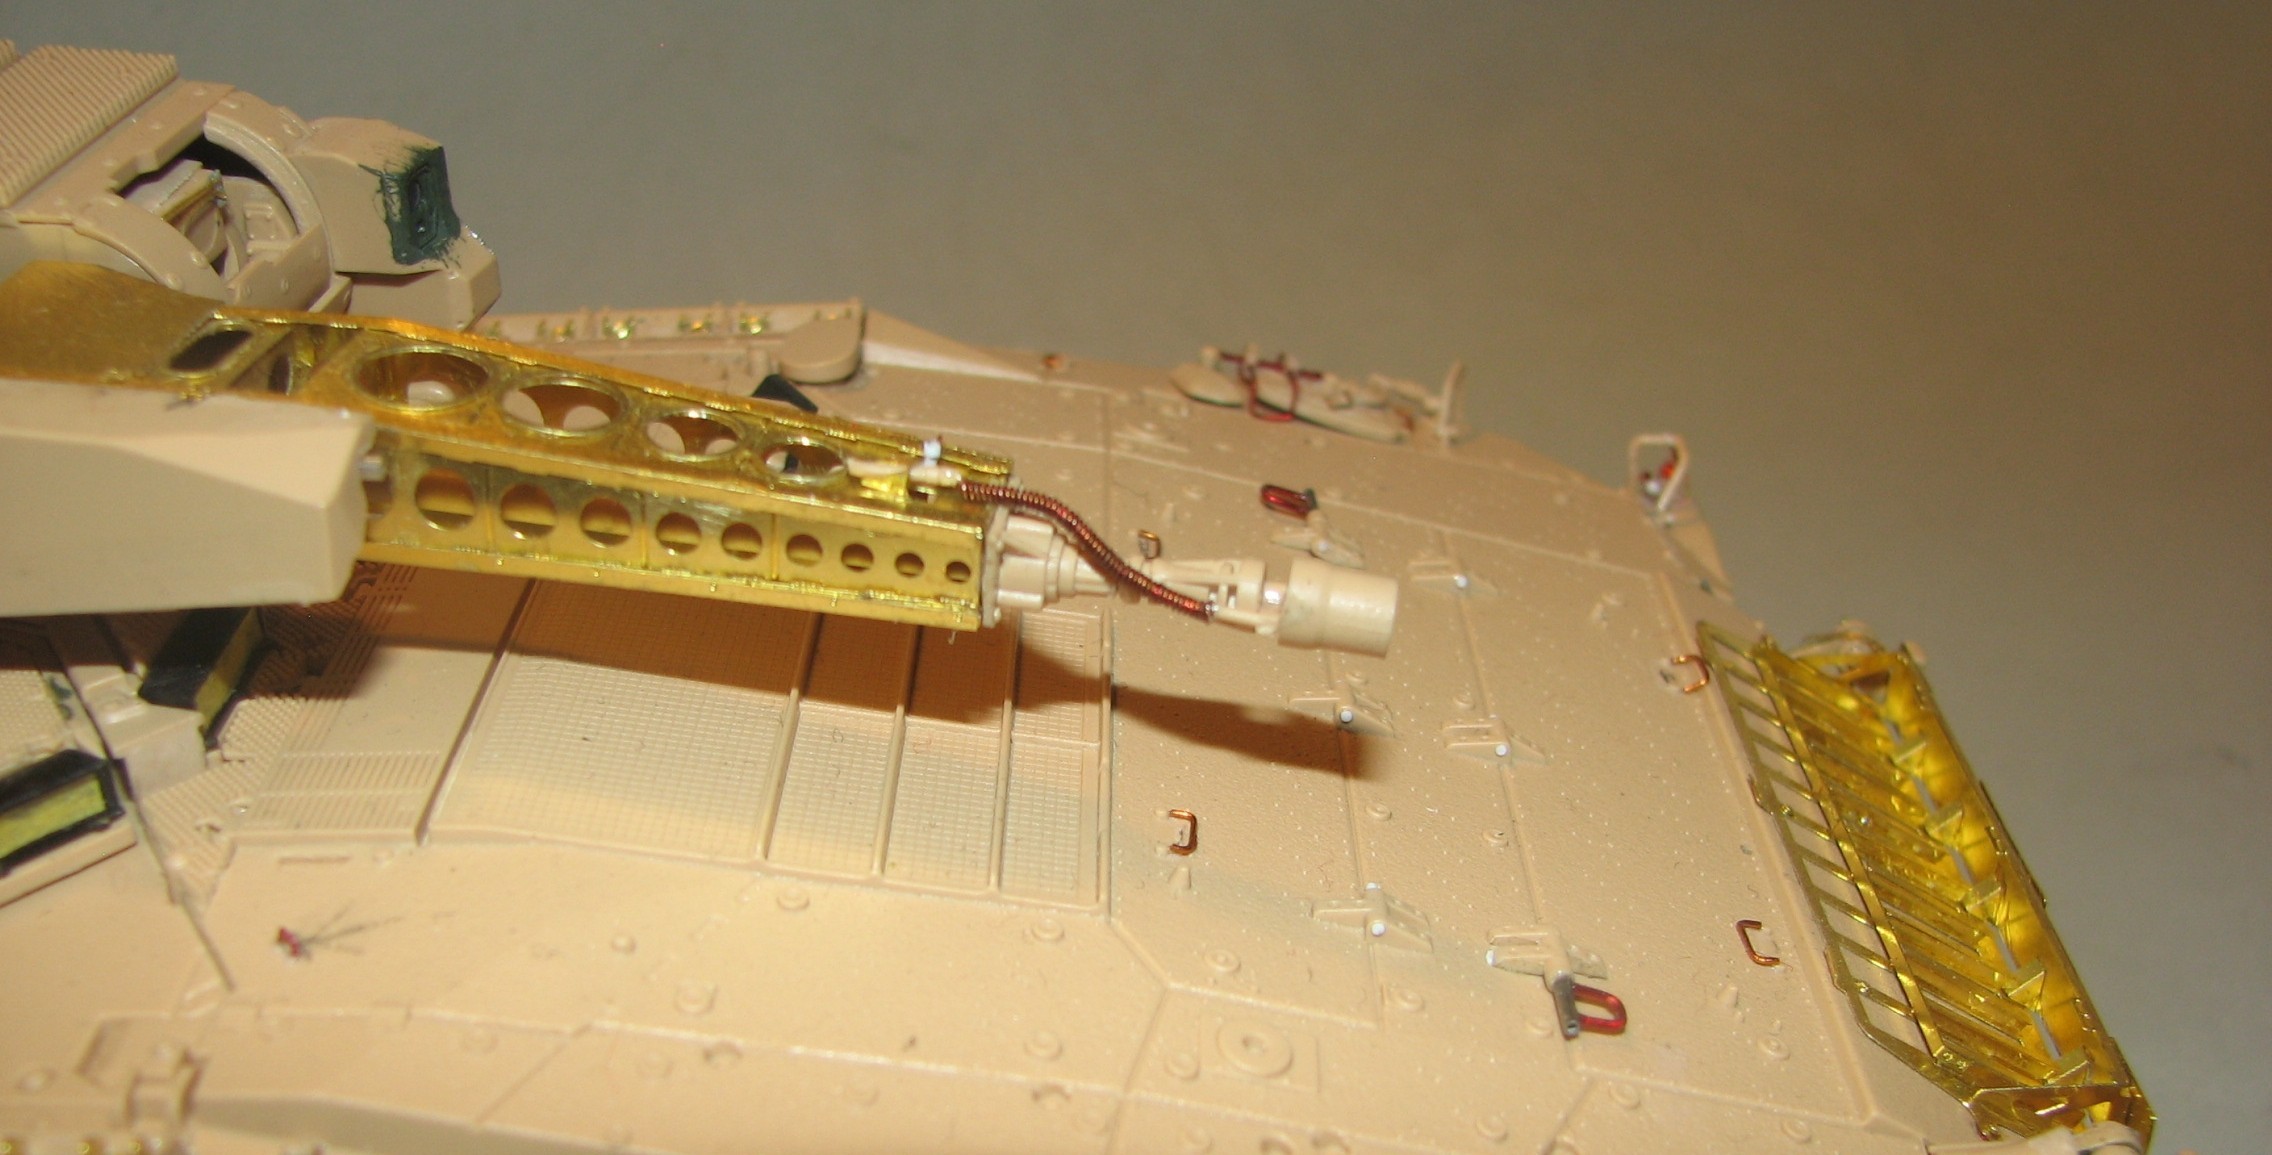
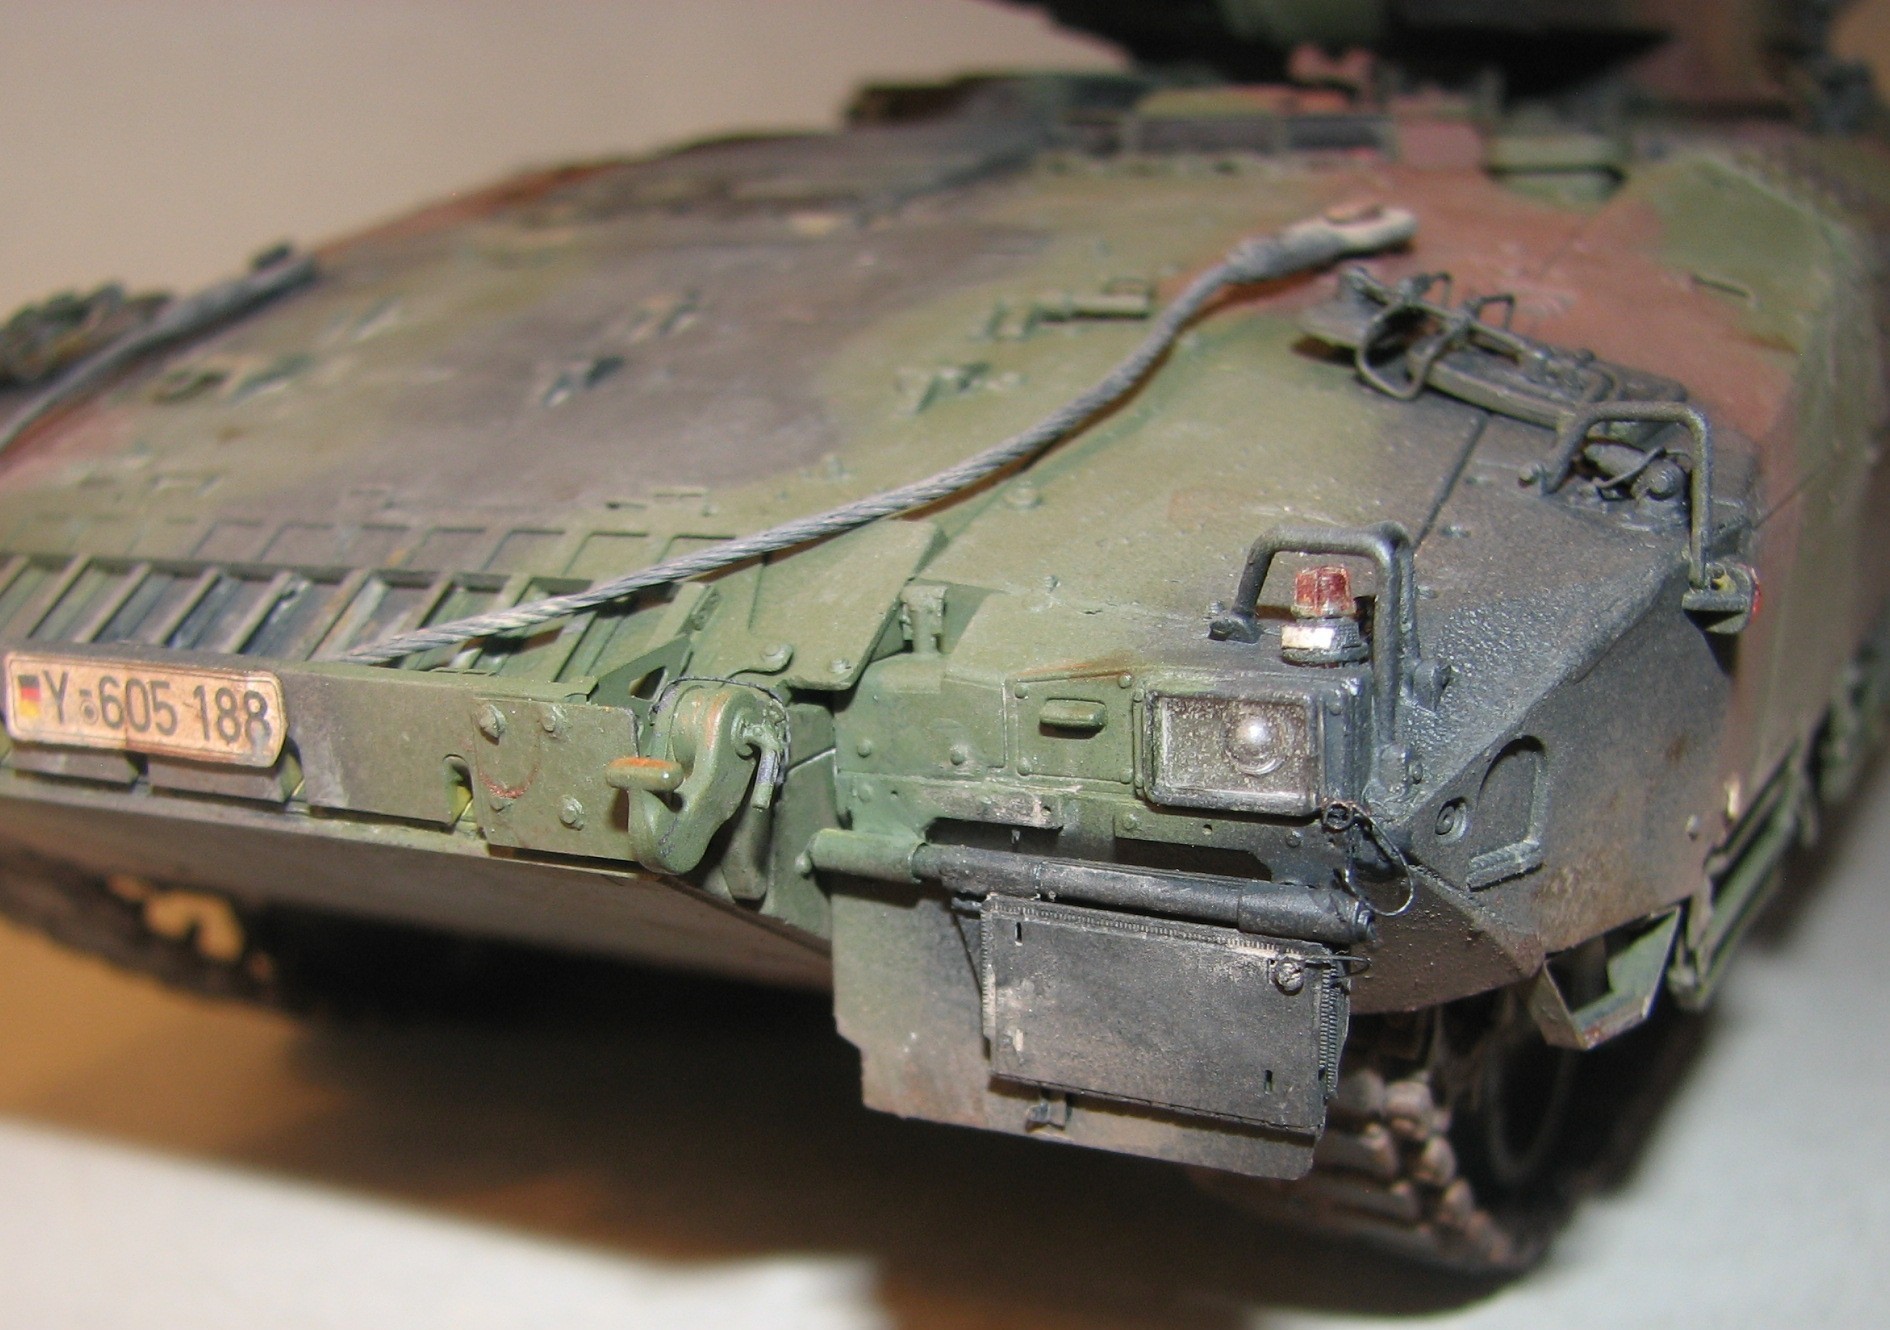
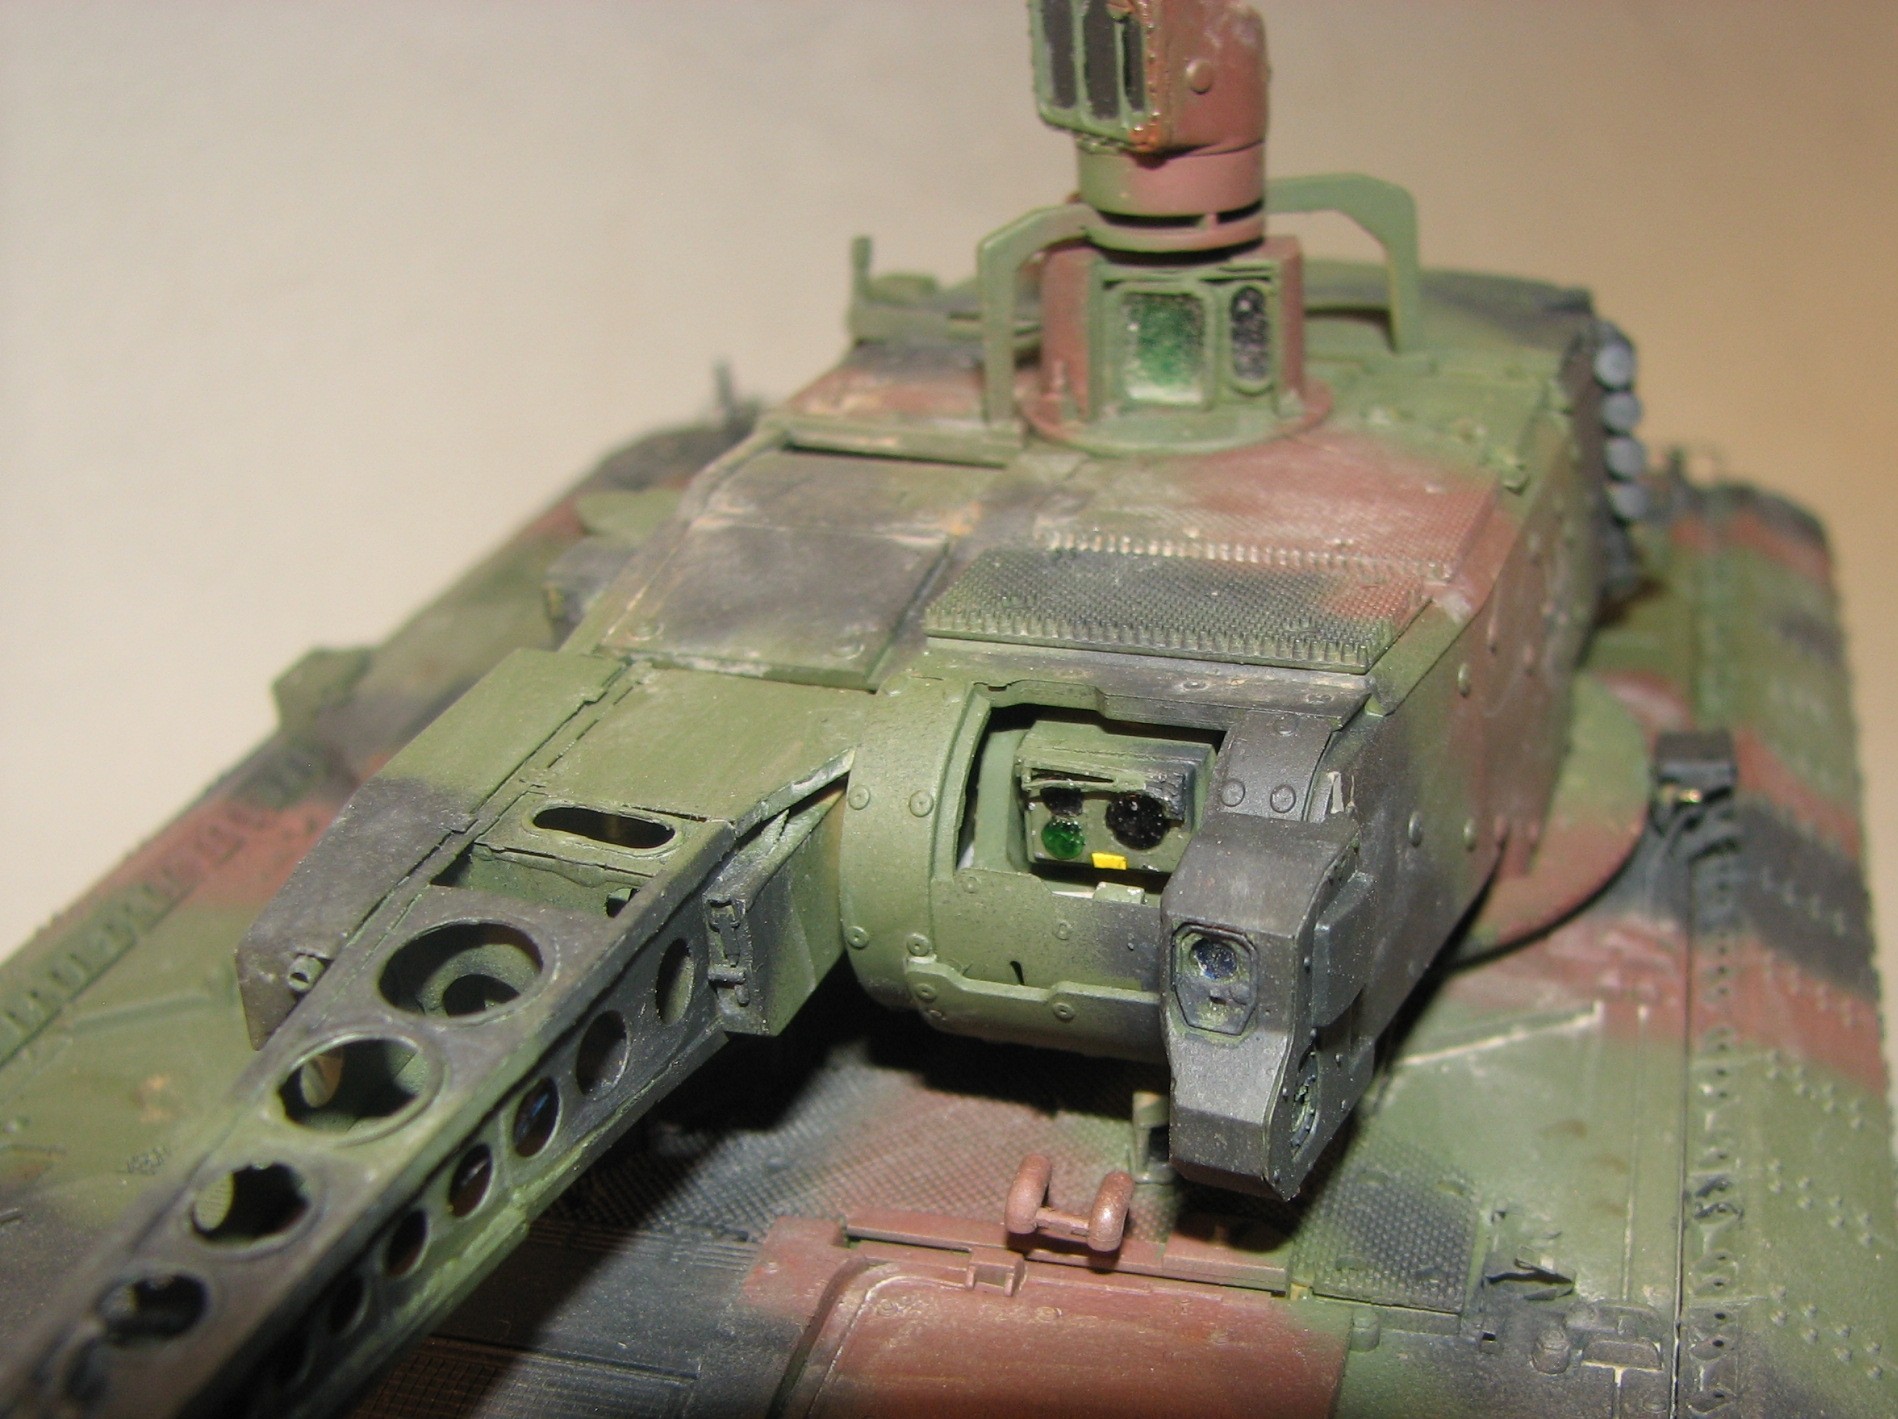
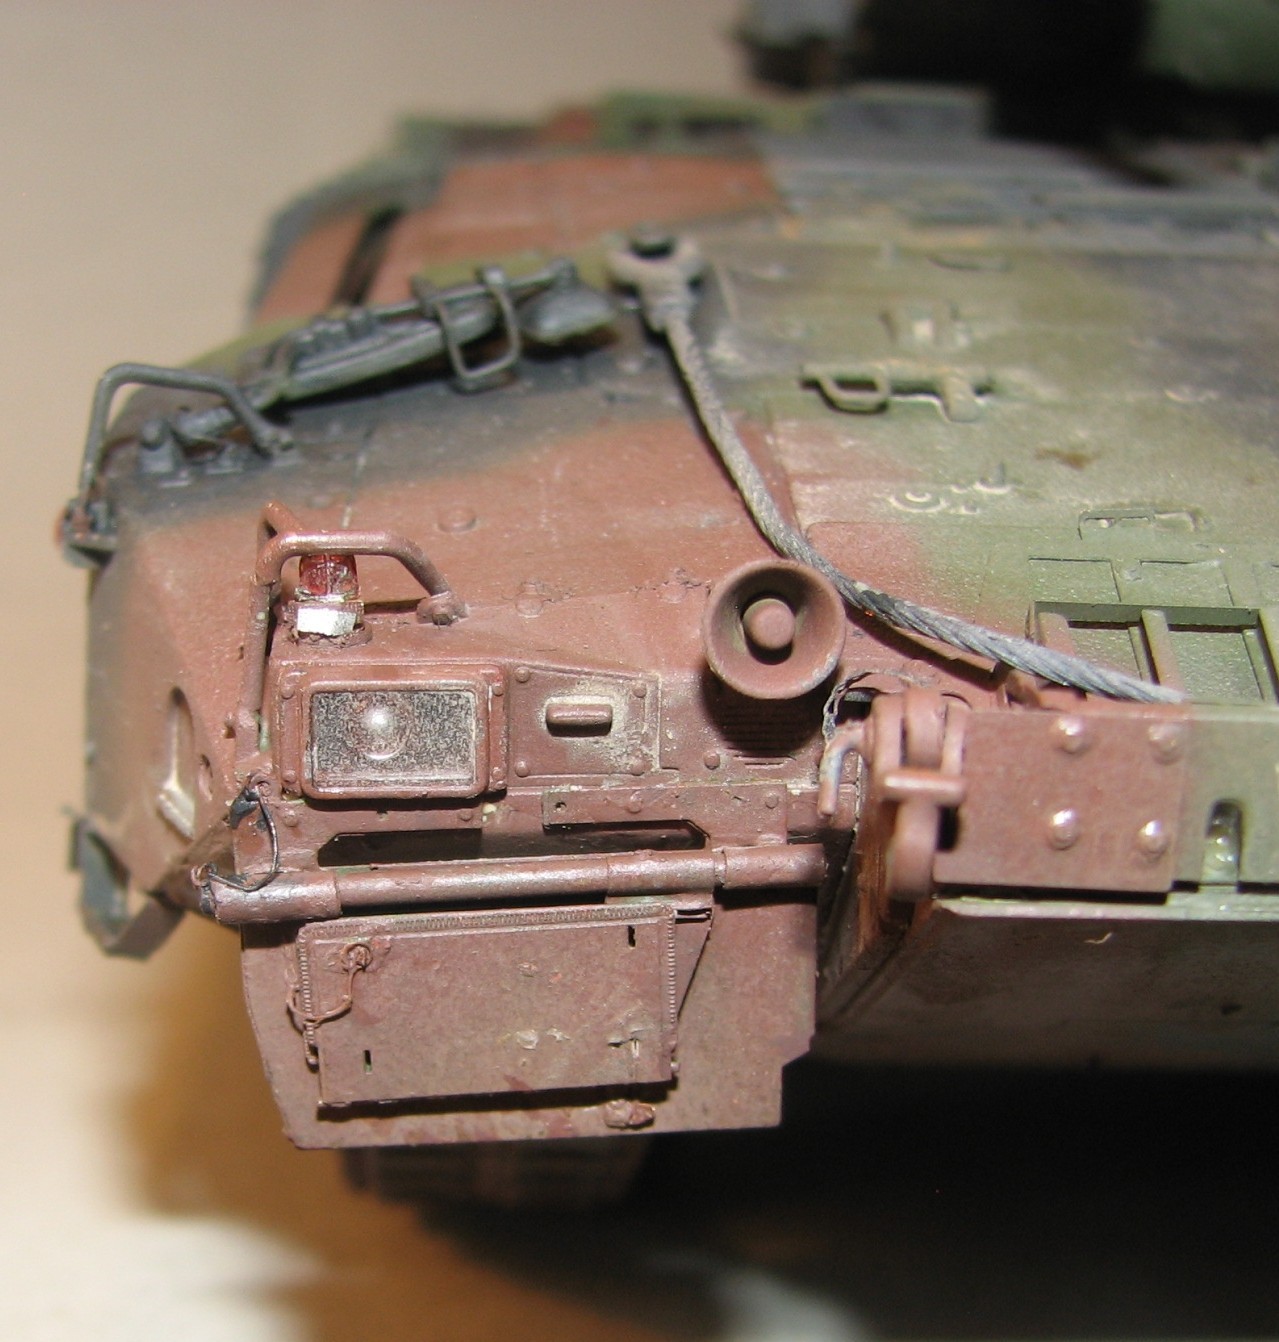
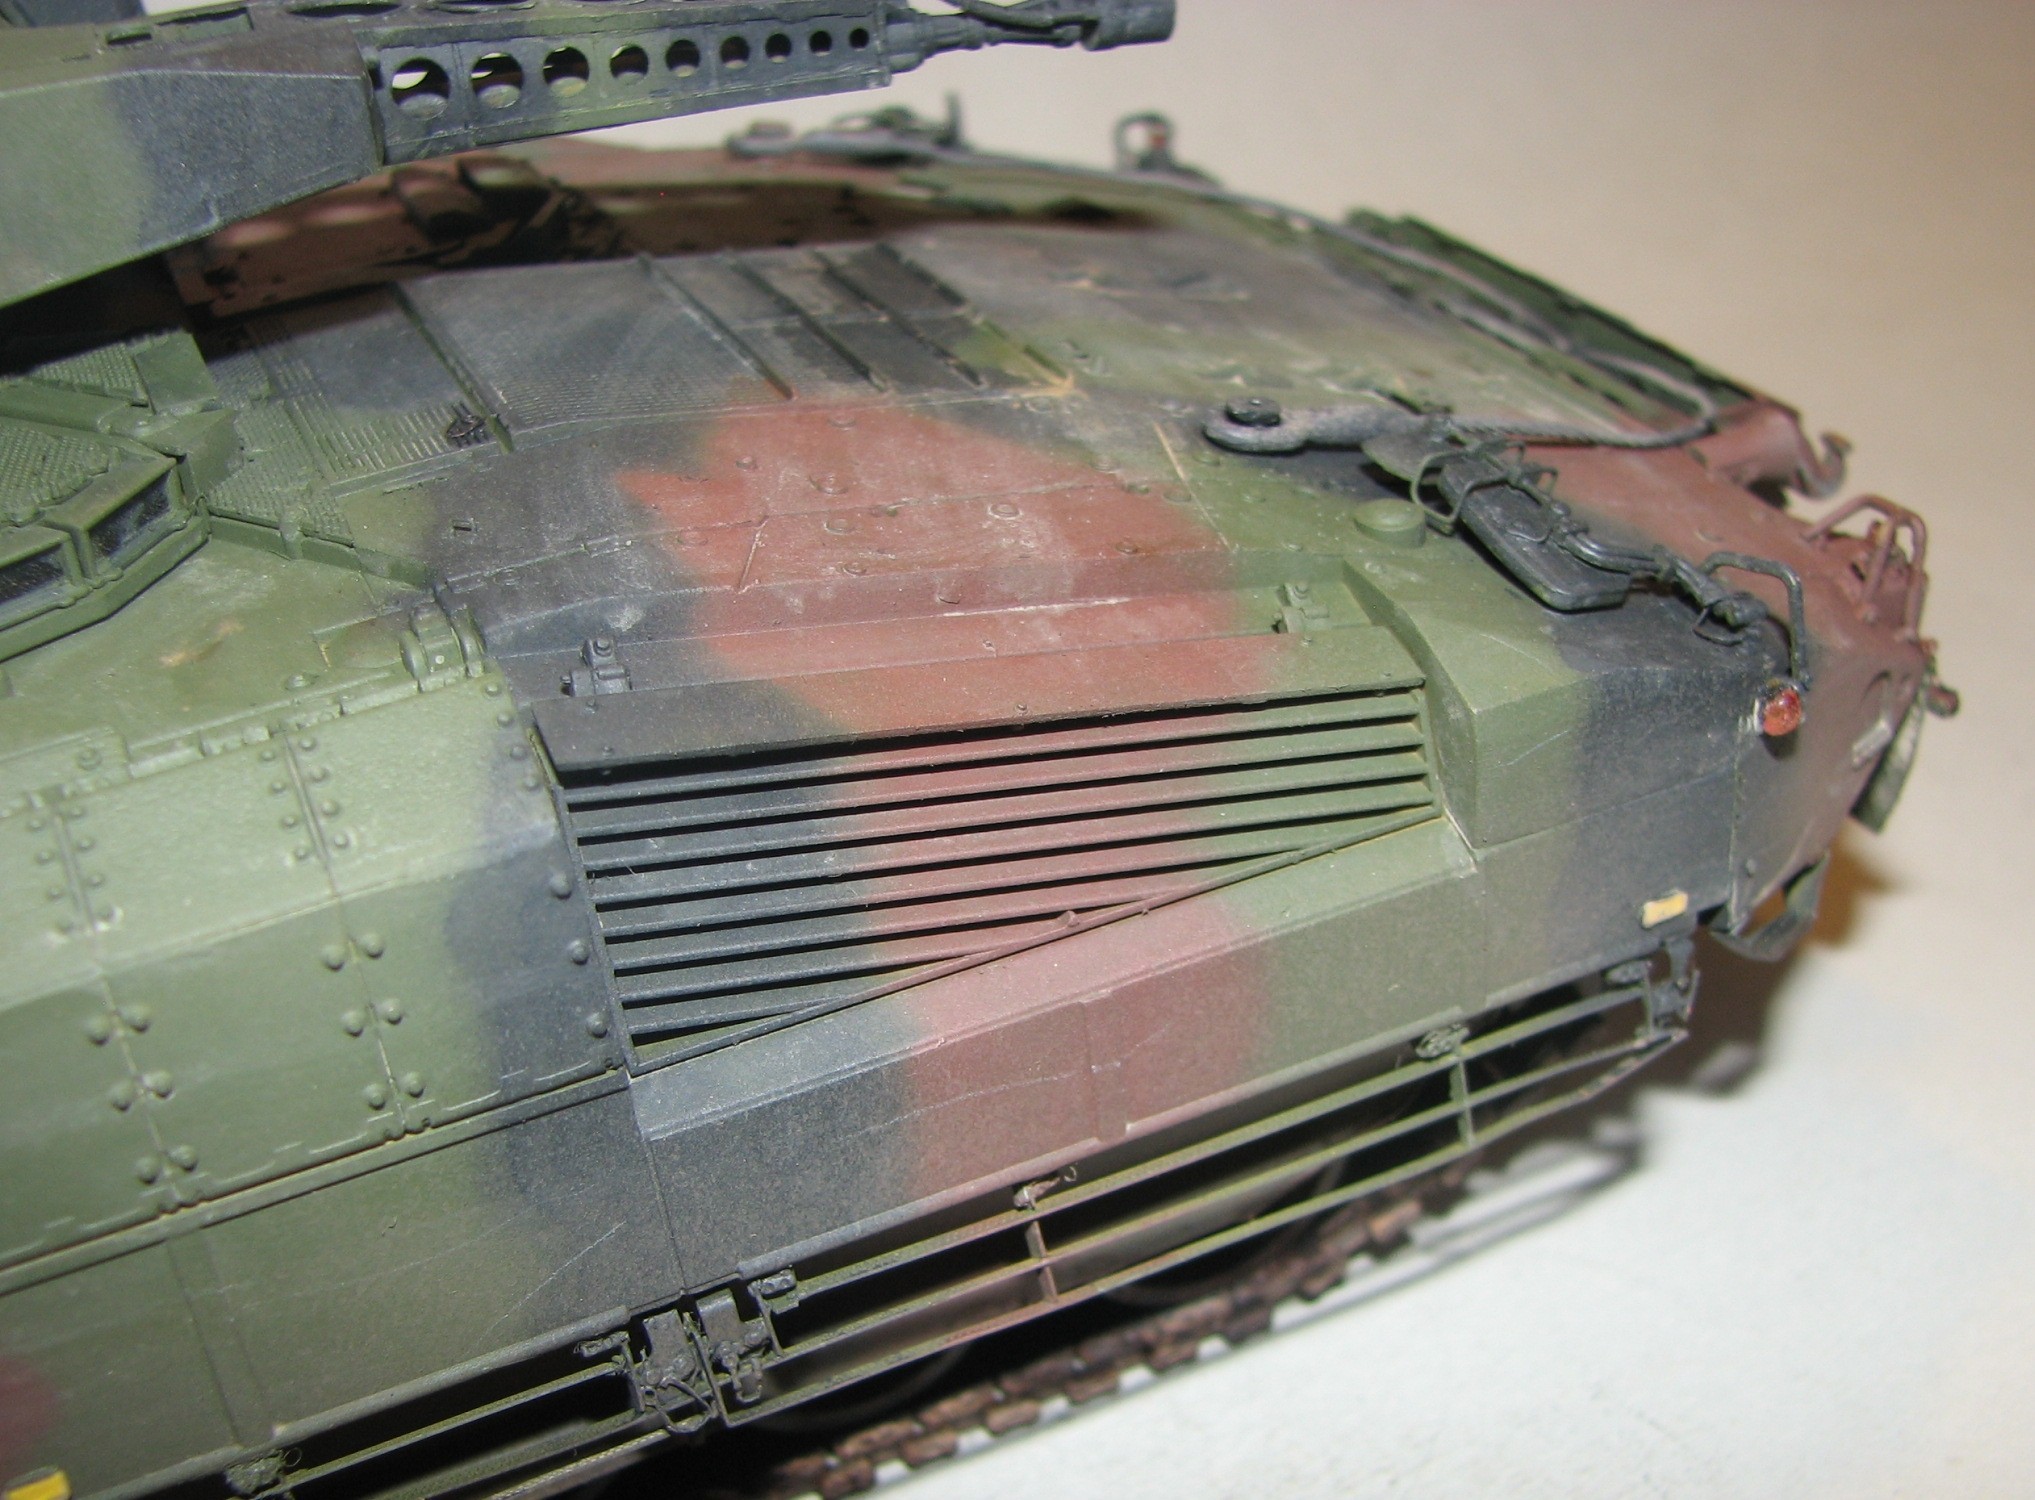
Those with an eye for details will soon discover that the air intake on the motor deck of the vehicle on the references differ from the one on the model. However, there is no need for plastic surgery as a search on Google shows vehicles with the same air intake as on the model. In addition, other details differ due to changes in the production line. The cables for the backlights were, as the ones for the cameras, added using copper wire. Copper wire and a thin plastic hose was used to replace the ones on the auto canon. A picture below shows the PE compared to the original part from RFM.
