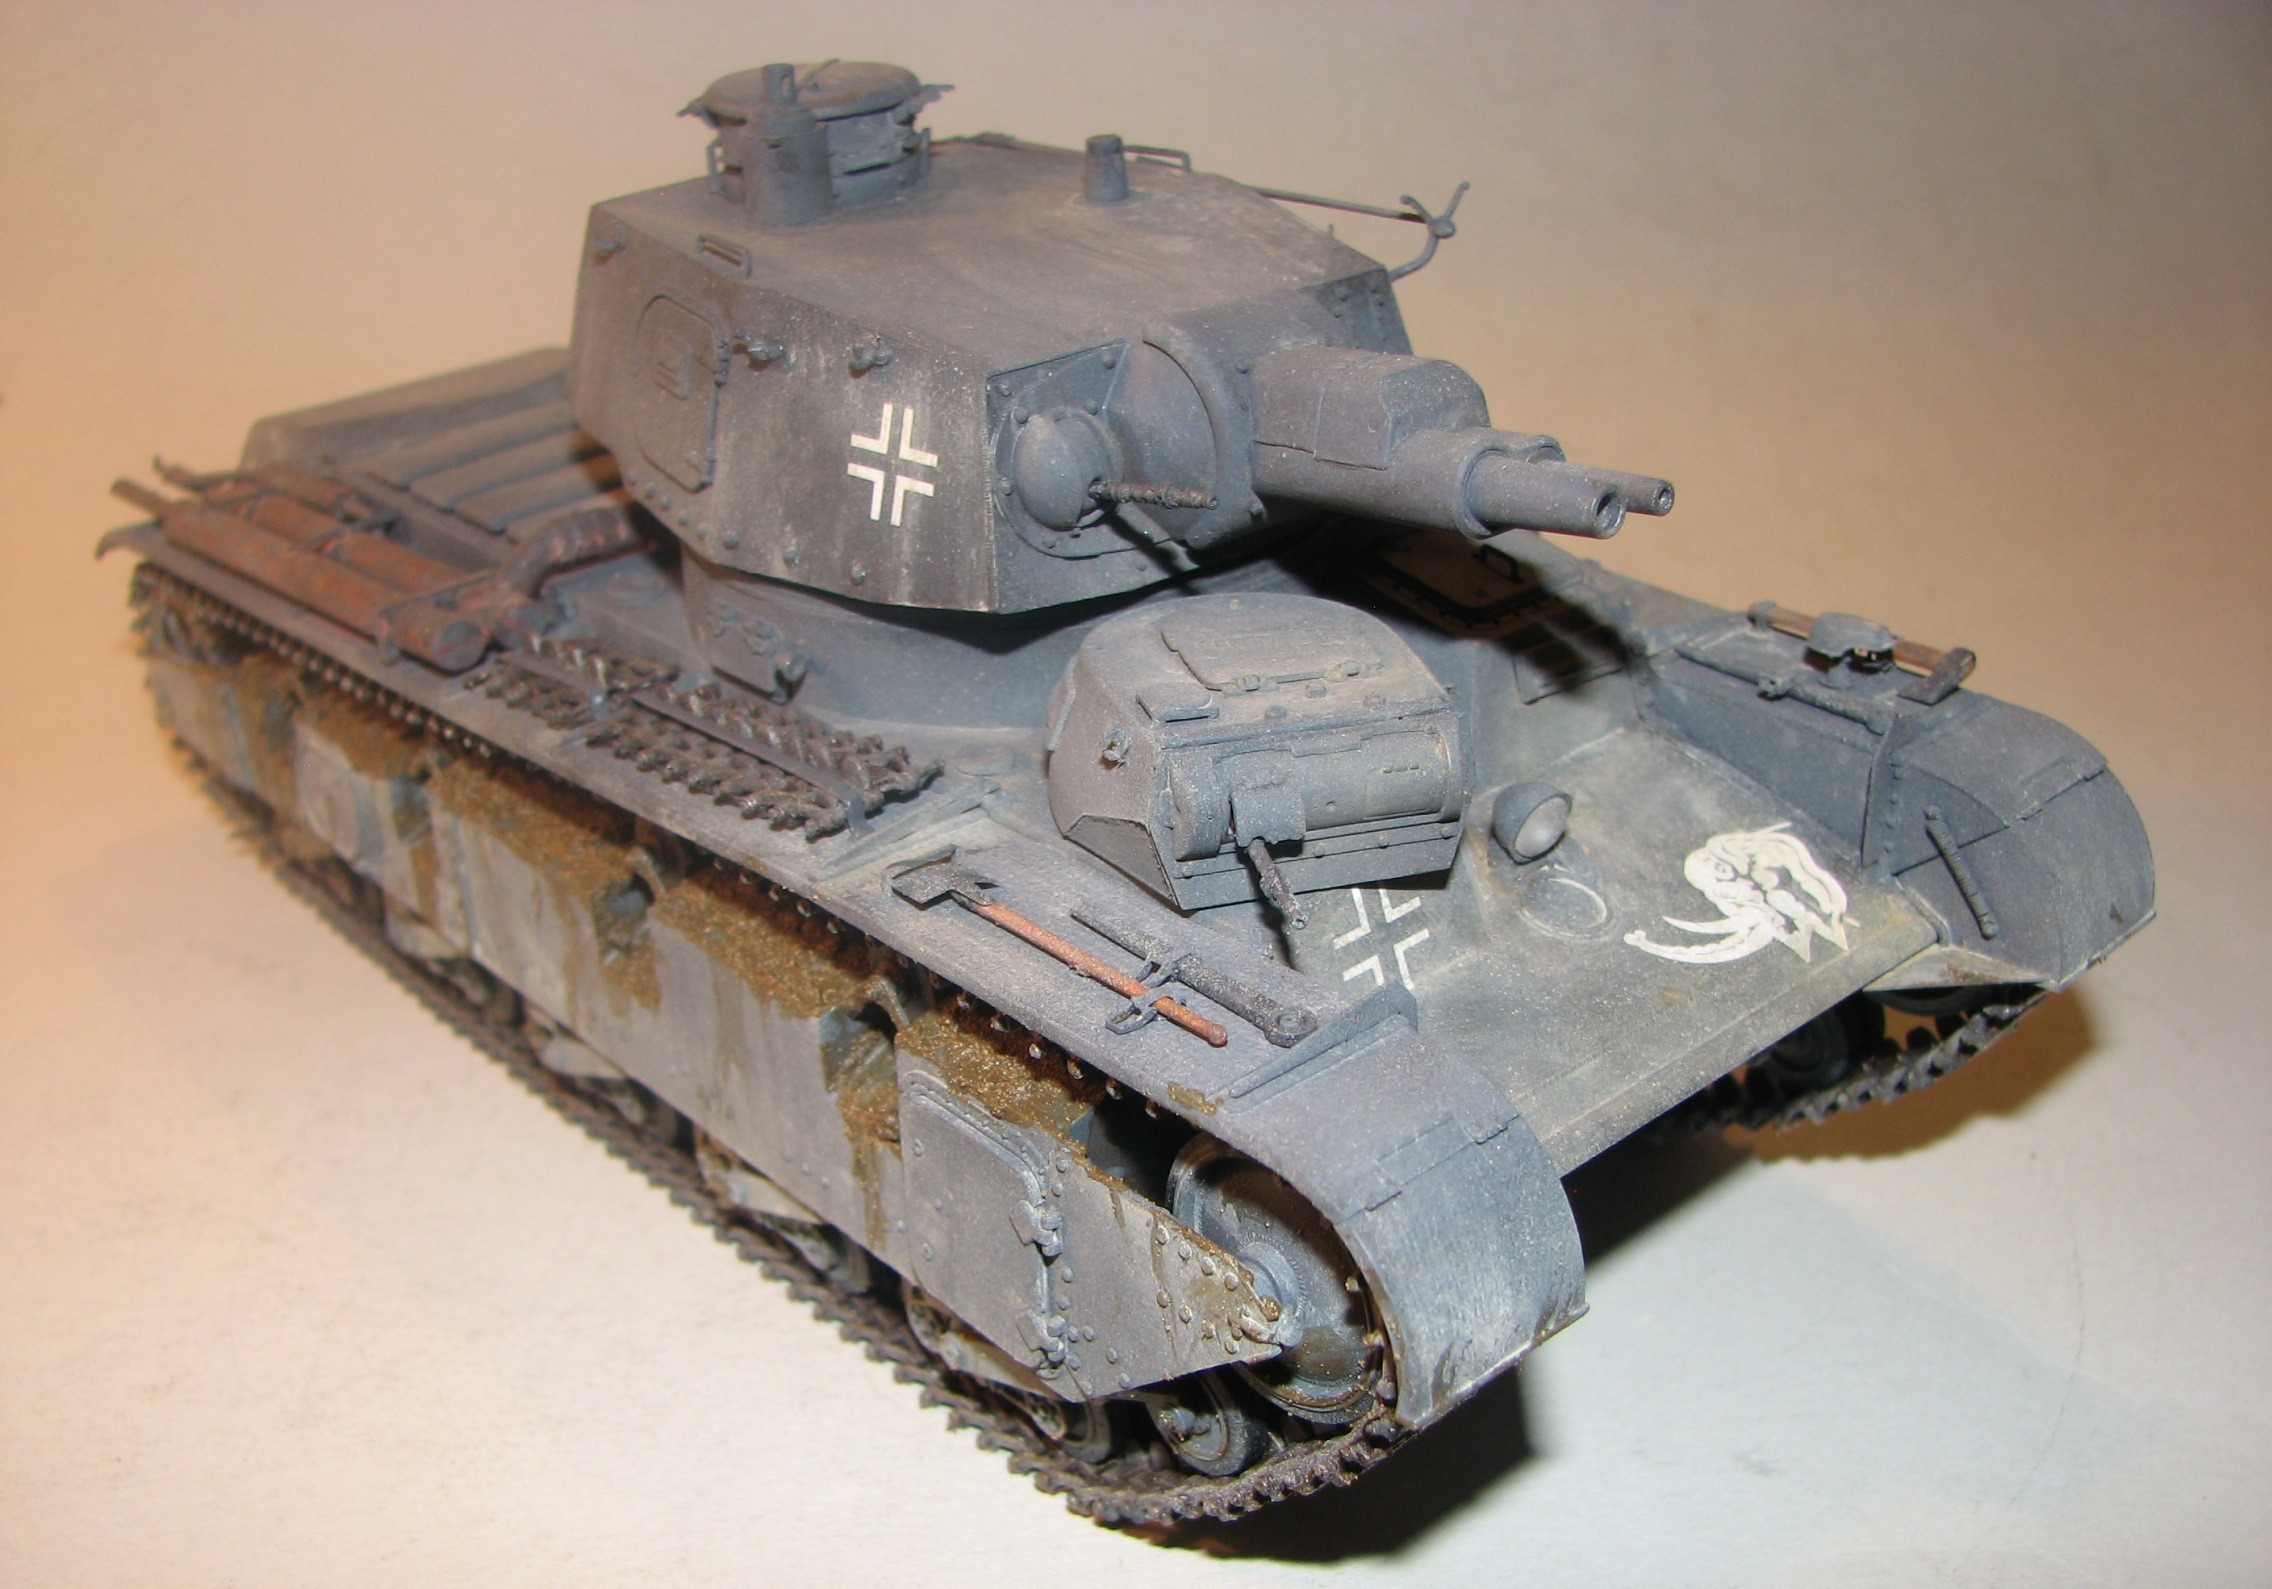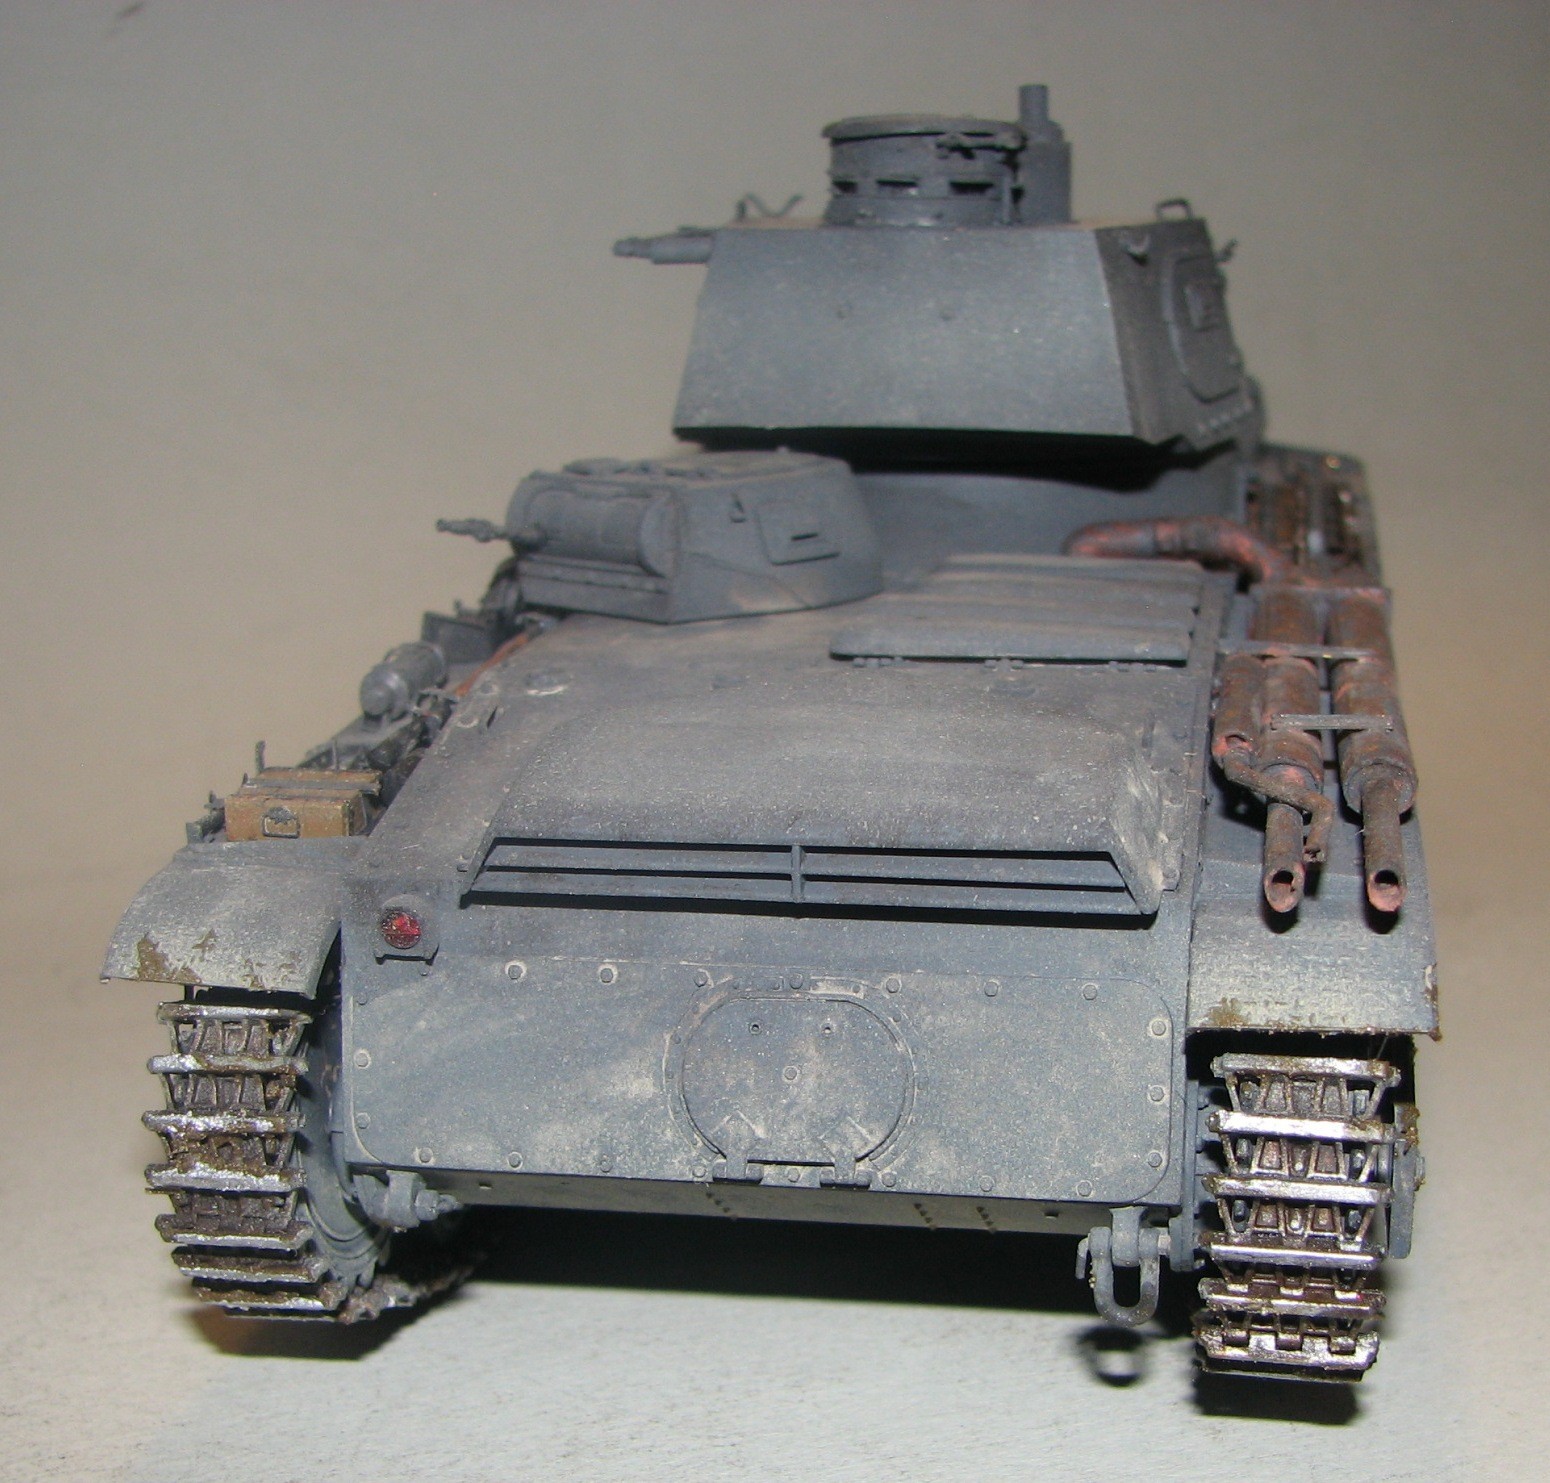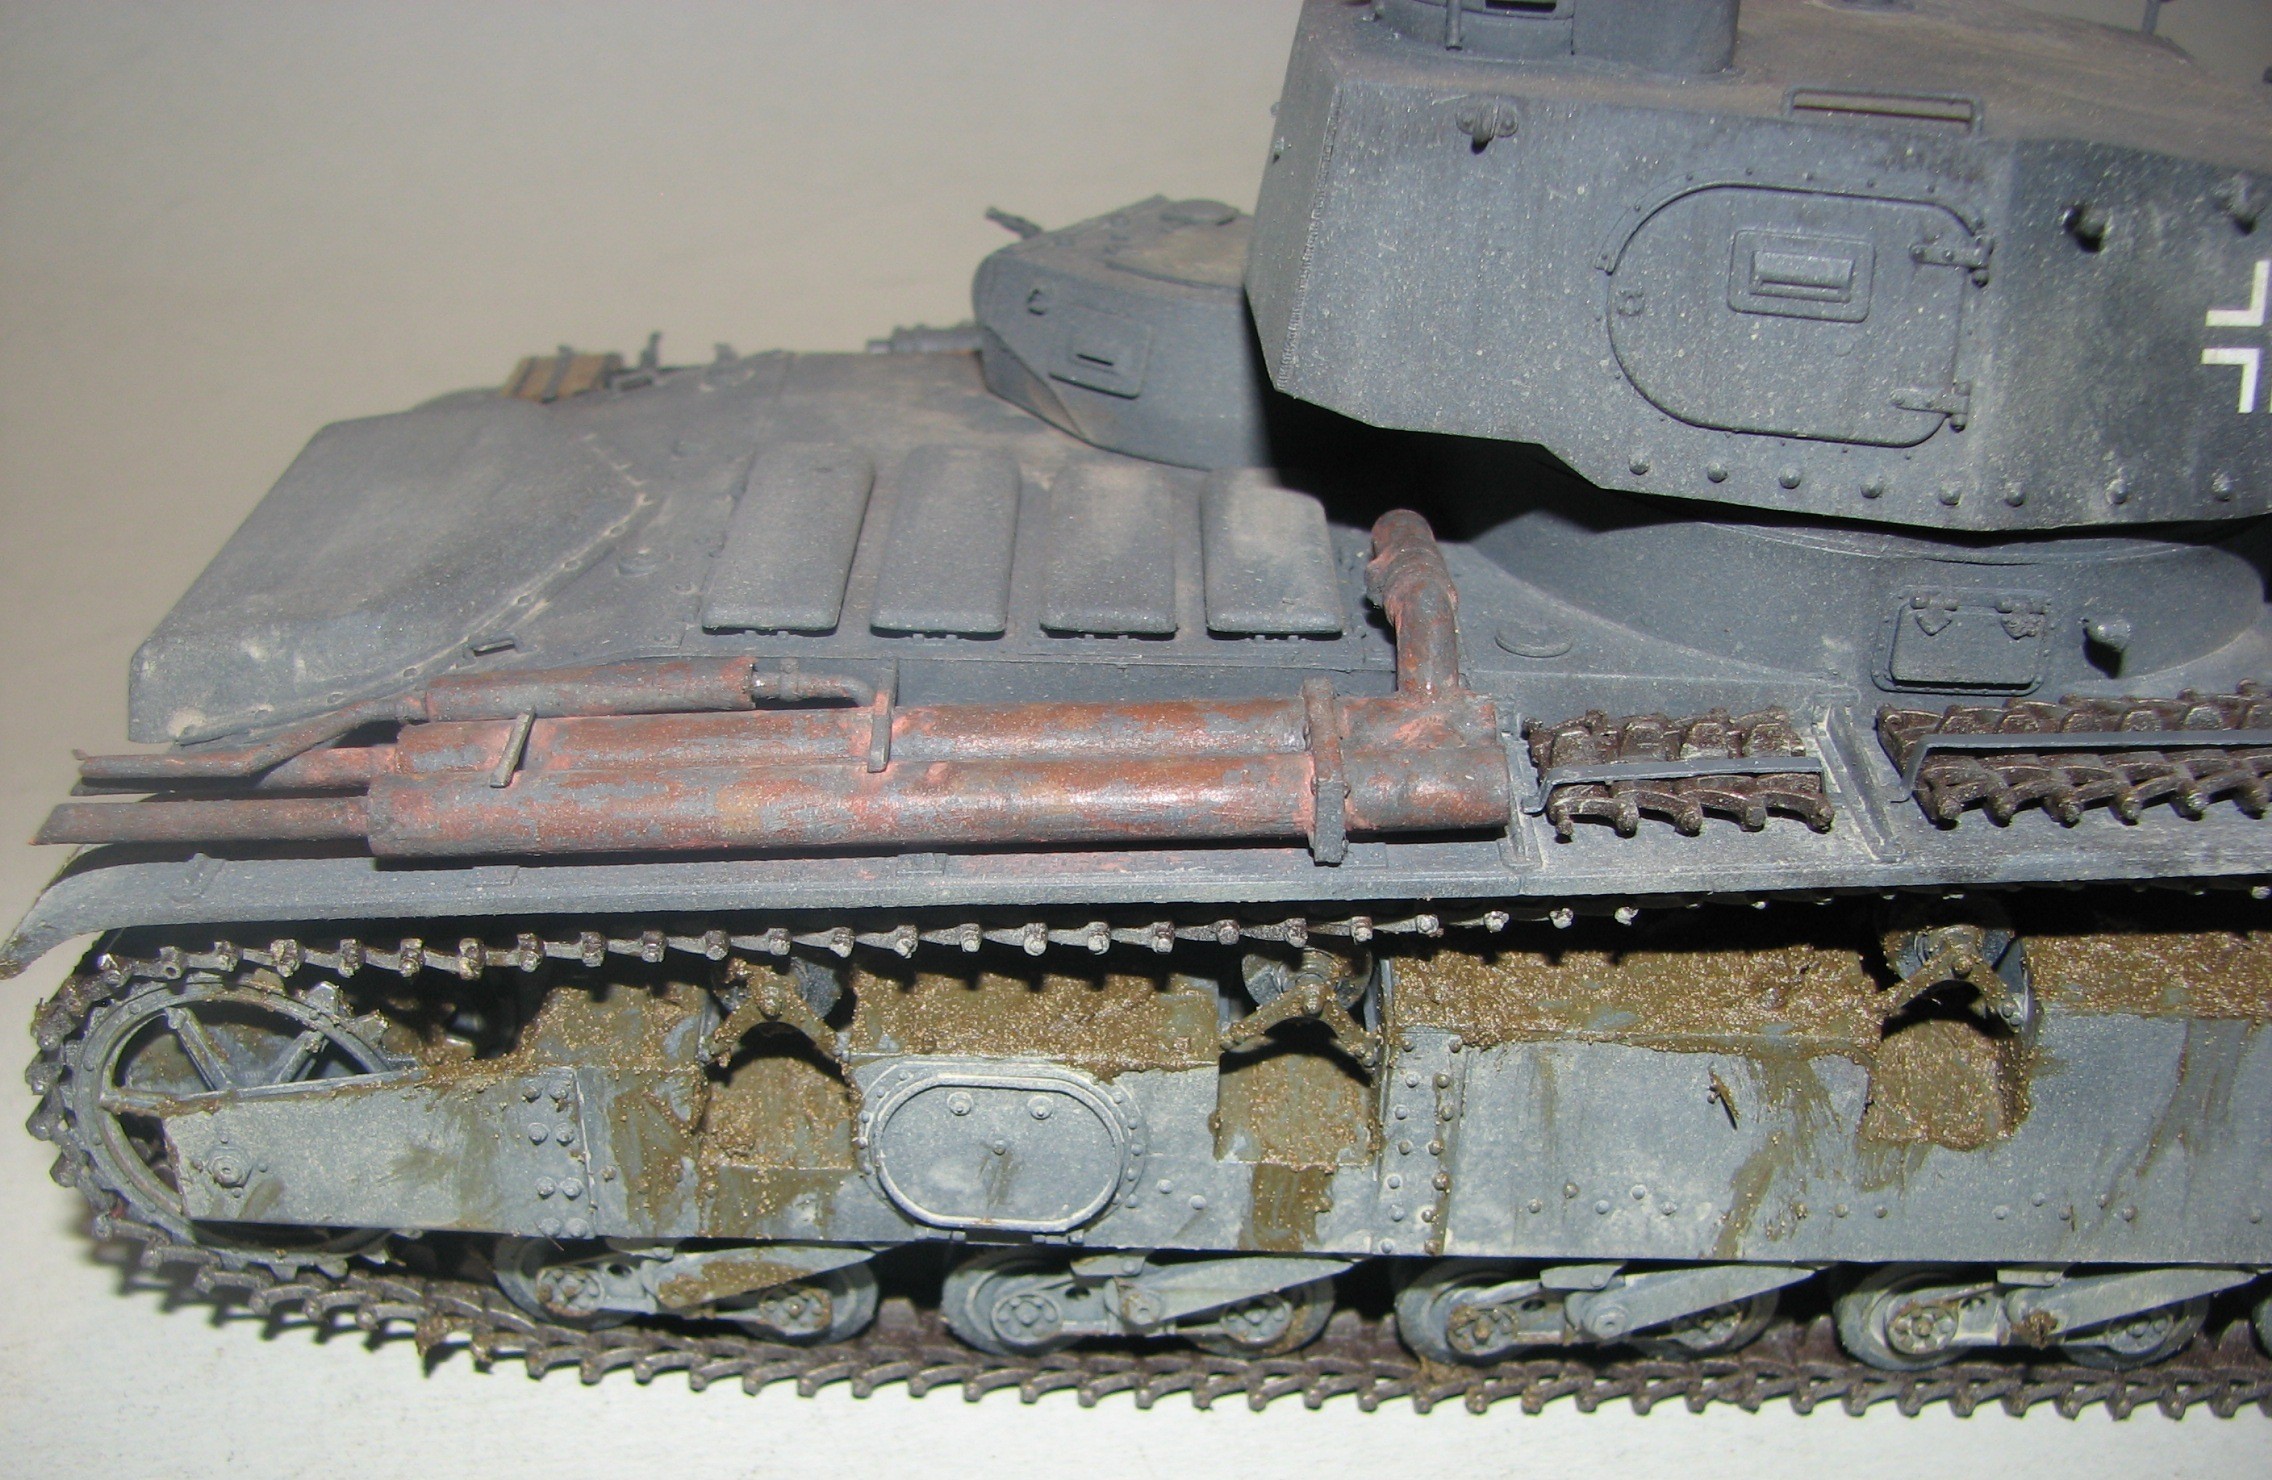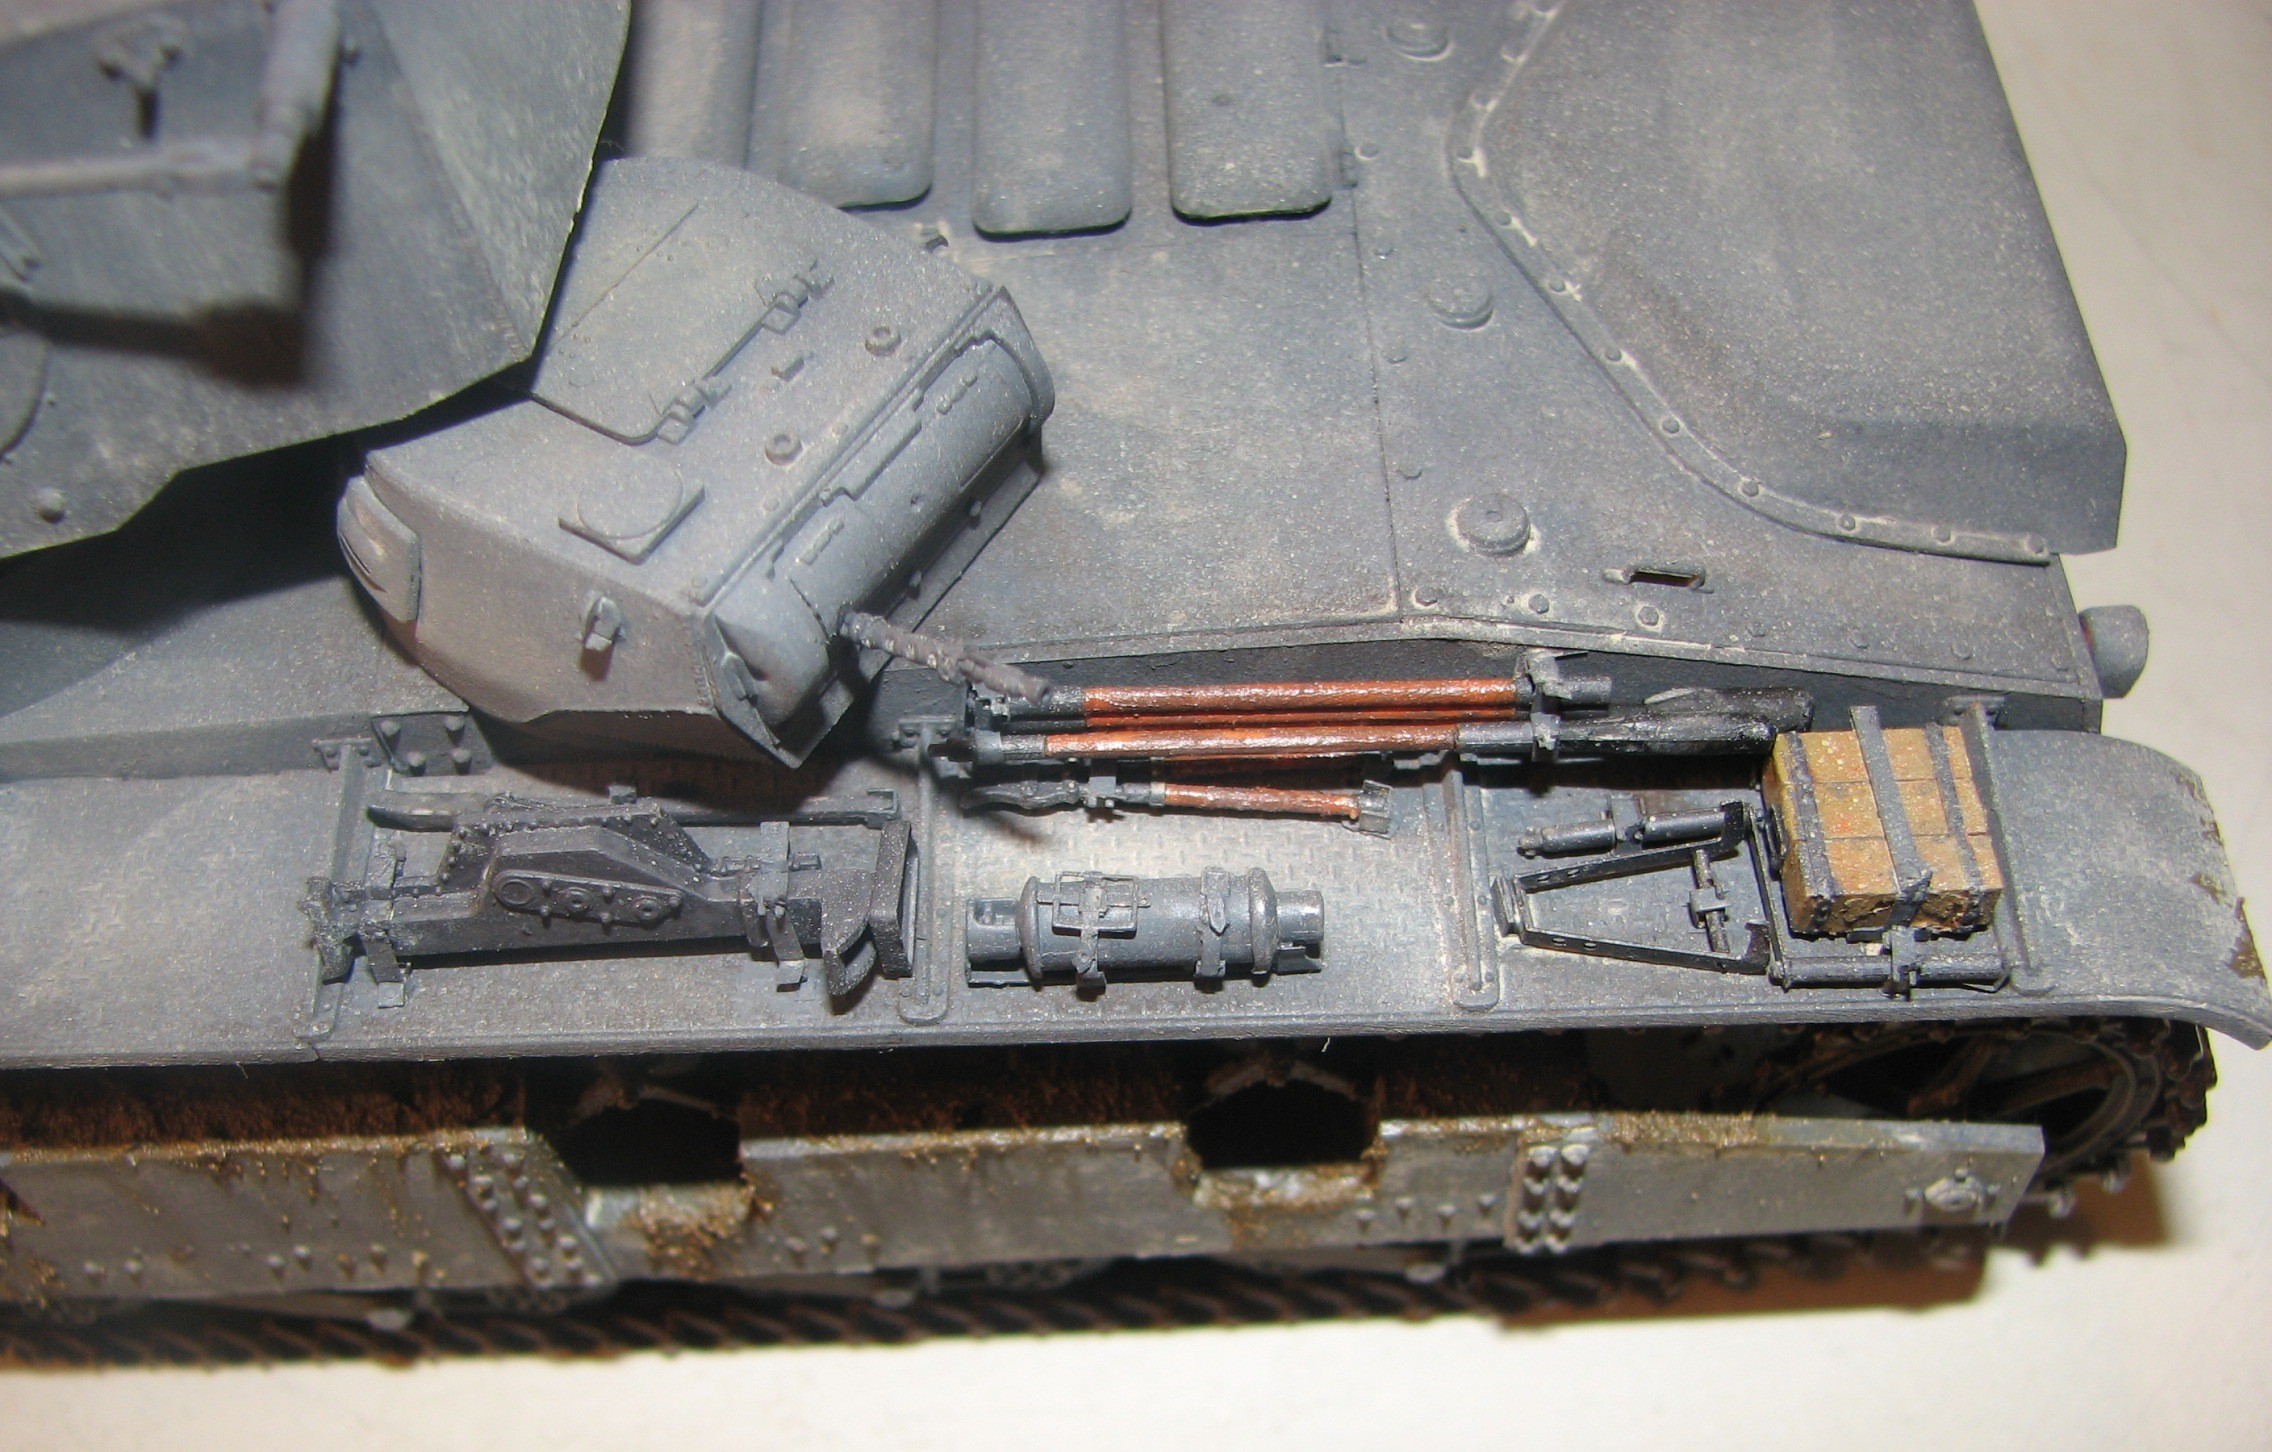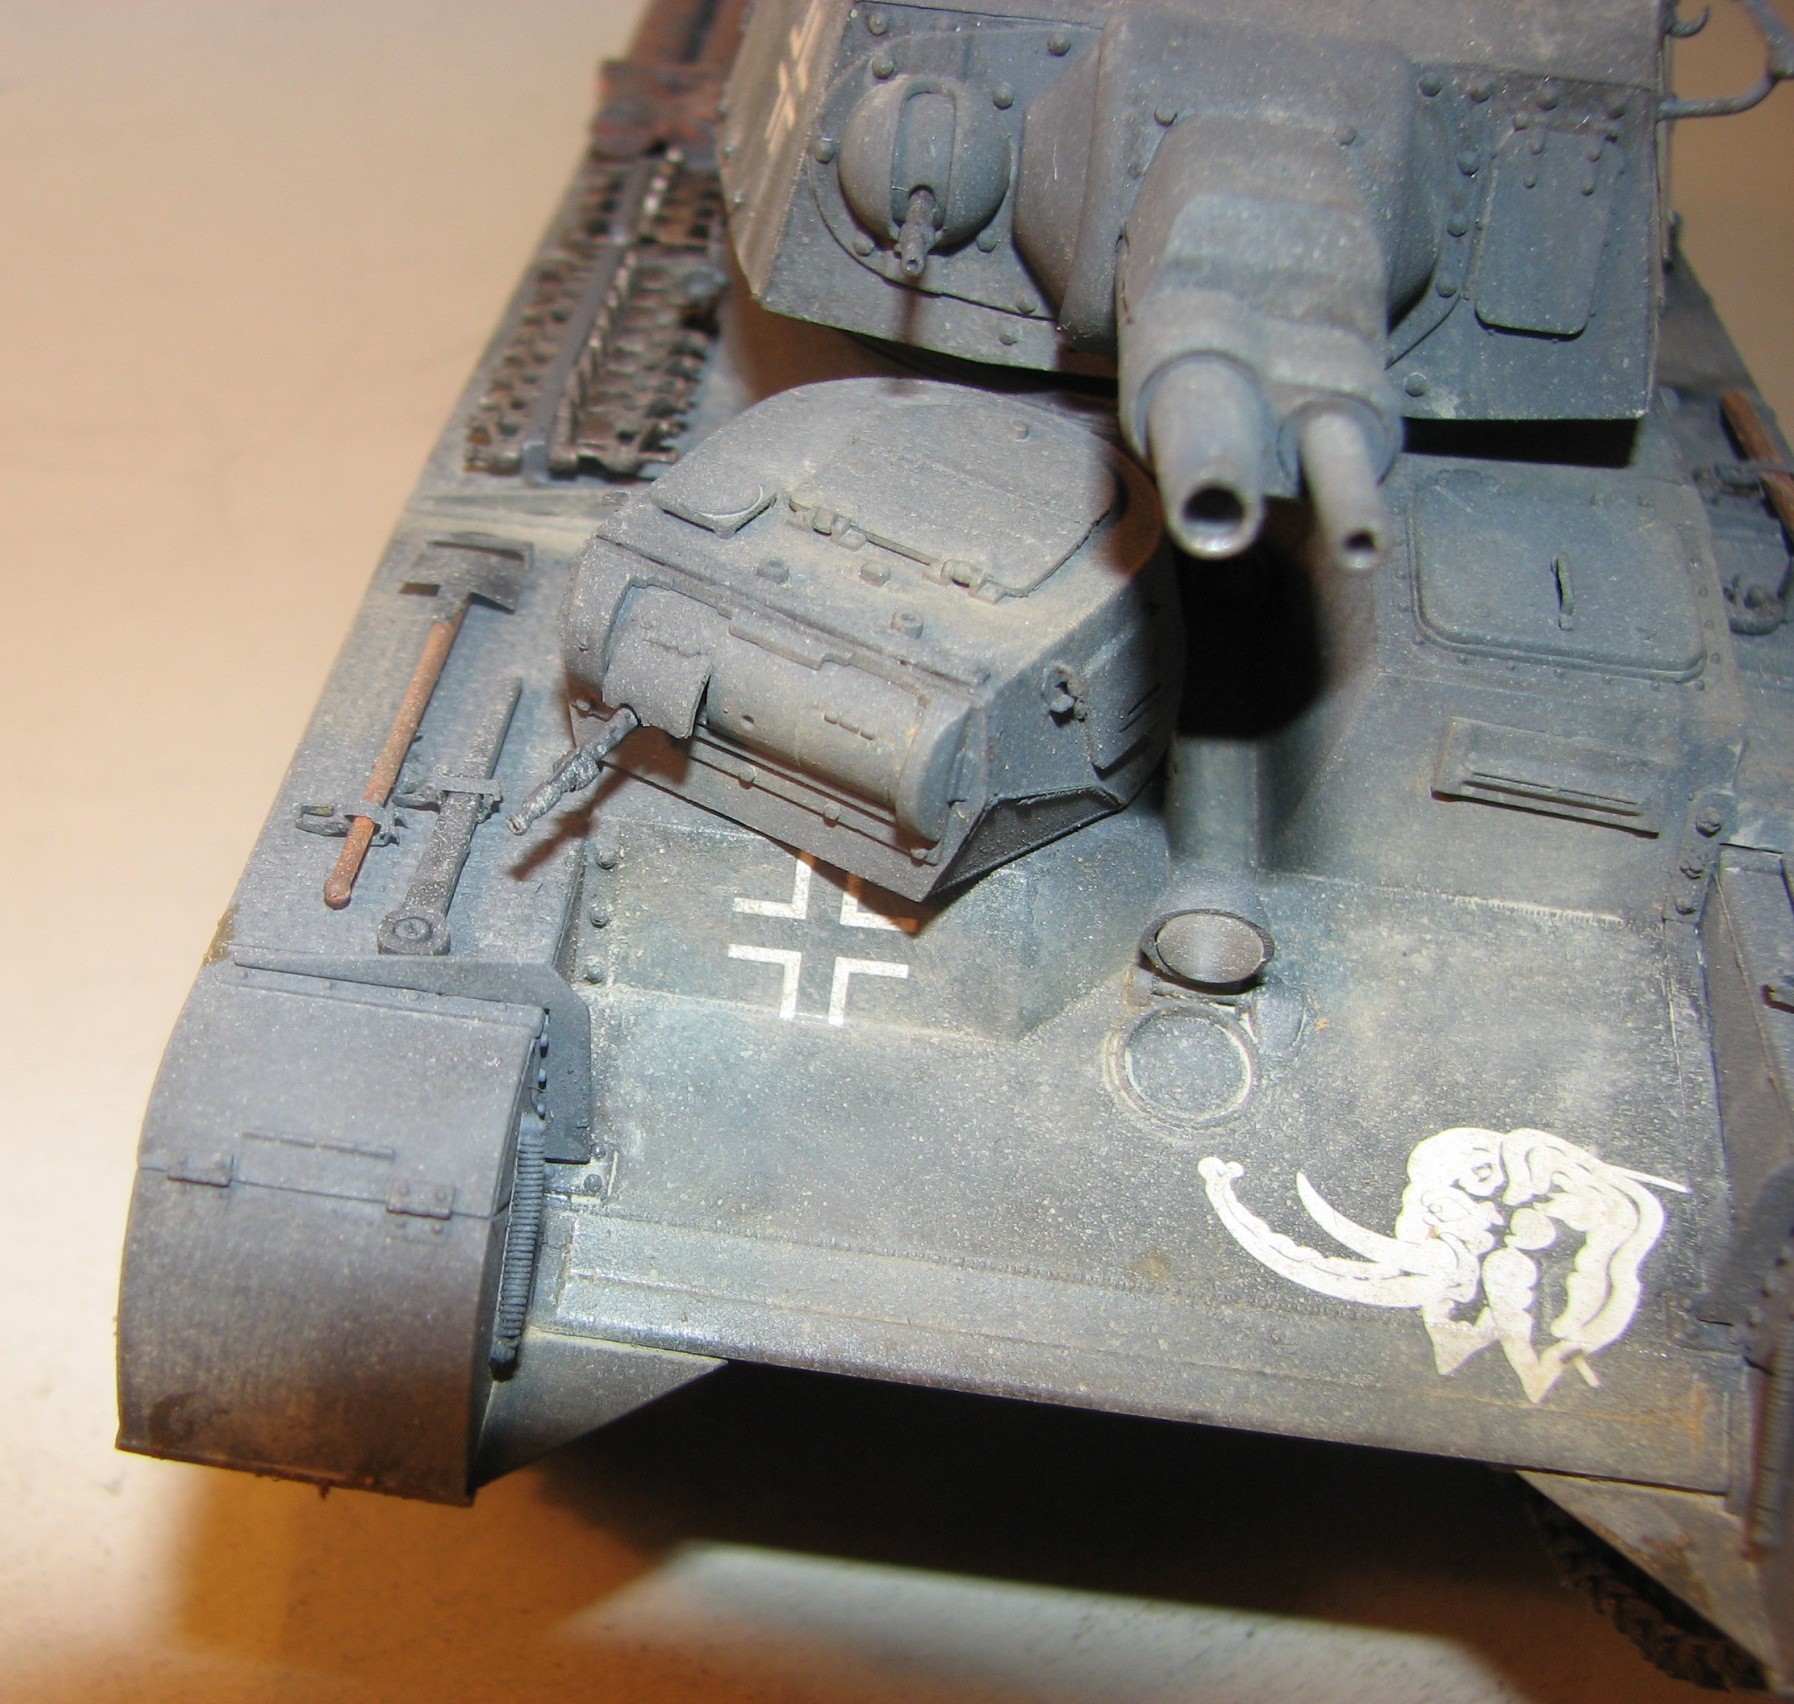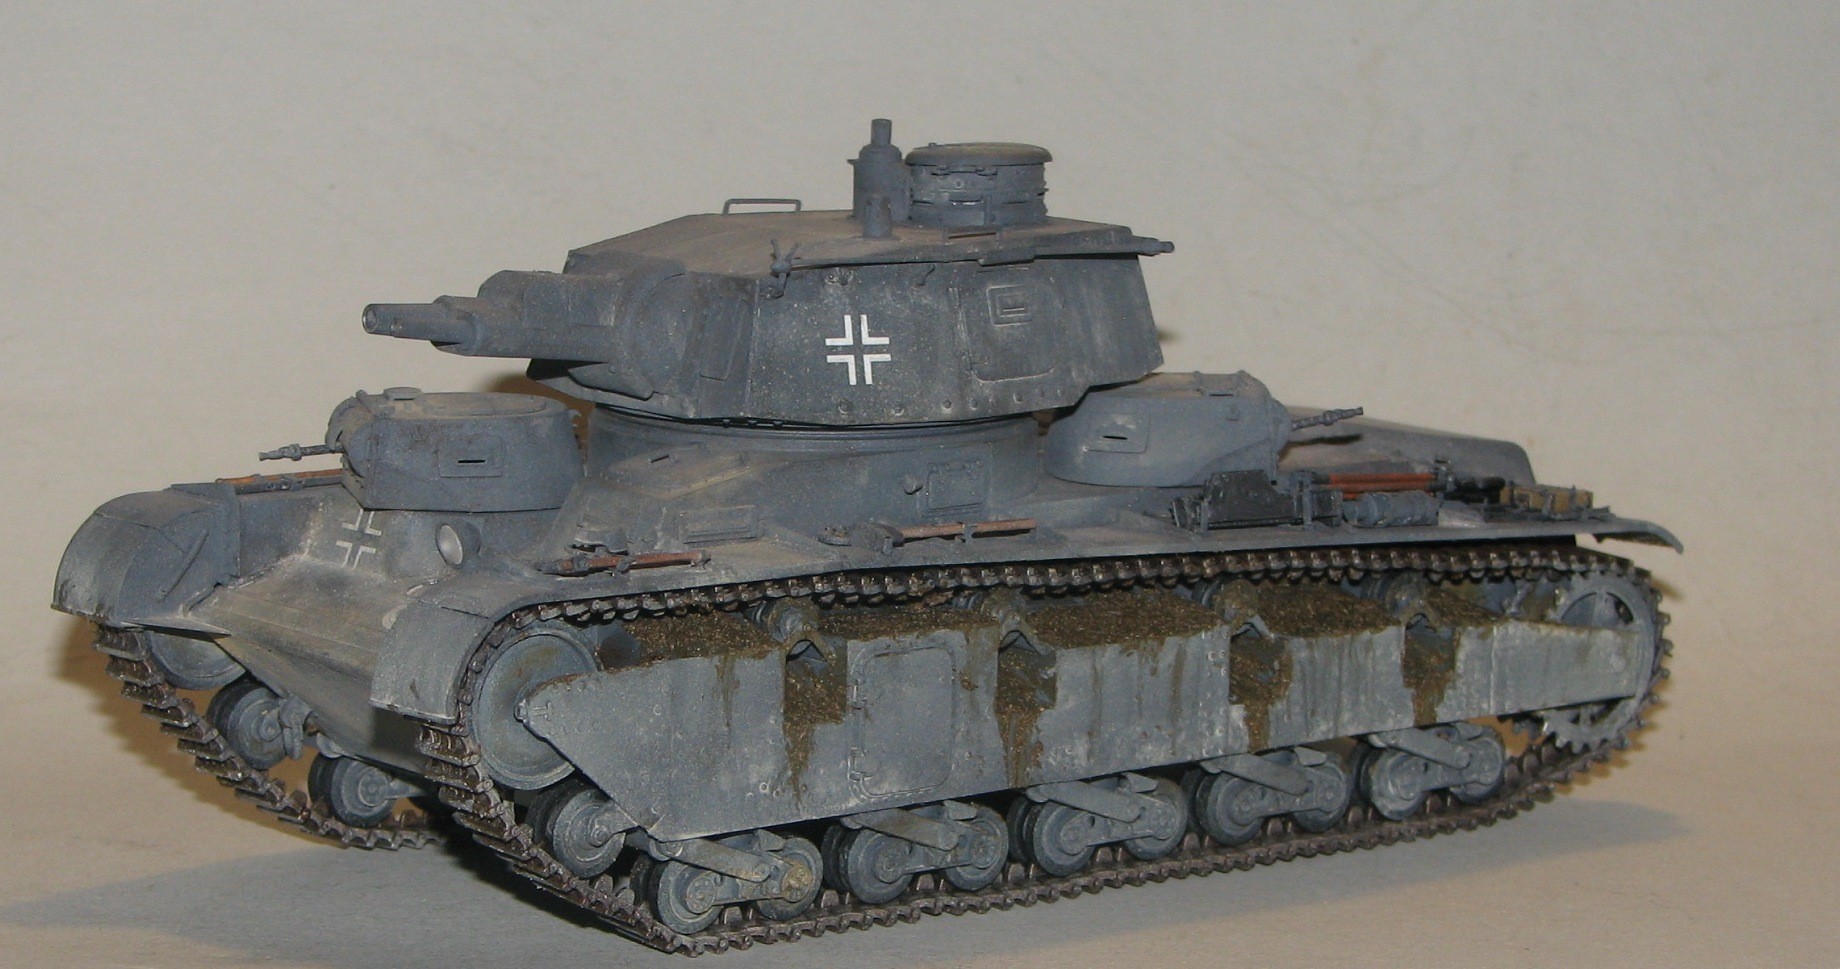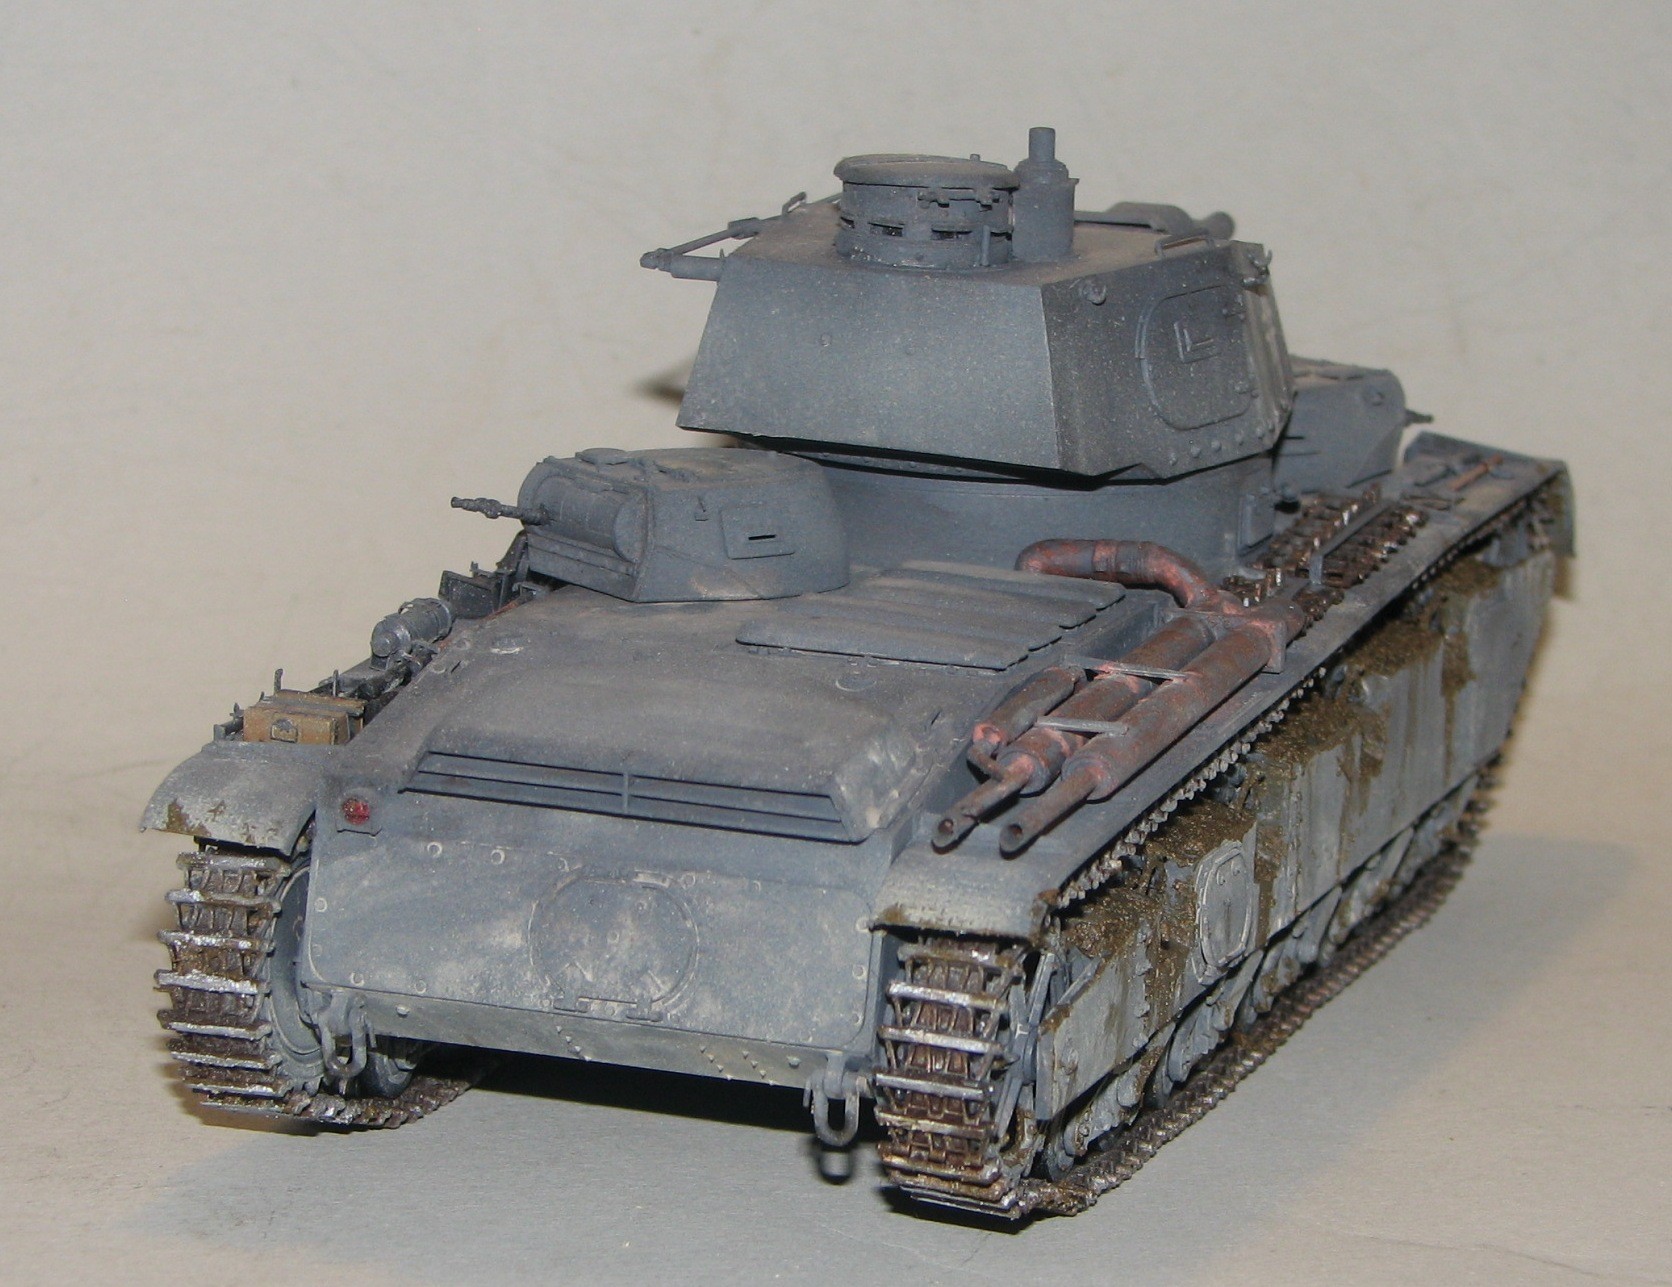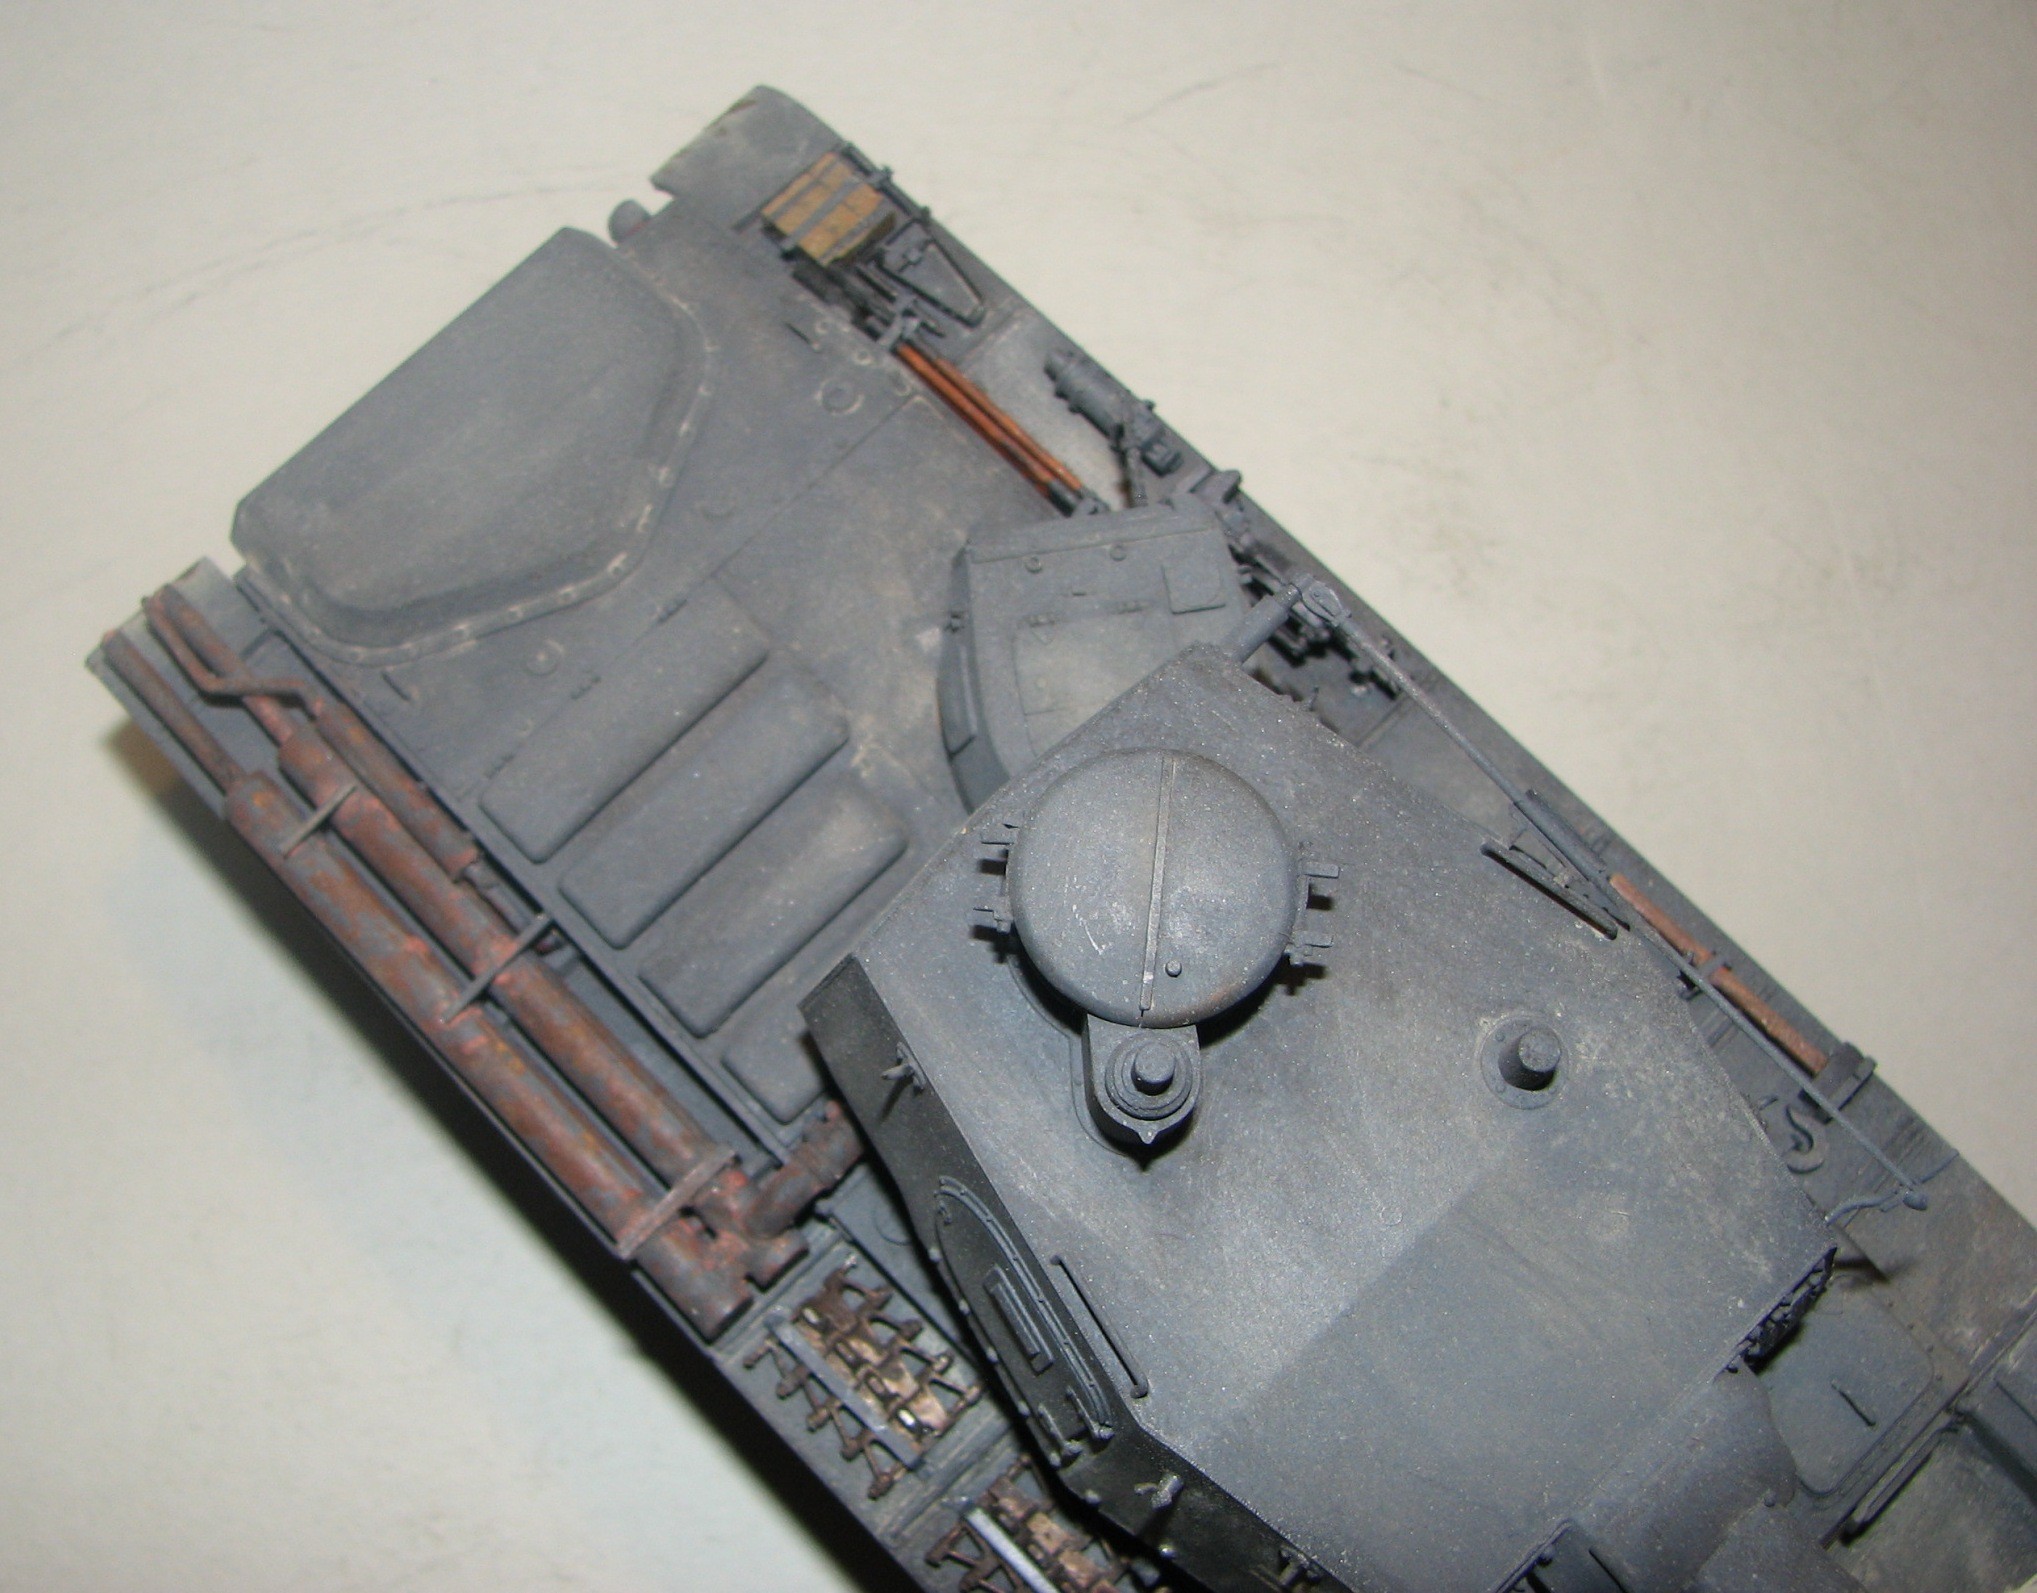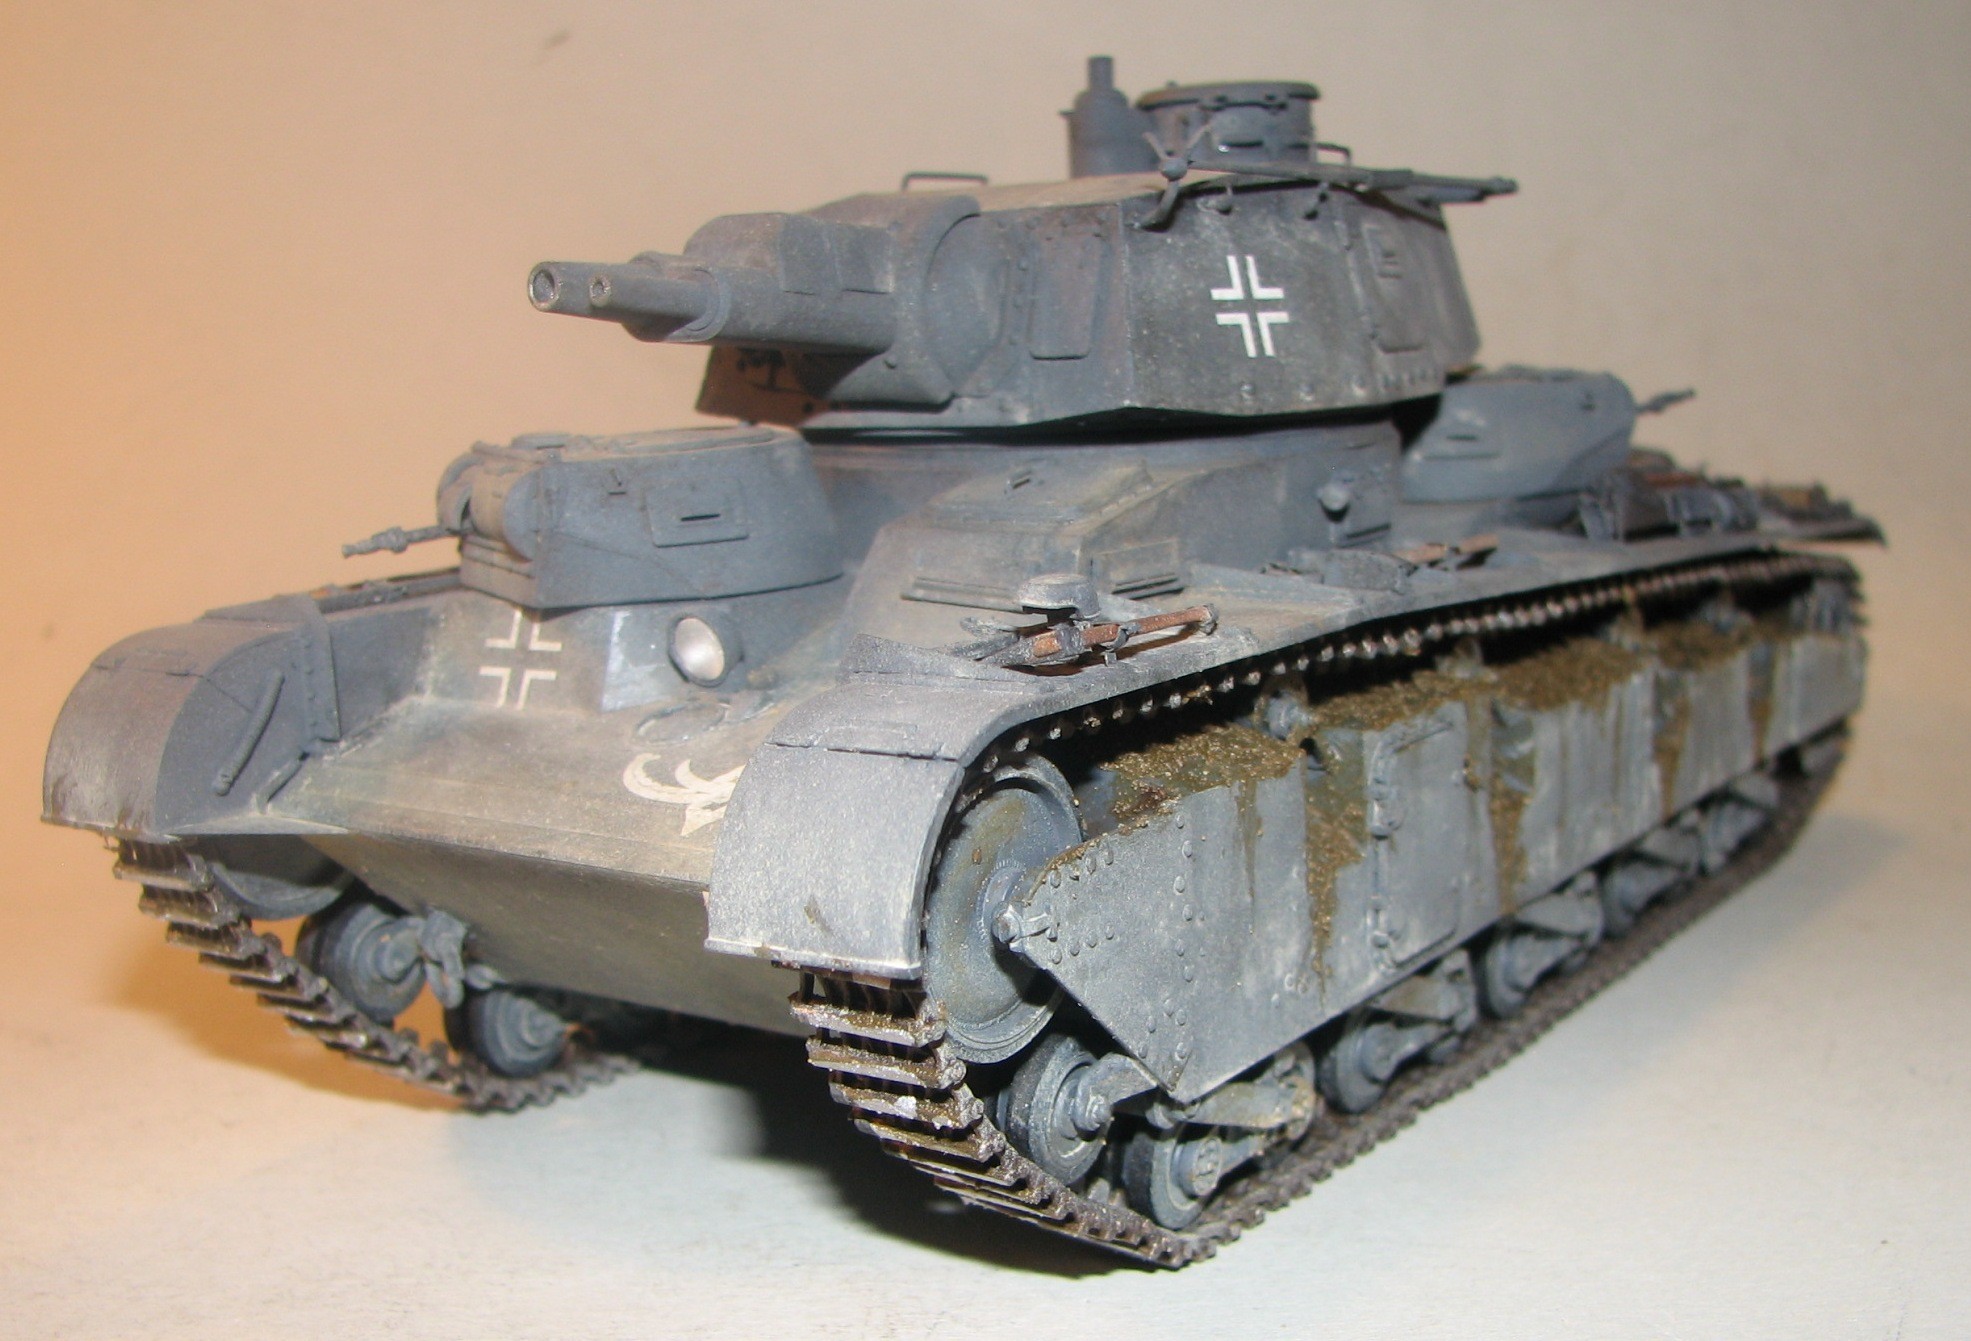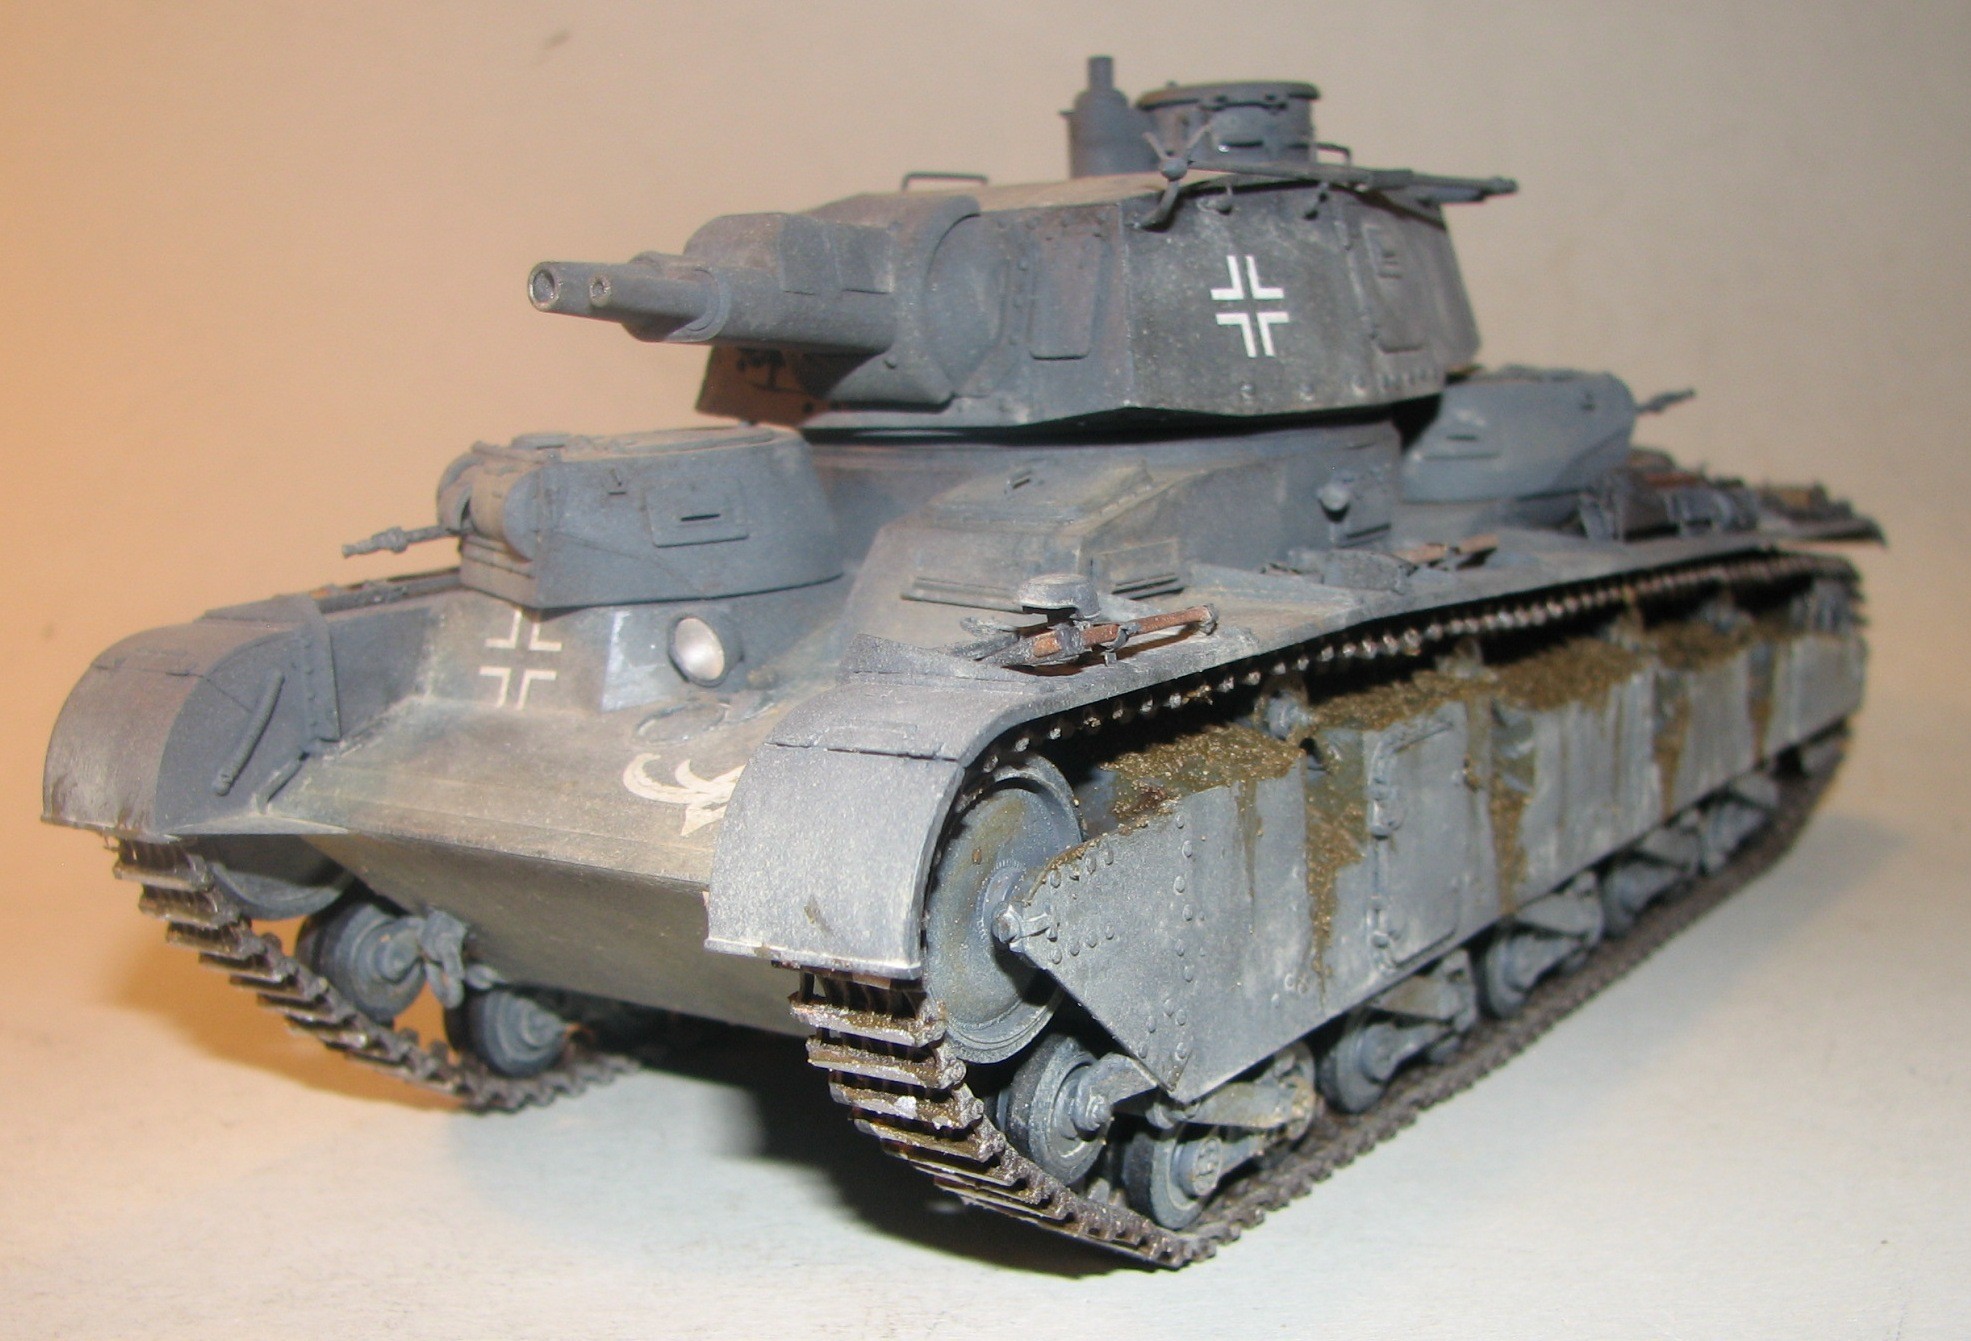
The axels for the wheels can either be built with parts already moulded on or with several separate parts. There is also suspension with different lengths if you want to place the model in a diorama with uneven terrain. The tools can be mounted with the holders moulded on or they can be cut away and replaced with photo etch for more work.
All doors are detailed on the inside and can be mounted open or closed, but there is no interior. The links are joined together with bolts, different for the inside and outside, but it is difficult to see the difference between them. However, they are a little difficult to push all the way in and they bend easily.
My model was apparently a Monday example as there were only bolts for half of the links. Used copper wire instead which was attached with super glue. Worked just as well. According to the instructions 117 links should be used but 118 was needed. Hope no one discover that inaccuracy. The only thing I added were the springs for the front fenders which were replaced with new ones made of copper wire and the holders for the spare tracks that for some strange reason were omitted.
Found a reference photo but unfortunately no details were visible. Fruil model makes metal tracks and Voyager has photo etch but it is intended for Dragon’s model. According to the Discovery Science channel’s program series “How do they do it?” it can take up to a year for the model manufacturers to research the reference material and take measurements and cost to up to $100,000 dollars.
In this case it was probably extra difficult as all that is left of these tanks are a few pieces in a military museum in Norway. According to the historical background in the instructions it was also there the tanks were used in combat and one was also used in the war against the Soviet Union where it was destroyed.
