


Introduction
When the United States jumped into the ground combat in Vietnam in 1965, it brought a whole "tail" along to support the "tooth" of the fighting units. Not only was South Vietnam's infrastructure unable to sustain the huge influx of troops and service personnel, but its existing road network was inadequate for the war of movement the US planned on fighting (though the Viet Cong and NVA had other ideas). And with much of the country covered in lush jungle and forest, Nature was a additional enemy. Part of that "tail" were construction units (specifically the 59th, 60th, 501st, 538th, 687th, and 984th Engineer Companies, followed in 1967 by the 169th Engineer Battalion) whose task was to clear landing zones, campsites and roadways, as well as to deny the enemy the use of the country's pervasive green canopy. The challenge was doing this quickly and efficiently.
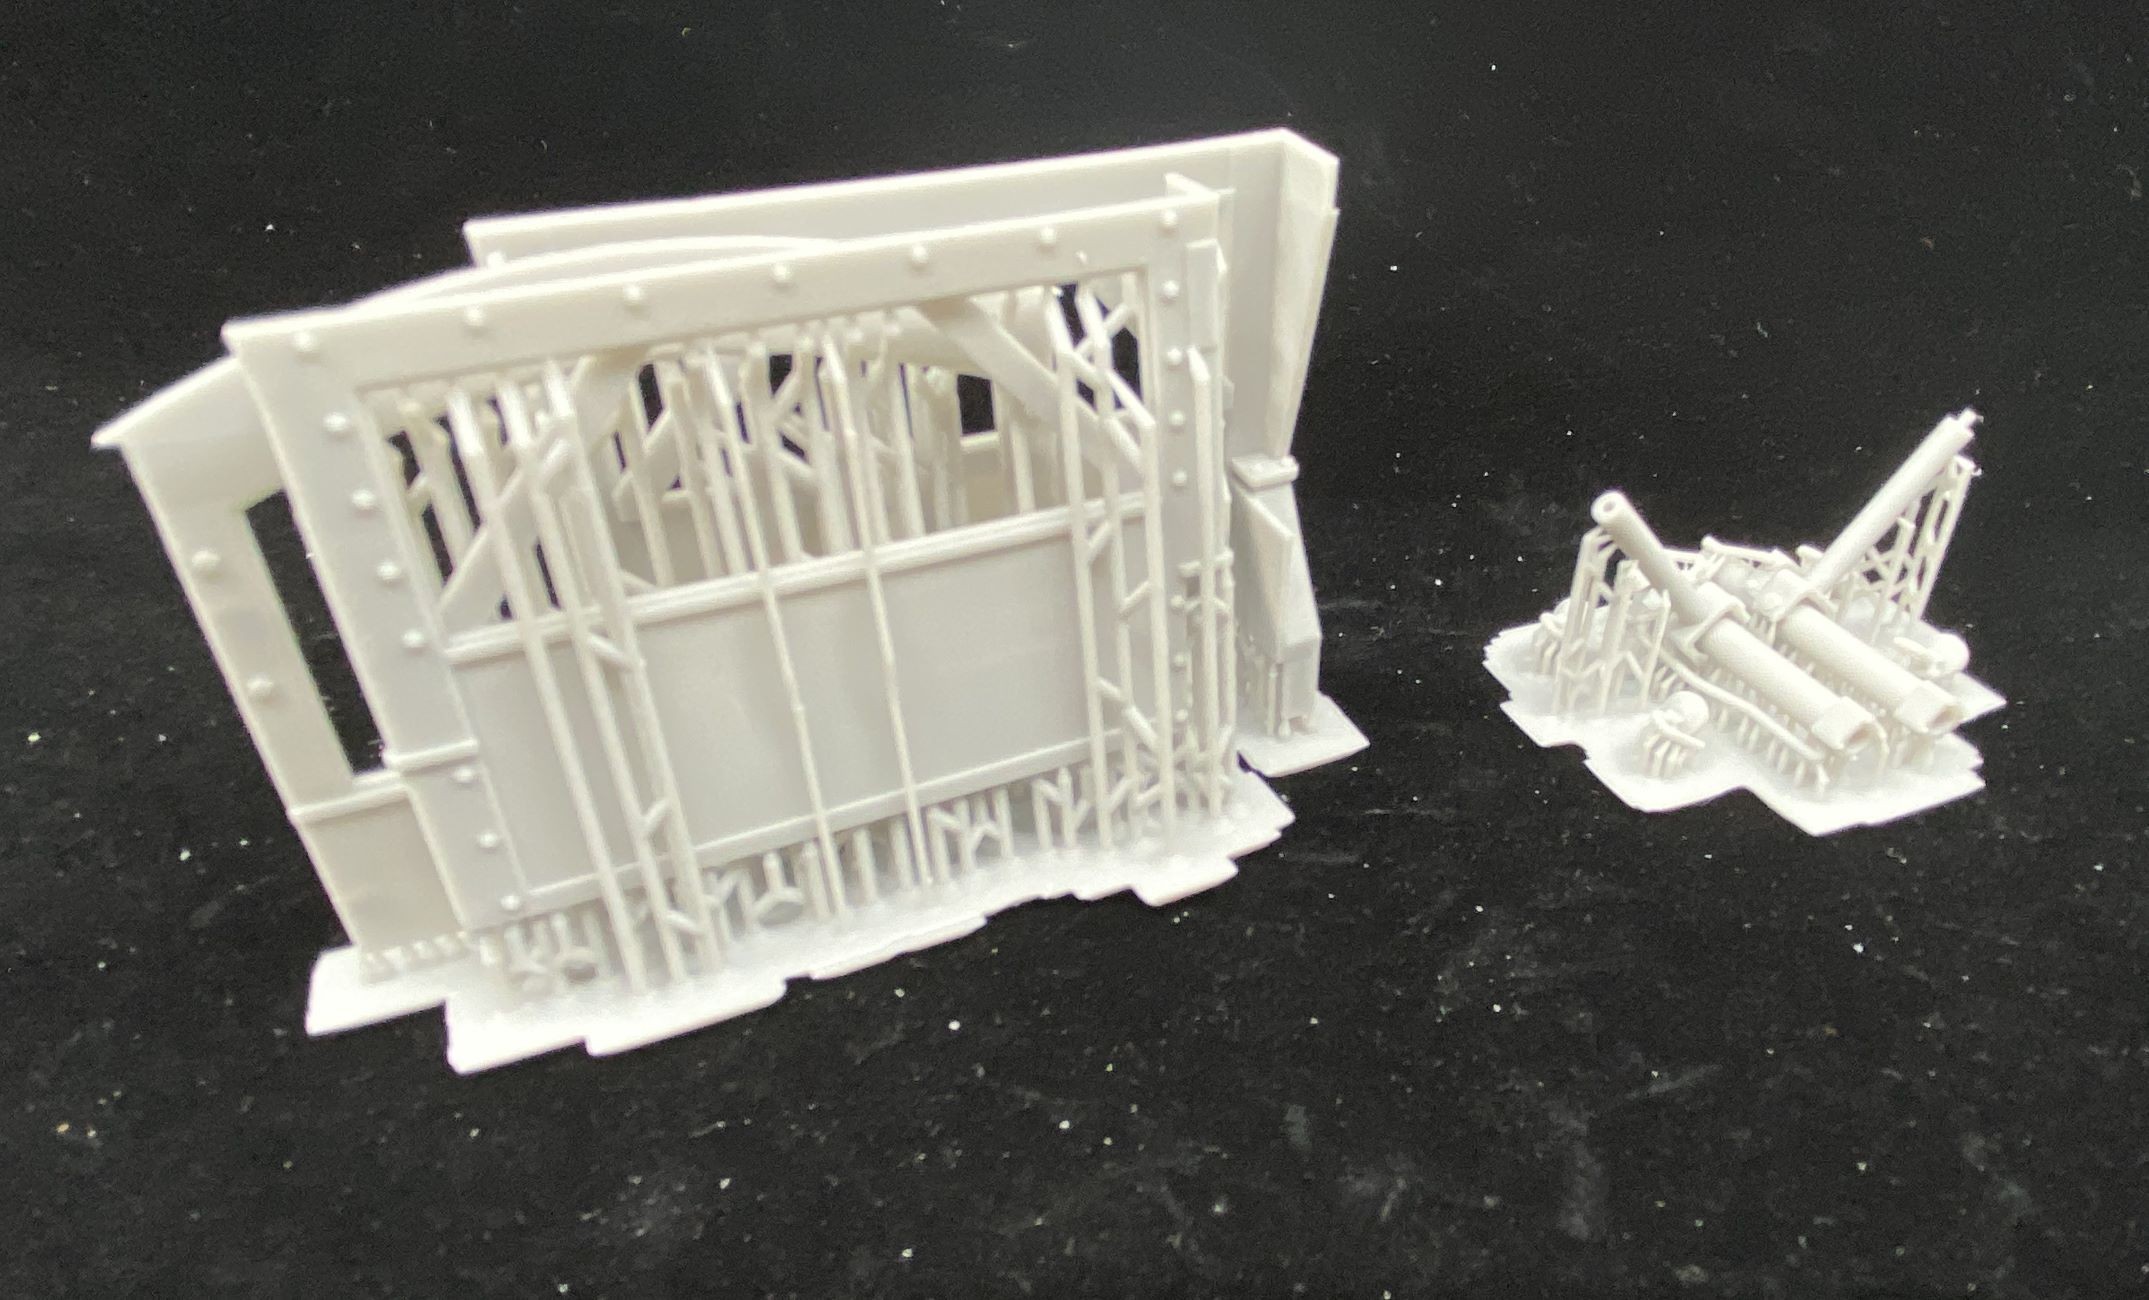
With guys lurking in the jungle sporting rifles and other nasty surprises, the idea of using chainsaws or ordinary means of clearing trees and vegetation went out the window. Enter the "Rome" plow, named for the Rome Plow Company who made them in Rome, GA. A two-ton "knife" mounted on a D7 bulldozer allowed these plows to clear huge swaths of jungle by shearing off any trees or bushes that stood in the way right to the ground-- so much so that critics of the war have accused the United States of a war crime for denuding thousands of acres in this way.
Agent Orange, which was used as a wide-scale defoliant, would seem to fit that bill more concisely, but that's an argument that goes beyond this review.
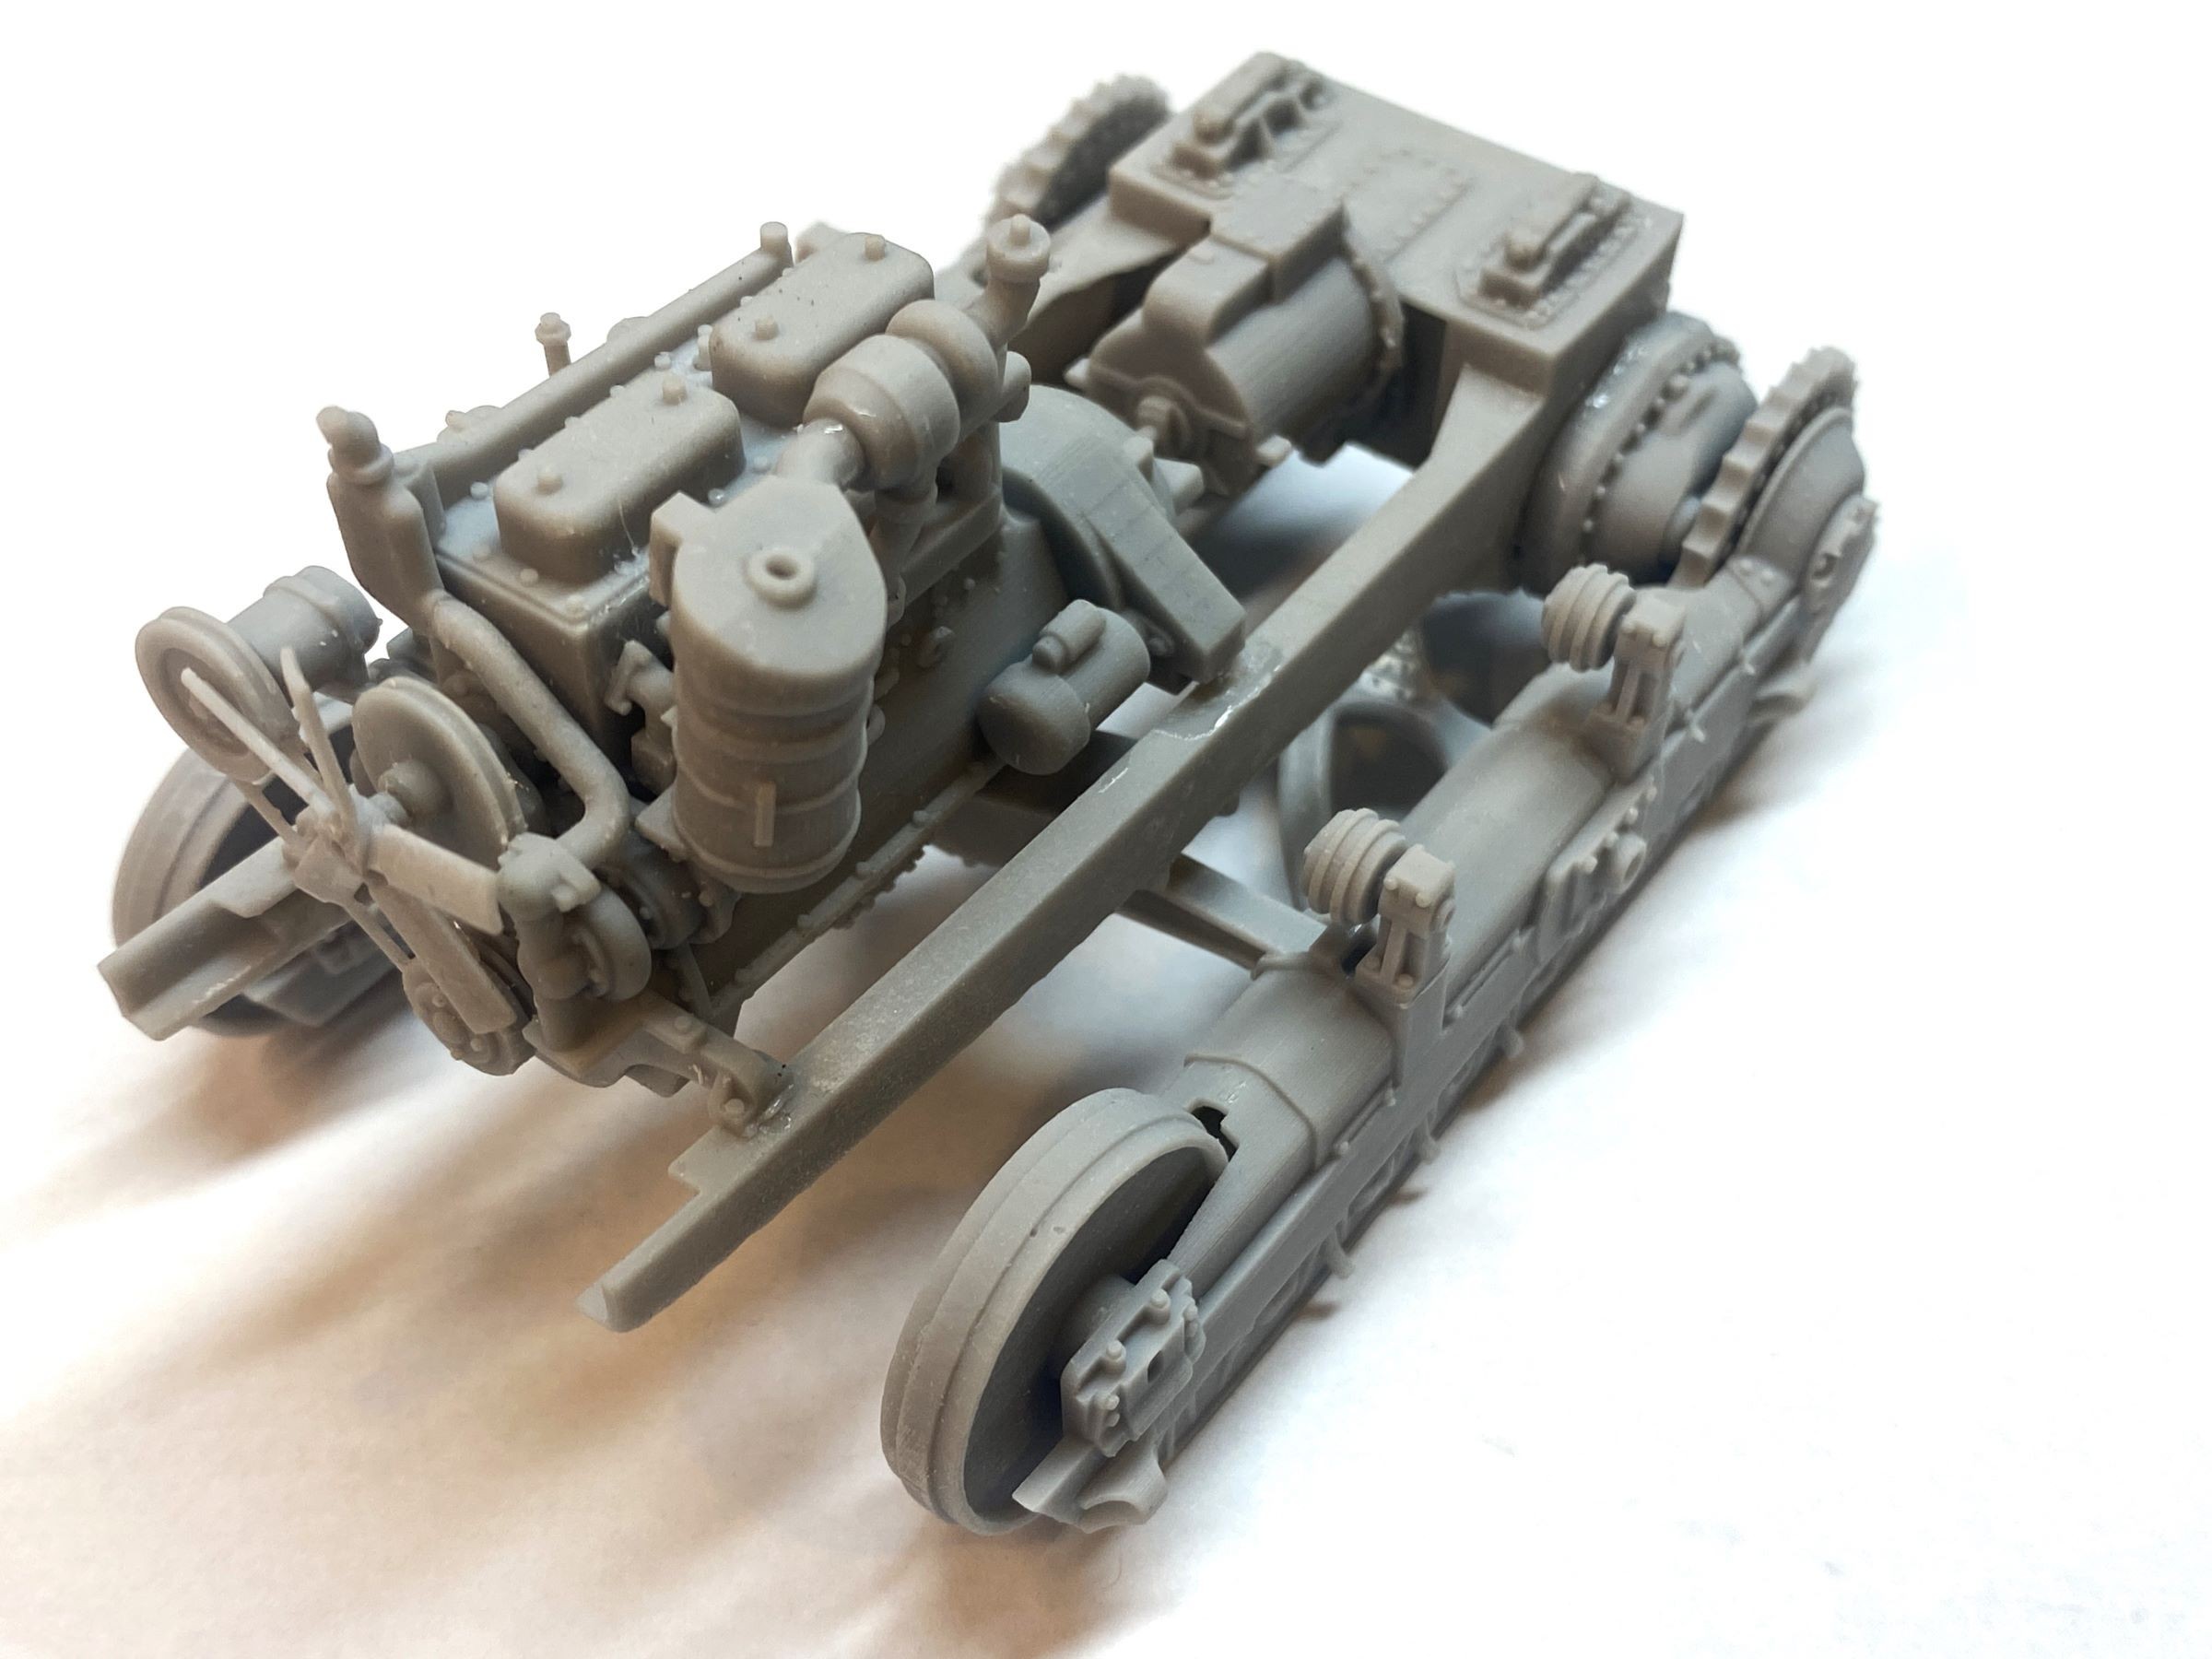
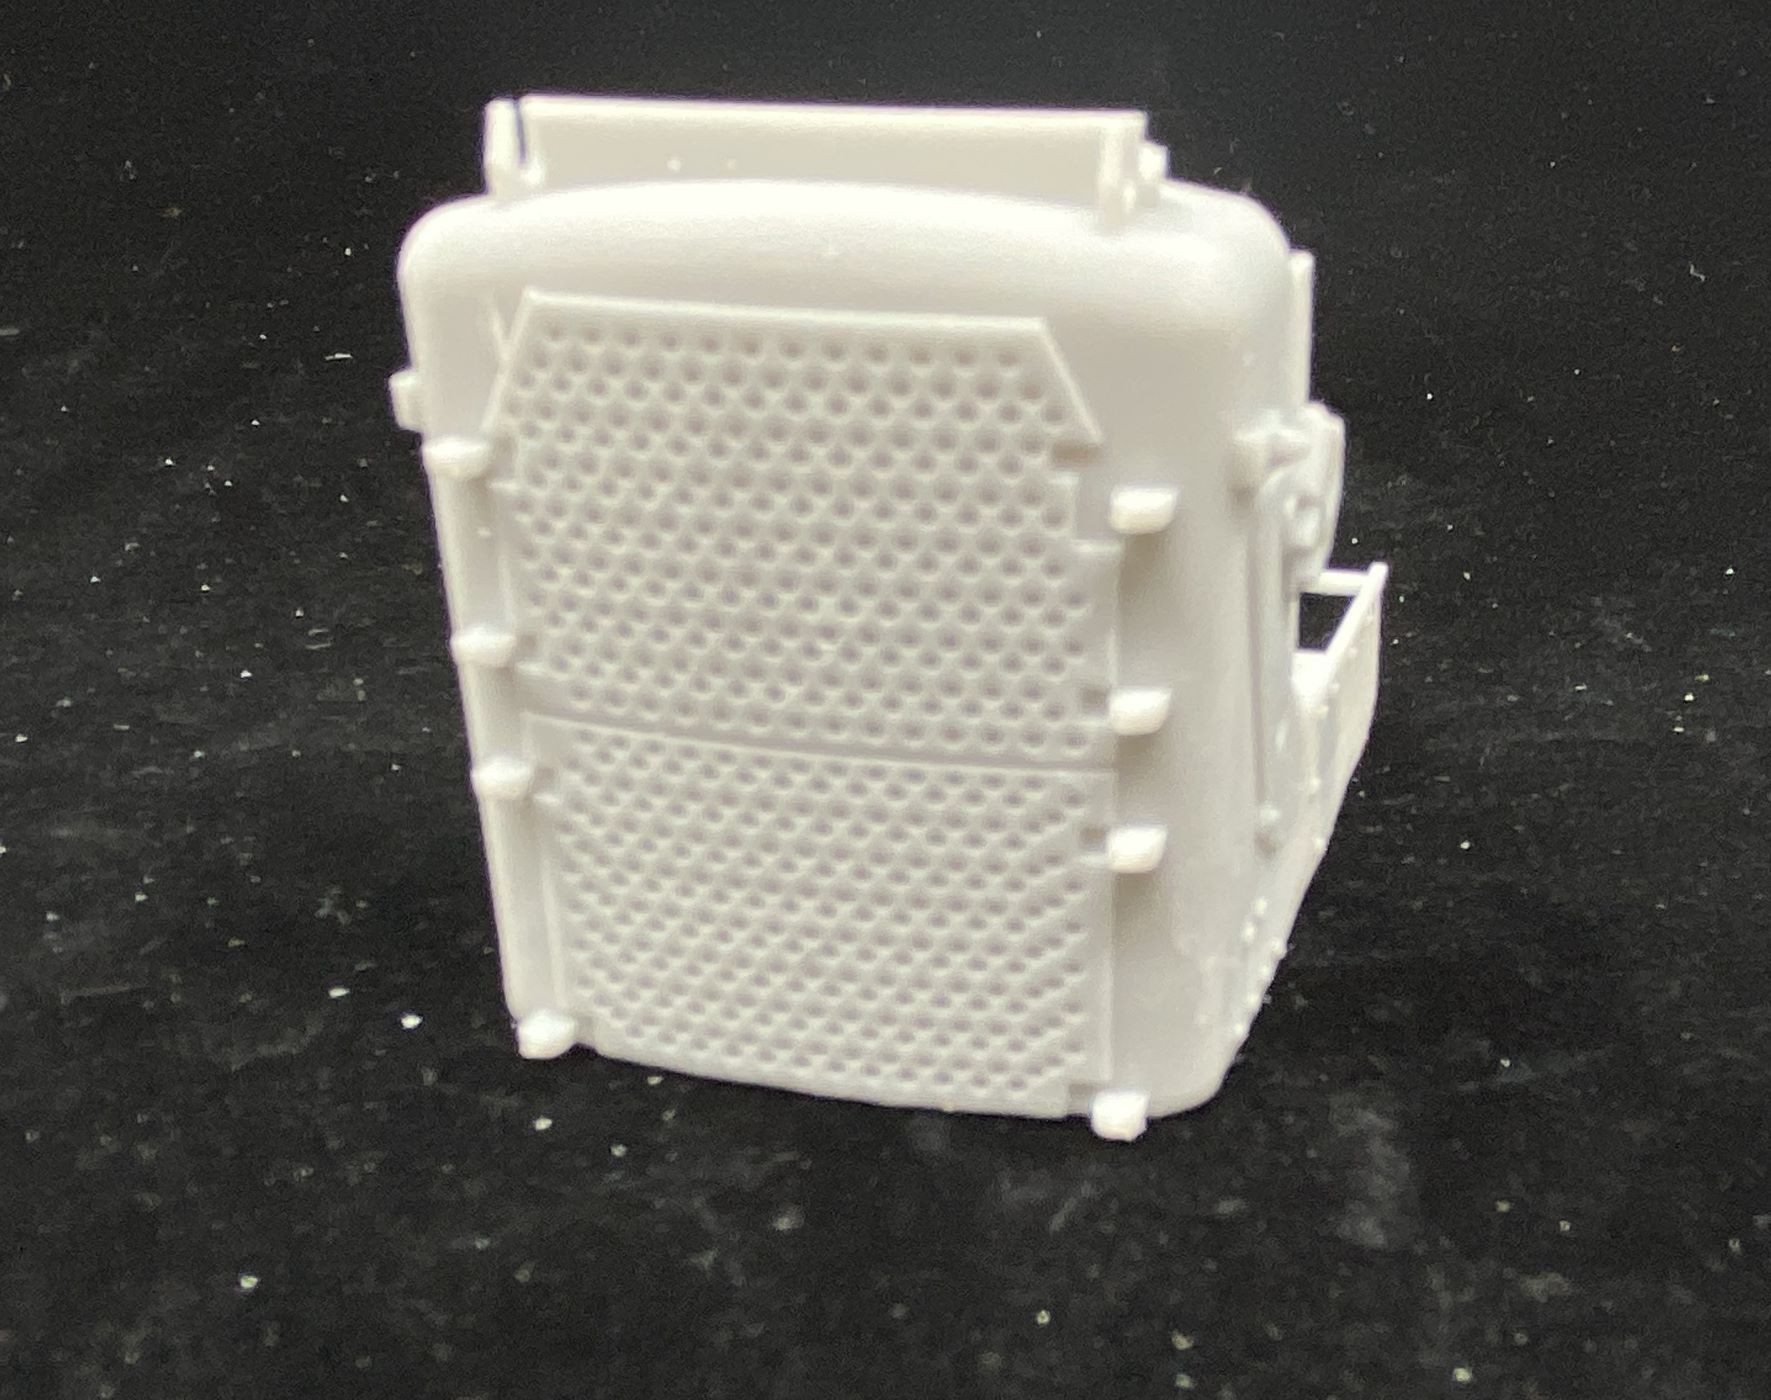
The Rome Plows were protected by platoons of tanks and other "tips of the spear" that would pour fire into areas designated for reduction. The Caterpillar D7 bulldozer that sported the Rome plow also pulled the sheepsfoot roller used to level the ground for building roads and helipads. The bulldozer is a worthy subject for modelers in its own right, since they have served from before WW2 until the present day in some corners of the world. While WW2-style D7 bulldozers have been kitted before in 1/35th by Mirror Models and MiniArt, the Vietnam Rome plow variant has been absent.
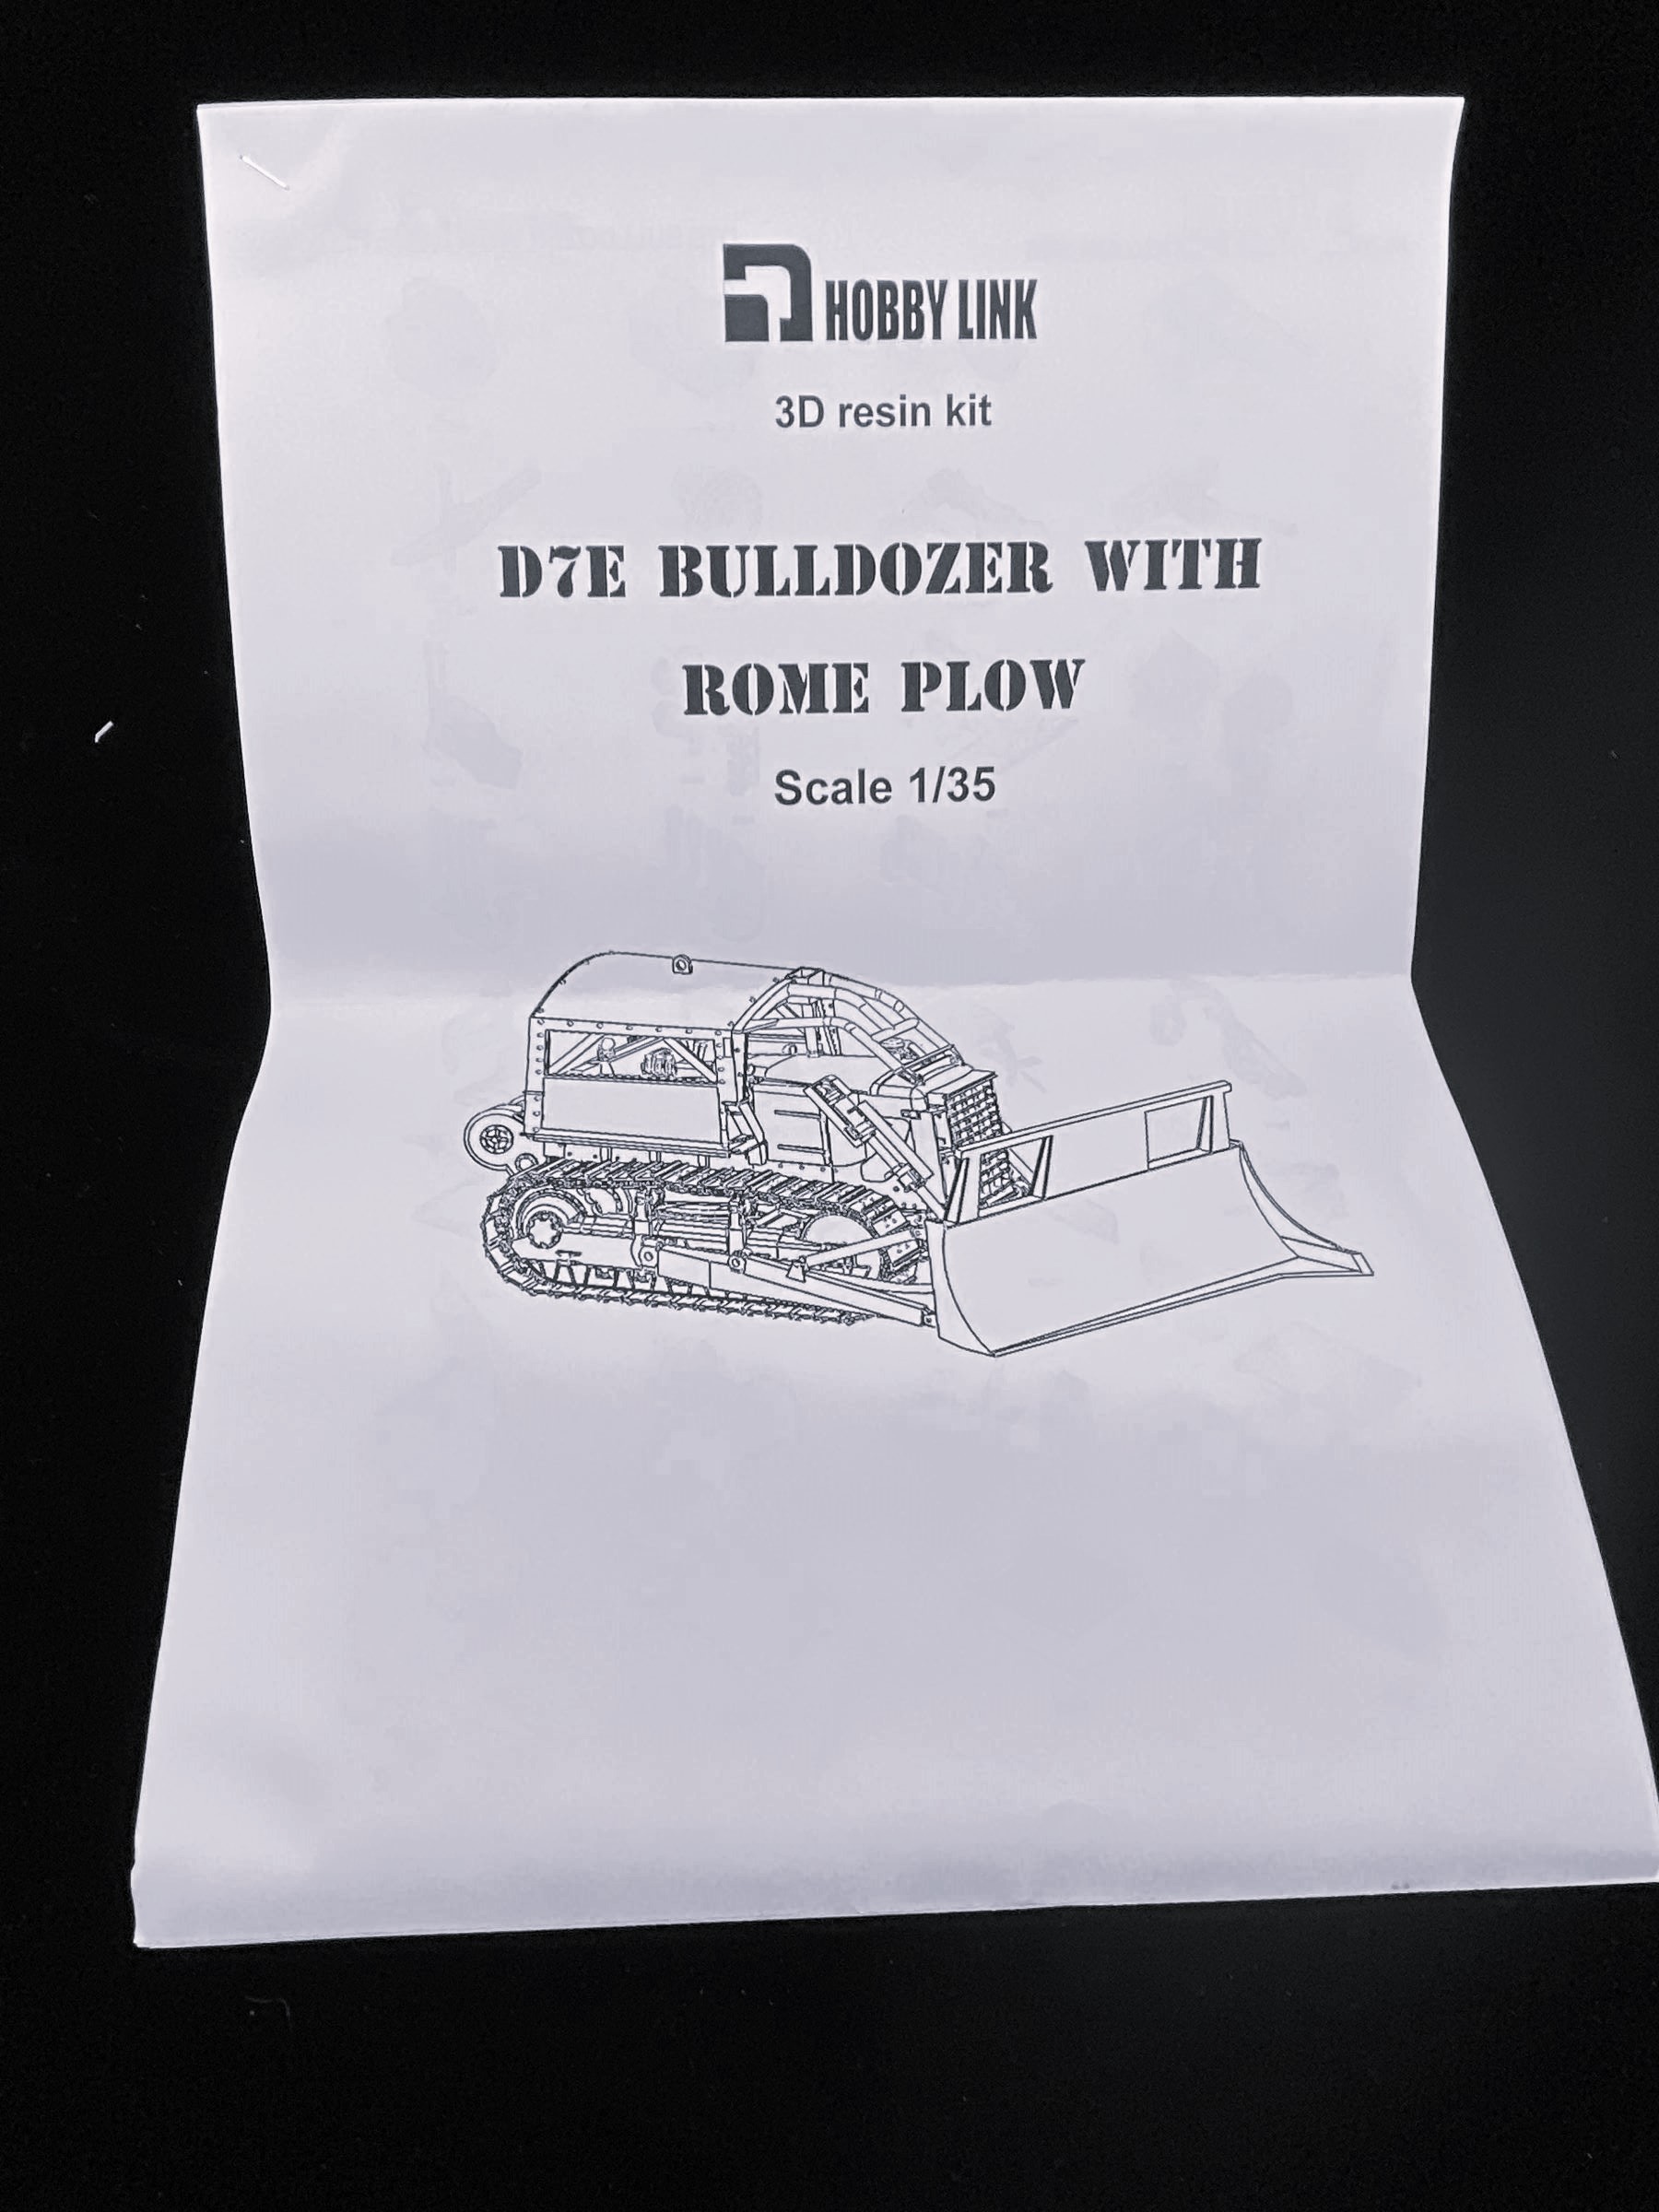
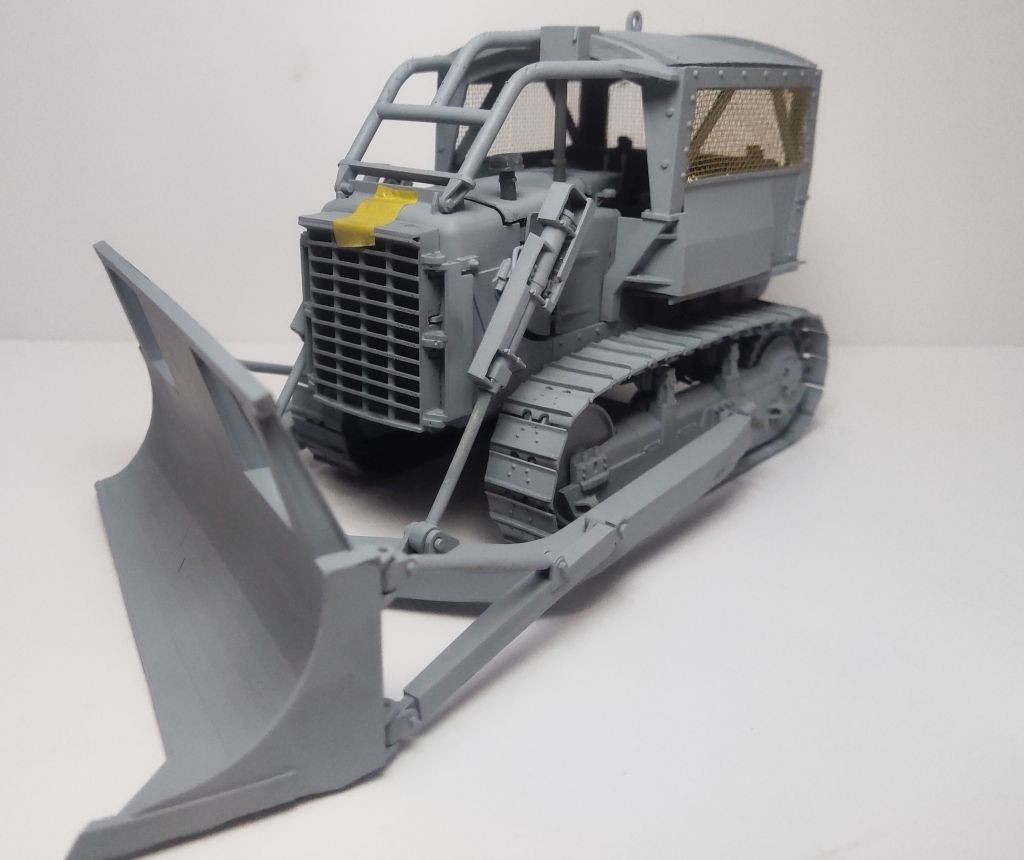
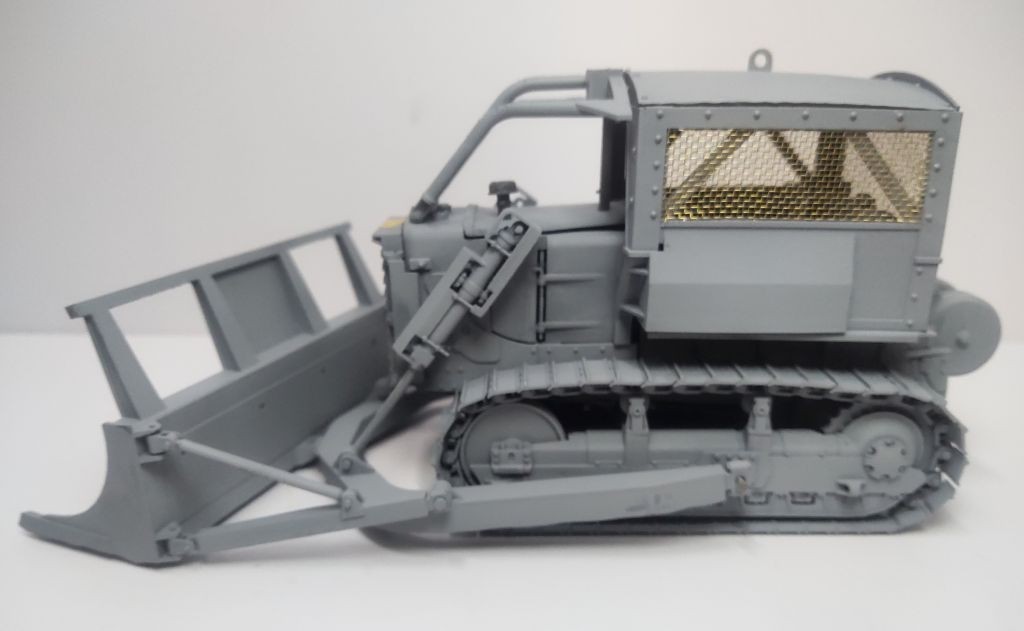
Until now when Hobby Link has released a 3D printed resin Rome Plow with D7E bulldozer.
Contents
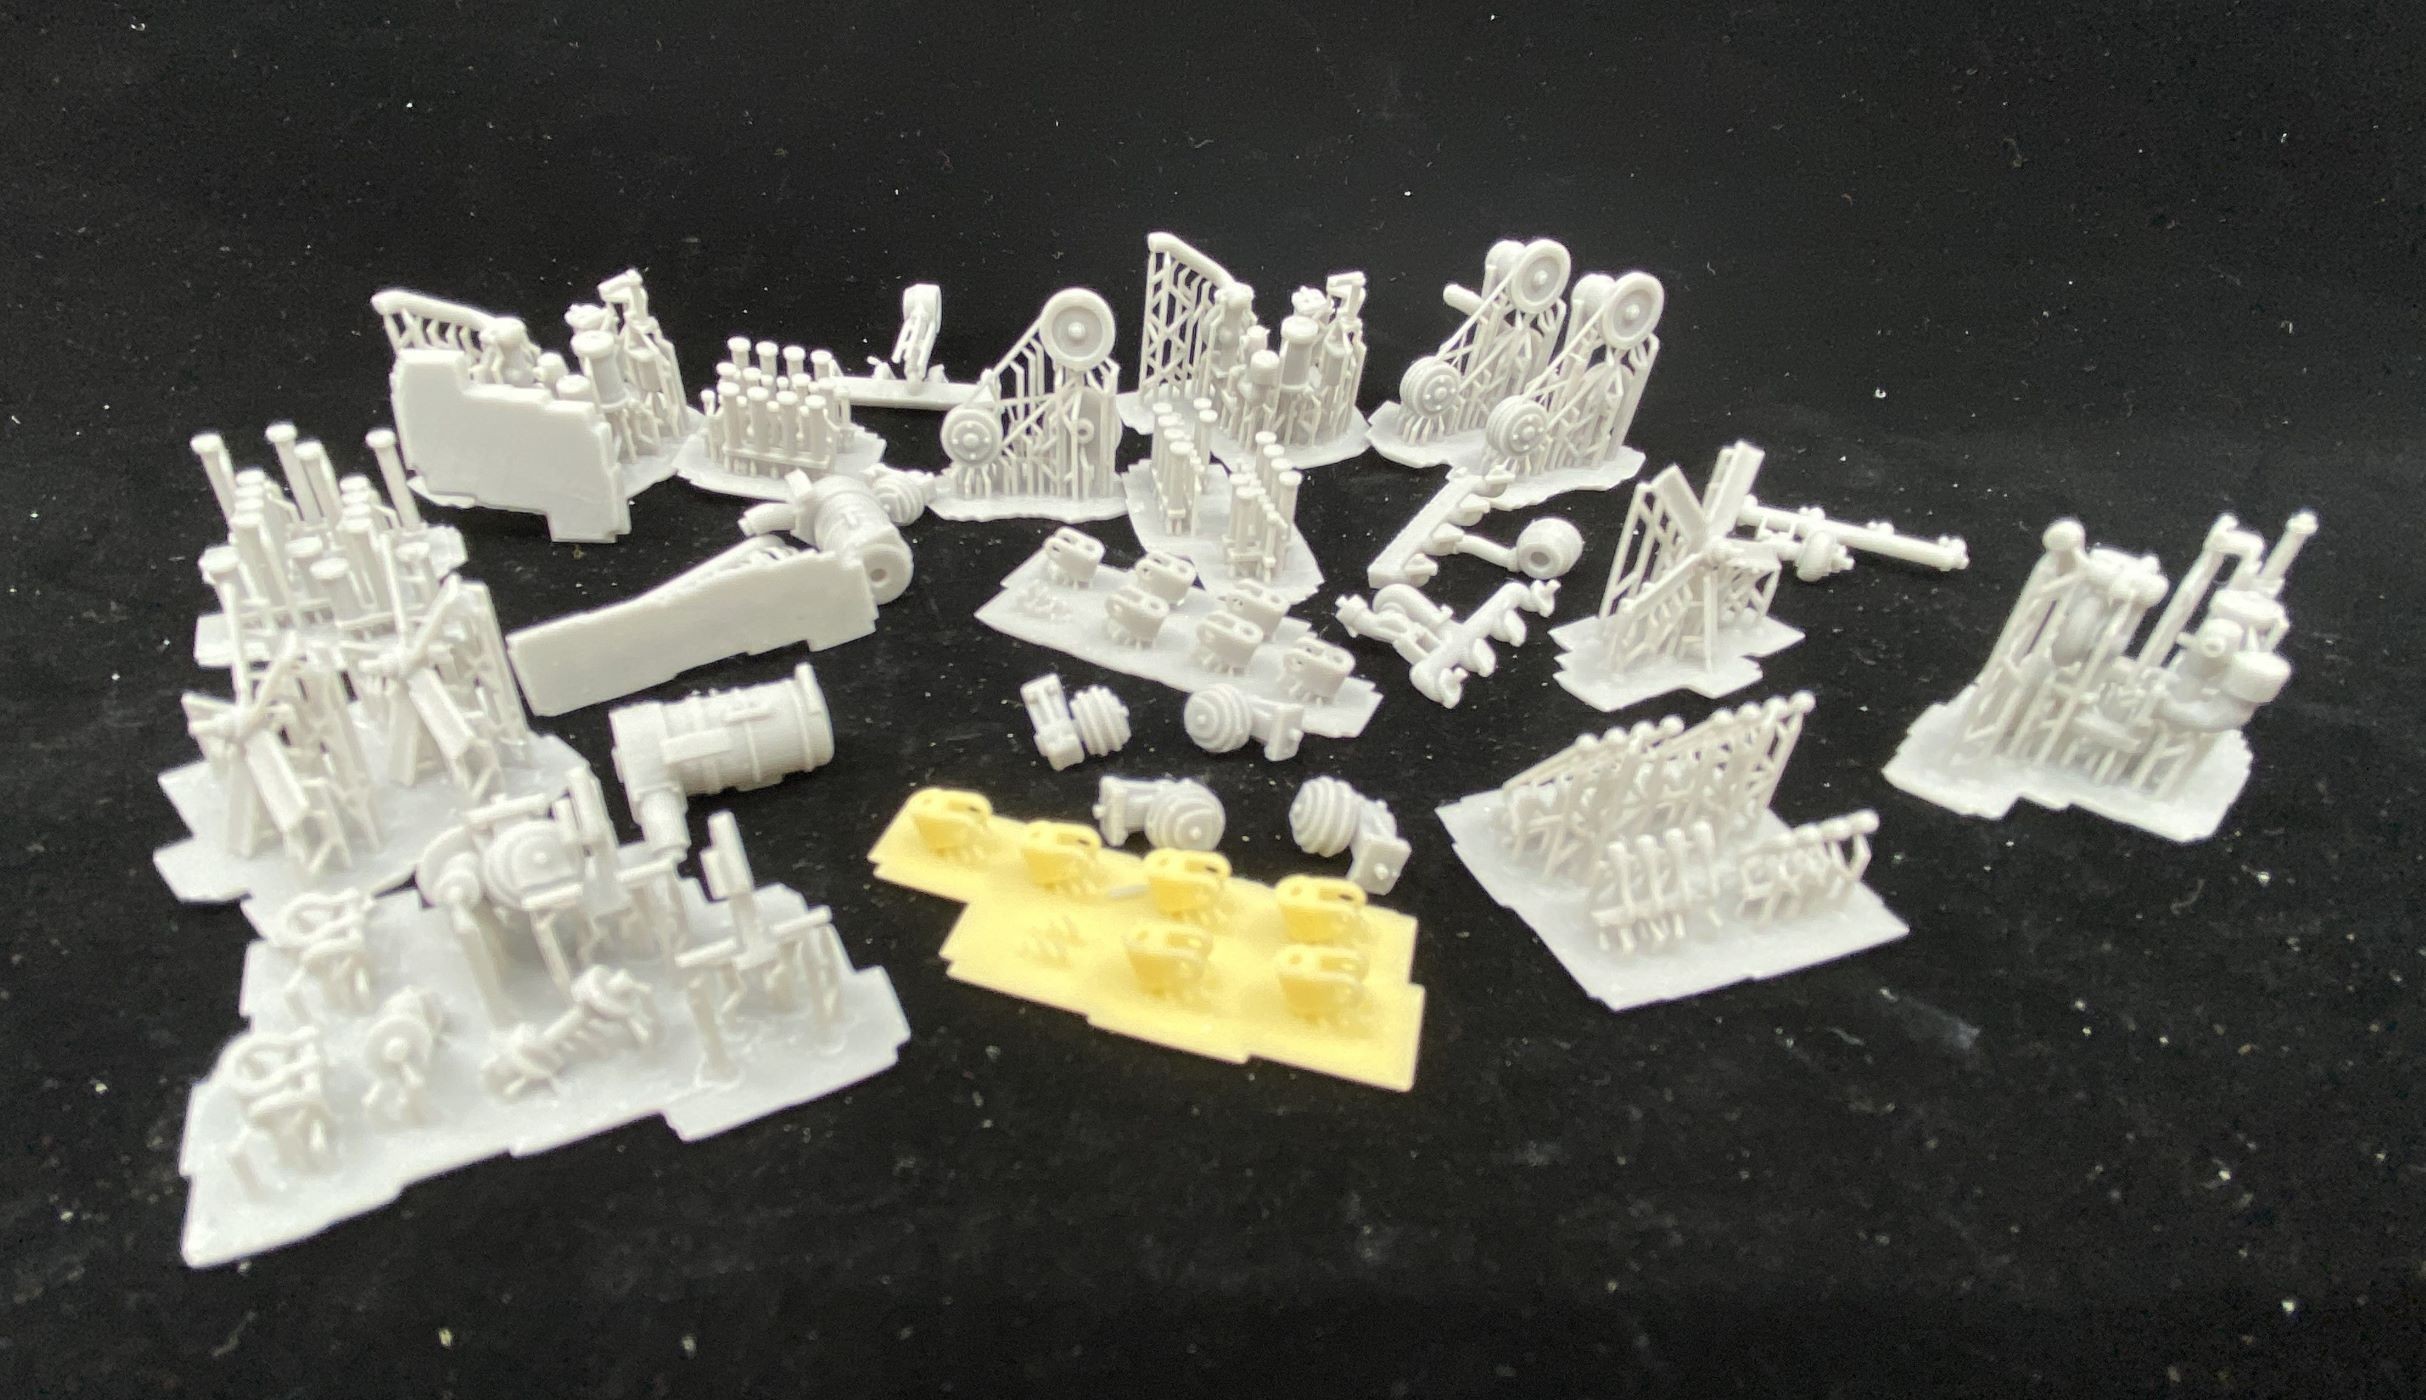
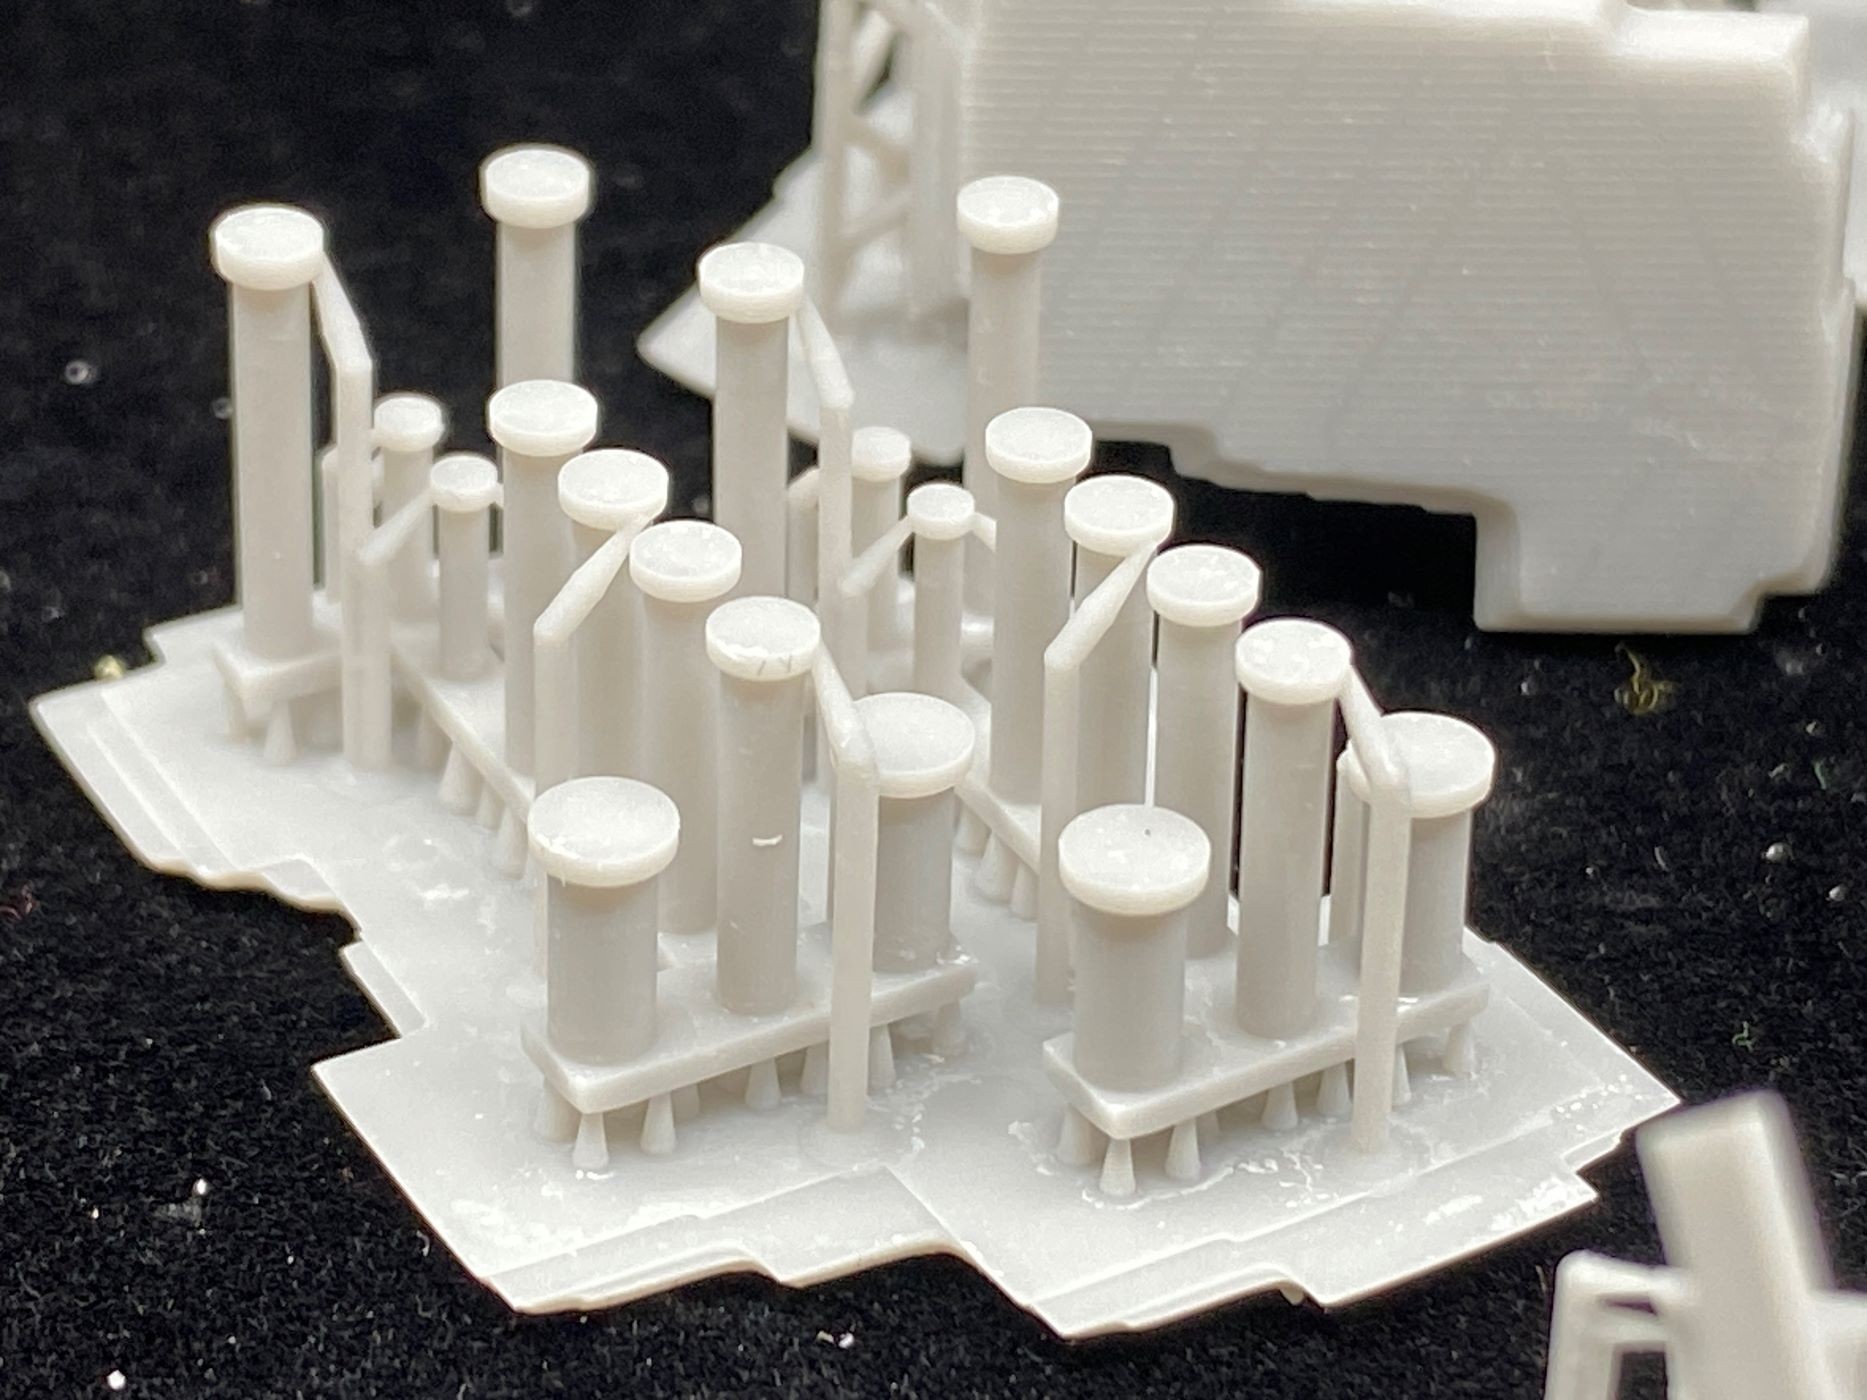
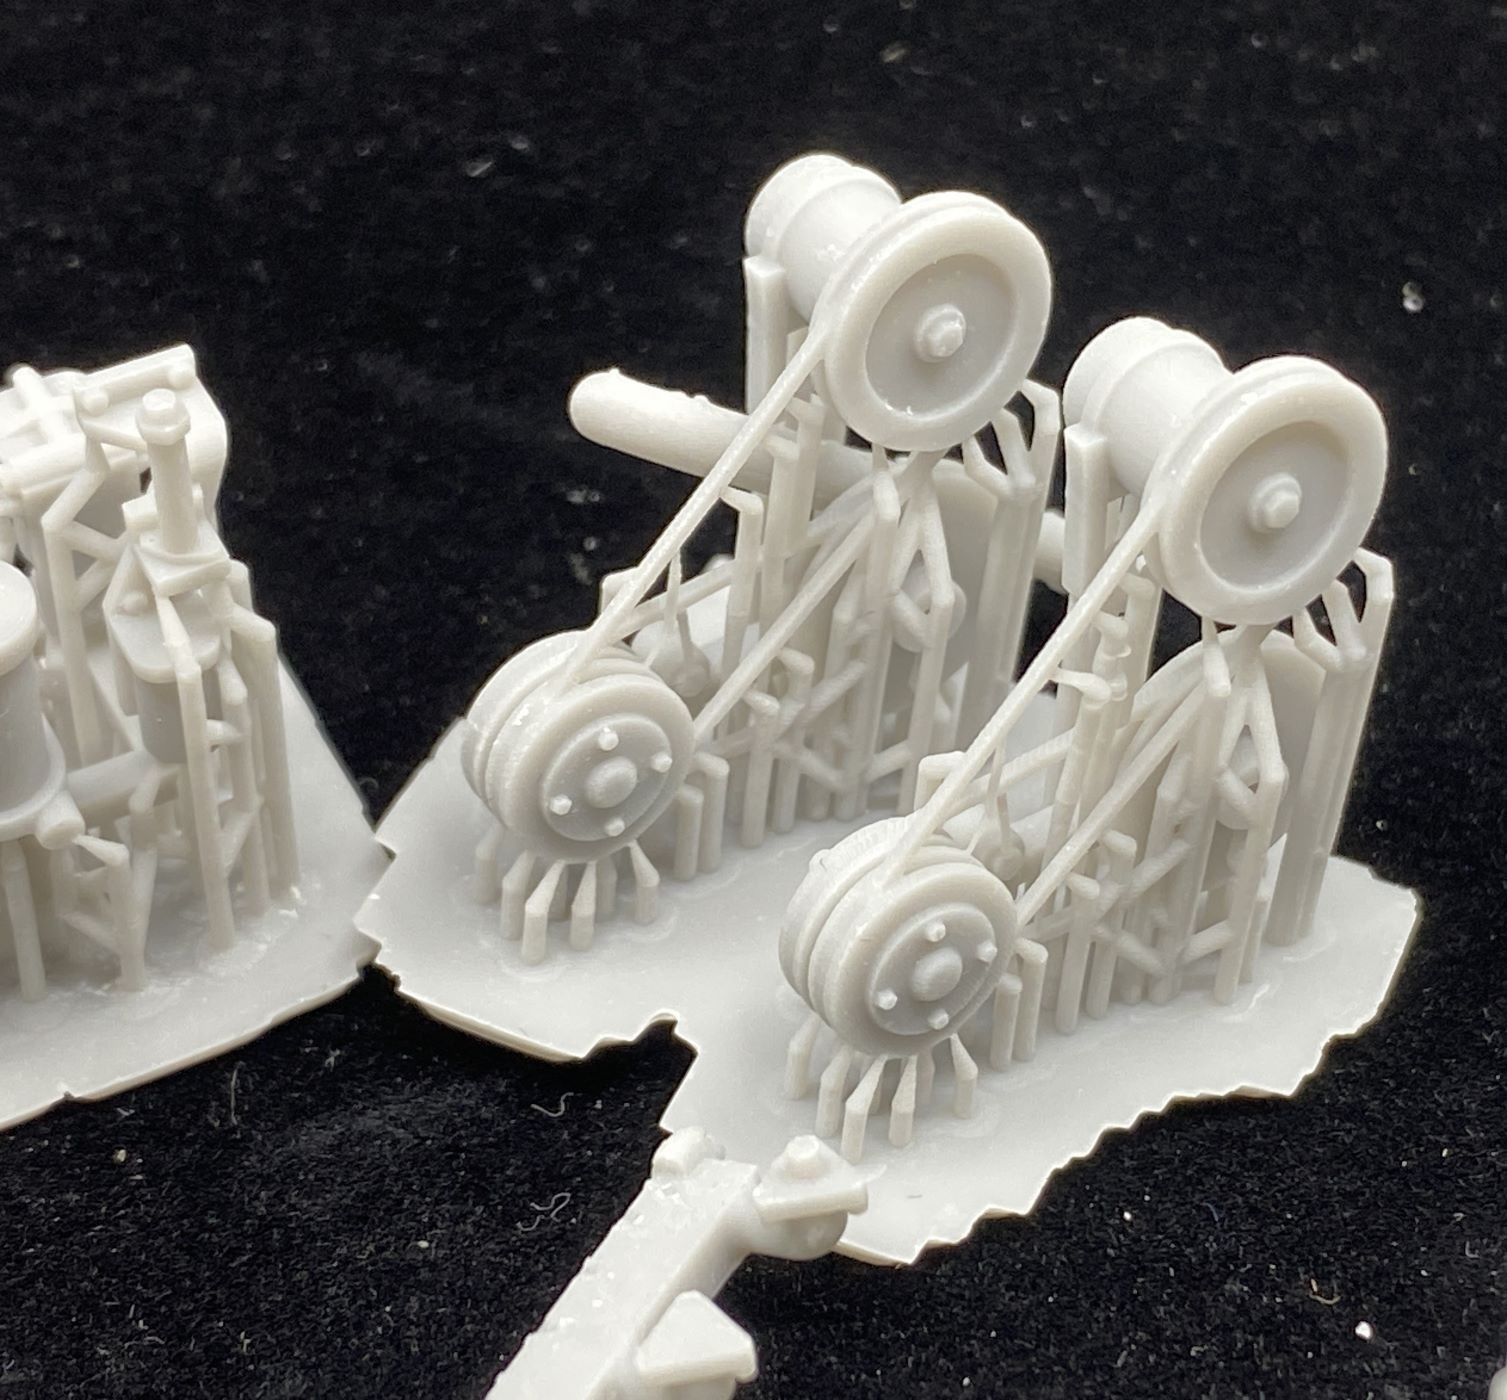
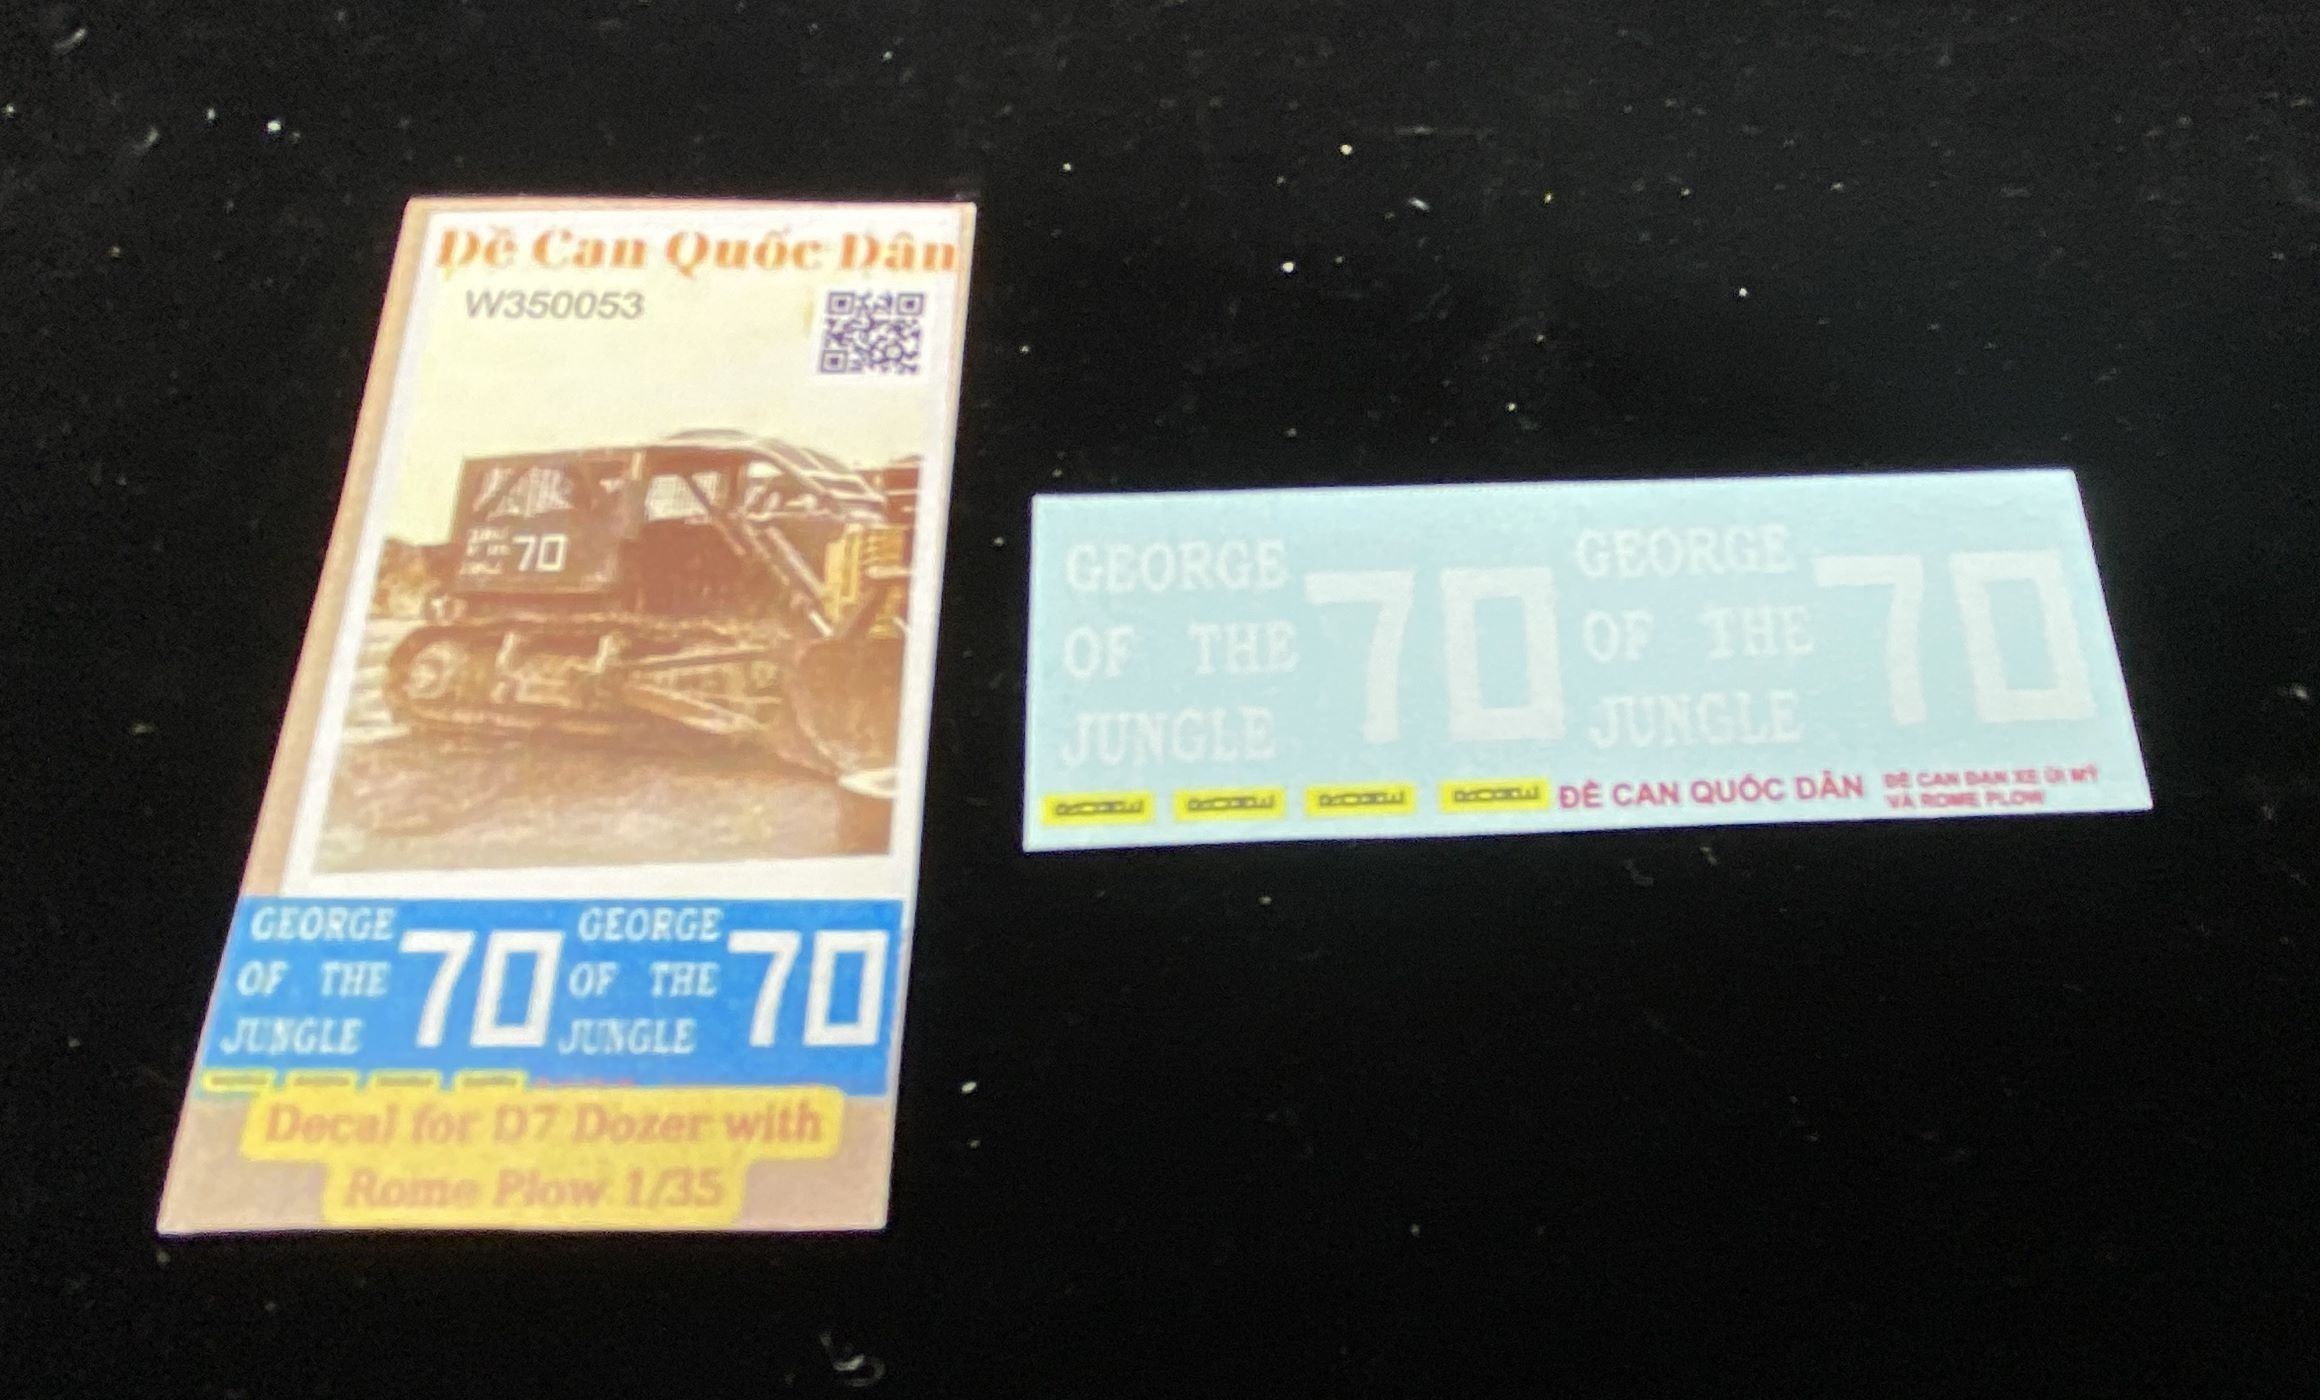
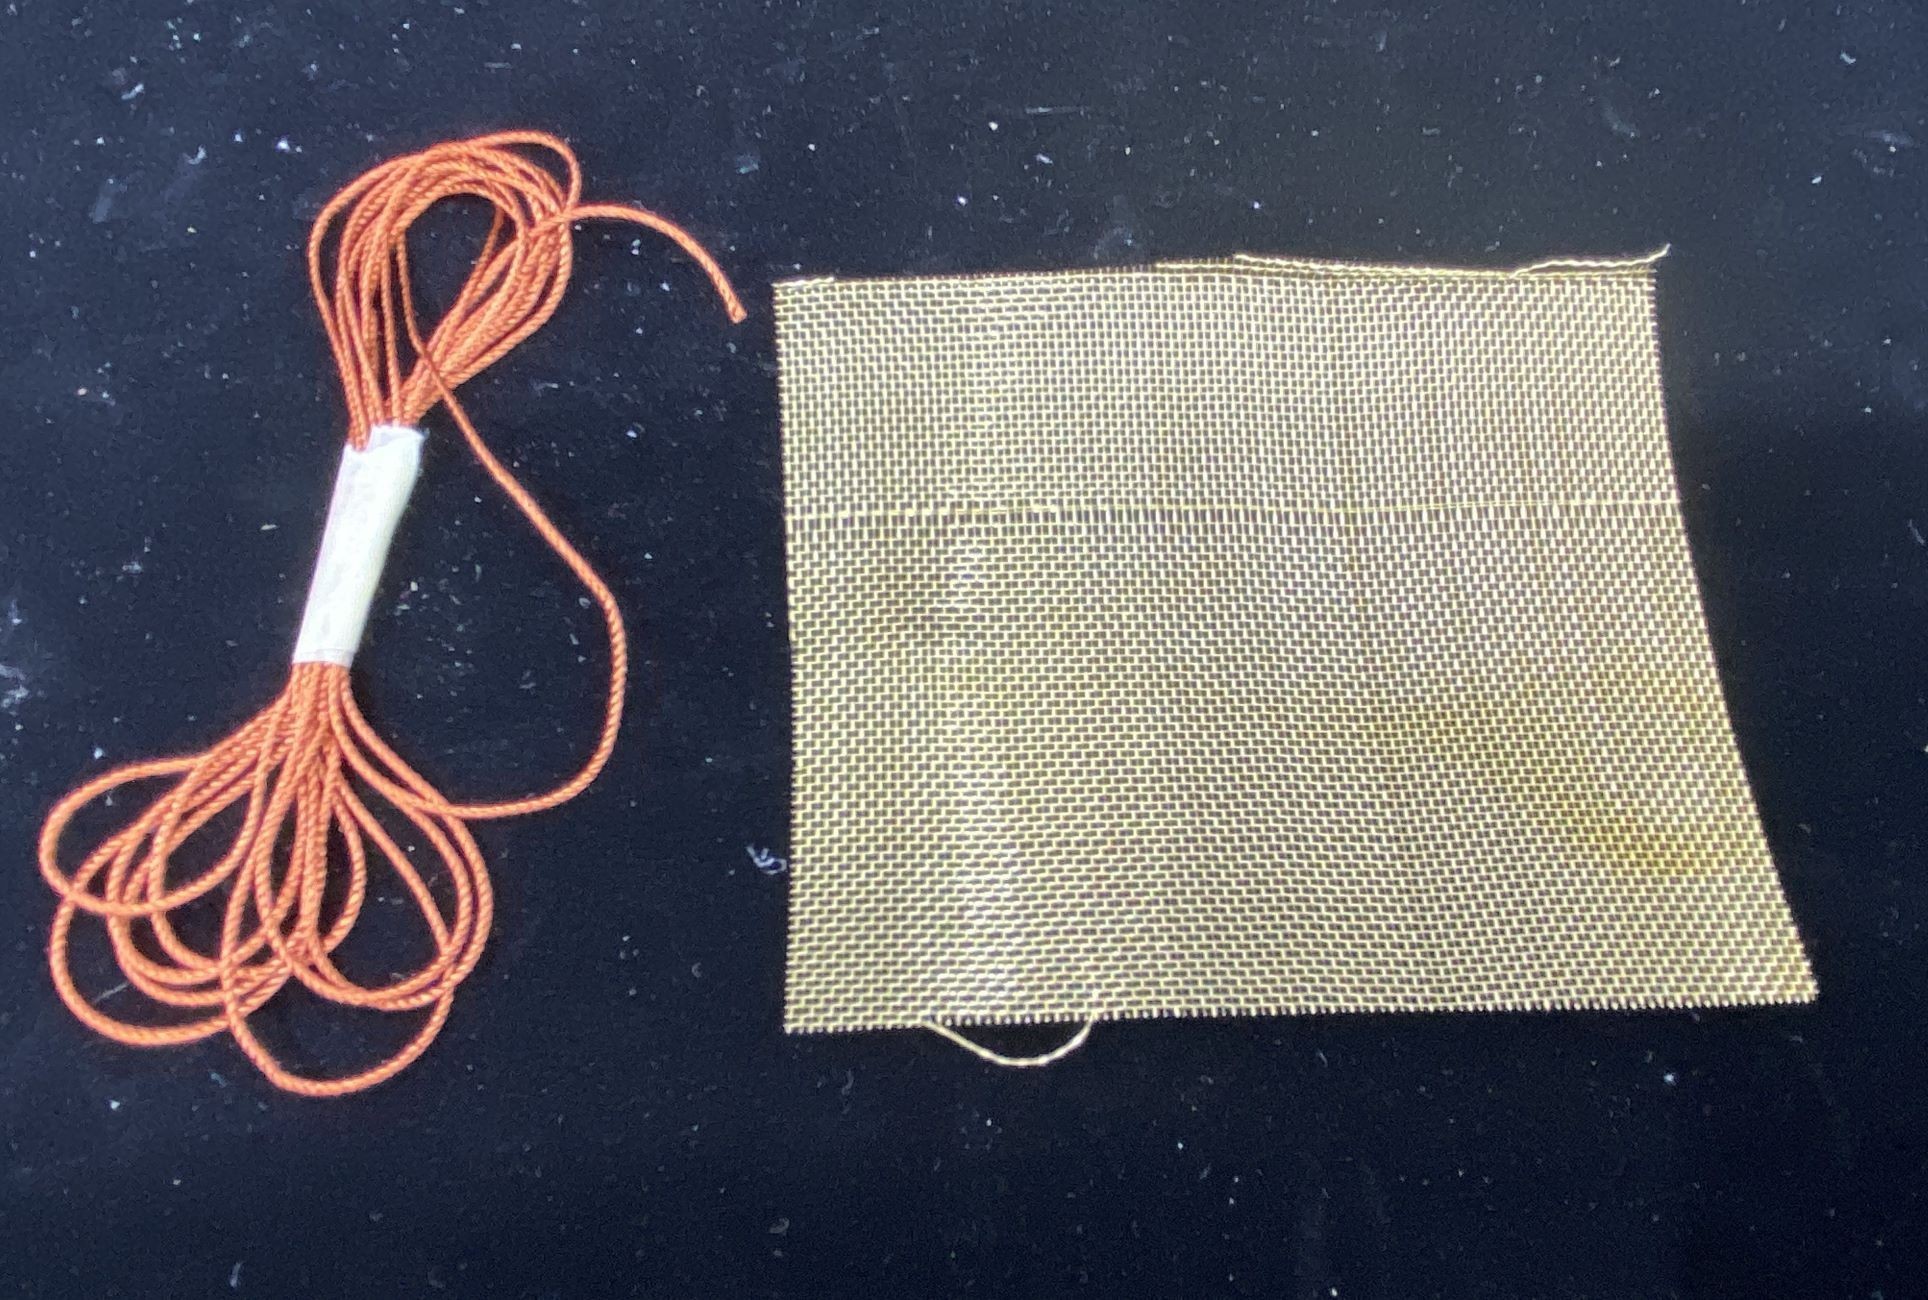
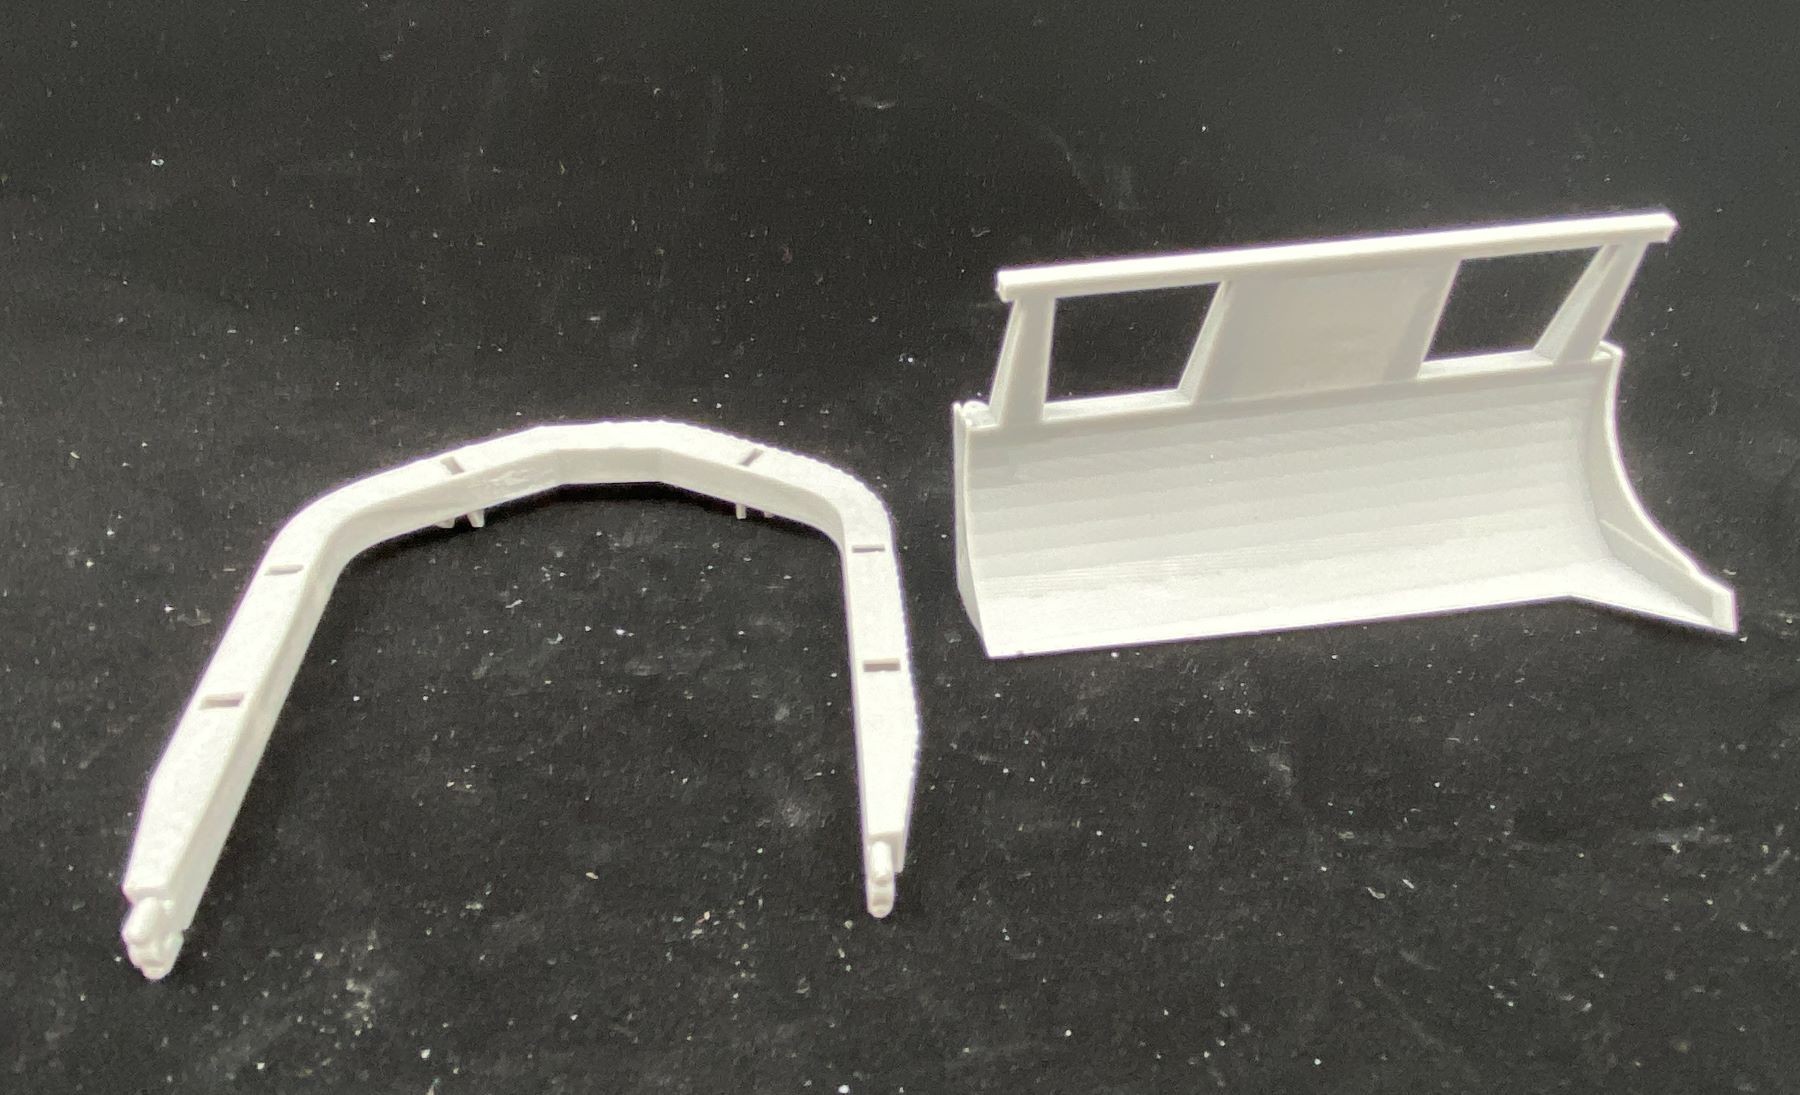
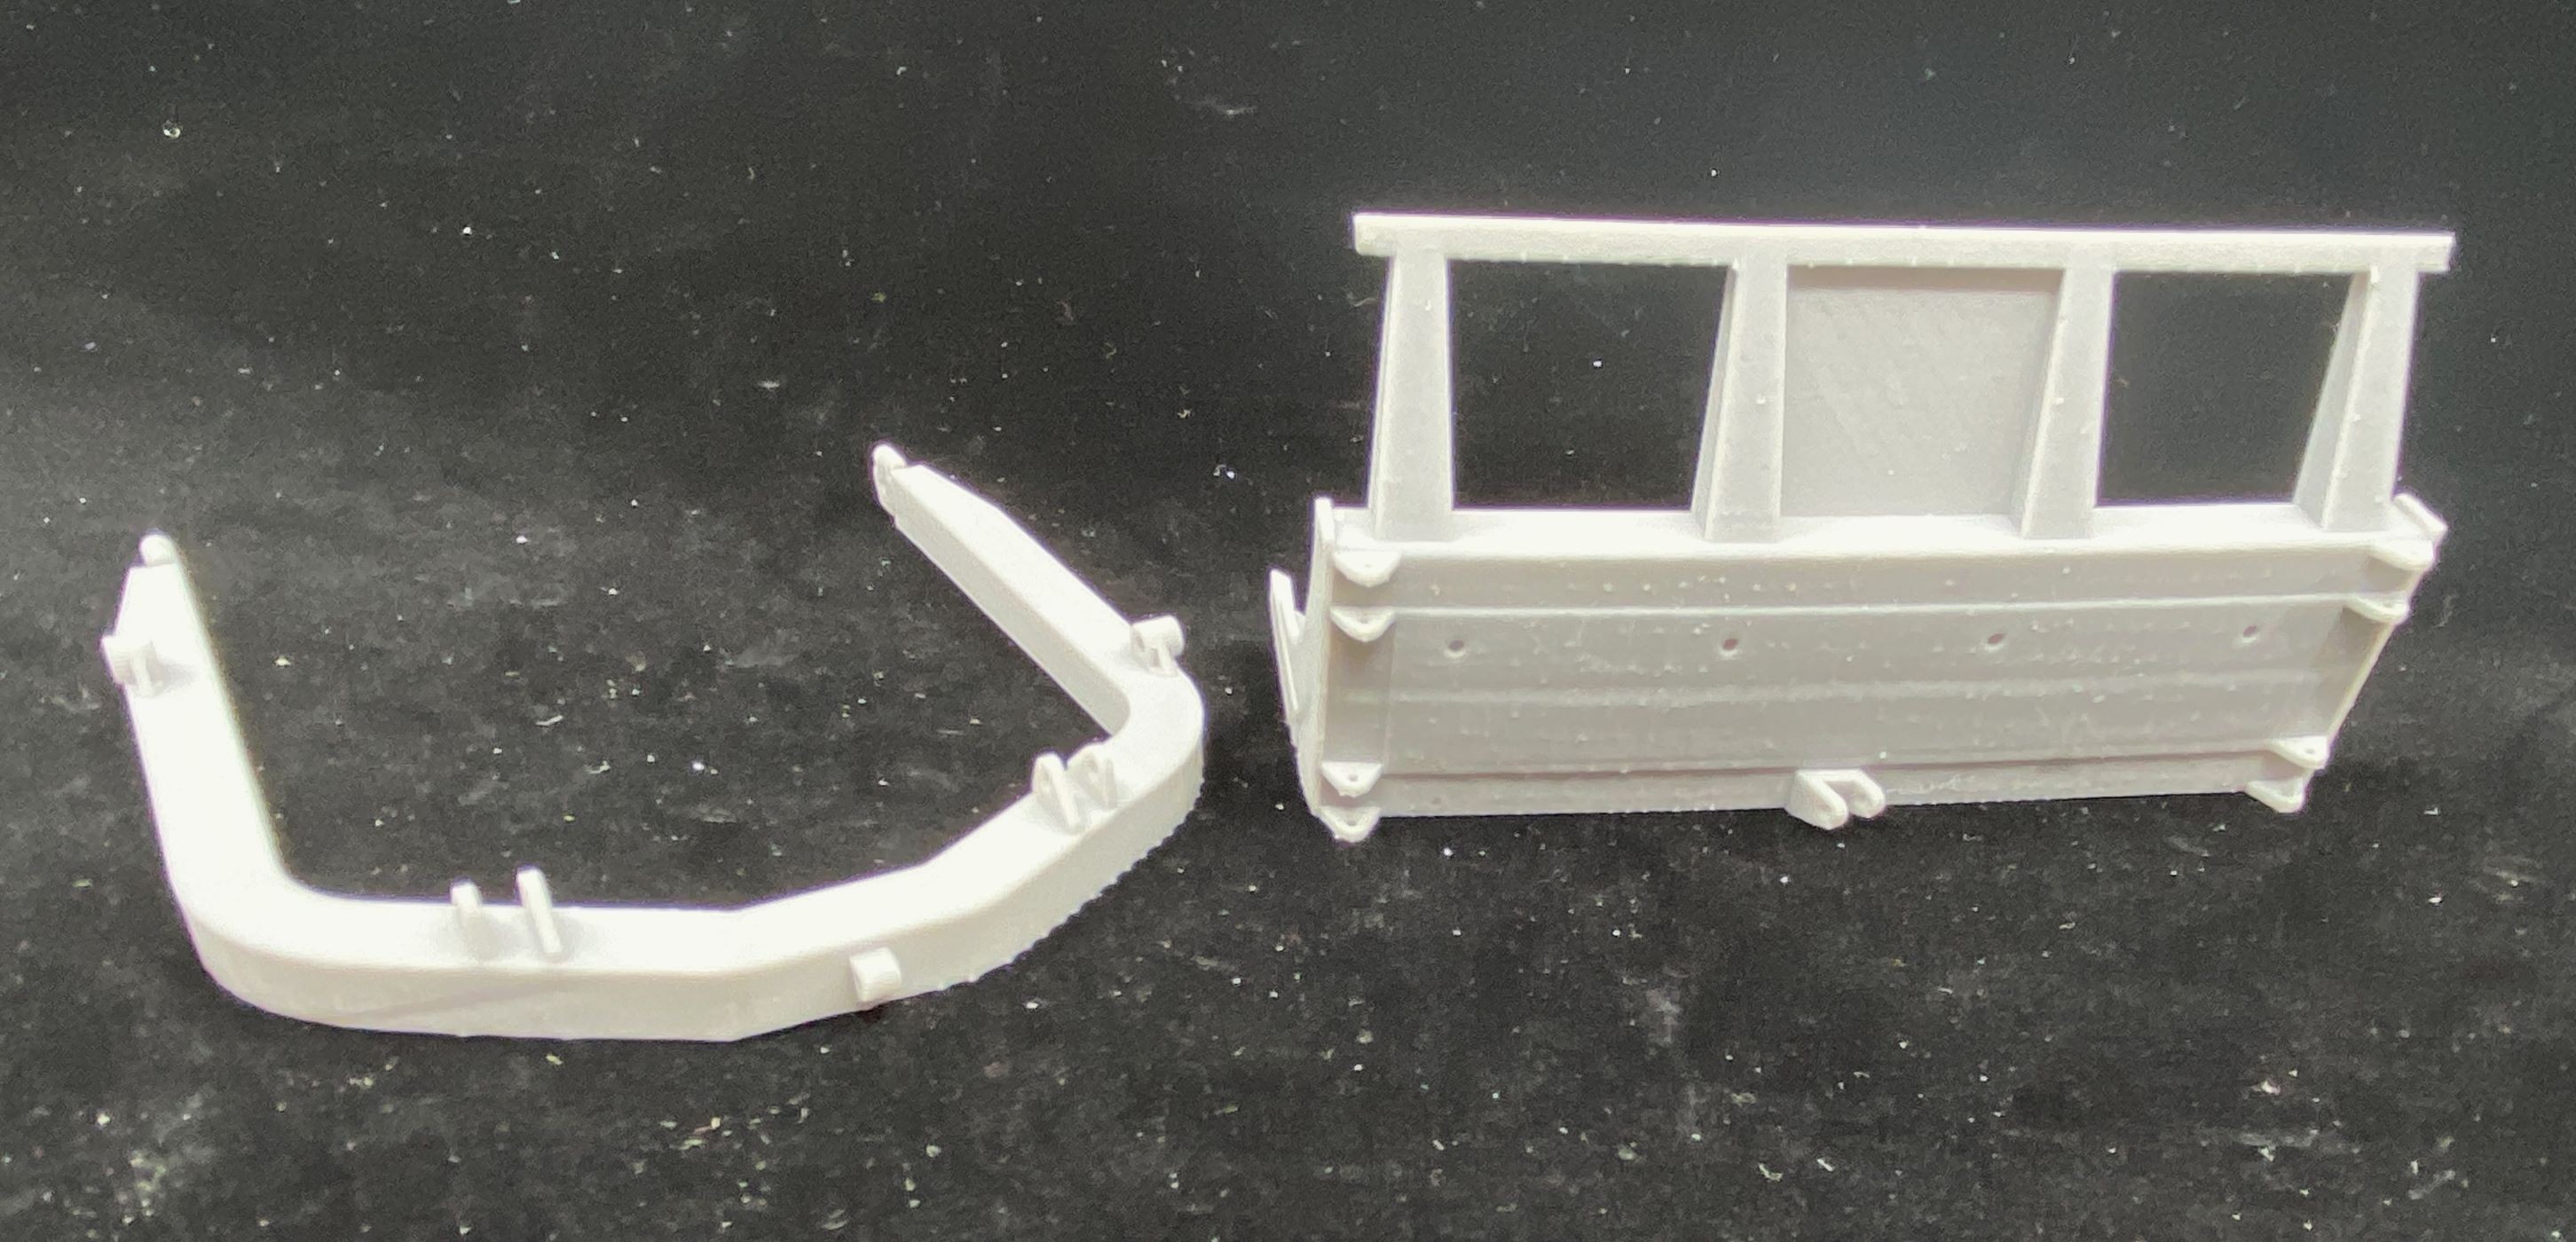
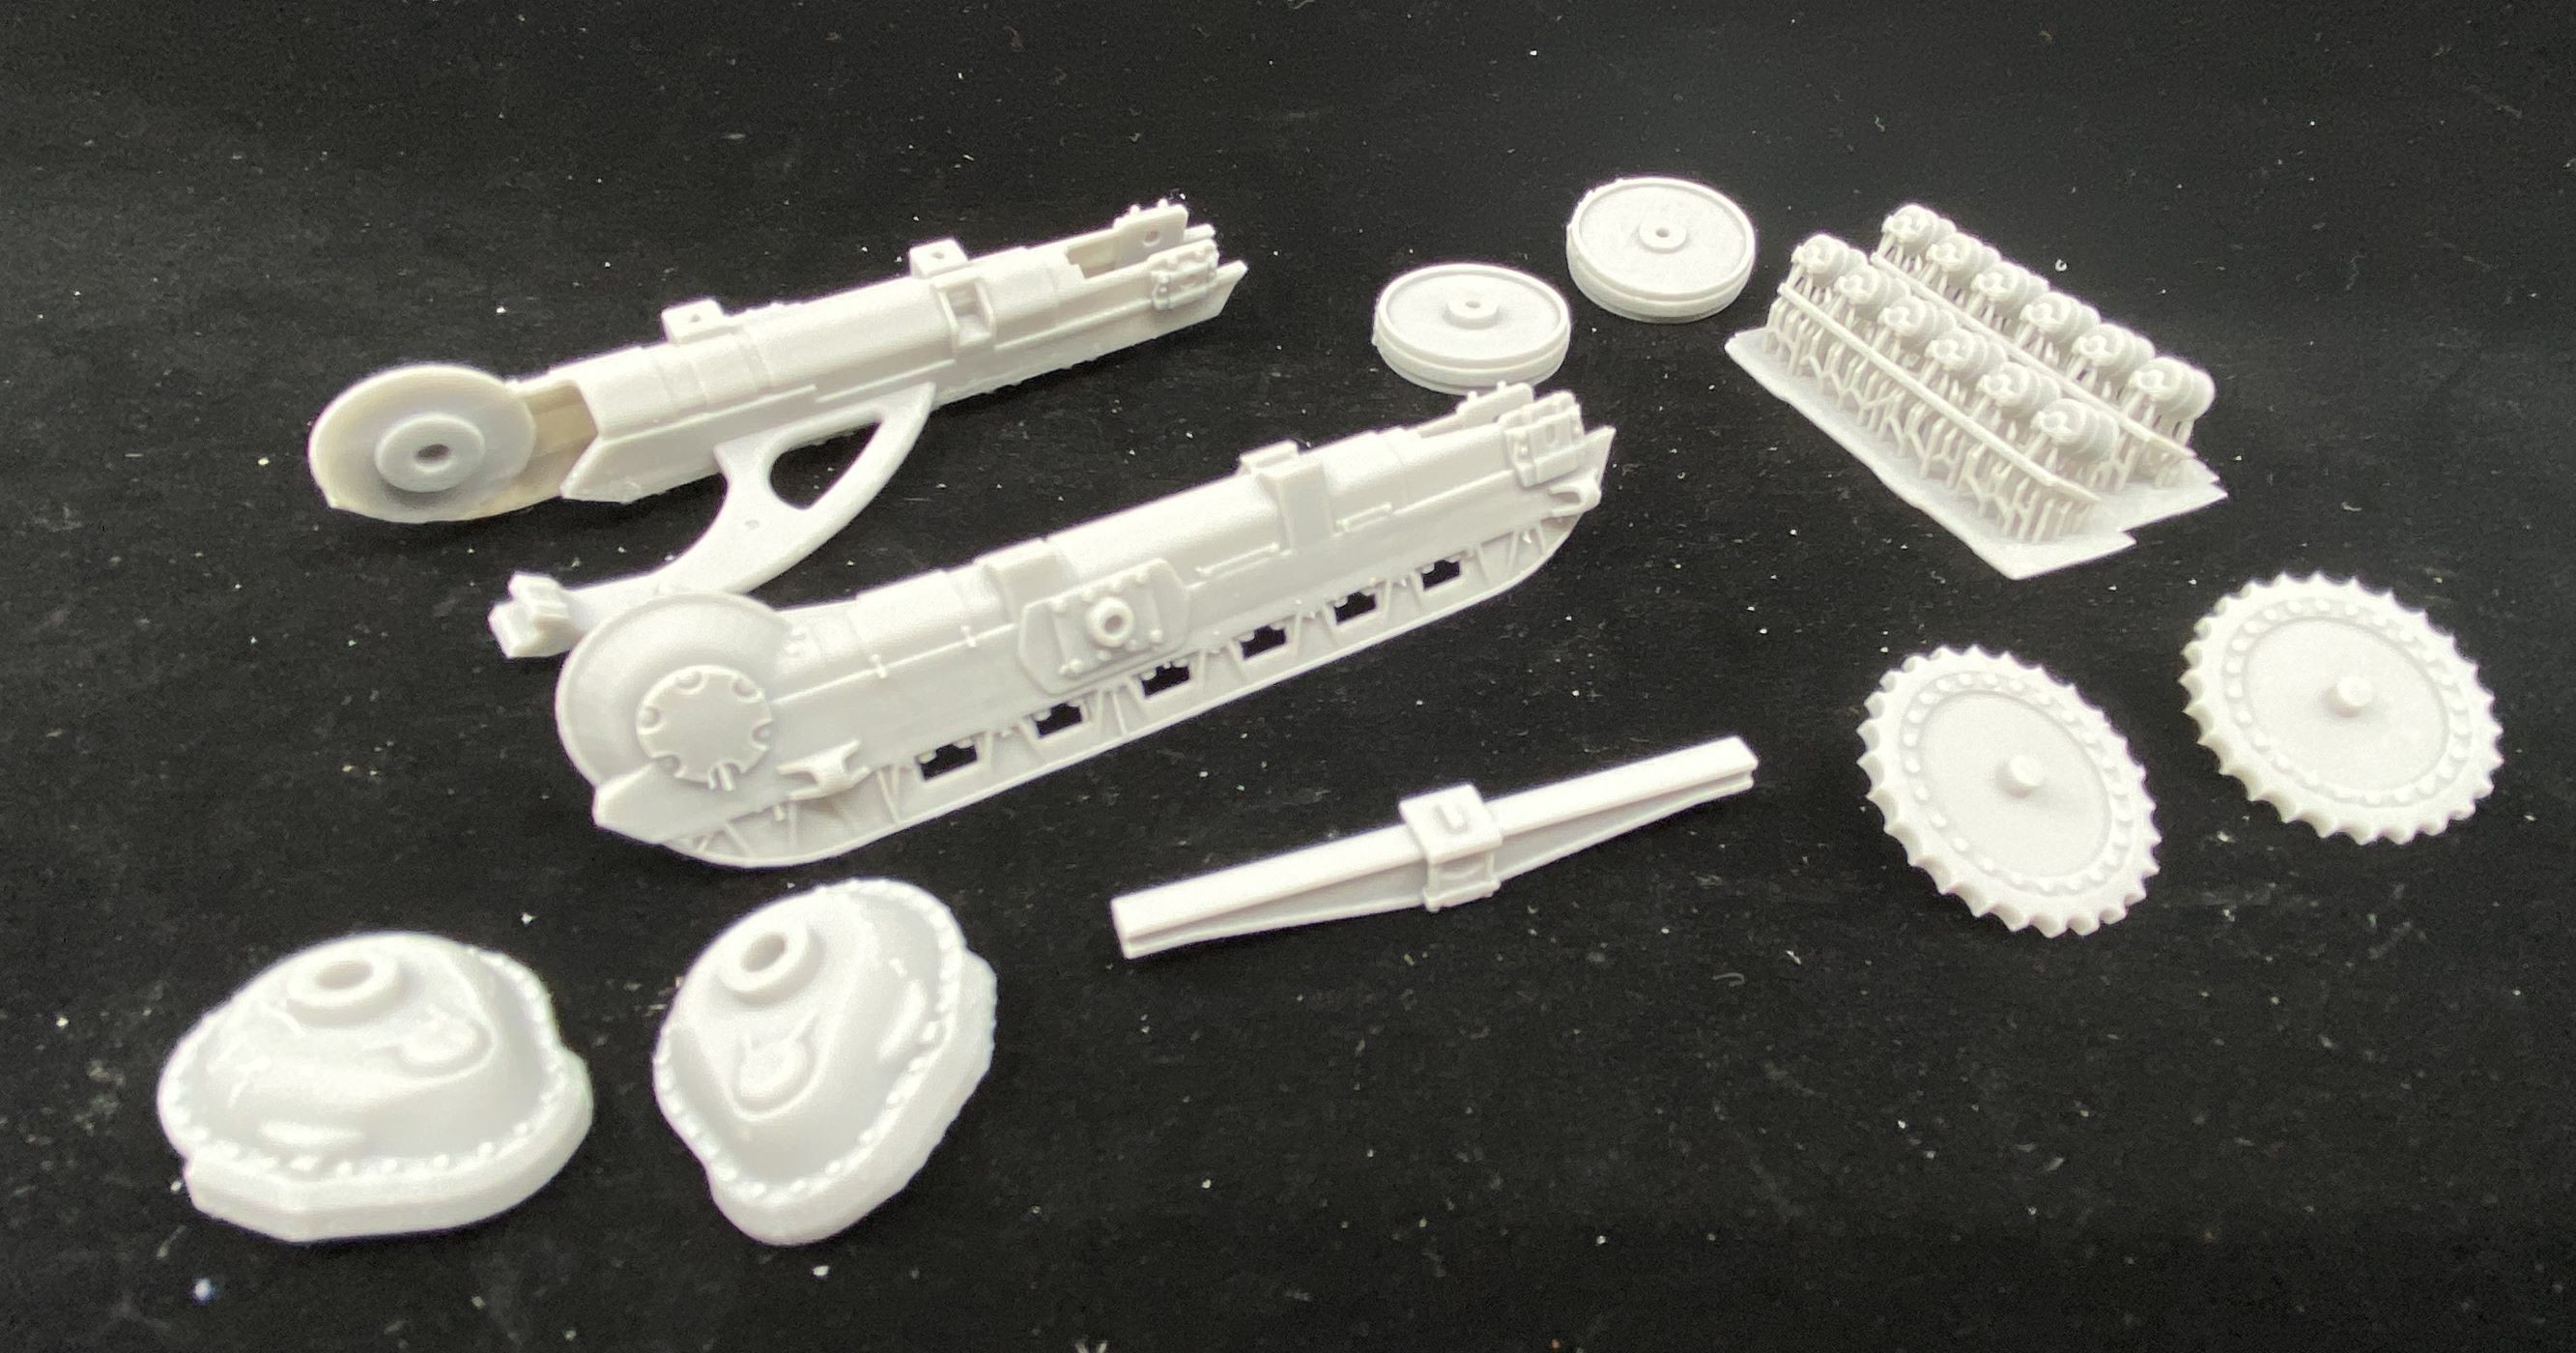
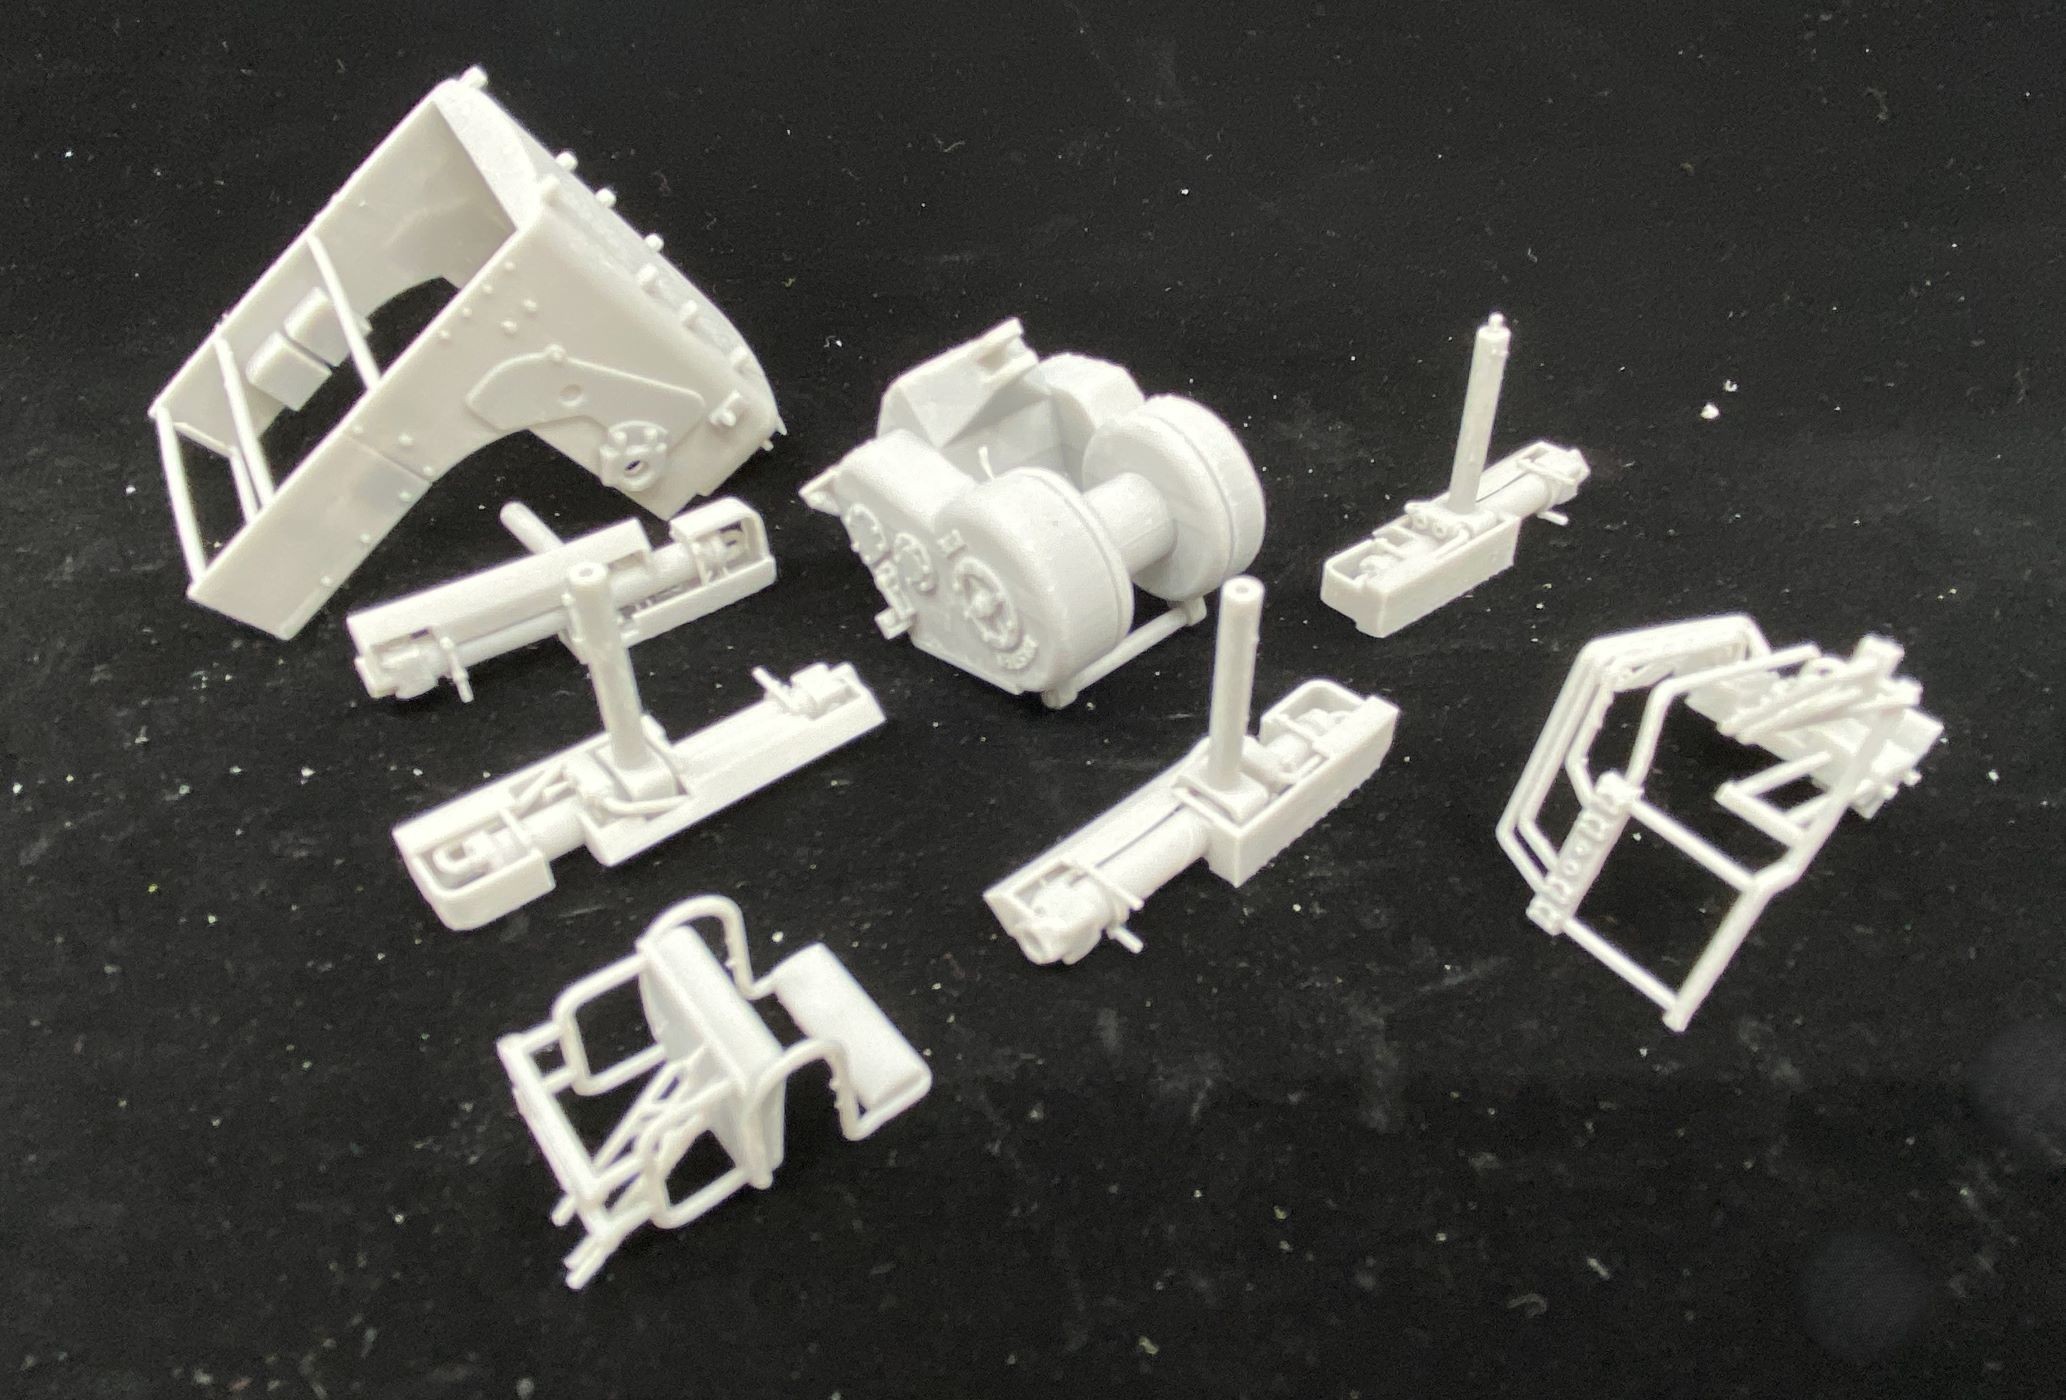
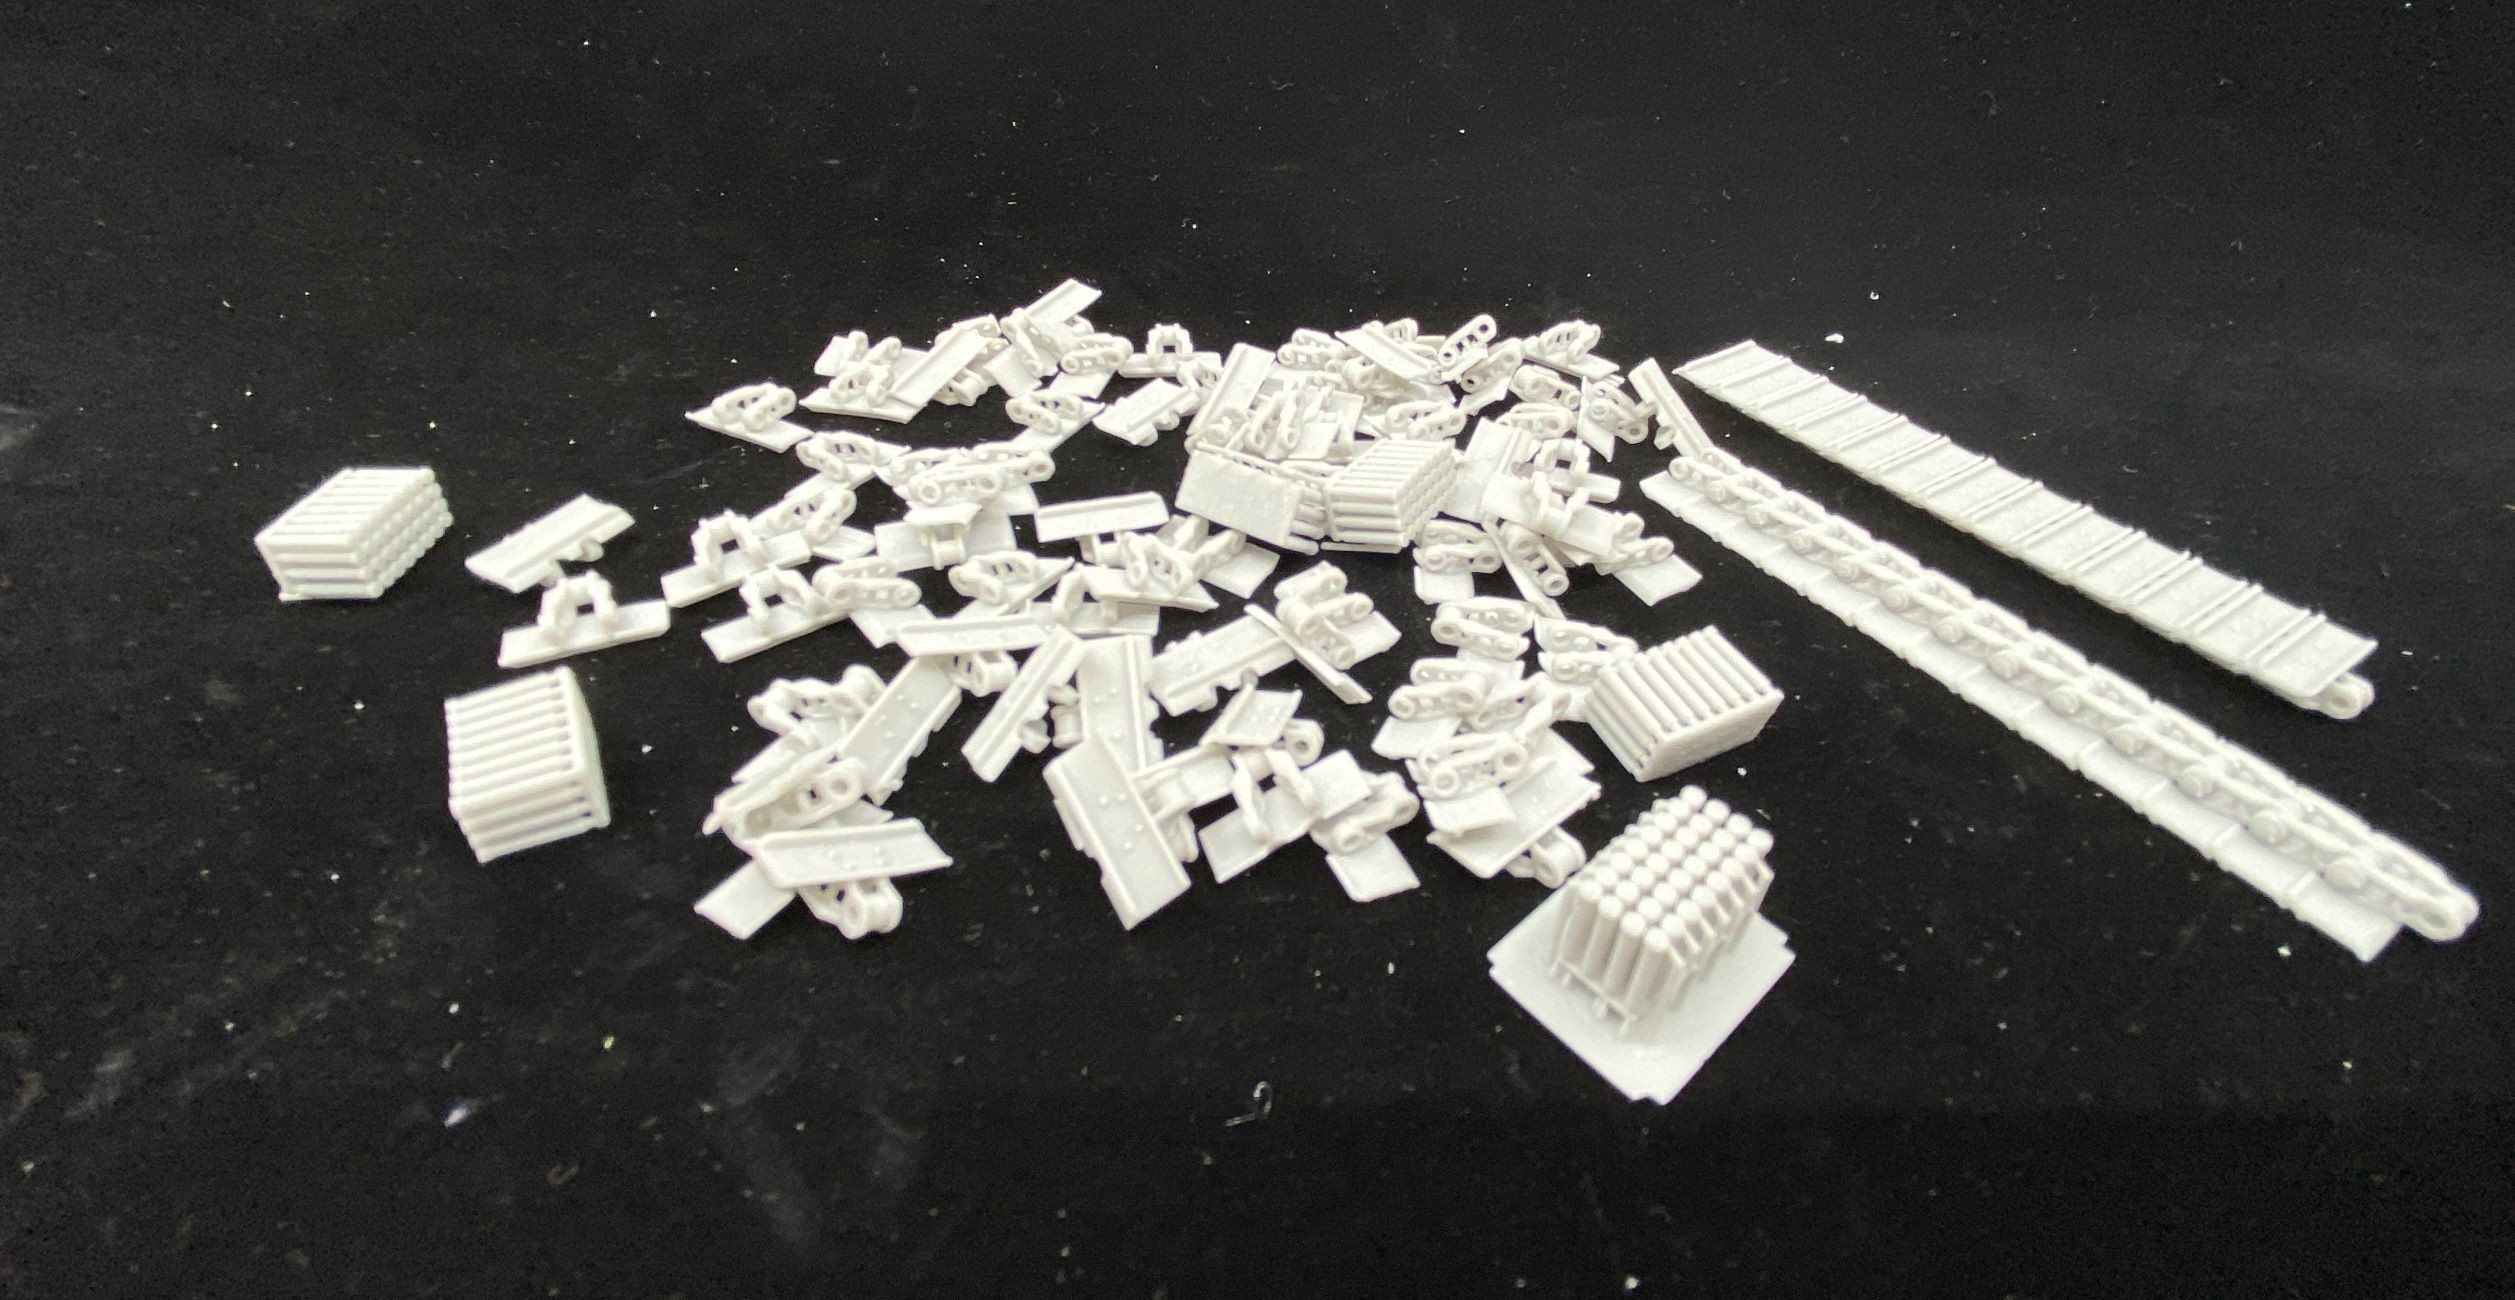
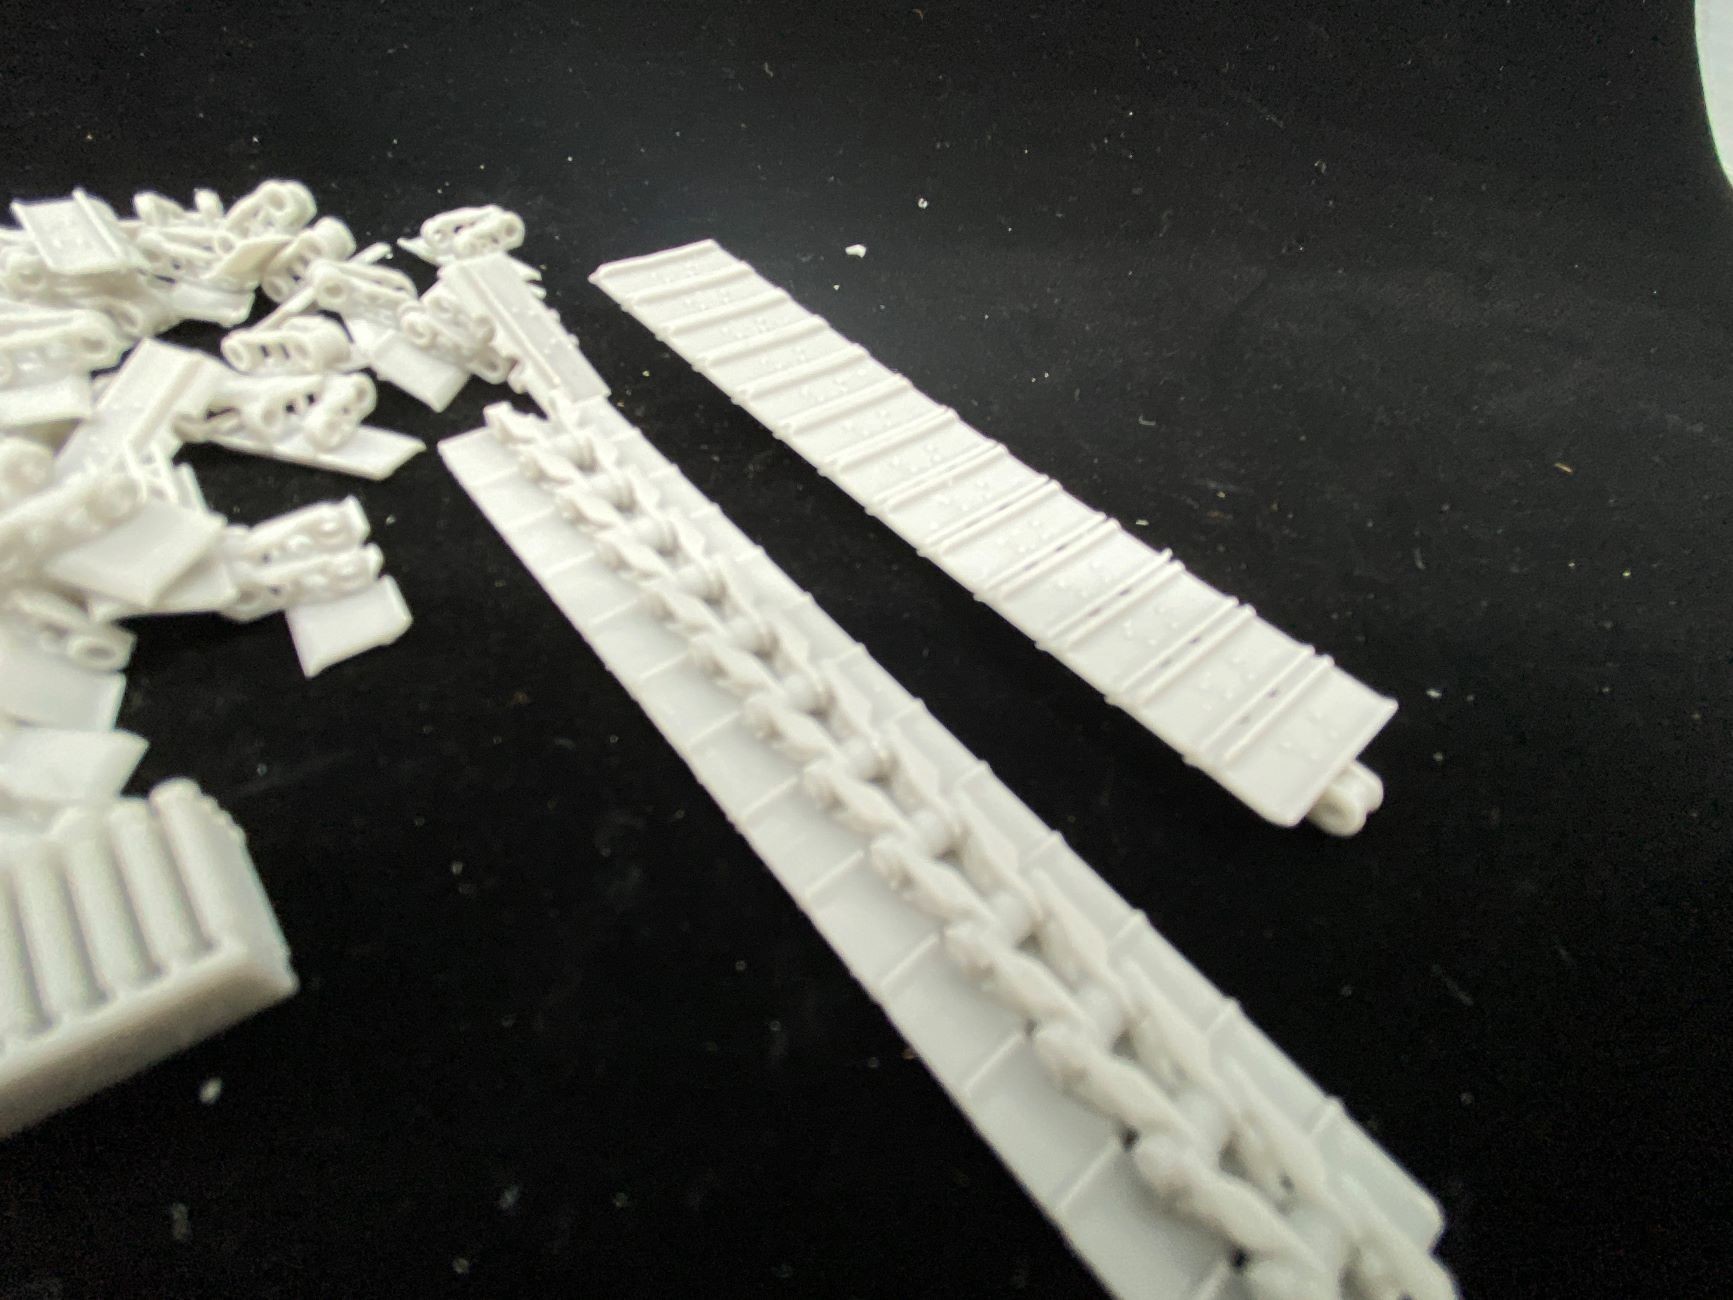
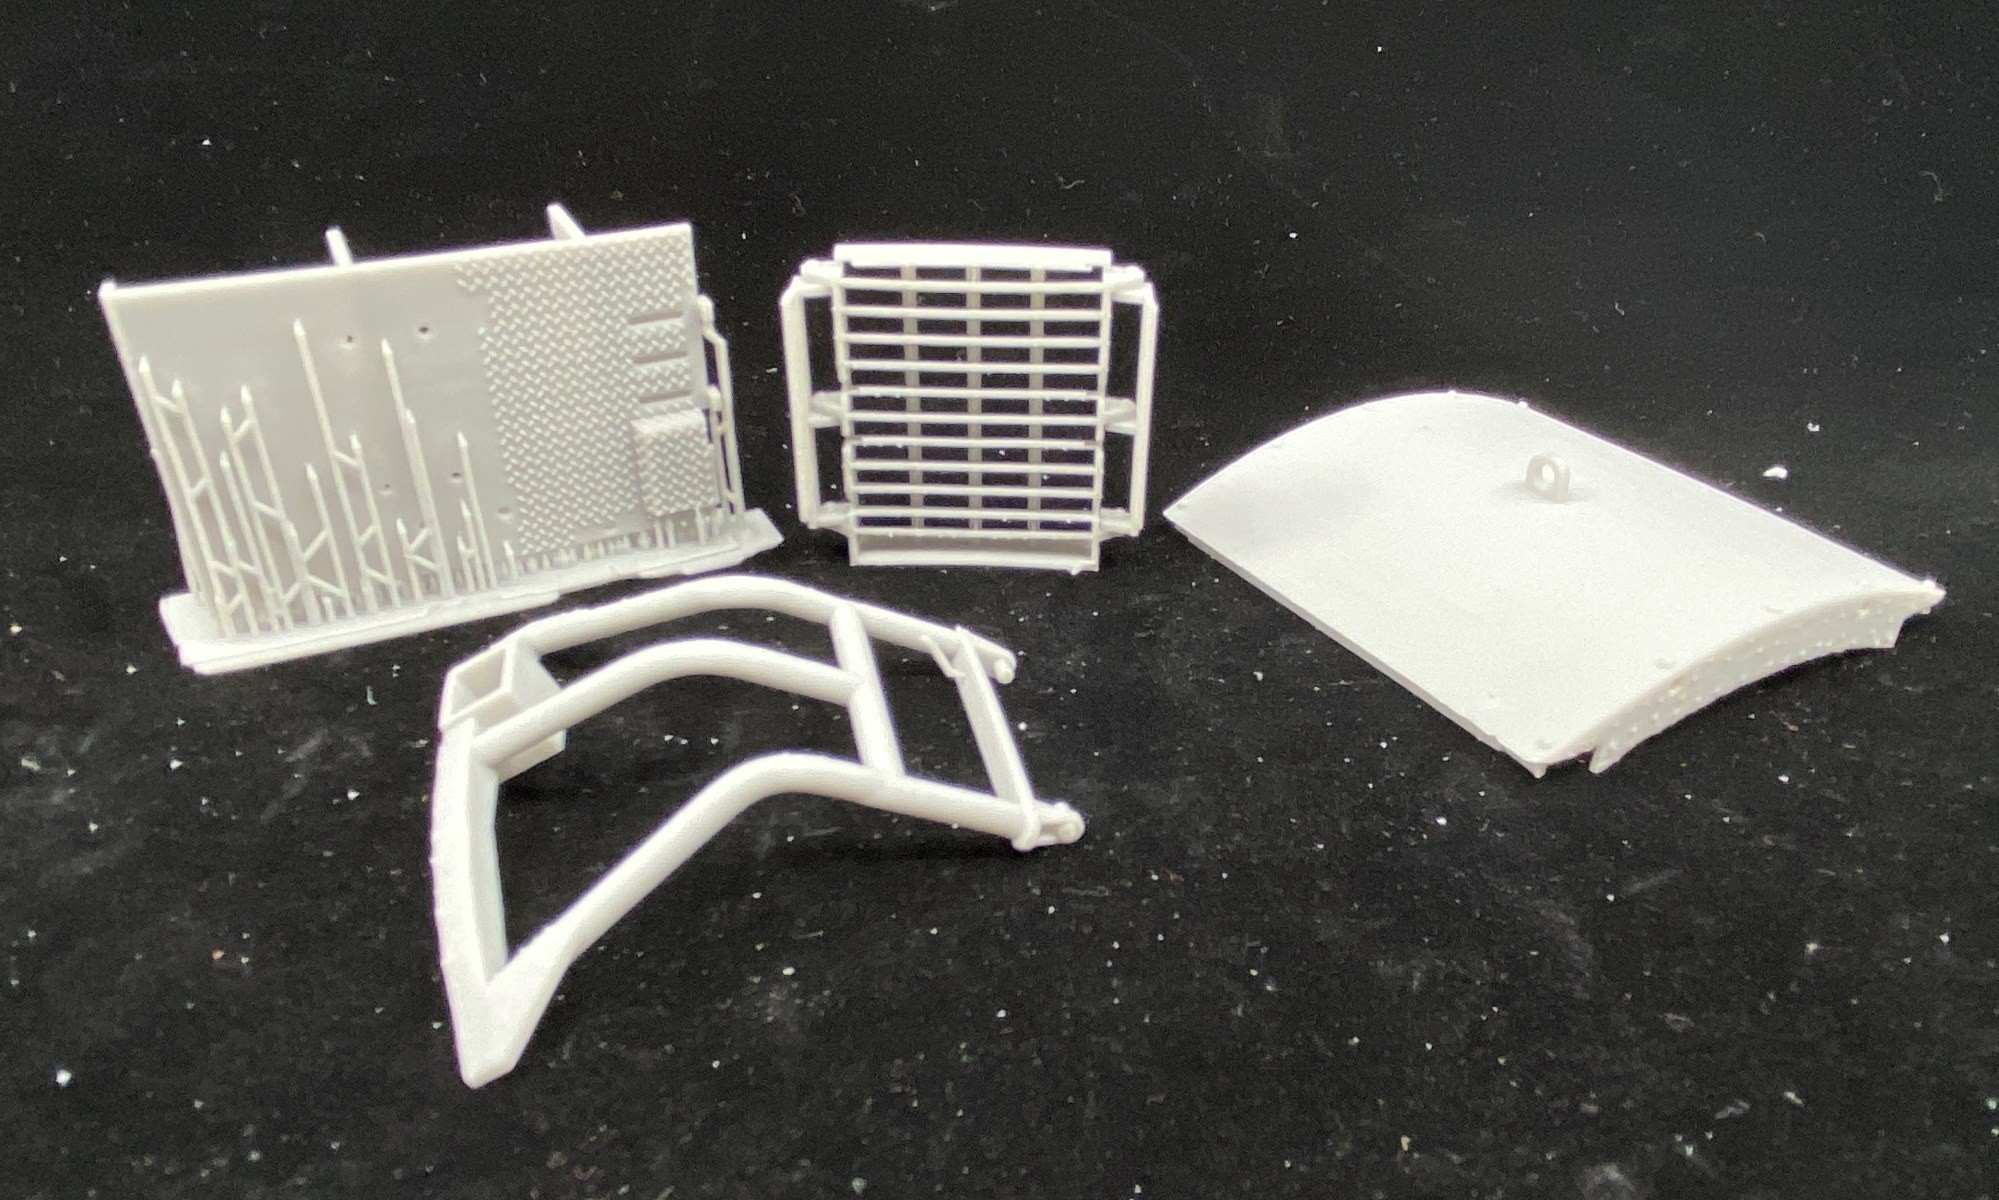
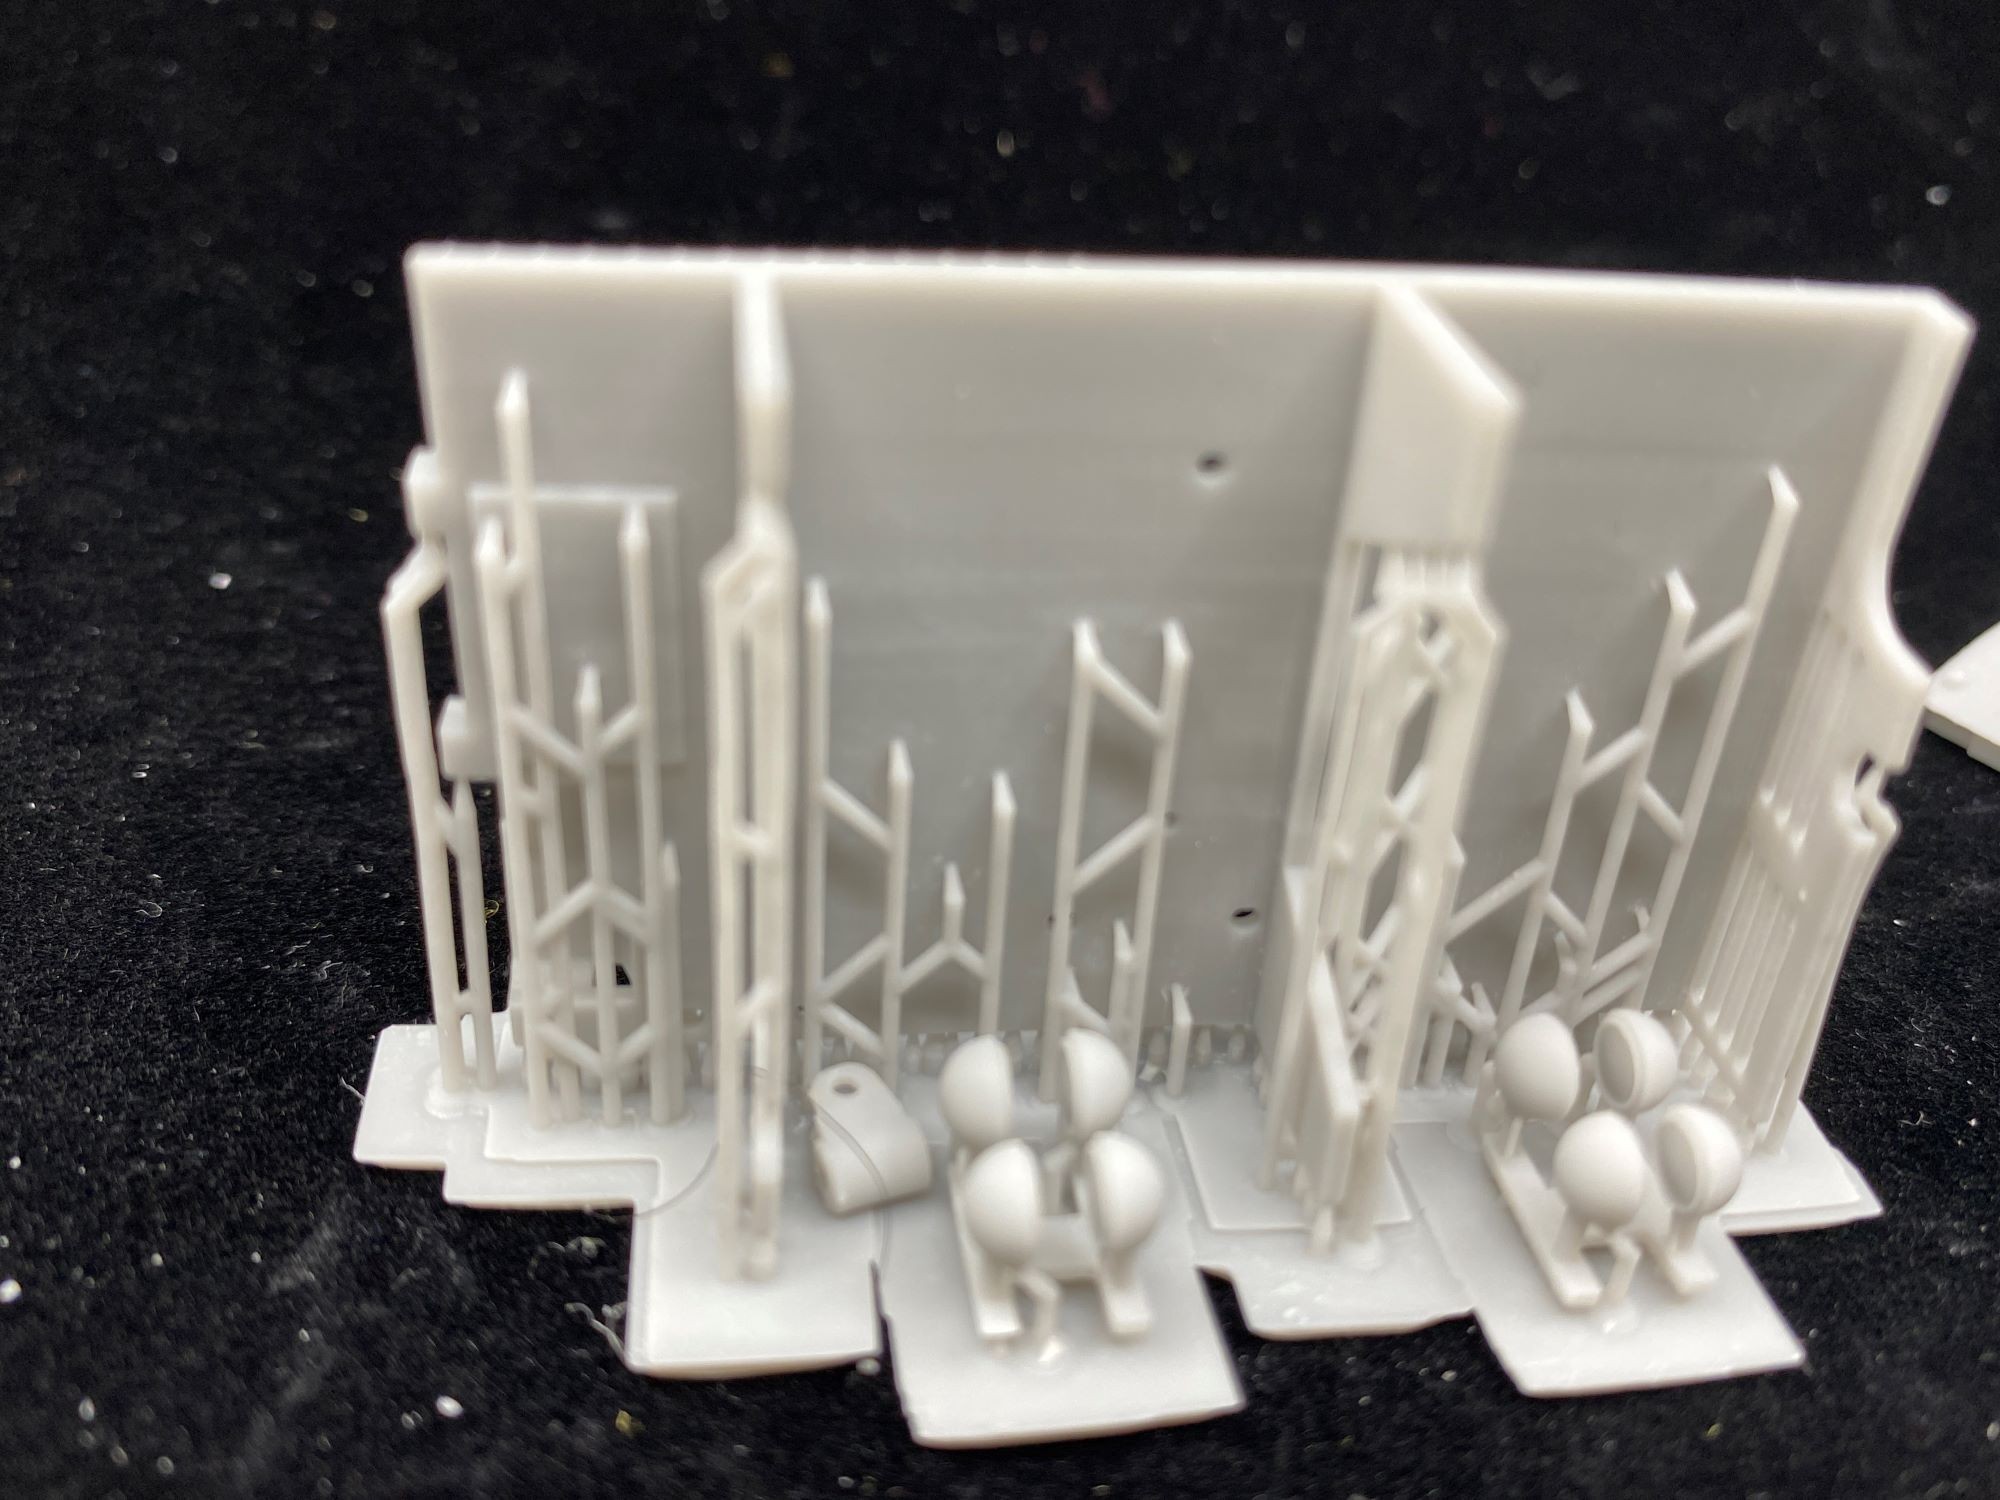
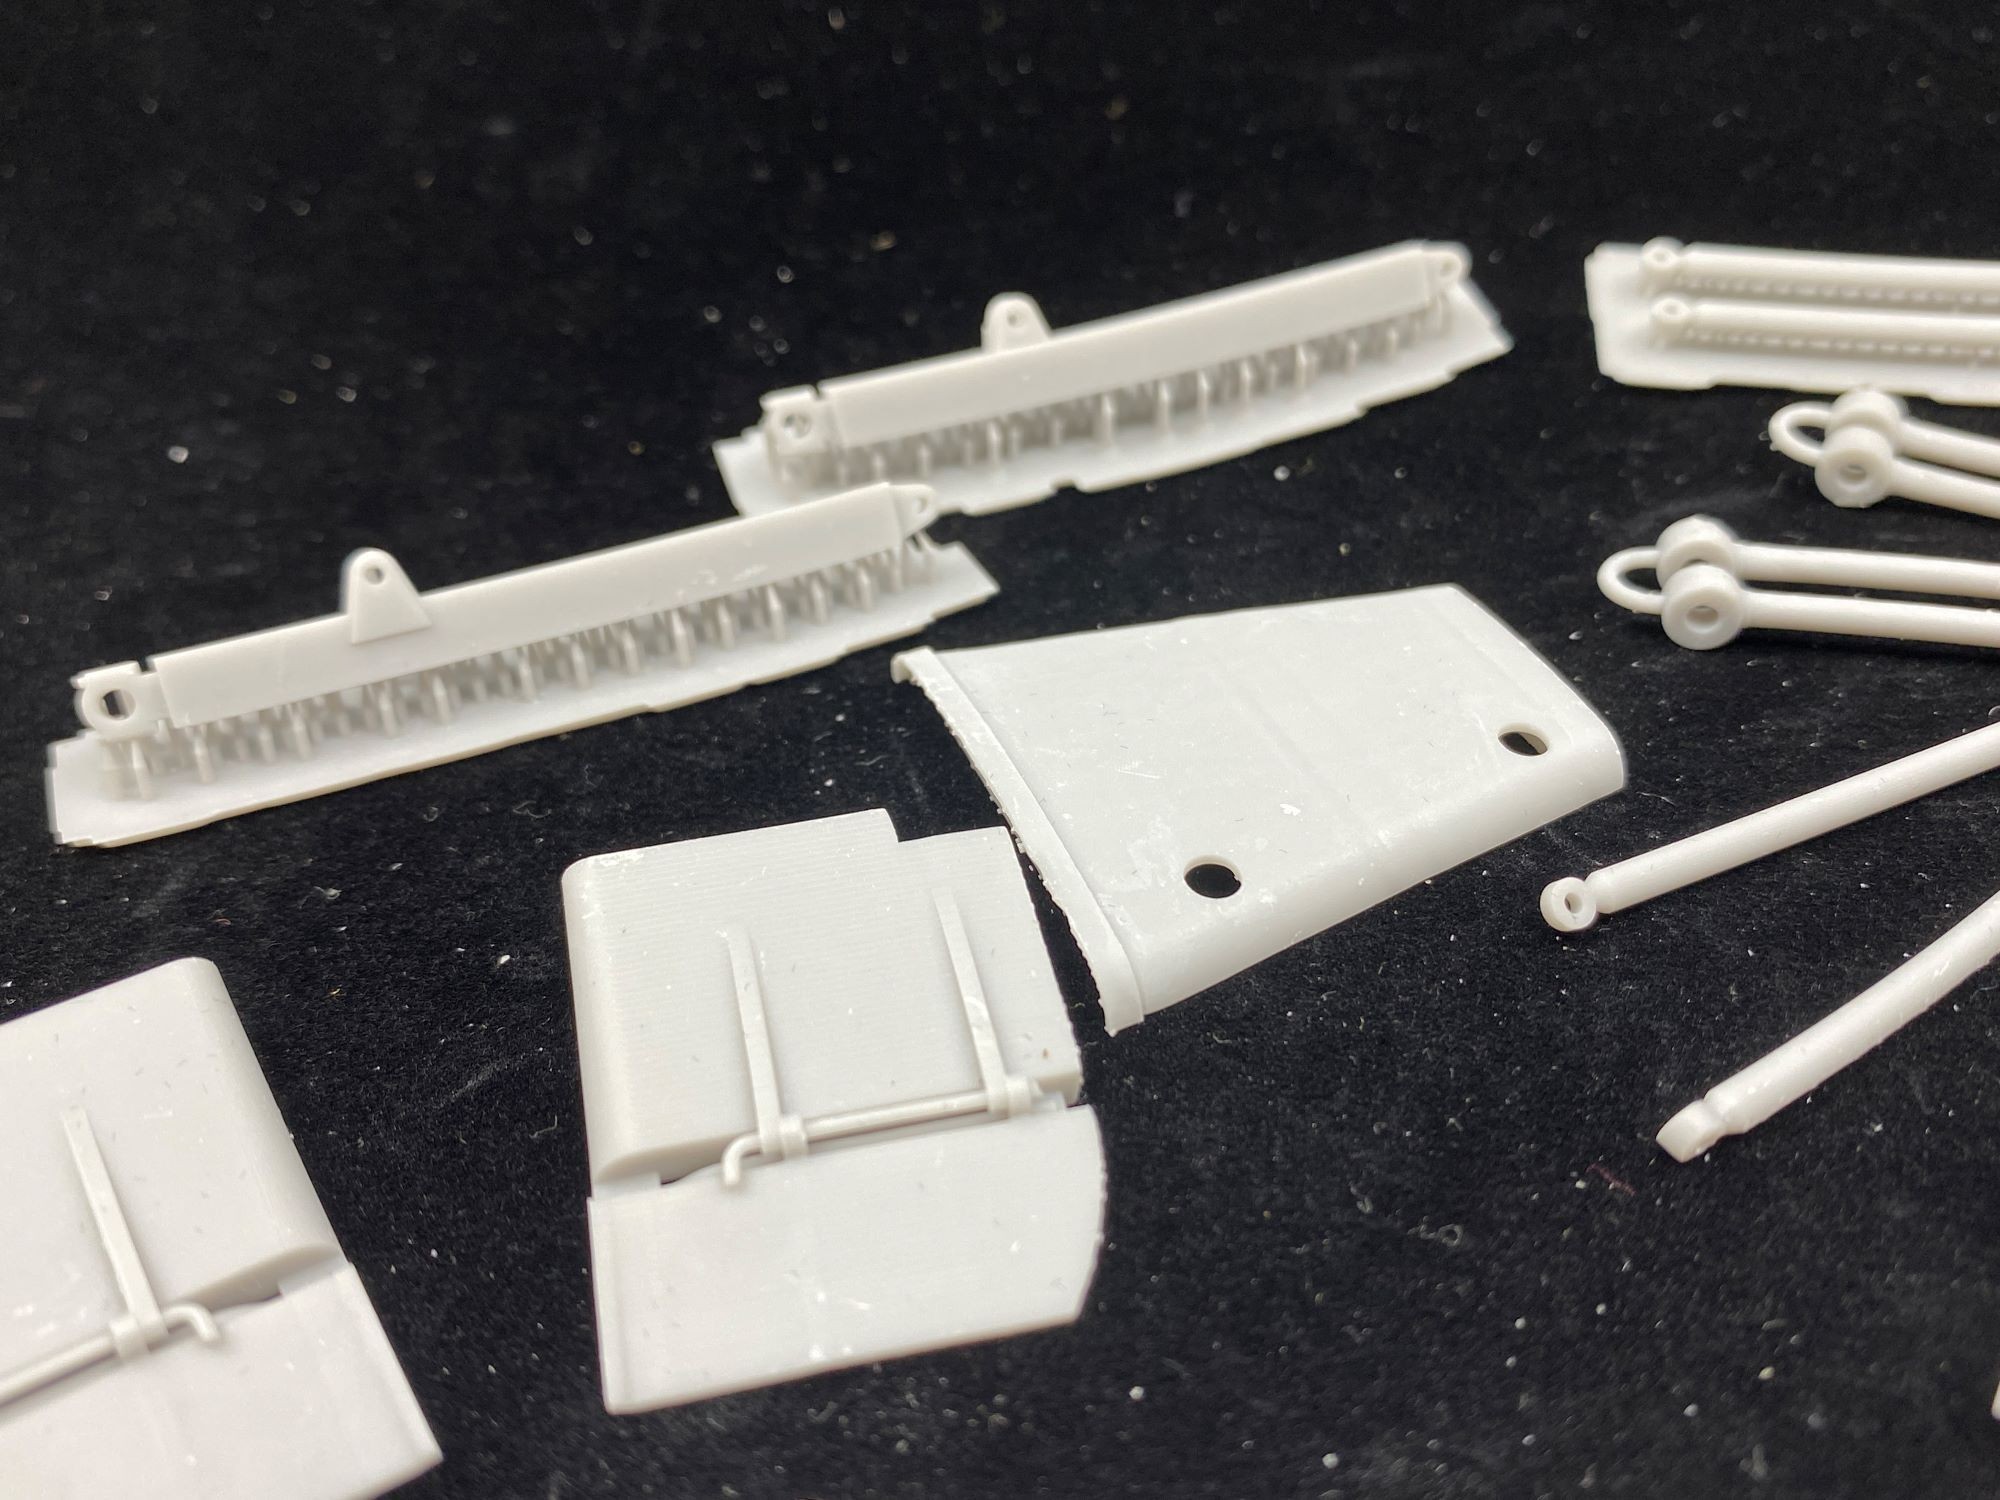
Inside a plain brown box are plastic ziploc bags containing as many detailed parts as any styrene kit. In fact, Hobby Link kits are really styrene-style models made with 3D printing. There is also some brass wire mesh, and a length of "copper" thread to make tow cables. A tiny photo shows a sample marking scheme (the colors in Vietnam were any shade of olive drab), and some waterslide decals.
The Review
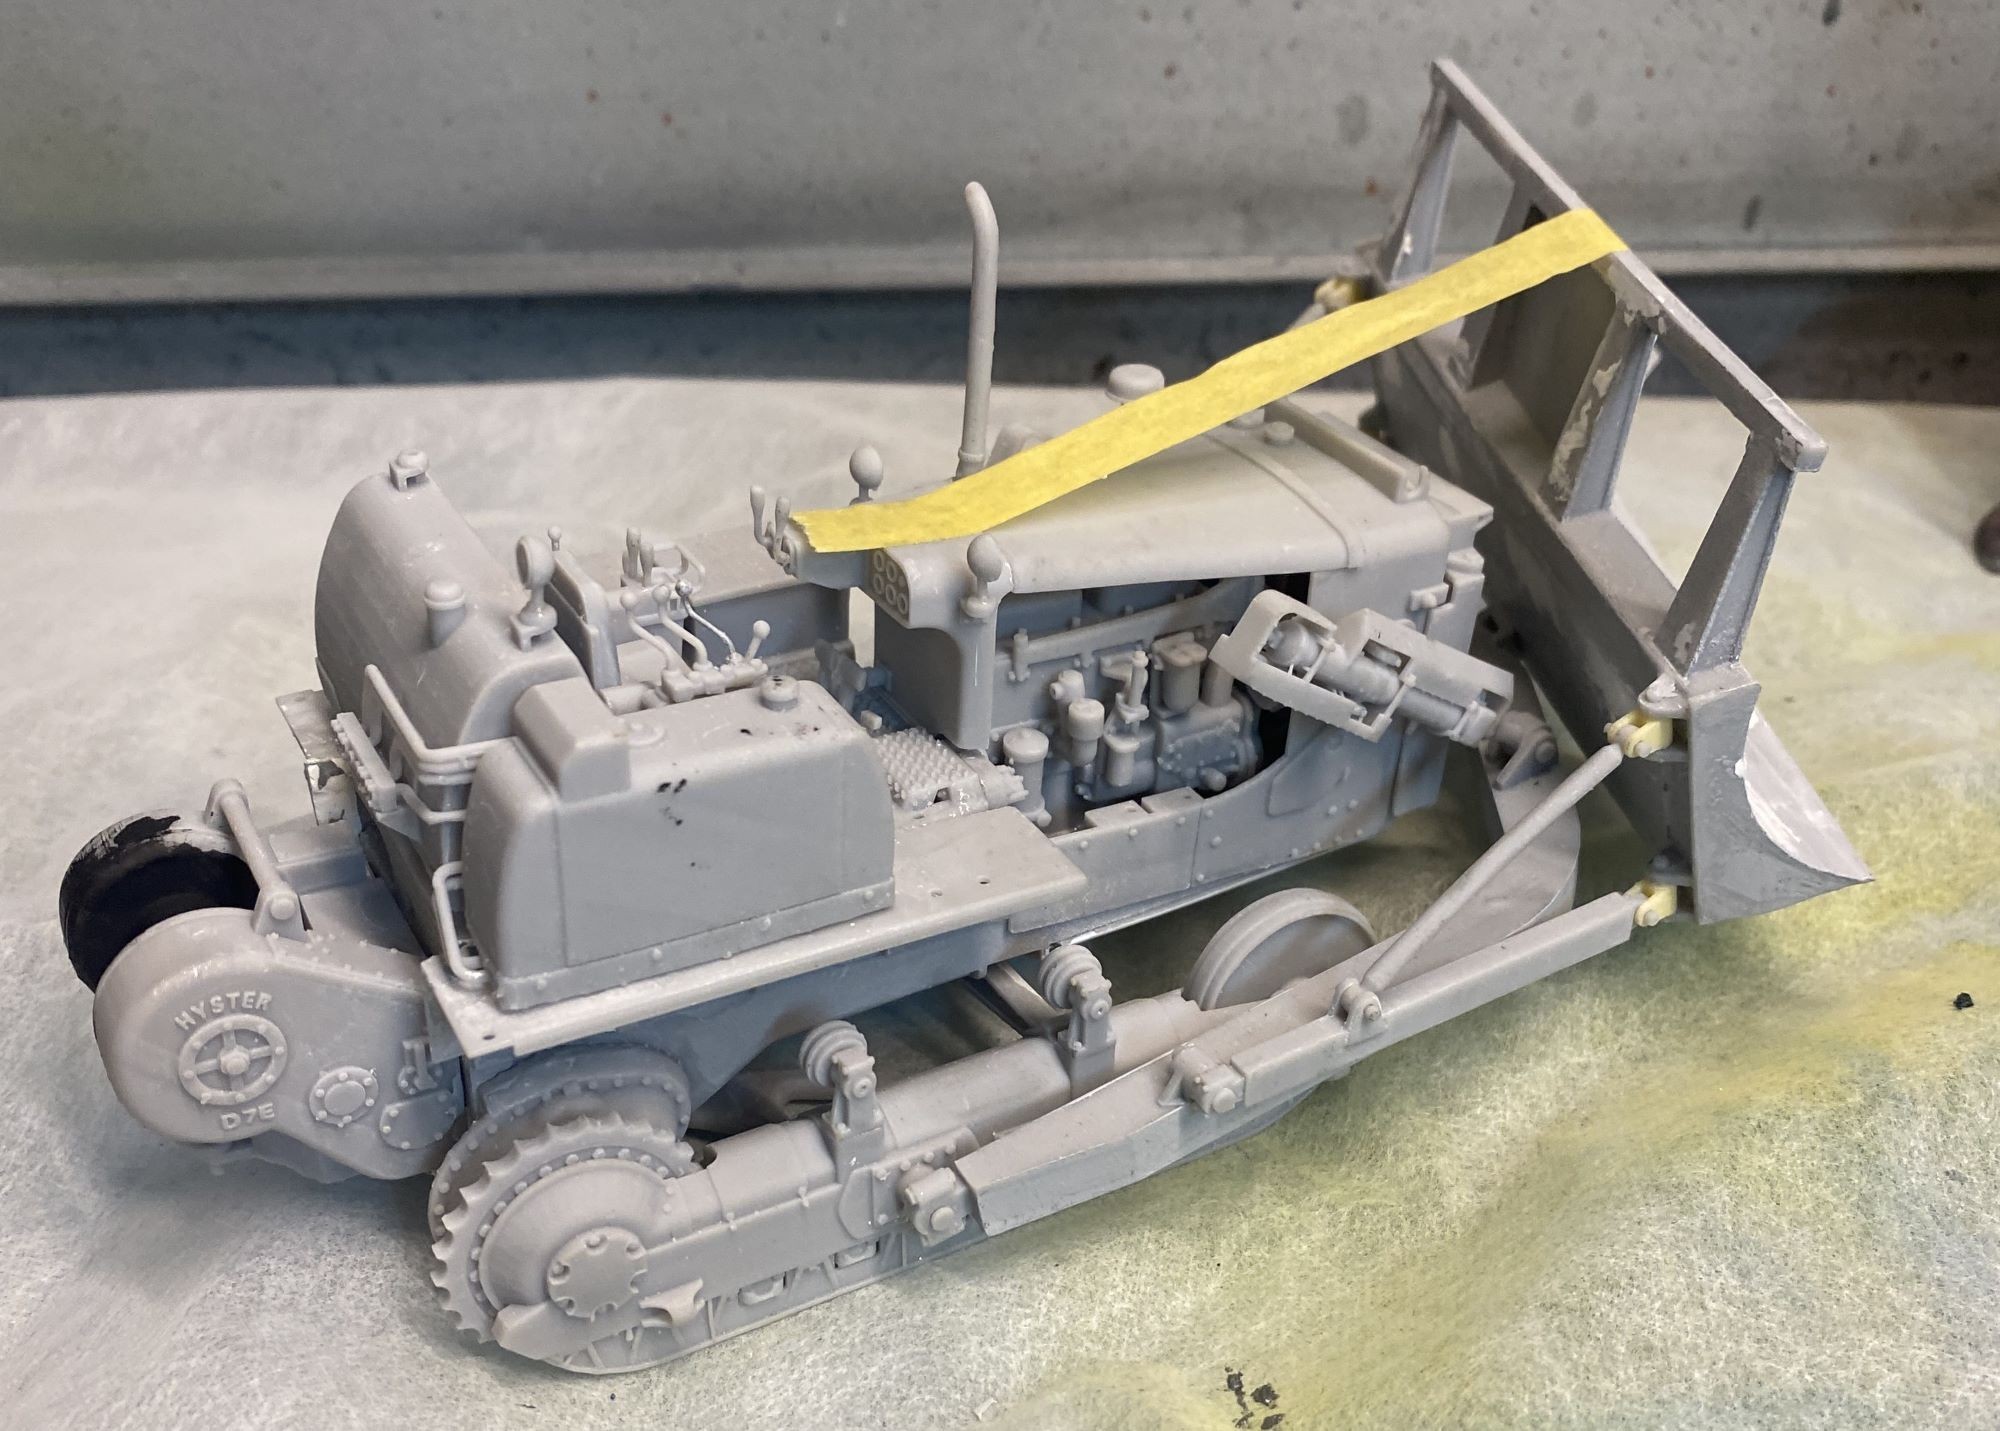
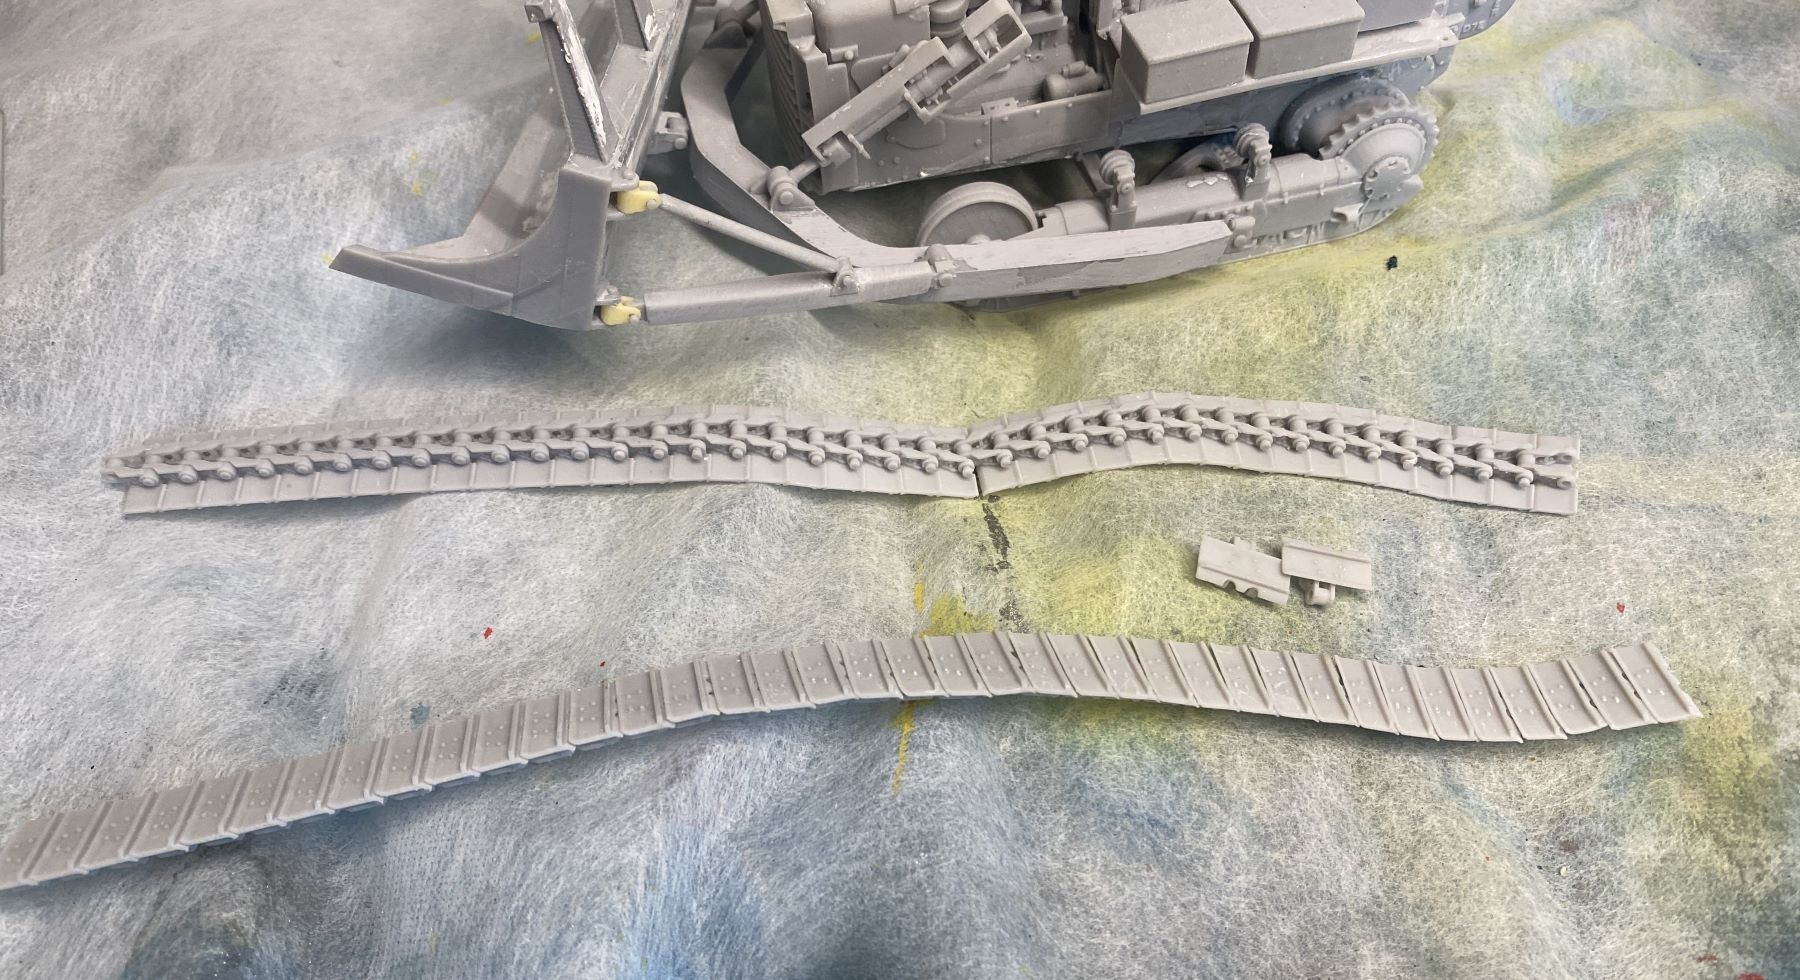
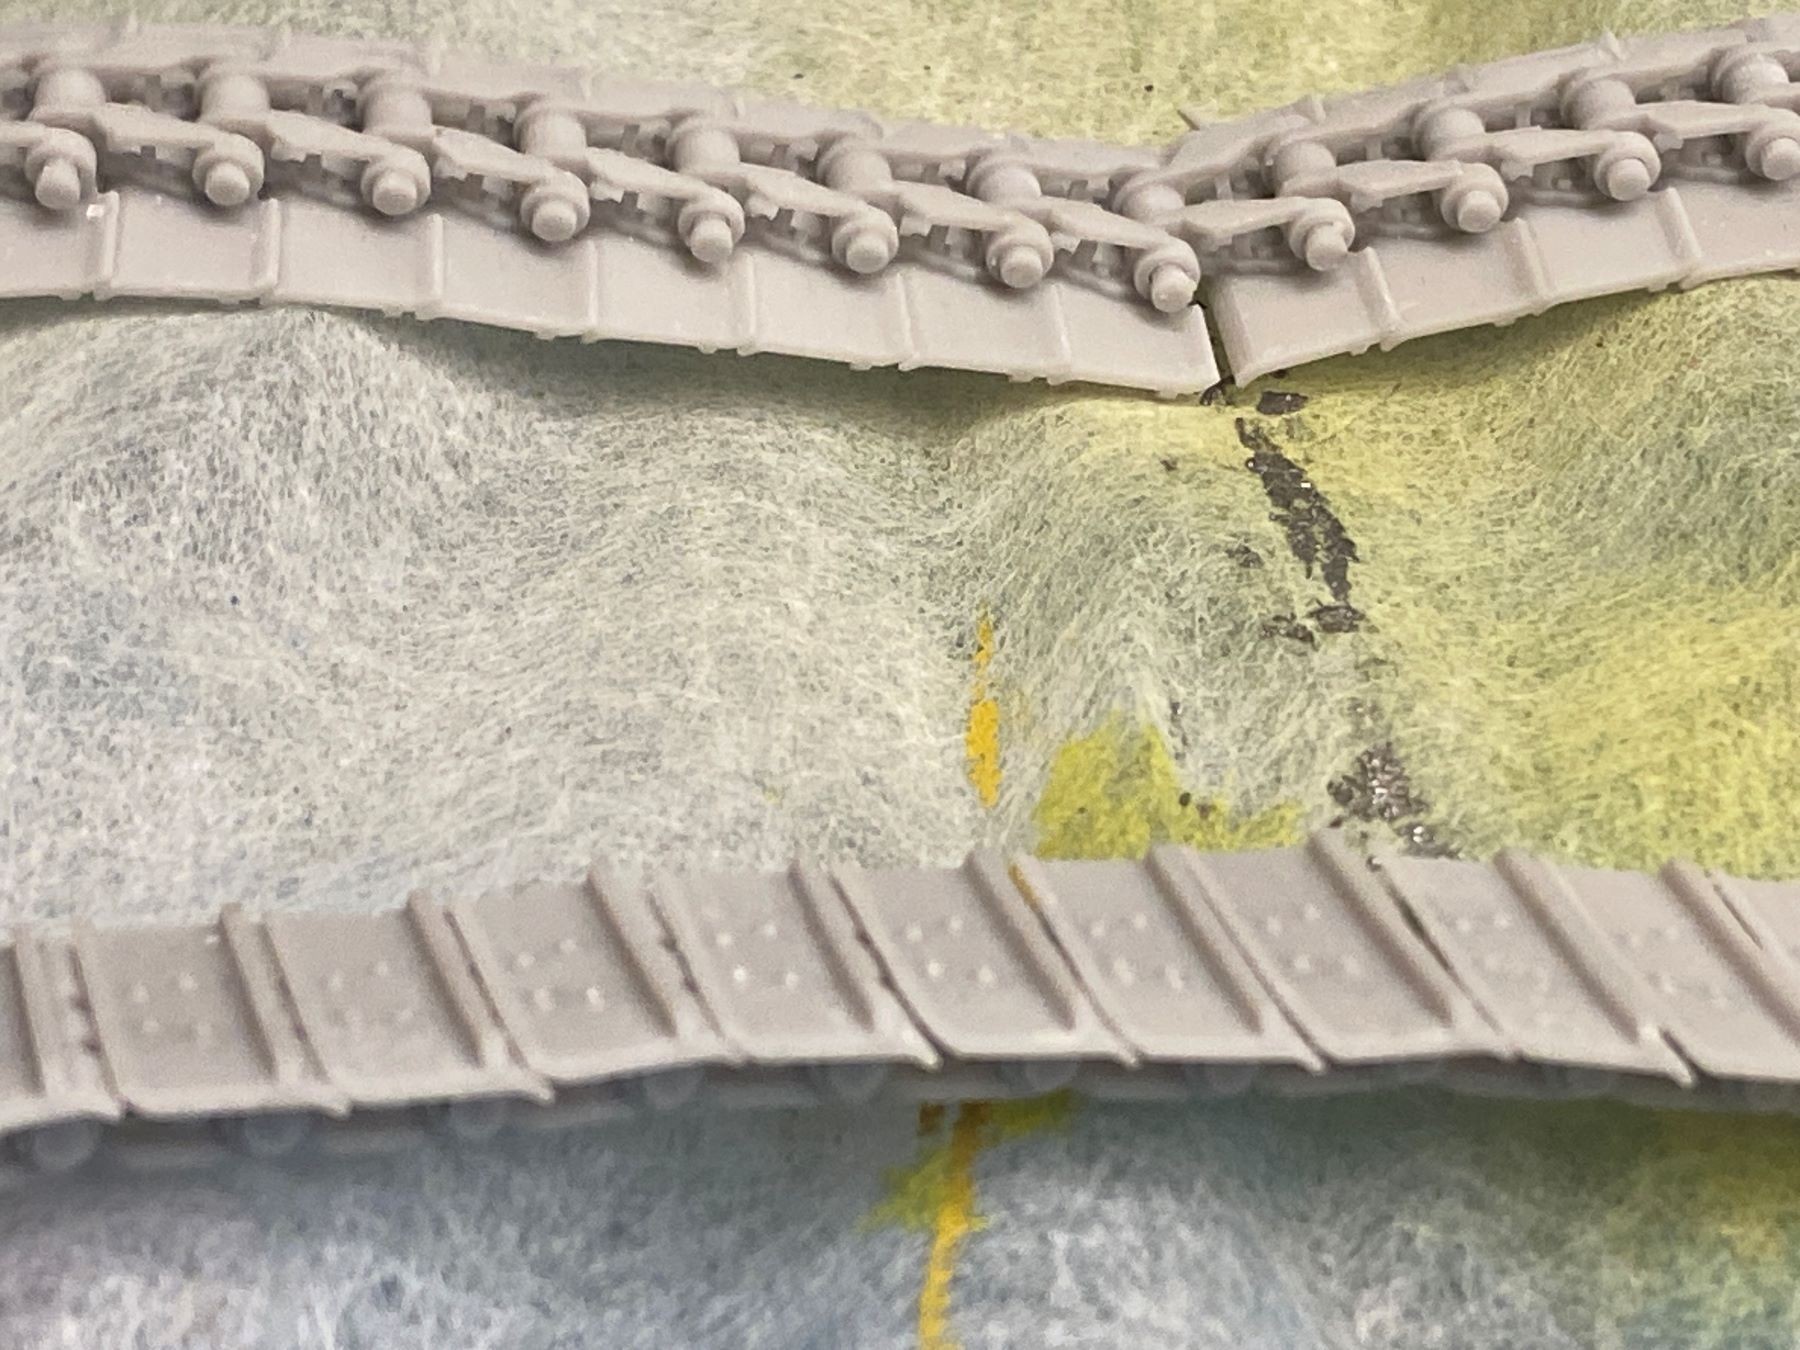
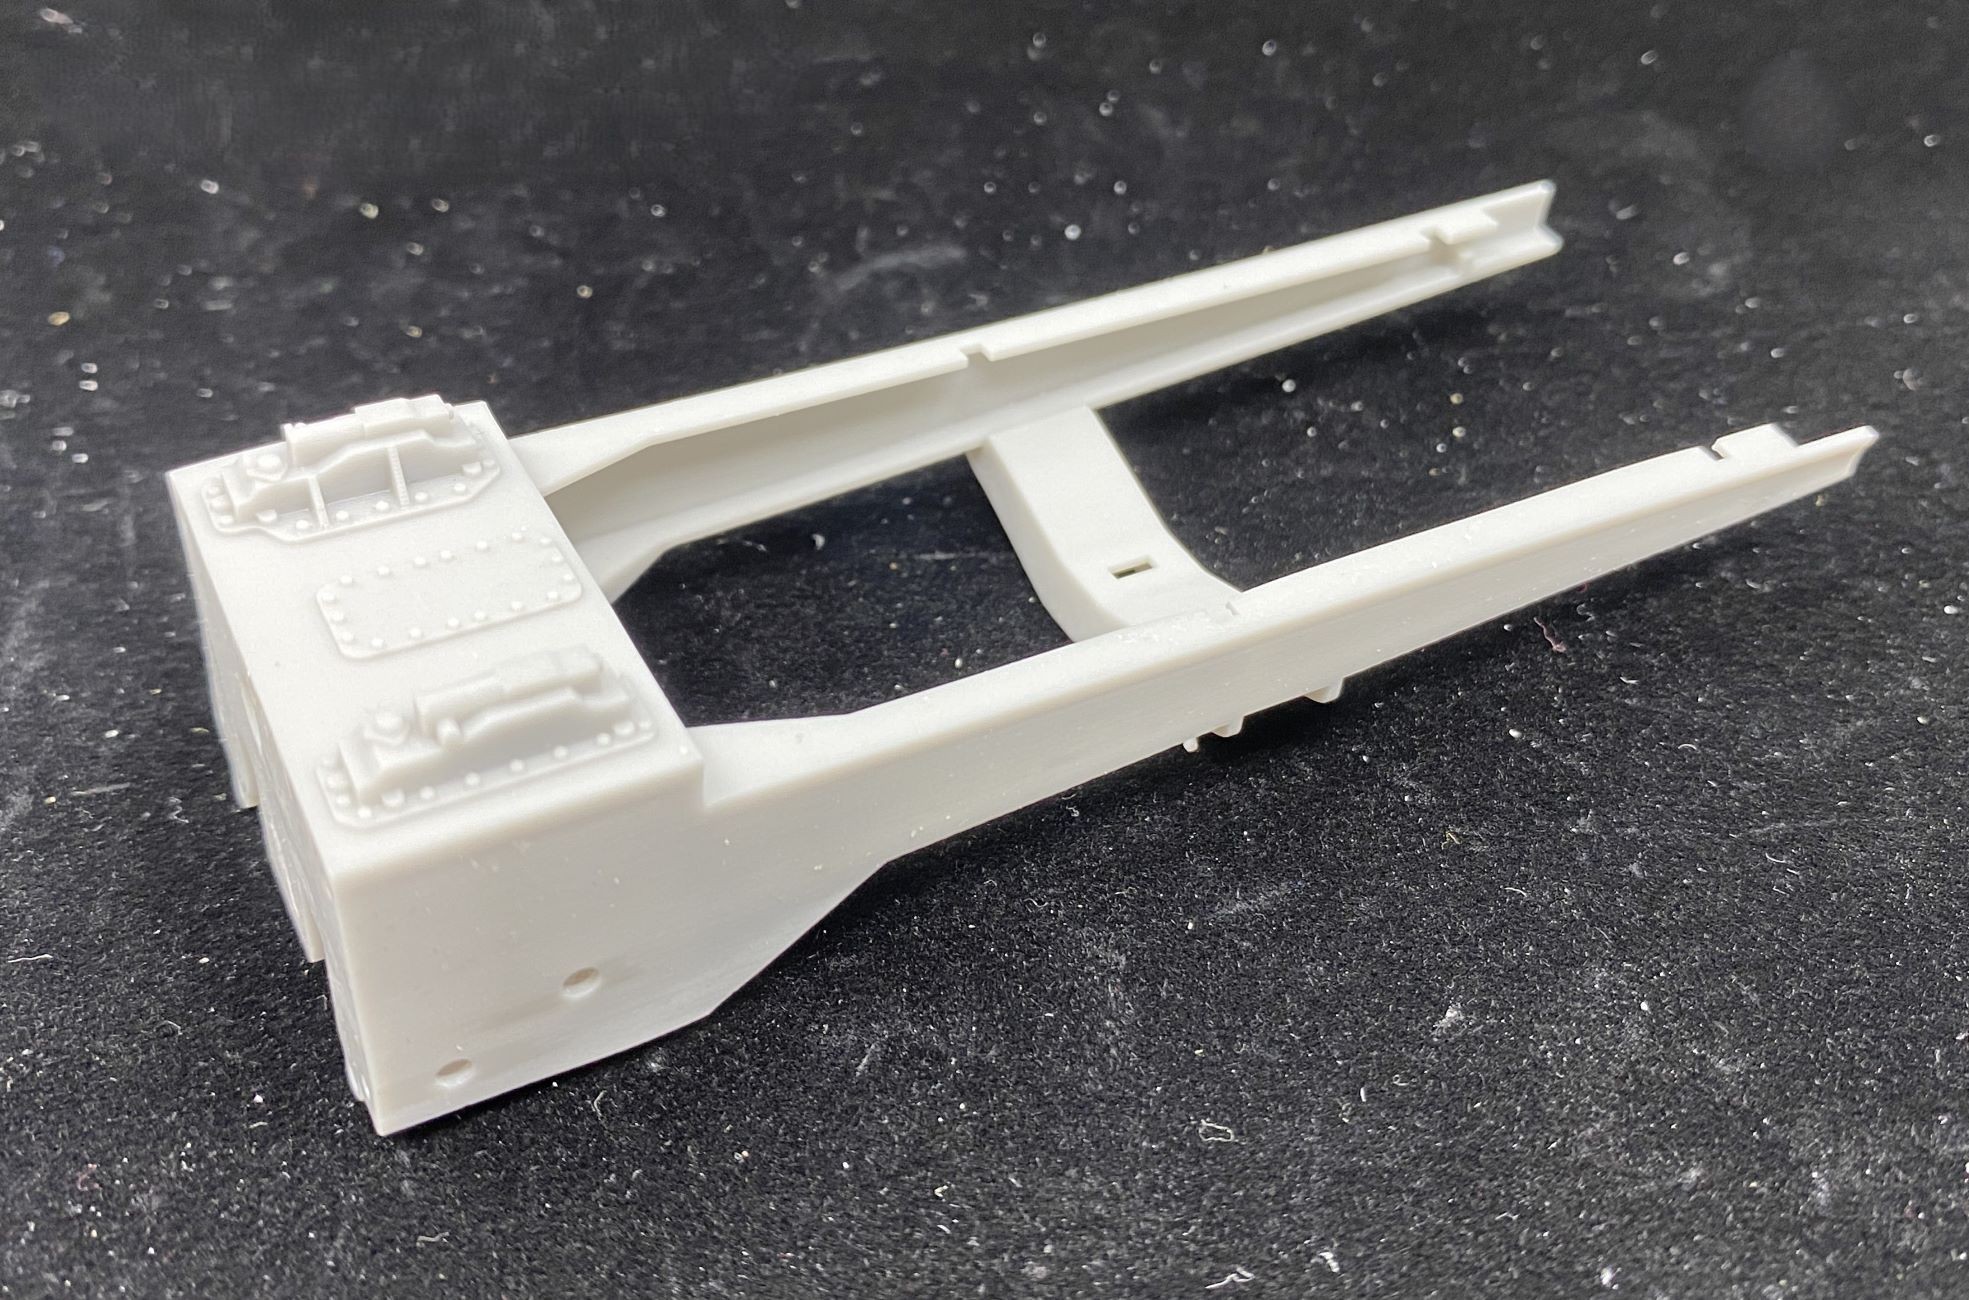
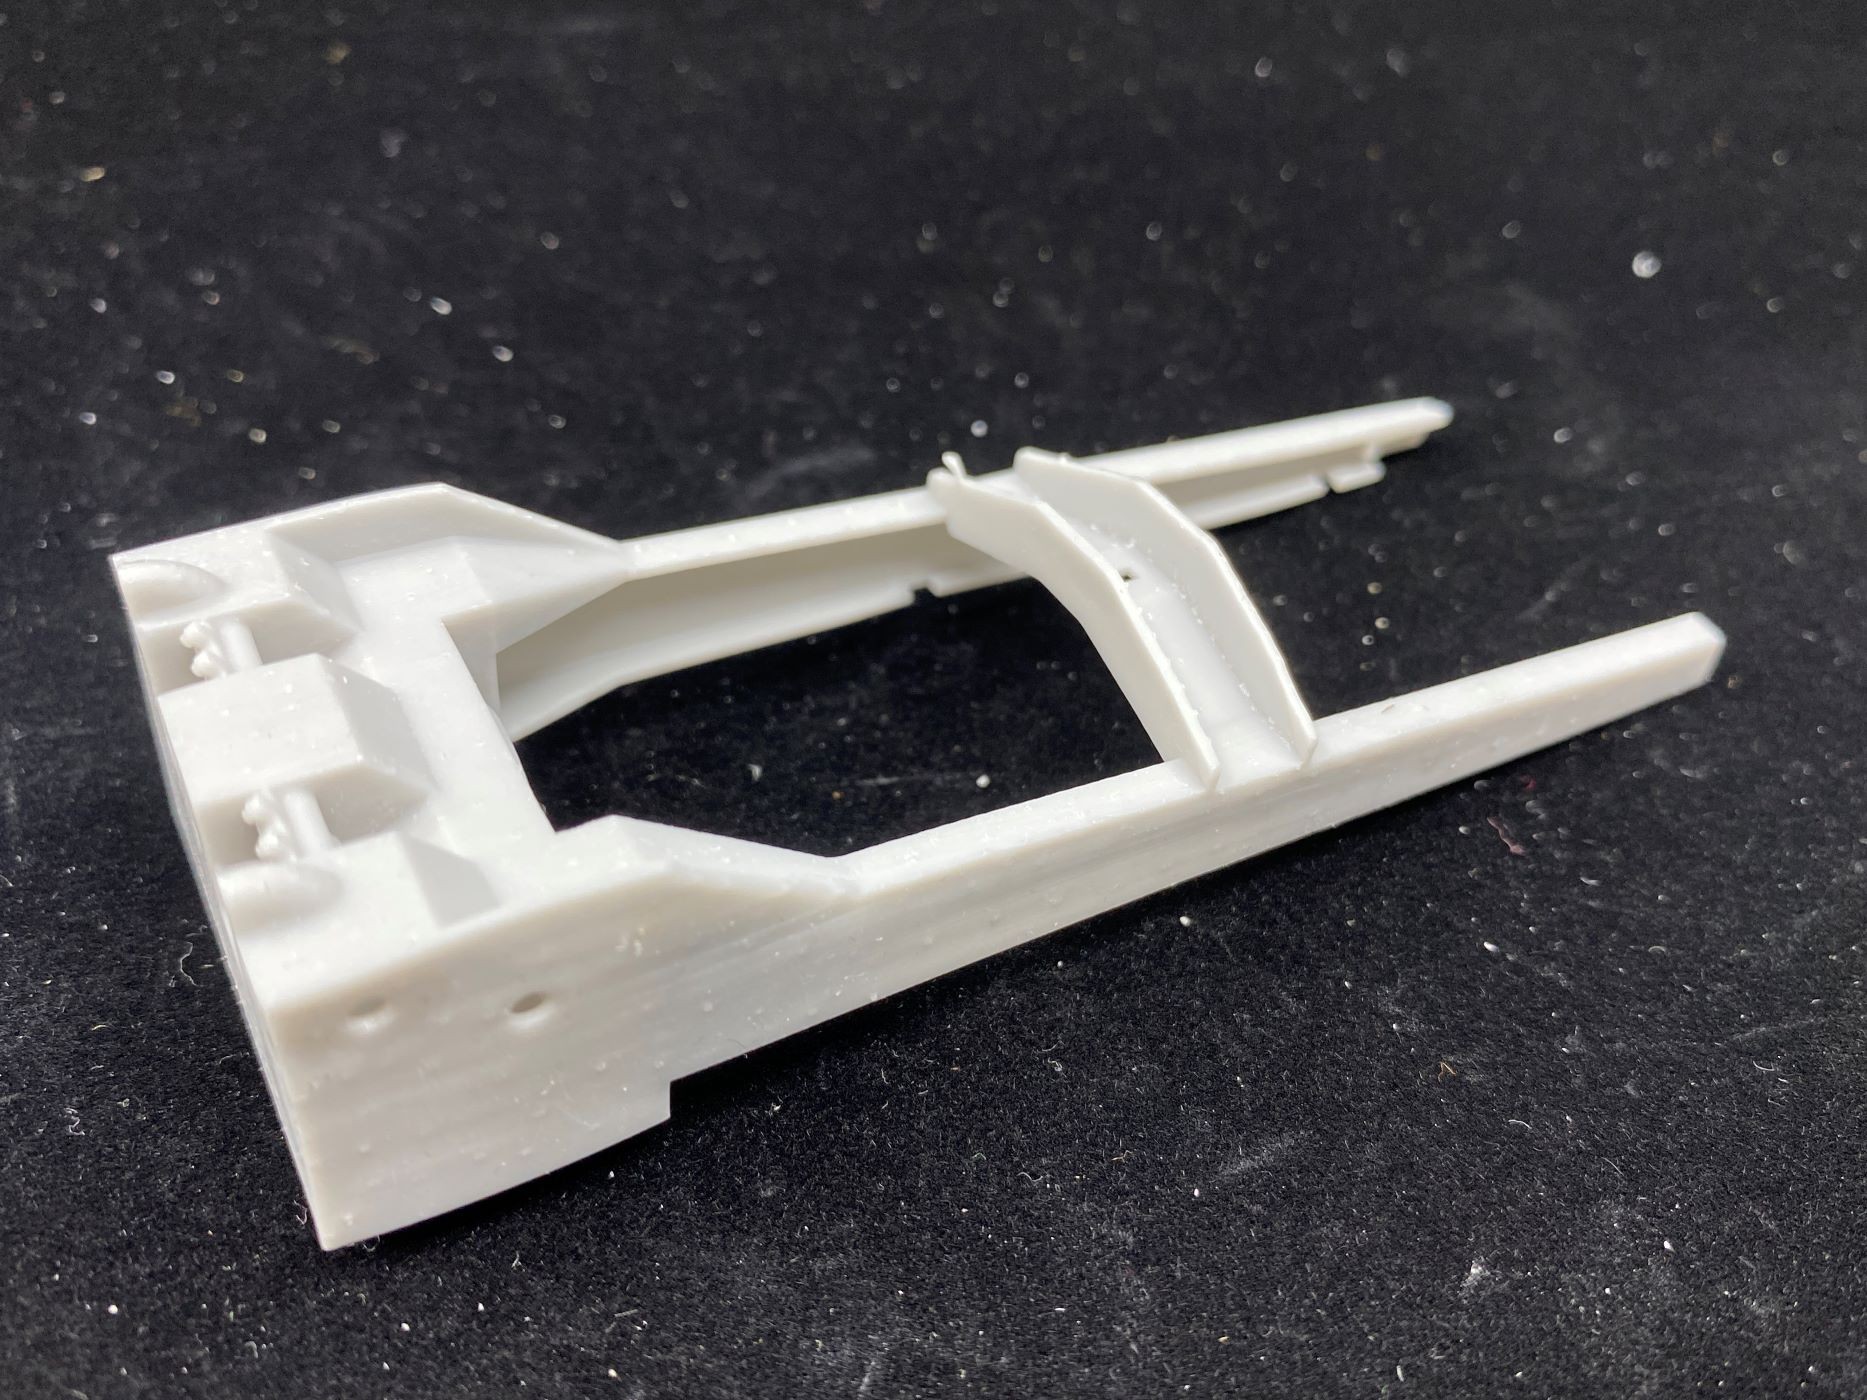
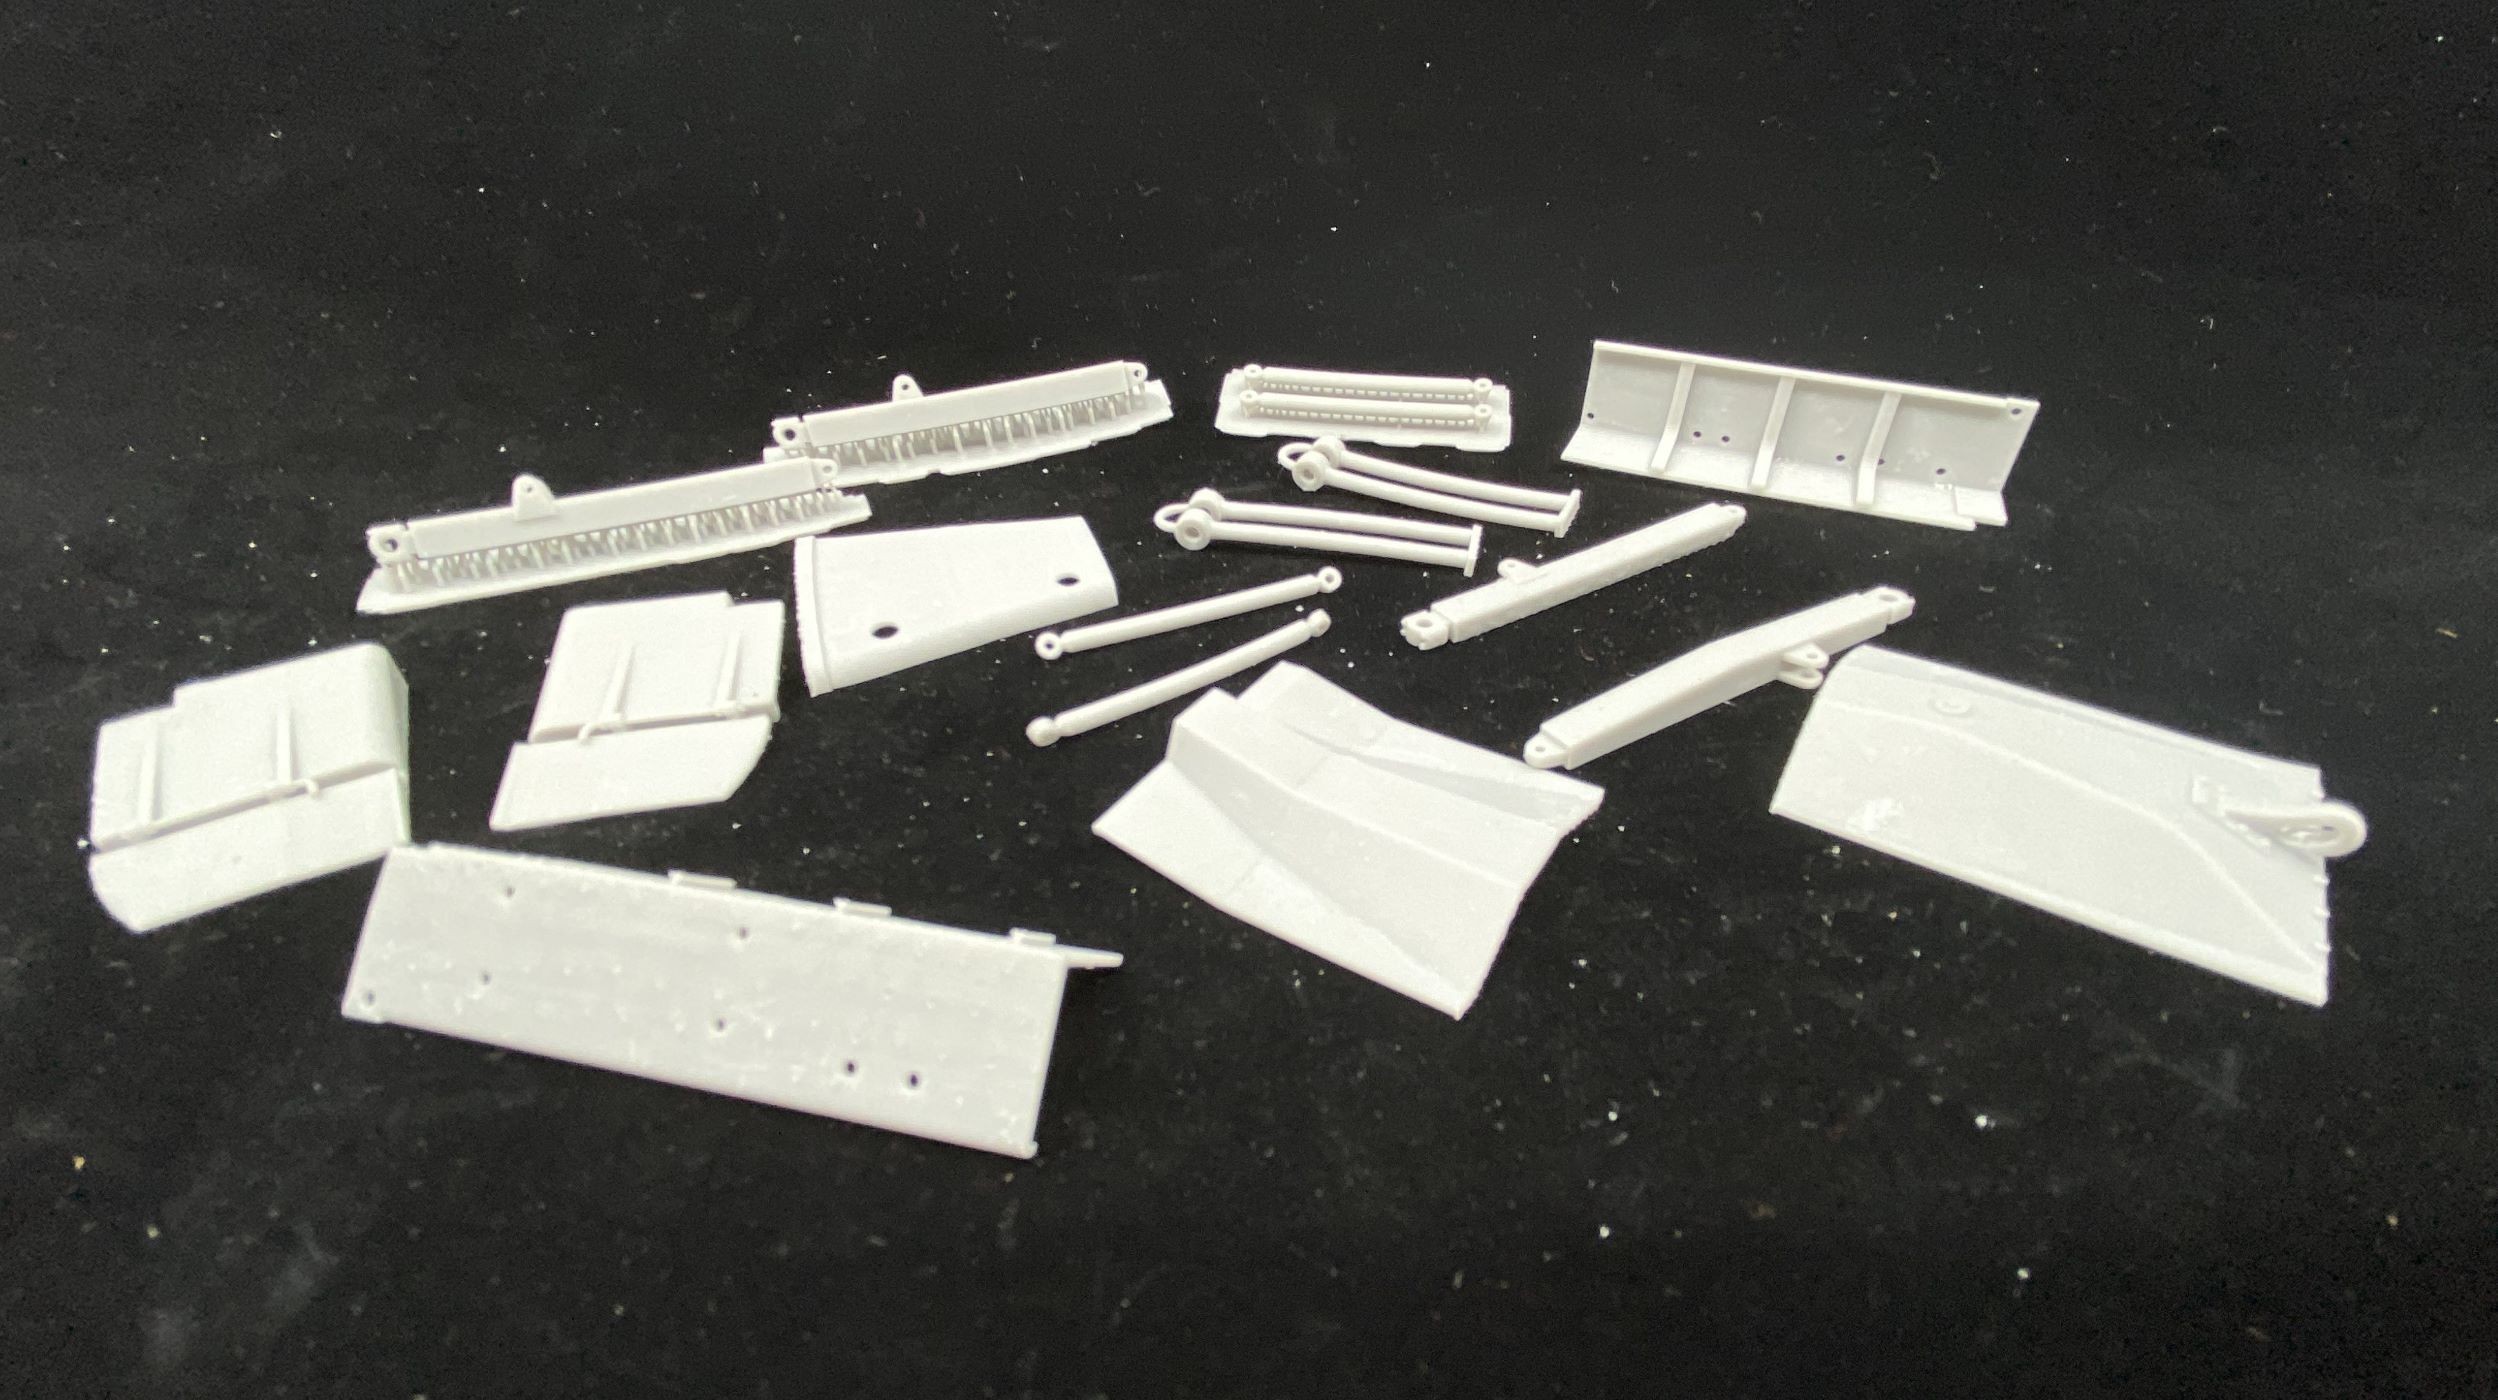
While tanks and other fighting vehicles get most of the glory, it's the support vehicles that make their success possible. Bulldozers clear jungle, build roads and otherwise help defeat Mother Nature, and she's especially powerful in wet, warm climes like Vietnam. And while some modelers might balk at the thought of building a non-styrene kit, Hobby Link's models are excellent exceptions to the "fear of resin." As my friend Georg Eyerman has said about Hobby Link vehciles, "they are basically styrene kits made in resin" with a high number of parts one expects from a Tamiya or Dragon build. The tracks are workable with the exception of the bottom run, which I actually prefer over Hobby Link's Otter, which had one-piece tracks that resisted laying flat.
Overall, the fit on Hobby Link kits is outstanding. These are beautifully-engineered creations that build up into terrific models.
But rather than simply extrapolating from my experiences with Hobby Link's Otter, I chose to build, paint and weather the Rome plow kit.
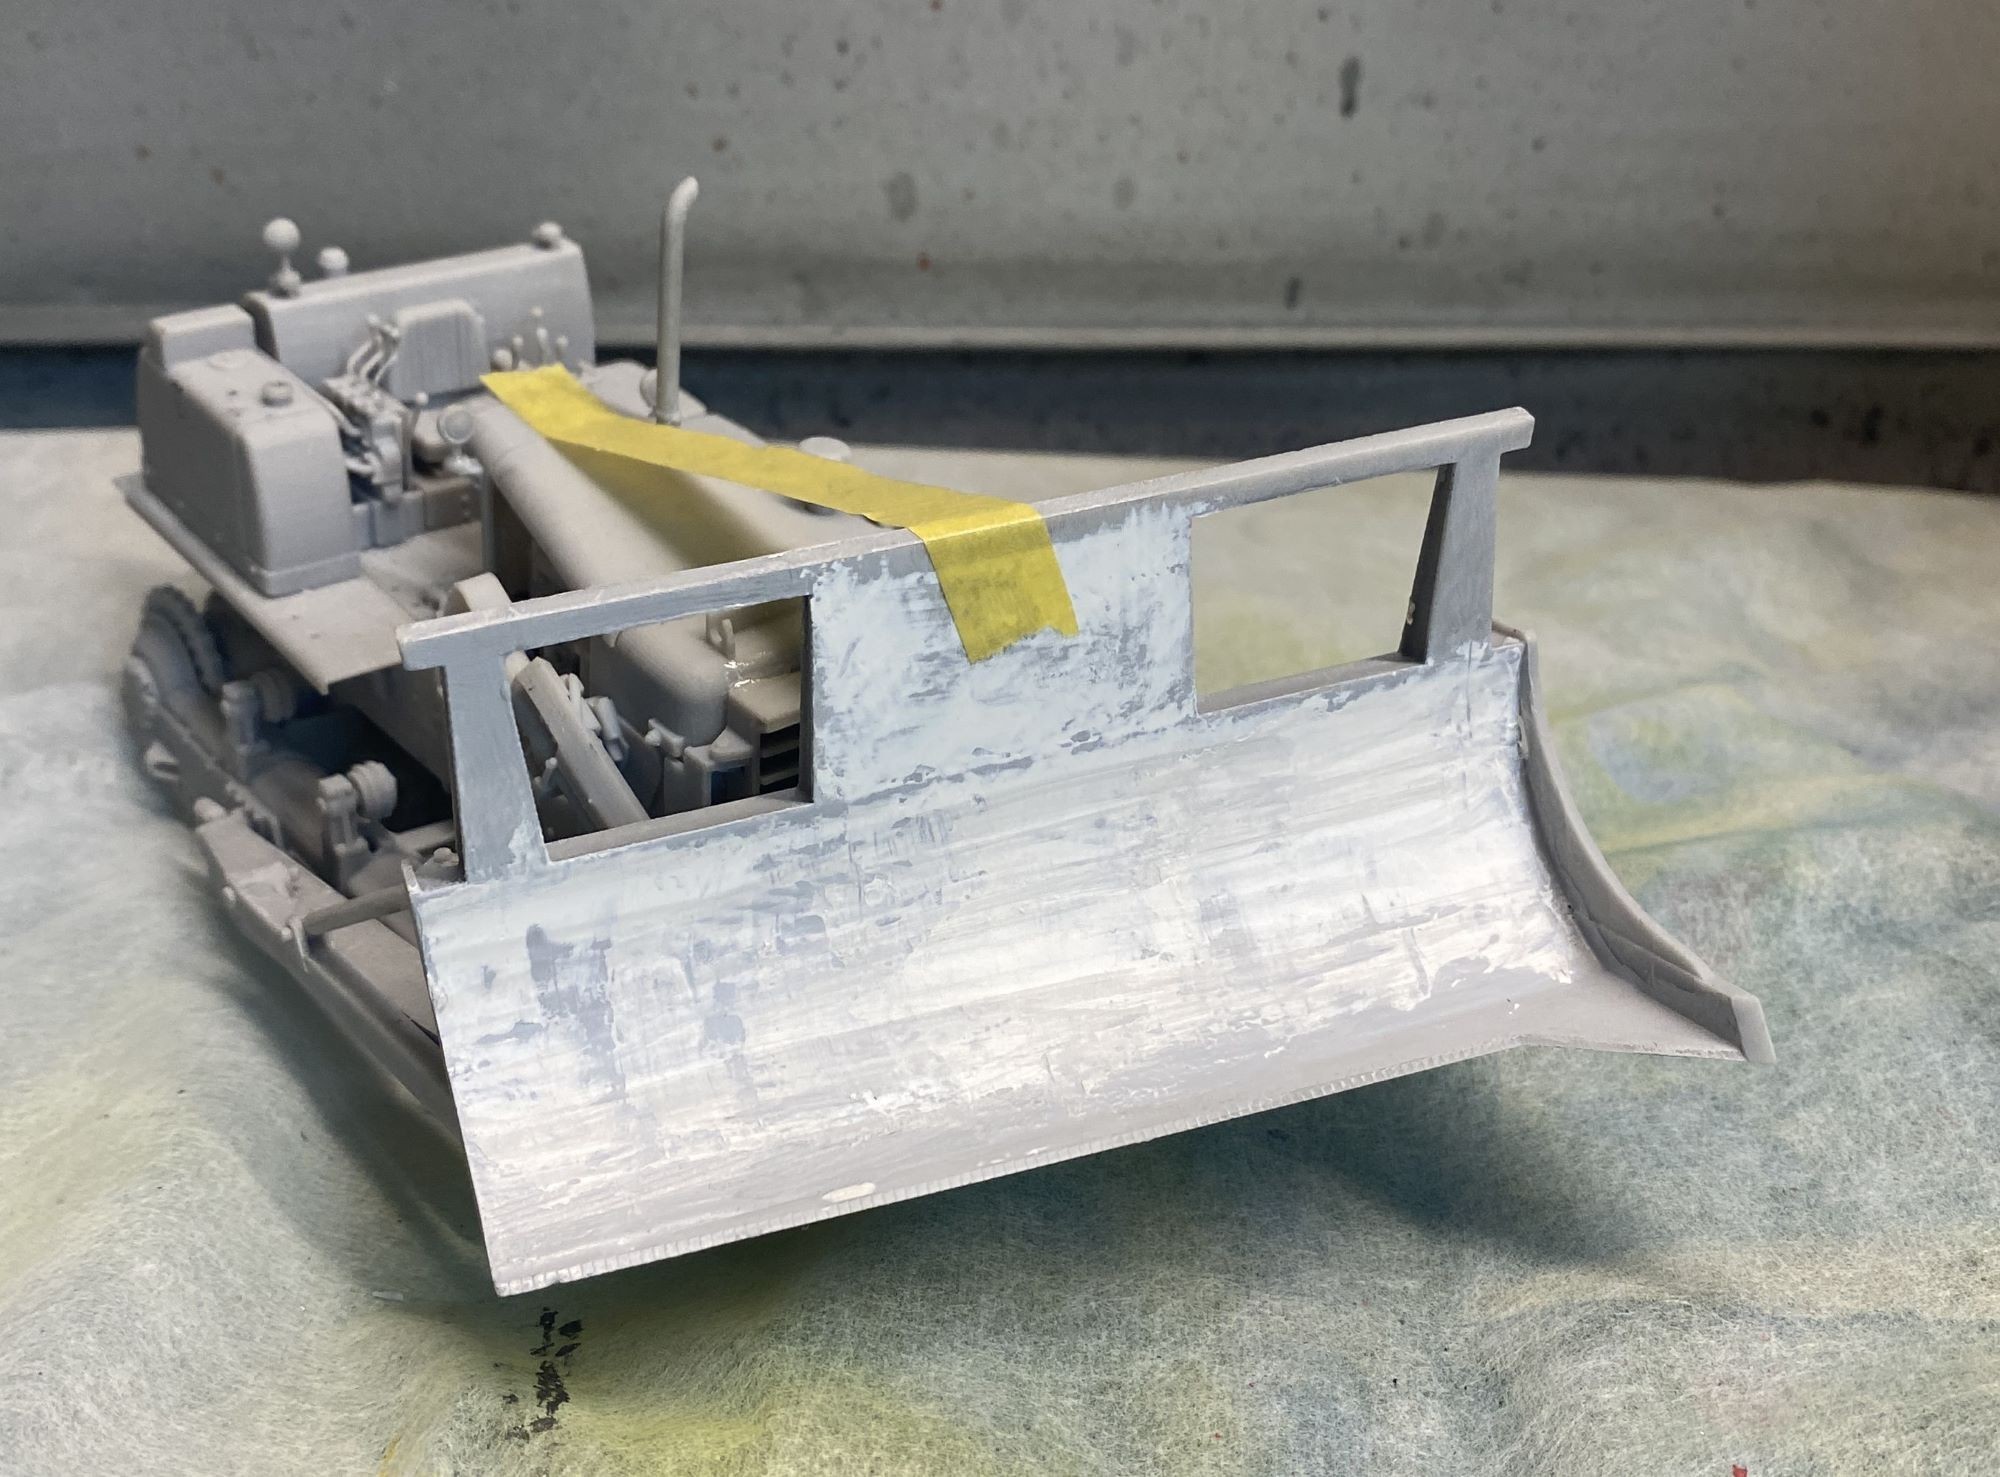
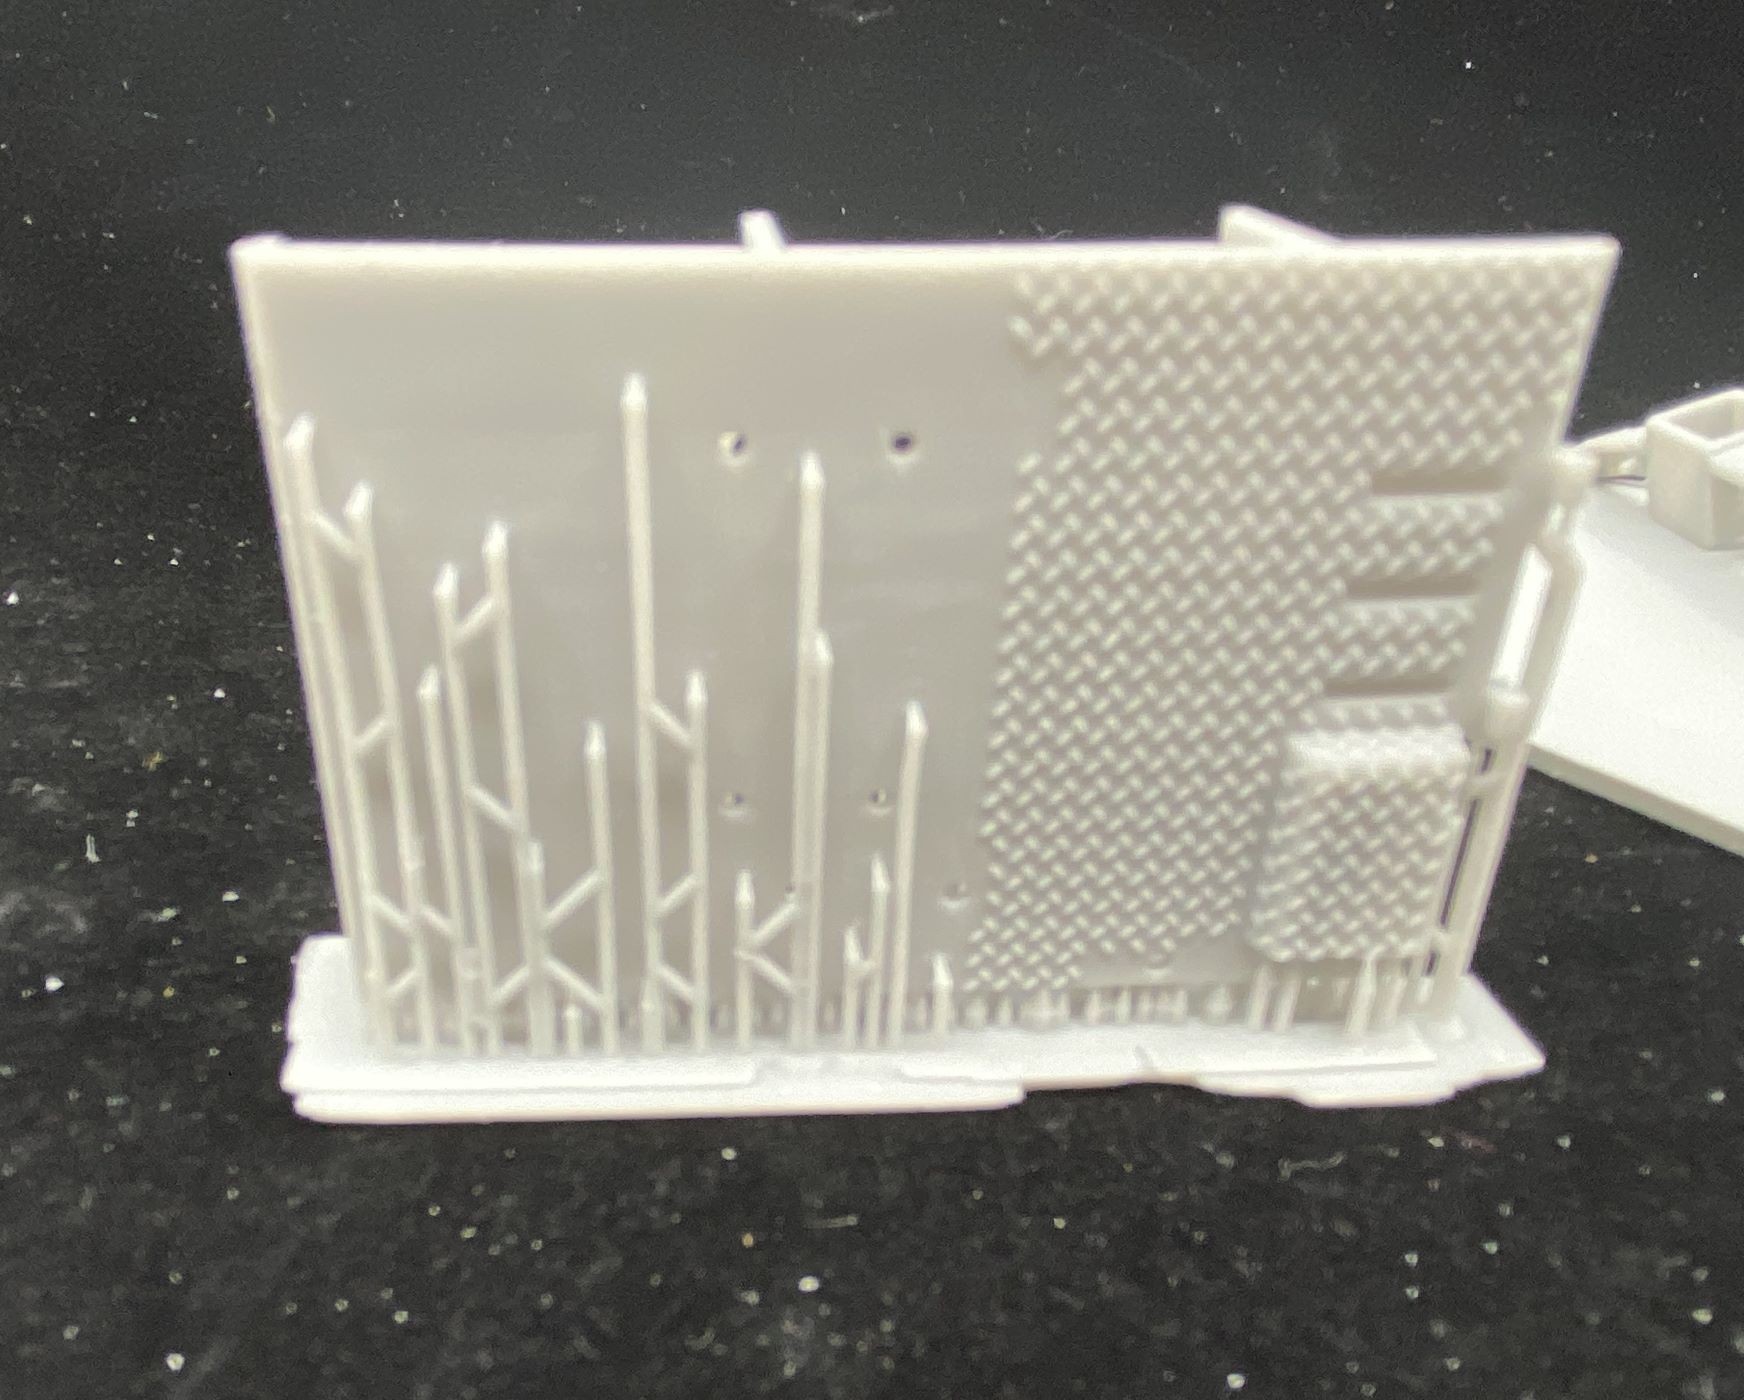
Working with an all-resin 3D-printed kit shouldn't make anyone nervous: unlike the old cast resin, 3D-printed resin doesn't require cleaning-up to remove mold release, and there is little to no warpage of parts. The little warping I encountered in this kit (most prominently on the rear wall), is easily-corrected by dipping the piece into boiling water for 10 seconds, straightening it, then allowing it to cool in-place.
One area of caution, however, is that flat surfaces such as the hull may show evidence of ridges and grooves. This is a product of the 3D printing process, which lays down the resin in rows; it's why the parts are often produced on angular "trees." This shift reduces ridges. On large parts like the hull, some filling and sanding may be needed. It's a good idea to look over the model carefully, but sometimes the ridges don't really show up until after priming. It's generally not possible simply to sand off the ridges, and they are better handled with some Mr. Surfacer or Bondo auto putty.
Building any resin kit requires some care, including having a good sanding operation for the "pimples" that are often left after the "trees" that lay down the resin for the part have been removed. 3D printed resin is also much more brittle than styrene or even cast resin, so care should be taken not to put torque on the pieces; if they don't fit, consult the directions again, and if necessary, dry fit repeatedly until things work. Ordinary CA glue will handle the build, though for parts that require more stability, I use a two-part epoxy. I also suggest a spray-on accelerator like ZAP's Zip Kicker for CA glued parts. This helps create an instant bond for pieces that require careful alignment like wheels, but the bond it creates will be slightly weaker than if the glue dries on its own.
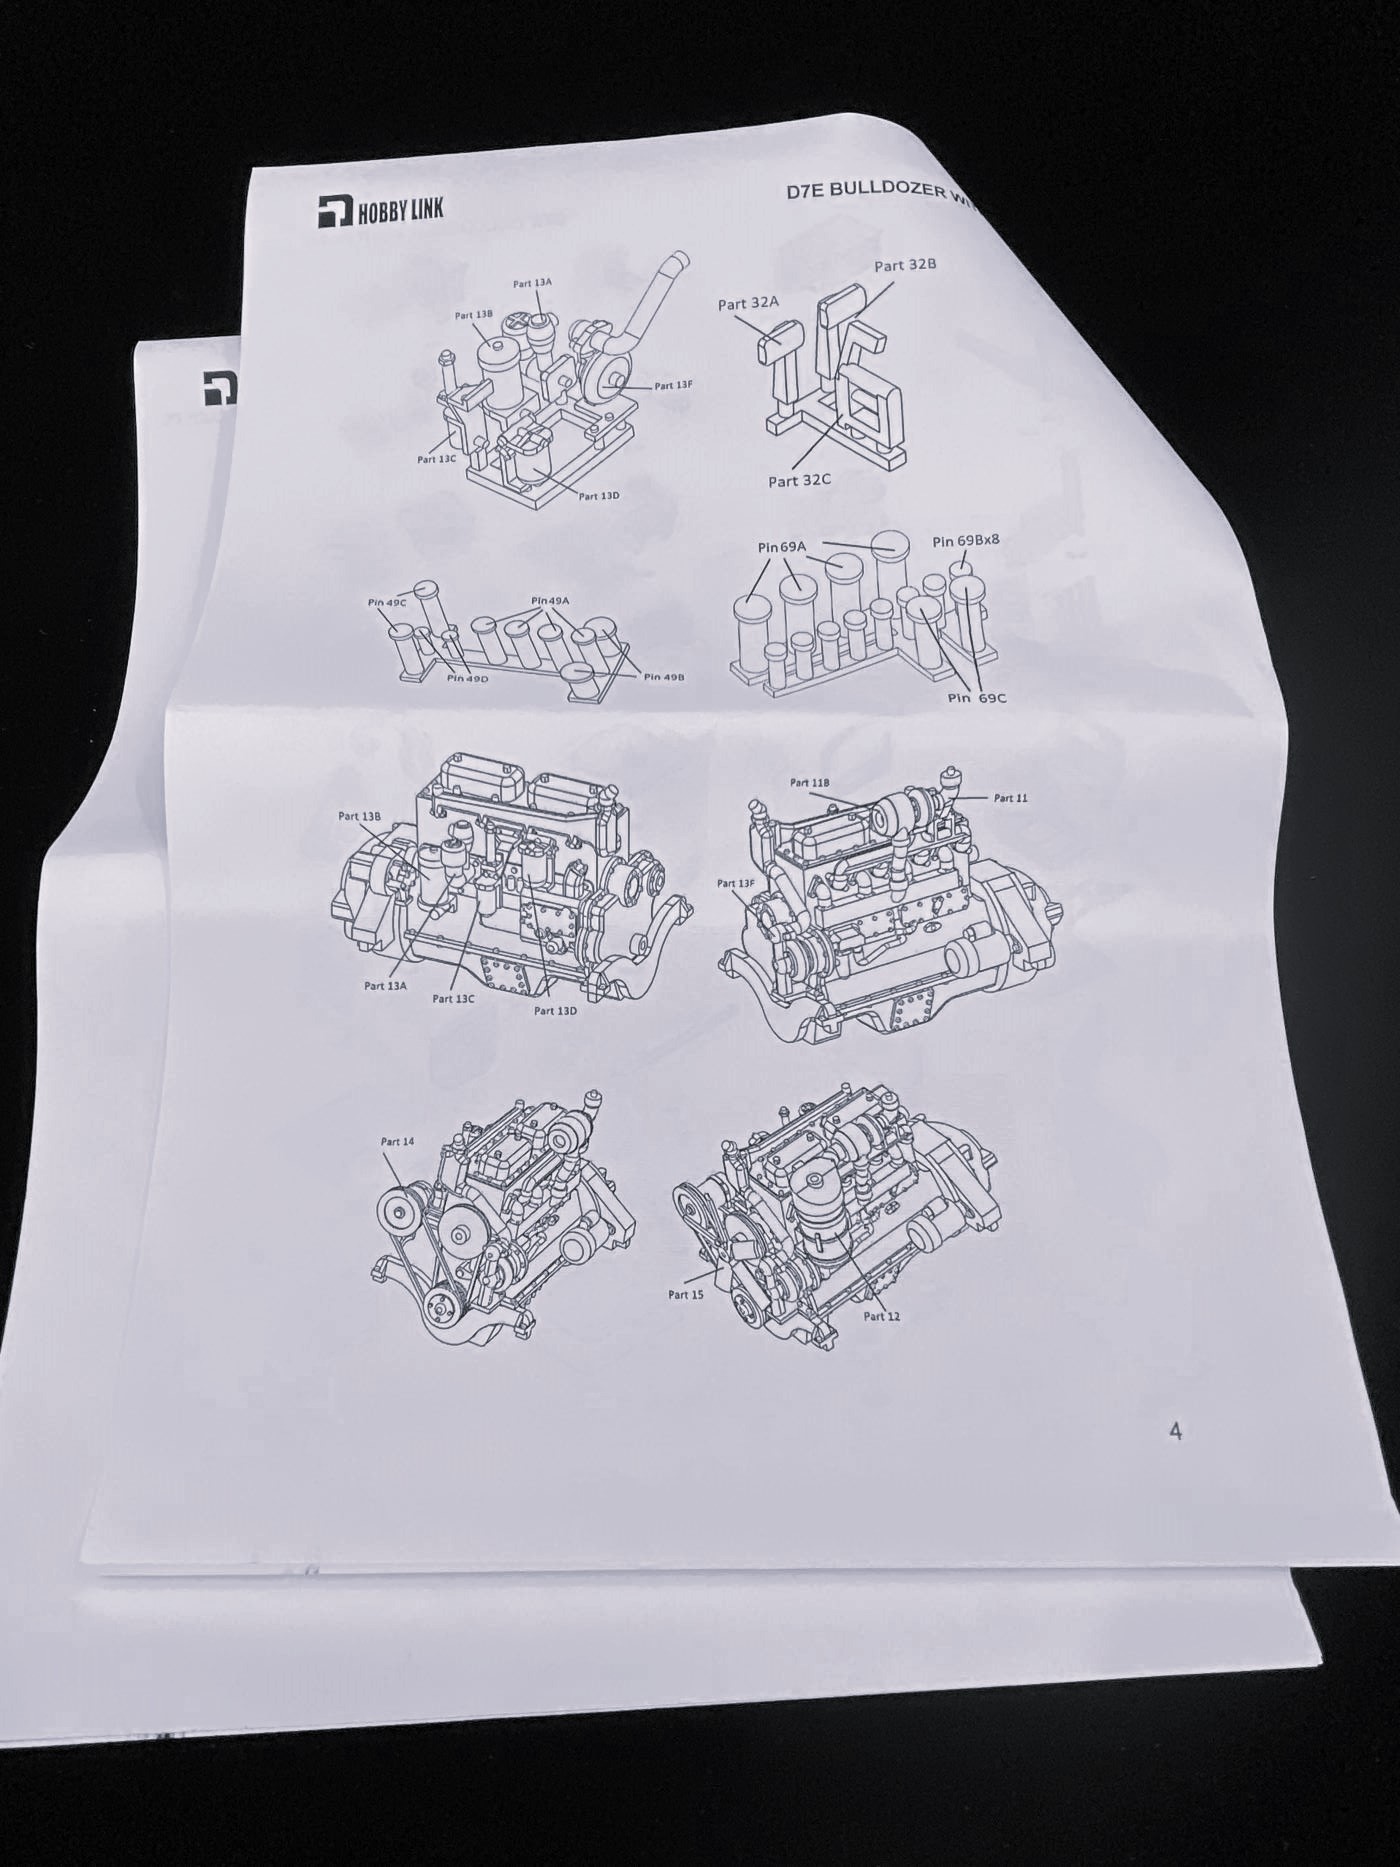
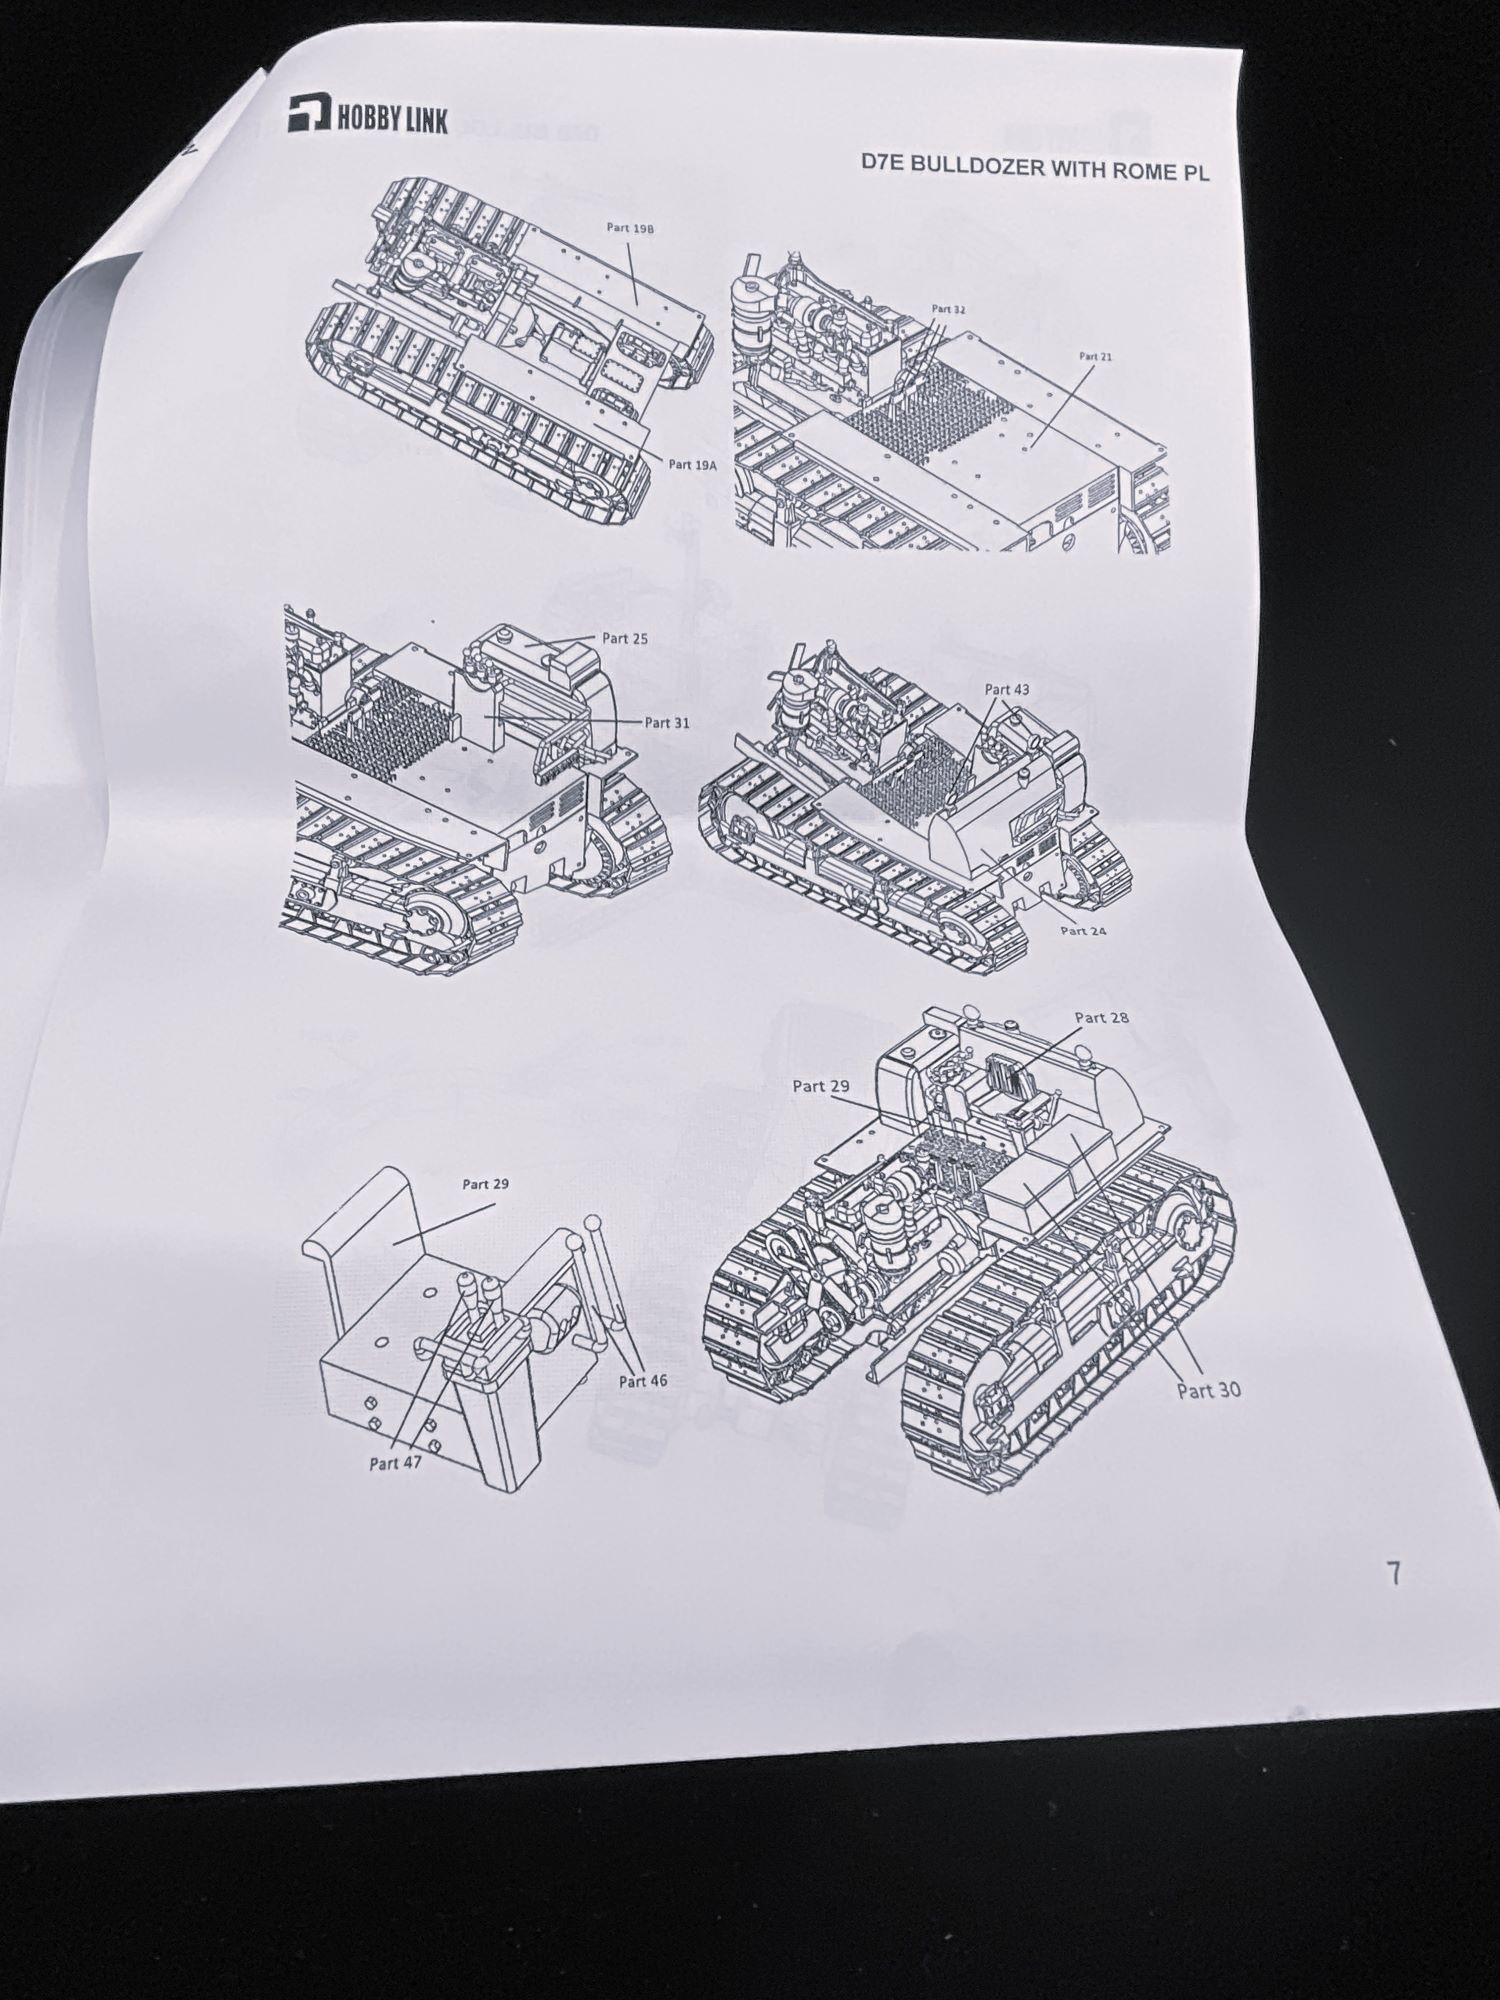
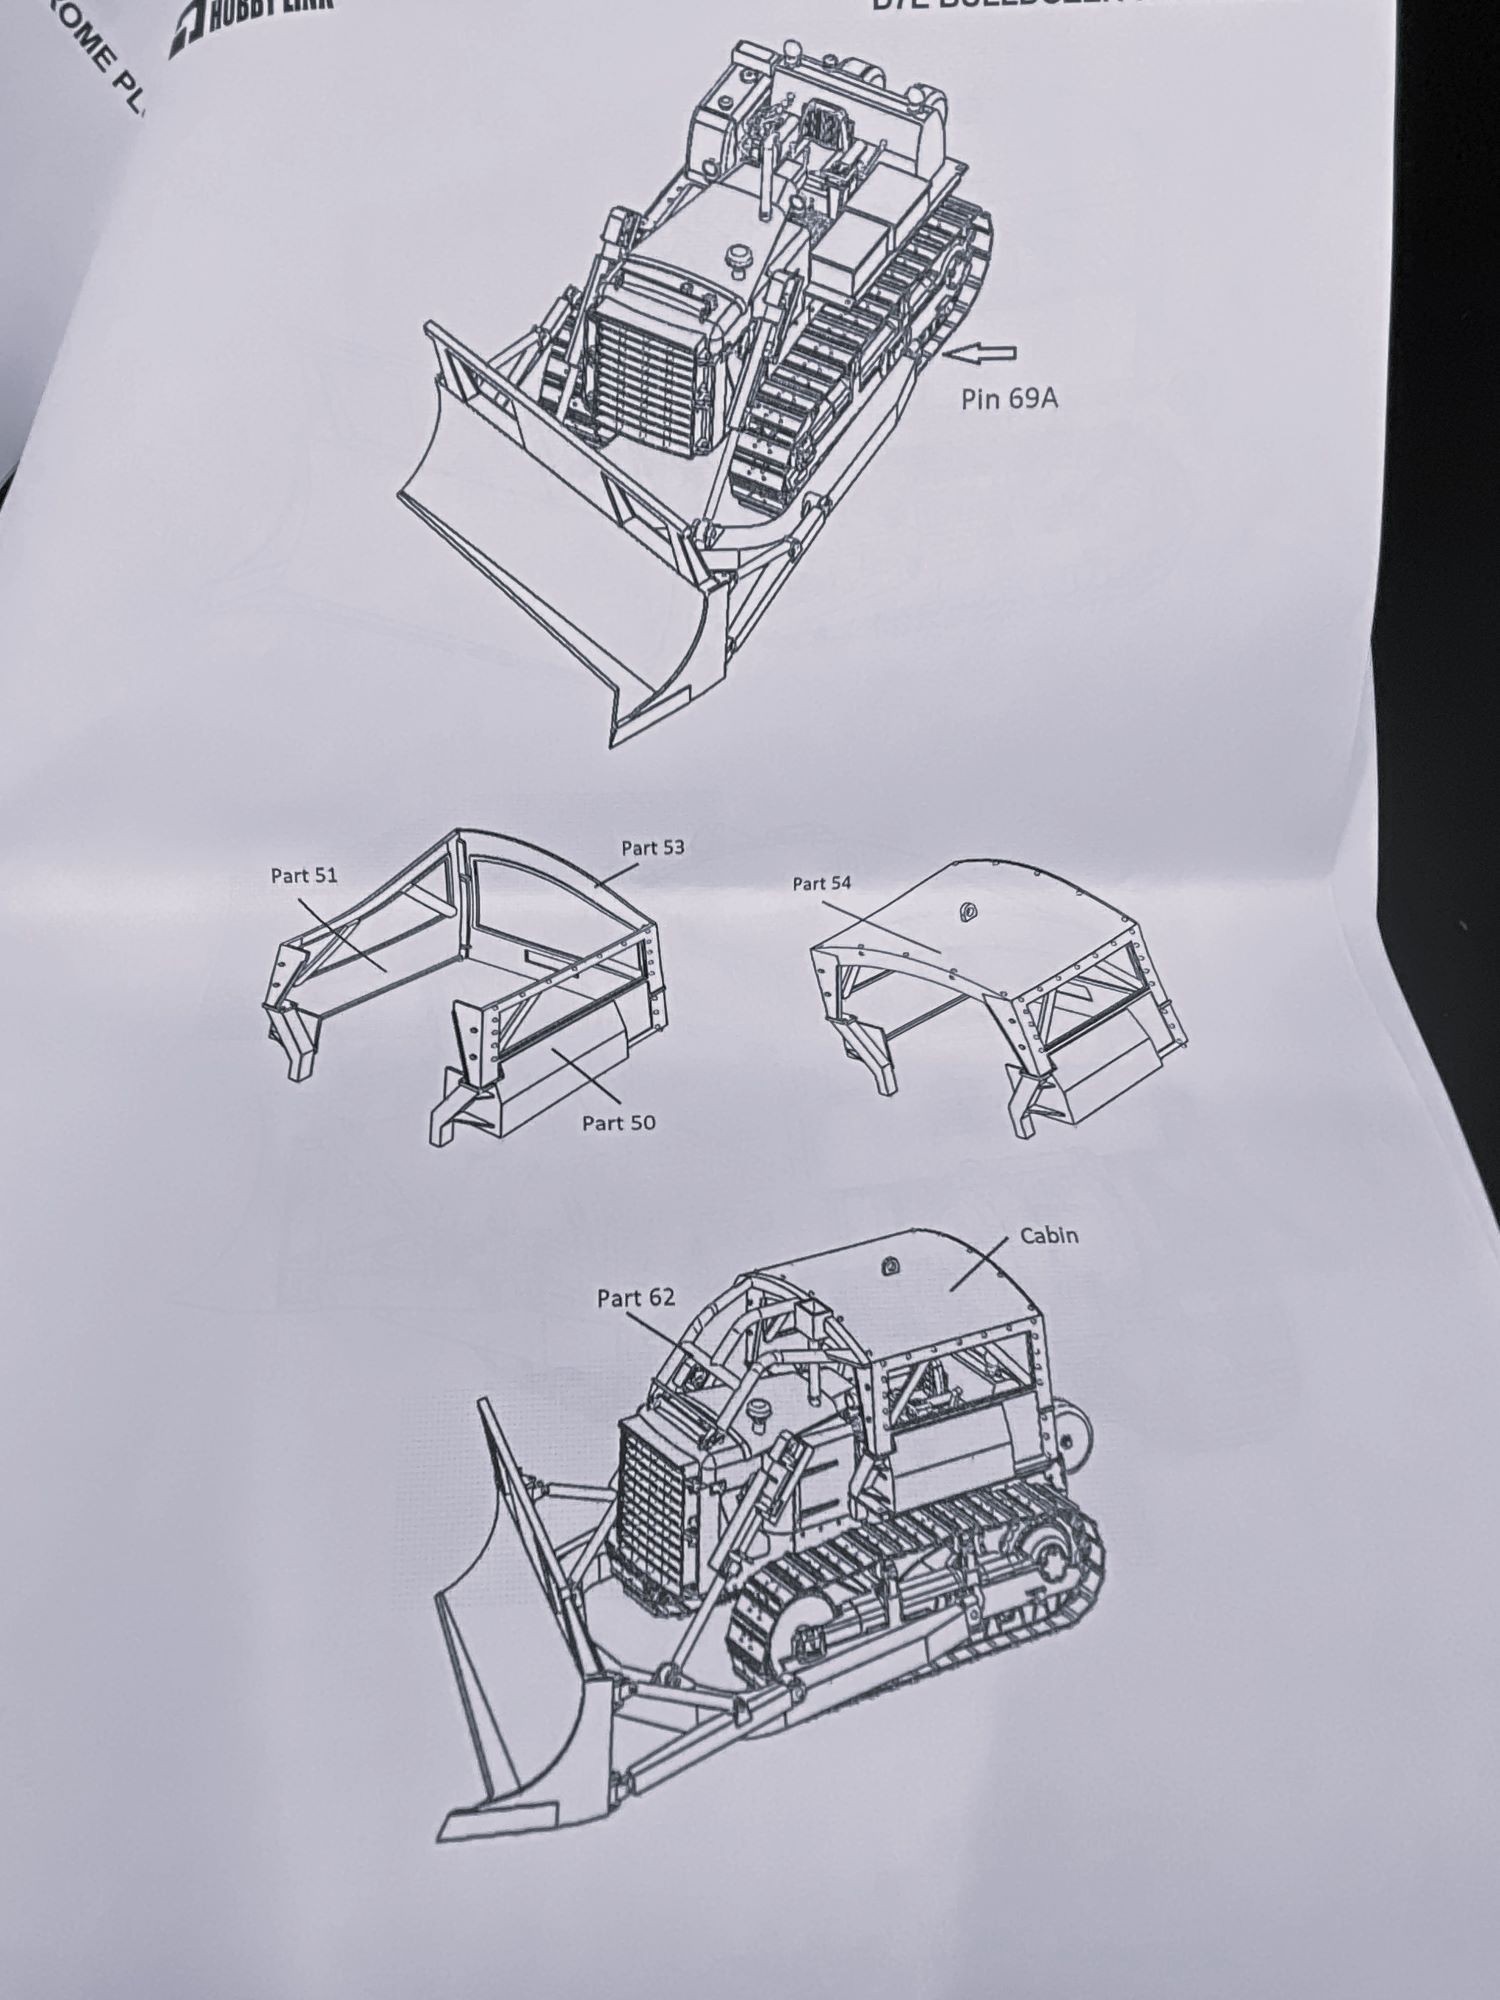
The kit directions are rather basic with a series of B&W line drawings showing the numbered parts and where they go. I had questions about the fit of the body, and a good handy photo reference would be suggested.
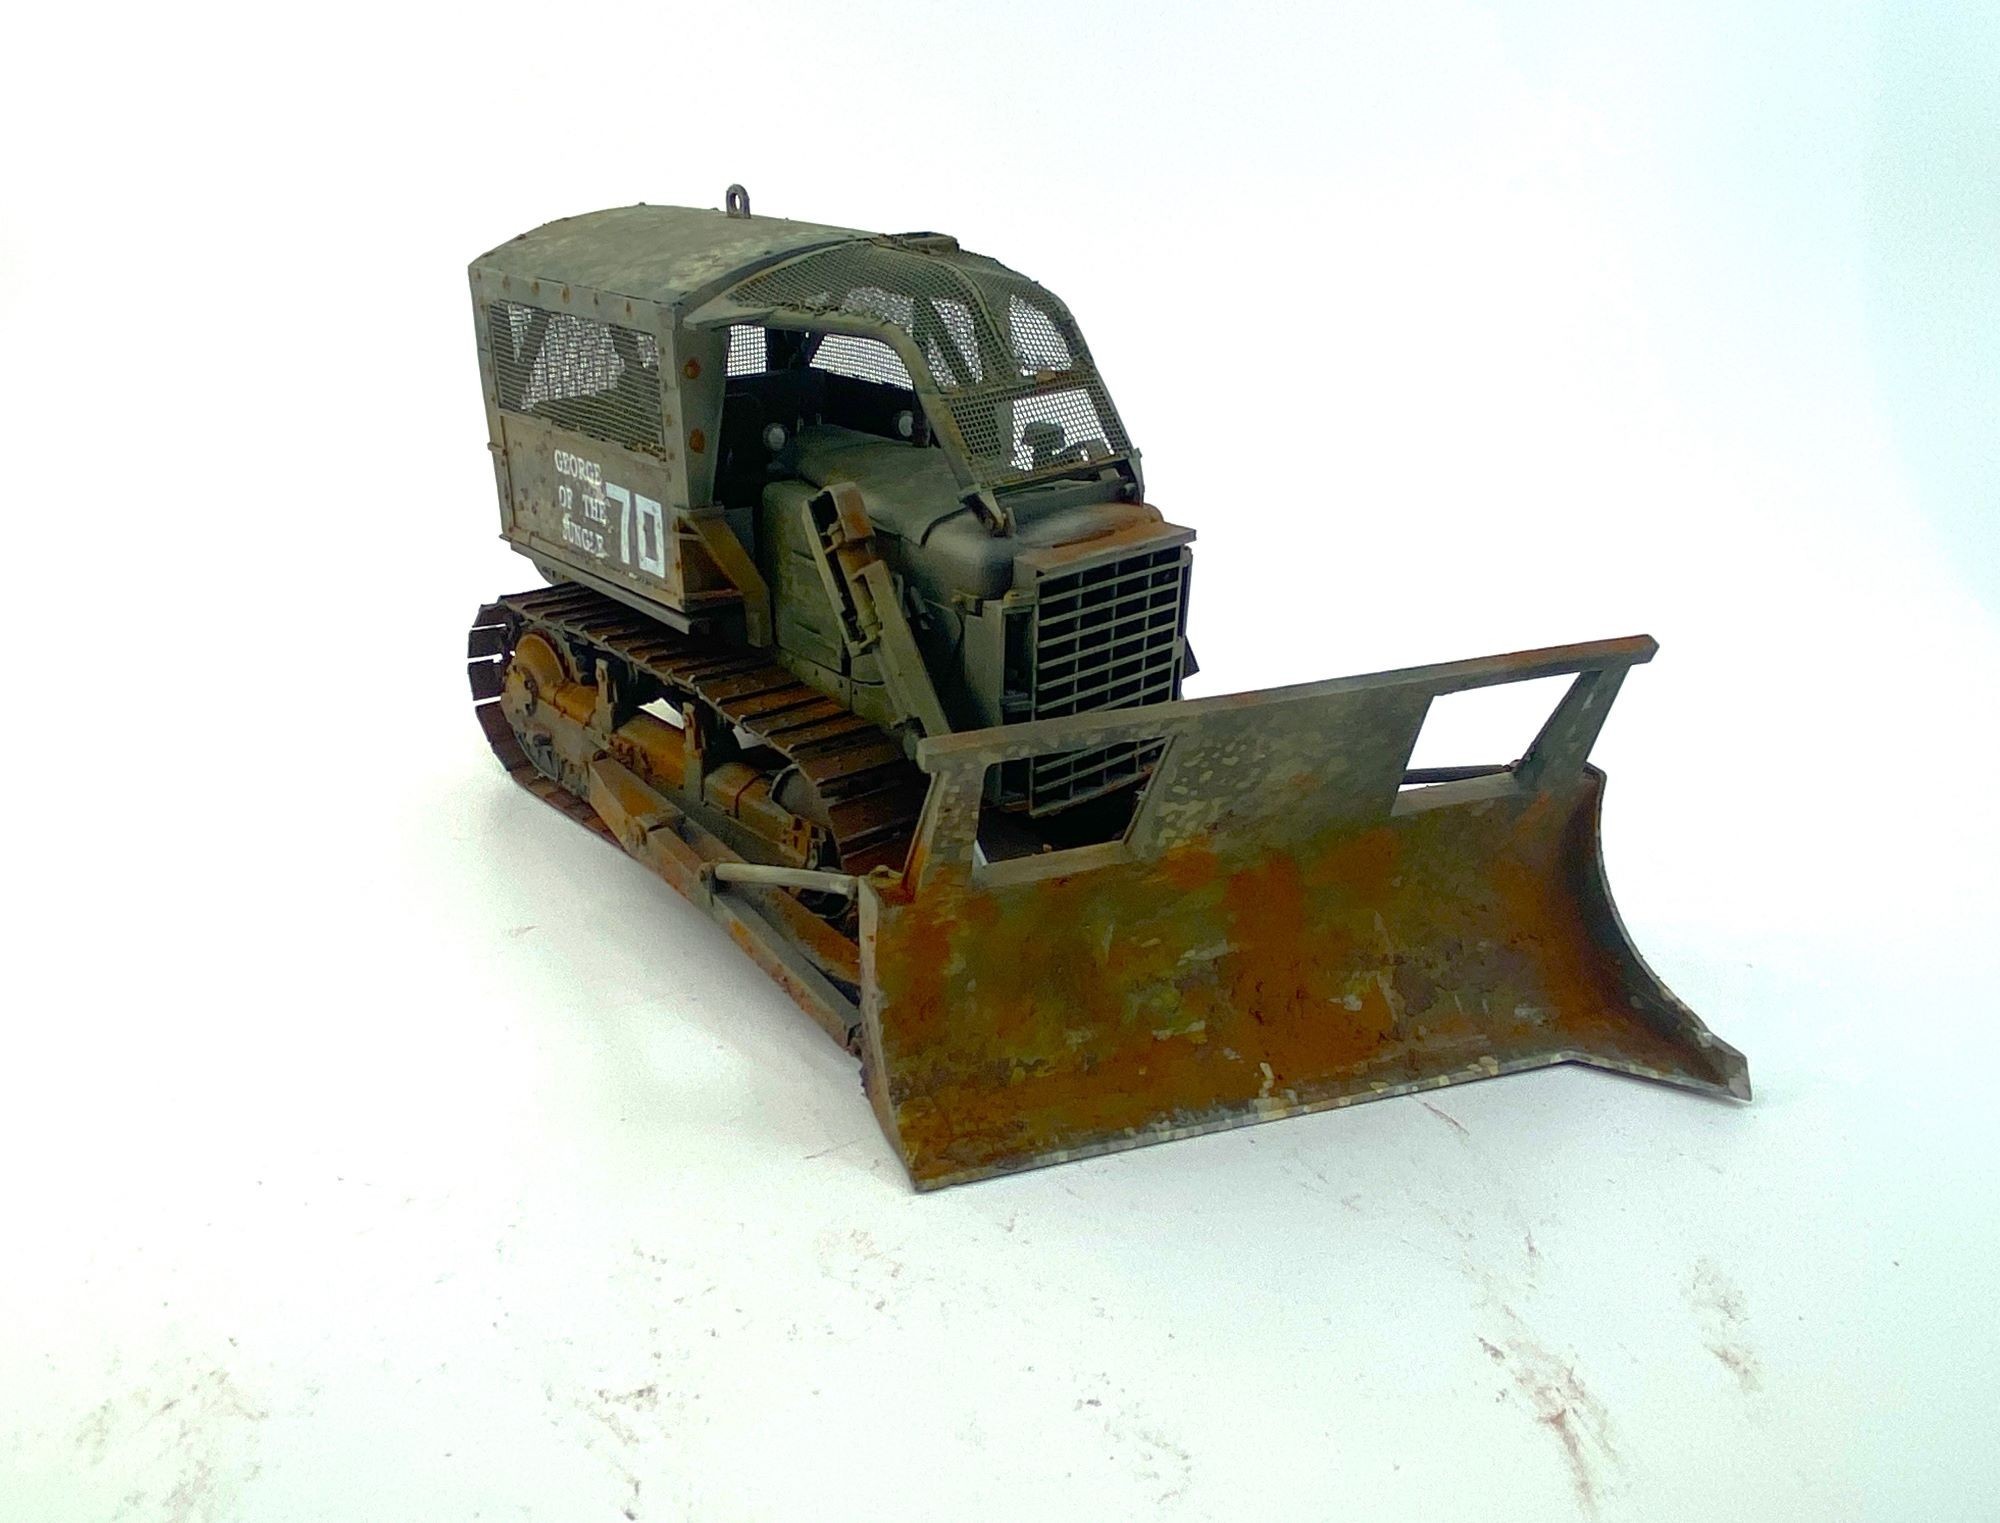
As you can see from the photos below of the finished vehicle, this is an outstanding addition to any 1/35th motor pool. I would definitely recommend purchasing this kit, and will be adding other Hobby Link items to my wish-list.
Conclusion
This is a beautiful kit that will challenge the skills of modelers, but will build up into something spectacular and unique.
You can see the completed model here.
Thanks to Hobby Link and Wanamaker Hobbies for this review sample. Be sure to mention you saw it reviewed here on Armorama when ordering your own.
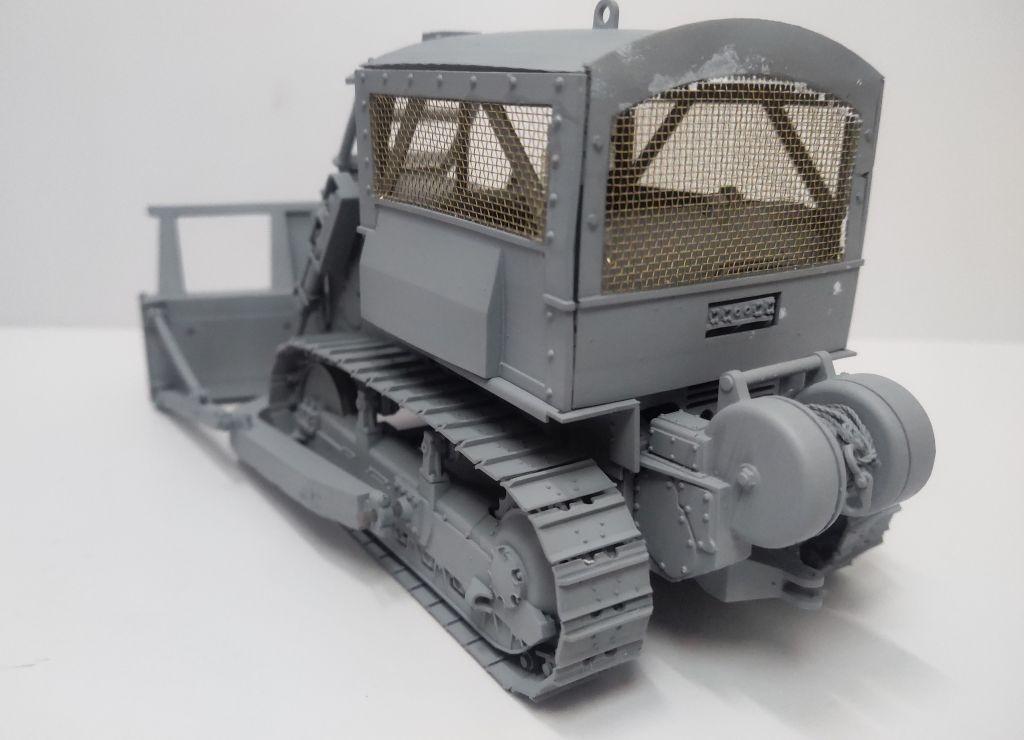

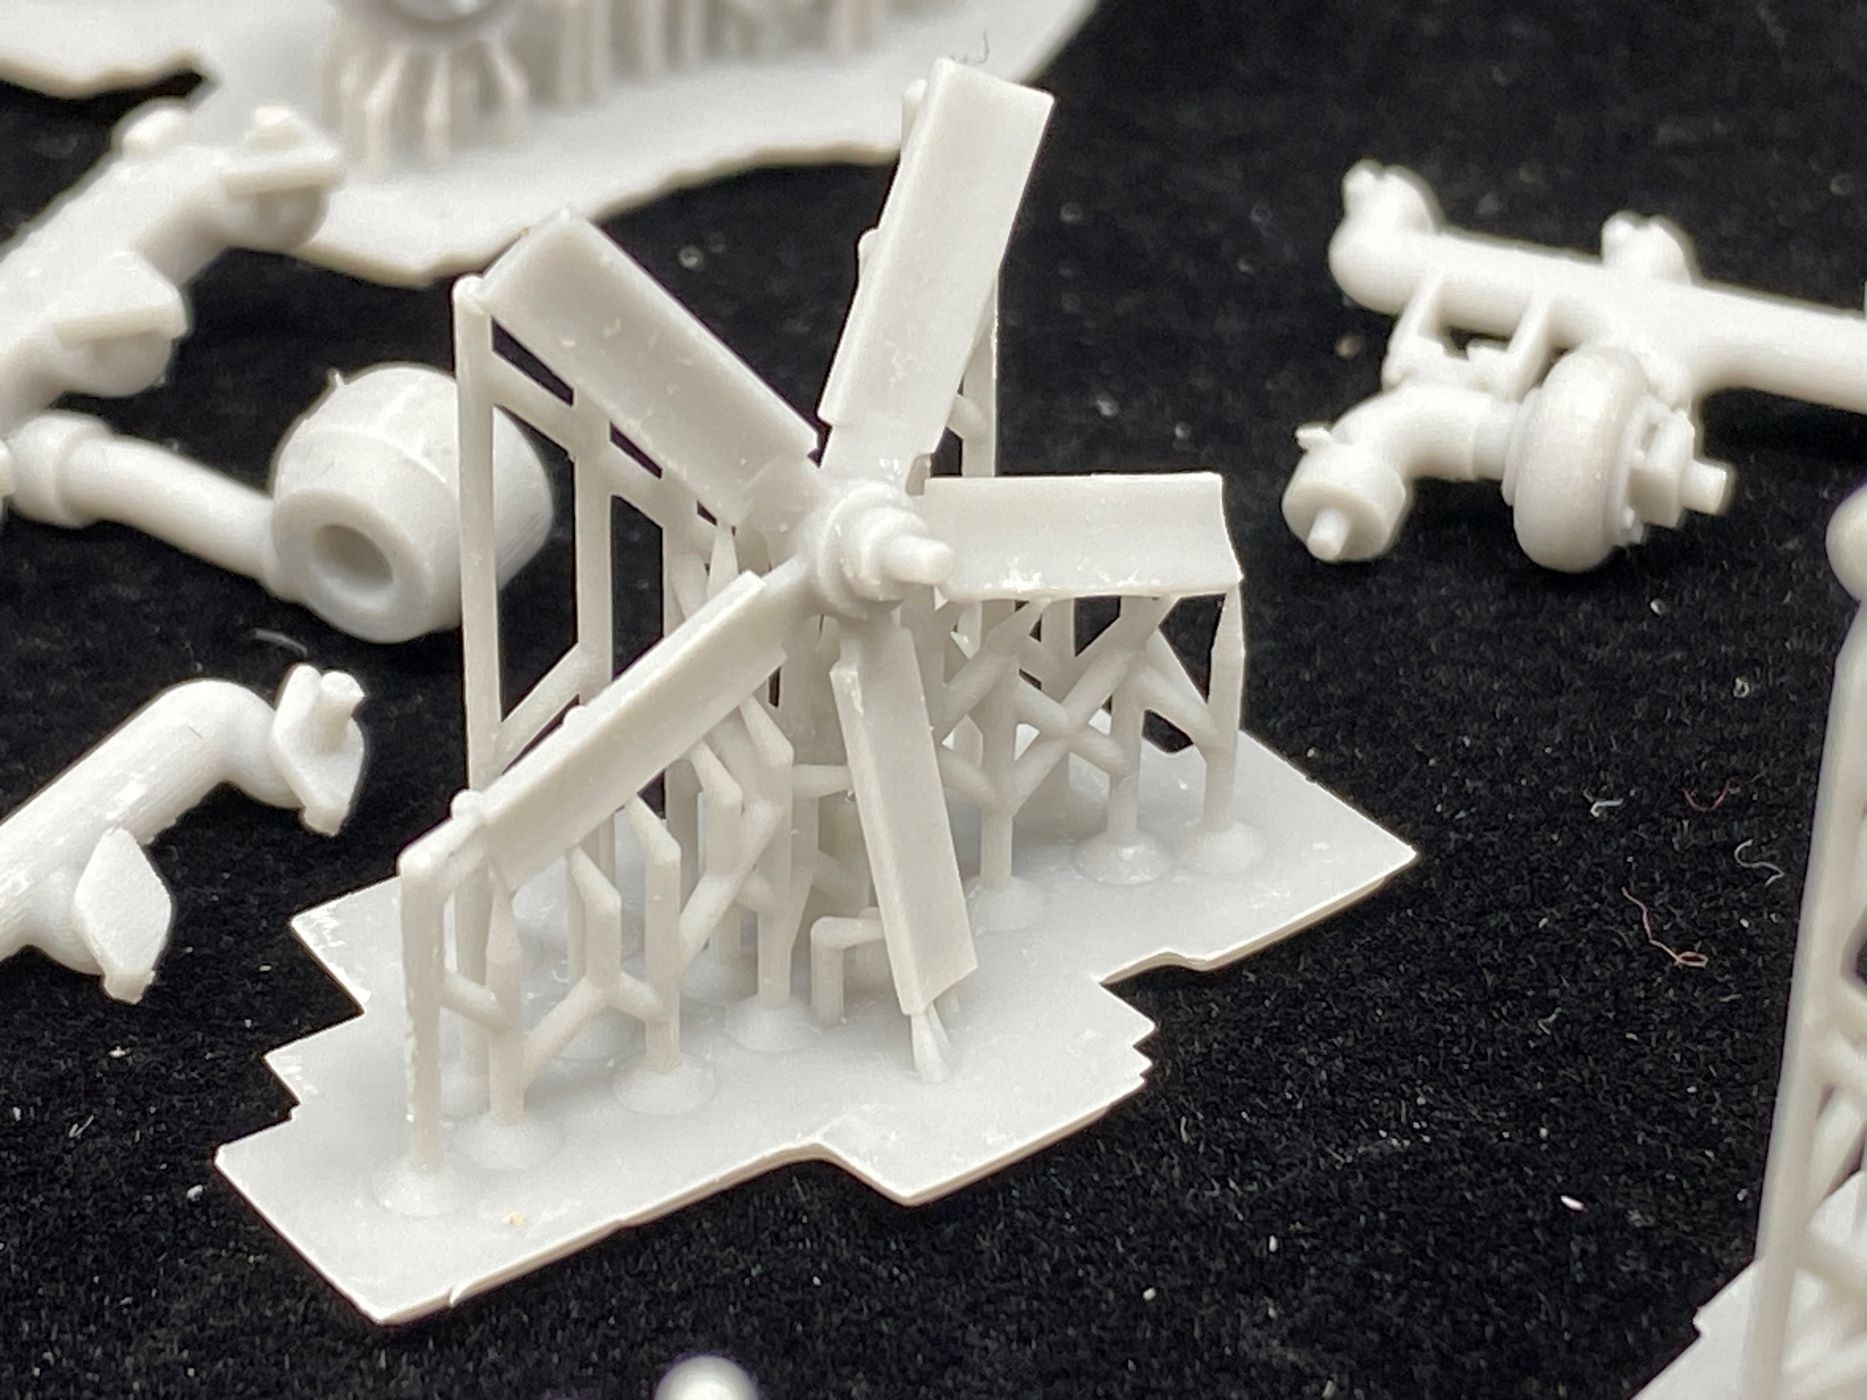
Notice the extra fan blades.