


A little kit that packs a punch.
Hey all. I just finished this fantastic little Stug III B kit from Tamiya. I've had it on the shelf for almost two years now and finally got up to building it. The build was relatively quick and much like all Tamiya kits, a pleasure to work with and ADD fun stuff to increase the interest in the model.
Tamiya might not always have the most "bling" in their kits, BUT you always know what you're getting. Simple. Usually stress free. And Fun to customize.
BUILD and CUSTOMIZATION:
It did it mainly OTB with added metal Winterketten tracks. I have the T-REX as well, but man they are so much of a pain in the butt and I'm glad I had these metal ones for this kit. I had some great detailed open hub drive sprockets I forgot I ordered with the kit. Really nice detail. They are T-REX as well. All these new 3D printed stuff is such a change from 30 years ago.
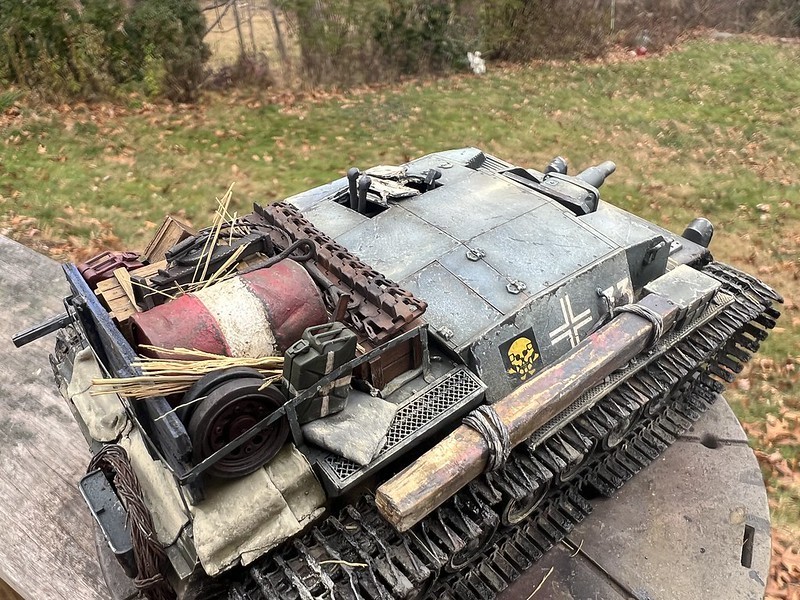
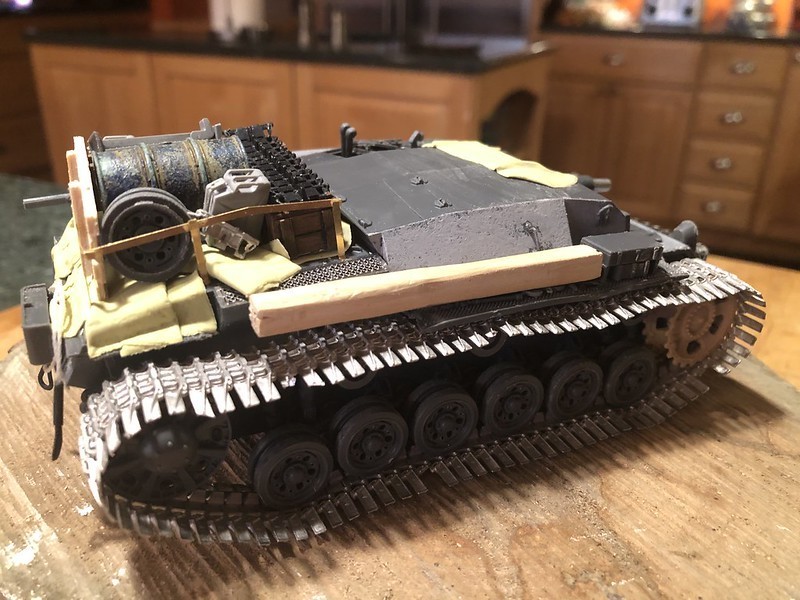
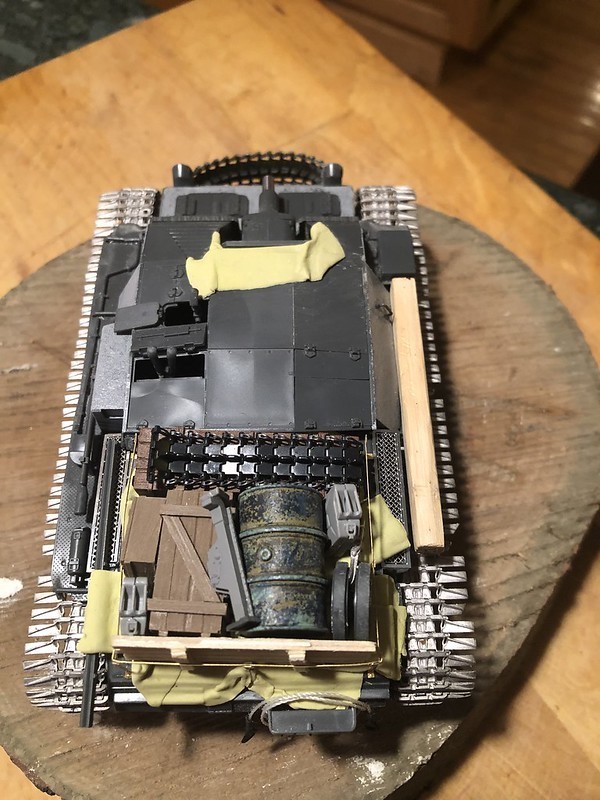
I did some added stowage with a PE bin, a ditching beam (that I whittled myself) and some added fun bits and bobs (for you Brits;) to make it interesting. The ditching beam is supposed to be stolen from someone's farm house as well as the fence posts, etc. Those sweethearts! But, something cool to focus on with the build. I actually had all the PE to add onto this, but it's been so long since I've modeled that I didn't want to take months to get this bad boy up and running, so I kept it simple and fun and spent more time invested in the painting and weathering.
Below are some pics of the build before painting and weathering, and then the finished unit below.
PAINTING and WEATHERING:
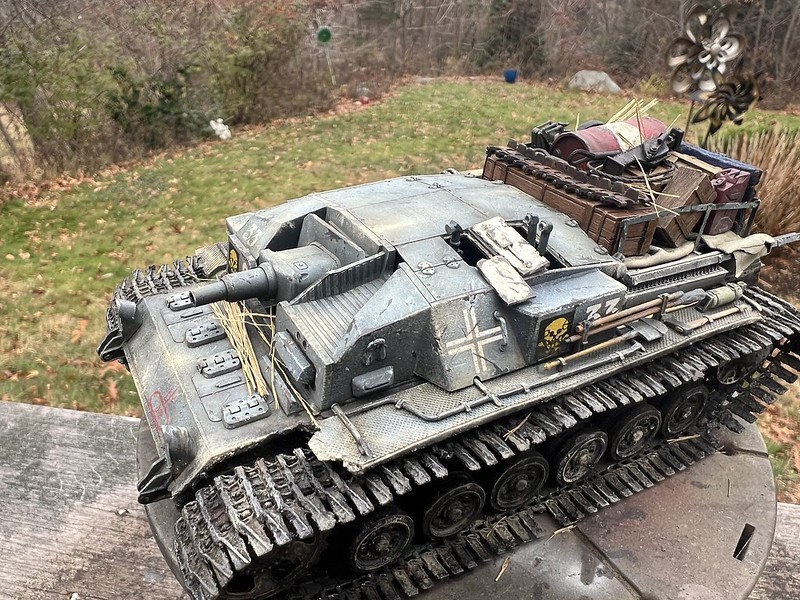
I primed it black and then started the slow build up of color and gradients with a light grey/blue/deck tan. Probably three to four layers of color and then a blue wash to bring out the color. I did quite a bit of dry brushing to get the highlights to pop and begin the chipping process. In the past I usually use acrylics for the lighter chips. But, for this model I used oils. Buff. Off white. It really worked well and so much easier to control and reposition if you make a mistake.
As far as weathering, I was going to do a winter whitewash, but I really liked the grey blue so much I left it as is. Glad I did. I think the white wash tends to really dull the model and the panzer grey is such a cool and interesting thing to try to paint and weather. I used an industrial earth wash, with sepia oil, as well as Mr Weathering muds. The colors always come out different than the color they look in the jar, so I had to add some oils to change hue and saturation to get the effect I was looking for.
Panzer Grey is always one of the hot topics and points of issues for us modelers. Is it grey? Is it blue? Is it dark? Light? Almost black? In reality, it is I think very dark, almost black/blue. But as a modeler, if we paint our small little tanks like that they will have ZERO interest and life. It's our job to increase the contrast, saturation, highlight and shadow to make these palm size subject actually look real. I kept my base coats thin and very light. As I weathered, it of course darkened and started changing the saturation, hue, and tone. The lighter work allows the other things to really pop more when you continue with the work.
Enjoy the Pics below.
Well, that's it for this one. I still have a few things I may add, but in all I am moving onto some other kits on the bench.
This may be one of my favorites I've done in the past 35+ years of this love affair. Tamiya was my first kit and always a staple in my arsenal. I'd have to say that this kit however is one of my favorites from Tamiya. Clean. Simple. Fun.
Like many modelers, I live a "stug life" and have always loved the Stug as a subject. Especially the B. Hope you like it. And if you don't....well, I love you anyway.
Cheers!
Graeme Street
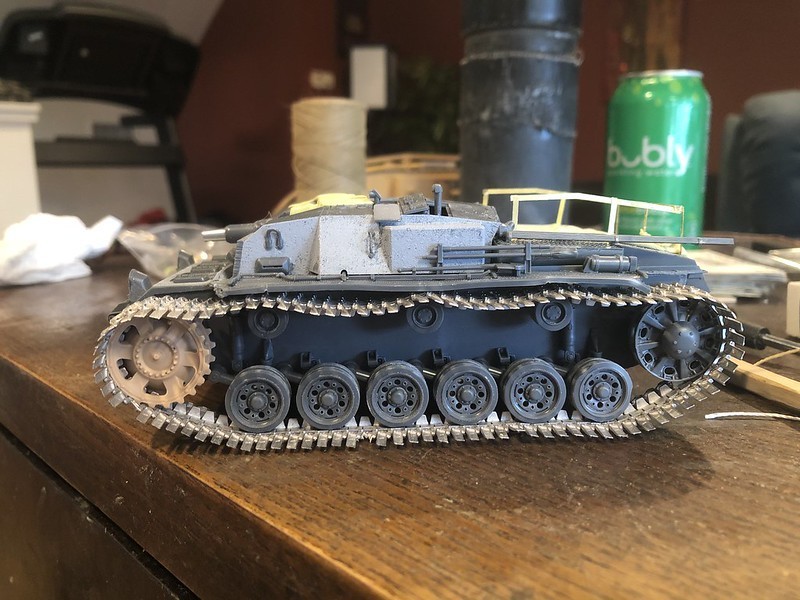
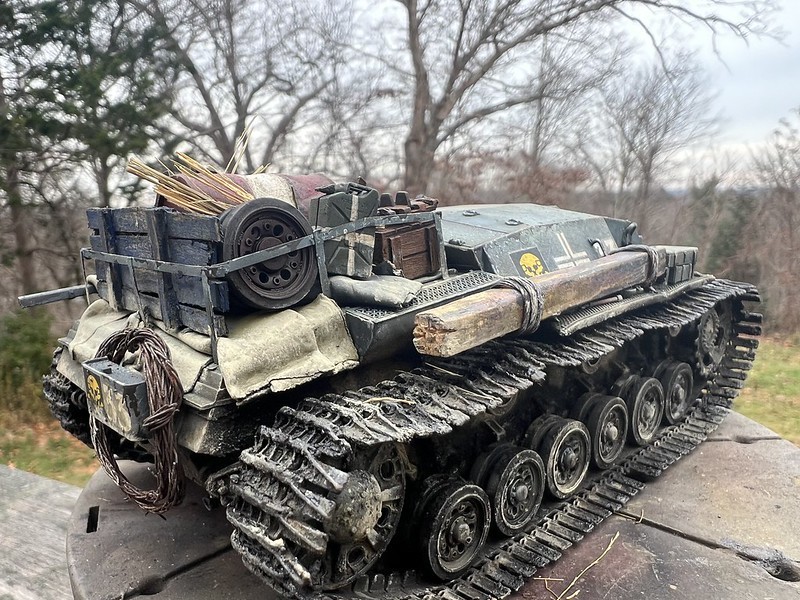
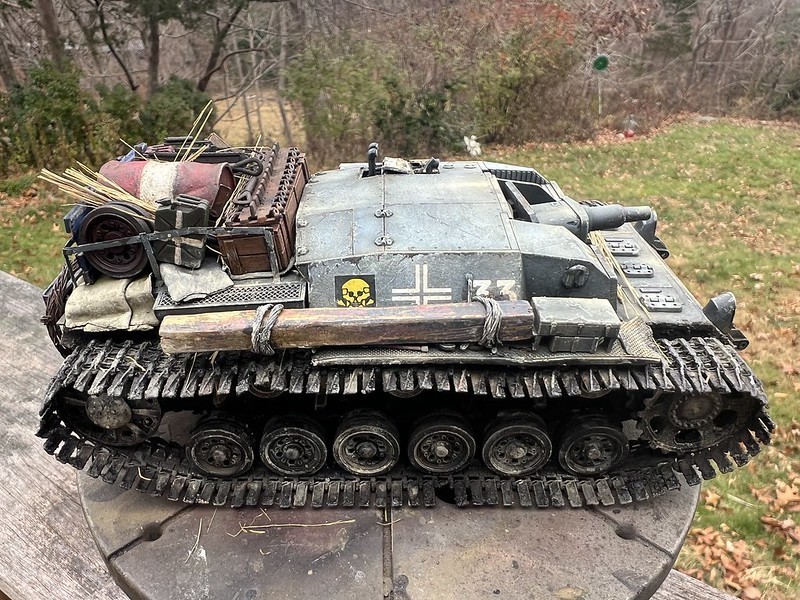
The tracks are the highlight of the kit if you ask me. It makes it look like some kind of spider or armored turtle. Stout and brutish! The low profile of the Stug is awesome as it is, but WIDEN those tracks and now she's really cool!!
Stowage is a must on a stug. Lots of aftermarkets out there. Or make your own.
Chipping and mapping with oils and acrylics.
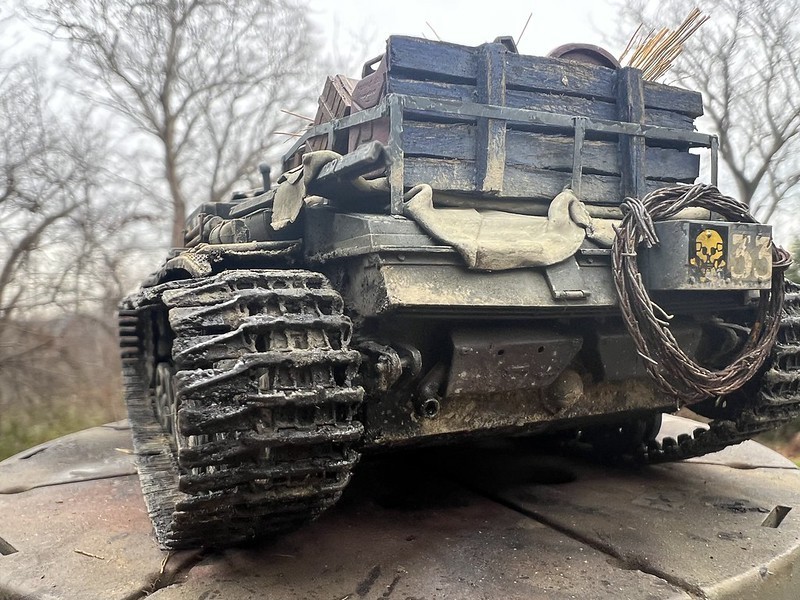
Milliput for the blankets. Whittled branch for the beam. Yah, go on...whittle a little.
Excellent decals in this Tamiya kit. Three color options.
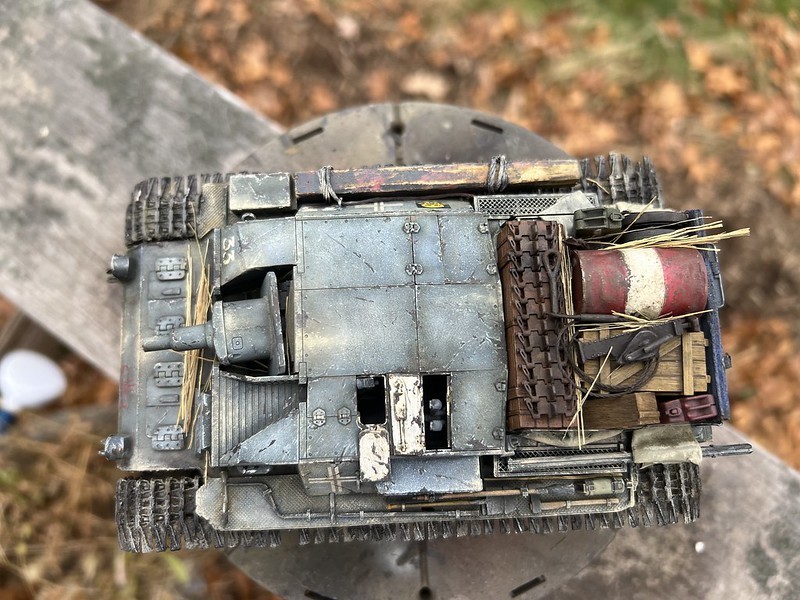
The wooden beam and barrel are my favorite parts of the build. Be creative and think outside the confines of the kit to make it your own.
The wheat grass is a nice touch of color and texture. Simple and easy to do for anyone.

Some color and creative stowage is always a great fit on any model, especially a stug.
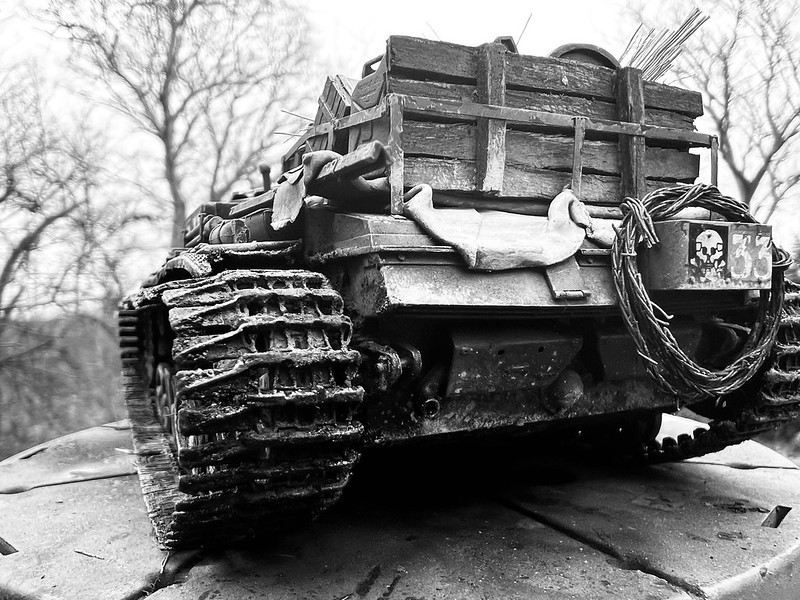
B&W is a great way to capture the actual feel of the model.
Hope you enjoyed it and happy modeling!