


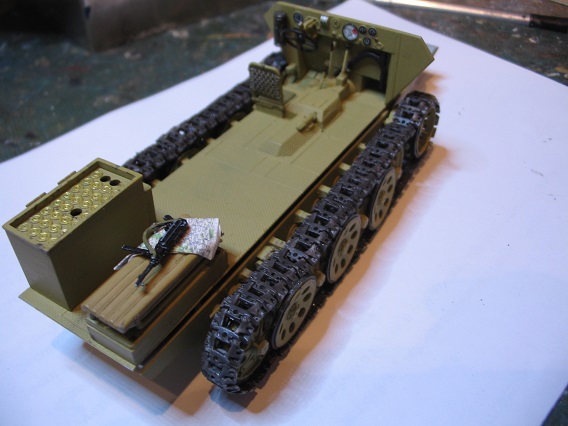
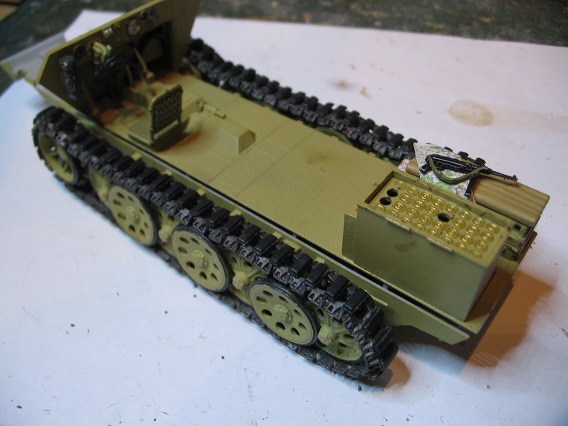
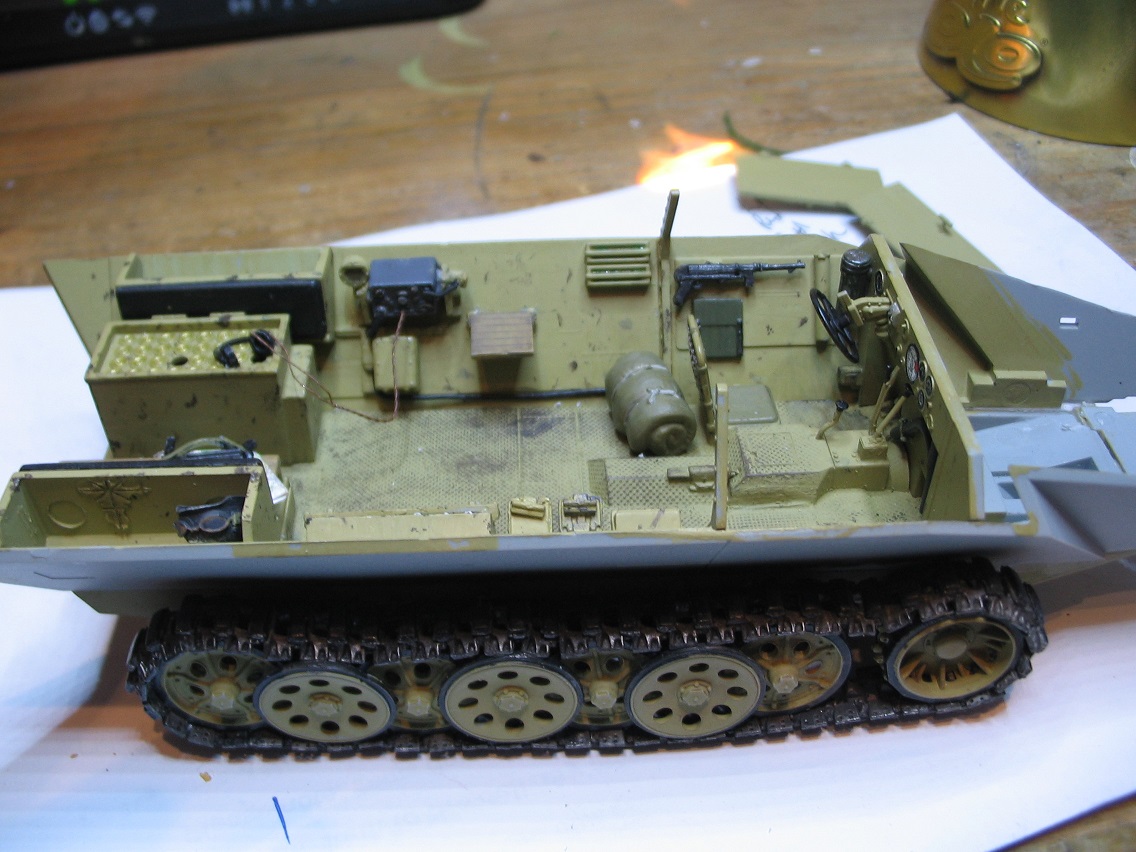
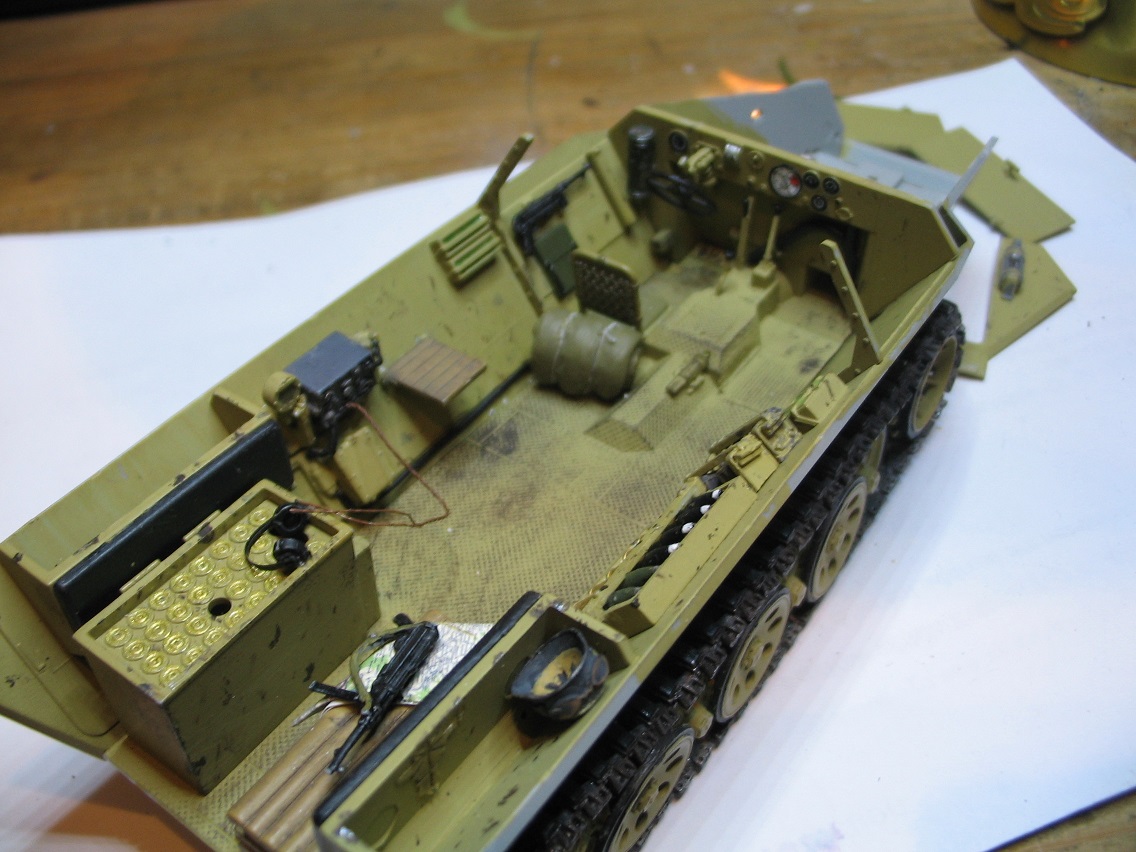
I got some more work done this weekend and was going to call this one done

However I think I need to weather the tracks, wheels and undercarriage a bit more


Other wise comments and suggestions are always appreciated


Very nice vehicle, Sal, it looks great! Super paint job!


 windows 7 screenshotcertificity.com
 image urlcertificity.com
 pic hostcertificity.com


Hi Chris coming along nicely. Those tracks look so much better than the Tamiya kit.

Give it to my wife for a few weeks and like every plant she ever owned, it will brown up...
Give it to my wife for a few weeks and like every plant she ever owned, it will brown up...


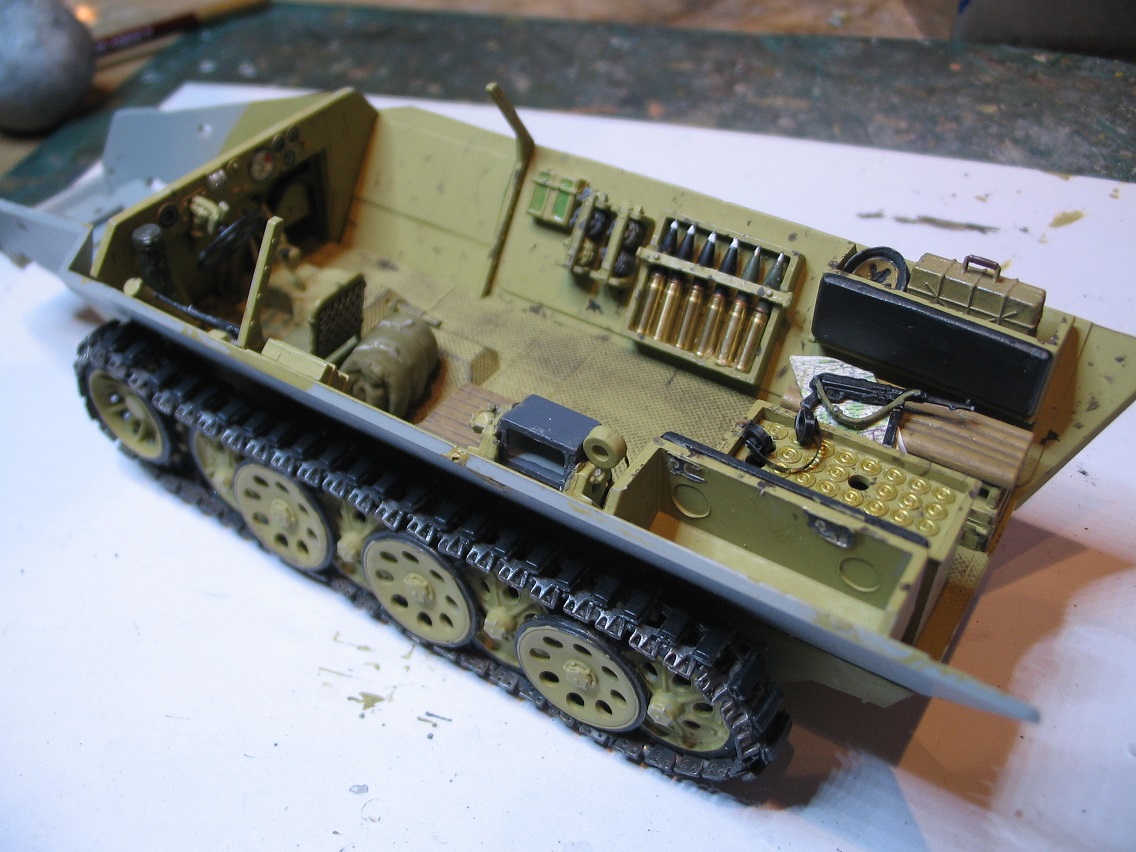
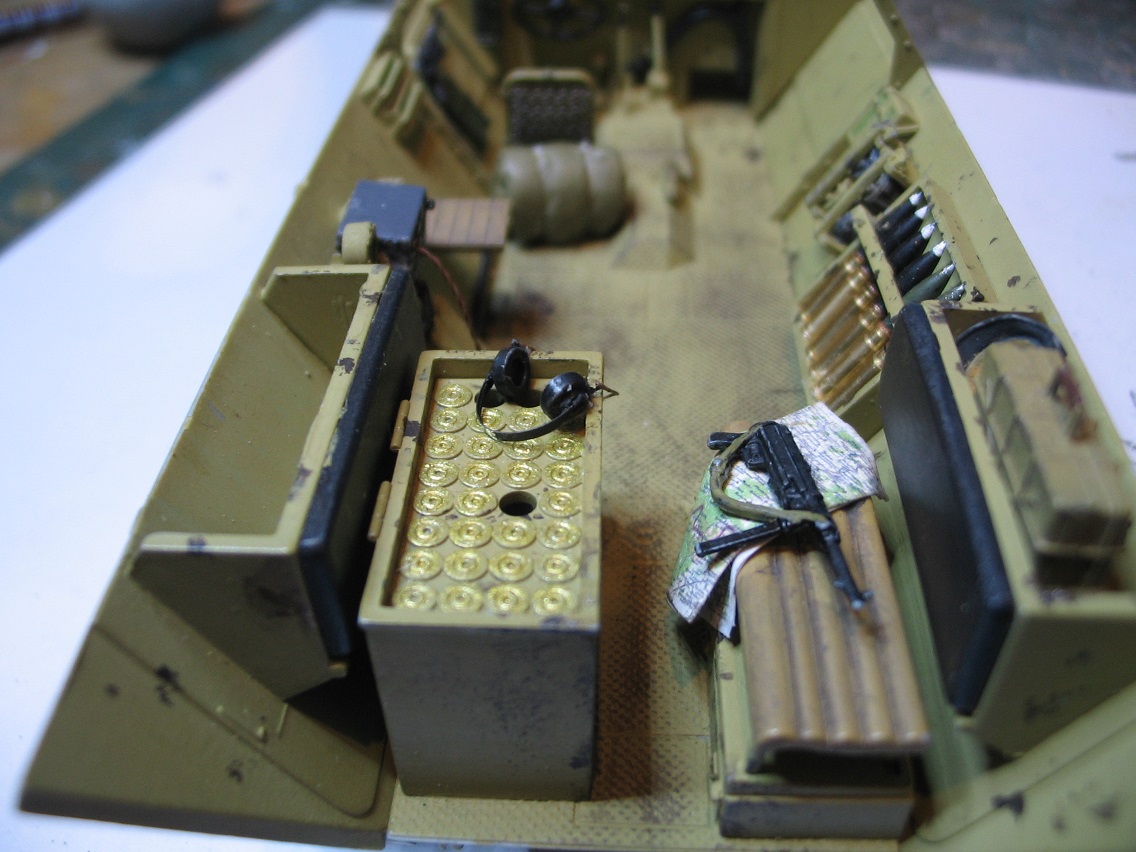
Hi Guys, I'm calling this one finished. Tamiya 1/35 M-21. I learned a great deal, tried some new techniques and materials with mixed results but that's how you progress.


I had to back out of my very first campaign guys. With some sickly parents and a house to run I simply have not time at the moment. Things seemed so hopeful at the beginning. I'll be watching at least. Carry on.
Quoted TextI had to back out of my very first campaign guys. With some sickly parents and a house to run I simply have not time at the moment. Things seemed so hopeful at the beginning. I'll be watching at least. Carry on.
Sorry to hear that, Bob. I hope everything works out okay and you can get back to some relaxing time.
 |


