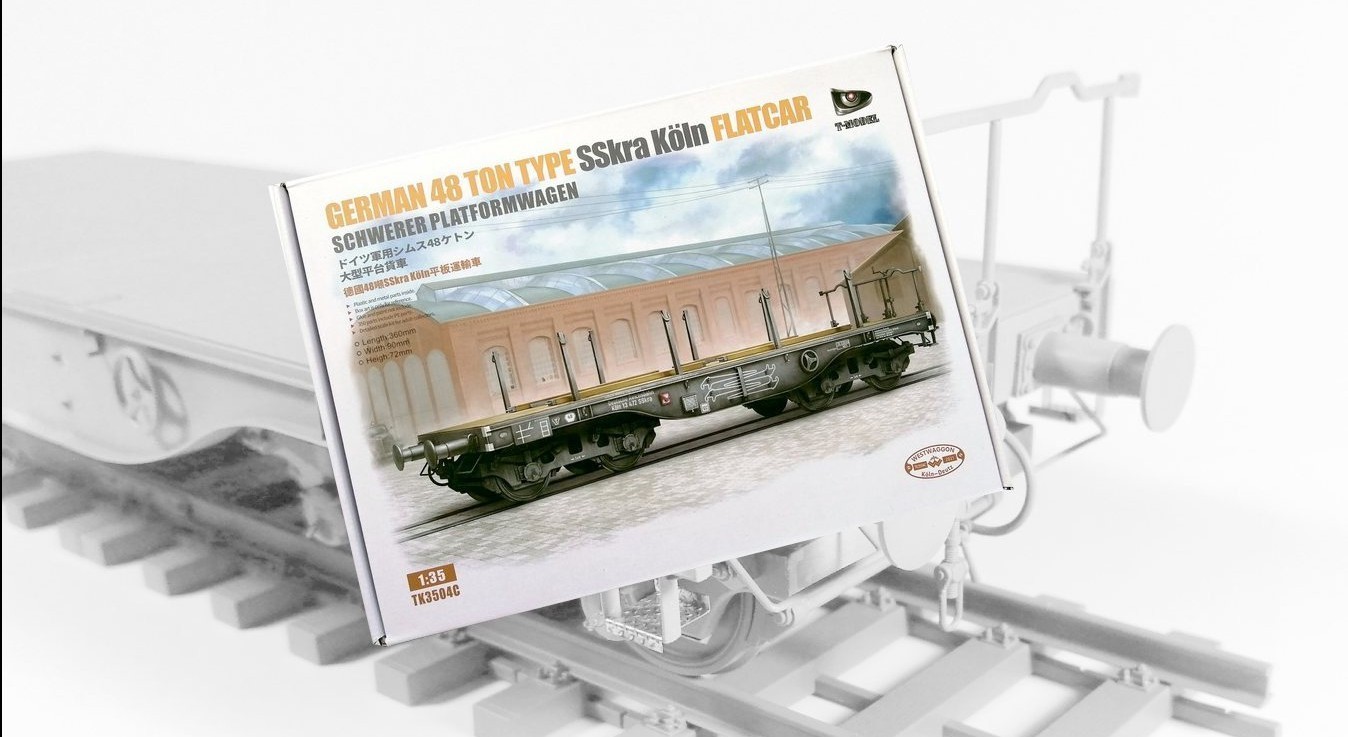
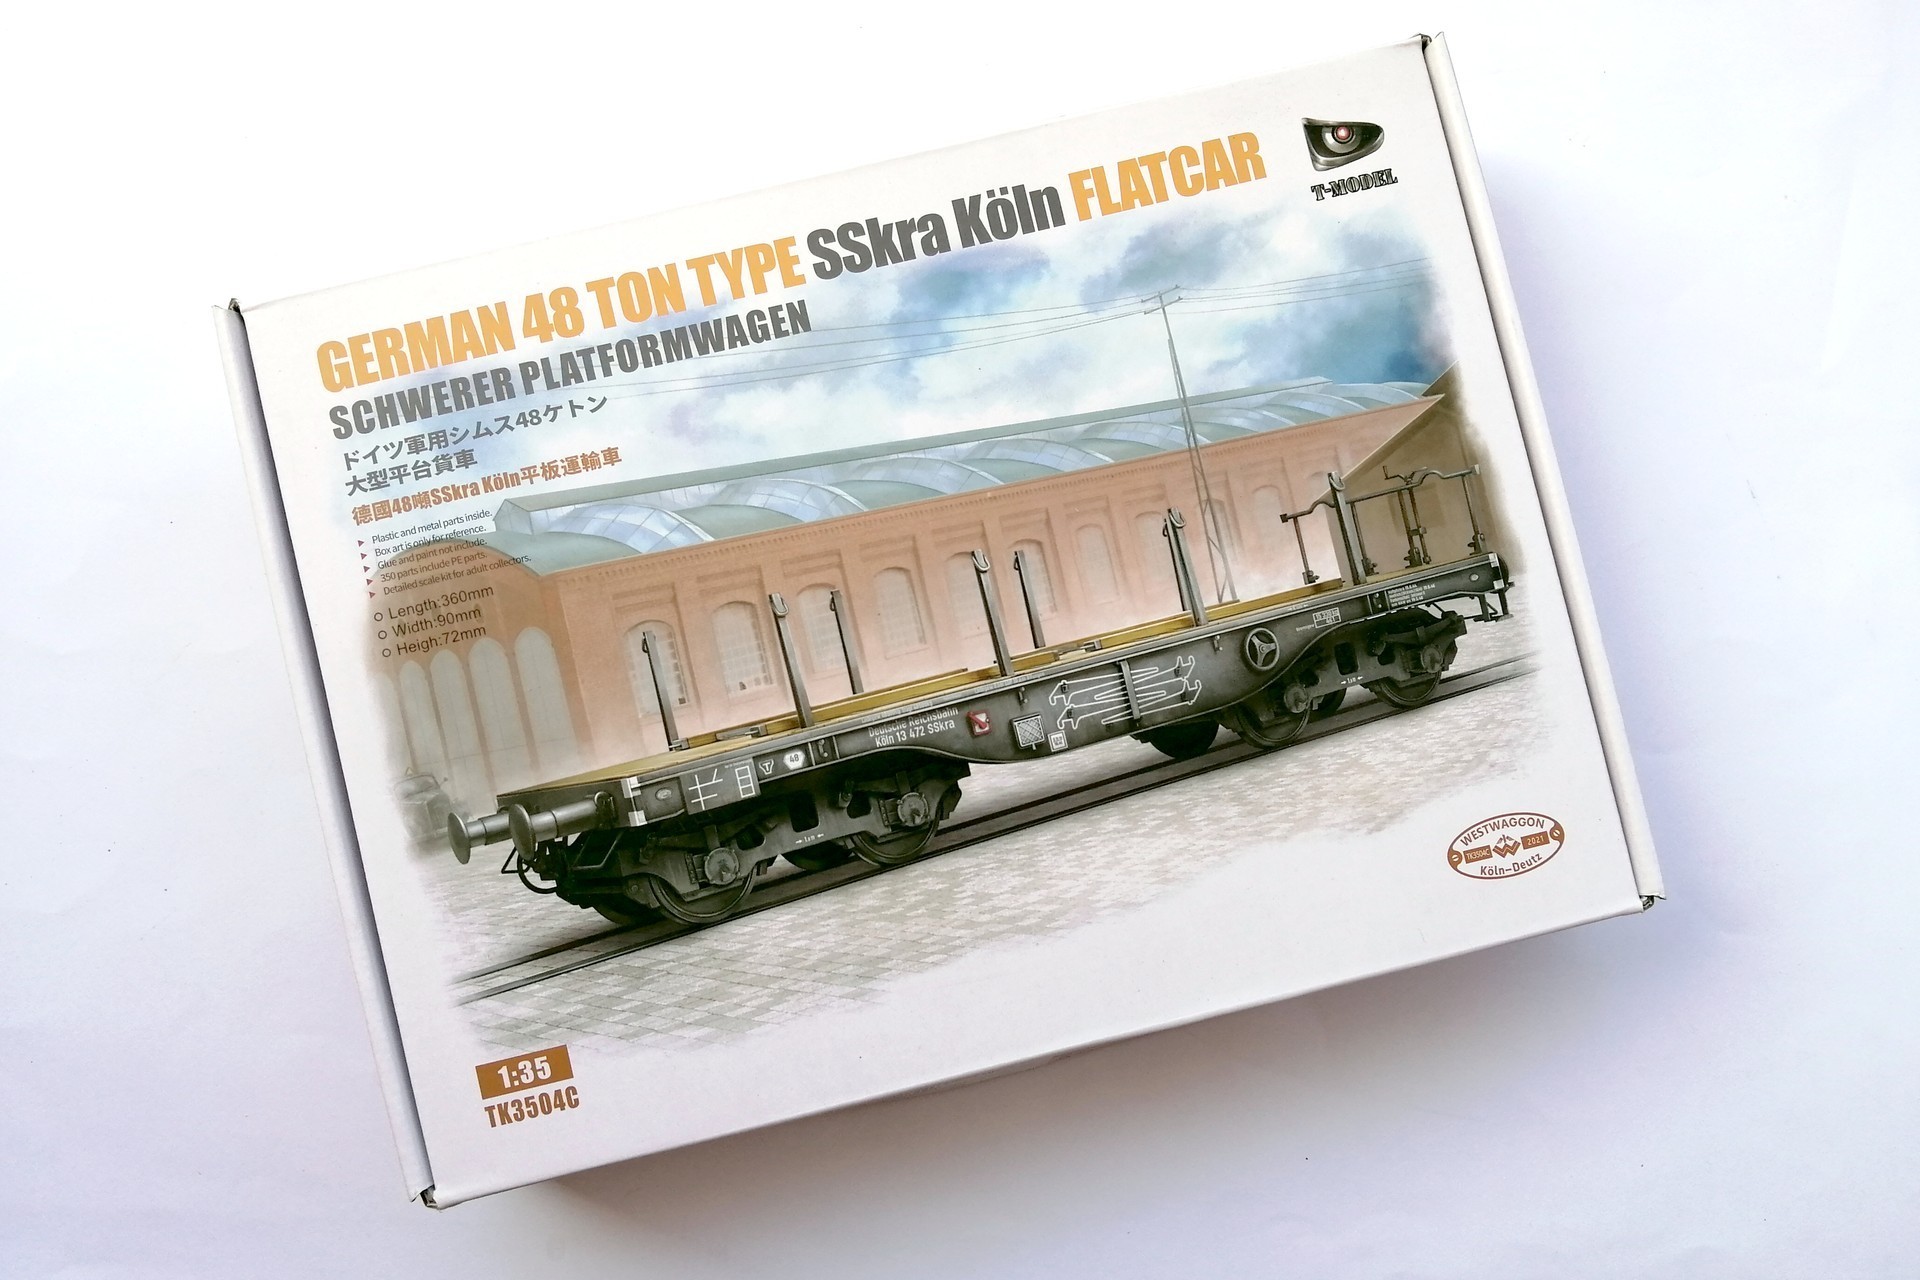
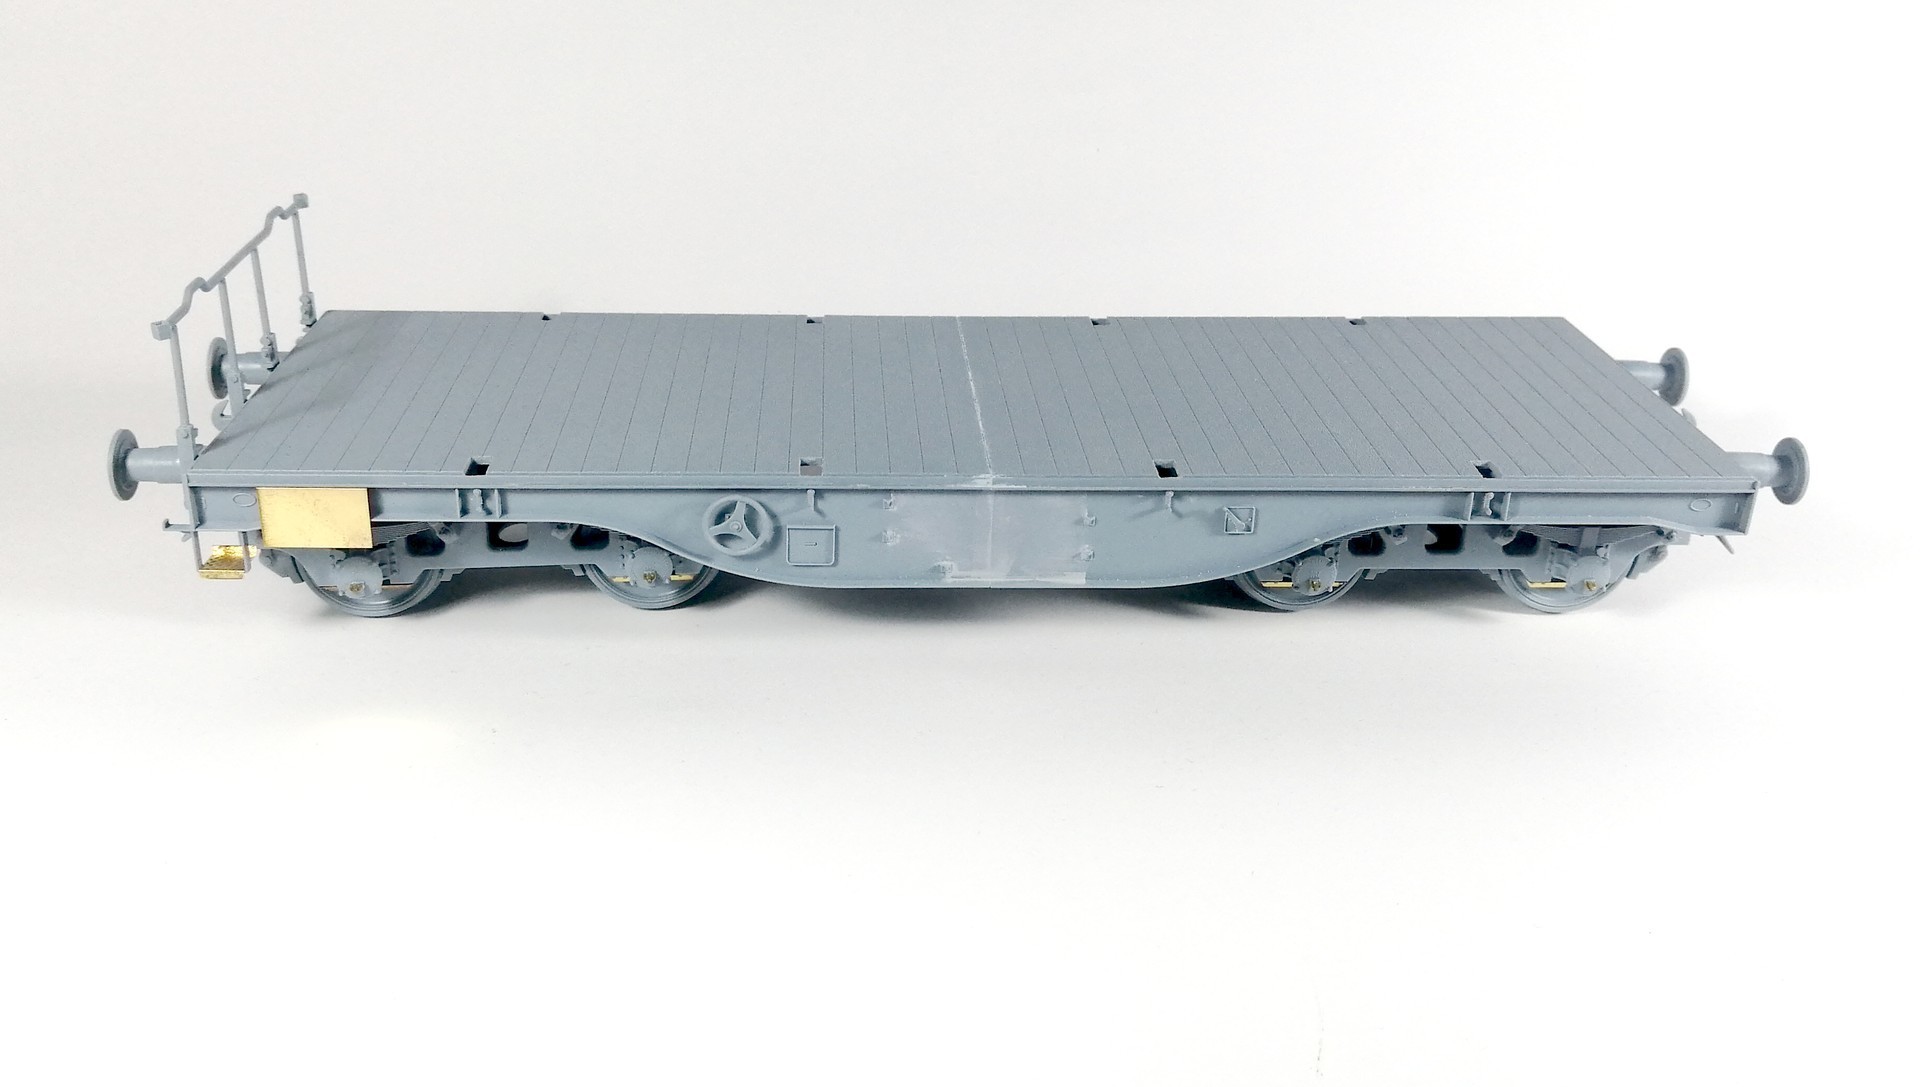
The SSkra was the first German heavy flatcar. Built by Westwaggen, it was rated to carry up to 48ton.
T-Model kit represents this flatcar with its characteristic shape at 1/35 scale, this review has been done with a sample provided by the manufacturer.
First Look
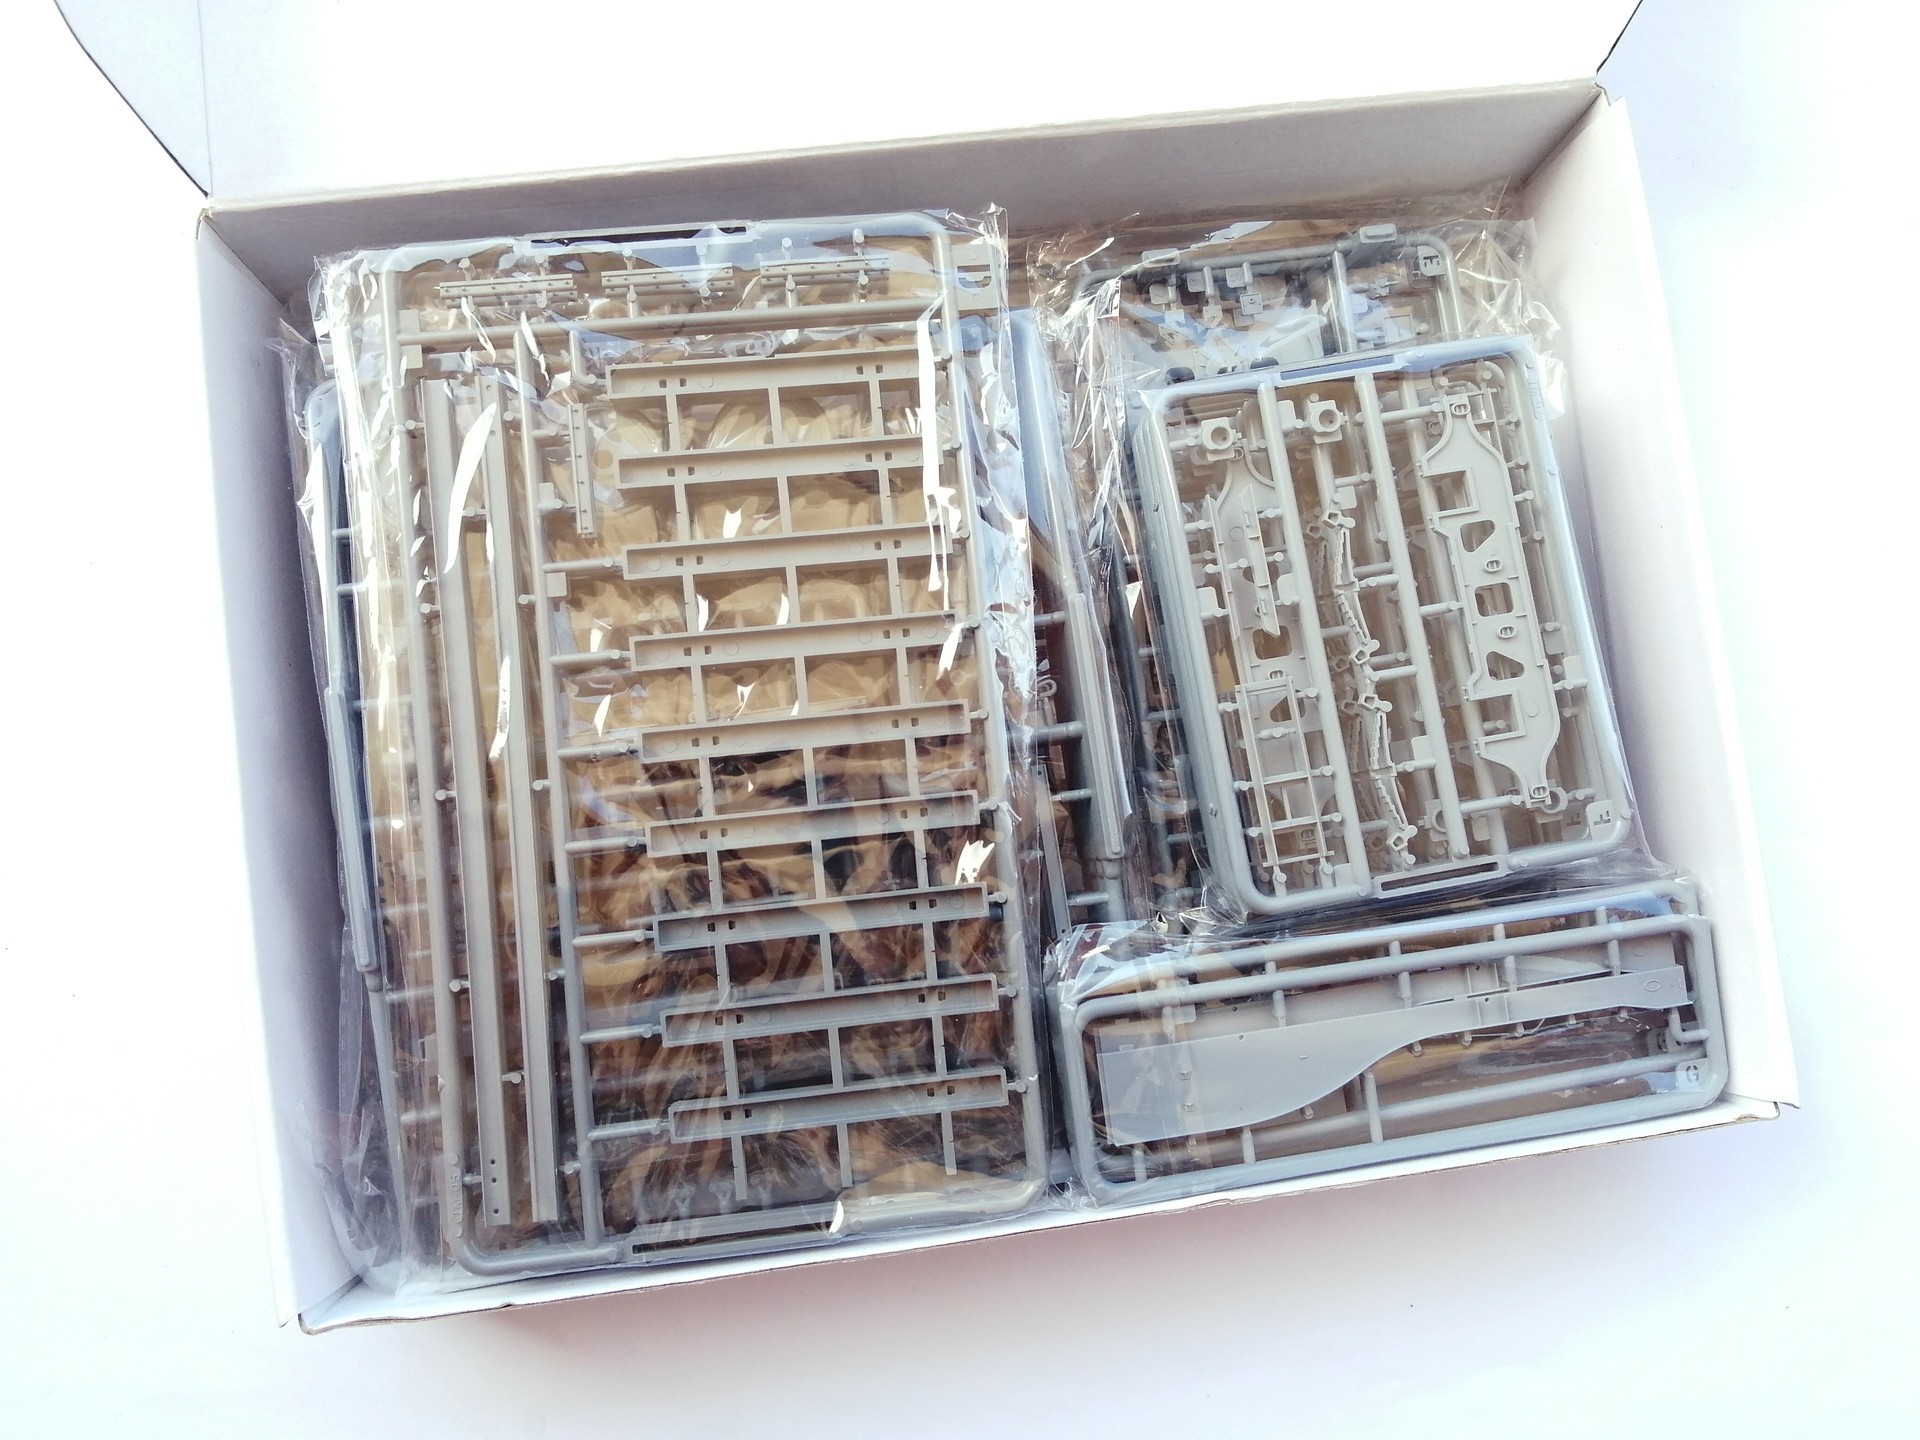
The kit comes in a rigid Roll End Tuck Top cardboard box, and apart from the plastic parts for the flatcar itself, it includes a photoetch fret, decals and a railway section.
Box is quite full of plastic, one of those that you struggle to put the sprues back and close it again. Fortunately, there are a couple of features that help protecting the parts against damage or lost. Apart from the good cardboard box, the sprues are stackable which allows some separation between them and prevents parts to crush. Additionally, they come in resealable plastic bags so even if some parts get loose, they will stay inside the bag.
Another interesting feature is that the letters identifying each sprue are large and hollow, thus easier to read and find.

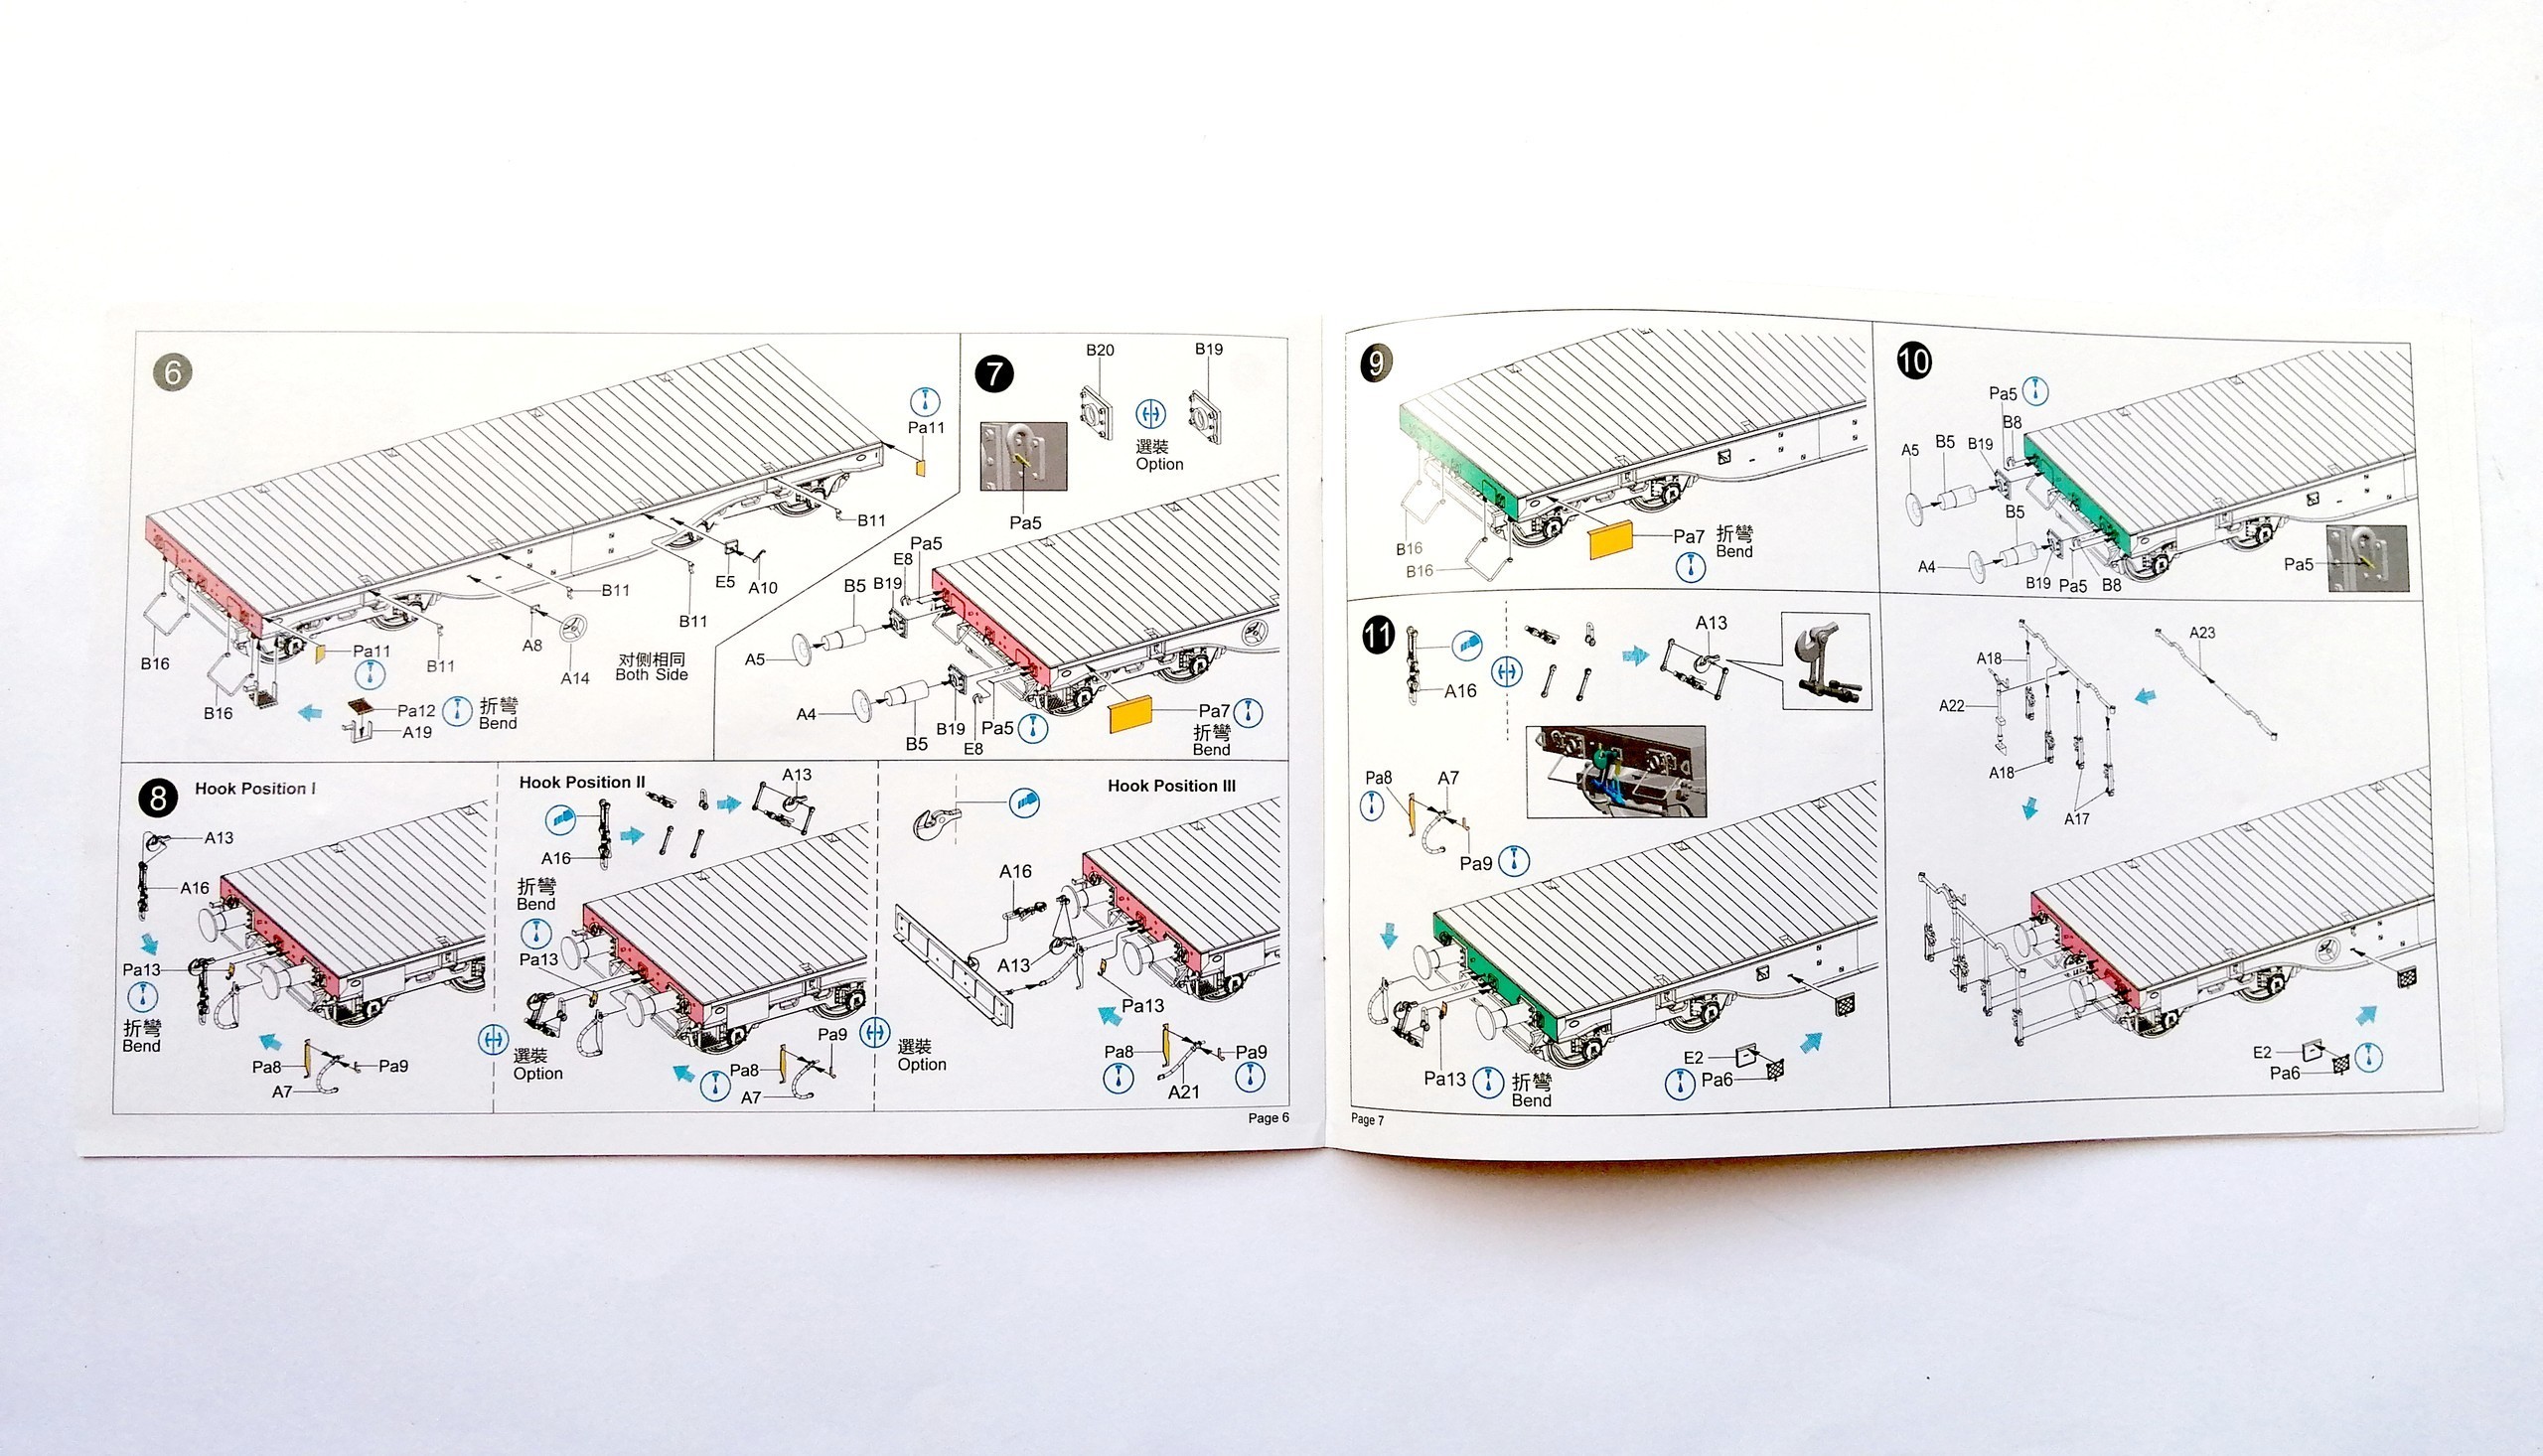
Instructions are large and clear, with color details to avoid confusion of similar parts.
Plastic is slightly soft, however it does not affect the crispness of parts. These are well defined and there is no flash. There are some mould seams, though. Many of them will be hidden after the kit is built, but it will be necessary to remove several of them. The gates are small and easy to remove, not too short. Whenever possible they have been positioned where less can be seen.
This kit reuses several sprues from the SSyms and SSys, so anyone who has built them can expect a very similar model. Due to this, there is a good number of unused parts that will increase the spare box. The photoetch has some spares for the smaller parts, a nice touch considering how easy they can fly and get lost.
Assembly
The fit of the parts is good, without gaps. Although the instructions are clear and the kit can be built just by following them, in my opinion there are a few changes in order that would make it easier.
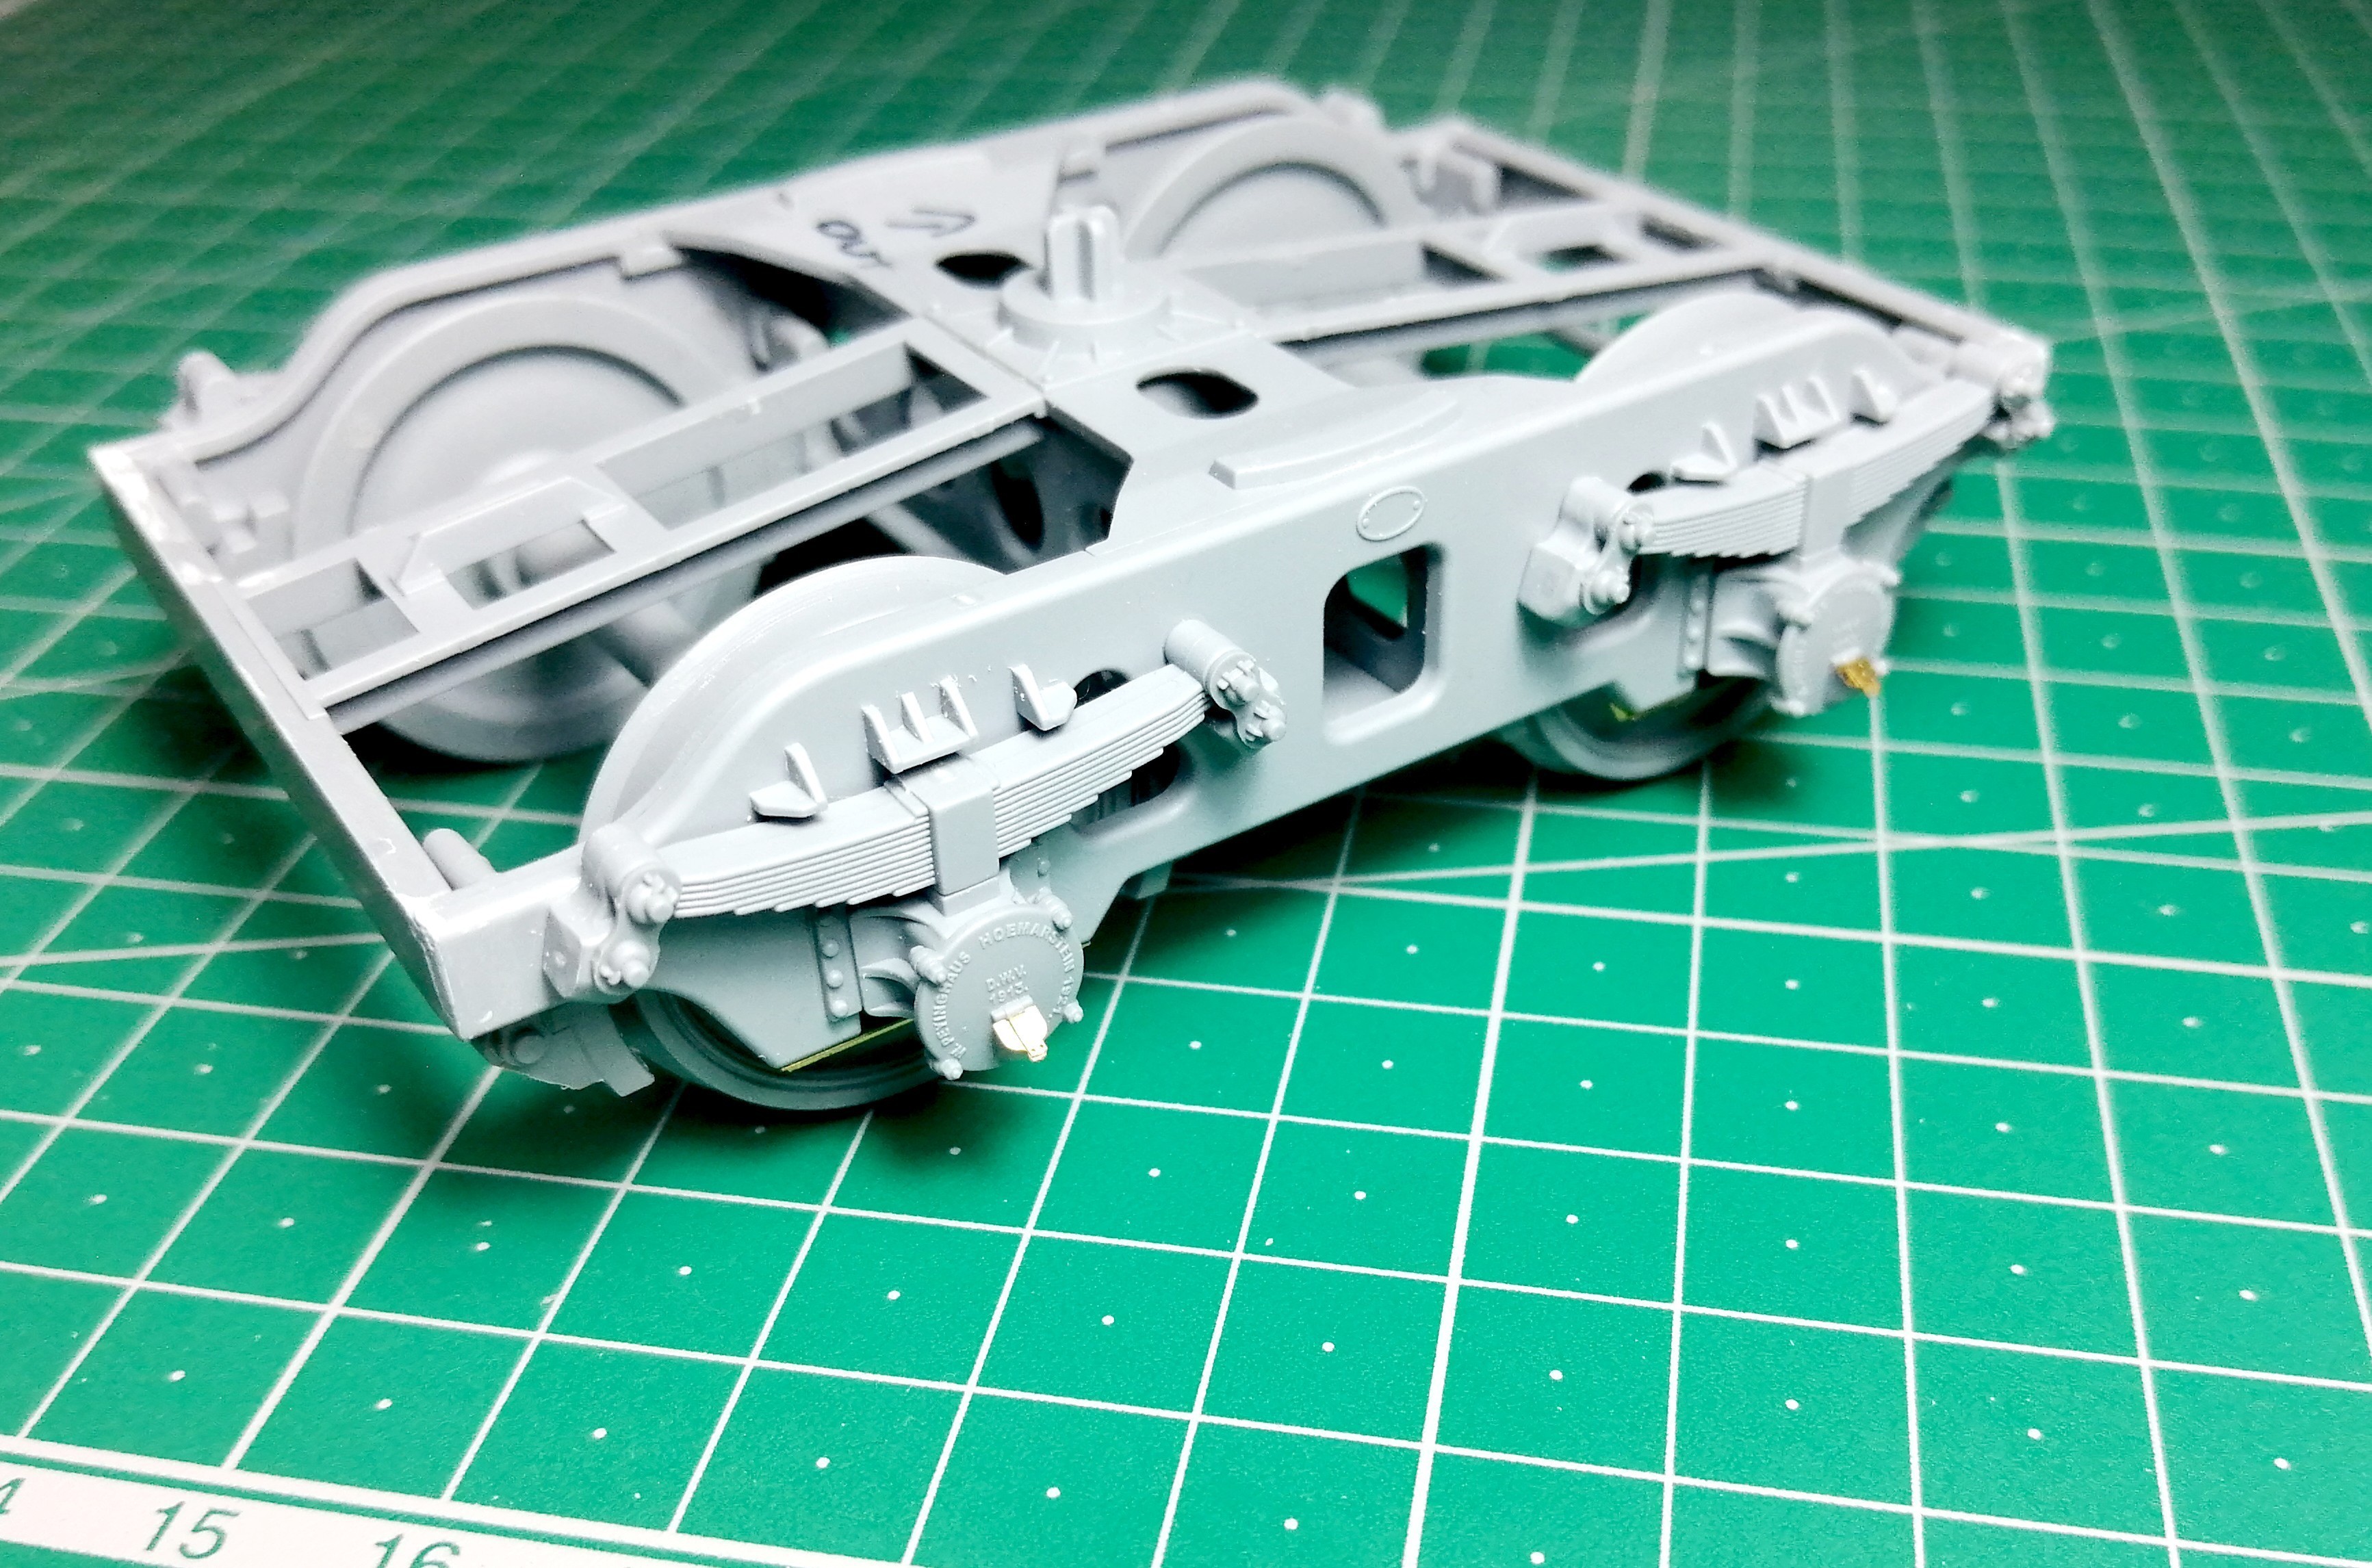
Parts F4 will fit better after all structure of the trolley is done, at the end of step 2. I found also easier to install the exterior brakes (B2/B3 and B10) after the wheels but before the beams B9. This way the brakes can be positioned better in regard of the wheels.
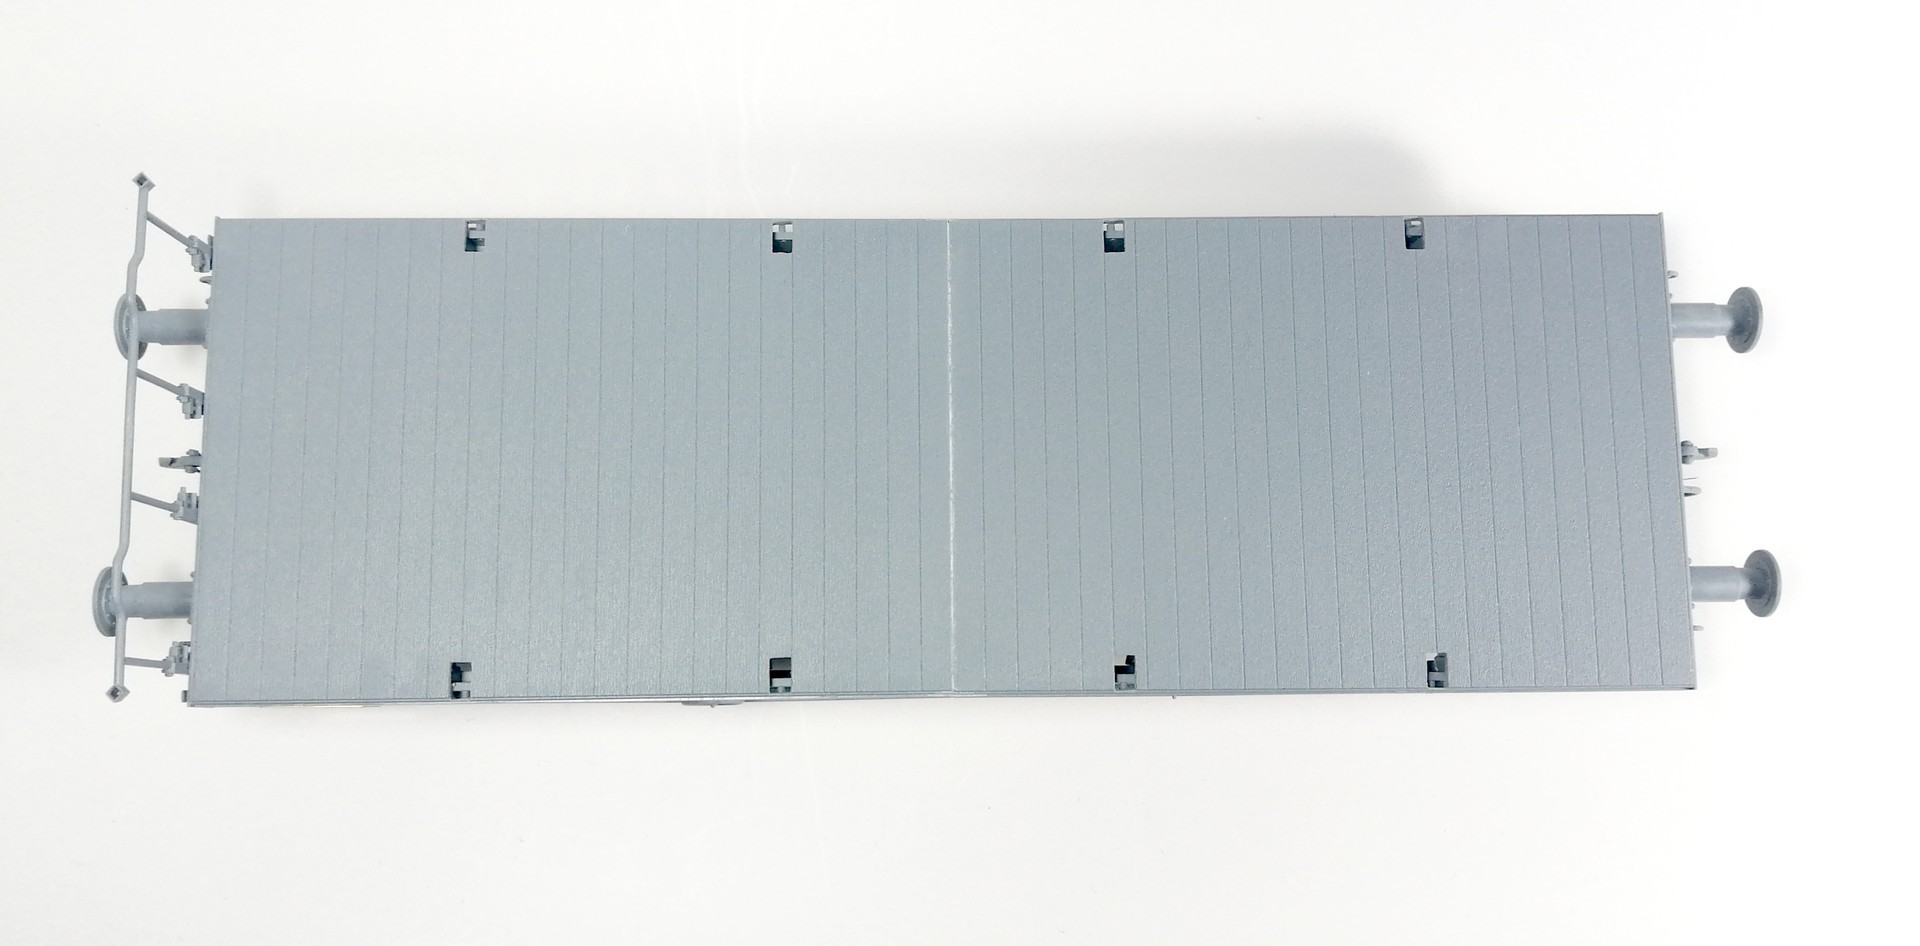
Parts A1 forming the deck must be cut to size. It is clearly marked on the underside and using a small saw for the edges and a scribber it is a matter of minutes. It is necessary also to open the holes for the poles.
The front and rear plates are the same part but they have different holes to be drilled. It is advisable to mark these parts to ensure they are clearly identified, as some side details are positioned in relation to the front or rear.
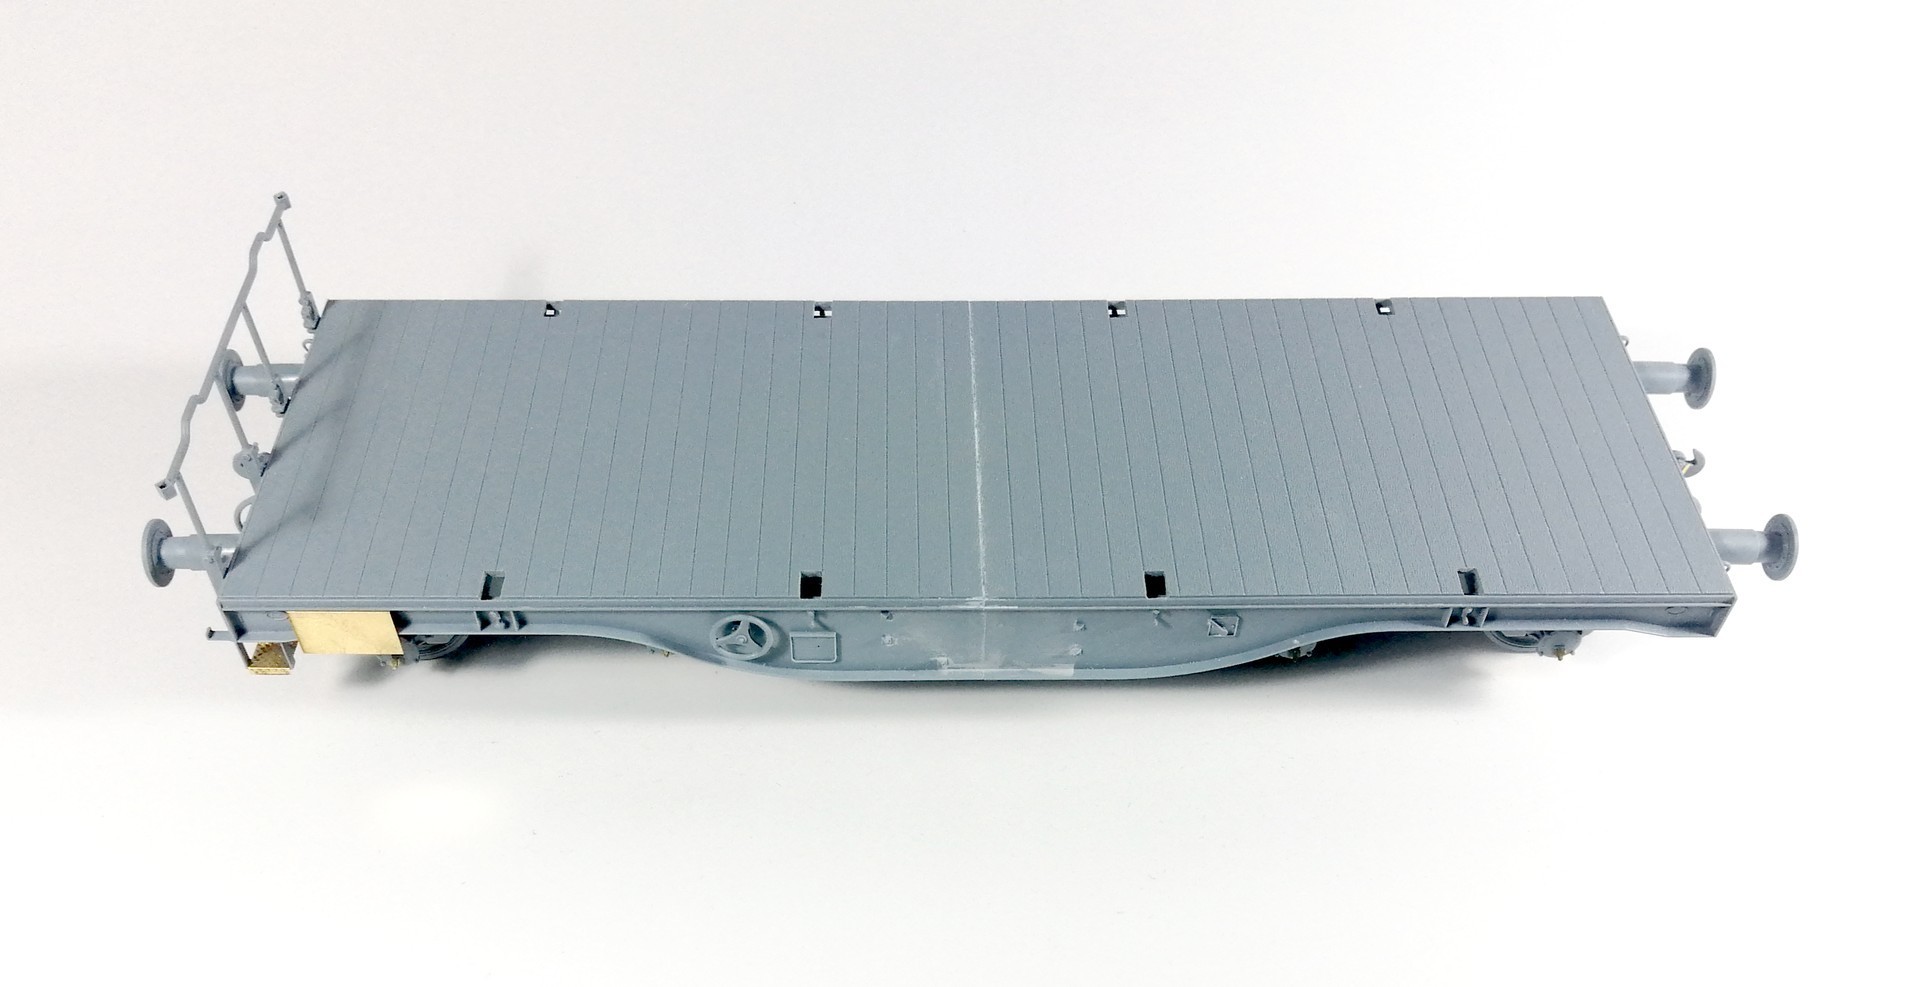
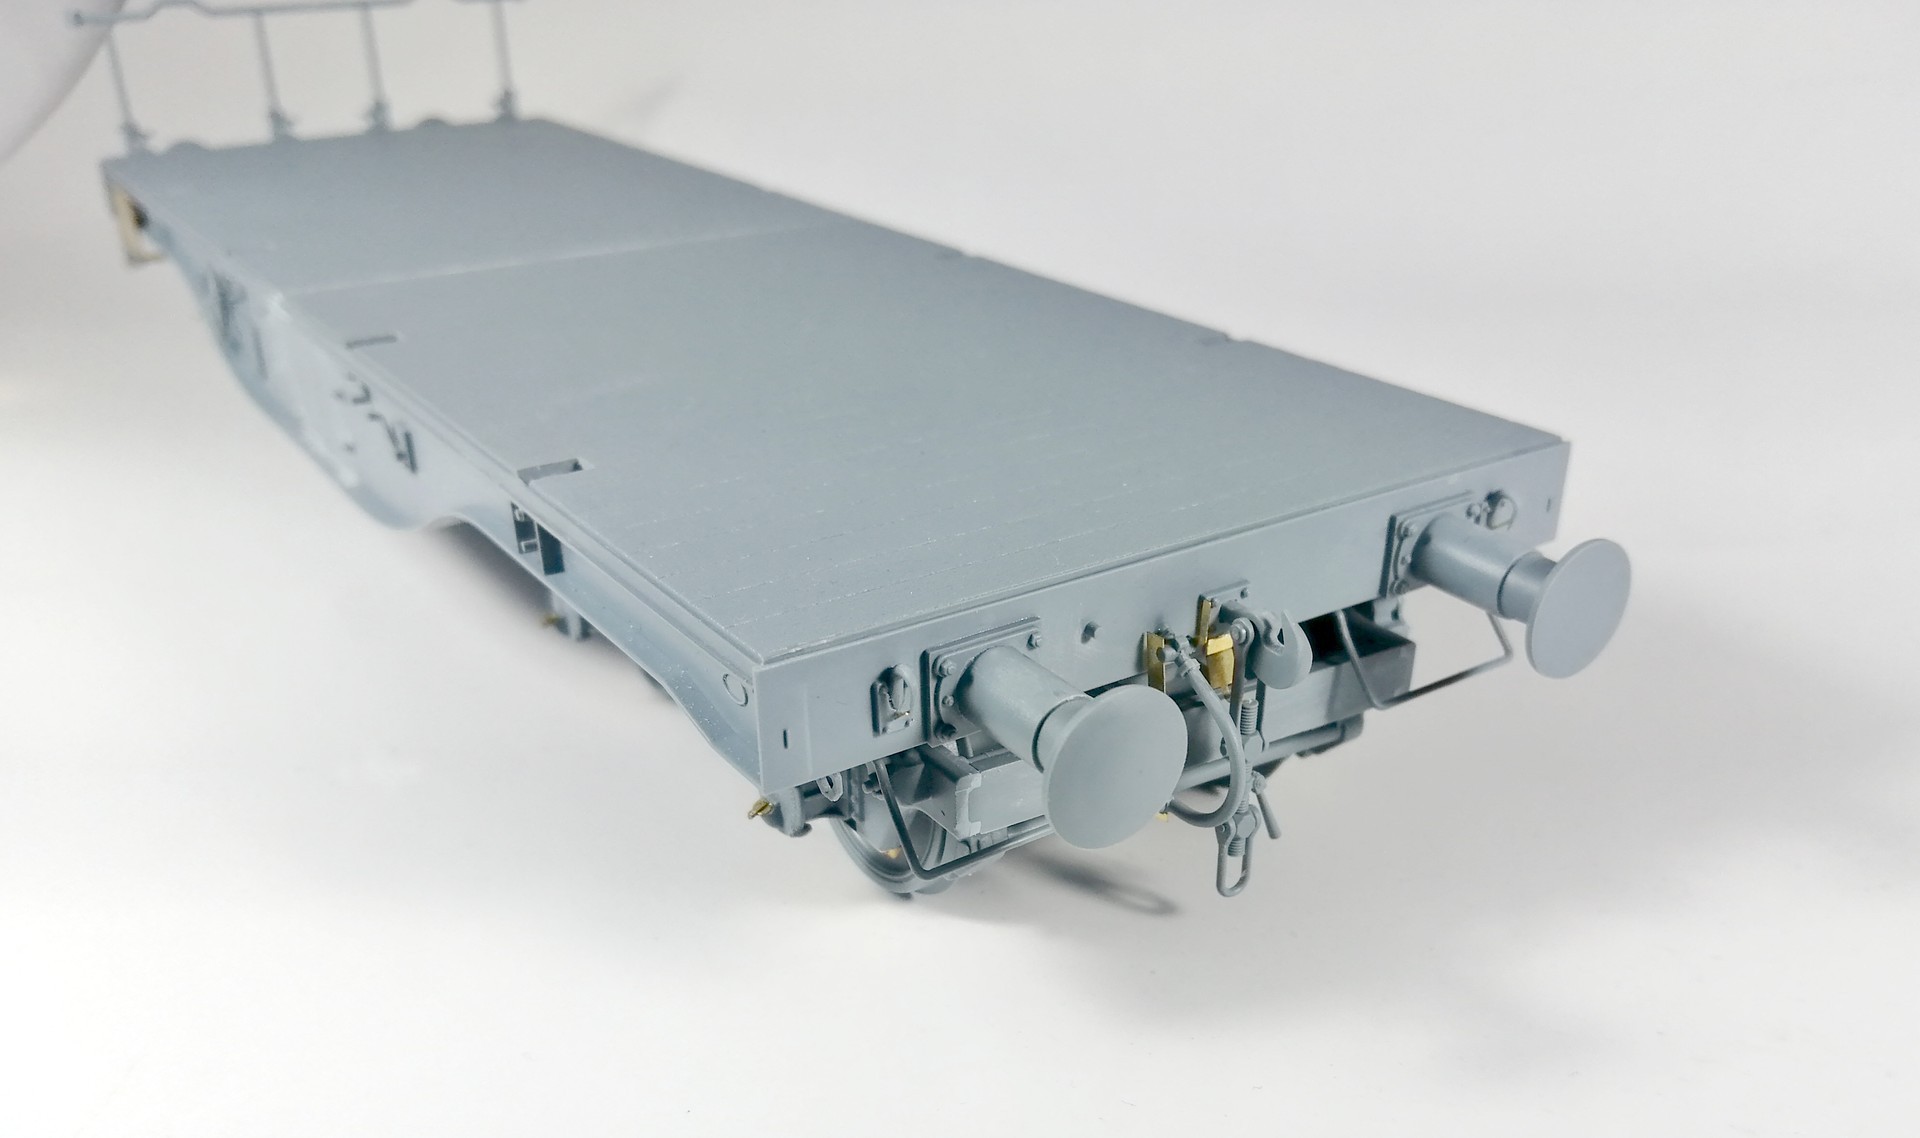
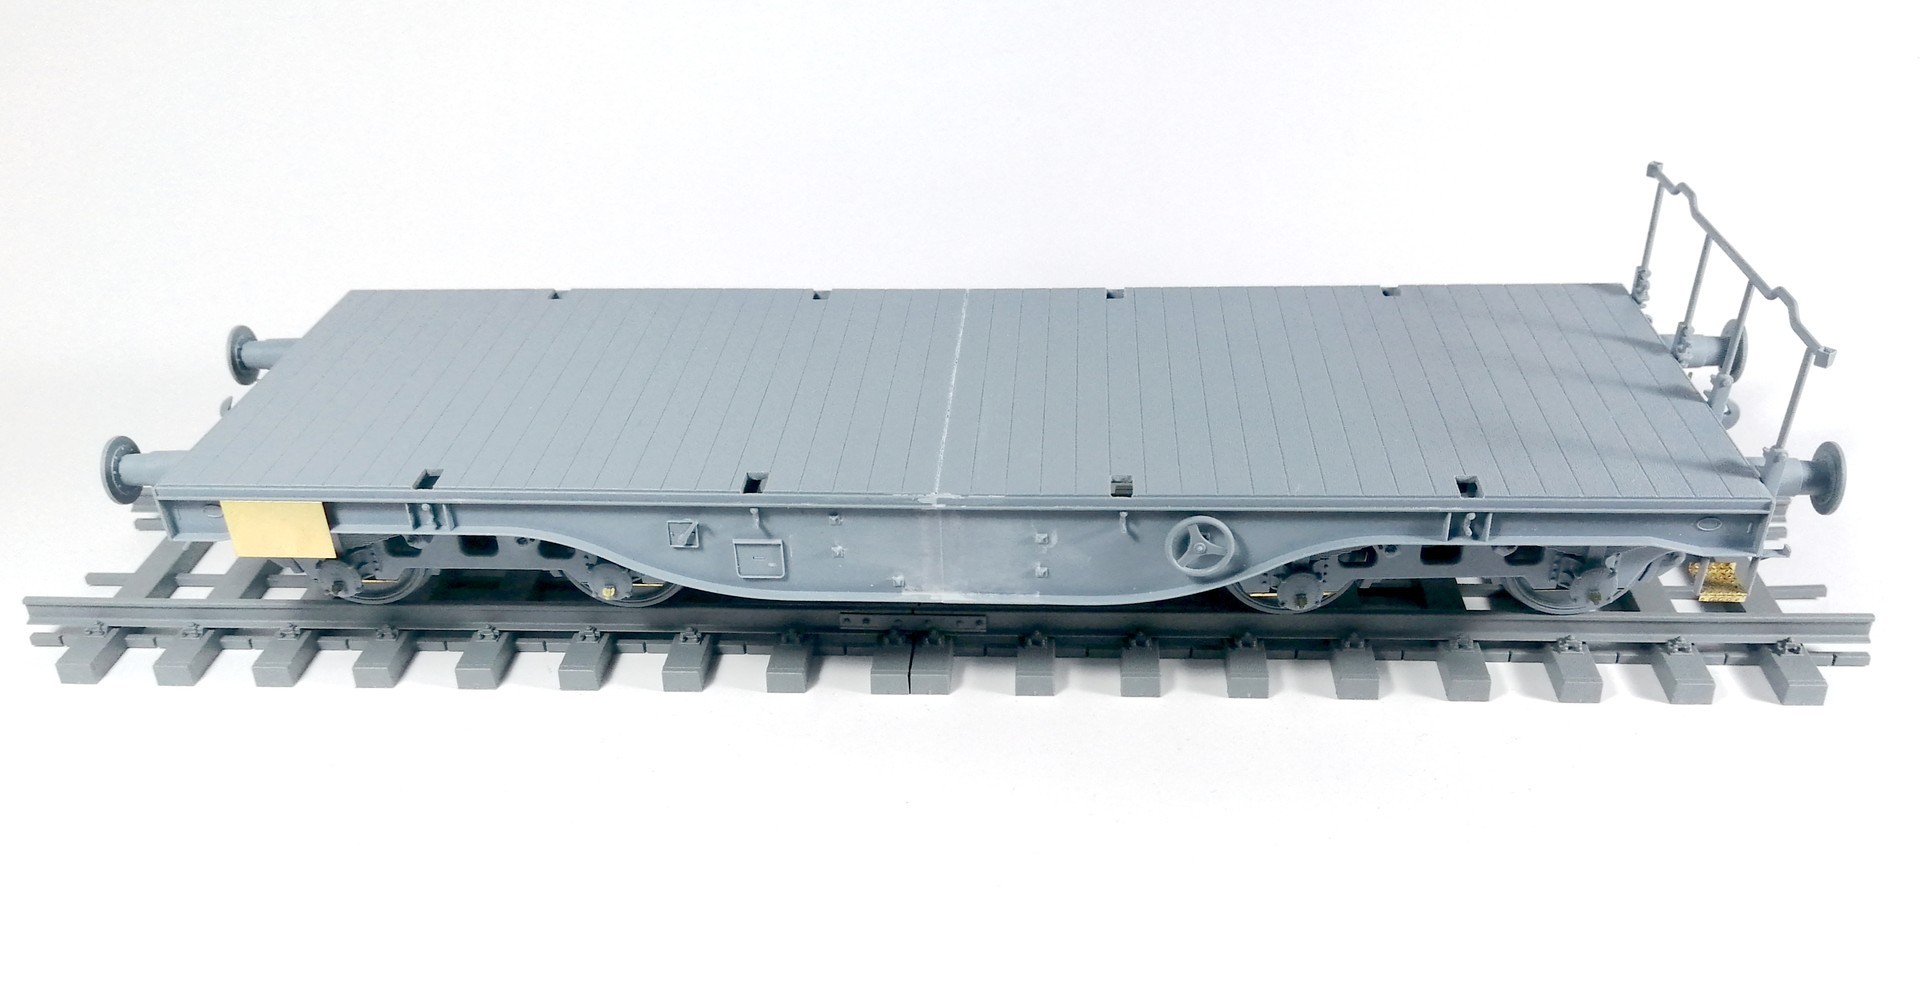
The underside is completely empty other from the beams, there are no air tanks or pipes and the brake system is quite simplified. As any of this can be hardly seen when the kit is finished, it is not a big deal for me.
In my opinion, it is easier to glue the sides to the deck and add the front and rear afterwards, rather than mounting the whole frame first as per the instructions.
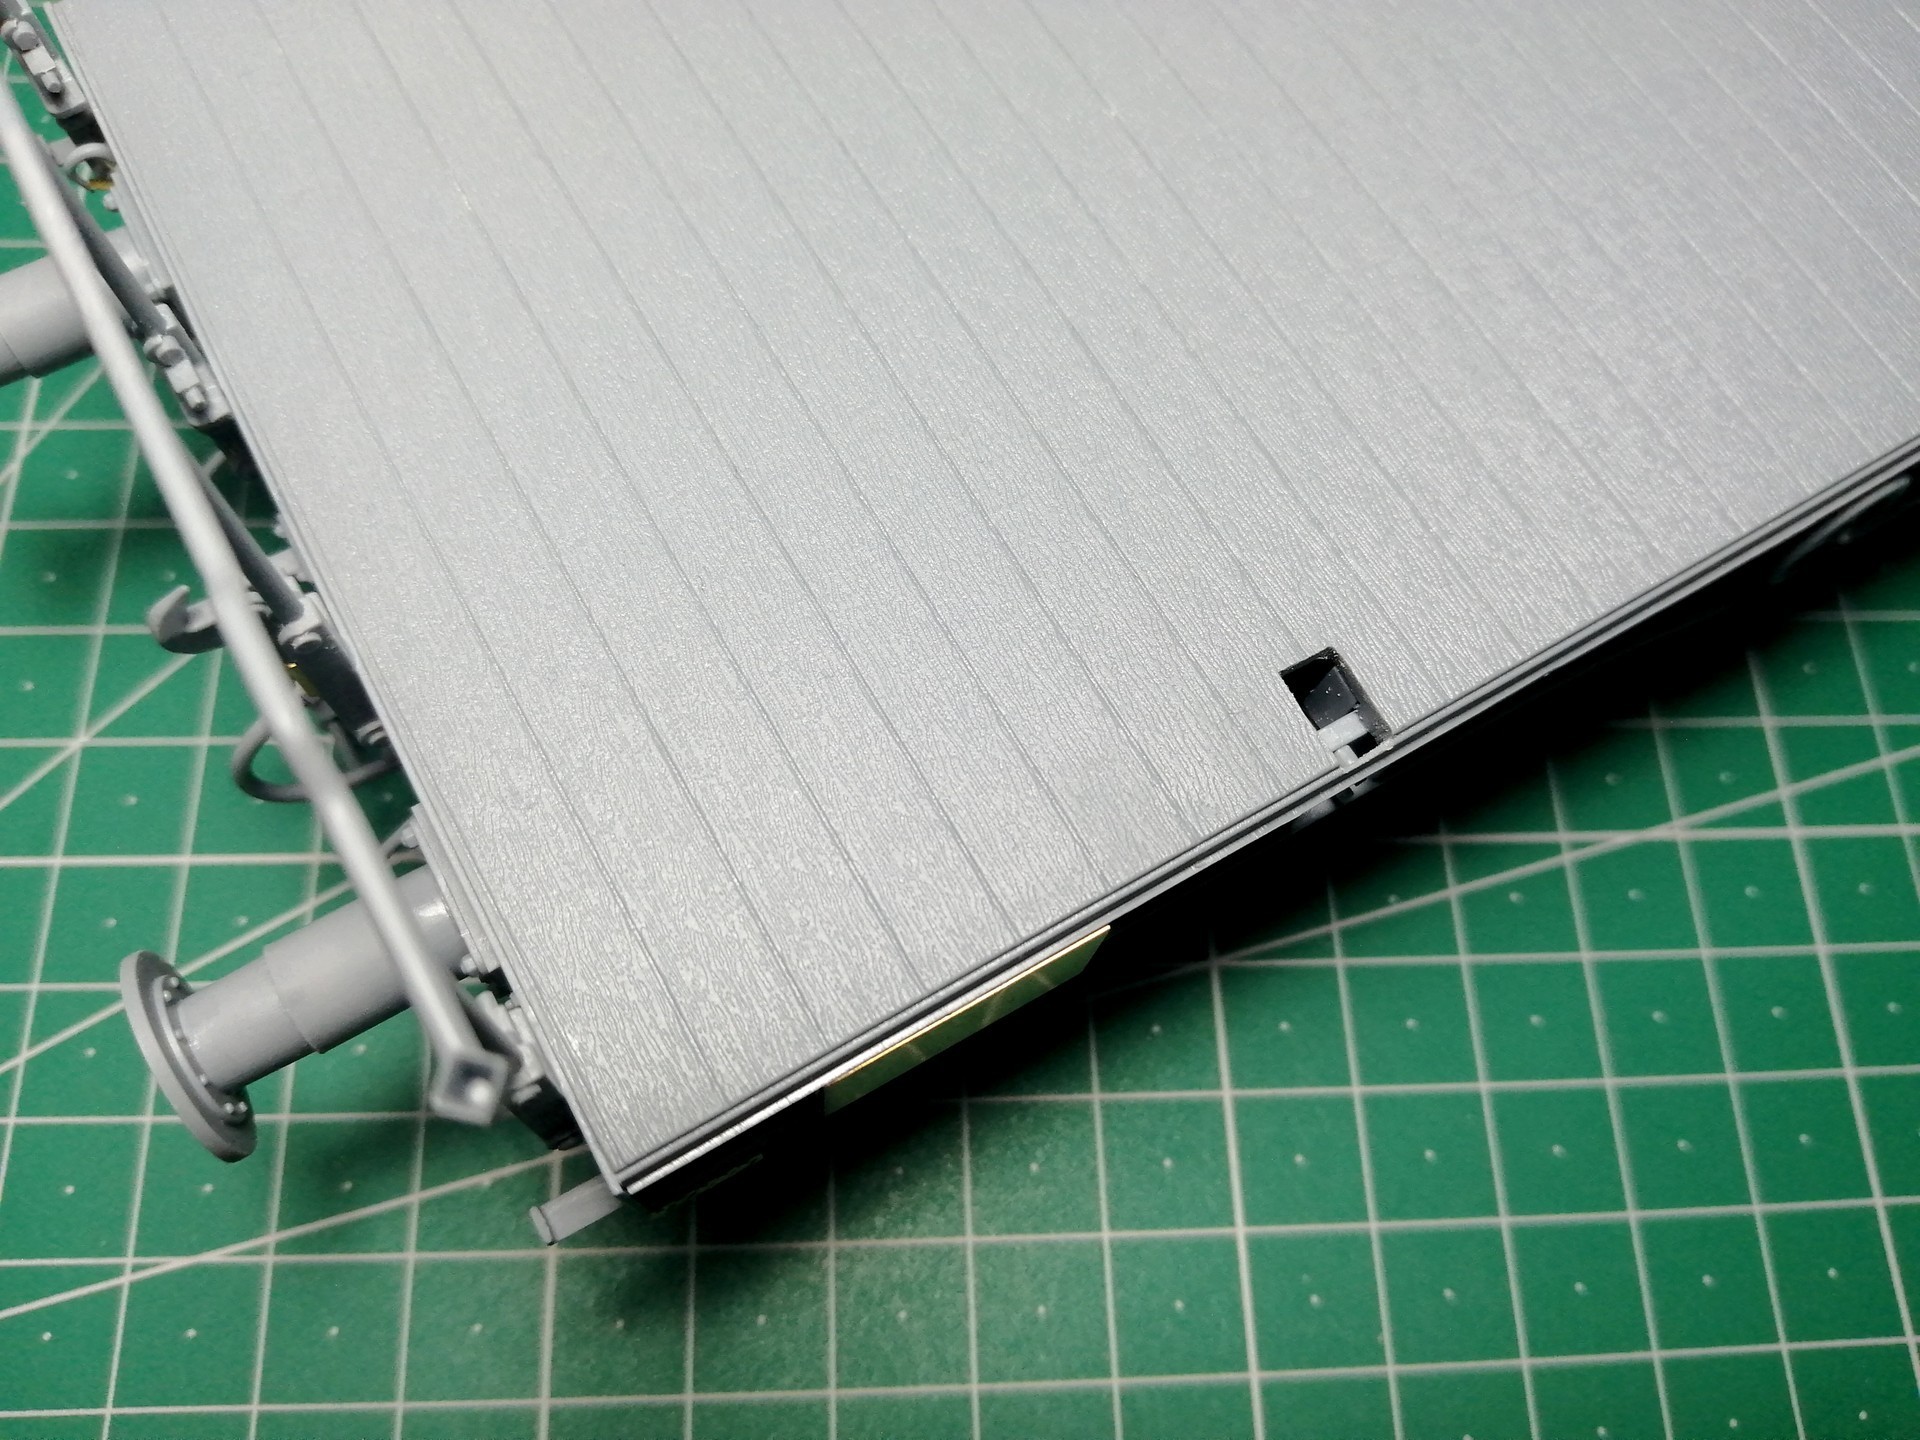
The wooden deck has a nice texture that will make painting easier.
As said above, it is important to be aware of where is the front and where to add the different side fittings (A14, E5, E2, etc.). T-Model has done a good research job and the instructions show correctly where each part goes, but it is easy to get it wrong. When the instructions say "both sides" it means exactly that, put those parts on both sides without turning the model.
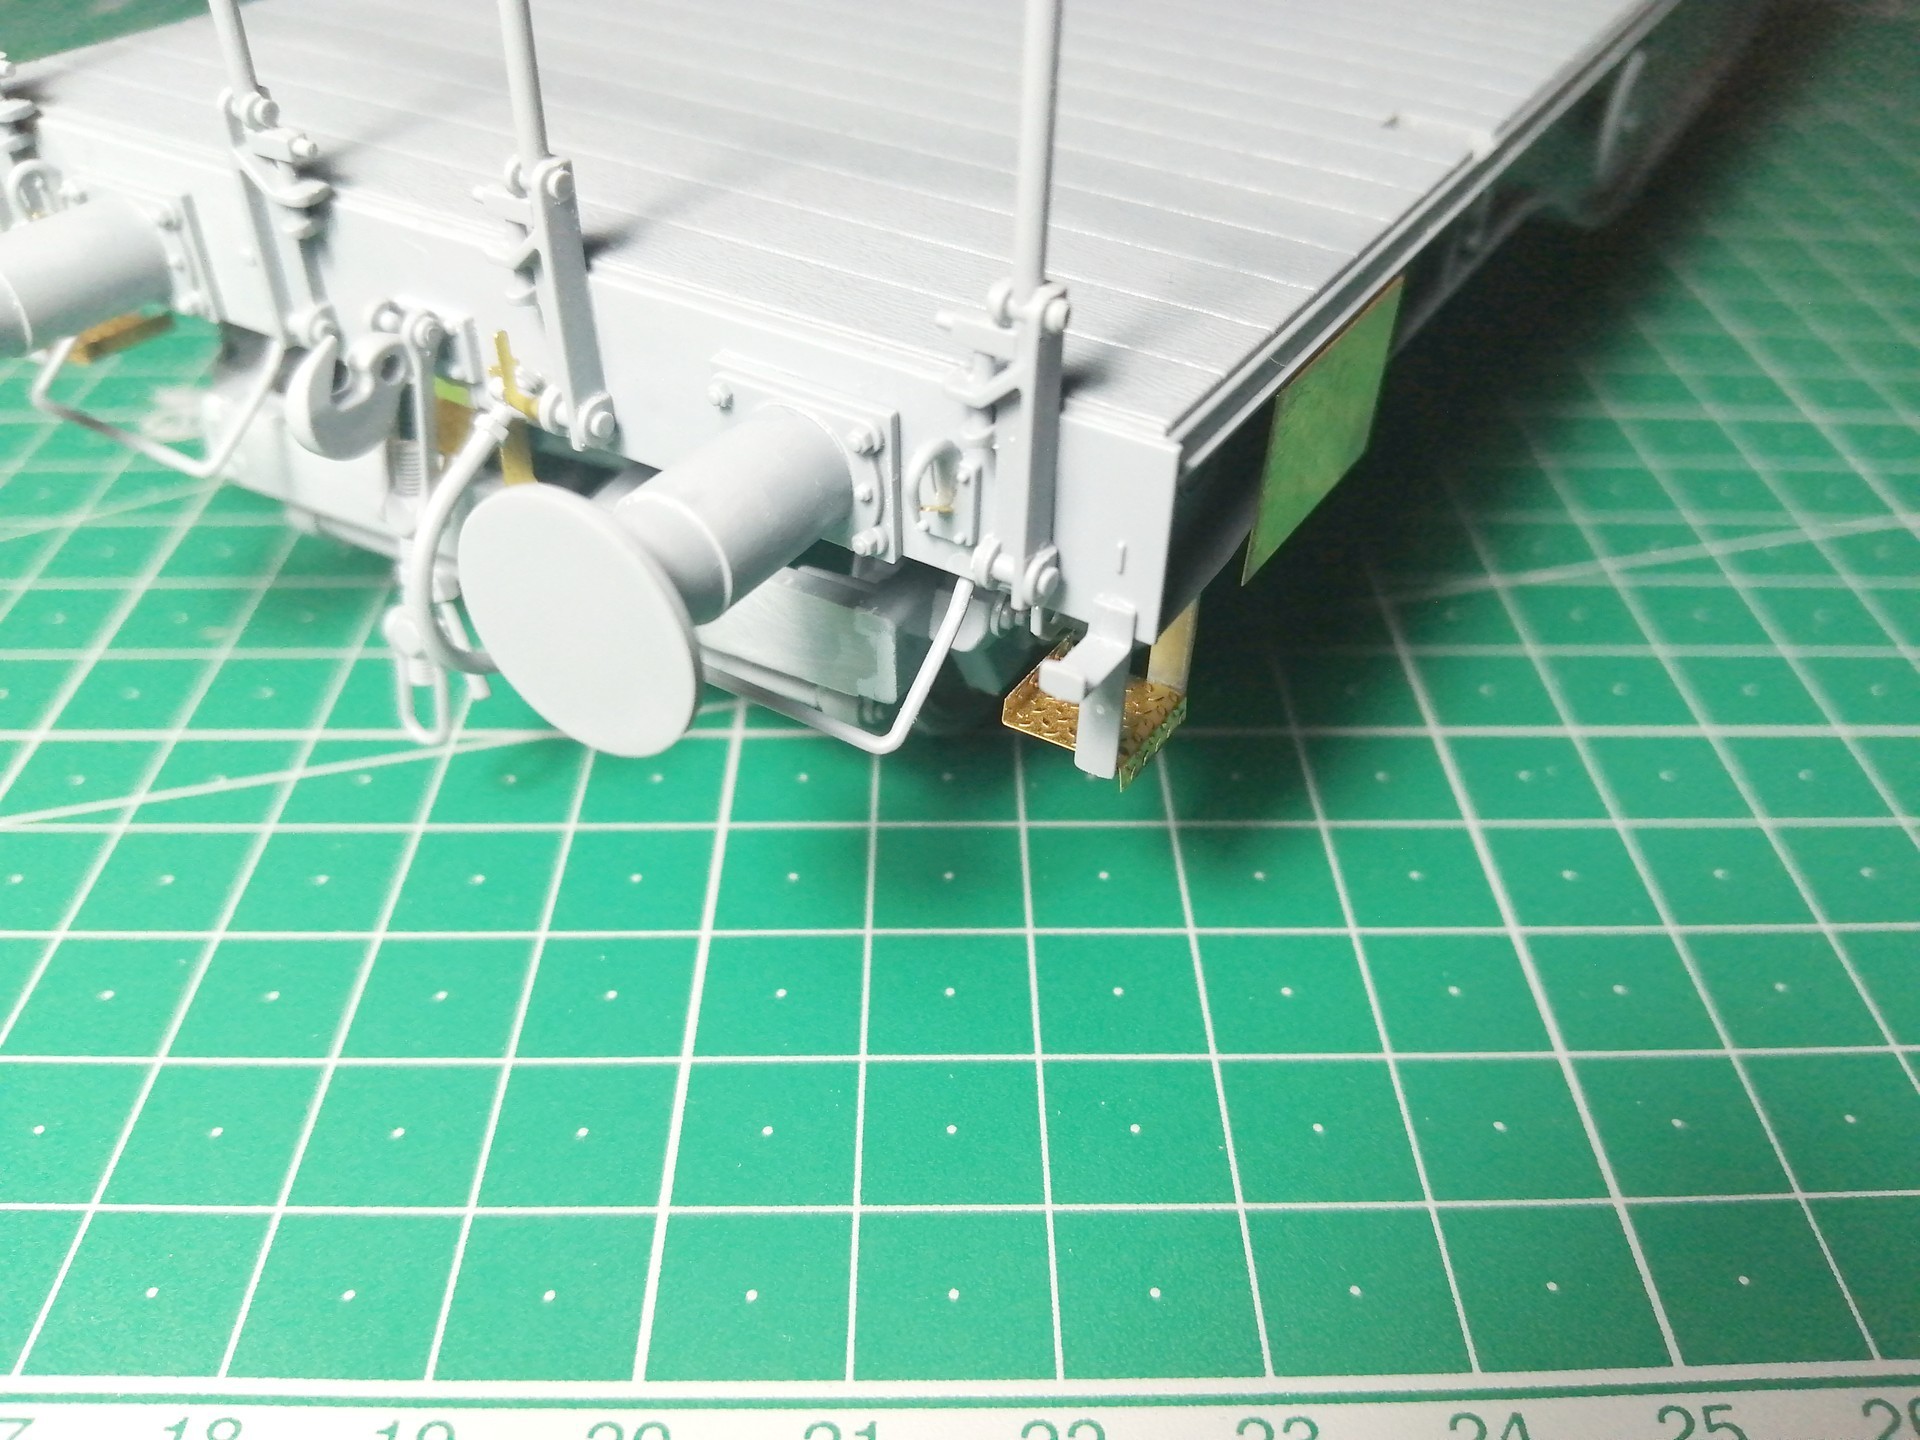
As for the hooks, the instructions use E8 for the front and the slightly different B8 for the rear. As all other items are mirrored, I chose to use E8 and E9, which are almost equal.
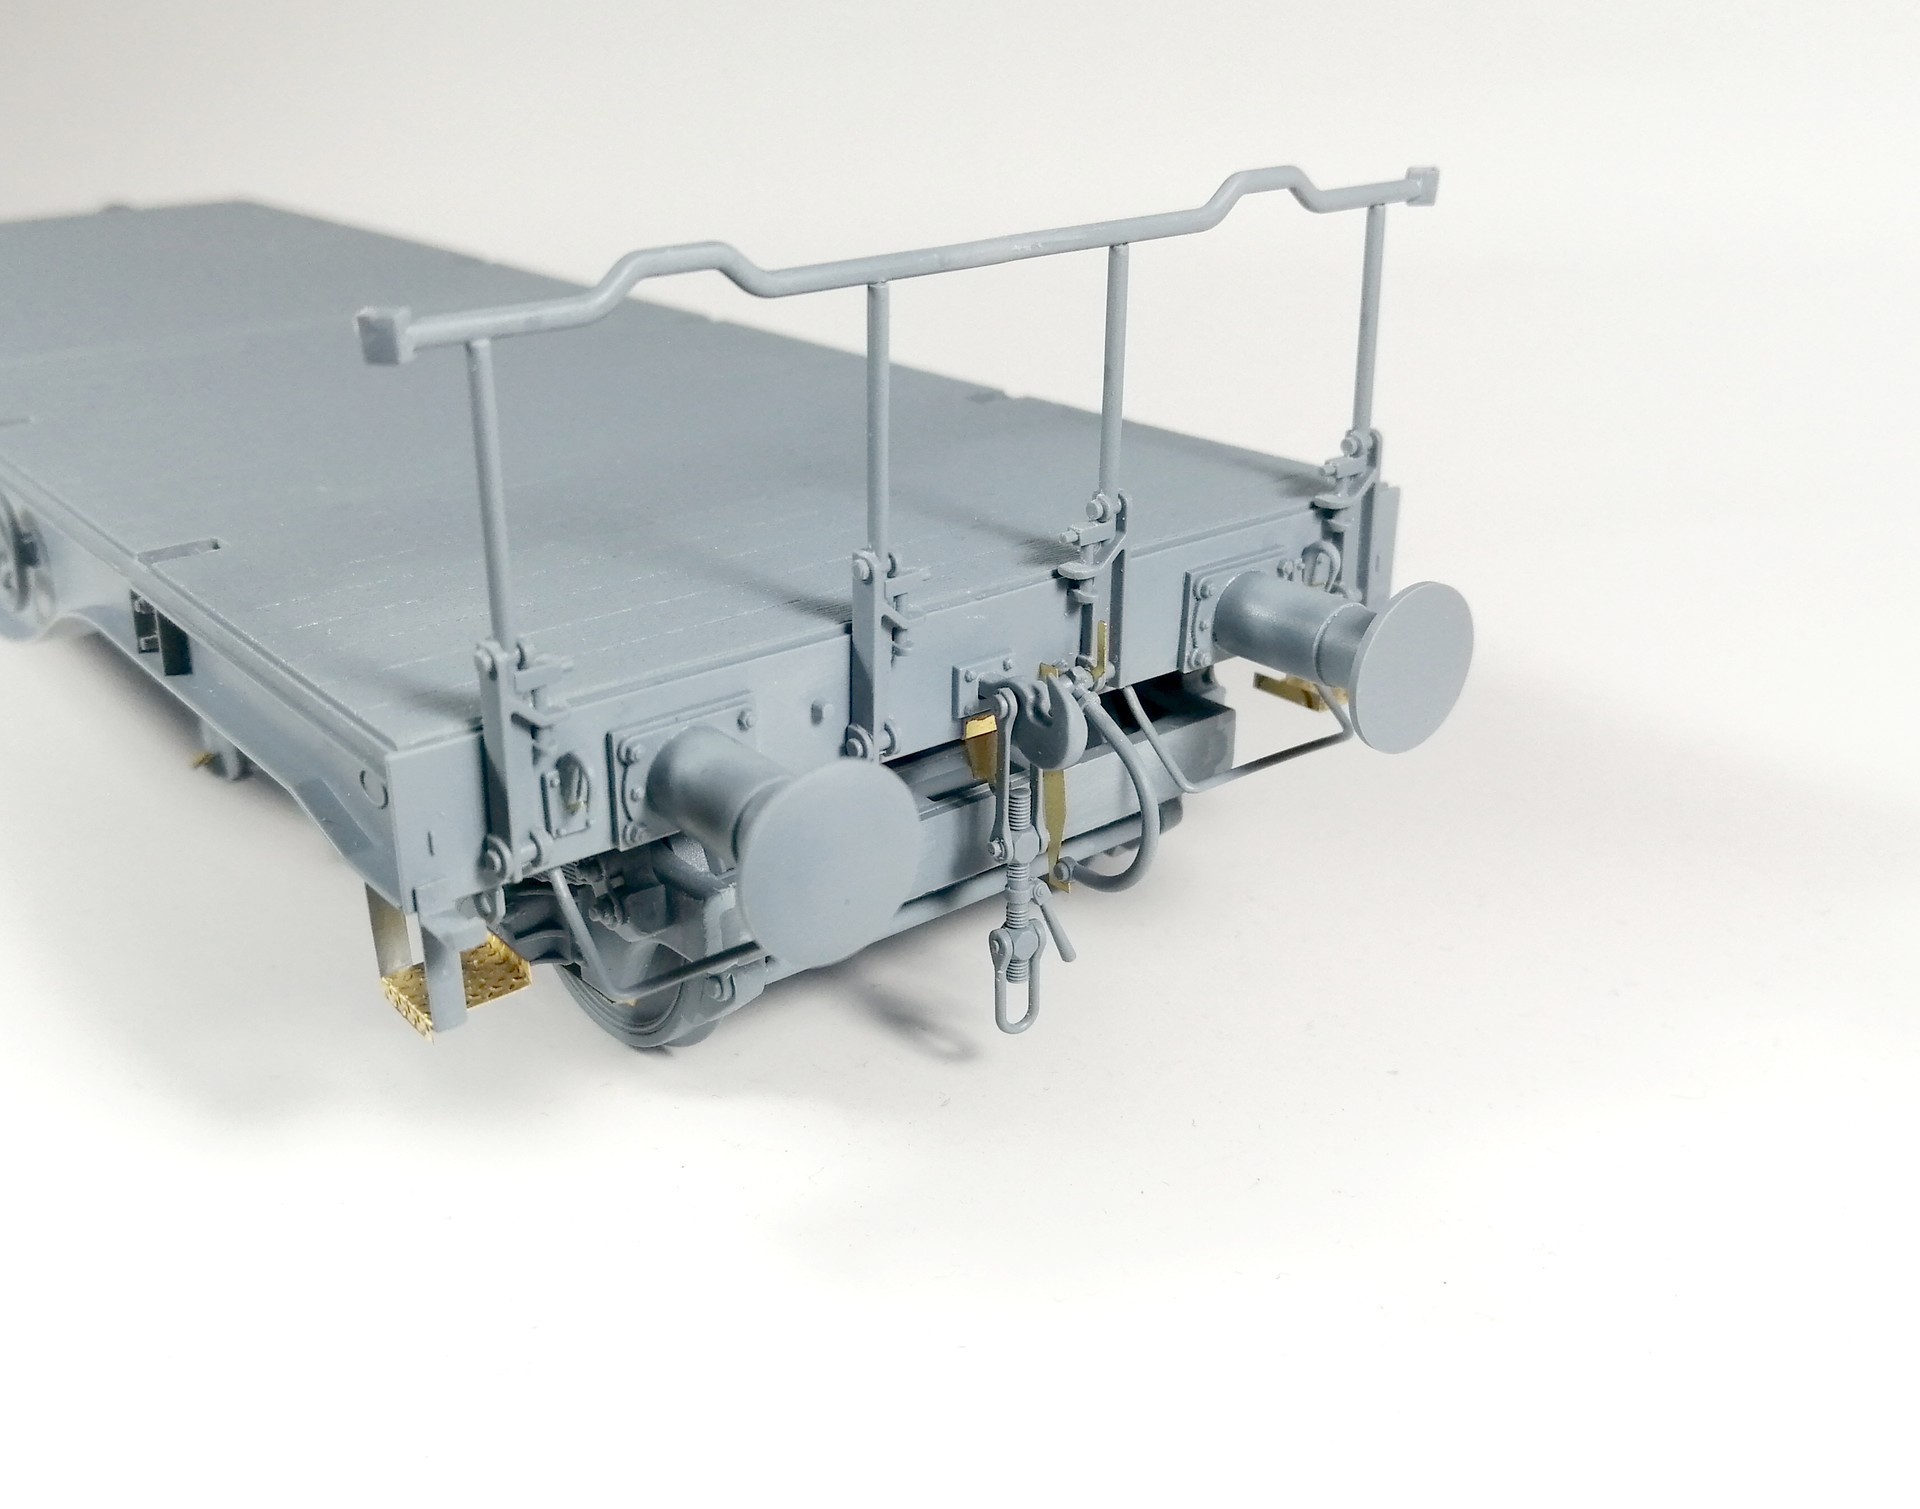
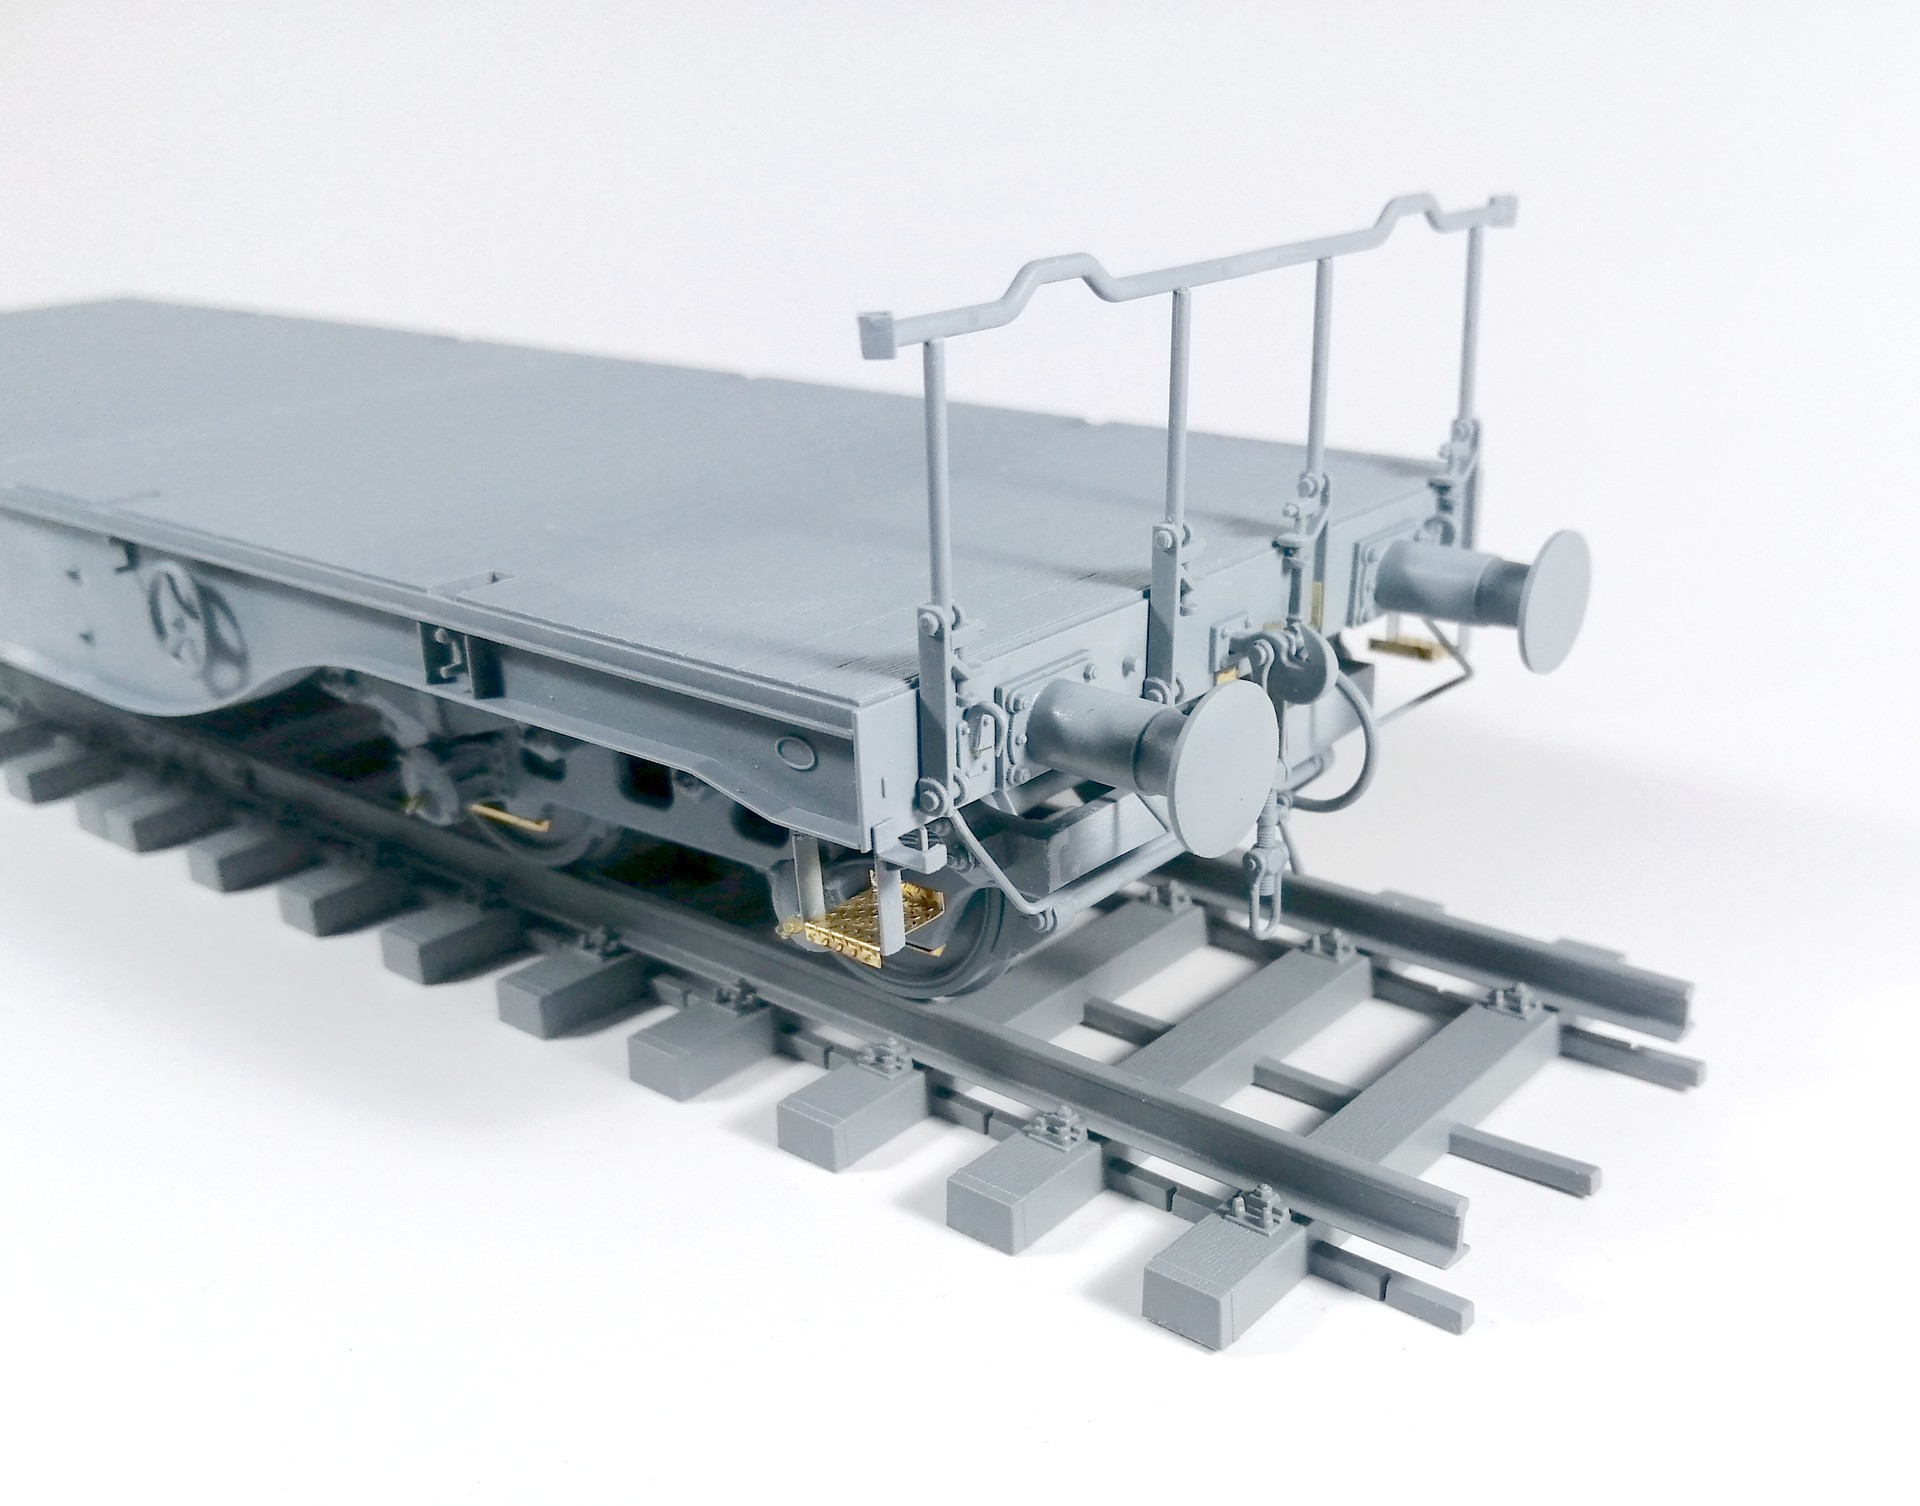
The interconnecting hooks can be shown in three positions, i.e. hanging freely, hooked to its support or connected to another kit. Only the first is straightforward, the other two require cutting the part and gluing it again in the proper position. I would have rather to have different parts, which would have been much easier and the cost is negligible. The compressed air hoses are different for showing it stored or connected to another wagon.
The handrail must be shown extended, there is no option to show it folded -which again is a pity, it would need just four more parts. It is easier to build installing first the vertical stands and then the top bar. In my case they were not perfectly vertical, probably a small mistake when drilling the holes on the front plate. I cut the upper lug from the stands and that allowed me to perfectly align them.
Note that despite the instructions' next step is installing the side poles, in case they are shown stored they should not be put in place yet. There are decals outlining them, so they have to be positioned after painting and adding these decals. Same for their locking bars A20.
The anchoring plates are made of photoetch (Pa1 and Pa2). As they are marked as optional, there is no clue for positioning them on the deck. The top view on painting instructions is a helpful guide in this case. Ideally they should be embedded , but I have not found a way to do so. A strip of masking tape will help aligning them.
In general, the kit is fairly simple to build, with a reasonable part count and photoetch details where required. It does not get long to finish it and the result is quite satisfactory.
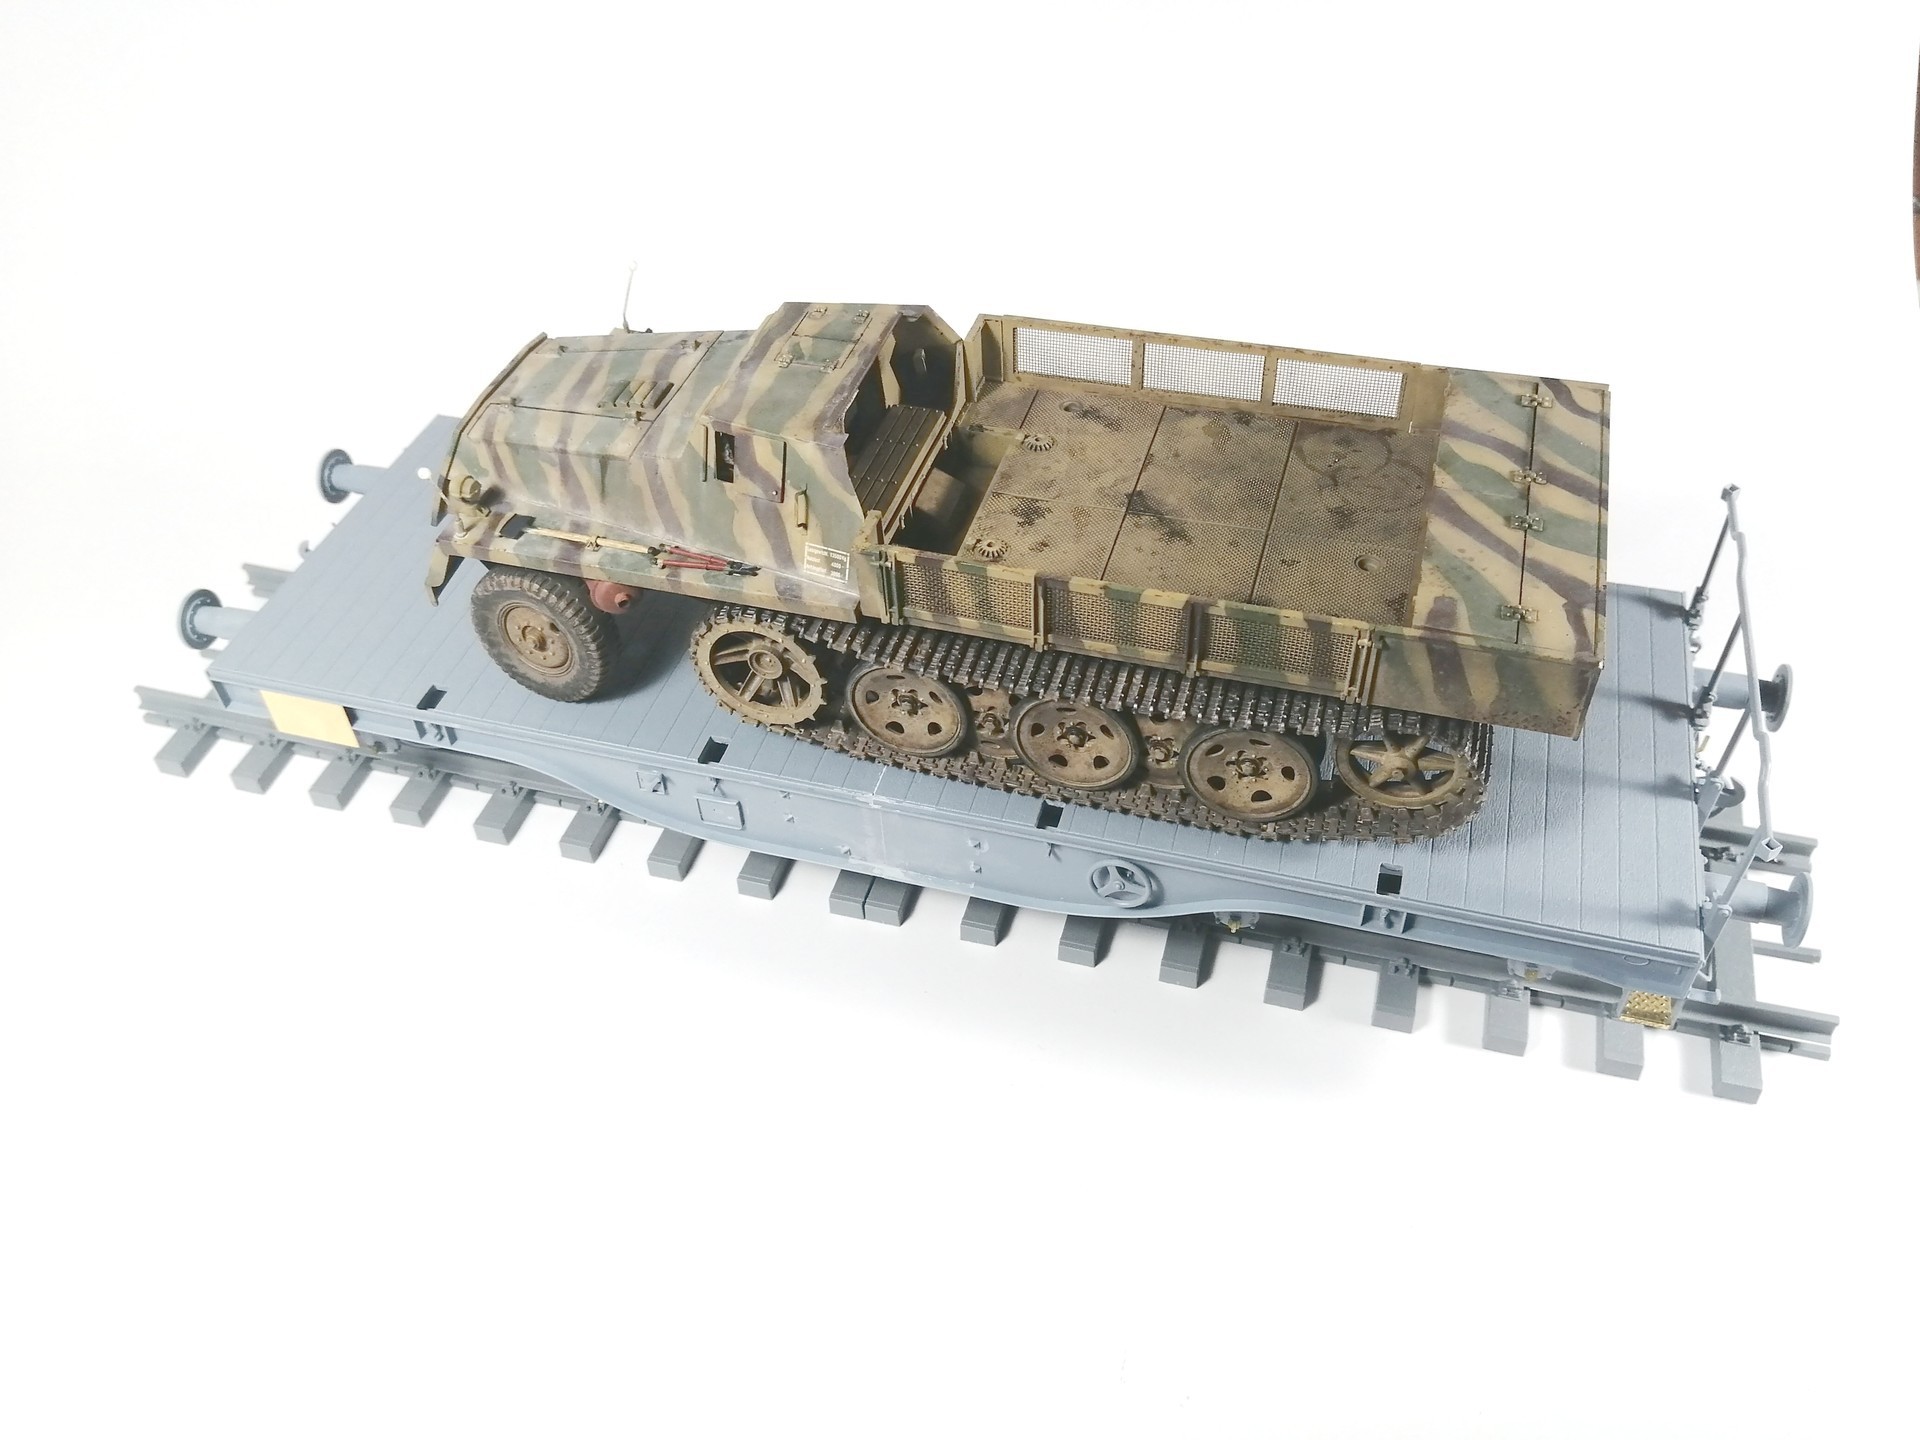
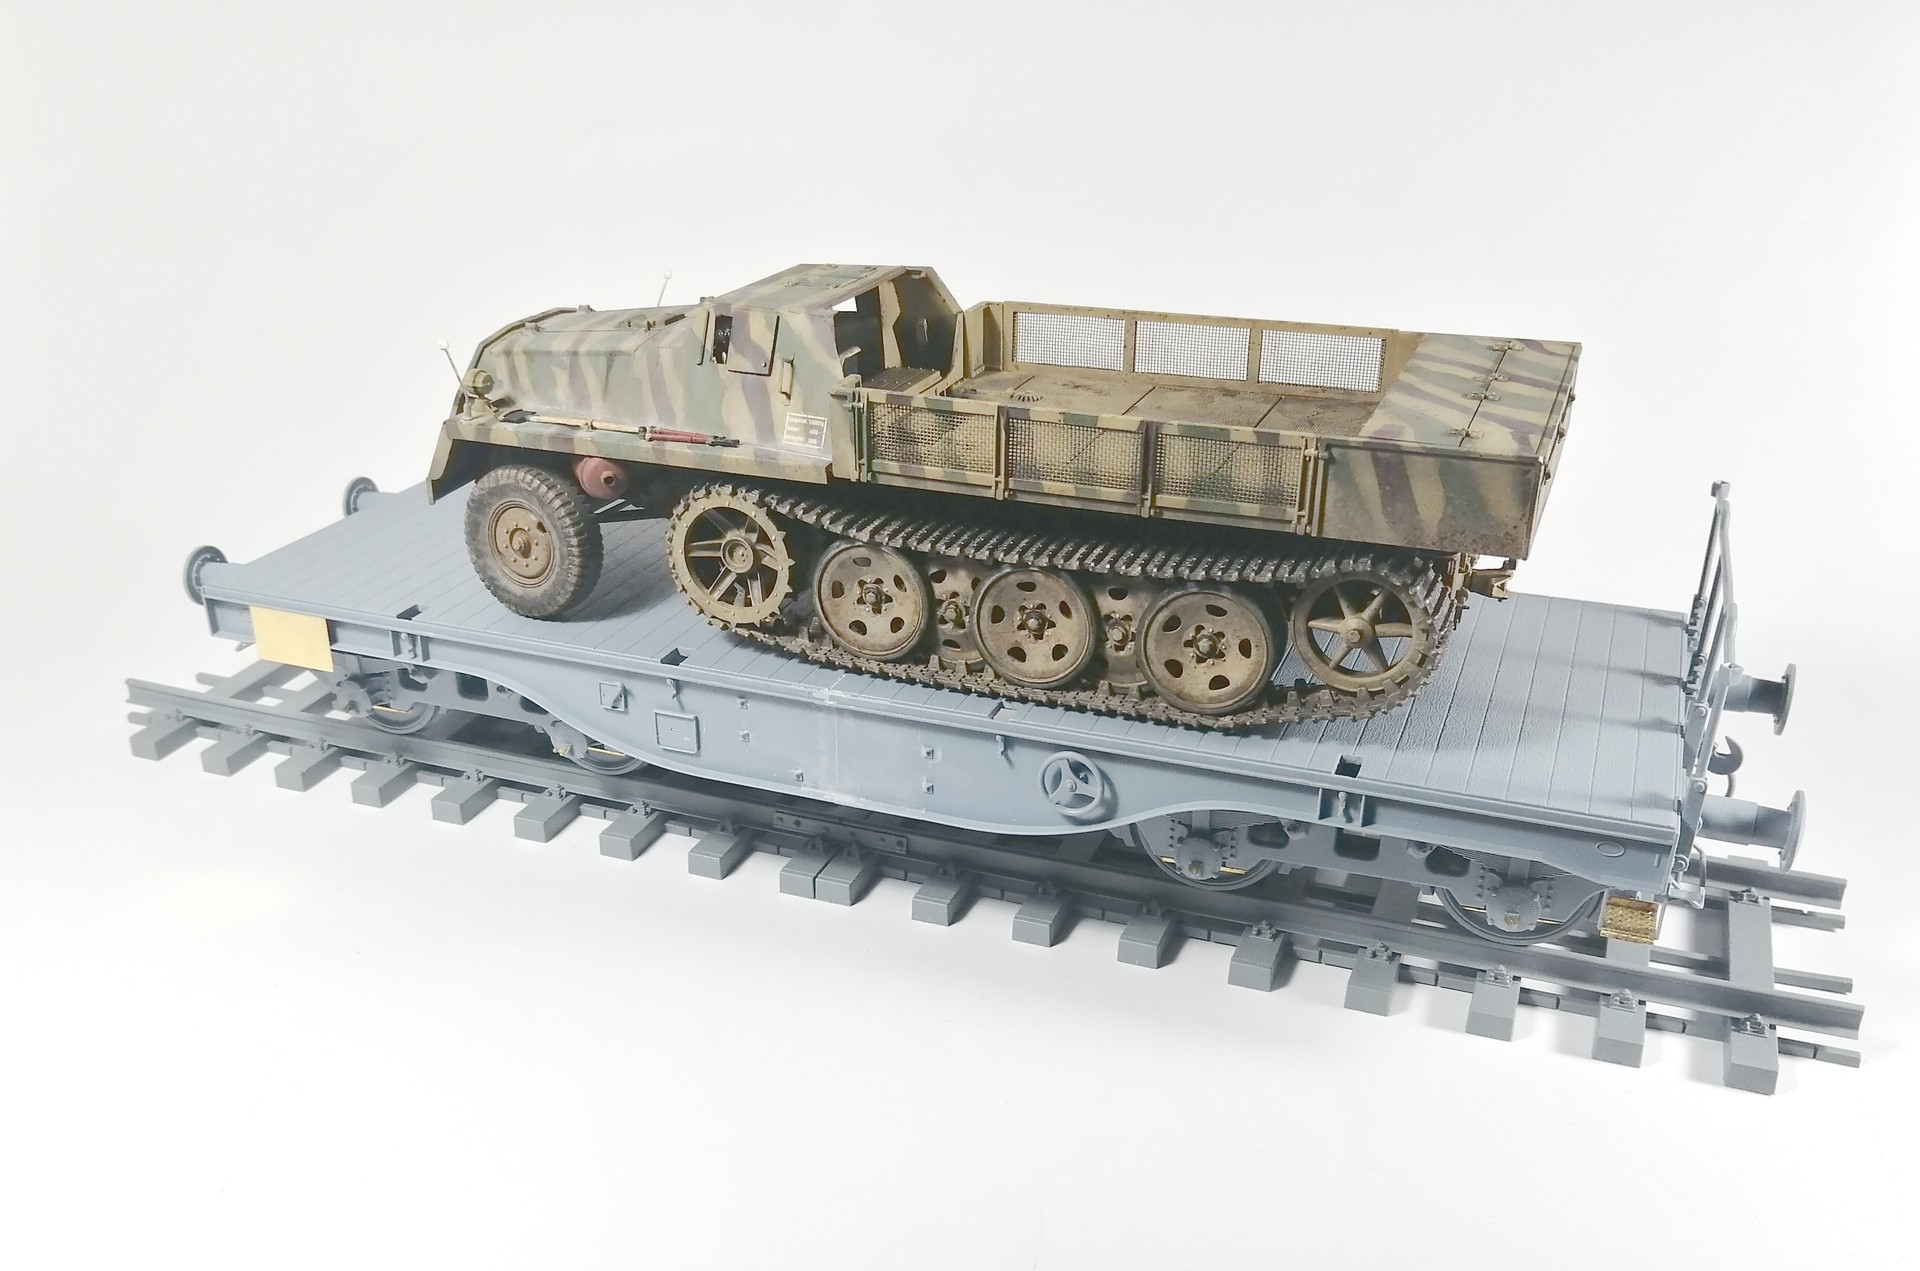
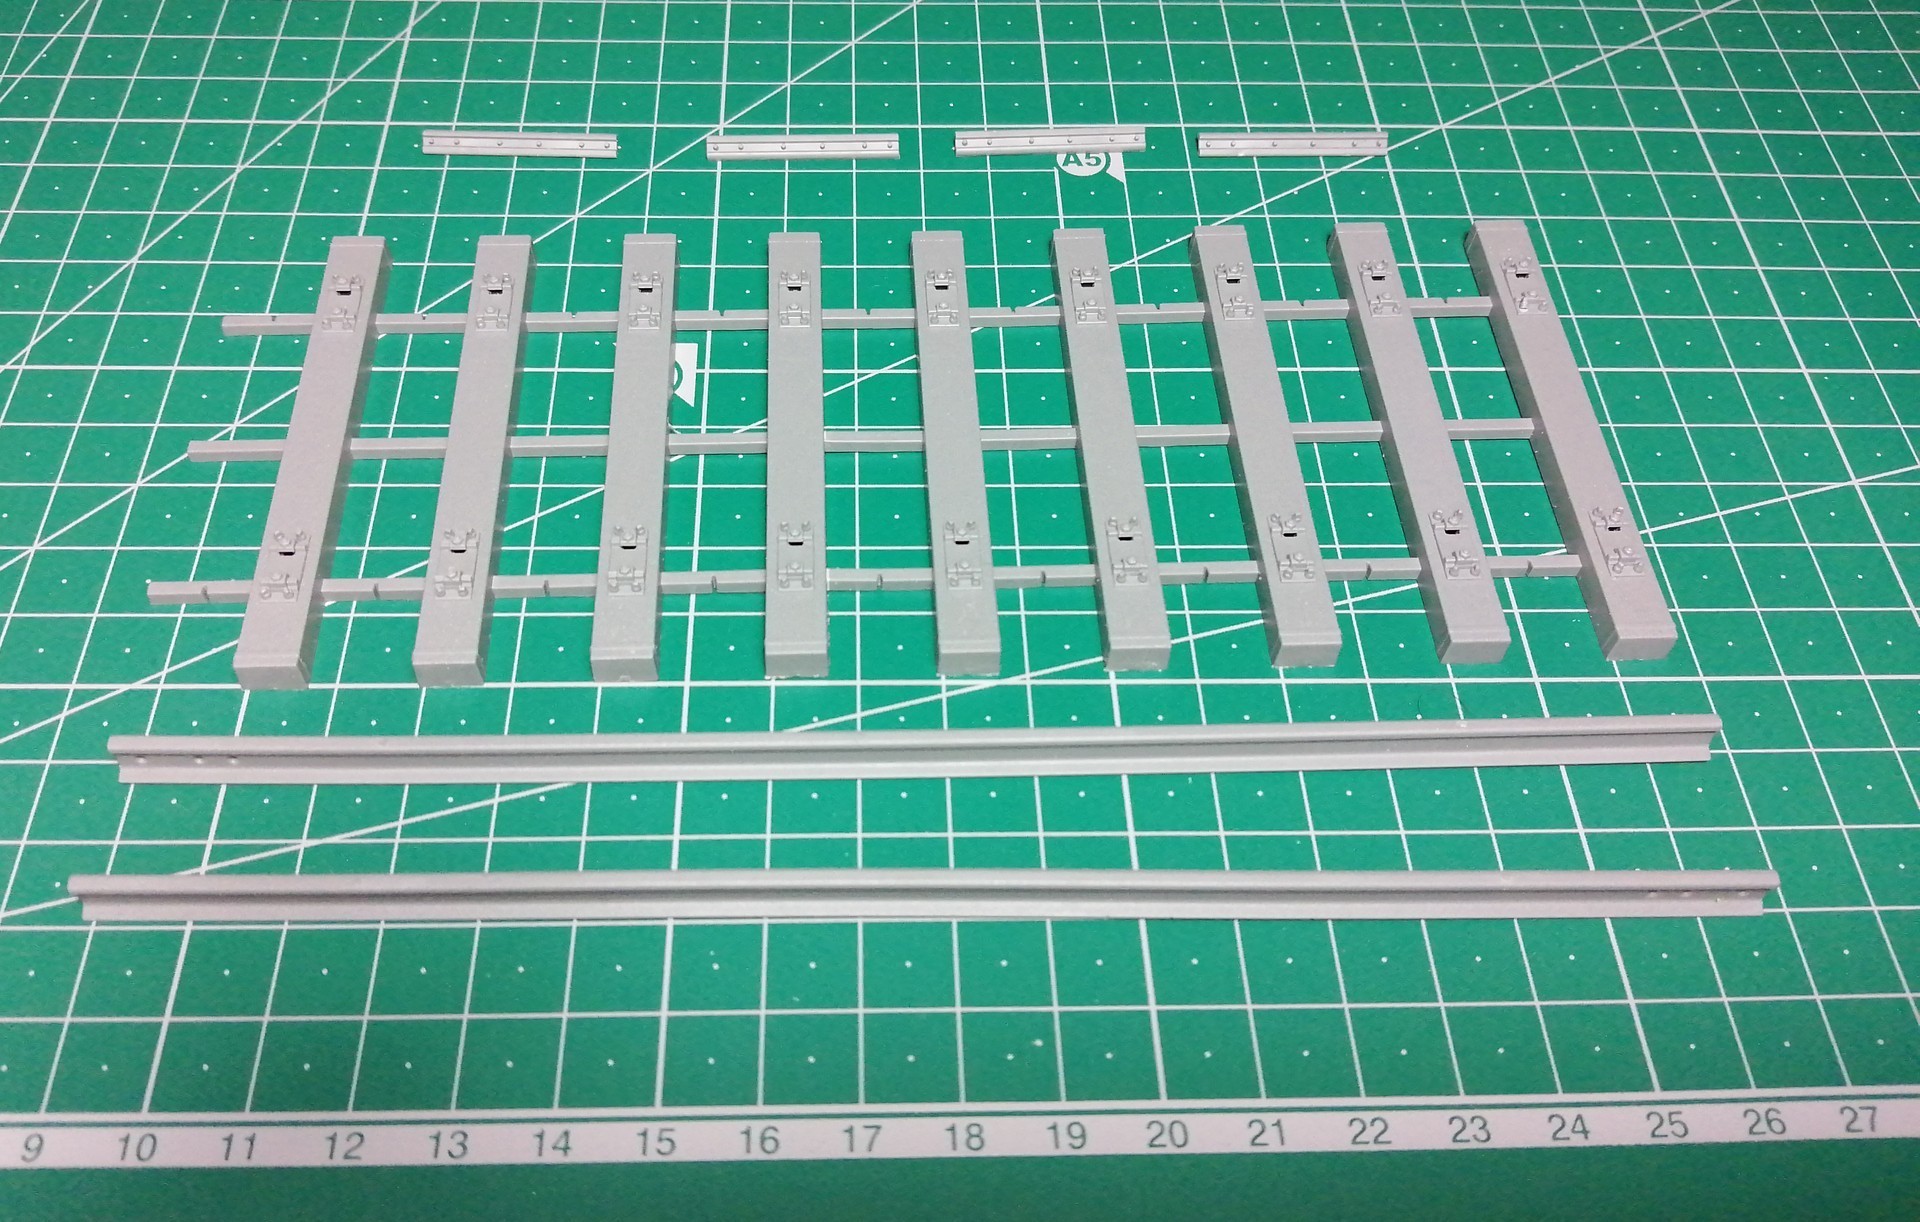
Finally, the kit comes with a set of 35cm of railway tracks, enough to show the flatcar on top. It can be assembled straight or curved.
Assembly is quite easy, having just ten parts for the whole set. There are spare connectors to link them to another set if desired, although the rails do not have holes for them. They are linked using the traditional system of having two sleepers together at the joint point.
Conclusion
This is an easy to build model, with no fit or instructions issues, low part count and good details. The photoetch parts improve the model where needed and decals look good.
Together with the included railway, it can be used as a quick base for vehicles, adding an original look. And it is possible to connect it to another wagon or locomotive.