


This is a build review that follows the inbox review, with general description and first impressions, and which is available here.
The first challenge in the construction of this model is that, being open top, it presents the difficulty of having to paint some parts as they are assembled -it will not be possible to do it all at the end. In my case I painted everything as I built it because I thought it would be easier, but now I think there are many sections that could have been painted together, saving time and facilitating the fitting. In any case, careful planning is required.
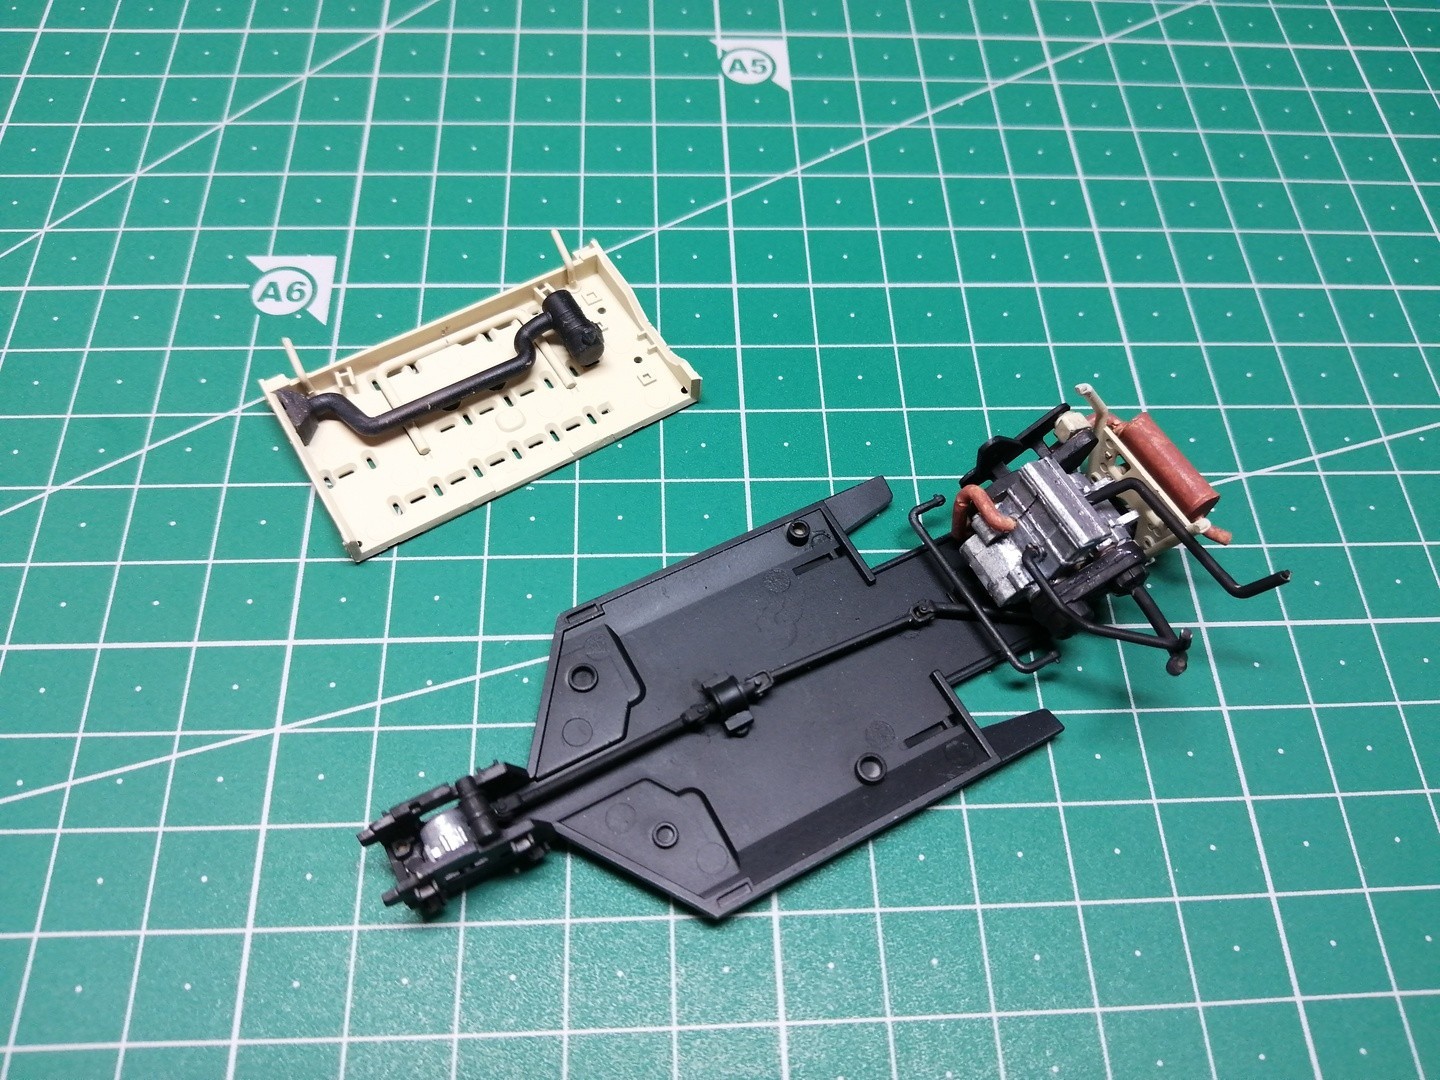
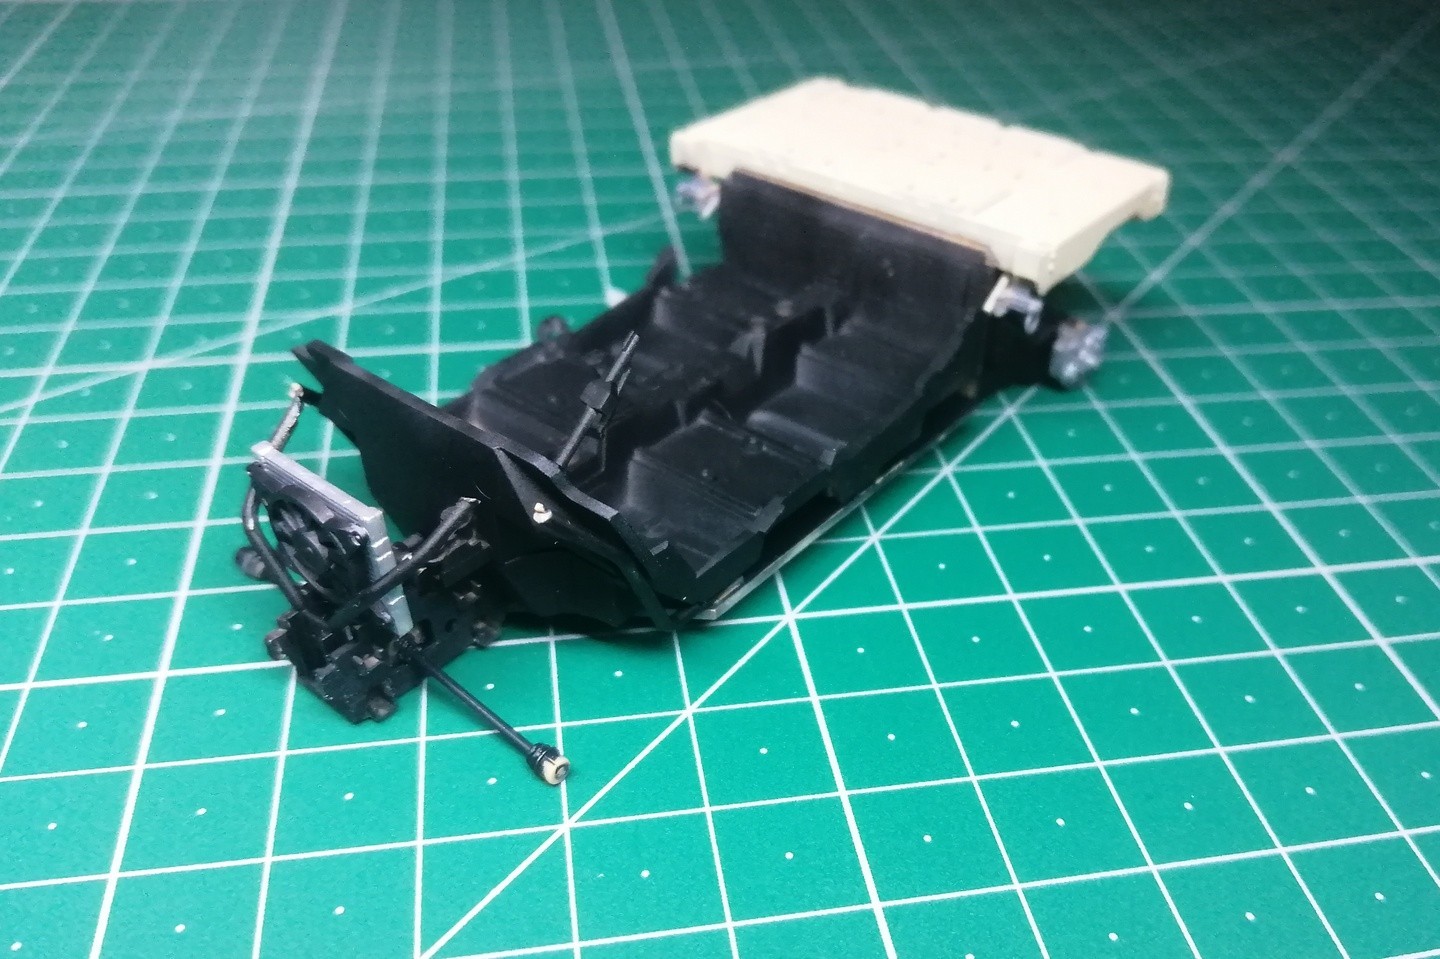
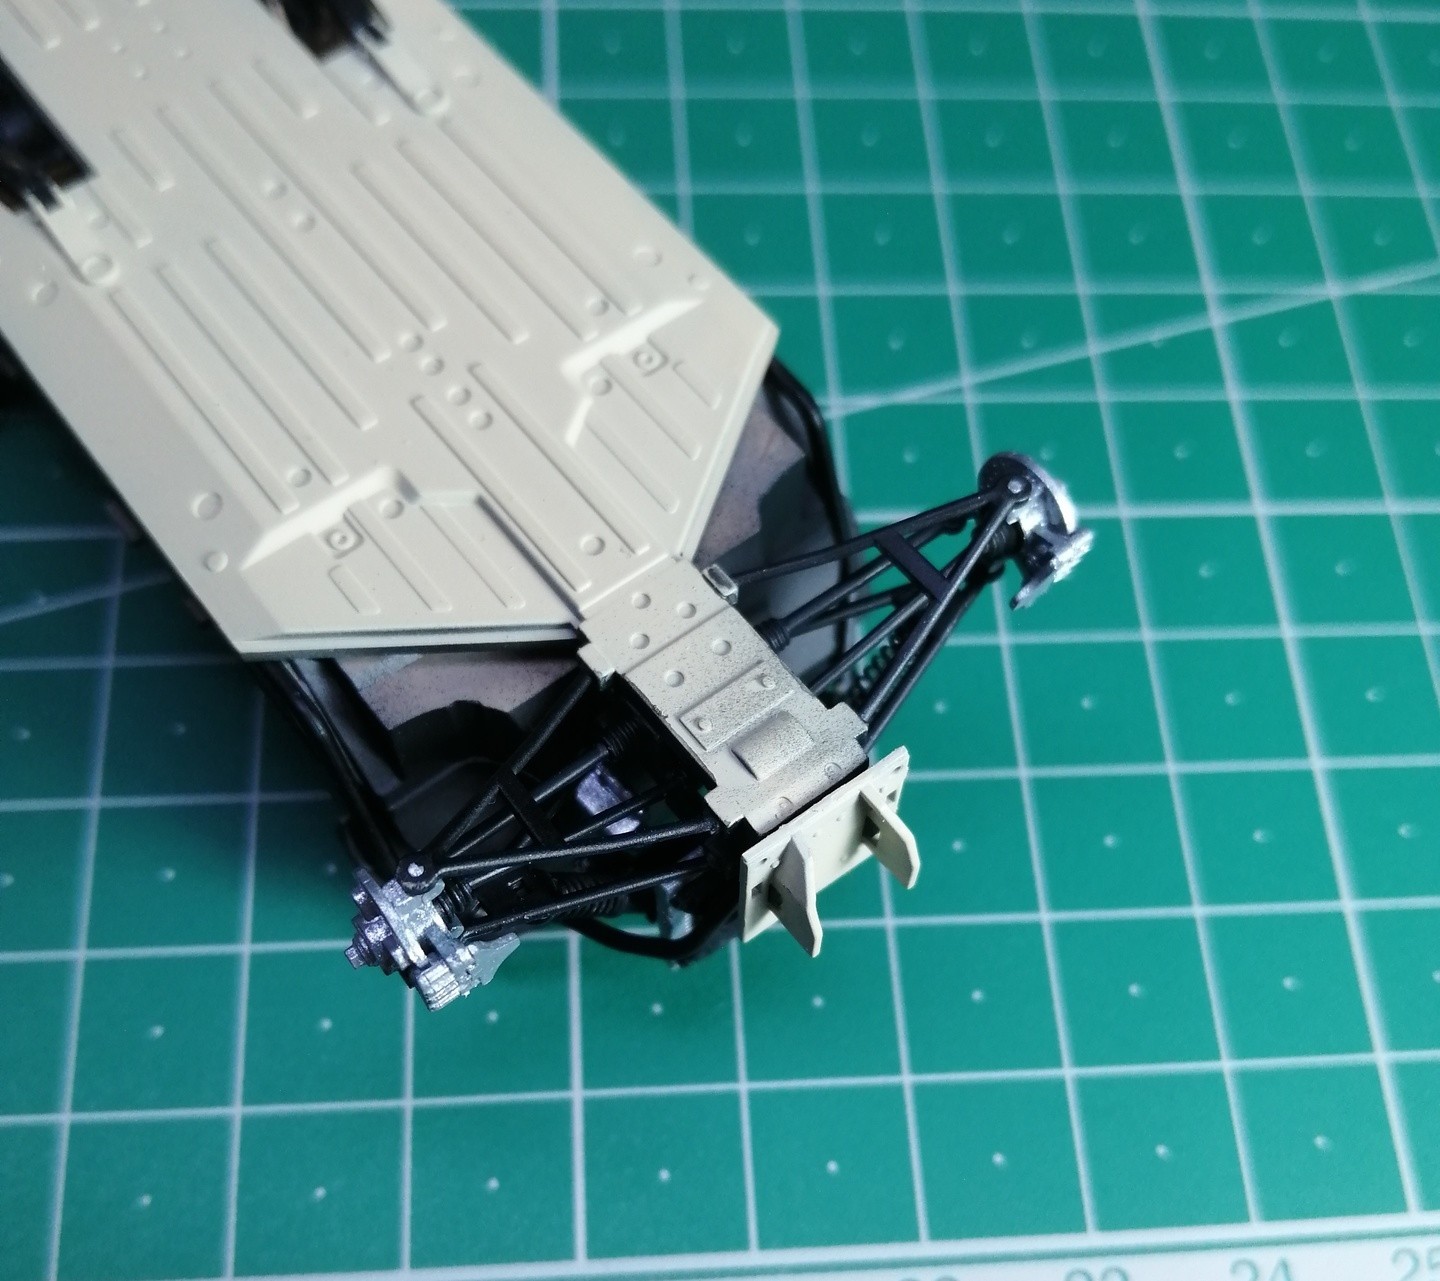
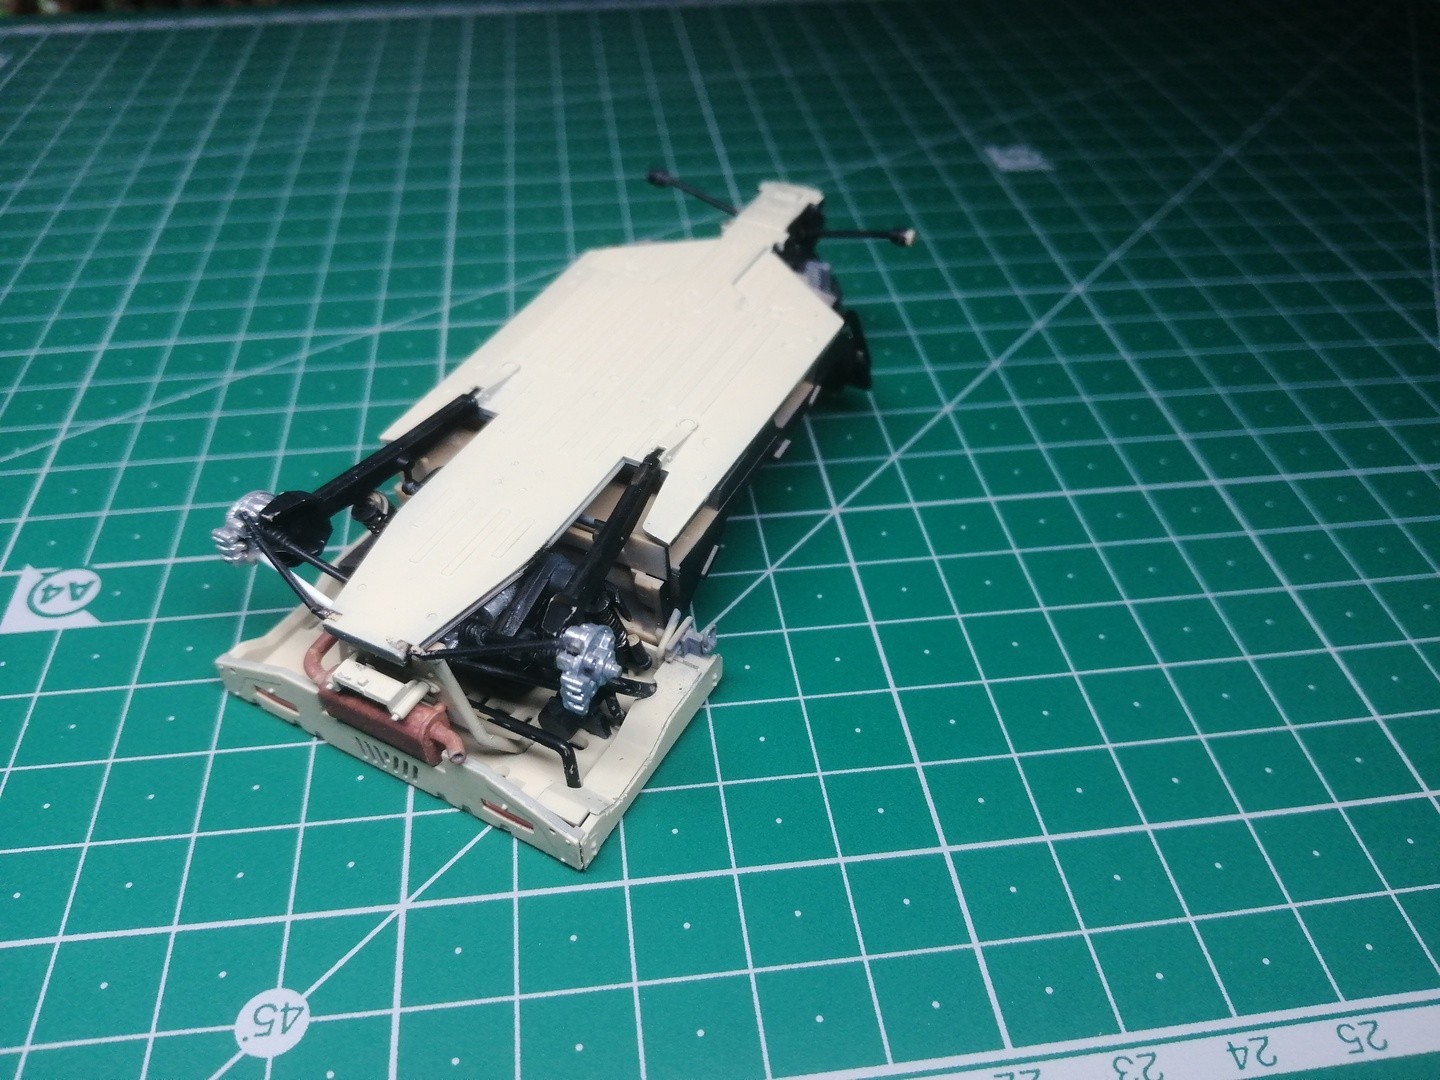
The assembly starts with the chassis, engine, transmission and muffler, and is no problem at all. Step 3 and 4 on the other hand are more complicated as the G22, F16 and F51 bars that support the rear deck do not fit perfectly. Care must be taken to ensure that they match the bottom of the rear deck once they are all in place. It is advisable to use a slow-drying glue that allows adjusting the parts to fit well.
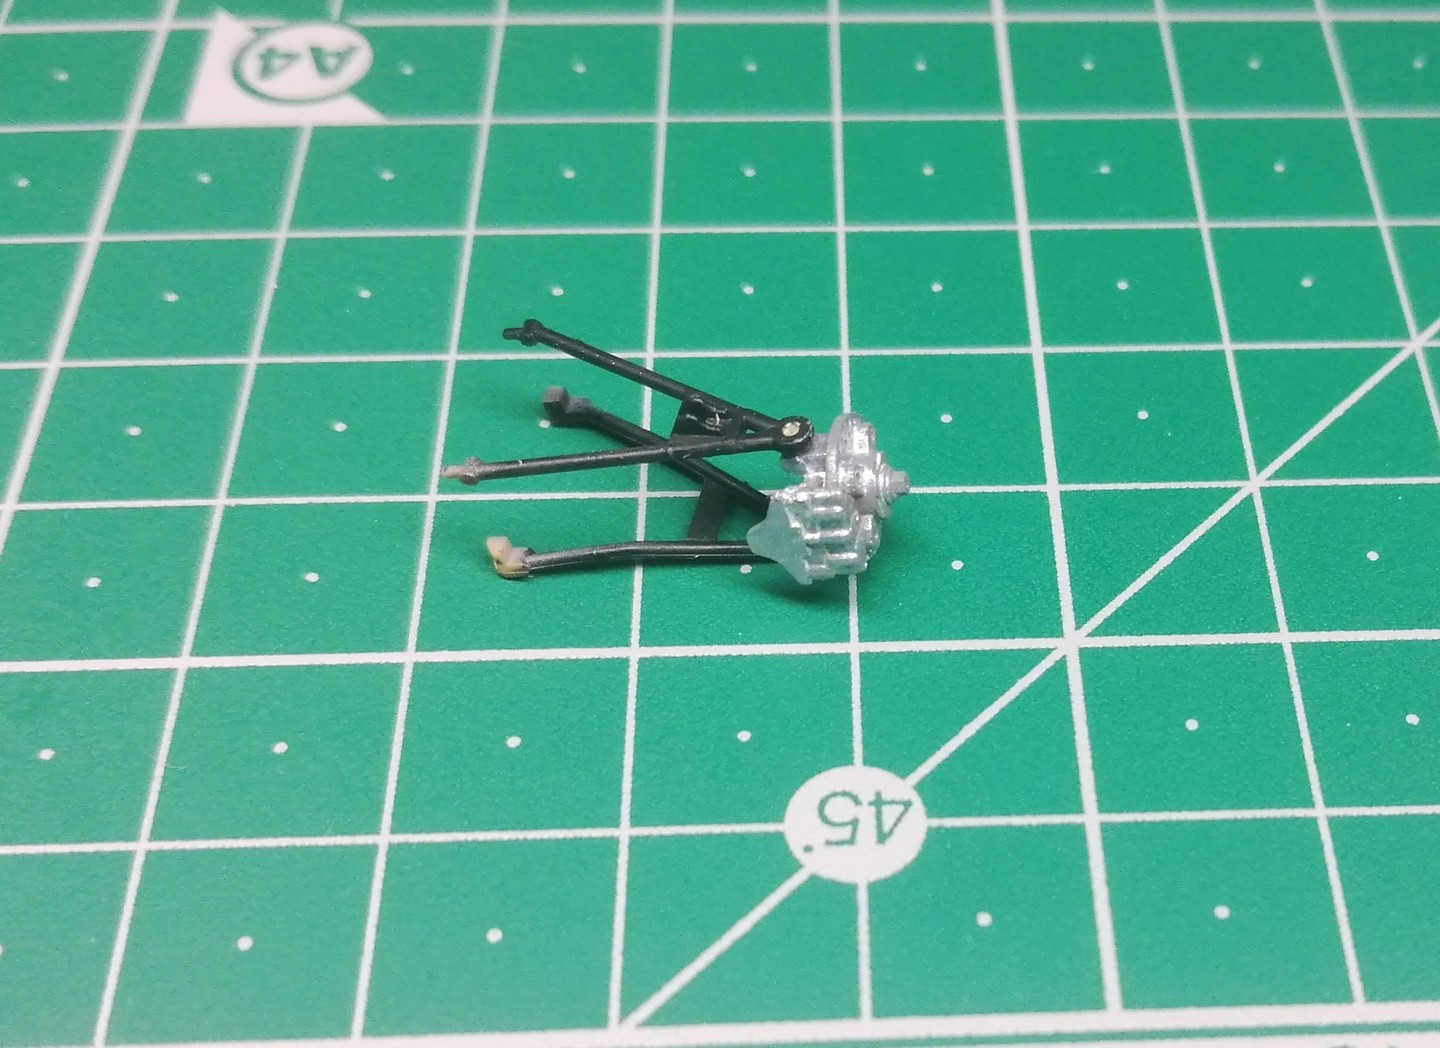
Regarding the suspension, it is remarkable the use of metallic springs, which gives a very realistic effect. The size of these springs is very well calculated so that there is no stress on the plastic parts. The rear suspension arms were not that easy. Although I can not rule out having put something wrong, I think that for some reason parts F12, F13 and A13 are too long and do not allow the brake discs F53 and F47 to be fitted correctly. To make matters worse, F13 was broken and A13 flew off (I found it a couple of weeks after the kit was finished and painted).
Luckily this whole assembly is inside the rim and not very visible, so I remade A13 with a rod and contact point with the brake discs to make it fit properly.
I think it is convenient to dry fit the rims A8 and A9 at this point to make sure that everything is well aligned before glue dries.
The fine detail of the brake discs, which will show through the outside of the rim, is worth noting.
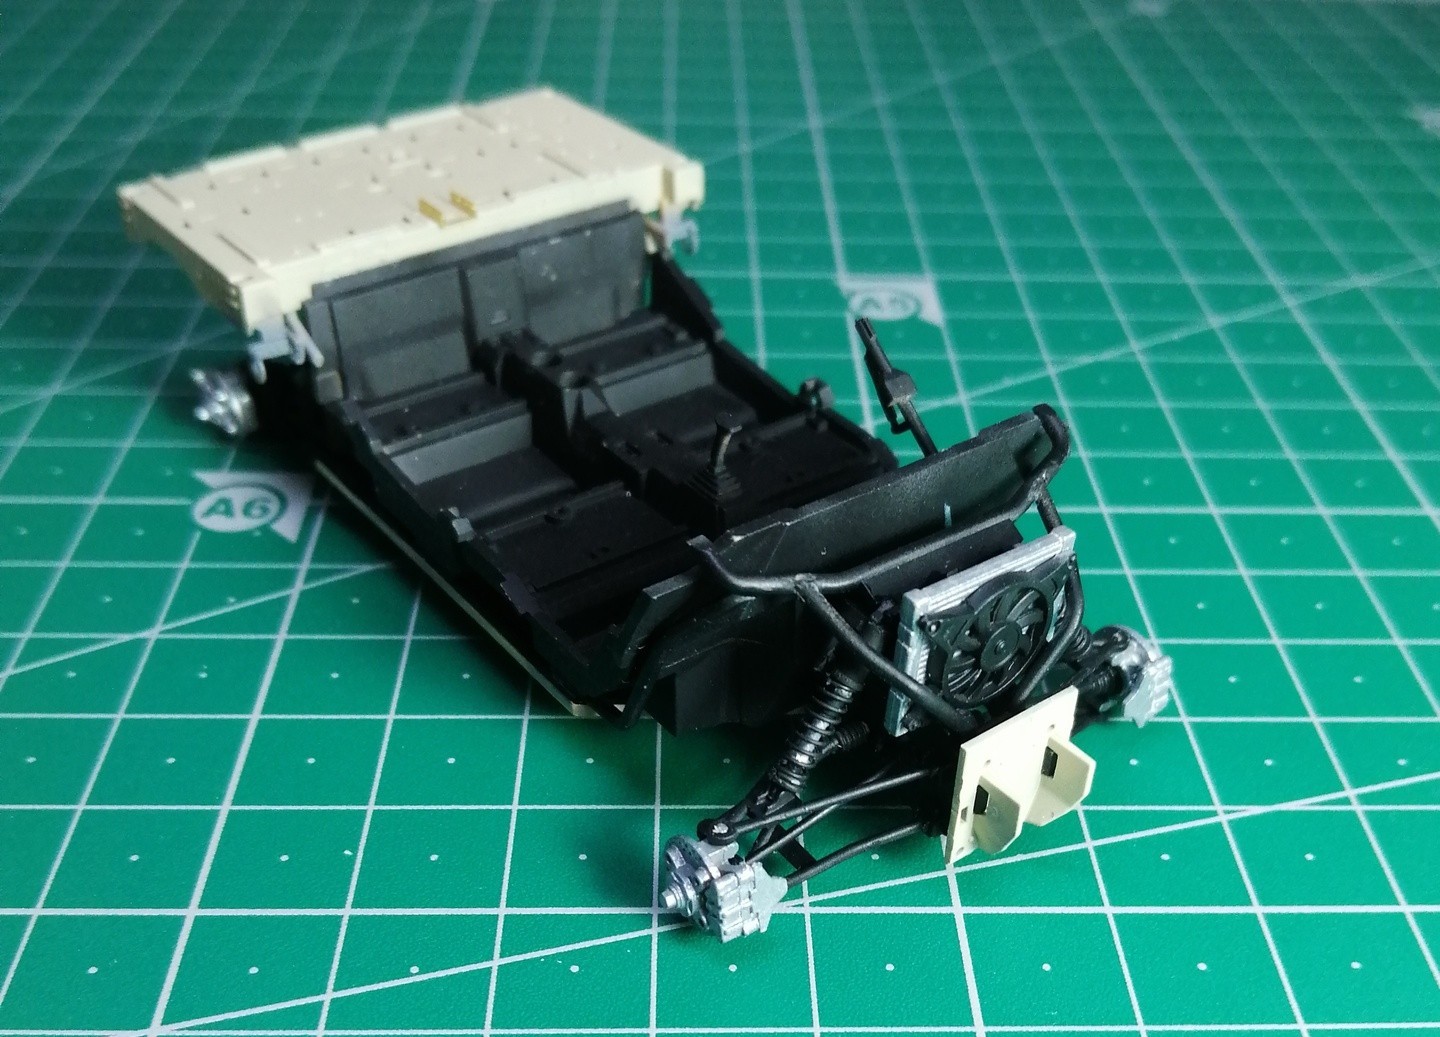
The front suspension is not easy either, and again the end of the F24 arm (F25) it does not fit well on the brake disc once the F63/F66 arms are connected. I think it is easier to attach the F63/66 arms to the brake disc first and this assembly to the chassis, although it does not sit tightly to the arms. It is more fragile but it is simpler than having to adjust F24 which would be too long Probably the same thing should have been done on the rear axle, not connecting the F15 axle to the F53 brake disc.
Maybe it is a bit complicated to explain, but by testing all the parts before gluing them together you can find the best solution.
The photoetched parts are a bit thick but still do not look out of scale, and are easier to work with. They come pre-cut, which is a great advantage because you do not have to cut or clean anything. The adhesive on the back sheet they come with is very strong. You have to peel them off carefully with a blade, sliding it underneath slowly and trying not to bend the parts. They fit very well with the plastic, once folded as needed.
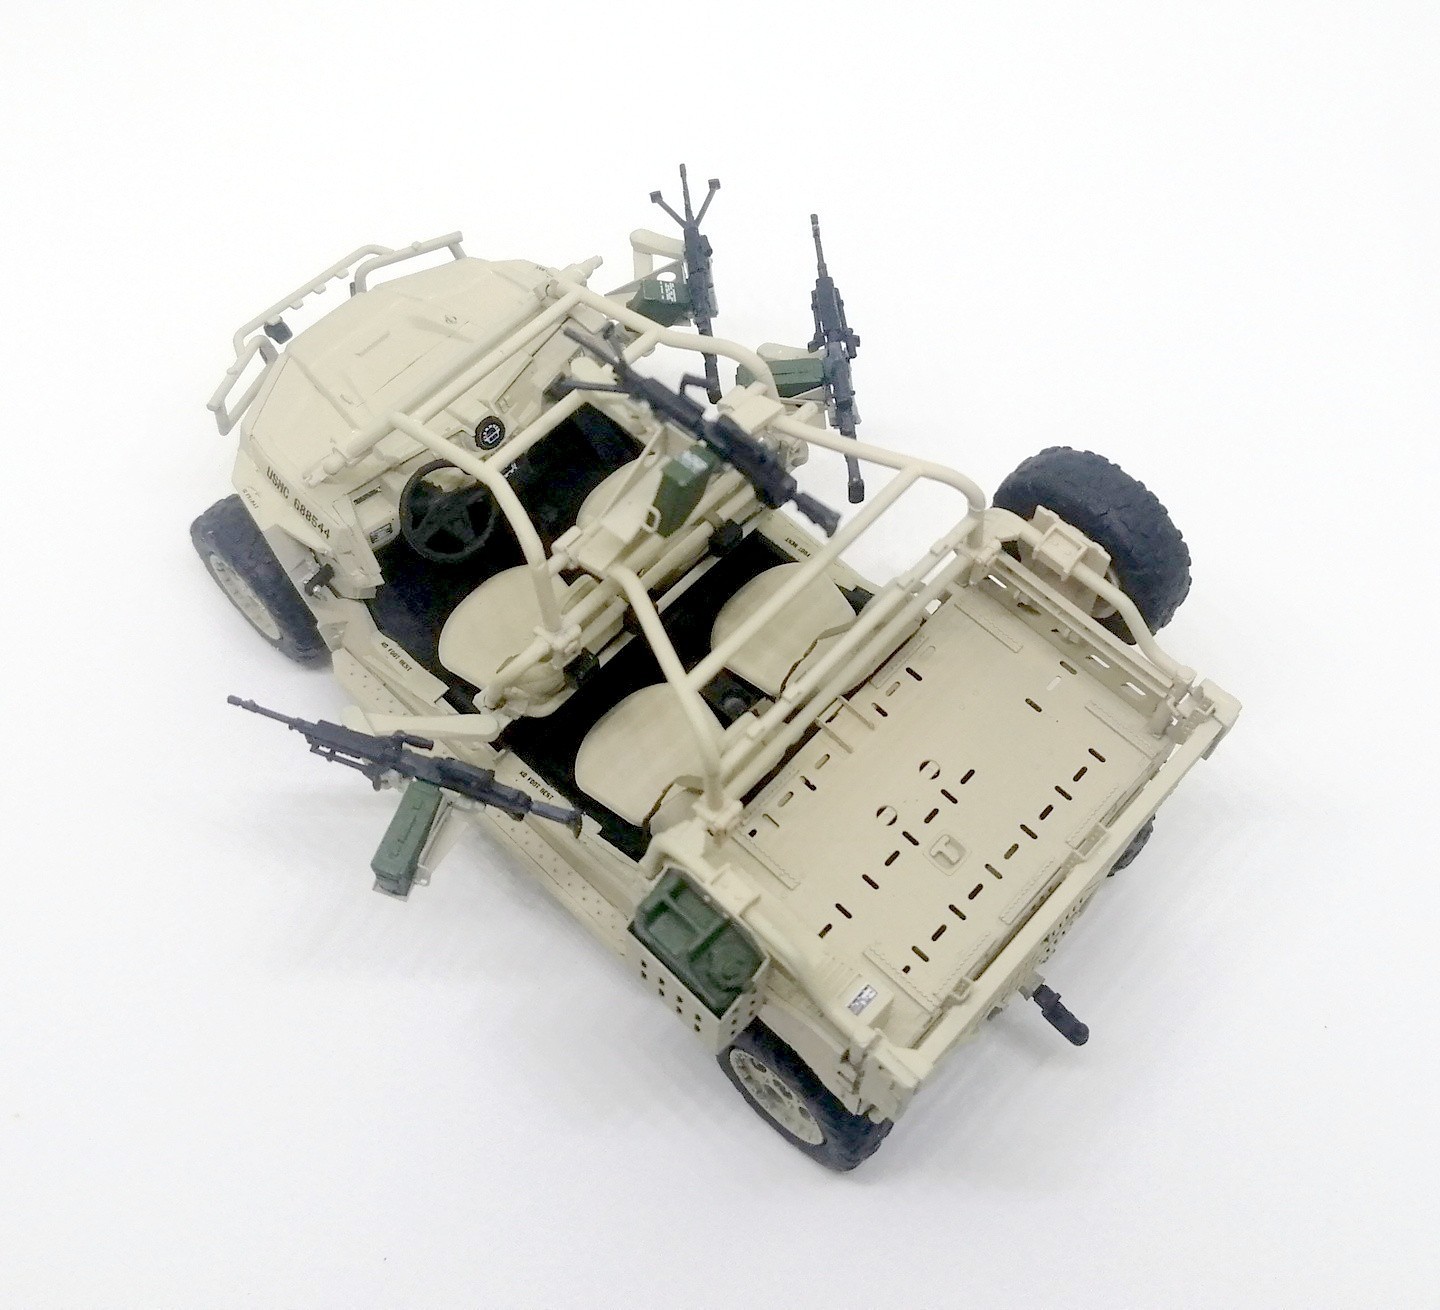
The crew "tub" and dashboard fit without any problems, although I would recommend fitting the A16 and A17 seat bases in step 9, before attaching it to the chassis.
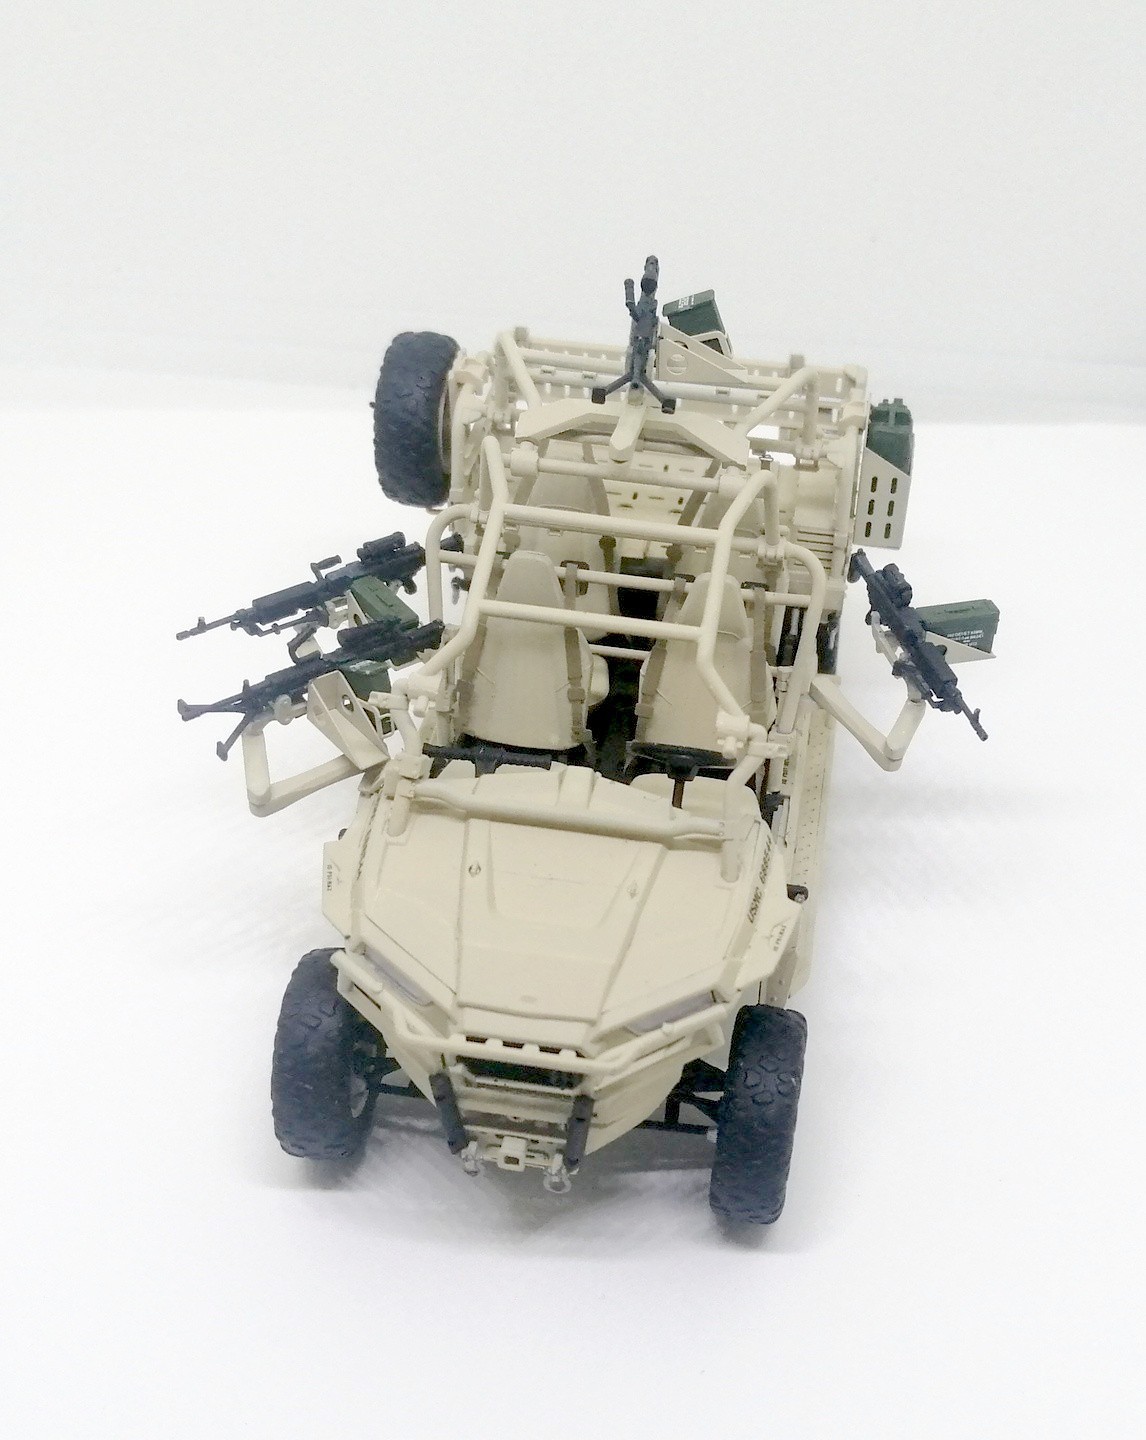
The hood and its sides take a bit of work to fit, as tolerances are minimal. The front and rear bumper on the other hand have no more difficulty than cleaning up the mould lines.
Likewise, for the sides, seats and rear deck, you only need to follow the instructions.
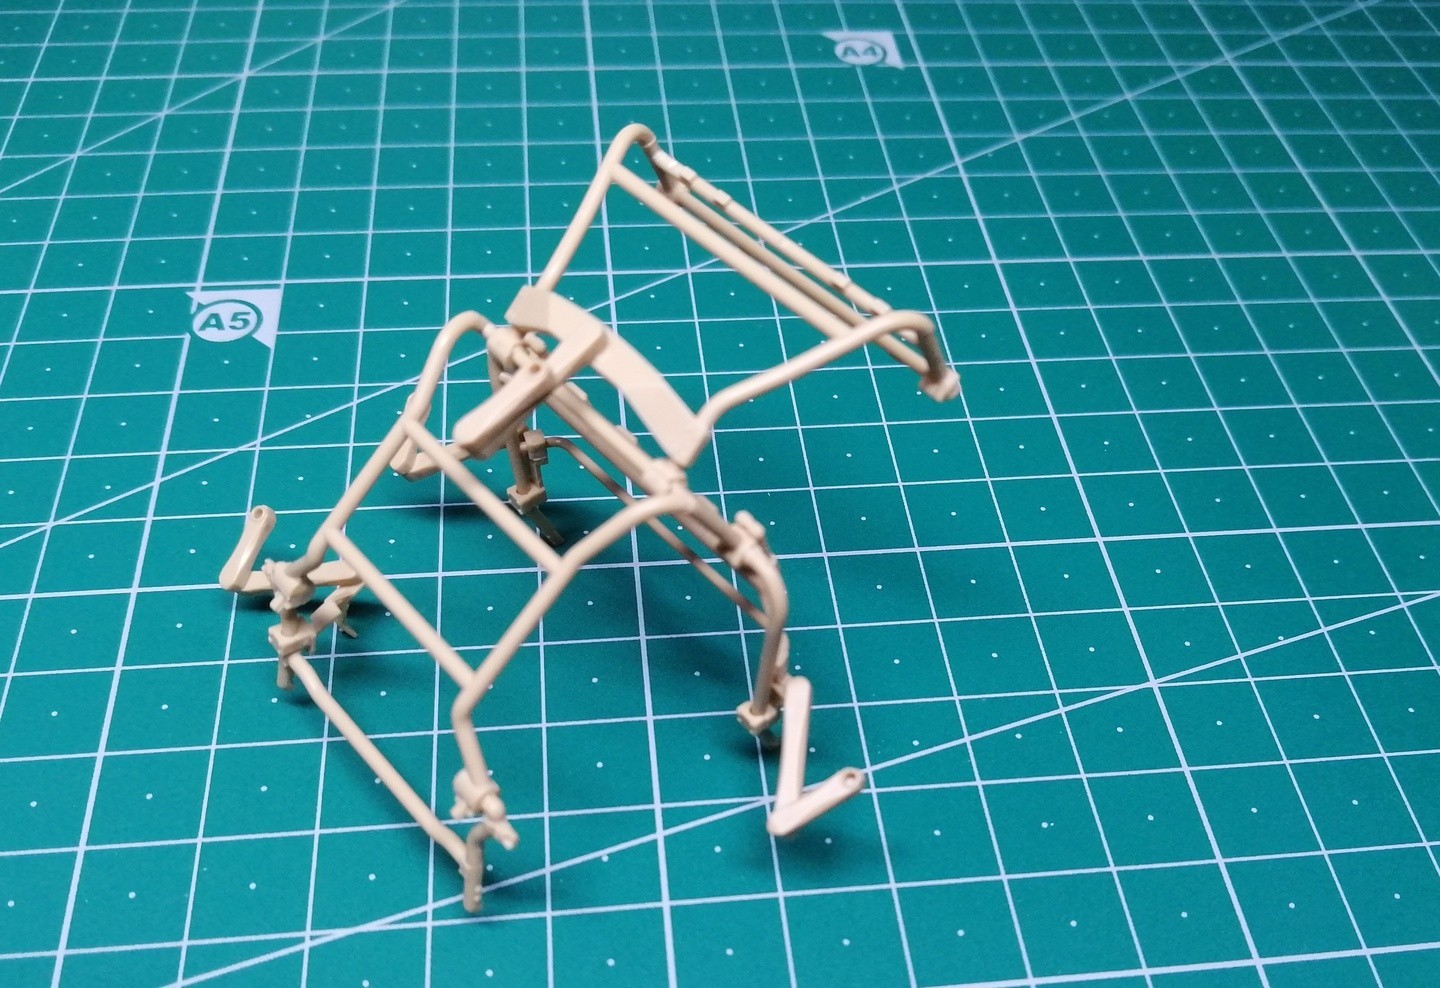
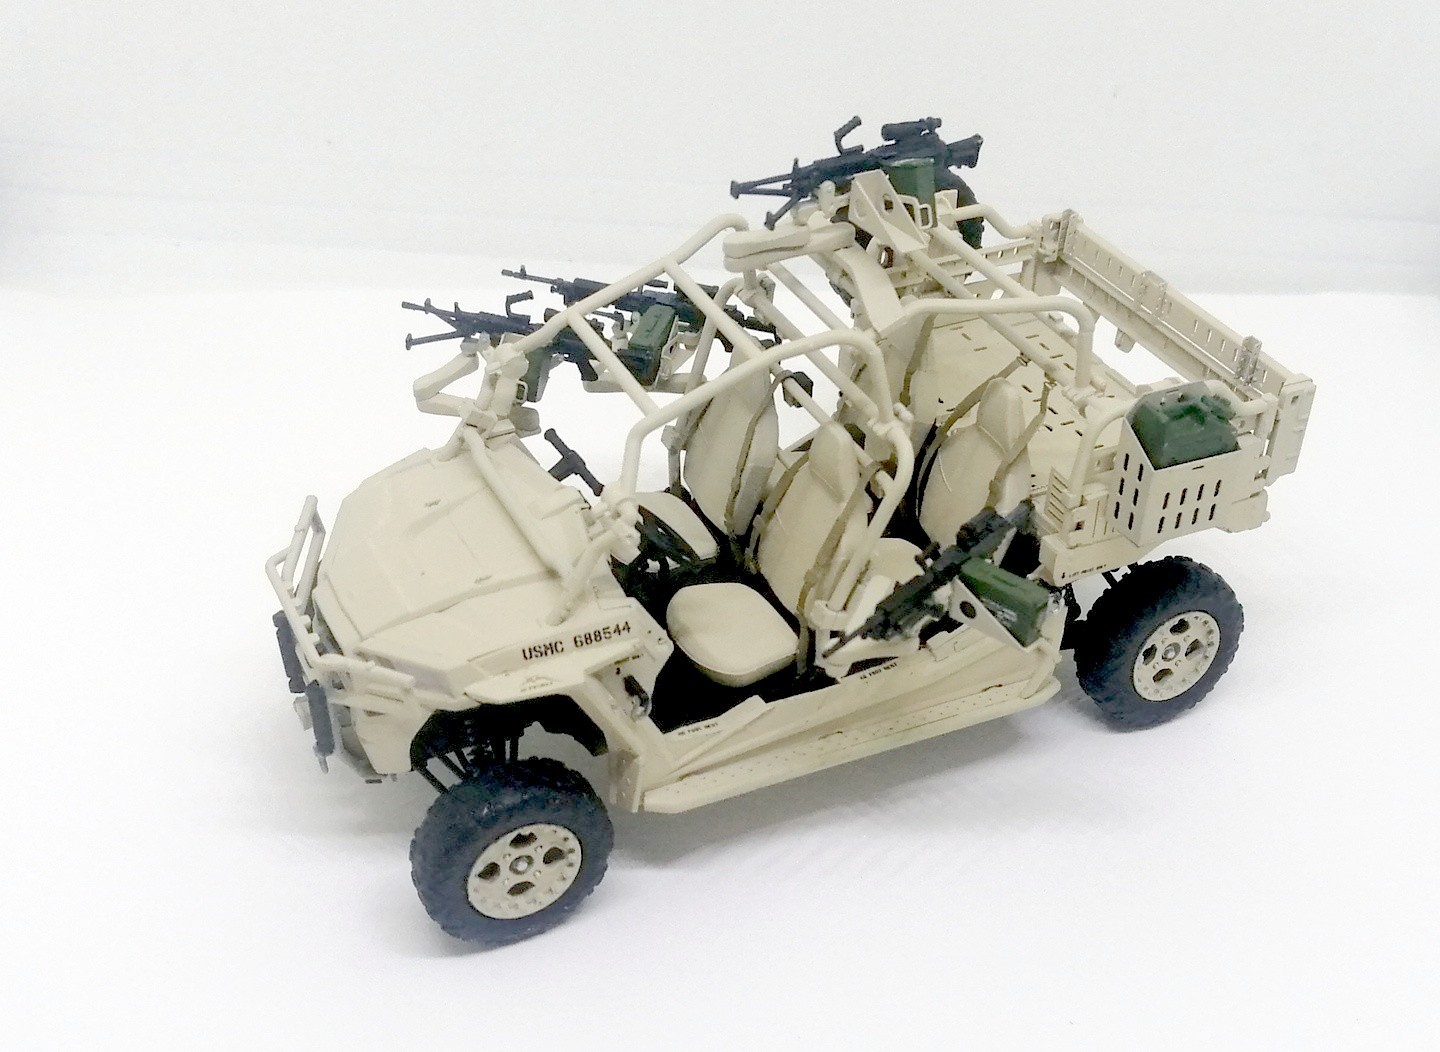
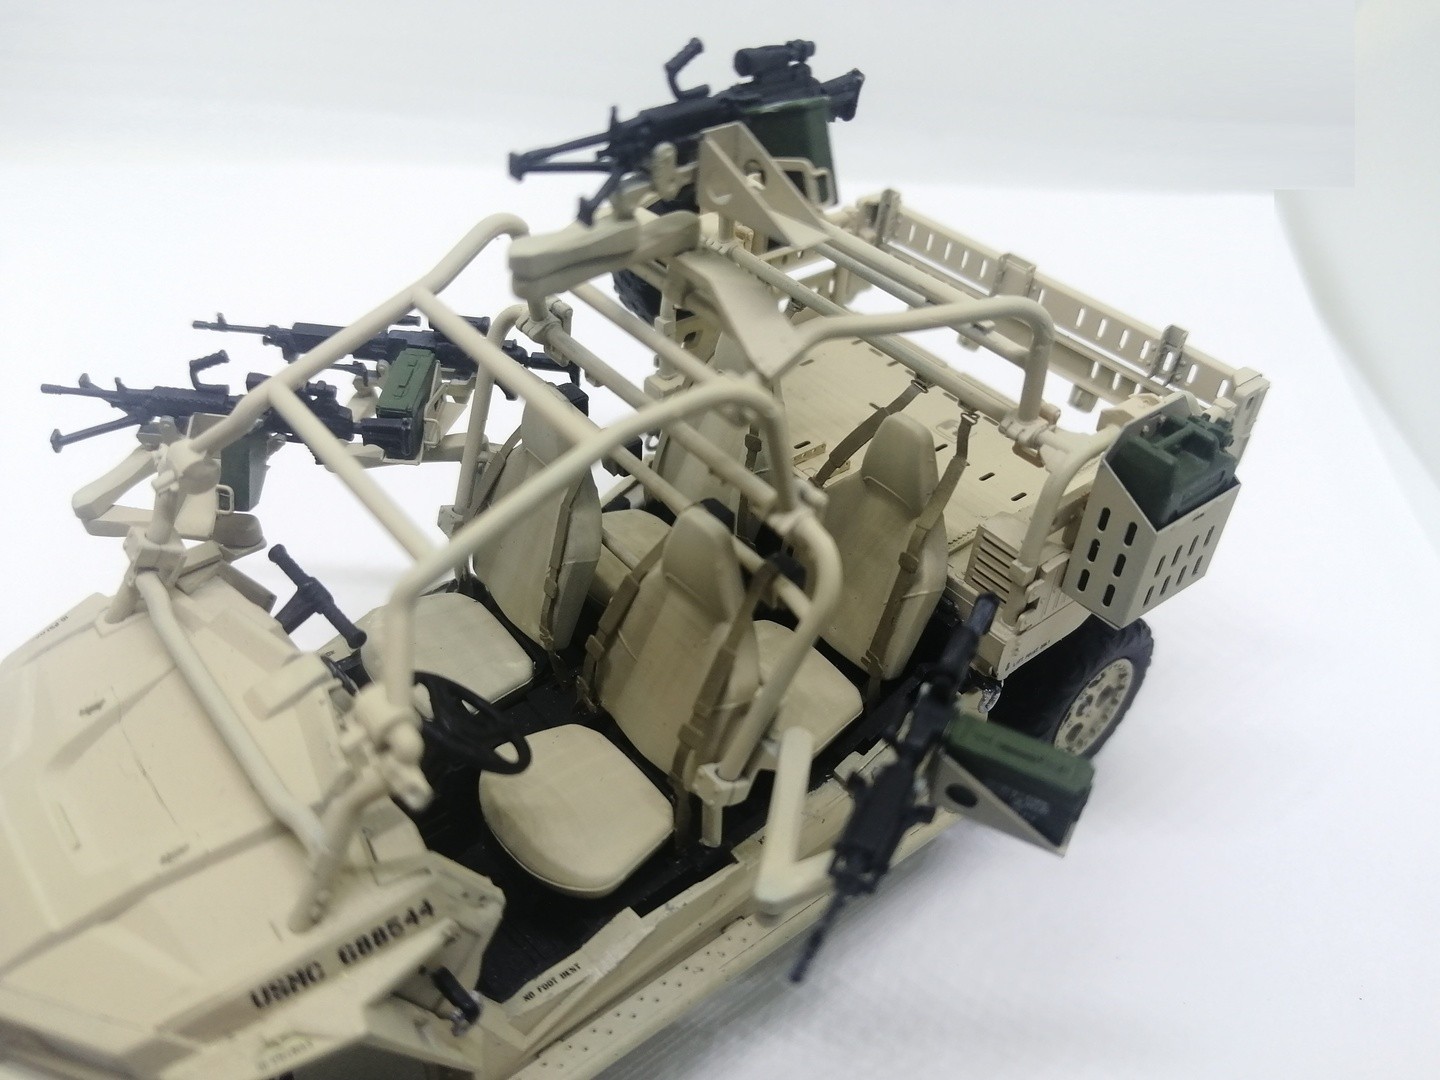
I assembled the whole top bar set together without gluing it to the chassis, to make sure it all fit well. It is not particularly difficult but it is a good idea to use slow drying glue again to allow some minimal adjusts required. It is important also to clean the mould marks well, otherwise they will be quite visible.
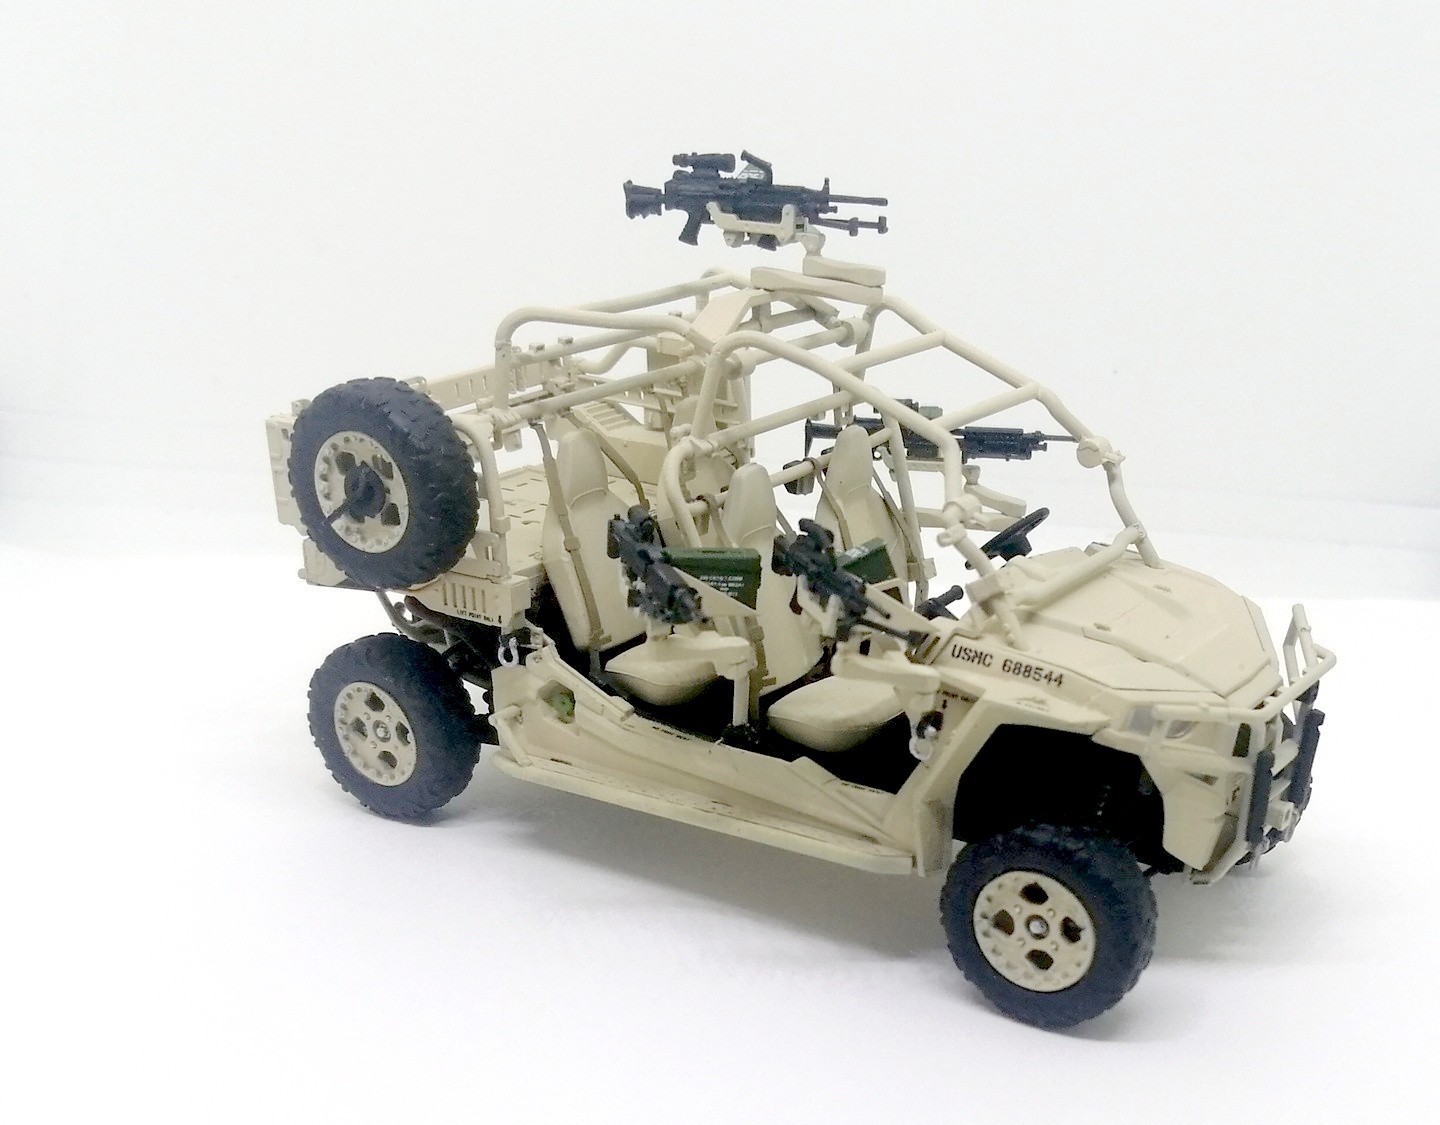
In the pictures I have seen of these vehicles in service there are no mirrors, so you would have to remove the brackets that are moulded into the F40 bar. I noticed it too late, when everything was painted and in place.
The photo-etched belts, on the other hand, are rather more complicated. By heating them in red (annealing) they become more malleable to be able to adjust them, but it is still difficult to shape and fit them, especially because the parts have been designed equally for both seats on each row when they are not symmetrical.
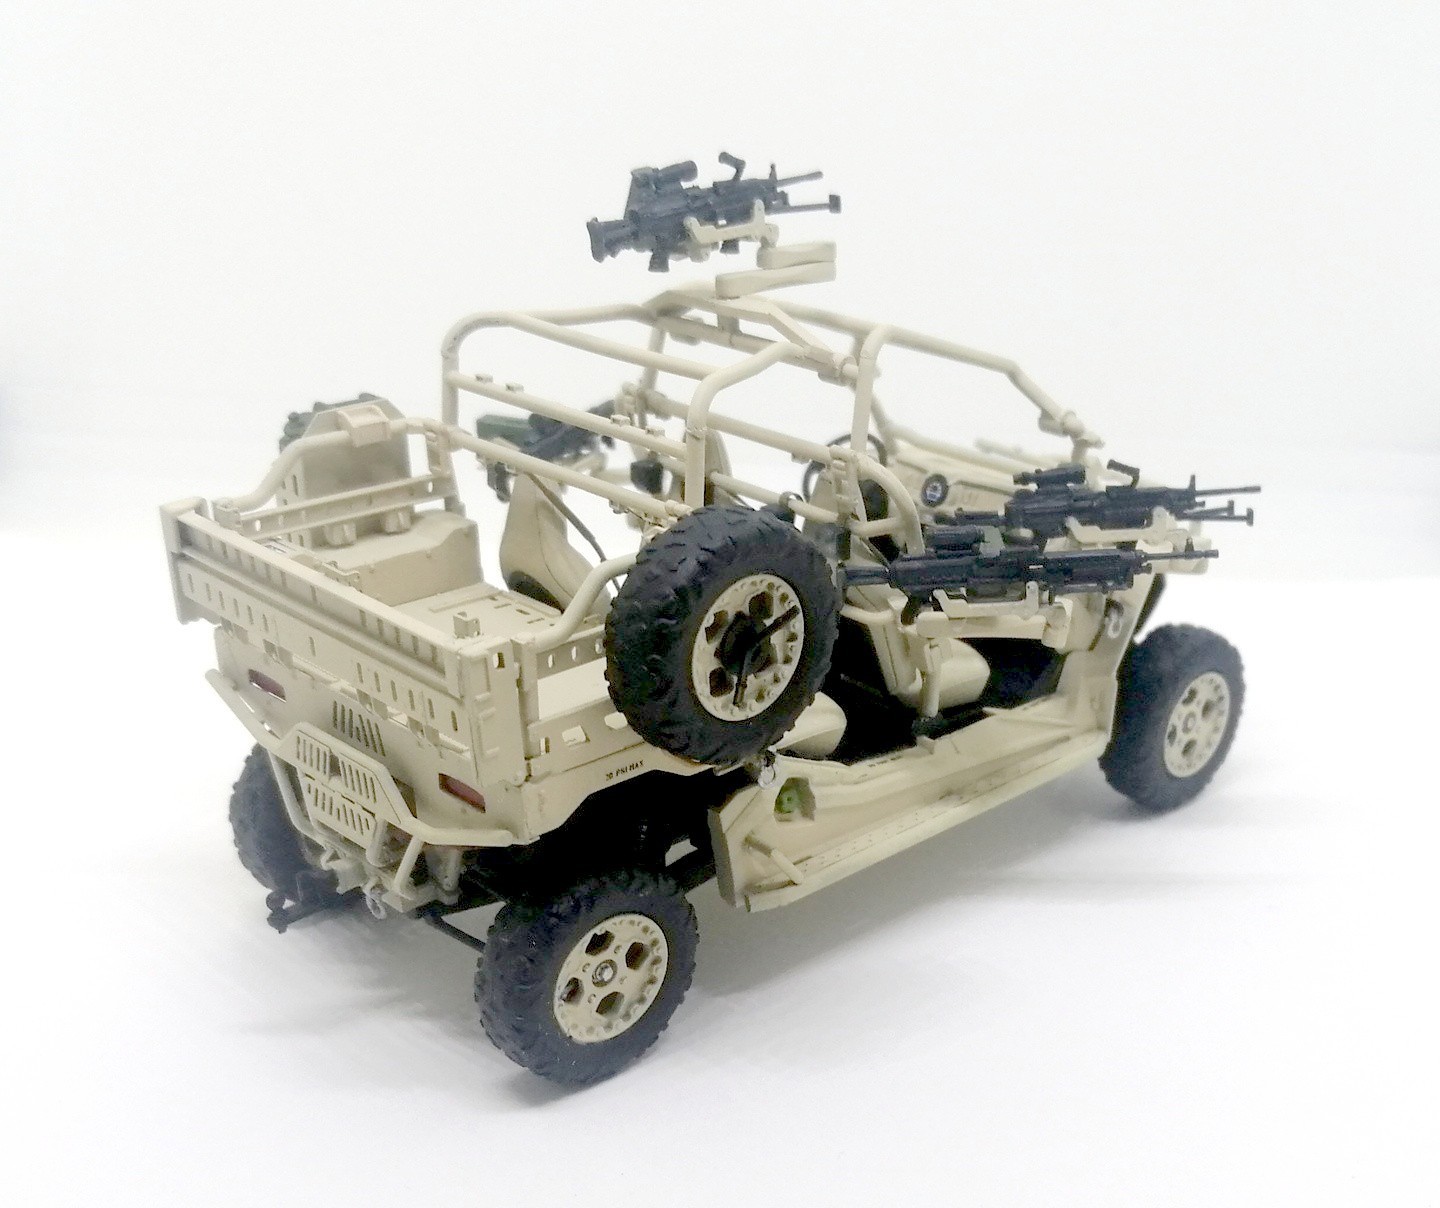
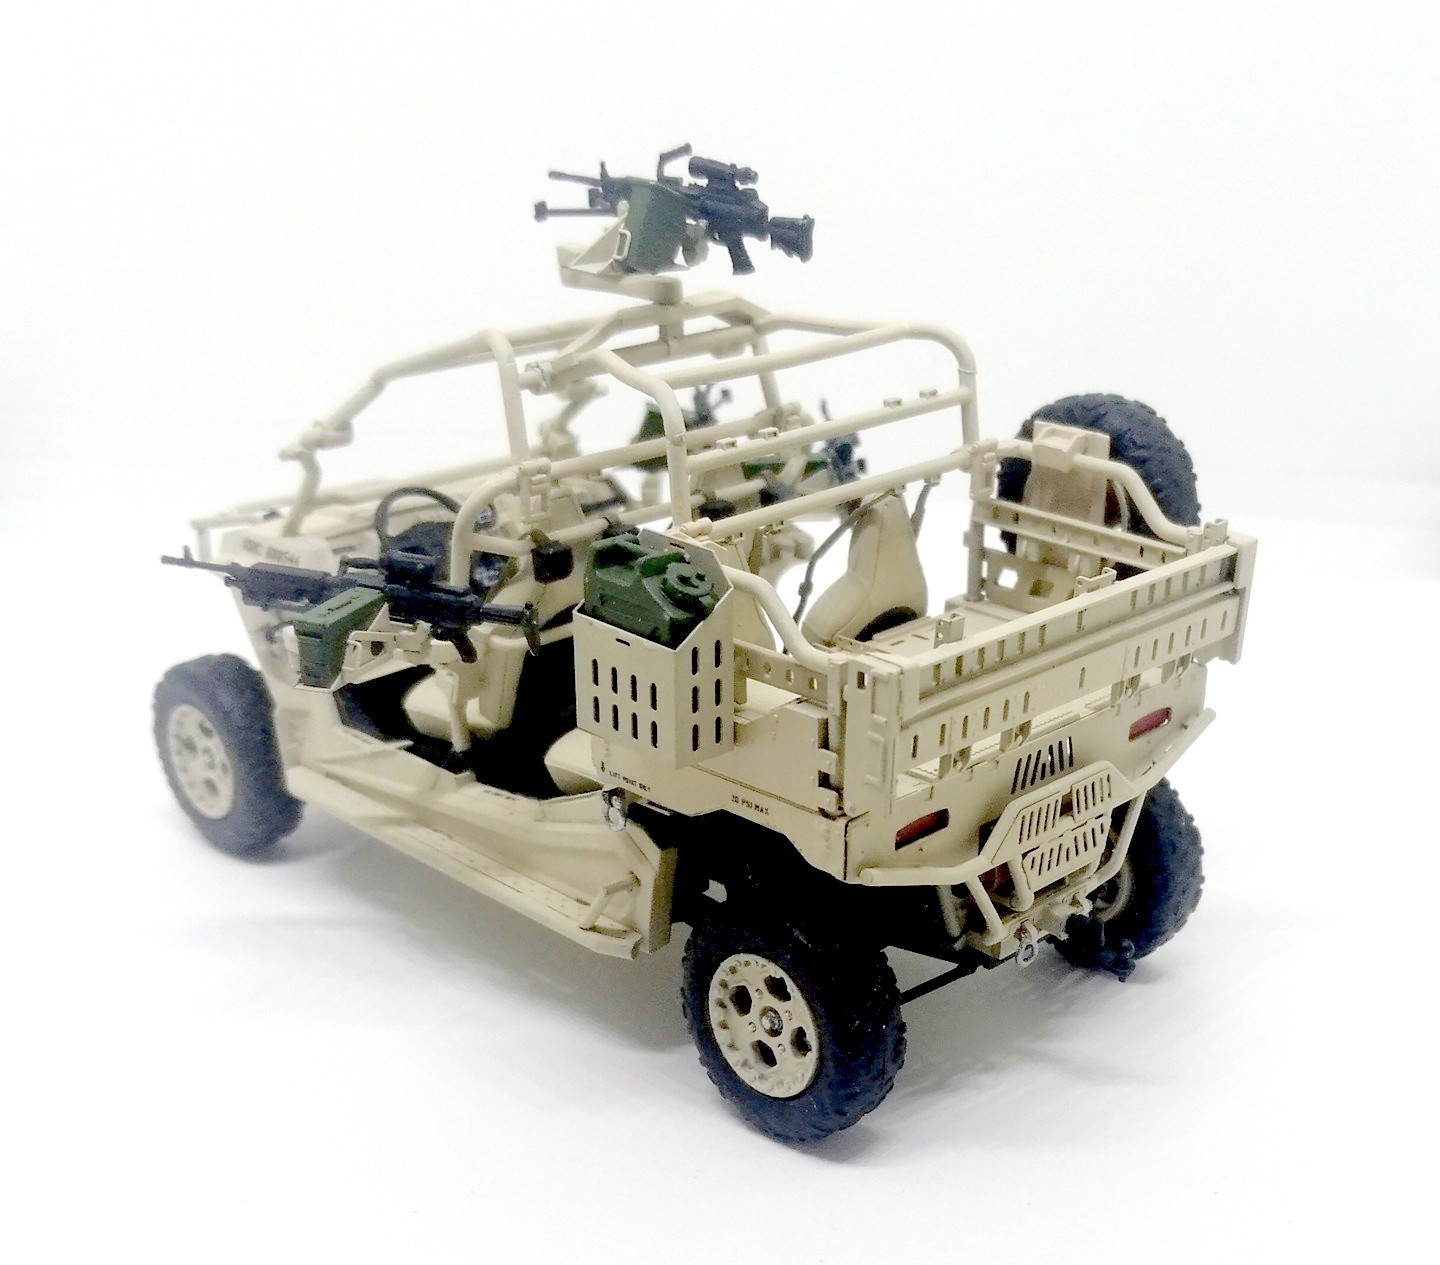
The jerrycan with its support and the spare wheel are very well detailed and do not require any effort, as well as the weapon supports.
The wheels despite being vinyl are quite well moulded, without any marks, and fit well on the rims.
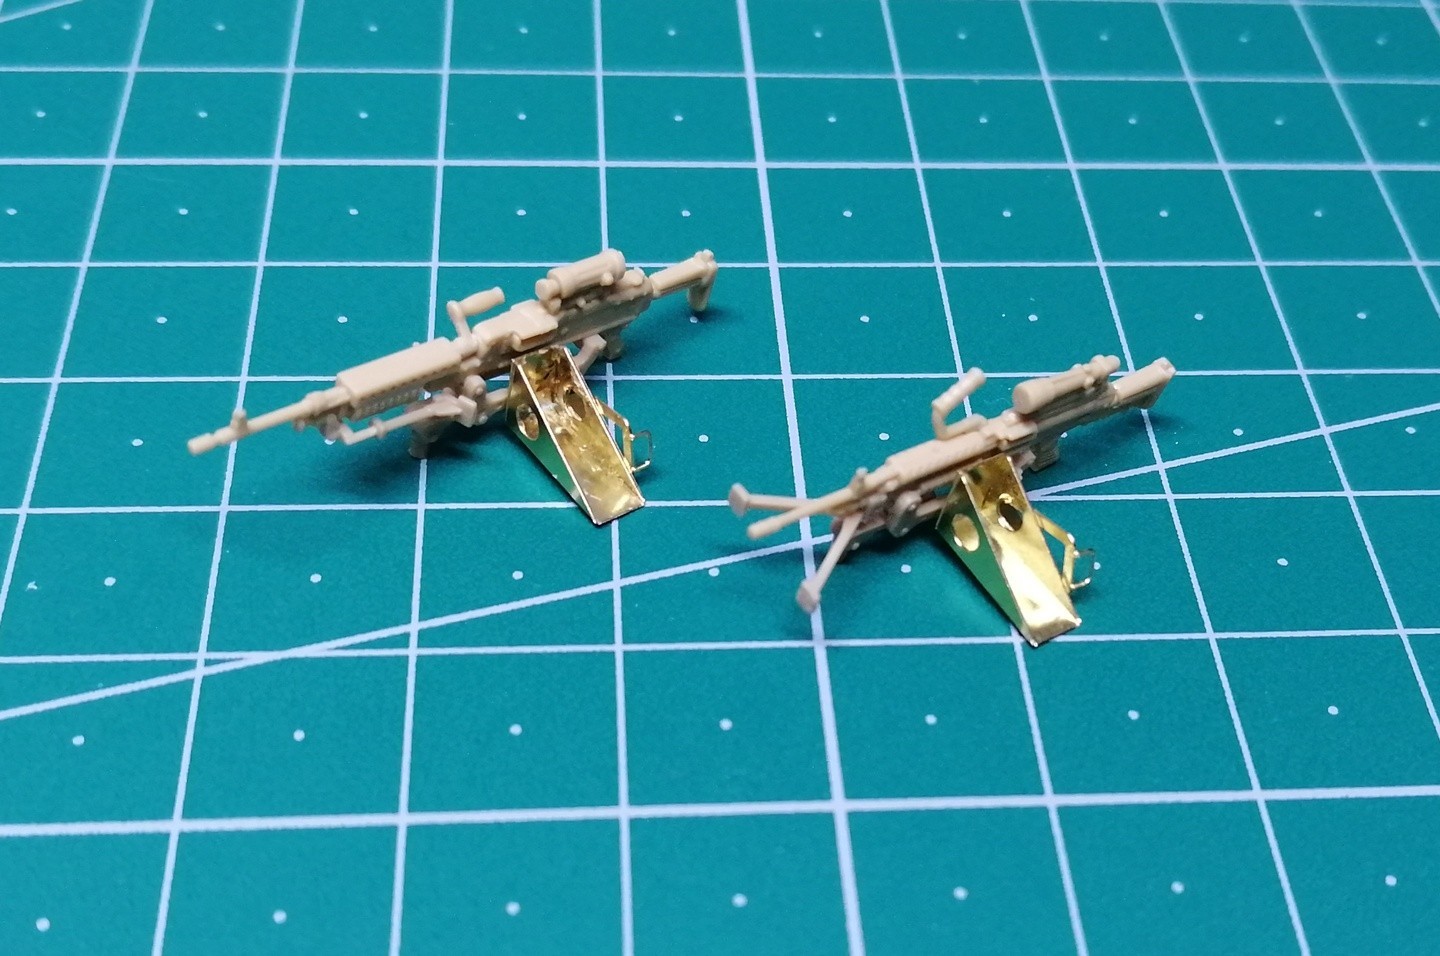
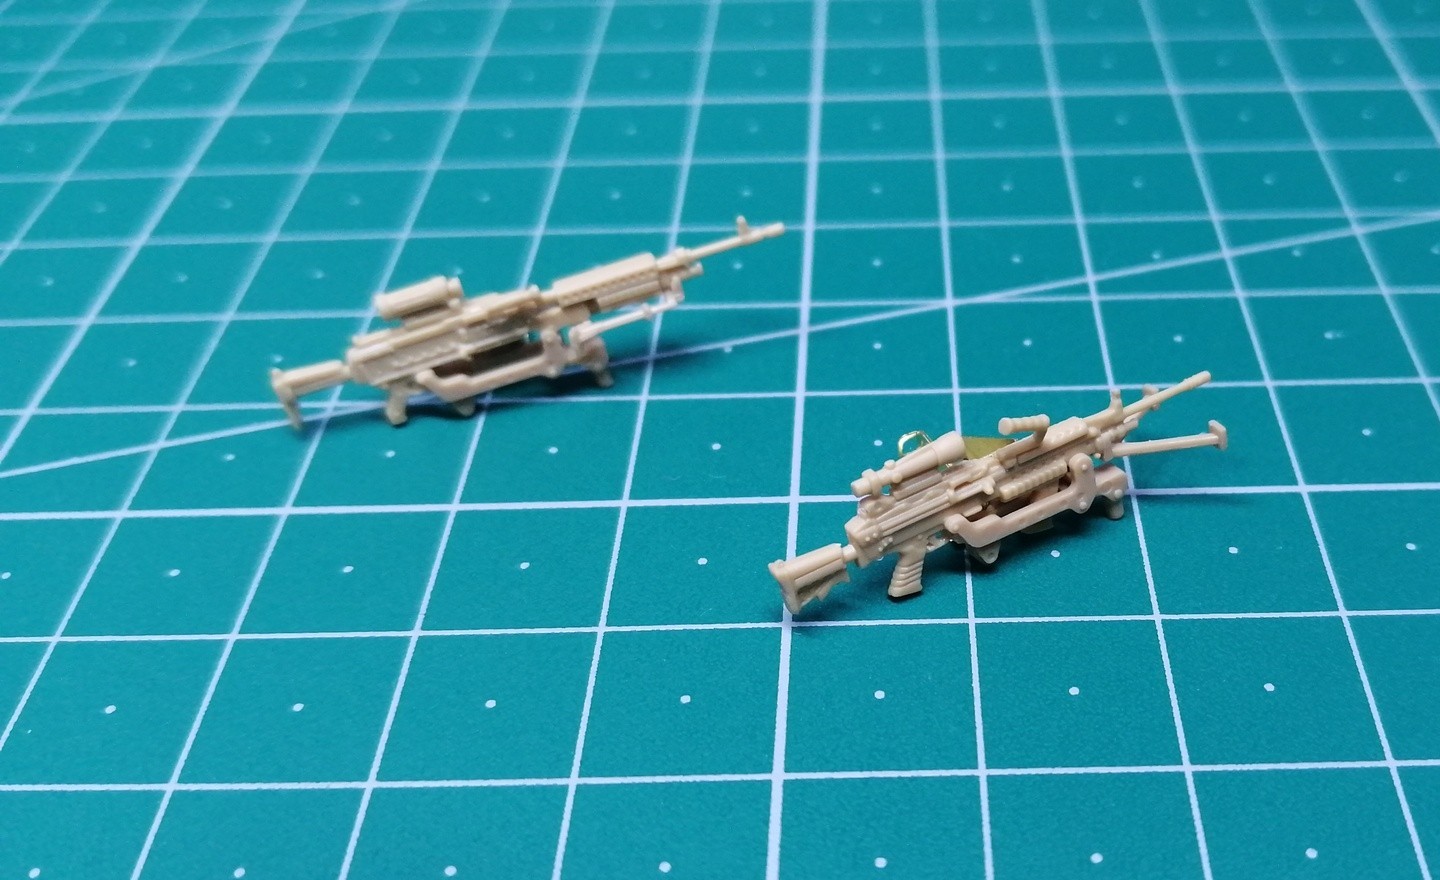
The machine guns are very well detailed, with the ammo box holders in photo-etch. There are both open and closed boxes to choose from. Additional NATO weapons such as the M110 sniper rifle, NLAW, AGW90 or Mk 153 are also included in the weapons sprue.
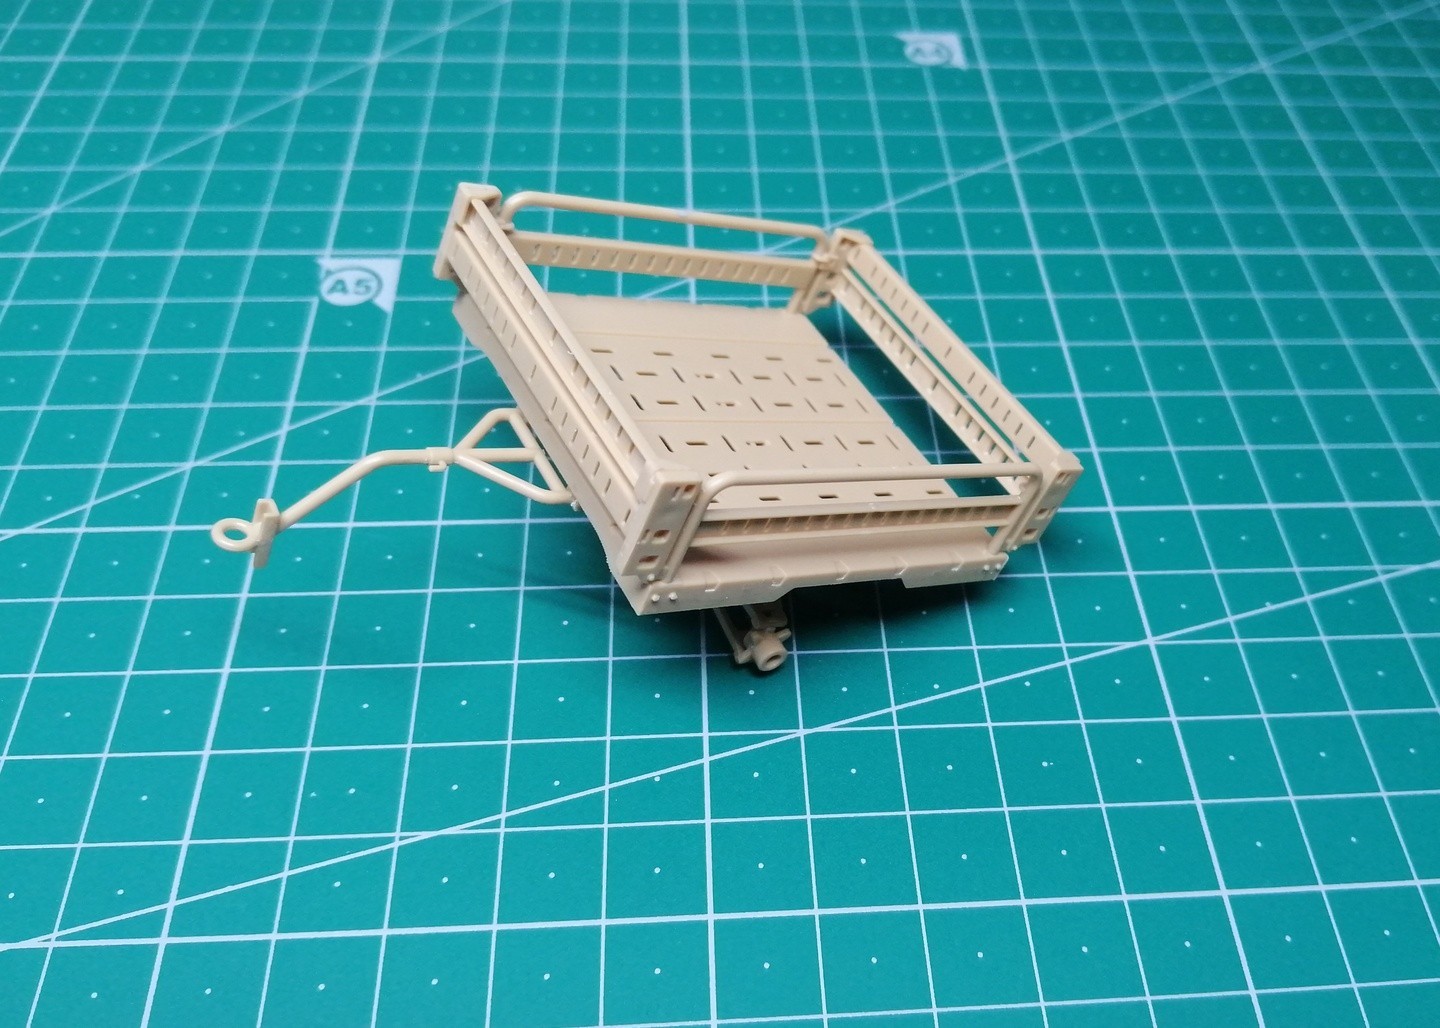
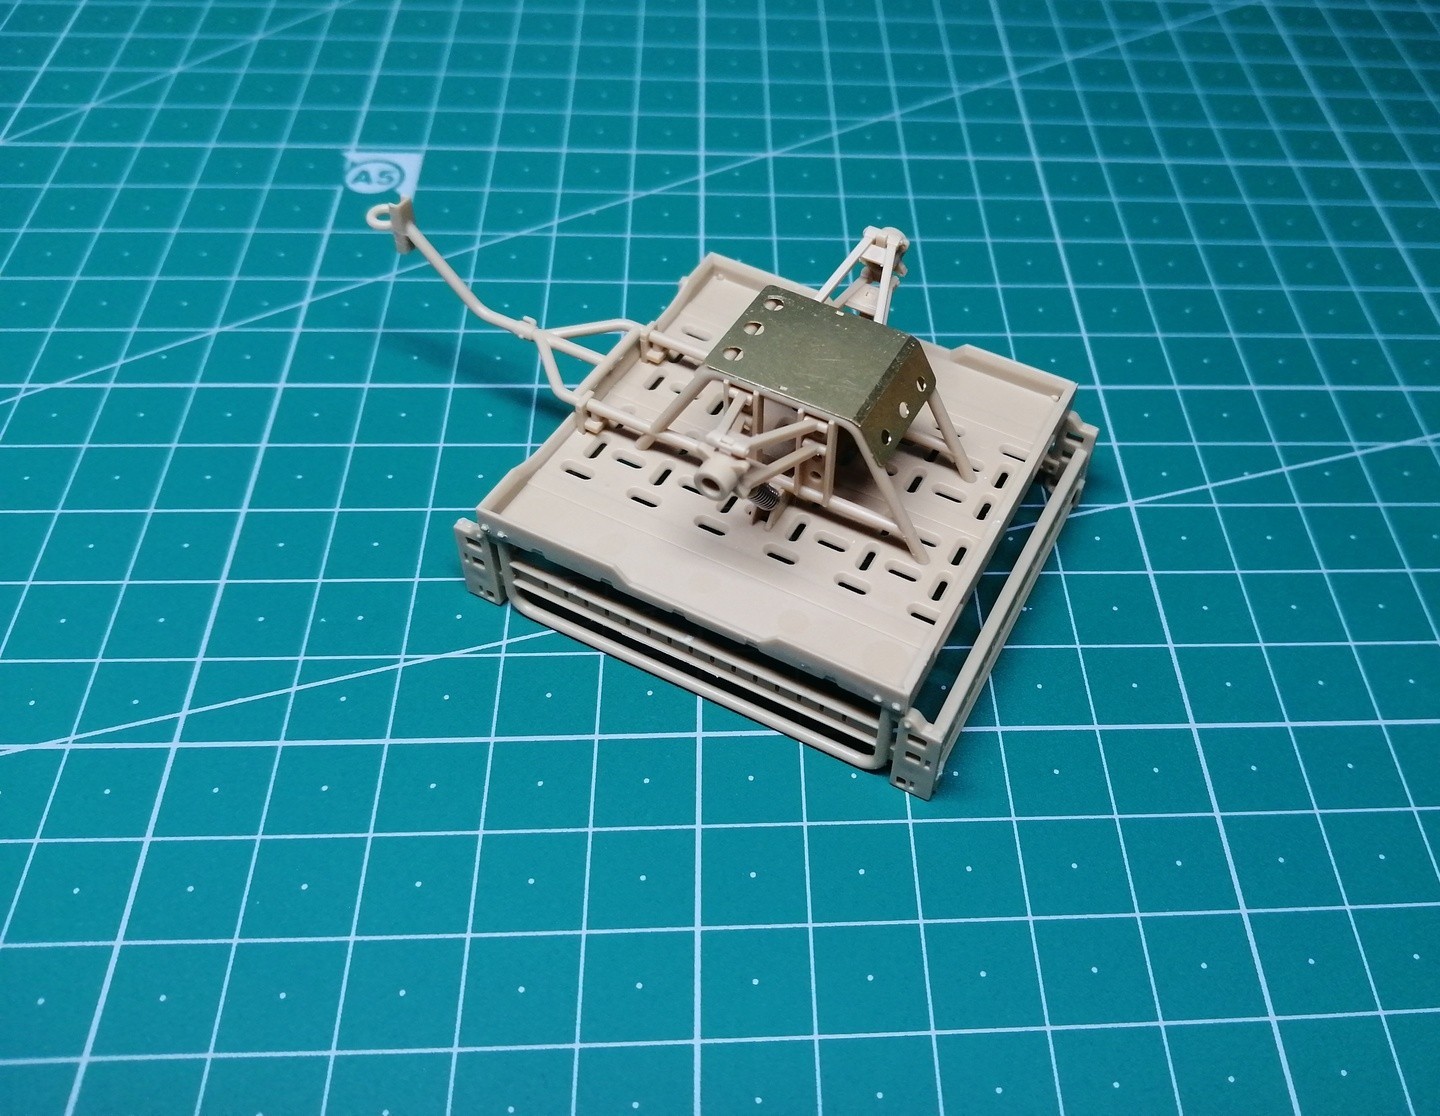
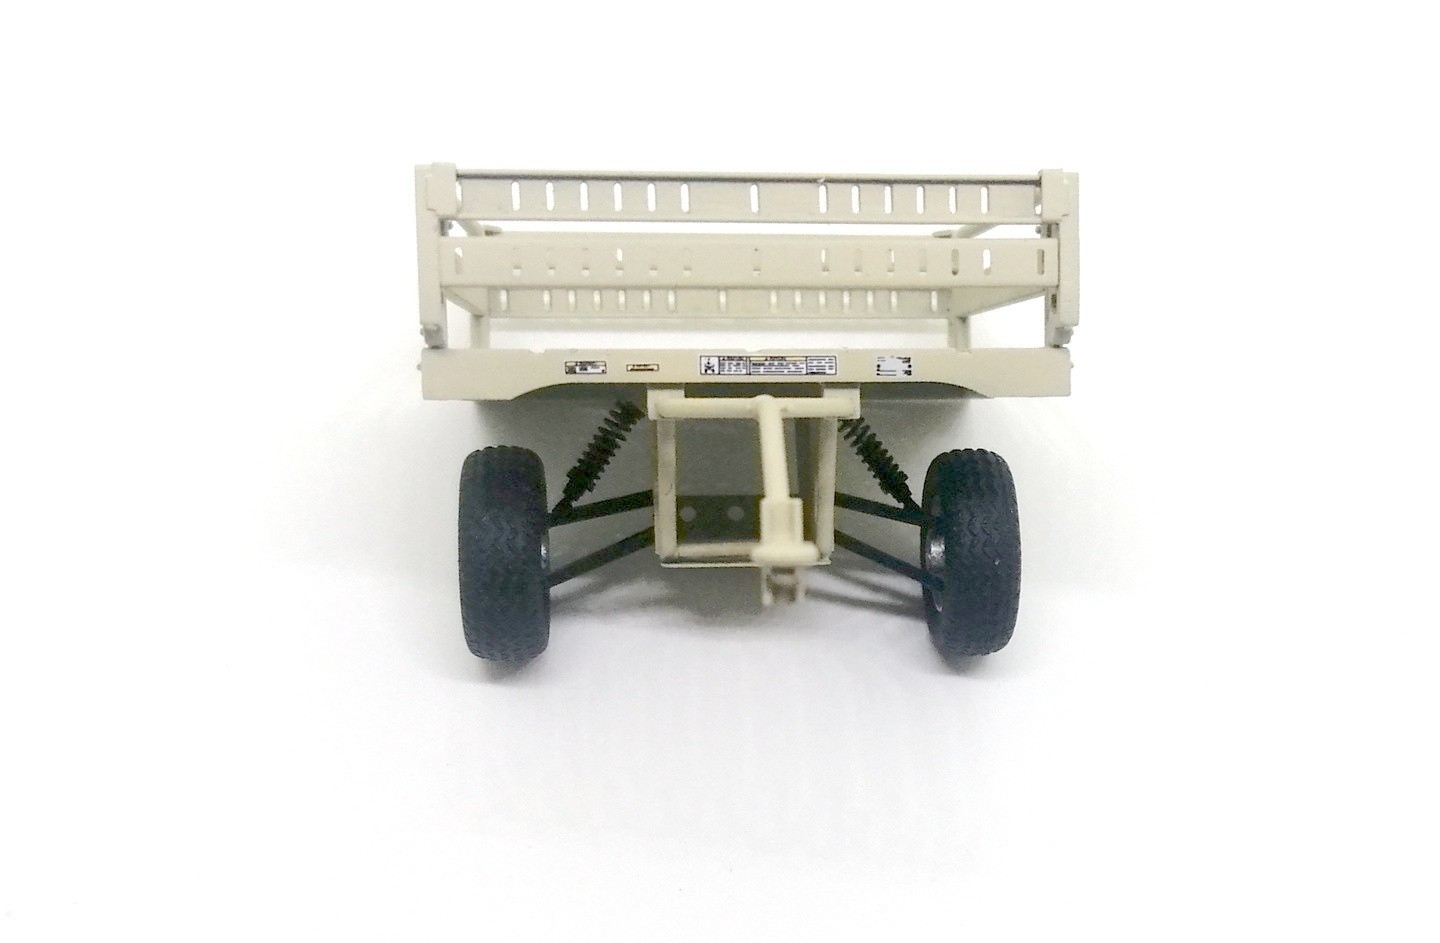
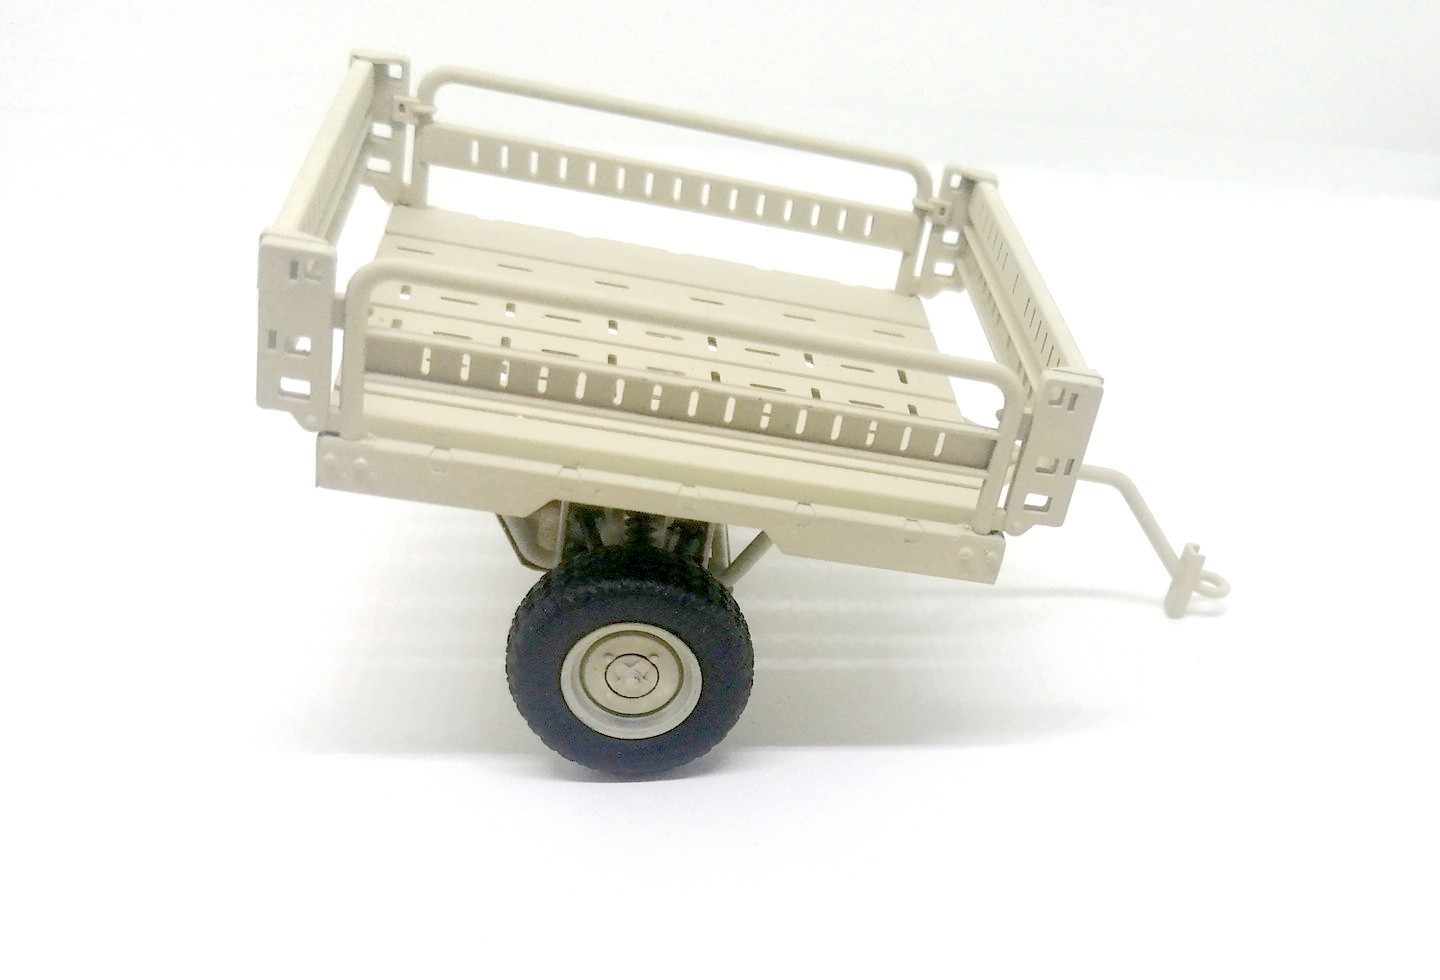
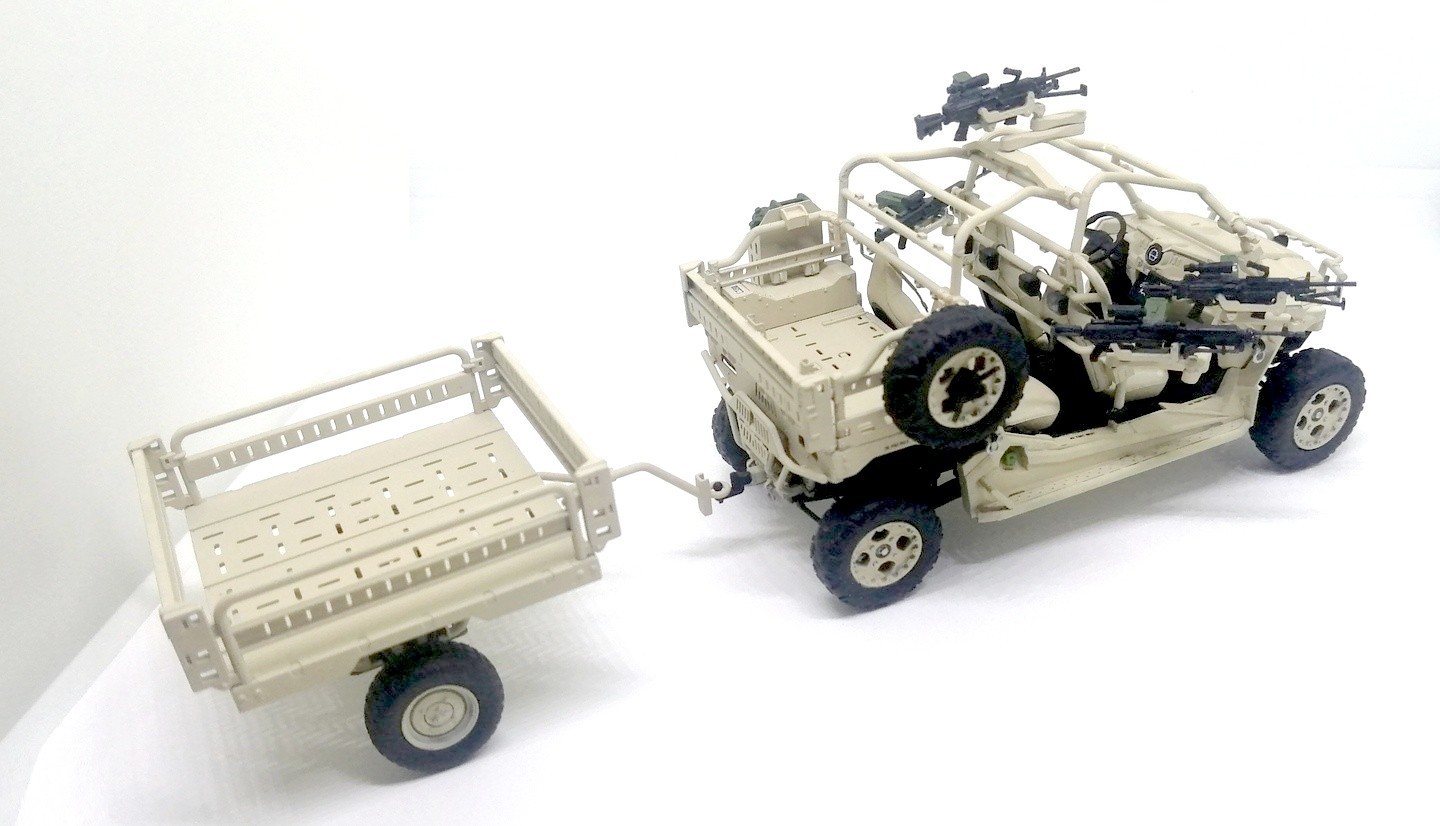
Finally, the trailer is fairly simple and quick to assemble, although it does not come with any cargo except for the aforementioned weapons.
There is also a Dron controller vehicle included, whose assembly is much similar to this.
As for the decals, they are well printed but the carrier is a bit thick, so despite gloss varnish and decal setting liquid, it still shows.
Conclusion
A model with a great level of detail and a very good fit. Despite its appearance, it is not the easiest to assemble because it has a large number of parts. It comes with engine, transmission and a delicate suspension, pre cut photoetch parts and nice weapons, including several spare ones.
The result is worth it, an original and well represented vehicle.