Back in 2014
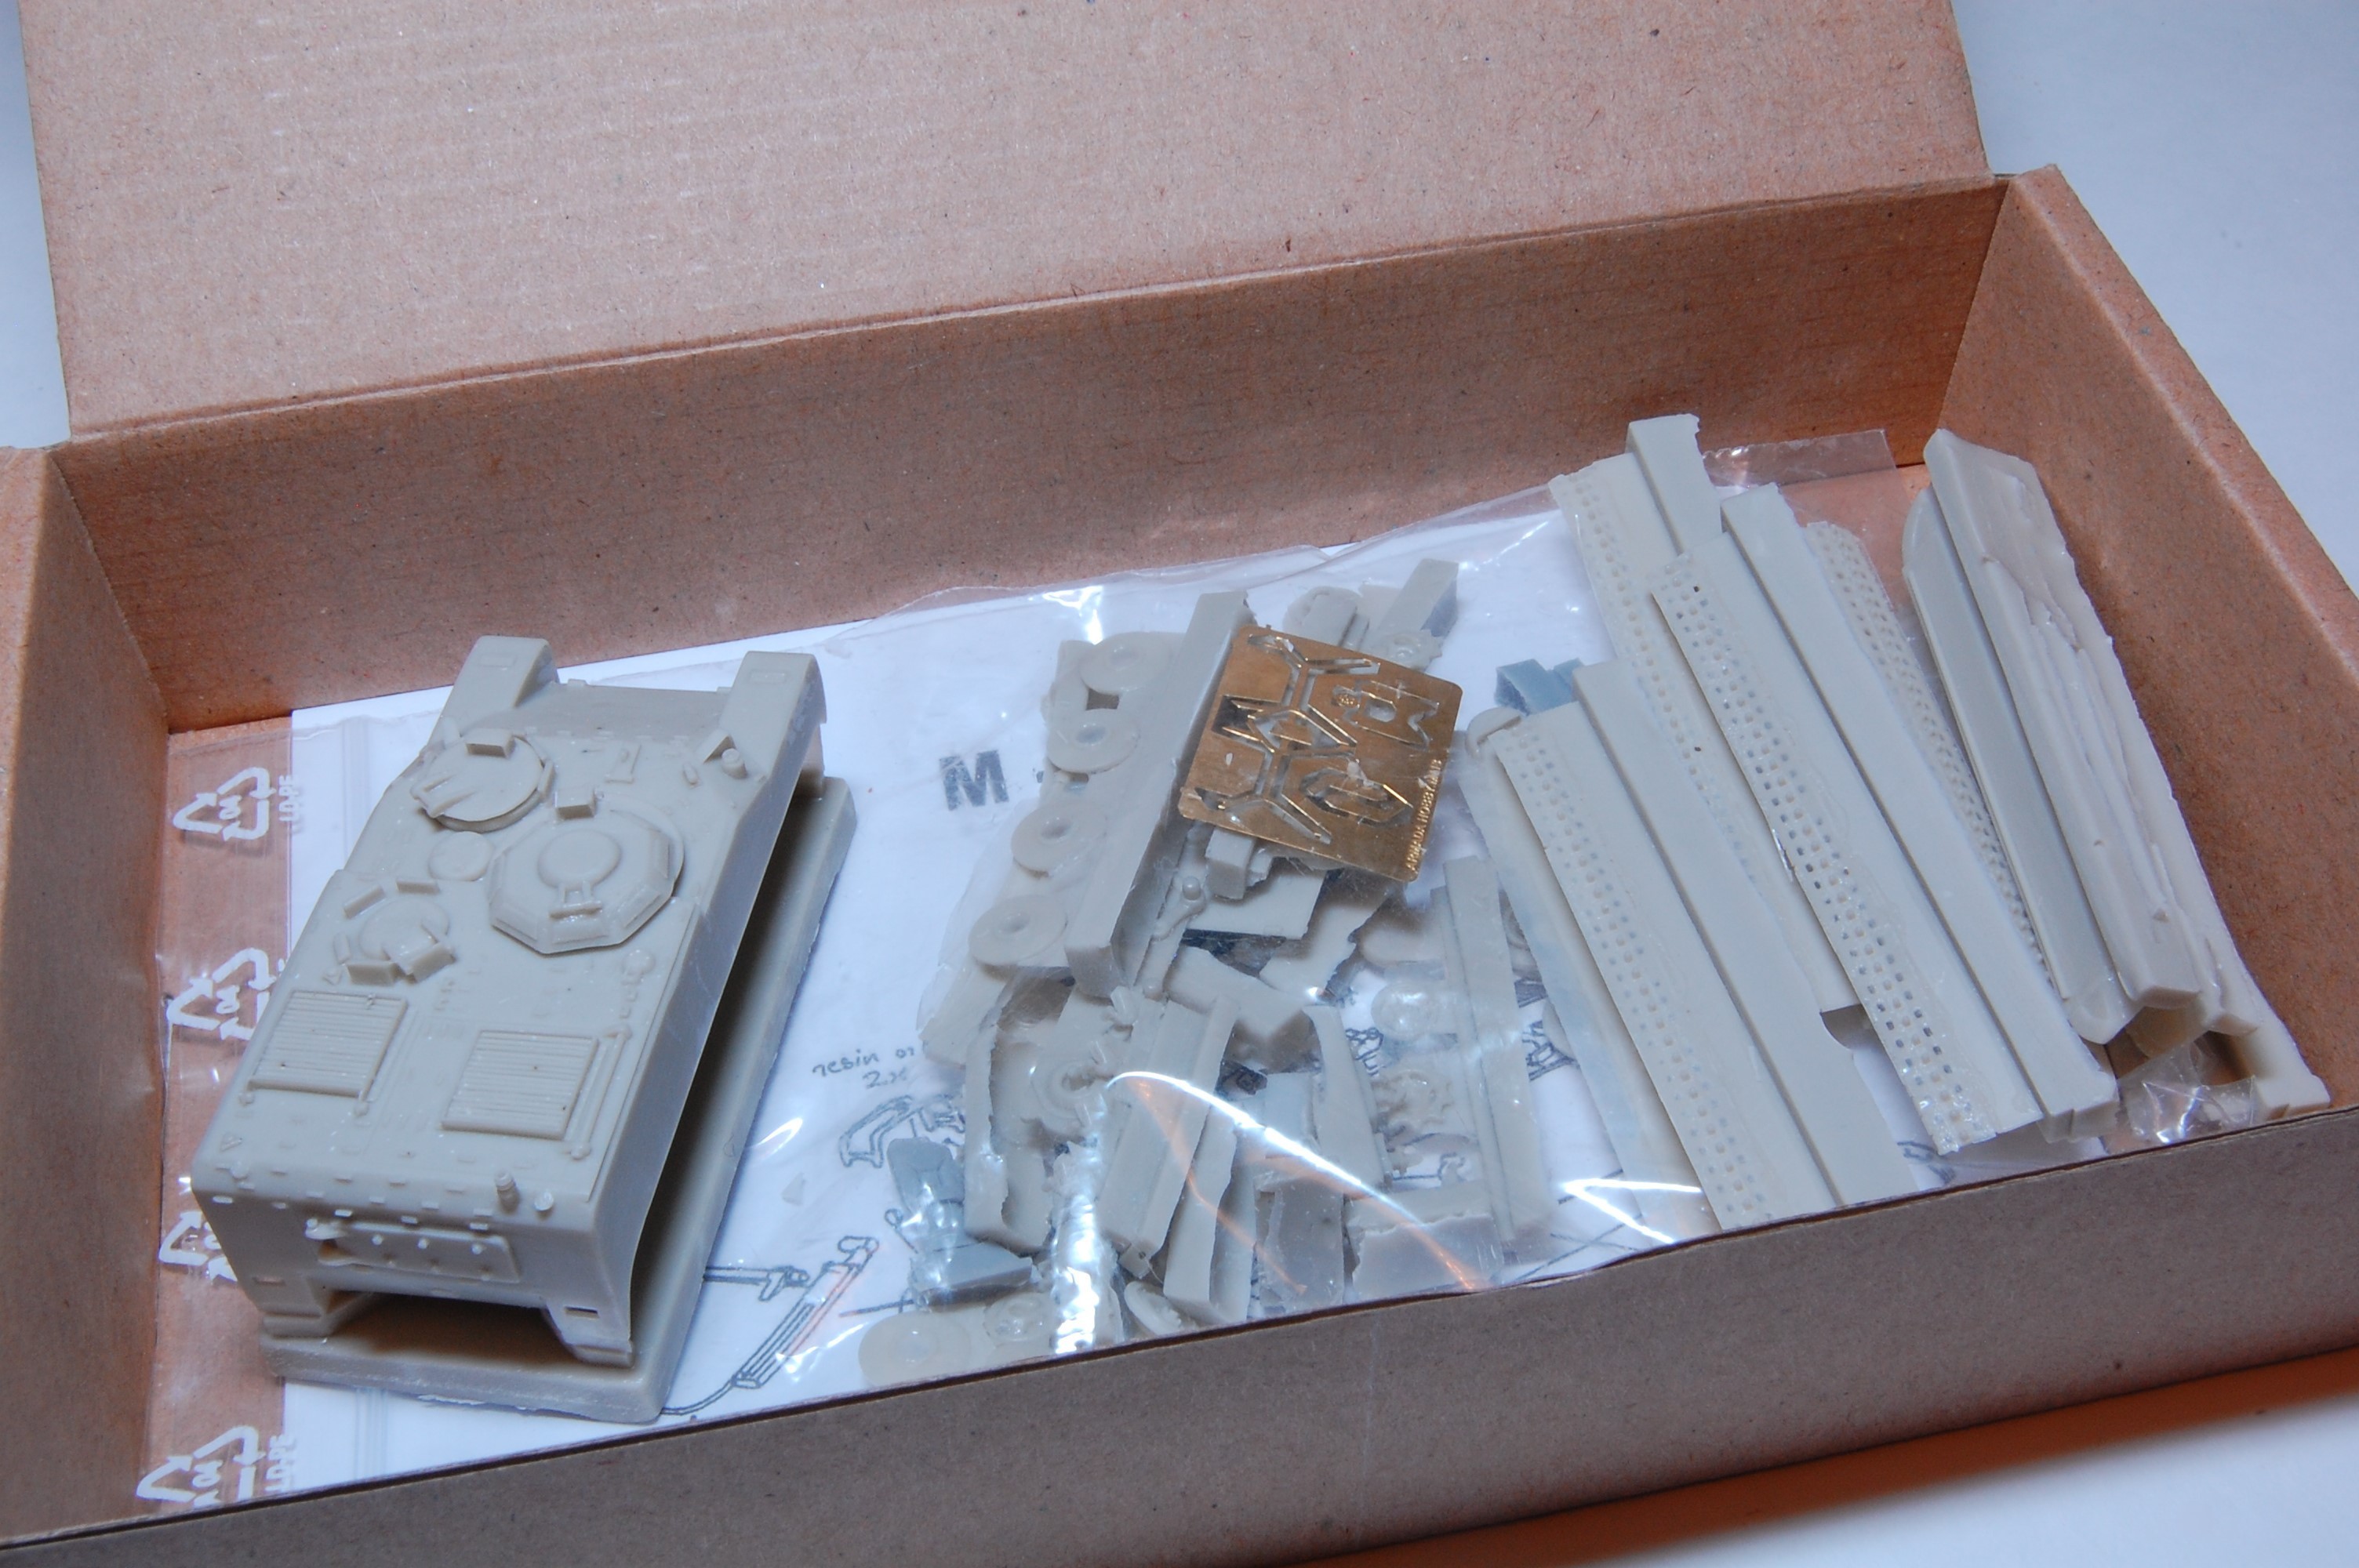
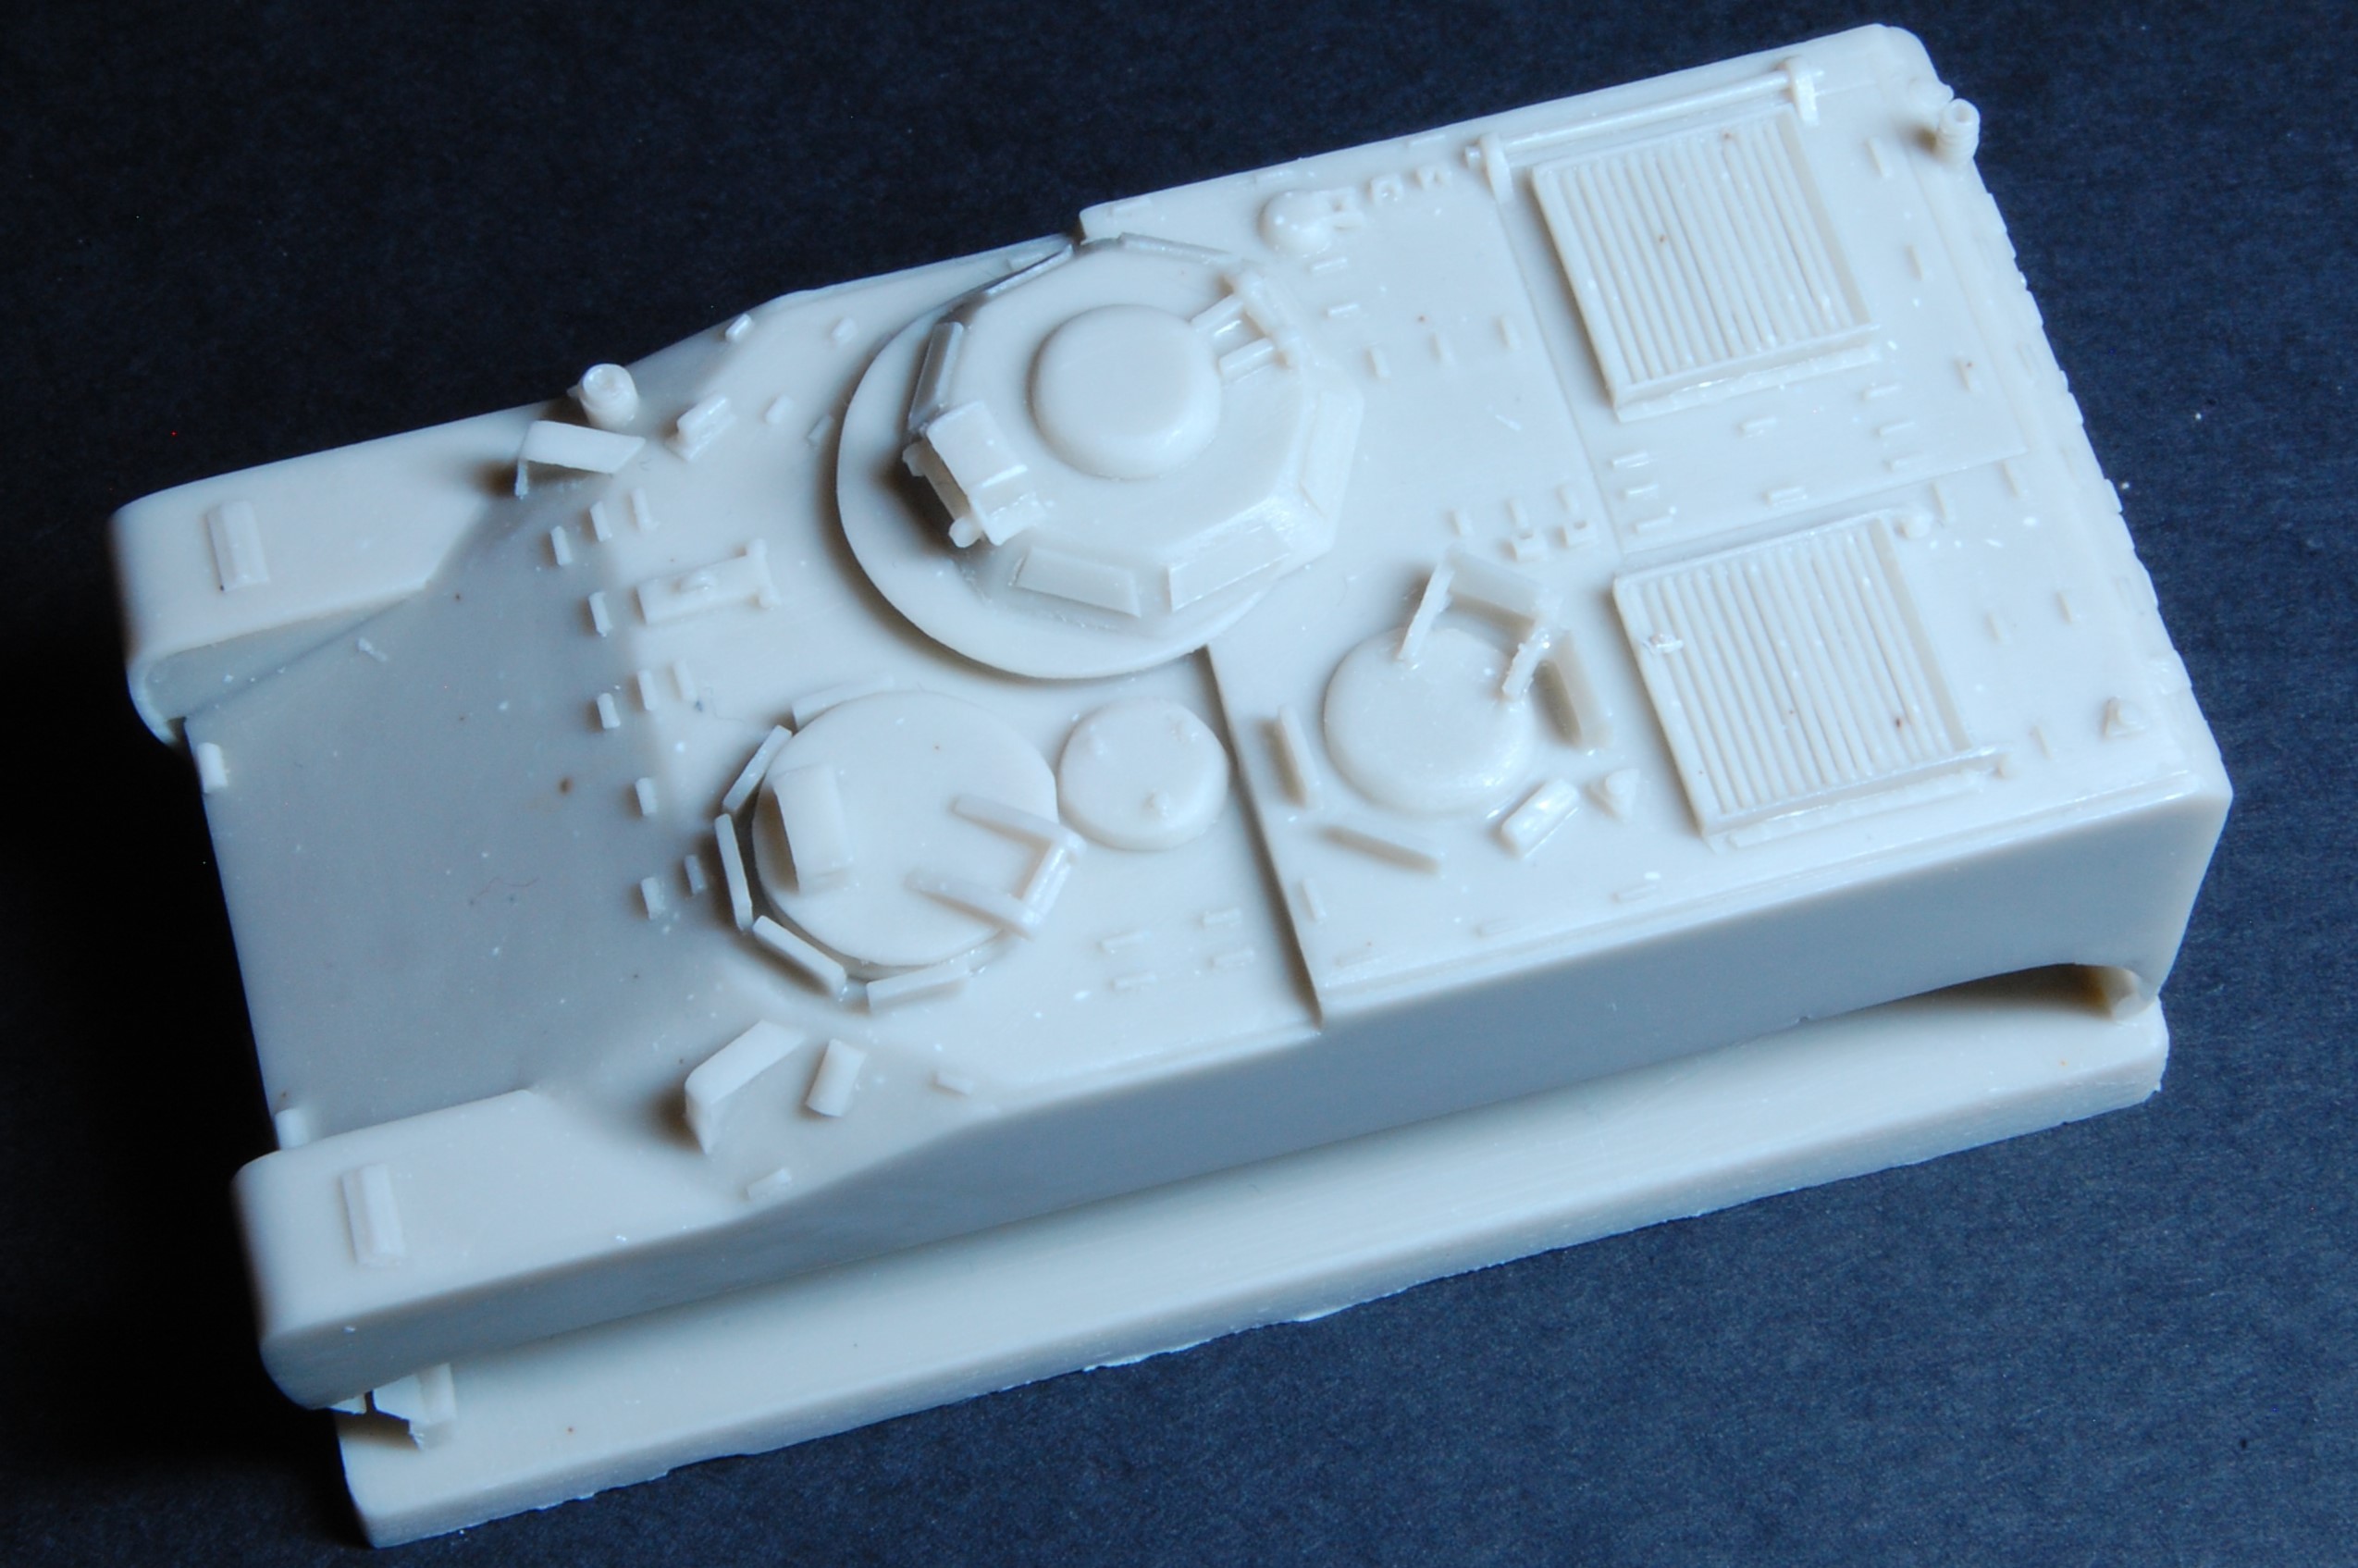
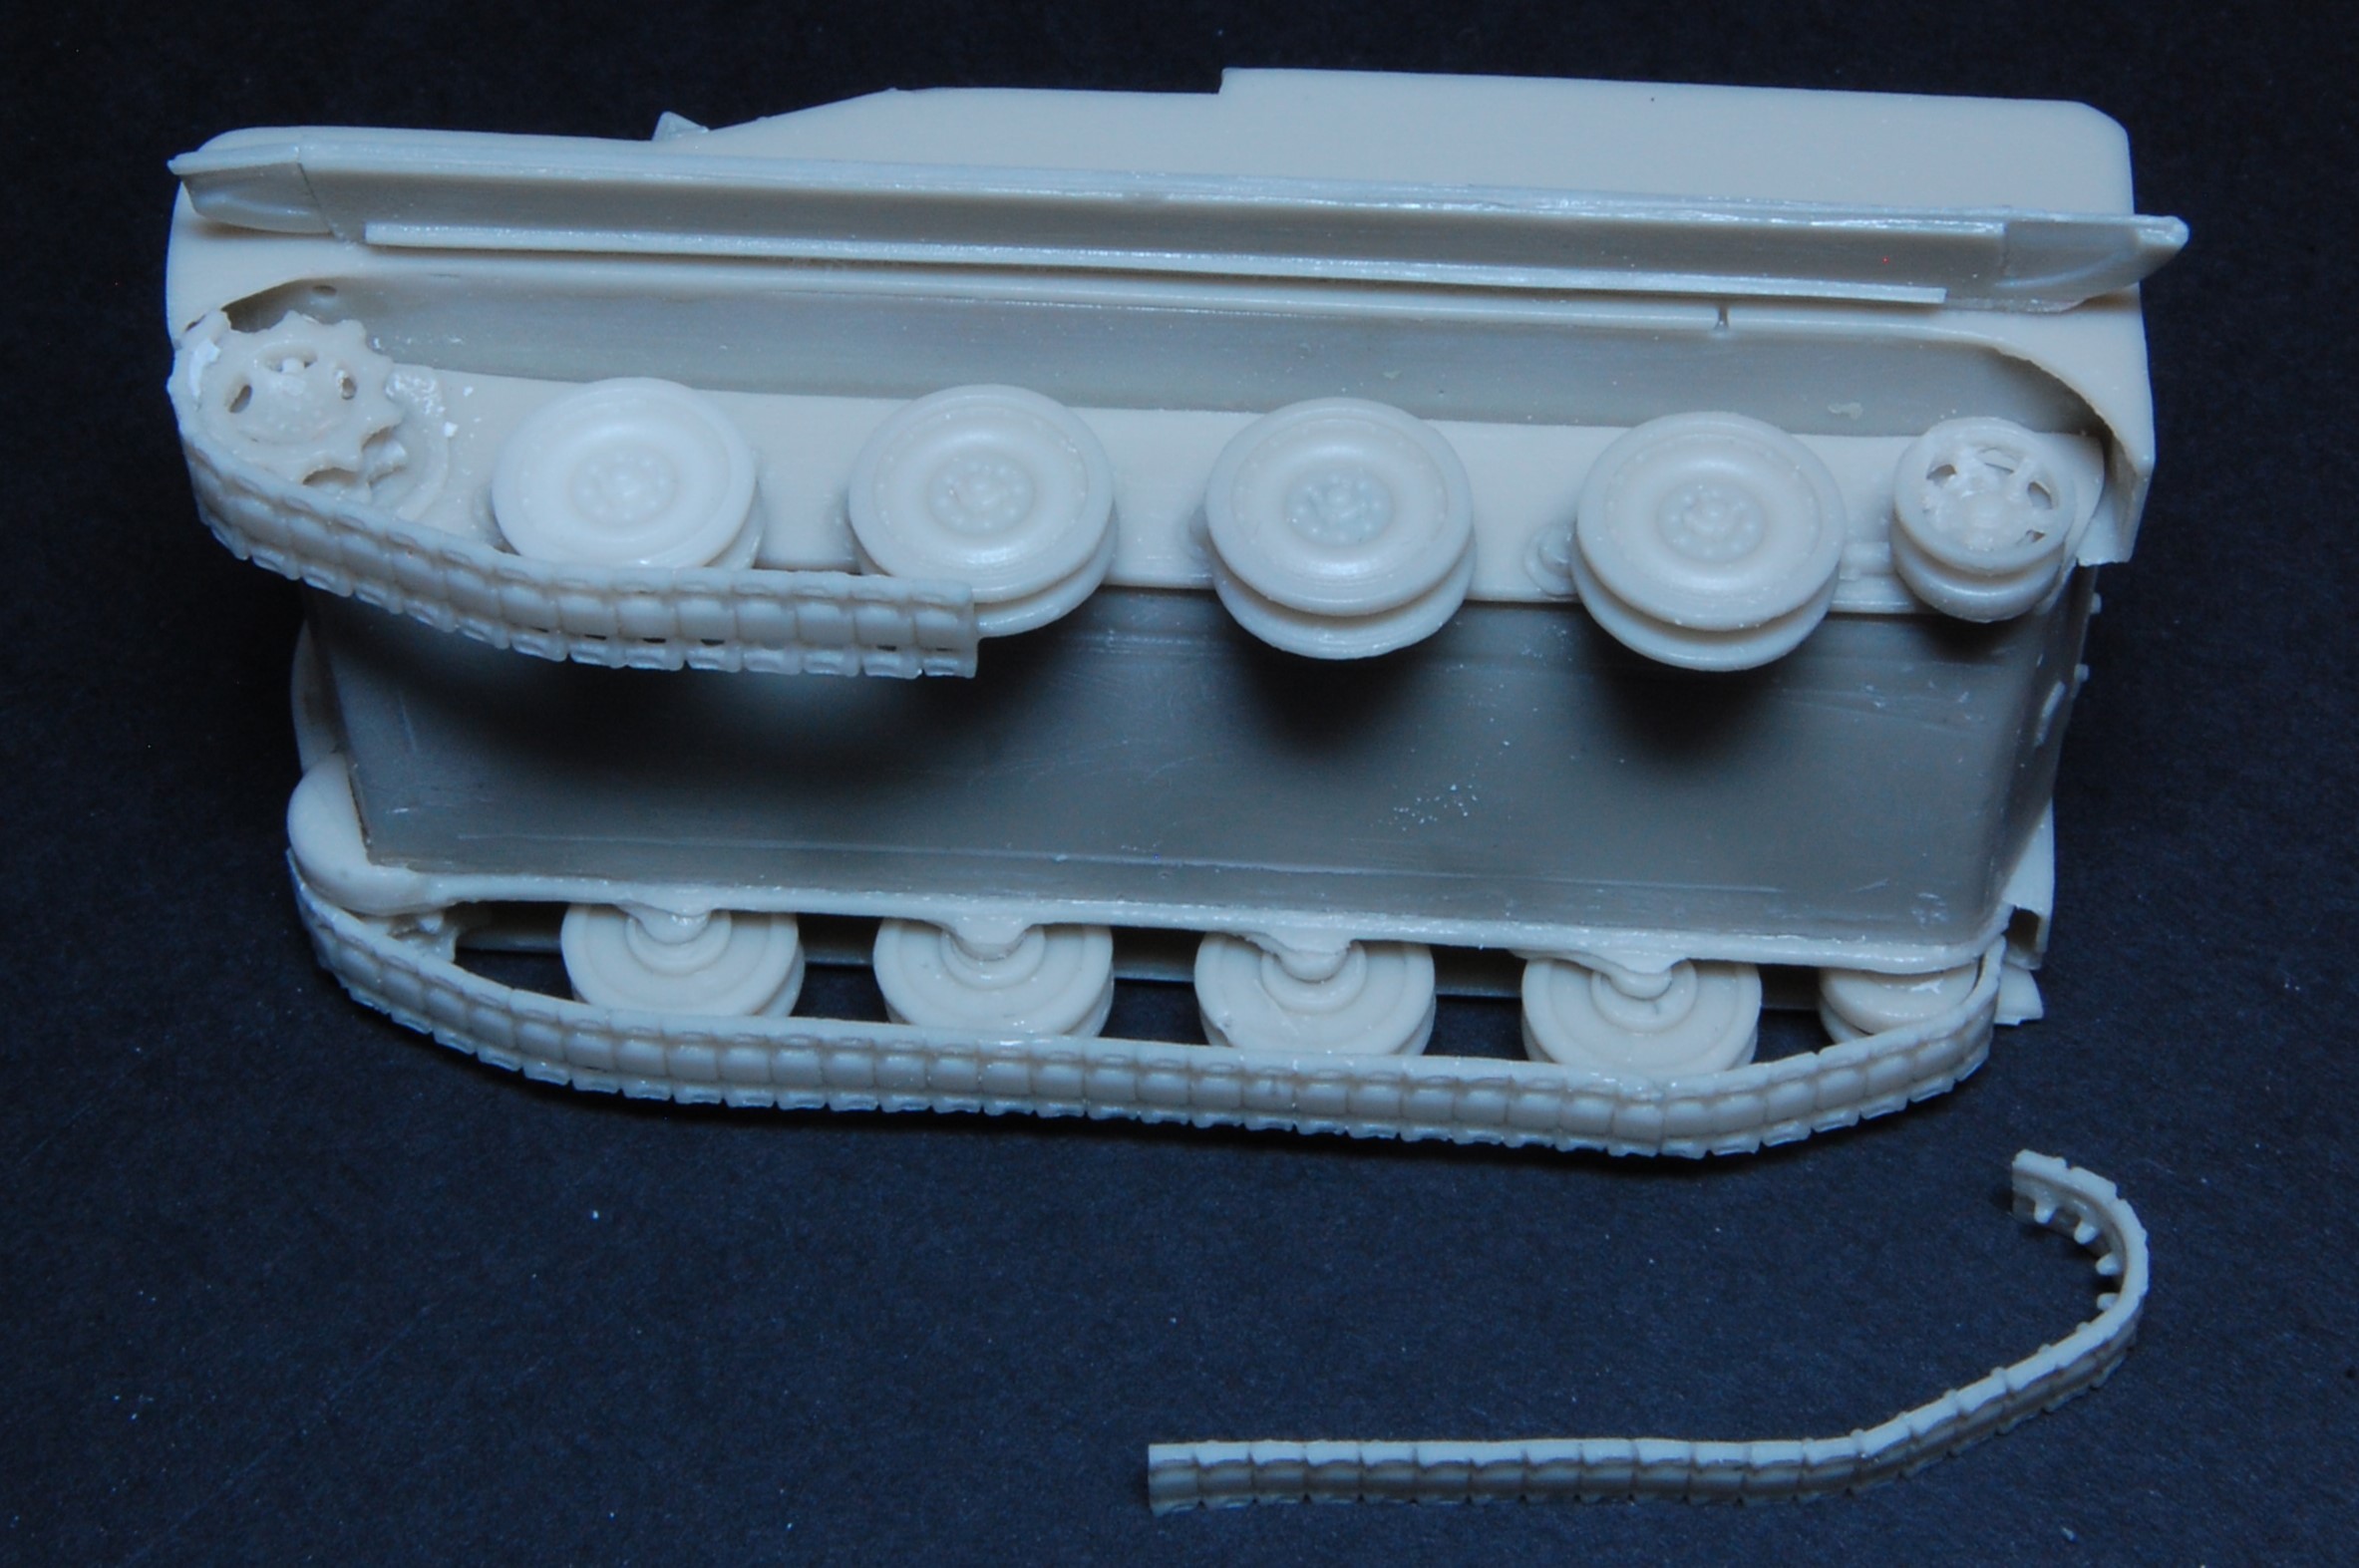
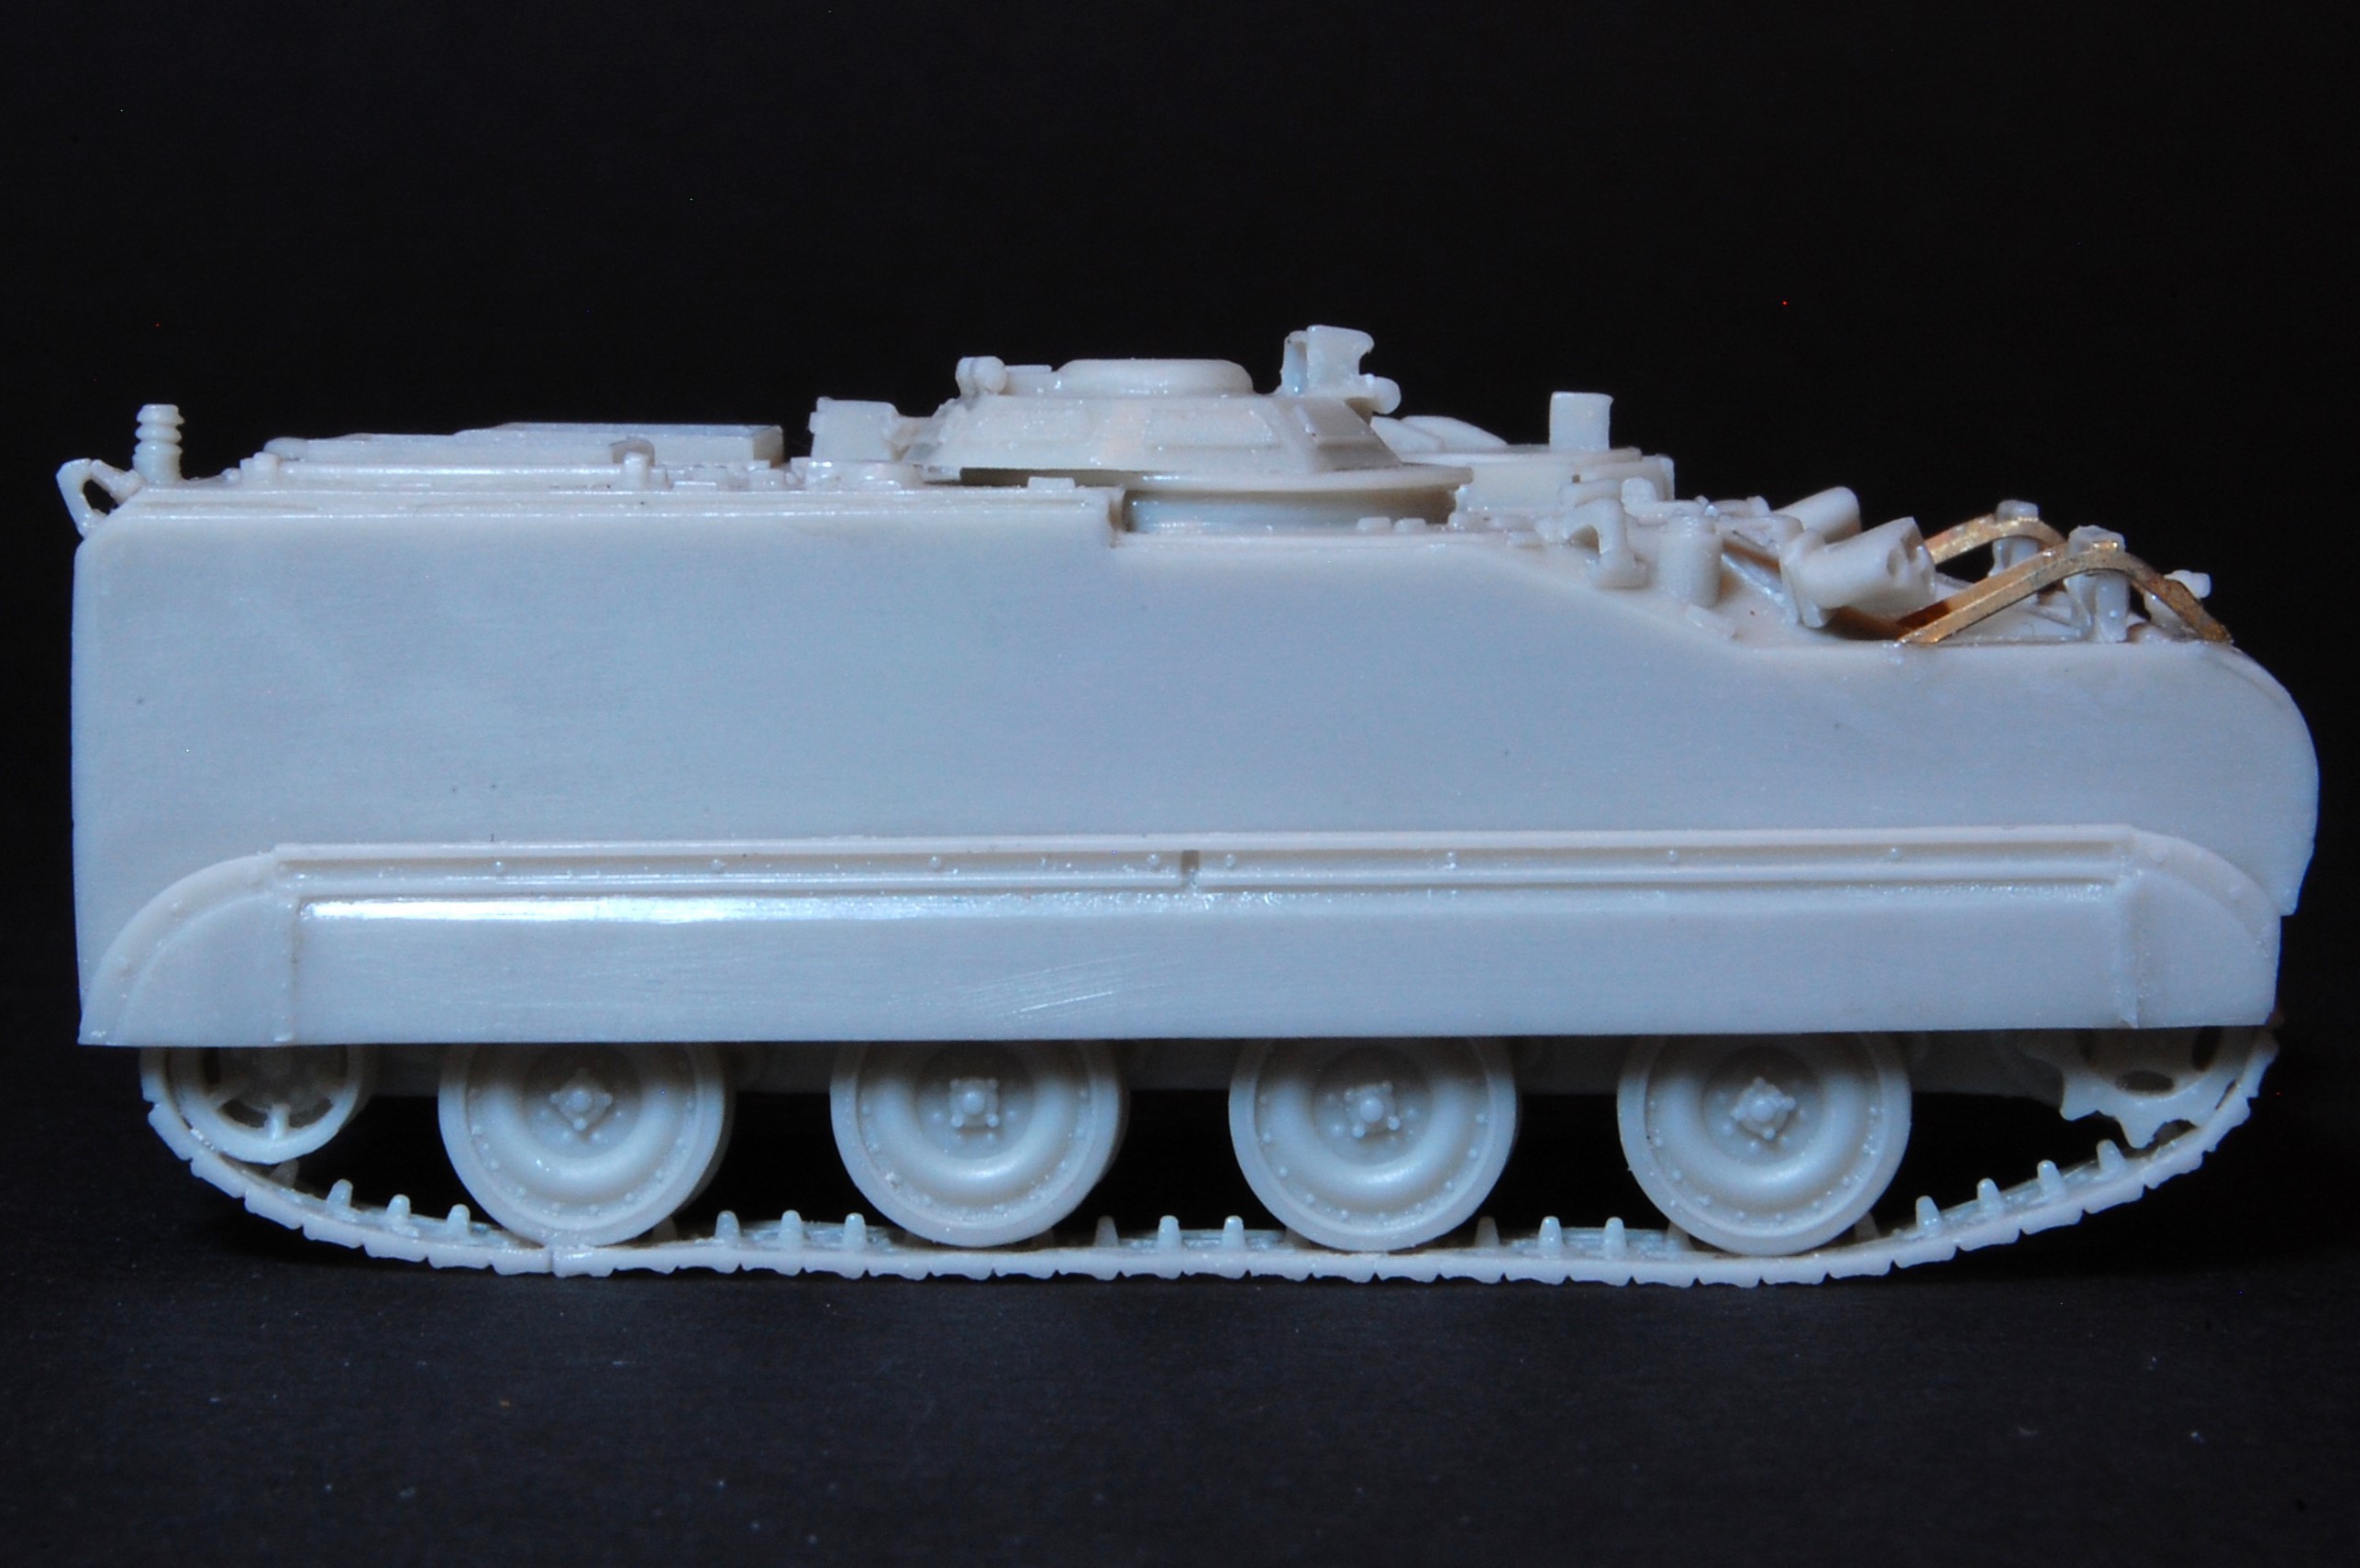
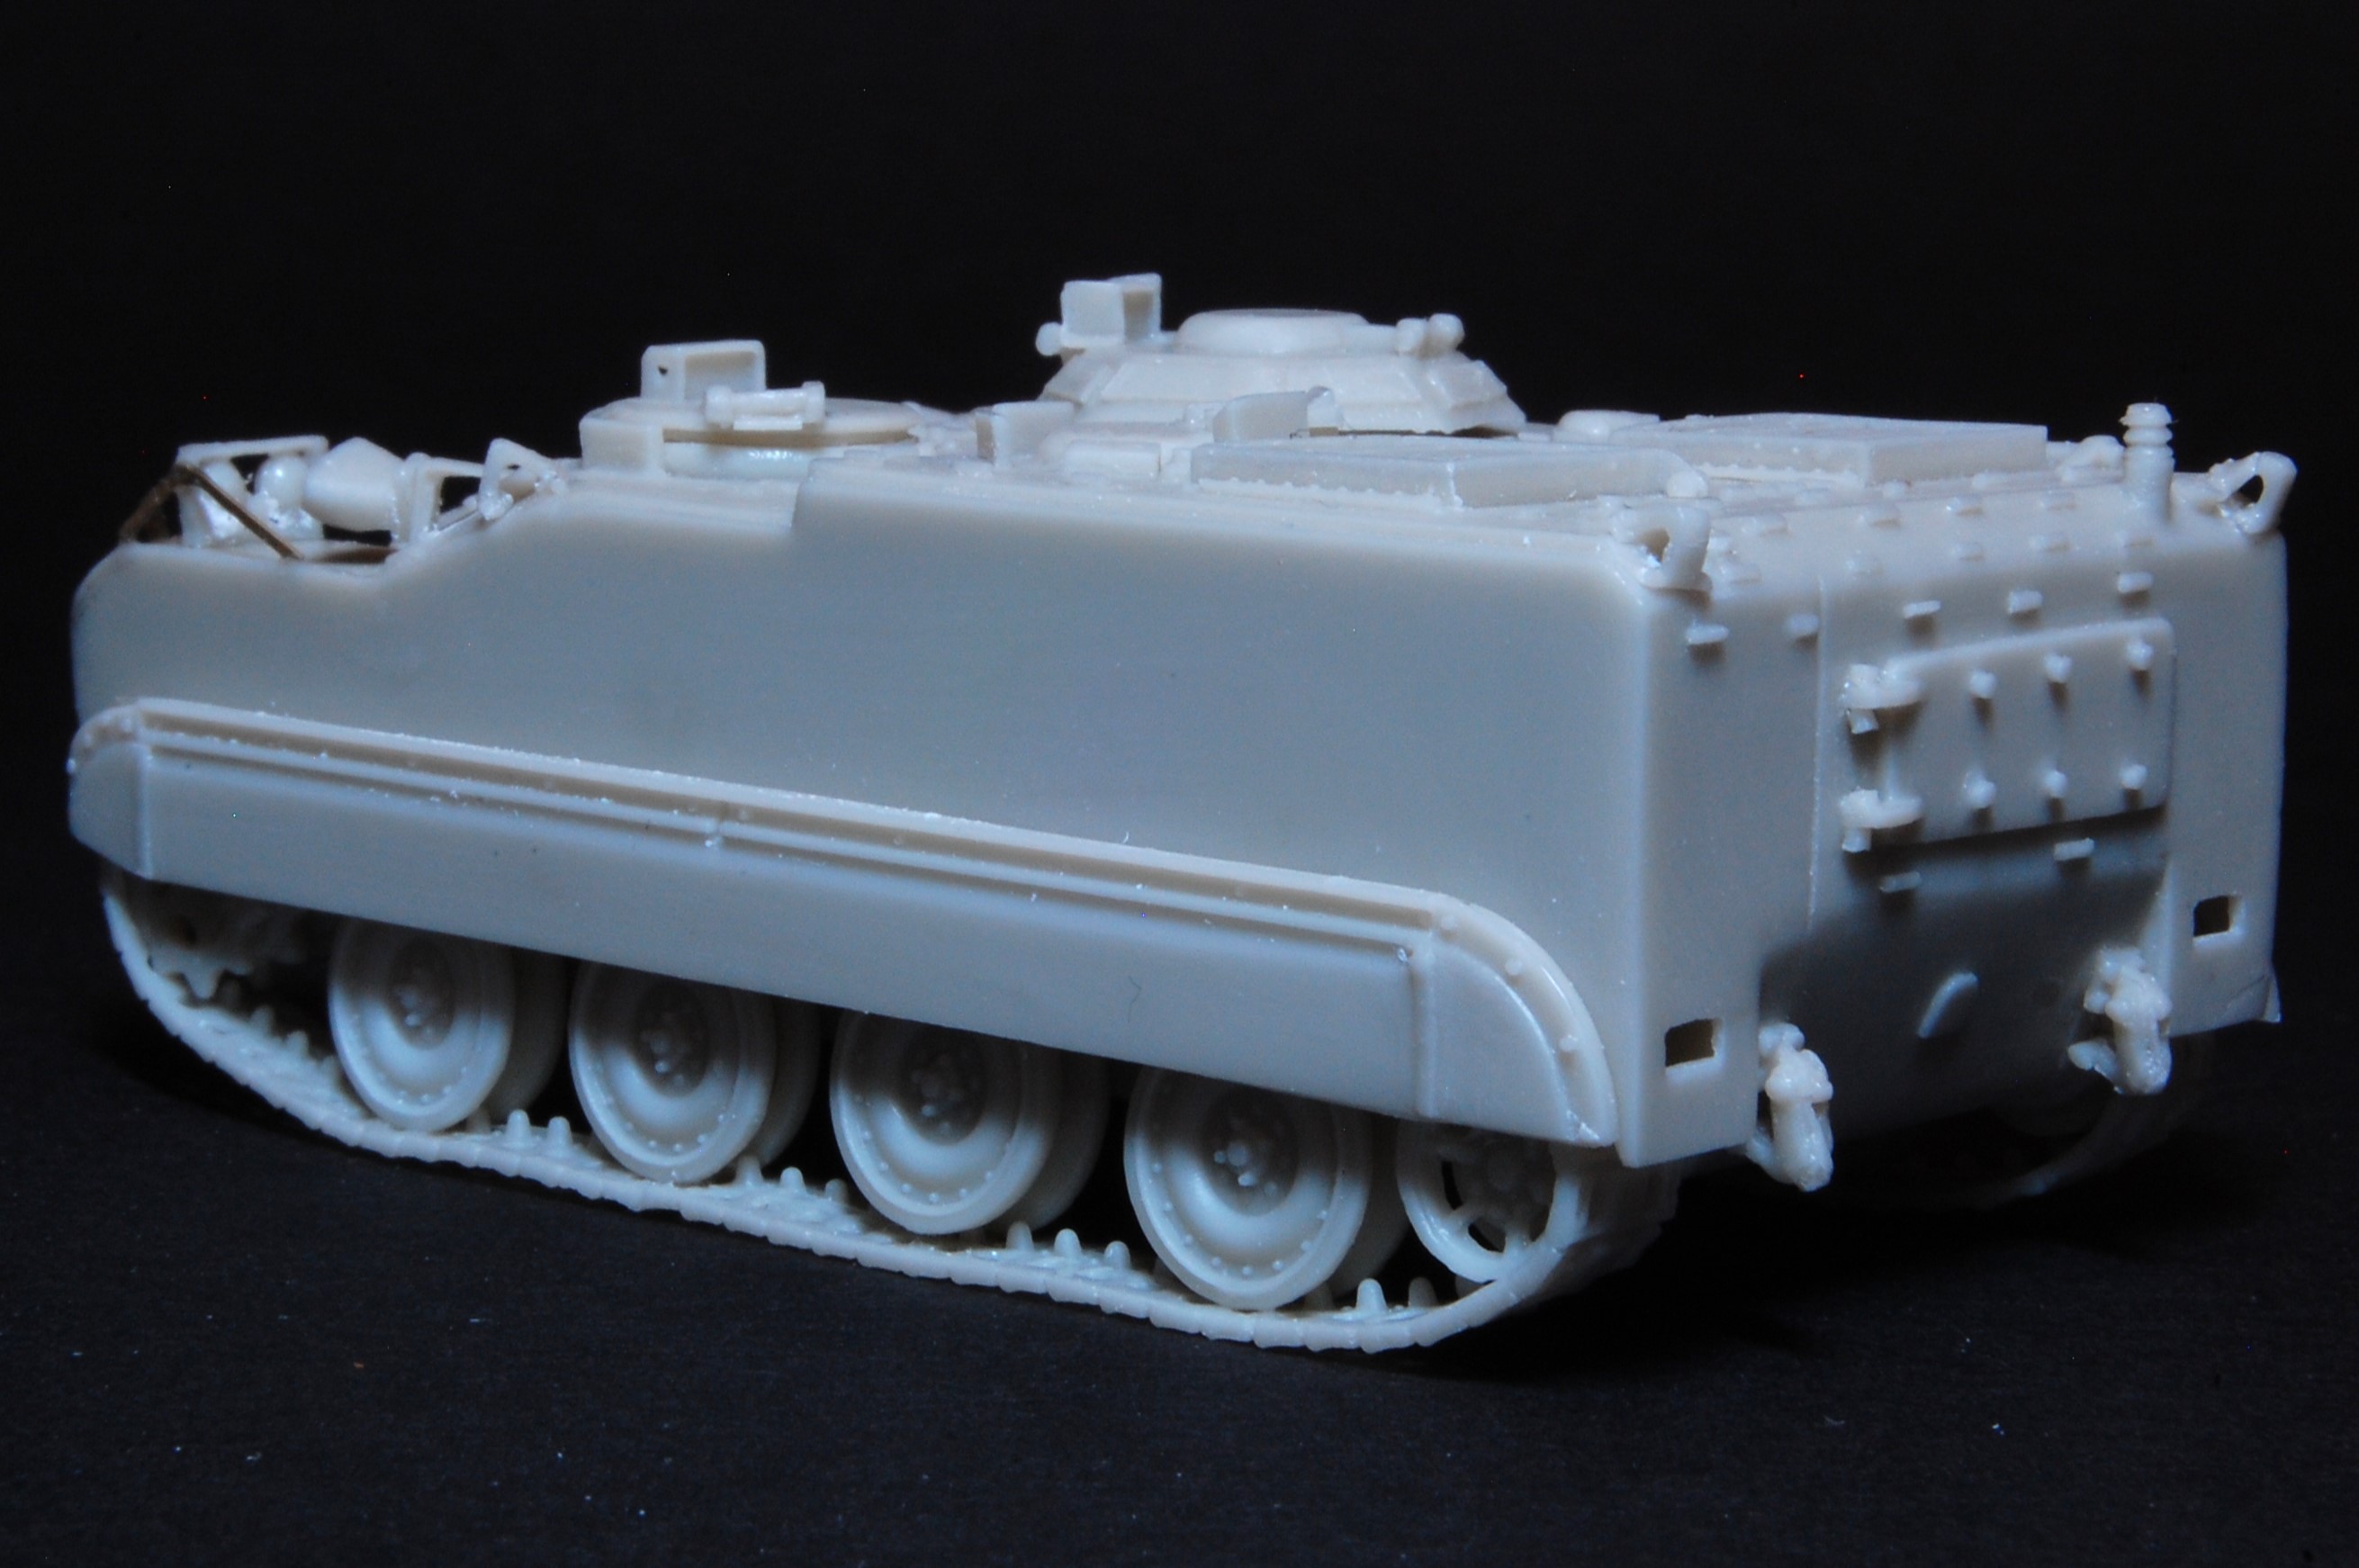
This model started in 2014 as a sample from Armada Hobby, passed to me, I think, by another Armorama member, Andras (spongya77). The resulting review of the built, but unpainted, model can be seen in the old archive area of Armorama here: M113 Lynx Review.
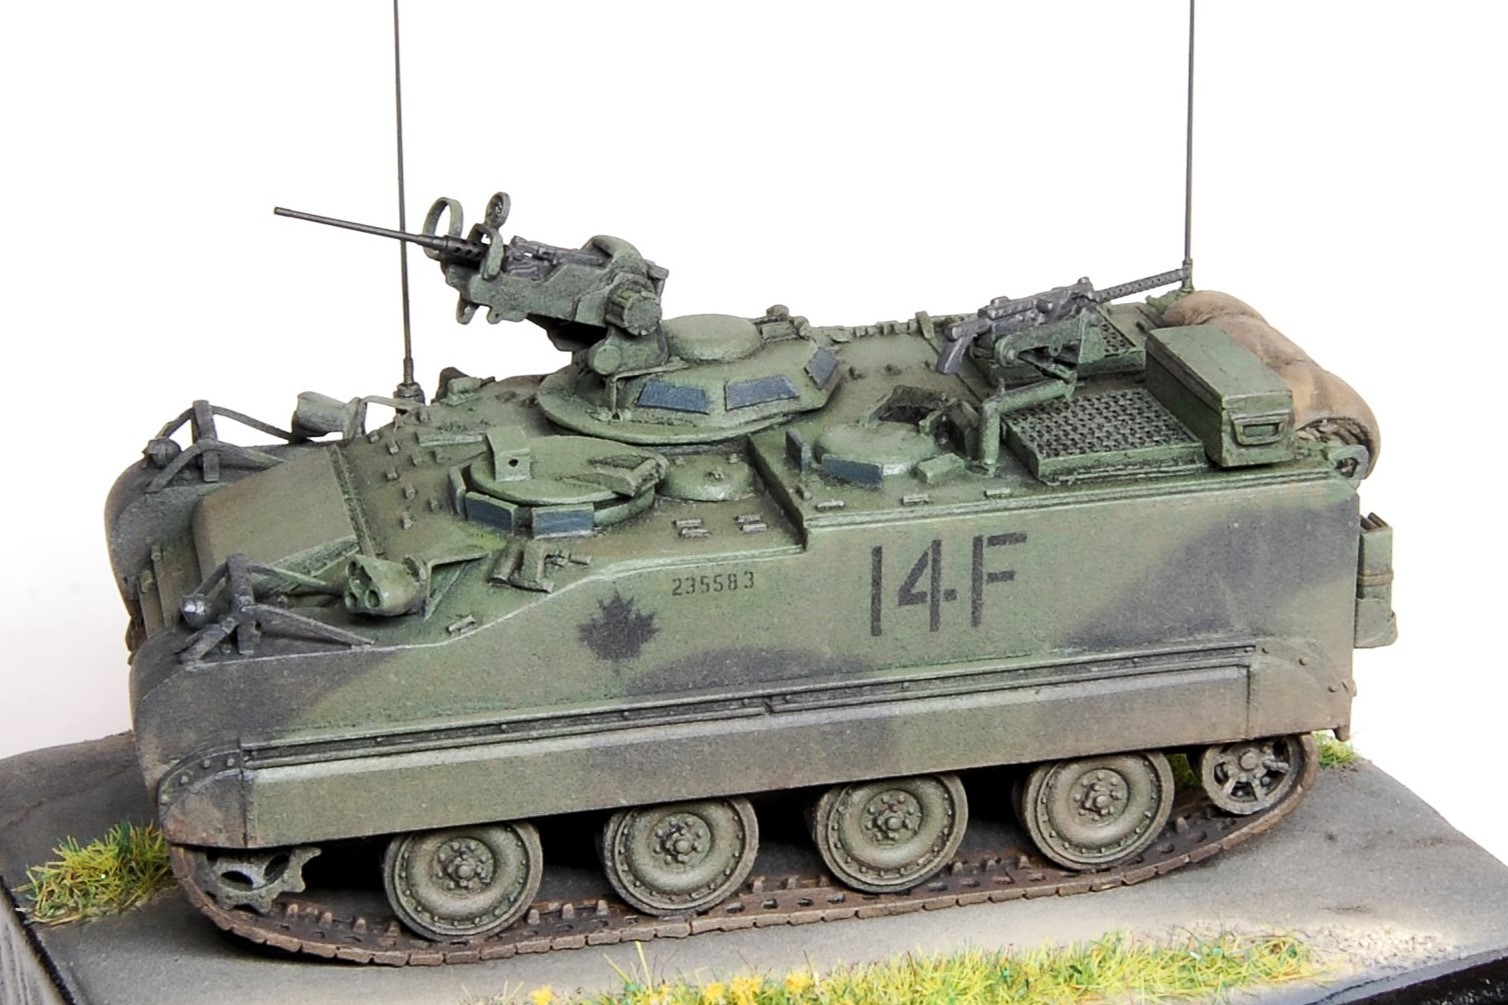
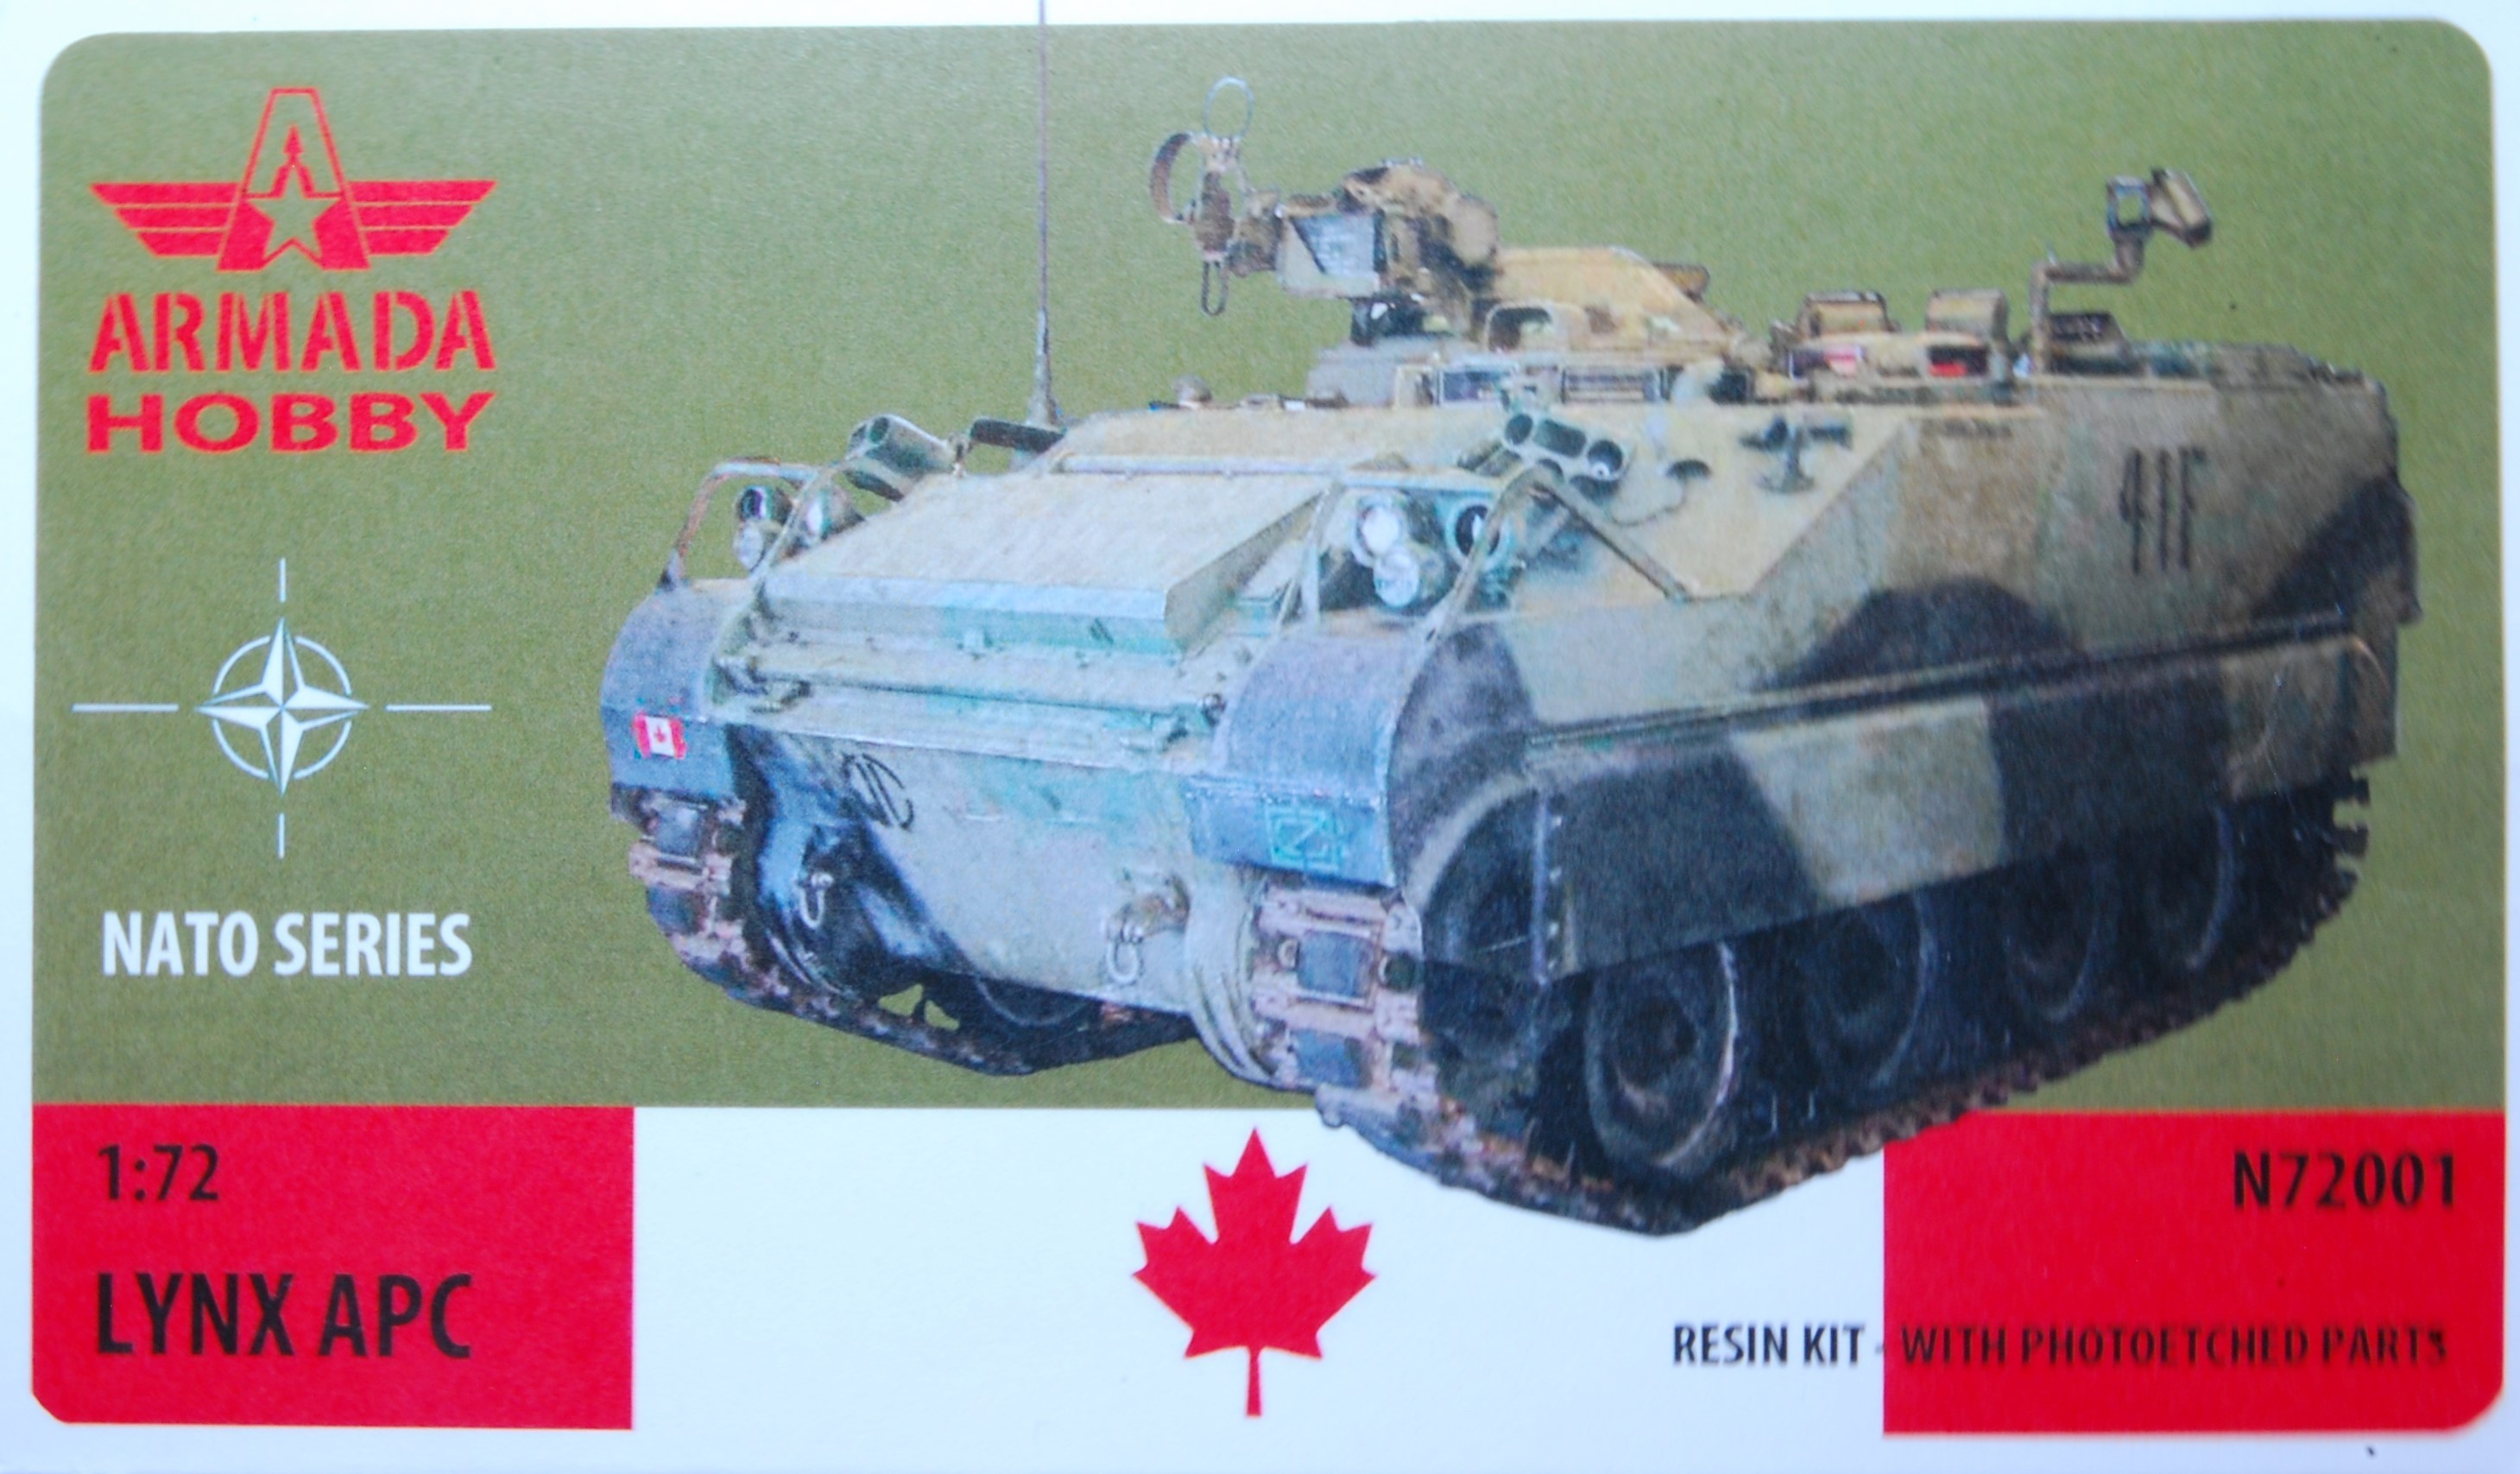
This is a 1/72 scale resin kit with a small etched sheet but no decals. It represents the Canadian version of the M113 Lynx (Armada did a kit of the Dutch Lynx as well) and includes two optional trim vanes, jerry cans, and some soft stowage, as well as the other detail components. The quality of the moulding and detail is mostly acceptable, the basic construction being simple, with the usual resin kit qualifications. The big bits, so the wheels, the somewhat simplified tracks, and the decent side skirts were all relatively easy to construct, and the etched metal front light protectors were also made to fit with a little work. The rear lamps on the other hand didn’t seem to fit, while the jerry cans and the tow cable don’t have any means of being mounted, and I was also doubtful about the soft stowage. Although a gun is included and the instructions show it is to be installed on the front hatch with a mount fashioned from etched metal, there is simply no way that this is going to result in anything that vaguely resembles the M2 and mount on the real thing.
Forward to 2024
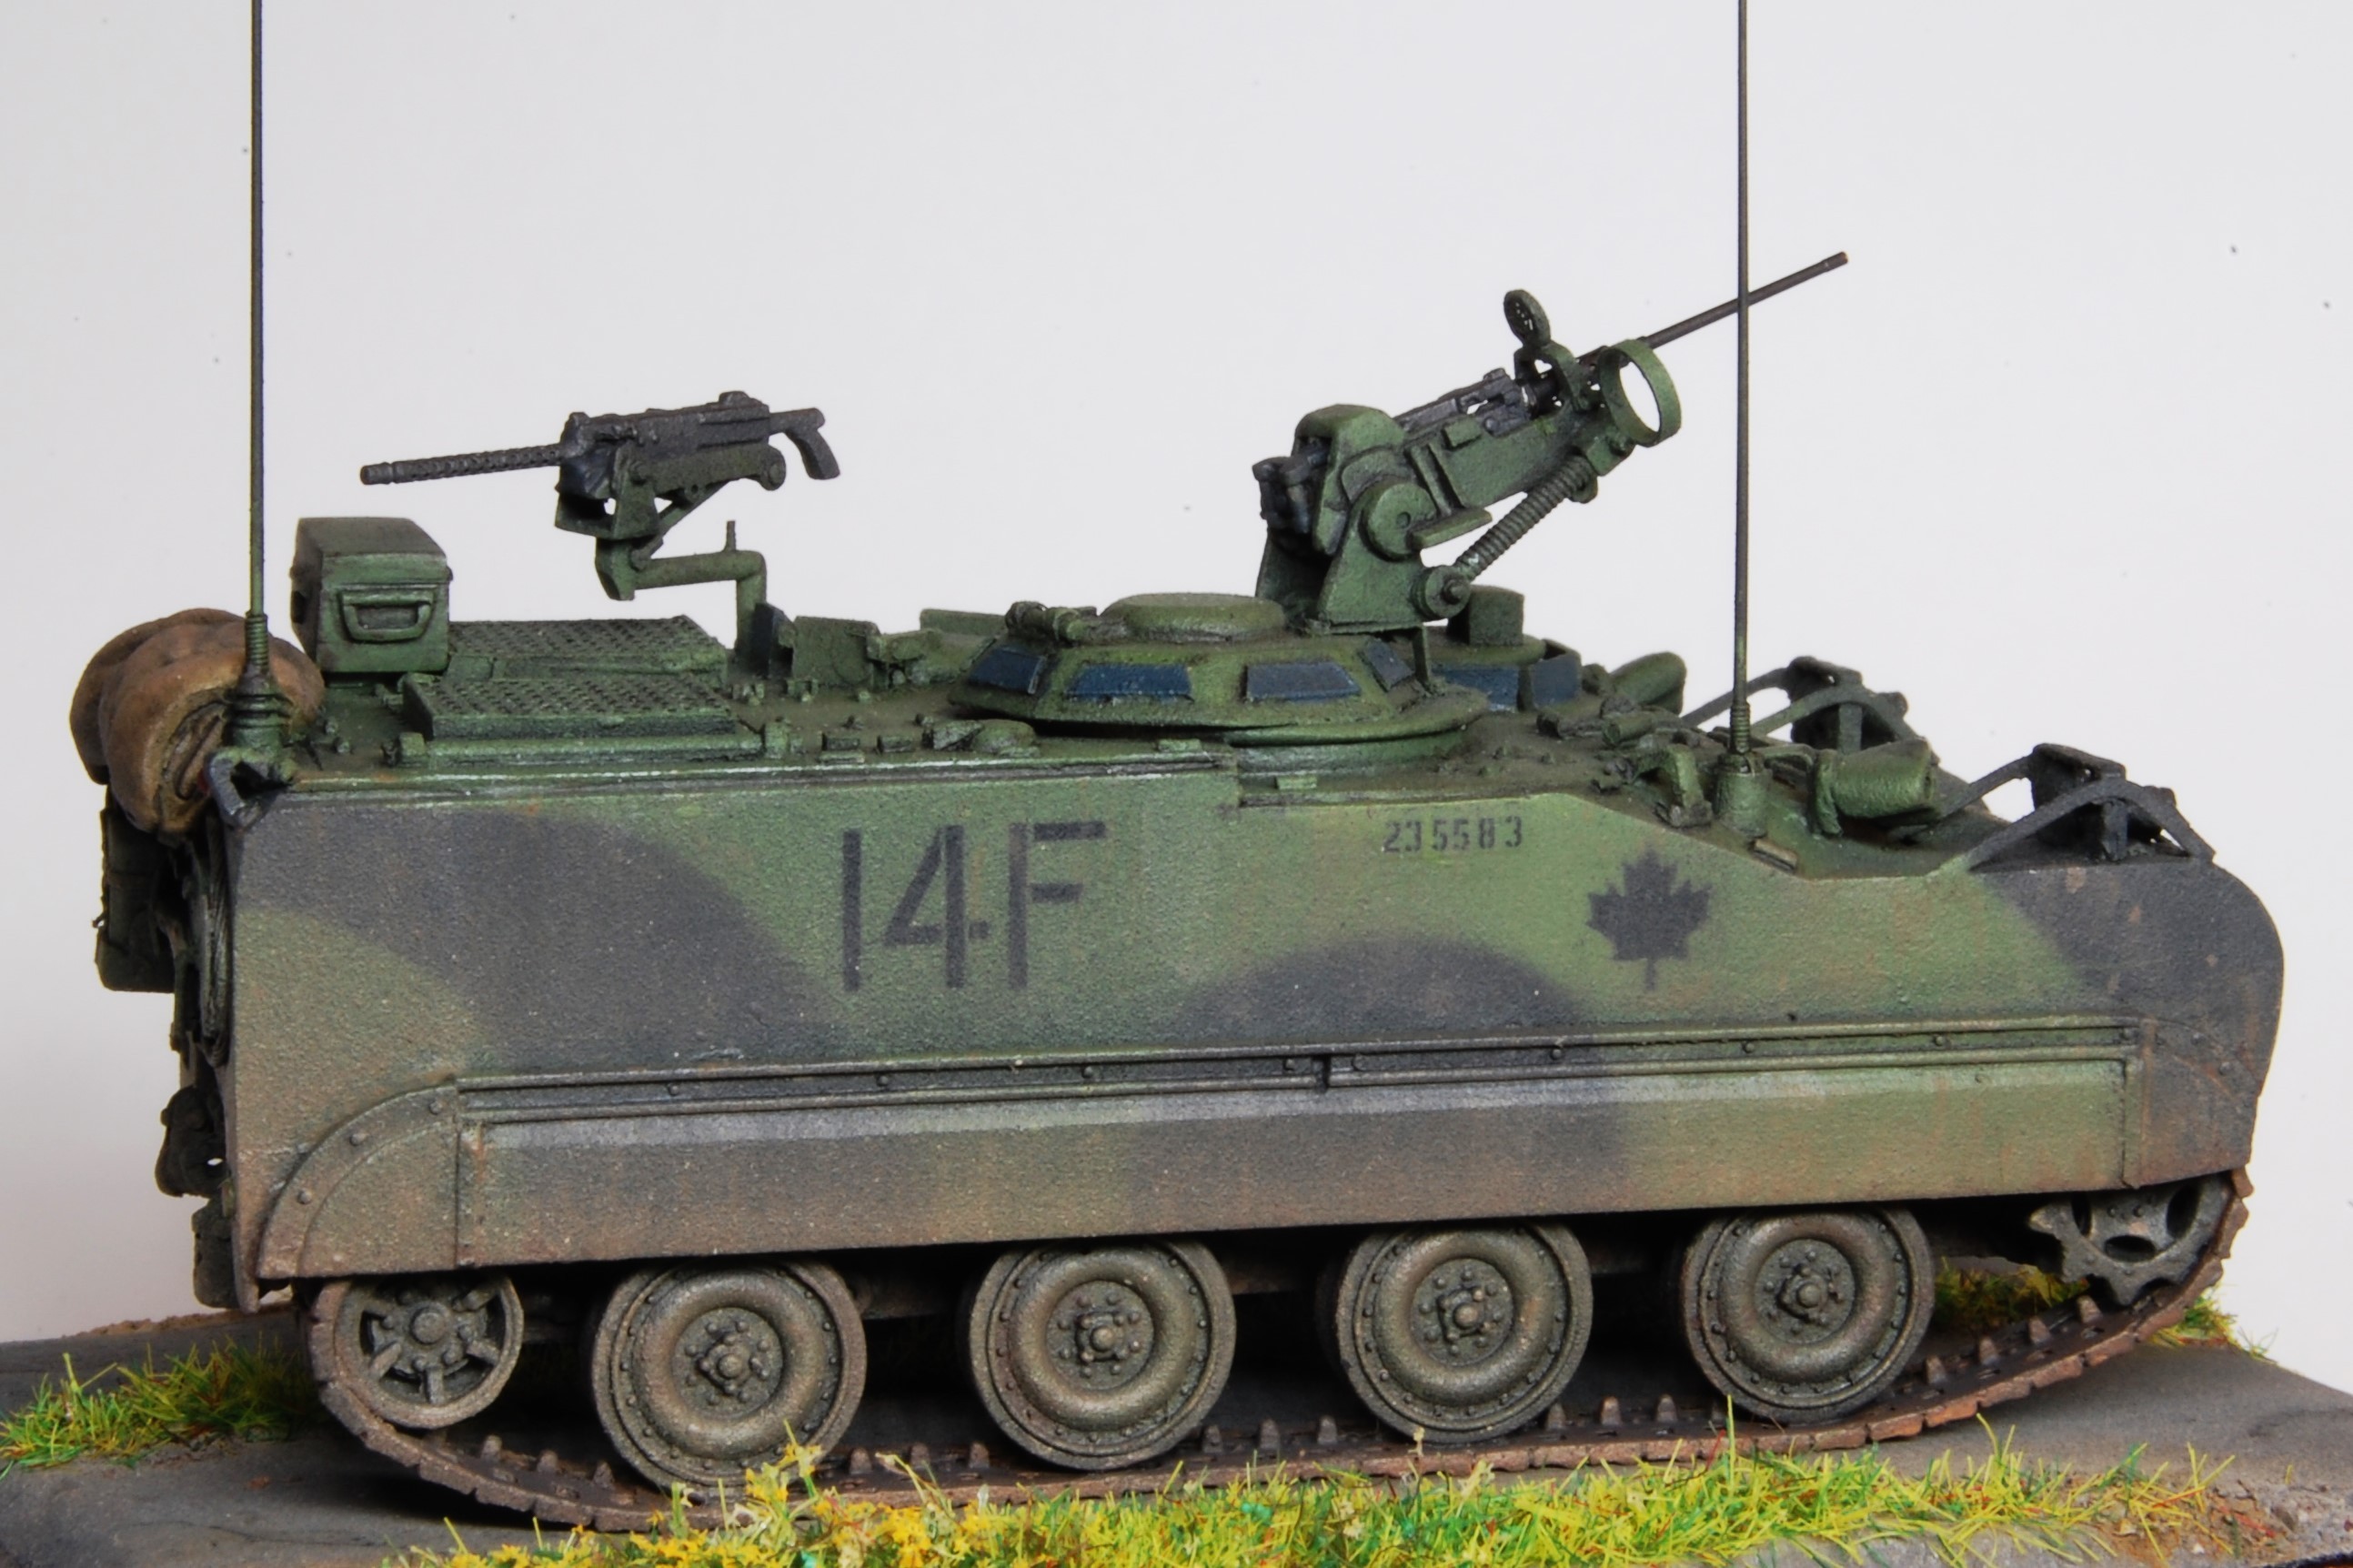
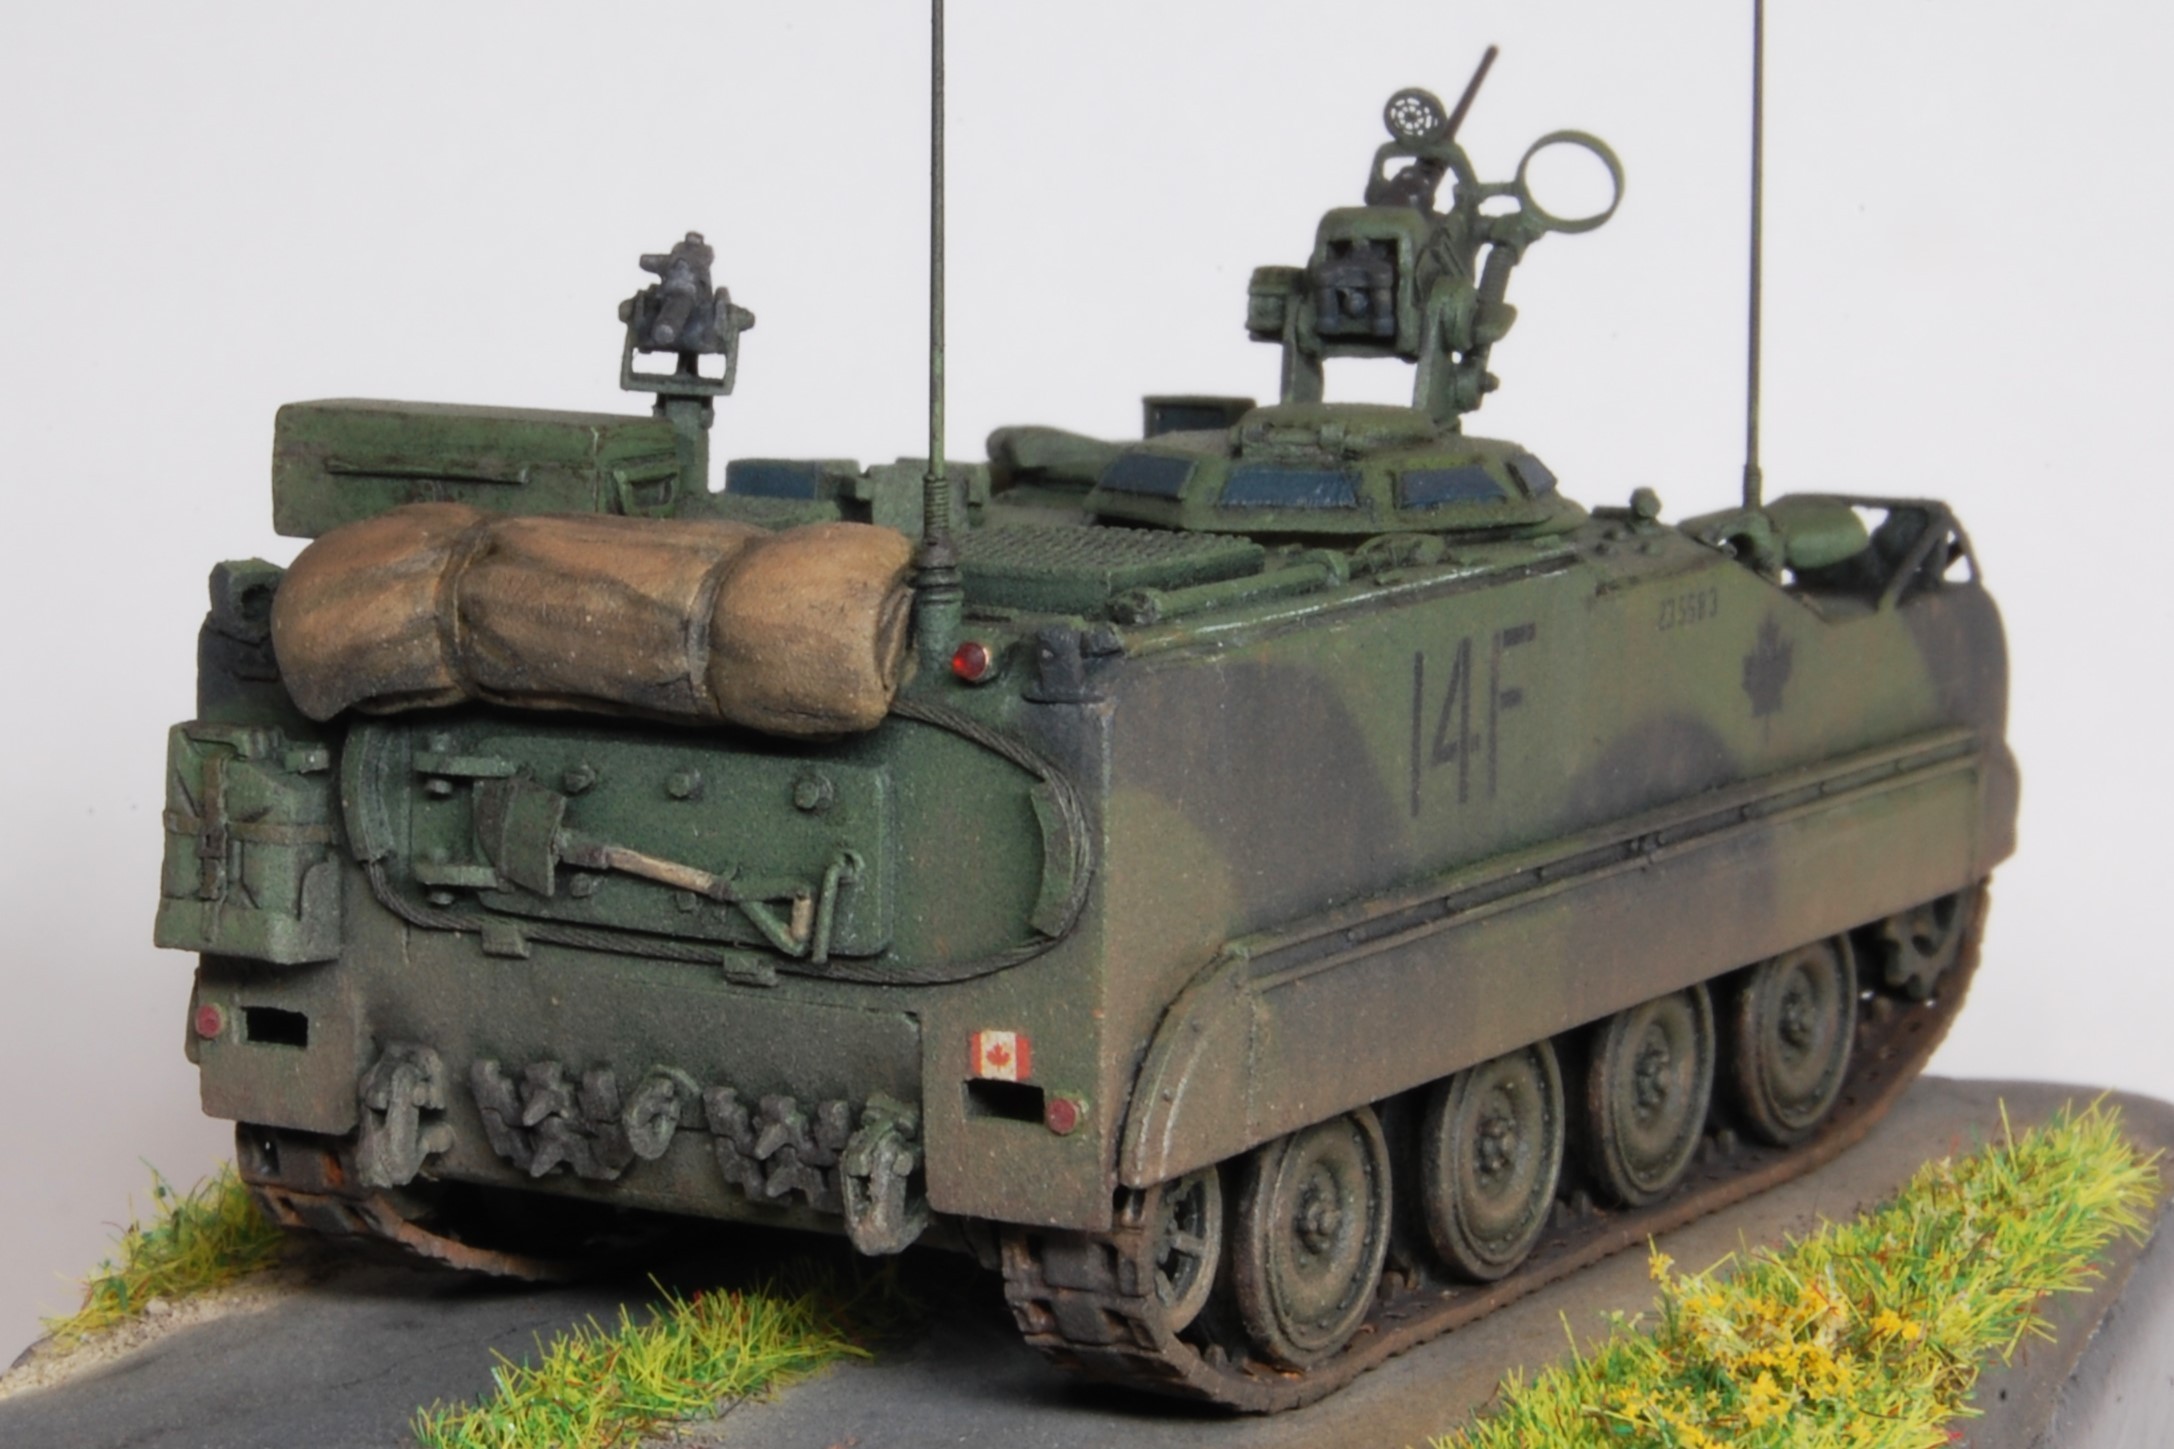
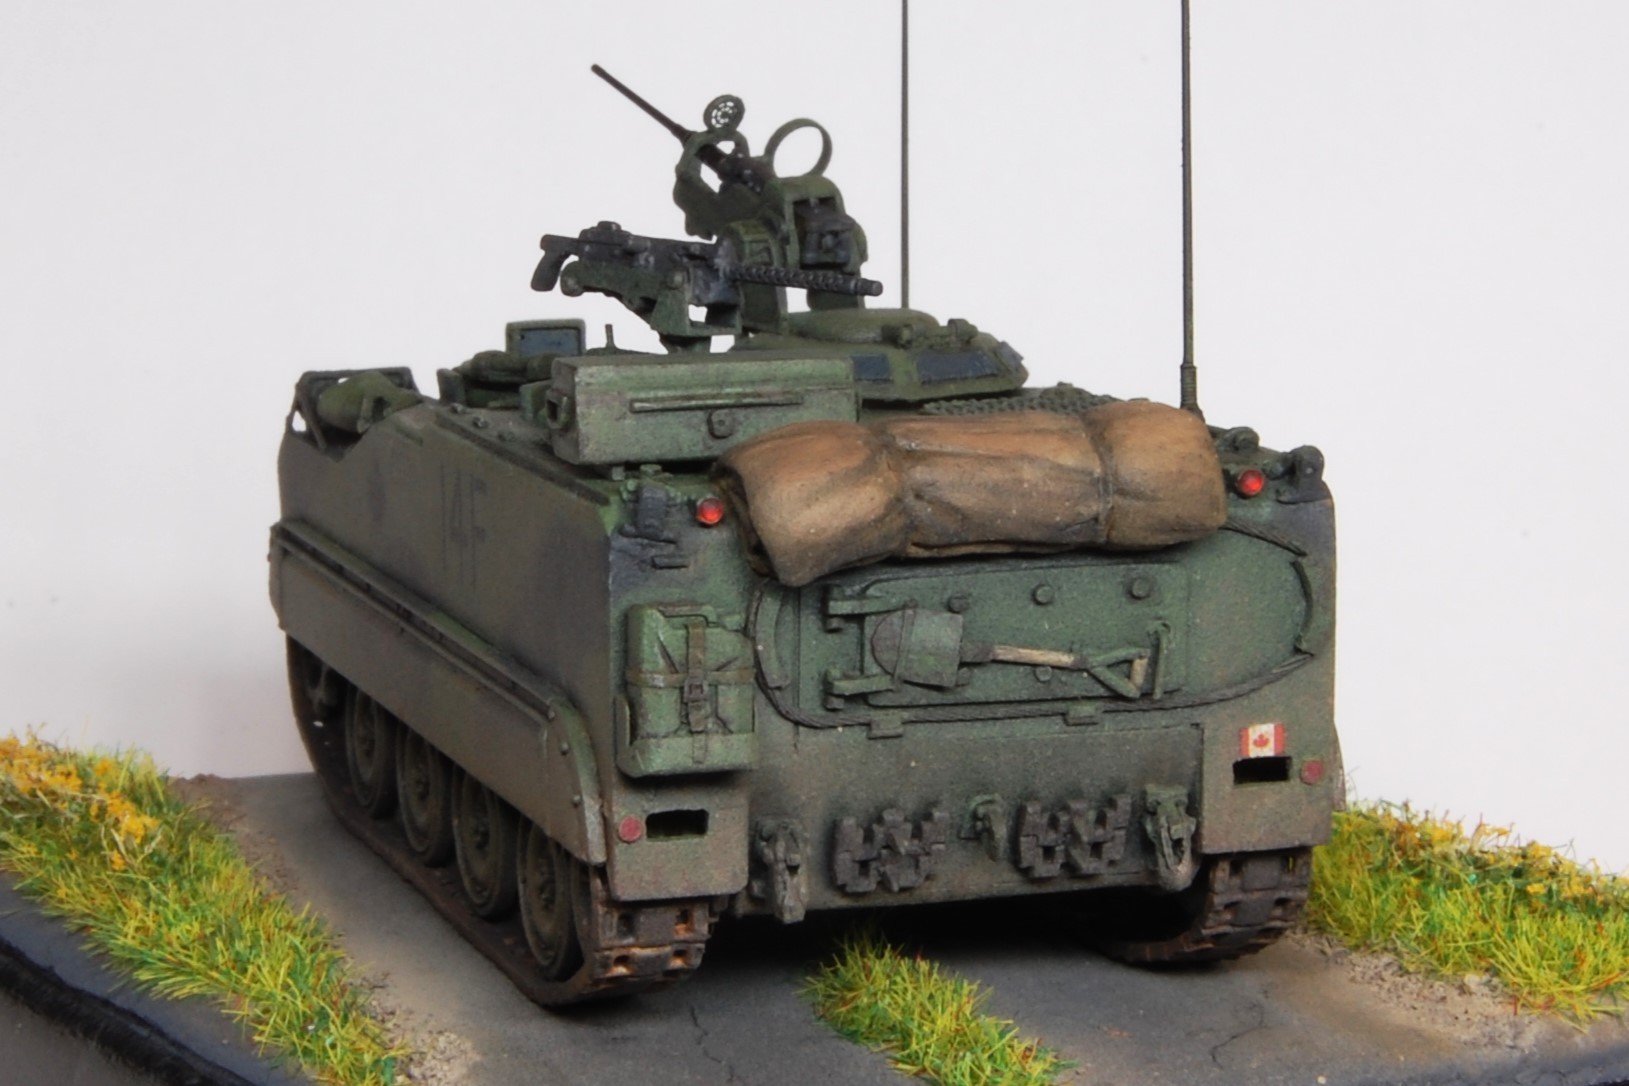
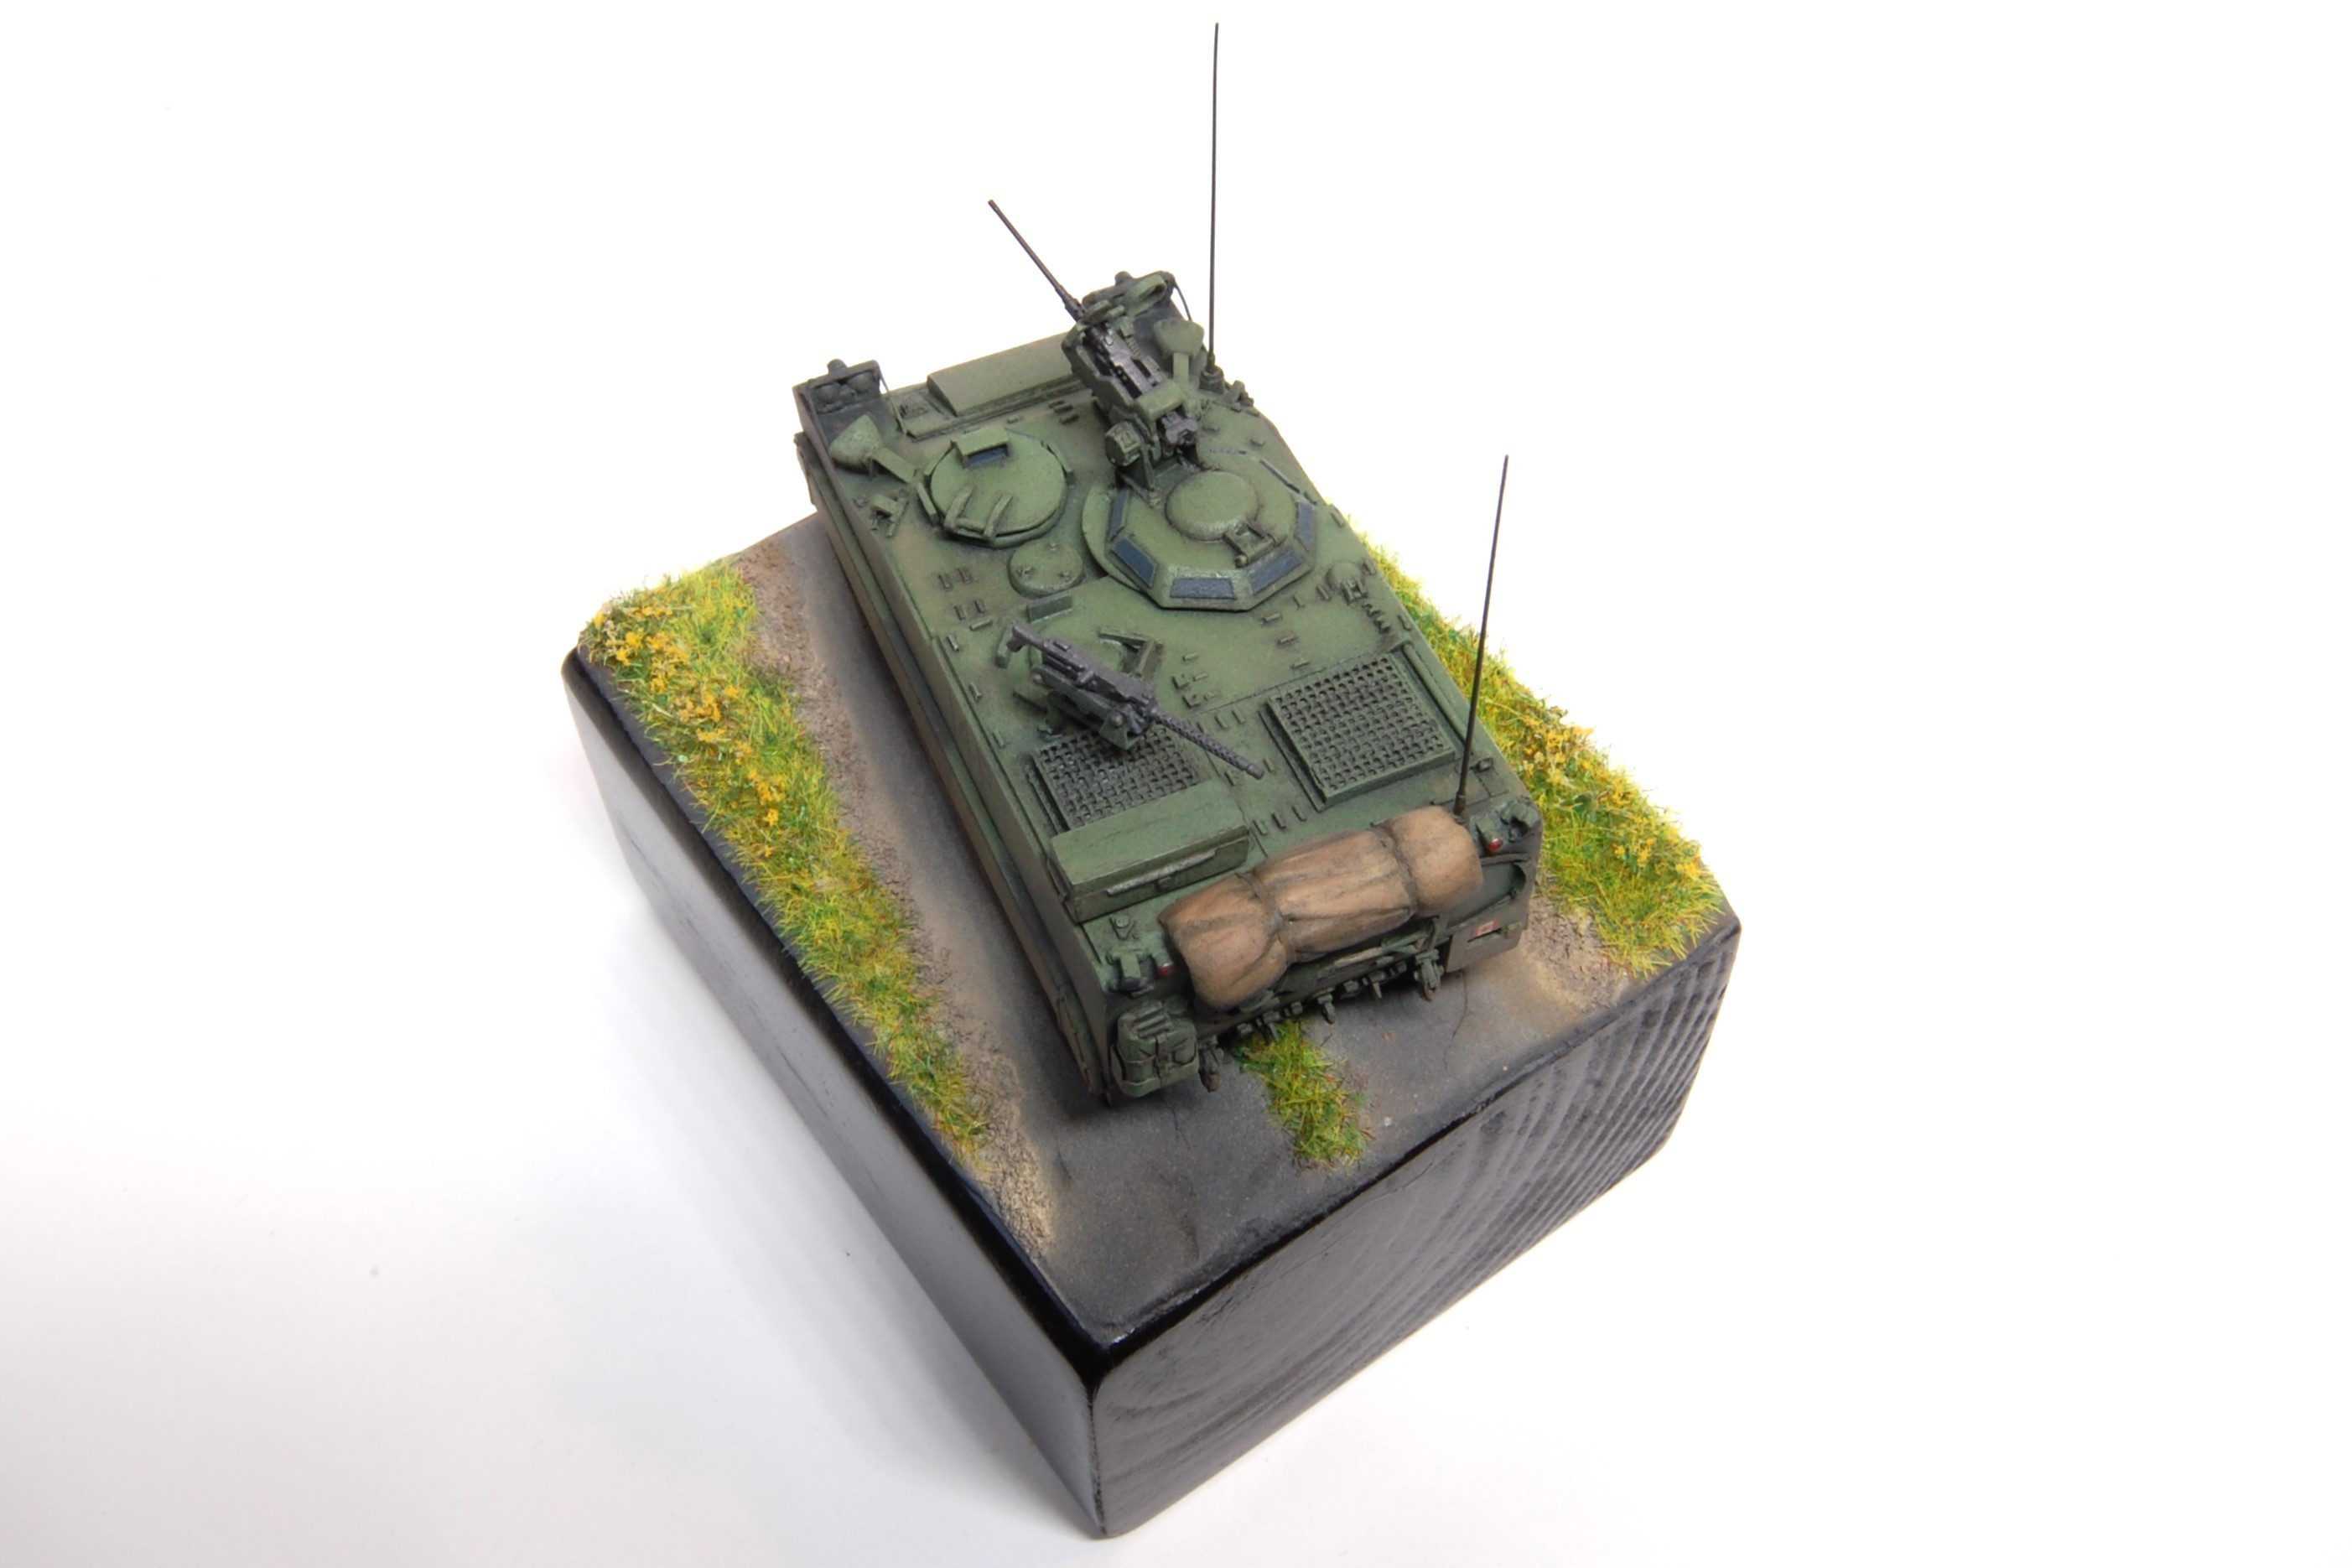
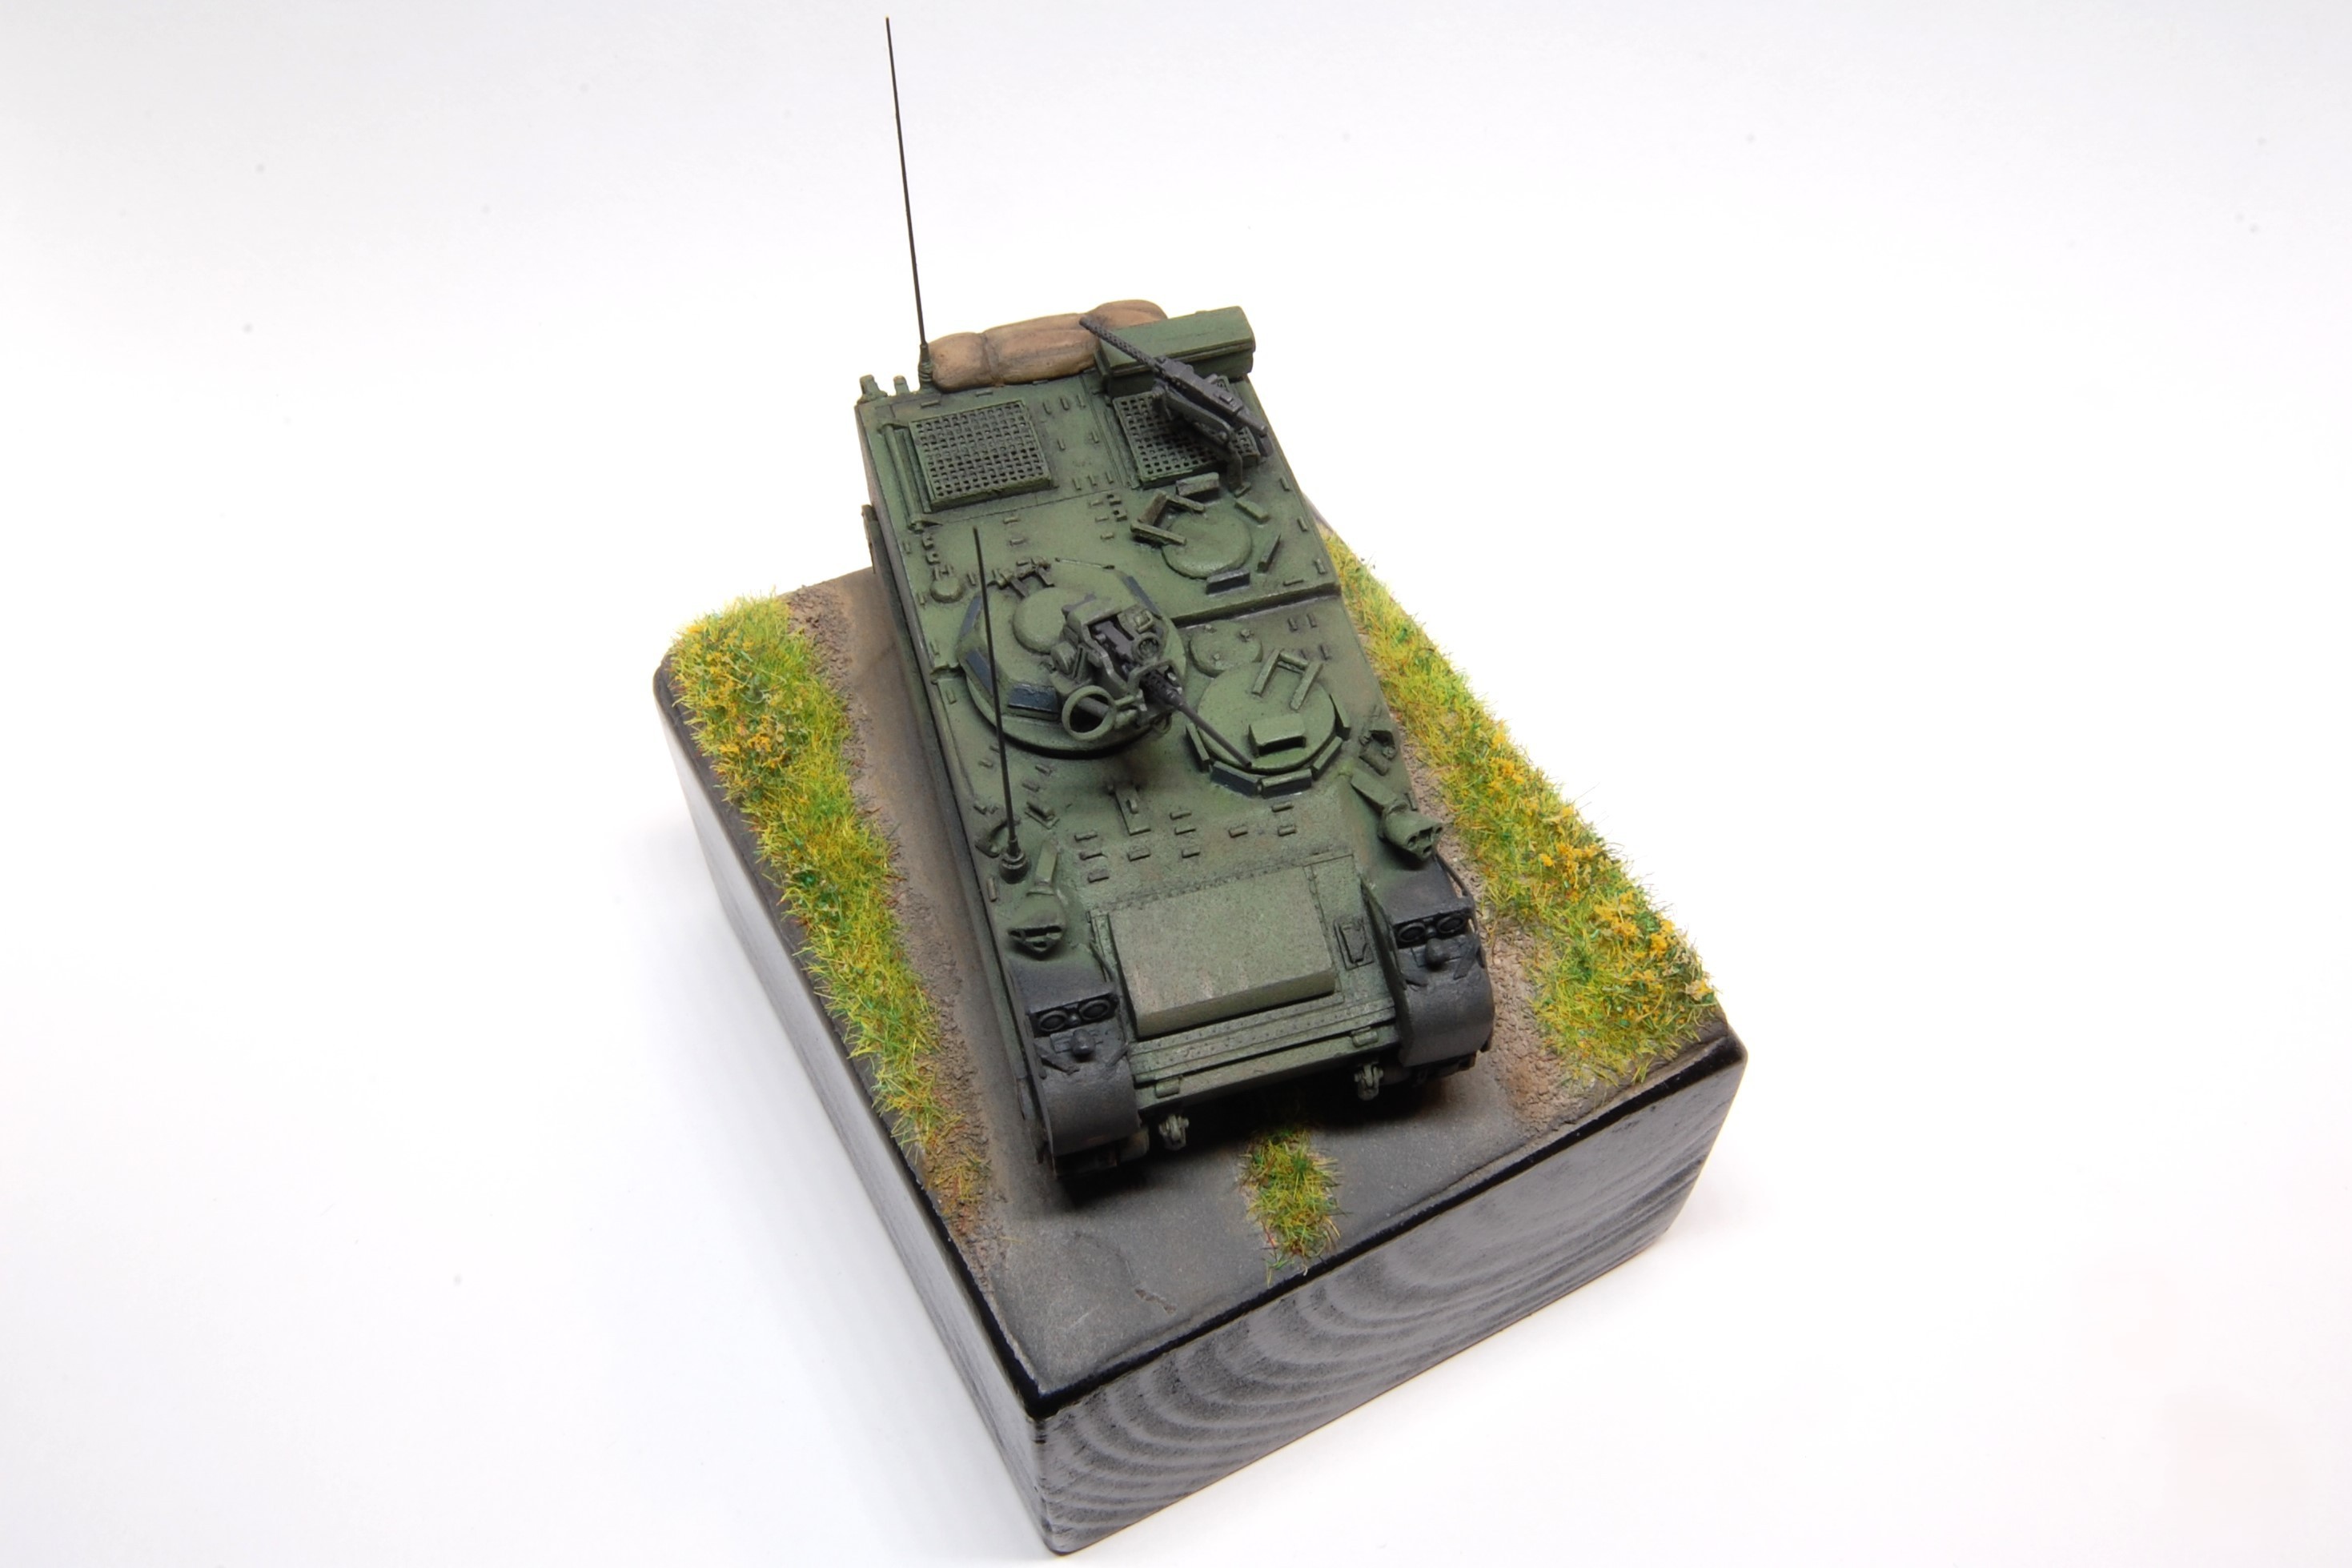
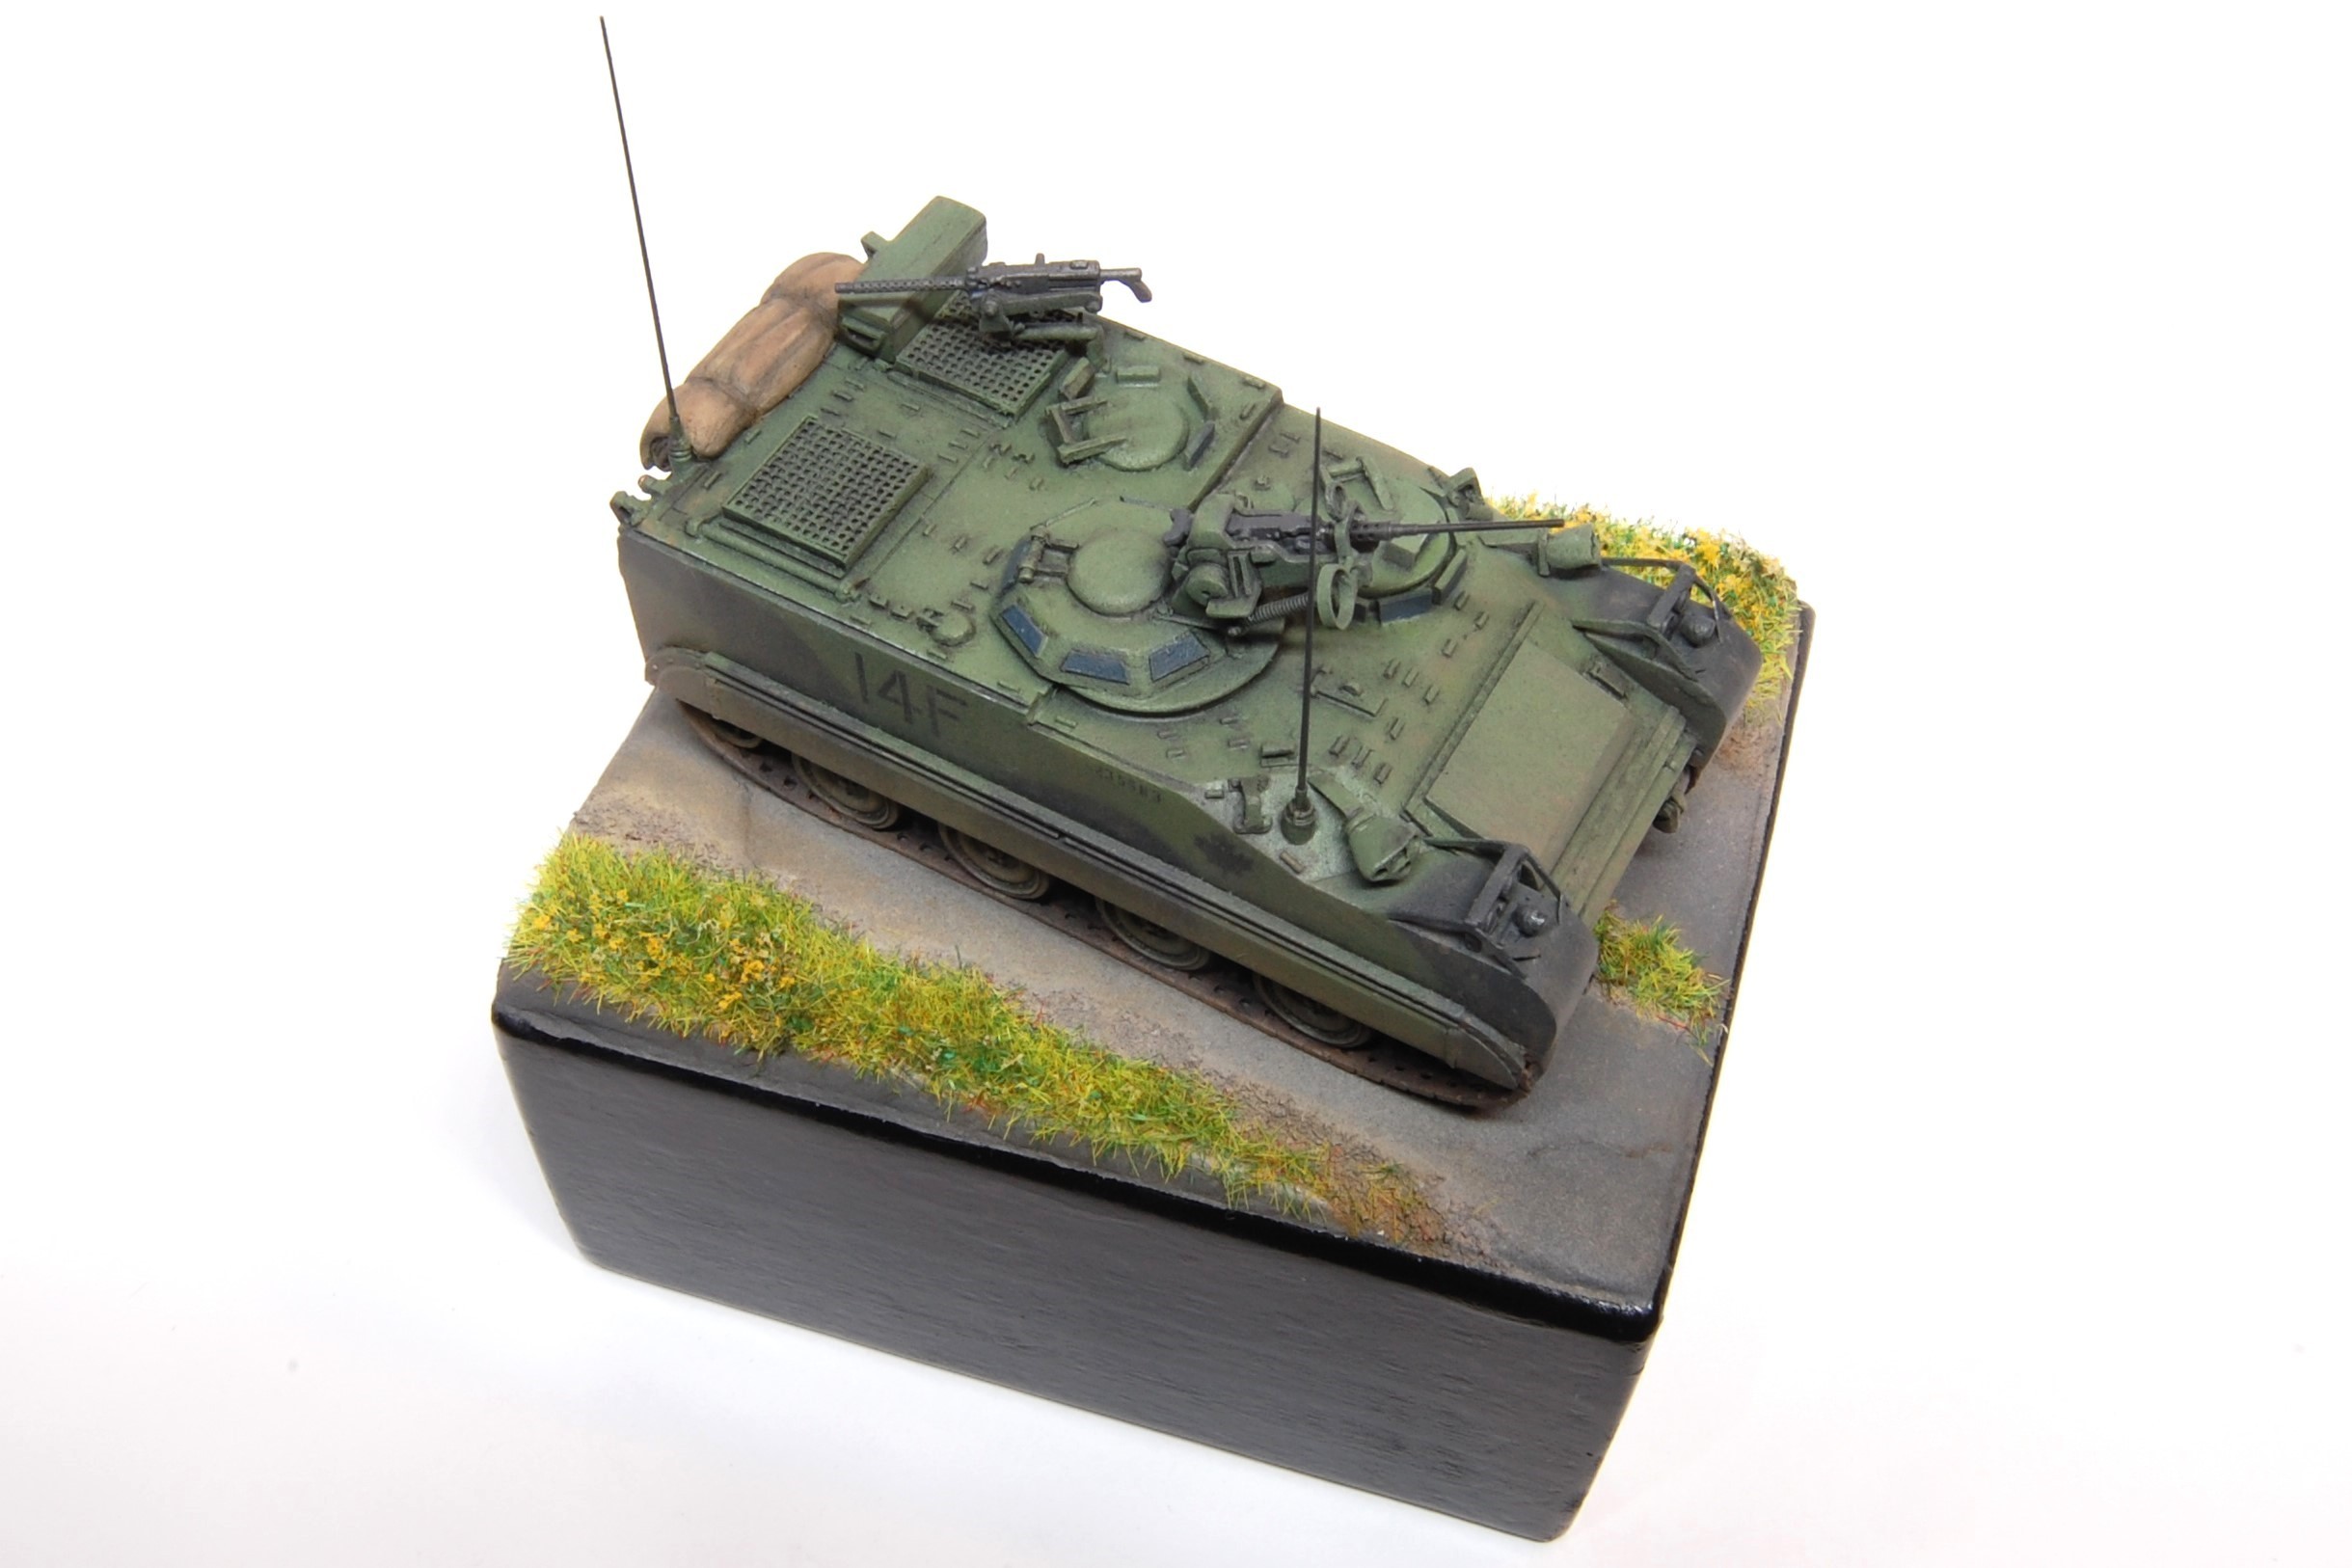
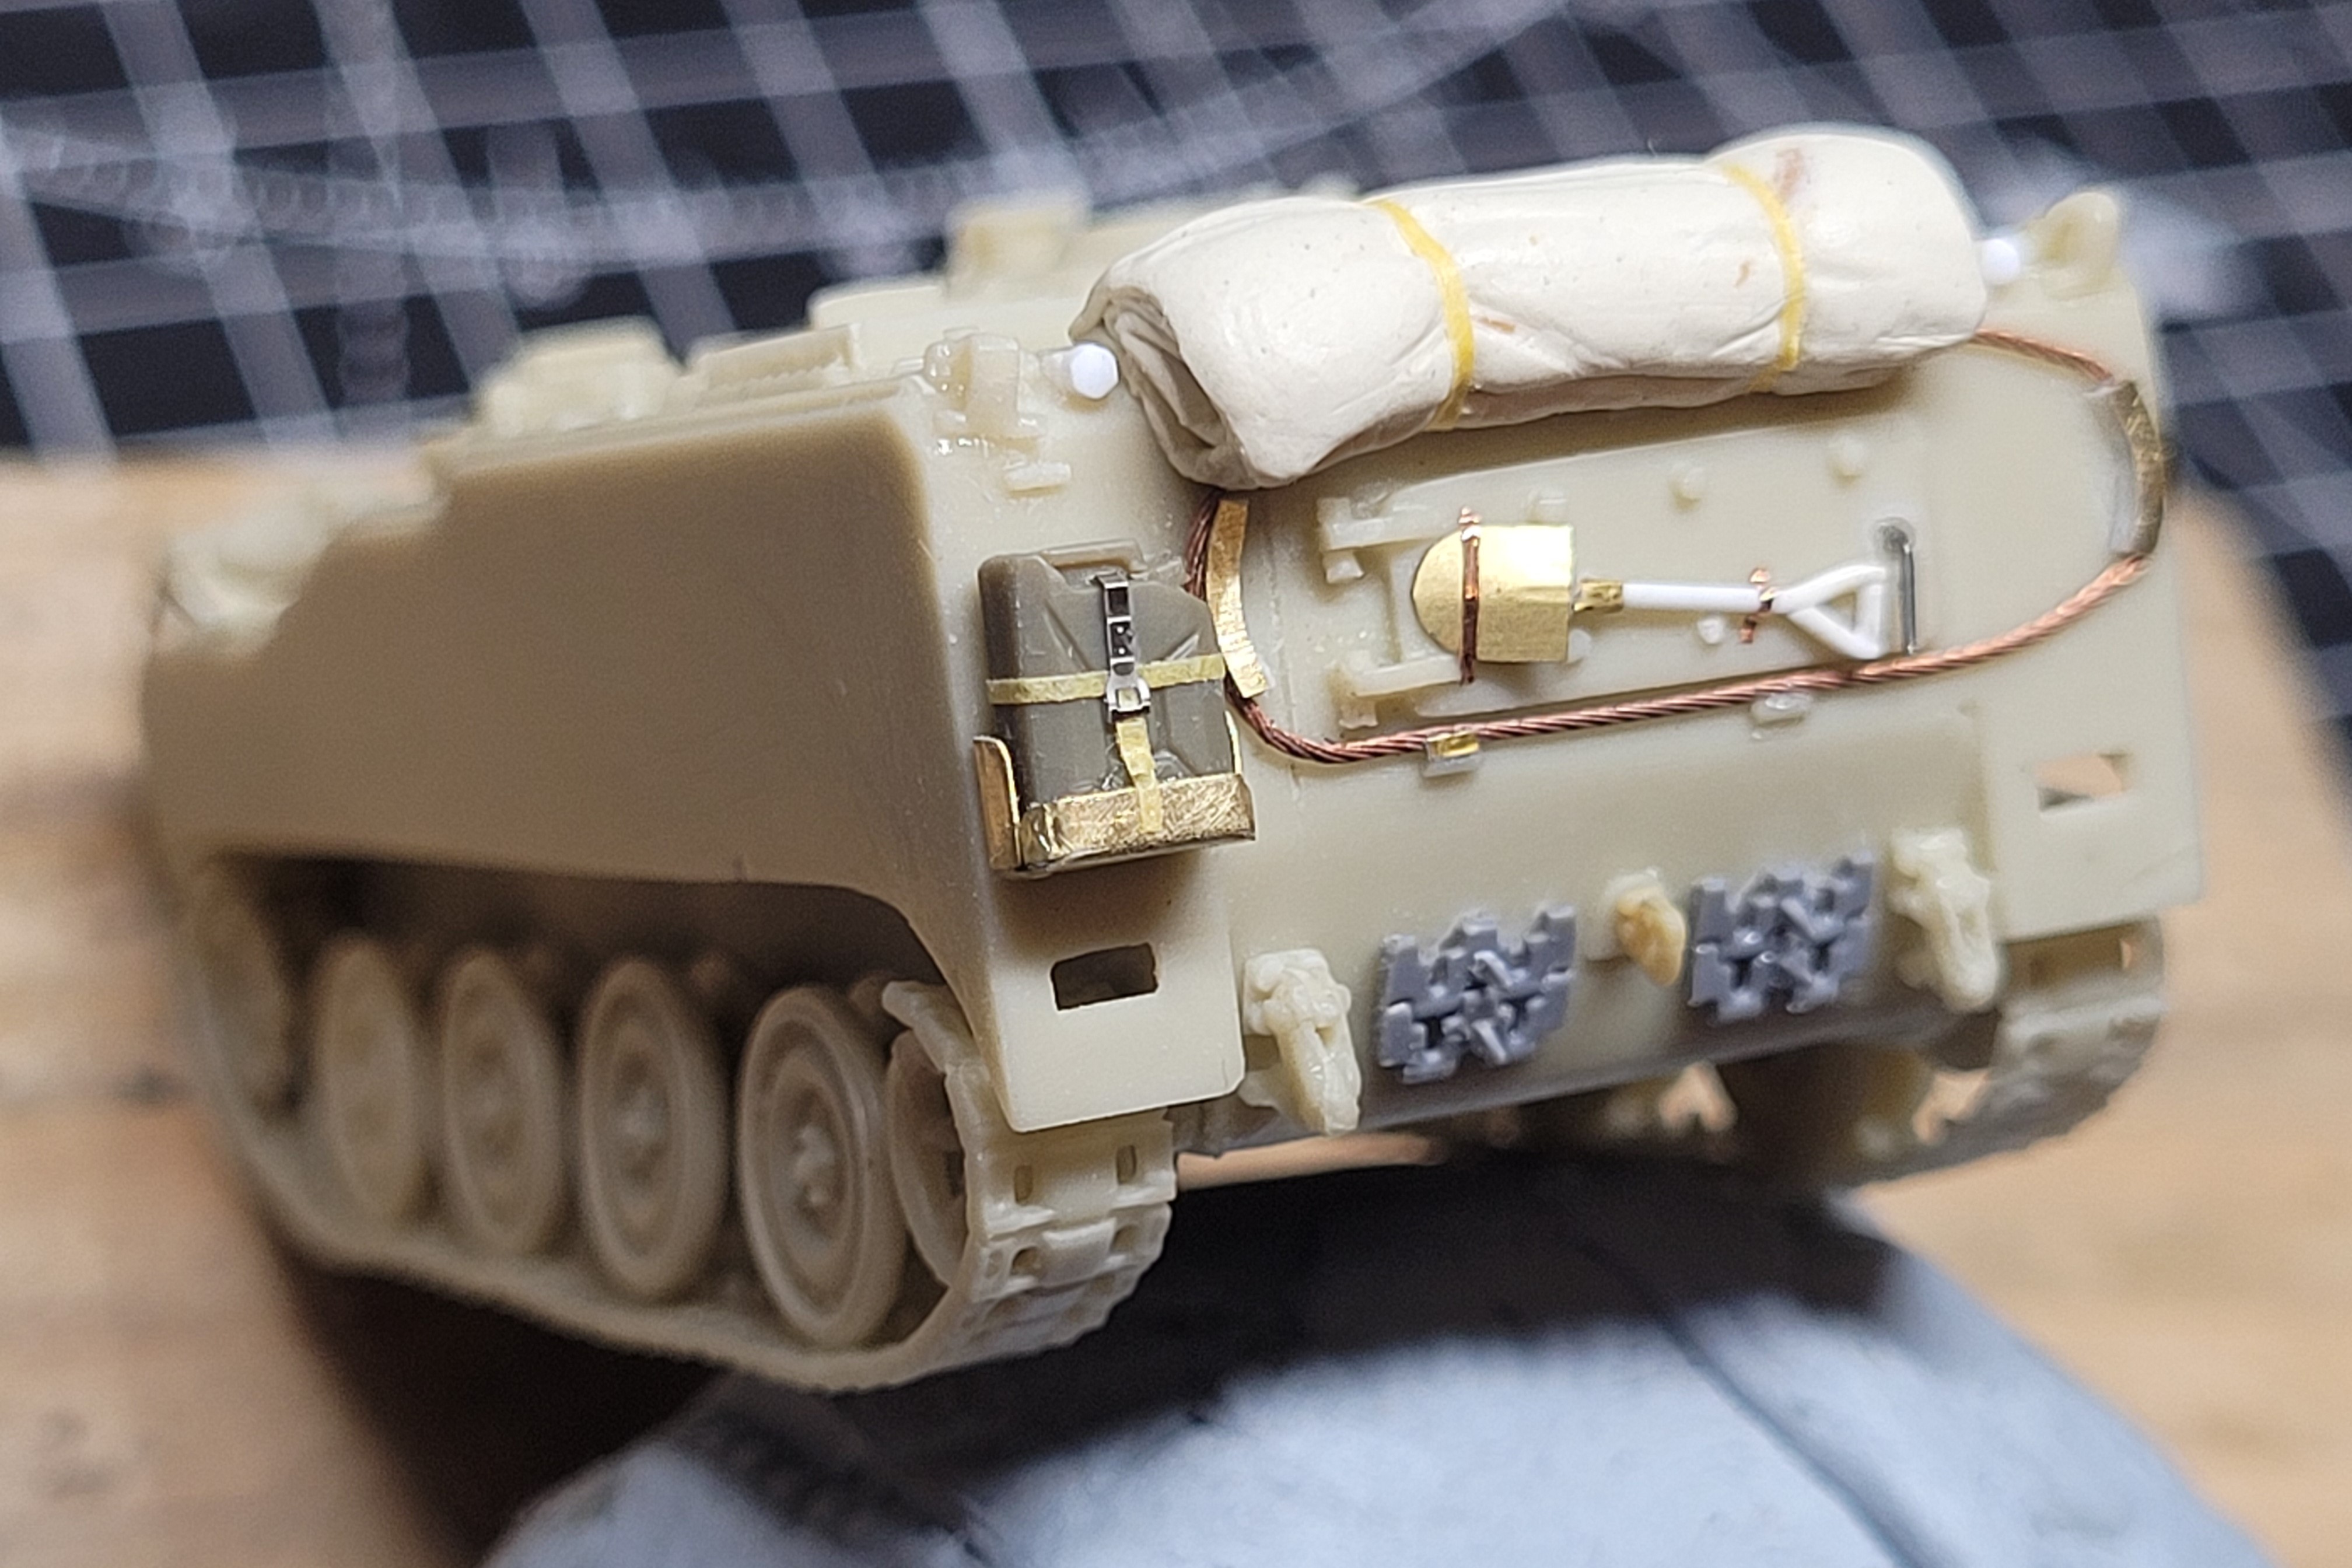
The unpainted model sat in the box for ten years until January when I was inspired to do something with it. References of complete vehicles in service don’t seem to exist in great numbers, but armed with a nice colour shot of the rear, I started at the back, cobbling together a holder for a jerry can from the T-Model M1114. A length of Eureka XXL towrope was attached, with mounting brackets cut (I think) from a set of motorcycle number plates. The lack of suitable cable ends was covered over by a big tarpaulin hanging off the top, made from Magic Sculpt. The centre tow hook is also from the M1114, the spare track links are adapted from an IBG Turan kit, and buckles, the shovel and other bits from various etched sheets.
The box sitting up on the top rear was inspired by the colour photo, and cobbled out of styrene strips. Some etched mesh by Inside the Armour was used to cover over the big vents on the rear deck. Rear lamps are from the SKP Gvodzika set (I think that was another Armorama sample), and the reflectors on the track guards were circles punched out with my very budget but good punch set from Ebay.
Gun mounts
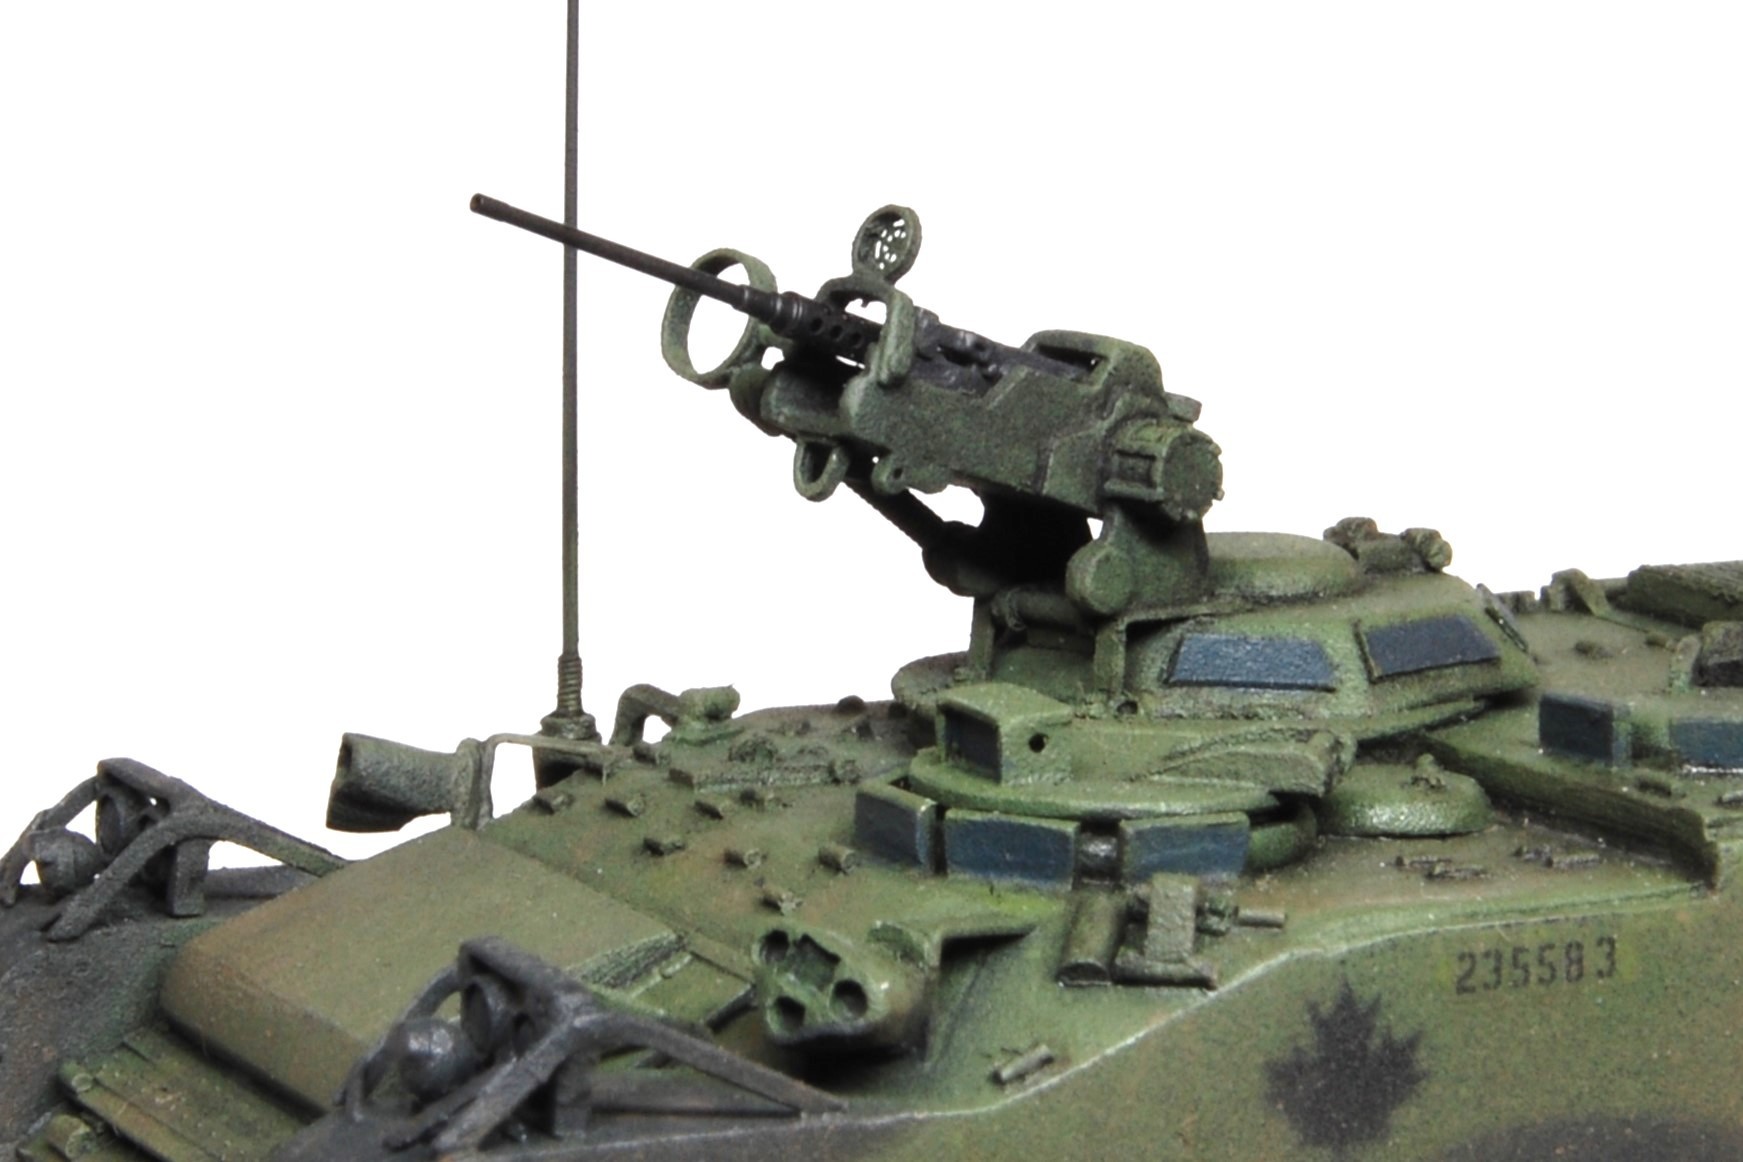
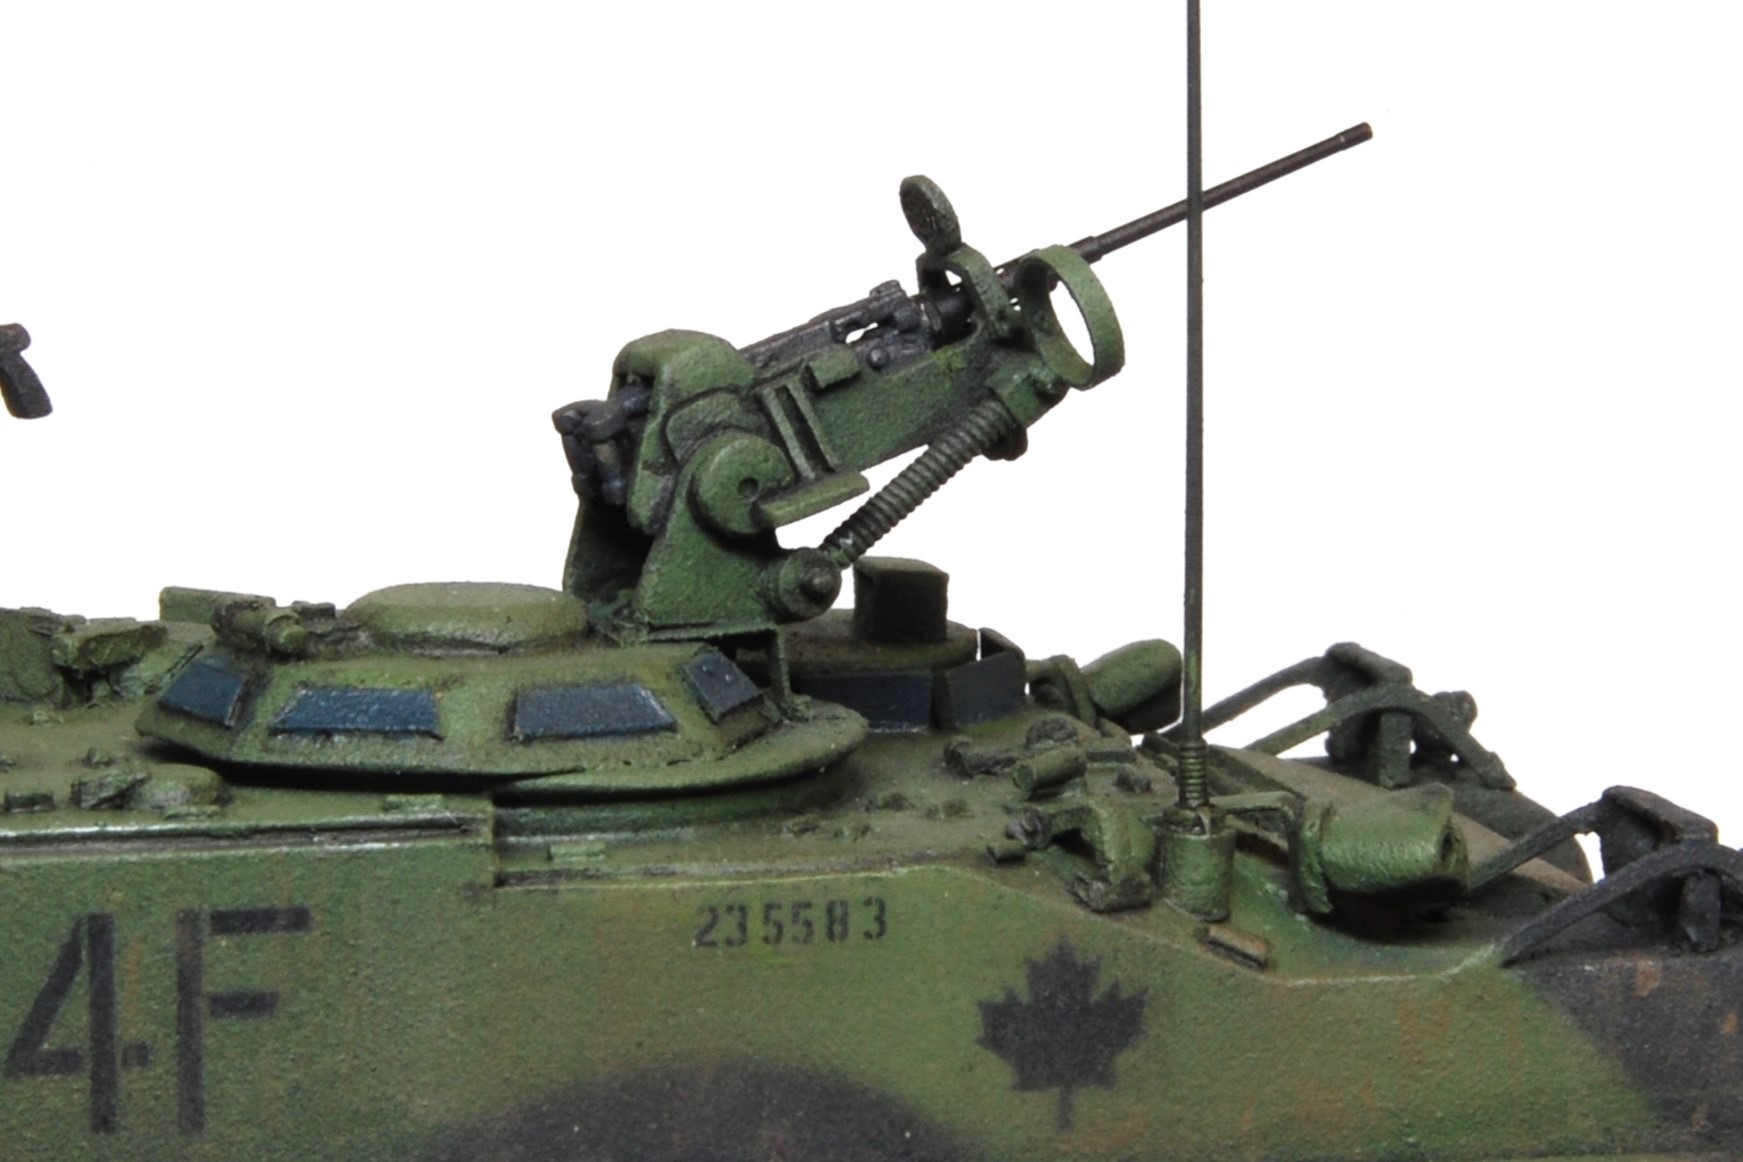
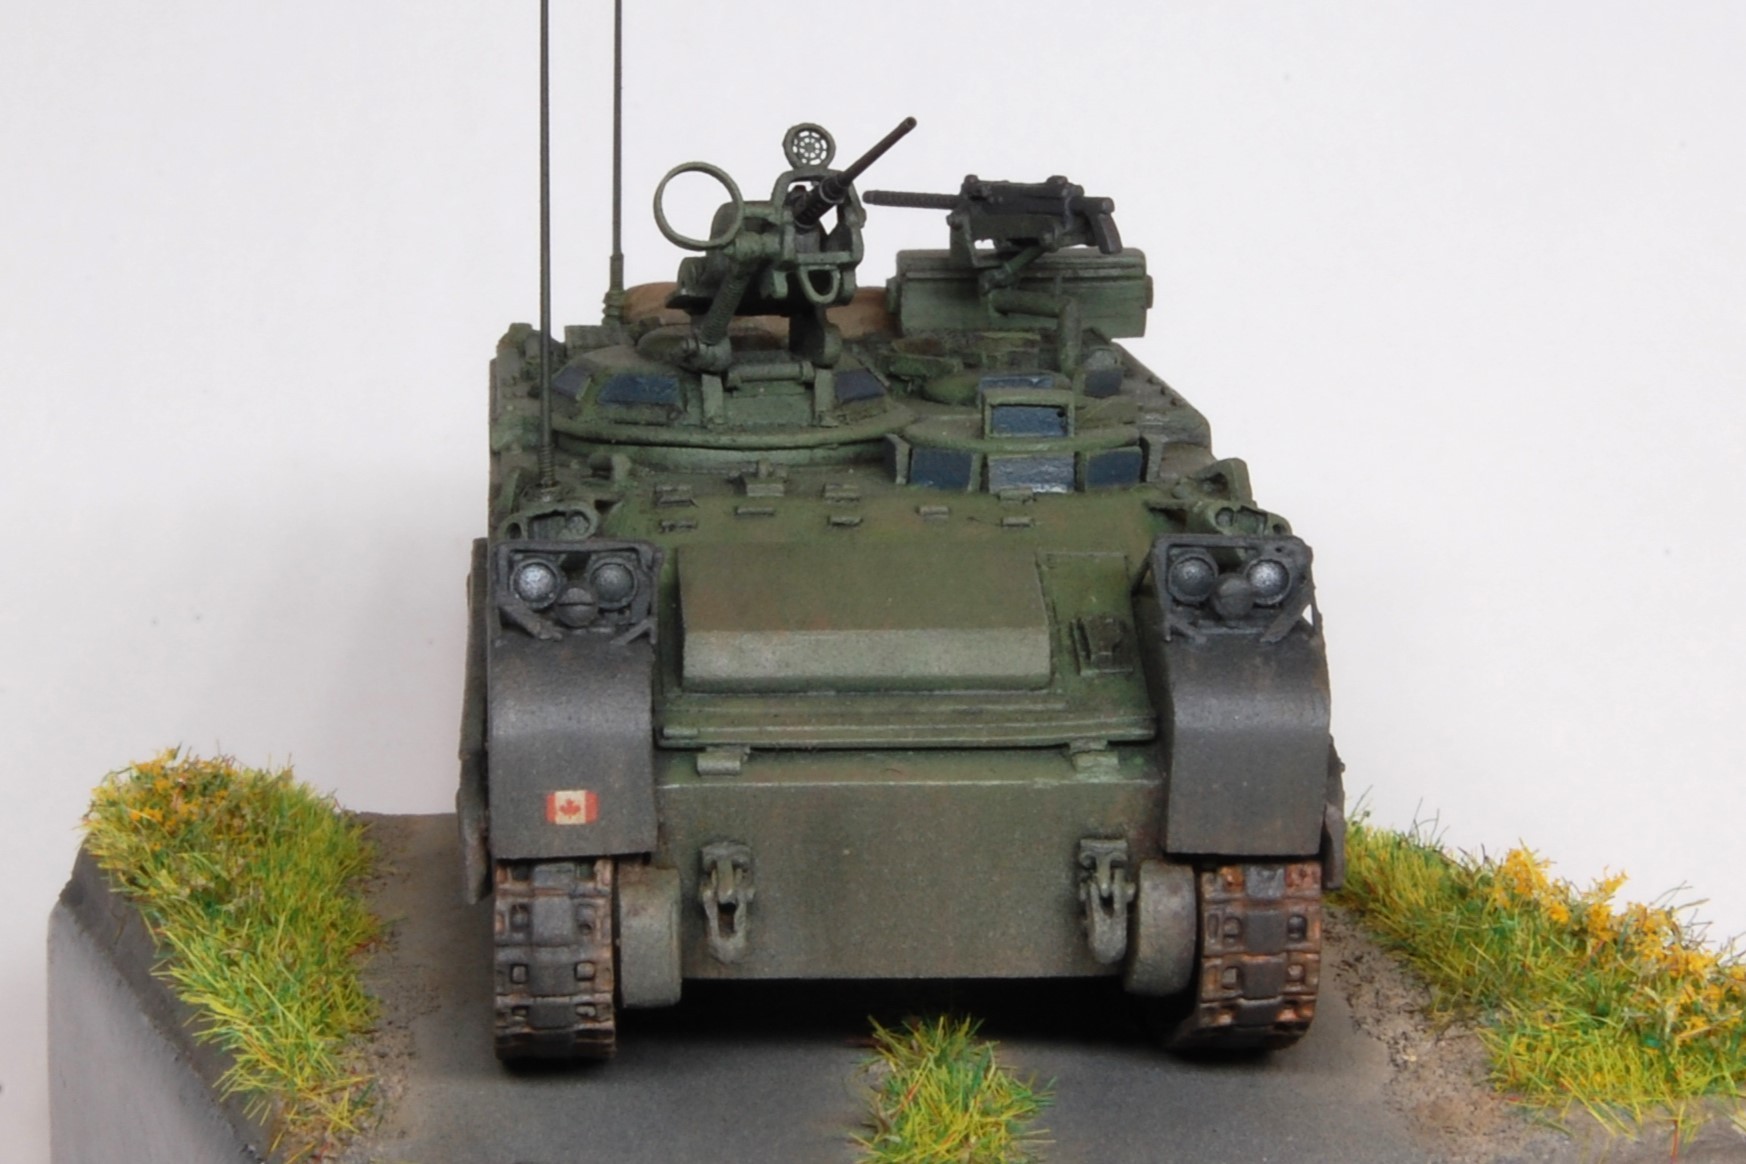
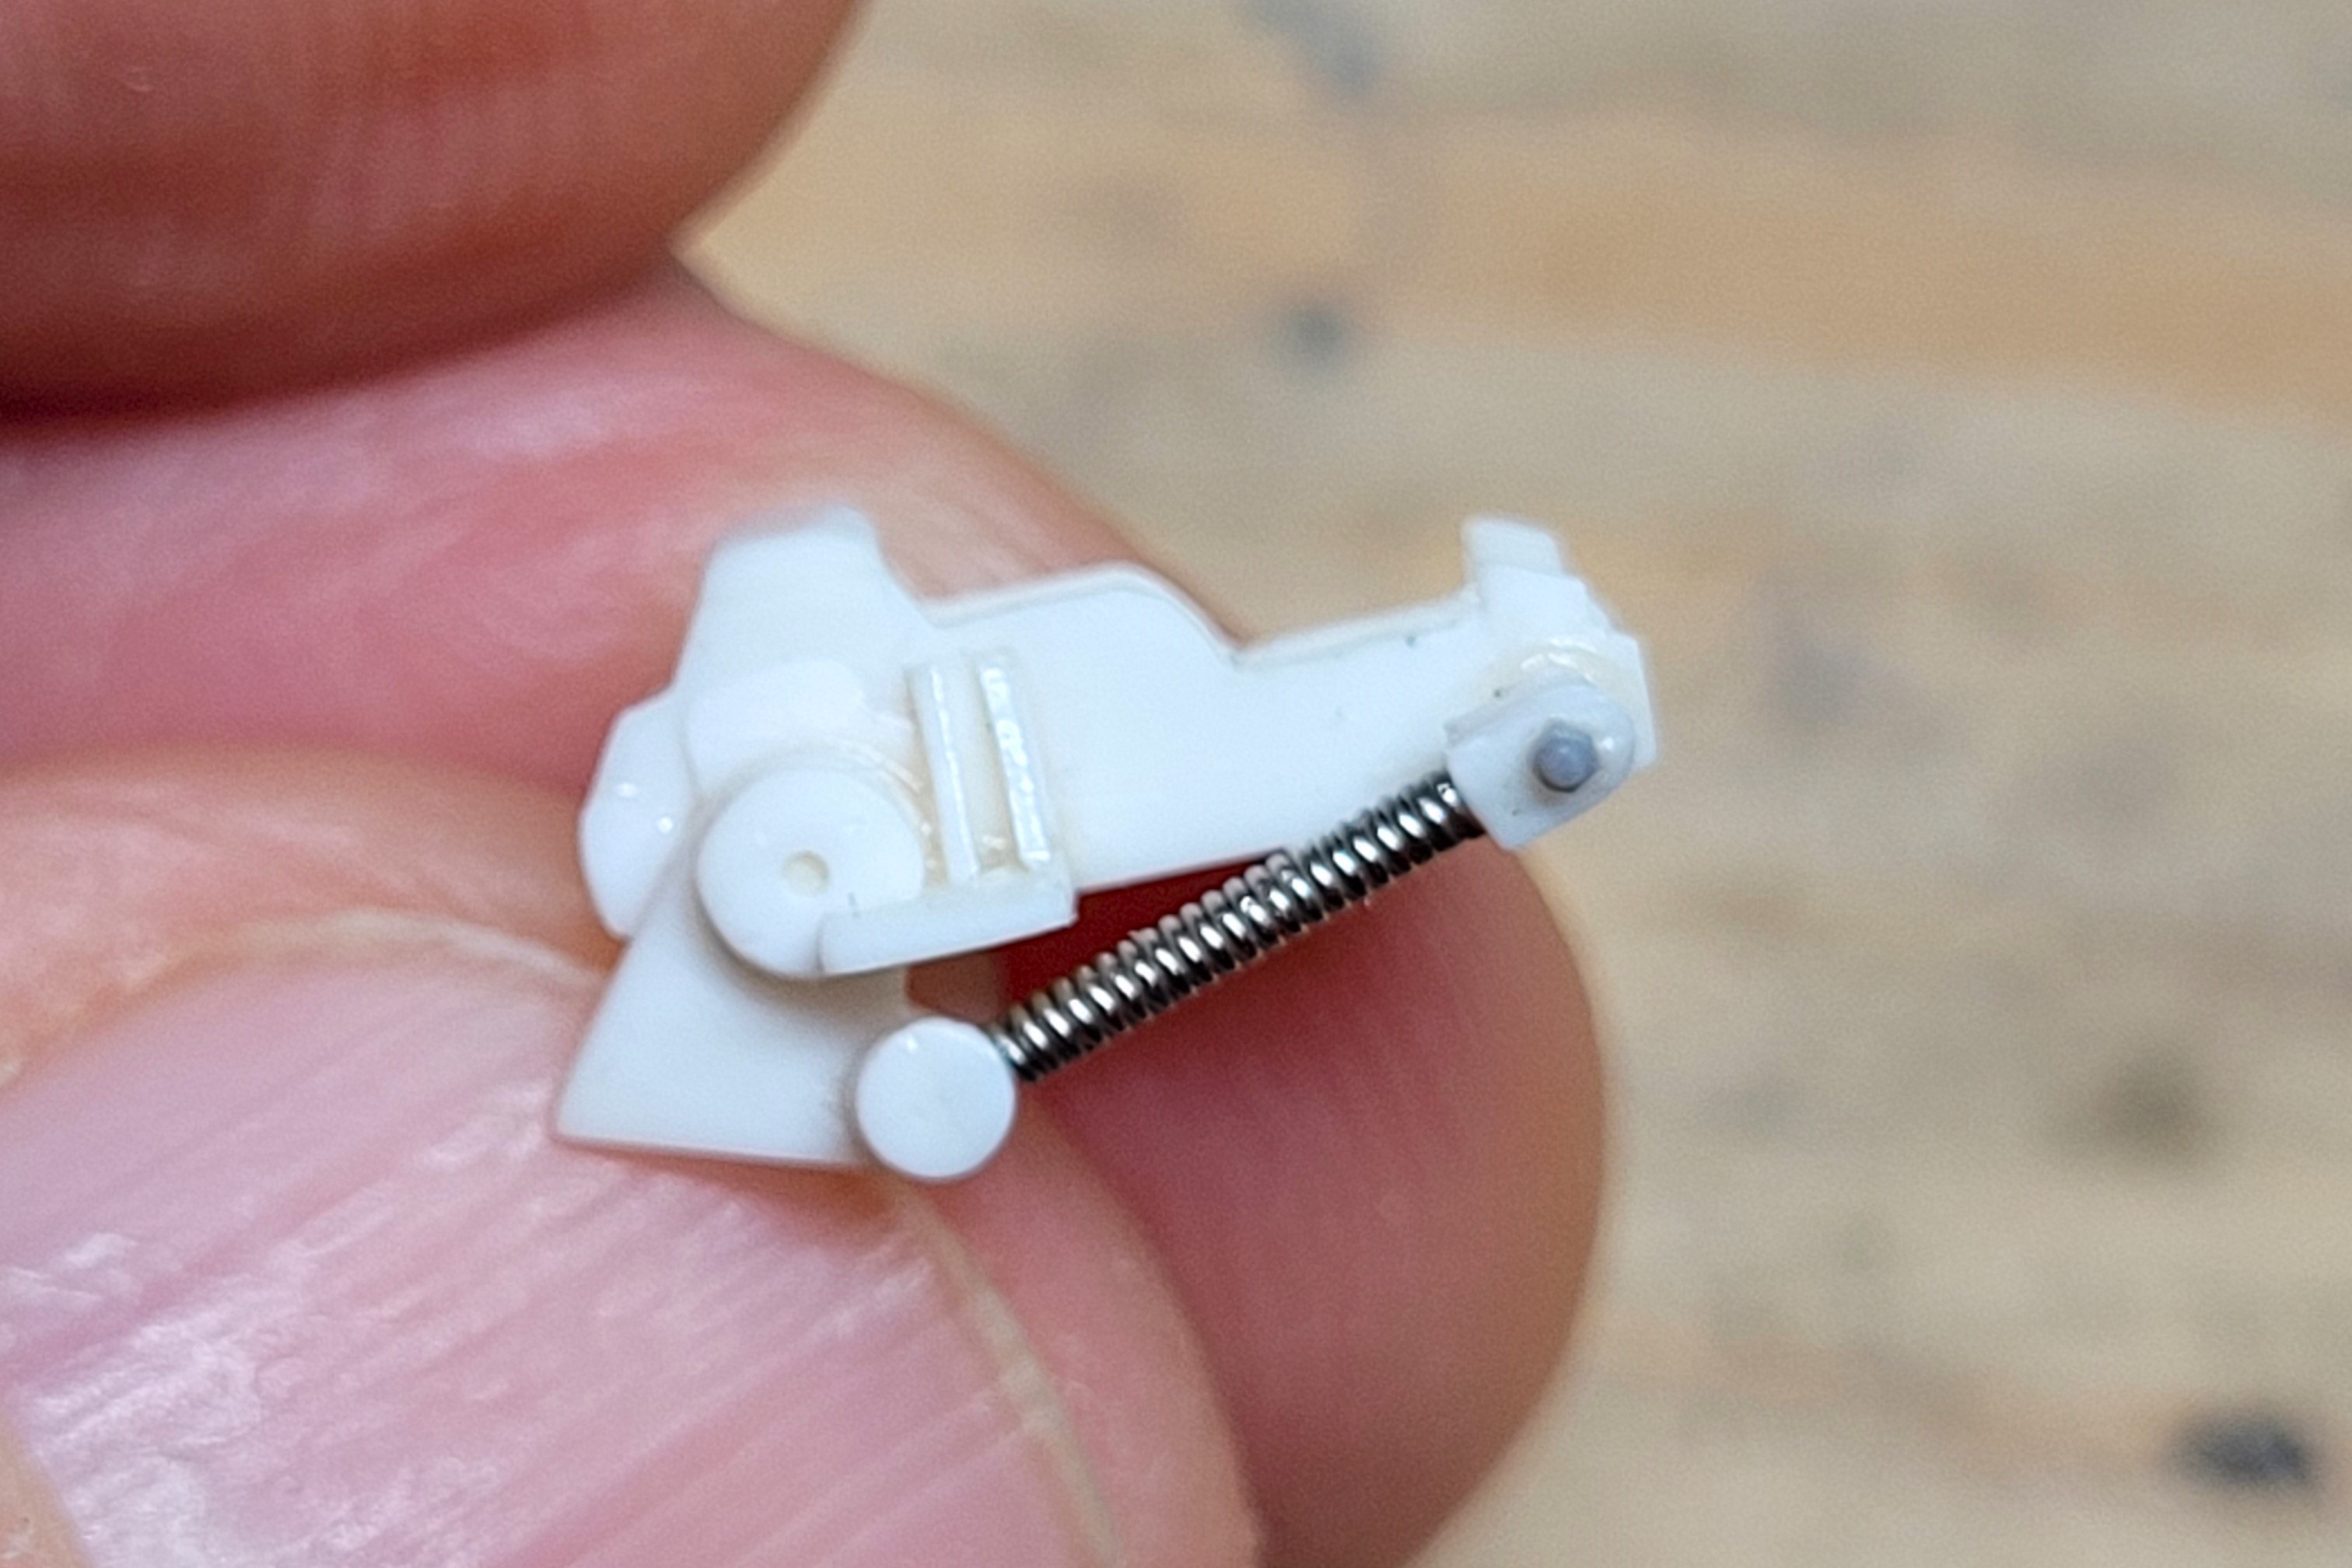
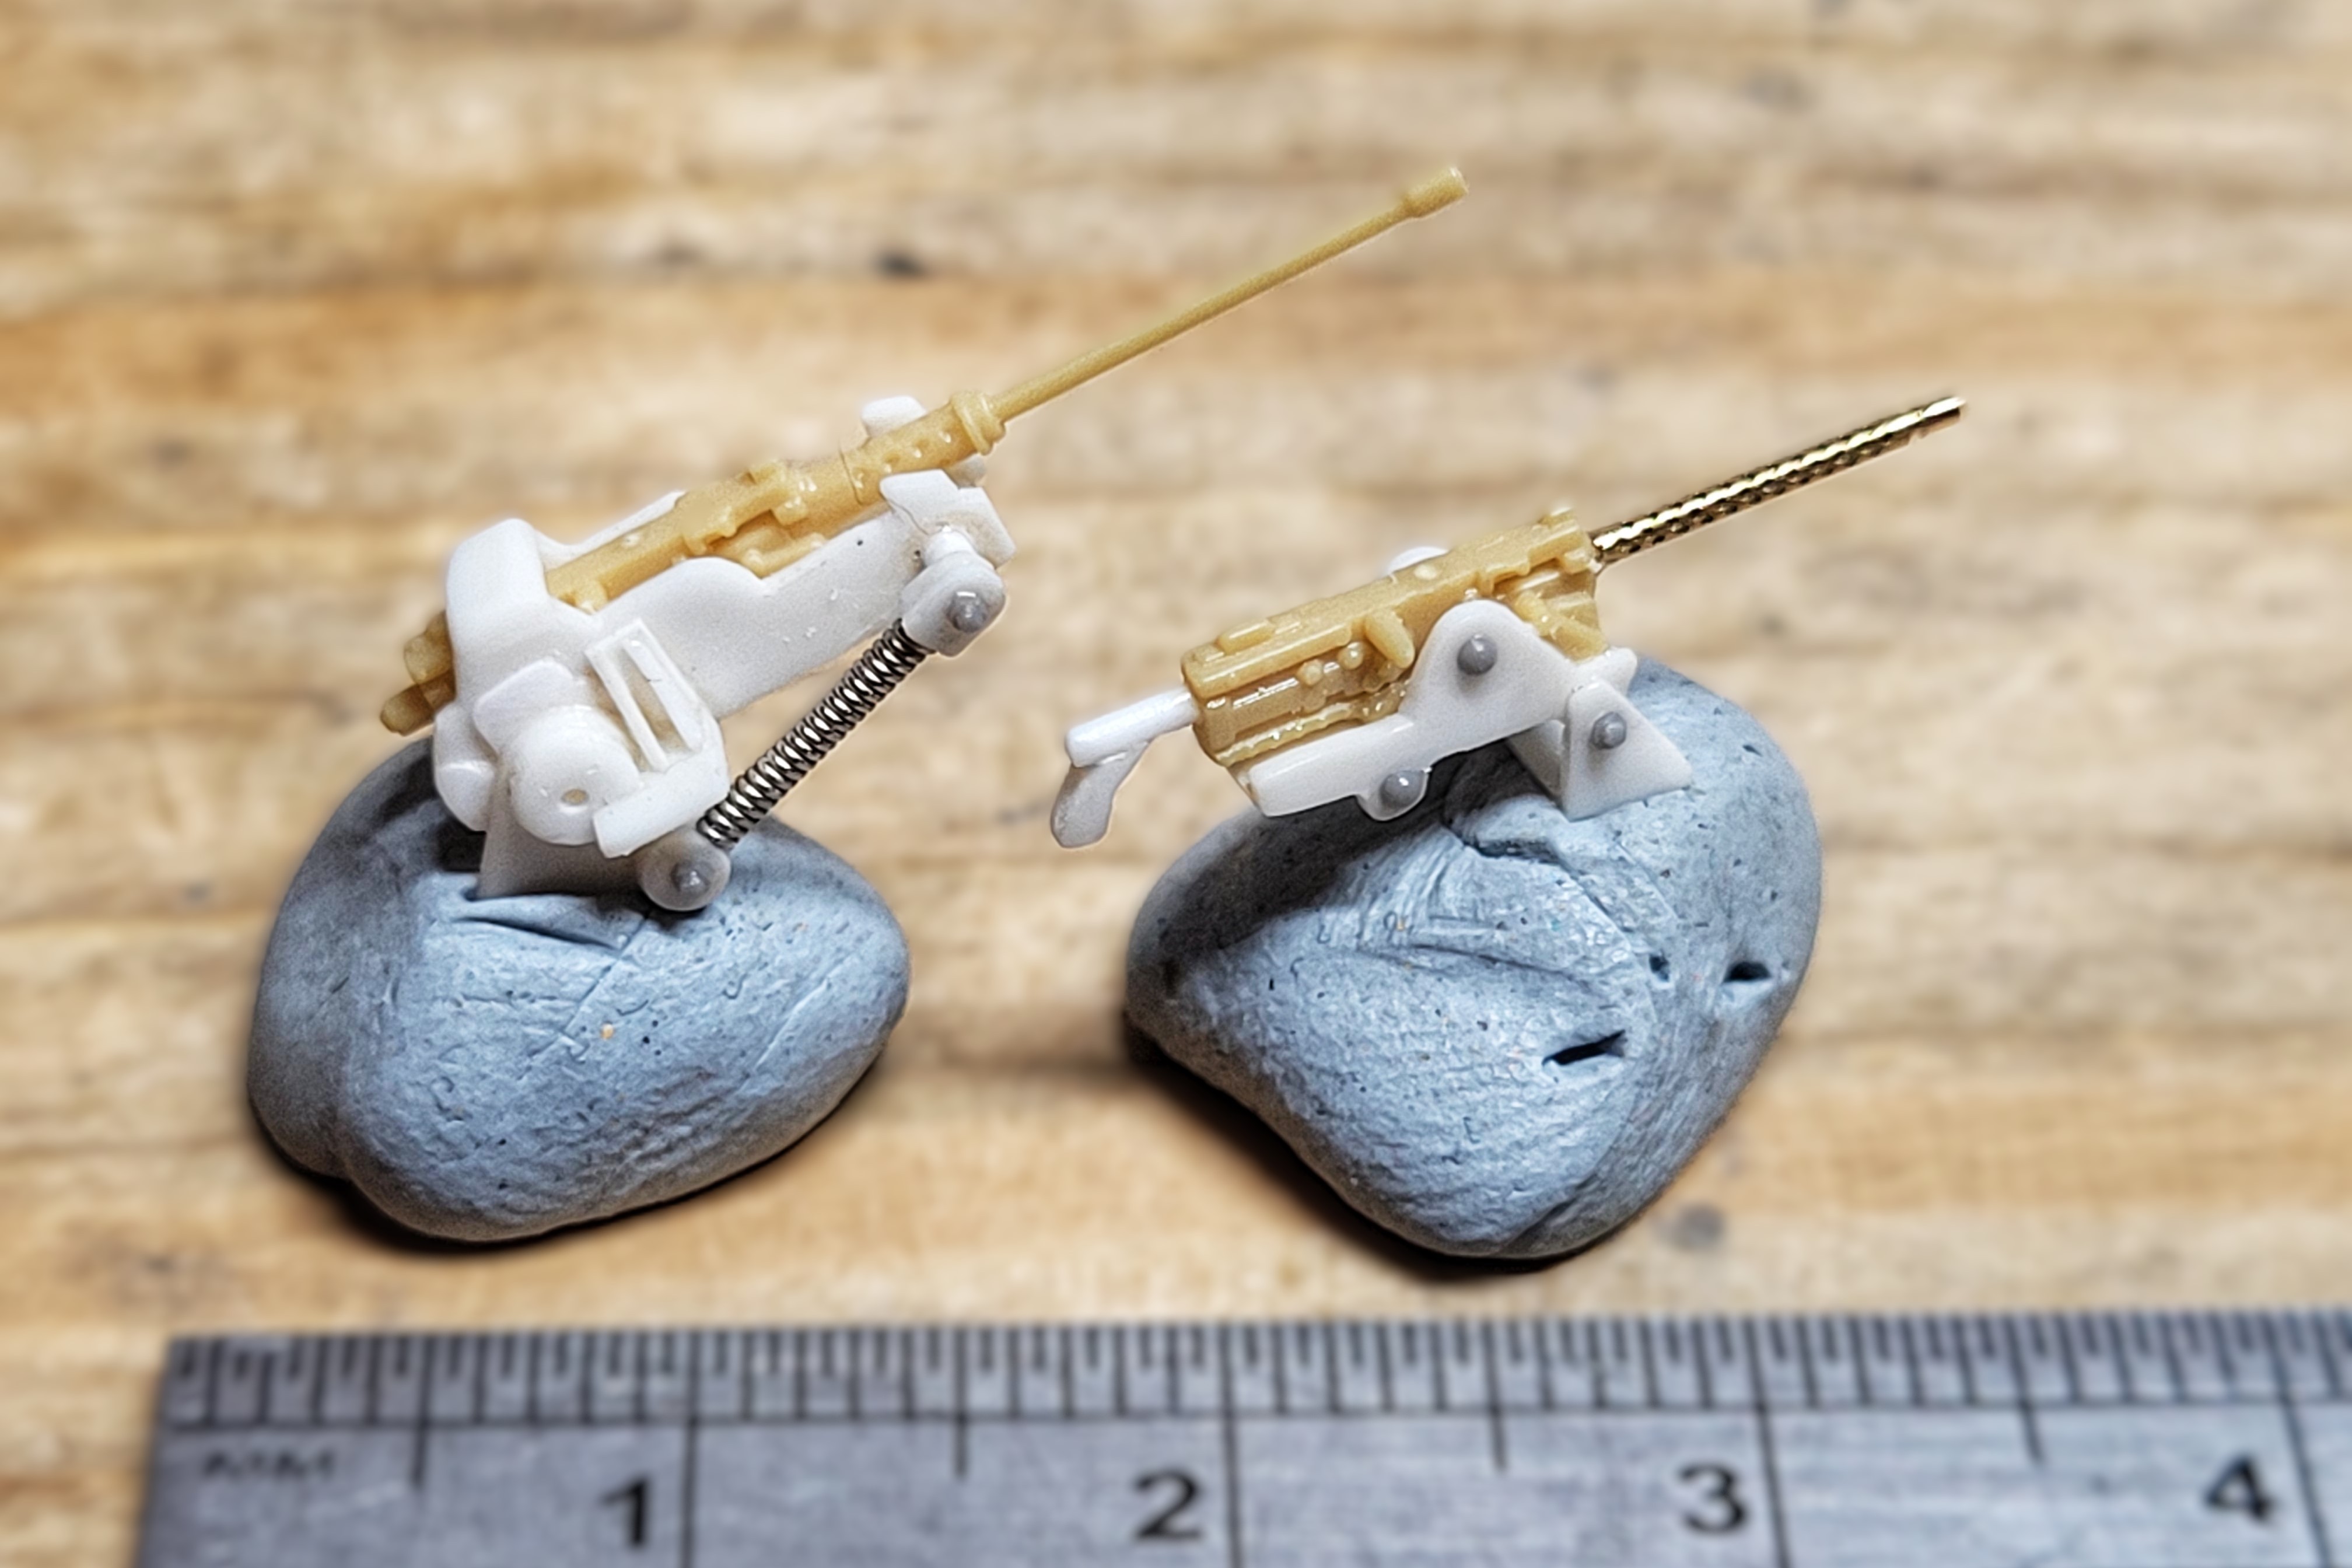
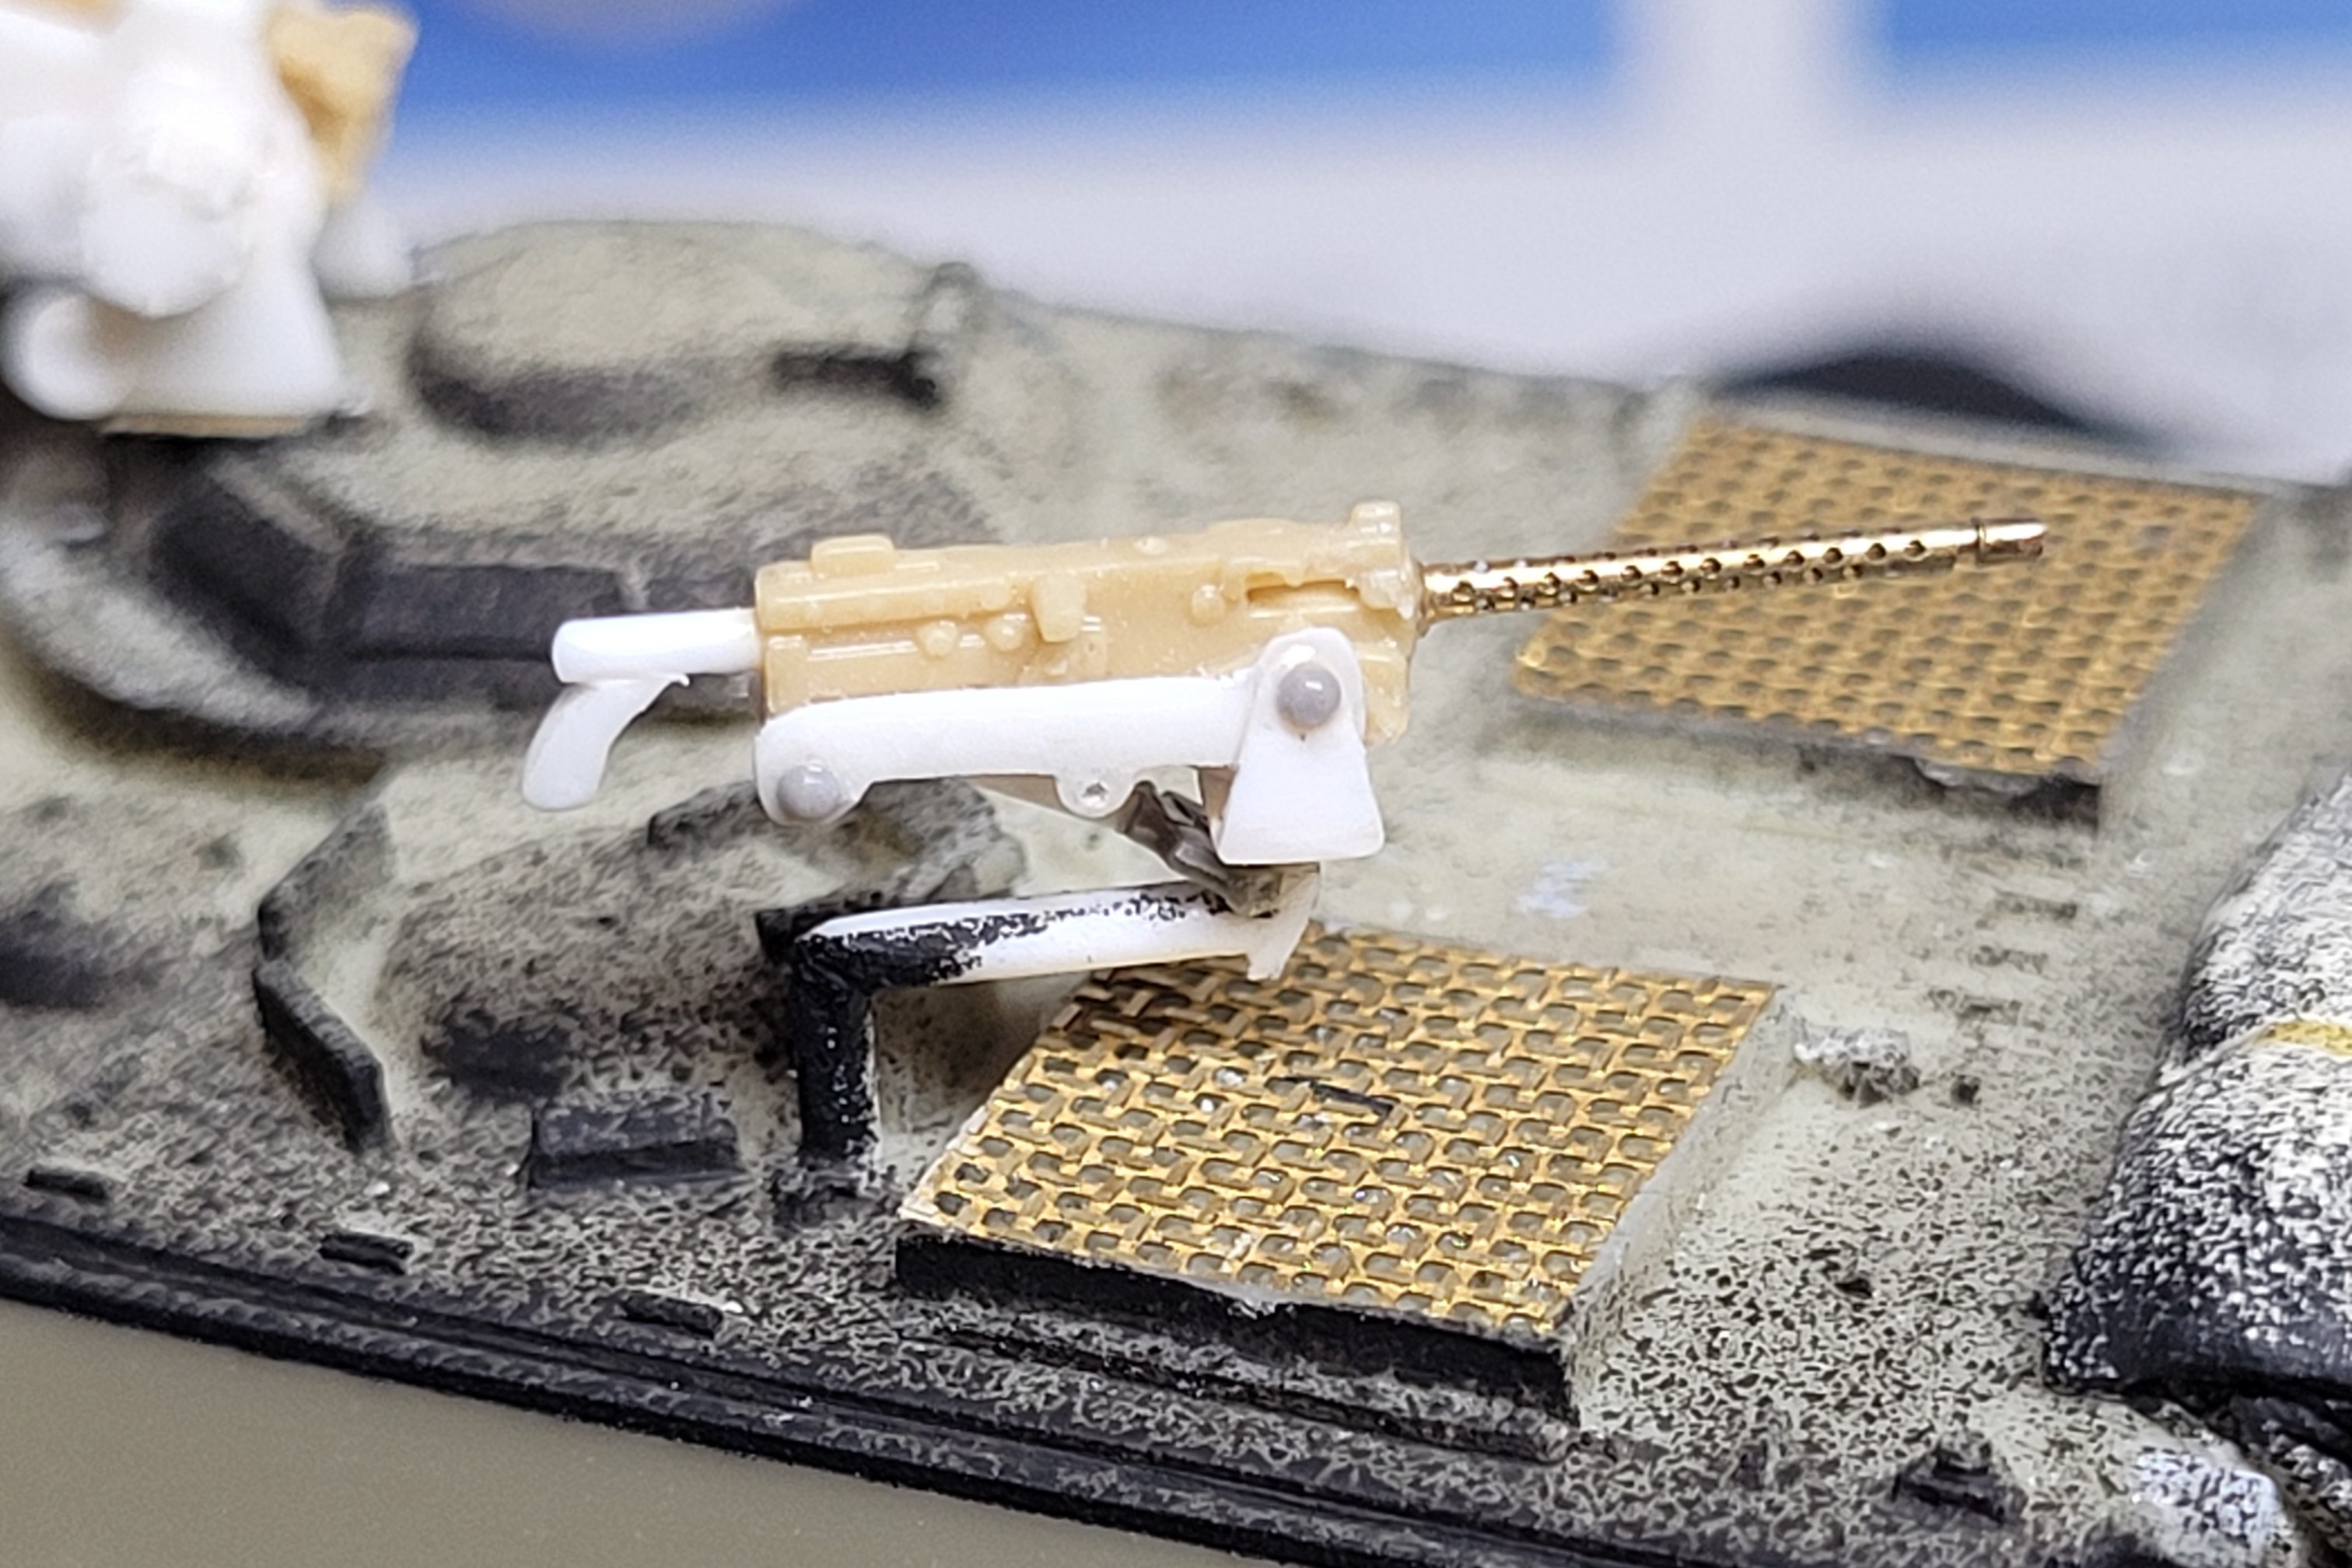
Turning to the gun mounts, I struggled to find decent photos, but came across a blog with many photos of a 1/16 scale scratch built Lynx, and this allowed me to understand how both mounts could be built up from styrene sheet and rod, albeit simplified. The guns were modified items from the M1114 kit, although I obtained a barrel for the M1919 from Master-Model.pl, a very nice item which I managed to fit slightly incorrectly resulting in a small gap at the muzzle end.
Painting
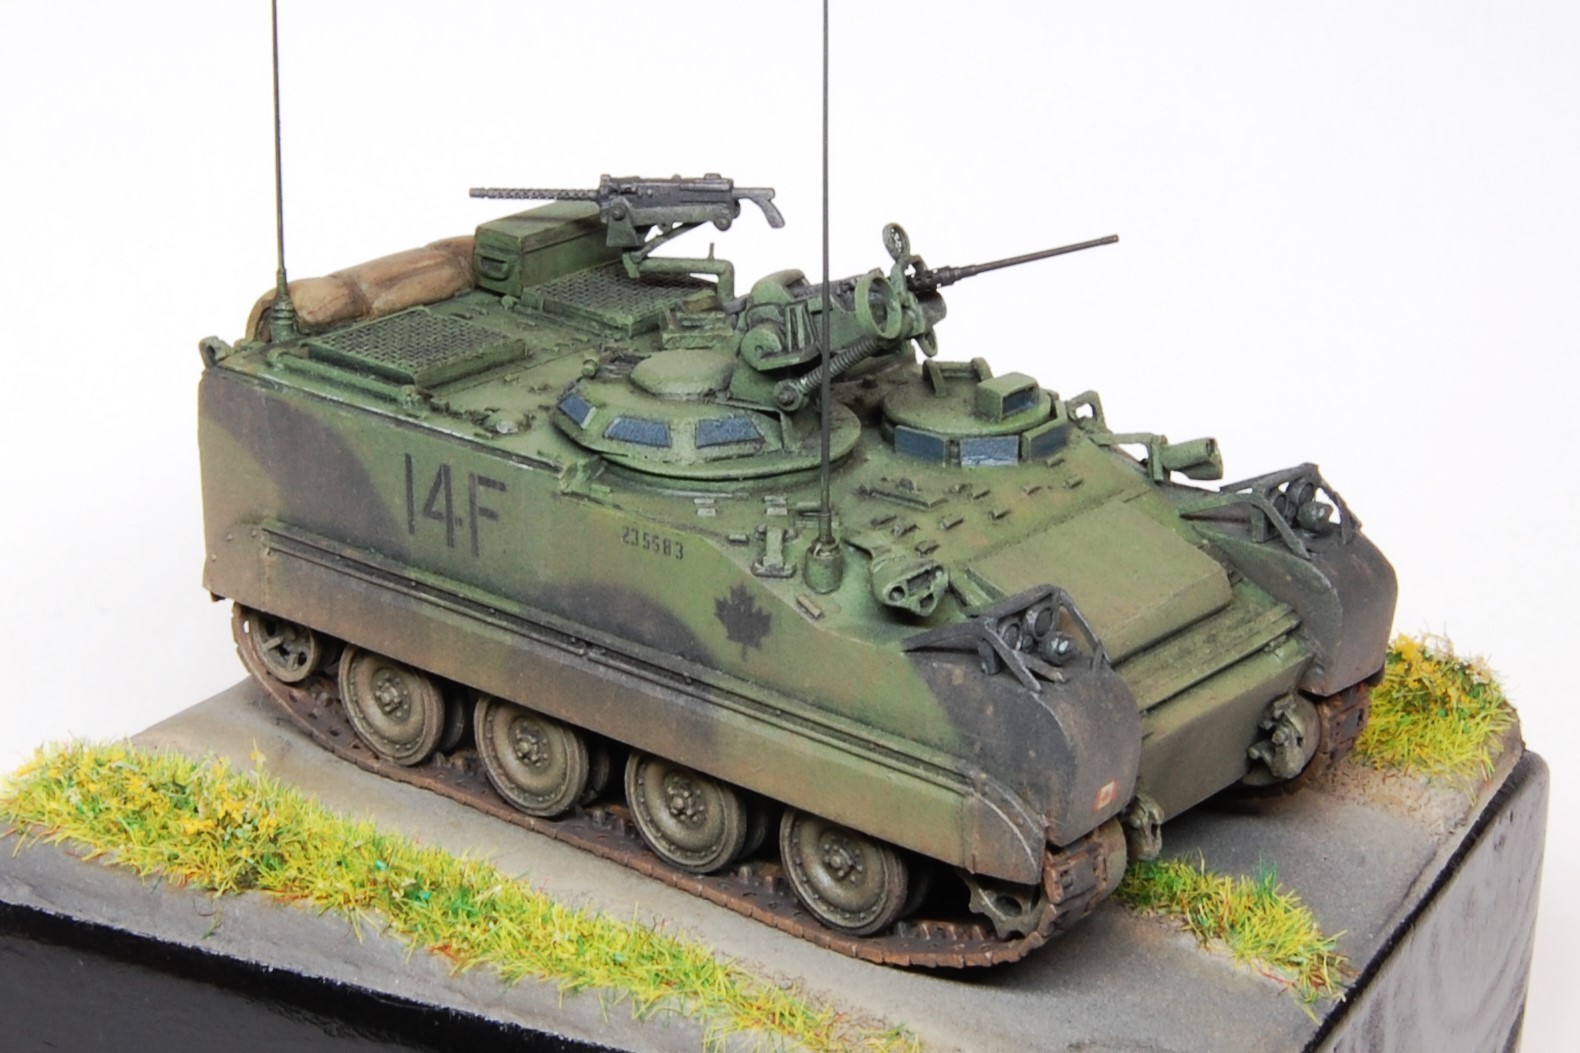
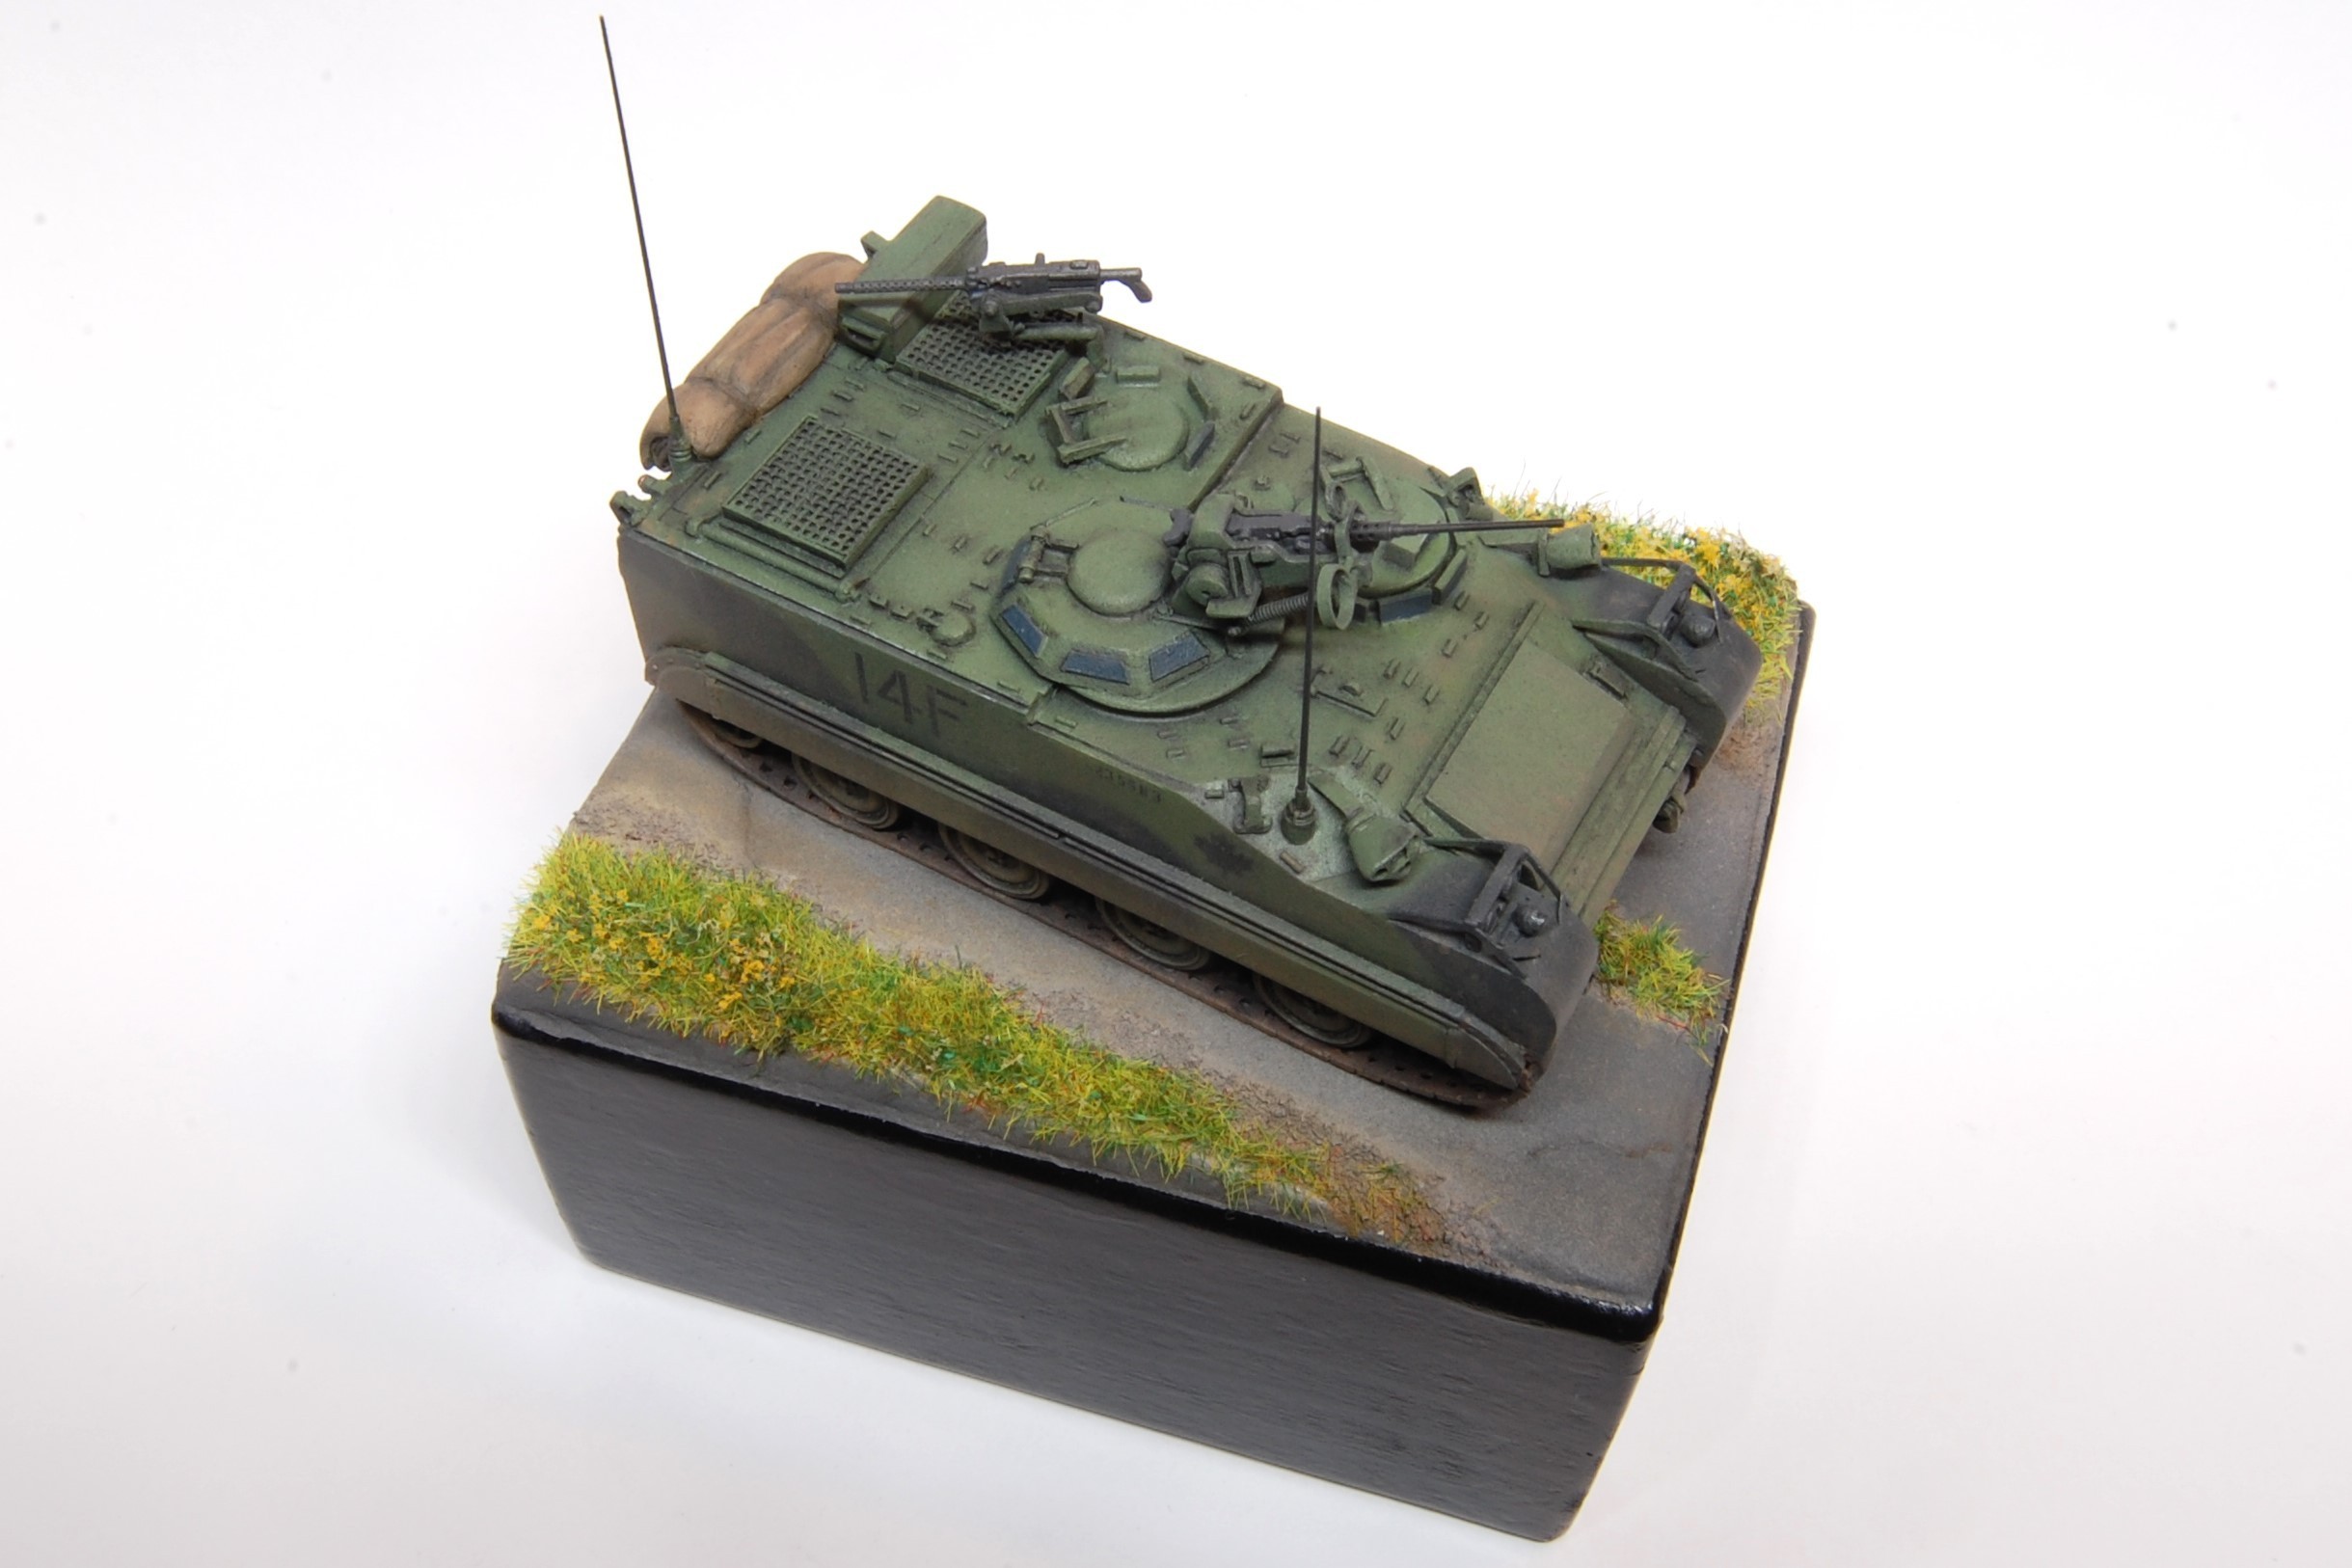
With everything assembled, I primed everything black, then added stencils for the Canadian maple leaf and the main numbers. The overall green was then sprayed over, then I re-masked for the black/dark grey camouflage patches. The Canadian flags and small black numbers come from the Star Decals Canadian M113 in Bosnia sheet, and were a bit on the thick side.
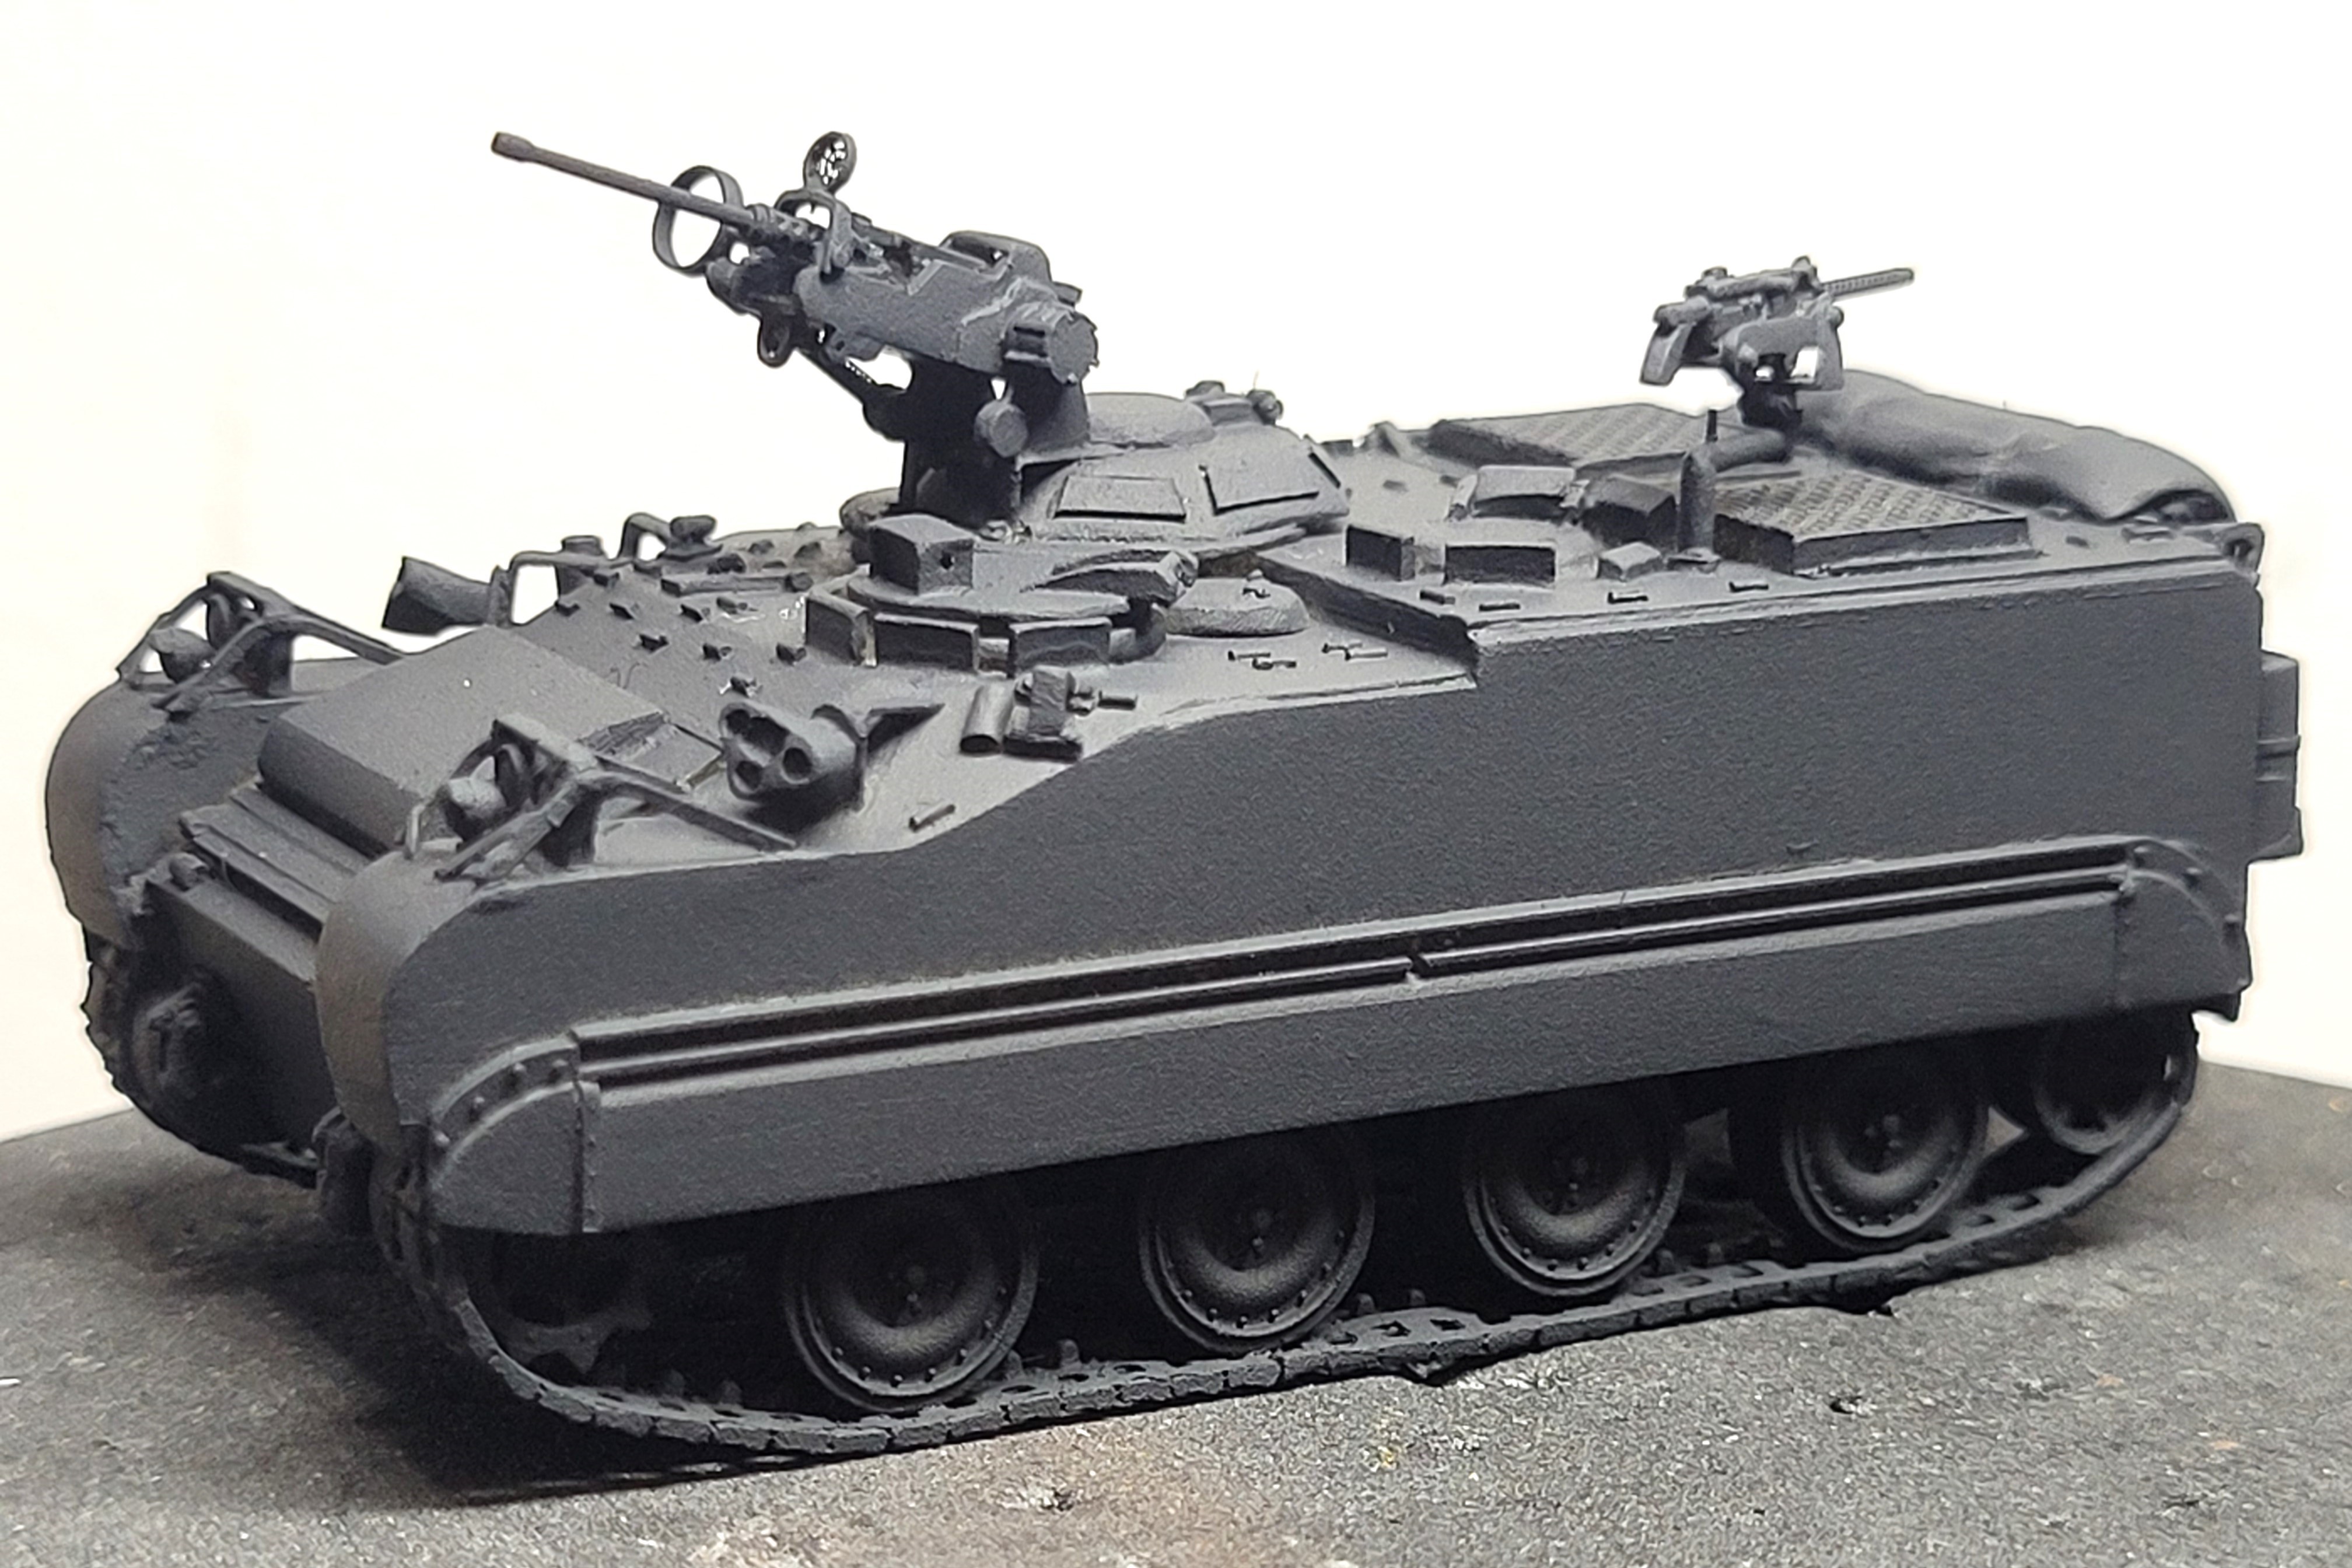
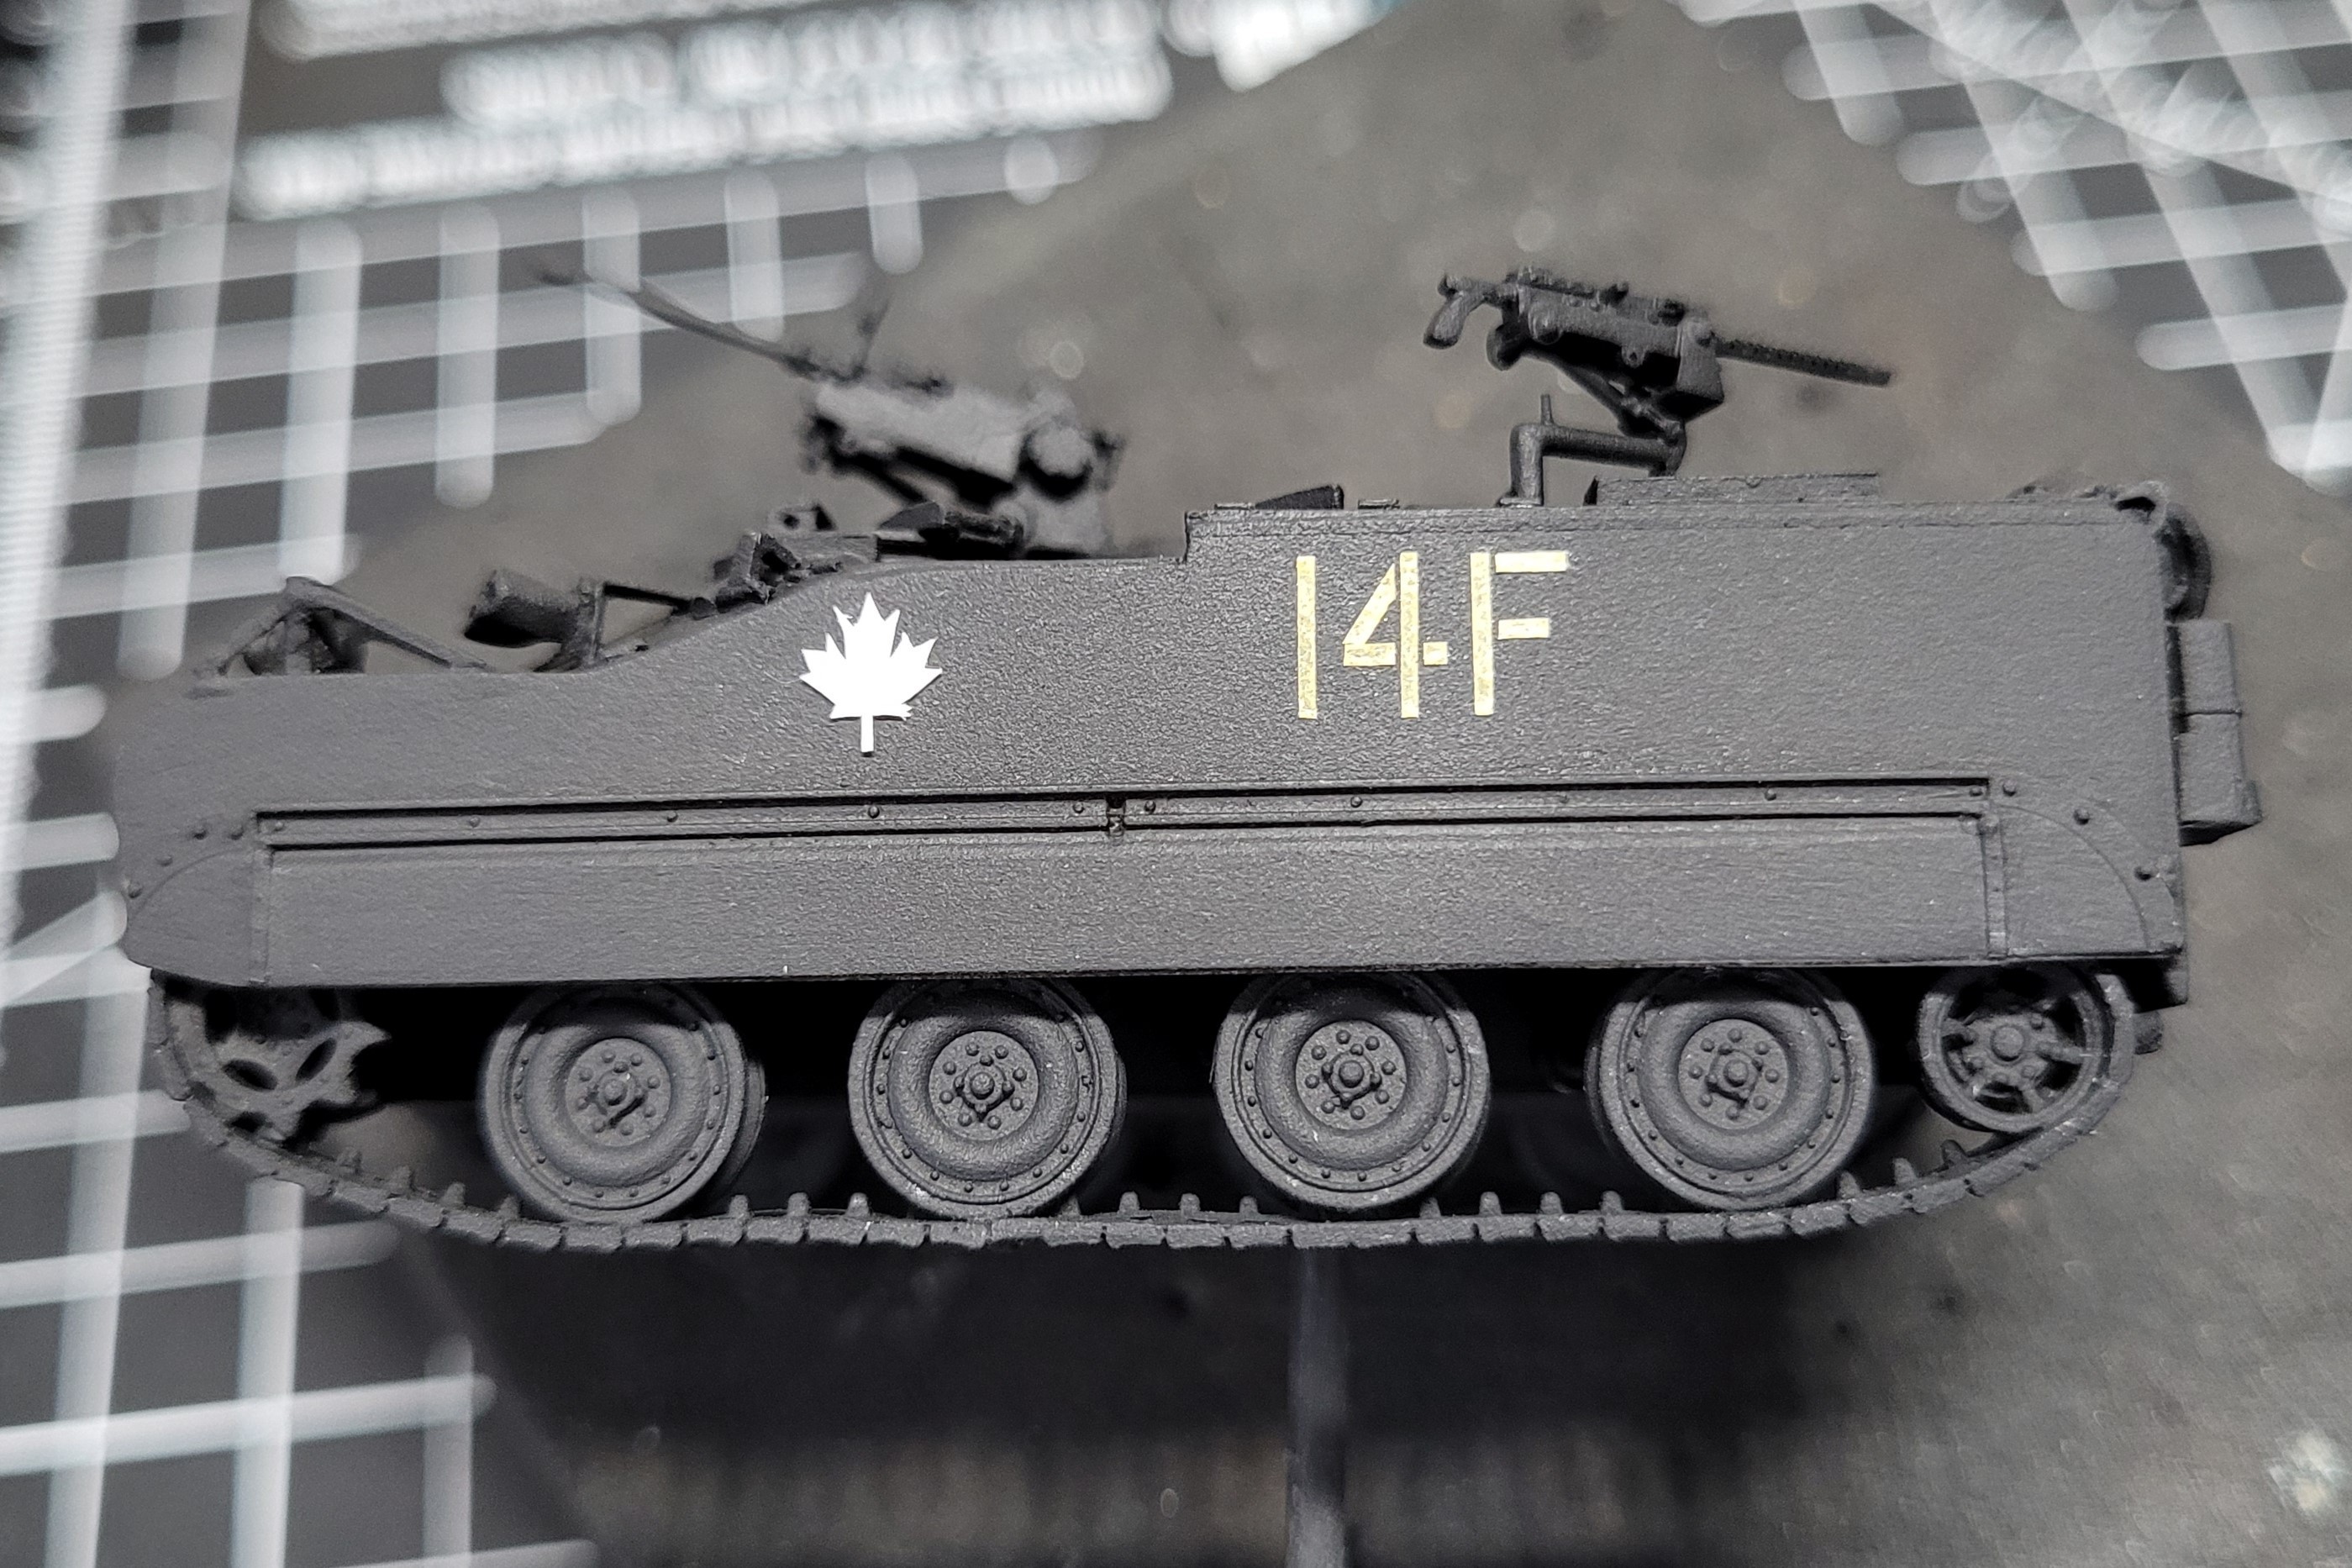
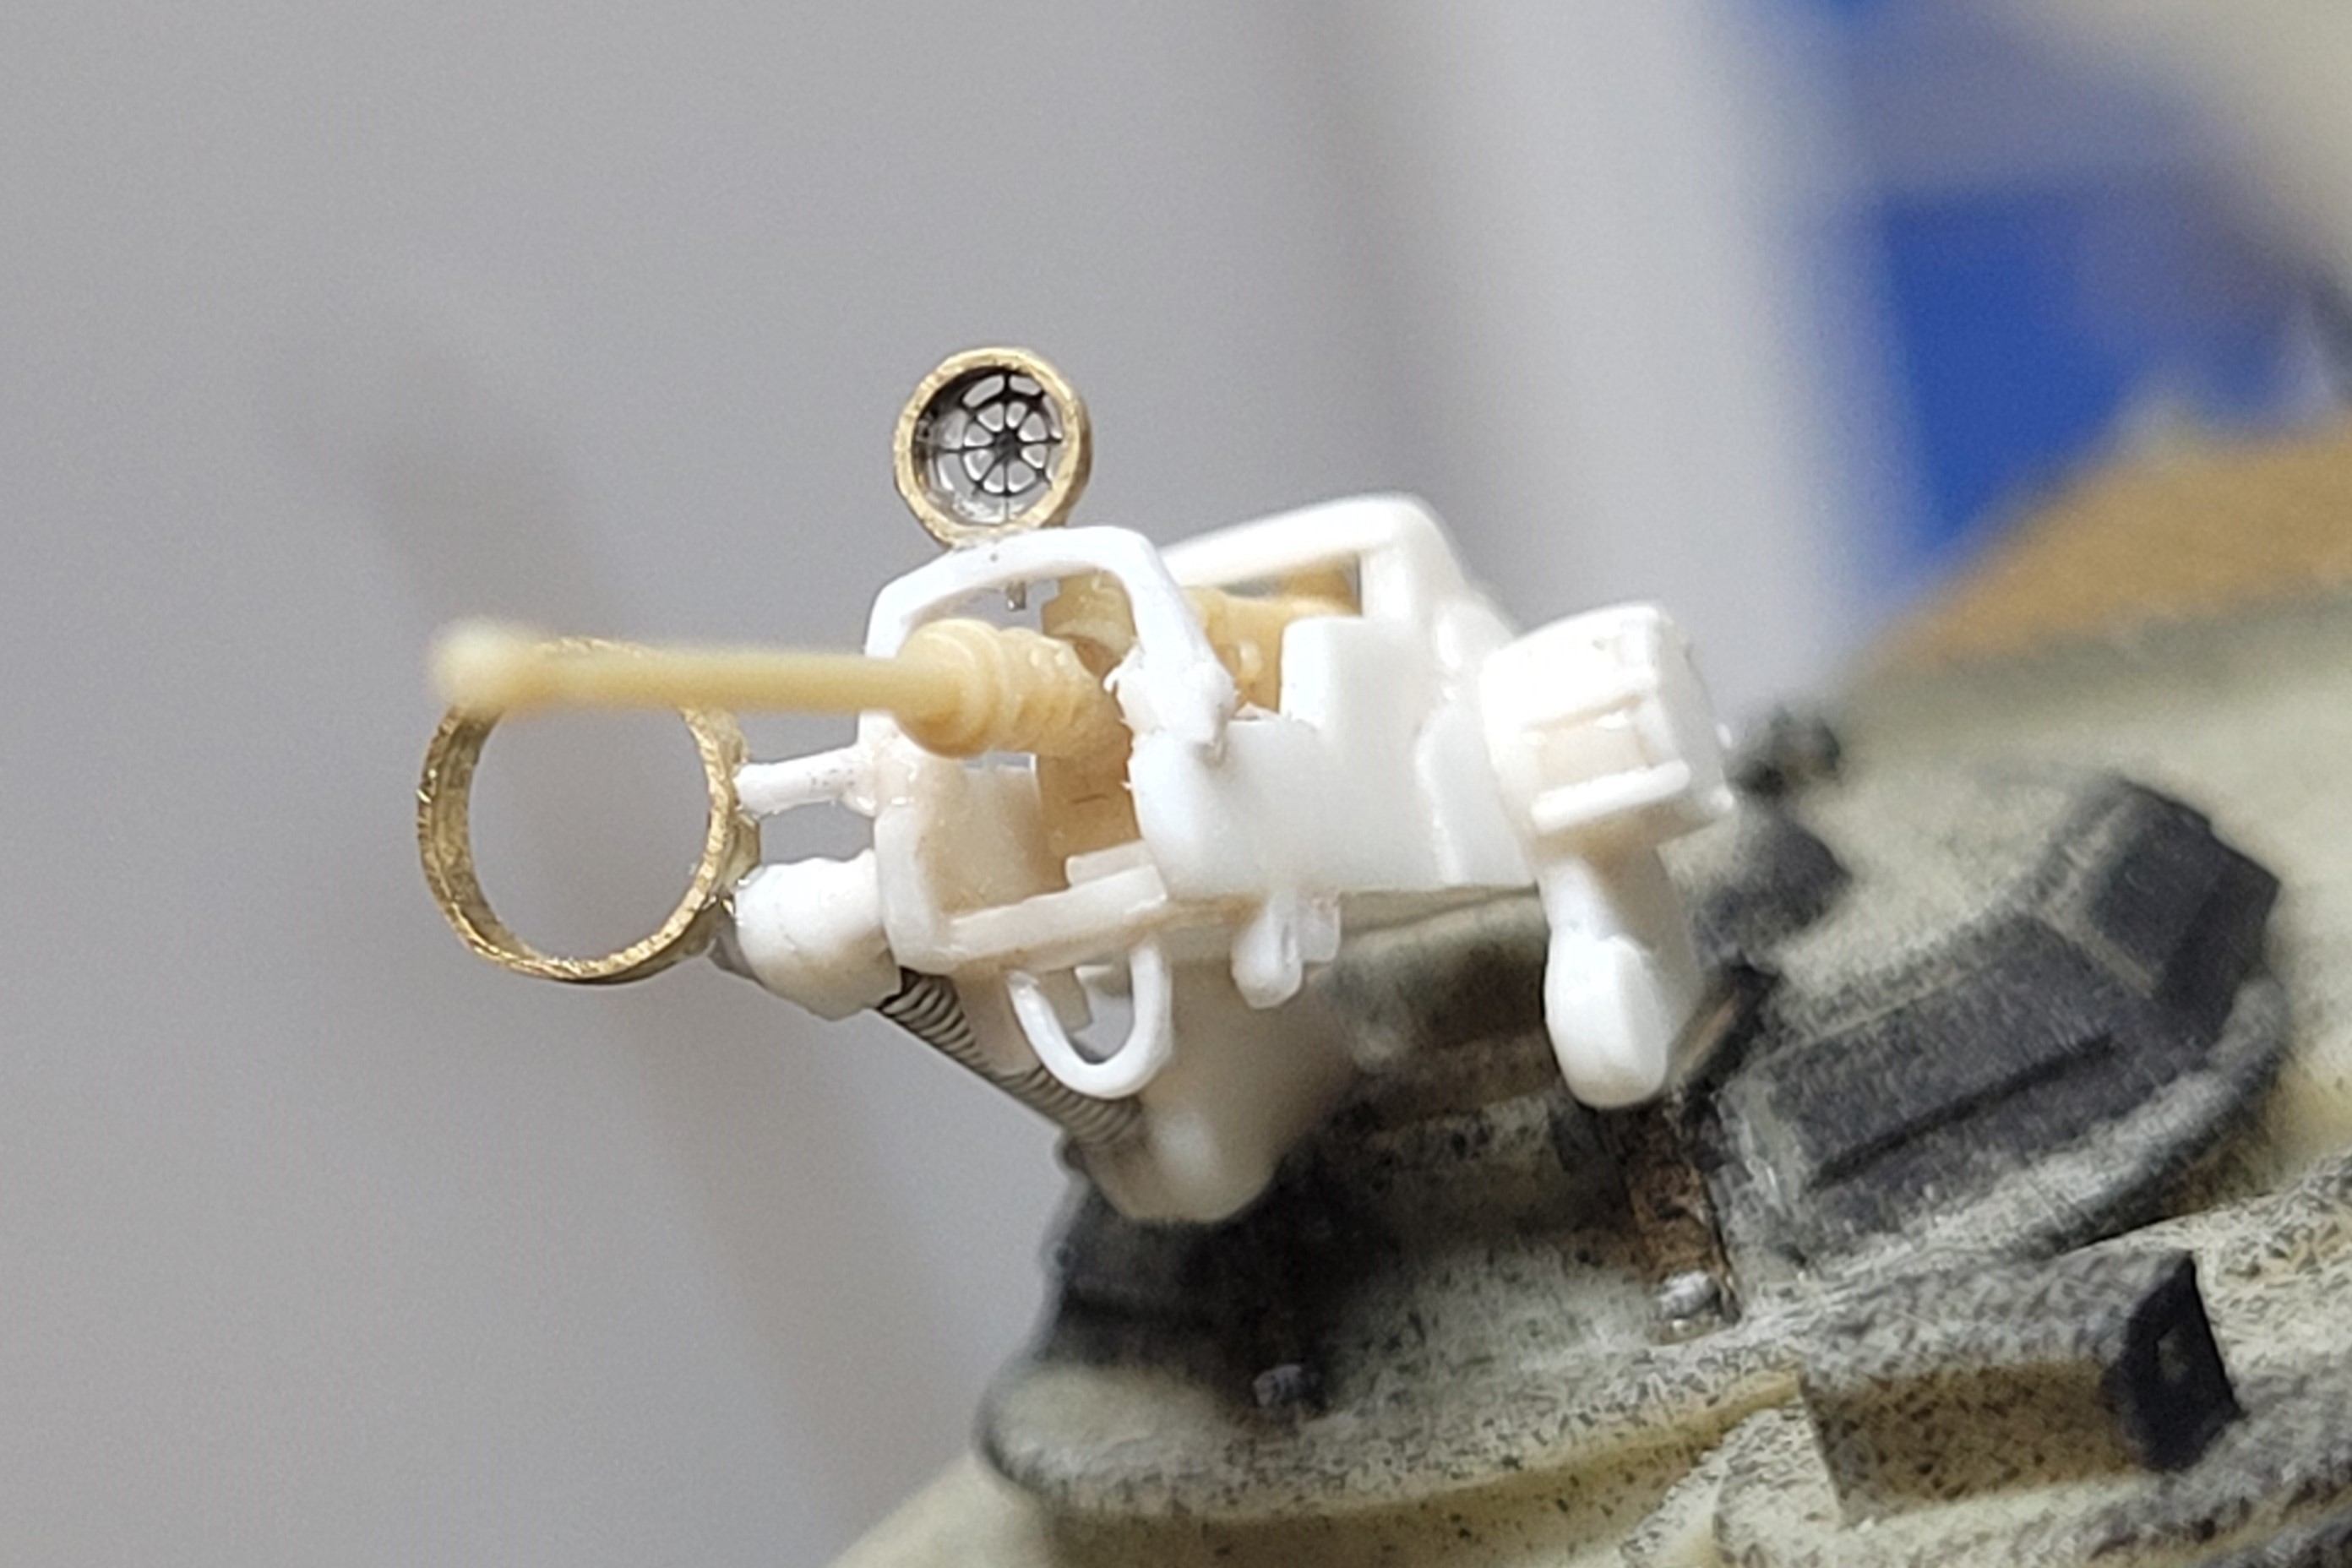
Preferring to assemble as much as possible before painting,I had the guns already in place and was being very careful not to breakanything, and all was OK during spray painting, but when brush painting detailsI managed to knock half the M2 barrel off. This led me to buy a metal barrel from the same Master-Model brand, which,again, is a very nice item indeed.
Finishing up
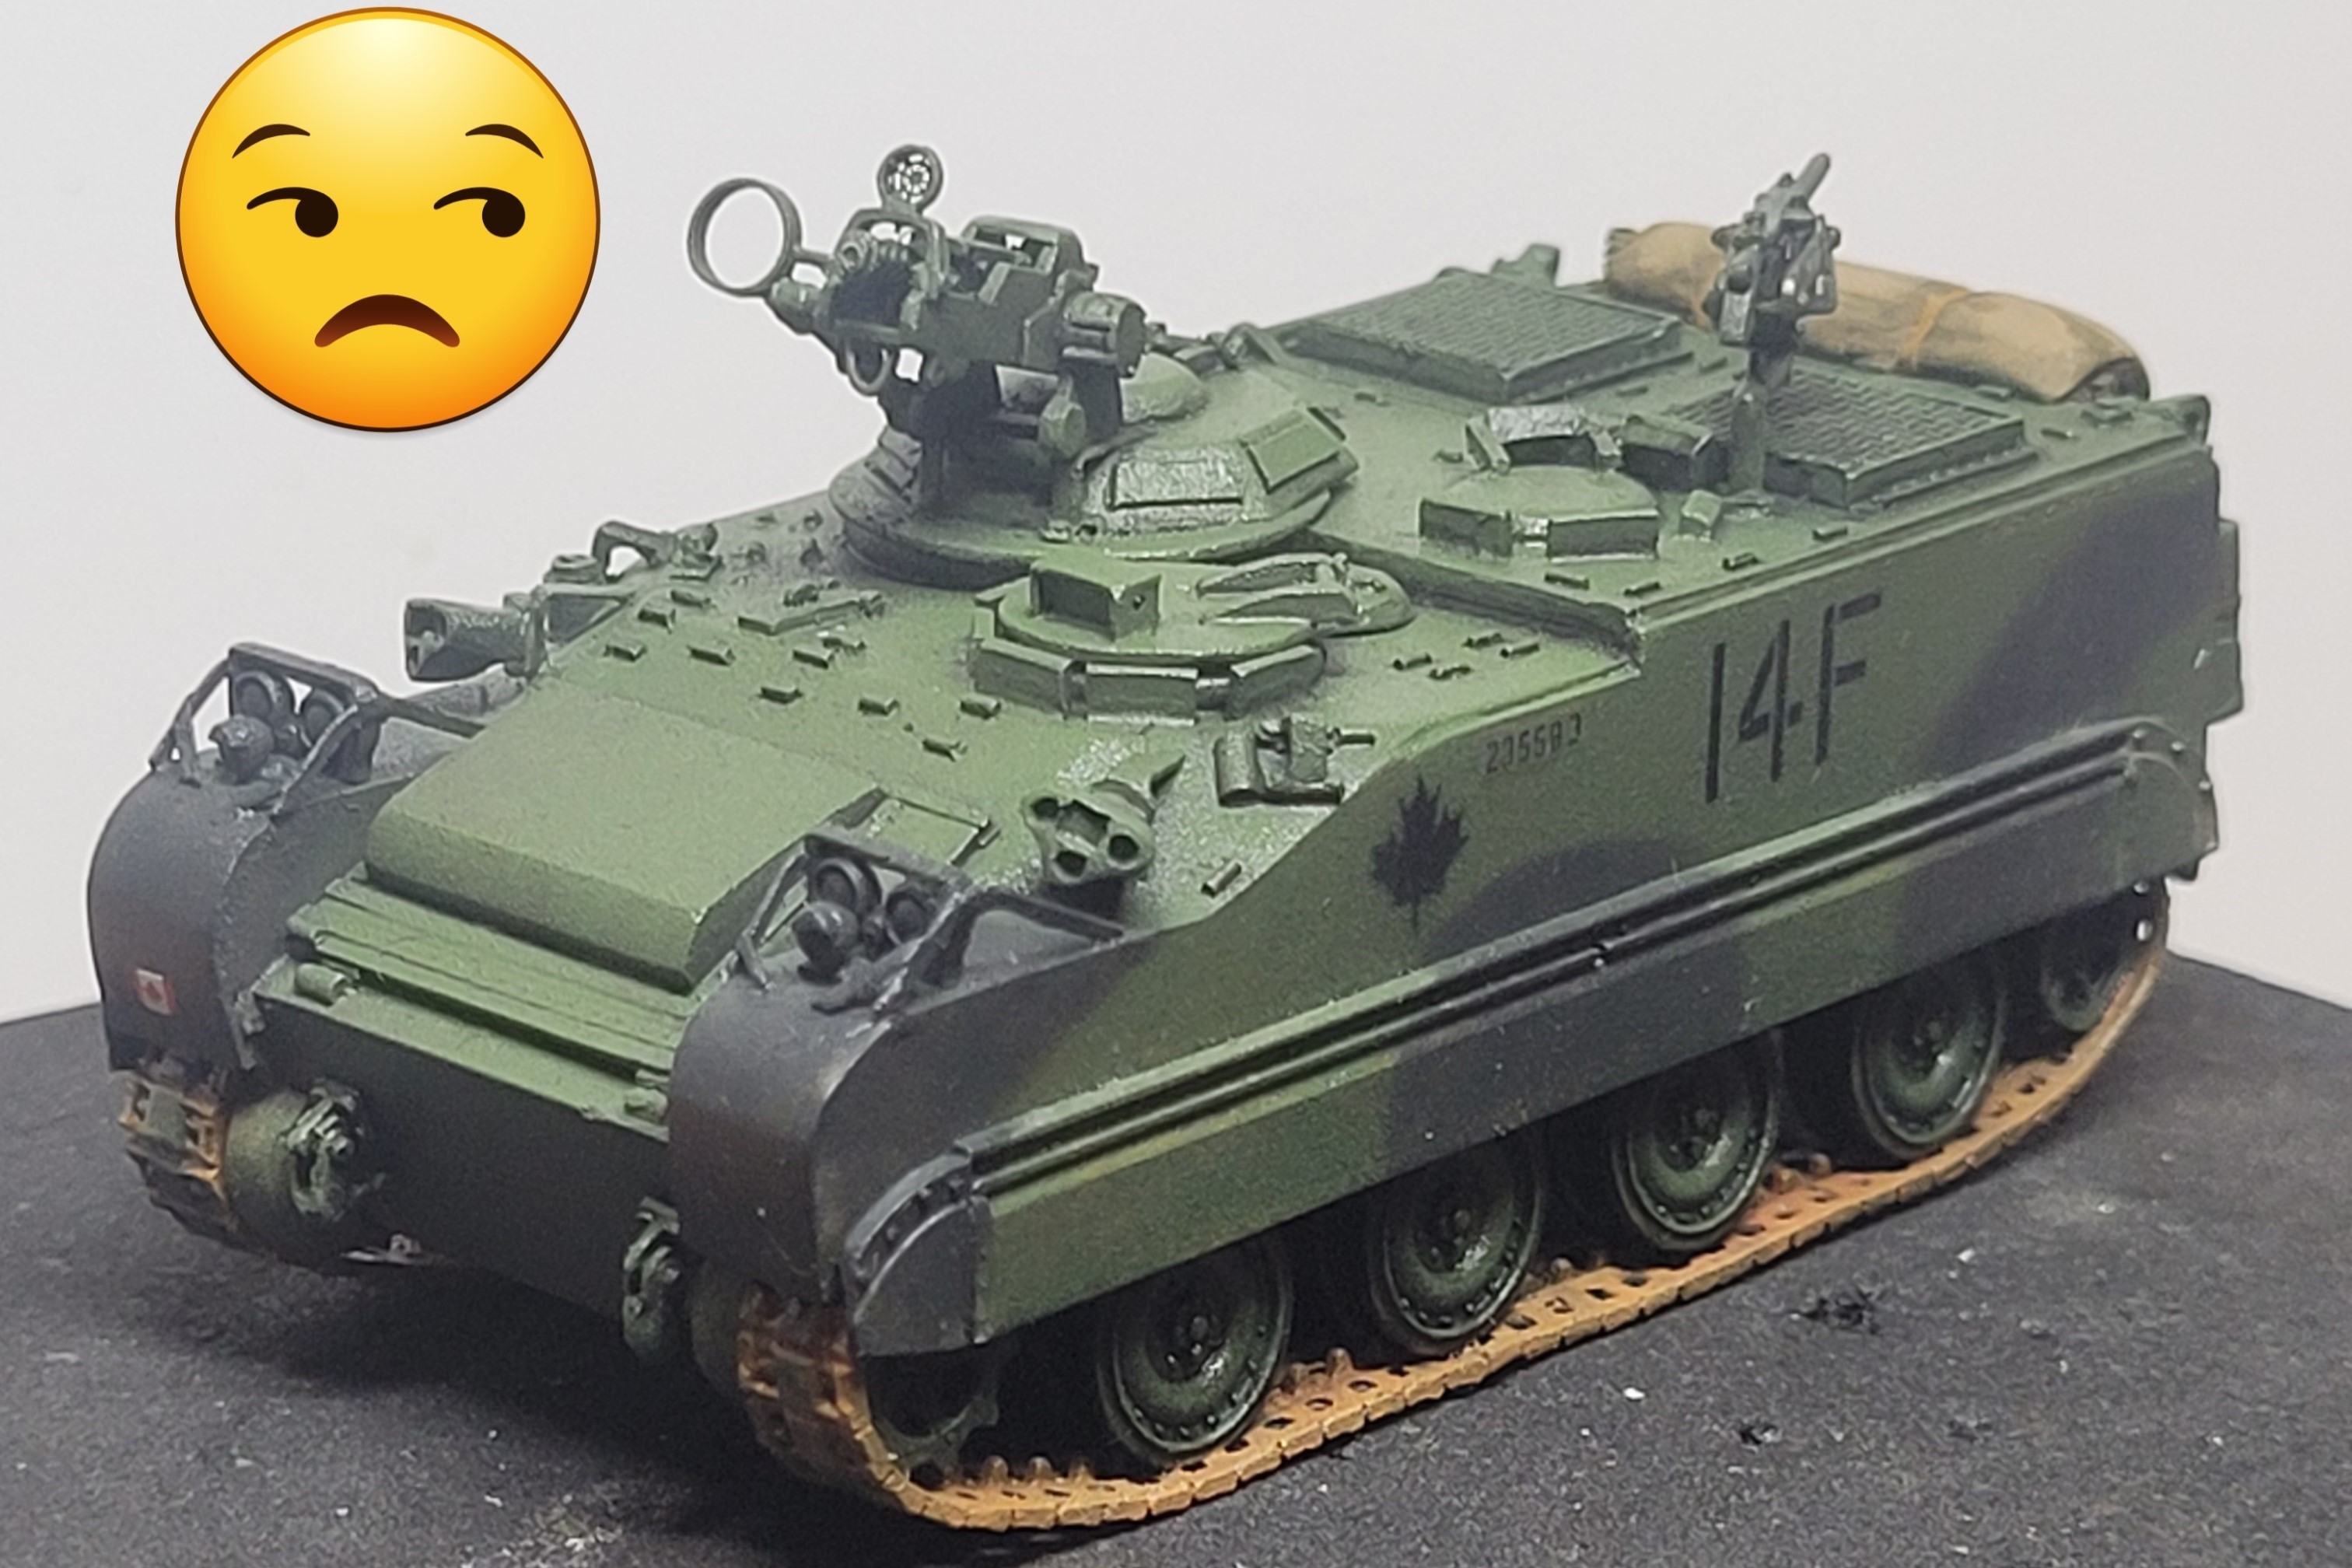
The aerials were bought from Ebay some time ago, and bendy spring mounts from a section of wound guitar string were added to the bases. With these in place, and the delicate gun mounts, the finished model seems highly vulnerable to damage, so a base is needed to give it some protection. Photos often seem to show these machines on exercise in Europe driving on small country roads, so that’s what I’ve tried to represent, a lane so unused to traffic that grass is sprouting from cracks in middle.
During painting it became apparent that the wheels had started to lean in at various angles, requiring them to be straightened using a hairdryer to heat the axles. Given the state of the wheels and track I decided against trying to glue it to the base by the tracks, and instead drilled a hole straight through the wooden base that the cocktail stick I used as a handle while painting would fit through. This allowed it to be pulled down on the base, so providing good contact between wheels, tracks and road. Wood glue was then applied to the end of the cocktail stick and it was left overnight. This seemed like it should have no potential whatsoever to go wrong, but somehow it just didn’t hold it firmly. I ended up drilling a bigger hole and using CA glue, and I *think* it is now firmly held in place…
