

Intro
Despite we all have in mind the images of German Panzer running through the fields, in fact most of the long range movements were made by rail. It was much more cost effective in terms of time and fuel consumption, and it also saved a lot of maintenance on the tanks.
From a modelling point of view, they add a different base from the usual terrain and can be fill with a wide variety of stuff that was transported together, giving a lot of interesting possibilities.
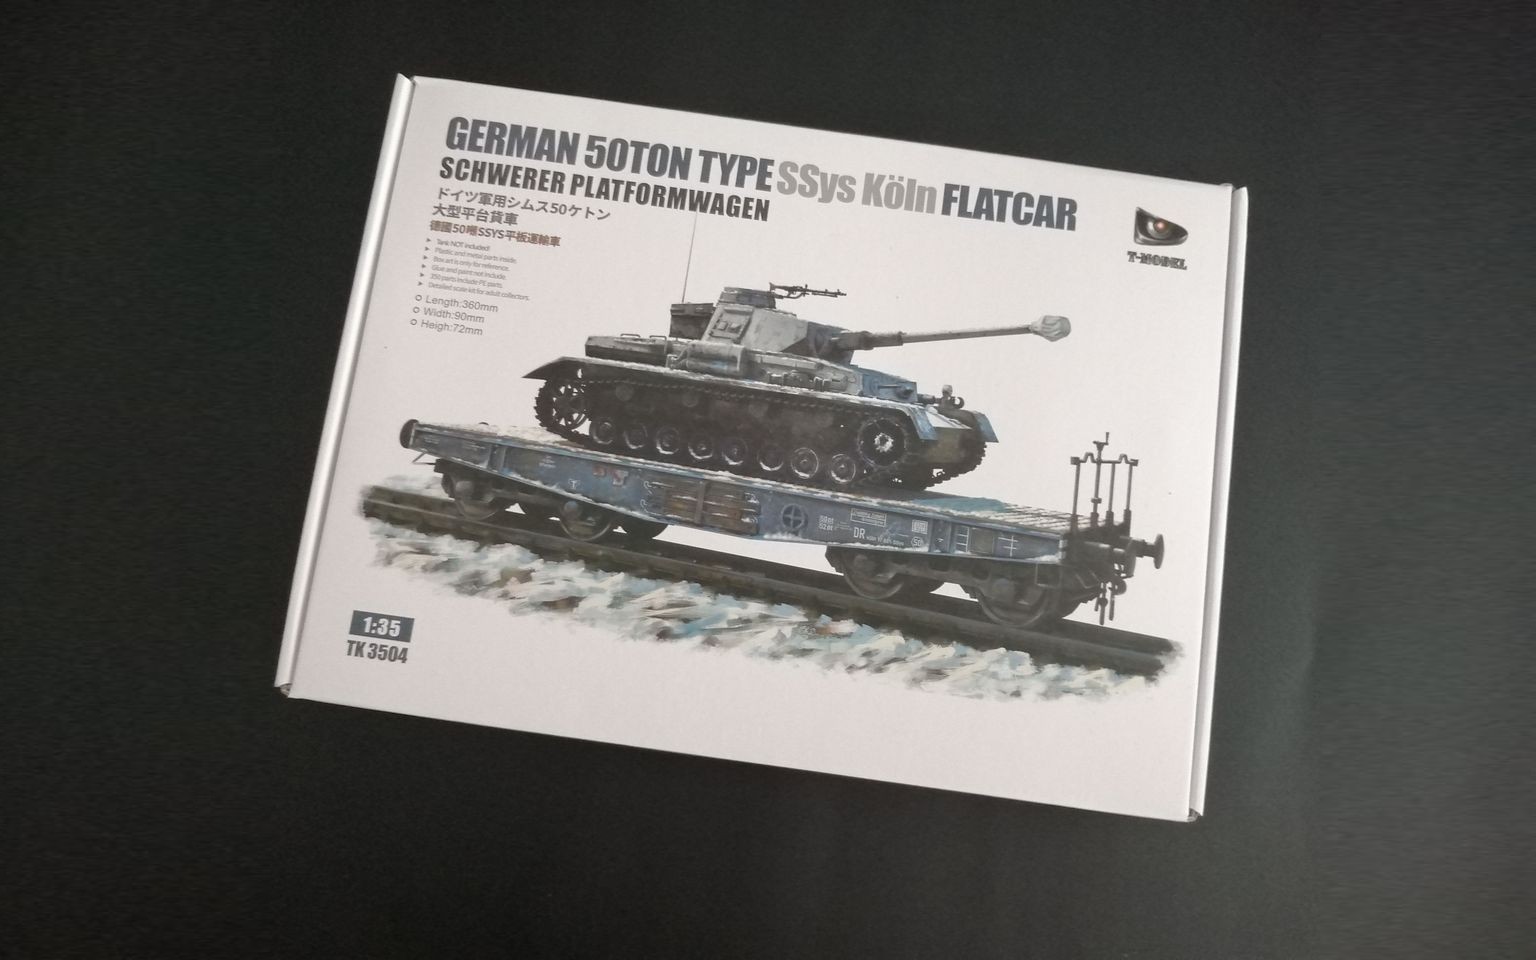
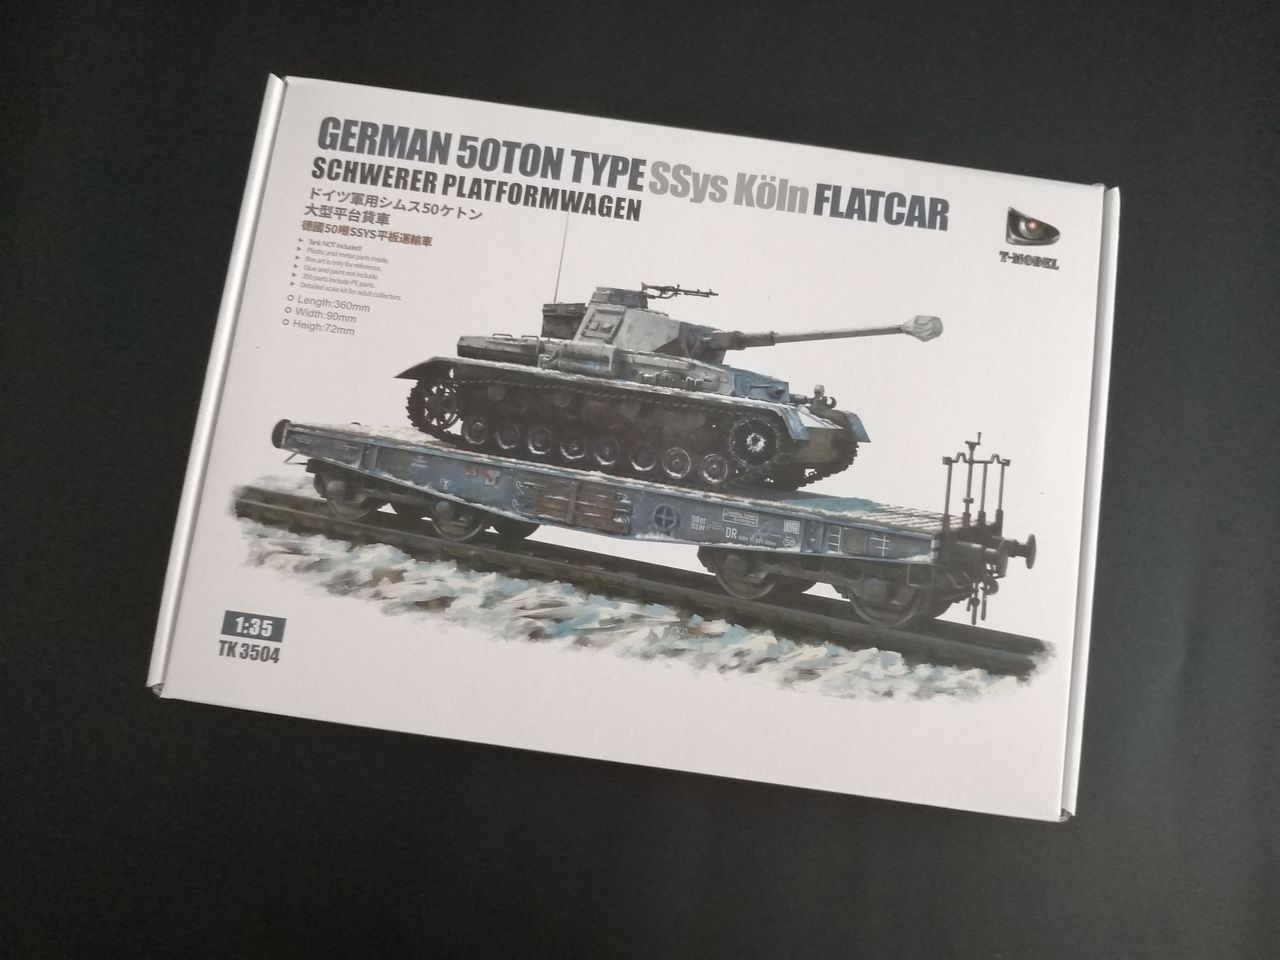
For the last years we have seen several 1/35 wagons from different manufacturers, and the most recent is this Ssys from T-Model.
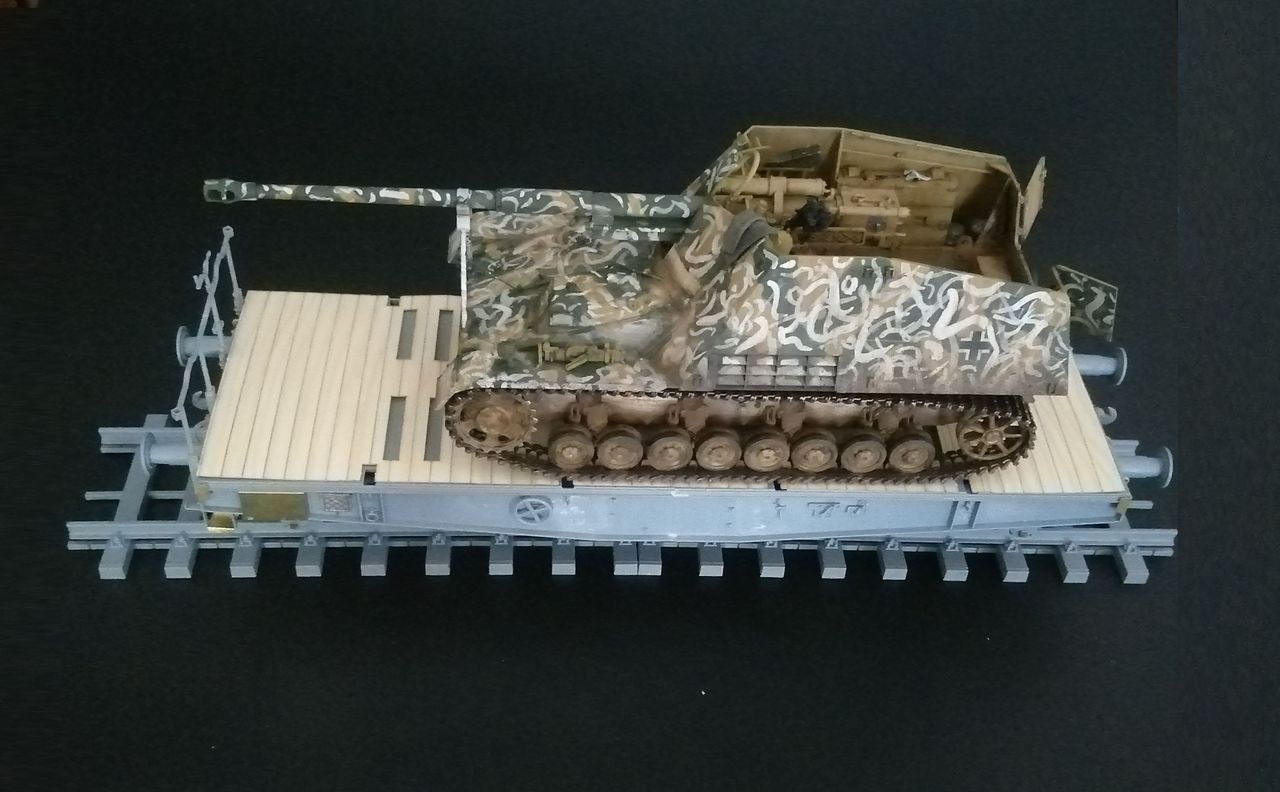
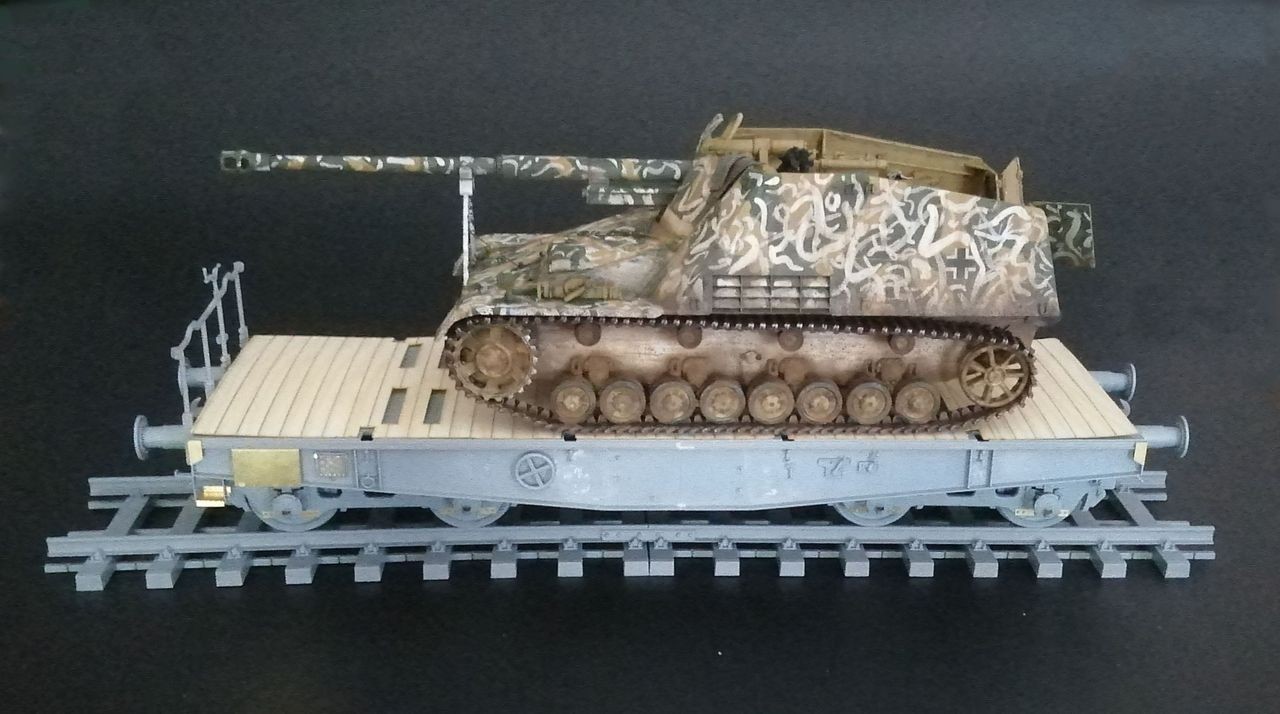
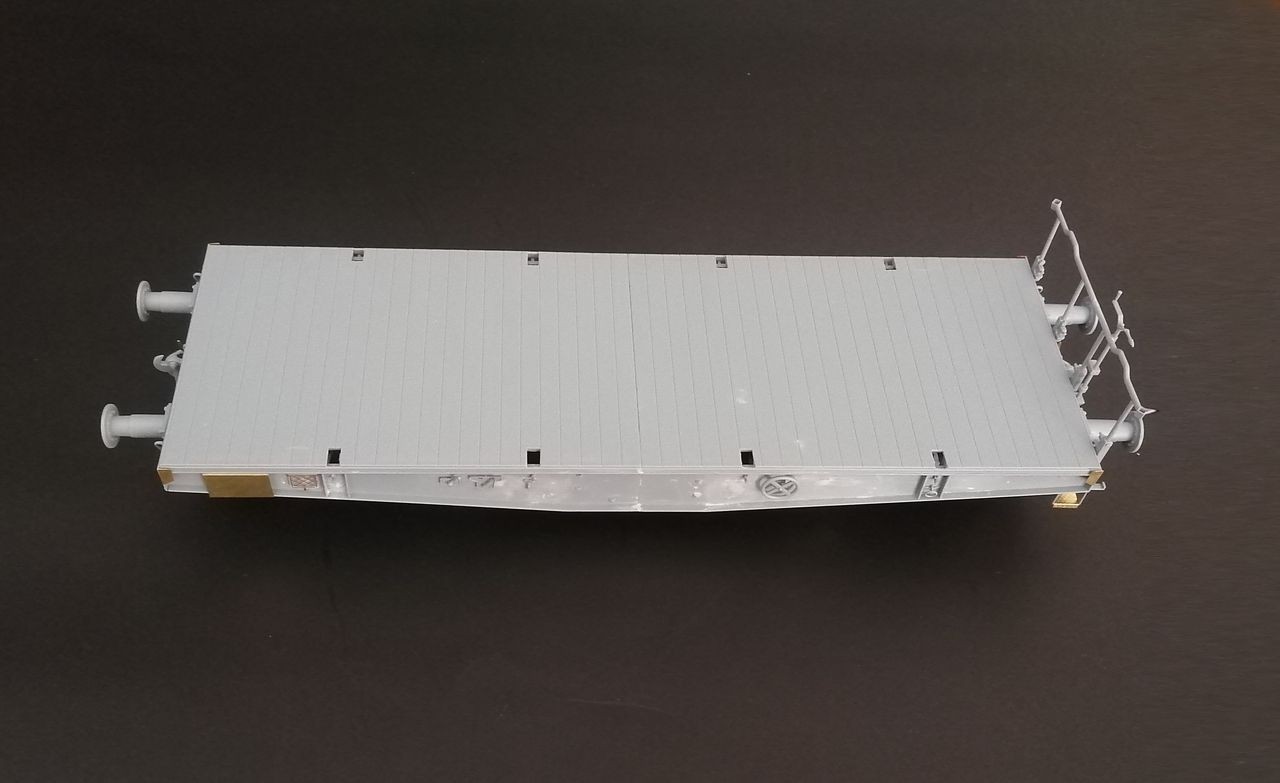
The full name is Schwerer Plattformwagen Ssys Köln, and was rated to load up to 50 ton. This means it could carry any of the medium German tanks, up to a Panther, or a huge amount of supplies.
The kit comes on a compact box of 31x23x6cm of hard cardboard with an integral lid, adequately protecting the content.
It is important to note that T-Model has a policy of issuing different versions of their kits, so the modeller can choose the extra details included. Therefore you should check the offered version when ordering to ensure you get what you are looking for.
In this case, there are four versions of the Ssys:
- Plain, basic kit with photoetch details and rail tracks
- Iron, includes a printed wooden deck.
- Silver, like above and includes also photoetch structural beams
For this review I have received a Gold Edition.
There are a few interesting details that, not affecting buildability or quality of the kit, I find quite nice:
*The sprues are stacked. They have extra plastic on the edges like a Lego block so they can be stacked, keeping the parts separated to avoid damage and also preventing them to slide one against other.
*Letters identifying the sprues are hollow. Much easier than the old system if your sight is not as good as it used to be -like mine.
*Instructions are coloured where needed. While all line drawings are just black and white, they have added colour to some parts for better identification. Being quite similar but different, it is much easier to see if you are looking at the rear or the front, or which side.
*Sprues are bagged, this is more or less common, however T-Model plastic bags are not sealed and are of the envelope type. Much easier to open without scissors or blades. This is a minor detail, but I like it.
It is possible to build either a tank transport or a general cargo one. But you should decide at an early stage, as it would be difficult to remove some parts once the deck is in place.
Box Contents

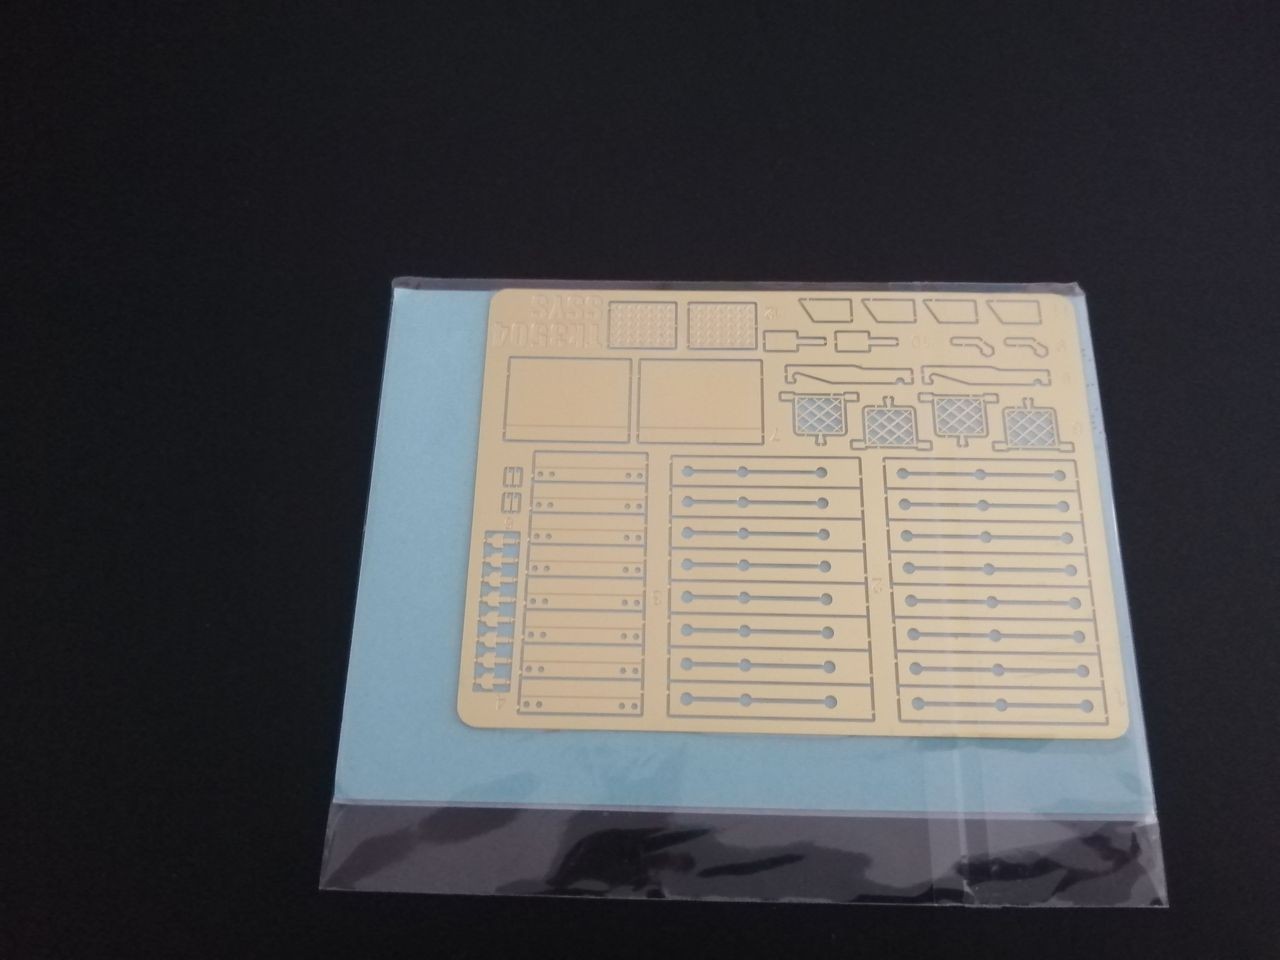
Photoetch parts (basic ones)
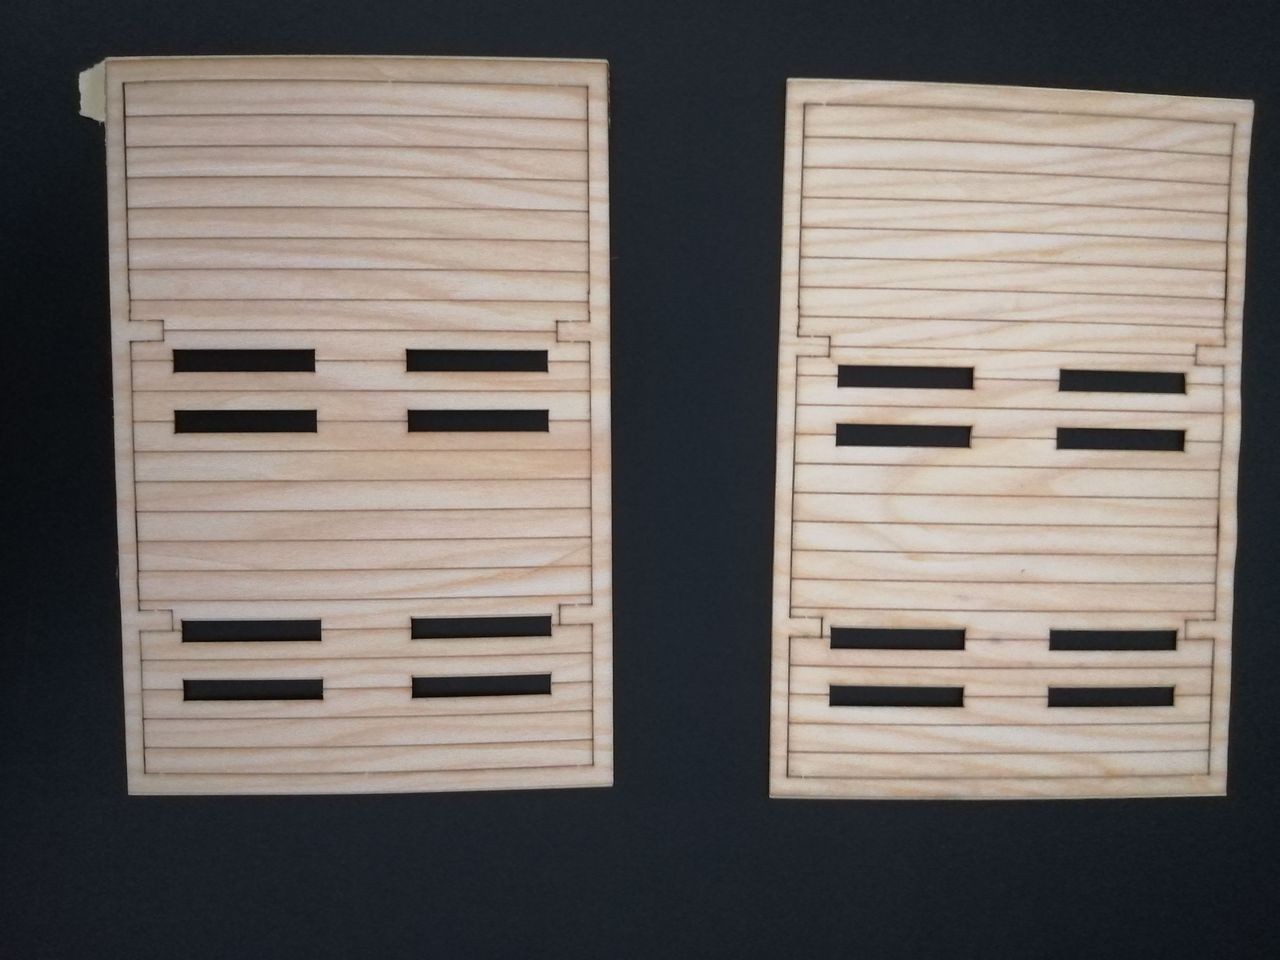
Self-adhesive Wooden deck
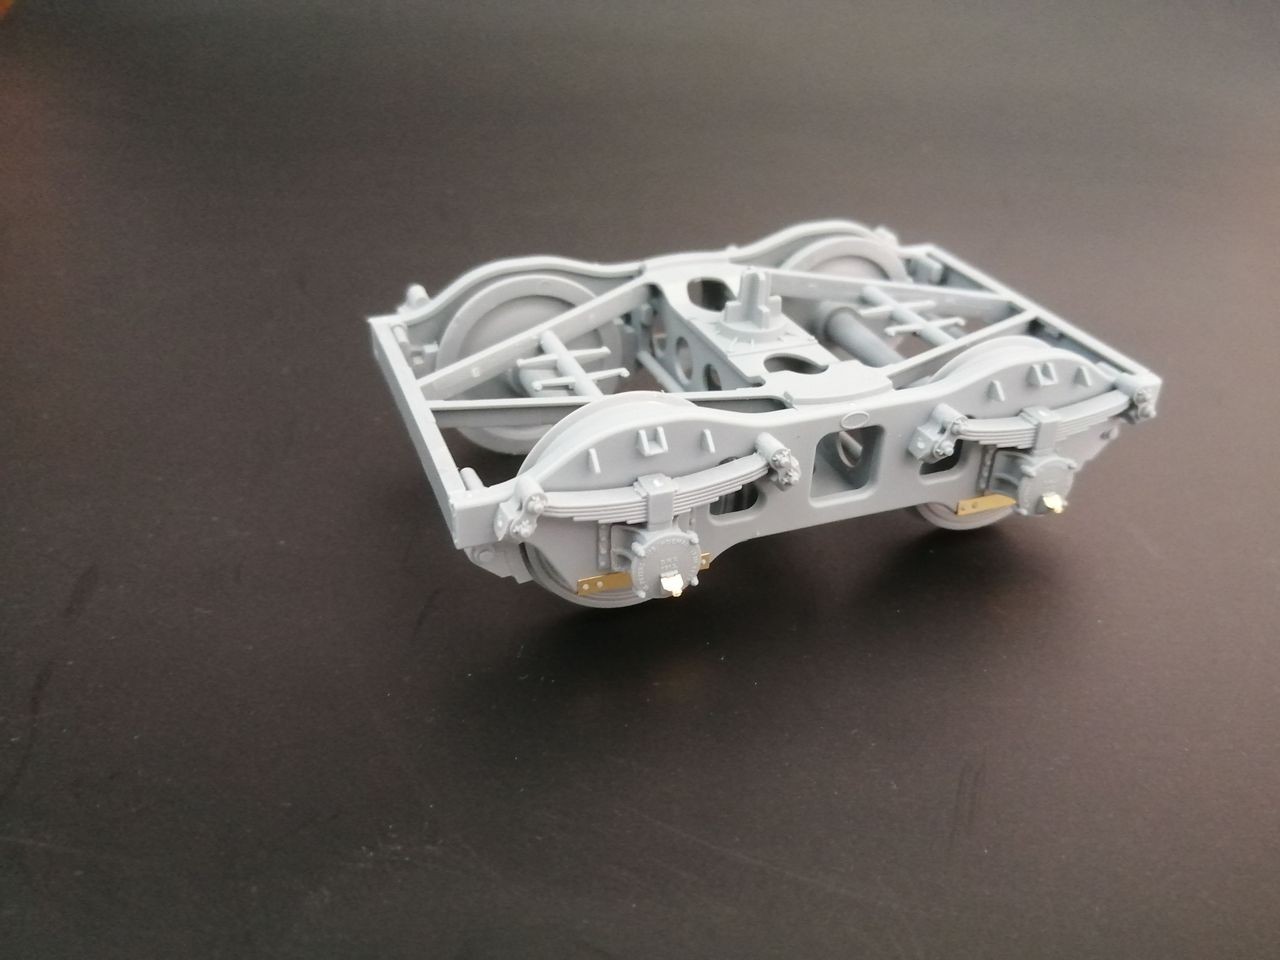
Build starts with the trucks, two of them. There are several mould seams but they will be mostly hidden; I decided to clean some of them just in case, but with some attention you can save part of that work.
Experienced modellers tend to rearrange the sequence of work, looking for easier building or time optimisation. In my opinion for this part of the model it is better to stick with the proposed order.
Although the fit of the parts is quite good, often it is not perfectly tight allowing some movement. It is important then to check alignment to avoid troubles later on.
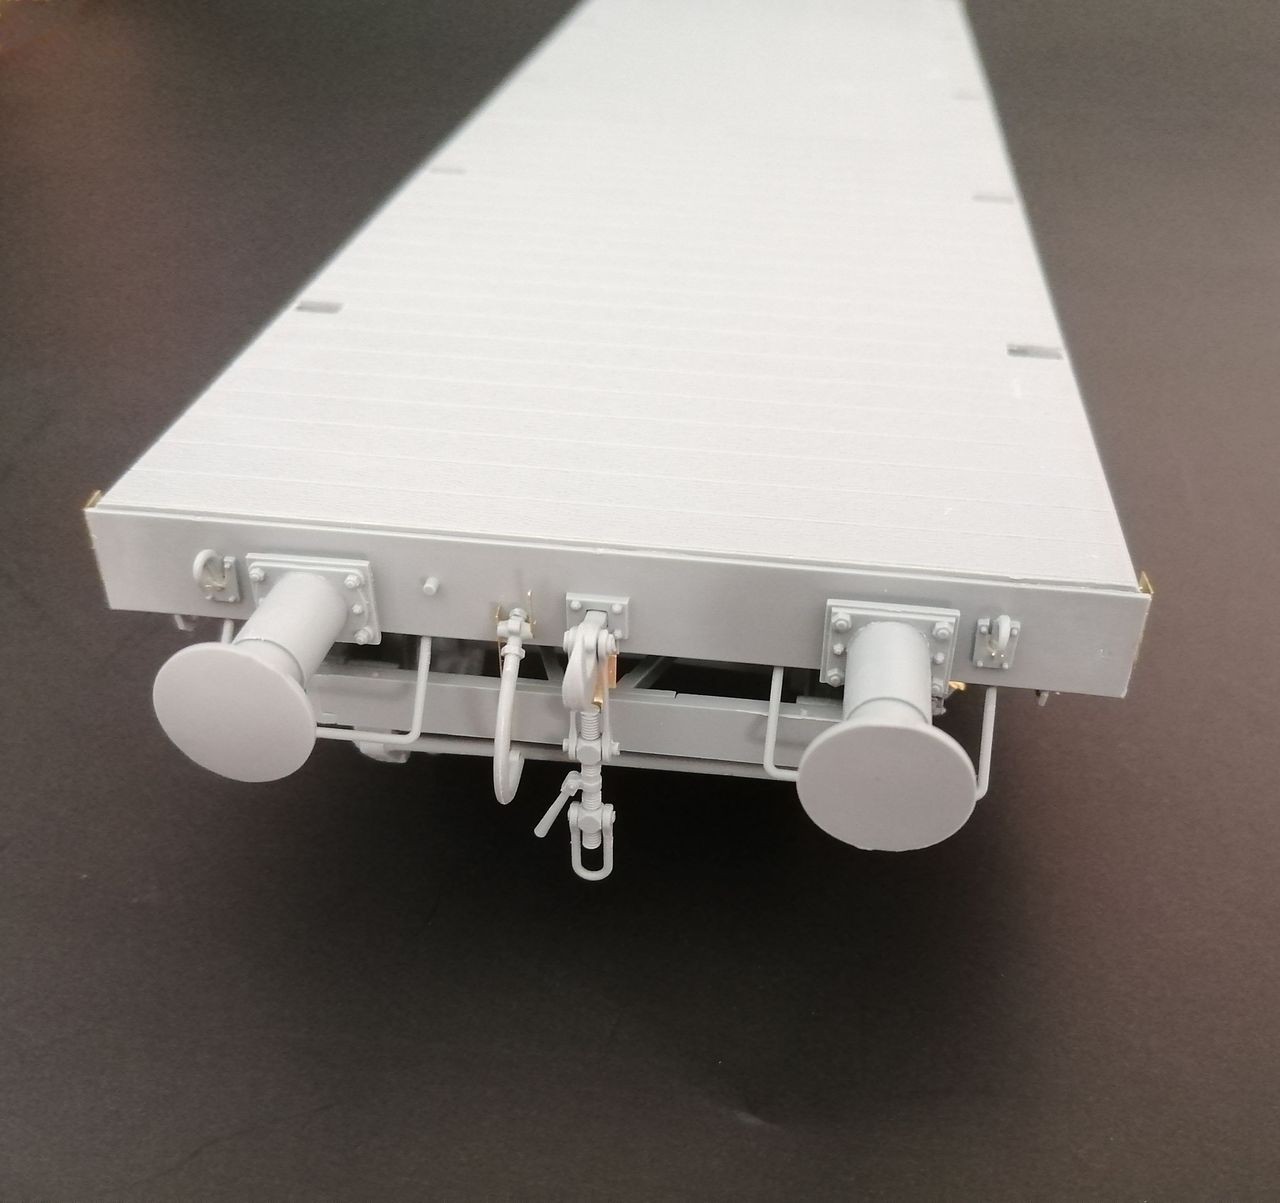
Specifically, the brakes B2 and B3 should allow enough space for the wheels but without interfering with the inner structure. Do not use much glue on them because when linking with B10 rod, you will find that any difference causes the shaft to be tilted and should be corrected.
I5 must seat on the springs I2 in a way that it fully rests on the wall I1 when positioned.
Finally, put the axis with wheels in place and *then* slide in the locks I5 with springs, if you try to glue one side first, it will not be possible to insert the axis and wheels afterwards.
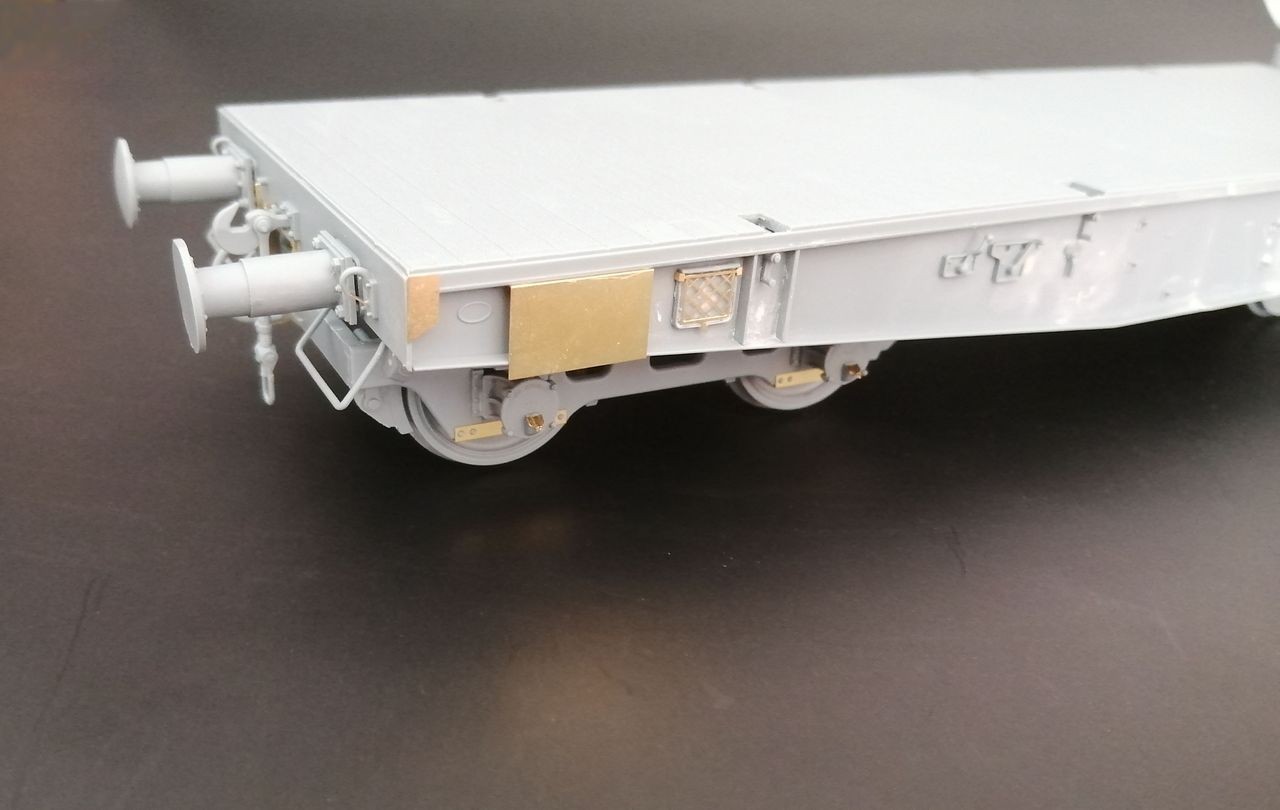
The photoetch parts fit perfectly, and they have very small connecting gates, which makes them specially easy to remove and clean.
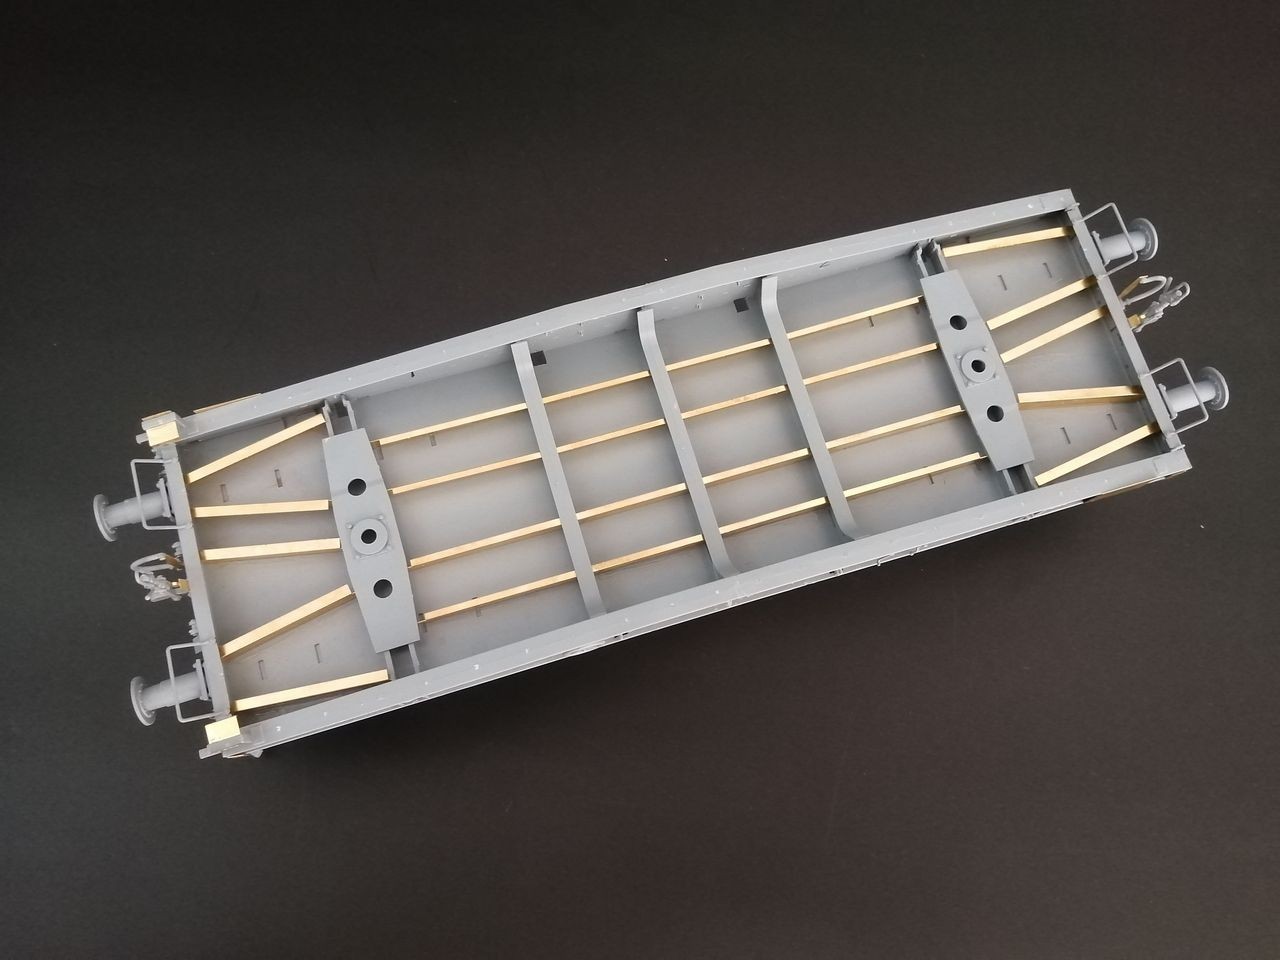
The Gold version comes with photoetch stringers for the underframe. The main, longer ones have no problem other than keep them in place together with the plastic parts. However the front ones need some attention to ensure they are correctly placed. I would advise to put the front/rear panels aside to check if they will fit it once in place.
Other than this, the underside is empty, without cables, pipes or air tanks. Anyway, unless you want to show the plattformwagen upside down, this is not a problem as nothing can be seen.
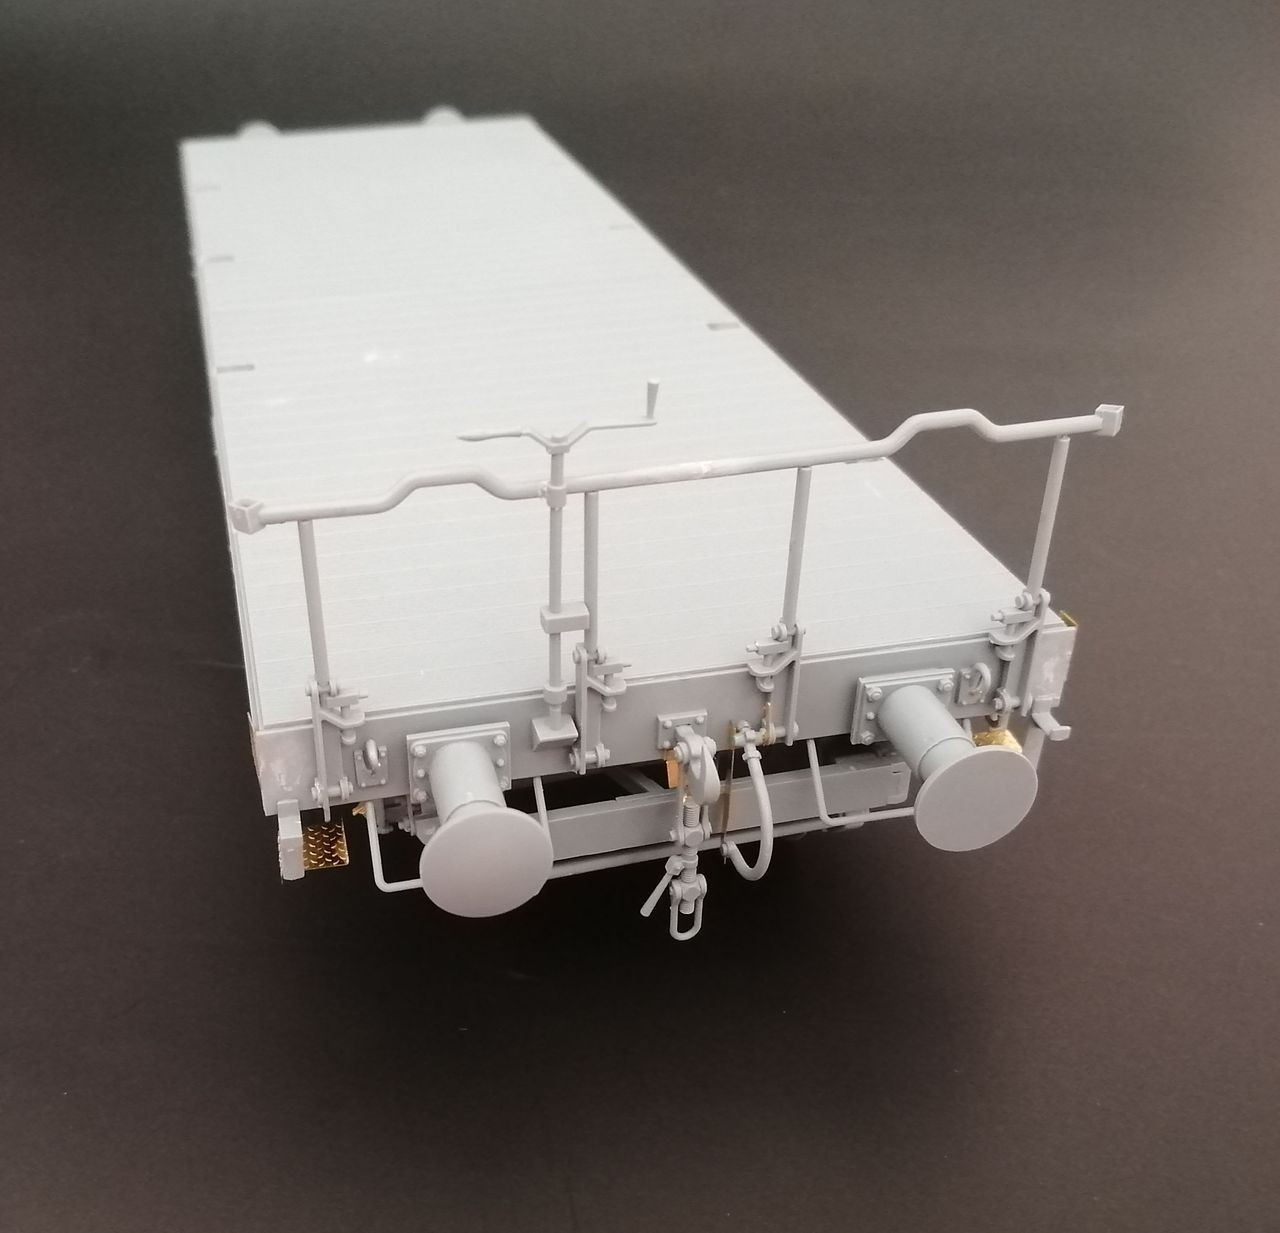
Next step is building the front, rear and side panels. They are all made from just 2 moulds (one for the four side parts and one for the front and rear), so there are some details to remove to make each one different. The instructions seem quite clear, however I found that they are wrong.
The wagon has the same controls on both sides at the same place, therefore they should be mirrored. With the provided instructions, you end with the controls on opposite sides.
The drawings on next page of instructions and painting guide show it correctly.
I would say that the correct way should be switching the details to remove on the second row of drawings from the right to the left, however and as I only discovered this when everything was in place (and took a good time to unglue and correct), a careful planning is needed here. Also, parts J2 and J3 are slightly different (one is longer), and instructions refer to both of them as J2.
The deck needs to be cut as well, as the mould is shared with the bigger SSyms. It was quite easy cutting the sides with a saw and using Tamiya scribber for the rest of the cut.
At this point, instead of making the frame and then fit the deck on top, as per the instructions, I chose to form the frame around the deck. It worked fine and I would do it again if I had to.
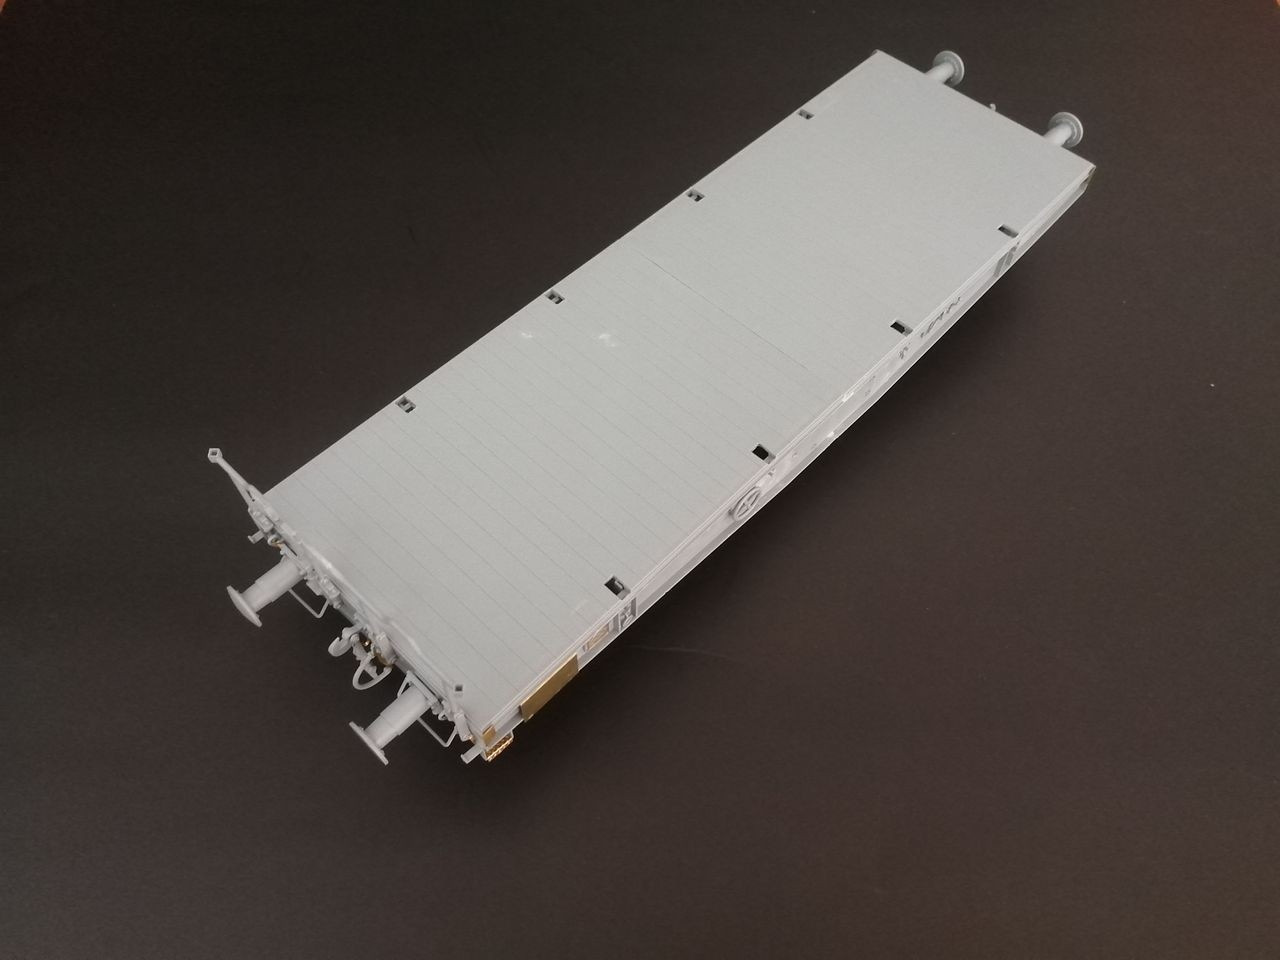
The next steps are about adding several details to the sides, front and rear. There are options for two types of handwheels, and the hook can be shown hanging free, connected to another wagon or folded & stored, the latter requiring some cut and reposition of parts.
Finally, the side posts can be shown stored on the sides or in place. If stored, they should be put in place after painting and adding the decals, as some of them are behind the posts. Note also that the instructions show the lock bar on a wrong place, it should be just in the middle of the plattformwagen (you can see it on the painting guide).
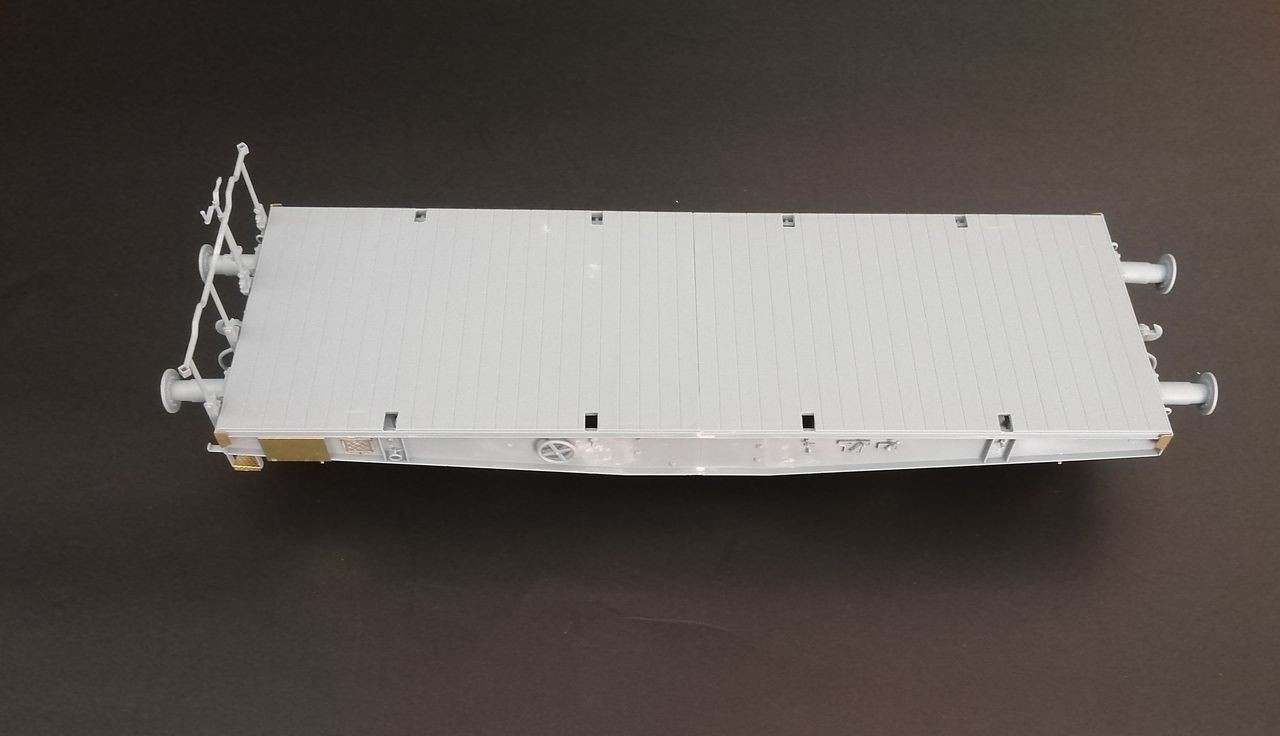
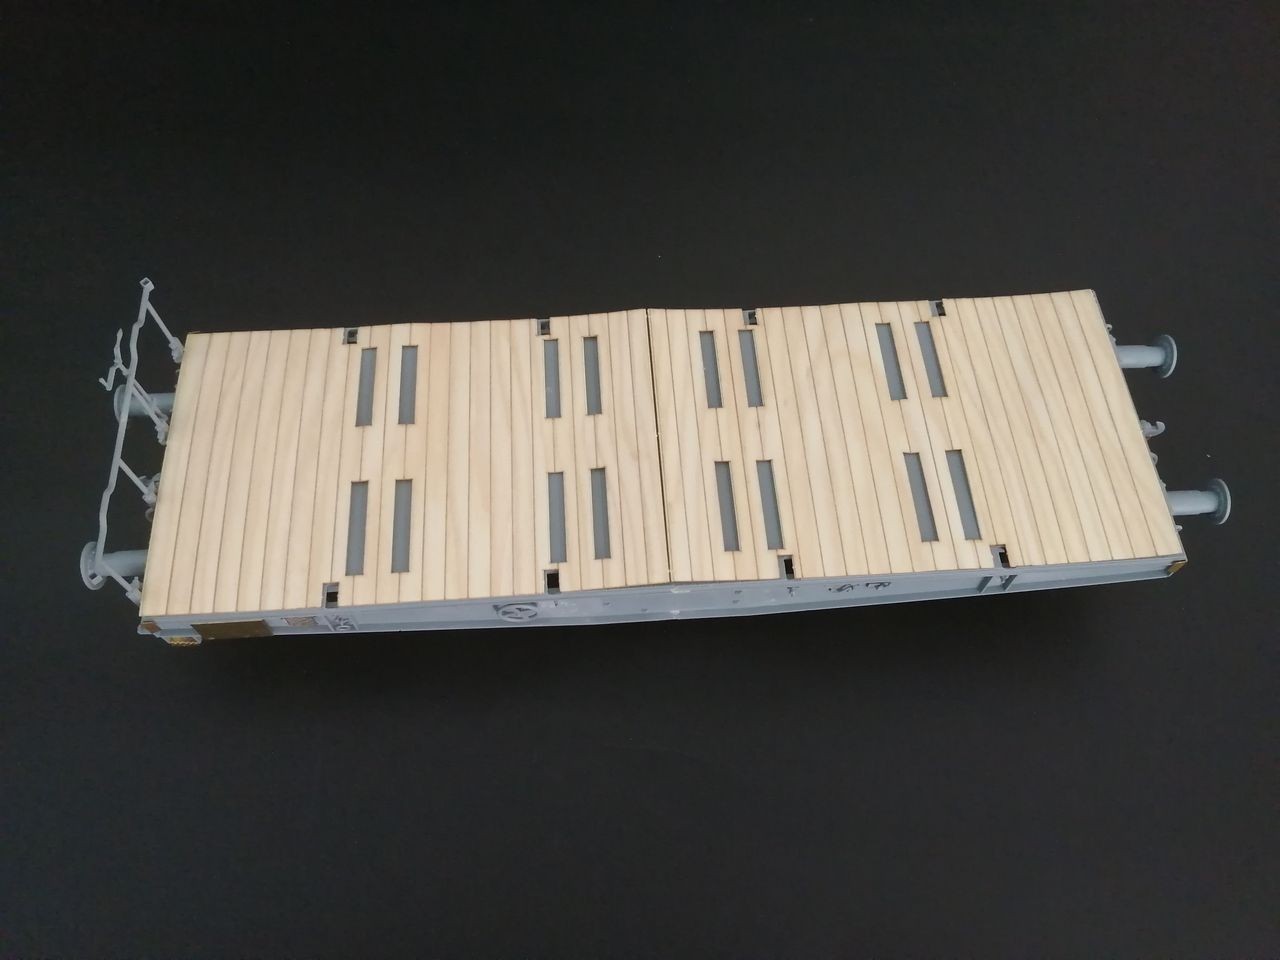
The Iron version and above come with a nice printed wooden deck. The plastic part already has a subtle wooden texture, but this add-on saves some time painting.
Printed wooden deck, still not fixed in place
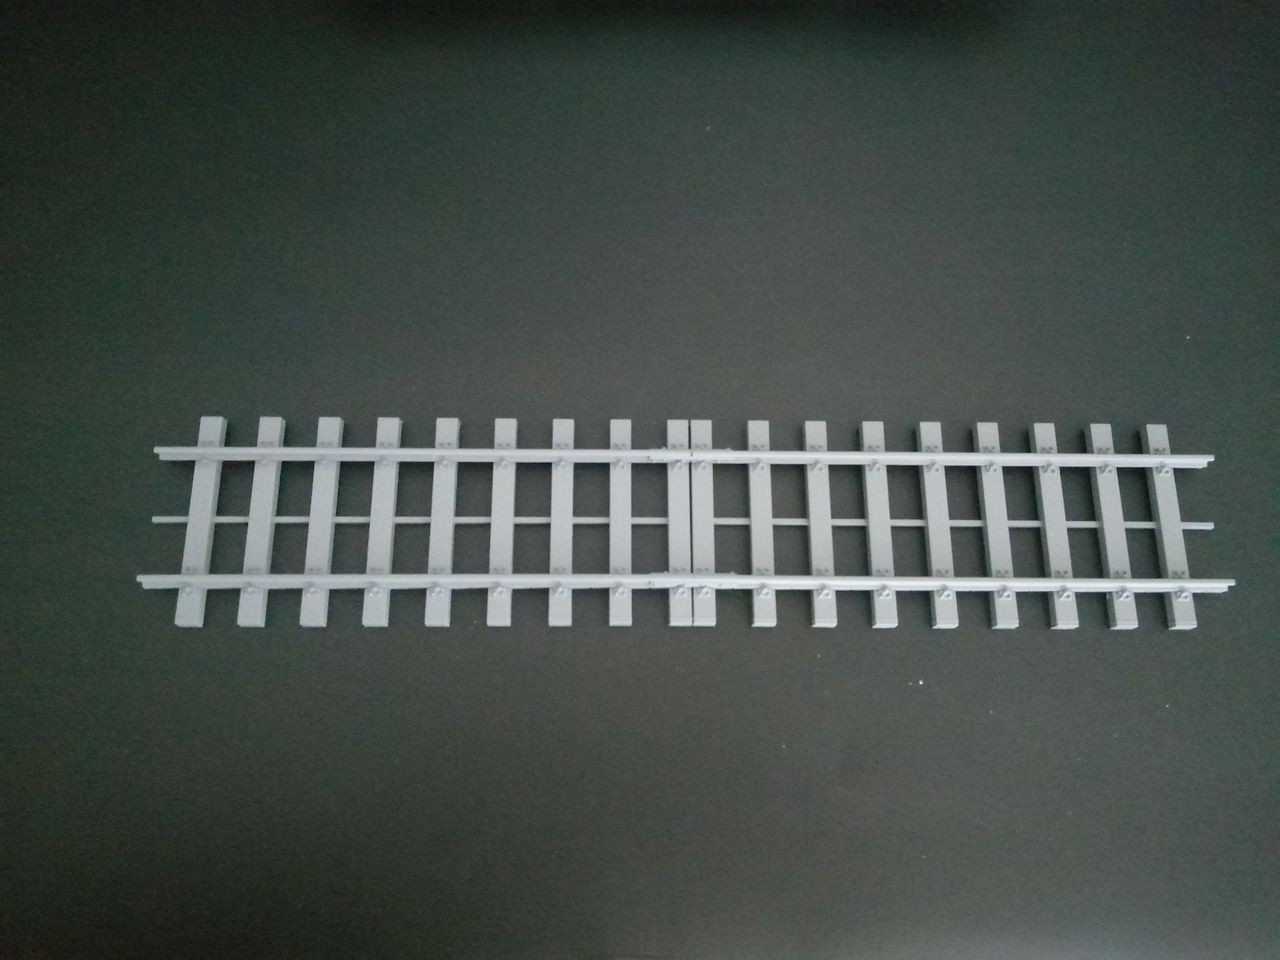
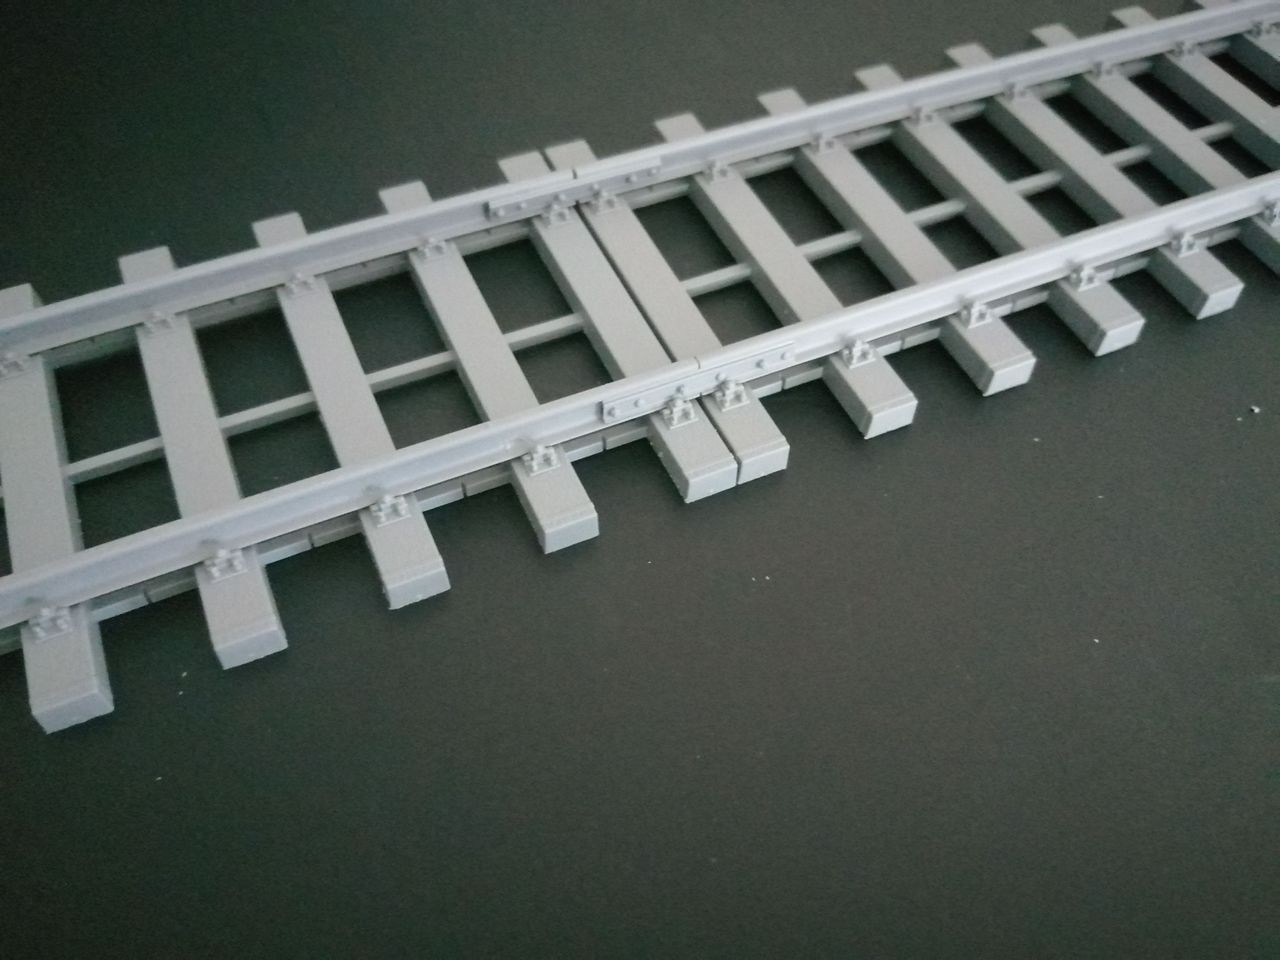
The kit has also a set of railway tracks that can be assembled straight or curved, and provide a good base for the wagon. The fit is as good as the rest of the model, just be careful sliding the rails because the joint is only on one end.
This is a really nice kit of the SSys, fairly easy to build -other than cutting the deck and removing some details, I had it done in a week- it has a reasonable part count and detail is good.
There are options for cargo or vehicle transport, so as for other minor details.
Even the most basic version comes with photoetch parts, the fit is very good (I hardly had to use any putty except where I scratched the sides removing details) and although there are some mould seams, most of them will be hidden and in any case the halves are not misaligned, which is important. Instructions have a couple of mistakes which are easily overcome knowing them beforehand.
With little time and work, you can build a different and attractive base for any German WWII vehicle on any front and time.