

Introduction
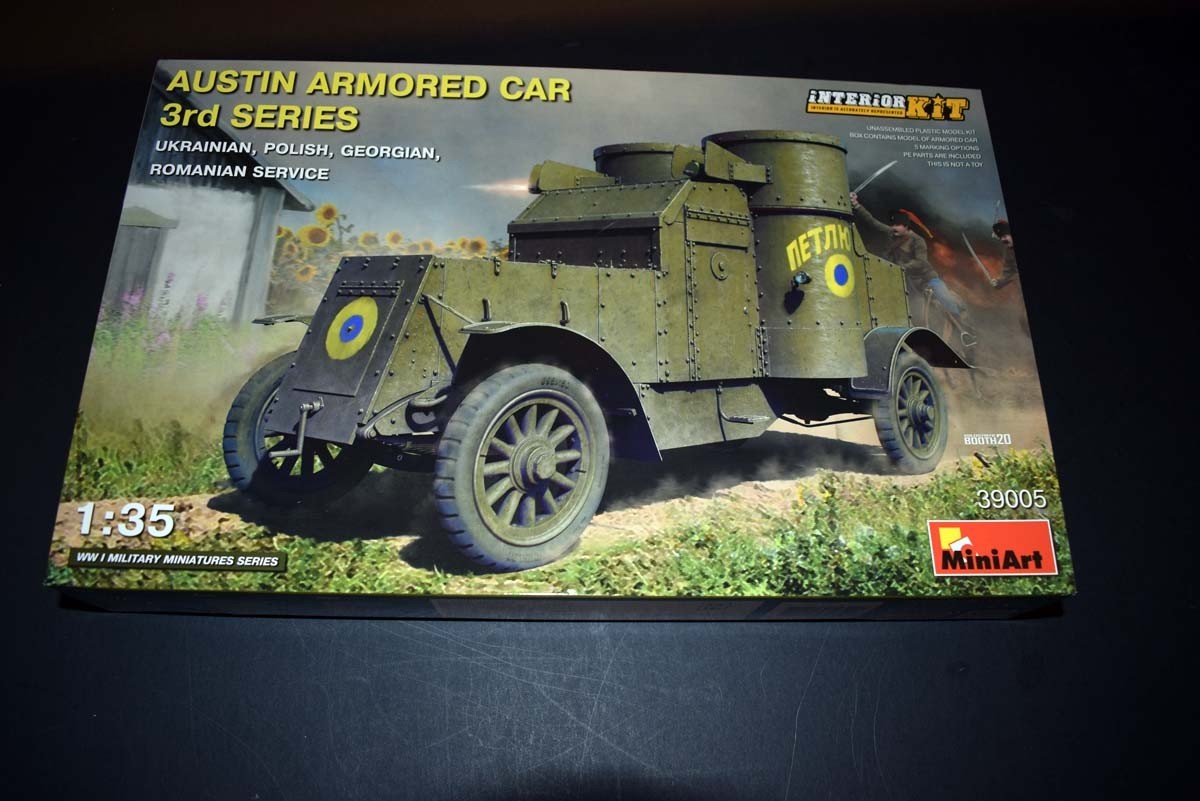
The Austin armoured car 3rd series was the result of the experience gained from the previous models in the battlefields of Europe during World War 1. The 3rd series of vehicles used a 1.5 ton chassis as opposed to the previous chassis used on the 1st series of vehicles. The armour was thicker and better suited to protecting its occupants. The improvements here that specifically identify this offering as a series 3vehicle is that armoured plates replaced the side windows and a second driving point was added at the rear of the vehicle; something the Germans used in a number of their vehicles during World War 2. The vehicles in this release would seem to replicate vehicles either captured from the Russian forces or their allies who were given them. This line of models from MiniArt all seem to have fairly complete interiors and so let’s take a closer look.

Review
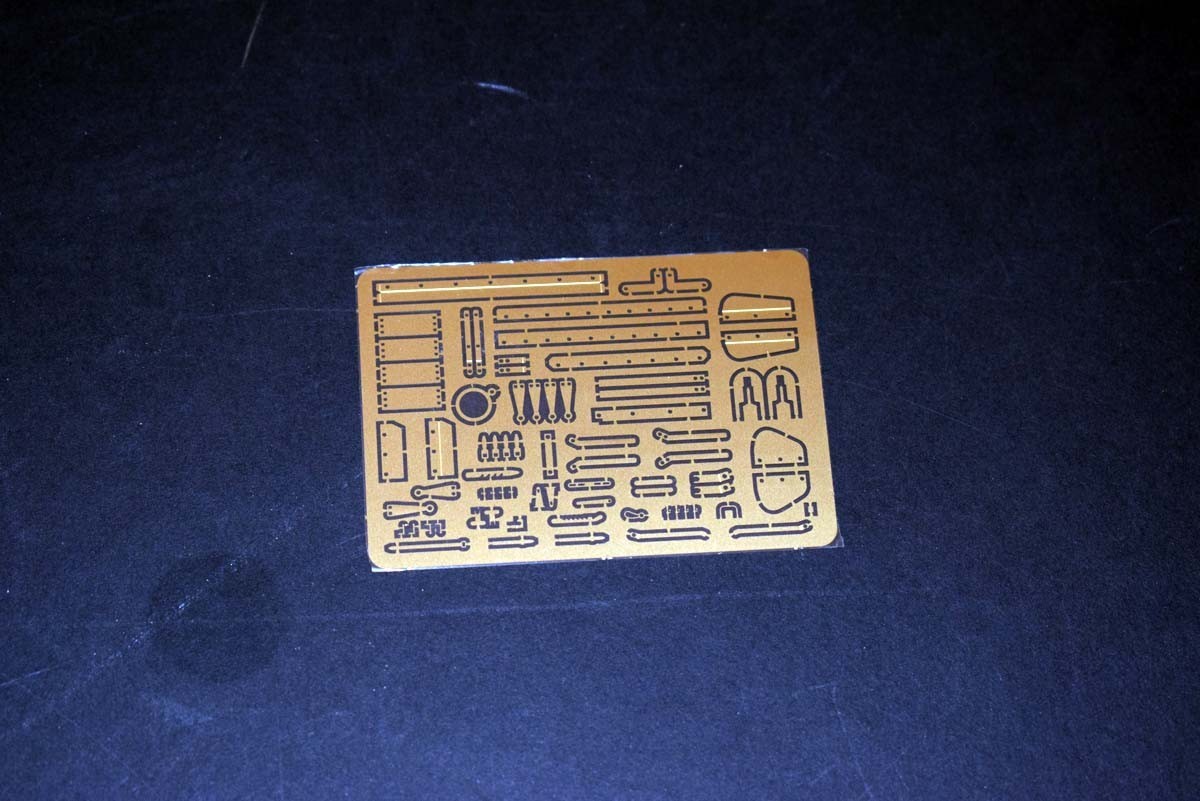
This offering from MiniArt arrives in the usual packaging of a cardboard tray with a separate card lid with the artwork on it. Inside there is a substantial instruction booklet and a single plastic bag containing all of the plastic for the model plus the clear sprue and decals in a bag of their own and packed along with the other parts. In this example no obvious damage has been caused to any elements of the model; while no damage has been done to the model from what I can see it does leave small and fragile parts exposed to be knocked loose or damaged. There is a sheet of photo etch included with this release and that is protected by a card envelope in the packaging.
Chassis, Dirty and Oily Bits
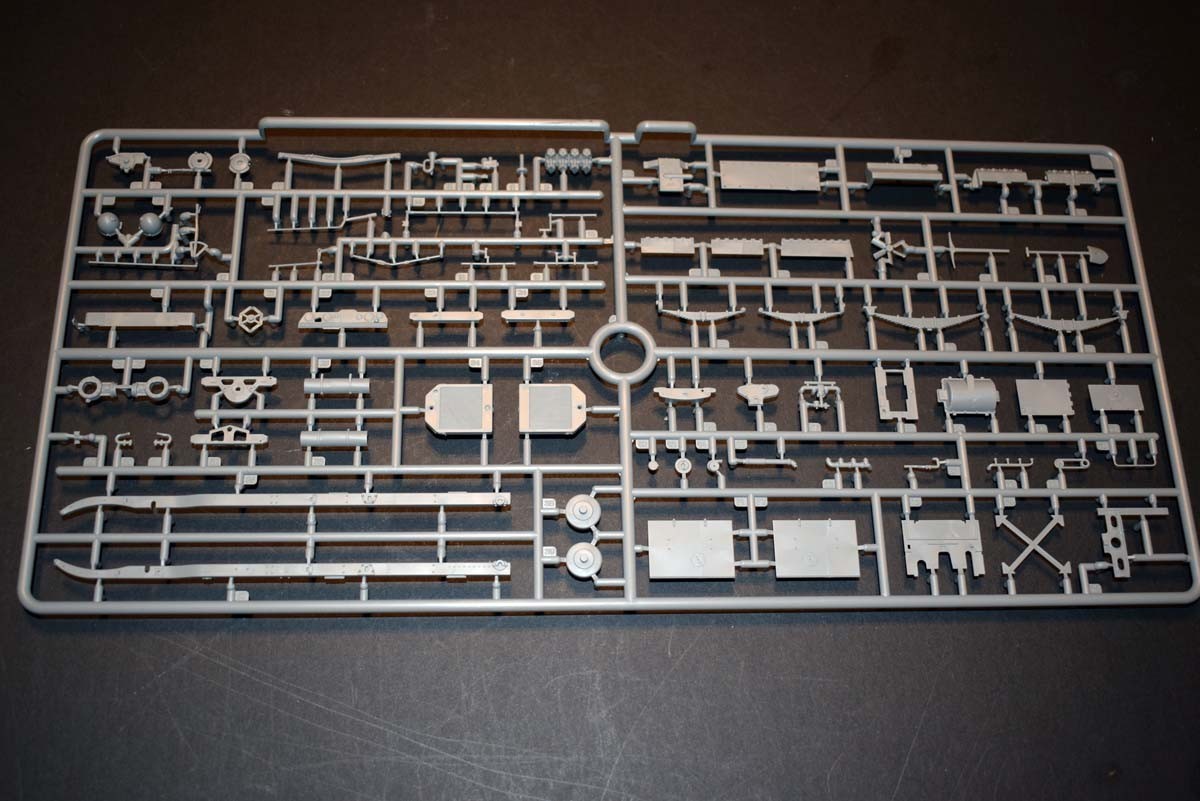
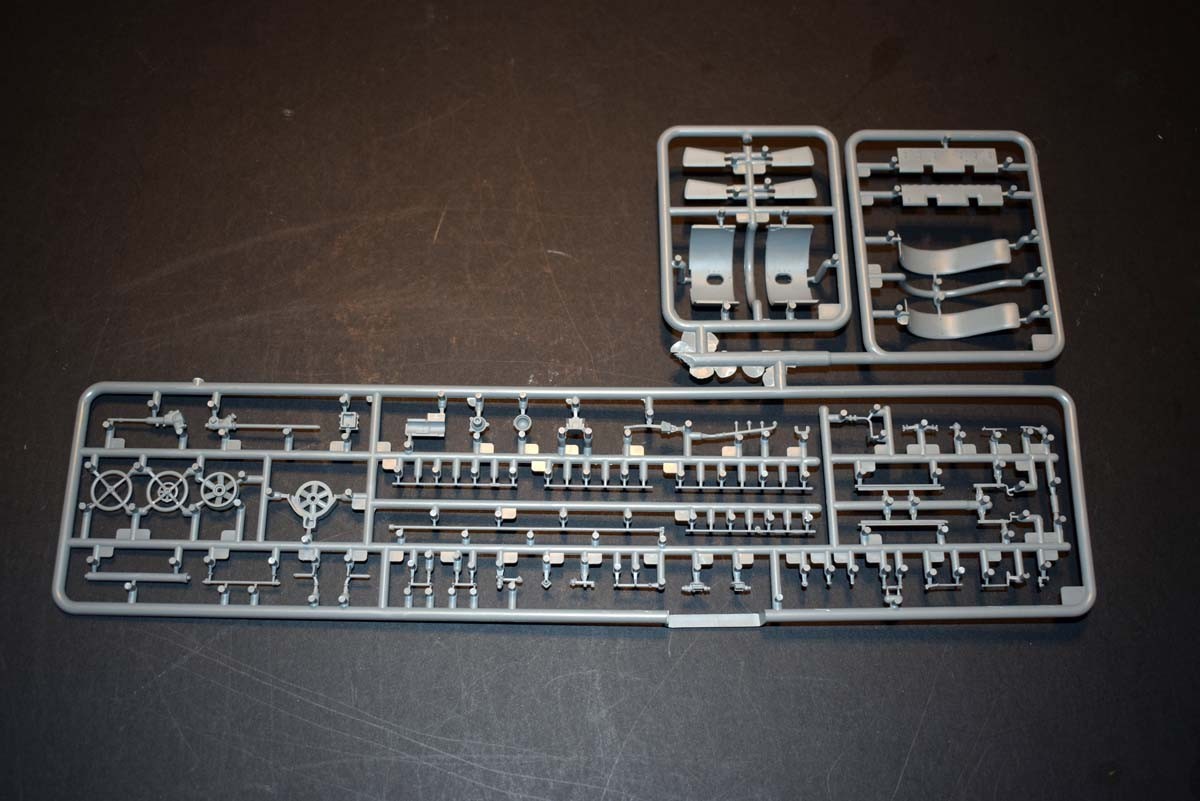
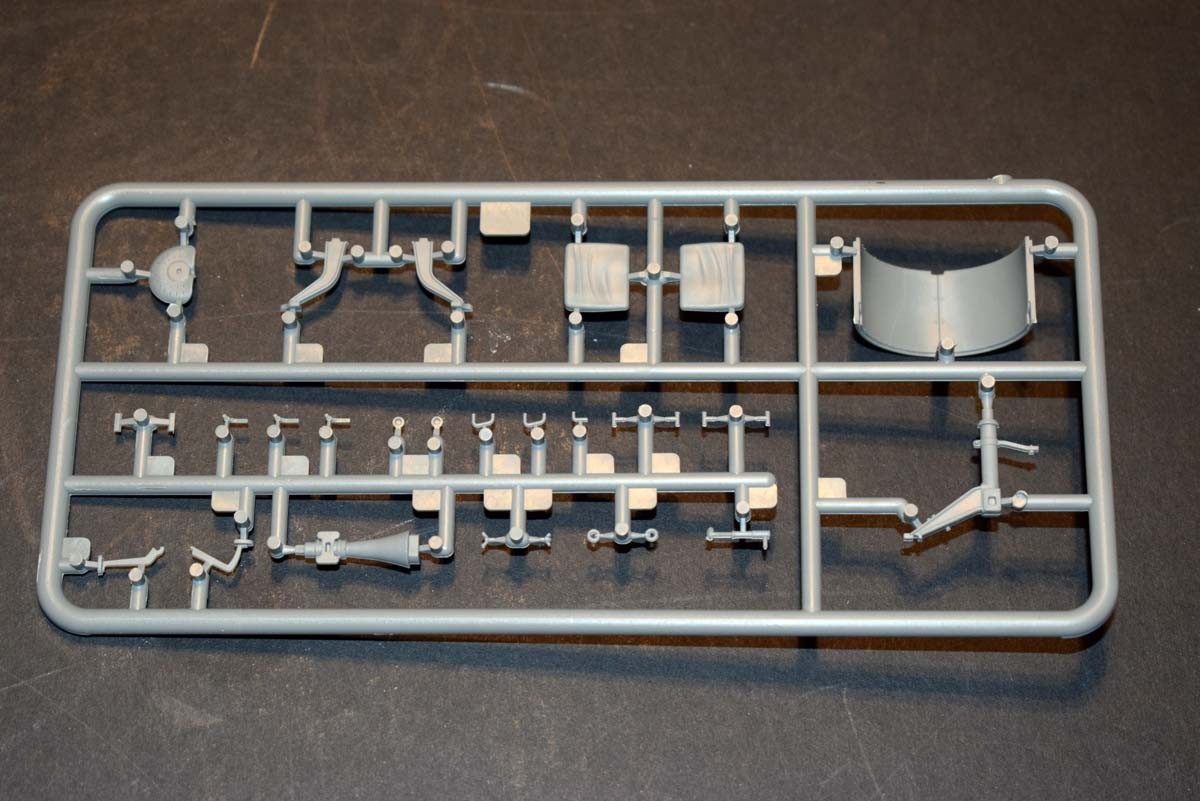
The chassis of the model is a multi-part offering that has enabled MiniArt to provide a great deal of detail that otherwise would not be possible. This approach does mean that the modeller needs to take care to insure that the chassis is assembled square; I advise that the chassis is assembled on a cutting mat with a square grid present.
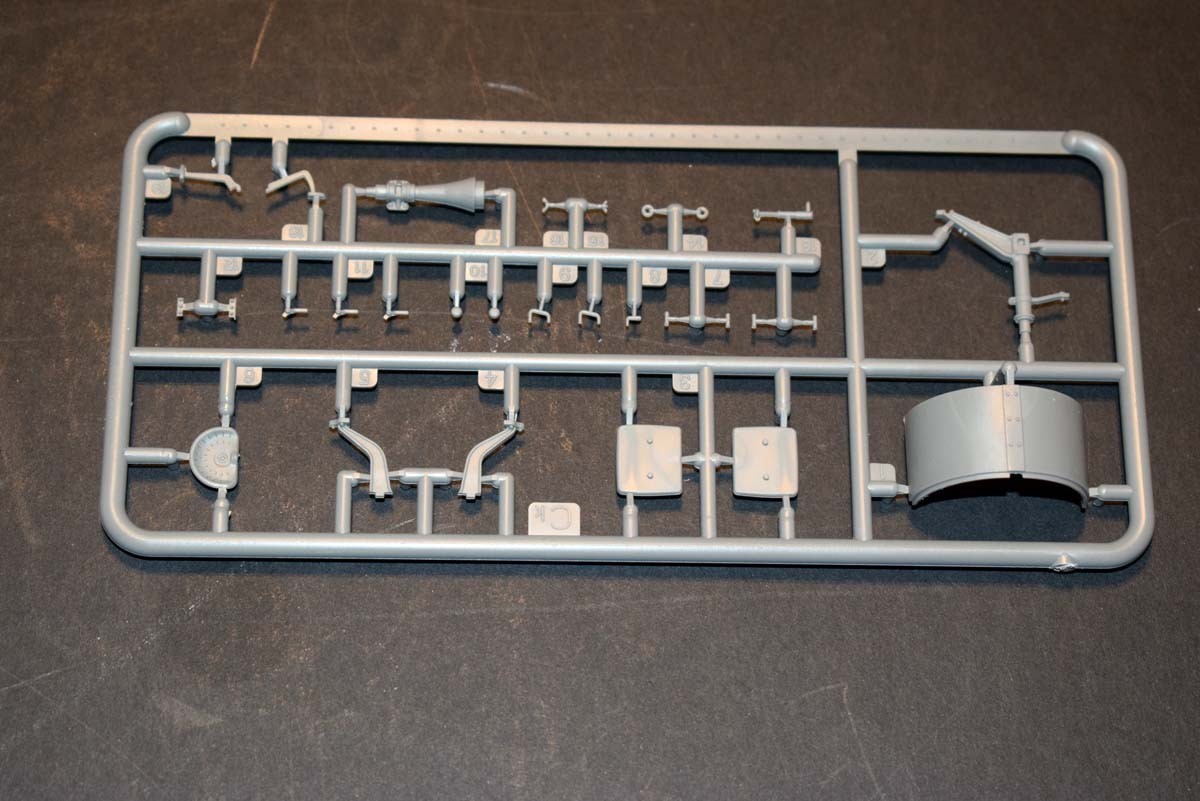
A full engine and gearbox are provided and it is very impressive in my opinion due to some very crisp detail. I will say that some of the mating face locations are a pain to get good access at and a number of very small photo etched parts are used which could be problematic for those like me whose eyesight is not what it was and large hands that are not as steady as they use to be. Beyond a small amount of wire being needed for detail I believe. A particularly nice touch is that the foot pedals attach to the actuator rather than a spot on the floor. Moving to the rear drivers post and the foot pedals there are supplied with plastic actuator rods to the front and for the modeller who wants to add further detail MiniArt has provided detailed parts for use with metal rods and provided all of the needed information. MiniArt is really coming on leaps and bounds with what they provide.
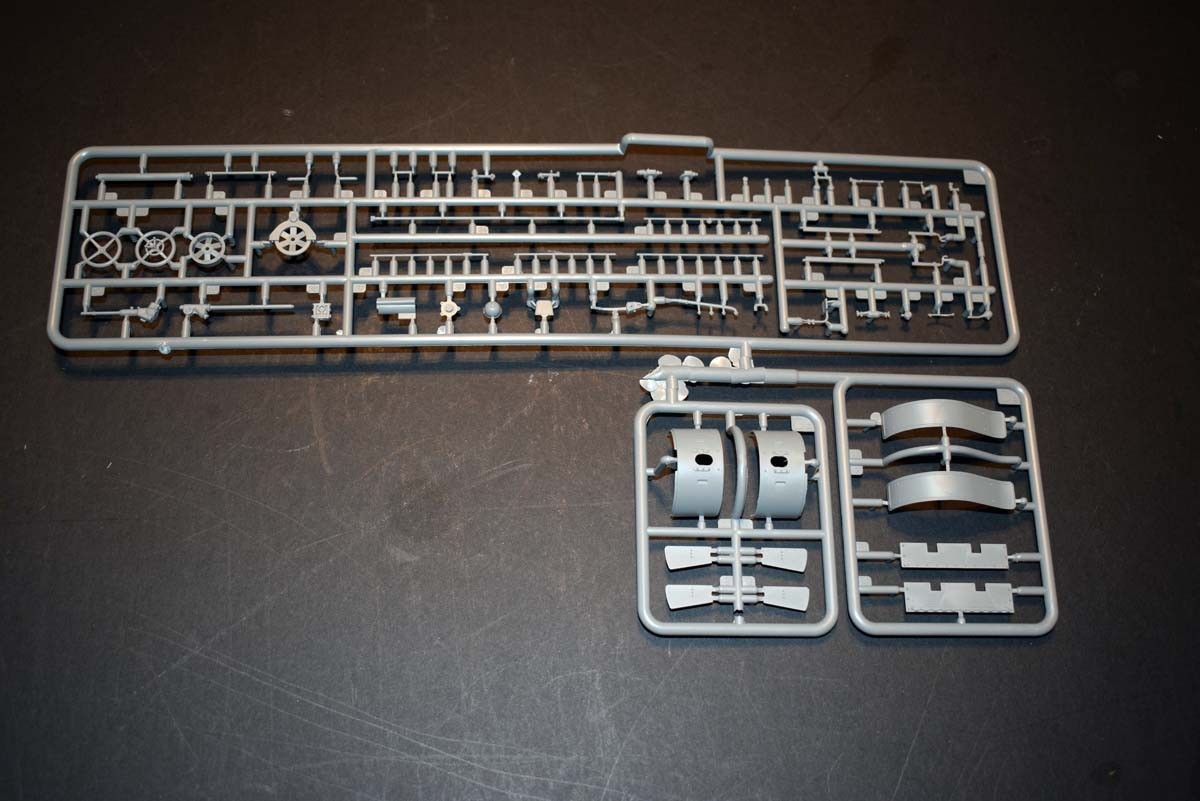
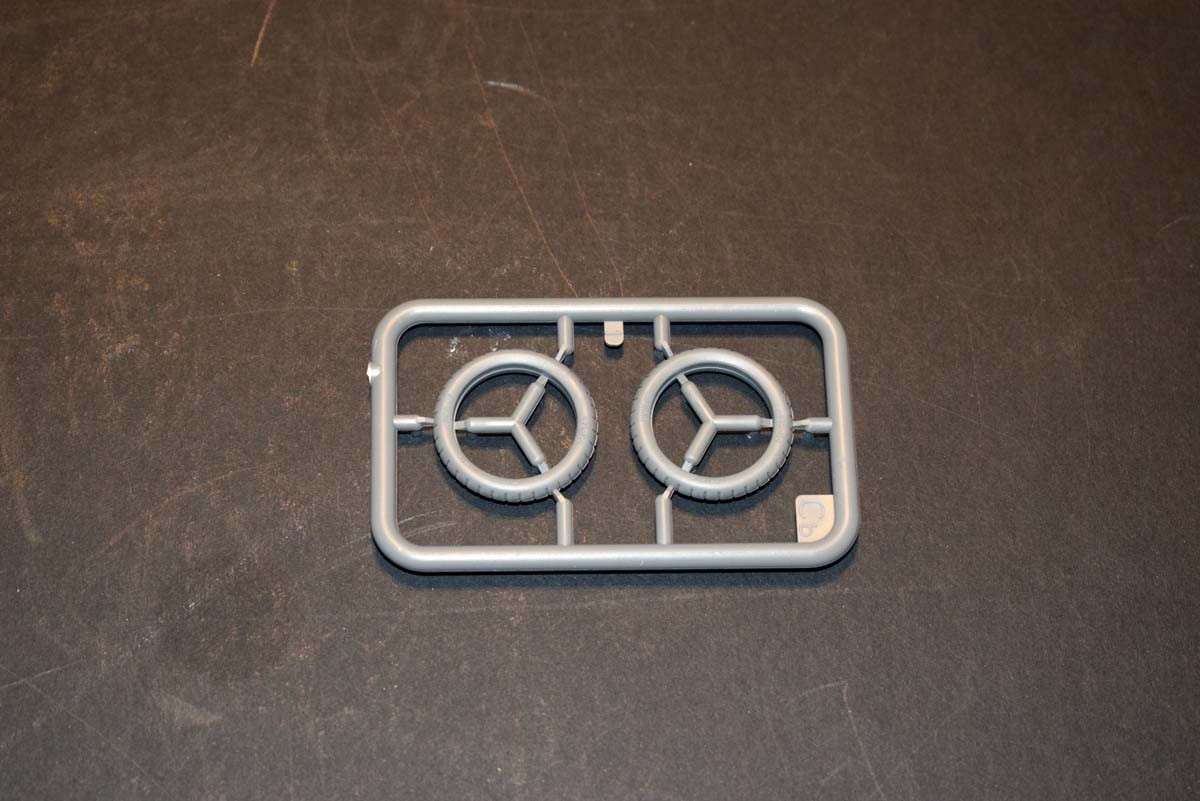
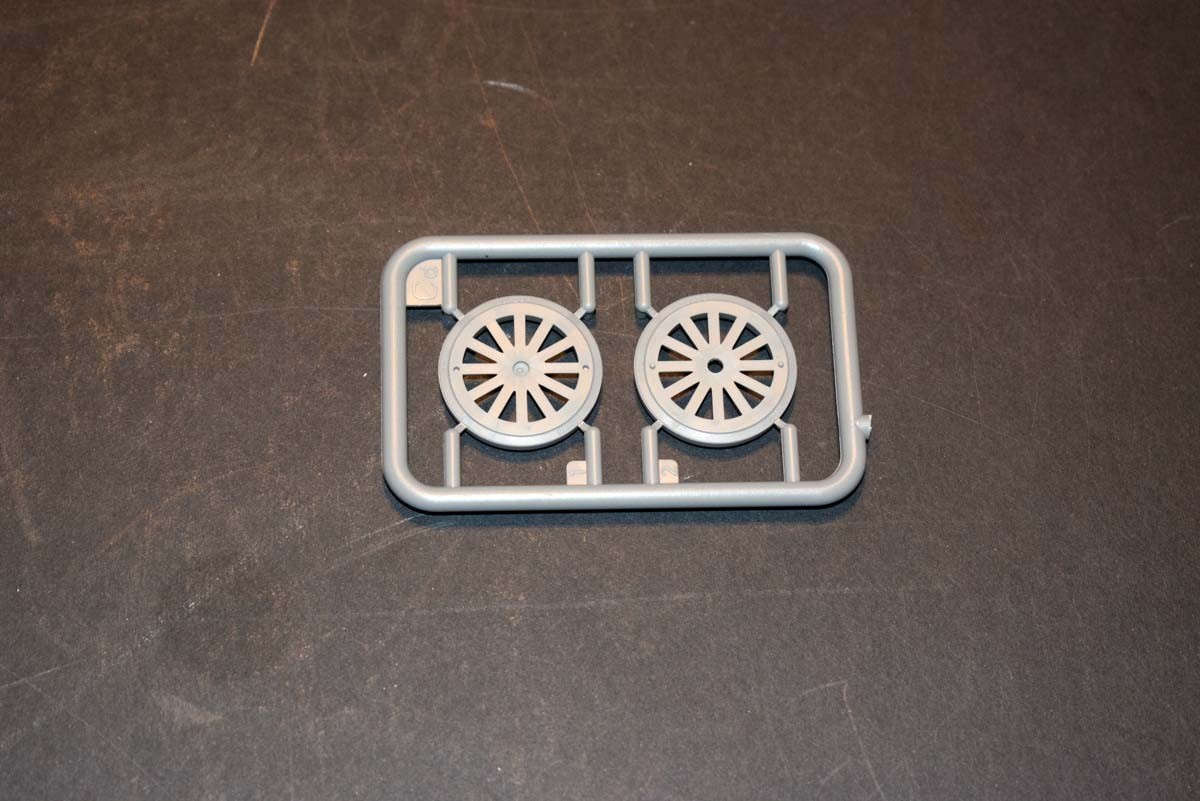
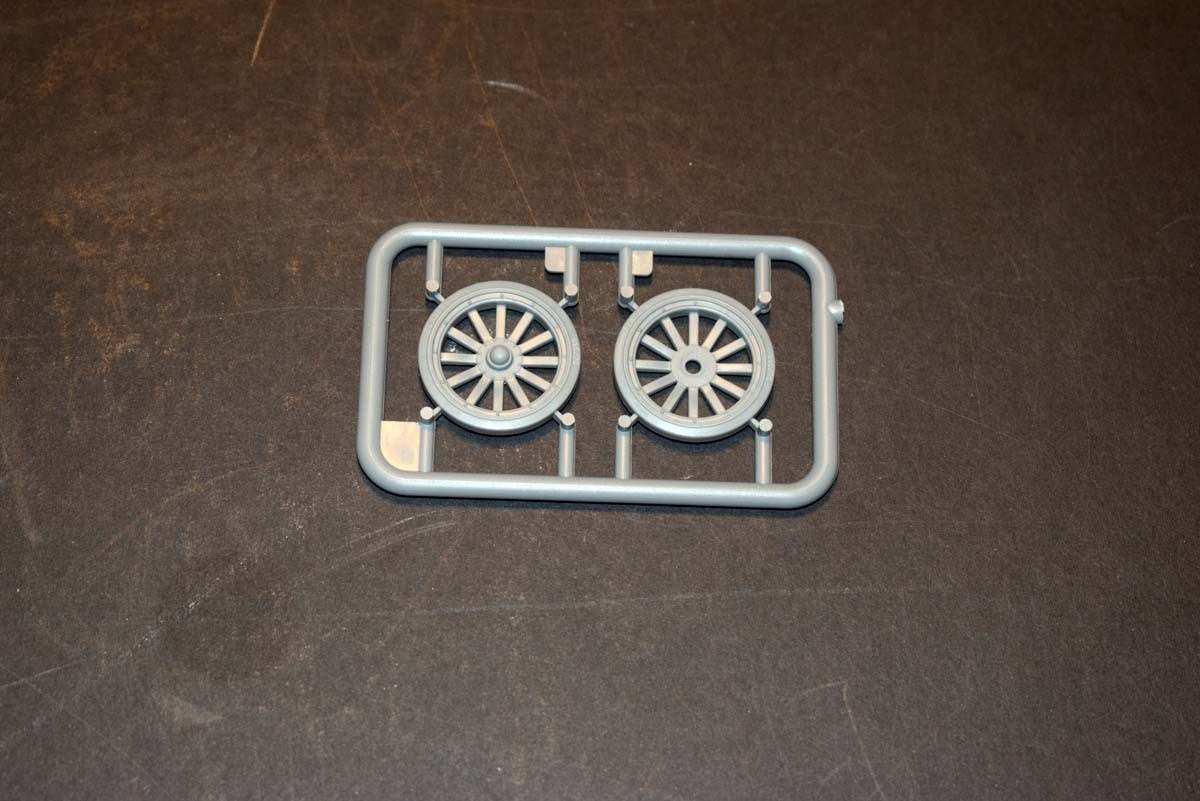
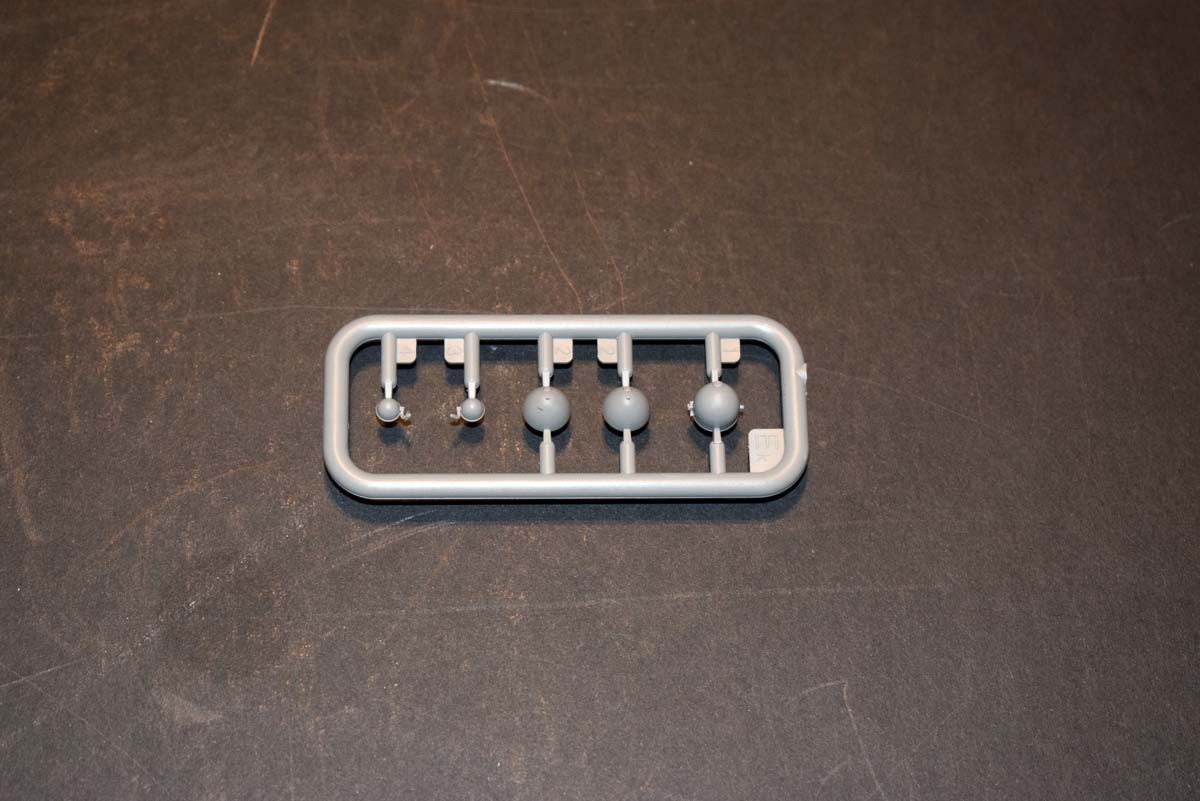
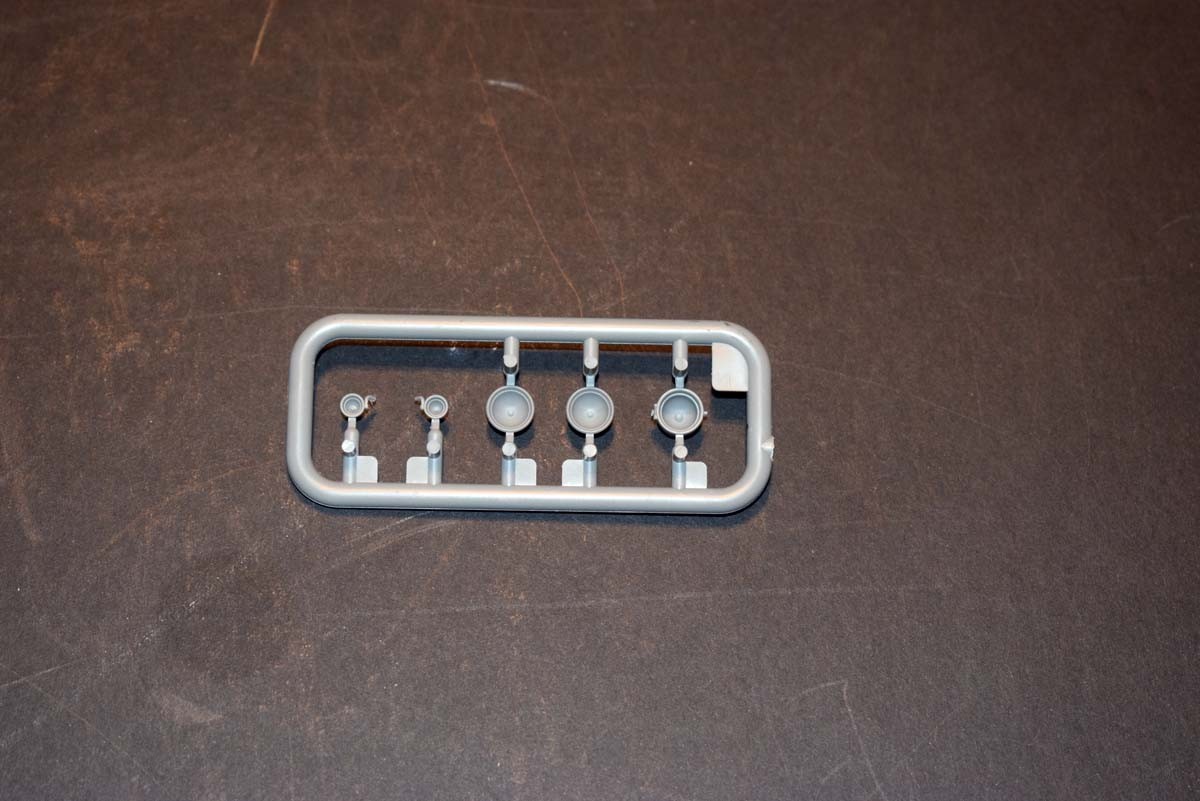
The axle is quite industrial at the rear, but has still been provided with some very nice detail that will please the eye. The front axle is indicated as being for straight ahead only, but looking over the parts I believe showing the front wheels turned only requires the modeller to set the angle of the steering joint. There is some further very fine wire detail that I believe replicates the brake pipes; I feel that this approach by MiniArt brings the potential for super detailing into the realm of anyone willing to try. The wheels are the wooden spoke offerings which is correct for the provided model(the modeller wanting to build something a little later need only add metal wheels for vehicles used between the wars). You will need to decide which vehicle you are building at this point as some of the offering had twin rear wheels.
The Interior
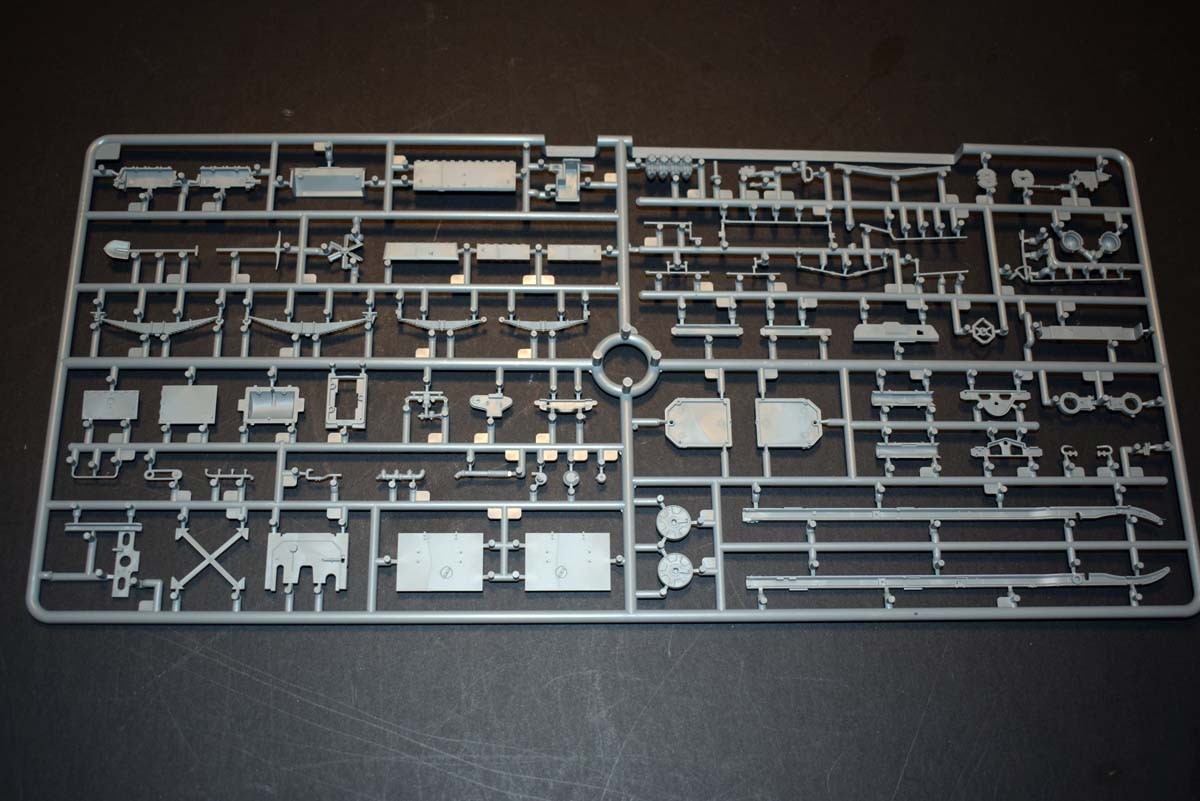
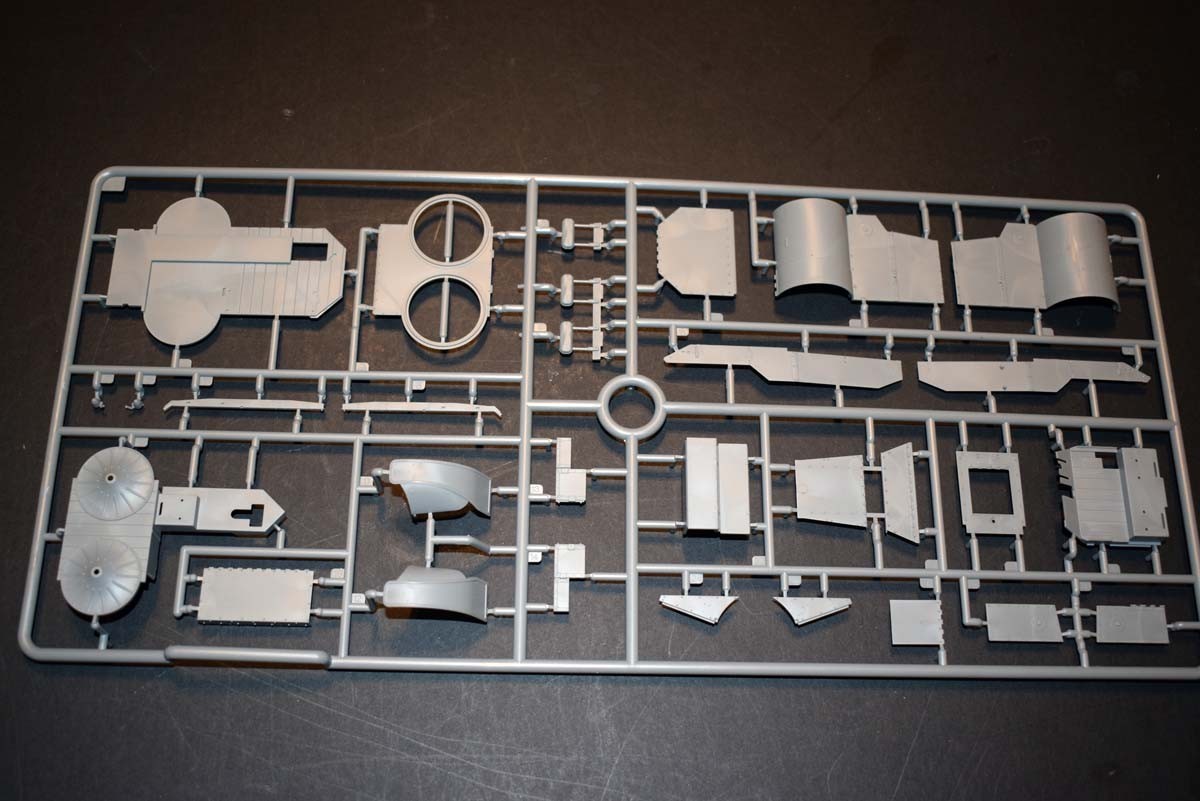
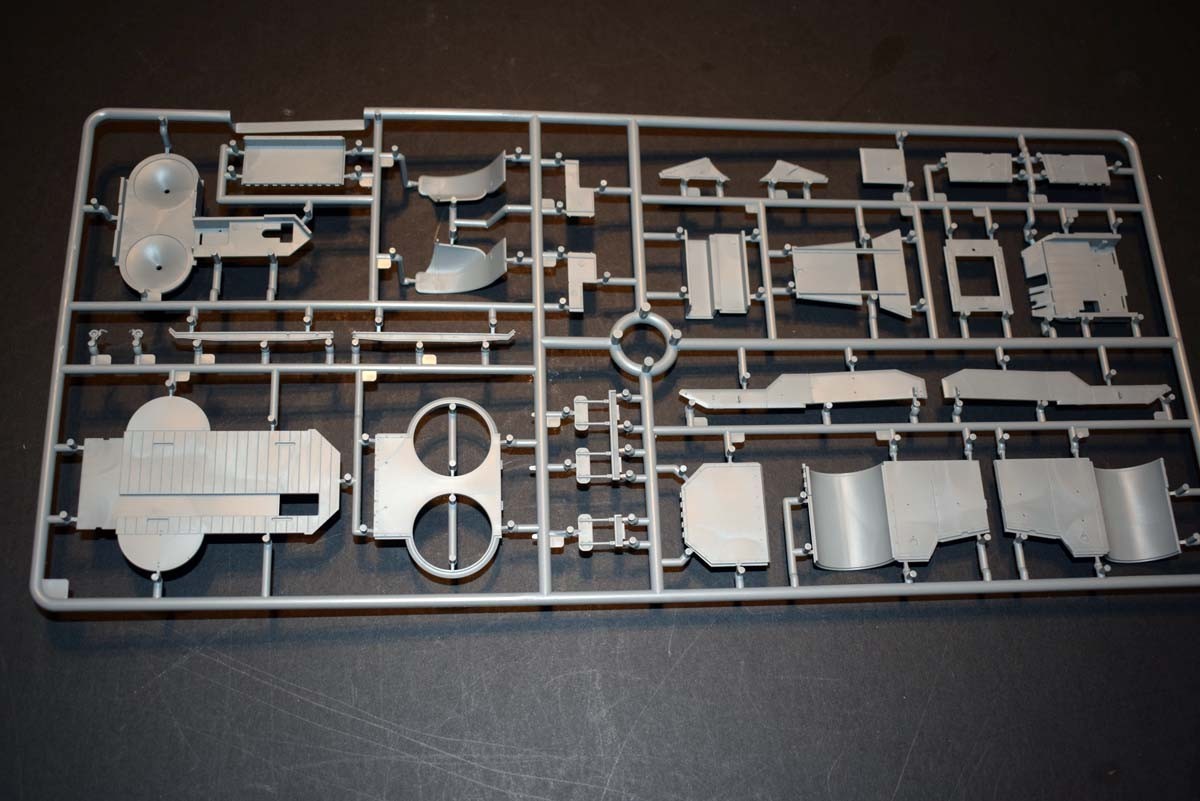
Vehicles of this time period did not have the comfort of the occupants paramount in their minds and so the interior is functional rather that comfortable. The floor of the vehicle is wooden planks with some metal elements and so driving over a grenade would not a good choice. The floor at the front driver’s position slips onto the pedals and then home, so take care. A similar situation at the rear driver’s location but a steadier hand will be needed. Seating for the five man crew is basic with the gunners getting a bench seat next to the rear drivers position, The modeller who wants to add some small touches could add some form of cushion or even folded uniform to seat on and make the piles a little more comfortable. The front two and single rear seat are provided and again these look basic, but at least these have some provided padding on the back and seat which MiniArt has provided with a very good natural look.
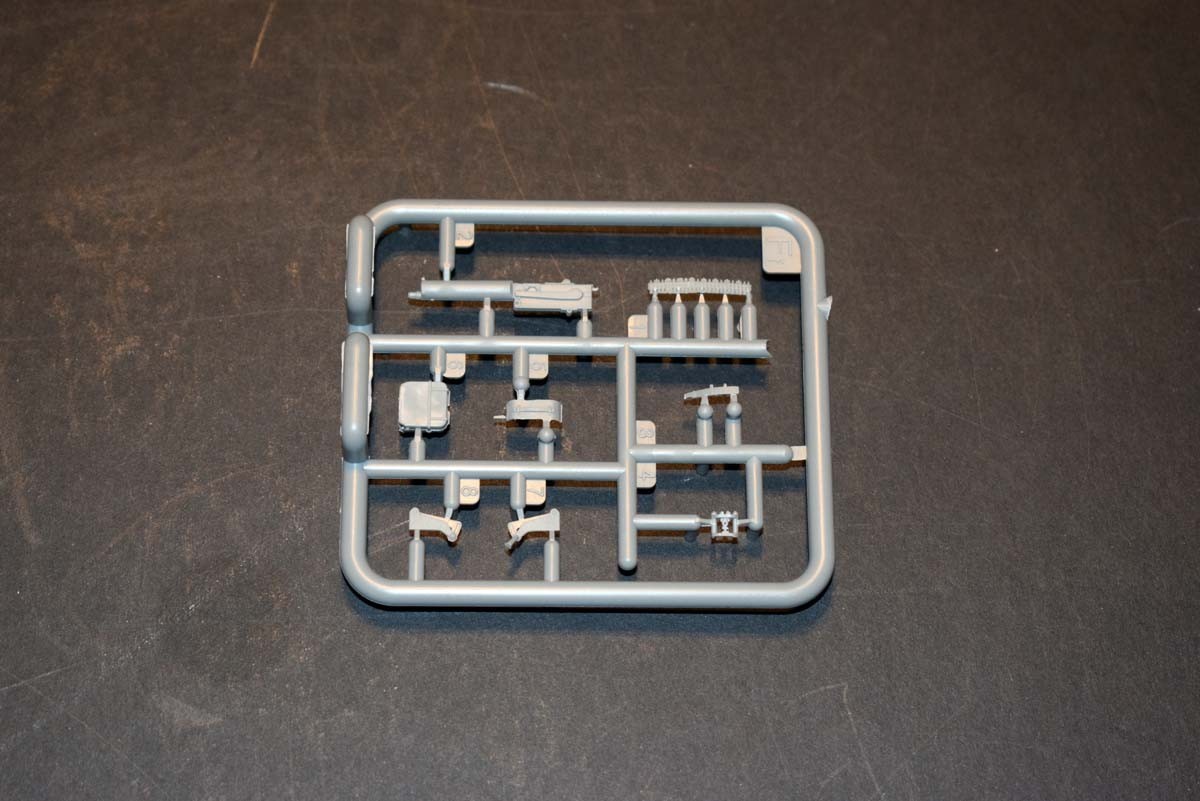
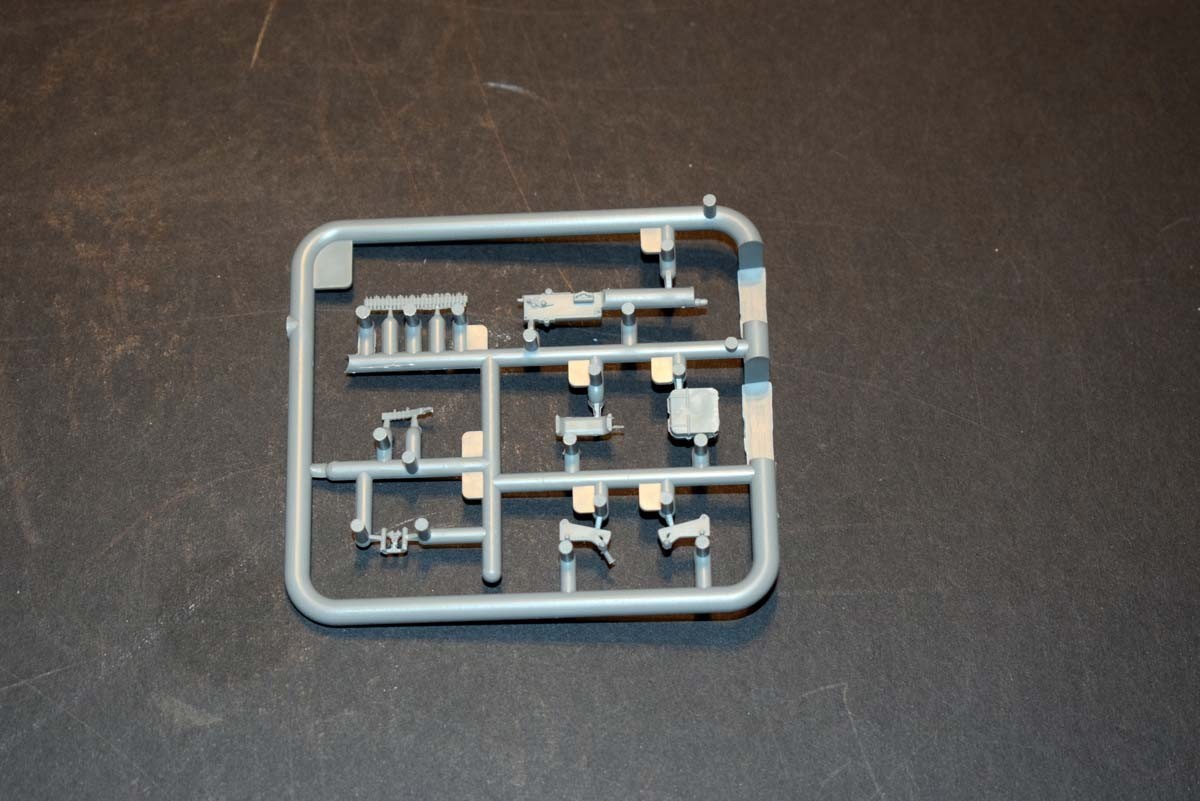
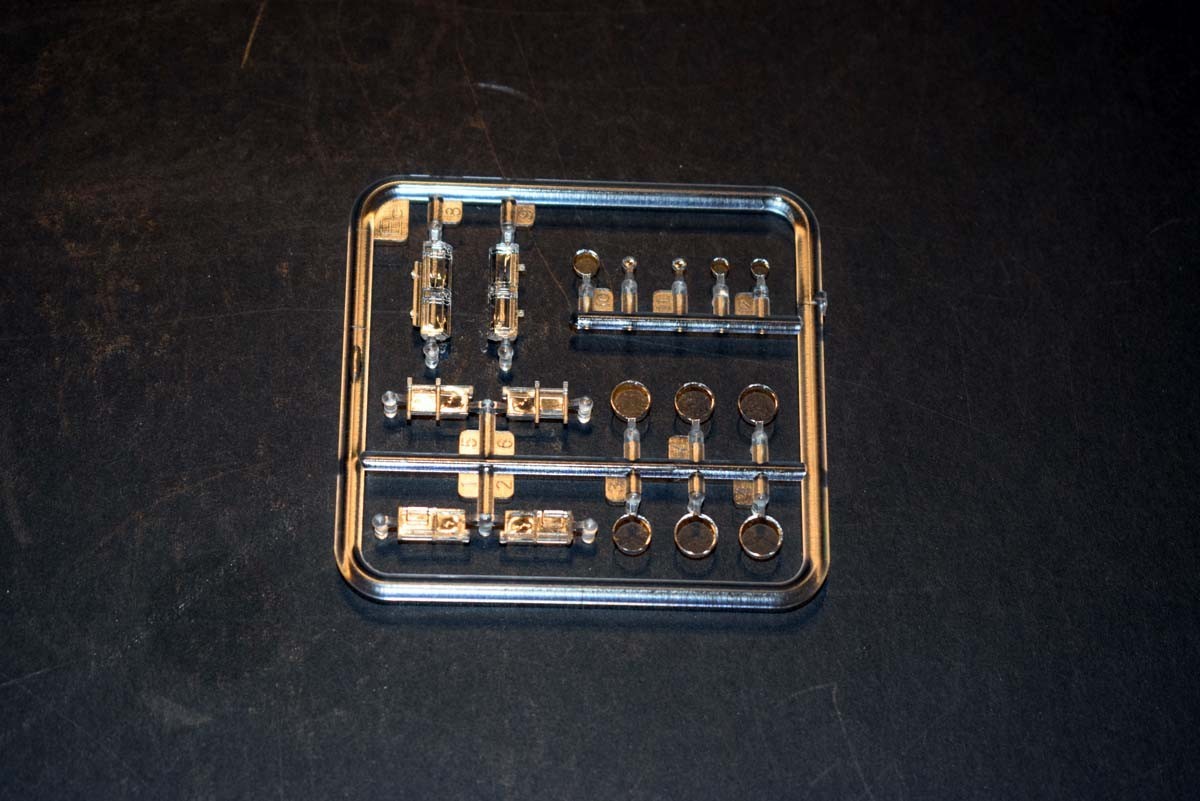
The armour plate is pretty bare on the inner face beyond some riveting detail; the modeller who wants to add a person touch could add a page from a suitable period magazine or even a drawing by one of the crew on the walls. The Vickers machine guns in the turrets are mounted on swivels and the gunner given one of the shaped metal seats seen on old tractors mounted on the swivel. The Vickers MG’s have been slide moulded which is a nice touch by MiniArt and all in all provides the modeller with nice scale replicas. The ammunition can is provided with and has bullet detail present; a belt is also provided but will need to be shaped by the modeller. The belt on these guns did not disintegrate and was a canvas affair into which the ammunition located into; remember that if showing spent ammunition. One thing not provided is a can with a pipe which water went into as it boiled in the water jacket.
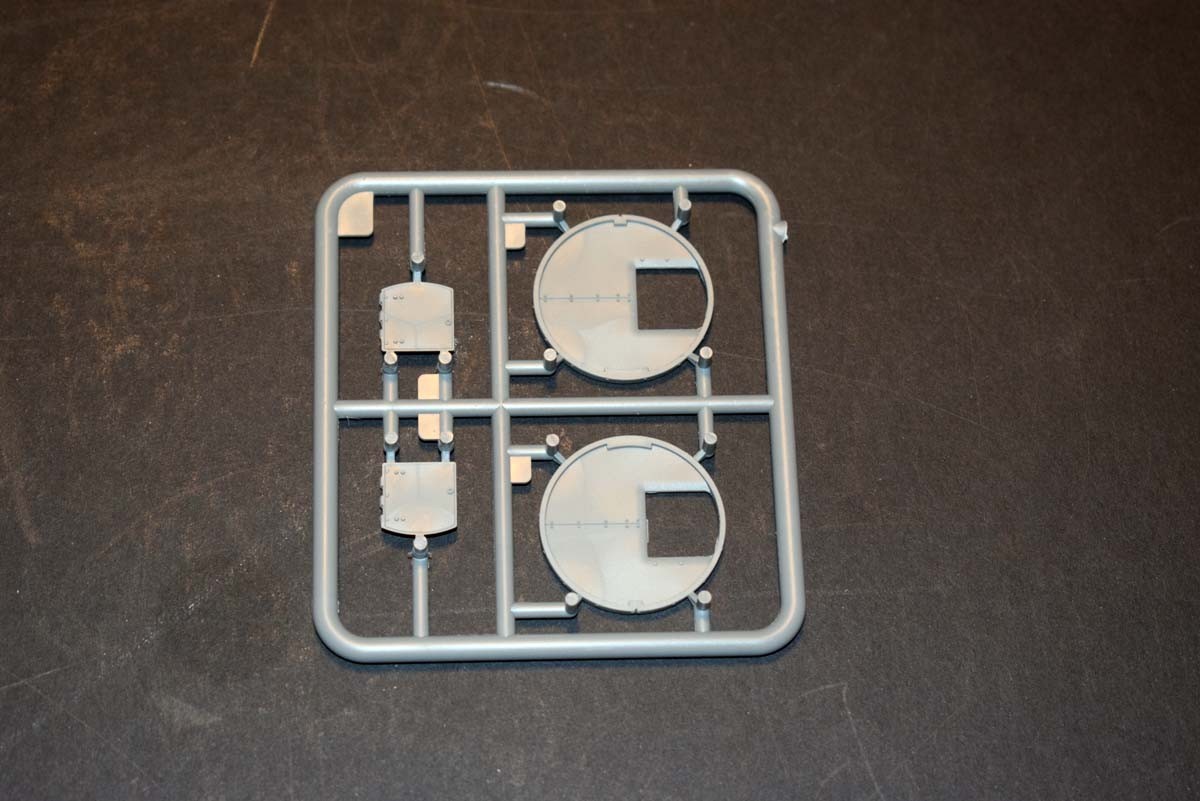
Exterior
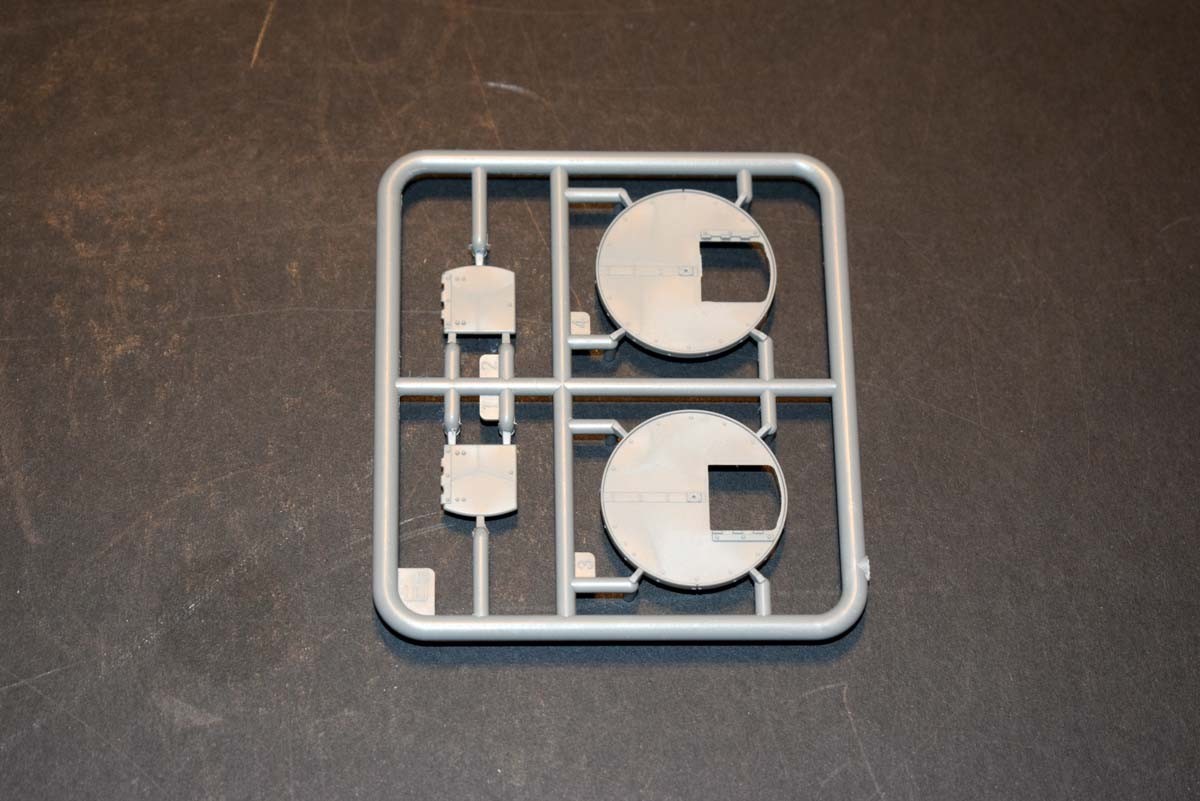
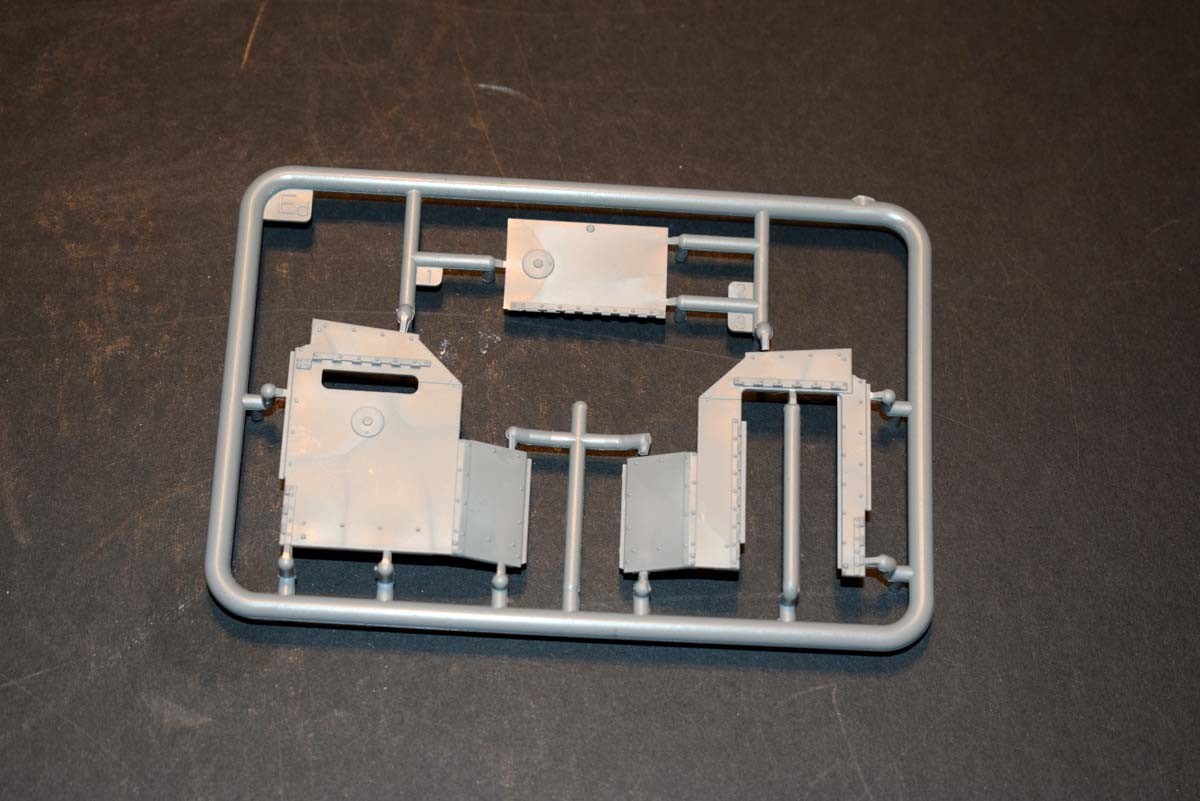
The armoured exterior is basically metal sheet riveted together and so you have that detail replicated. The only curves are the turrets and mud guards. The engine radiator has a guard protecting it that could be lifted if not in battle. Vision was provided for the driver’s and commander via vision slots and both front and rear guards could be lifted to improve vision when conditions allowed. The gunners view would I believe have been awful as smoke would obscure vision forward when firing the weapon and the sideguards to protect the weapon prevented a view to the side and so would be reliant on the other crew members I believe.


Finishing Options
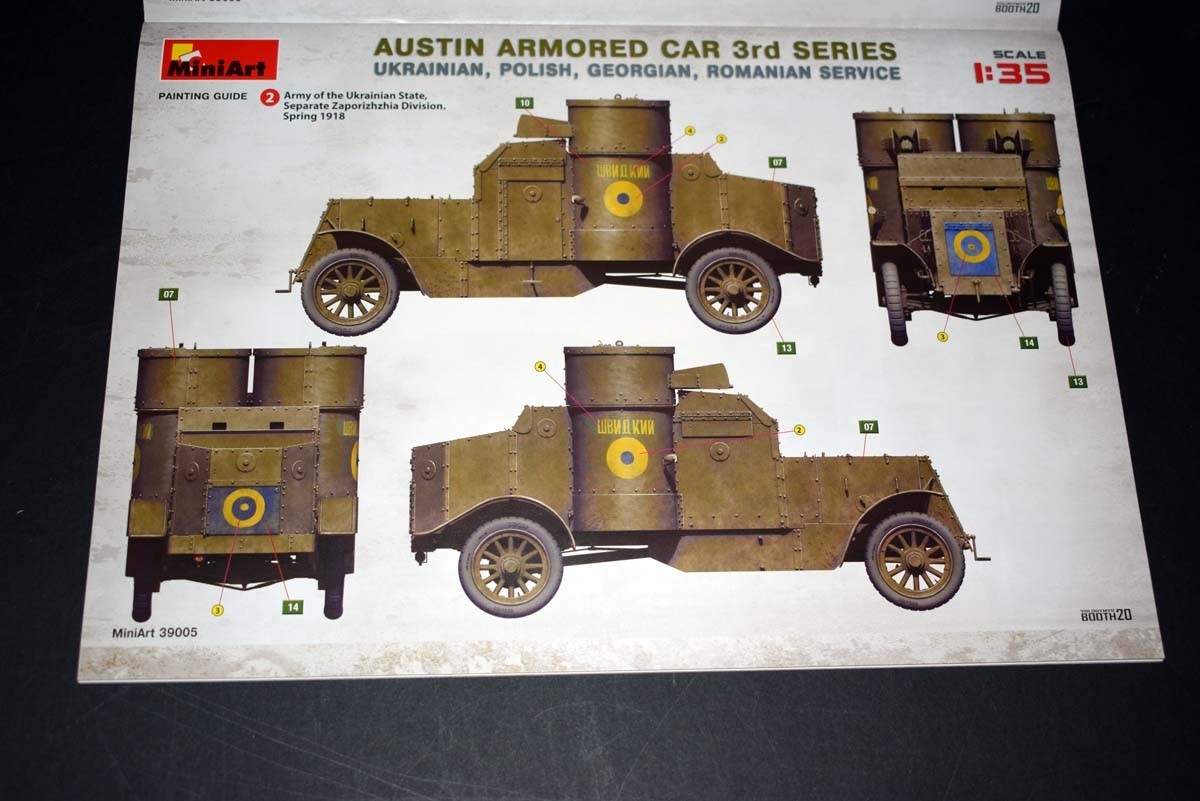
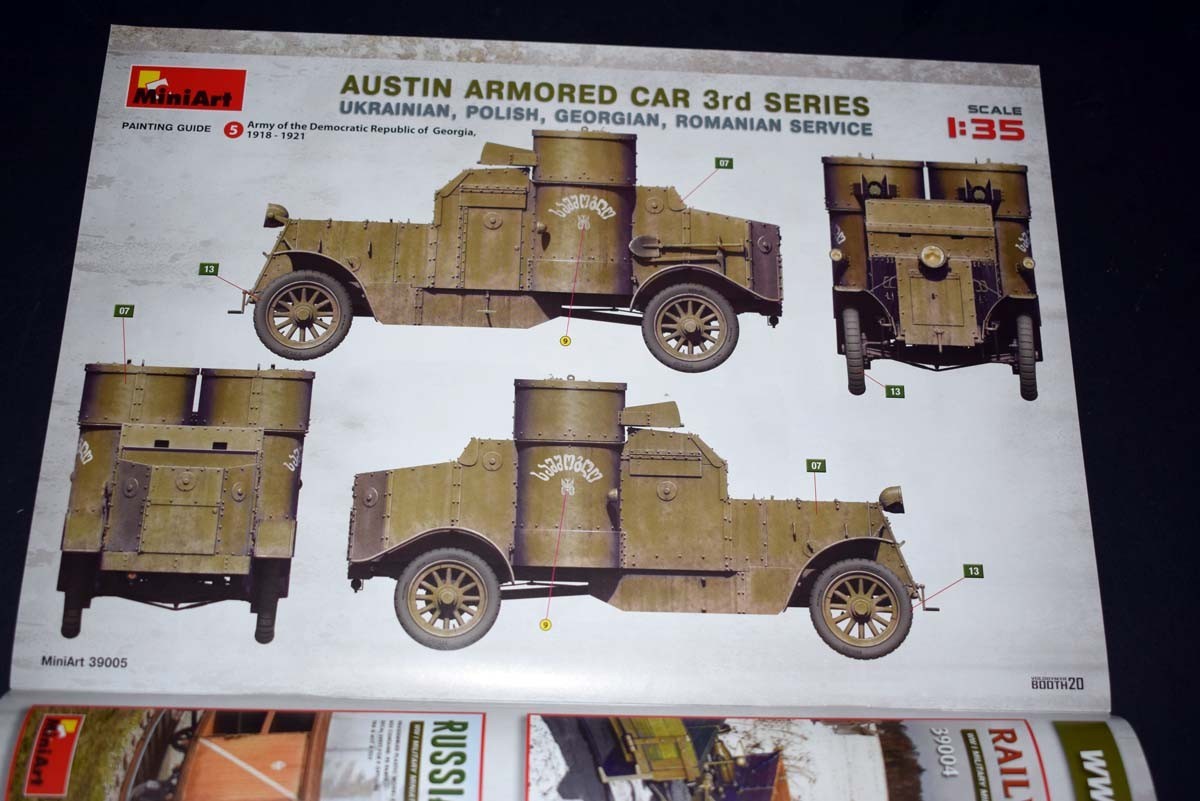
MiniArt has provided five finishing options for this model which are:
Army of the Ukrainian People’s Republic, Sich Riflemen, Autumn 1919
Army of the Ukrainian State, Separate Zaporizhzhia Division, Spring 1918
Army of the Polish Republic, 1920
Army of the Kingdom of Romania, 1918-1920
Army of the Democratic Republic of Georgia, 1918-1921

Conclusion
This offering from MiniArt is a beautiful model with a great degree of detail that does not leave much room for improvement. The dirty bits of the model are very nicely replicated and beyond some wire you have a great feature of the model. The underside is another great aspect if somewhat hard to display. The interior is fairly bland but is an area where the modeller could add their own touches if desired. All told if vehicles of this vintage are your scene you will not be disappointed.


