Introduction:
Live Resin is a well-known name among scale modeling enthusiasts and most of us own a number of 1/35 scale weapon and accessory sets produced by the company. Live Resin also offers a selection of figures which are now available as 3D printed kits, both in 1/35 and 1/16 scale.
I recently received one of Live Resin’s 1/16 scale 3D printed figures and, after completing the assembly, wanted to share my impressions on the figure with Armorama readership.
Review:
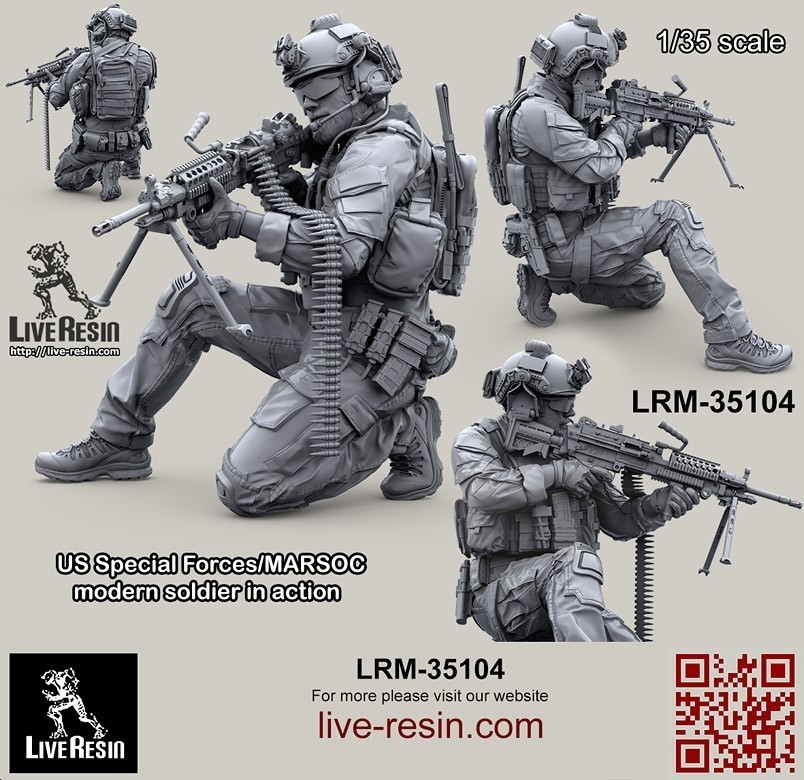
The figure I’m reviewing is US Special Forces/MARSOC modern soldier in action, figure 3, a 3D printed kit in 1/16 scale.

The figure arrived packed in a hard cardboard box. Opening the box revealed layers of bubble wrap securing two large zip-lock bags which contain figure parts.
Several pieces broke off their carrier supports but there was no serious damage to the parts. Closer inspection suggested the print is well delivered with no visible printing lines or major defects, just a couple of air-bubbles that need filling. The details are nicely defined and I was particularly impressed by the weapon, which is a work of art.
The cleanup is complex and requires a lot of patience. The supports tend to snap, and I would suggest using a very precise and sharp side cutter, as well as some fine-grit sandpaper to avoid problems during the process. I have limited experience with 3D printed parts and I was very careful, particularly when removing the numerous printing supports from the weapon, but still managed to snap the bipod… the material is very brittle and doesn’t allow any manhandling whatsoever. However, after the assembly, the weapon looks absolutely amazing!
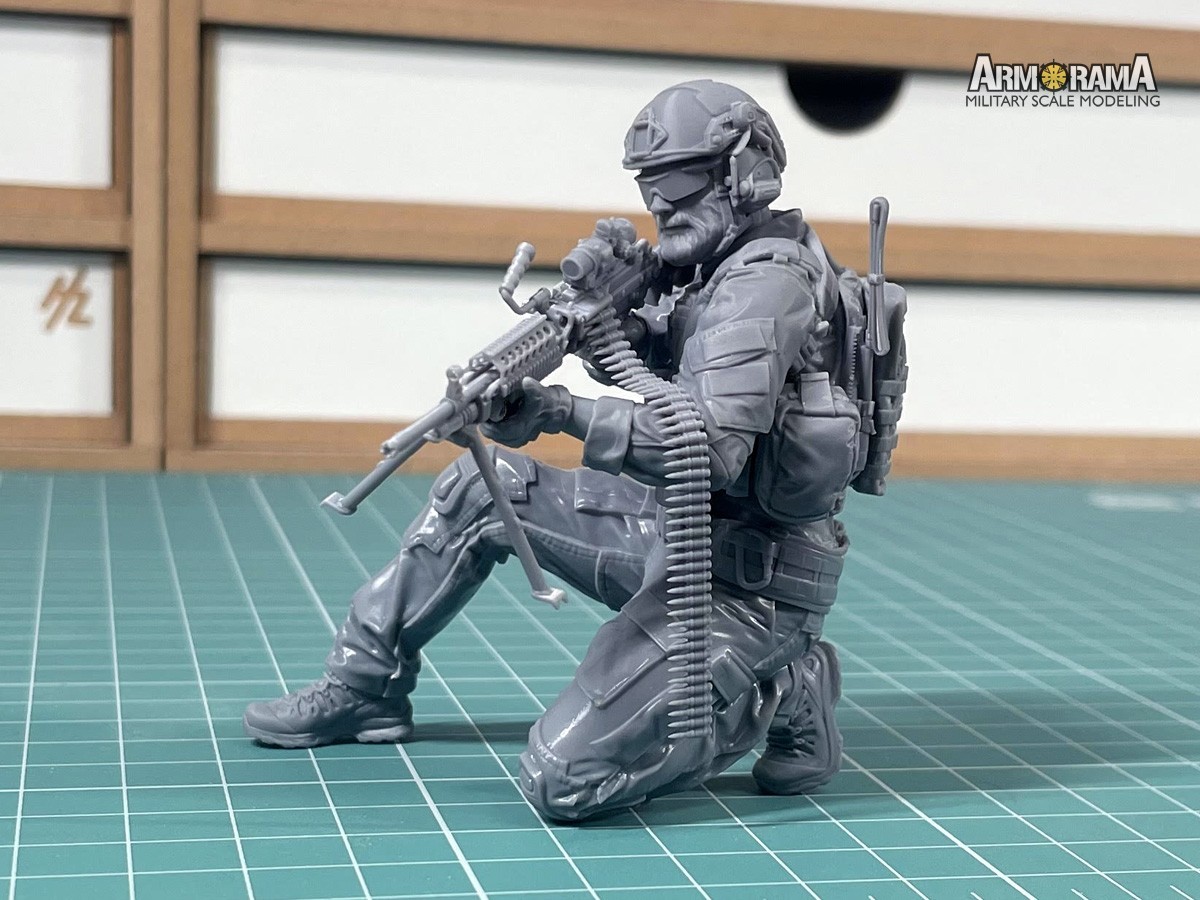
The figure is not easy to assemble. Main figure parts fit well, but require some dry fitting and putty work. I fixed the legs to the torso first, and then glued both arms to the torso. The equipment pieces are supplied separately and consist of various pouches, backpack, side arm, etc. I do wish there was a bigger selection of equipment, but these will have to do. Each piece was cleaned, fitted and fixed to the figure; I opted for the setup which closely resembles box art image. Now for the tricky part… fitting the hands to the weapon proved a bit difficult and only after finishing the figure I realized left hand could be fixed a bit differently, which would probably save me some problems later on. Fixing the right hand to the weapon requires cutting the pistol grip from the weapon off… this needs to be done very carefully, not to damage the trigger or the delicate trigger guard. Fitting the hands with the weapon to the arms was a real lesson in patience, as I had to trim the arms bit by bit to get everything perfectly positioned. The helmet also presented a problem, but after enlarging the indentation in the corresponding piece, I managed to fit it to the head. After fixing the head to the torso, I dry fitted the ammo belt to the figure, cut couple of links off for optimal alignment and secured it to the weapon.
The finished figure looks astonishing and all the hard work on cleaning and assembling the figure really paid off.
Conclusion:
This was my first 3D printed figure kit and I have to admit I’m still learning how to work with the material. The cleanup and assembly took a lot of time and were frustrating at some points, but the end result is absolutely worth it.
A big thanks to Live Resin for the review sample.

