

1⁄35Simca 5 Staff Car
2
Comments
The Kit
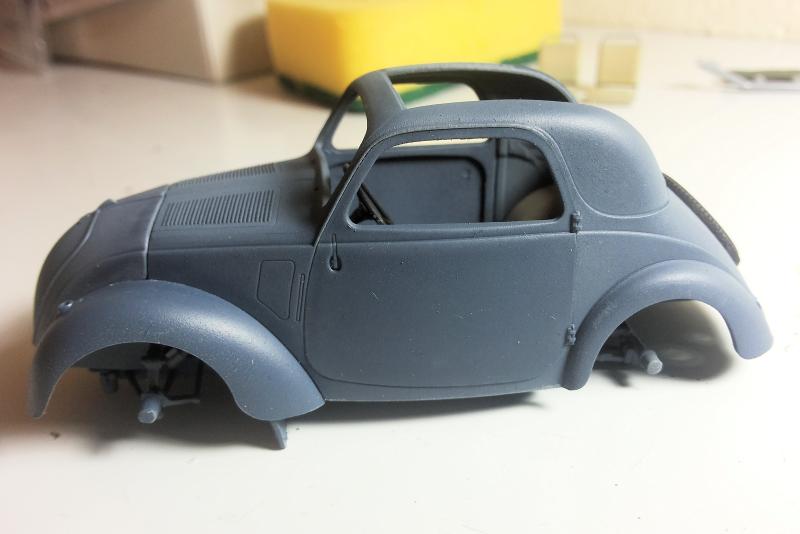
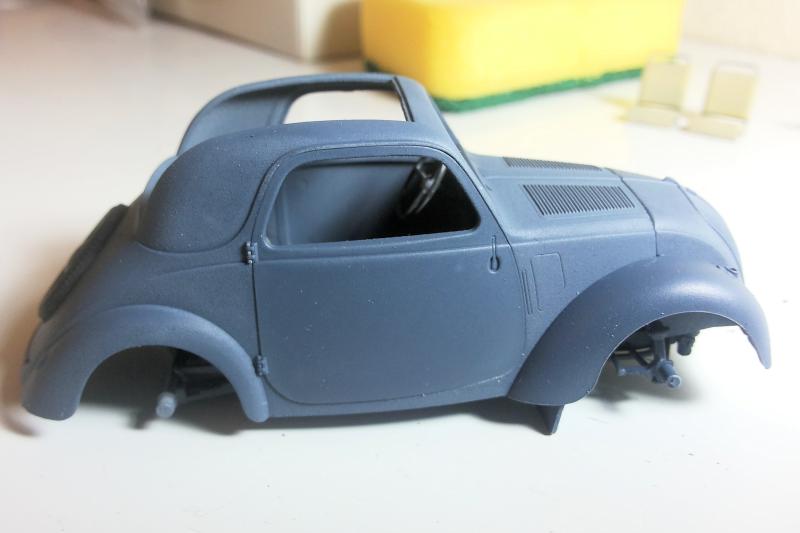
There are on the market a few kits for the Fiat Topolino / Simca 5 with multiple accessories, depicting both civilian and military models as well. I chose the Tamiya one for the price, but also because it is a newer release than Broncos and, I thought, hopefully better. You can find a build review of the DAK Bronco kit here. The Tamiya kit is less detailed, doesnt have any PE parts, and the interior finishing is rather spartan. The body shape is very well reproduced, as shown by the references to WWII pictures. The number of parts is minimal, the instructions straightforward and the fit is impeccable: no flash at all, just a few seam lines and ejection pins. Throughout the entire assembly, only two pin marks remain visible on the bottom plate. No filler was used and no trimming was needed.Chassis, engine, wheels
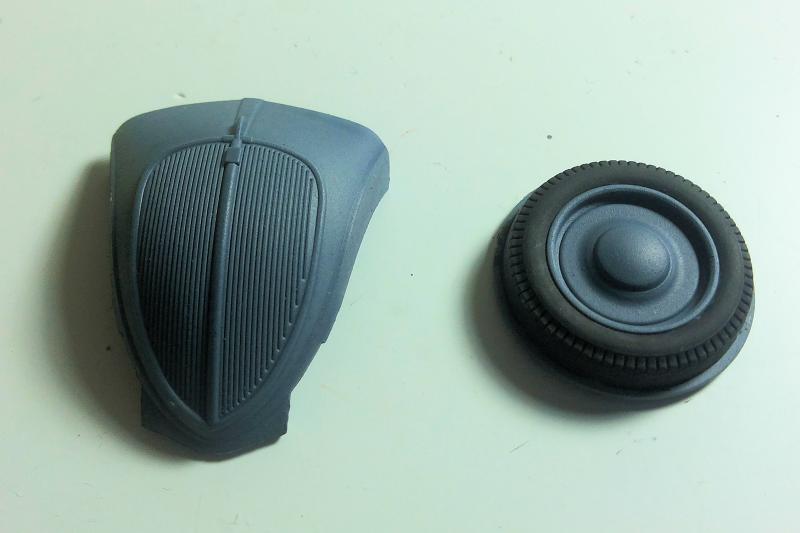
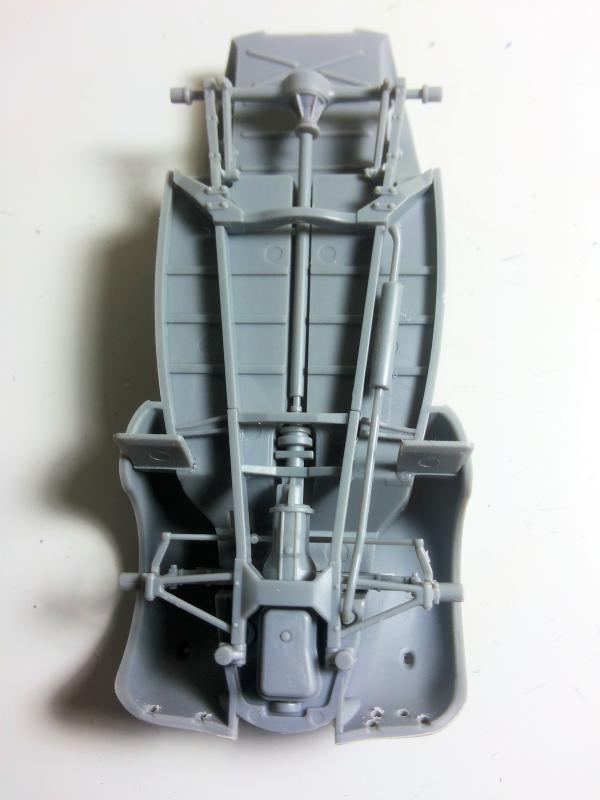
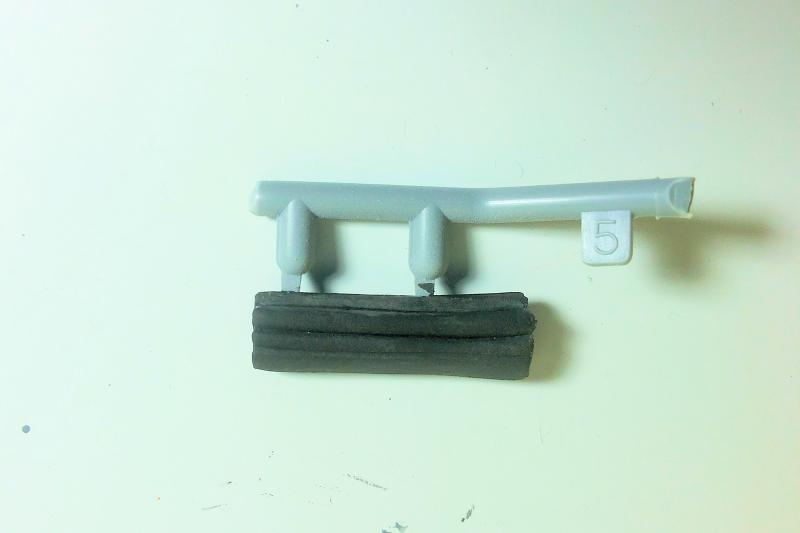
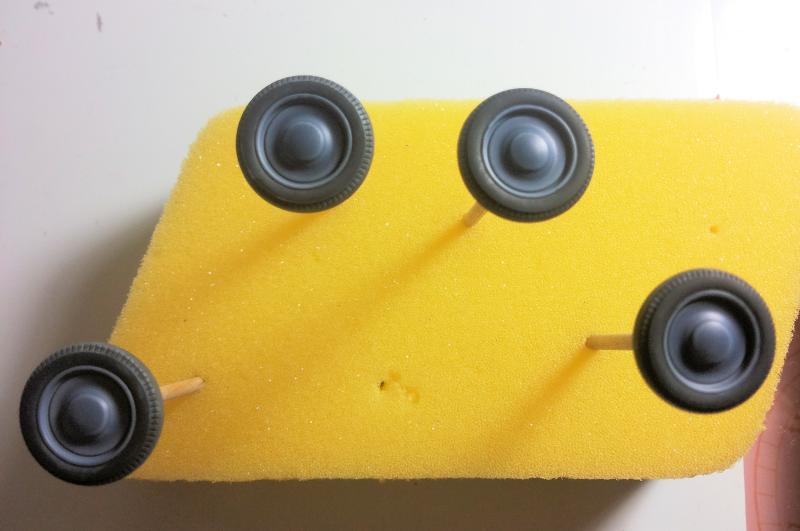
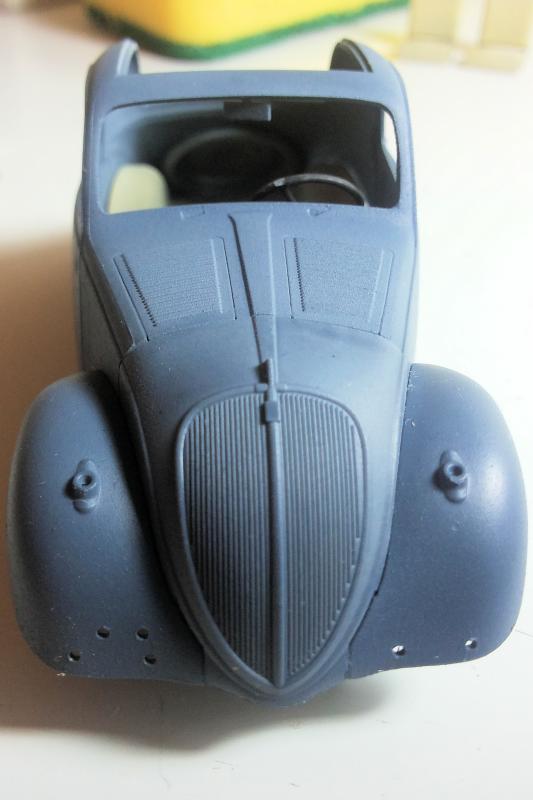
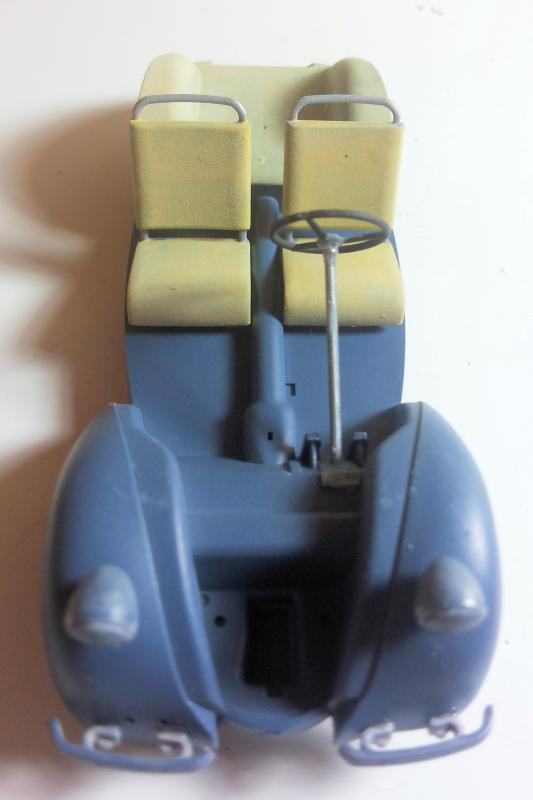
The engine is not fully reproduced, only the sump is molded together with front drive train. I was a little disappointed initially, but after the assembly I was rather content with this aspect. The finished article looks quite good, and there is no option to depict the engine hood open; from underneath, the car doesnt look like a sitter. Suspension, transmission shaft and gearbox are installed in a breeze; the same goes for the suspension and the steering arms as well as exhaust pipe and muffler. I decided not to detail the underside very much: after the primer and the main coat were applied, I did some weathering with chalks. I have read a few reviews claiming that the tread on the wheels is not detailed enough. There is some thread, but, indeed, its not very well contoured. After I primed the wheels with gray primer, I airbrushed the main color and painted the rubber with matt black; finally, I dry brushed with dark gray the treaded surface of the wheels to pick up some detail.Interior
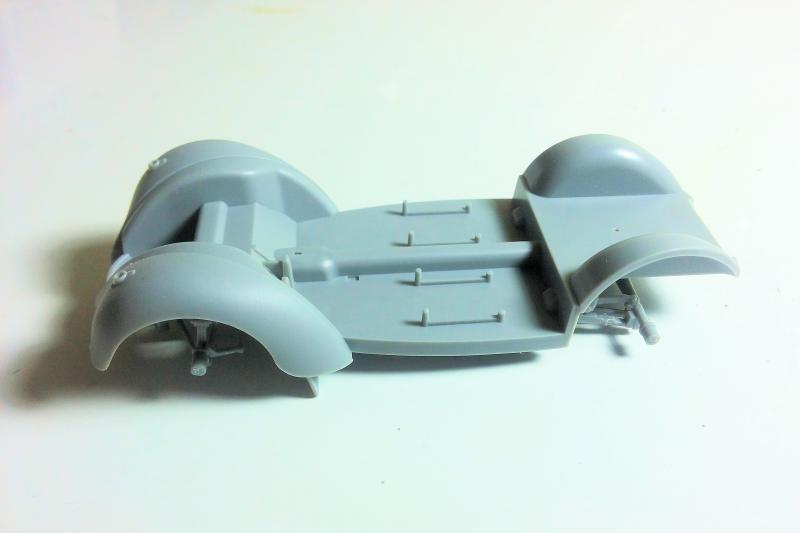
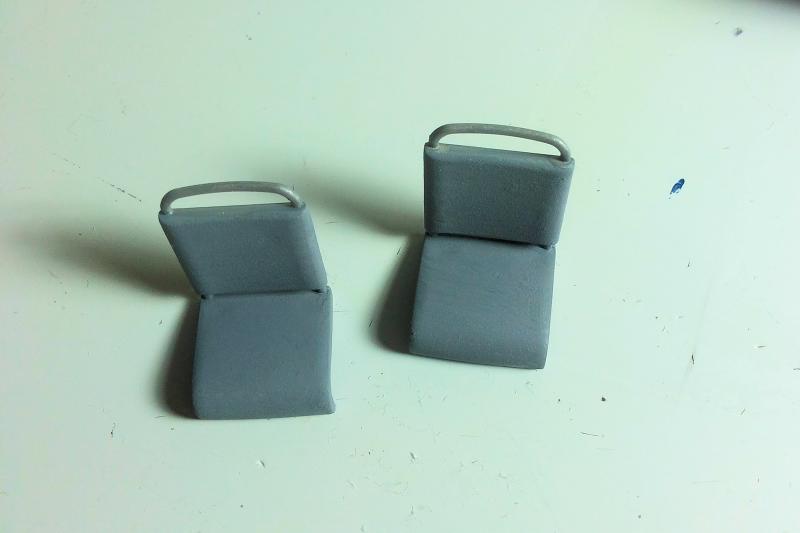
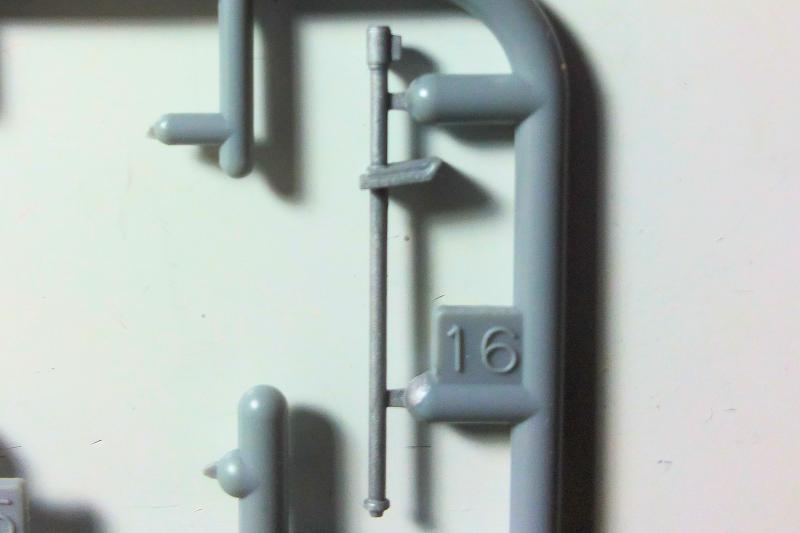
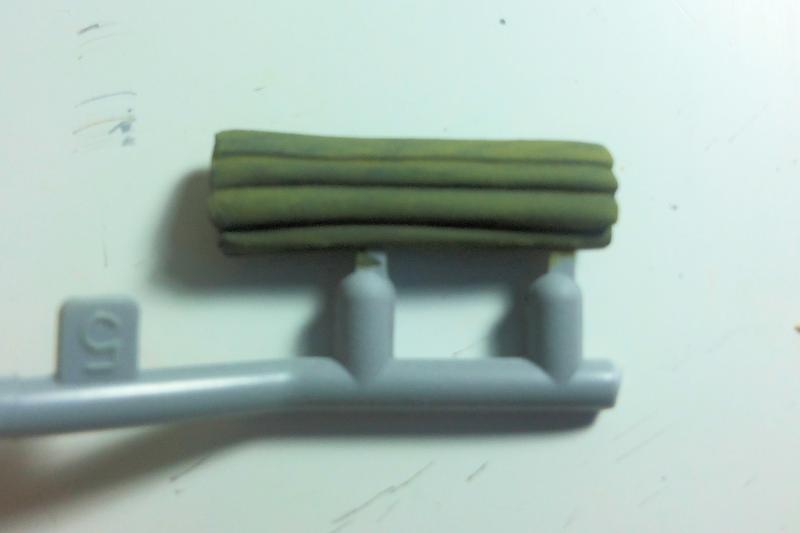
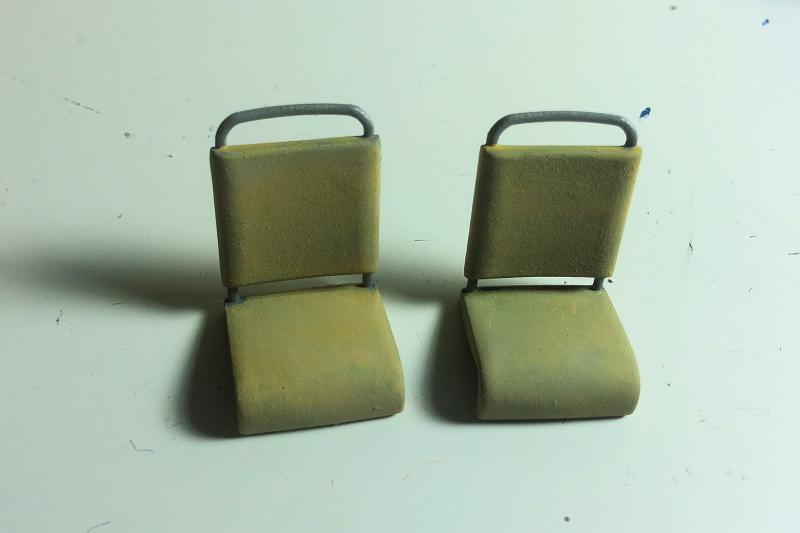
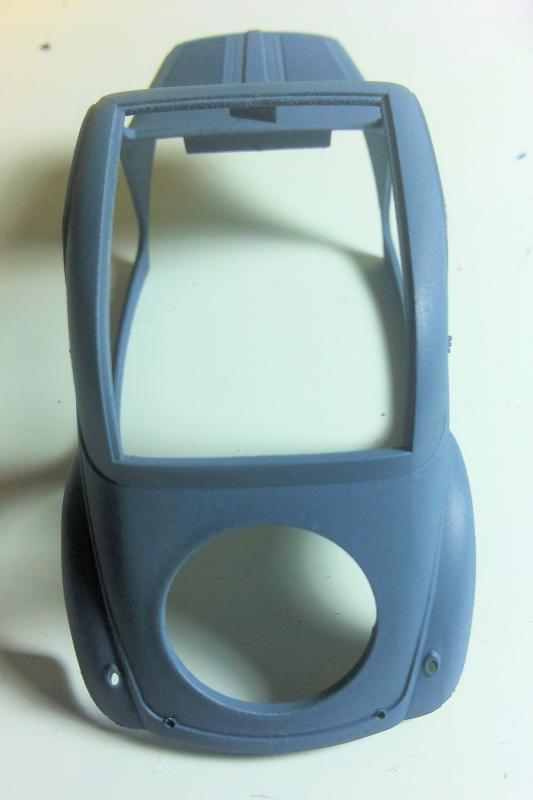
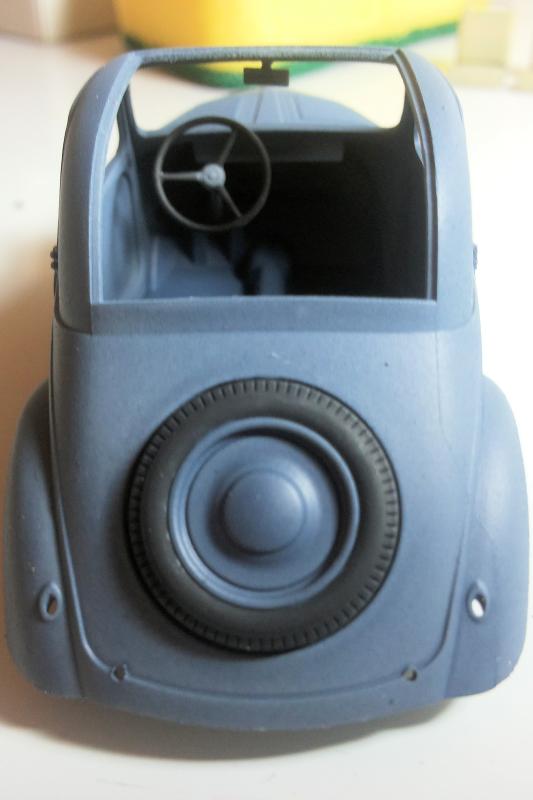
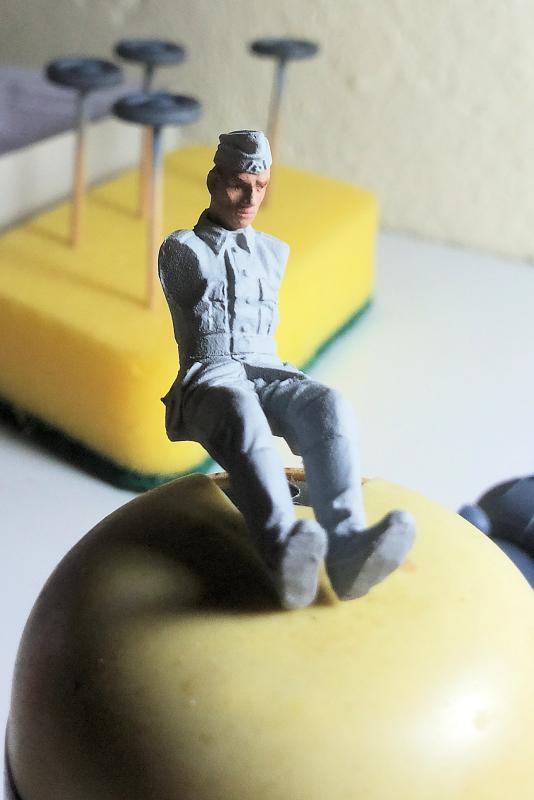
The bottom board doesnt carry too much detail and it is also easy to paint and assemble. It comes molded together with the front fenders. First it was primed with gray oil based primer, followed by gray and beige; panzergrau for the fenders and interior; the luggage area was airbrushed in beige. The steering wheel shaft and pedals, and other small details I painted on the sprue, then attached in place. The seats were primed then painted in beige, with metallic parts painted in steel color. The dashboard was also painted on the sprue, primed with steel color, and then detailed with off white, silver and black.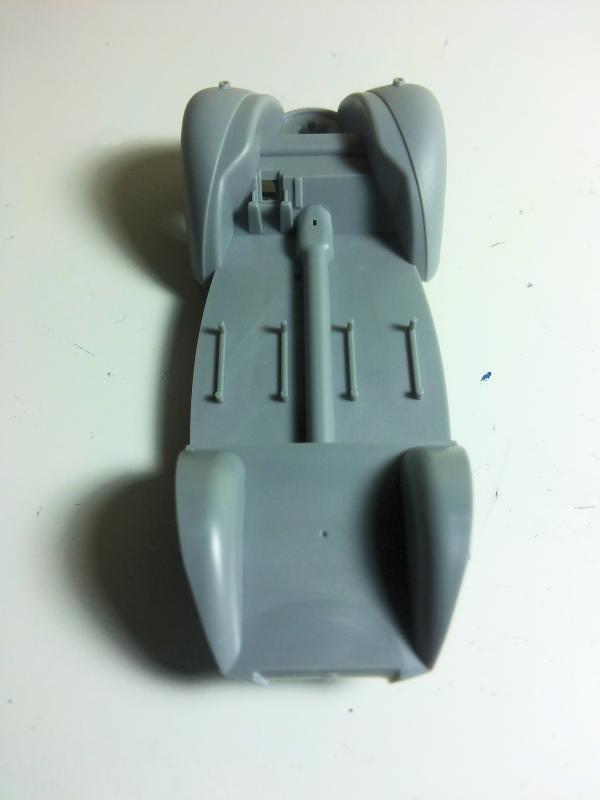


About the Author


FROM: NETHERLANDS ANTILLES
Born in Romania, from a German father. Classical studies, Latin teacher. Currently holding French residency, business owner in a Dutch island where currently spoken language is English. At home I speak Spanish, though. Interest in history and modelling: since babyhood, I grown with my father's stor...
Comments

Nice build. Inspires me to build one as it is a unique subject.
OCT 31, 2014 - 05:23 PM

Copyright ©2021 by Gabriel. Images and/or videos also by copyright holder unless otherwise noted. The views and opinions expressed herein are solely the views and opinions of the authors and/or contributors to this Web site and do not necessarily represent the views and/or opinions of Armorama, KitMaker Network, or Silver Star Enterrpises. All rights reserved. Originally published on: 2014-10-21 22:12:15. Unique Reads: 14101

WEB HOSTING BY


Copyright ©2021 Armorama and Kitmaker Network, a subsidiary of Silver Star Enterprises
All Rights Reserved. Please read our Conditions of Use and Privacy Policy.
All Rights Reserved. Please read our Conditions of Use and Privacy Policy.