

1⁄35Styrene Rod Weld Beads
Weld Beads
Weld beads figure quite prominently on tanks, so why dont kit manufacturers at least try to duplicate them? The most logical reason is molding limitations, so that leaves us modelers to recreate them ourselves. It is not the daunting task some may think it is either, with a little patience and attention to detail it can be a fairly quick and easy task.
Supplies
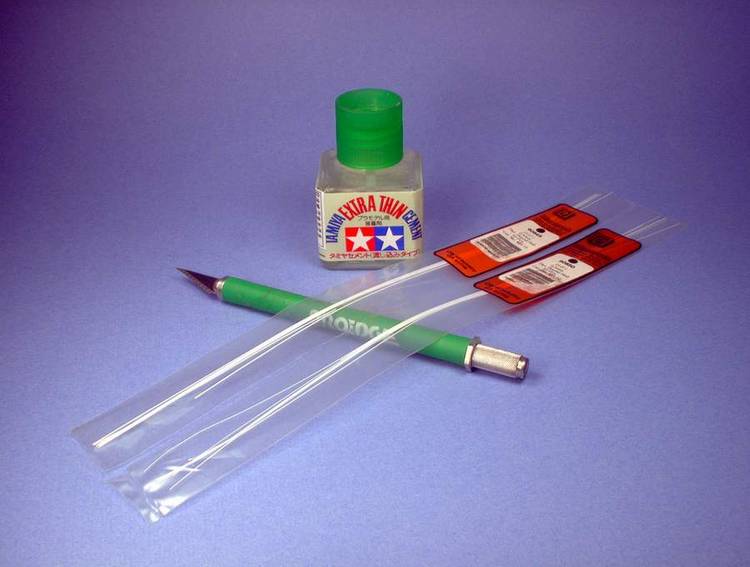
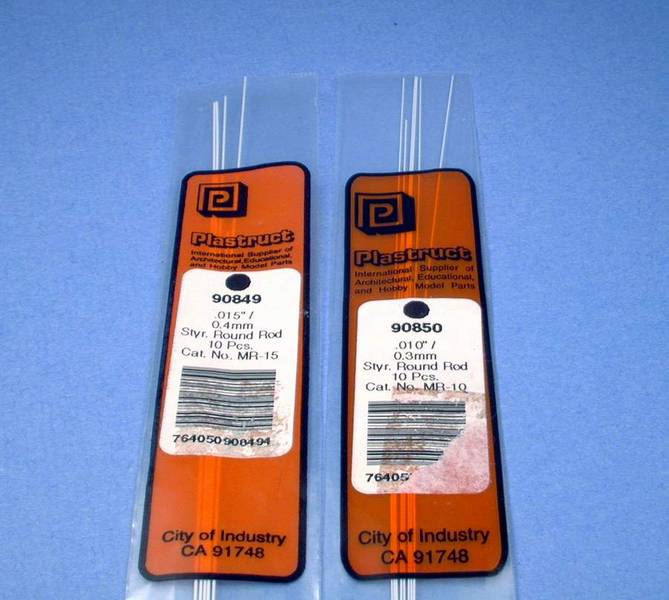
You do not need much to make styrene rod weld beads. I bet most of you have them already on your bench and if not they are readily available at any hobby shop. First you need Tamiya Extra Thin Cement. I have tried this with other types of liquid glue and it just doesnt work. Next you need an X-acto knife with two blades. You need a new sharp #11 blade and an old blade with the tip broken off. Now the most important part of the process, you need the rod. I use Plastruct and Evergreen styrene rod. You decide the size you need depending on the size of the welds. For my demonstration here I am using 0.10 or 0.3mm rod from Plastruct
Lets Weld!
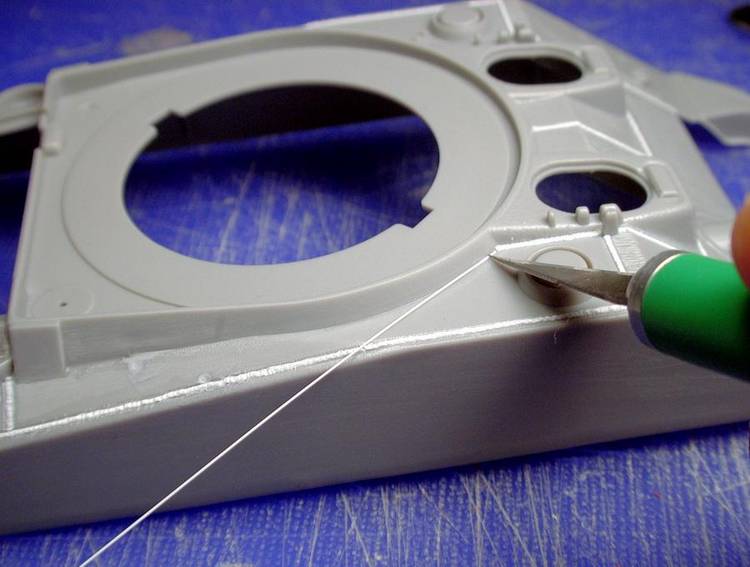
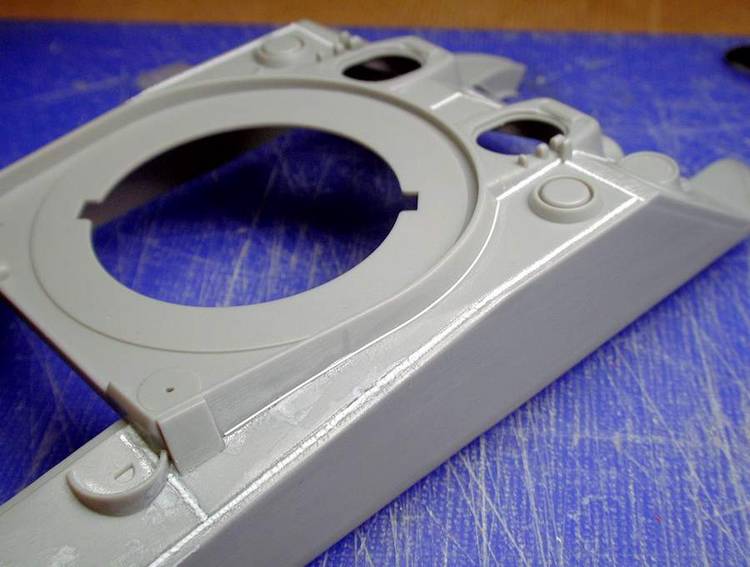
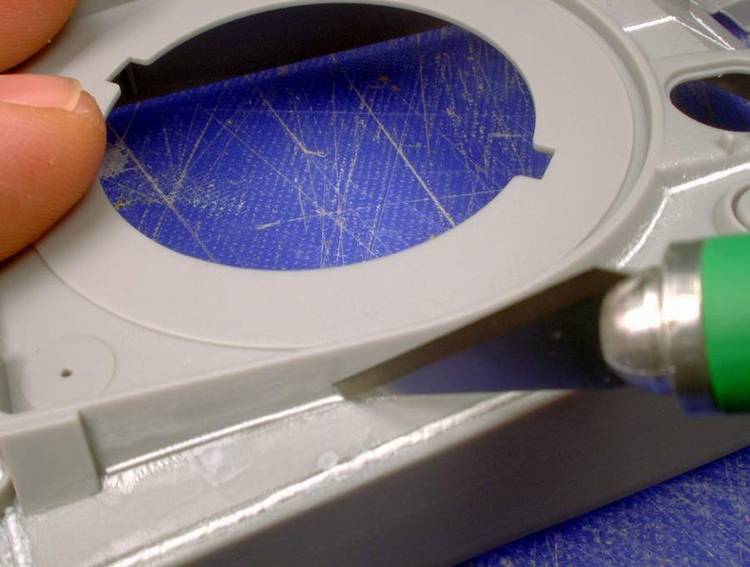
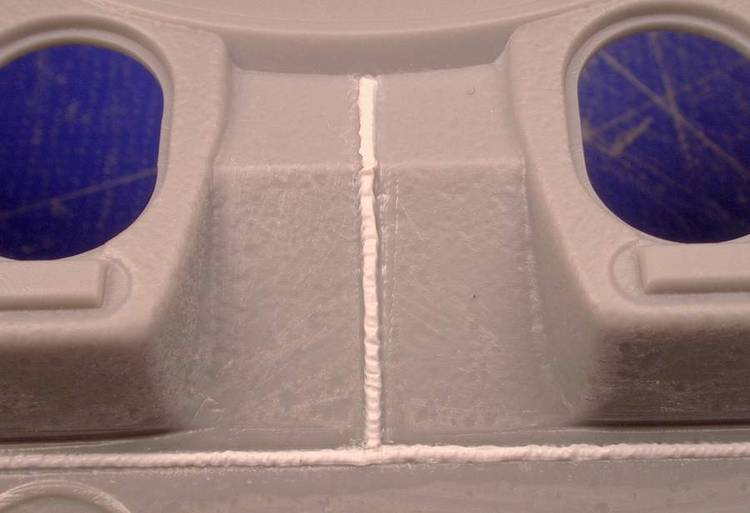
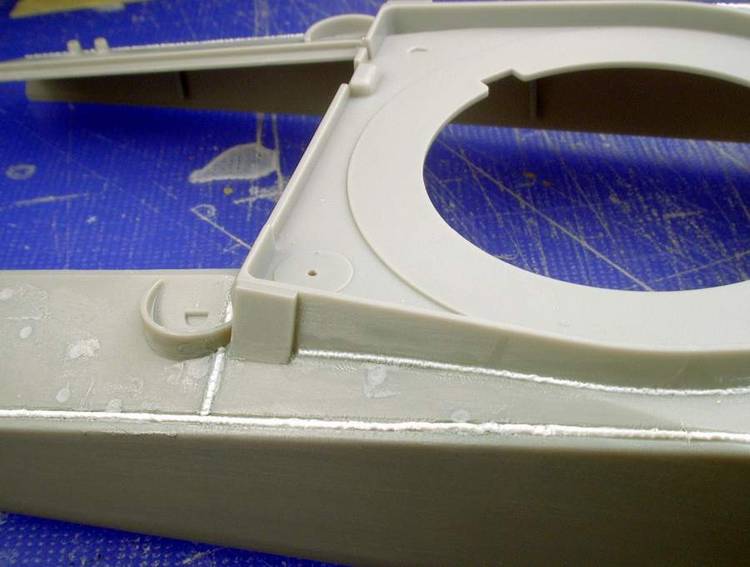
Starting out you need to cut your styrene rod just slightly longer than you need. Next run a bead of the Tamiya Extra Thin Cement along your weld line. Now place your styrene rod down on the cement and push it into place with the tip of your X-Acto knife. Once you are happy with the placement of the Styrene rod trim the excess off the end. Next, you need to run some of the Tamiya cement over the rod making sure to get the entire length coated. A word of caution at this point, DO NOT over soak your rod. You will be surprised how little cement you actually need. Once you are sure you have enough cement on the rod it is time to let it do its job. The cement will soften the rod so that you can imprint the weld bead. I usually leave it for about an hour so that any extra cement will have evaporated and the surrounding plastic has hardened. Start at one end with the tip of your old flattened blade and work your way down the line. Keep your knife blade a slight angle and with downward pressure jab the now soft styrene. Stop frequently and make sure you have not missed any spots along the way. That is all there is to it, it is a very simple yet highly effective method for producing welds in all sorts of places.
Who says plastic and resin dont mix?
I have used this technique on resin as well. Obviously you cant glue your styrene rod to the kit with plastic cement. I glue the rod down with CA glue and carry on as per normal. You can use this technique on metal (photoetched) surfaces as well, just be sure to use thin CA glue. If you miss a spot on the rod it may not adhere to the non plastic surface.
Safety First
Remember to work in a well ventilated room as you are using more glue than you would for normal building applications. Eye protection is also a must. But most importantly have fun!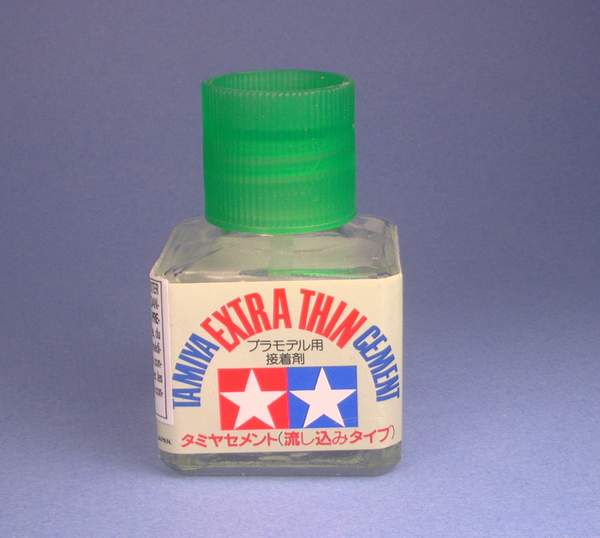


About the Author


FROM: ONTARIO, CANADA
I have been modelling on and off for most of my life really. I took a rather long break while I was in the Army and re discovered the hobby when I went back to University. My main area of interest is Canadian Armour of the Second world War. I have a real love of the Sherman tank especially the Fire...
Copyright ©2021 by Bryan Gray. Images and/or videos also by copyright holder unless otherwise noted. The views and opinions expressed herein are solely the views and opinions of the authors and/or contributors to this Web site and do not necessarily represent the views and/or opinions of Armorama, KitMaker Network, or Silver Star Enterrpises. All rights reserved. Originally published on: 2005-01-13 00:00:00. Unique Reads: 15970

WEB HOSTING BY


Copyright ©2021 Armorama and Kitmaker Network, a subsidiary of Silver Star Enterprises
All Rights Reserved. Please read our Conditions of Use and Privacy Policy.
All Rights Reserved. Please read our Conditions of Use and Privacy Policy.