

1⁄35M4A1 75mm Large-Hatch Sherman
History
The M4A1 75mm large hatch is a rare Sherman. It is thought that only a few were built. The majority of those were turned in to Duplex drive tanks for the D-day landings of 6th June 1944.My vehicle is not based on any specific one tank. But is going to be a M4A1 75mm large hatch Sherman just after the Normandy landings.
Kits used
- Italeris Marine Sherman # 6389 for turret and appliqué armour
- Italeris M4A1 76mm Sherman #225 everything else
The build
The turret is from the Italeri marines Sherman. There are not many modifications that need to be done.The main one adding cheek armour to the left side of the turret next to the gun (I did not do this as it would have meant messing with the turret ring and I didnt want to do that or you could just say I was lazy).
The TC cupola is a late one with vision blocks so you may want to change this to an early one with out.
Also you may want to swap the .50 Cal machine gun, as the Italeri detail isnt the best.
The hull
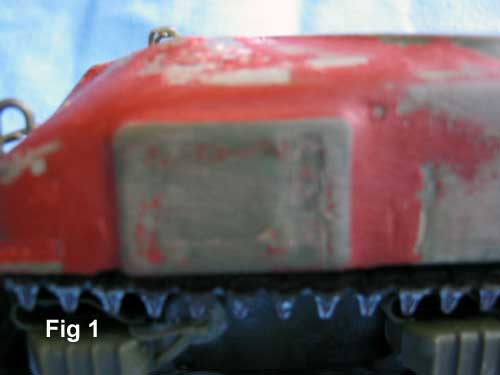
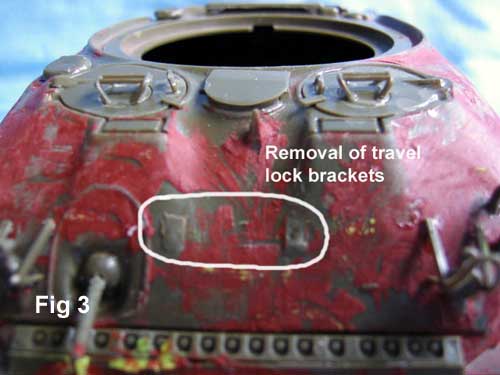
Now this is where it starts getting fun. I started off with the easy bits adding the cast appliqué armour. I used the appliqué armour supplied in the marine Shermans kit. Using photos for reference I glued them on making sure they lined up straight with the bottom of the upper hull. To get the cast appearance I used standard auto filler smoothed around the edges of the armour plates to get a nice transition.Next up was the rear deck. First up after a few mistakes I got it right. You have to move the sledge hammer next to the idler wrench. Sherman remove the oil cap on the engine door. Up front again. Also you have to remove the travel lock. (fig 3)
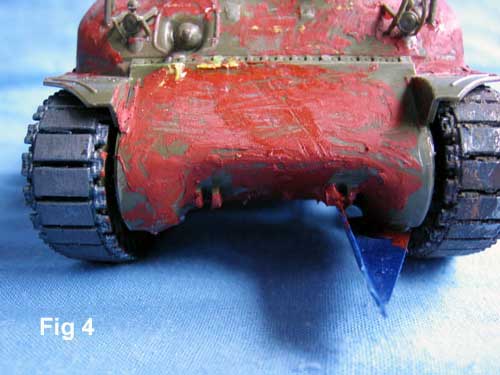
An overall thing for the hull is adding cast texture. To do this I used the auto filler again spread over then sanded down (US cast hulls had little dips rather than ridges like the Russian cast hulls and turrets). Just remember to keep the texture off the air intake cover and engine cover because both of these are rolled steel. Also on the front hull I added a Cullin hedgerow device. That ends part one. In part two I will talk about the stowage, painting and weathering of this vehicle.

About the Author


FROM: WELLINGTON, NEW ZEALAND
I first started modelling when I was about 6 only did a couple of models. But got back into it seriously when I was 13 and starting high school (not the coolest thing for a high school kid to do) and begun with Airfix's line of 1/72nd models both planes and vehicles. I have now moved on to 1/35th AF...


All Rights Reserved. Please read our Conditions of Use and Privacy Policy.