

1⁄35Basic Window Construction
4
Comments
Introduction:
While constructing "Deception: Operation Titanic" a good number of doors and windows were necessary. The use of photographs of turn of the century buildings provided the designs, however, the limited availability of pre-made windows and doors in the sizes and styles that I wanted created the need to scratch-build them individually for the buildings. As with nearly every aspect of modeling, techniques that individuals employ during construction vary as the individuals themselves, this is just one more technique, but it is effective for producing a number of windows and doors quickly and consistently.Tools:
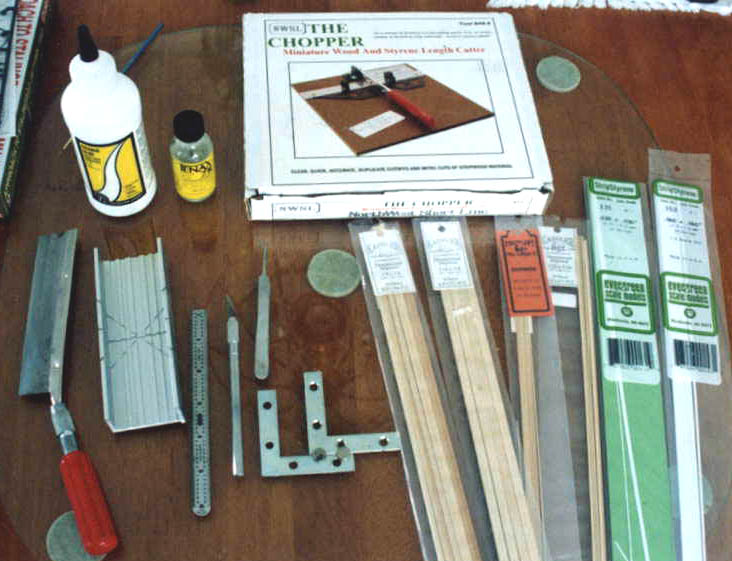
(Picture 1) Razor saw and mini-miter boxThe usual assortment of cutting tools, i.e. X-Acto type knife
Six-inch metal ruler in 1/64 increments (Extremely helpful)
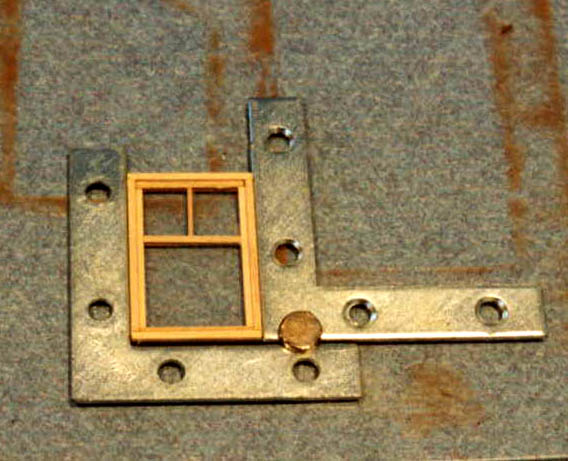
Two "L" brackets 2 or 3 inch
Small magnet
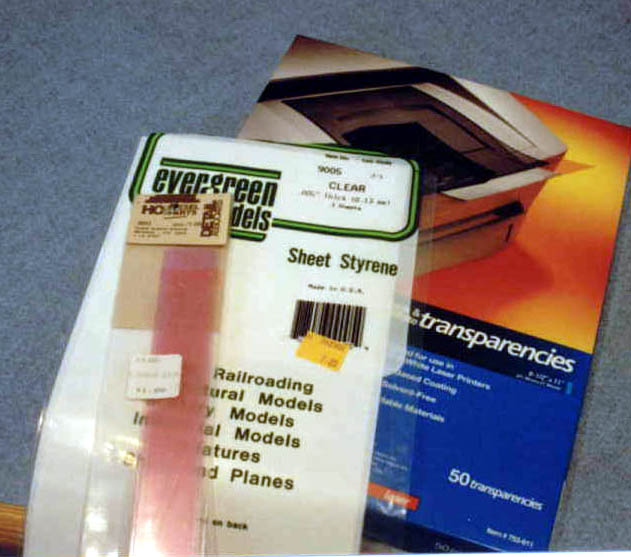
8 X 10-inch piece of glass (pillaged from an old picture frame)
Optional: NWSL "The Chopper" Miniature Wood and Styrene Length Cutter Materials: Basic strip styrene and basswood in the following sizes:
- 1/16 X 1/8 (.060 x .125)
- 1/16 X 1/32 (.060 X .030)
- 1/32 X 1/32 (.030)
Getting Started:
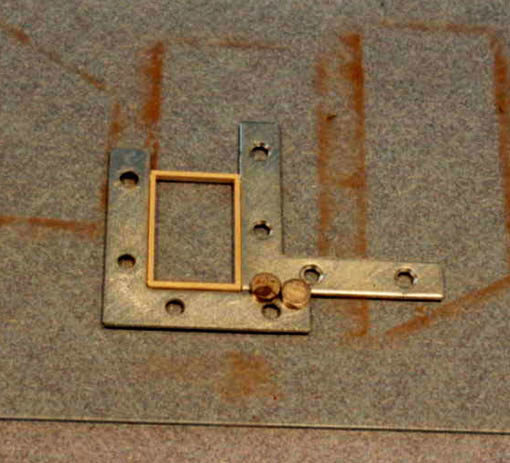
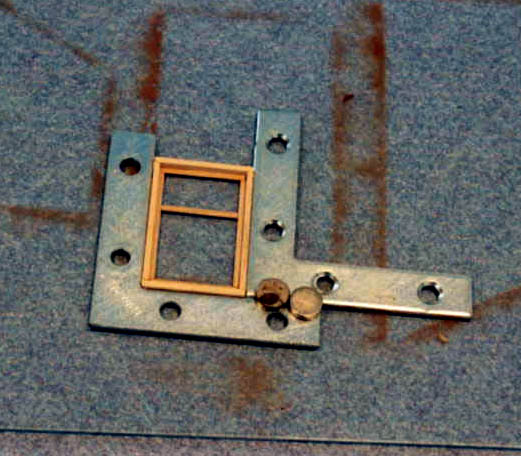
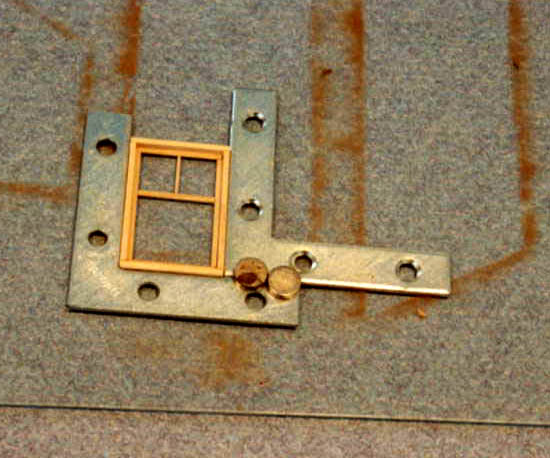
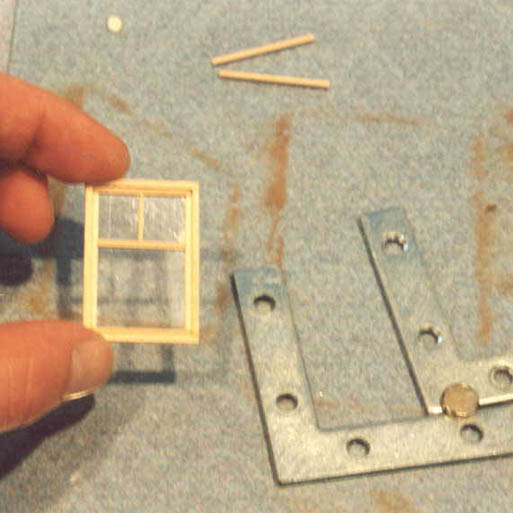
Start with the window casing by cutting four (4) strips of 1/16 x 1/8 stock, two (2) 1 1/2-inches long, and two (2) 1-inch long. Set the angle brackets 1 inch apart and secure them with a magnet. This becomes a guide to keep the window frame square. Apply glue to the ends of the 11/2-inch lengths and insert into the angle guide creating a frame. The reveal of the casing is 1/16 and the depth is 1/18. (Picture 2) Now cut ten (10) strips of 1/16 X 1/32.- Four (4) 7/8-inch long
- Four (4) 1 1/4-inches
- Two (2) 3/4-inches long
About the Author


FROM: WASHINGTON, UNITED STATES
I started modeling when I was nine, inspired by some of the car kits that my father had constructed, a metal kit of a 1930s Packard and an old three-in-one kit of a 1930 Ford. From that point on I have built everything from cars, planes, and armor. In 1994, I started modeling almost exclusively arm...
Comments


A few days ago I've just finished the two story building of my new dio, where I had some windows. You're a little bit late with this excellent article, you could help me enormously at this dio. But for the next one thanks a lot
NOV 08, 2004 - 04:10 AM

Copyright ©2021 by Jay Asrouch. Images and/or videos also by copyright holder unless otherwise noted. The views and opinions expressed herein are solely the views and opinions of the authors and/or contributors to this Web site and do not necessarily represent the views and/or opinions of Armorama, KitMaker Network, or Silver Star Enterrpises. All rights reserved. Originally published on: 2004-11-07 00:00:00. Unique Reads: 17331

WEB HOSTING BY


Copyright ©2021 Armorama and Kitmaker Network, a subsidiary of Silver Star Enterprises
All Rights Reserved. Please read our Conditions of Use and Privacy Policy.
All Rights Reserved. Please read our Conditions of Use and Privacy Policy.