introduction
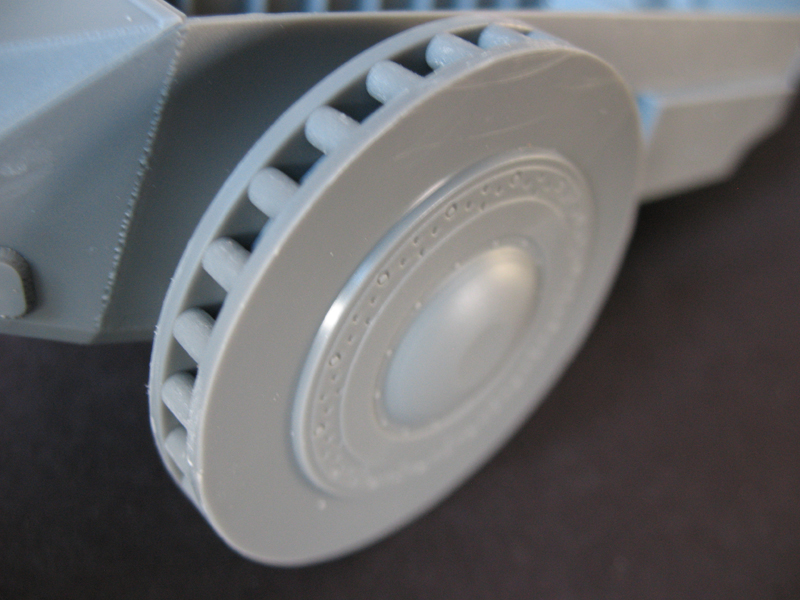
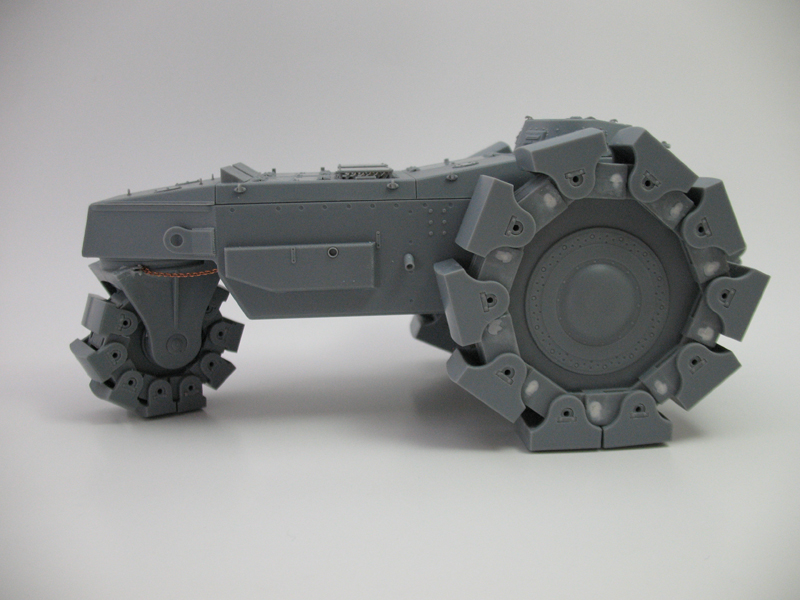
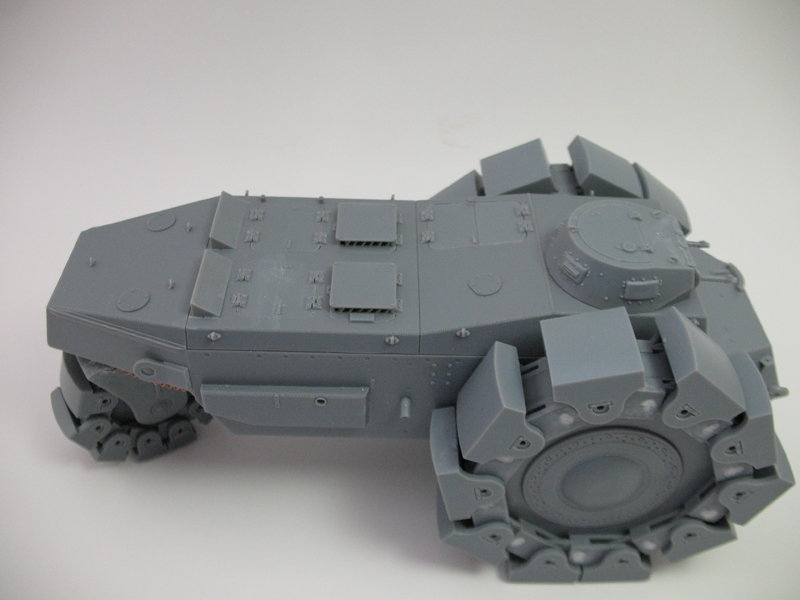
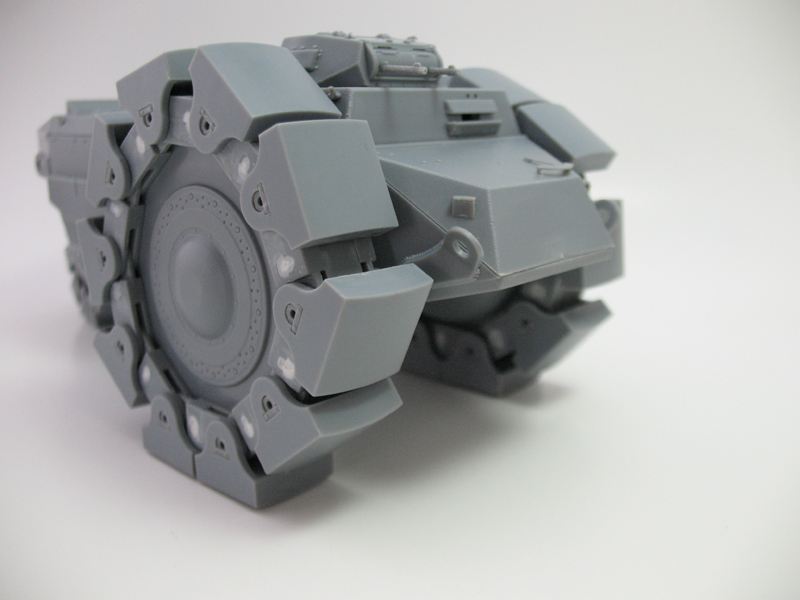
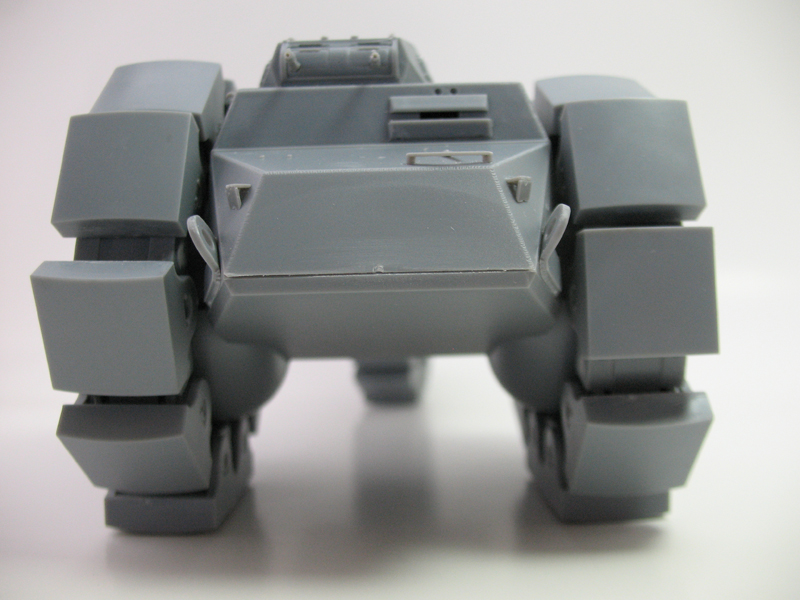
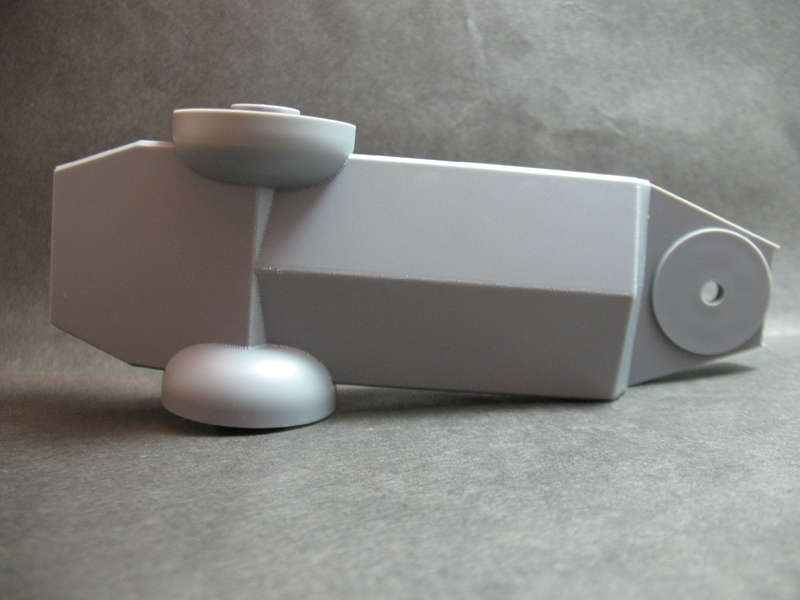
The history of the Minenräumer is still a bit clouded, although a few items have surfaced to give us a better idea of this futuristic looking monster. This was a joint effort by Krupp, Daimler-Benz and Alkett, with Alkett handling the final assembly. Identification tags date at least some components back to the second half of 1941. Obvious salvaged or scavenged parts used are the Pz. I turret and sections of the upper hull as evidenced by the location of the vision port that looks out at the left front wheel.
Deemed a poor design after construction of the prototype, it's doubtful that the Minenräumer ever saw active service past the testing trials. In 1947, the Minenräumer was delivered to Kubinka to undergo examination and trials, although due to damage from transport, or other means, it was found unfit for full testing. It now resides at the Kubinka Museum.
One of the new kids on the block for injection molded kits,
Meng Models has made a pretty good debut with their first two Pick-ups. This one follows hot on the heels of those two and is another that I didn't expect to see in 1/35 styrene.
contents
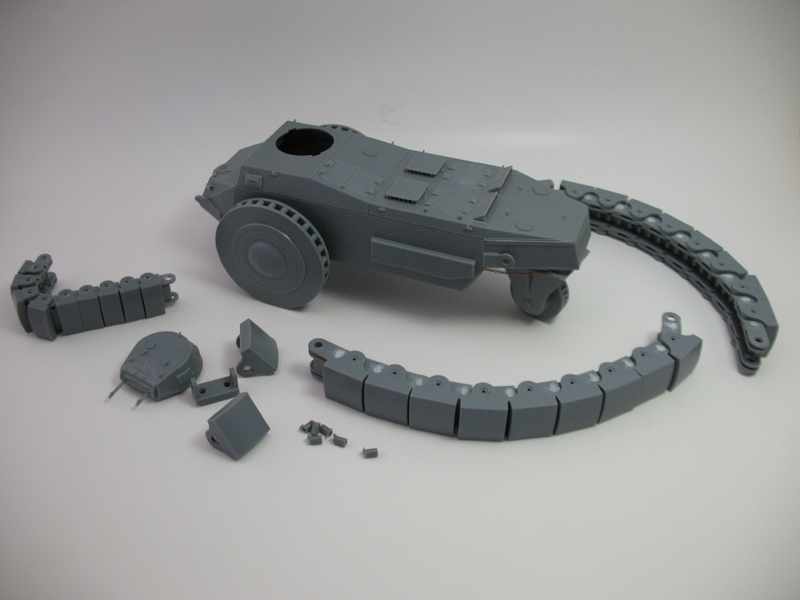
Packed neatly in a stylish slip-top box are:
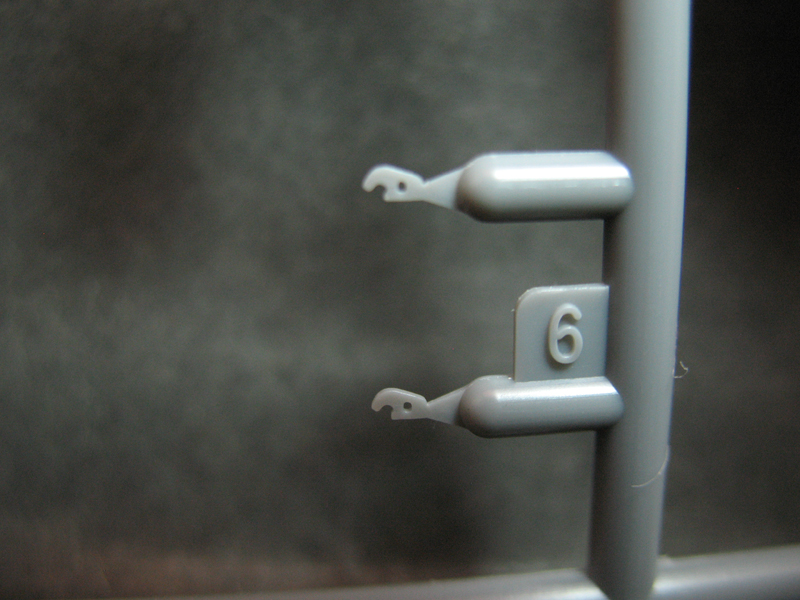
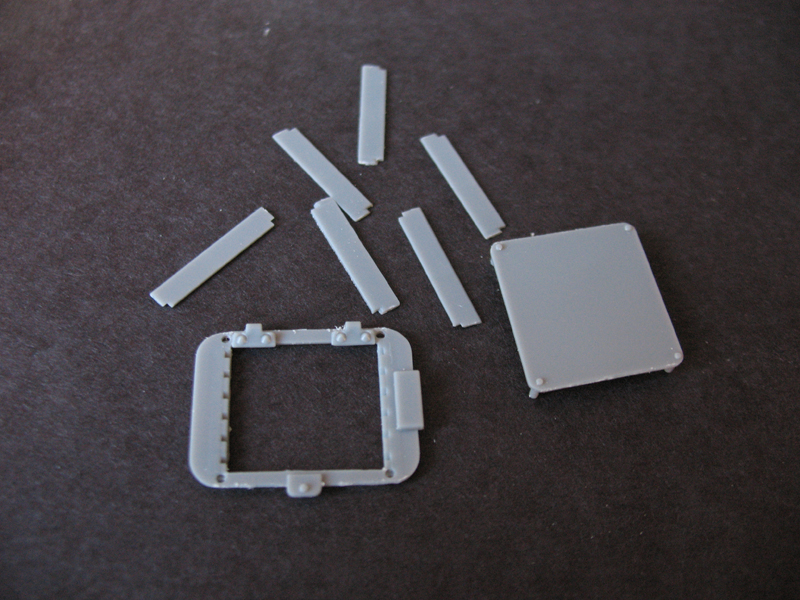
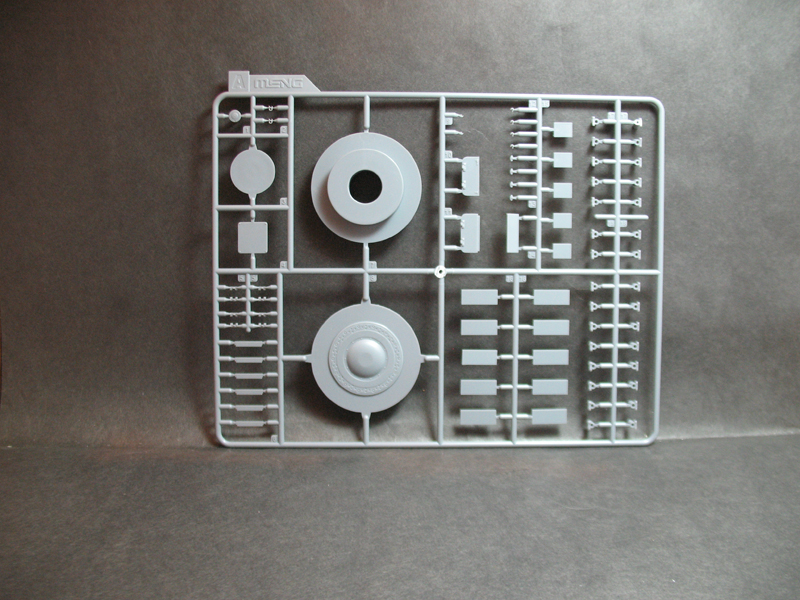
3 sprues, 2 of which are identical
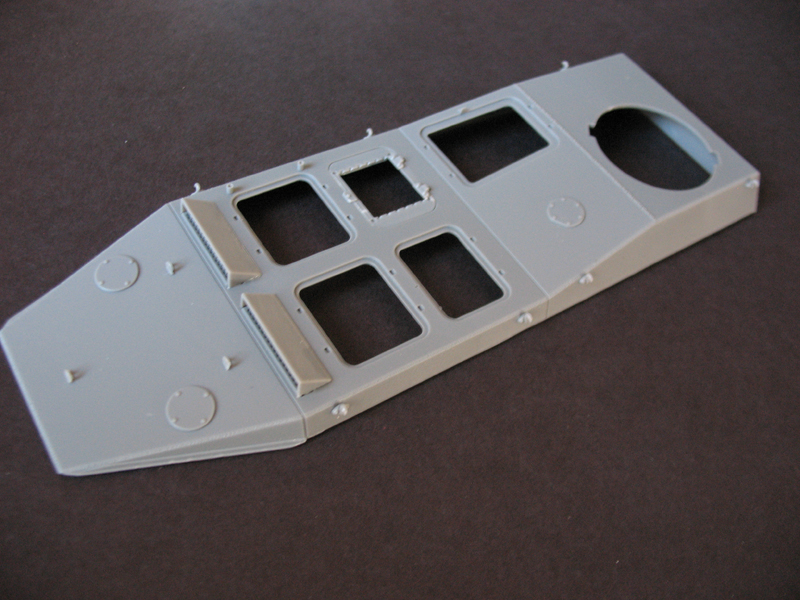
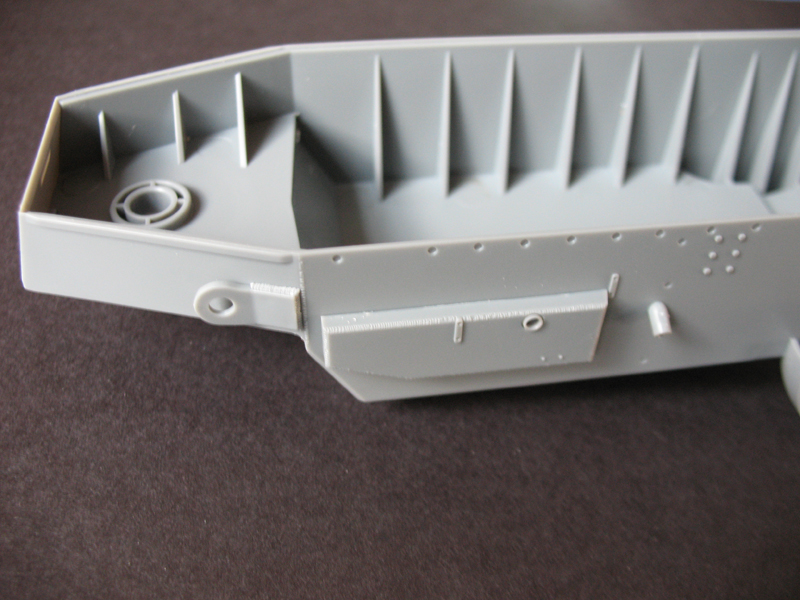
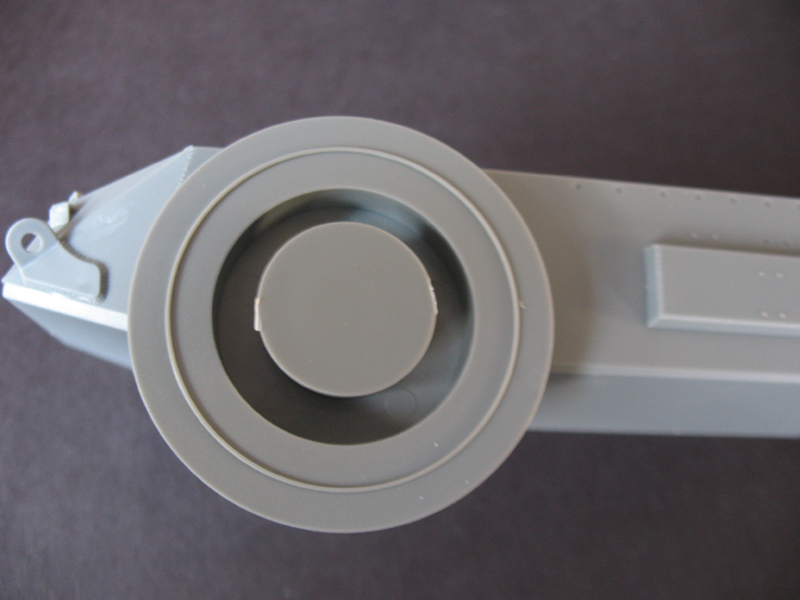
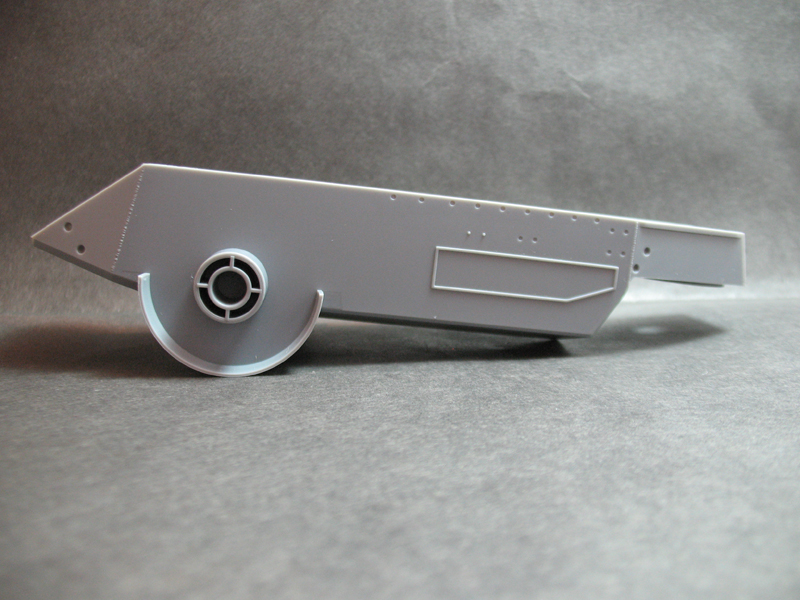
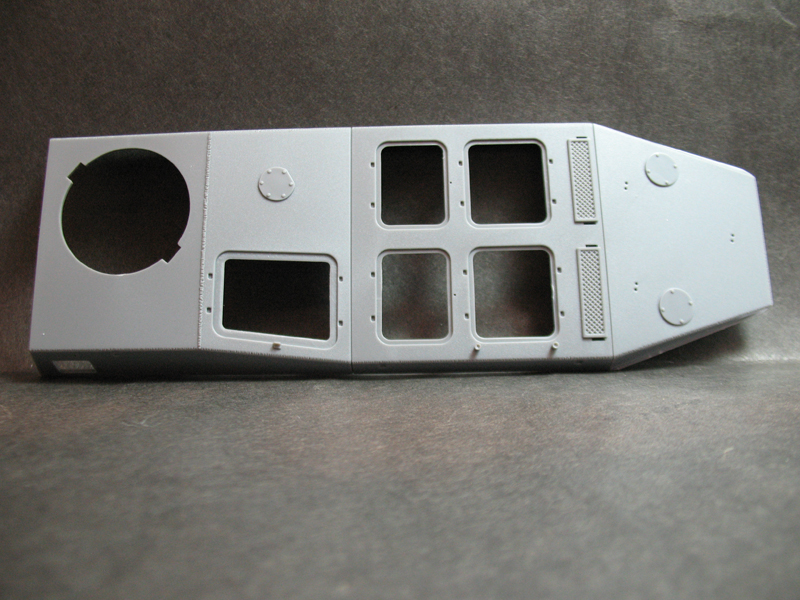
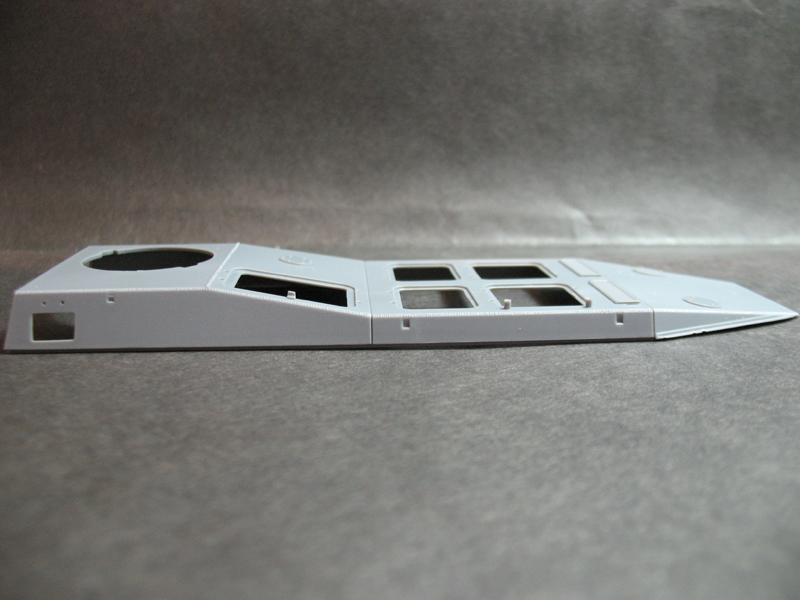
Upper hull
Lower hull
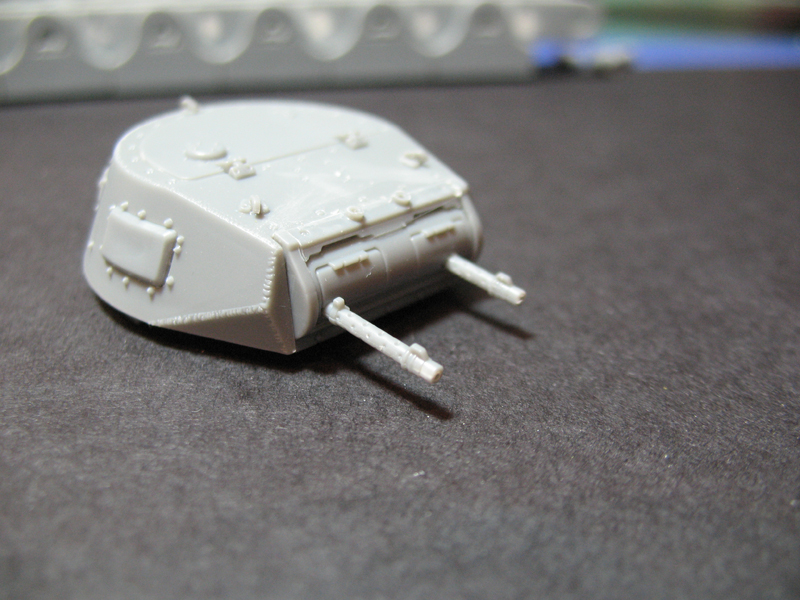
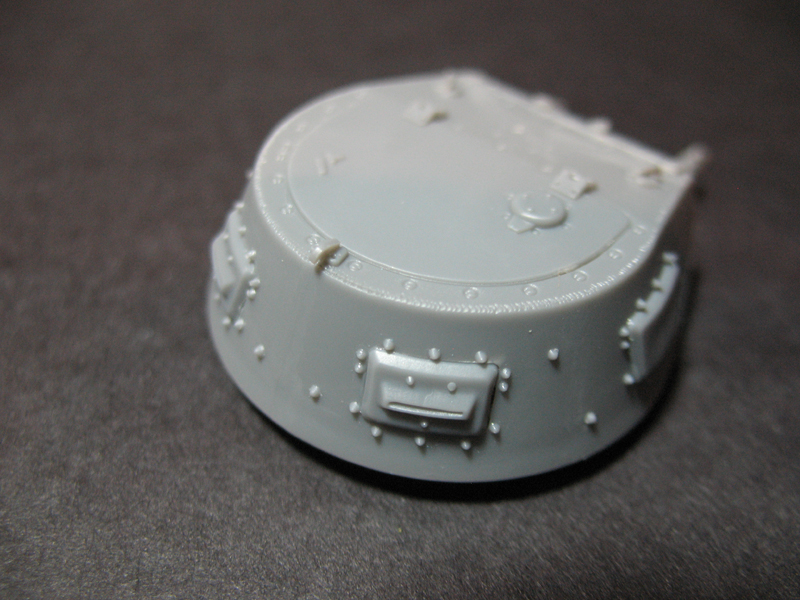
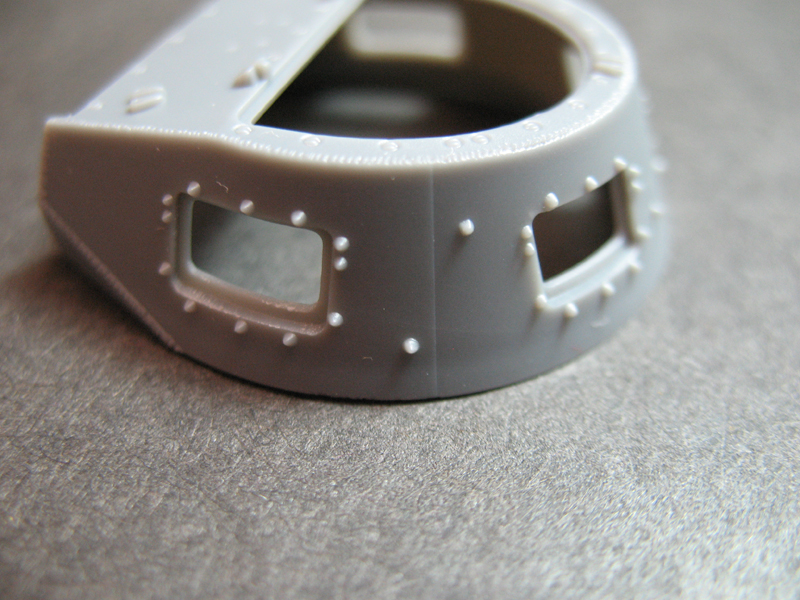
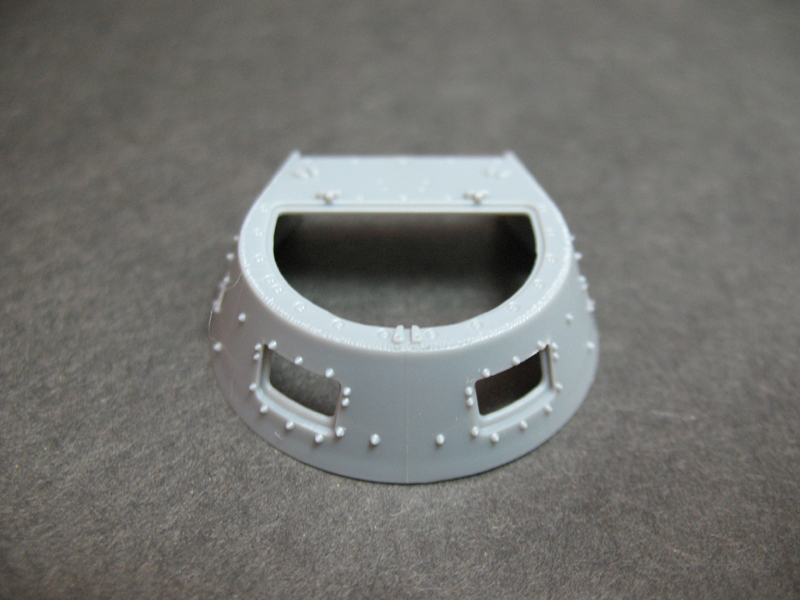
Turret
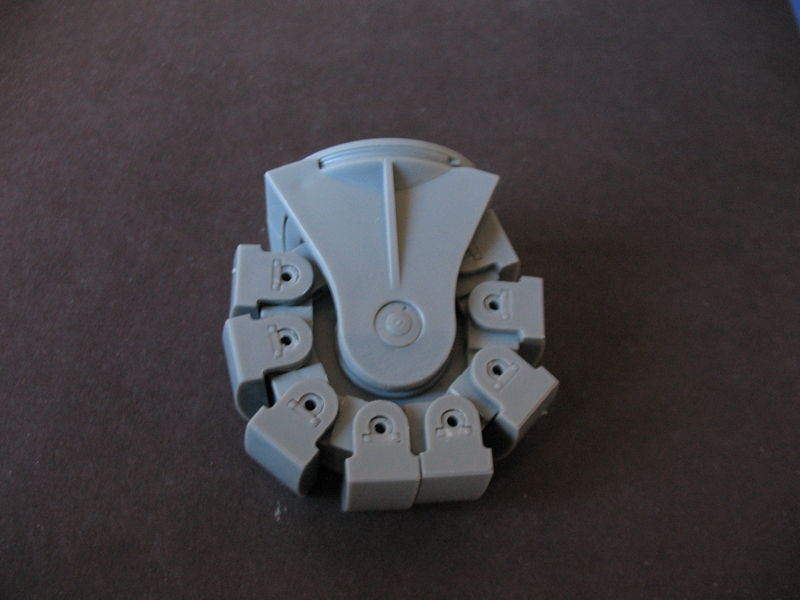
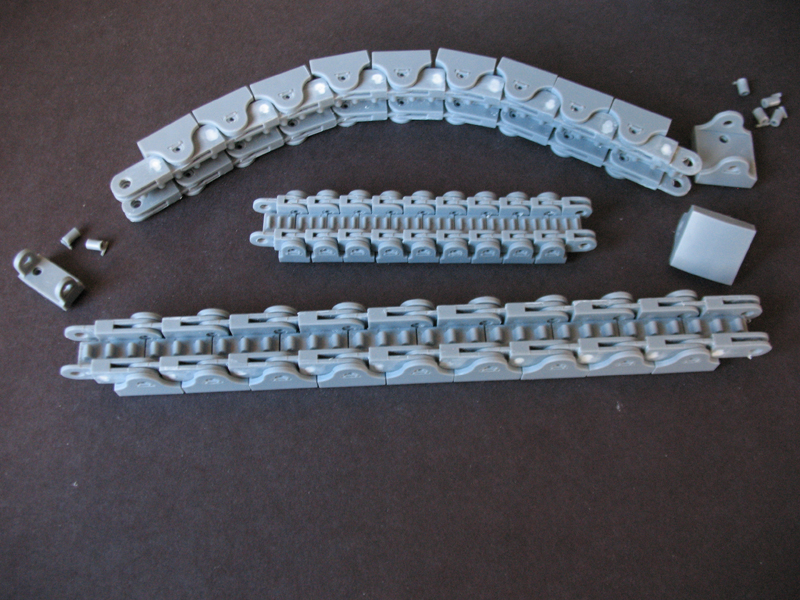
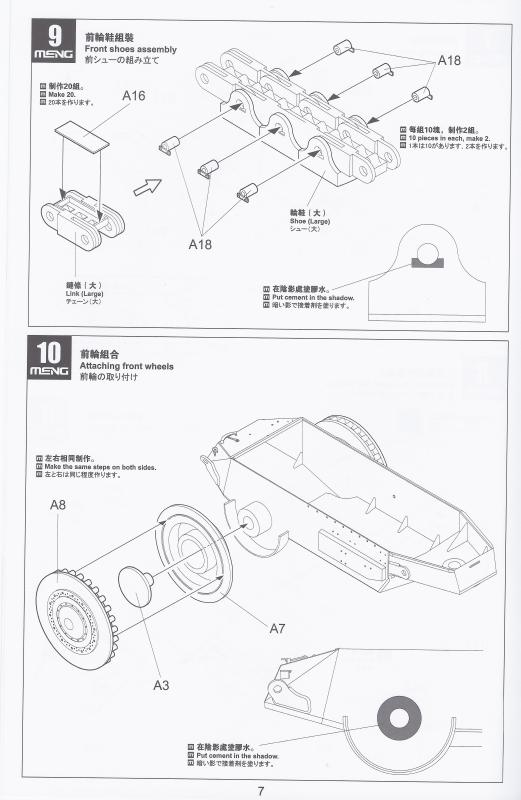
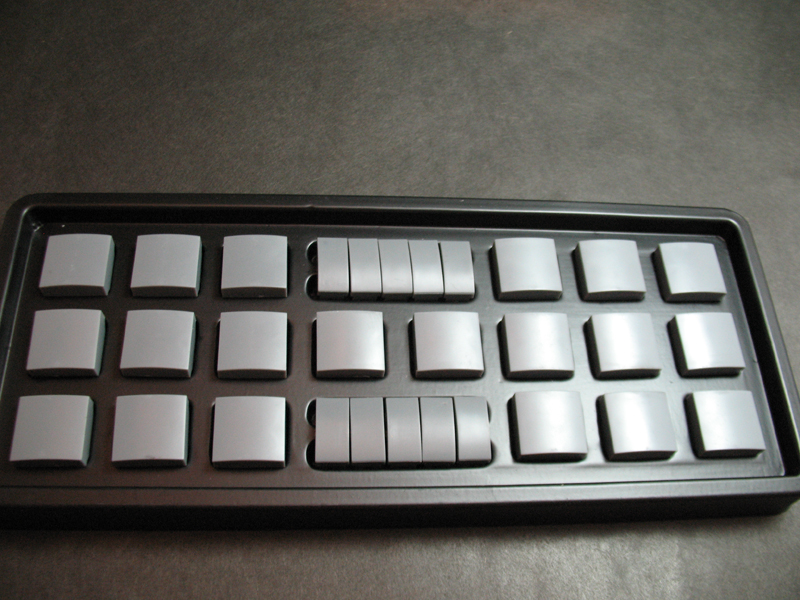
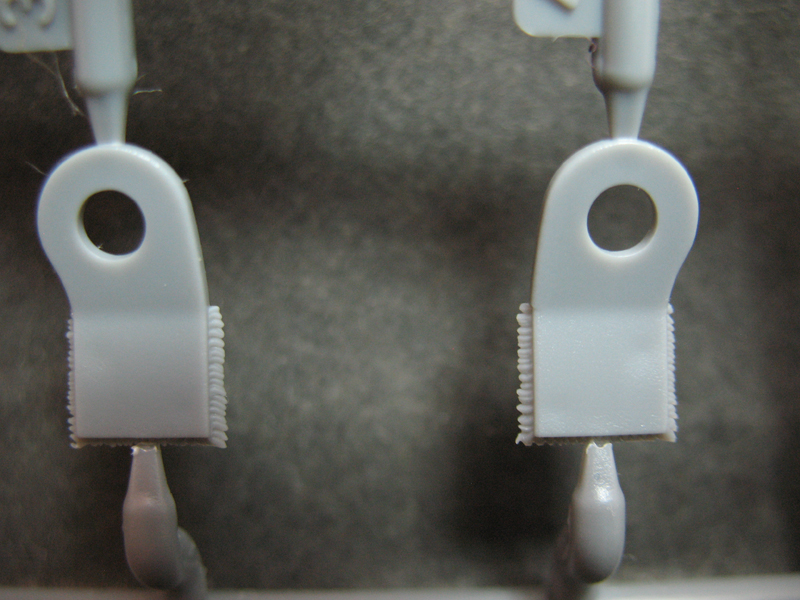
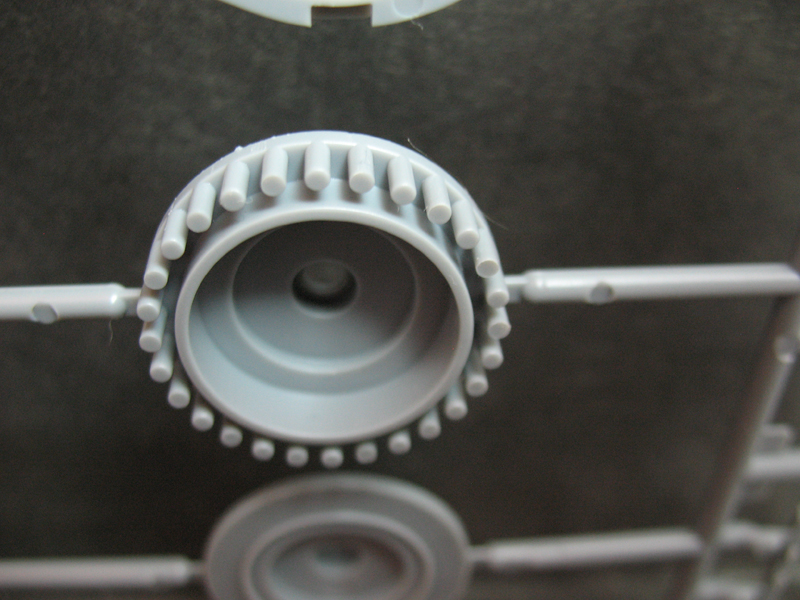
20 Large links
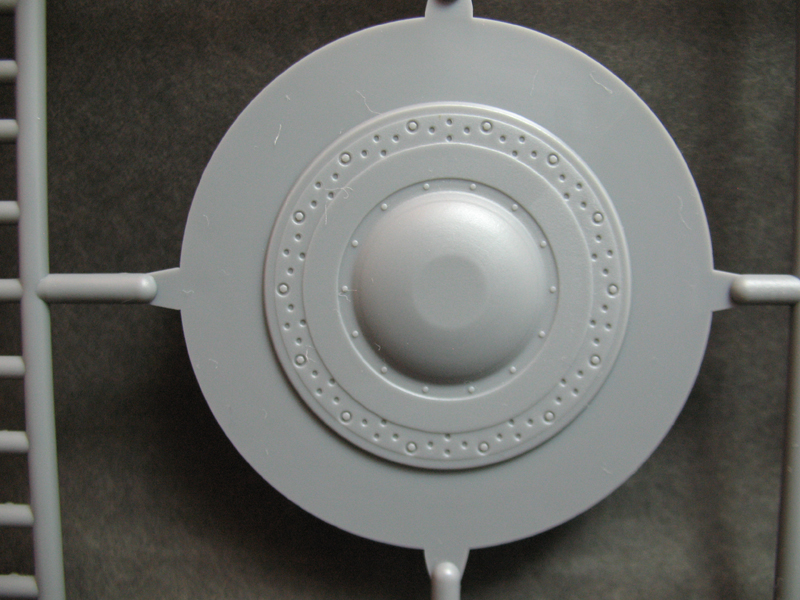
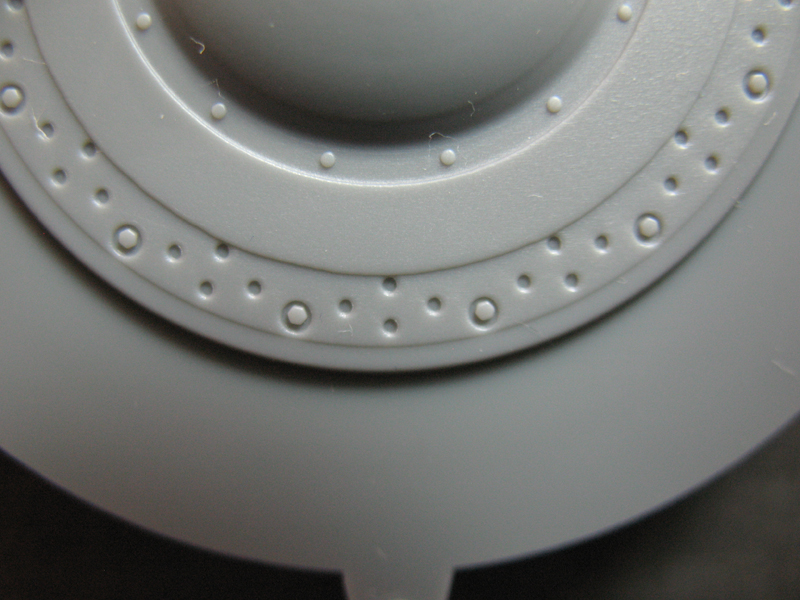
20 Large shoes
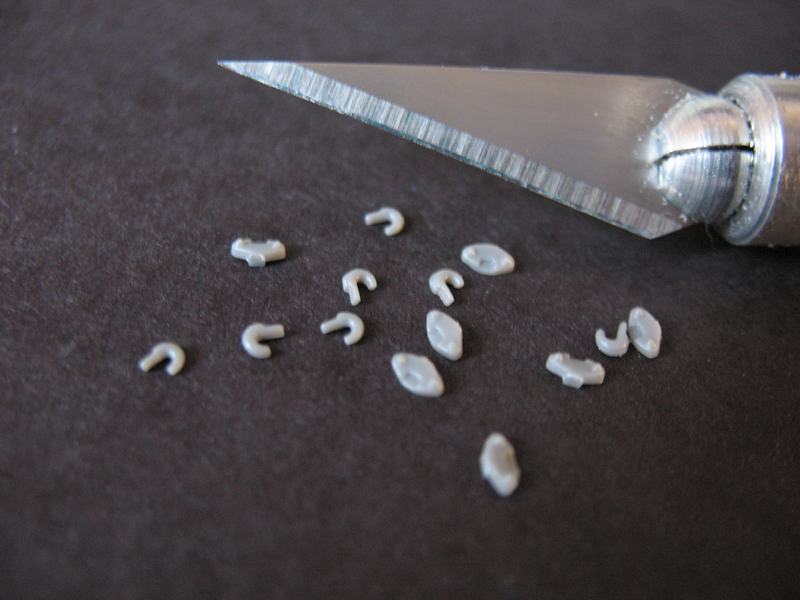
10 Small links
10 Small shoes
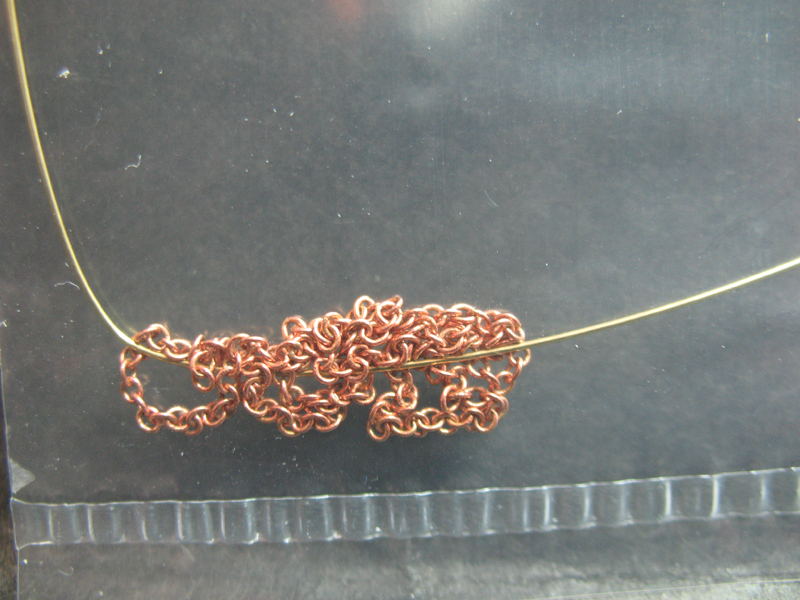
Length of chain
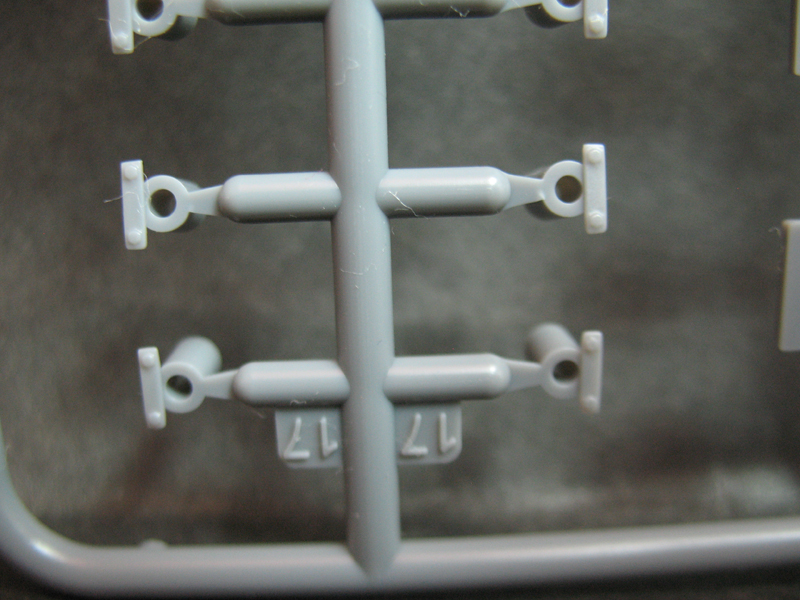
Copper wire
Instruction booklet
Did I really say Stylish box? Well, it is an attractive one for those that care.
the kit
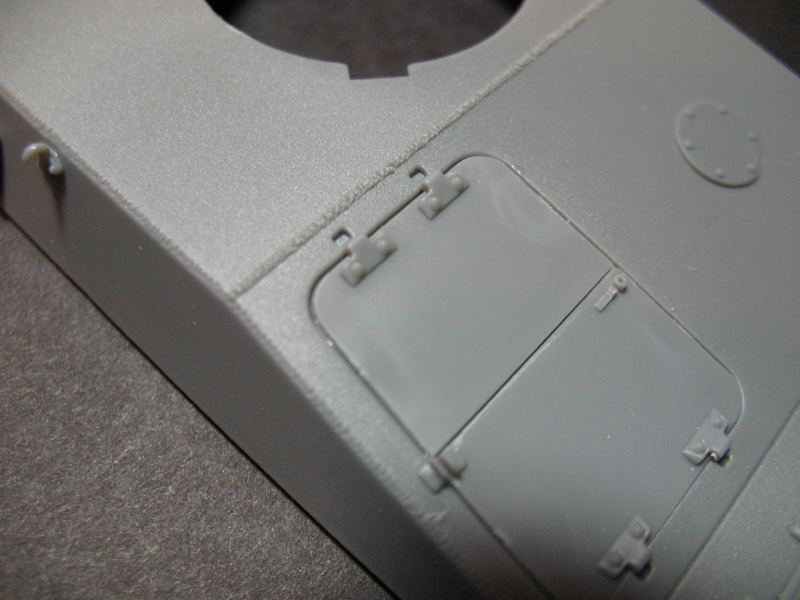
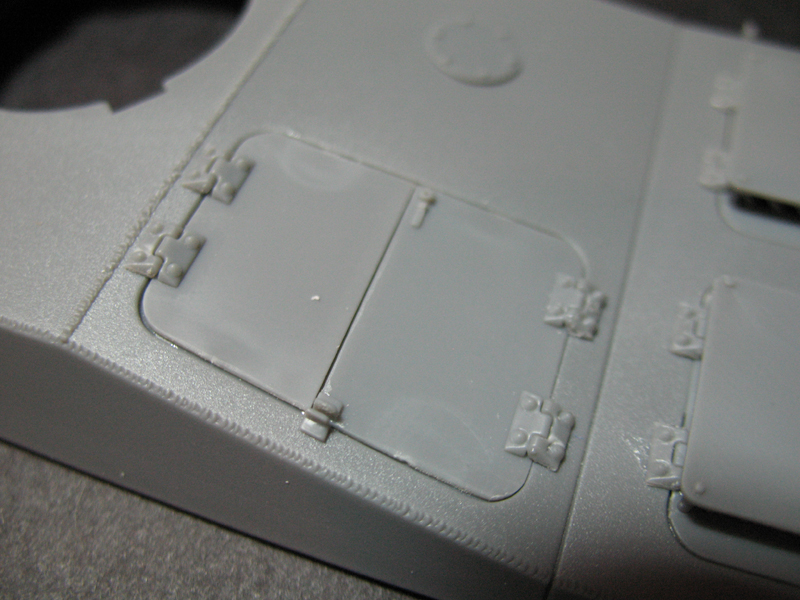
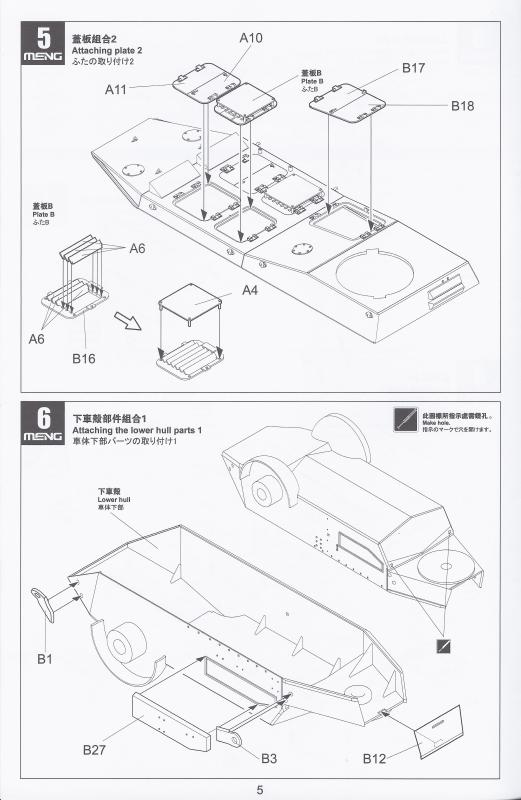
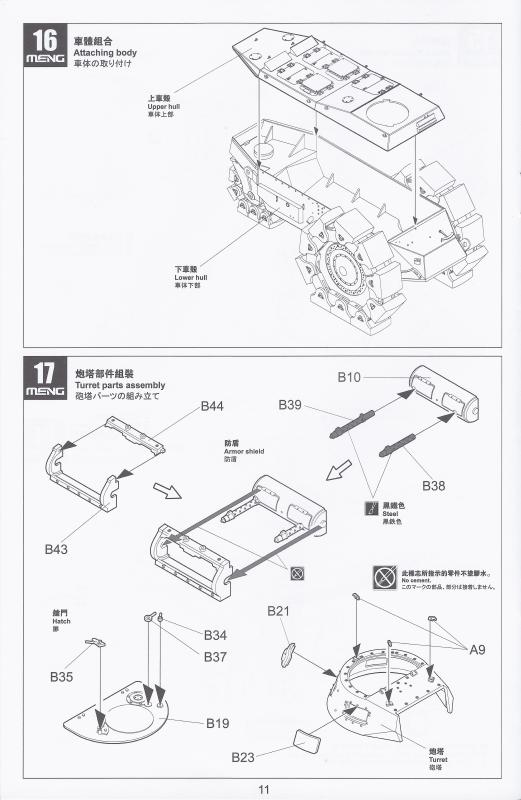
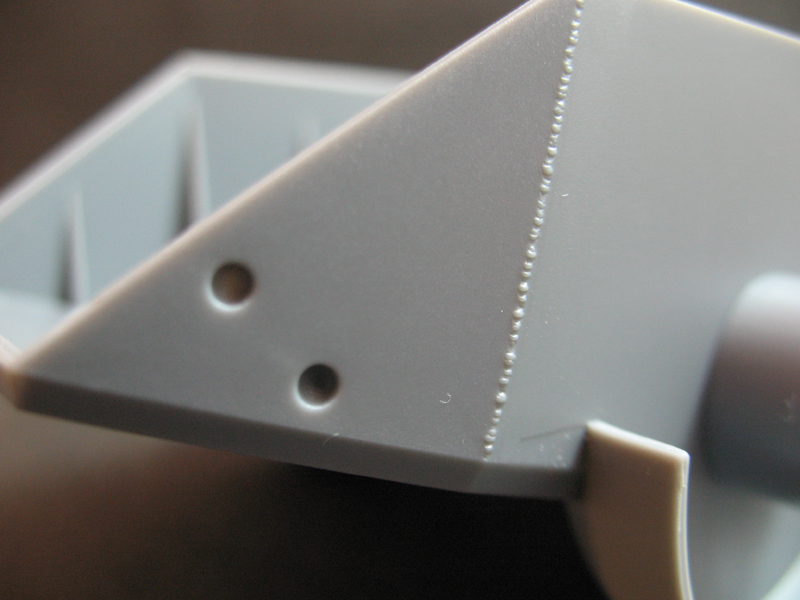
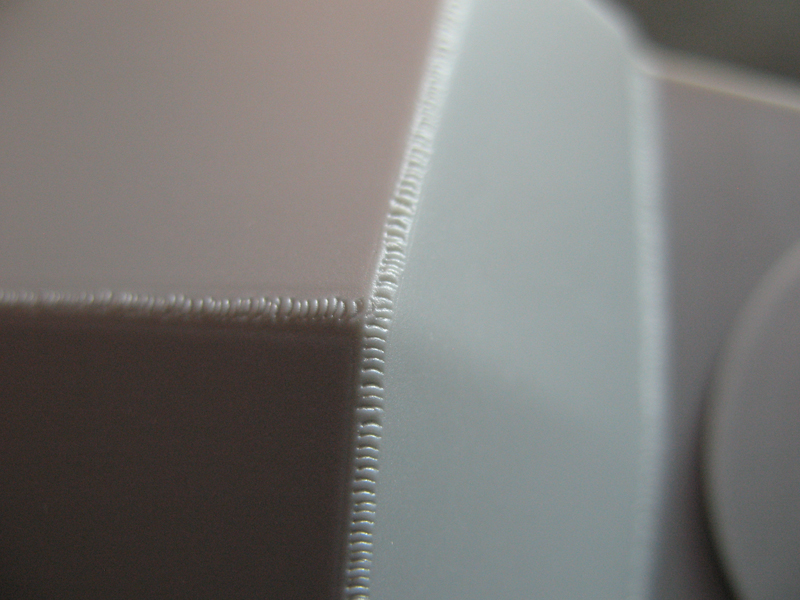
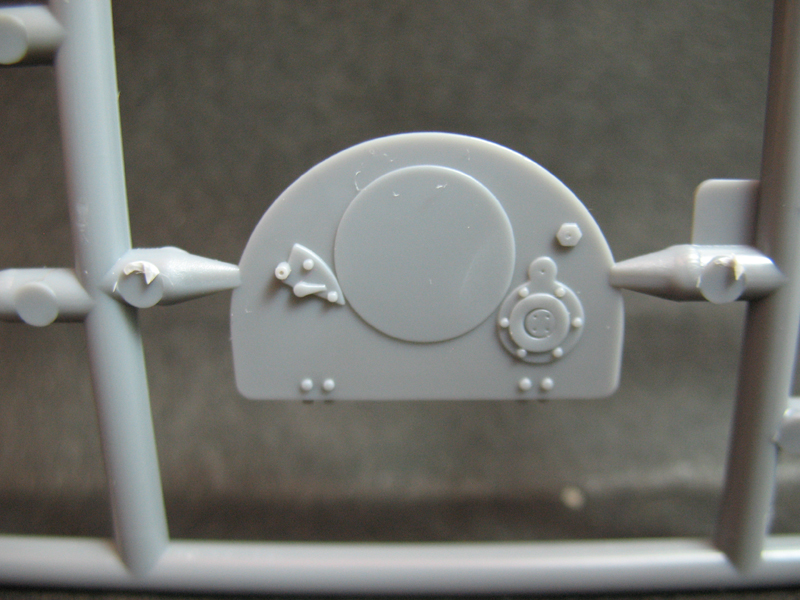
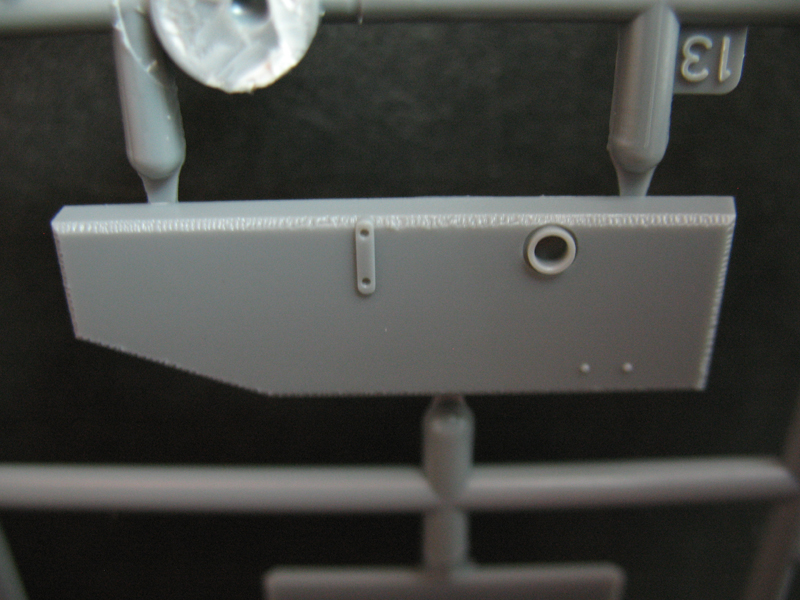
The instruction booklet spans 14 pages and the build sequence is contained in 19 steps. The steps are clear and concise, and given the low part count of the kit, along with the absence of PE, this a very easy build. The mold quality is excellent, with the only parts that showed any real flaws were the large track links which had a noticeable seam line and sink marks that needed filling, and the turret had a few light seams.
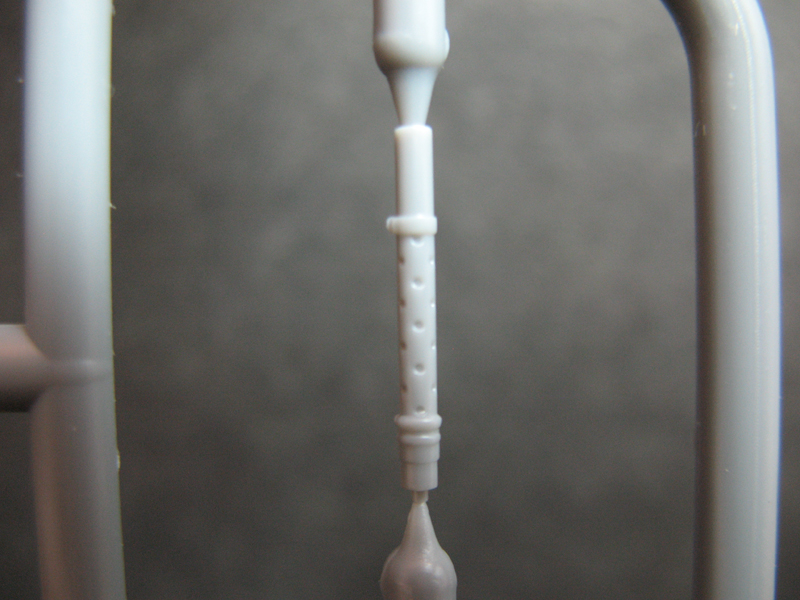
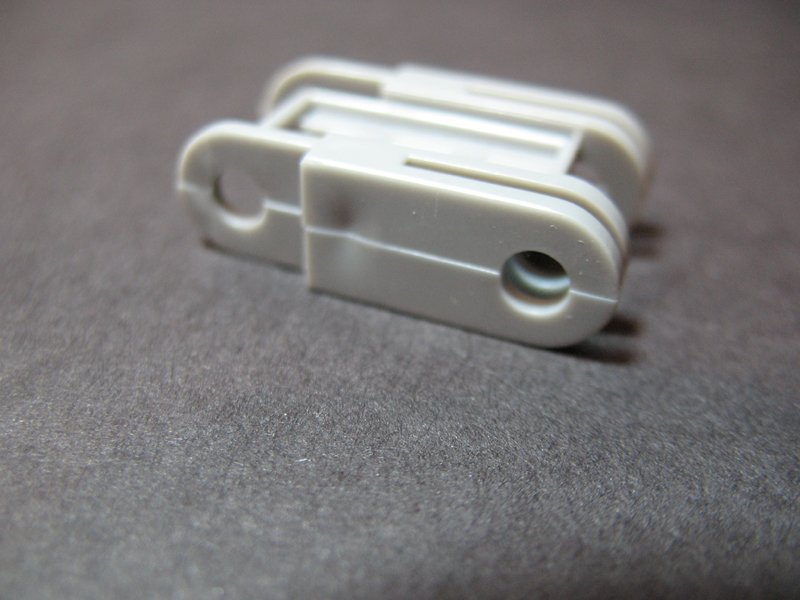
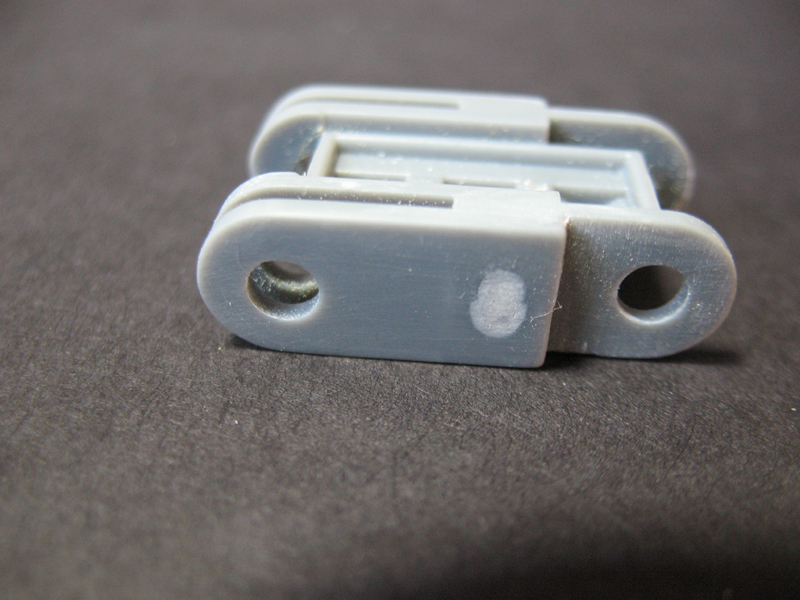
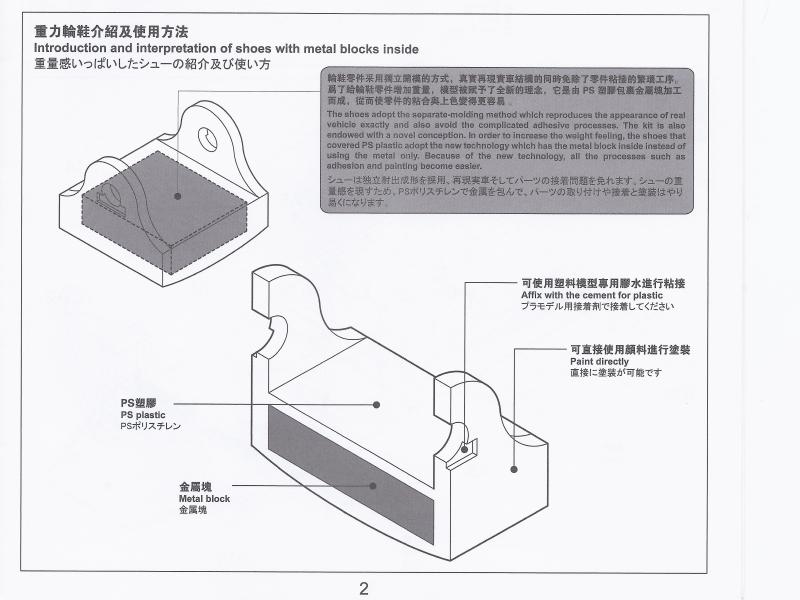
The shoes have metal weights encased in styrene providing some substance to these parts. Personally, I feel this is an unneeded gimmick that most likely boosted the price of the kit quite a bit. Anyway, its there and really gives the finished model some heft. The links are a very tight fit where they interlock and easily corrected with a couple of quick swipes with a sanding stick.
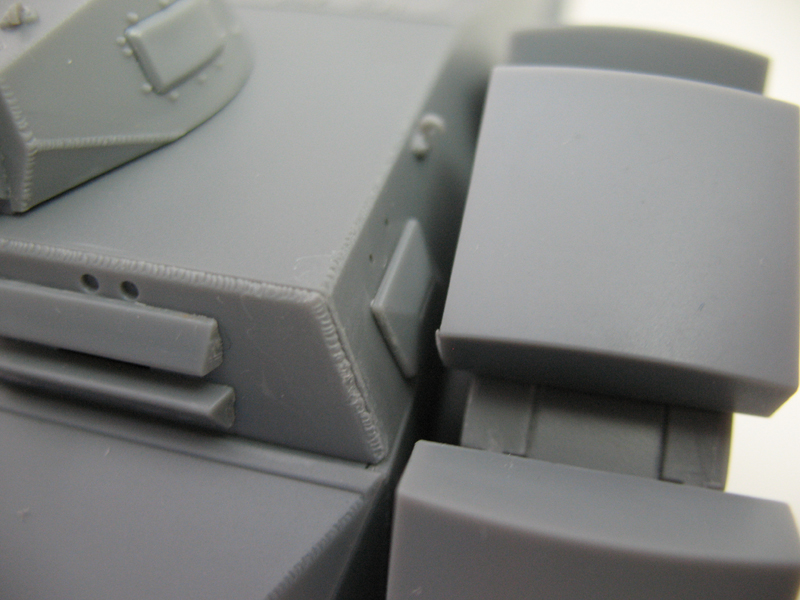
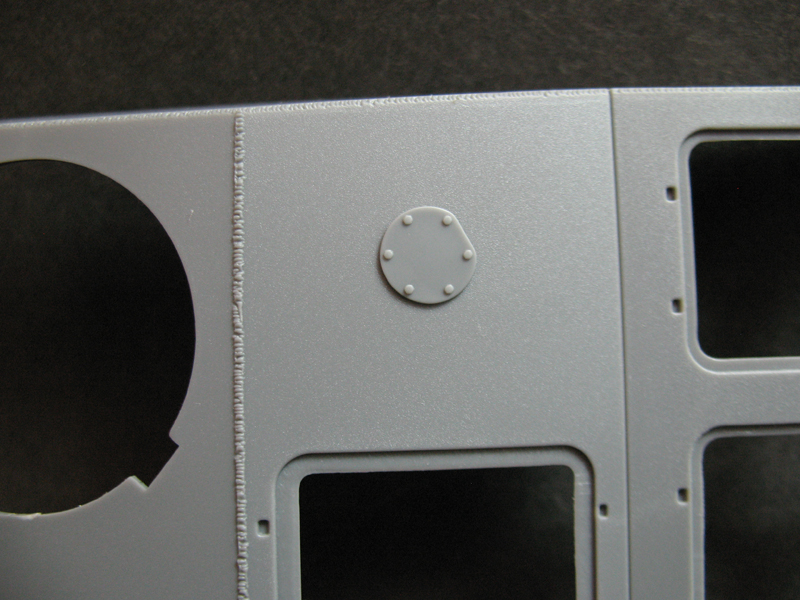
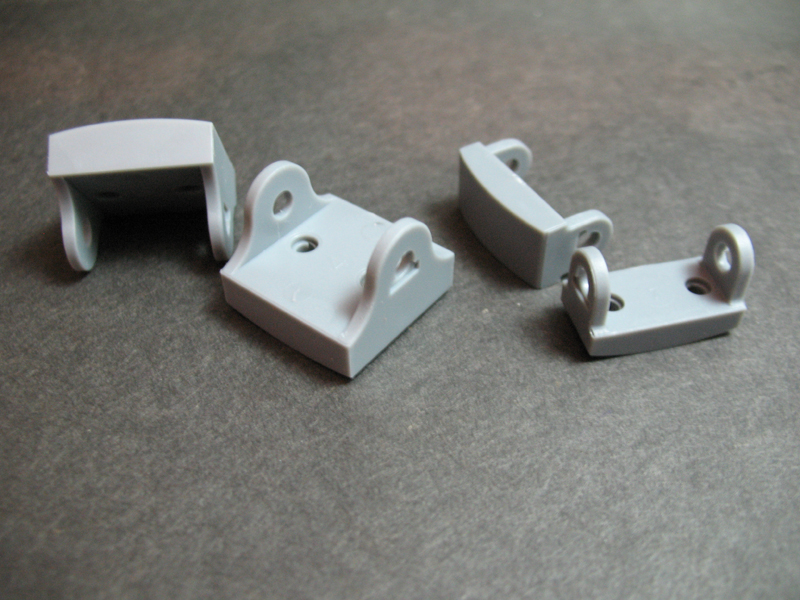
Welds are molded into some of the parts where necessary, although missing where the two side pods attach to the hull. Some have the sprue attachments right on the weld so a little touch up will be necessary.
In my haste I mistakenly cut off the barrels of the two MGs, so use caution (and magnification!) when removing these from the sprue. As it is, Ill add a couple of small pieces of wire for the barrels. The MG's are a bit weak in detail and a pair of after-market barrels would really make an improvement here.
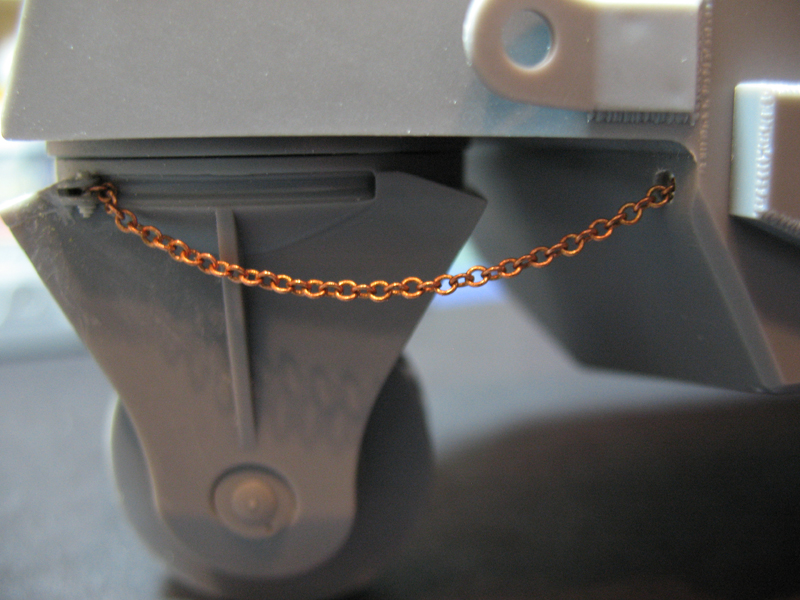
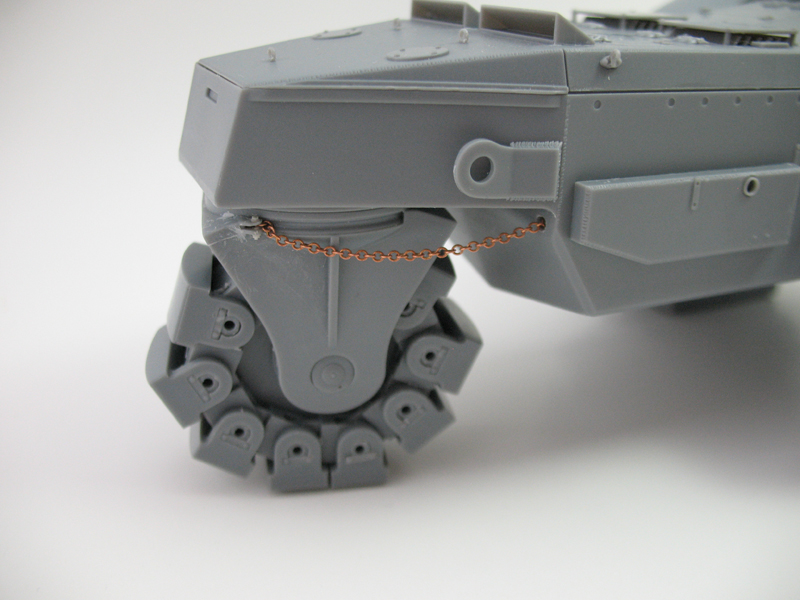
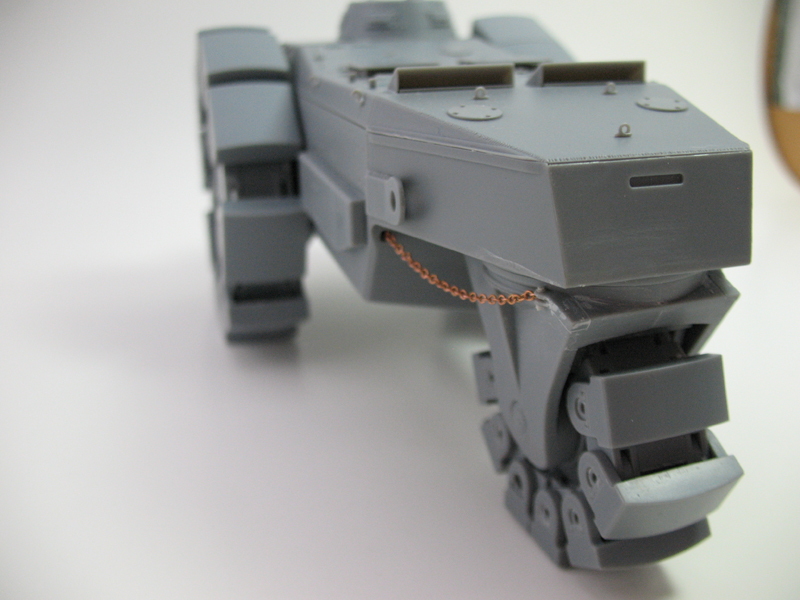
The chain is included for the rear steering, which two holes will need to be drilled into the lower hull for it to pass through. Wanting to keep the rear wheel position-able I epoxied a piece of sprue to the inner hull and looped the chain around it
this way I can position the steering and keep one side taut with the other side loose (the black cap is only to prevent the chain from falling off when I turn the model upside down). The wire is provided to affix the chain to its mounting brackets, here I added some PlusModel bolts and nuts instead.
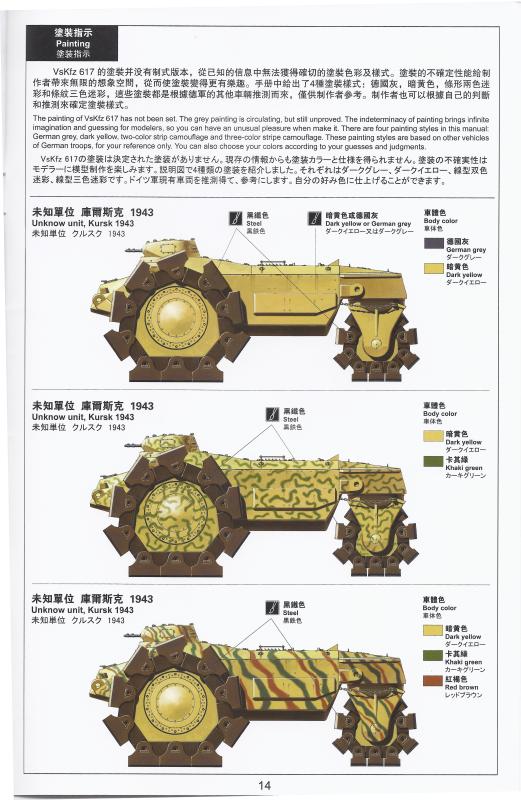
Along with the absence of PE, the kit contains no clear parts nor decals. Four paint schemes are provided although it is made clear that they are only representative and encourage you to use your imagination.
conclusion
All in all, Im very impressed with Mengs entire package here. Presentation is very well done, molding quality extremely good, instructions clear and easy to follow, and build-ability excellent. The subject matter was definitely off the beaten path too. Ill be looking forward to their future releases as this company shows great promise.
The
Cracking the Box video by Jim Starkweather can be found:
Here
And an excellent build feature of the
Minenräumer by Ming Chen can be found:
Here
For a look at the Voyager upgrade set for this kit
Click Here.
Recommended reading:
Minenräumer, Model Detail Photo Monograph #13 from Rossagraph
Our thanks to both Meng Models and Stevens International for the review sample.


Comments