introduction
Many years ago, when I was a card-carrying Aviation Modeler, some of the After Market manufacturers produced (and probably still do) a series of Vac-form conversions and FULL kits. Unfortunately, many of these sets required an extraordinarily high-level of care. This was particularly true when panel lines had to be matched, and was particularly time-consuming considering the amount of sanding one had to do combined with the removal of the parts from the plastic sheet. To be honest, for anything with a very high level of tolerance, it wasn't an entirely happy solution. A few years ago, when
MiniArt Ltd began producing buildings using the Vac-Form technique, a lot of people were unconvinced - preferring materials such as Resin, Dental Stone or Plaster for their construction. Now, with several of these kits under my belt, and with my first Review of them, I get the chance to give them a more 'exhaustive' overview.
introduction
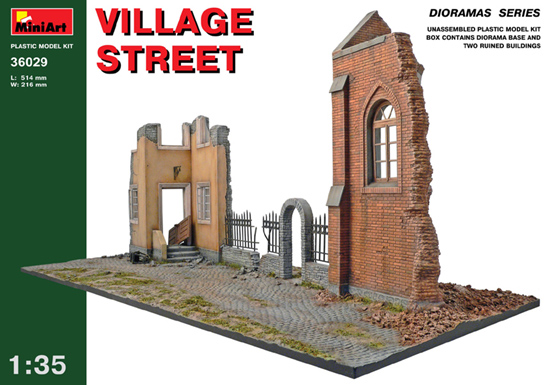
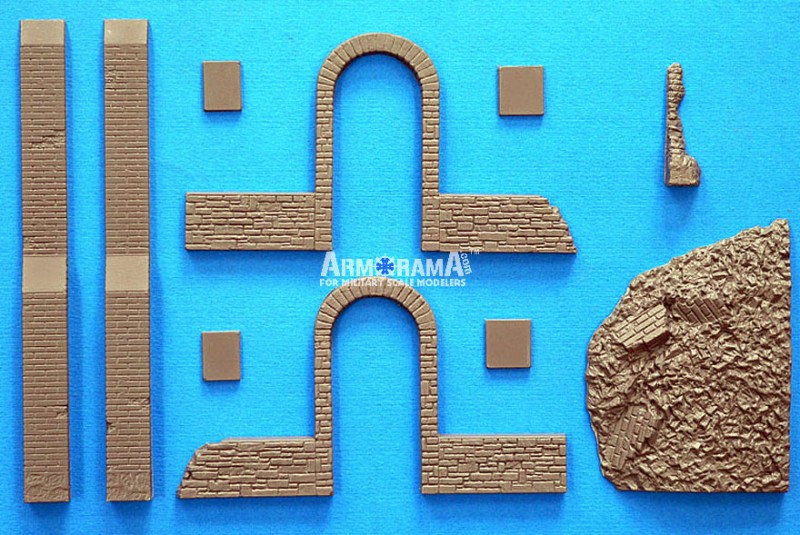
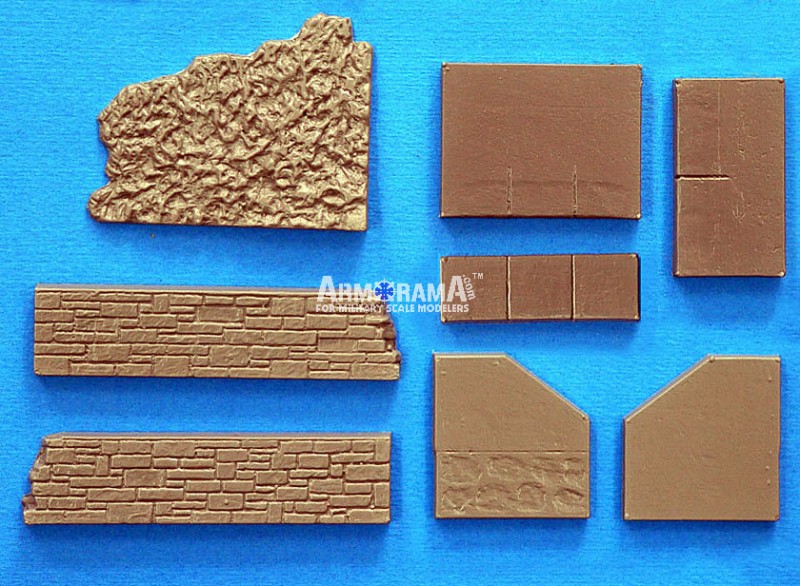
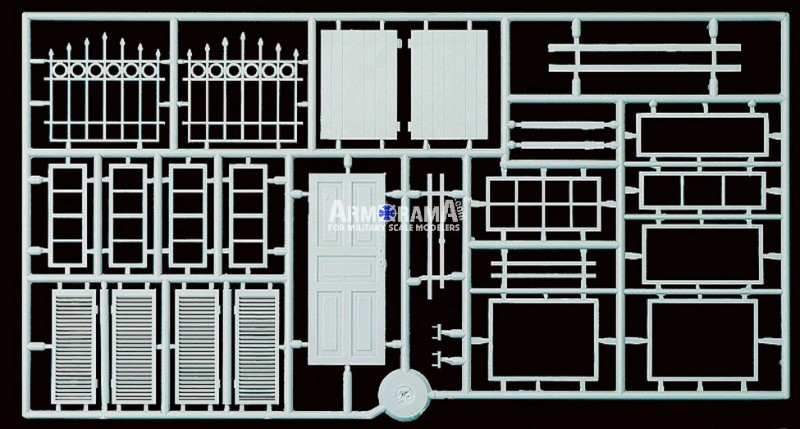
36029 - Village Street is a 'diorama-in-a-box'. The set consists of parts for two buildings (available separately) 35527 (House Ruin) and 35533 (Ruined Church). Also present are two substantial bases (designed to be used together) along with several additional Injection moulded sprues containing items such as window frames, shutters, doors, ornamental railings and lamps. The kit comes in a pretty large box with everything carefully packed inside its own plastic bag. The Vac-Form parts are moulded in a dark-grey plastic which is quite thick and substantial. The Injection-Moulded parts are moulded in light-grey and white styrene.
First Look
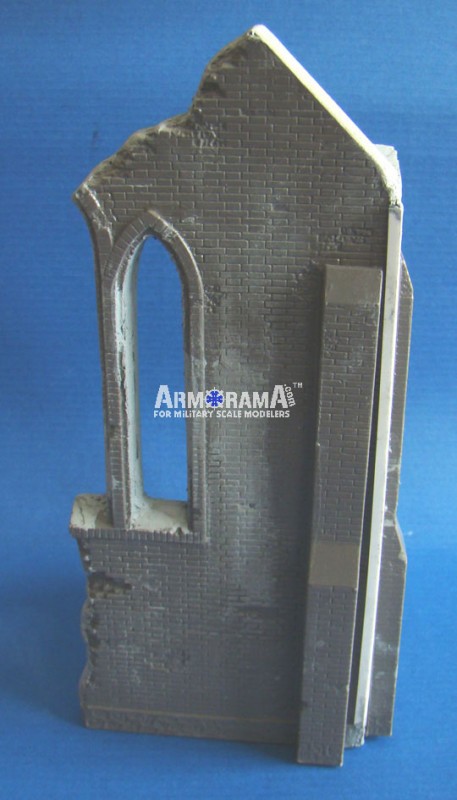
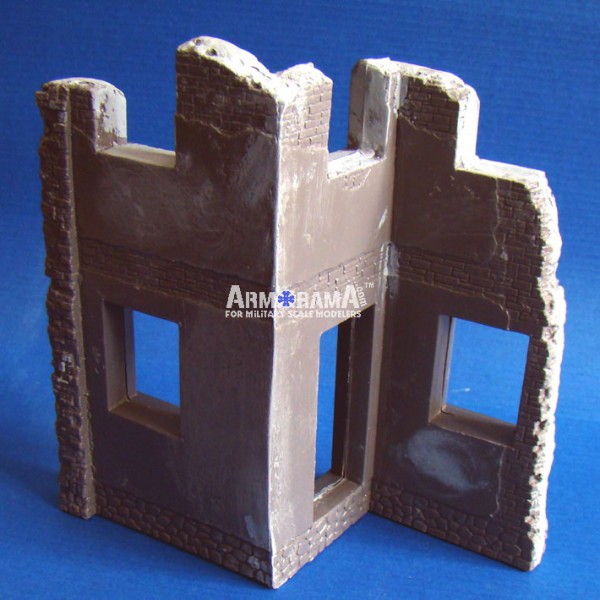
The set contains two buildings for a section of street. It's listed as being part of a village - in reality it could be in a city or town. The style of the architecture seems to imply France, although buildings of this type were to be seen all over Northern Europe. Moulding is crisp with no damage present in any of the Vac-Formed sections. Good, sharp detail is present in areas such as brickwork and the areas such as the surrounds of windows and doors. In the Injection-Moulded parts there is SOME flash and mould-lines present, but nothing which will create any problems. Instructions are clear and in many cases should be carefully consulted as there are parts which will need a section removed. The two large bases are well-moulded but some additional rubble and debris WILL be needed.
construction
About the Photos
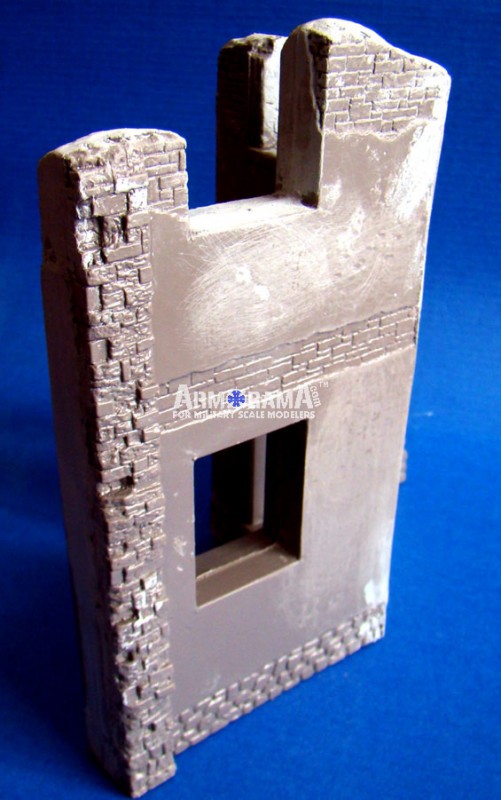
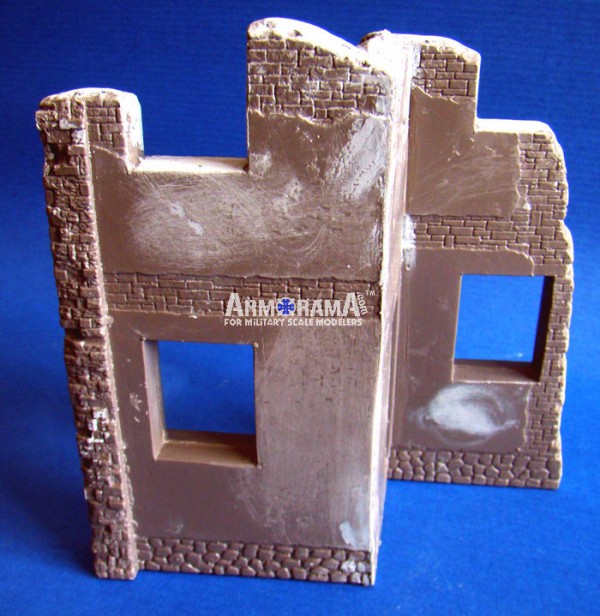
I left the two buildings in their 'natural' state - initially, I thought about undercoating them, but decided not to.
With this kind of model, probably the most daunting task is removing the parts from the plastic sheet. Many people who work in this medium have their own techniques for this, the most time-consuming part of the construction. My own 'technique', being somewhat nervous of using cutters, is to use a Panel-Line Scriber. In my case, it's produced by
Squadron Signal although other brands should give equally good results. The Scriber works by taking a sliver of plastic off on each cut. With this, a guide-channel is created which makes subsequent cuts easier by following the previous one. The Scriber is also good for cutting around more complex shapes such as the rough edges of brickwork. Once the parts are removed, I give each one a clean up on medium-grade Wet 'n Dry paper which is taped to a sheet of plywood. A few passes are usually sufficient to take off any excess.
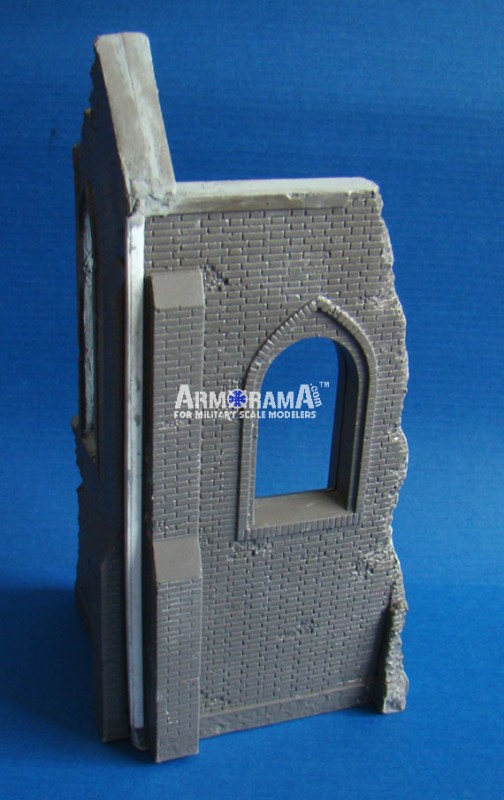
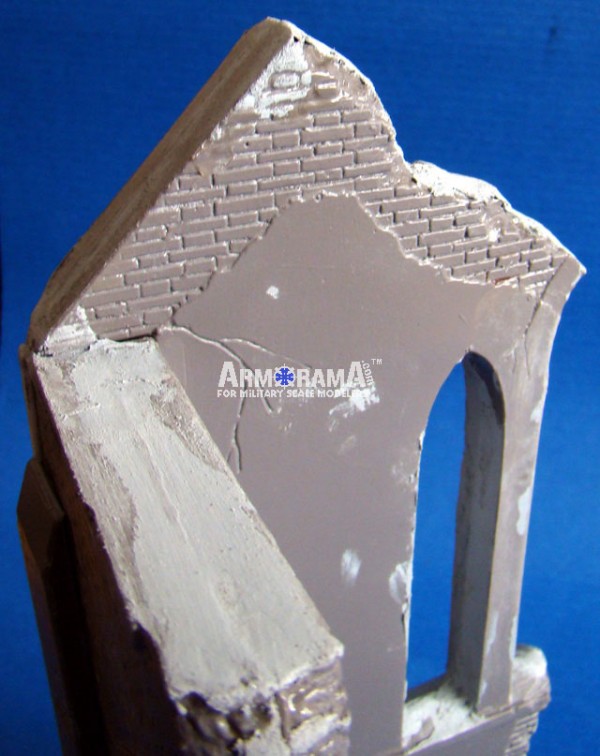
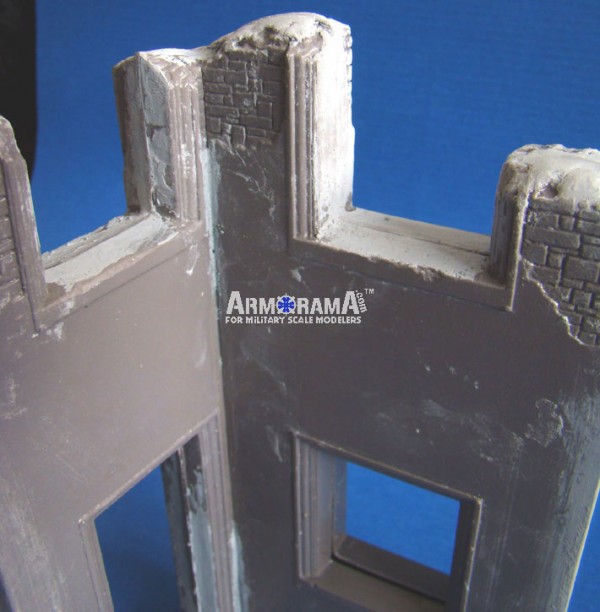
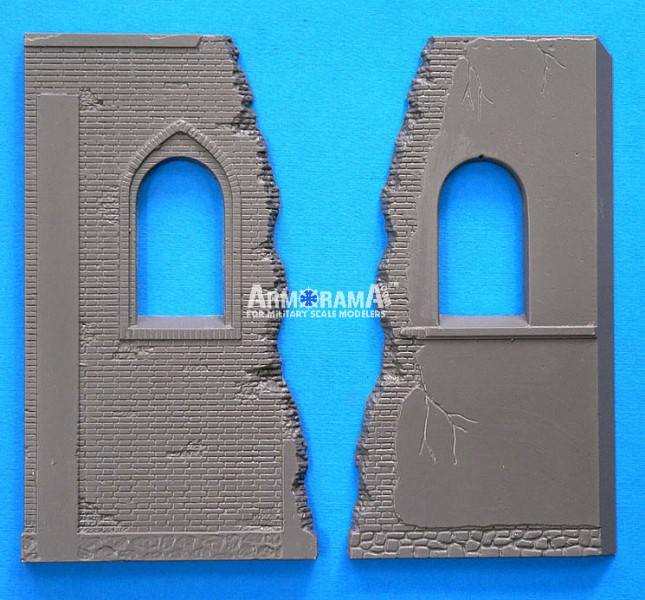
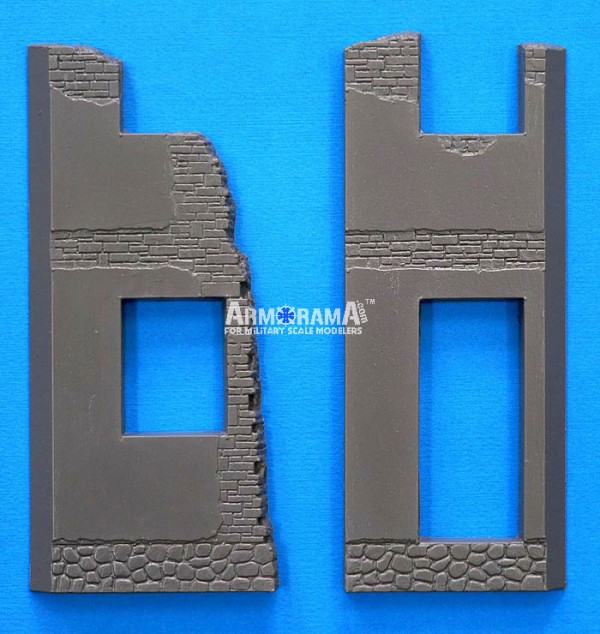
I began with the house ruin. Basic construction consists of six parts (wall sections) and five more for the doorstep. Once again, everyone who has constructed a few of these buildings will have developed their own method of construction; however one technique is pretty much universal - strengthening the joints. Personally, for the longer joints I use lengths of square balsa which can be stuck in place using a slower drying two-part epoxy (overlapping to join onto the other section of the building). Alternatively, the excess plastic can be cut into strips and glued round the edges with liquid or tube cement. If the building were an entirely rectangular structure, any gaps in the initial construction would be relatively easy to avoid. It isn't and they aren't... the trick is to glue in sections, holding the sections together with clamps. When one section is affixed, move up to the next. This may be time-consuming, but the easiest way to do it. At the end of it, you WILL still have some gaps
that isn't a problem, they can be sorted out later.
In the instructions, they suggest removing the overlap at the top of the wall sections. That isn't a terribly easy thing to do. Instead, I left them, and when the structure was dry, I sanded them down a bit and added a fair quantity of Tamiya putty to get rid of any gaps. Fortunately with a building, millimetric tolerances aren't as necessary as on vehicles, so the end result is acceptable, with both halves joined into one with no noticeable gaps or lines. What IS necessary to do, is to concentrate on lining up the details - there's exposed brickwork on both the top and the bottom of the house which, when construction is finished, may need a little bit of attention.
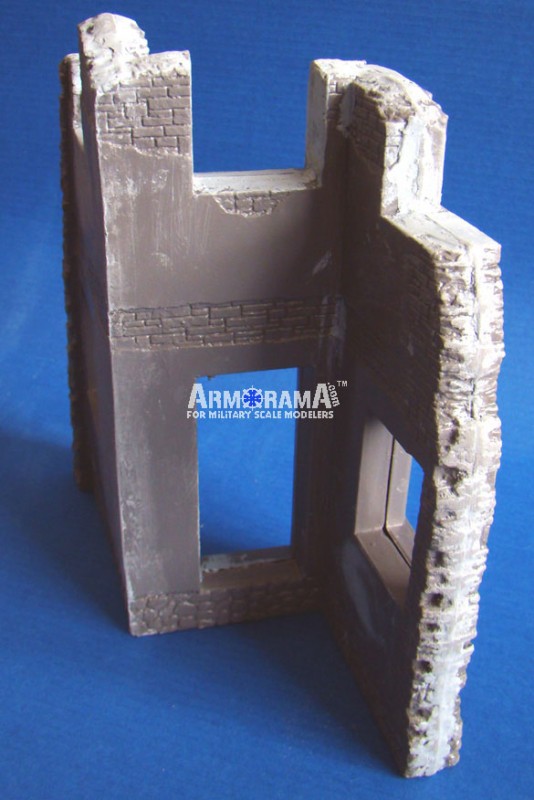
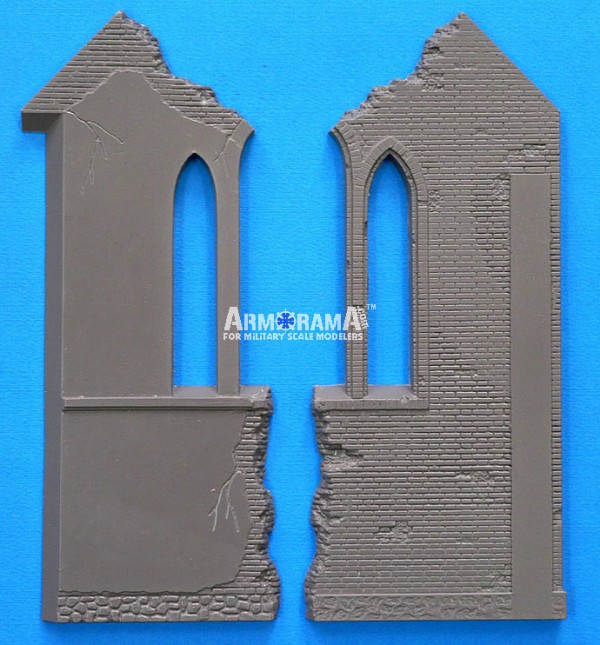
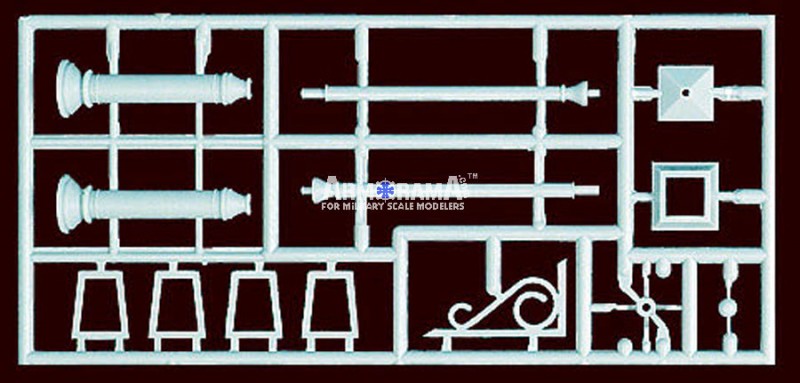
Additional (Injection-Moulded) details are provided in the kit. These, which would be difficult to reproduce in Vac-Form, are for doors, windows and a hanging lamp. The windows are in the form of VERY nicely-done shutters. A number of additional parts are included which give some options. The upper windows will need at least some rudimentary framing added as they are they are simply window-shaped holes. Some remnants, even in a ruin, would be left of the frames.
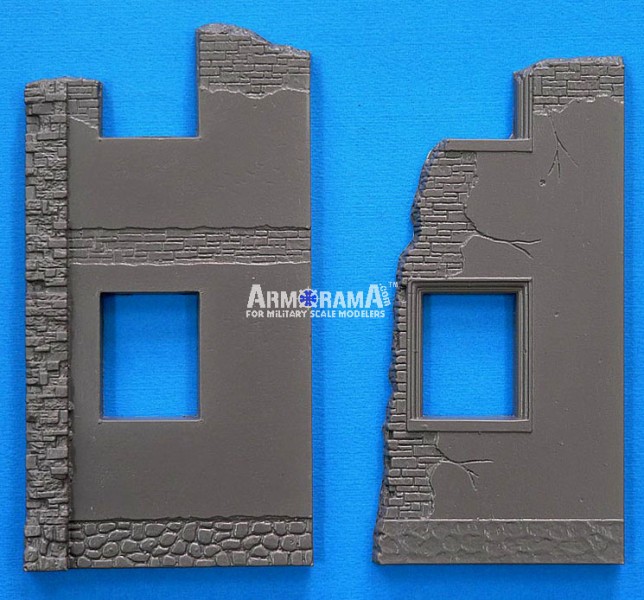
The final part of THIS building consists of attaching the building to the base, assembling the door steps and adding a low wall to the side of the house. There are sufficient extra parts to add a section of railing to the wall. Again, it'll need some 'damage' done to it.
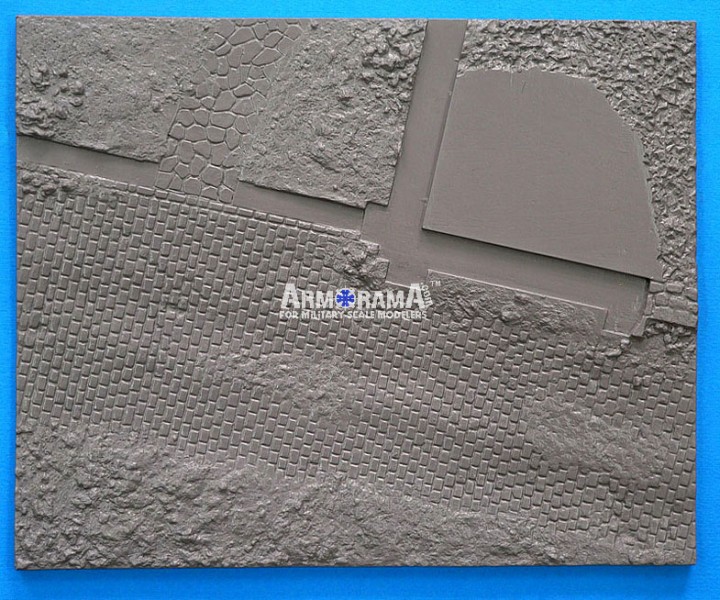
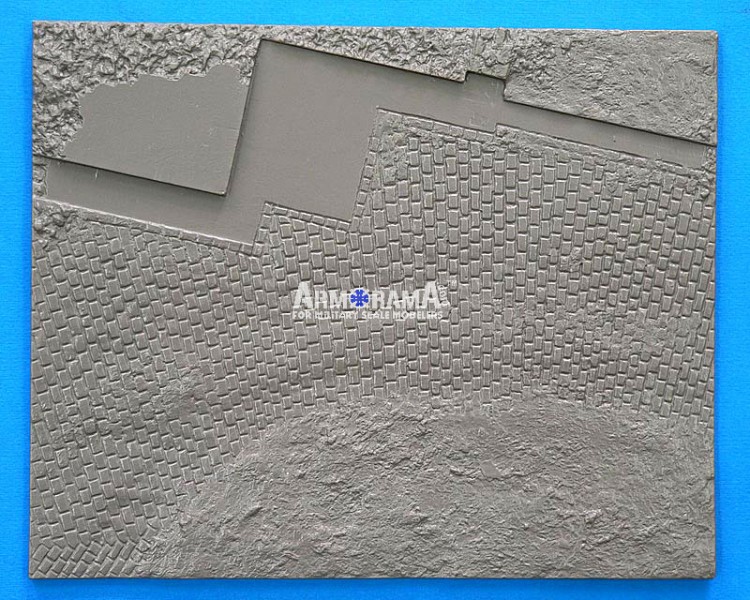
There are two sections of Diorama base included. This will make quite a reasonable-sized diorama. Many people will probably build two dioramas out of this - each is sufficient for a medium-sized vehicle or a reasonable number of figures. The base itself isn't exactly flimsy, but some support is recommended - the simplest would be to pour plaster into it and attach it to a wooden base (or picture frame).
Building ISN'T complex - lots of butting right-angles together, but DOES require care and planning. For those unfamiliar with these kits, I STRONGLY suggest using the excellent building guide published by
MiniArt on their Homepage:
HERE (LINK)
conclusions
Some people have, in my opinion, unfairly compared these buildings to the many Resin and Plaster kits on the market. Price-Wise, they are MUCH cheaper. For those of us who rely entirely on Mail-Order, cost is, once again, an important factor. It's a lot cheaper shipping one of THESE than a plaster one. Resin or plaster is probably easier to paint, but preparation and painting a Vac-Form kit can give the same or better effects - once again it's a question of taste and experience.
Although I rate this particular set highly, it isn't without its negative areas. Chief amongst them is the difficulty in matching-up detail areas (brickwork etc.). Preparation and build time is also longer than their plaster or resin counterparts. Although there ARE a lot of extras included in the kit, there are areas which WILL have to be added. Amongst these are areas such as the drainpipes - simple enough to add. One thing which will be a high-priority is the rubble and debris which a ruin generates. It's going to be considerably more than that provided in the model. Many people also, with a great deal of justification, prefer COMPLETE structures - from these it's a LOT easier to build a Ruin than vice versa.
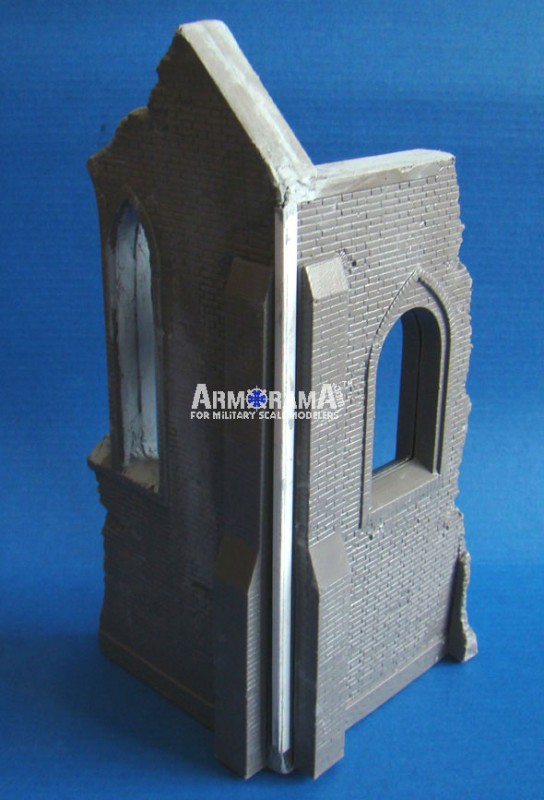
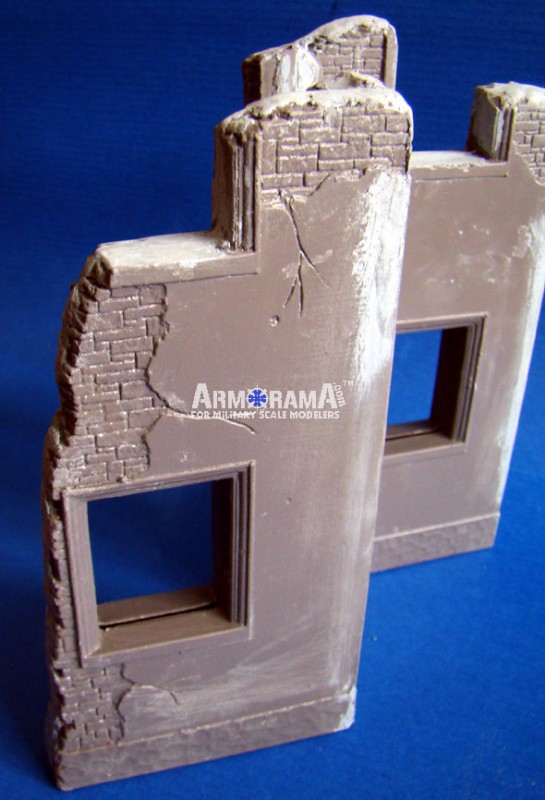
On the positive, the first is in the design. The house is designed so that it will be relatively easy to add the remains of a floor. The remnants of window frames will have to be added to the upper windows - again a simple task. The church will need a bit more added to be entirely convincing. If it's built as a total ruin, minimal, if more detail is desired, part of the roof will have to be added. The designers have given the modeler a LOT of flexibility and it's doubtful that any two models will be exactly the same.
All-in-all, while it MAY appear complex, don't let that impression put you off - these kits are well worth the additional work!
Highly Recommended


Comments