The name MiniArt needs no further introduction in todays modeling circles, as they are well known among figure, armor and diorama builders. Although their figure and armor lines have been stealing the most recent headlines, the building and accessory range is already well established.
These kits are relatively inexpensive, and using thermoformed styrene, all buildings are detailed on both faces. Every set also includes a standard injected set of details such as windows, doors, railings, streetlights, etc. plus a neatly produced set of posters to add to the authenticity of the scene depicted. They have now taken this line a step further, and offer a complete diorama setting, which includes a cobblestone/paved roads and occasionally even figures.
Whats in the box
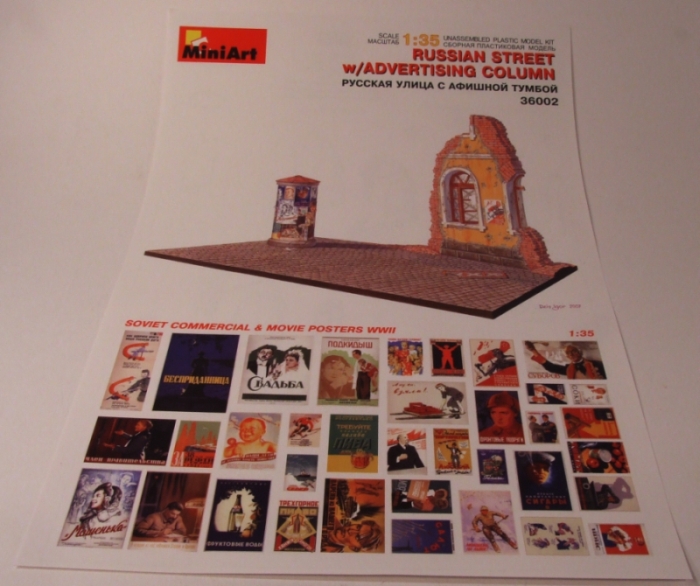
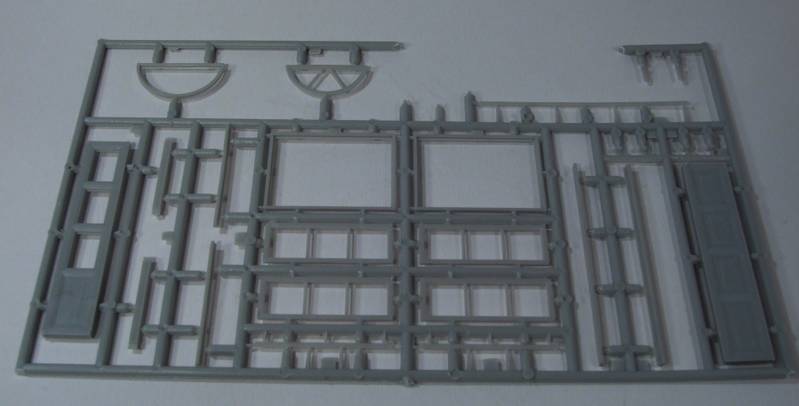
The subject of this review is their recent Russian Street w/ advertising column set. Two sheets of thermoformed styrene provide the pieces for the road, the ruined building and the advertising column. To further detail the building, an injection-molded sprue of windows and doors is included. An A4 size sheet has a useful painting suggestion and also includes many posters to decorate the advertising column.
The quality of the pieces was excellent with well-defined details. Having built the Ukrainian City Building several years ago, the improvements in quality are immediately apparent. Gone are the problems with over-thermoforming to a point where the plastic was almost transparent, and corners fell in with the slightest touch. There is a little flash on the injected molded parts, but this is very easy to clean up.
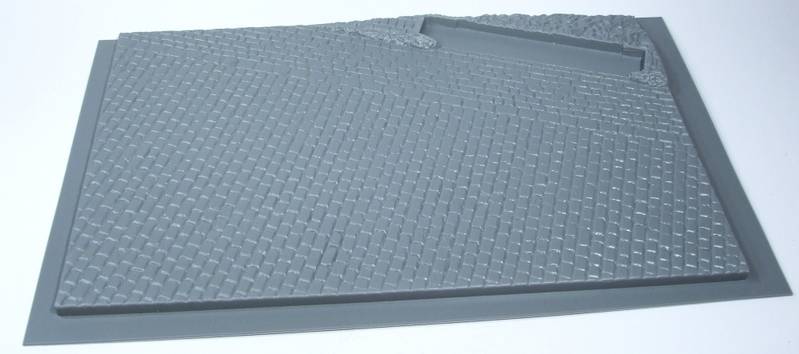
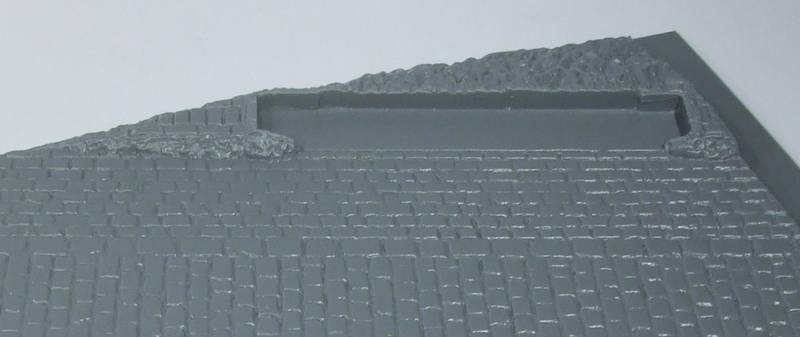
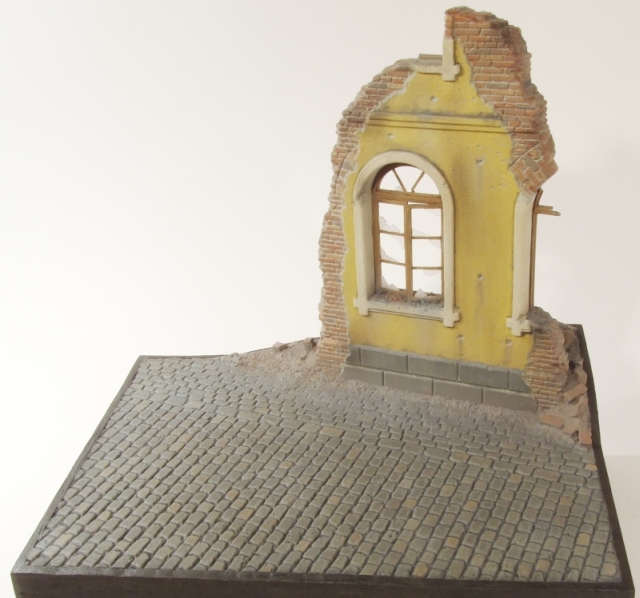
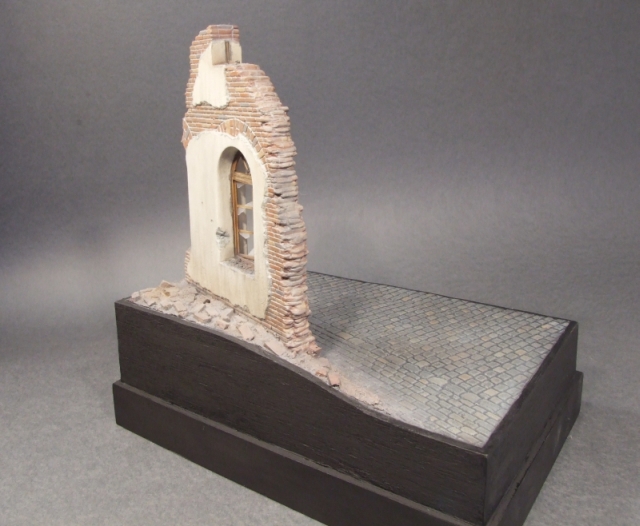
The most impressive piece is the cobblestone road section. The cobblestones appear very natural and there is good relief in the crevices to allow washes, which will make painting a breeze. The size also impresses. There is room enough for any WW2 tank or small vehicle and figures. The advertising column is a very useful addition, as it provides a space-filler and/or background, depending on what subject will be placed when complete. And because MiniArt didnt make the base of the column as part of the cobblestone section, it is optional whether it is used or not . giving the modeler even more possibilities. On the MiniArt homepage they are now showing accessory sets with tiled or slate roofing sheets. I can only hope that they offer these sheets of cobblestones as single sets in the future. I really cant see myself cutting thousands of single cork bricks or scribing plaster for hours, if this was available.
Assembly
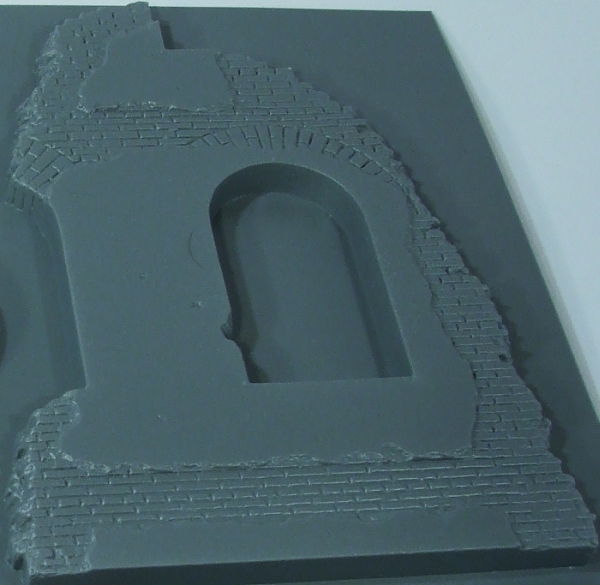
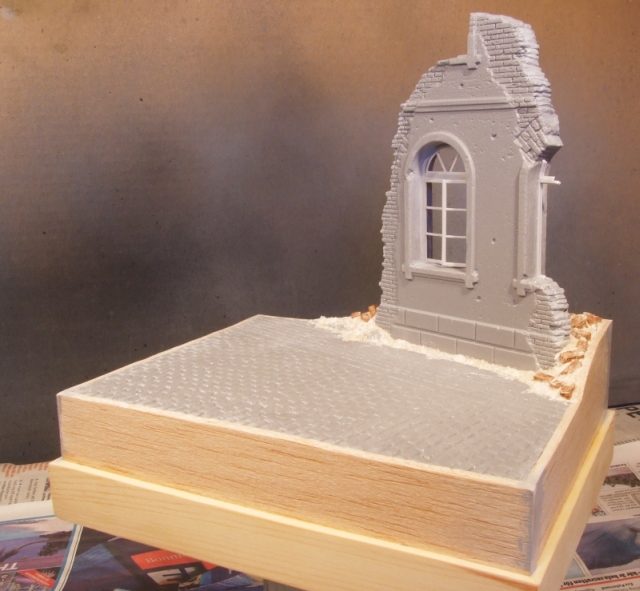
Assembling the kit was pretty straightforward. I followed the steps as shown on their homepage (http://www.miniart-models.com/) in the assembly guide section. I used the back of my hobby knife instead of the recommended awl, and sanded both sides of the ruin on a large sheet of sandpaper. I cemented both sides of the ruin with Humbrol Poly, which softens the plastic, and when pushing both halves together, it allows the soft plastic to squeeze into any small gaps and it only left two very small pinholes. Mr. Surfacer 500 was enough to fill these. I let these dry overnight, and using several different files, the seam disappeared completely. The window joints are hidden completely when adding the window frames, and enough of these are included to detail all window details left in the ruin.
The placement slot for the ruin-assembly is a bit on the tight side, but with a little sanding it wedges in quite firmly. I filled up behind the ruin; to both add to the rubble content, and also to provide extra strength. As this base is planned for a Sd.Kfz. 265 Kleiner Panzerbefehlwagen 1, I decided to cut down the size a bit, to avoid empty spaces. This was cut easily with scissors. Using a photo frame as a base, I built up the sides with 2mm balsa sheets, and filled up the void with polystyrene packing. This determined the new dimensions of the cobblestone base.
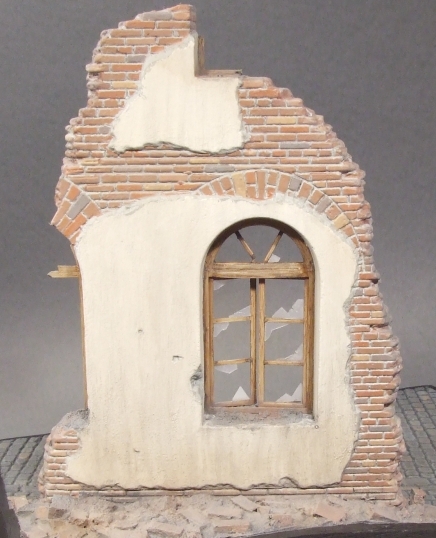
Painting was done completely with Humbrol enamels and some MIG oils for washes. The base was sprayed black first and then the main colors blocked in using the airbrush. Individual bricks and cobblestones were hand-painted in browns and grays. Washes and filters tied it all together. Some pastels were used to add a natural dusty effect when complete.
Conclusion
For anybody wanting a simple, yet effective base, these new diorama sets are perfect. Assembly is quick compared to scratch building everything, and only basic modeling skills are required to get a decent result. For anybody who has built a MiniArt kit previously, this will be almost second nature, and anybody who hasnt dared yet this would be a perfect starting point, before proceeding to one of the more elaborate kits. Nice detail, nice price and a pretty complete base all in the one box, can only be given the thumbs up, from me.
I´d like to thank Erik Ahlström for allowing me to include an image his un-cut base, so that one can see the full size. MiniArt's T70 is a good reference for how large the cobblestone section actually is!
SUMMARY
Highs: A complete diorama base in the one box. Relatively cheap. Great cobblestone section.Lows: Vaccuformed kits may still be daunting to some?Verdict: Perfect kit for those wishing to attempt their first vaccuformed kit and use it as an introduction to MiniArts more complex buildings. Great time-saver for those want an effective base to present their latest model.
Thanks Shaun for sorting this out.
And also thank you Аleksey and James. Glad you found it useful. For anybody interested in the MiniArt concept .... this is a perfect kit for a first. With only two thermoformed parts to fix together ... it goes fast and the results are excellent.
Frank, as I threatened in my above post, I went back to my LHS and bought this (Same price here in Ireland, 18.50, by the way).
I put it together in a couple of hours. If anyone is on the fence about buying a miniart building try this one.
Hi Pat. Glad you liked it. Eventhough, putting the two halves together was quite easy ... I still like the cobblestone road part. So simple, yet perfect for displaying models on. Really hope they release a set with alternative versions of this. I think MiniArt have hit gold with this line.
The 18.50 price was from Mol PlasticModelbouw in Holland ... a company I buy from occasionaly ... I used that as its clearer for most. I paid 200SEK for mines (21.13) in Sweden.
So what have you planned to place on the base??
I noticed the price you guys paid for it. Why don't you try hobbyterra... even with shipping to northern Europe of about $11, it would still be cheaper.
I buy all my MasterBox and Miniart kits from them and their service is pretty good.
http://www.hobbyterra.com/product.asp?idProduct=1371
By the way, does this only work as a Russian street, or can it be in other parts in Europe as well?
Hisham
Frank have you seen this line of vacform dio stuff from a Polish Company called TM.
http://www.jadarhobby.waw.pl/tm-diorama-m-189.html
They have a couple of different cobbled streets and different roof styles too.
Hisham, I don't see anything that marks it as particularly Russian apart from the posters. I'm going to use it in a French setting with a Universal Carrier and some British Troops on it -Caen or some other Normandy town.
I have used Hobby Terra in the past but recently the Customs here have stopped a couple of Parcels from outside the EU so I'm tryimng to keep my purchases inside the European Union.


Comments