introduction
The Centurion tank was first developed by the British and served as the British Main Battle Tank after the Second World War. The first batch of Centurion Mk. I were completed and delivered to the British Army in 1949. This first batch of Mk.I adopted the 17 pounder main gun, was powered by a Rolls-Royce engine and had Christie suspension. However from the Mk.III model onwards; it adopted the 20 pounder main gun. The Mk.III participated heavily in the Korean War and by the conclusion of it; there had been 13 different variations of the Centurion in total. As a Commonwealth member, the Australian Army placed an order for a batch of Centurion in 1949 however due to the outbreak of the Korean War, the order was never delivered until 1952. Along with the later orders and upgrades, all Australian Centurions were subsequently upgraded to the Mk.5 standard by 1961. From 1967, the Australian Army once again upgraded their fleet of Centurions to the Mk.5/1, which came equipped with infrared night vision systems for the commander, driver and aimer. From 1968 to 1971, the Australian Army sent out 3 Centurion Mk.5/1 companies to provide armoured support to the troops fighting in the Vietnam War. Since then the Centurion has been adopted by many different countries, Israel, Sweden and Singapore to name a few. The Centurion currently enjoys a very long and illustrious 60 year career in active service, becoming one of the greatest modern tanks in history.
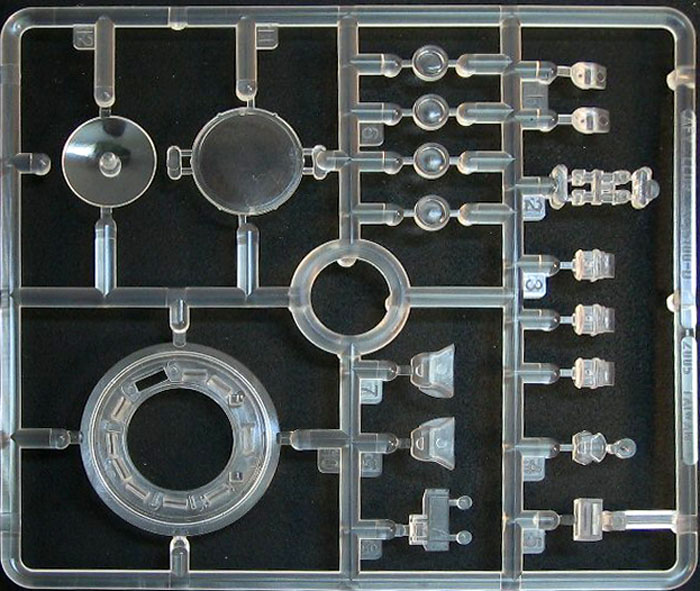
Kit Contents
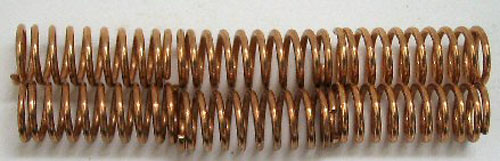
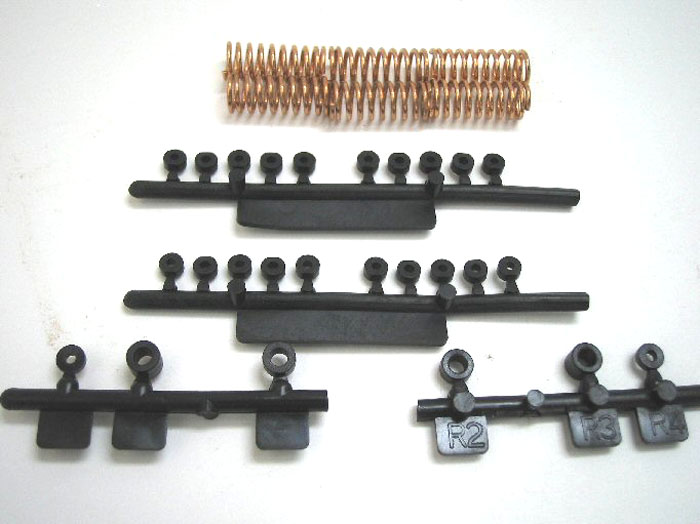
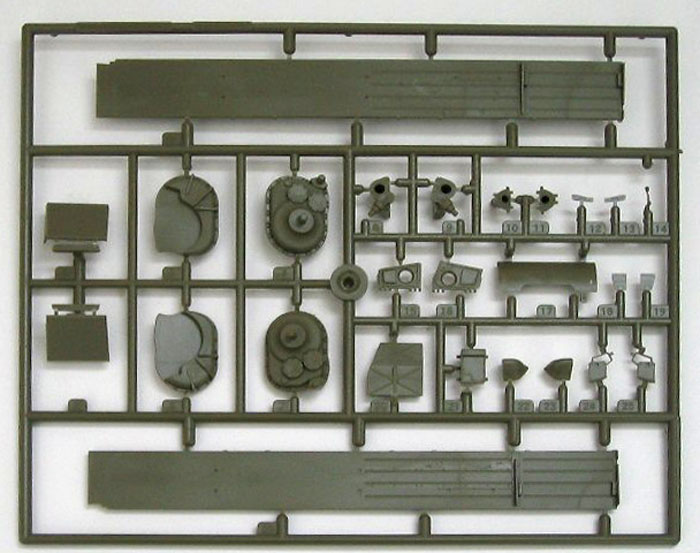
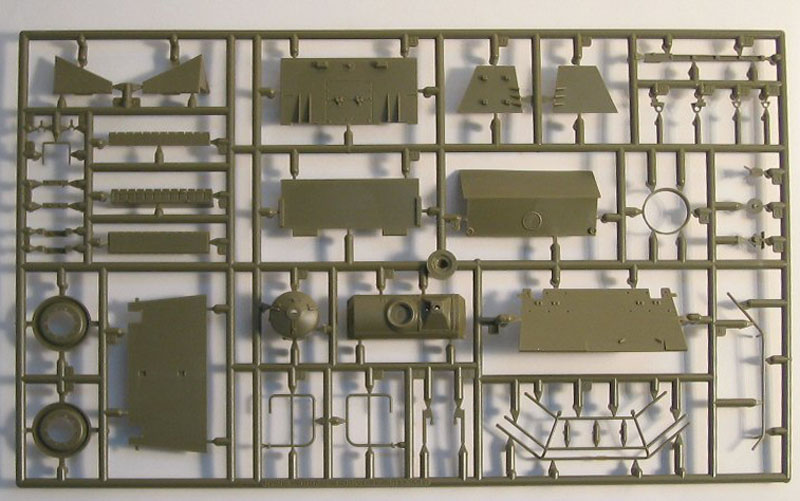
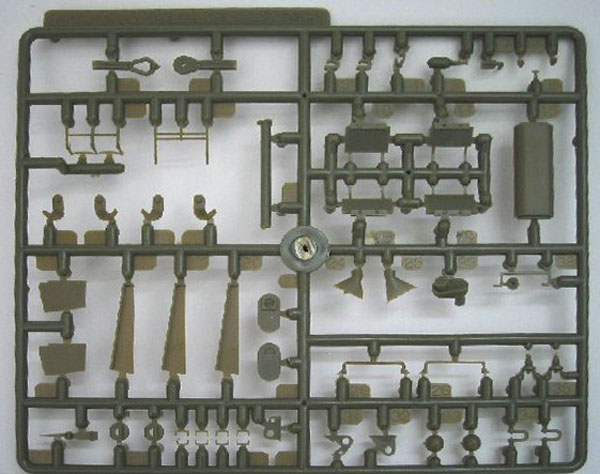
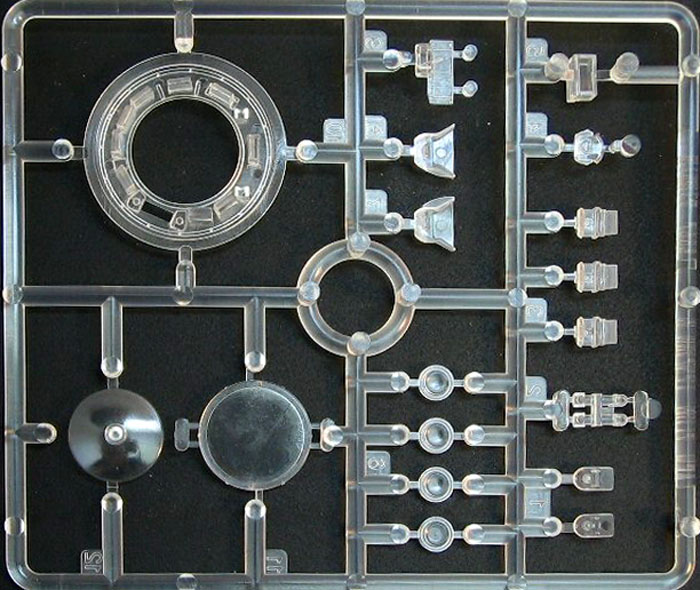
410 parts in olive drab plastic 18 clear plastic components1 metal barrel 1 co-ax MG 6 large suspension springs26 individual vinyl tyres 2 vinyl tracks 1 steel cable 26 vinyl poly caps 1 piece of black mesh1 decal sheet 1 fret of etched parts
Build Instructions
The build instructions come in typical paperback form outlining a brief history on the front page followed by the usual descriptions around the usage and application of the provided decals. What stood out the most while skimming through the instructions was the colour chart mappings between the various brands. The brands included the Gunze Sangyo range, Humbrol, Revell and Life Colour. The Tamiya range was mysteriously excluded from this matrix however performing a manual mapping of your own wouldnt be too difficult as majority of the colours used in this kit go by the exact same name. i.e.: Flat black, Olive Drab etc. The overall diagrams depicting the actual build are very clear and concise at first glance. Mandatory and optional parts have been combined into the same diagram however they are differentiated by the various types of arrows so do pay close attention to the provided illustration legend on the second page. The instructions provided are of a good standard overall, with large enough diagrams and clear part numbers so I wouldnt expect much difficulty in interpreting the information during the actual build.
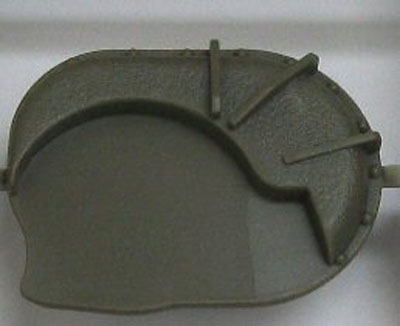
Lower Hull
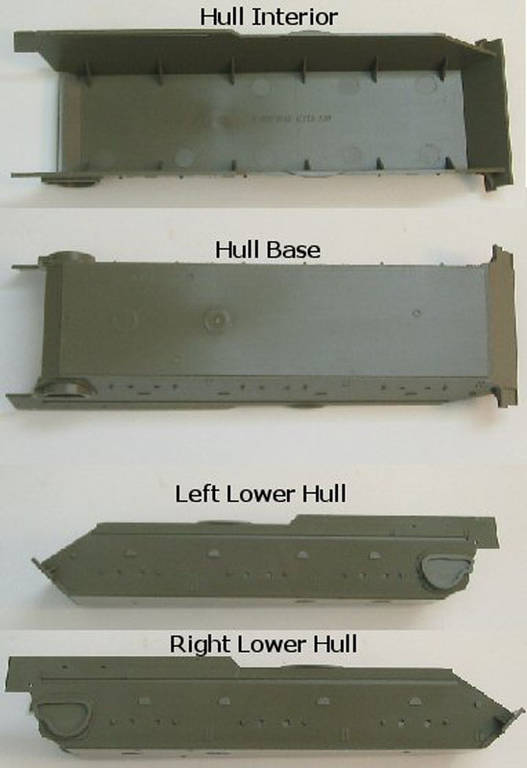
Unlike most other tracked vehicles that I have constructed in the past, the actual lower hull does not come moulded with the axle stubs with each one requiring some basic assembly and fixed in place with your regular poly cement. As depicted in the diagram, there are depression points on each side of the hull to guide you on the way with a rear mounting bracket where the idler wheel will eventually sit. (Refer to LowerHullphotograph)
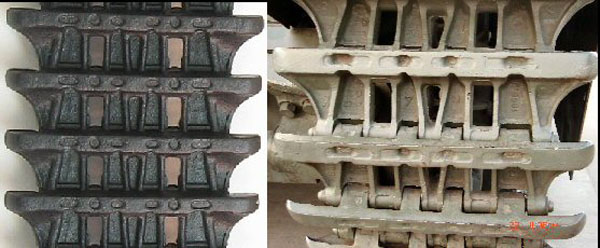
Tracks
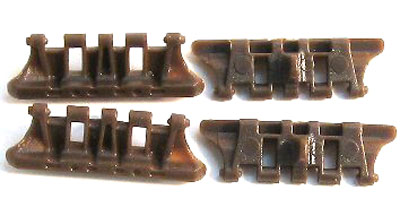
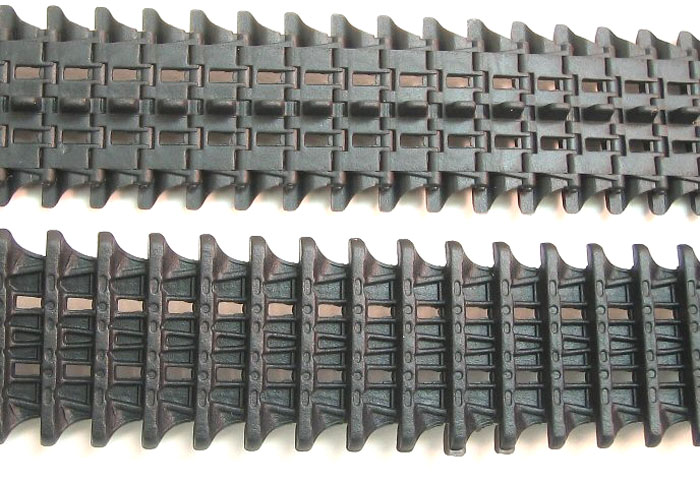
The kit came packaged with a pair of vinyl tracks with an exquisite amount of detail on both sides right down to the grooves on each individual track link. Granted there are a couple of inaccuracies where there should have been a hole right down the middle of each link and four depression points on the raised surfaces however this would be nit picking. The former inaccuracy is easily rectified with a hobby knife. (Refer to TrackComparison photograph)Included are also 2 pairs of olive drab plastic spare track links which also have similar inaccuracies to the vinyl version however these are once again easily rectified with your standard hobby knife.
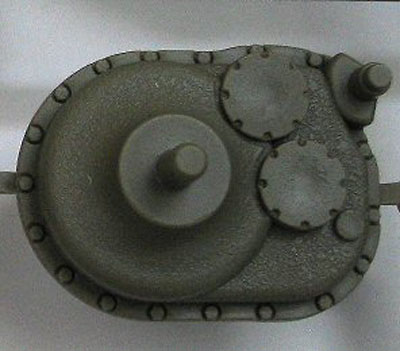
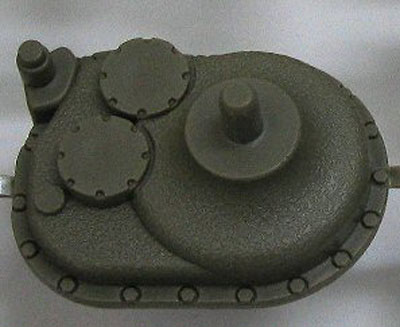
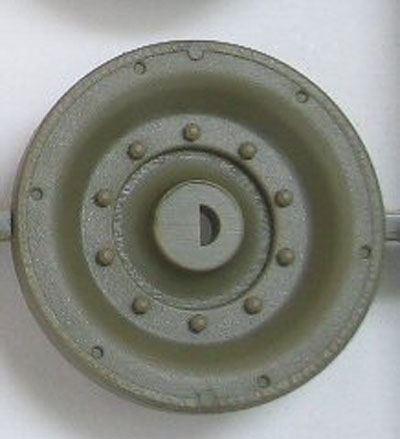
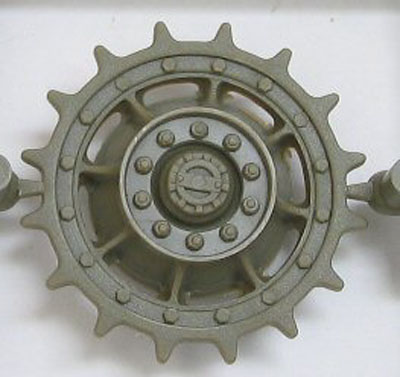
Drive Sprocket
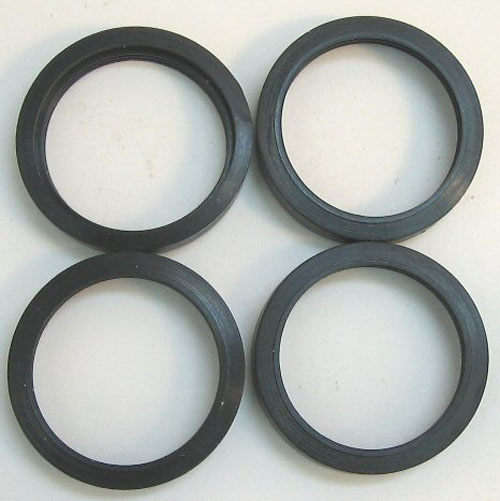
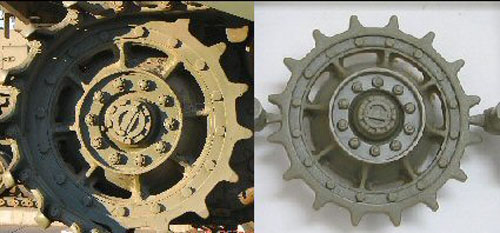
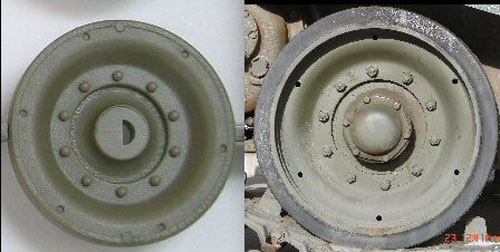
The drive sprocket is yet another finely detailed component of the kit with the exact number of bolt heads and hub details as its original counterpart. Both sides of the sprocket are fitted together consisting of a small black vinyl polycap trapped inside before mounting onto the drive mounts. Even though its predominantly a component of the kit that can hardly be seen on a completed build, the drive parts are nicely moulded with a rough cast texture on the surface with excellent detailing. It seems AFV club knew how tedious it can be to paint the wheels of any track vehicle so with this kit comes 26 black vinyls that would provide you with the option to first paint the inner hub and rubber section separately. Needless to say, it does become trickier should a modeller decide to paint it after assembly. All wheels are once again consisting of a poly cap trapped inside before fitting onto the axle stubs and are accompanied by a hub cap not depicted in these photos. The idler wheels provided with this kit is one of the three different types of idler wheels found on the Centurions. Once again, no details are spared with a hub cap to follow each idler wheel moulded with exactly the same amount of grooves and ribs as its real life counterpart.
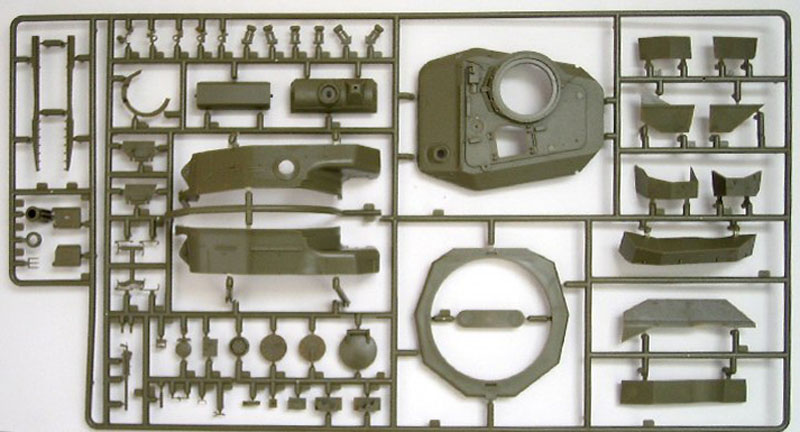
Upper Hull
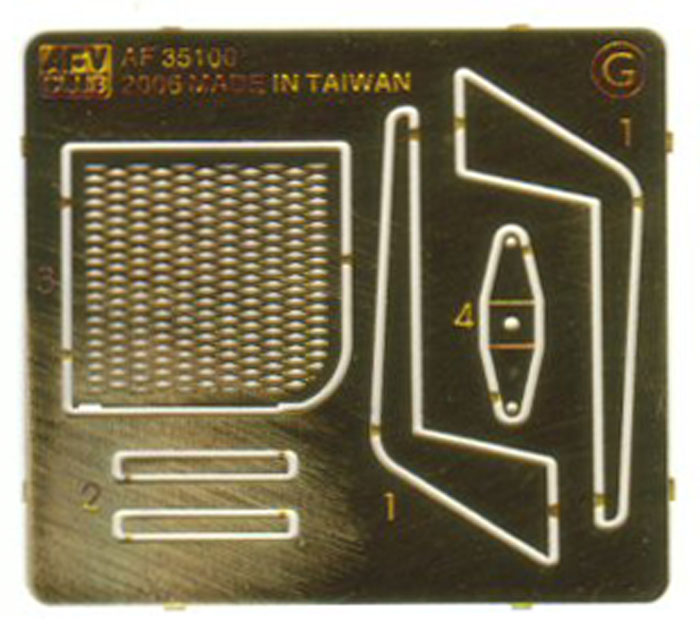
For this kit, the upper hull is not built separately from the lower hull like most typical kits, which provides the obvious advantage of a better and easier fit. Each component of the upper hull is build on top of the lower hull so there would be less worry about how it will all come together towards the end. For extra detailing, etched parts are provided for the front fenders in the form of supports. You can also expect an excellent level of detail for the upper drivers panel which comes with the circular turret ring panel where the turret would eventually sit.
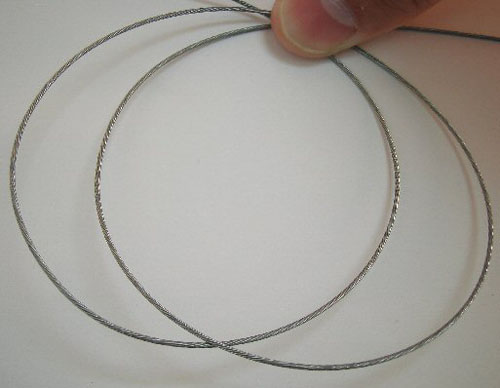
Expect to also find a wealth of stowage equipment for this build as it comes loaded with the various spades, crow bars and sledge hammer. For added realism, the kit comes with an actual steel wire cable which can be cut to various lengths depending on how you decide to load the tow cable on your build.
As if we werent spoilt enough by details, the kit comes with a metal barrel for the main turret and a smaller metal barrel used to represent the 12.7mm ranging machine gun (RMG) fairing.
Resin Figure
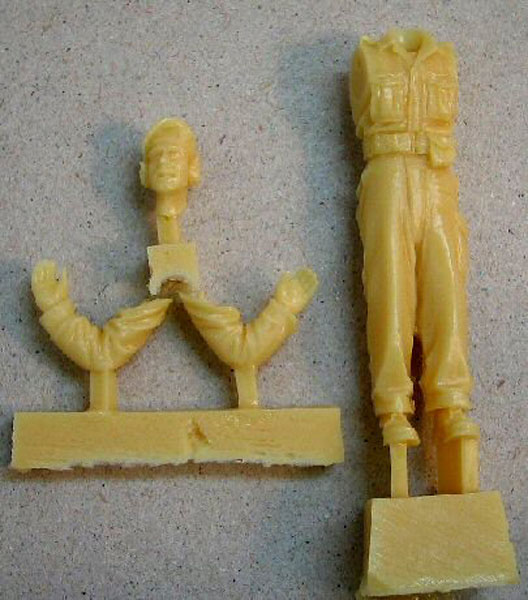
The resin figure provided in the kit is nicely detailed once again with the figure wearing the standard Royal Australian Armoured Corps (RAAC) black beret which was the typical attire during the Vietnam era. The figure comes together with both arms coming together in front of his chest in a pose that would be depicting a tank commander peering out from the turret hatch.
Decals
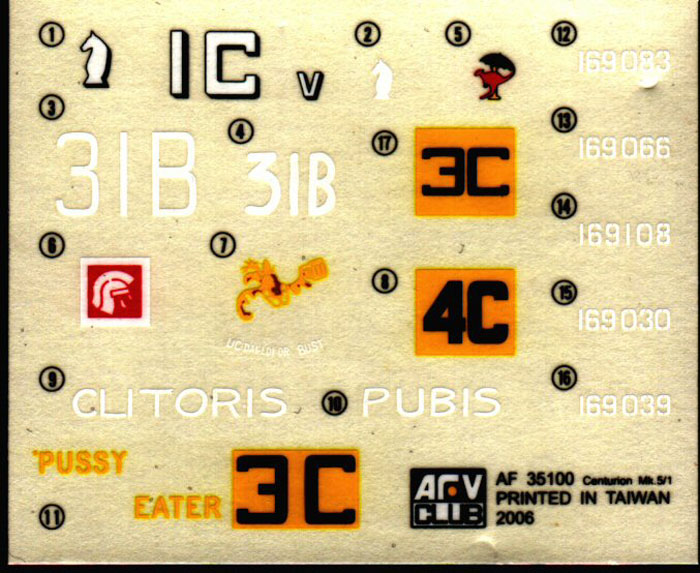
A standard decal film allows the option of identifying the tank for up to 4 different crew from A or C squadron. A reference for the decal placements can be found on the last few pages of the build instructions. 31B, C Squadron, 1 Armd Regt, Vietnam 19684C, C Squadron, 1 Armd Regt, Vietnam 19711C, A Squadron, 1 Armd Regt, Vietnam 19703C, C Squadron, 1 Armd Regt, Vietnam 1971There are two somewhat questionable phrases (Pussy Eater and Clitoris Pubis) provided that could be positioned on the rear depicting 2 different Centurions from the same squadron so effectively there are 5 different Centurions that you could come up with.
Conclusion
I dont recall having seen such quality in a single kit with such finely detailed components coming together. In terms of difficulty level, I would rate this kit in the range of medium to hard purely based on the amount of construction required for each component where other kits would have typically come moulded together (i.e.: axle stubs and wheel assembly).I had tried to compare this kit with Tamiyas Mk. V (89555) by having a look through during one of my visits to the local hobby shop the other day but purely based on the detailing found on the upper hull and the turret alone, it is clearly obvious that AFV Clubs version is far more superior in authenticity and would almost be an insult to place them in the same class. Very Highly Recommended!AcknowledgementsMy most sincere thanks to AFV Club for providing the review sample References1. Wikipedia Encyclopedia. Centurion Tank;
http://en.wikipedia.org/wiki/Centurion_tank2. Prime Portal: Centurion MK.III Walk Around Photographs by Daryl Nightingale;
http://www.primeportal.net/tanks/daryl_nightingale/centurion_mk_iii/index.php?Page=13. 1st Armoured Regiment.
http://www.australian-armour.com/1AR-new.htmlOther Reviews Done1. Terry Ashley Perth Military Modelling Site.
http://www.perthmilitarymodelling.com/reviews/vehicles/afvclub/afv35100.htm