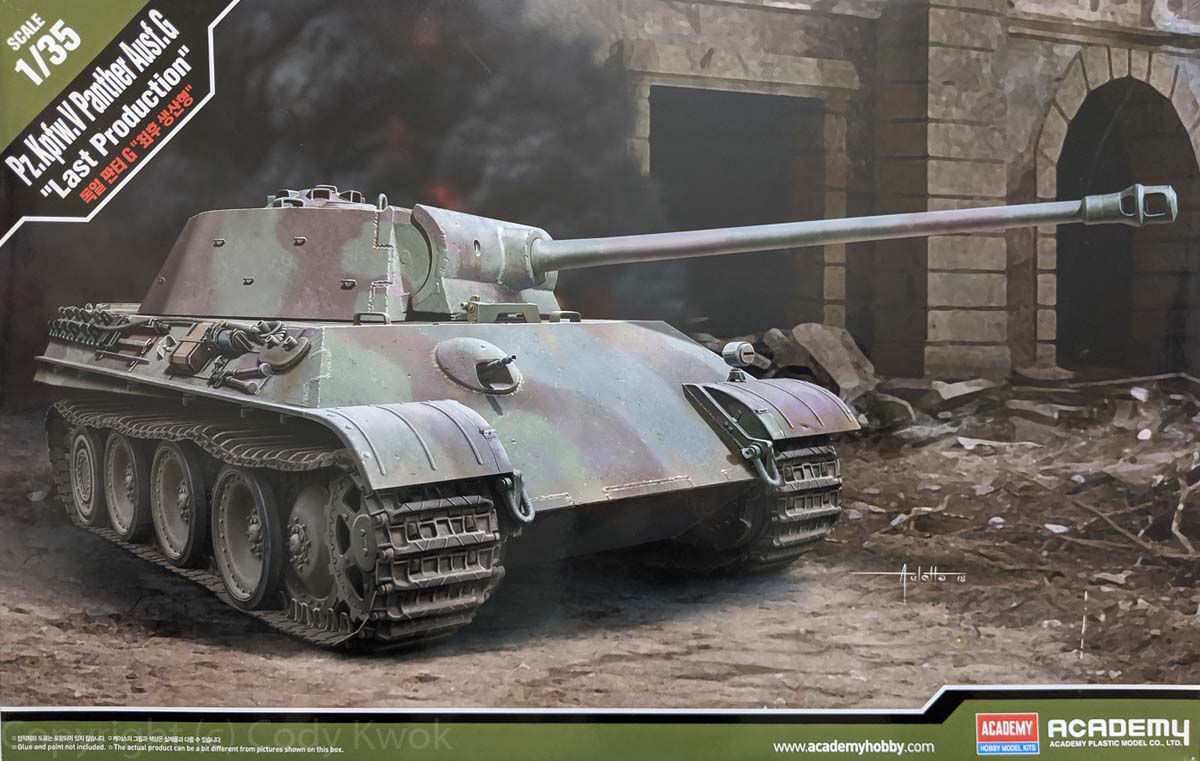
The Ausf G was the last production version of the Panther. Production began around March 1944 until April 1945, with about 3885 produced making it the most numerous of the Panthers. This particular kit depicts the final production model, with a number of features that separated it from earlier versions, including the chin mantlet to prevent shot traps, heater unit on the engine deck, and fire trap mufflers. With the slurry of recent Panther Gs from different companies lets see how Academys stacks up.
The Kit
This kit is an all new tooling. Building the kit I get the feeling that Academy wanted to offer a Tamiya-like experience with the build. Academy has been upping their game lately, my favourite being their Abrams and K2 tanks, and their Panzer IV wasnt too shabby. A pleasant surprise is that although the kit was labelled final production, there are enough parts to build almost all versions of Ausf Gs, with the only thing missing being an exhaust grill if you build an early G without the heater. The kit came with the following:
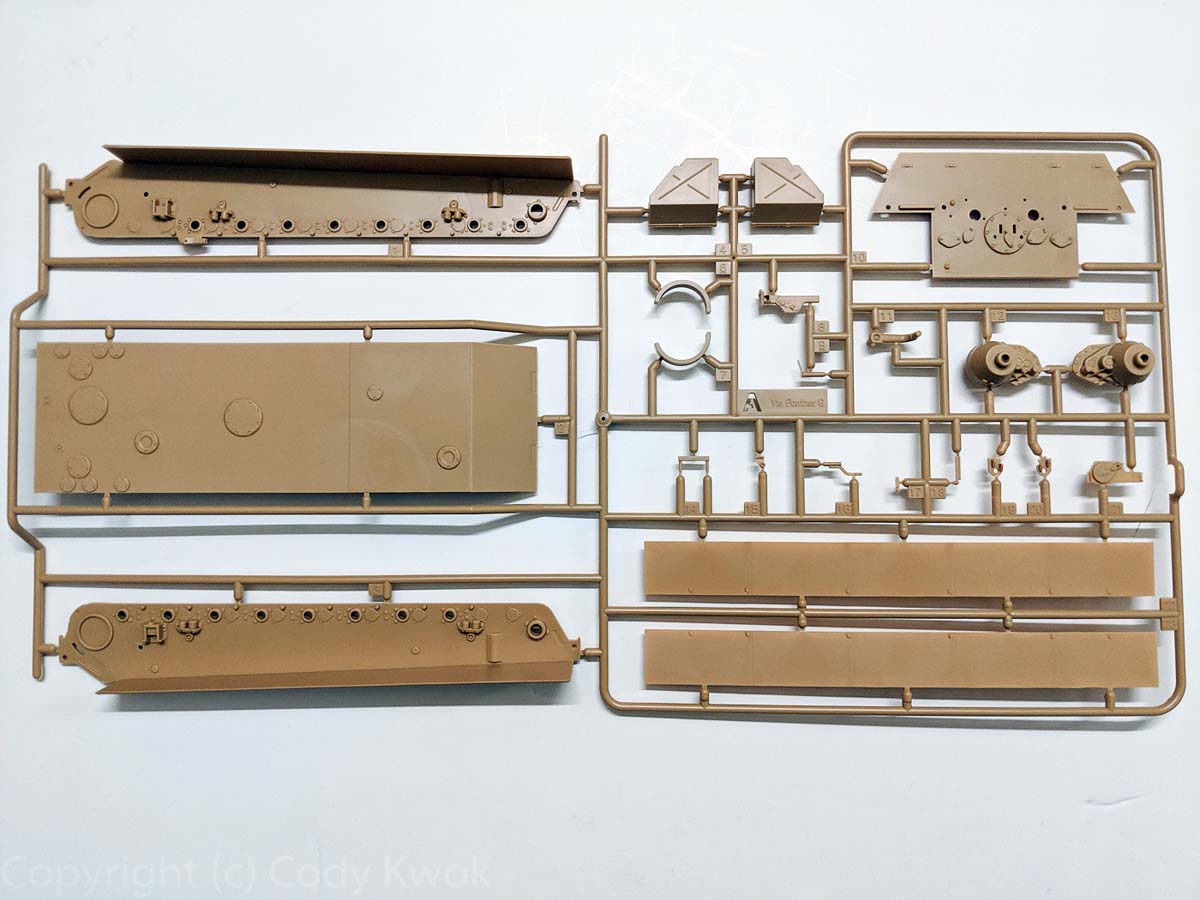
Sprue A of the lower hull.
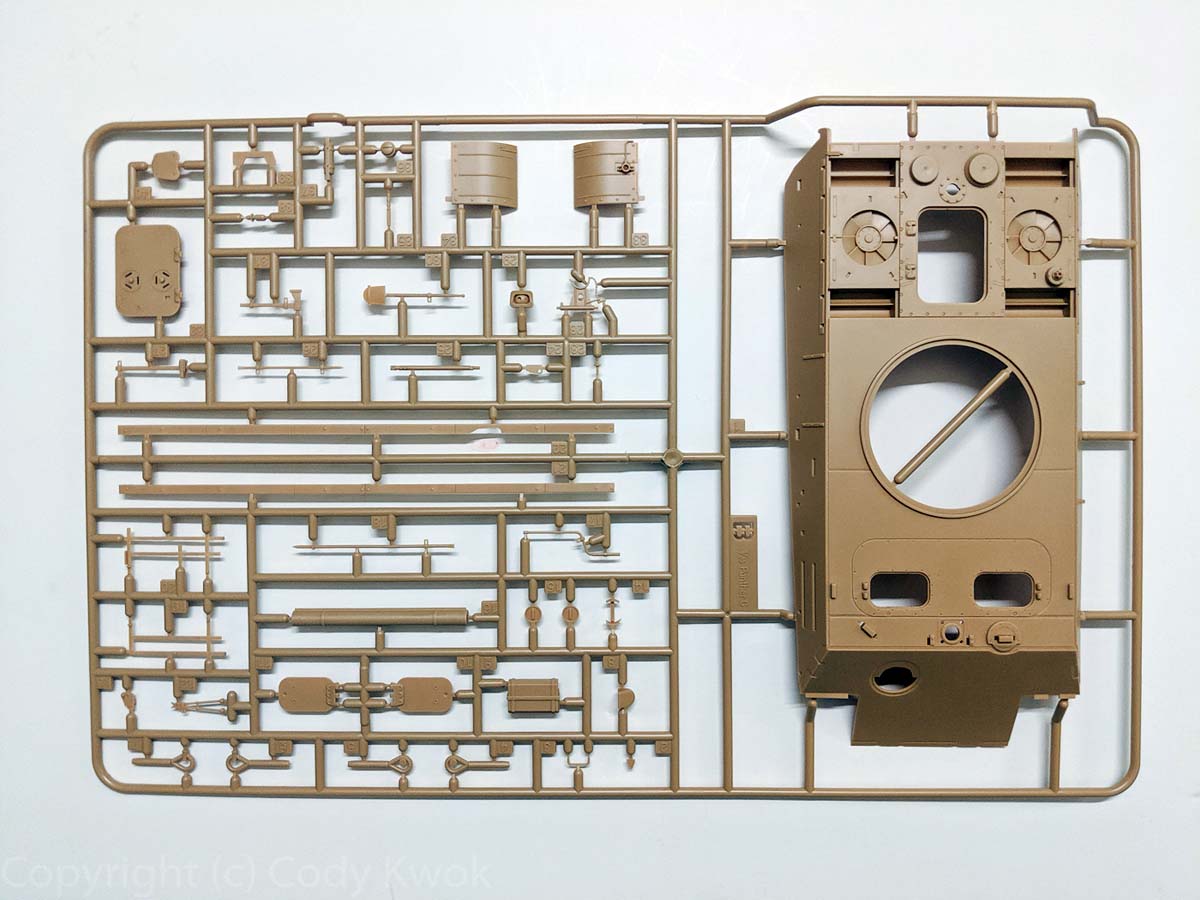
Sprue B upper hull and details.
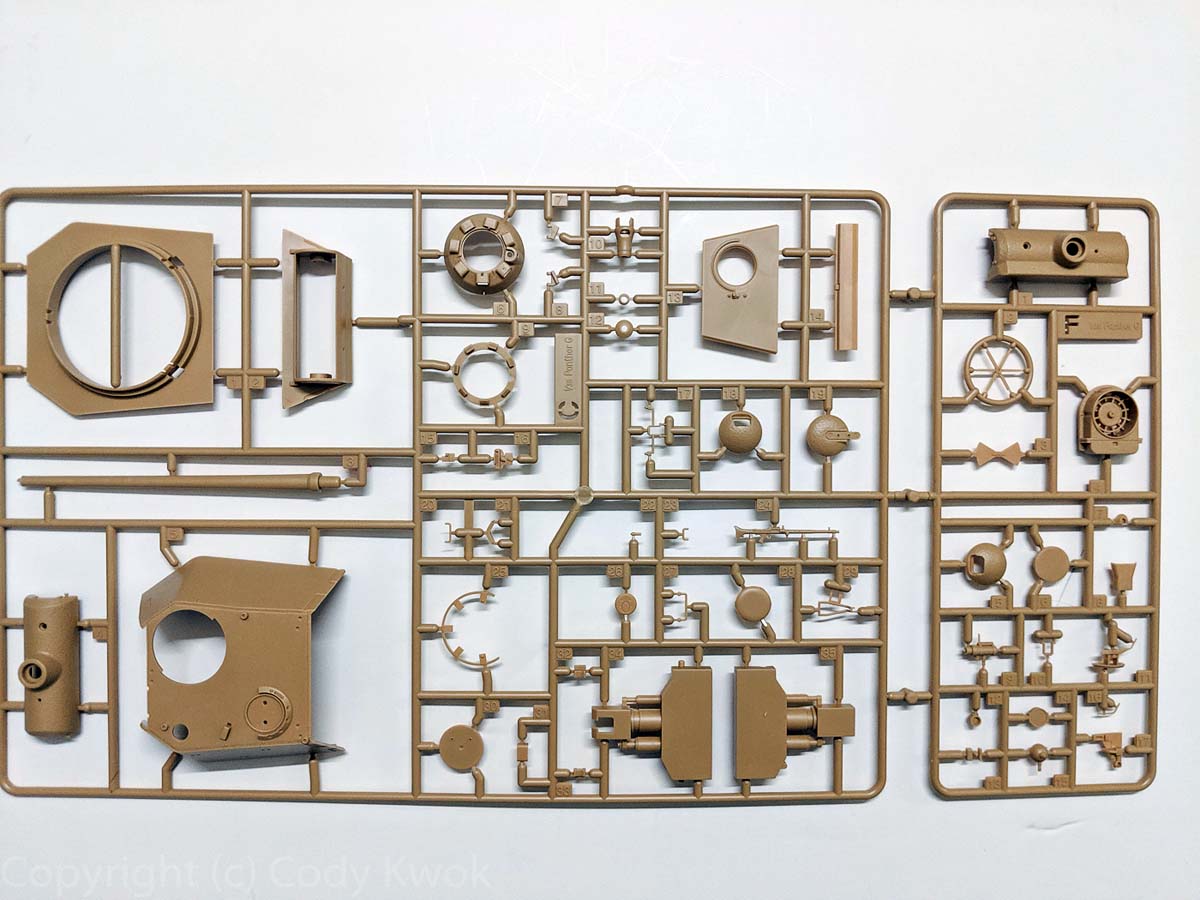
Sprue C attached with F, are turret and details. I suspect F is the sprue they would change if they offer some other variations.
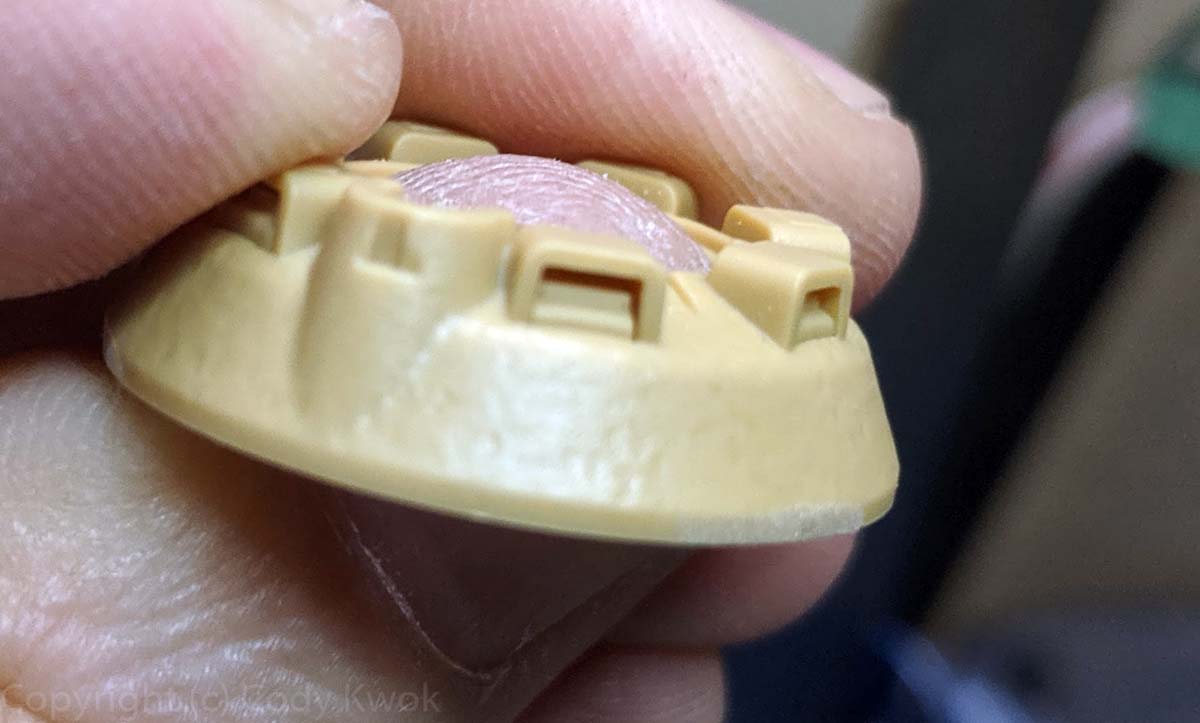
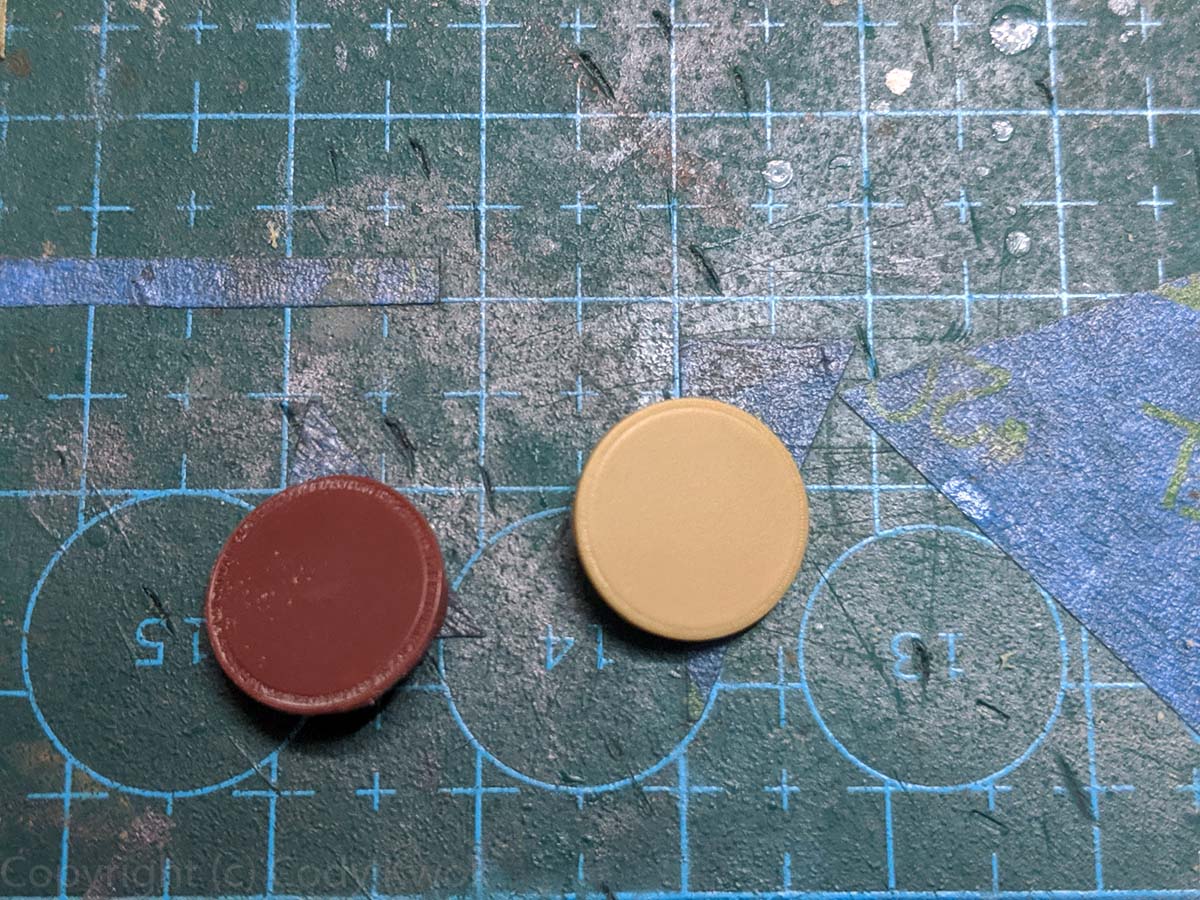
Sprue D x 4, with all the wheels and repeated details.
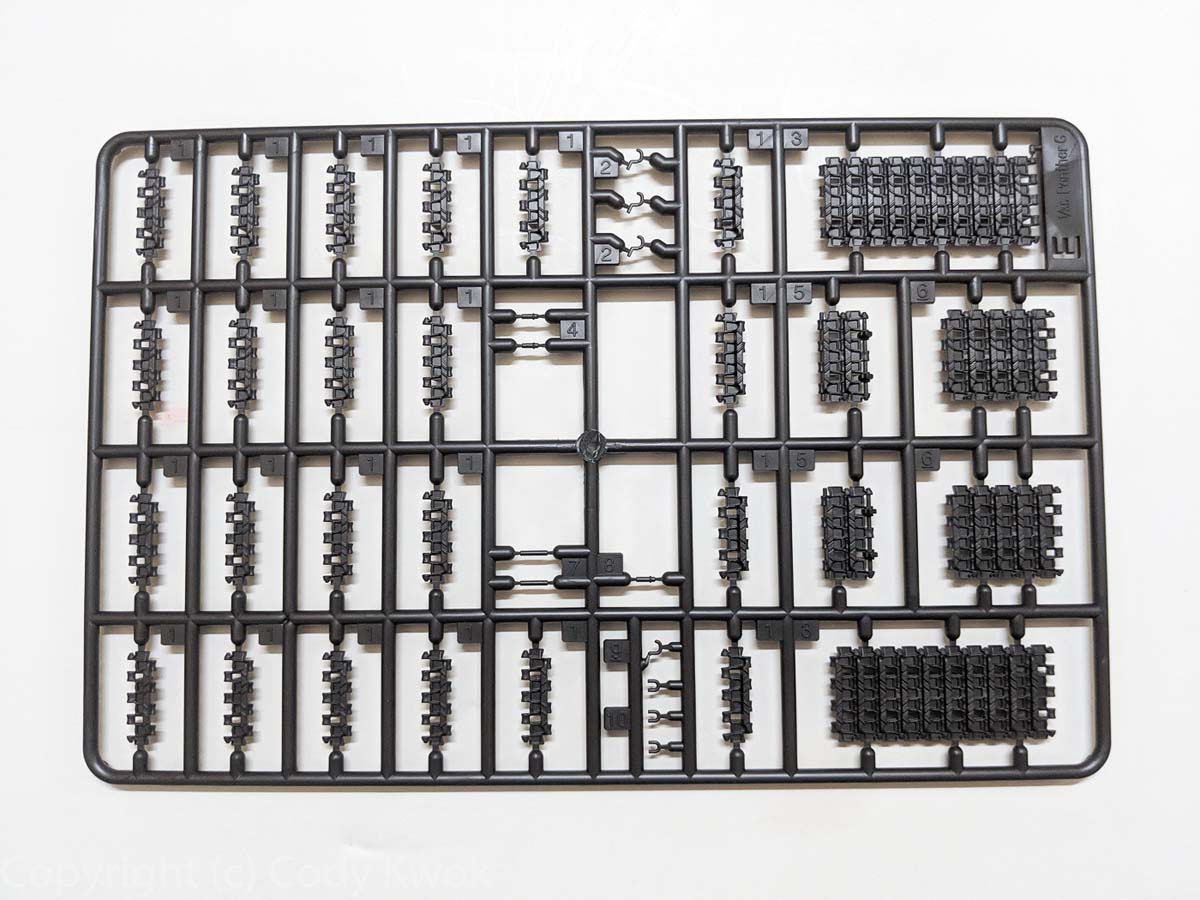
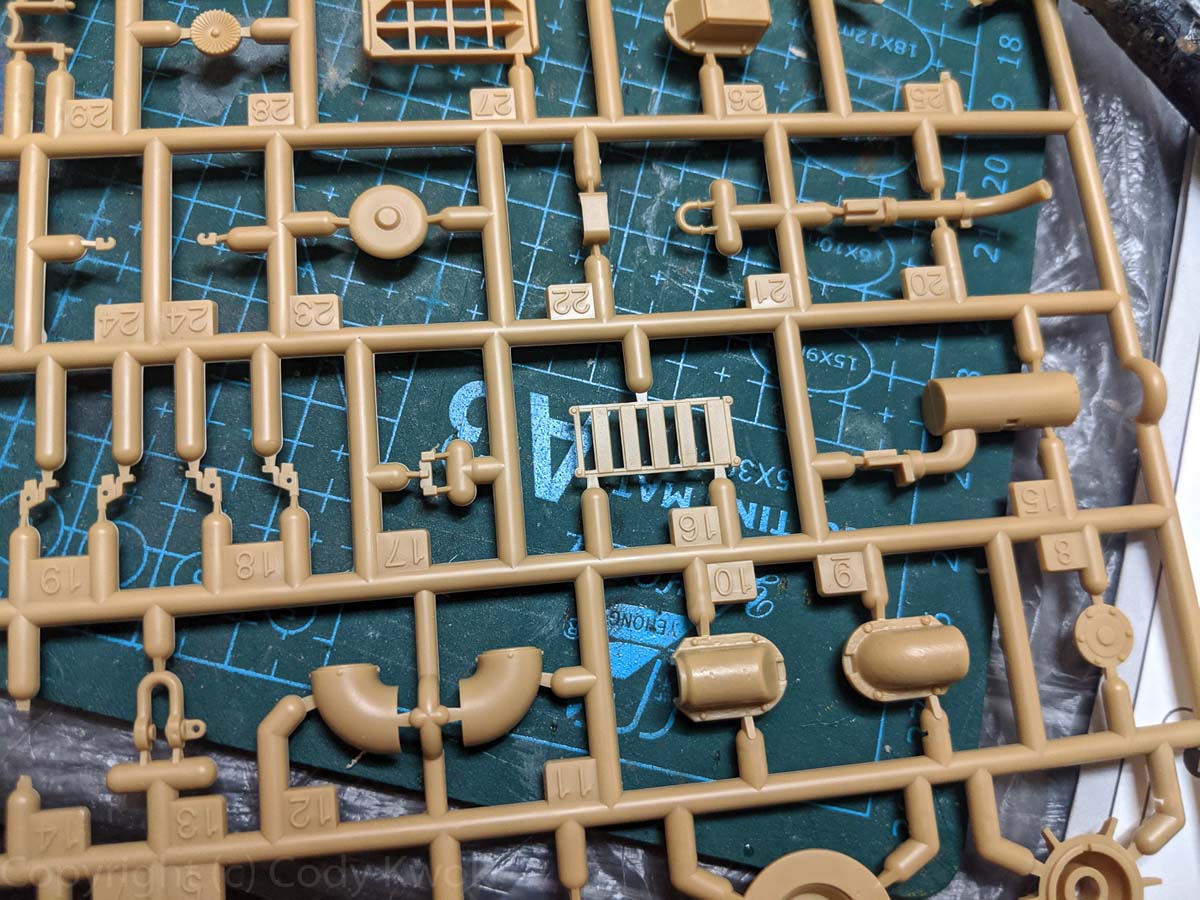
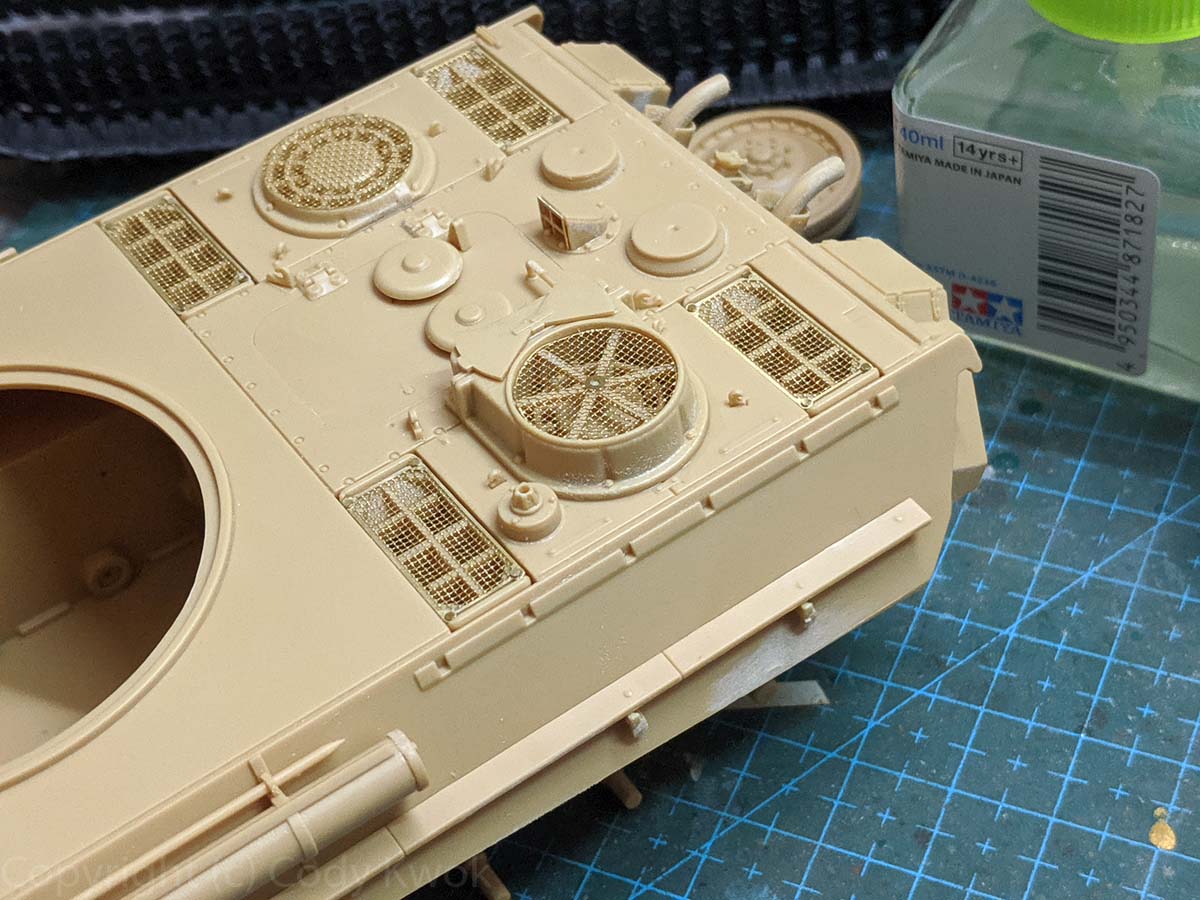
Sprue E x 4 of the link-and-length tracks plus foliage loops.
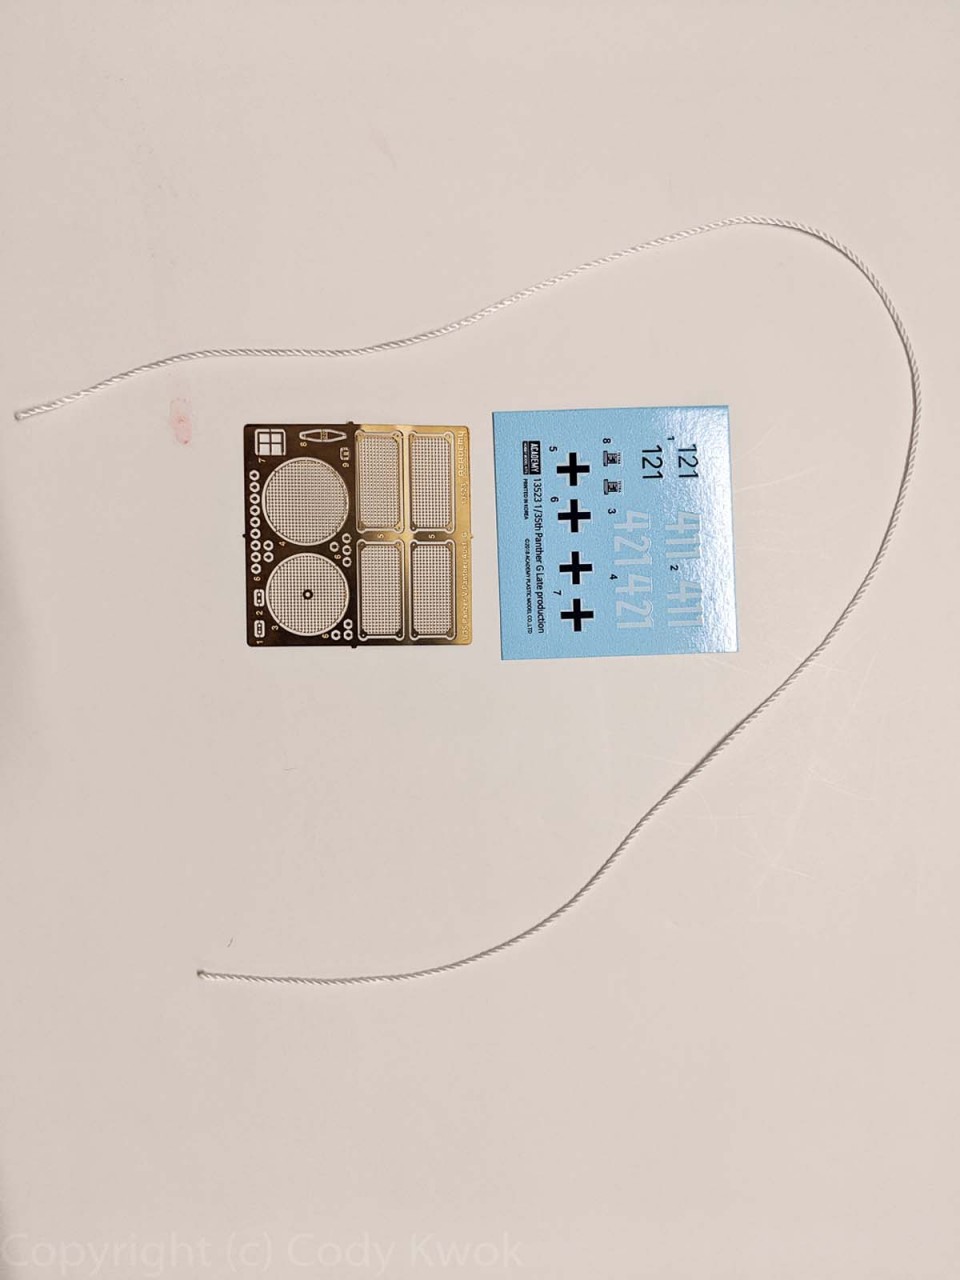
One PE fret with engine grills, a decal sheet, and a piece of thread for tow cable. I think there should be two polycaps for barrel elevation but either I lost it or the kit did not come with them, but I made do with spares.
The kit came with markings and options to be built into one of 6 vehicles and the instructions indicated these options in some steps, but there are others that were simply marked optional, so use your references. The 6 vehicles are:
II. Abt, Pz. Rgt. 22, Munchen Apr 1945, M.A.N., a chinless brown-green.
11 Pz. Div. , Rgt. 15, Landshut Apr 1945, M.A.N., 421 or 411, another chinless brown-green.
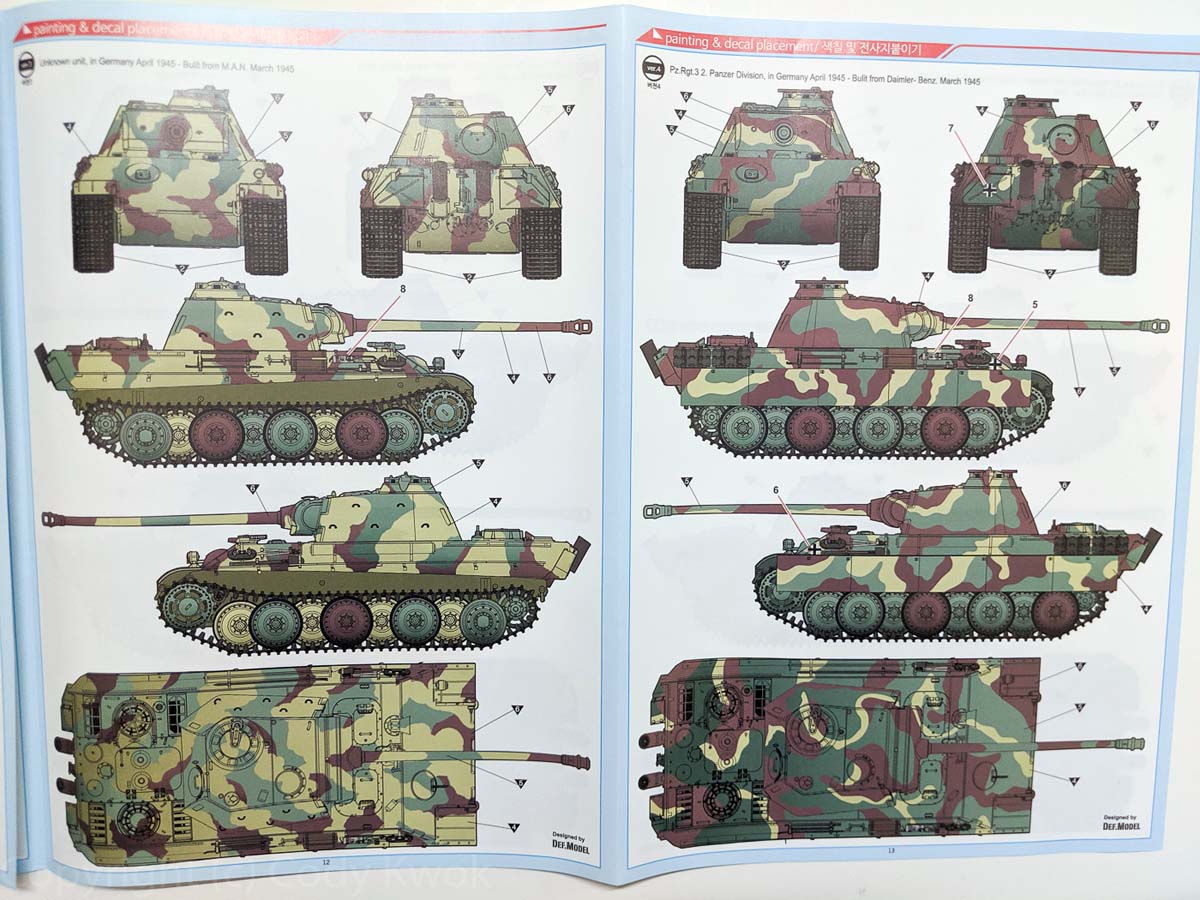
Unknown unit, Germany 1945, M.A.N., chinless tri-tonal.
2 Pz. Div., Pz. Rgt. 3, Germany 1945, Daimler-Benz, chinless tri-tonal.
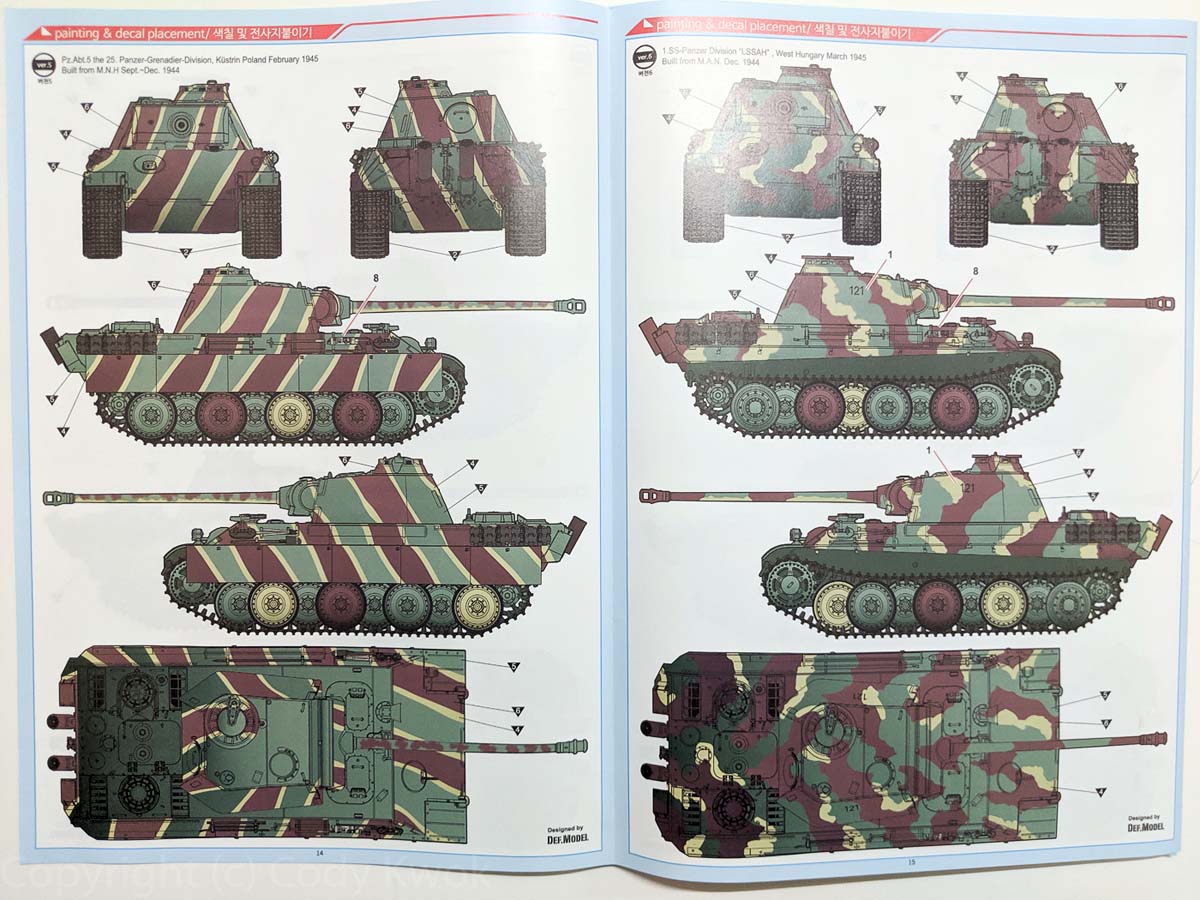
25 Pz. Gren. Div., Pz. Abt. 5, Kustrin Poland Feb 1945, M.N.H. A distinguished tri-tonal stripped pattern.
1 SS. Pz. Div. LSSAH, West Hungary Mar 1945, M.A.N. 121, tri-tonal.
I wanted to do a whitewash so I chose to build a vehicle from Panzer Aces Profiles book from II/Pz.Rgt.33, 9.Panzer Division.Luxembourg Jan 1945, which after some research turned out to be a command Panther, so I used some parts from my spare bin.
The Build
Right off let me say the fit of the kit is excellent. I noted that some reviewers found gaps in assembly but I did not, the key being carefully gluing sections with Quick Setting glue for a complete snug fit before moving on, that way all the mating surfaces should not be showing gaps.
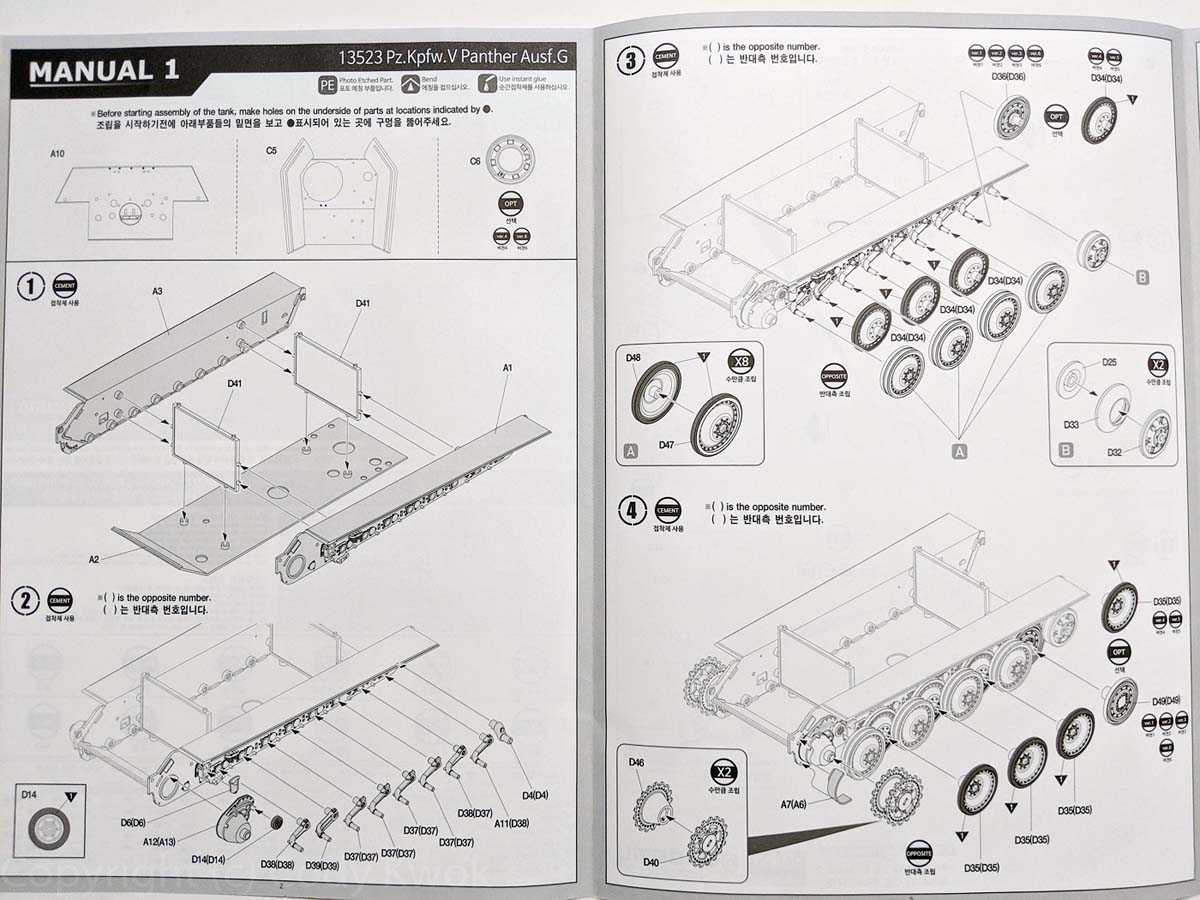
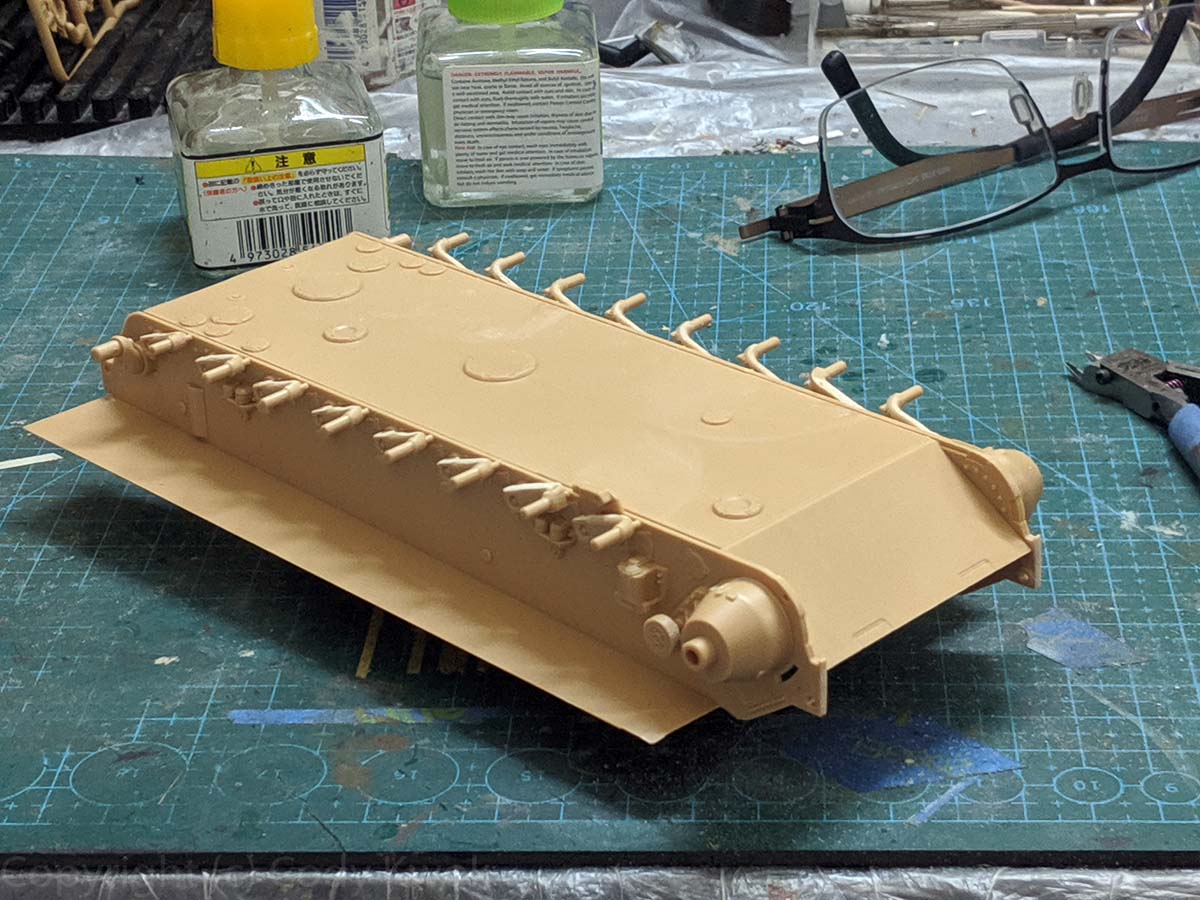
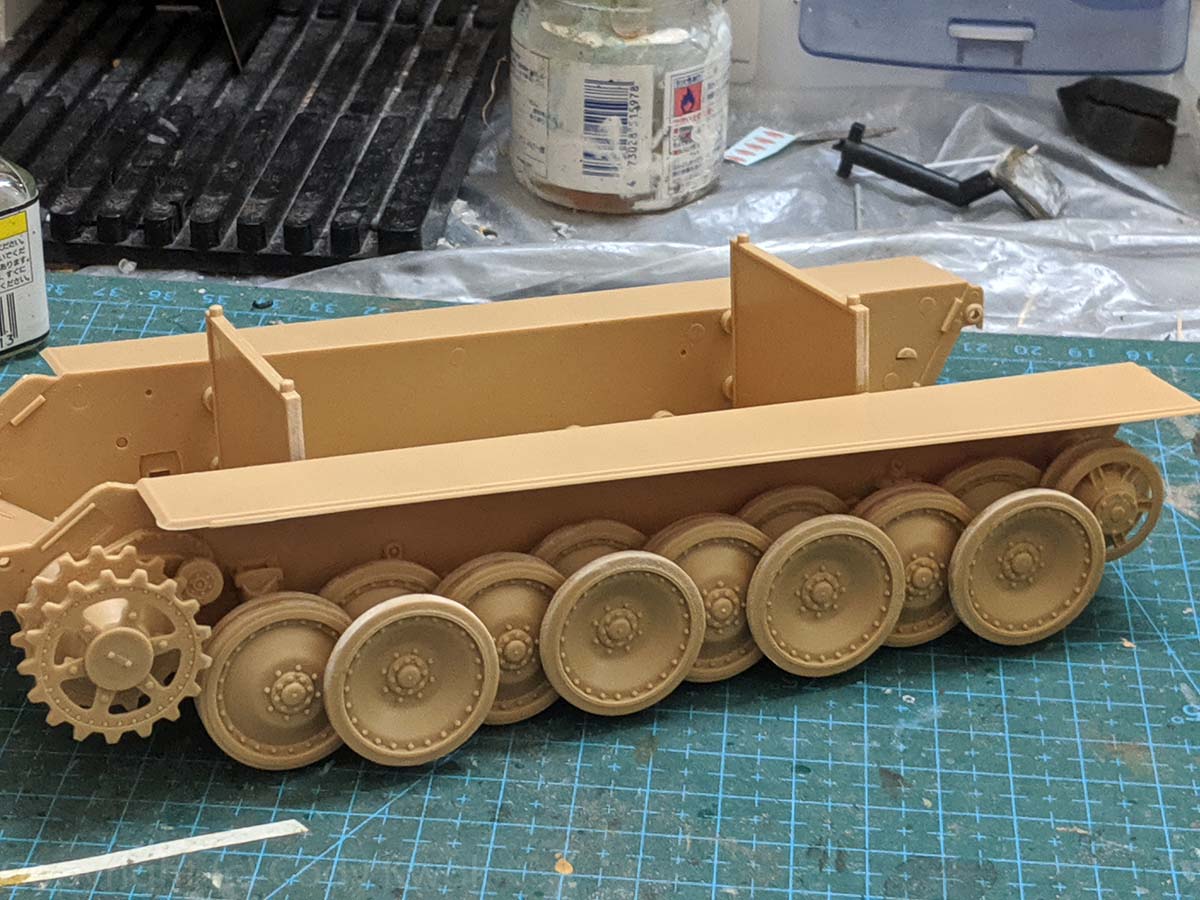
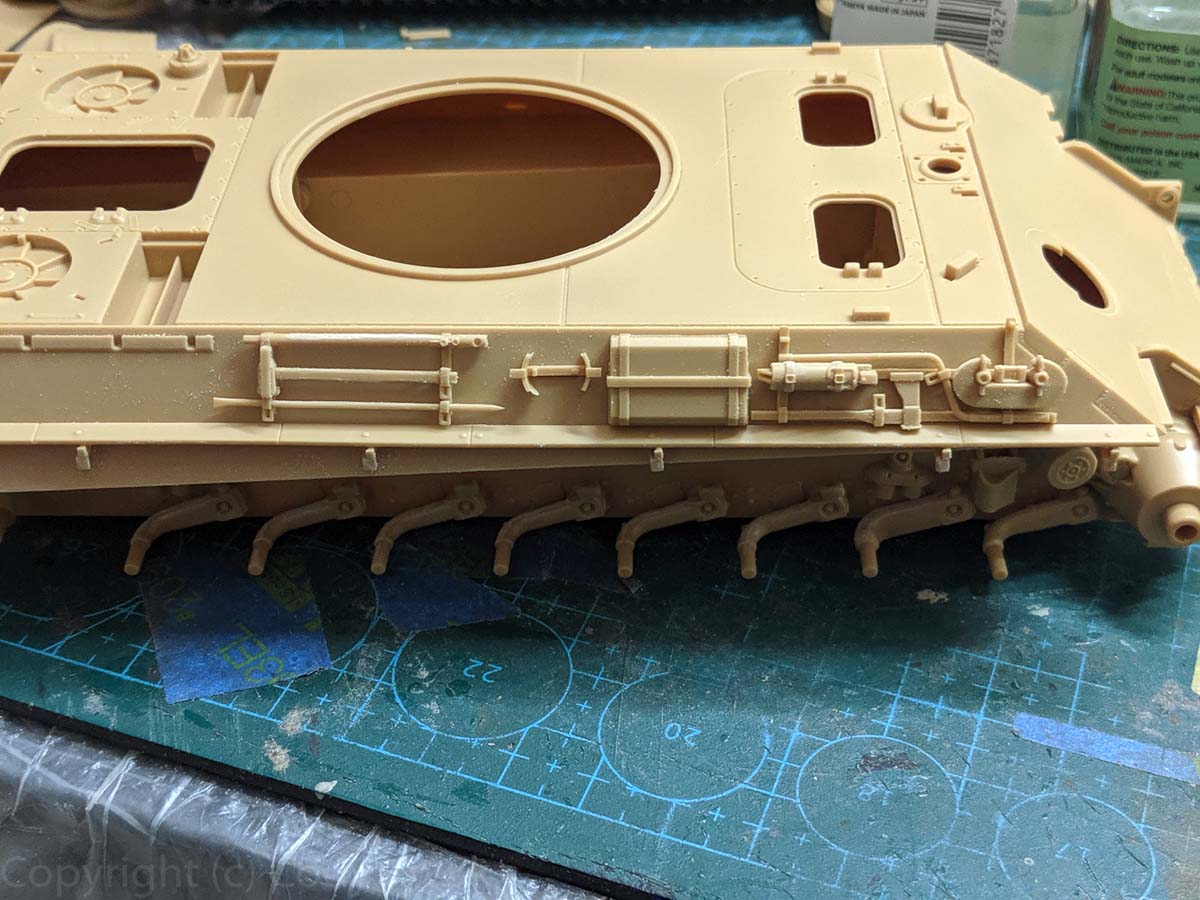
Steps 1 and 2: The lower hull is multi-part and fits very well. The swing arms have pins to affix their positions. The kit provides steel wheels (4), which can be used for the last wheels in certain variants. Steel wheels are smaller in diameter than the rubber equivalent, but the arms were set at a height for the rubber, so if you go with steel wheels you need to cut the pin and adjust the arm heights if you dont want floating wheels. Note this Information
Steps 3 and 4: As mentioned some vehicles used the steel wheels. The kit also provides two types of idler wheels, the smaller earlier version or the later self-cleaning version. The instructions didnt tell you to assemble the smaller wheels but its 4-piece assembly easy enough. I went with this.
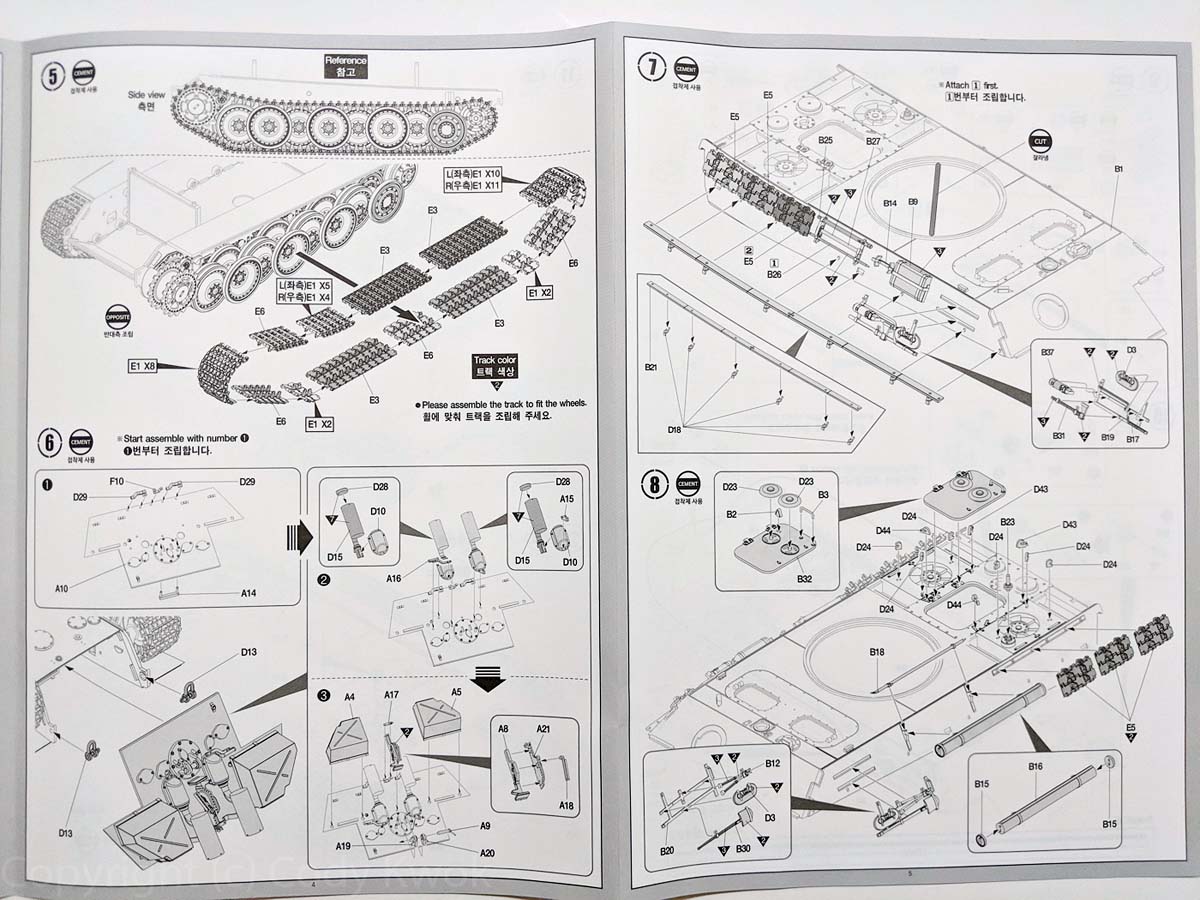
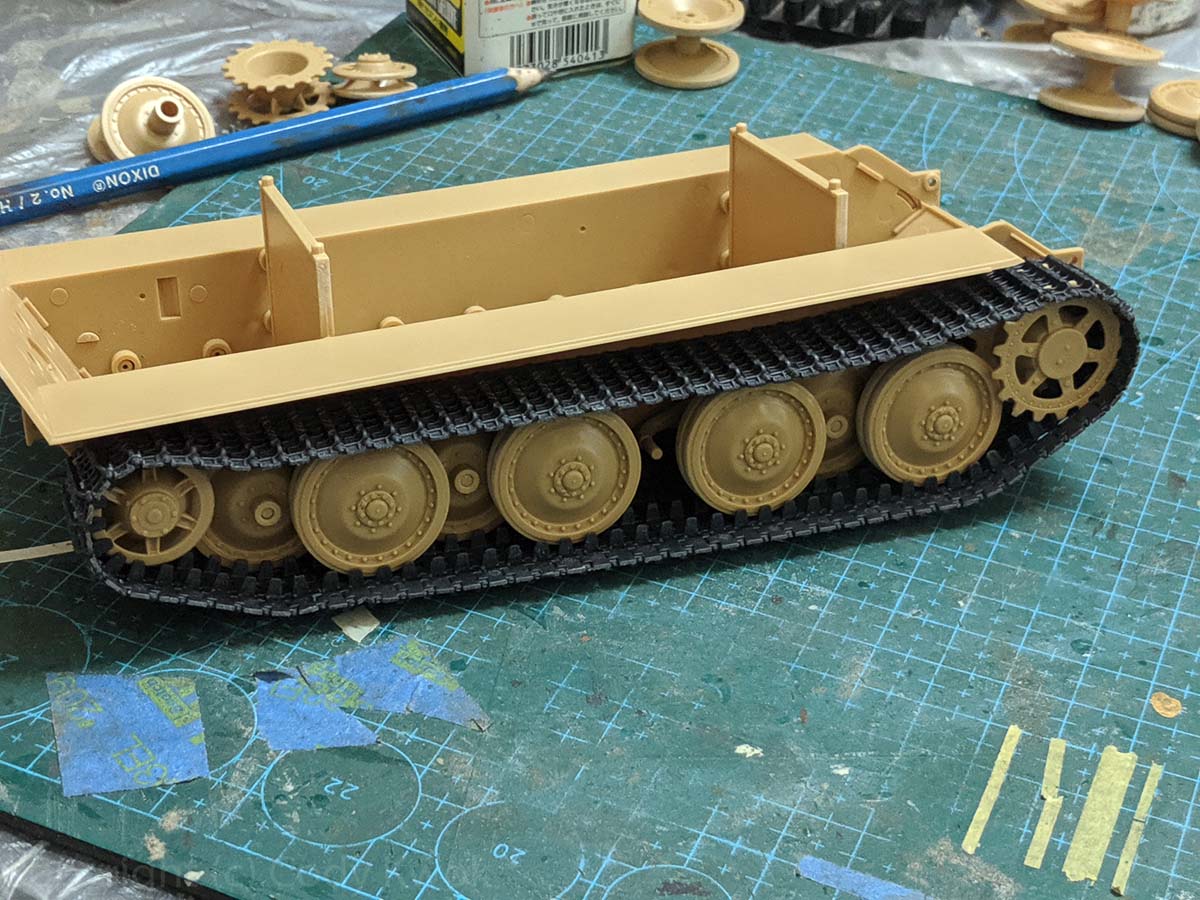
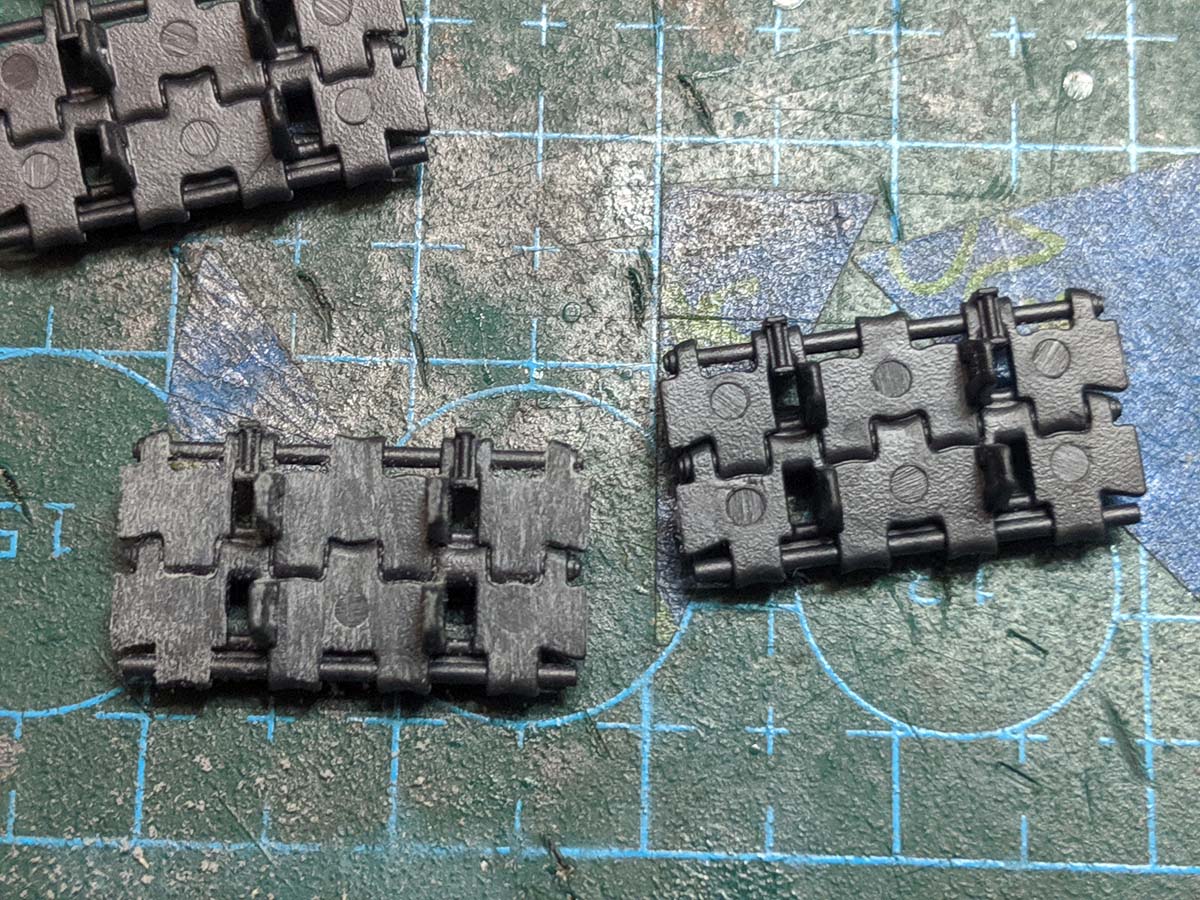
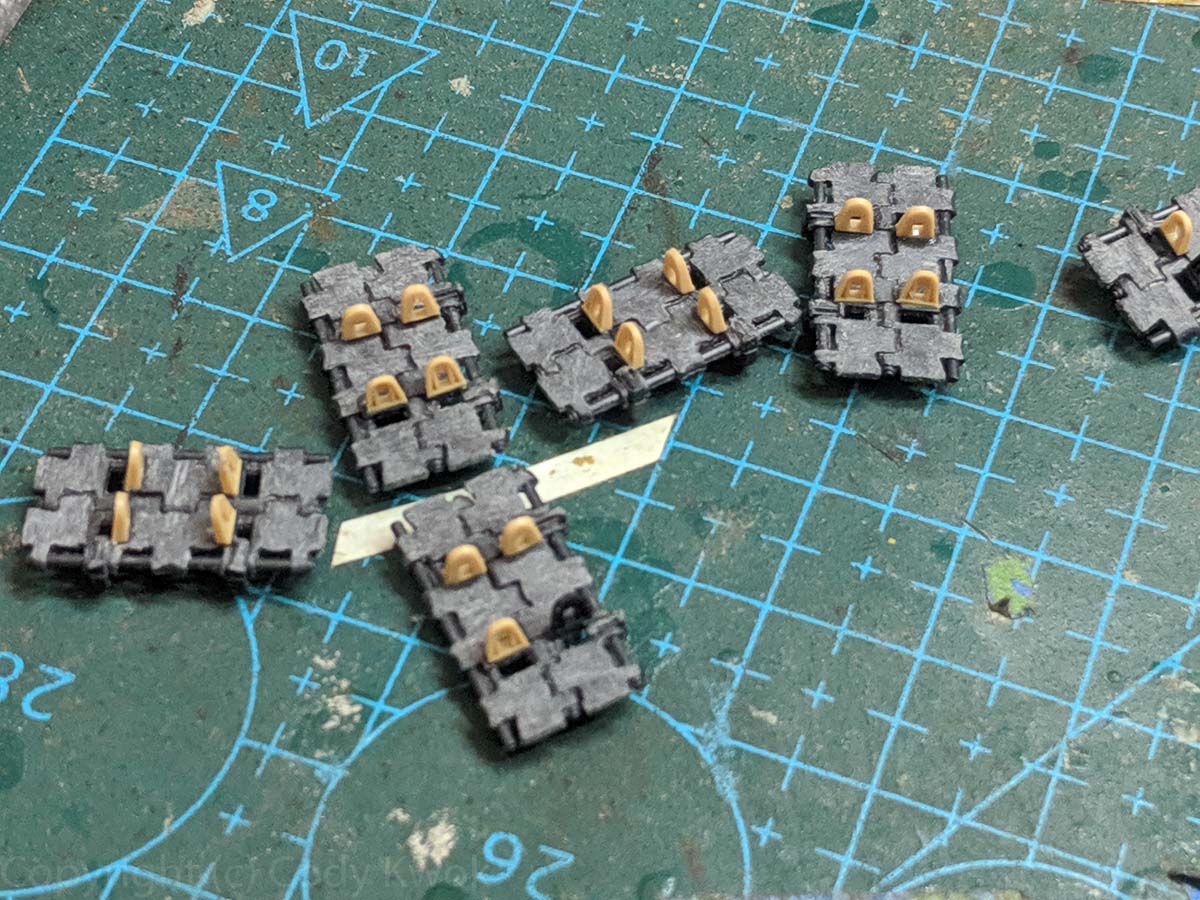
Step 5 assembles the link-and-length track. The kits tracks have solid guide horns, and most Panthers had hollow ones. This is a rather unfortunate choice, I suppose they did it because they didnt want to go vinyl to support sag, but hollow guide horns are very tricky to cast and you dont want those Meng nightmares. There are many options for late Panther tracks, I chose to go with Broncos snap-together plastic tracks, not very expensive and each track is a single piece. For this review I did the kit tracks anyway. The assembly interestingly has different lengths for certain sections so take note. There are a total of 87 links on each side.
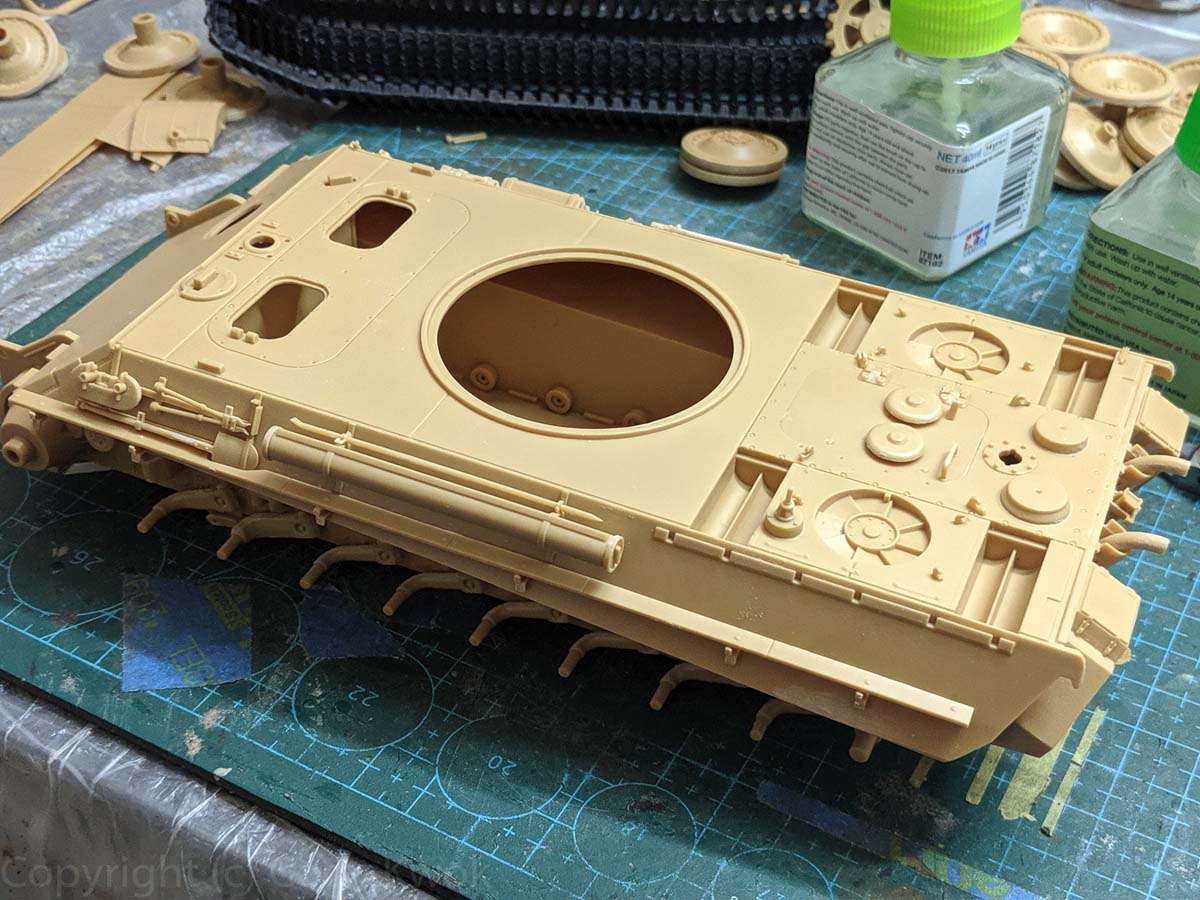
Before moving further I should say that I assembled all of the upper and lower hull together before adding the details rather than following the instructions, as that prevents accidents. The problem is that Academy didnt tell you where to drill holes explicitly.
Step 6 is the rear. Here is the first set of holes you need to drill in order to install the support brackets for the mufflers. I chose to install the earlier welded construction mufflers of my vehicle, which also used the same holes. The stowage boxes had gaps at the bottom with the rear plate and that was intended, although the left hand side was protruded too much so you may want to sand down the protrusion. The bottom of the stowage boxes should also have a support plate but the kit was missing this detail.
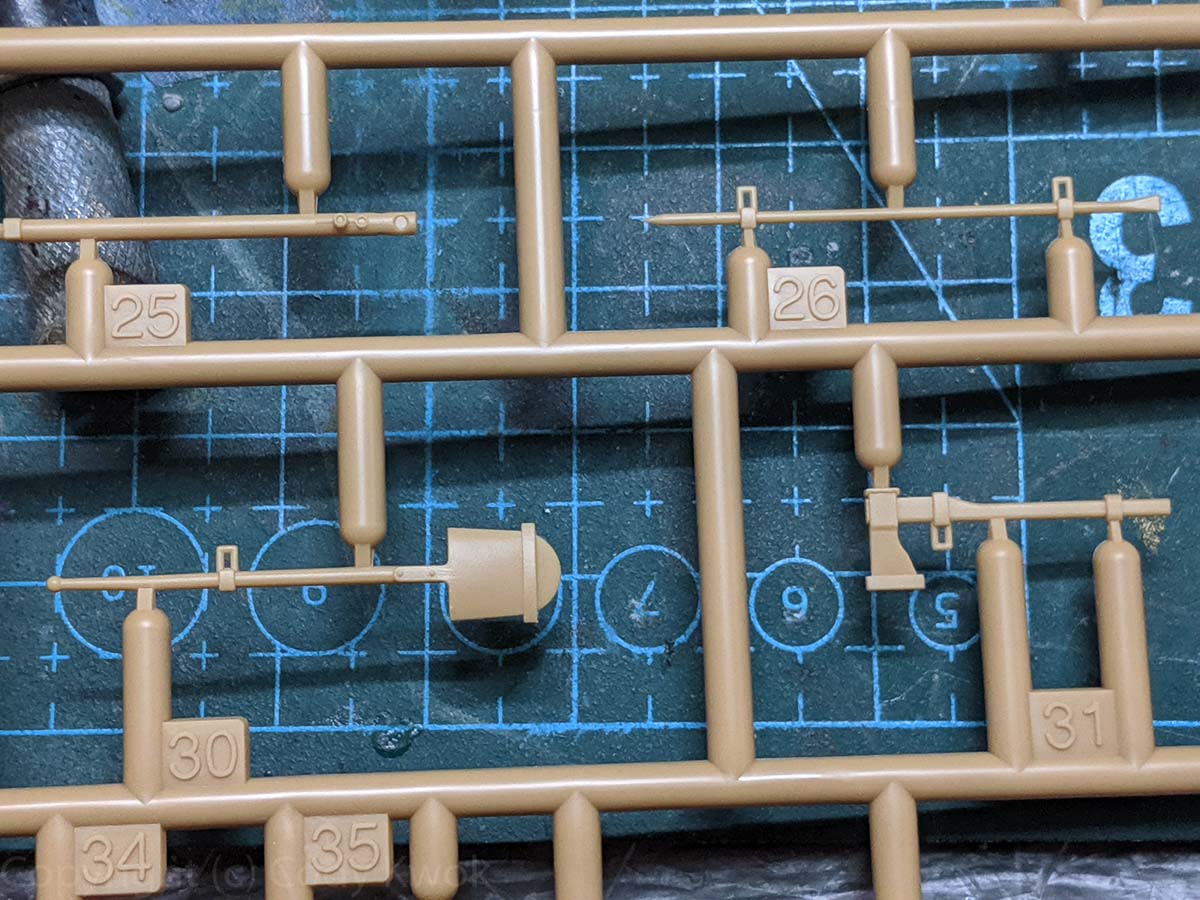
Steps 7 to 9 are the side details and engine deck. The side fenders are one piece with side skirt support, I found it easier to install the fender first and add the support later. Academy has a very unique design for the side spare track bracket and that is molding the clip and the track and the lock pin together. It lacks some details on close inspection but for simplicity it wasnt a terrible choice, BUT because of the solid guide horns this whole thing doesnt quite work. In the end I grabbed the Meng hollow guide horns, trimmed them, removed the solid guide horns, and replaced them with Mengs. I mean you can argue the guide horns may not be too visible in the lower hull, but here they are so obviously wrong that I just couldnt live with it. And now if your spare tracks and hollow and your running tracks are solid, it looked completely bizarre so I decided to go with some Bronco tracks after all. On the positive side, I have to commend Academy on the tool clasps, their handles are very finely molded - the best I have seen, with Meng second - and if you sand and thin it down a bit more you will have some great-looking handles. Academy also had one-piece tow hook assembly that included the holder and the pin in one assembly, another Tamiya-wannabe feature. I didnt mind this too much.
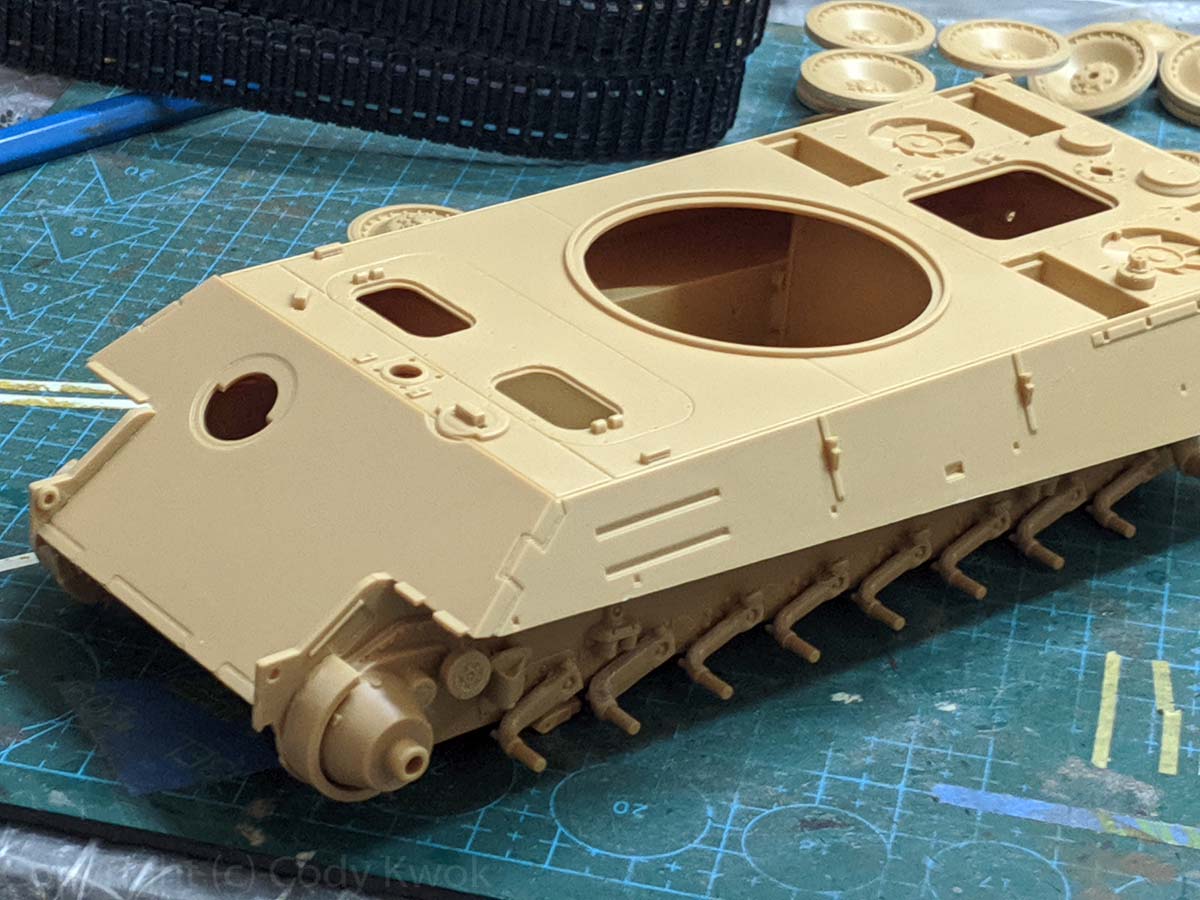
Step 10 covers the front hull and tow cables. The gun travel lock did not look right and I put it side by side with a Meng, showing that it was too short. Replaced mine with Mengs. The MGs muzzle was cast solid so you may want to open it up with a 0.4mm drill. The tow cables were cast with their support. It lacks some details especially on the back brackets. I could still live with it were it not for the fact that my vehicle was not configured this way, so I created my own holder brackets.
Step 11 is where you assemble the upper and lower hulls, which I had already done earlier. To do this gap-less, you want to first handle the front mating surfaces, which has to be perfect if you dont want to use putty. Then you can run Quick setting glue along subsequent joints, squeeze and hold for 10 seconds, and repeat. One trick I used was to overflow the joints with glue so that a lot of melted styrene will ooze out, I then used an xacto knife to chop the goo to create weld seams. This is one flaw of the kit, it lacks weld seams on certain surfaces, notably the junctions between hull plates, and I used this method to add them back.
Step 12 are the front mud guards and side skirts. The side skirts are cast in one piece, the thickness they use bevelling to create the illusion of thin armor. I think its not too bad, but if you have damaged or missing side skirts you have to mess with this single pieces of styrene. Unless the skirts are perfect on your vehicle which often isnt the case, it is difficult to remove skirt plates with this arrangement because after you slice off plates, you get square holes in the plate which unless you have a punch it is difficult to replicate. I may commission some spare Meng or Dragon skirts for this.
Steps 13 and 14 are the turret assemblies, and are the weakest part of the kit due to a number of missing details. First, the turret comes together pretty well, but the fit between front piece C2 and body C6 are a bit tricky, you may want to run quick setting a few times to remove all gaps. If you vehicle did not use the foliage loops, you may also want to sand off the nubs on the surface for locating them. The periscopes in the cupola were strangely too short and looked off, so I replaced them with spare periscopes from Dragons Jagdpanther. The vent cover F6 looked a bit under detailed with inauspicious weld seams so I replaced it with Mengs. The handle part D21 in the back should have a triangular reinforcement plate in some vehicles but it is missing in the kit. My vehicle didnt have it so this didnt bother me. The turret was also missing a mount plate for Orterkompass (Dragon Panther kit part B24) and 3 poison gas detection plates (B18 and B19 in Dragons kit). Perhaps most noteworthy is the omission of the mantlet MG, they did not have the part even. I cut off the barrel of the AA MGl, opened up the muzzle and installed it.
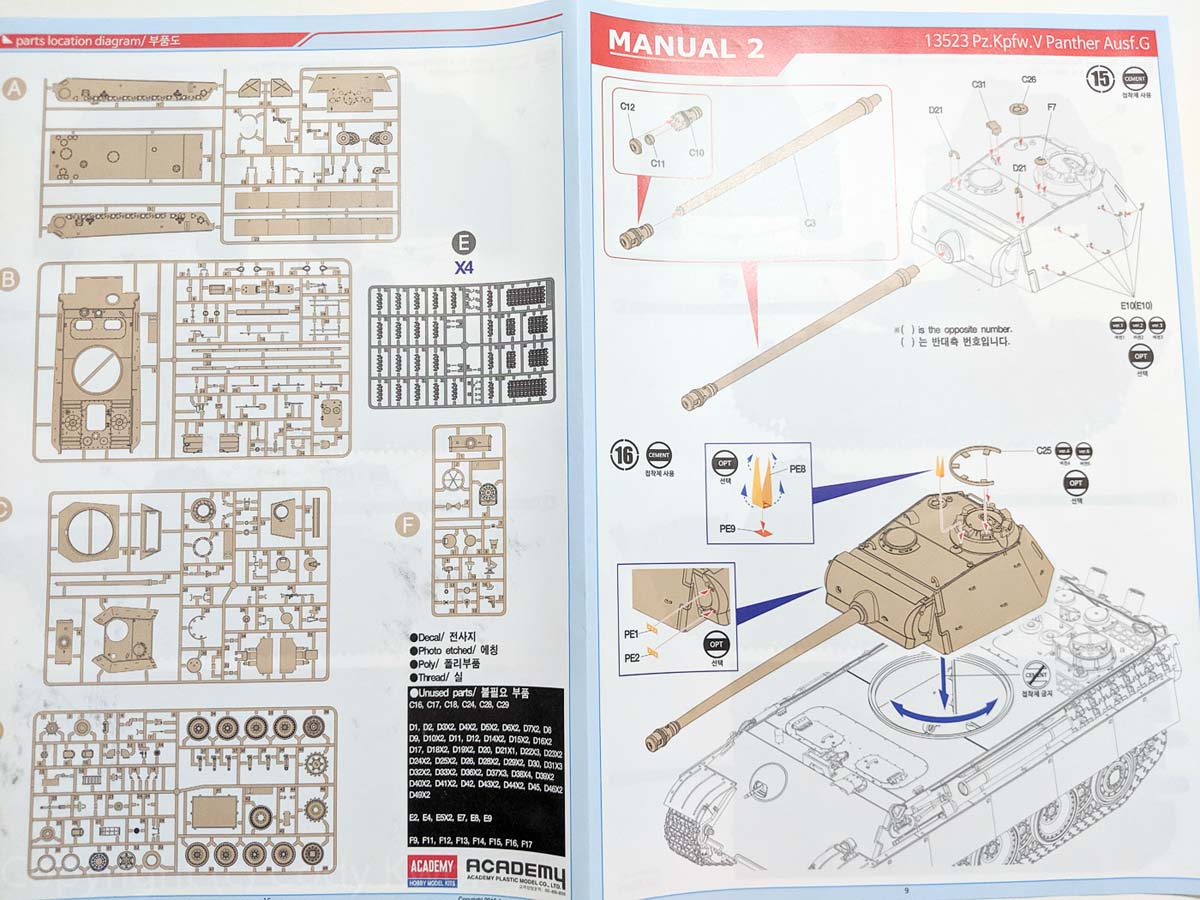
Steps 15 and 16 are the final turret assemblies in Manual 2. The barrel is one-piece with easy-to-remove mold seams. If you install the AA MG rail, it has two nubs expecting two holes in the cupola. There is only one so I can only assume it wants you to drill the other one, but you dont need the nub to properly install and align the part. The PEs in steps 16 are optional only if you dont want to mess with PEs, as the direct sight (that V-shaped PE) and welded attachment points (PE1 and 2) were all standard. I also added Befehlspanther antenna mounts to my vehicle from Mengs spares.
Conclusion
This was a valiant effort from Academy, trying to do something different by offering high level of detail but easy assembly. If you build the kit OOB it would be very straightforward and fun, with excellent fit and low part count. The finely cast tool handles in particular were impressive. The problem is the accuracy of the kit suffers not in terms of its dimensions (which seems spot on), but certain details. The solid guide horns were difficult to accept, and the turret was missing a lot of details. I have mixed feelings about this kit, especially after the rather reviewing the impressive Ryefield kit. But if you want to be able to finish OOB in a couple of sessions this is a great choice and would build into a nice Panther G.
SUMMARY
Highs:Lows:Verdict: Exceelent for beginners if you don't mind a few missing details.
Our Thanks to MRC! This item was provided by them for the purpose of having it reviewed on this KitMaker Network site. If you would like your kit, book, or product reviewed, please contact us.
I've always felt that Academy kits were excellent value and were woefully under-appreciated by many who have never built one. If they have, as you said, really upped their game then this should be a fun build without the craziness associated with the Dragon instructions or the sticker shock of certain other new releases. I'd happily build one, if that means anything.
I suppose they were underappreciated because they created a bad reputation for themselves with lower quality initial releases. They had been good but never awesome until the Abrams IMO, but they still weren't very competitive with German vehicles in terms of quality. Panthers aren't very complicated so a Dragon kit doesn't have that many parts either.
I believe that their reputation was stained with the poor copies of Tamiya kits, I however like their aircraft and their recent releases have been very good.
I really enjoyed the Abrams and their new Pz. IV and this kit look very inviting. Molding has improved significantly but I have always liked their instructions, which are far better than other manufacturers, and their prices have been good. I hope they keep these coming out.


Comments