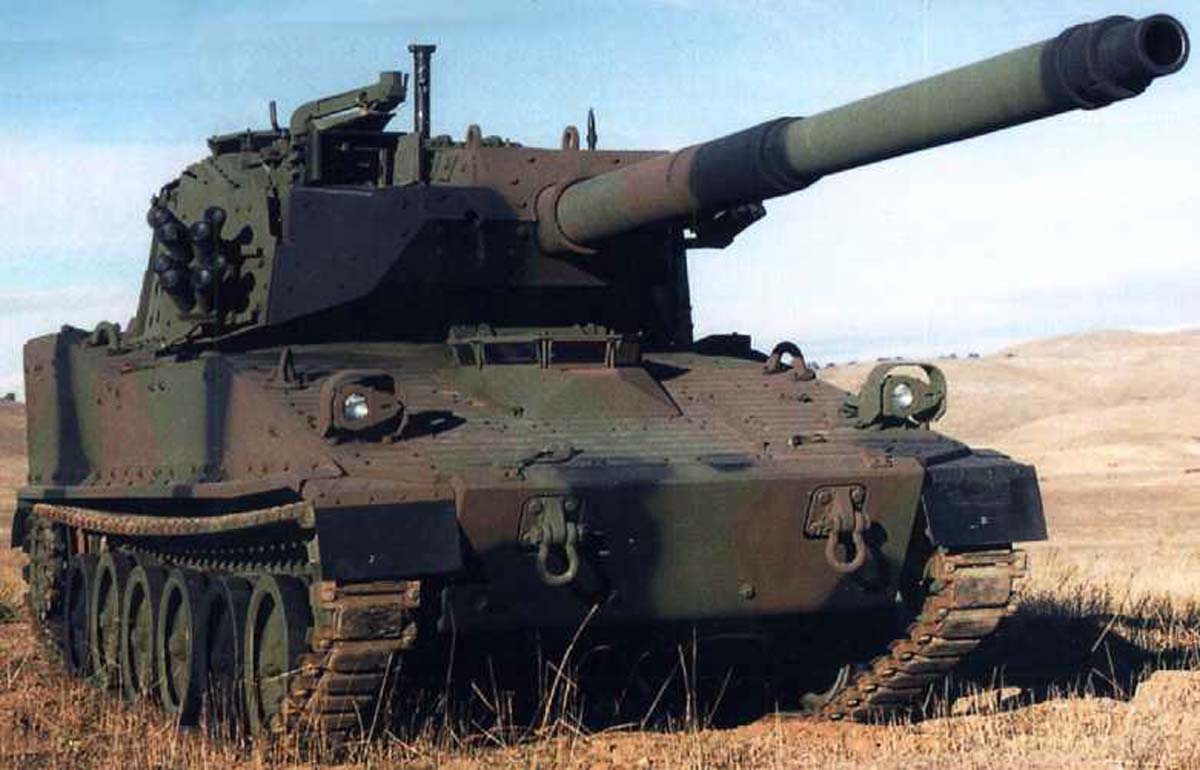
The M8 is a light tracked armoured gun system which was designed by U.S. Company FMC Corporation, Ground Systems Division. Following an international competition, in mid-1992 the US Army selected the FMC Corporation, Ground Systems Division (now United Defence LP), to design and build its Armoured Gun System (AGS) to replace the M551 Sheridan light reconnaissance vehicle uses mainly by U.S. airborne troops. The M551 has now been retired from the US Army without replacement. A total of six prototypes were eventually built for the U.S. Army under the designation of the XM8 AGS. The M8 was later type-classified by the U.S. Army in late 1995 and initially slated for production in 1996. The M8 project was cancelled in 1997 for funding reasons for other priorities of U.S. Army. The M8 also had the ability to be airdropped by military transport aircraft. A new version of the M8 under the project name of Light Expeditionary Light Tank was shown at AUSA defence exhibition in October 2015.
The BAE Systems M8 Armoured Gun System was an American light tank that was intended to replace the M551 Sheridan in the 82nd Airborne Division, as well as being expected to replace TOW-equipped Humvees in the 2nd Armored Cavalry Regiment (2nd ACR). The Armoured Gun System (AGS) competition was initiated and in 1992 FMC/United Defences vehicle was selected. The M8 project was eventually cancelled in 1997. Its role in the 2nd ACR was eventually taken by the M1128 Mobile Gun System. The BAE Systems (which bought United Defence in 2005) is expected to offer a modernized version of the M8 in the competition for the US Army Mobile Protected Firepower infantry brigade light tank requirement. The BAE Systems has put forward an upgraded version of its M8 Buford Armoured Gun System (AGS), called the Expeditionary Light Tank. This vehicle, weighing in at less than 20 tons in its lightest configuration, also features a turreted 105mm cannon as its main weapon.
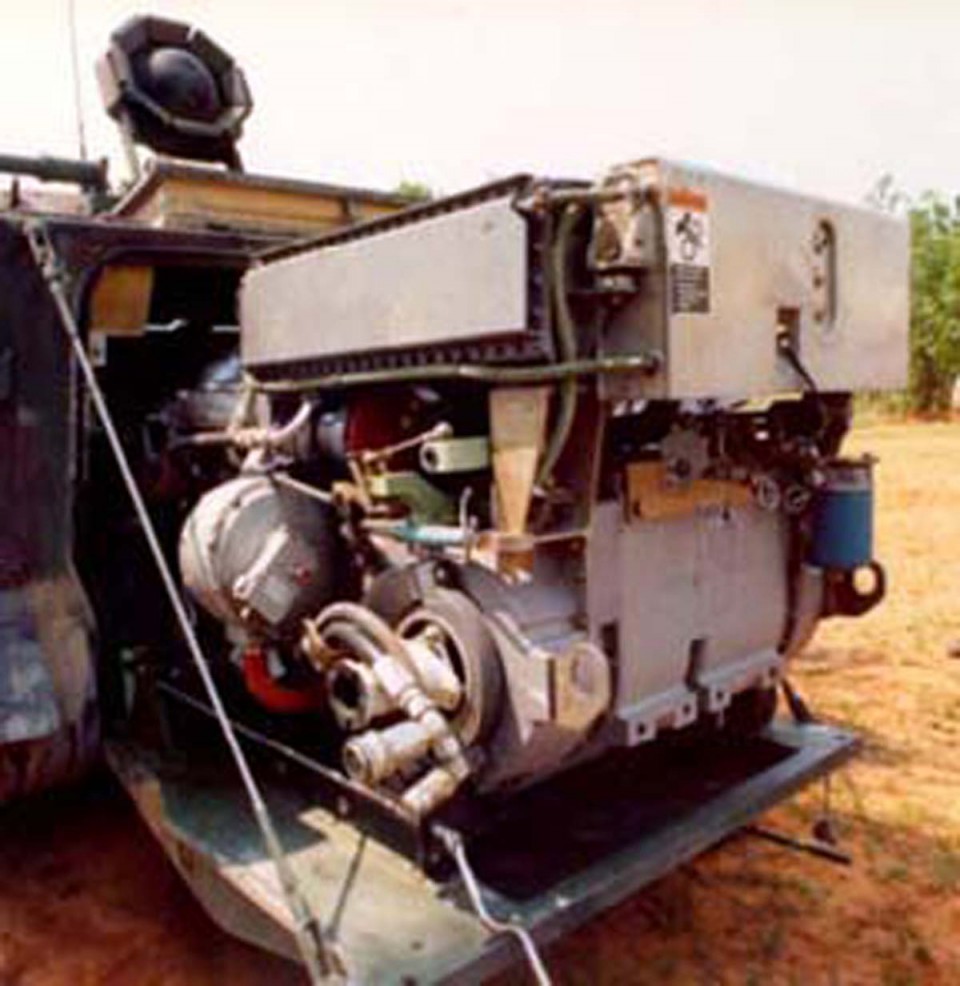
The company said it has made significant improvements on the type-classified M8 Armoured gun system and other previous development programs to create the fully integrated MPF system that is more lethal, mobile and boasts a longer life cycle. The M8 is armed with the XM35 rifled auto loading 105 mm cannon main gun with an M240 7.62 mm machine-gun mounted coaxially. The M35 has a rate of fire of approximately 12 rounds per minute, with a ready capacity of 21 rounds with 9 more in stowage. A Browning M2 .50 calibre heavy machine gun is mounted in a manually-operated pintle on the commanders hatch. Power is provided by a Detroit Diesel 6V-92TIA diesel developing 550 hp. The BAE Systems M8 vehicle will provide enhanced protections for ground combat units while delivering overwhelming precision firepower over multiple terrains and environmental conditions.
The Model
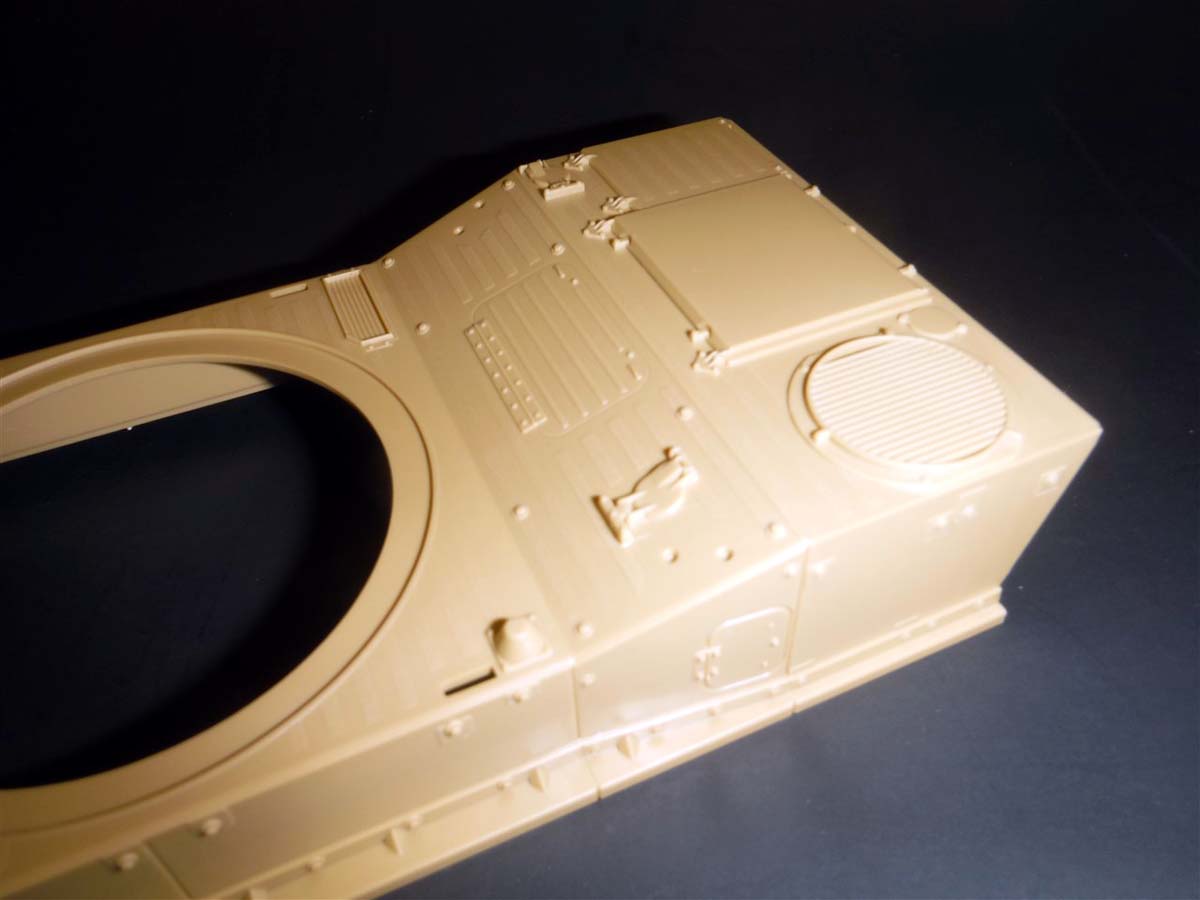
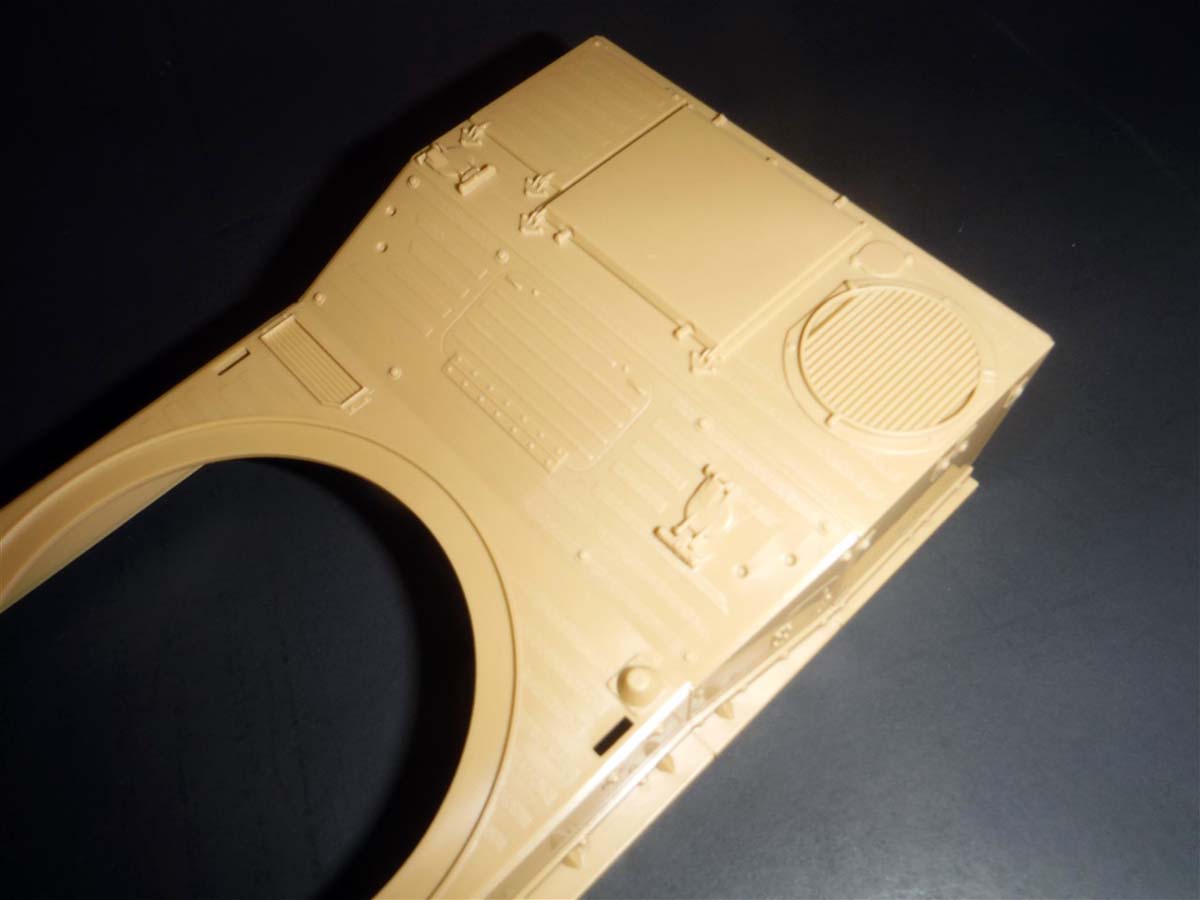
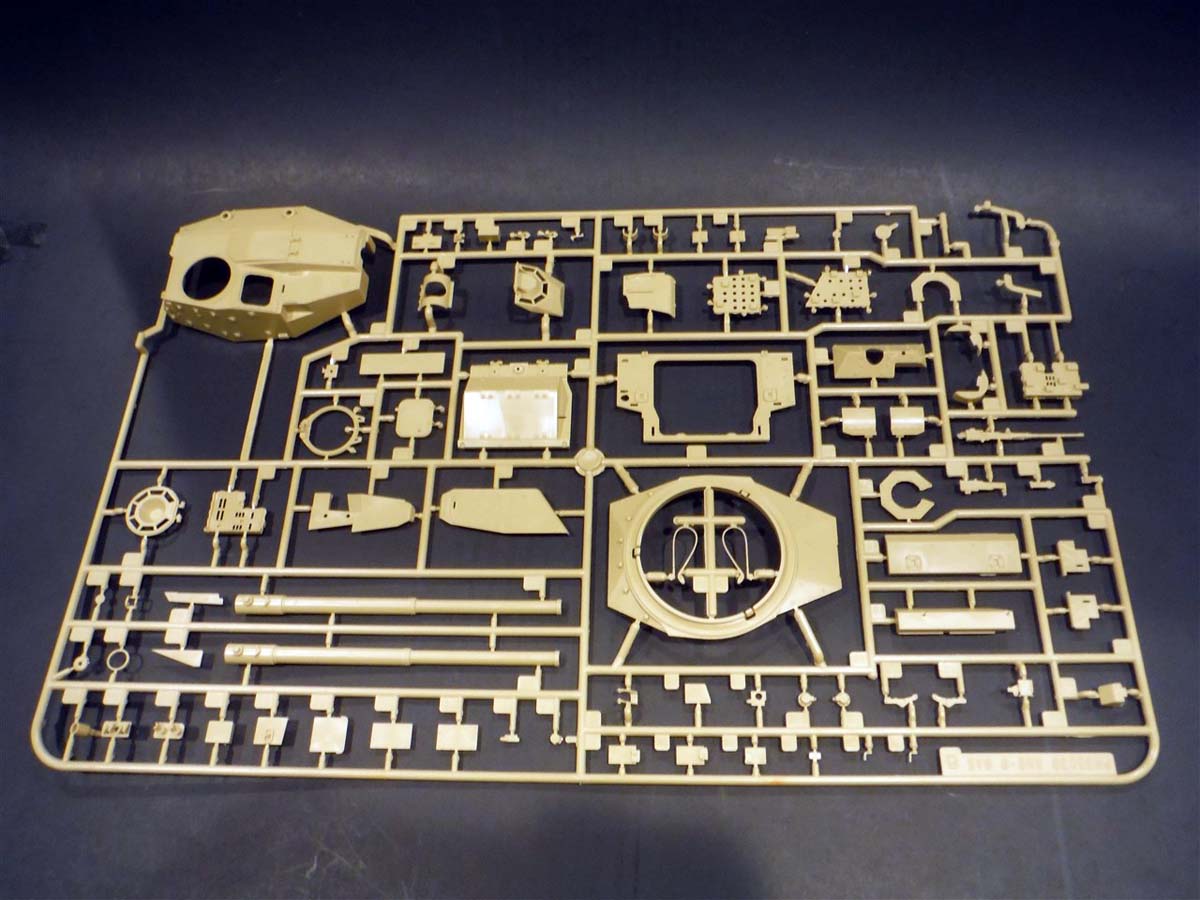
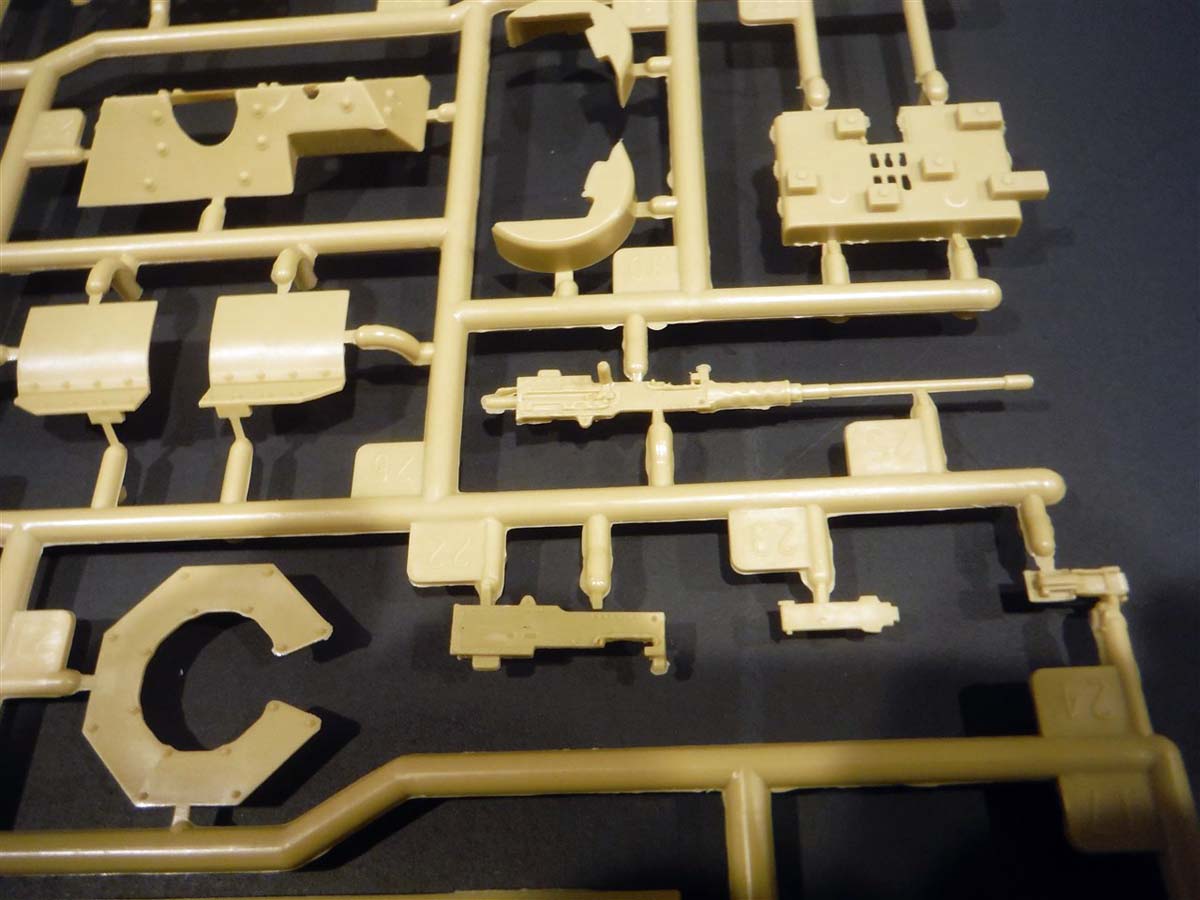
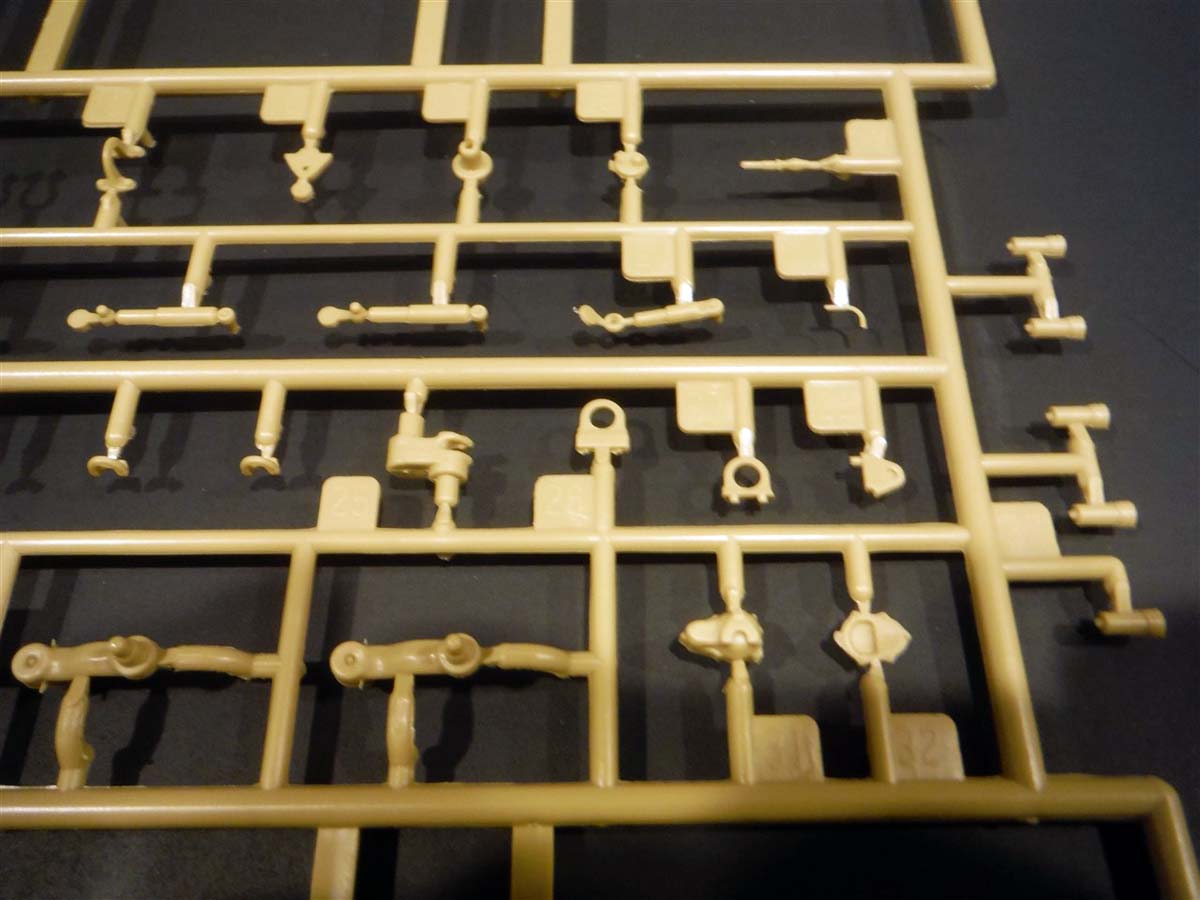
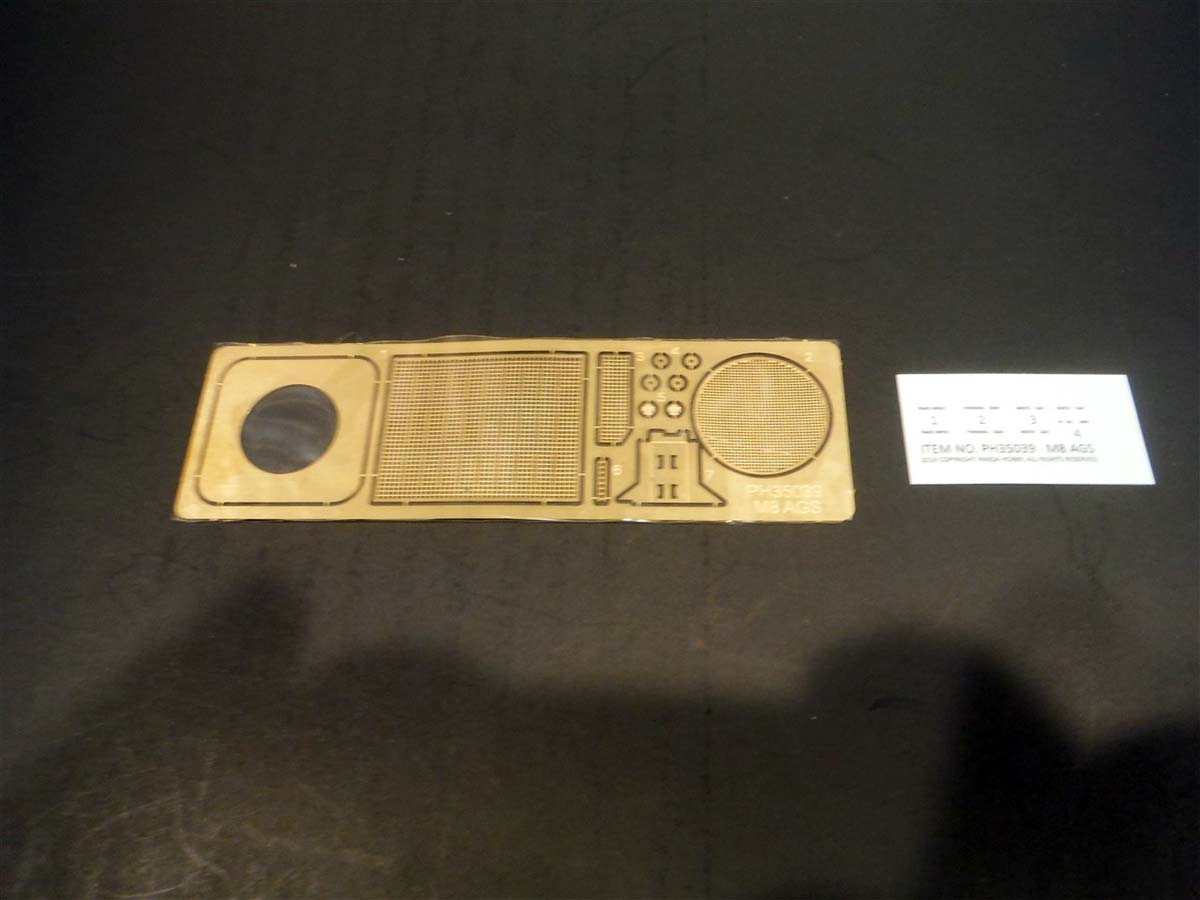
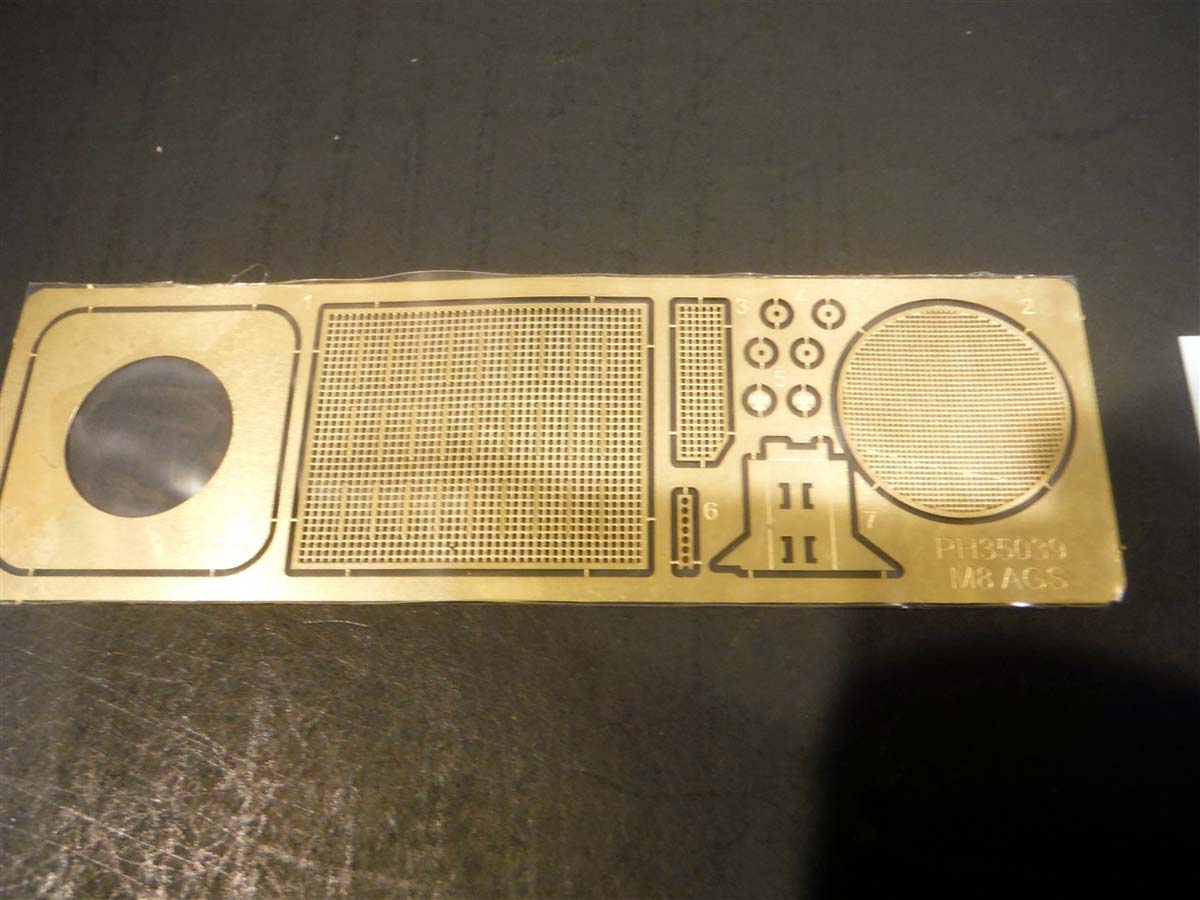
Compared to recent releases from companies such as Meng and RFM, and even Panda Hobby themselves for that matter, this is a very small kit as far as parts count. The kit consists of 6 sprues, a lower and upper hull, a photo etch sheet, and a decal sheet. Four of those sprues are for the individual tracks, road wheels, and shocks. That means that pretty much all the parts for the whole vehicle is on one sprue.
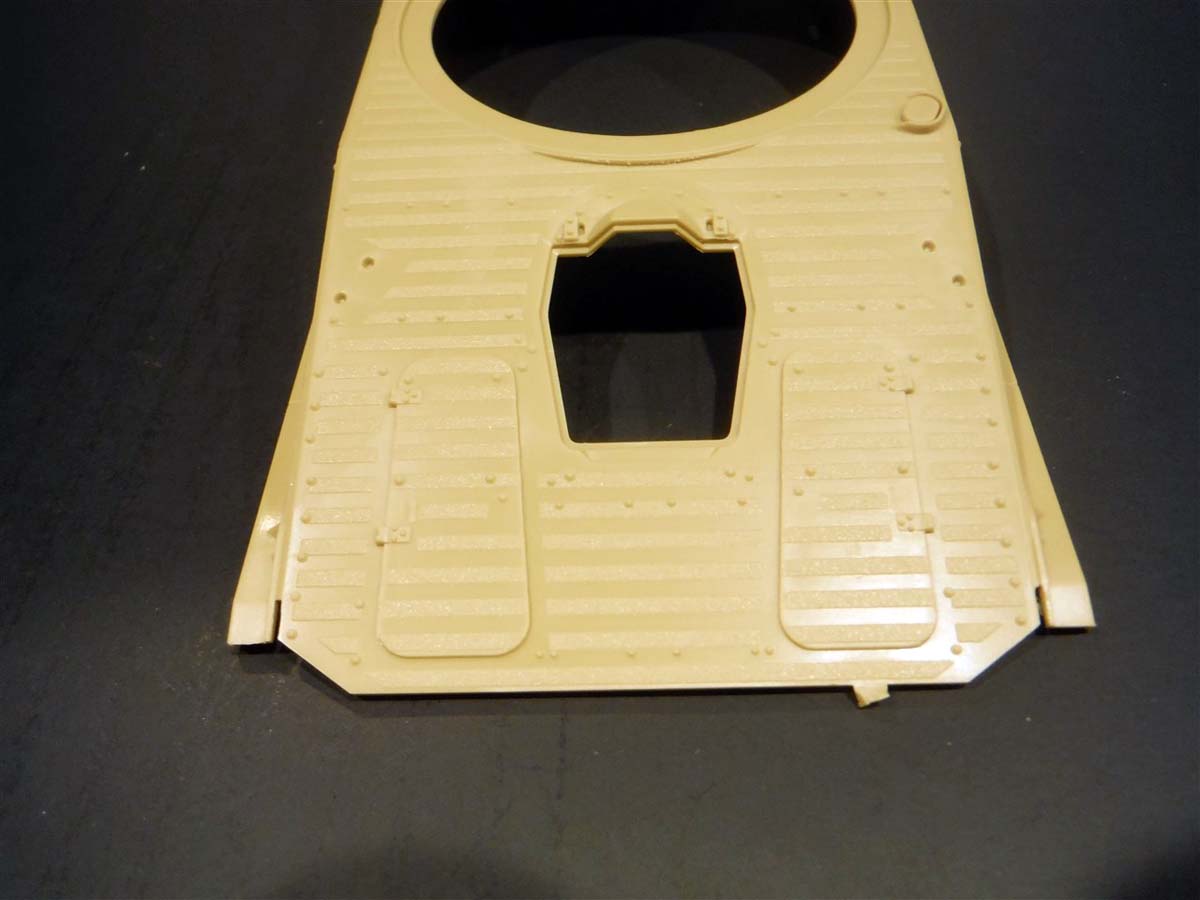
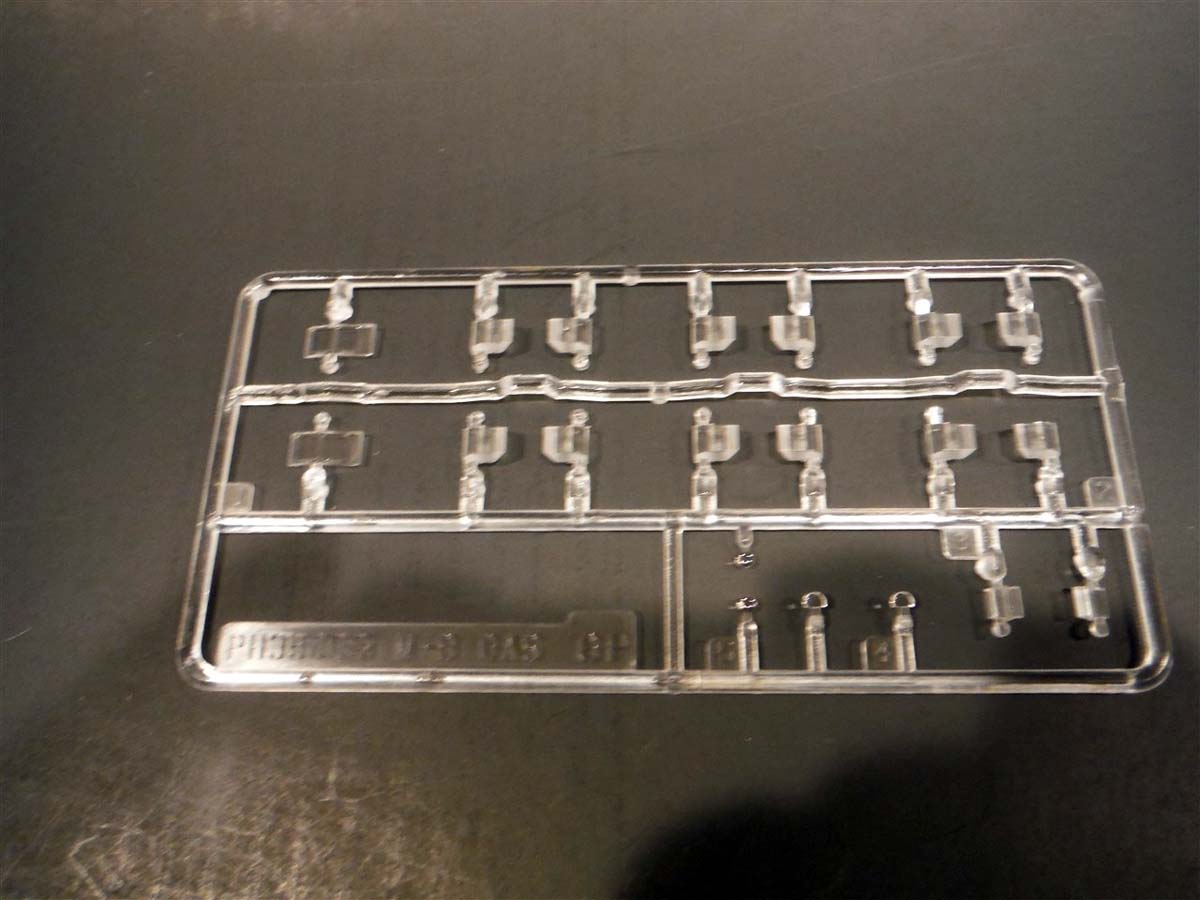
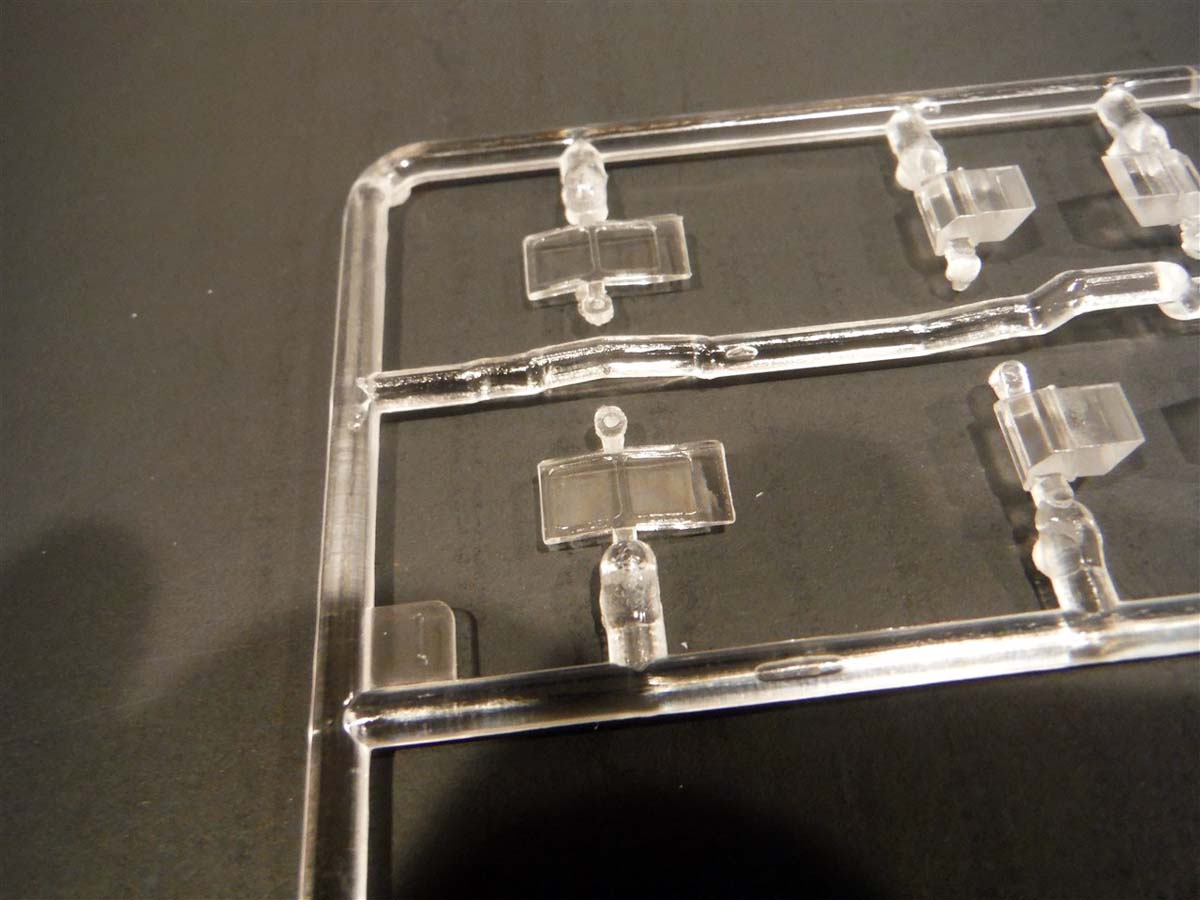
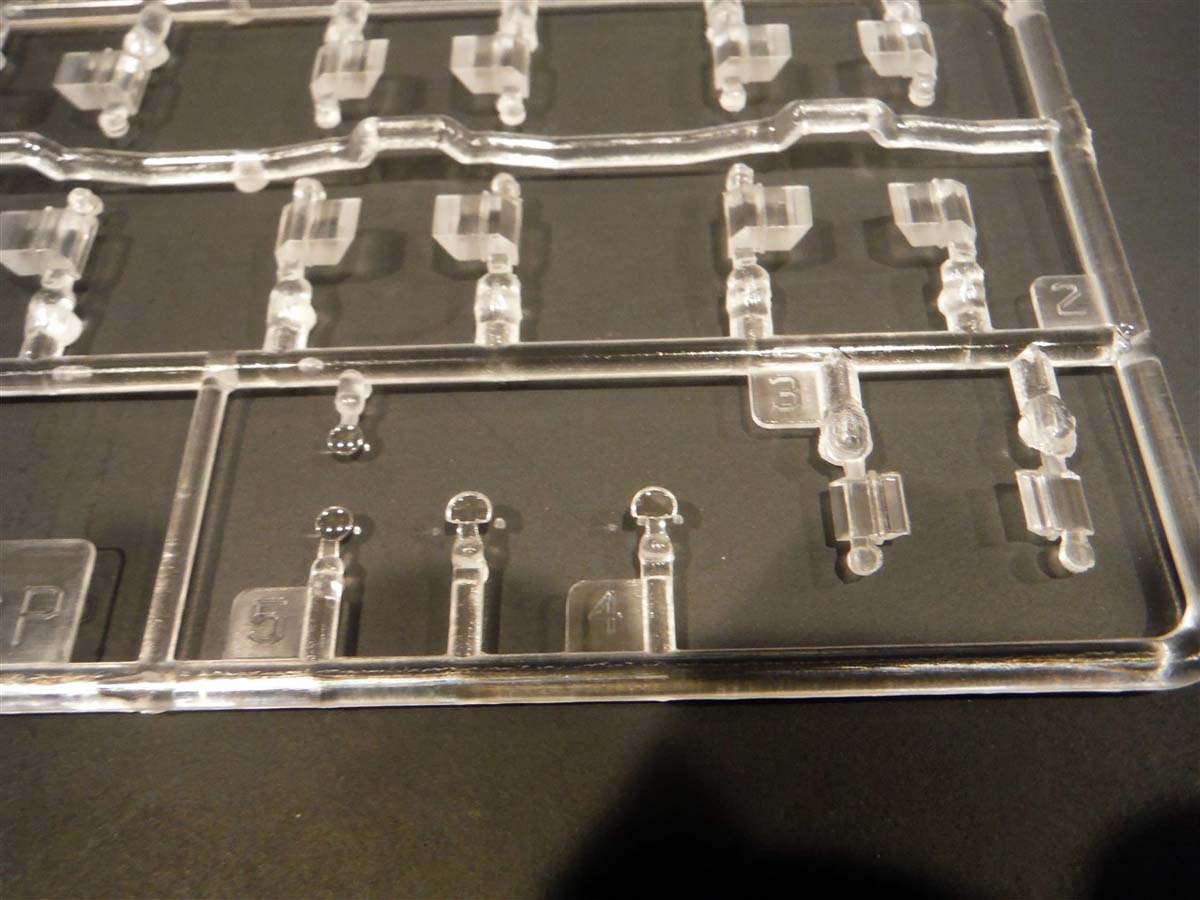
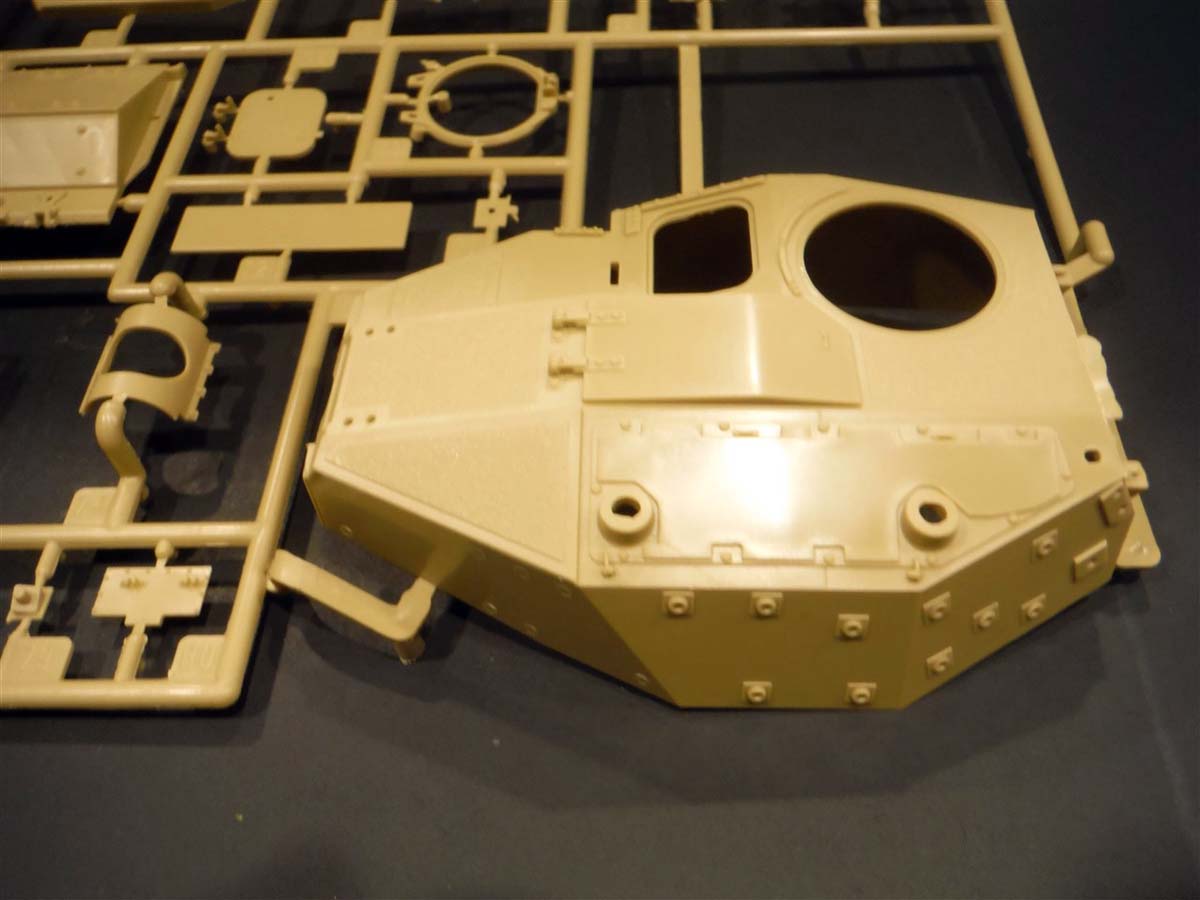
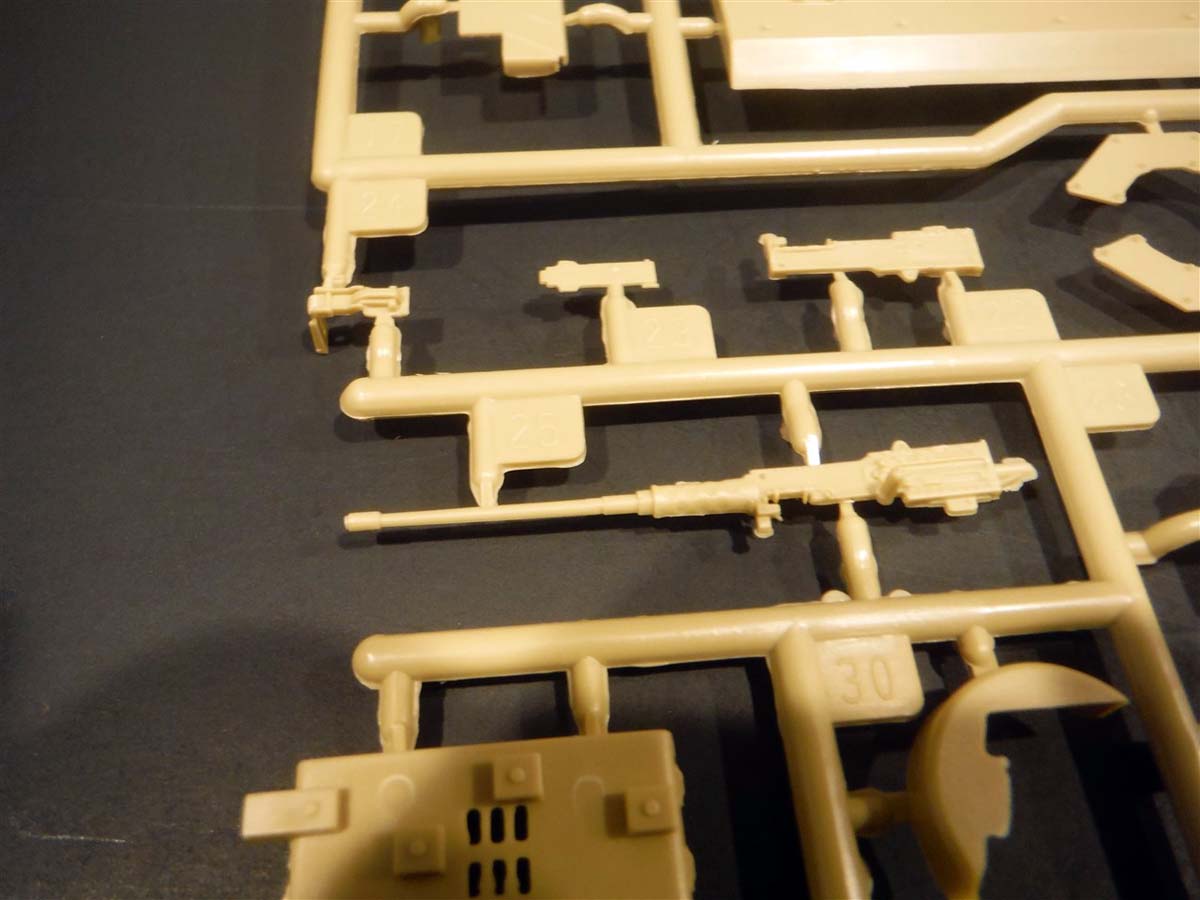
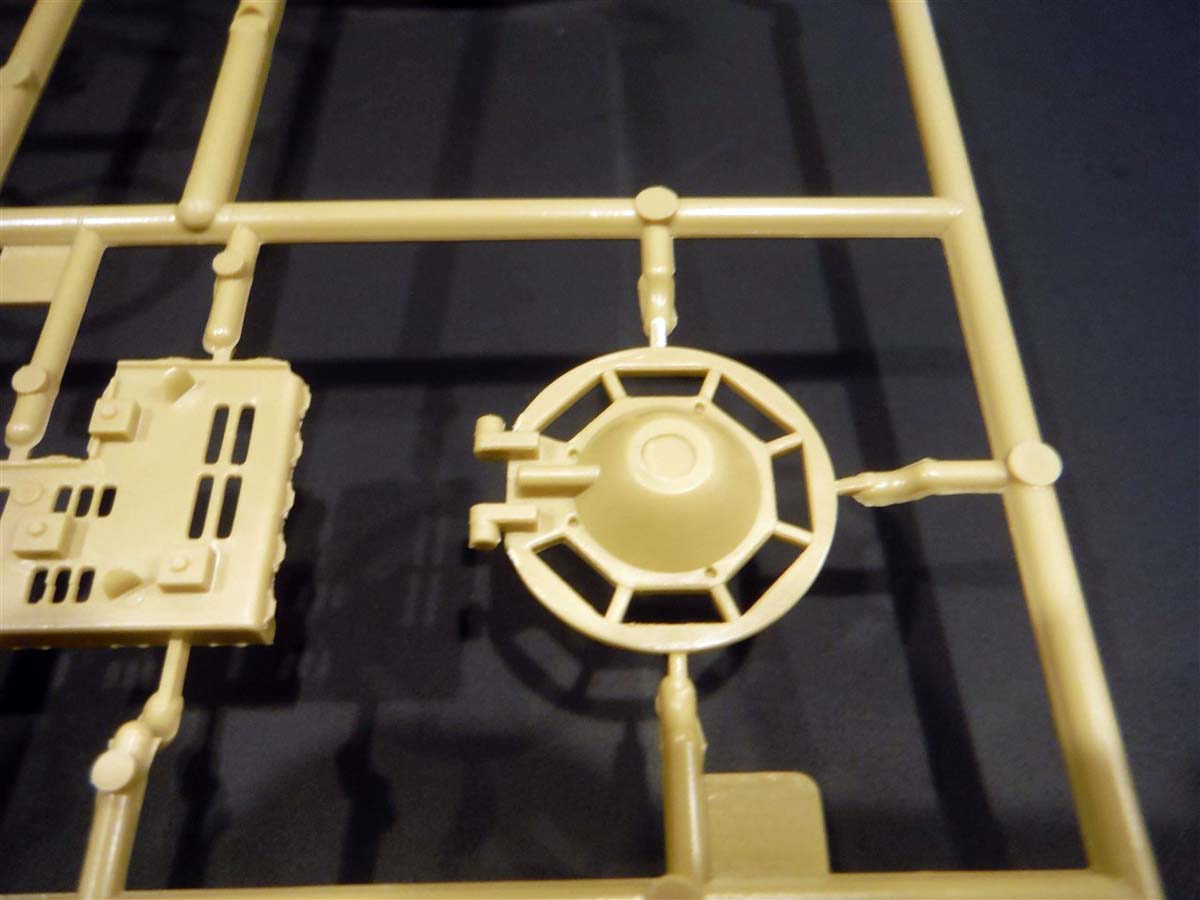
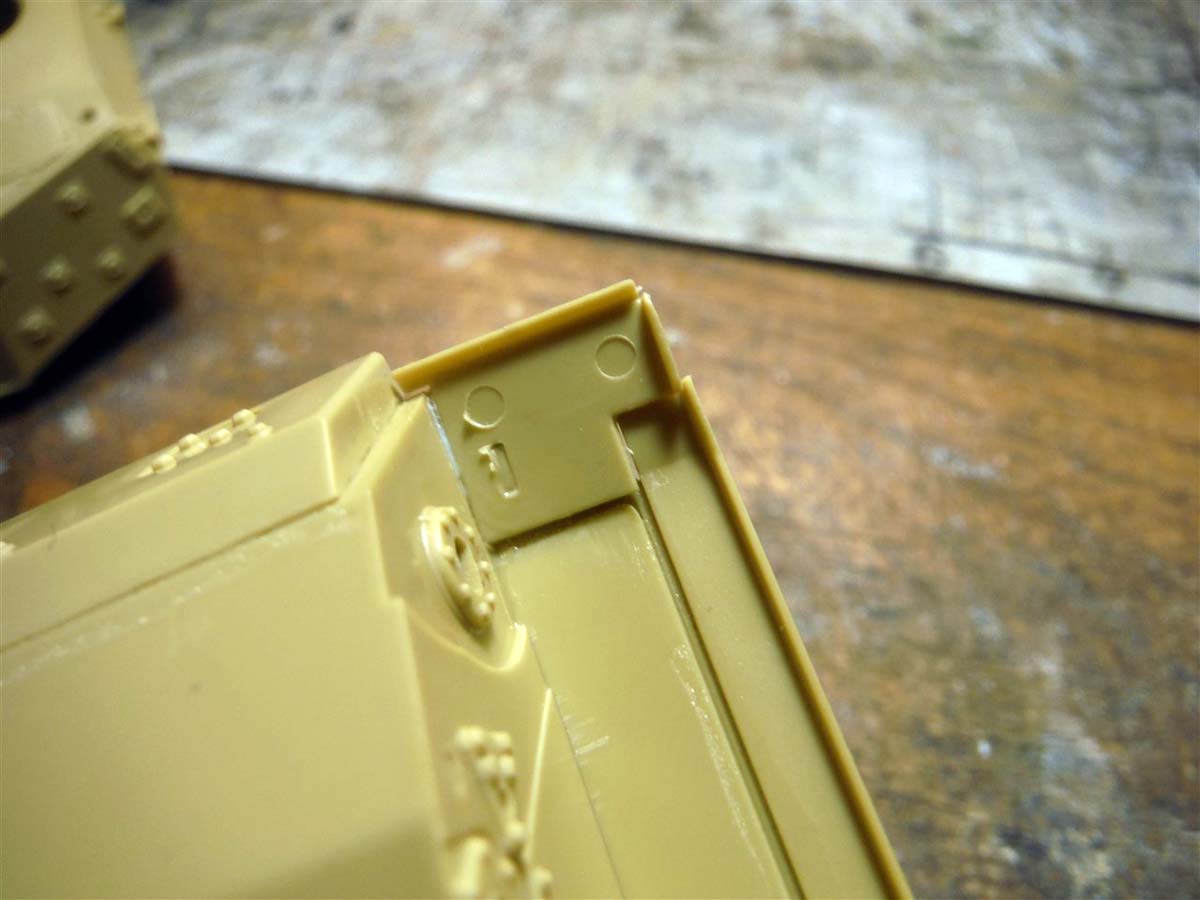
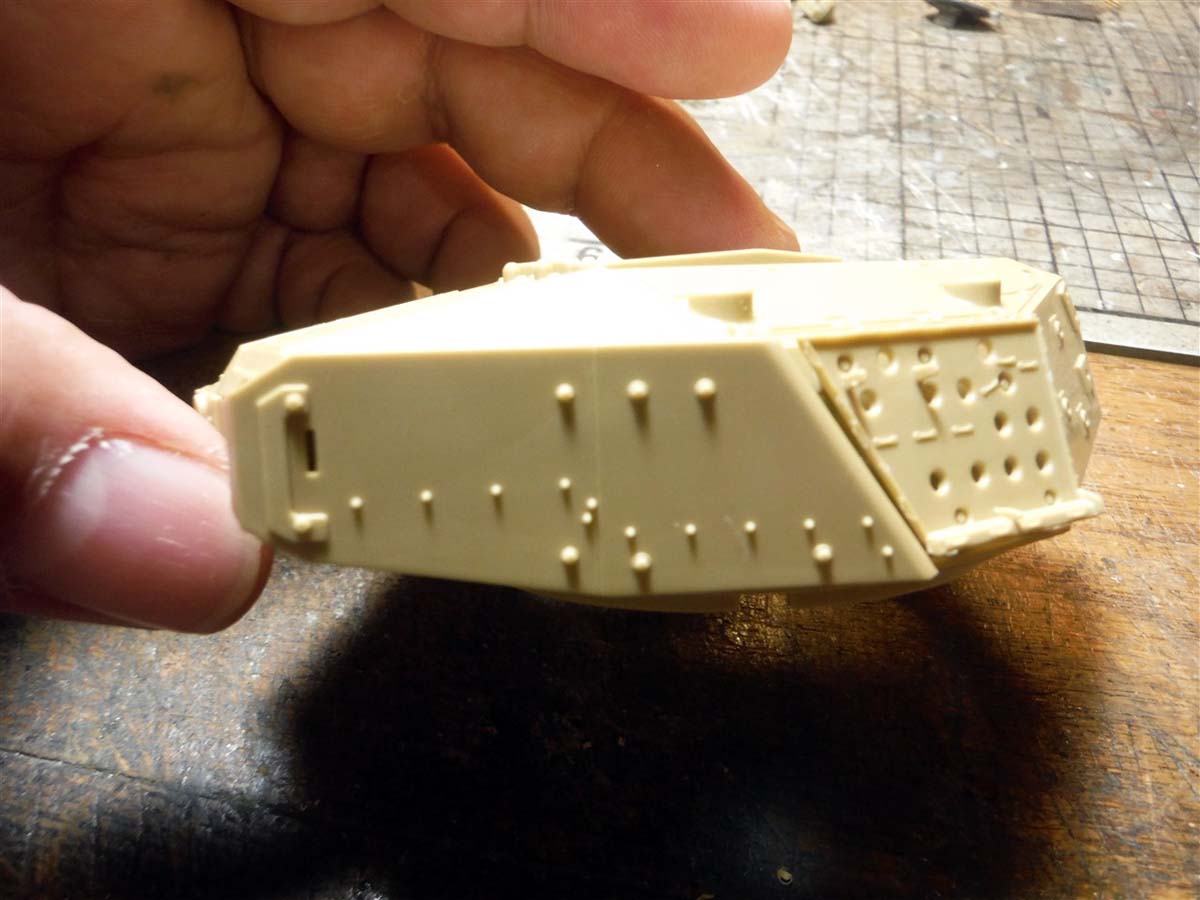
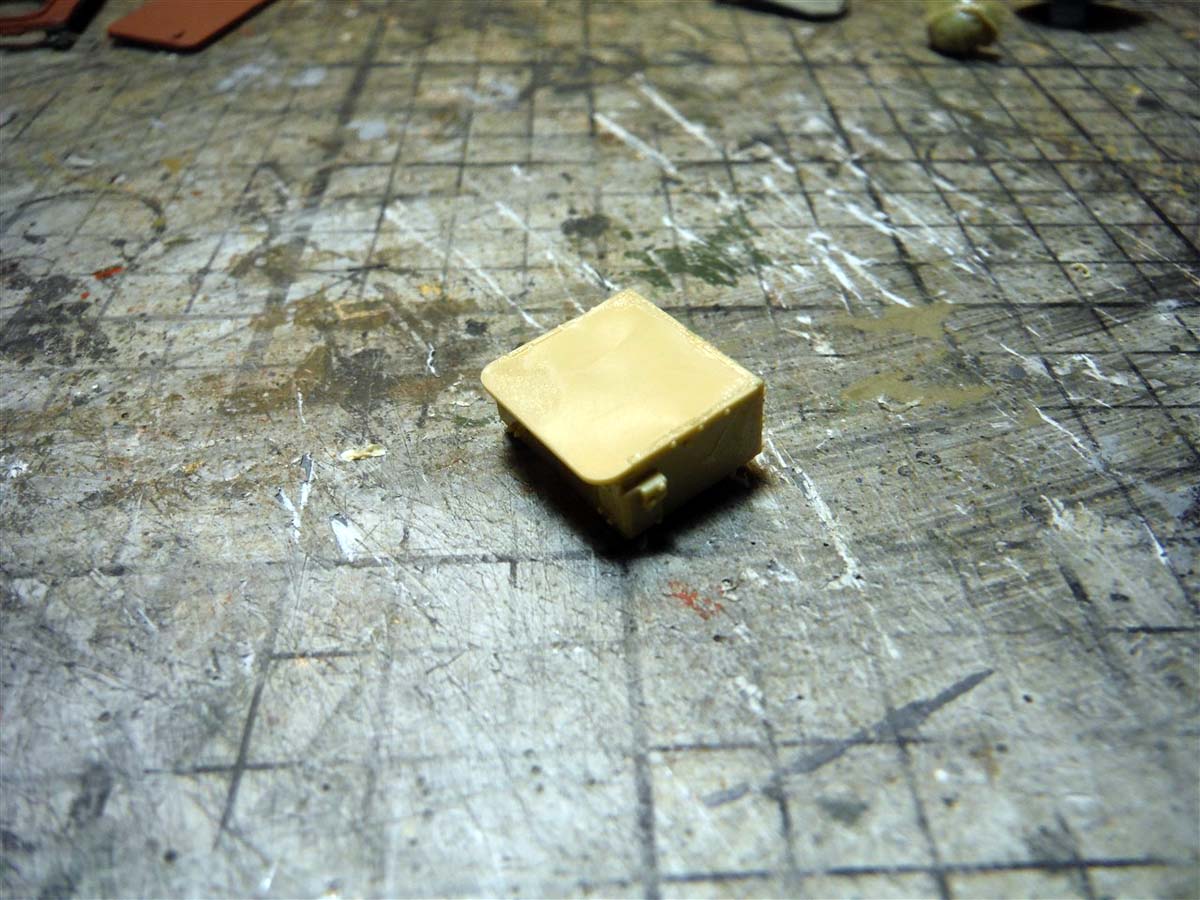
All the parts, upper and lower hull are molded in tan plastic. The periscopes and gunners' sight are molded in clear plastic. Flash is evident on most of the parts, but is light enough to be removed with an X-acto blade. There are punch marks visible, but are hidden when assembled. One part, B32, has the punch marks facing out, but again are hidden by the water cans.
The Build
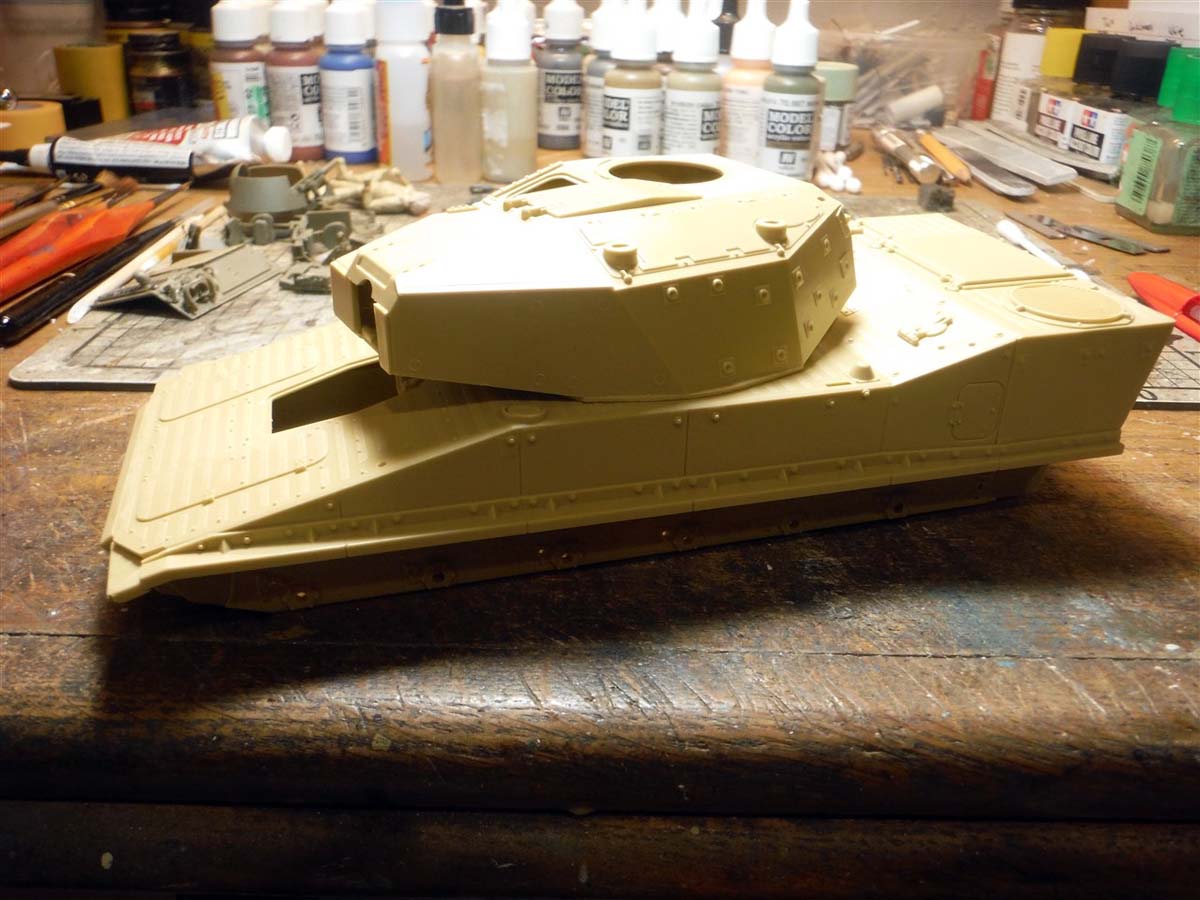
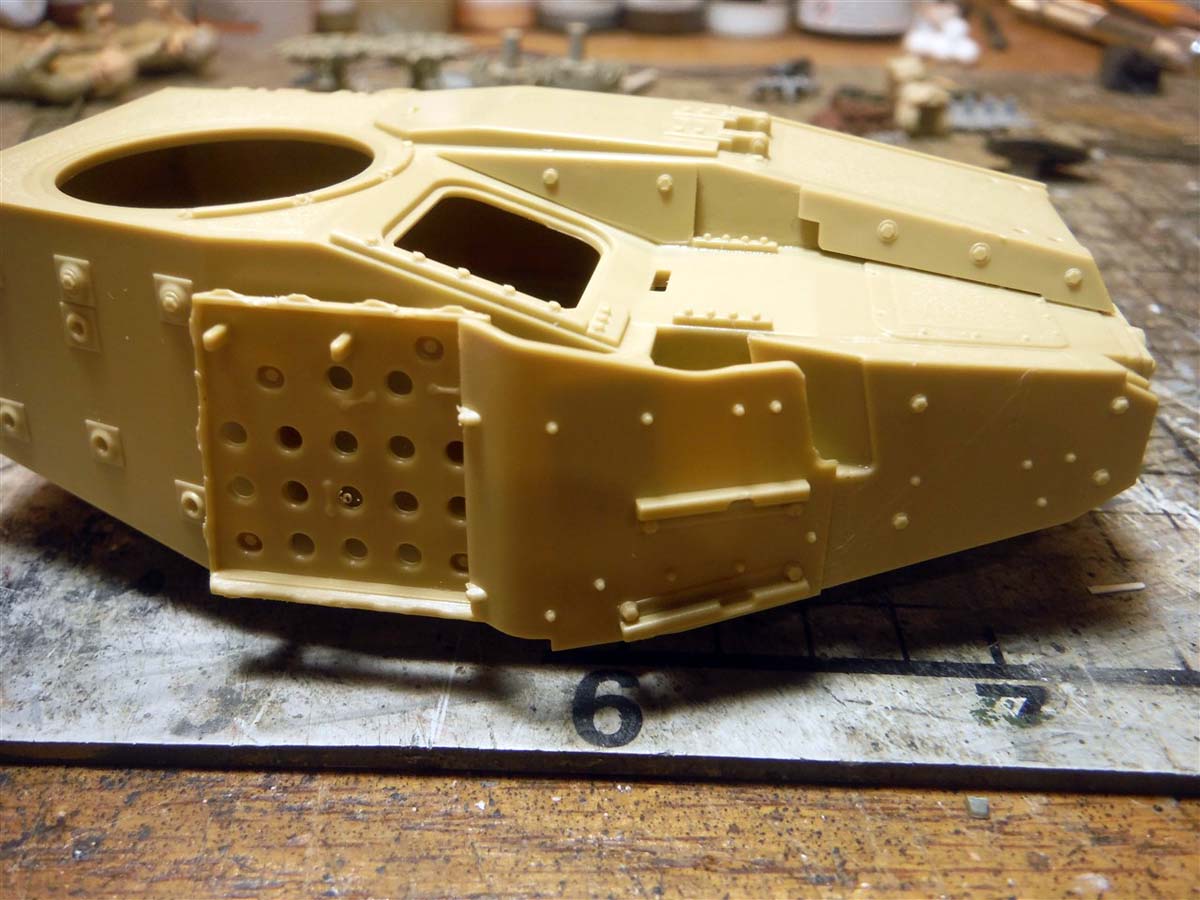
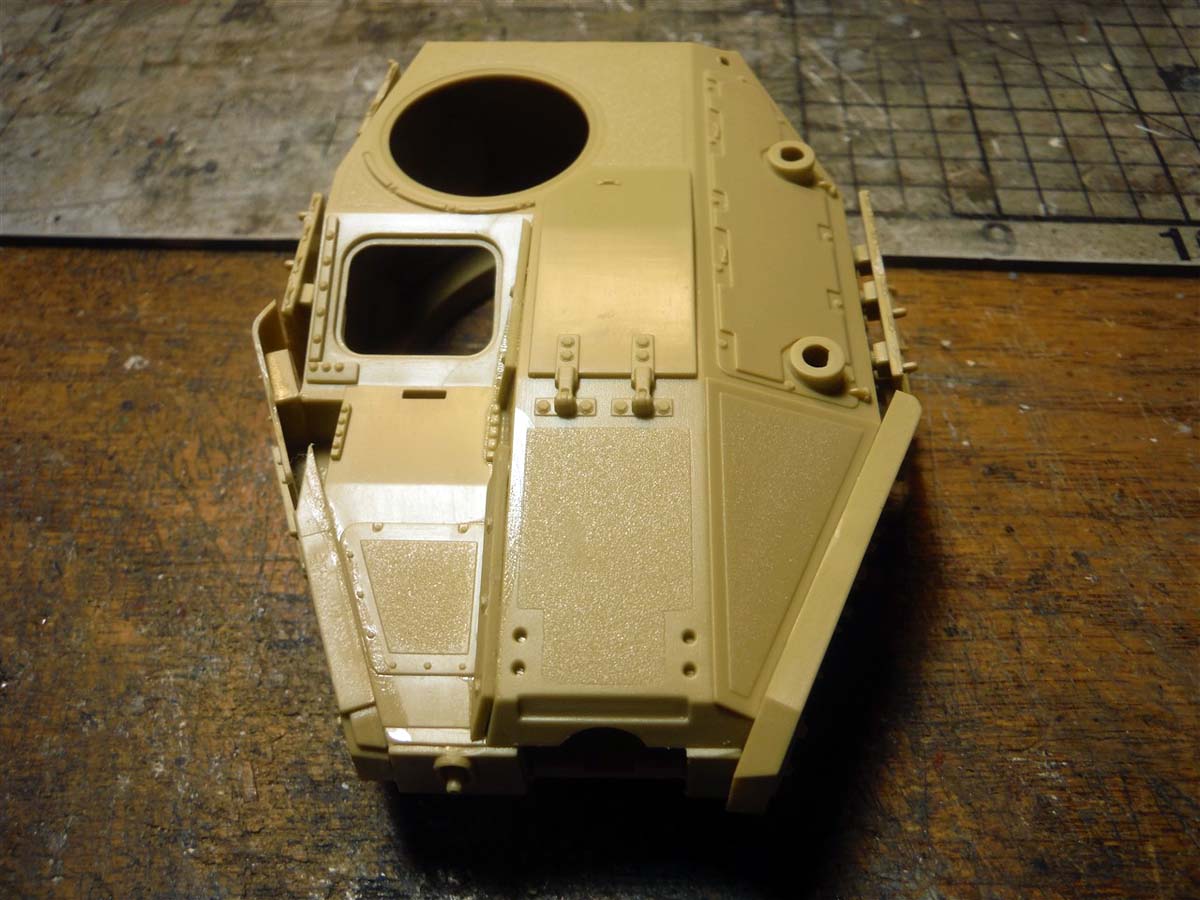
As per other builds, I studied the instructions to see where I can start or where I can do something easier. For this kit, nothing had to be added from inside the turret and hull. With that, I decided to go ahead and glue the hull parts and turret parts together so that way I had something to hold on when attaching all the other parts.
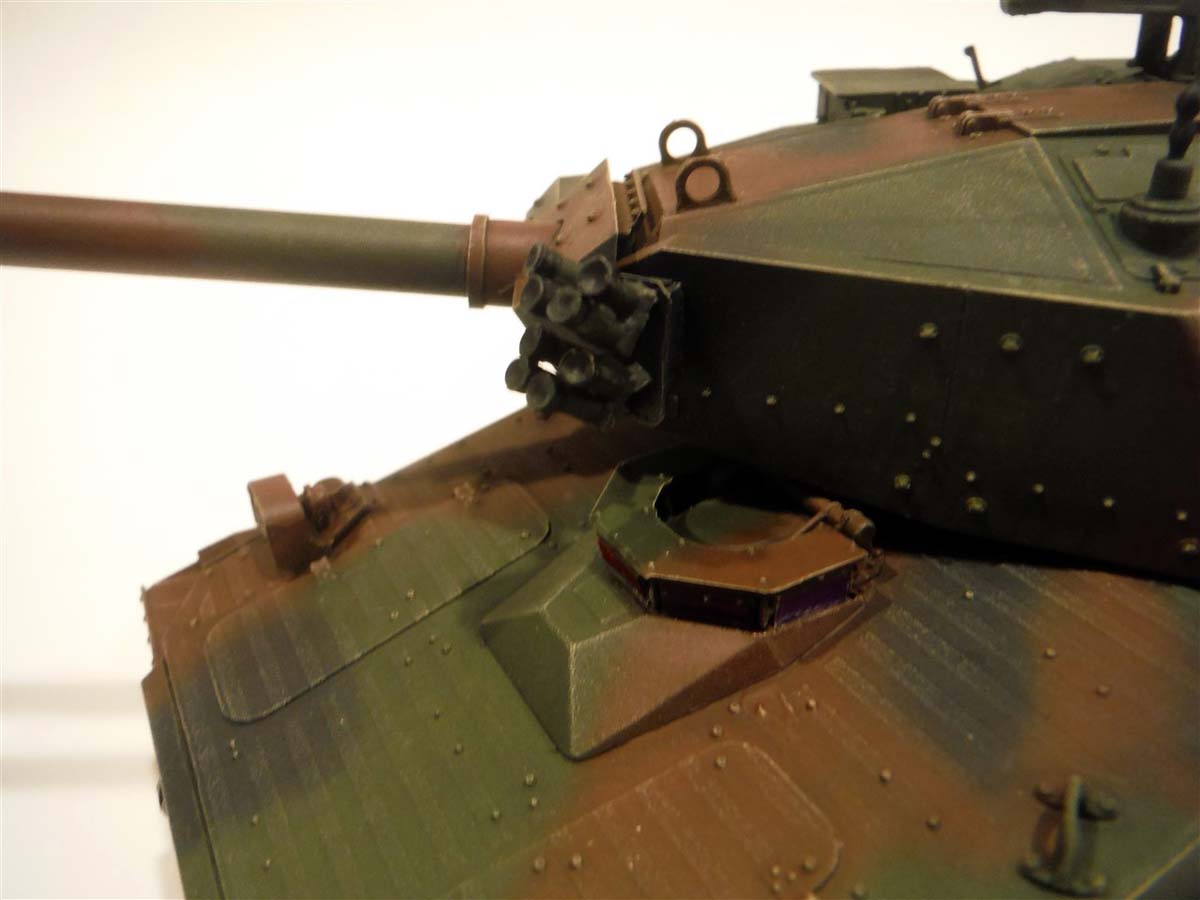
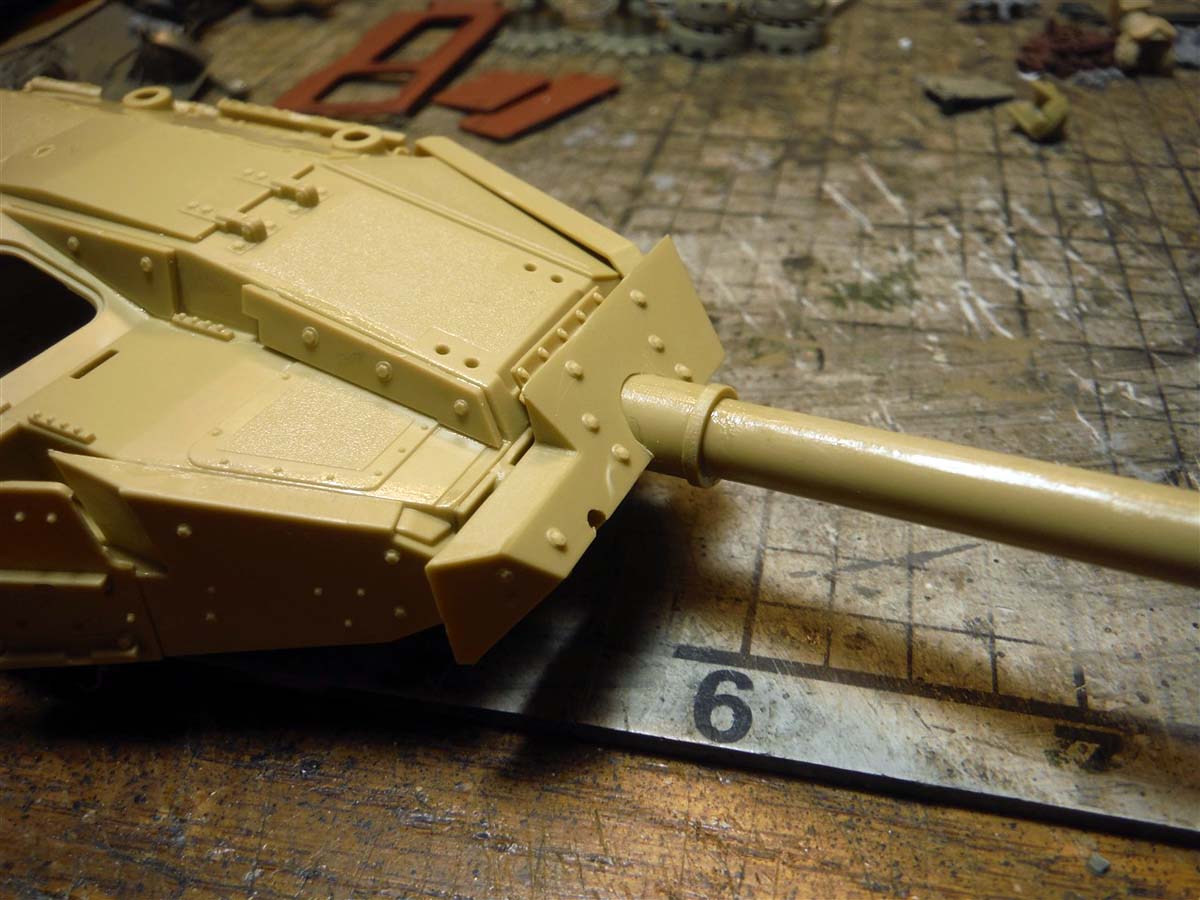
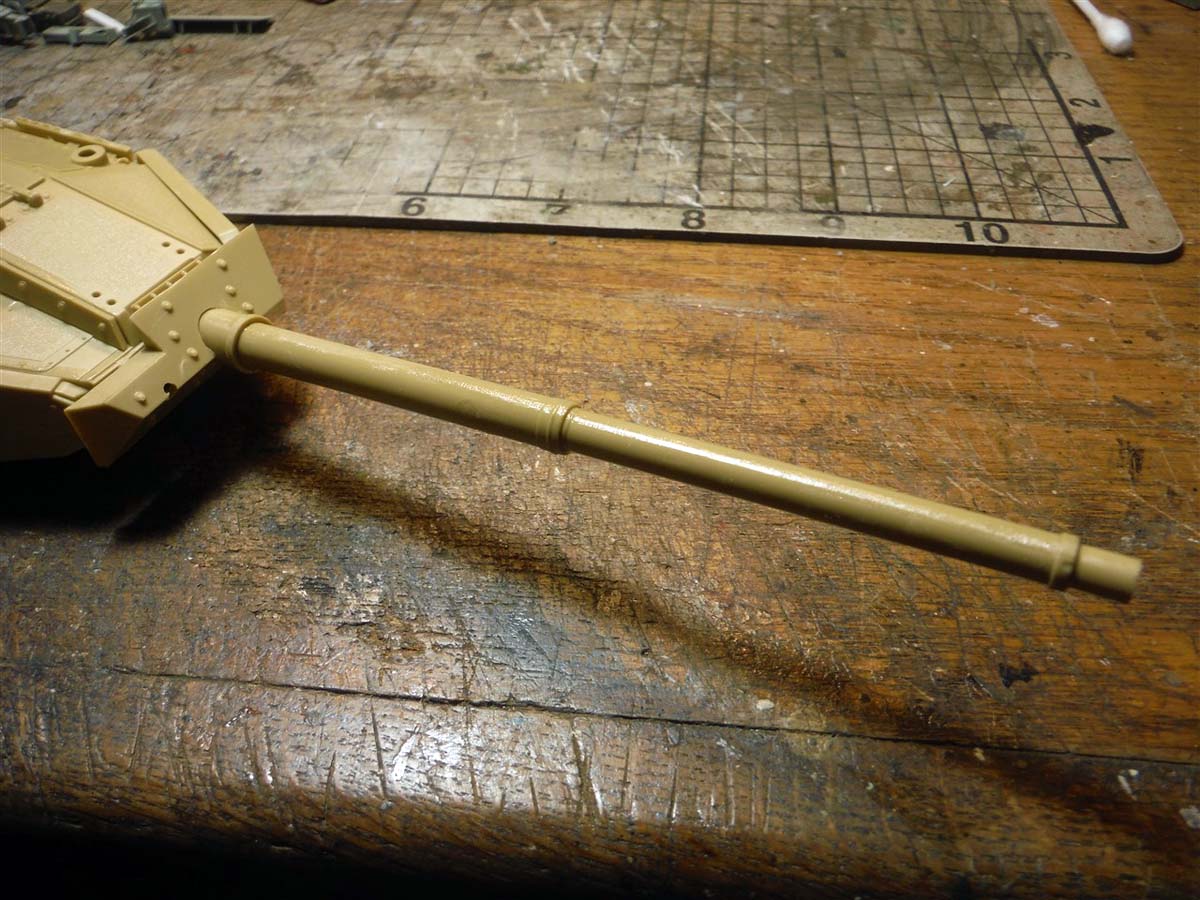
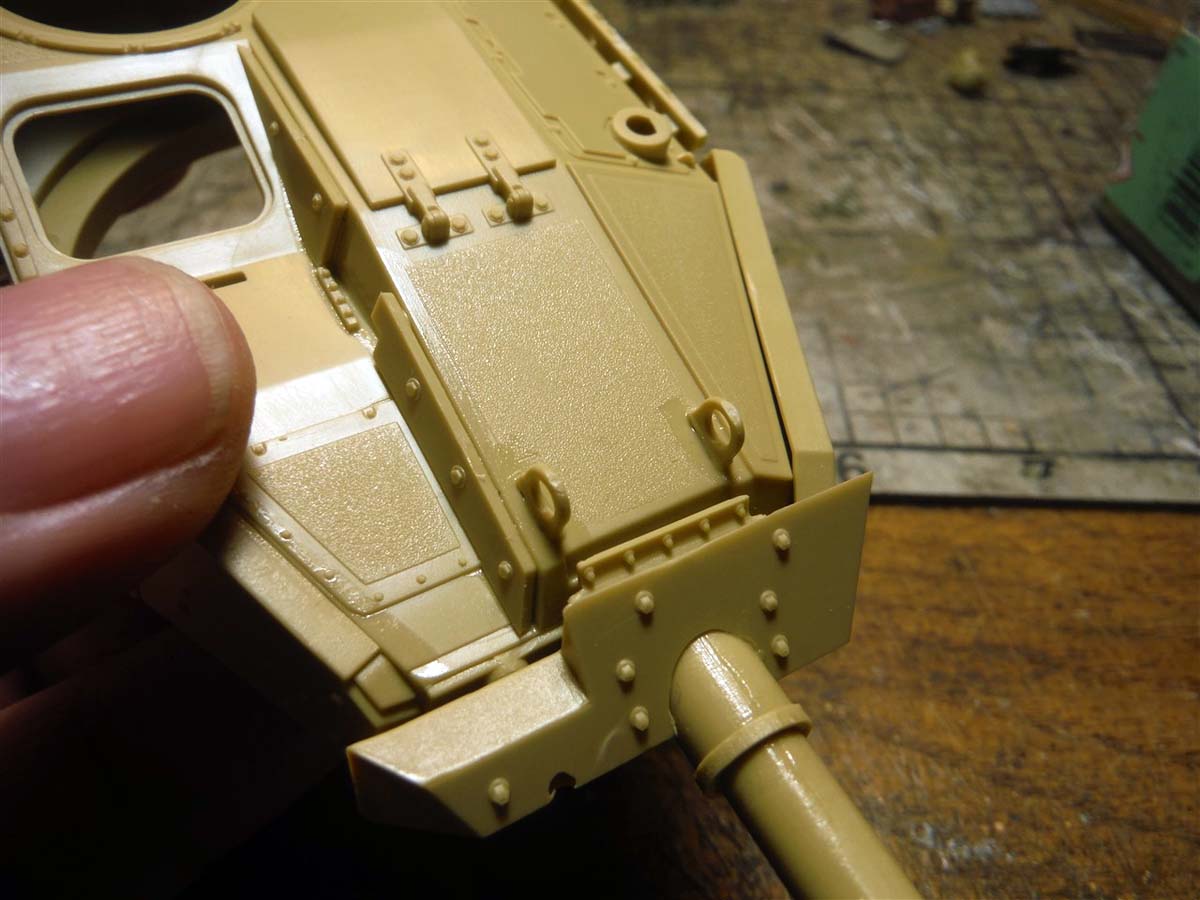
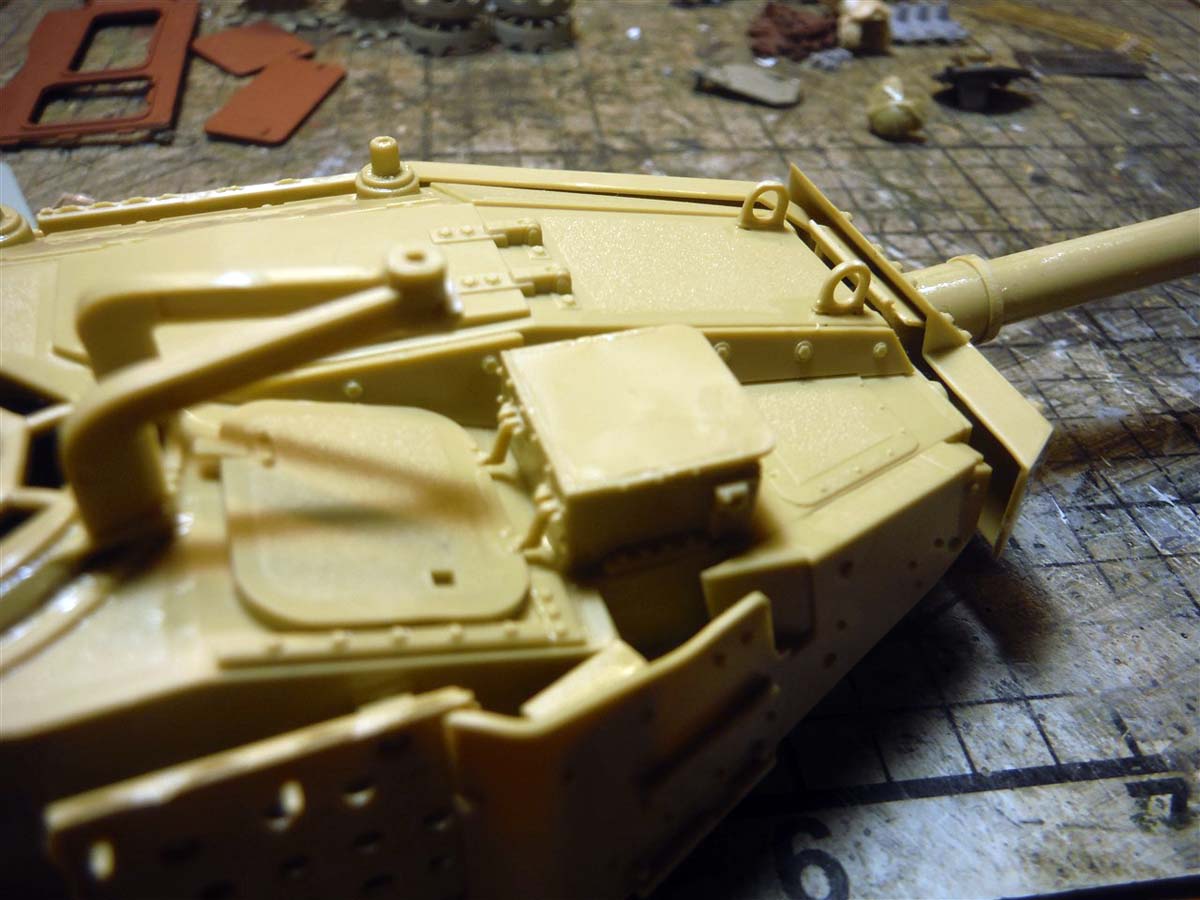
After I built the basic hull and turret, I turned back to the instructions and started on step 12, which is the turret. Step 12 and 13 was straight forward. In step 14, the first issue arose. The holes on part C7 where to big allowing a lot of play in the elevation of the gun. My suggestion, use liquid cement and glue parts C7 to the main gun and when the main gun is in place to the turret, set the position of the main gun to where you want it to be. In step 15, the main gun is in place along with another armour plate. Also attached is one of the 2 spare track links. I left this off till after final painting. Step 16 was another straight forward step except for leaving off the spare link nuts and washers, part PE4, till after final painting.
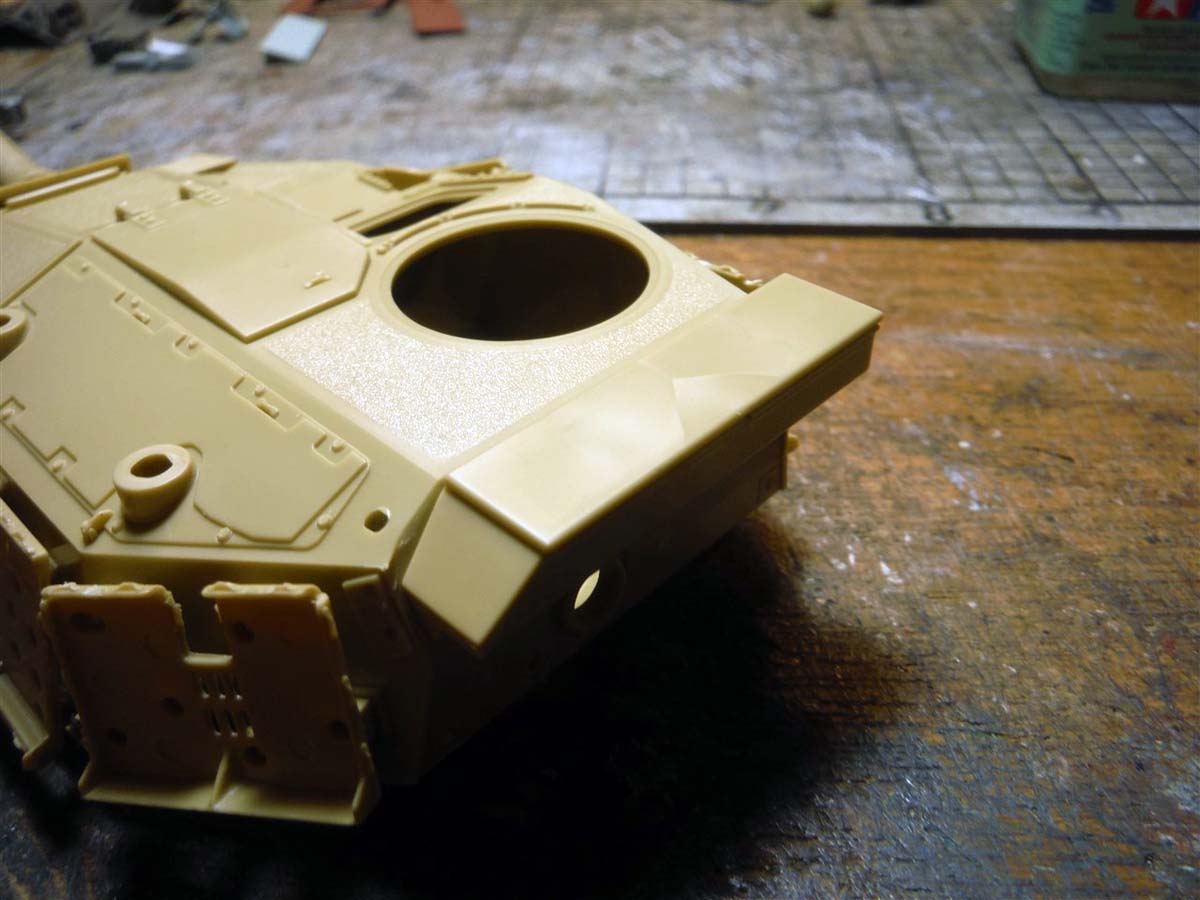
In step 17, sub-step K, you are building the gunners sight. There is a contradiction in the building of the sight. It has you adding the sight glass, but also has you closing the sight doors. There is really no hinge detail on the inside of the doors, so no reason to try and have the doors open and not even a reason to add the glass, part GP1. The rest of the parts went on with no problem in the step.
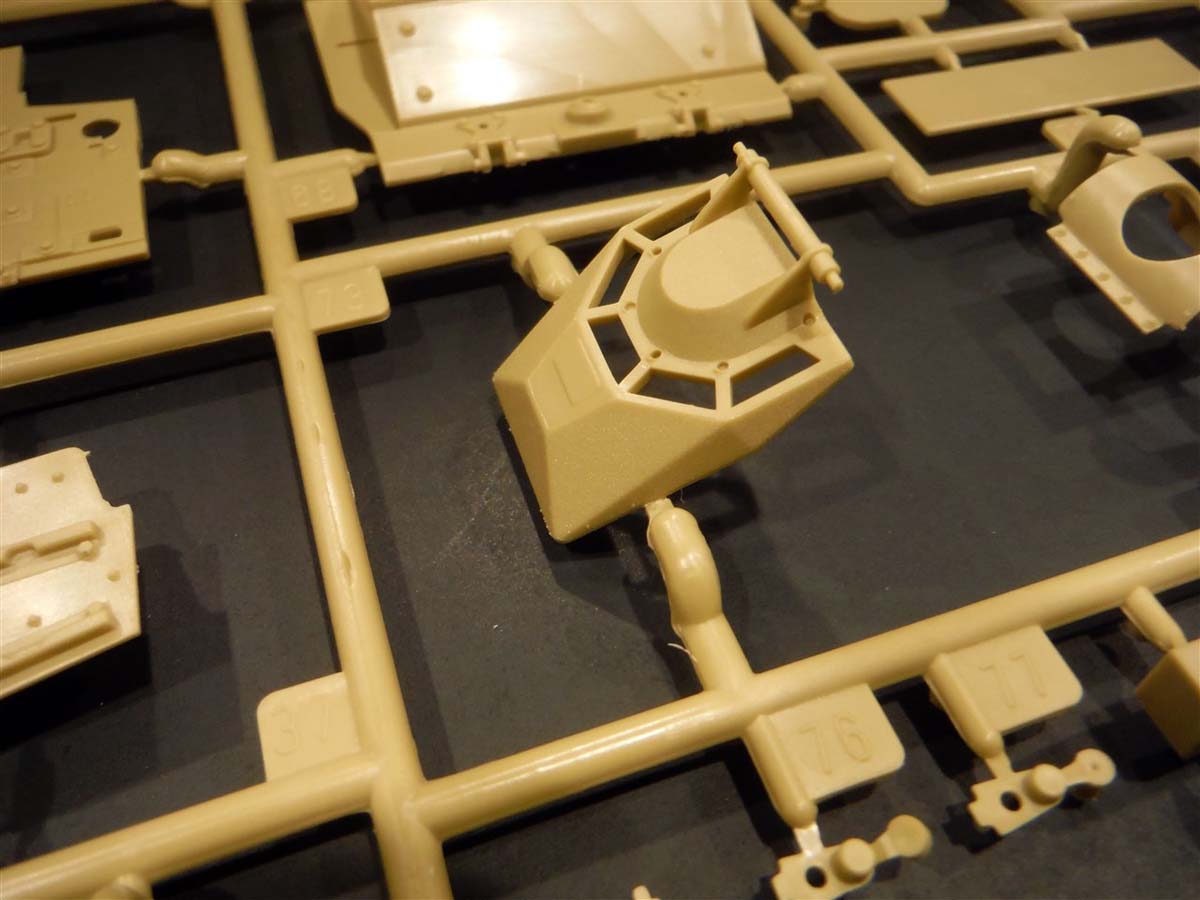
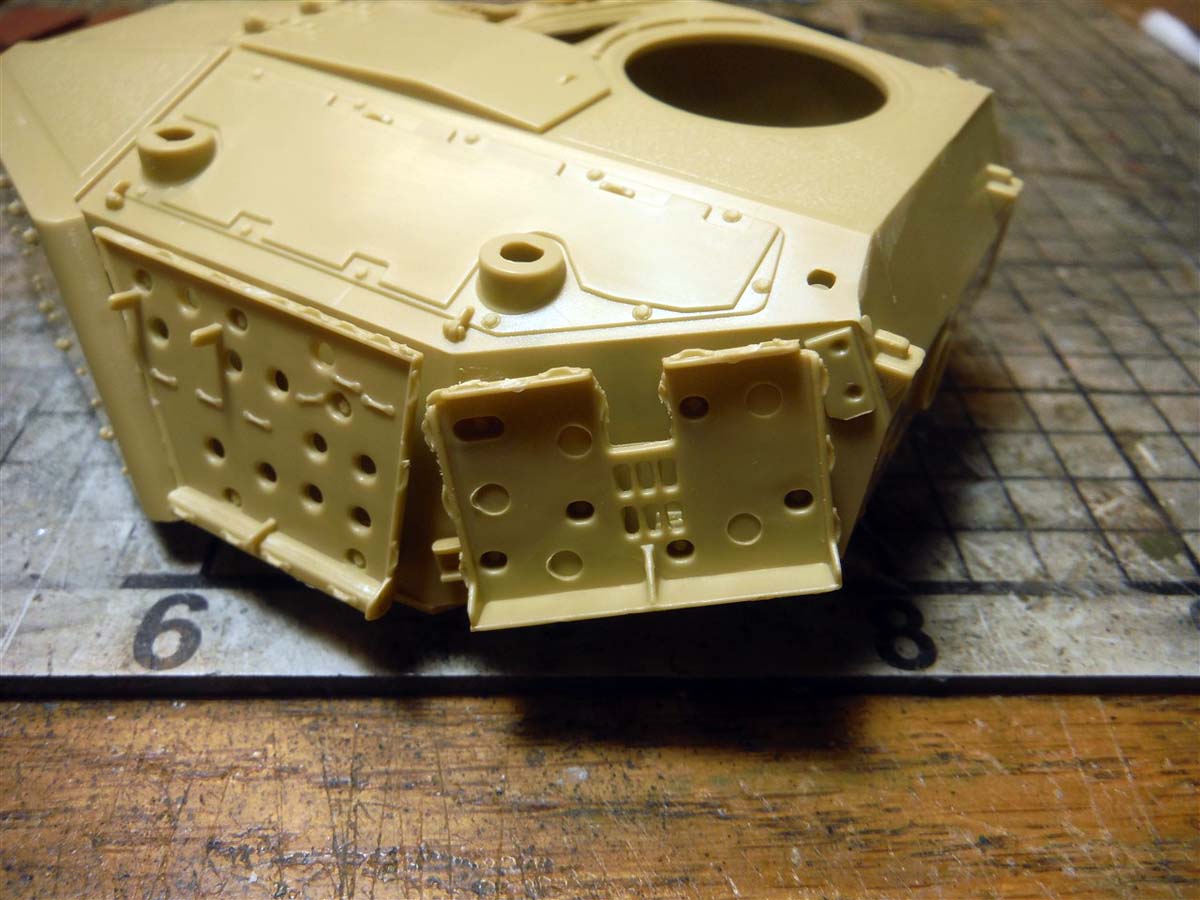
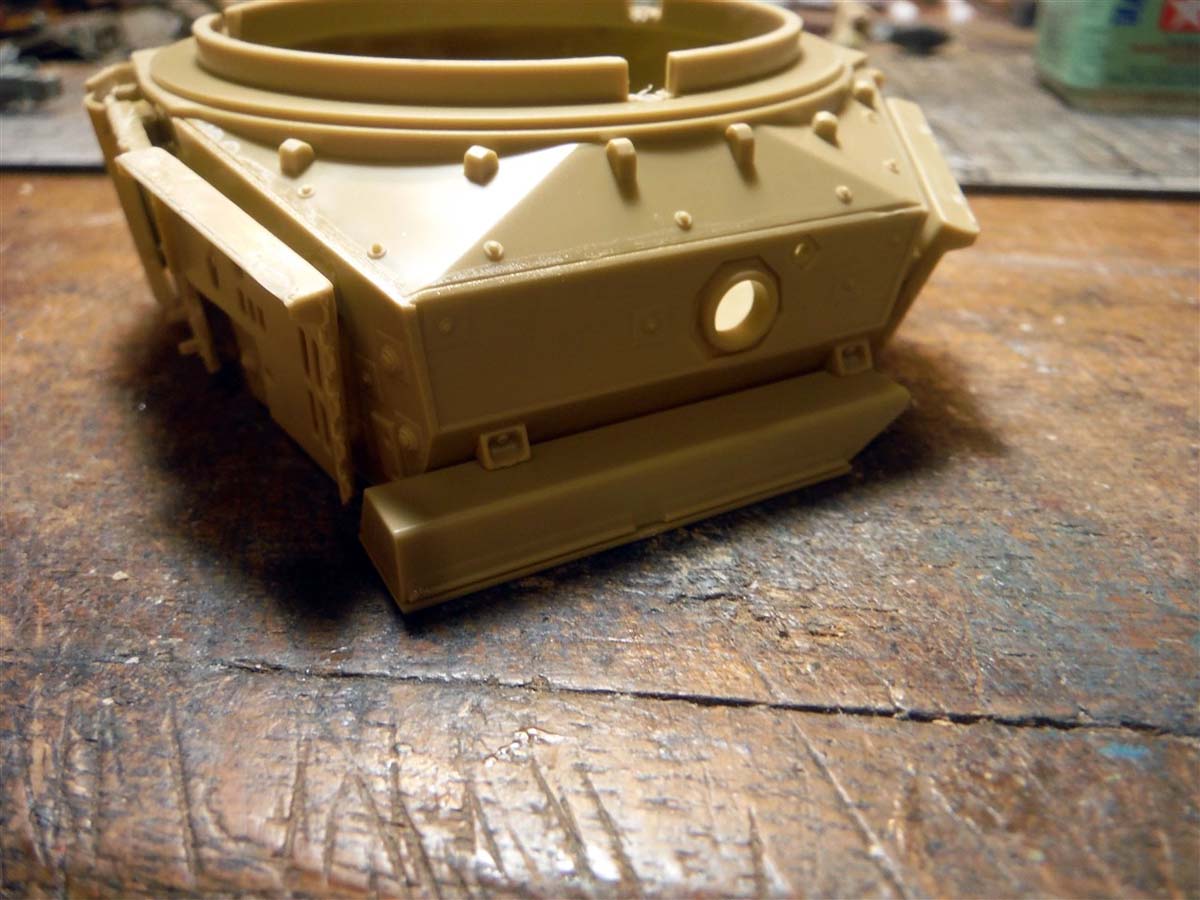
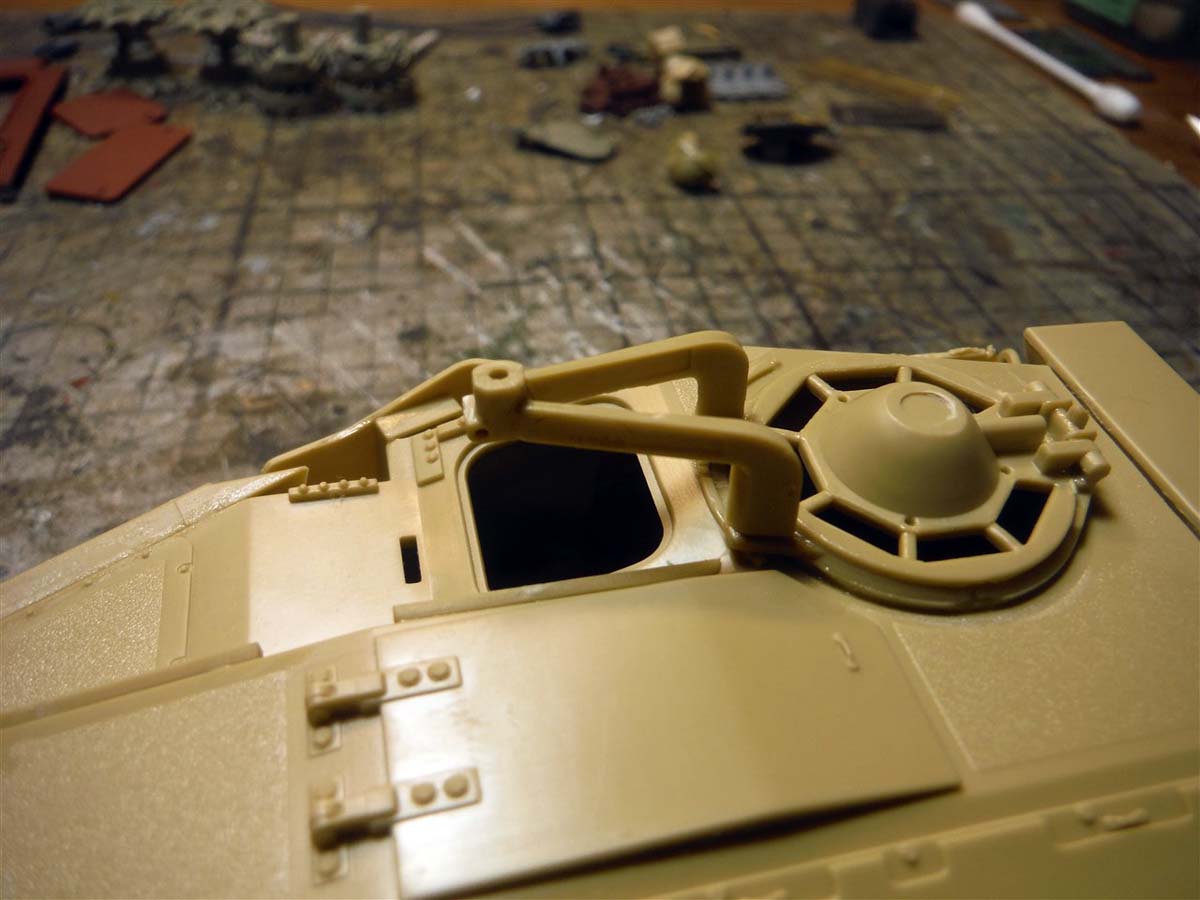
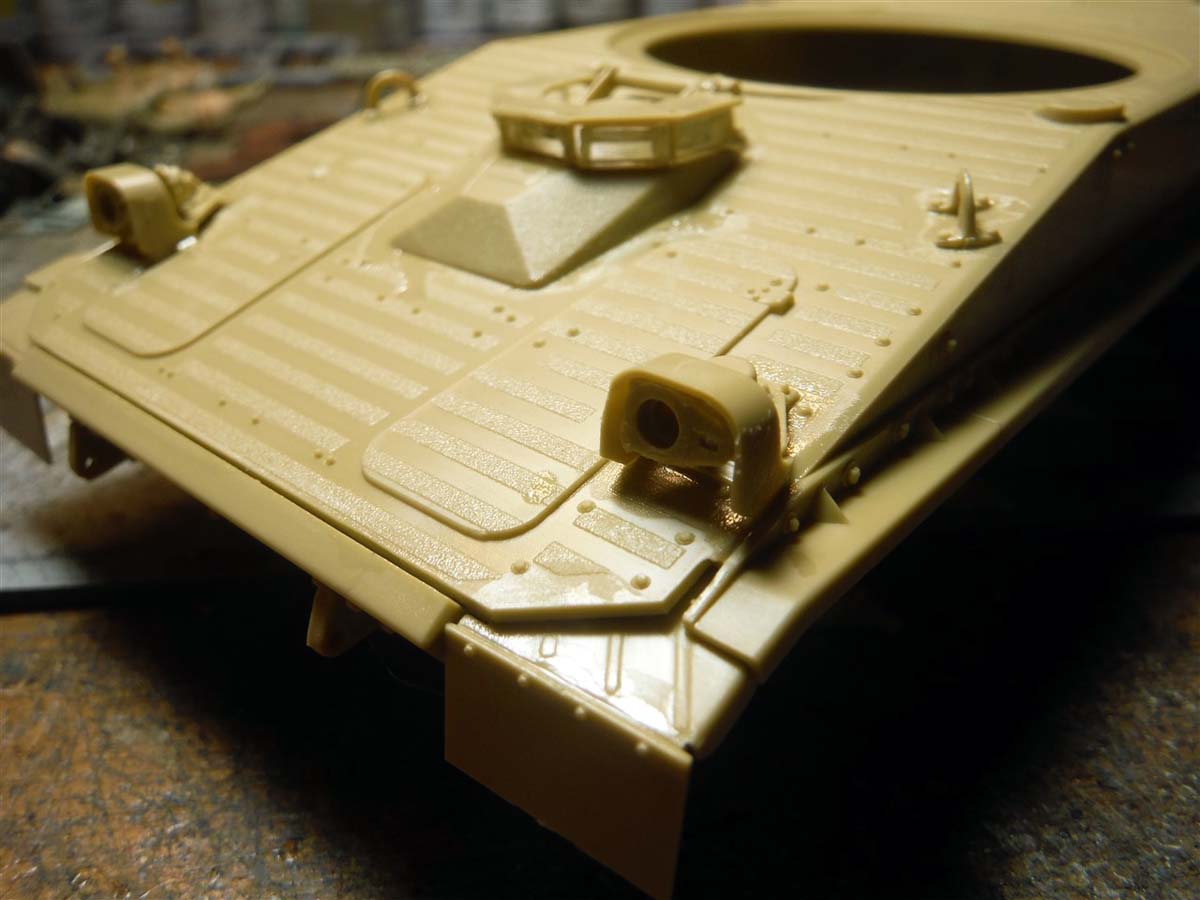
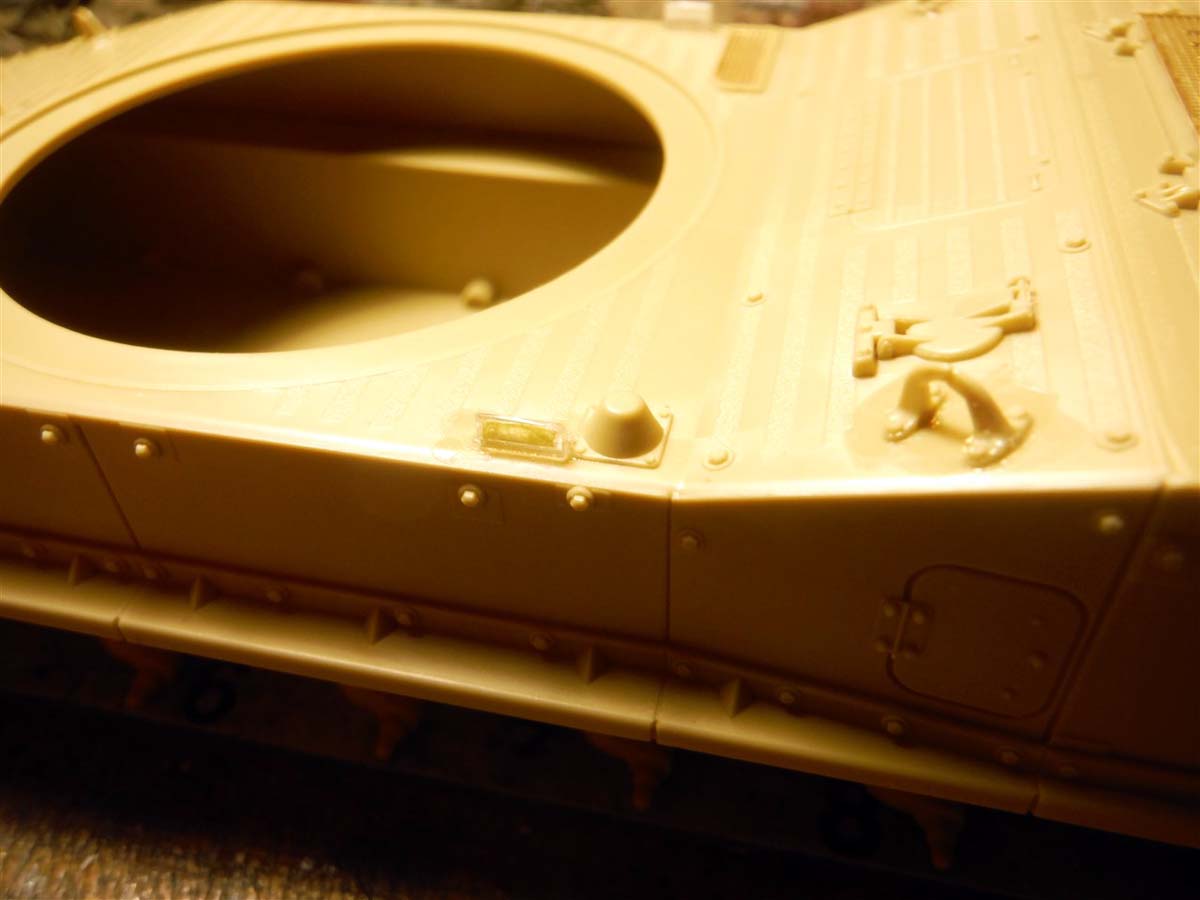
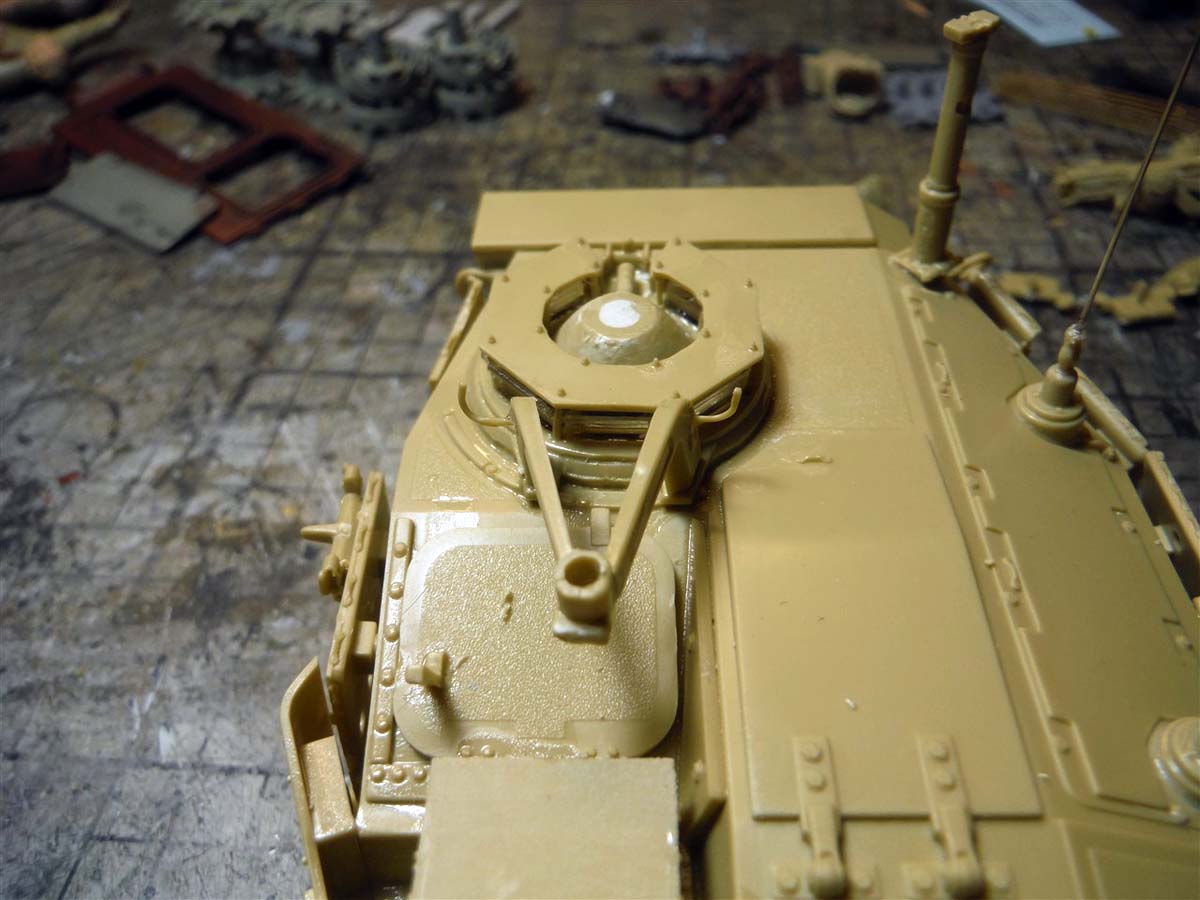
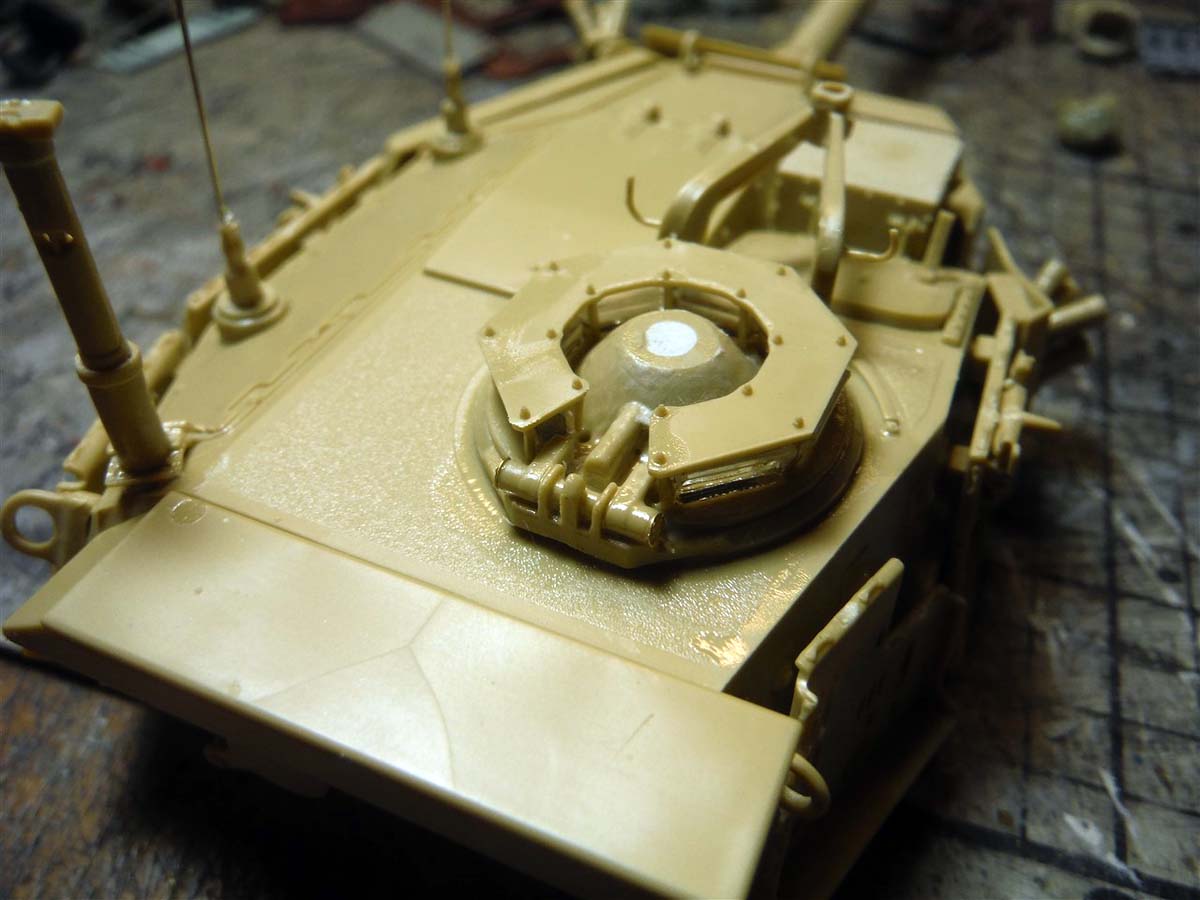
Step 18 has you attach another armour plate, the gun mantlet, a lifting eye, a spare track link, and in a sub step, the commander's cupola. Again, the spare track link was left off till after final painting. Step 18, sub-step L is building the commanders cupola. On part B64, there is a large push out mark that needs to be filled on the top. Apparently, parts C36 are supposed to all be the same size, but after attaching them to part B21, it turns out that half of them are a bit longer than the other half. Then looking at part B64, there are only 6 holes/locating points for parts C36. Therefore, the longer of C36 parts should go in the holes and the shorter should just sit on part B64. My fix was just to drill the additional 6 missing holes and push part B21 down flush to the periscopes. Another small problem is with part C20. They are so small and so fragile and easily broken off once glued in place. Luckily you get 4 of them and I ended up breaking and/or loosing 3 of them. I would just use very thin sprue or wire and replace them.
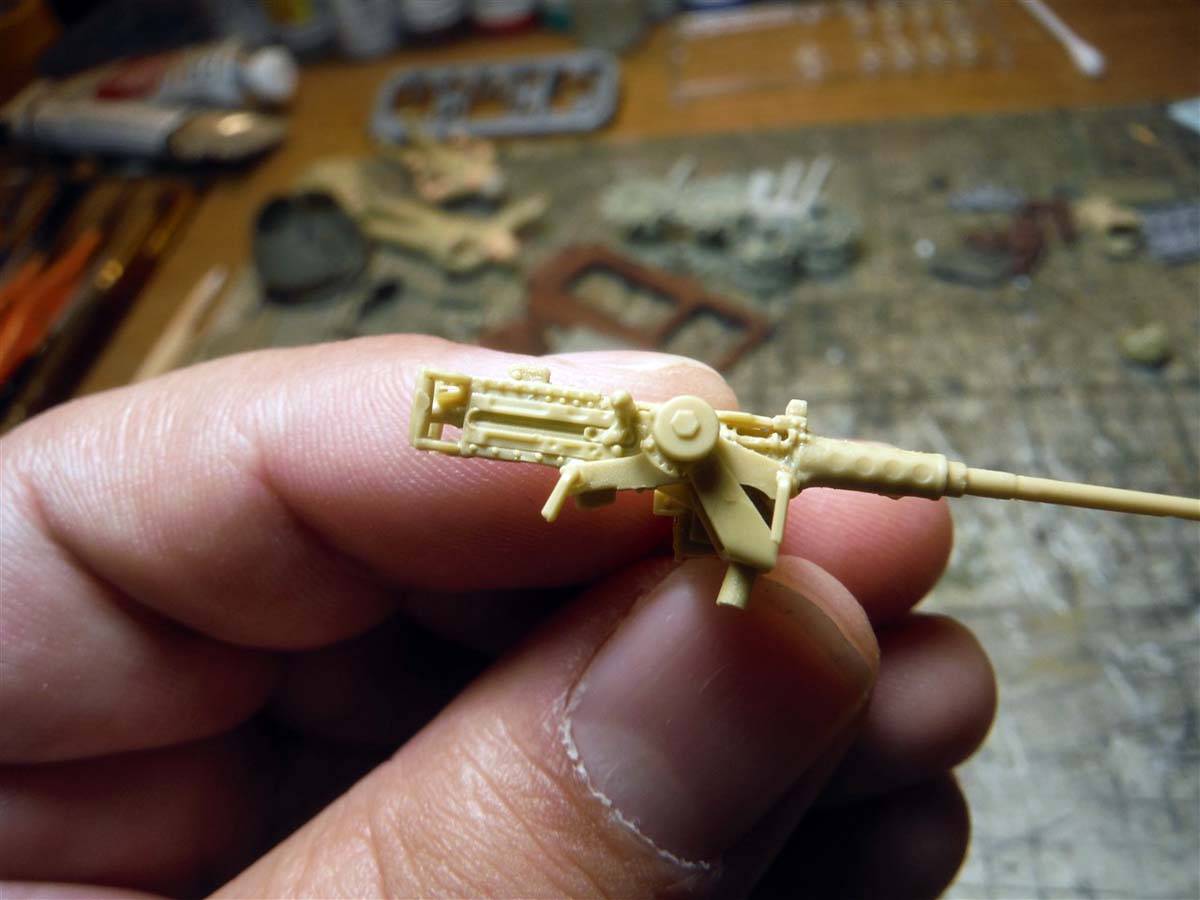
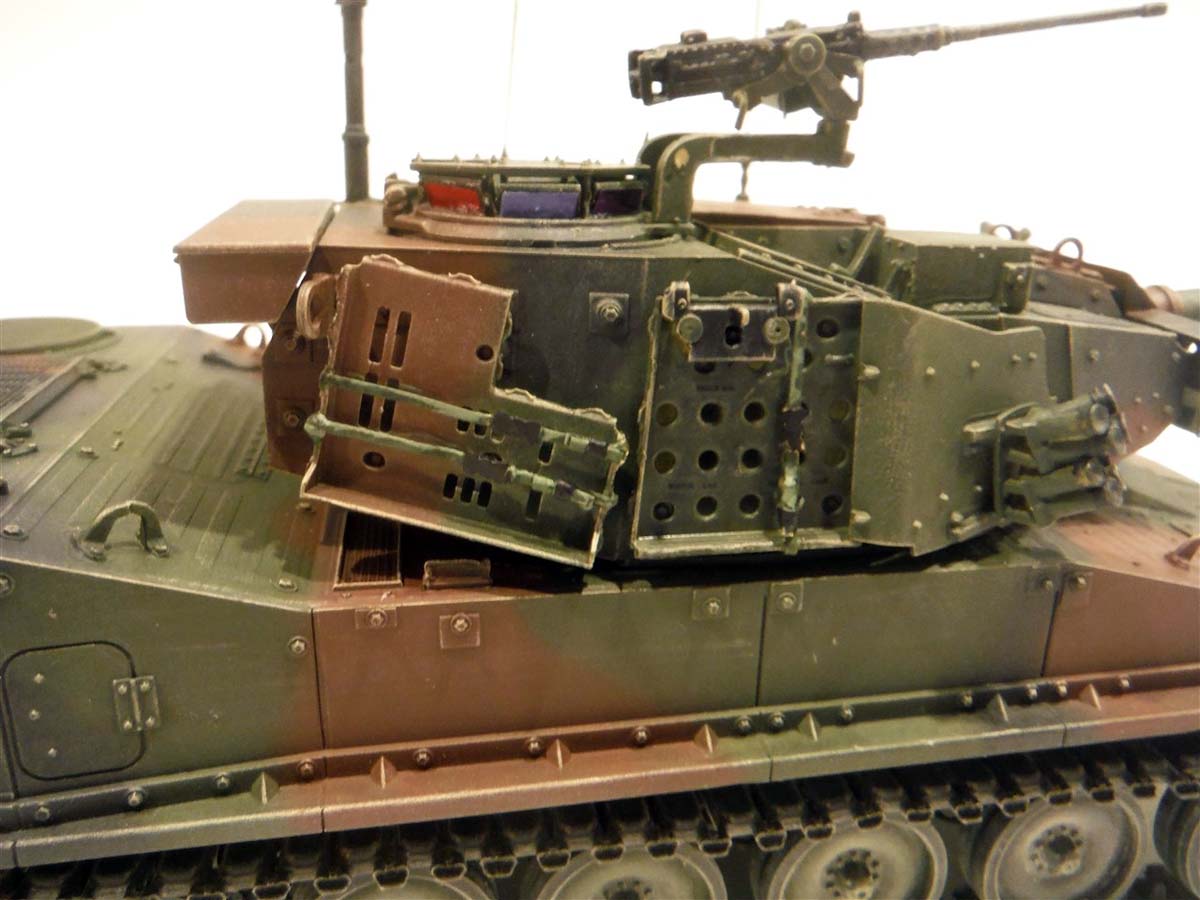
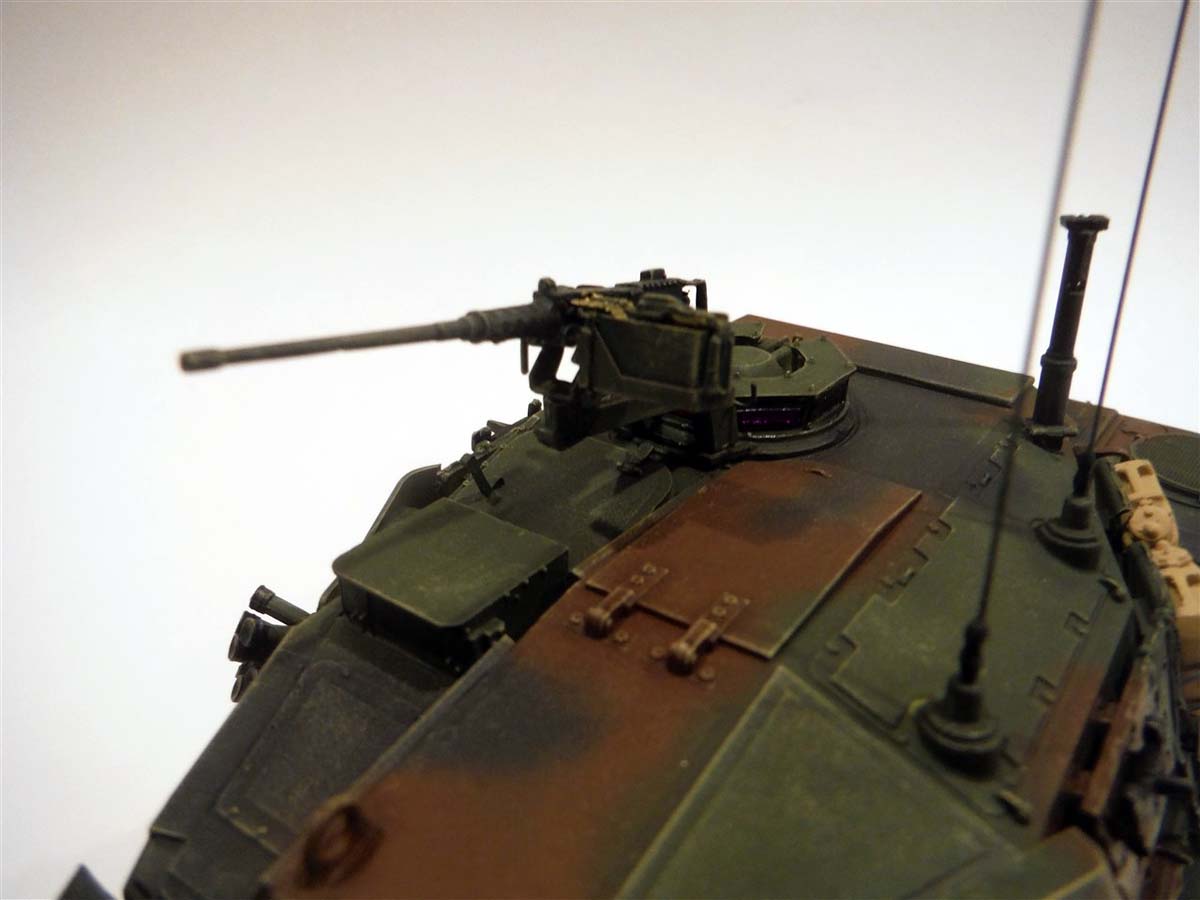
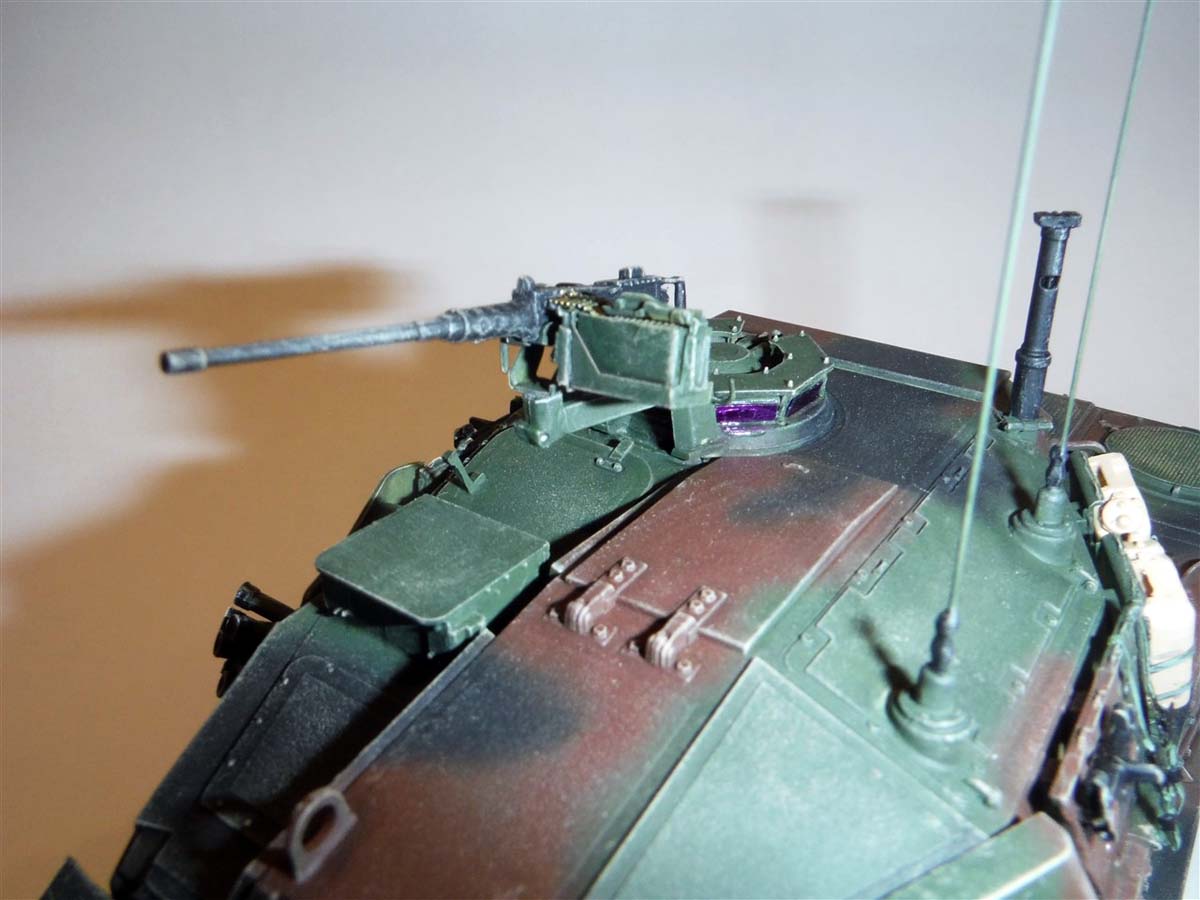
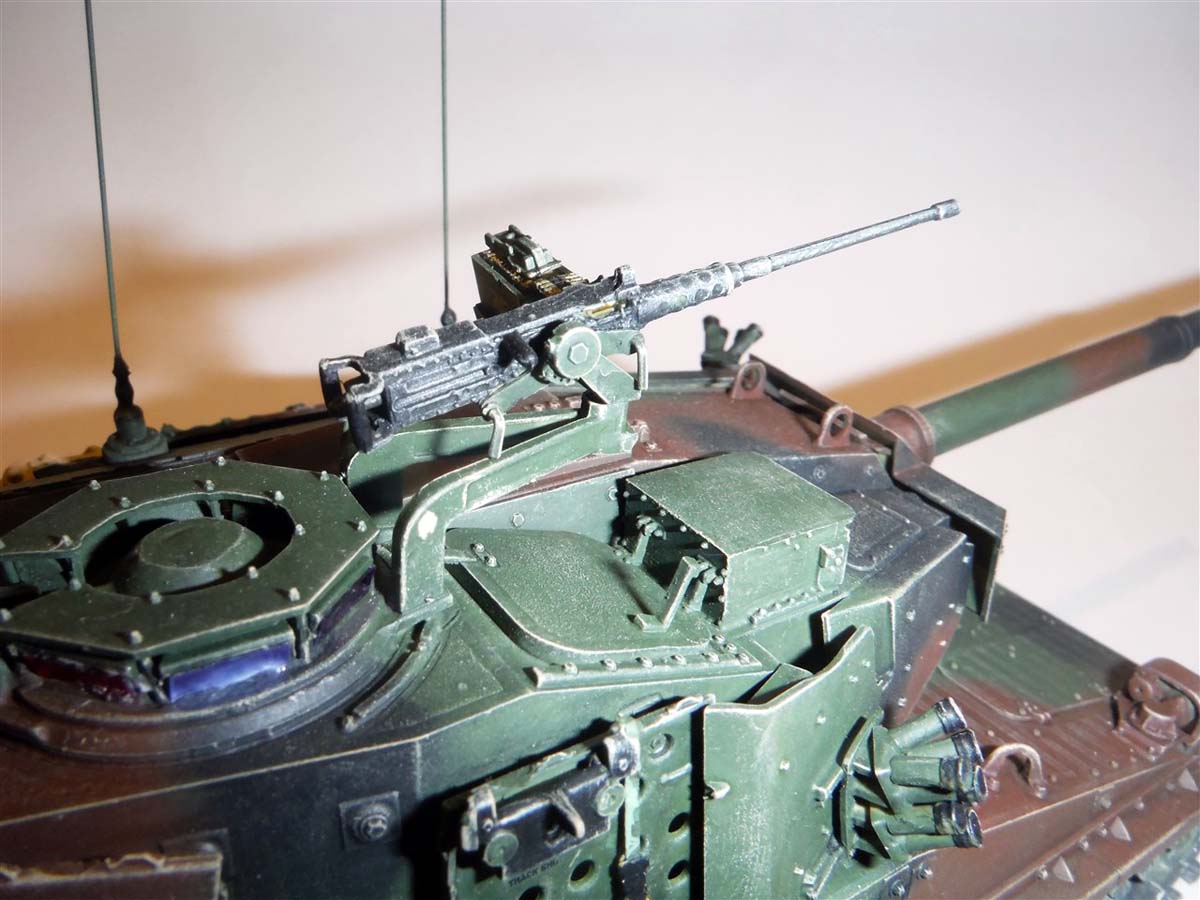
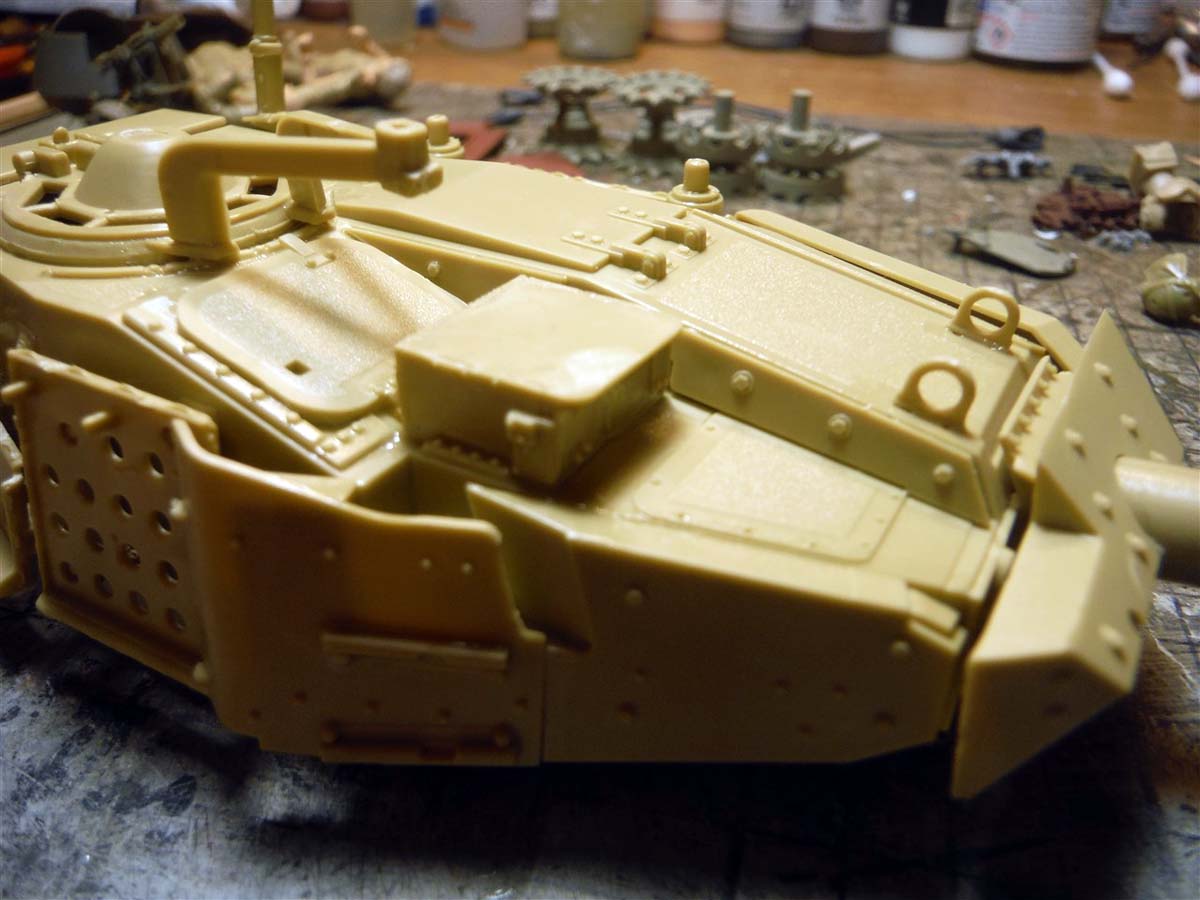
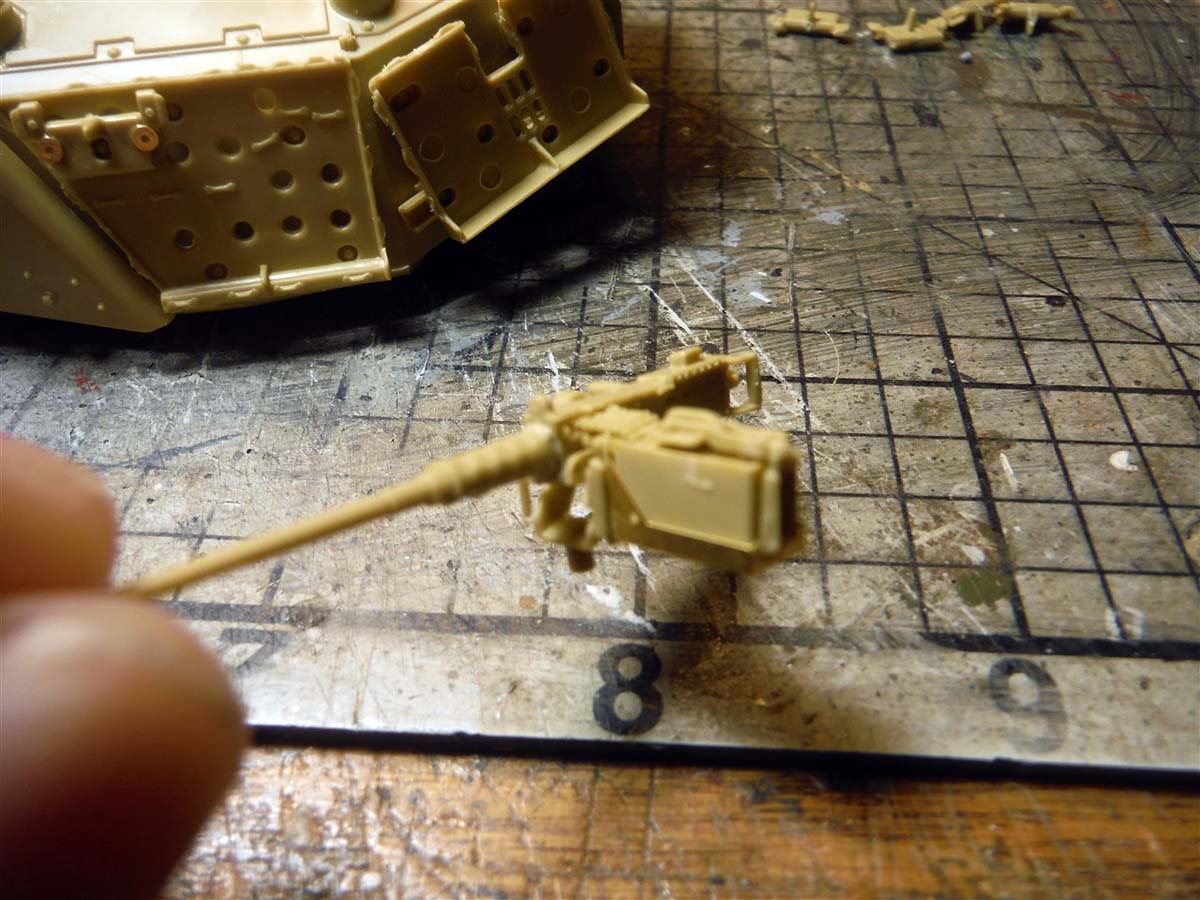
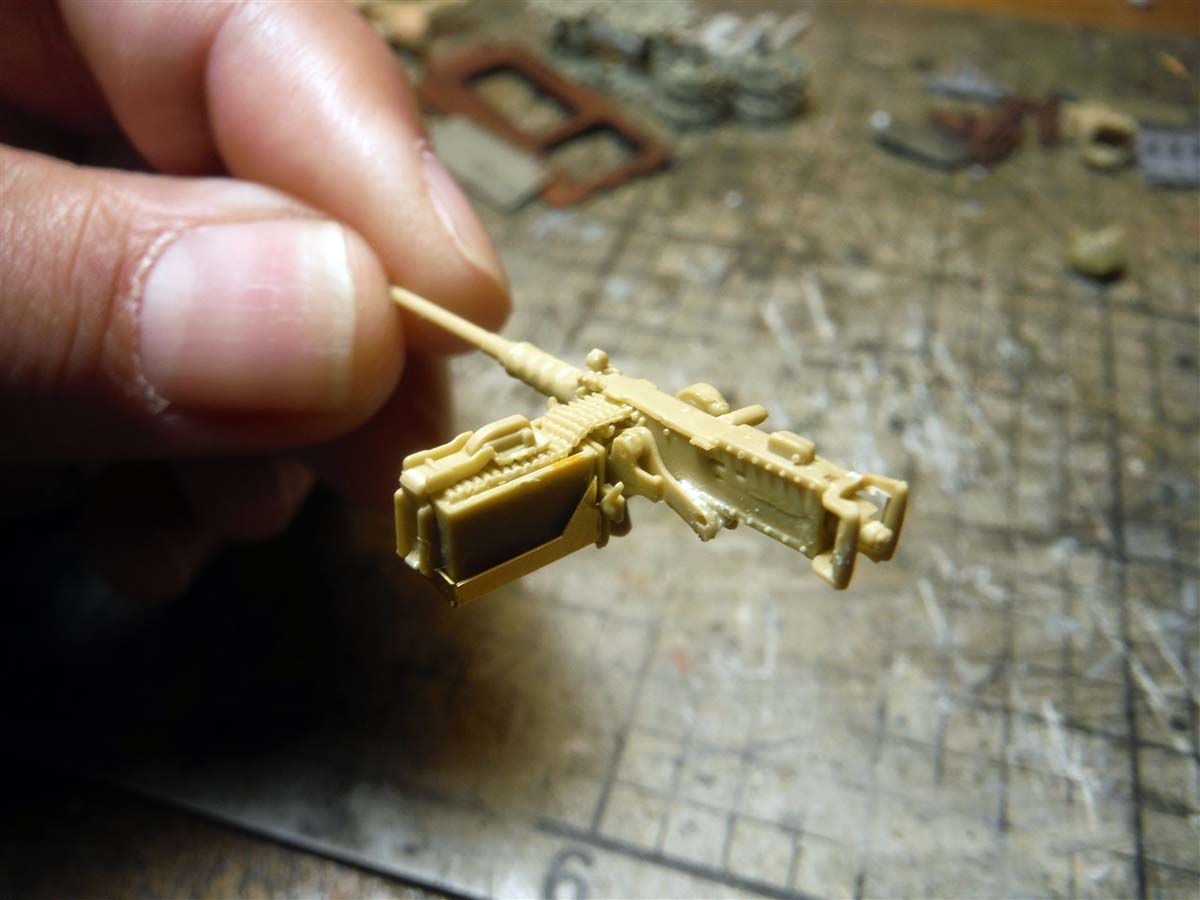
Step 19 is building the .50 Cal. The gun has multiple parts to include one photo etch part, part of the ammo can holder. There are even locking pin handles provided, parts B1 and B2. Wish they would have provided photo etch chains for the pin handles though. Once completed, it is a very nice looking .50 Cal.
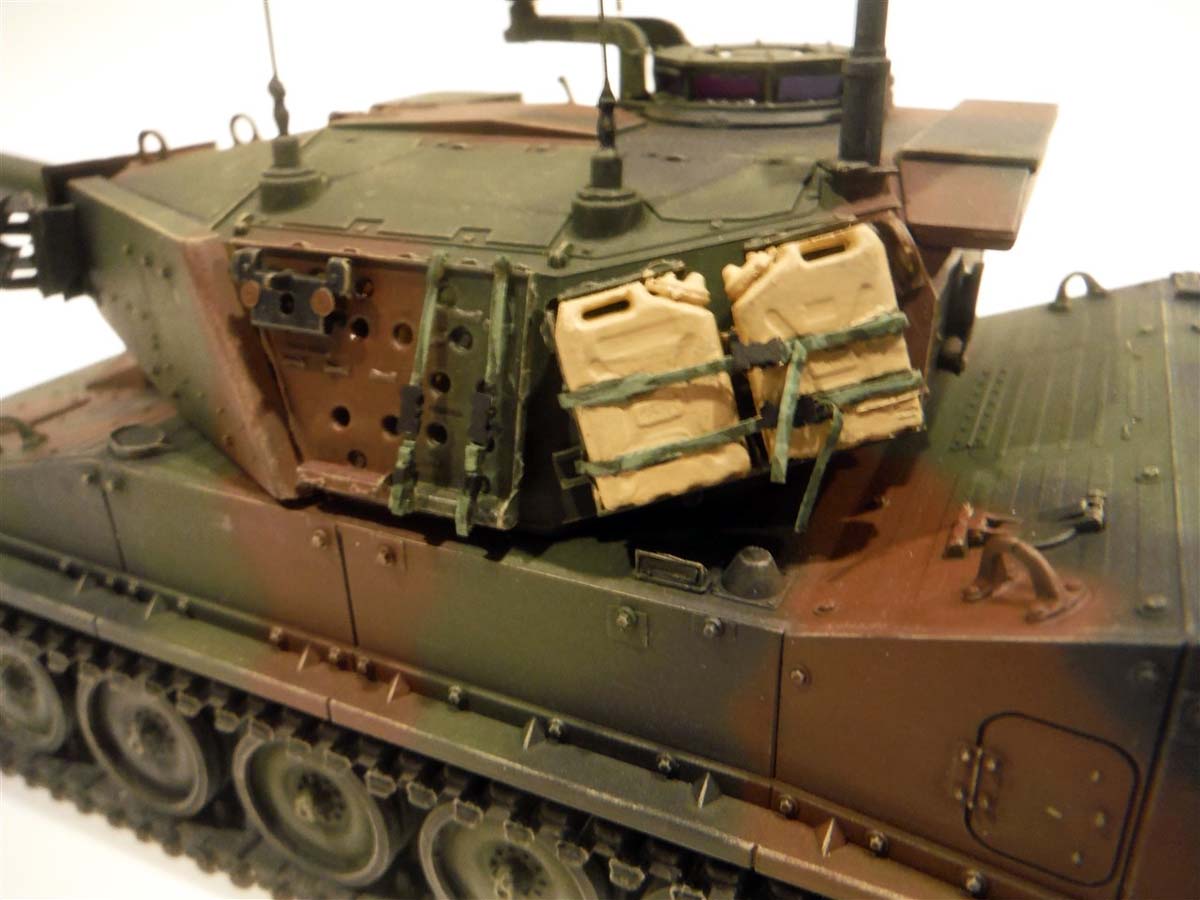
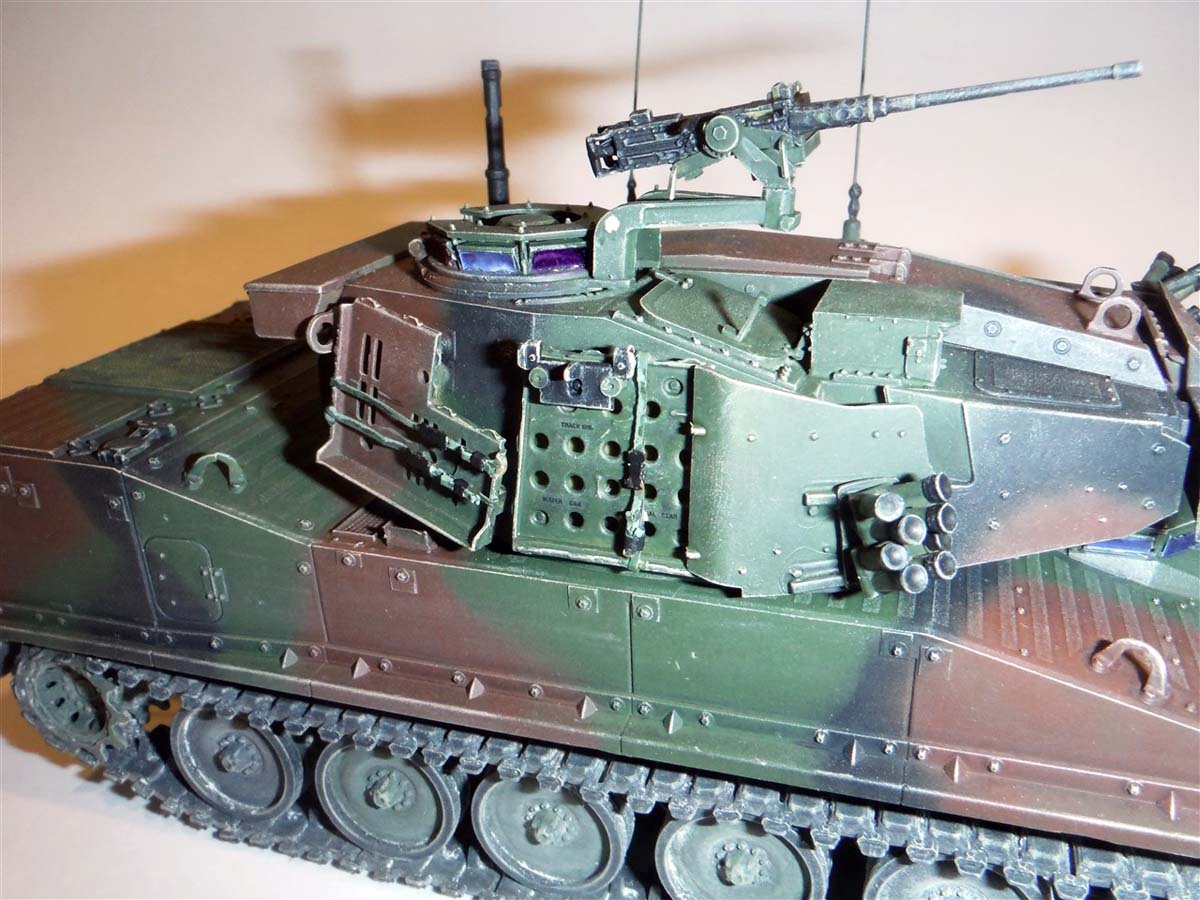
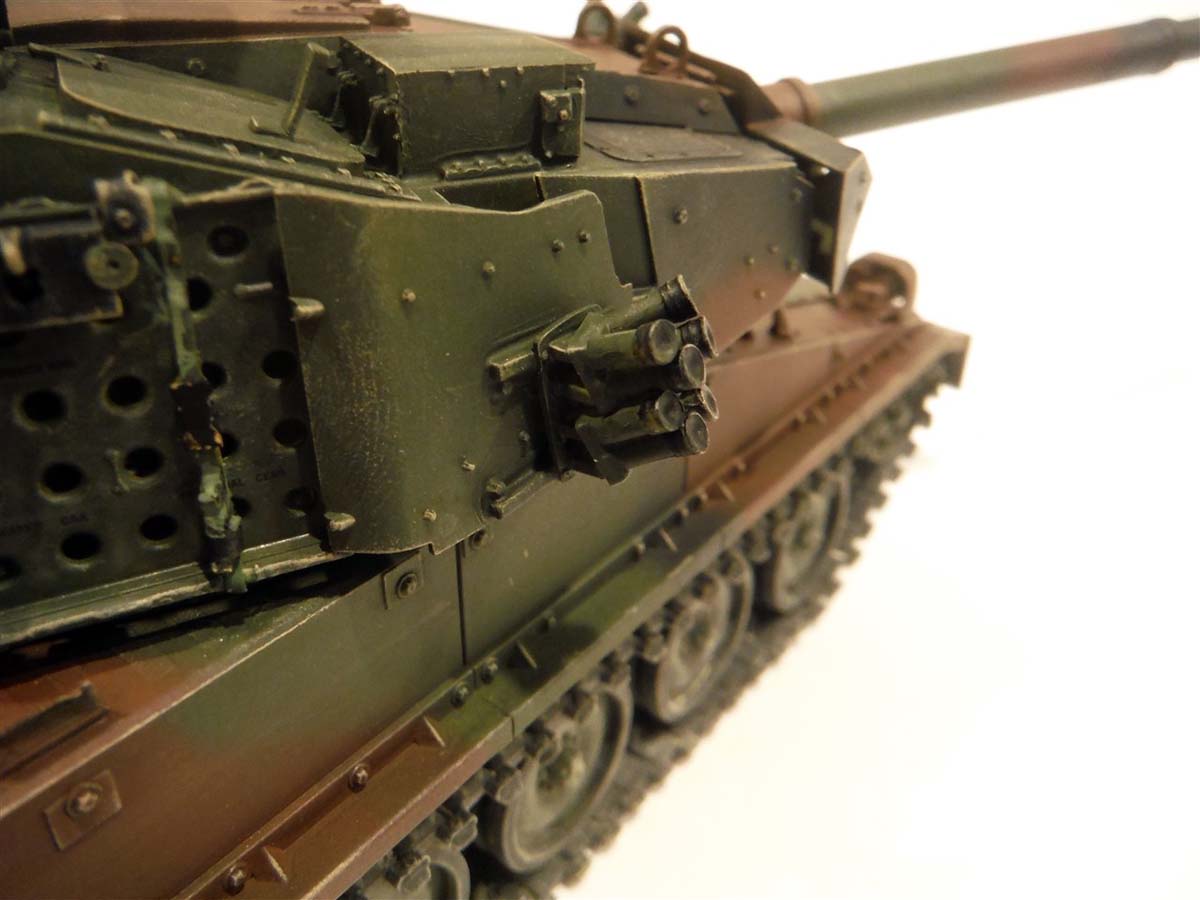
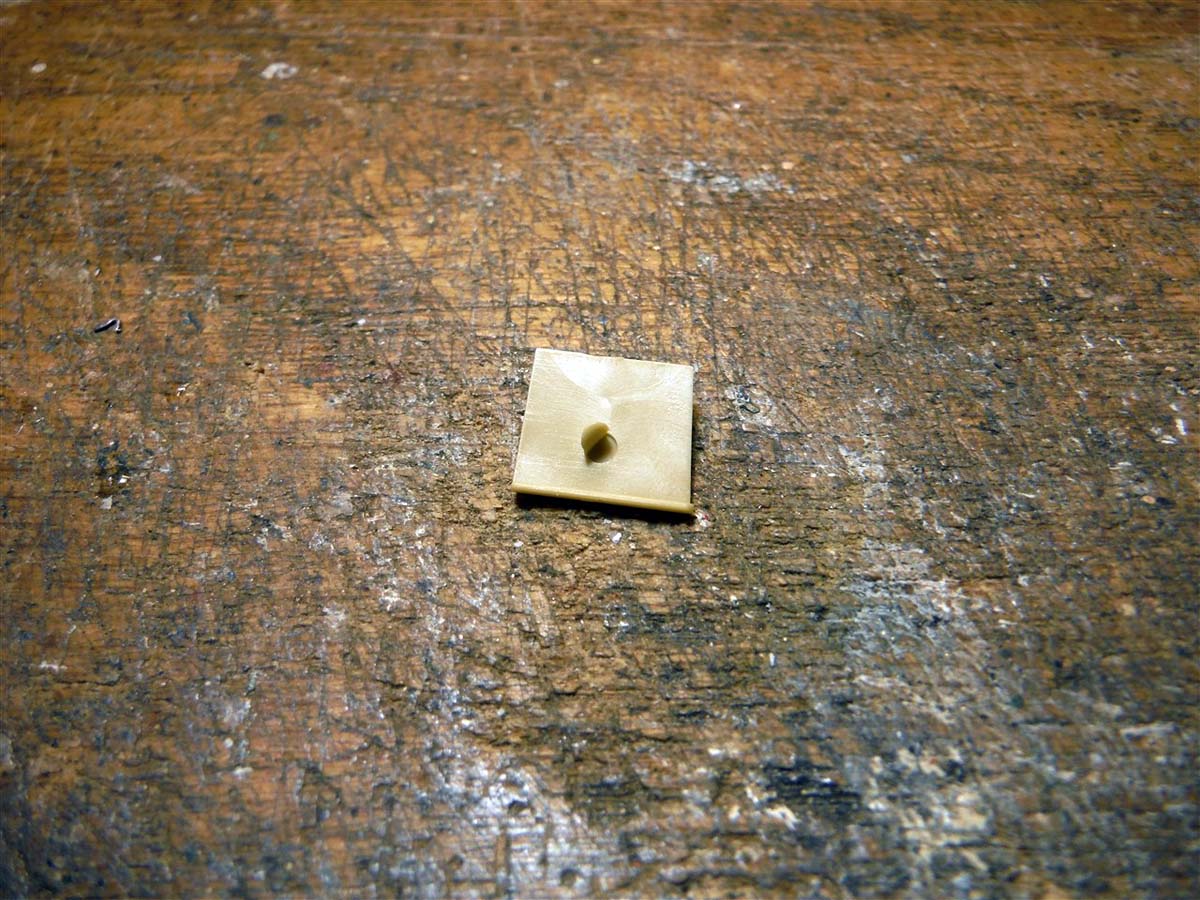
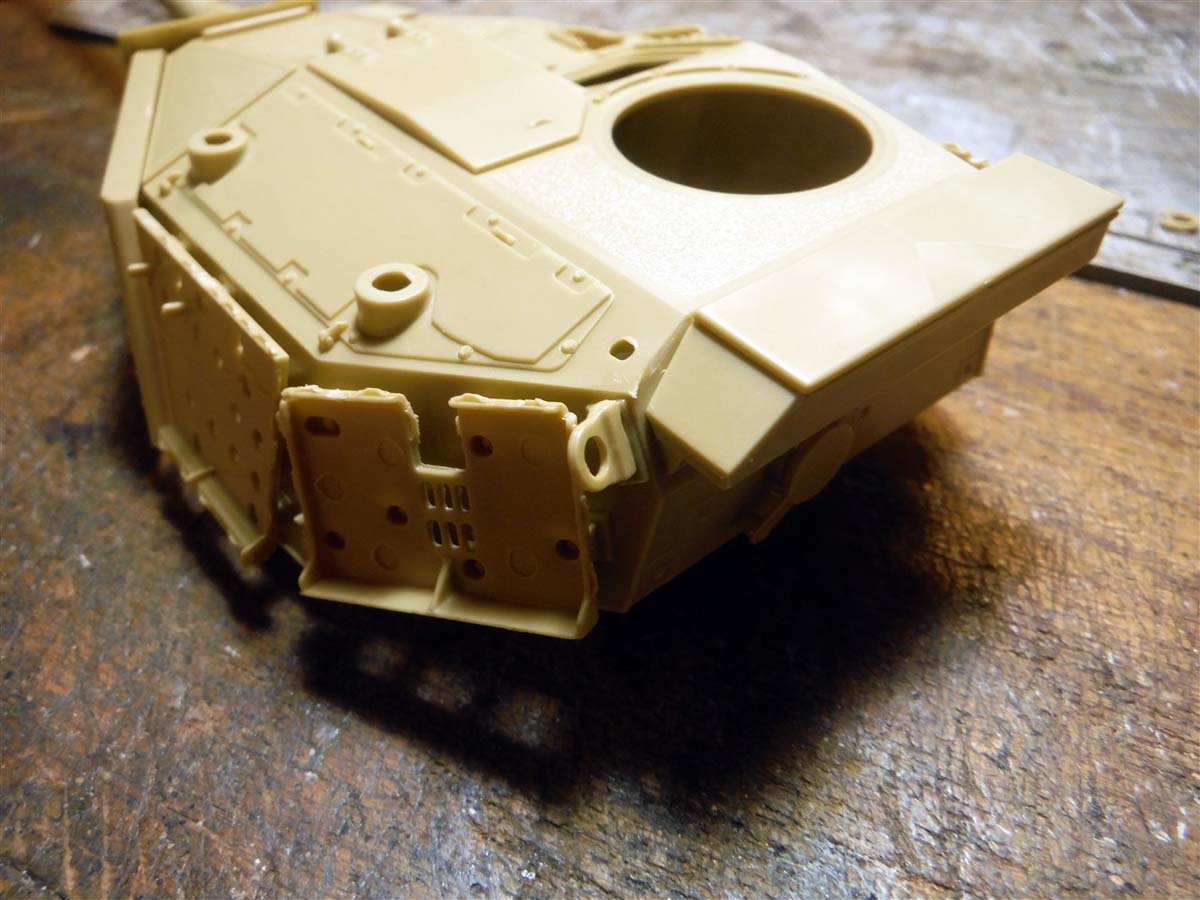
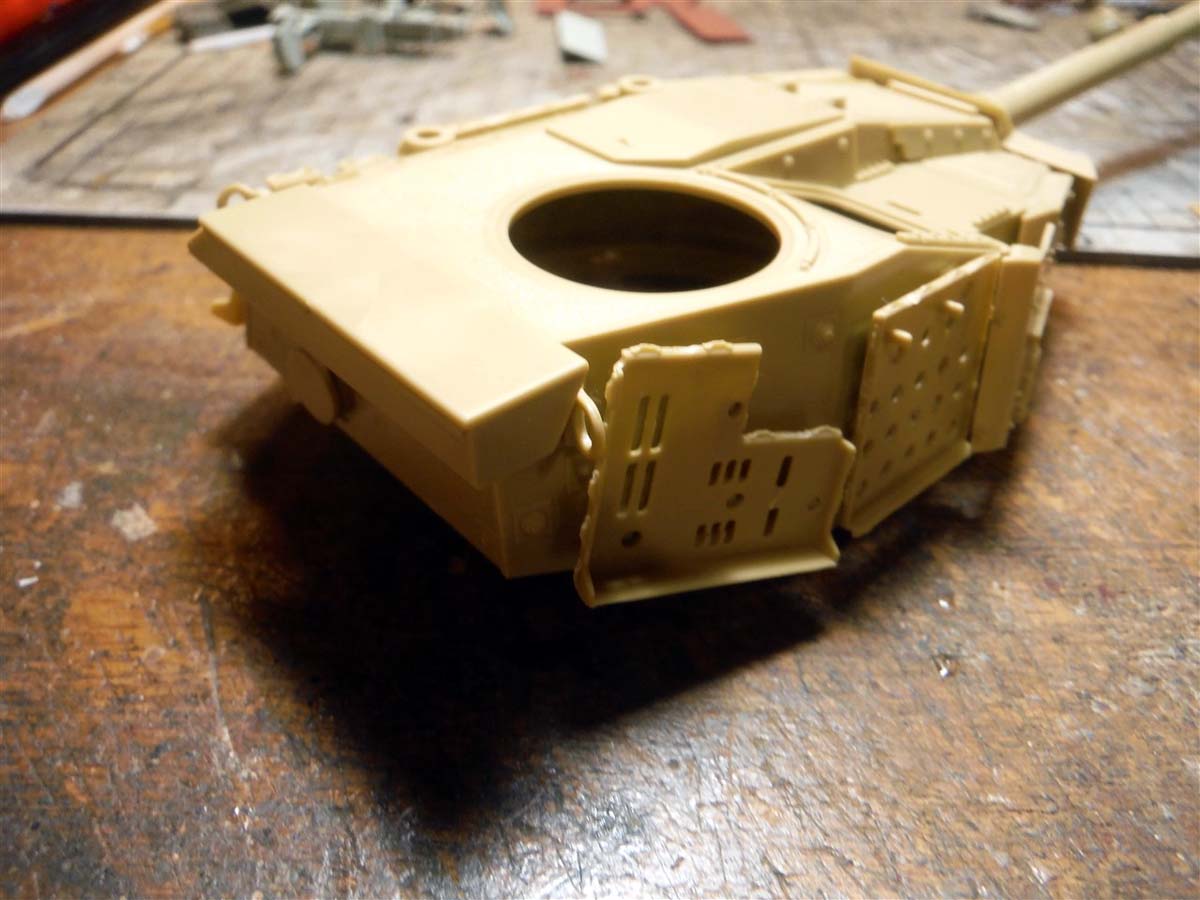
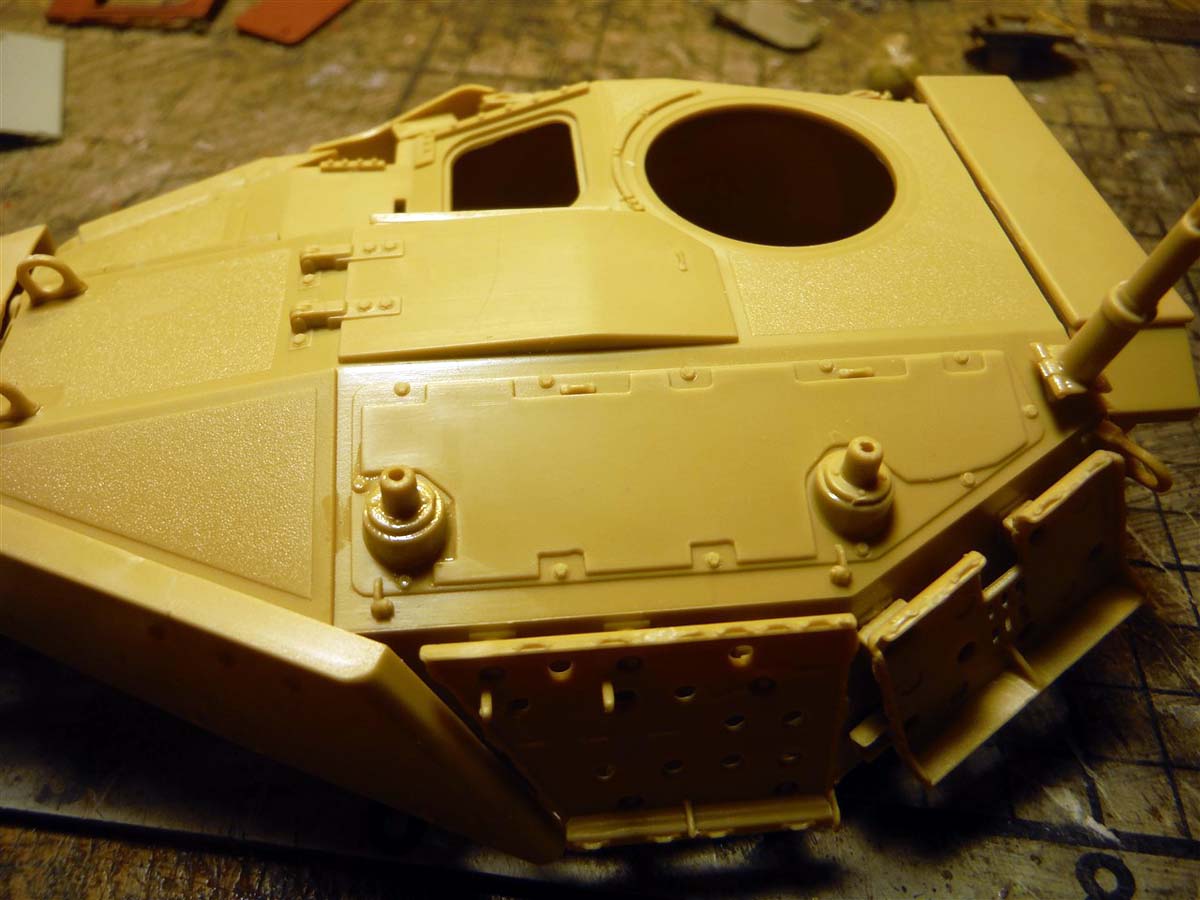
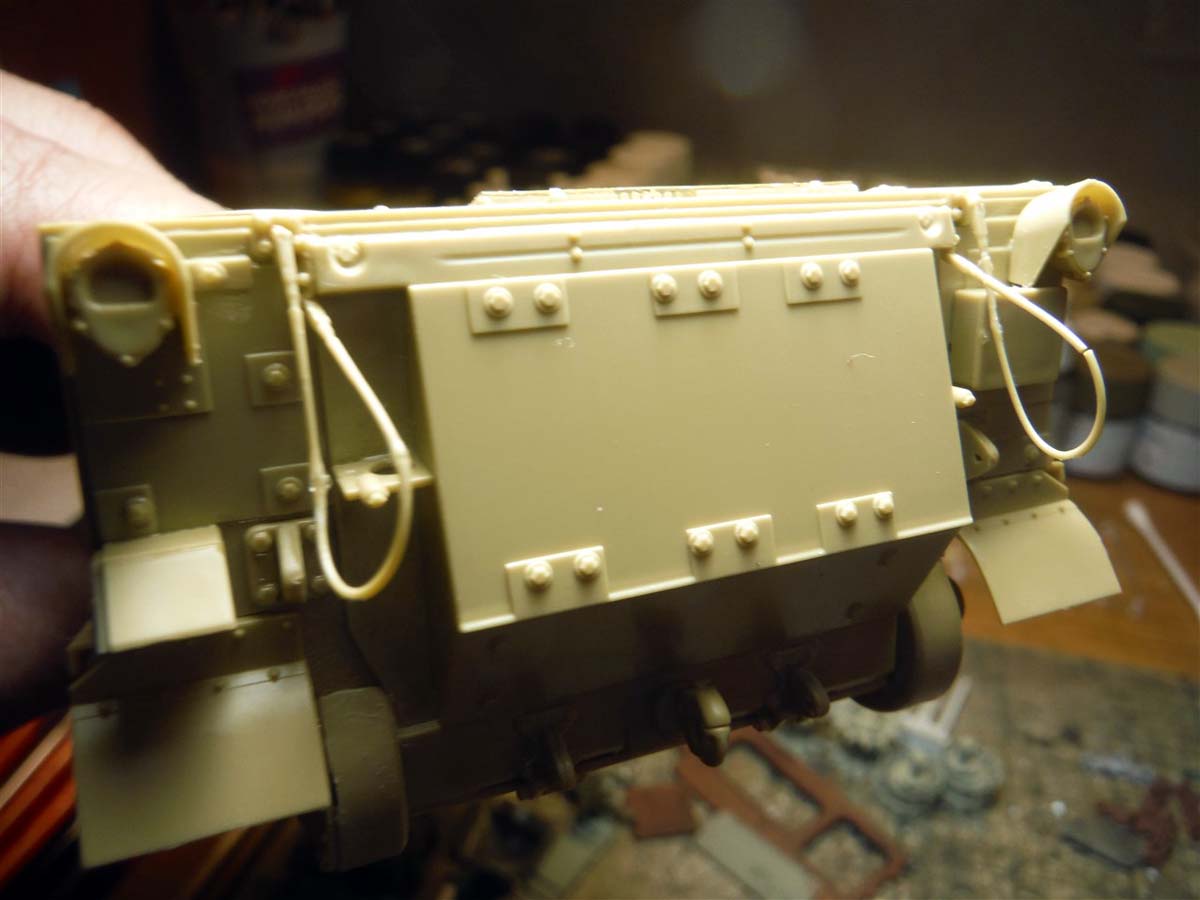
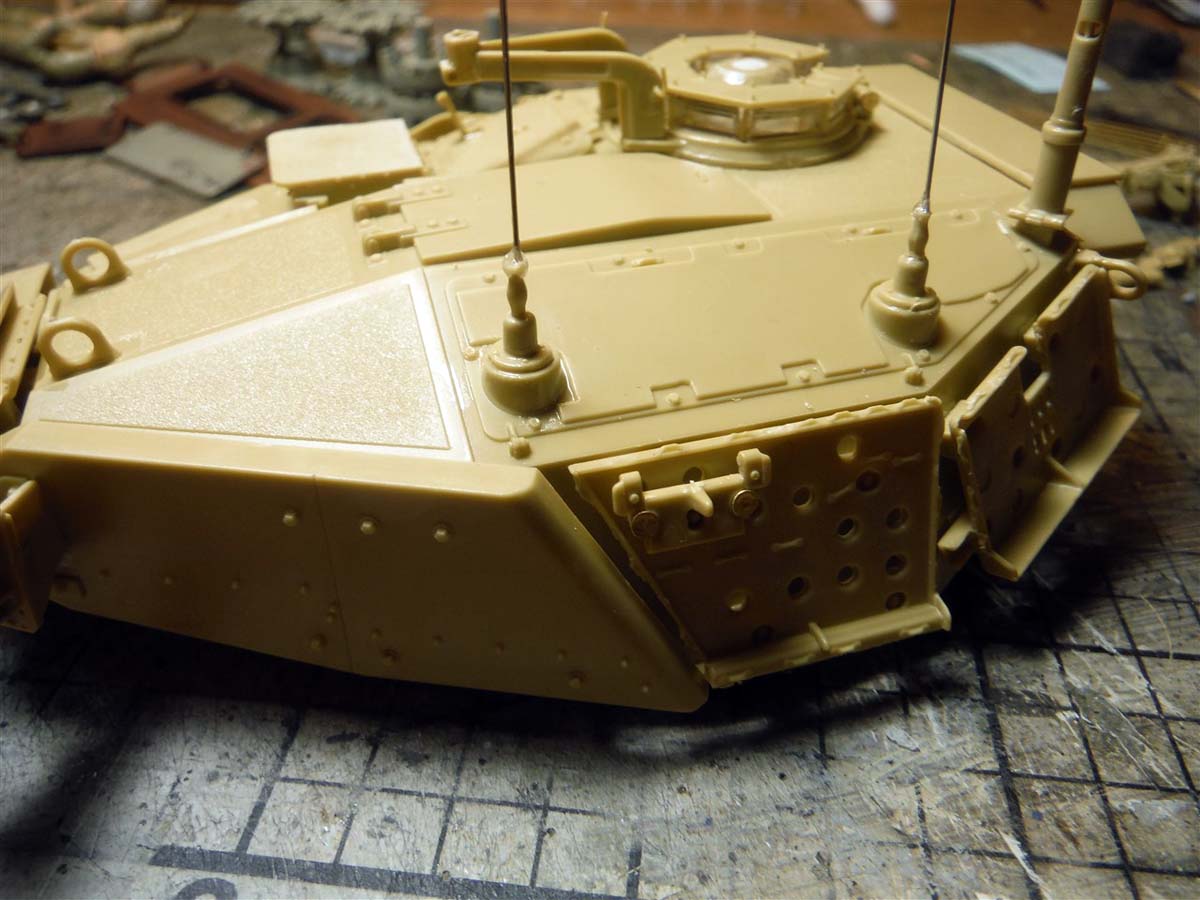
Step 20 has 4 sub steps. Sub-step N is attaching the water can panel holder. This part, part B32 has a few punch marks, but will be hidden once you attach the water cans. Of course, if you dont add the water cans, you will need to fill these punch marks. Once again, I wish that Panda Hobby would have provided some photo etch straps for the water cans. I went ahead and added some straps from Voyager Models. Sub-step O is the 8-count smoke dischargers and sub-step P is the wind sensor. Sub-step Q is the antenna mounts in which I drilled holes and added thin wire for the antennas.
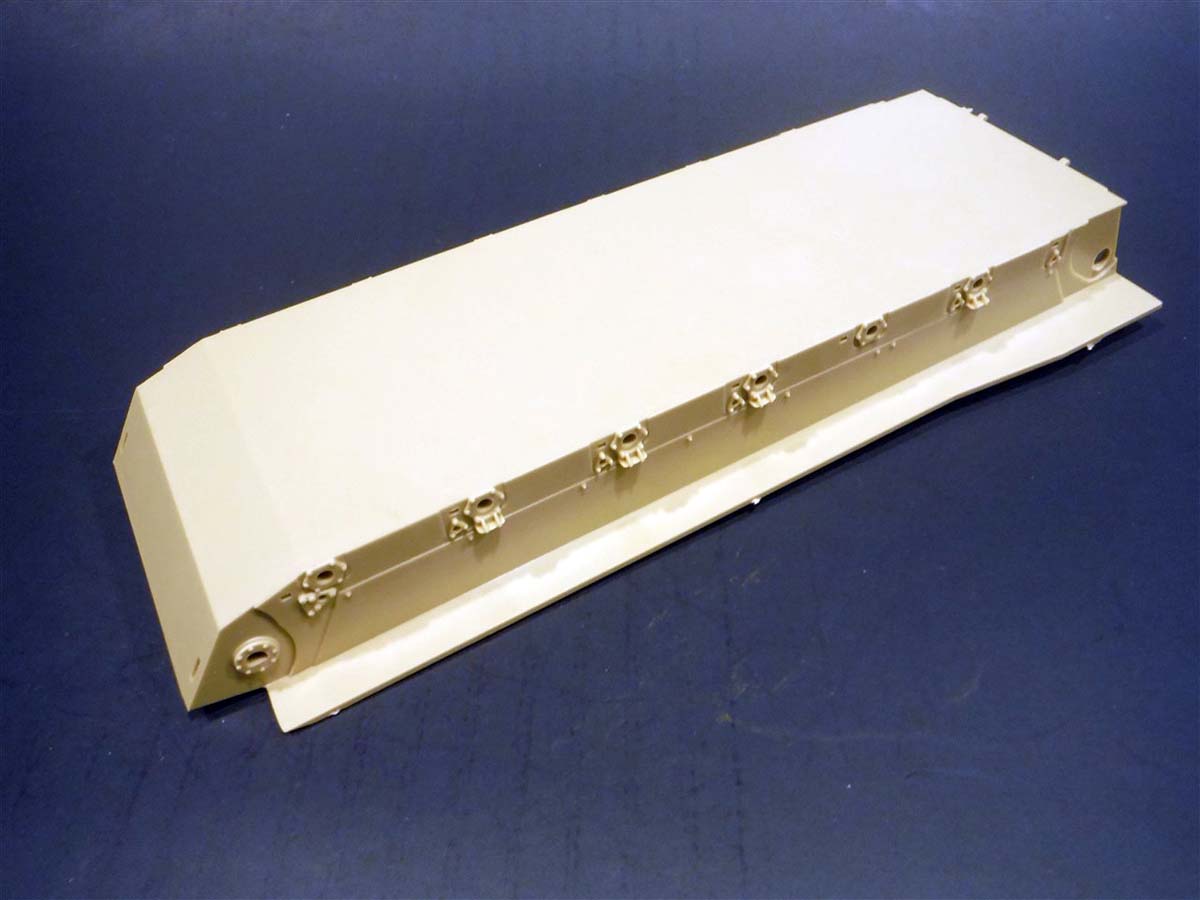
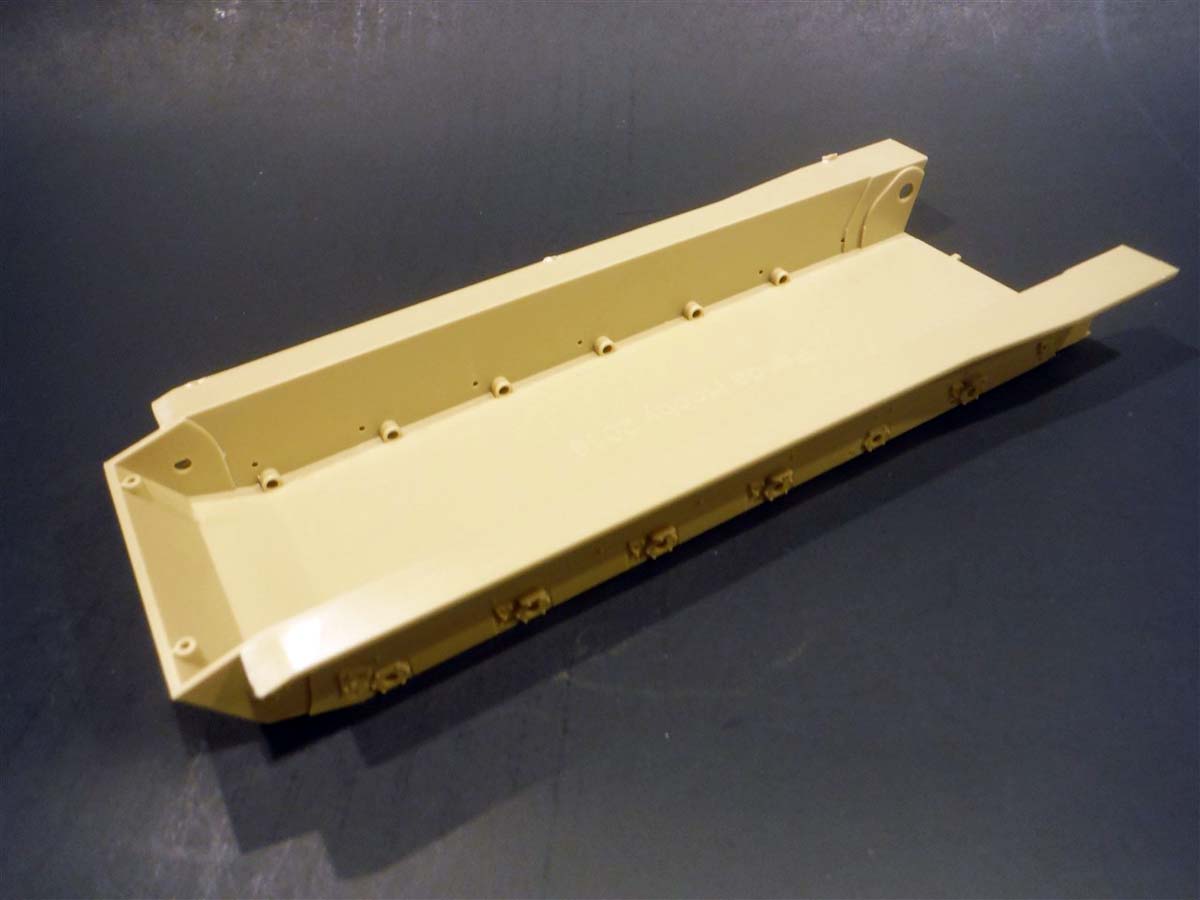
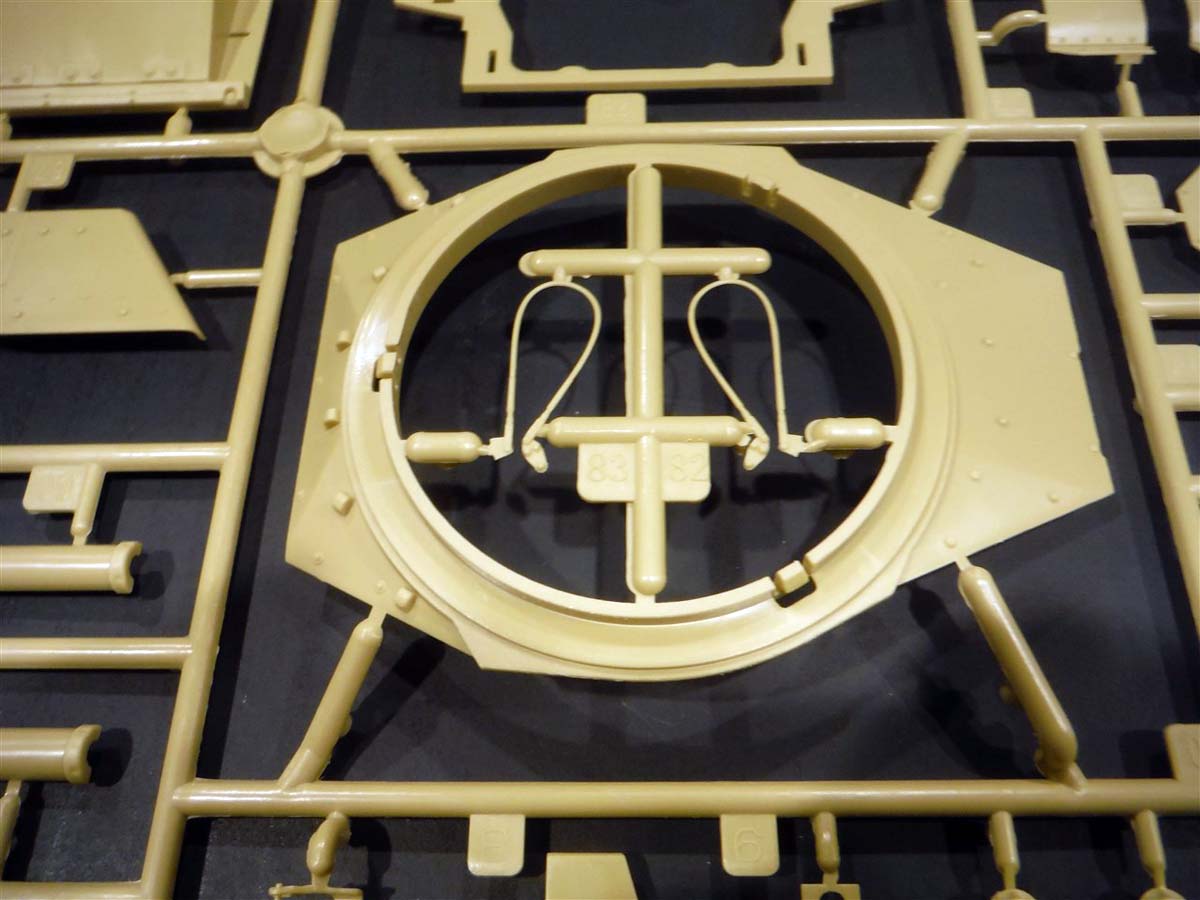
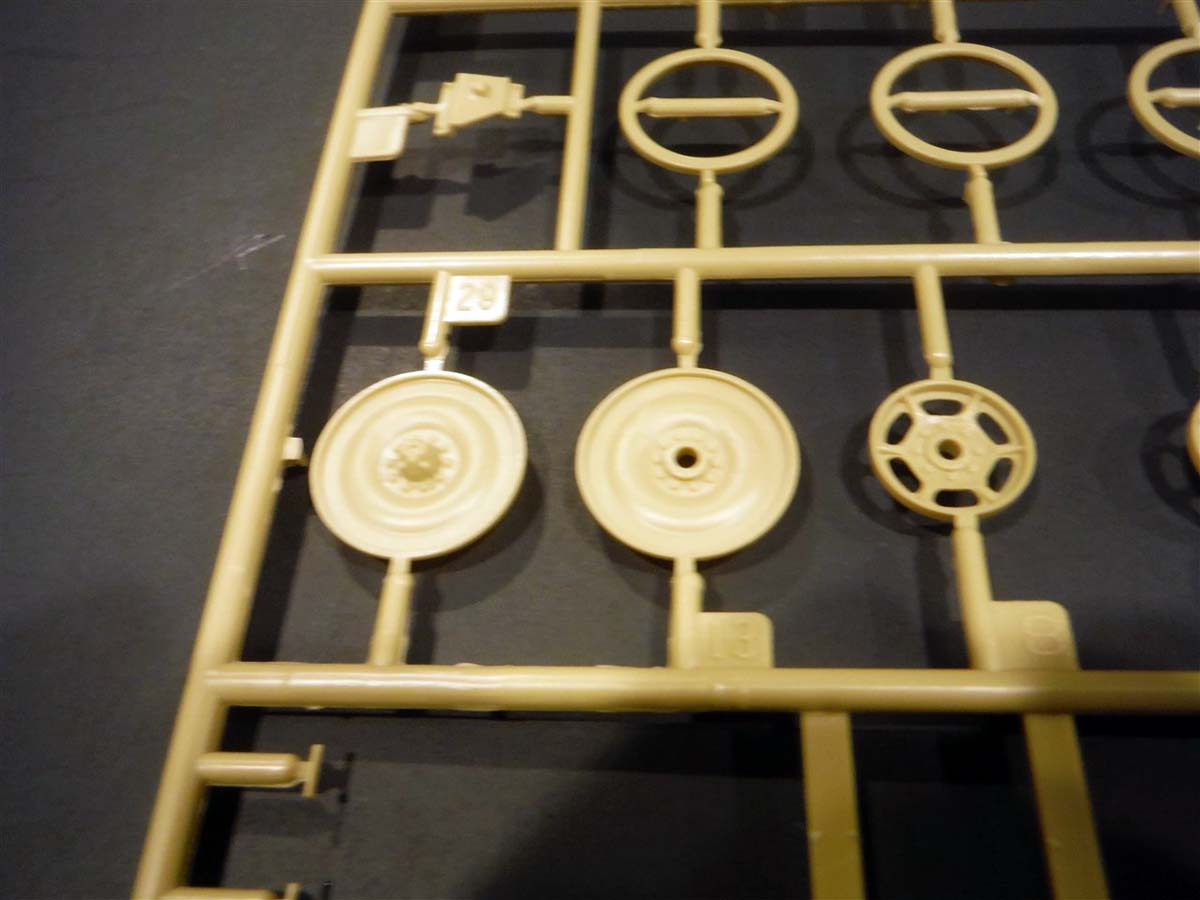
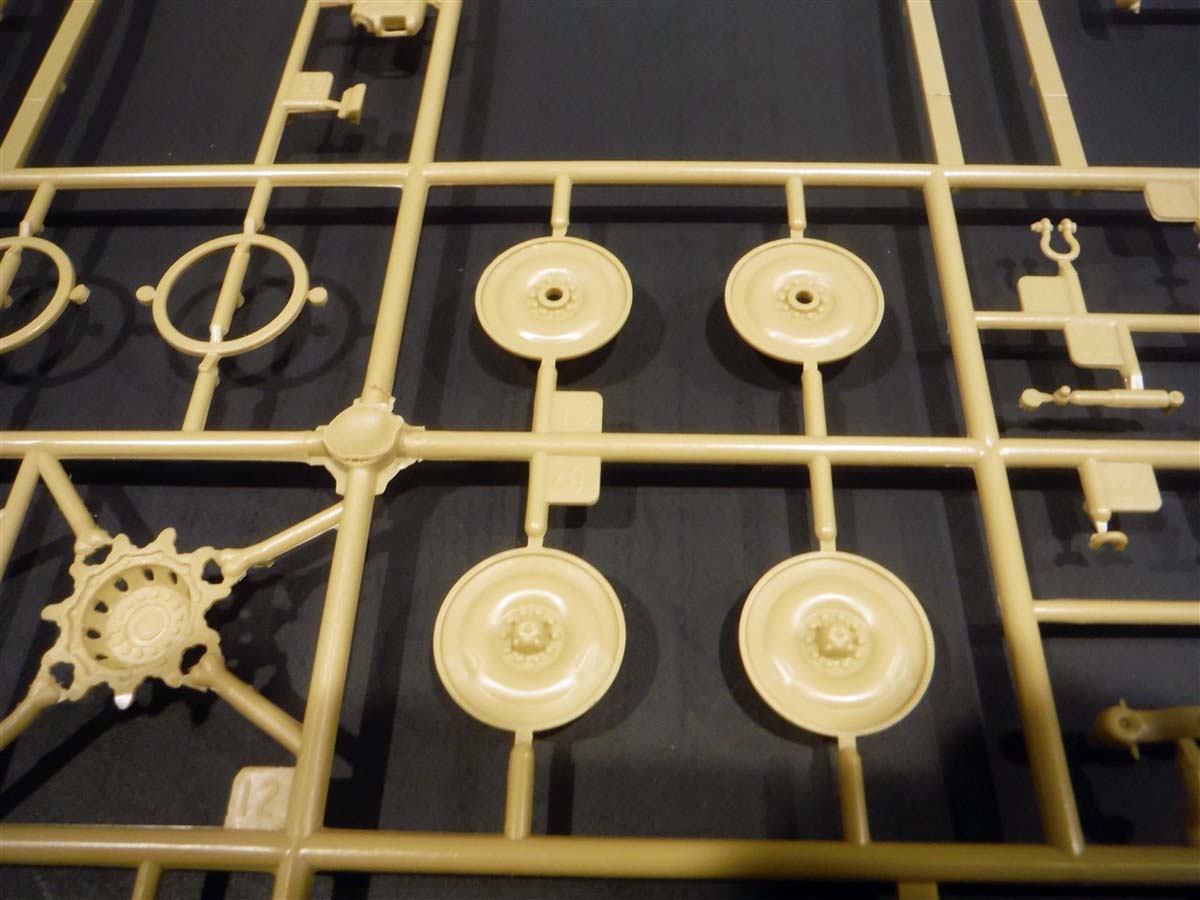
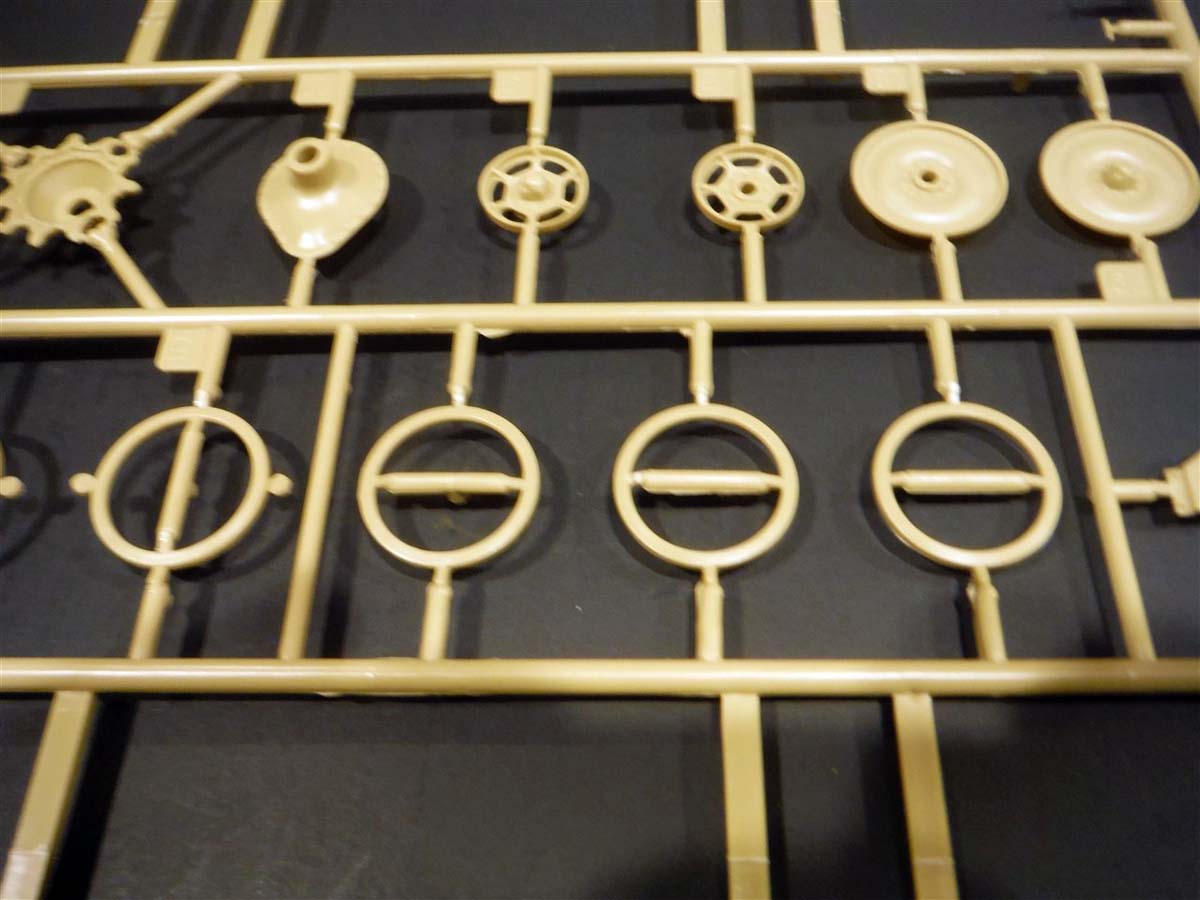
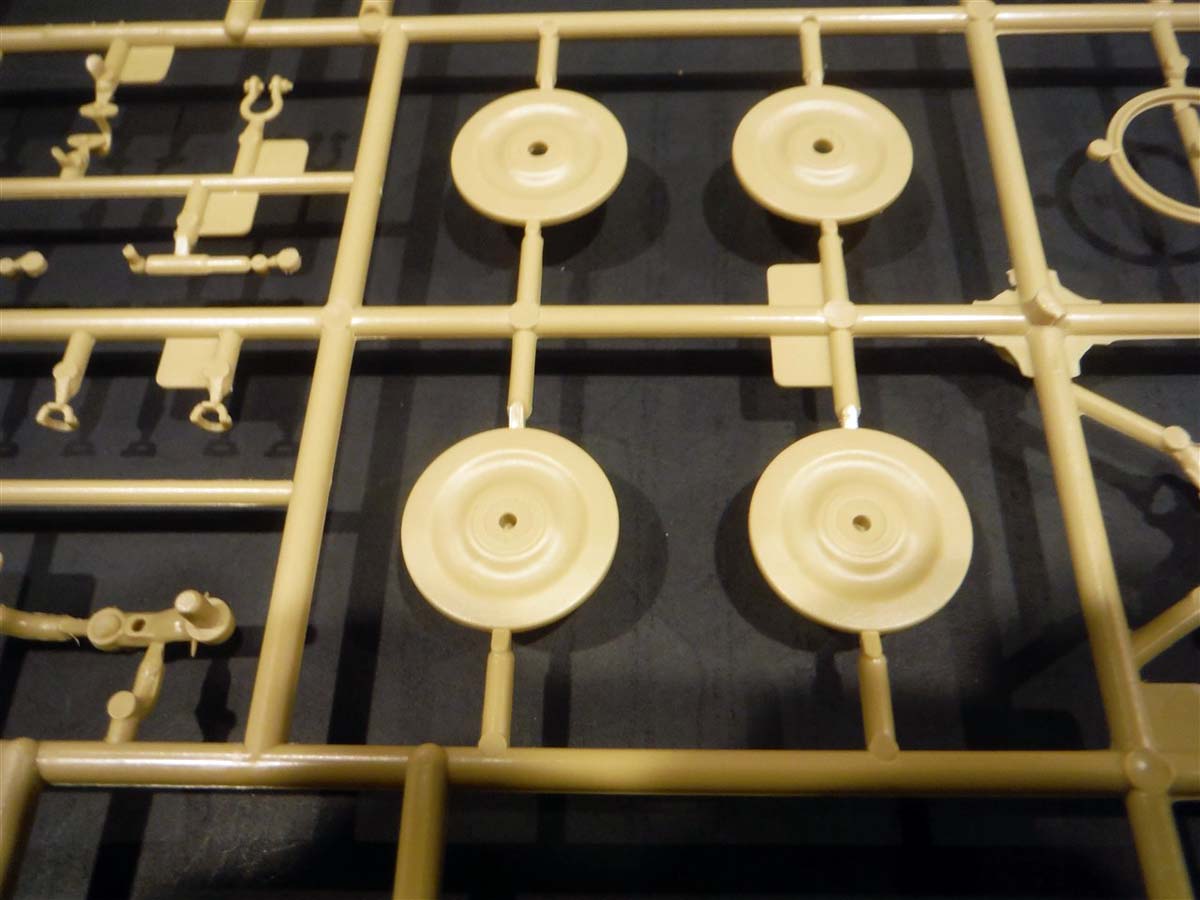
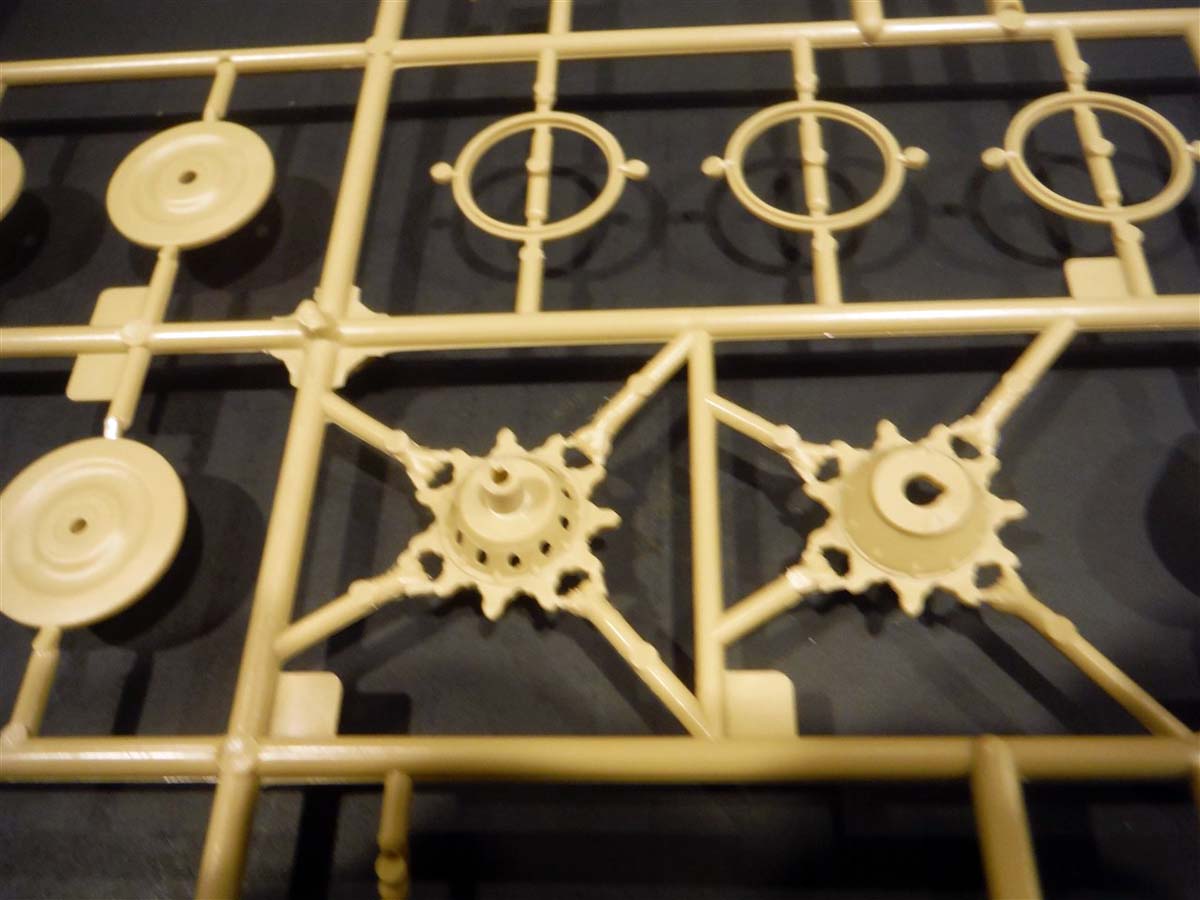
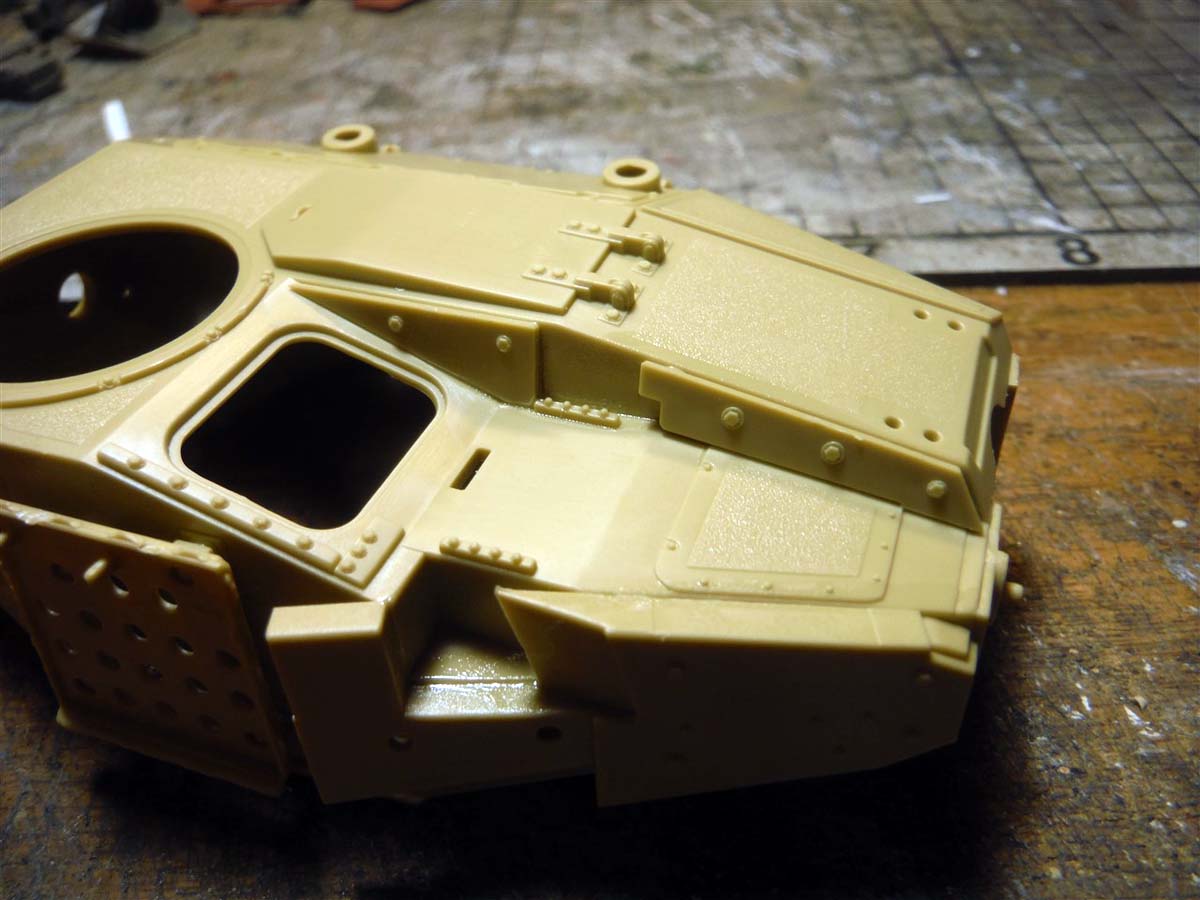
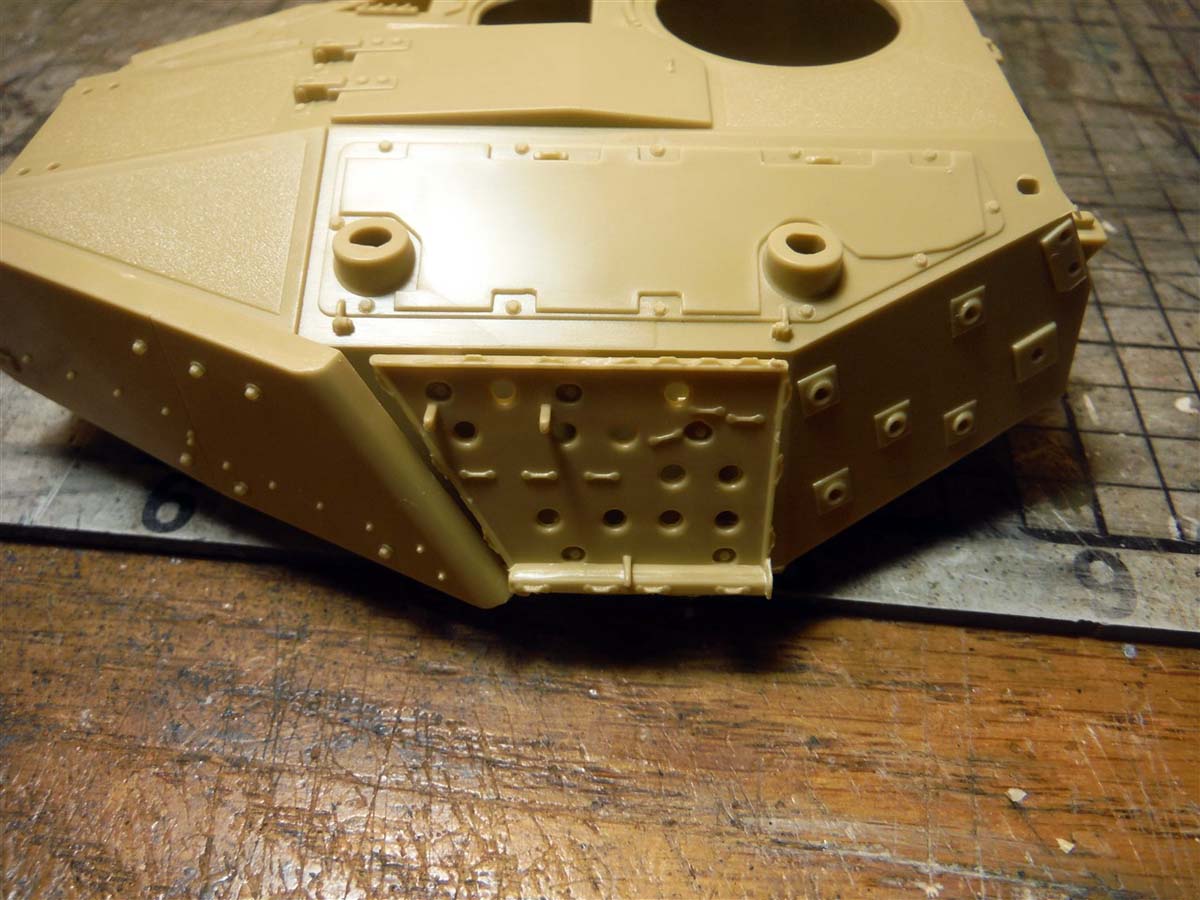
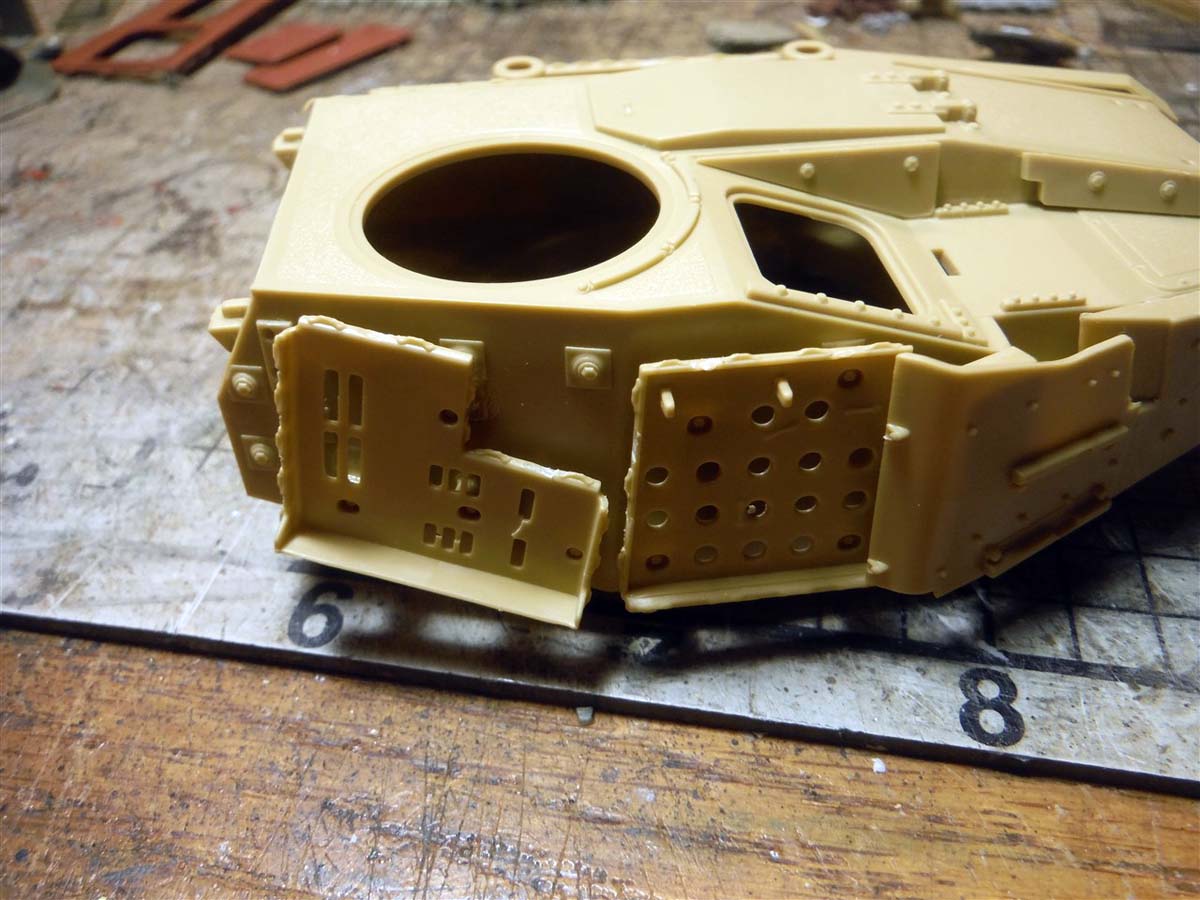
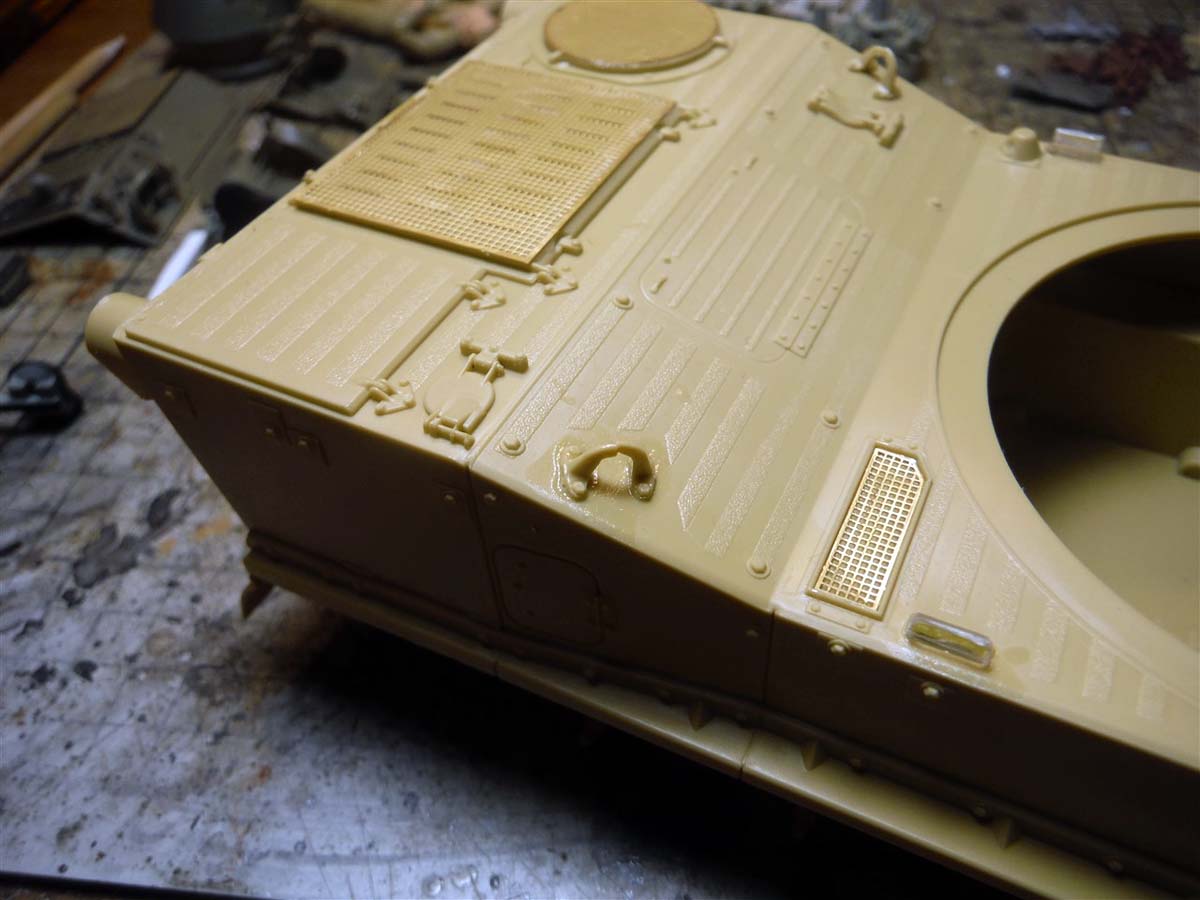
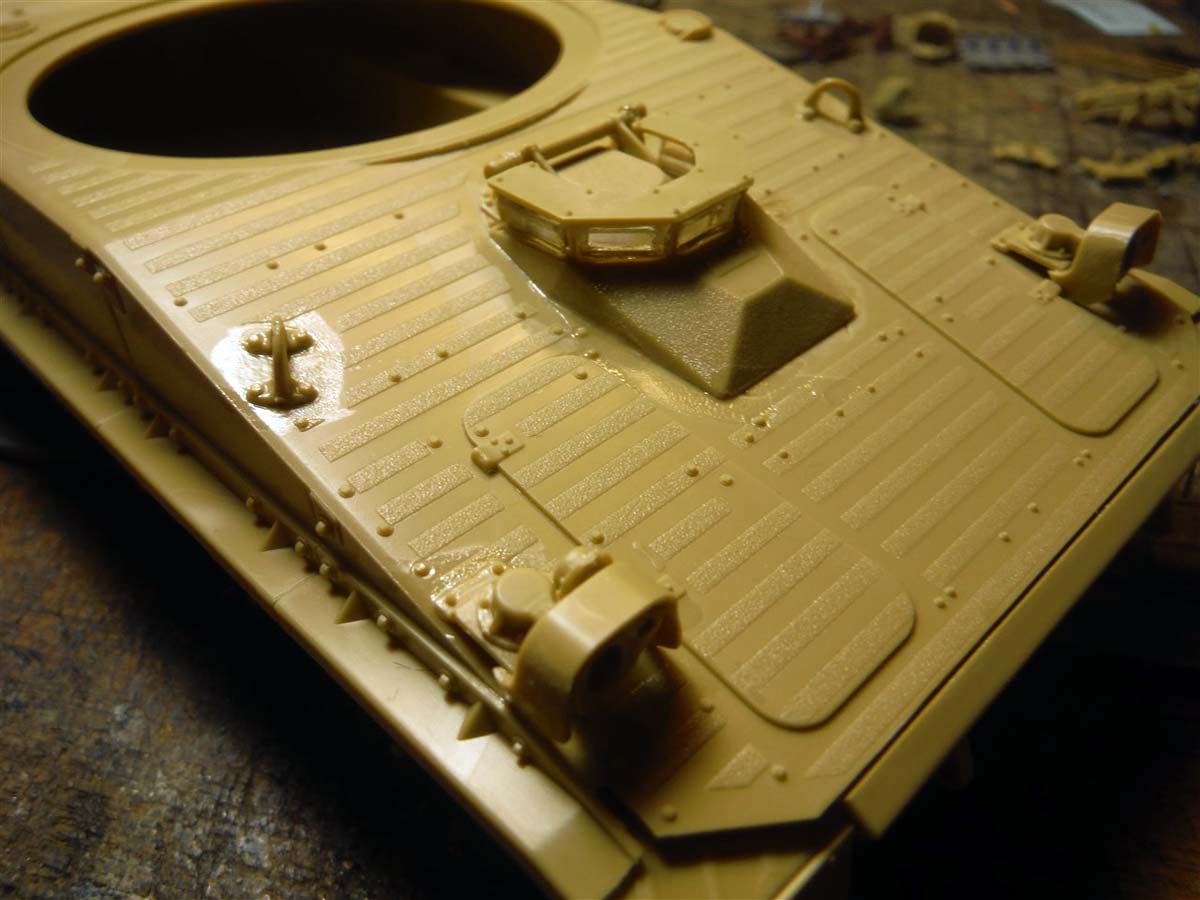
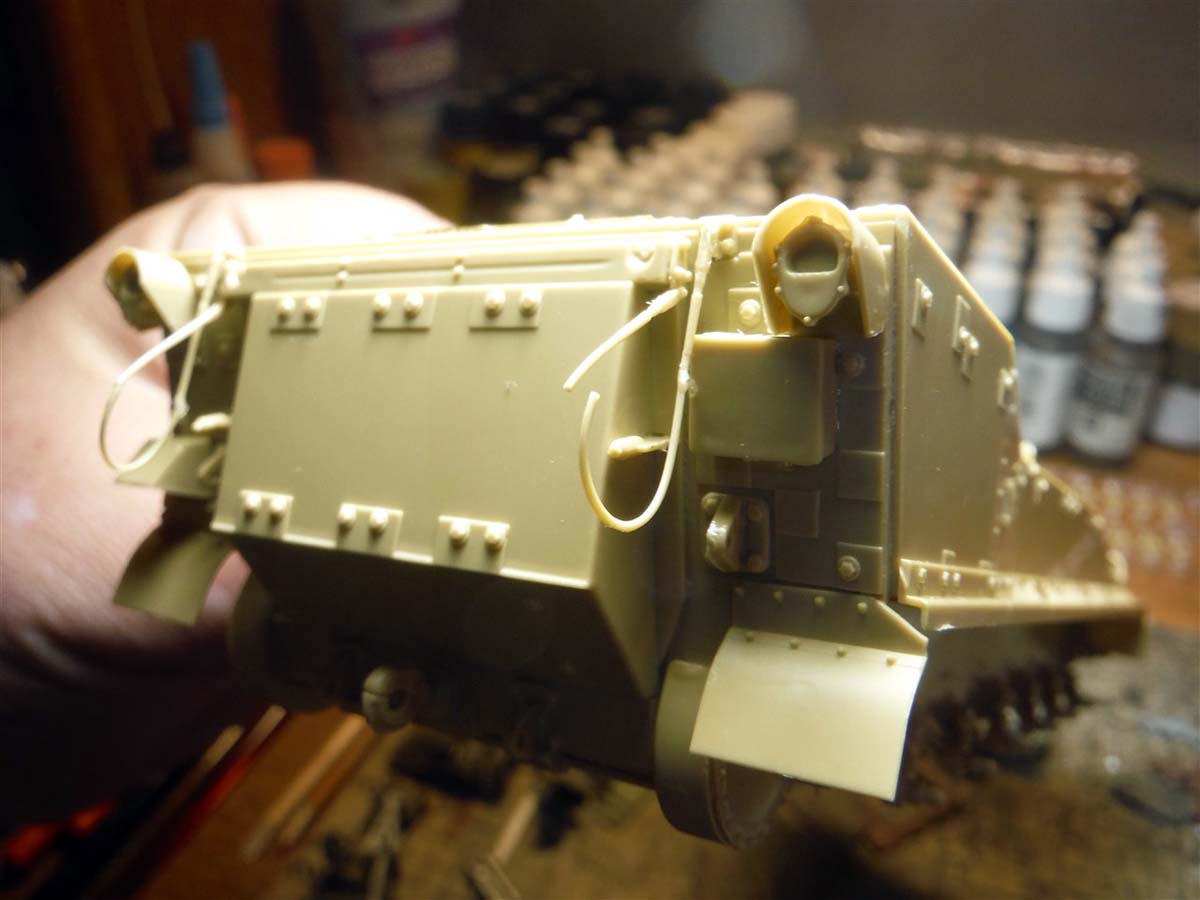
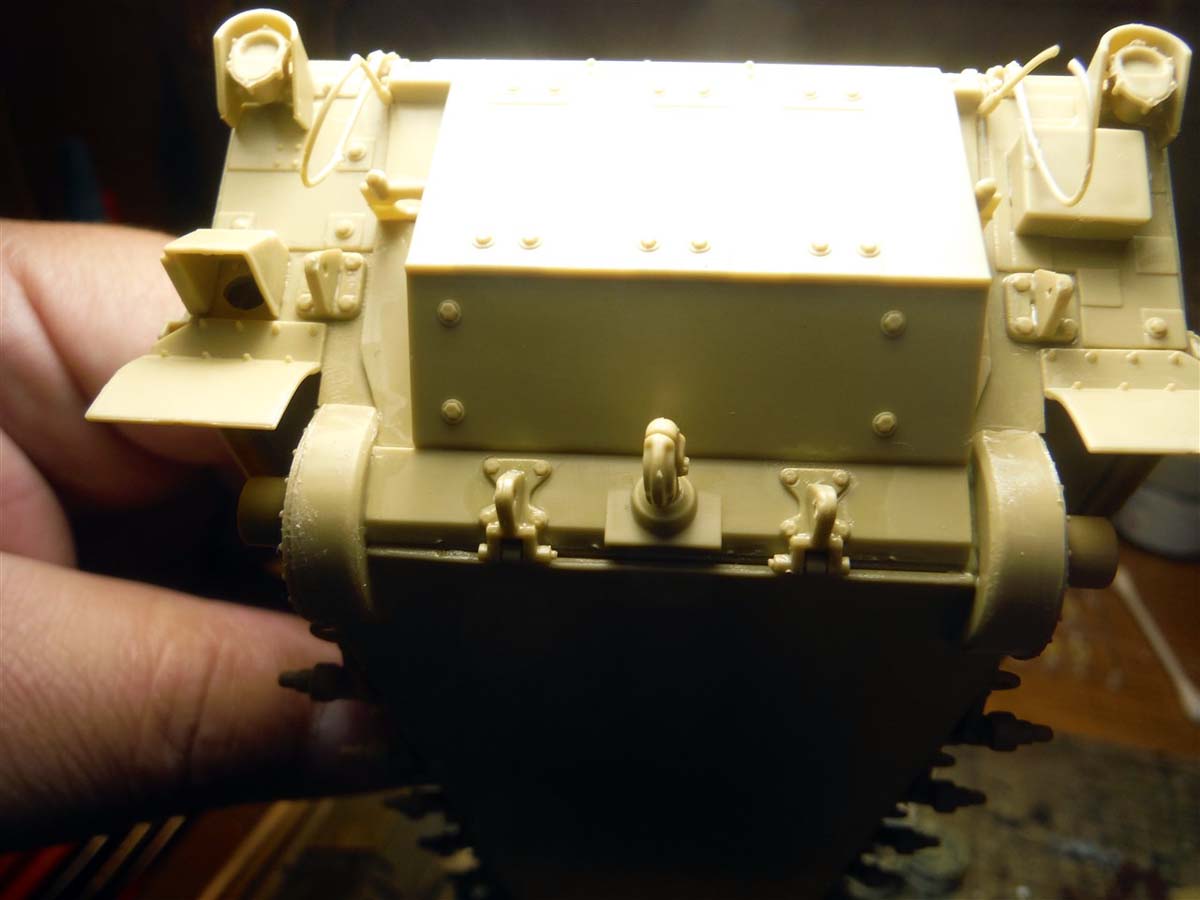
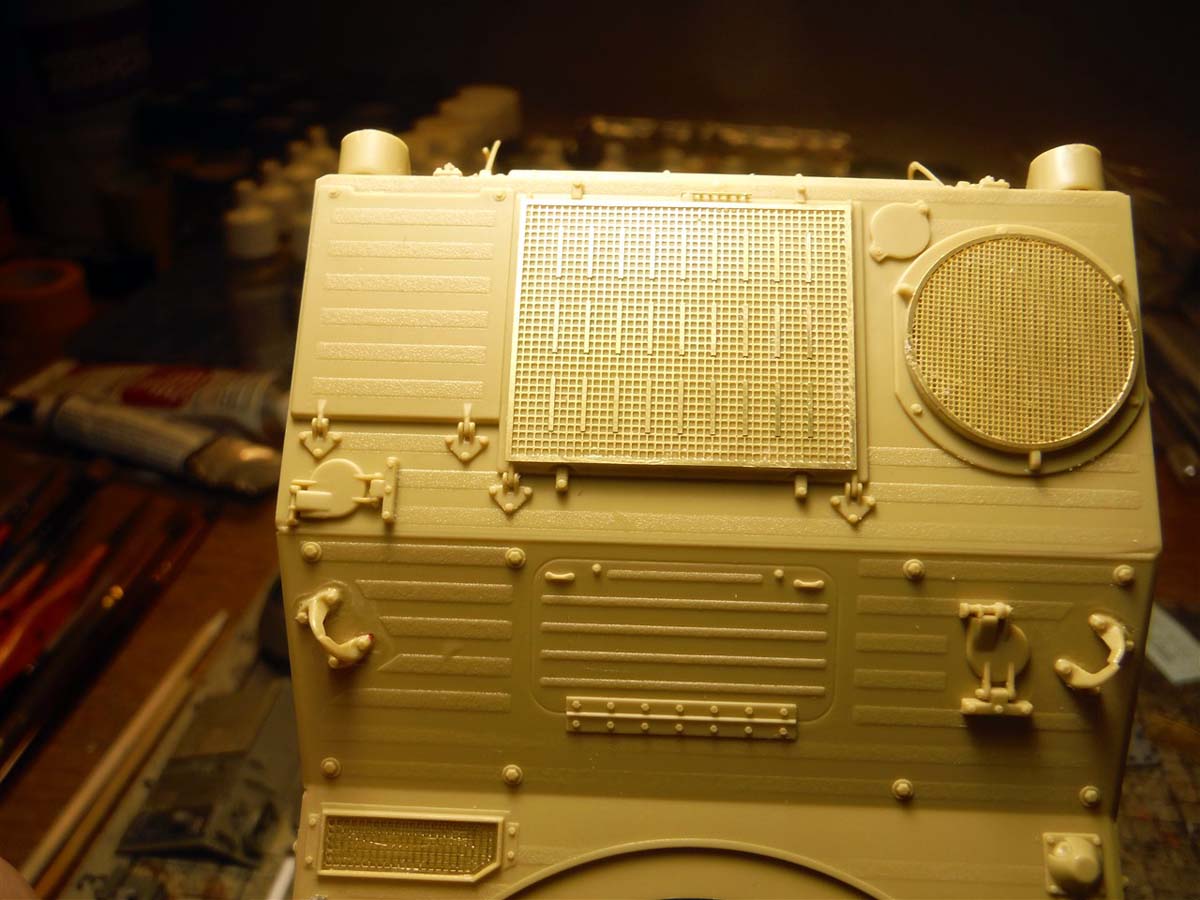
Once the turret was done, I went back to the beginning of the instruction sheet and started on the hull. Steps 1, 2, and 3 are basic tank hull construction. Added armour, road wheel arms and shocks, road wheel, idler wheel, and drive sprocket are constructed in these 3 steps. Step 4 has you attaching the road wheels, idler, and drive sprocket to the hull. Also, in this step you have to attach the left and right front fender. It is easier to attach these after the upper and lower hull is attached. Im going to skip step 5 for now, which is the construction of the individual track links. There is a major issue with the tracks. So on to step 6. All the parts fit as they should. The only problem was with parts B82 and B83. These are the support cables for when the ramp of the engine bay is down. They are very fragile. I broke them taking them of the sprue. Once I got them glued in place and the broken area mended, they broke again due to strain. Both pieces broke in two places. I would suggest cutting away the cable part from the hardware part and using string or thin lead wire. Step 7 and 8 went without any problems.
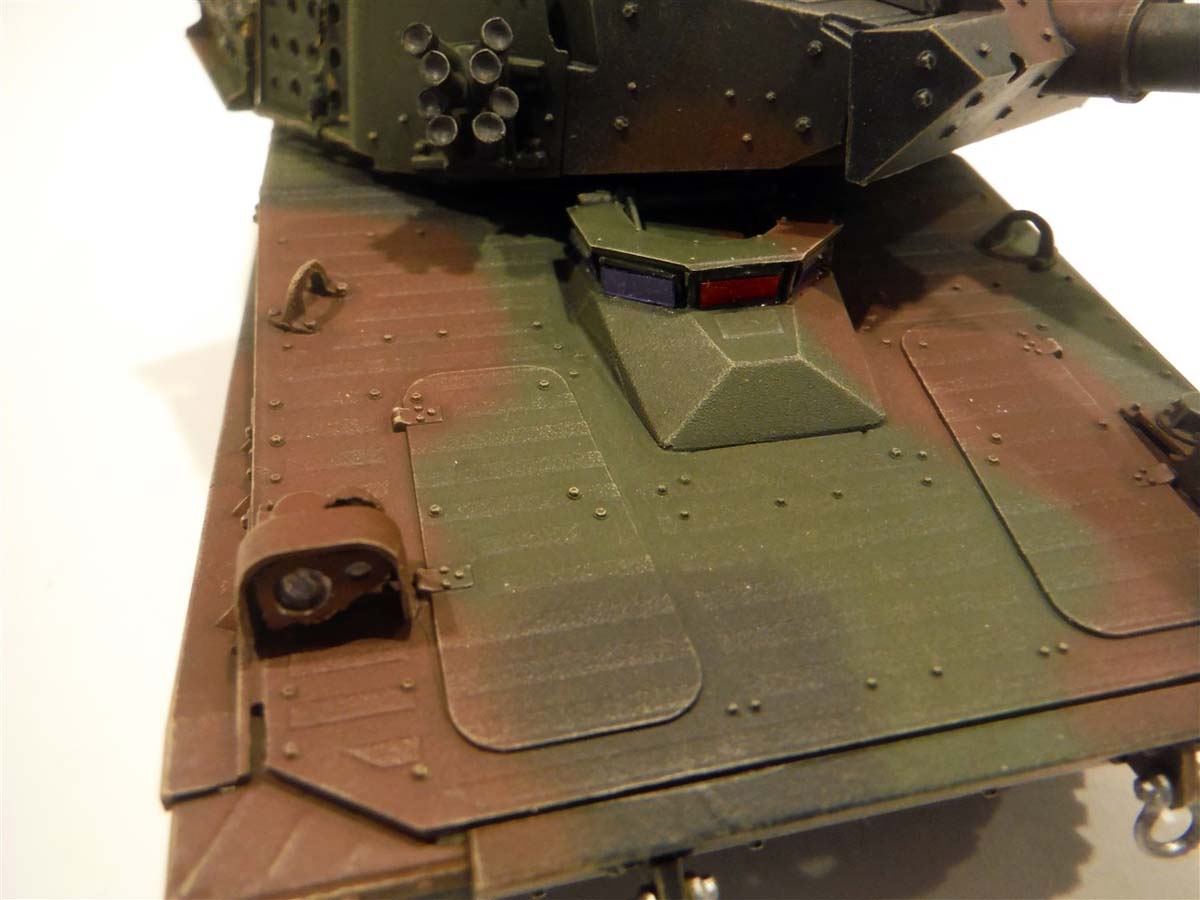
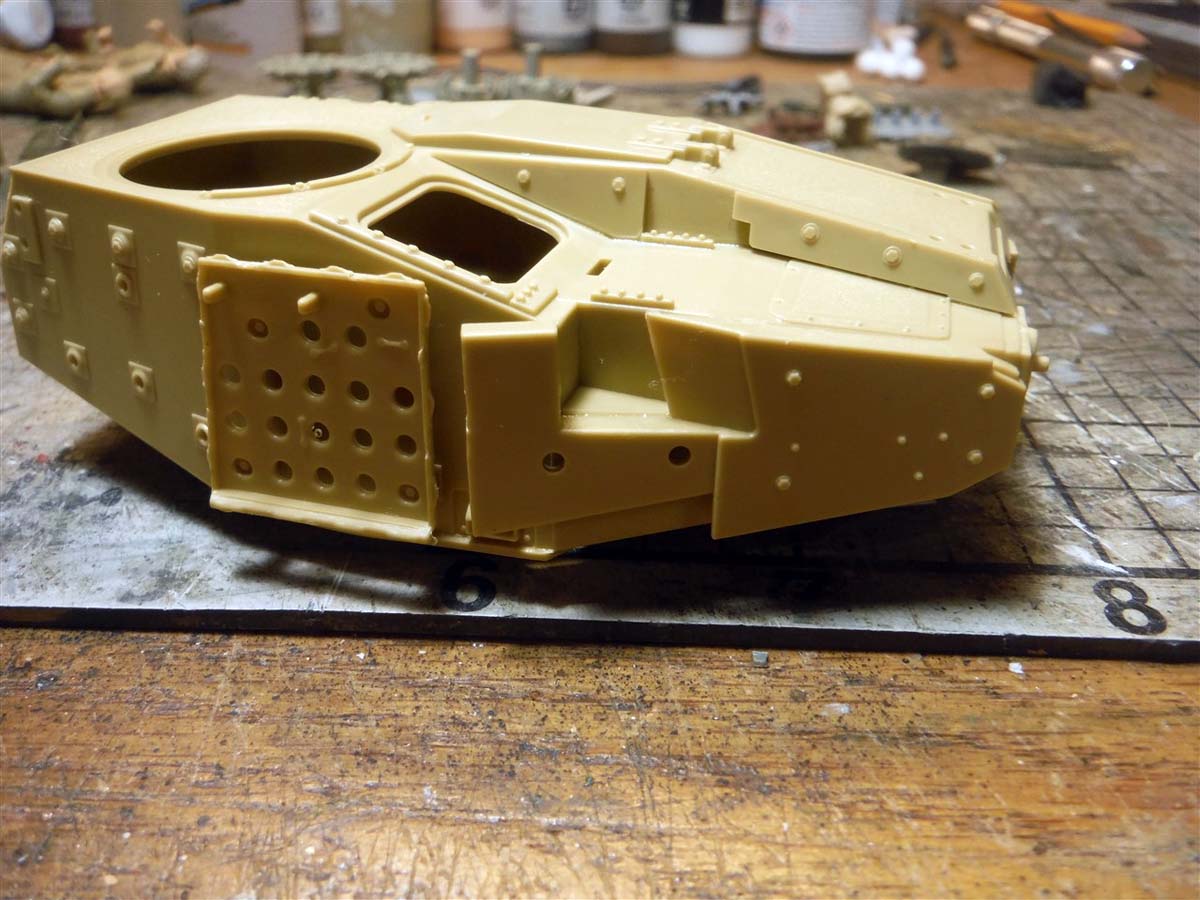
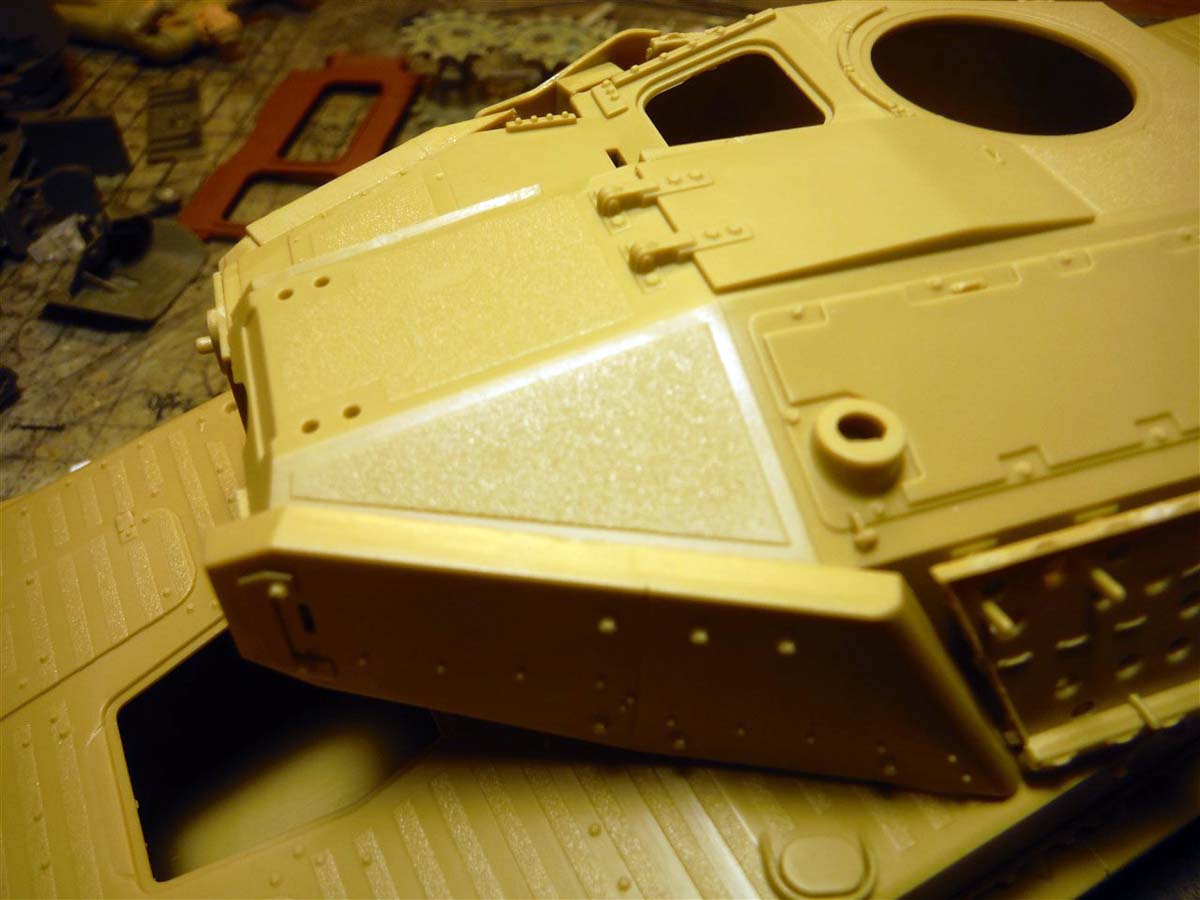
In step 9 I had the same issue as with the commander's cupola in step 18L. Again, I just drilled the extra 6 holes and pressed part B34 flush to the periscopes. There were no issues with step 10 except that I left of the clear parts of the headlights, part GP5, till after final painting. In step 11, you attach the headlight guards, rear periscopes, and lifting eyes. All the lifting eyes in our sample where broken right down the middle. They are so thin in the middle. So, what I did was just glue each piece in place and aligned the broken area and dabbed a small amount of liquid cement and all was done.
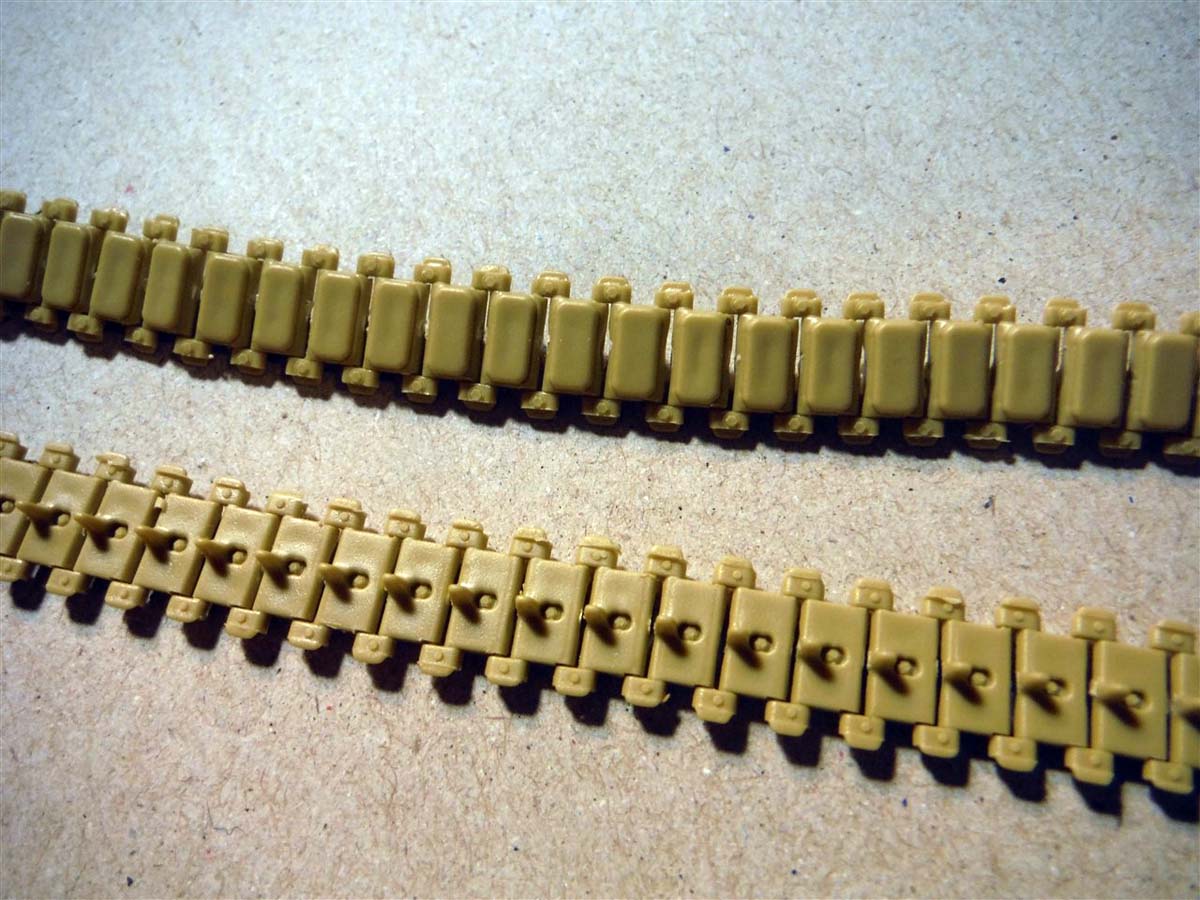
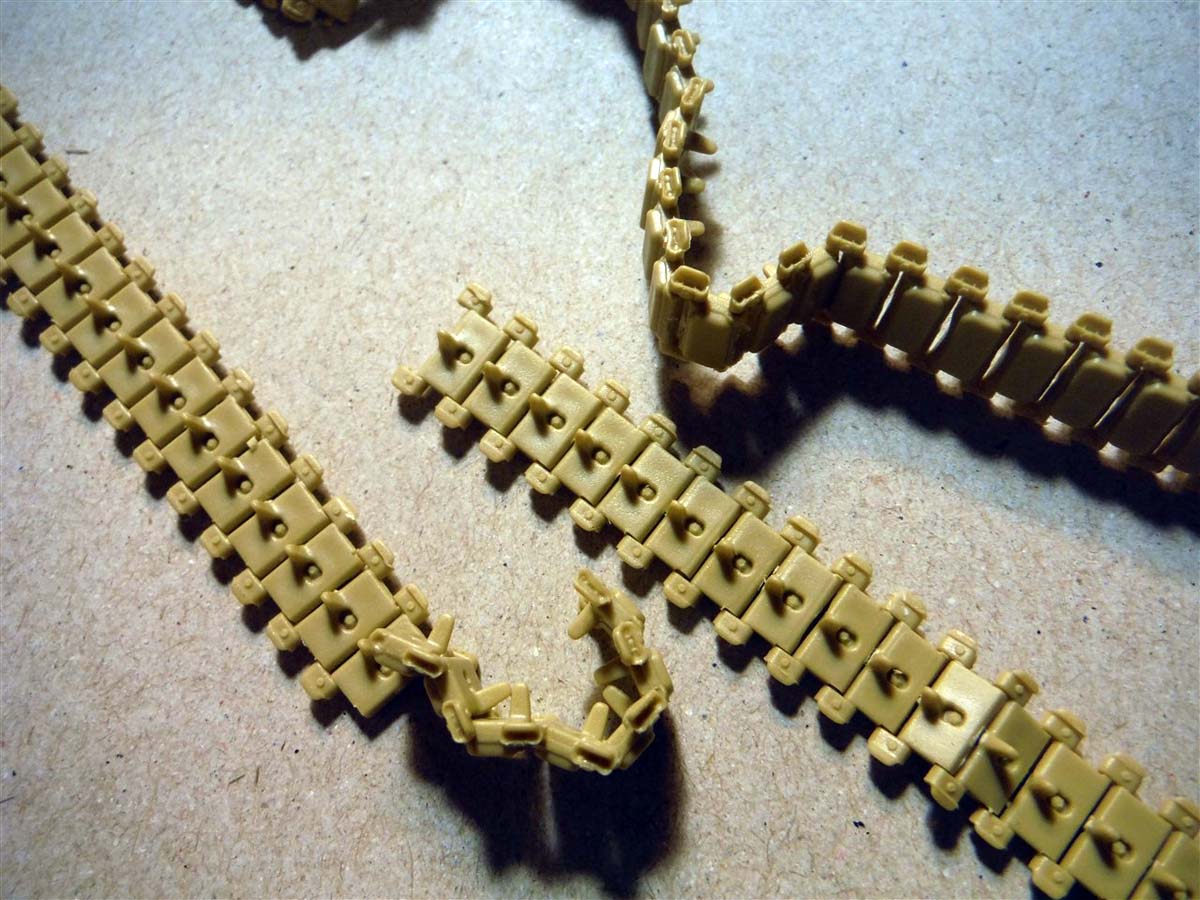
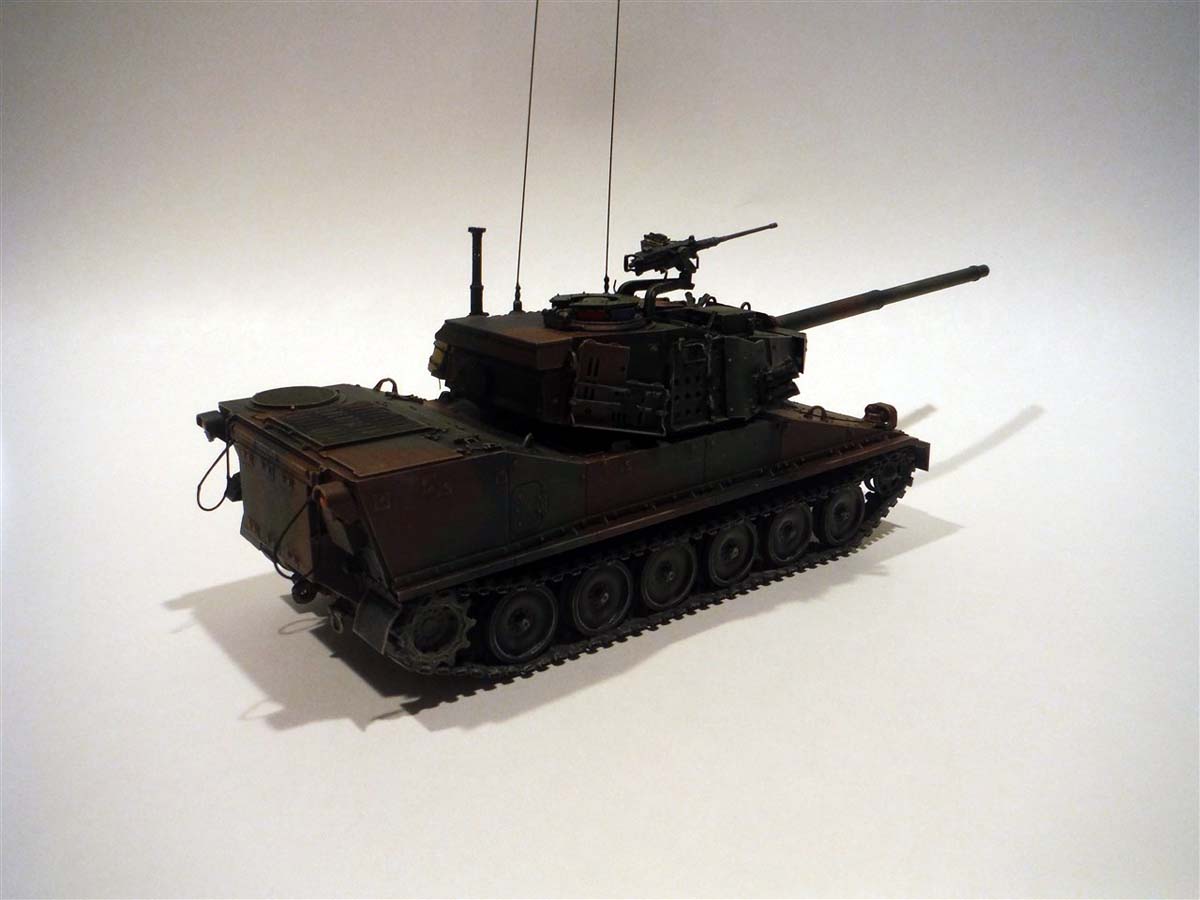
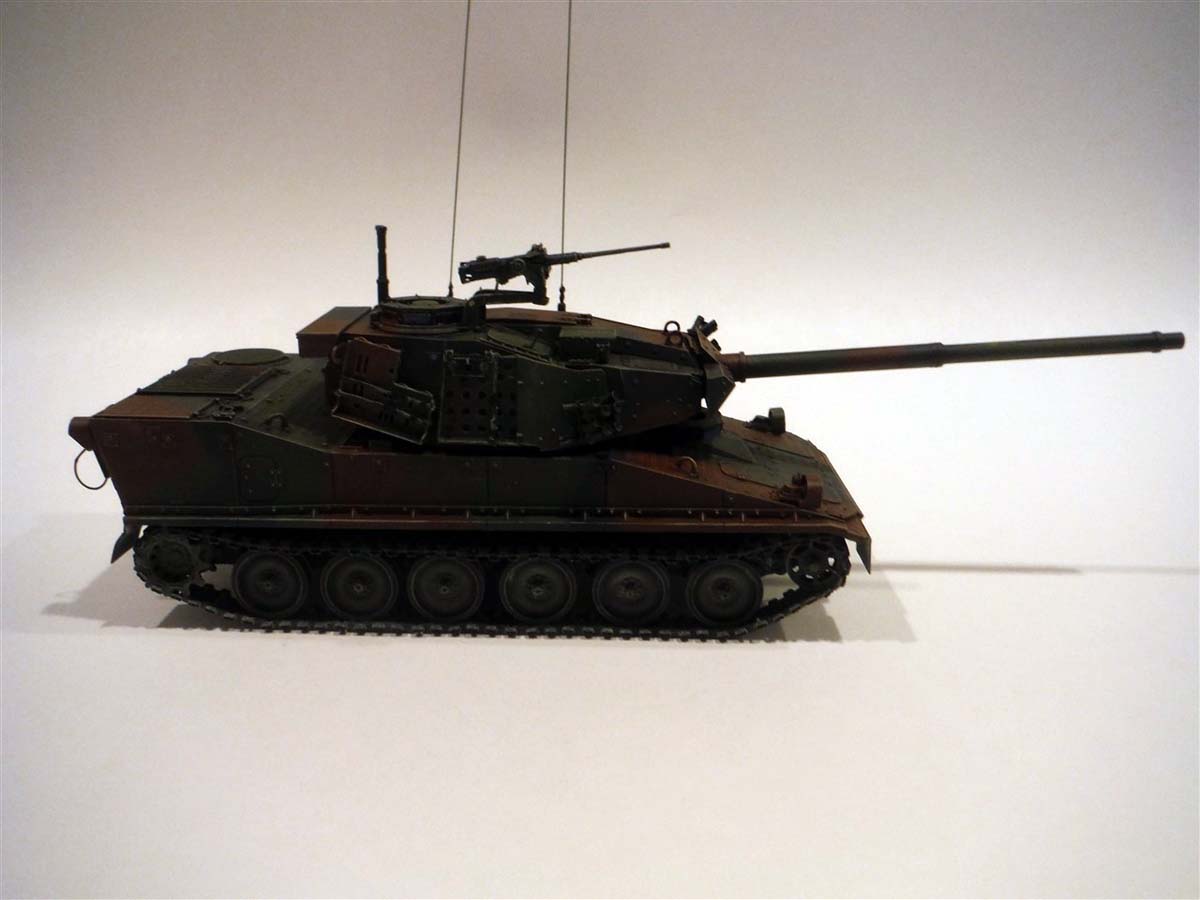
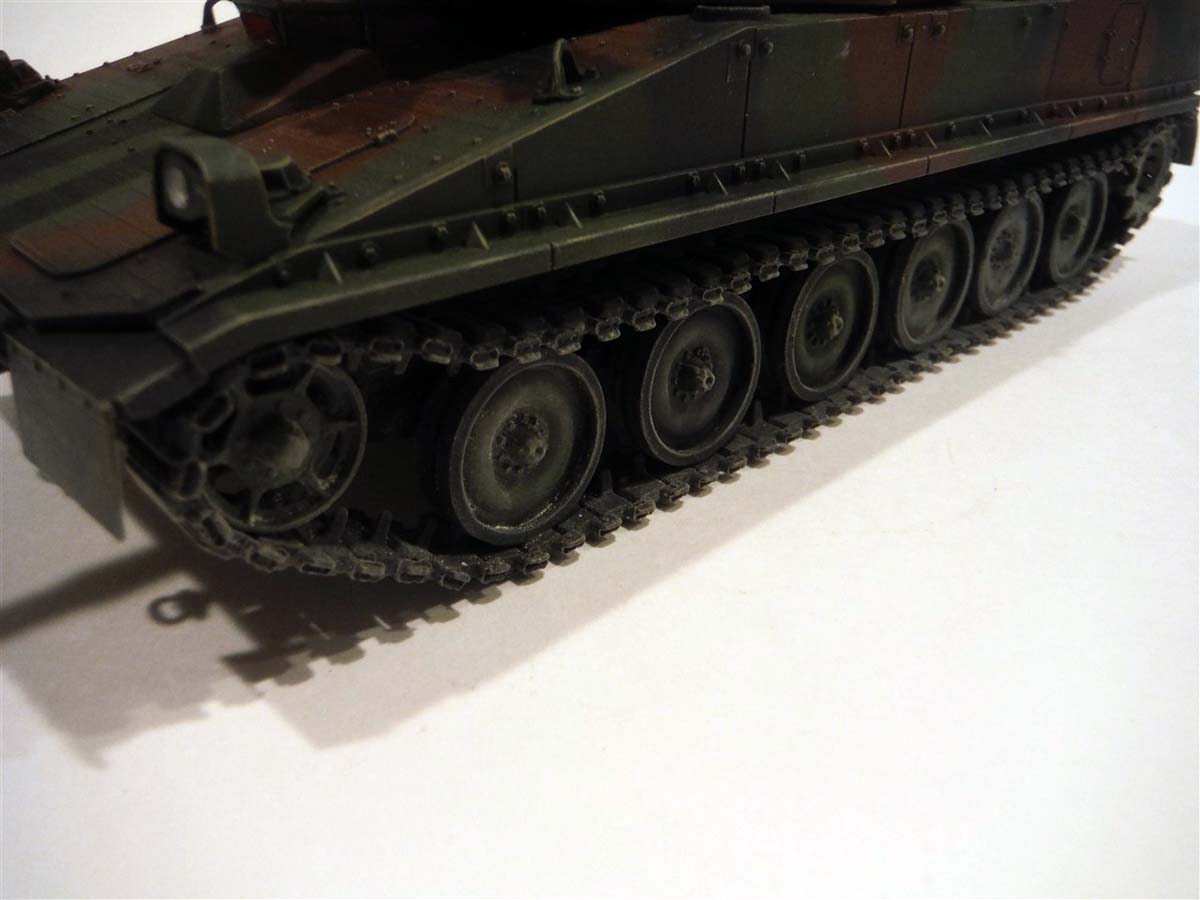
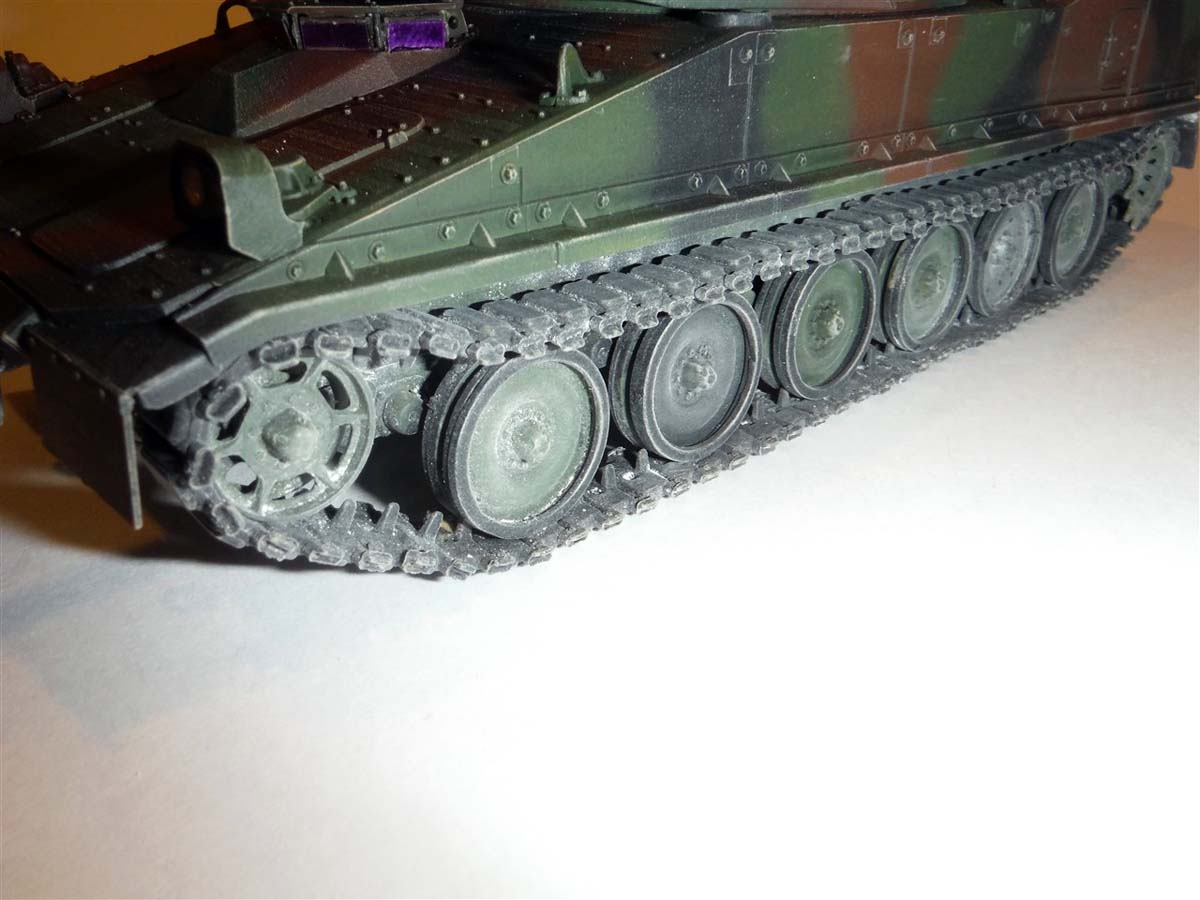
Now back to the tracks. In my honest opinion, here is where individual track links are not necessary. Link-to-length or rubber band track would have been just as good. Although the links are moulded very nicely, the issue is in the pins that connect each link. The pins are very small and weak. Once you try and click a link together with another one, the link tends to shave of the pin. With this weakness in the pins, when I tried to wrap them around the road wheels, idler, and drive sprocket, they broke apart in several places. Of course, what do we all do when this happens, we use liquid cement and once the cement starts to set, you just wrap the track around the whole thing. No on the real thing, the tracks have a little sag and dont sit on the road wheels. Because the liquid cement ate away the pins it made it difficult to get the top of the tracks to hang above the road wheels and that is why you see them laying on top of the road wheels. Oh, I almost forgot, there is no count on how many links are used for each side except for what goes around the idler and drive sprocket. Even with my tracks lying on top of the road wheels, I came up with 78 links per side, give or take one or two.
Finishing
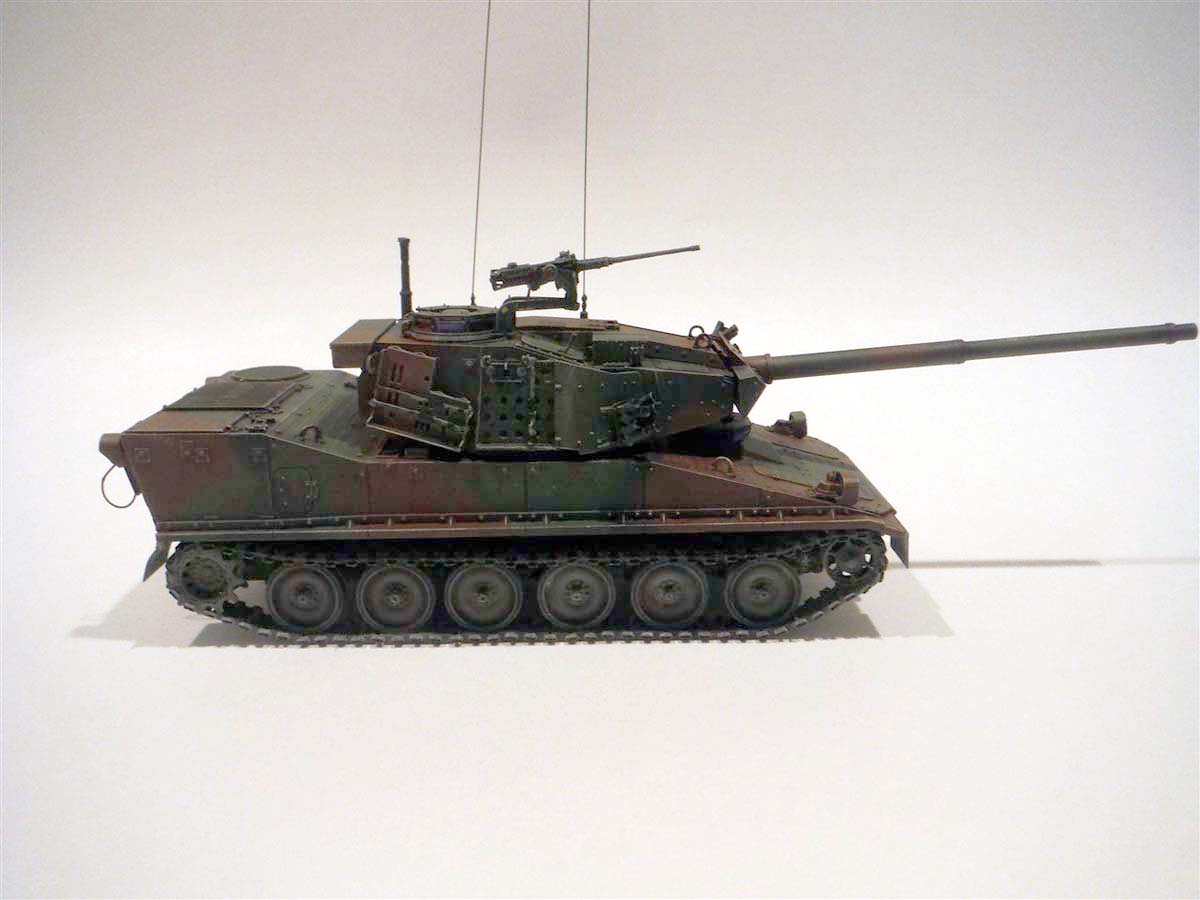
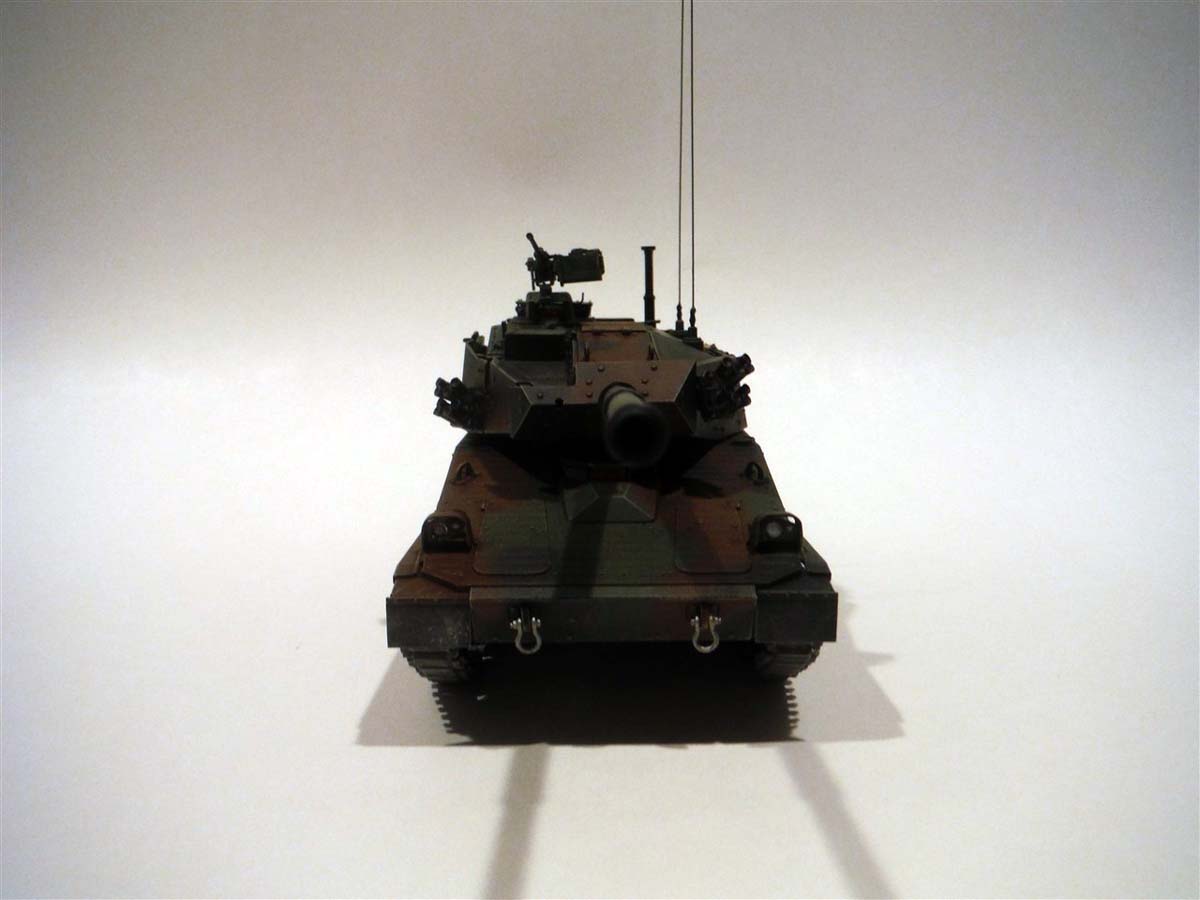
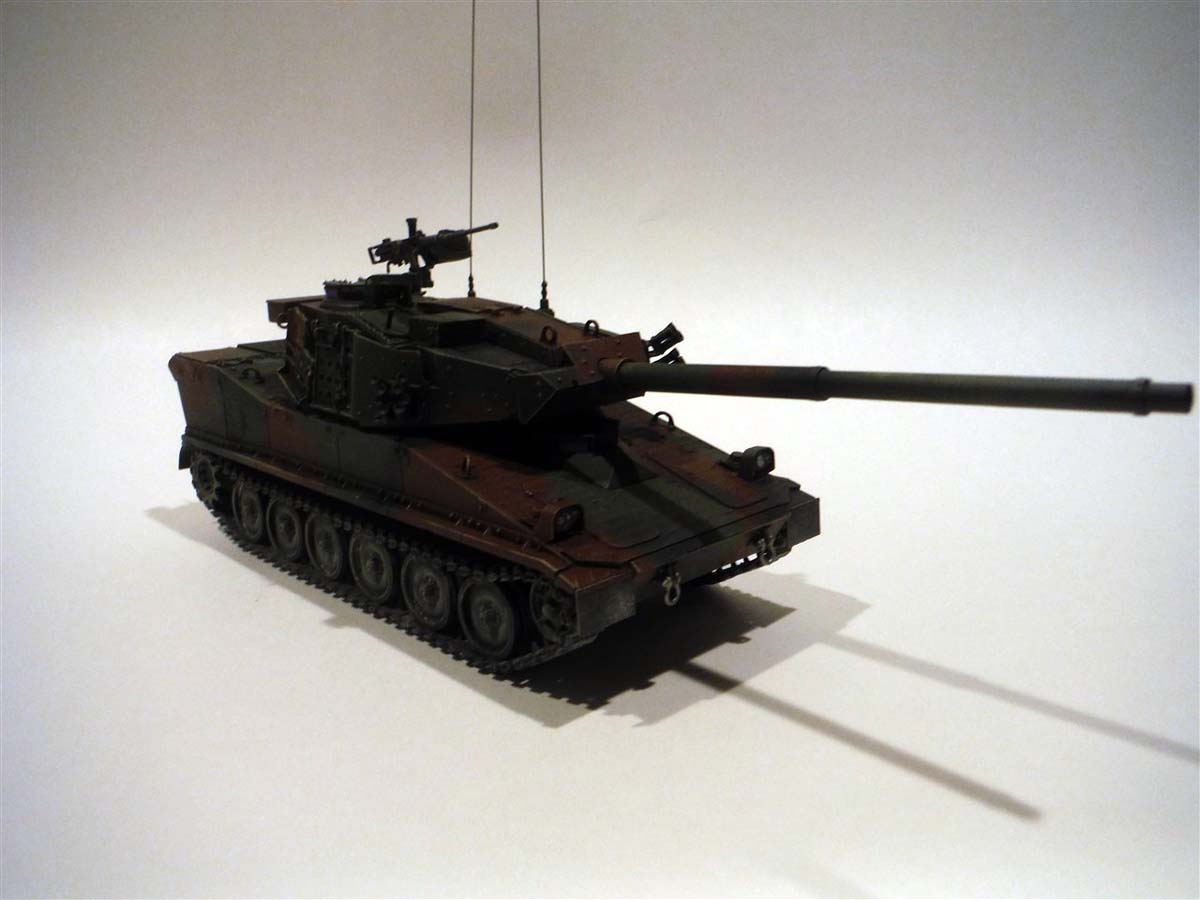
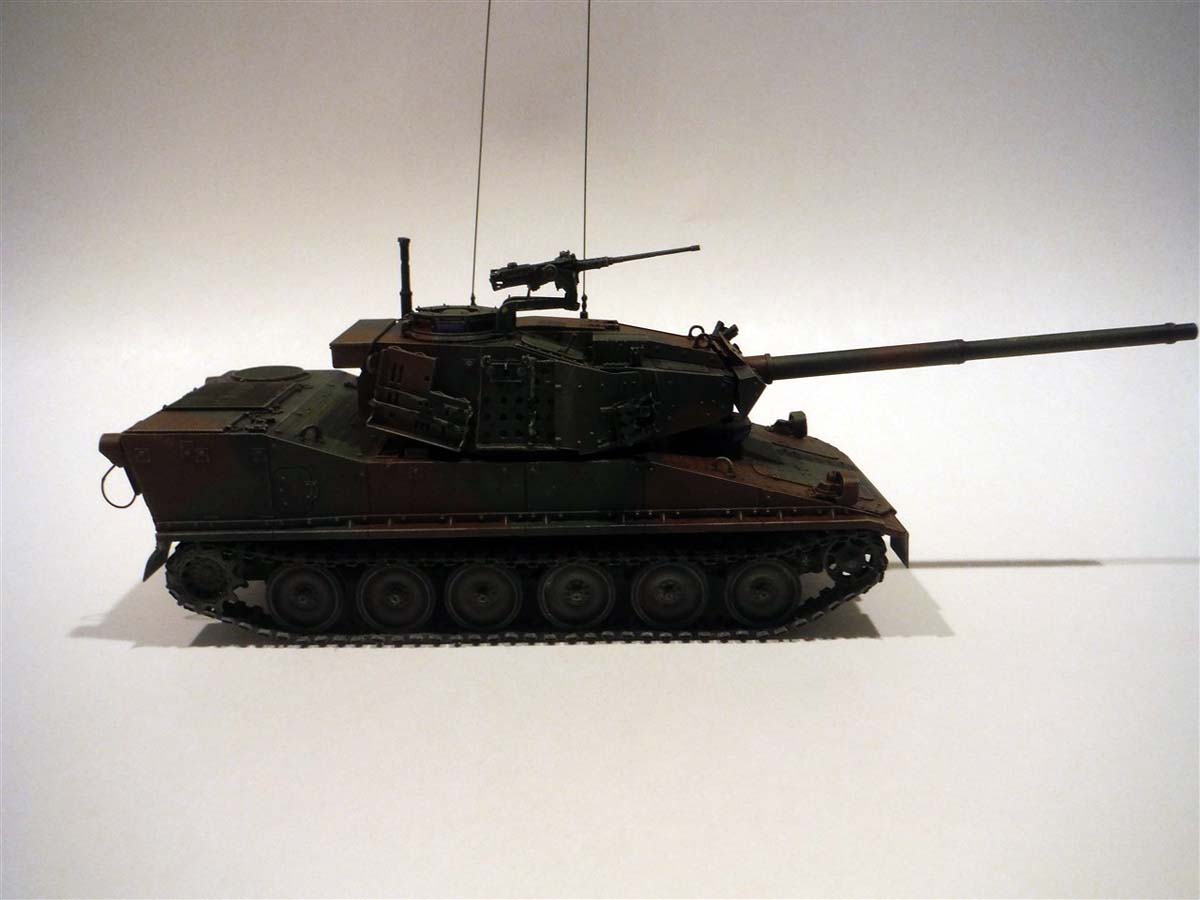
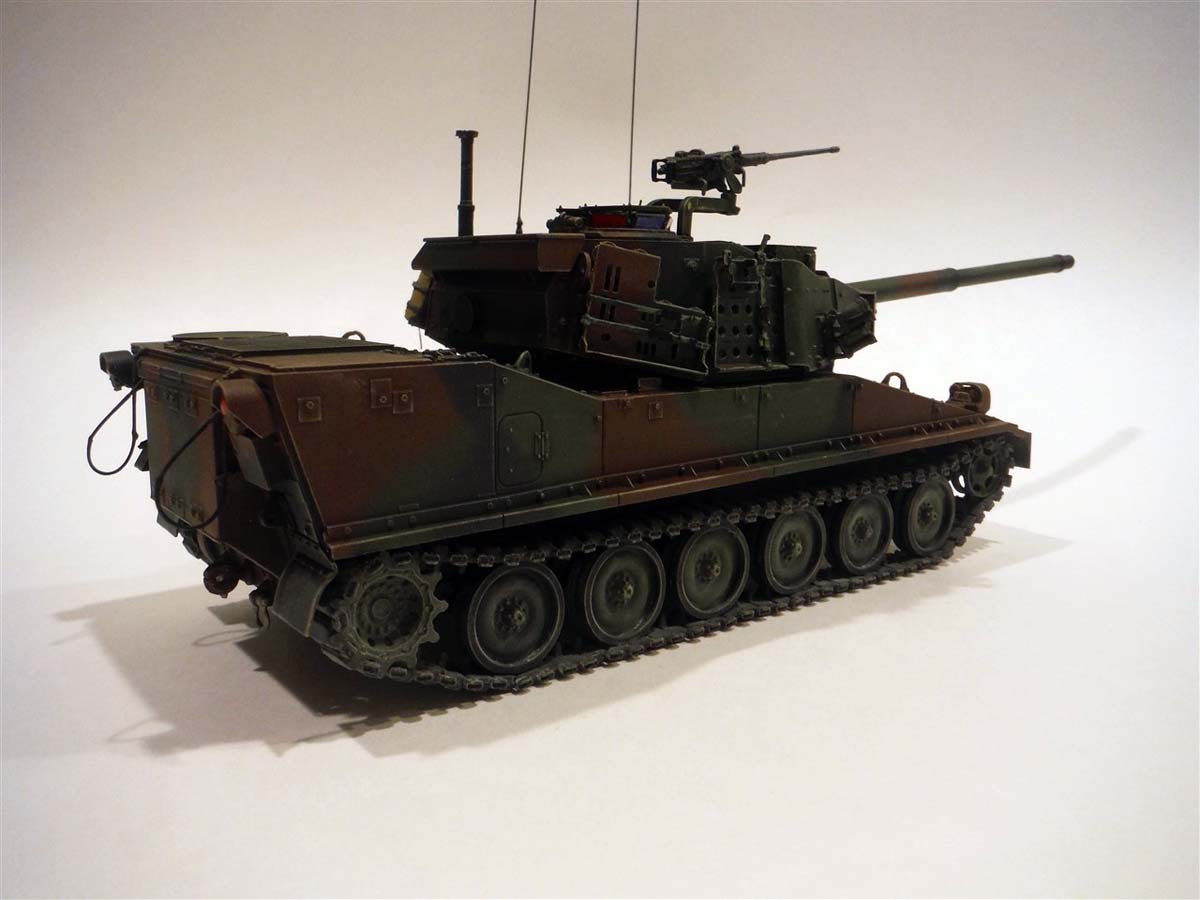
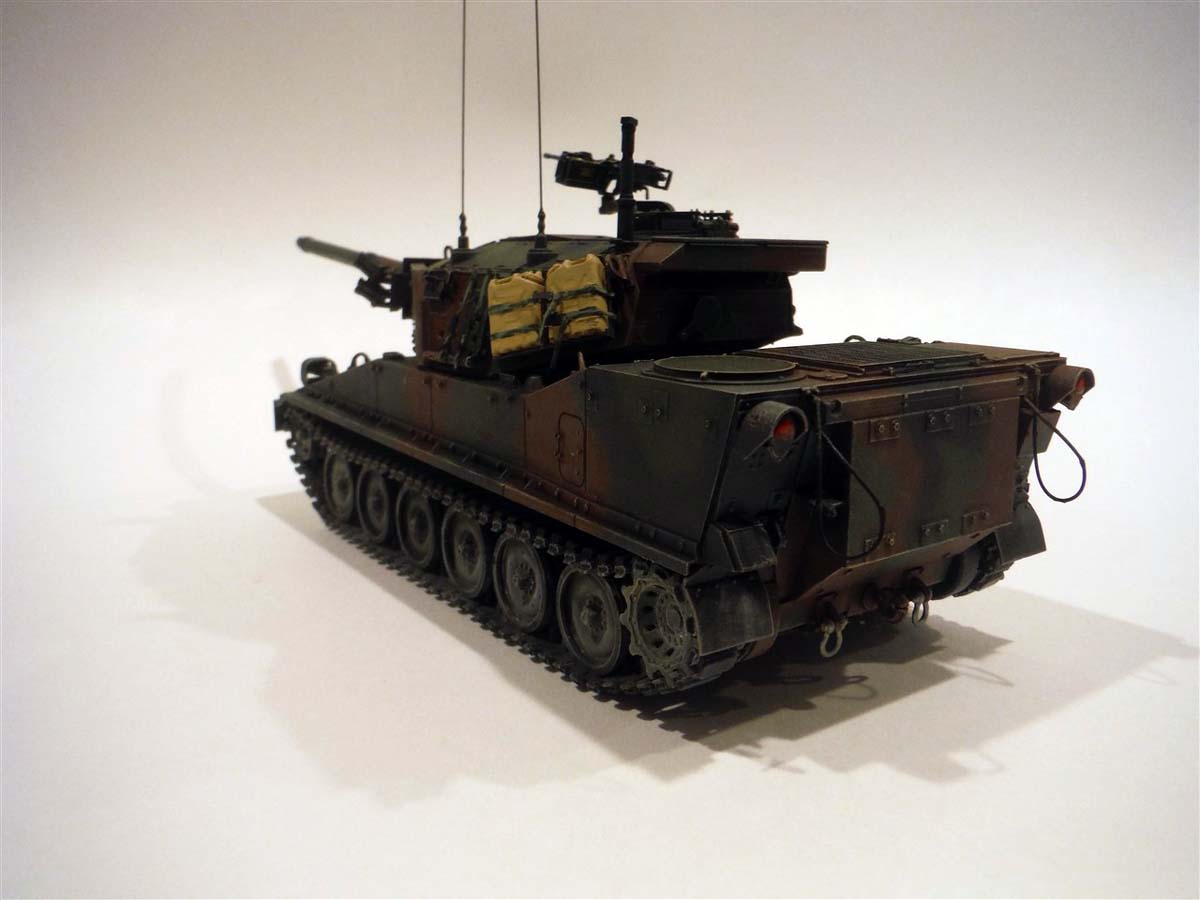
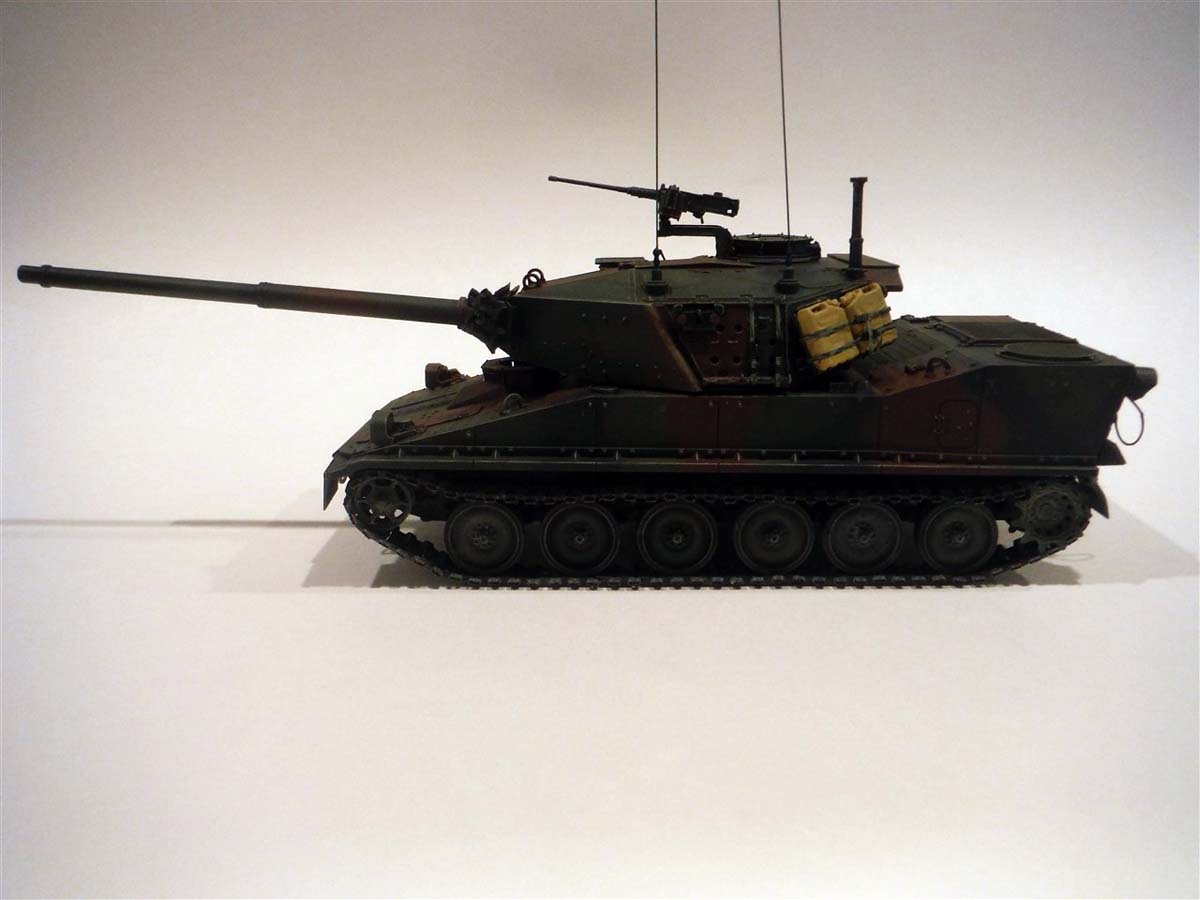
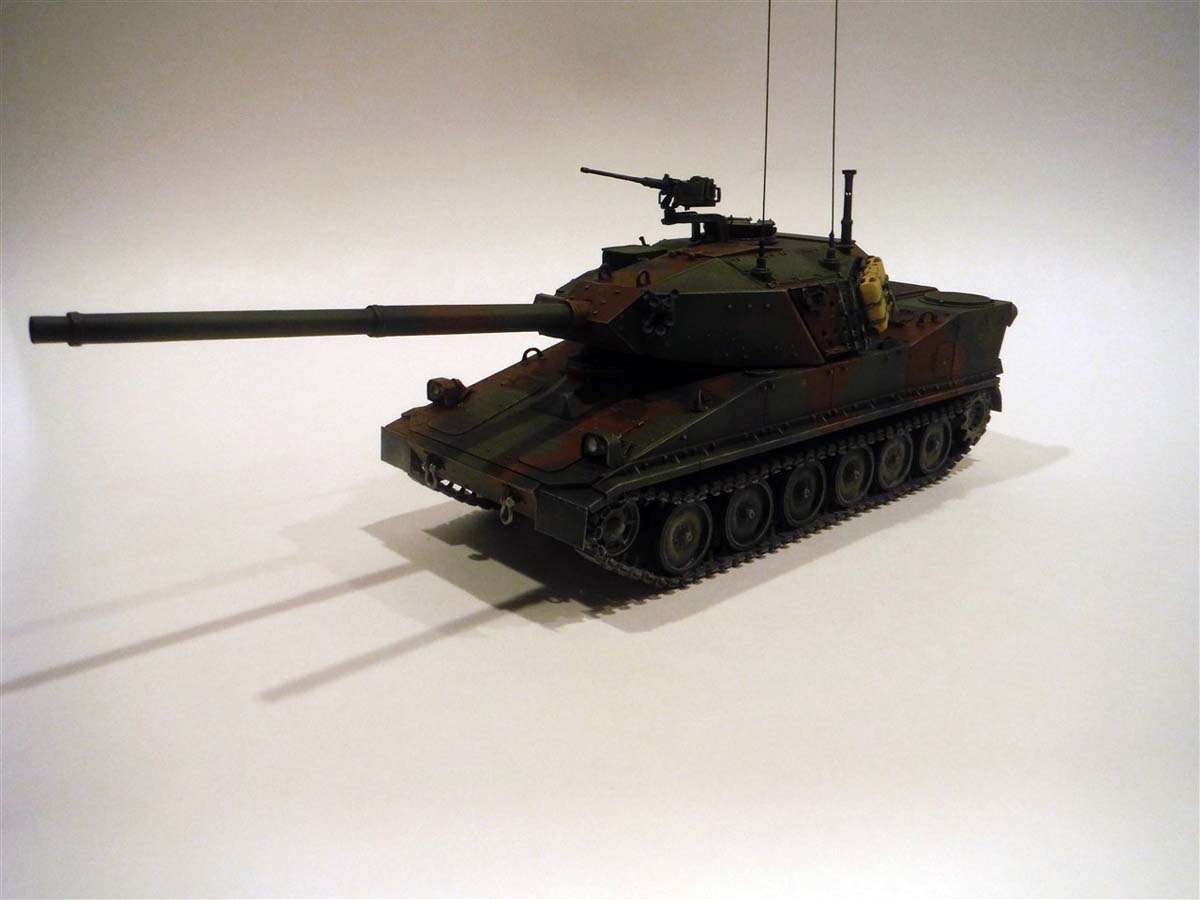
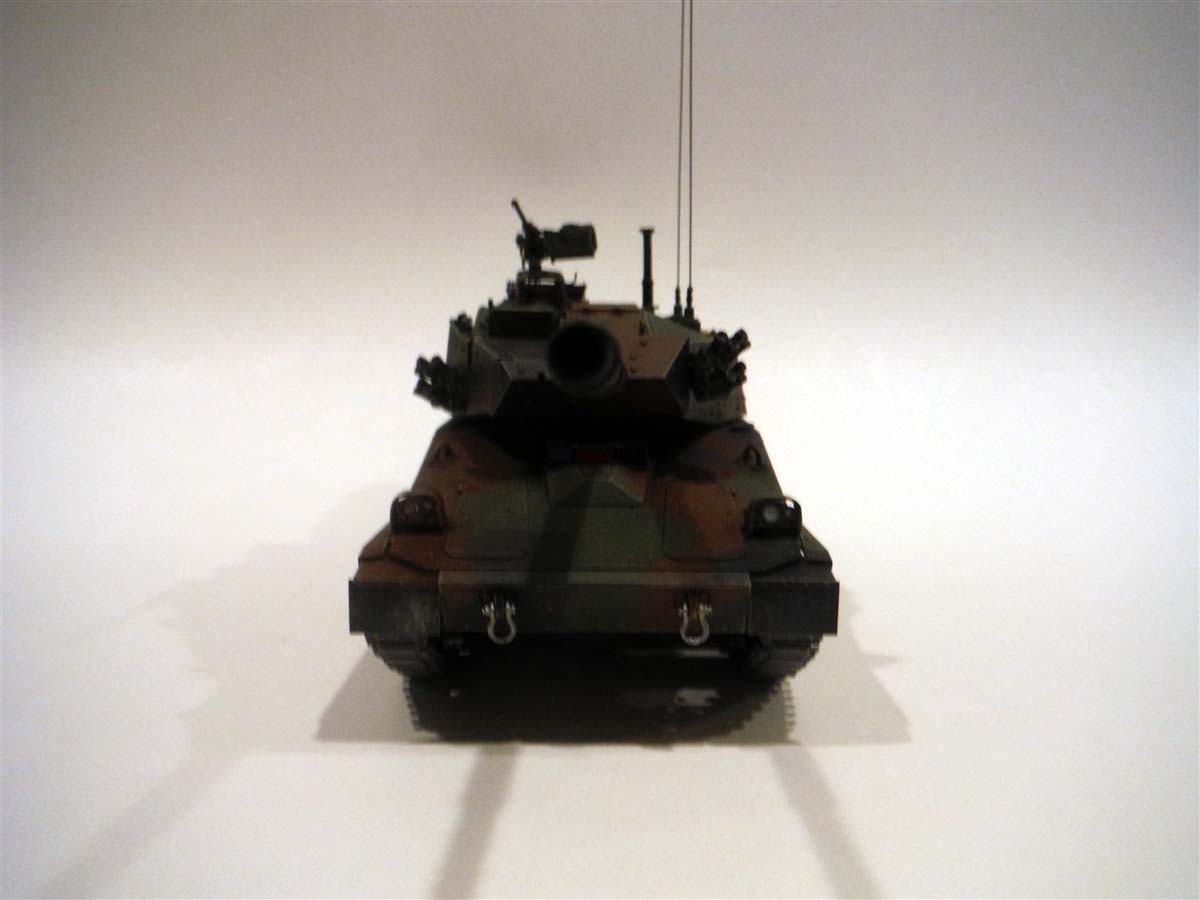
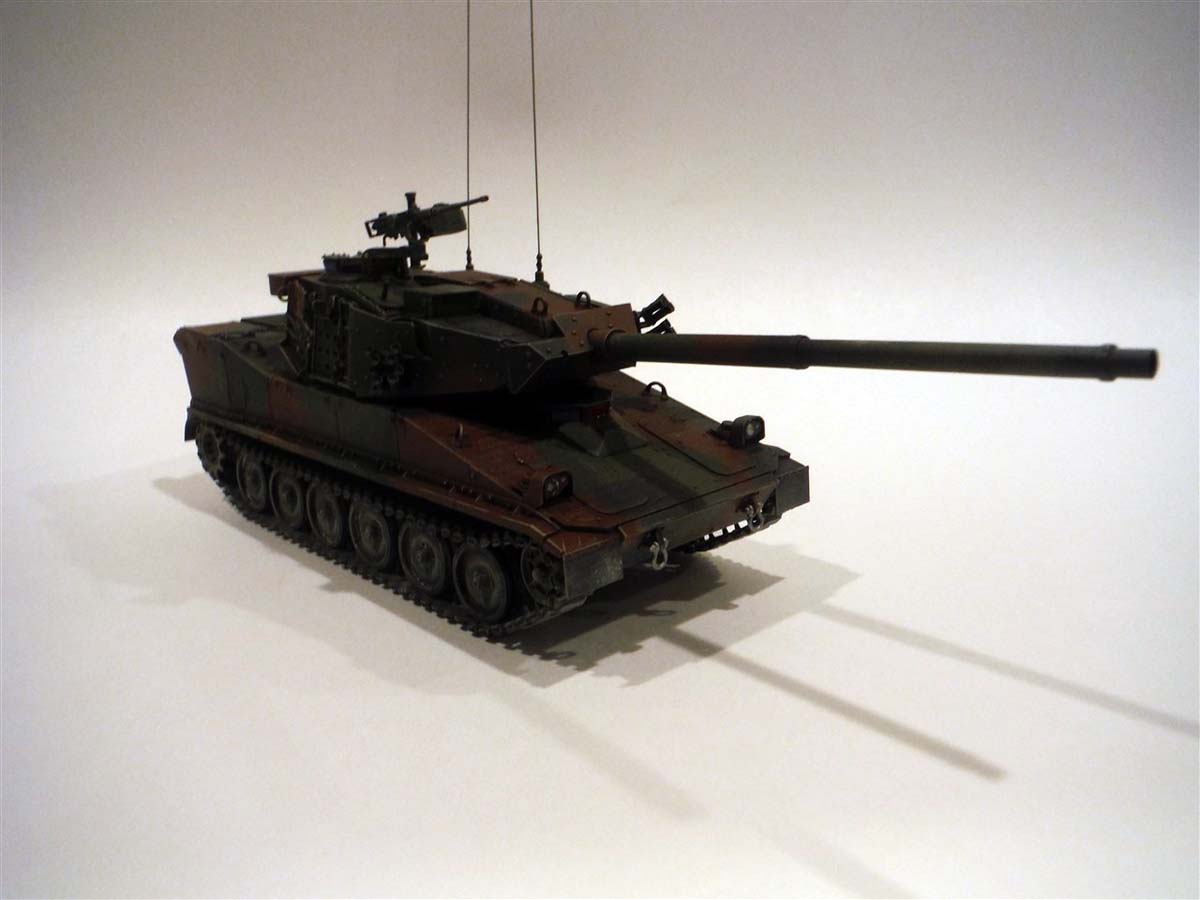
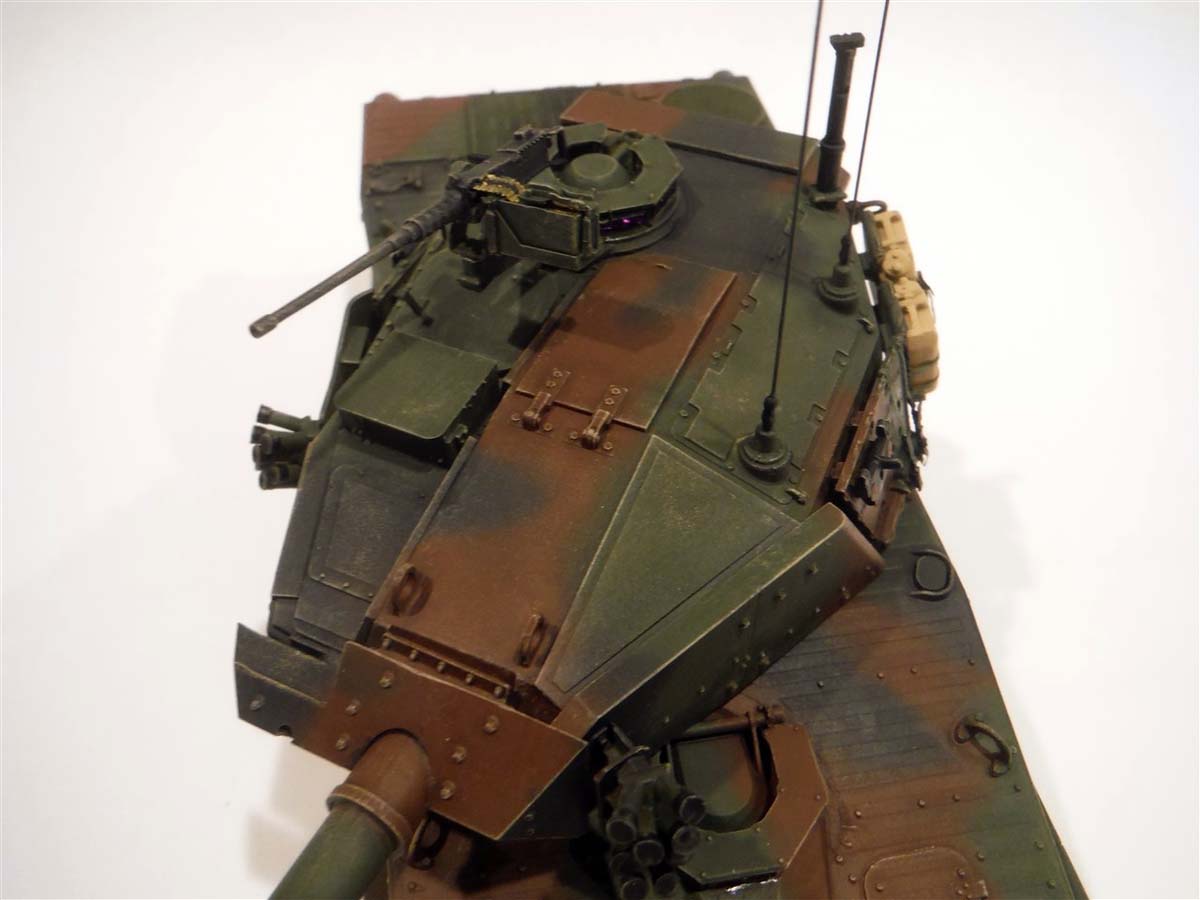
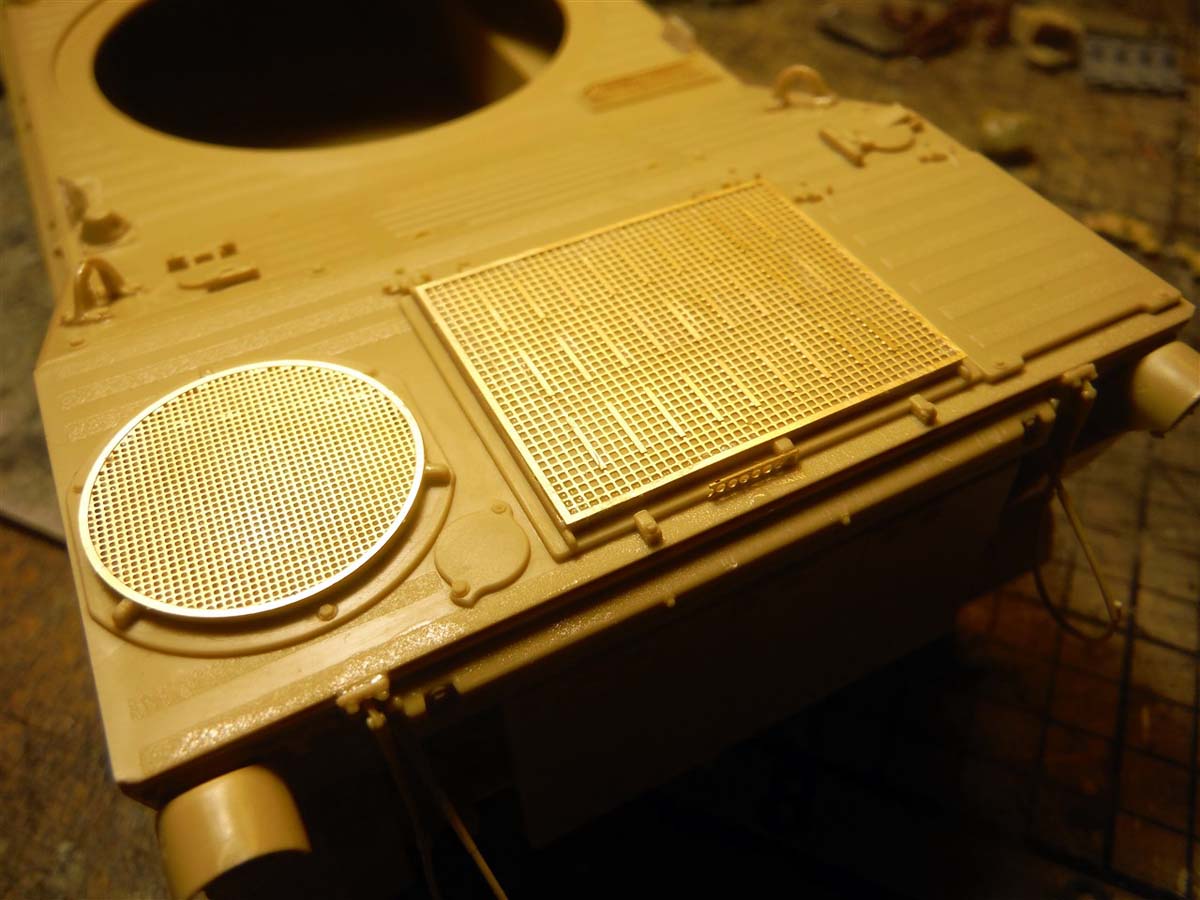
Since this vehicle was never in service and only 9 have been manufactured, it was hard to decide how to paint and weather it. Researching on the internet, there are indeed 3 color variations of this vehicle, but all color variations are clean. Ive built too many tan vehicles, so another one would be one too many. The solid green one was just to blah! So, I decided on the NATO 3 colour camouflage. I painted the tank with Tamiyas NATO colours. Since this vehicle hadnt seen service and was only used for trials that meant that it wouldnt be that dirty or loaded with gear. I did a light dry brushing to pick out all the anti-slip stripes on the top of the hull and the very good anti-slip coating on the turret. I did a very light dusting on the tracks and road wheels with Vallejo pigments. I used mylar type confetti from Hobby Lobby for the periscopes instead of painting them. Again, there were no straps for the water cans, so after adding photo etch straps for the cans, I decided to add just a few more straps to add a bit more to the turret.
SUMMARY
Highs: Very nice .50 Cal machine gun. Good representation of the anti-slip on the turret and upper hull.Lows: Very weak pins on individual track links. Not very much to do with finished vehicle due to not being in service with the U.S.Verdict: Minus the issues with individual track links, this is a quick and easy build. Since this vehicle has not seen combat or is not in service and has only been seen as a static vehicle, weathering is not an issue for the modeler.
Our Thanks to Panda Hobby ! This item was provided by them for the purpose of having it reviewed on this KitMaker Network site. If you would like your kit, book, or product reviewed, please contact us.
About Pete Becerra (Epi) FROM: TEXAS, UNITED STATES
I am 48 years of age. I have been modeling since I was around 8 years old. As you can see from my signature, I am retired from the US Army and Texas Army National Guard. I served 6 years in active duty from 1989 to 1995 and in 1998 I joined the Texas Army National Guard and been serving up unt...
I don't understand why the review considers the lack of markings or painting schemes to be a "low" in evaluating the kit:
"Lows: Very weak pins on individual track links. Not very much to do with finished vehicle due to not being in service with the U.S."
How is that Panda's fault? Why should that count against the kit's rating in the review?
KL
And you know any decals would have been incorrect anyway, given it is not in service. Nor is likely to be, either. Not really the fault of the manufacturer. Rather accurate really.
And you know any decals would have been incorrect anyway, given it is not in service. Nor is likely to be, either. Not really the fault of the manufacturer. Rather accurate really. [/quote]
Sounds like the perfect time saving kit
The whole gloss coat - decals - gloss coat - weathering - flat coat circus can be skipped. Just basic paint + flat coat and off into the display cabinet
Got to get me one of those ....
/ Robin
Stand by kids, the M8 is being re-launched with a full suite of APS as seen at #AUSAglobal. And it looks quite the part. Now, I wonder whether Panda will do the late version, too. Still no mention of markings, though.


Comments