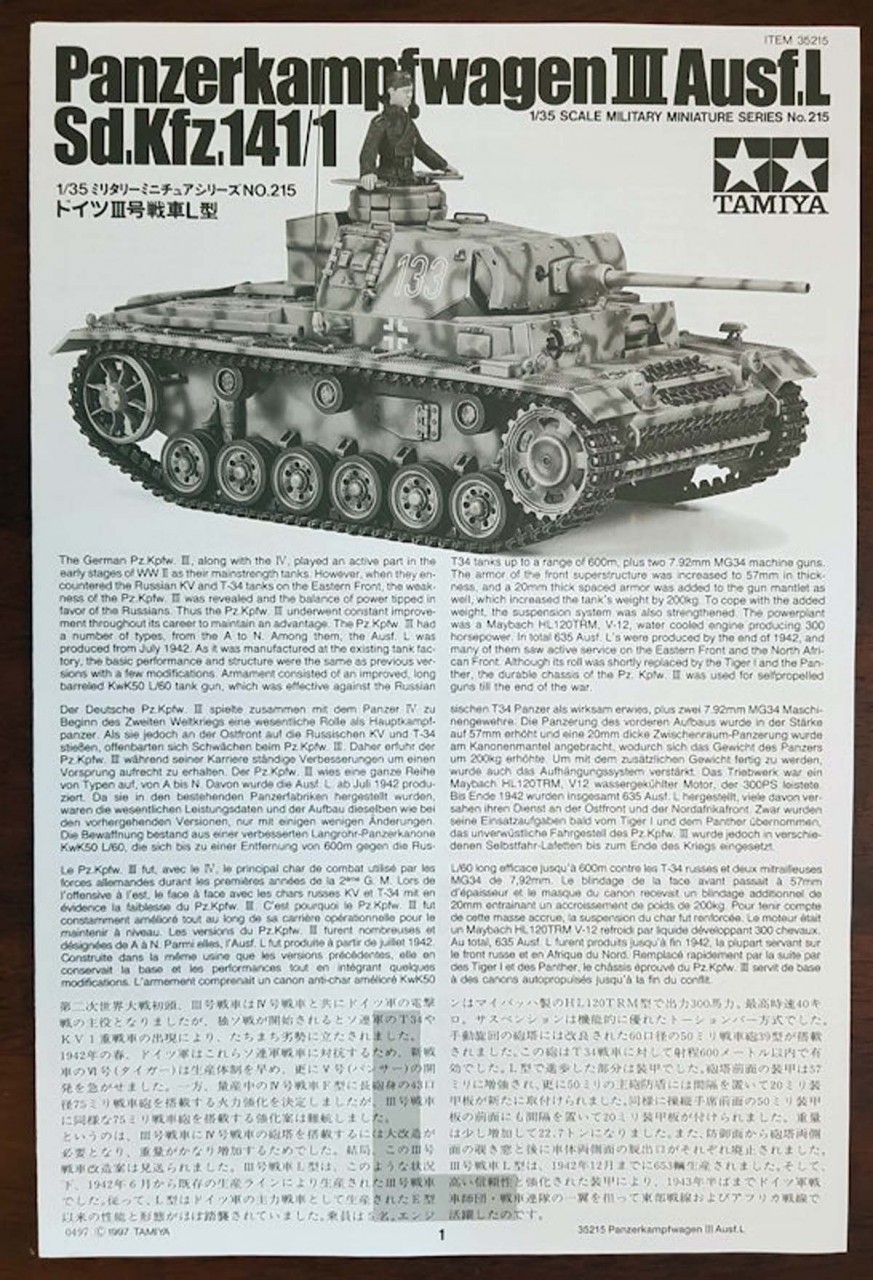
The Panzer III Ausf. L (Sd.Kfz. 141/1 ) started life as an Ausf. J with a larger main gun. It used the upgraded 5cm KwK 39 L/60 main gun. The initial production version (Dec. 41-Apr 42) was still called the Ausf. J. The vehicle was renamed the Ausf. L in April 1942, including the previously produced Ausf. J versions with the L/60 gun. An estimated total of 1470 were produced from Dec. 41 through Oct. 42, including the redesignated Ausf. Js.
Whats in the Box
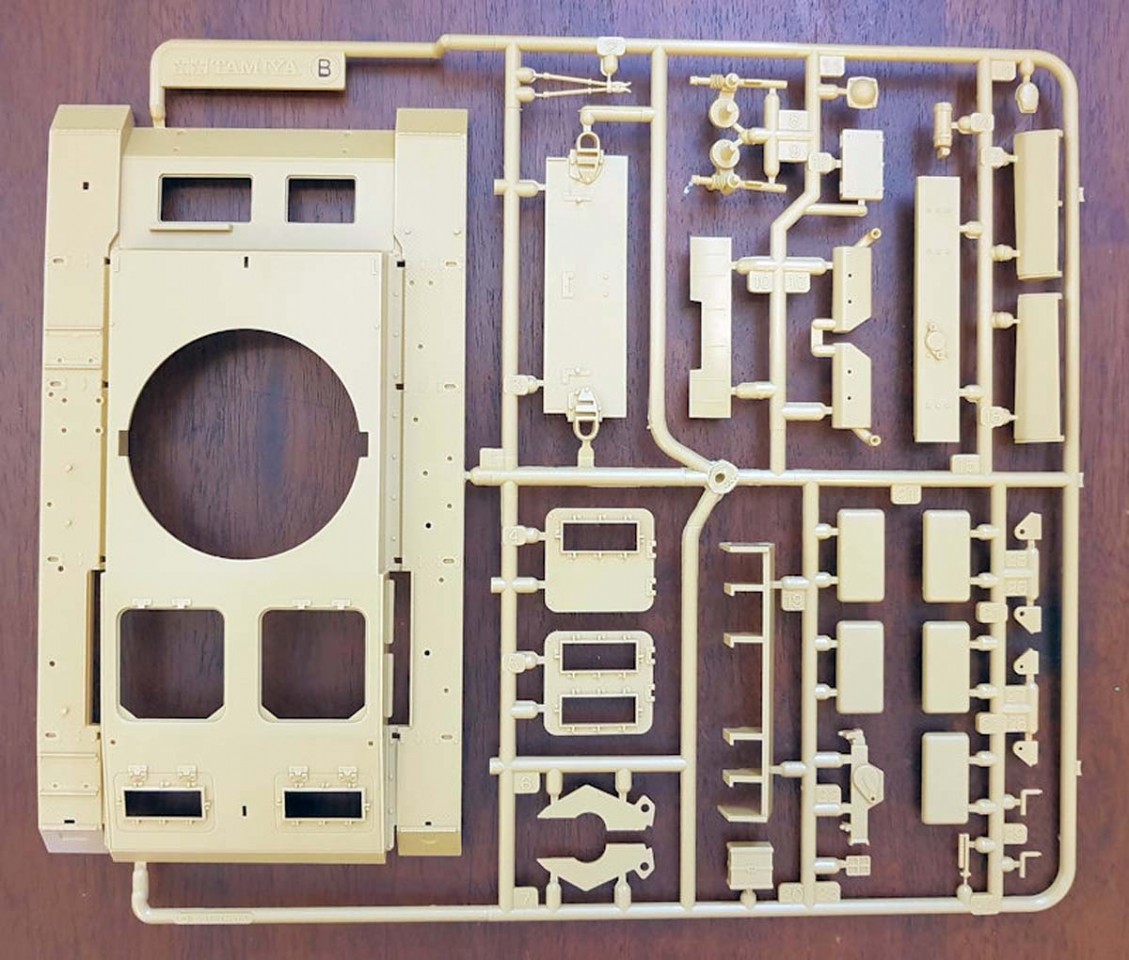
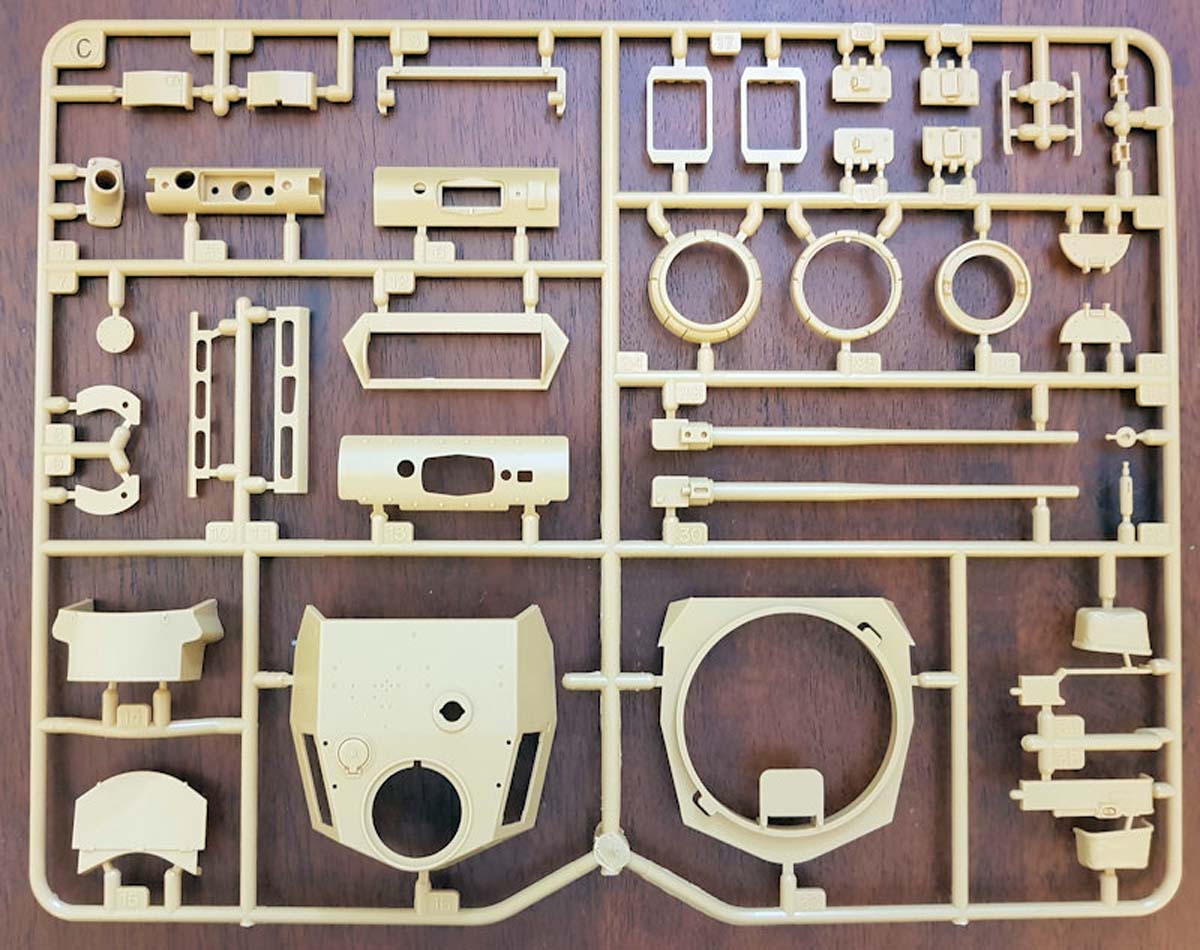
This kit from Tamiya was released in 1997. The kit has less than 250 parts. The box does an acceptable job protecting the contents. The five sprues are packed into three bags. Whats in the box:
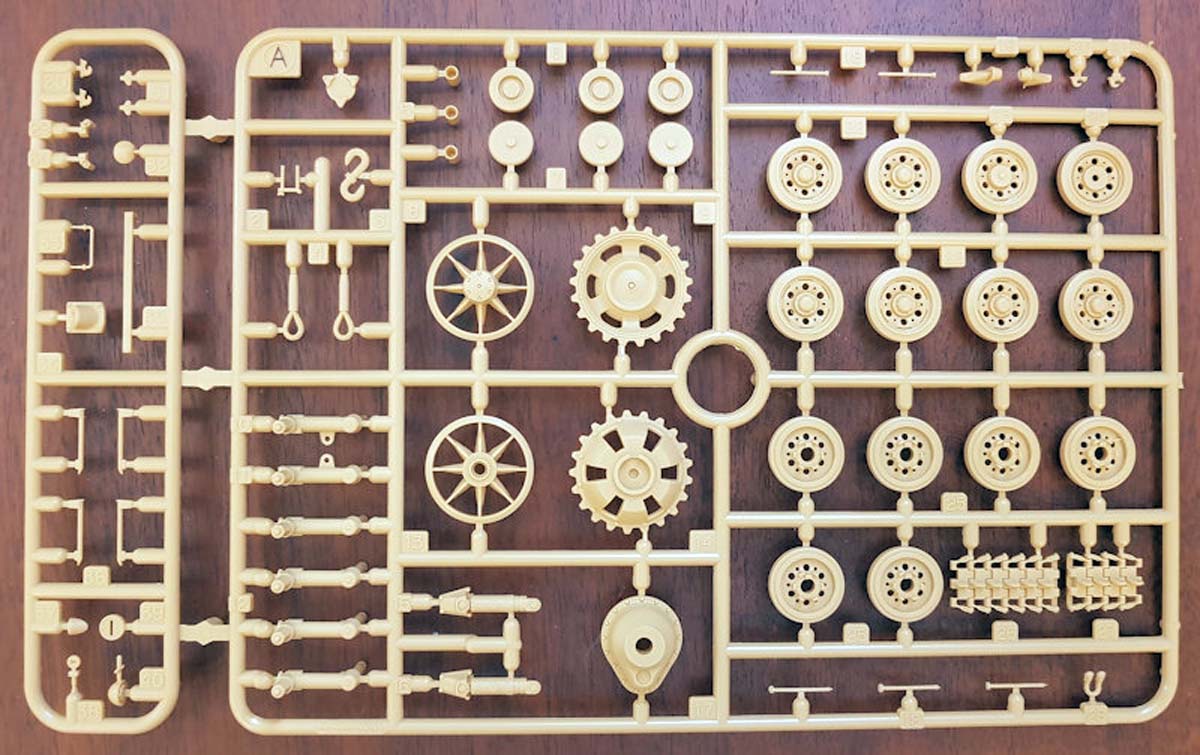
5 sprues molded in beige
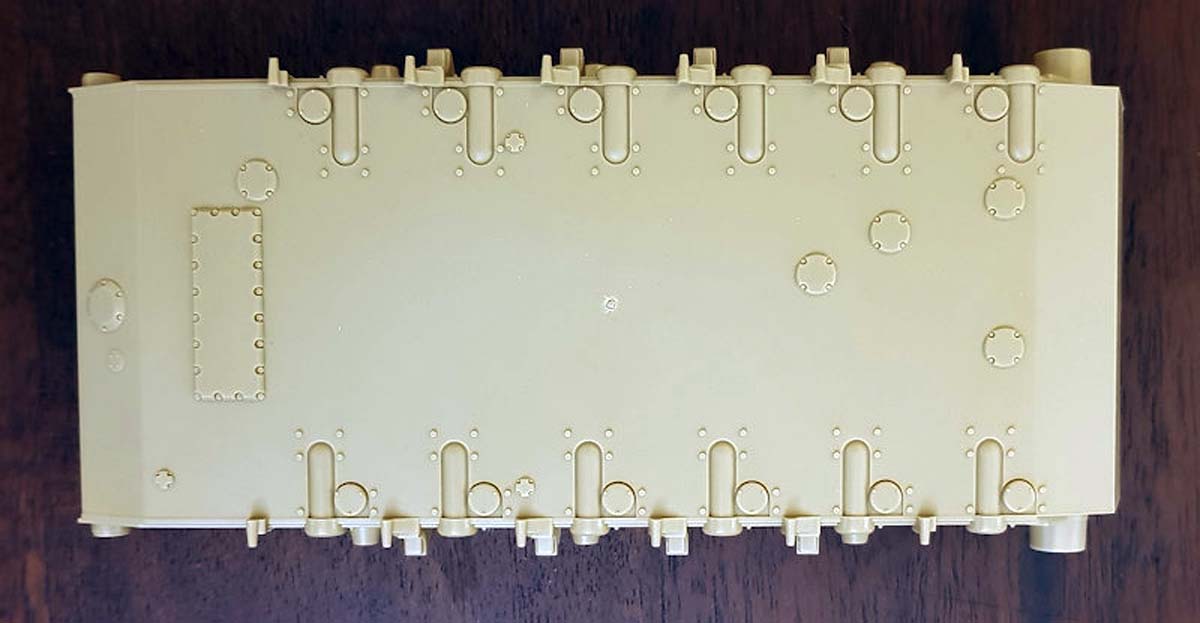
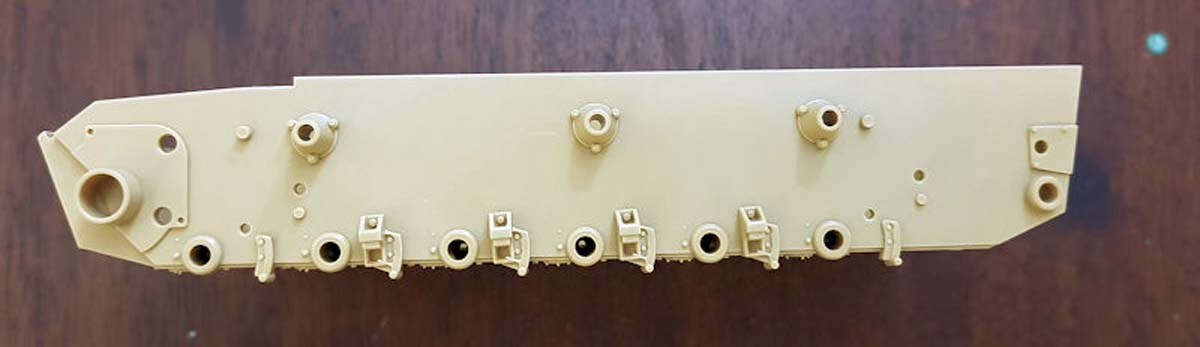
Chassis molded in beige
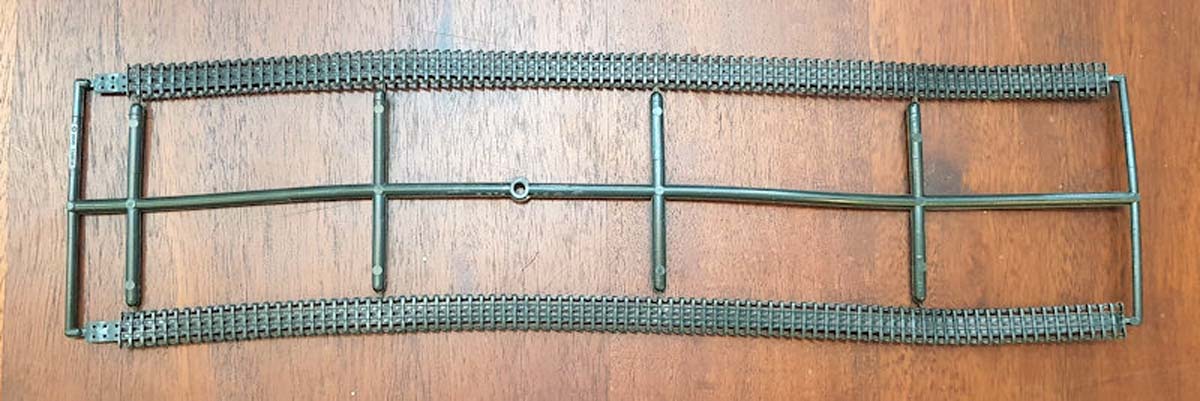
1 Rubber-band tracks
1 Decal sheet
1 12 page Instruction manual
Looking at the Kit
The quality of the styrene is good for a kit from this timeframe. There is little or no flash on any of the parts. Any ejector pin marks are located in such a way that they shouldnt be seen once built. A total of 23 parts are listed as not being used. The instructions are standard Tamiya format, consisting of 12 pages of line drawings. Assembly is broken down into 20 steps.
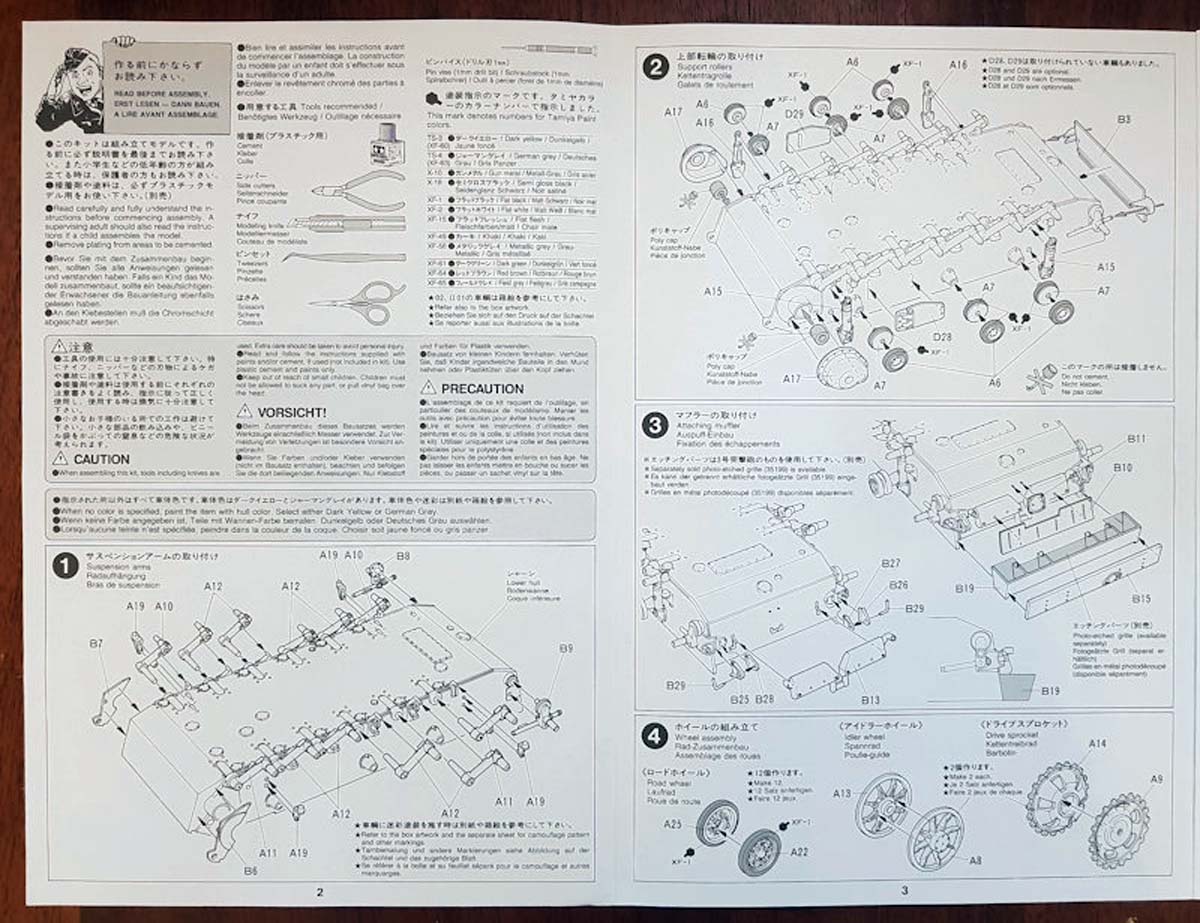
Step 1 and assembly begins with the installation of the suspension arms, six per side. You just need to make sure that they are all level, before the glue dries, so the hull sits square. You also install the idler shafts, bumper stops, and the front hull tow hook extensions.
Step 2 adds the final drive covers; dont forget to add the polycap first. The shock absorbers and return rollers are added next. Finally the hull rear plate is installed. Parts D28 & D29 are listed in this step as optional. These are the hull escape hatches. Now, all three kit versions show the hatches as installed. So, why list them as optional? All hulls built from Dec. 41 through July 42 incorporated the hatches. Starting in July 42, a new hull was being phased into production. So, from July 42 to Oct. 42 both configurations were rolling out of the factories. From Oct. 42, all hulls were the simplified version without the hatches. So, if you are building a version other than one included with the kit, then use your reference pictures to determine if the hatches are there or not.
Step 3 installs the rear tow hooks, muffler, and radiator (?) outlet. Tamiya sells a separate PE grill set (35199), as do several other third party suppliers.
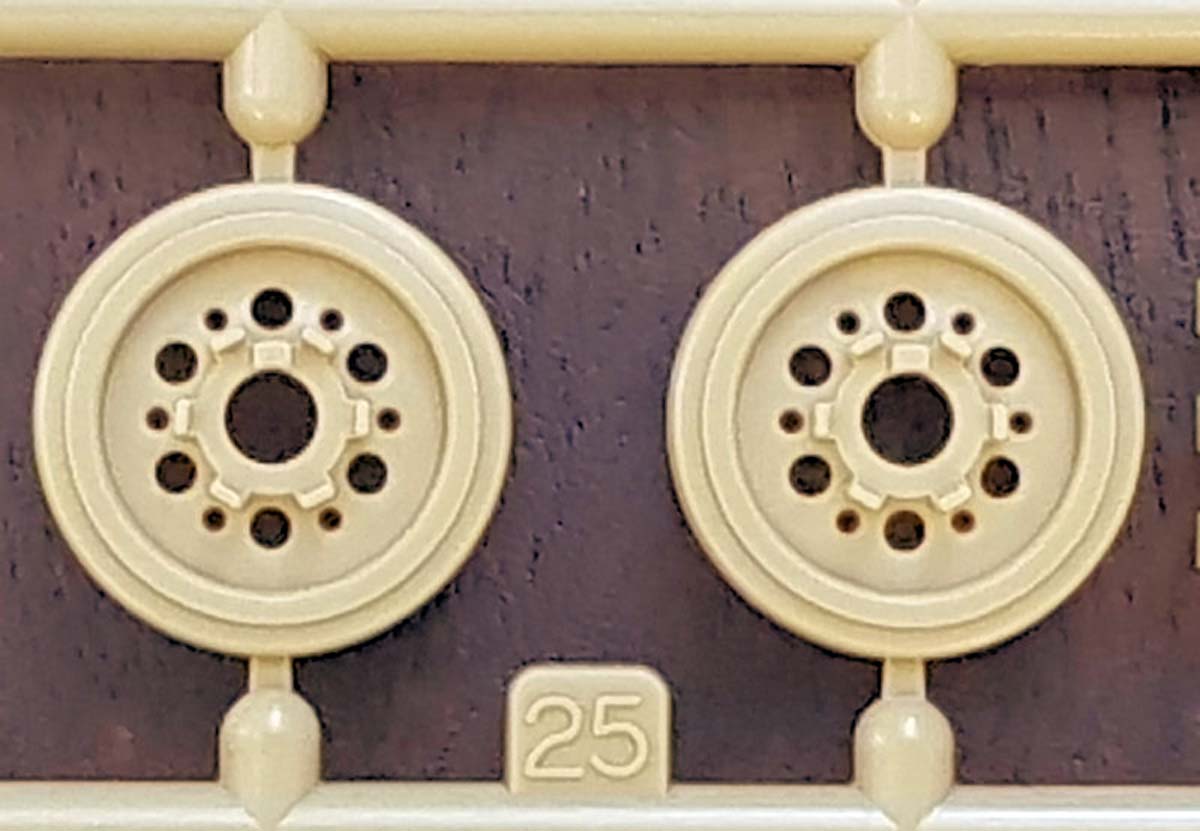
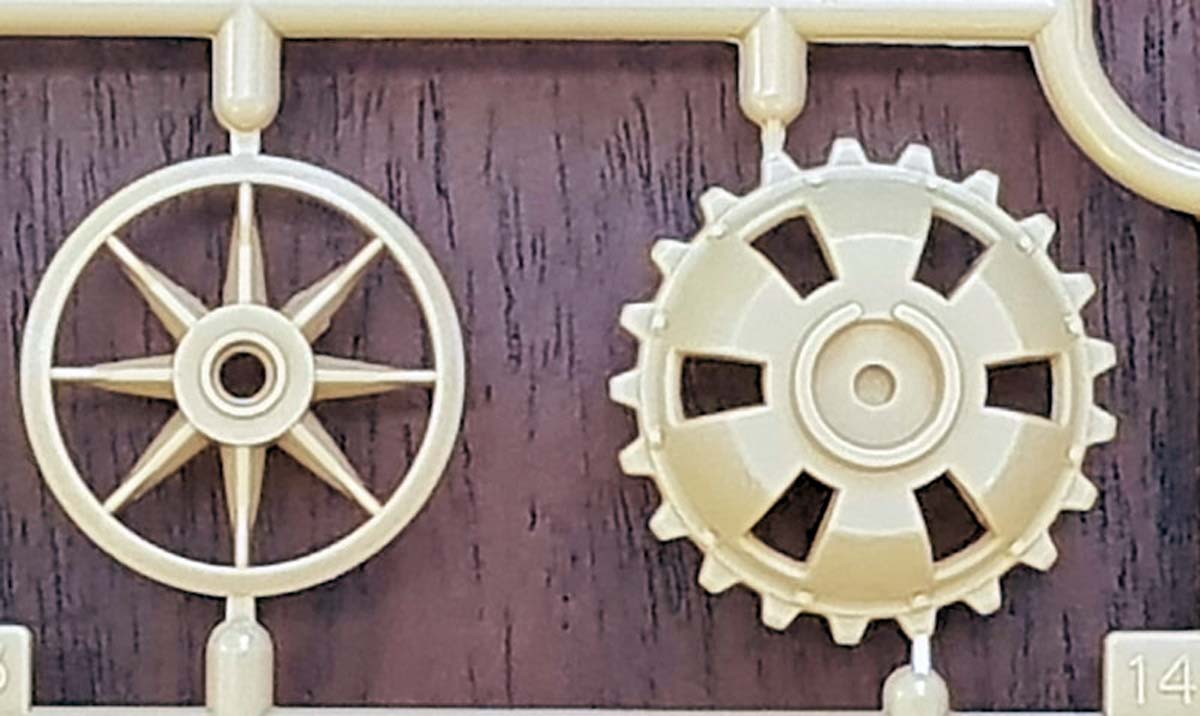
Step 4 assembles all the road wheels, idler wheels, and drive sprockets. The road wheels are one piece. Therefore, you will need to paint the rubber using your preferred method.
Step 5 installs all the running gear and the spare track links on the front of the hull.
Step 6 begins the Upper Hull assembly. First, you need to drill five 1mm holes from the underside. Then all of the hatches, hull side panels, and radiator outlets are added. Again, PE grill are installed if you have them.
Step 7 Continuing with the upper hull, the front glacis plate is installed. The ball MG is only the barrel. If desired, you will need to drill it out to make it look more realistic. The front brake cooling ducts are installed. Left fender supports and spare road wheel mounts are added. The armored covers are added to the engine hatches. Finally, the S-hooks and breaker bar are installed.
Step 8 provides two options for the front spaced armor. All three kit versions use option B. Use option A if building a different version and it shows this style.
Step 9 adds the spaced armor from step 8. You finish this step with the right fender supports and the tooling.
Step 10 assembles the antenna case, Notek light, jack, and headlights.
Step 11 installs everything from step 10, plus the tool box, jack block, and rear convoy light. The spare road wheels are assembled and installed.
Step 12 adds the right fender tool box, antenna base, antenna case and tow ropes. Parts A18 are optional and can be added if your reference pictures show them. None of the three kit versions show them installed. Finally, the inverted V-deflector (D27) is also an optional part. This was phased out of production starting in June 1942. The three kit versions all show it being installed. If you are not installing D27, then do not forget to remove the mounting pins on the top of the hull.
Step 13 adds the rubber band tracks. These can be glued using your normal cement. Finish this step by attaching the upper hull to the lower hull.
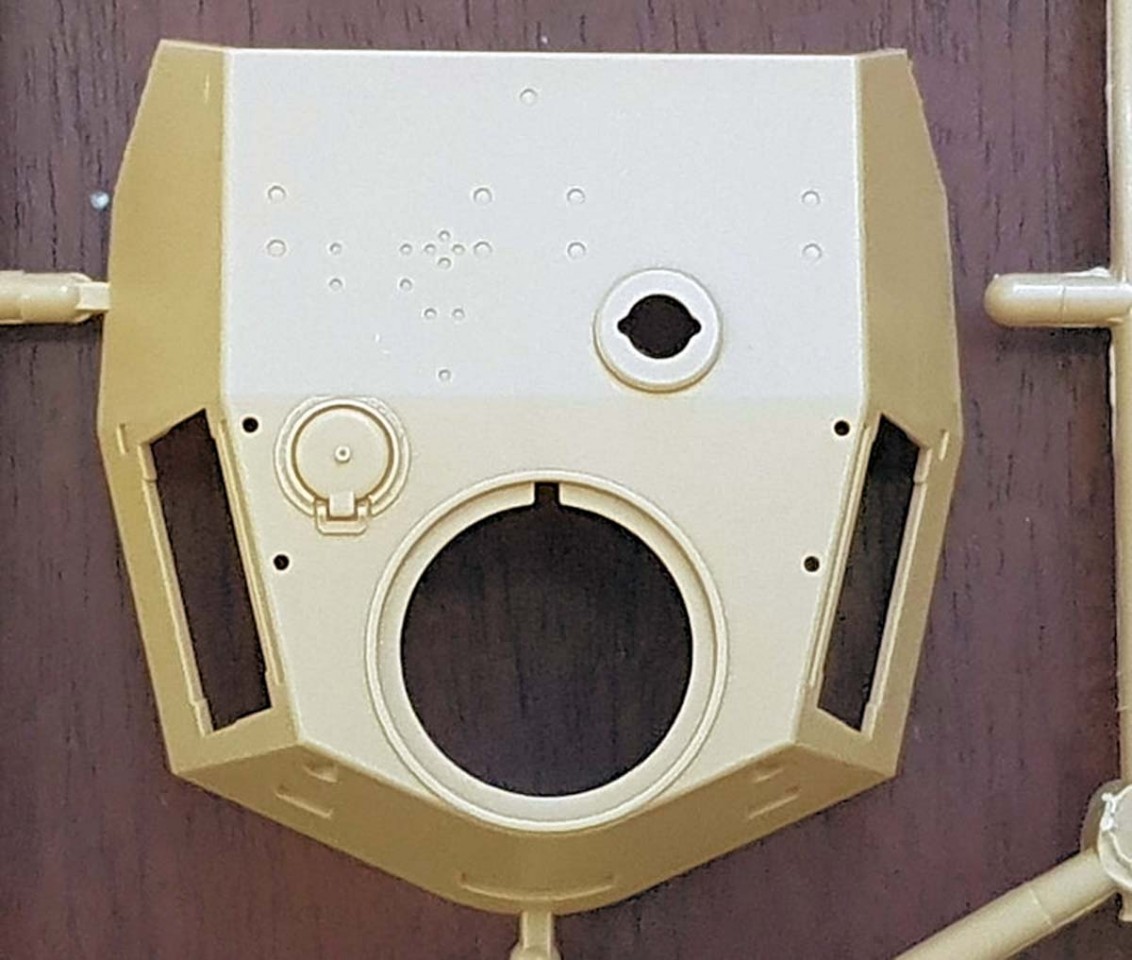
Step 14 covers the mantlet and the mantlets spaced armor frame.
Step 15 deals with the main gun and assembly. The L/60 gun lacks any detail, not even a breech block. It is a two piece part and will require the join line to be removed. The gun is designed to elevate up and down. Care needs to be taken with gluing parts C5 and C6. Once the sub-assembly is done, you add the recoil housing and the armored MG34 barrel. There are no internal details for the MG. Finally, you add the mantlet spaced armor. Part C13 is optional. This was not installed on all vehicles during production. So, check pics of the version you are building to see if it is installed. In the kit, only option 1 shows this being installed. Options 2 and 3 only have the spaced armor frame installed.
Step 16 assembles the main gun with the turret top and bottom.
Step 17 through 19 adds all the external bits to the turret.
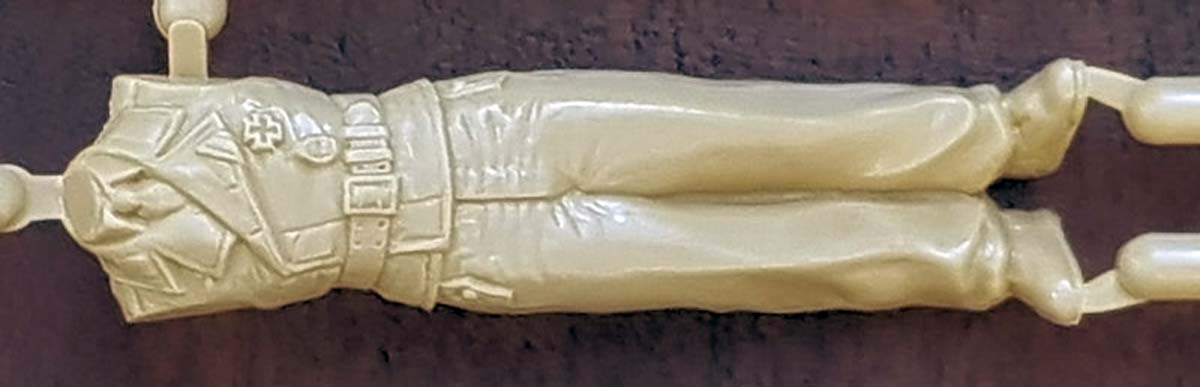
Step 20 completes the assembly by installing the turret to the chassis. Also, the figure painting callouts are identified. In addition, the extra spare track links can be added, if you desire.
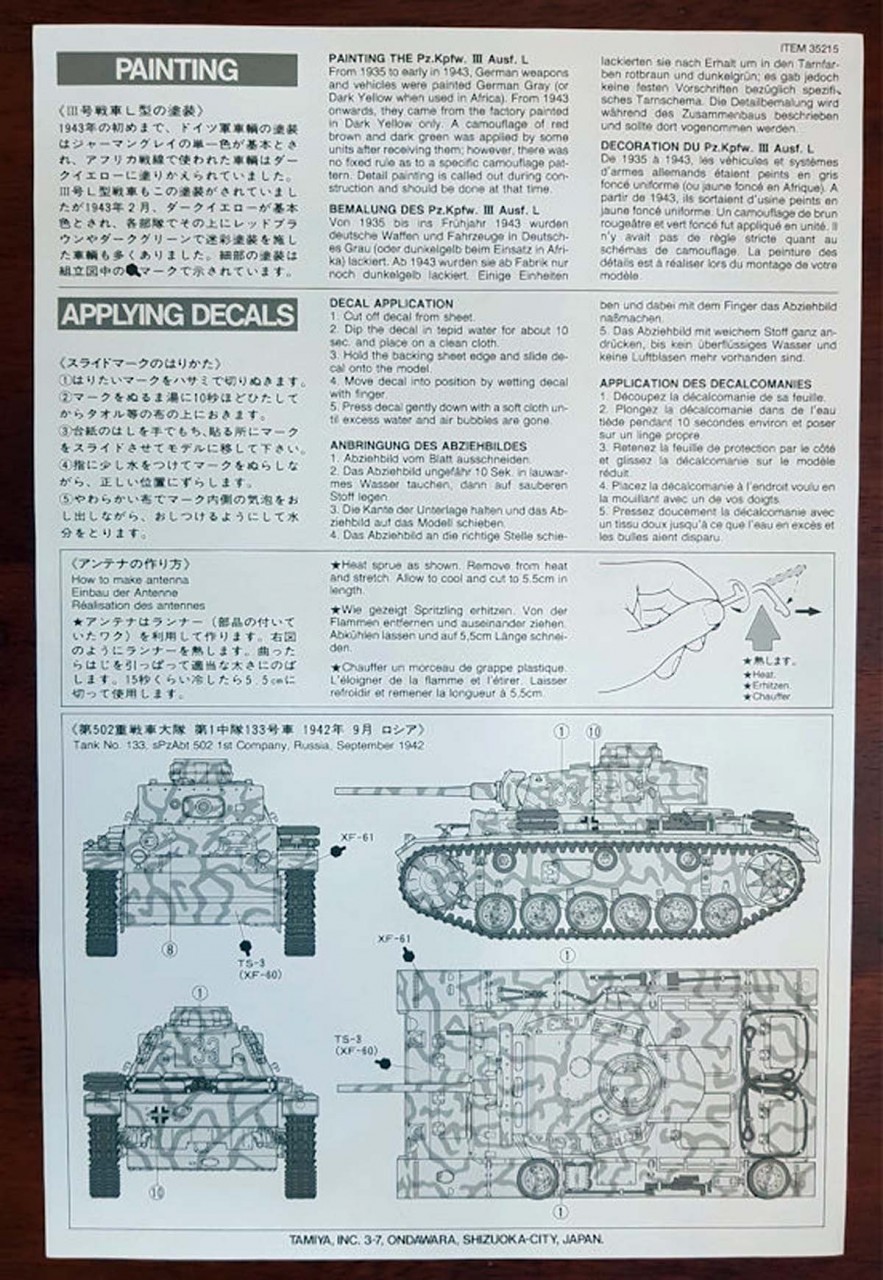
Decals Options are provided for three different vehicles:
No. 133, 1st Company, sPzAbt 502, Russia, September 1942
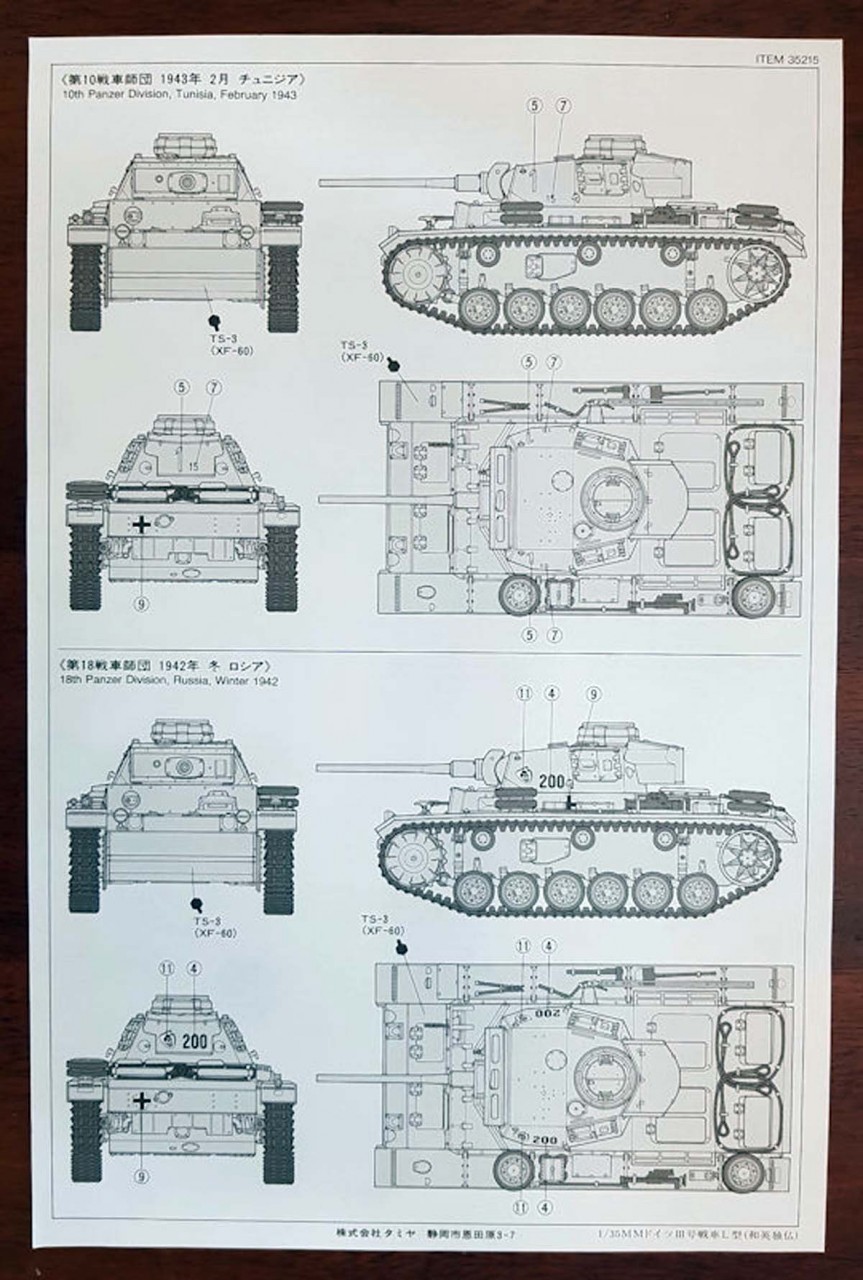
10th Panzer Division, Tunisia, February 1943
18th Panzer Division, Russia, Winter 1942
SUMMARY
Highs: A straight forward kit that is not difficult for a novice.Lows: Even though its an older kit, it still lacks any main gun detail.Verdict: It is a easy kit to add to your Panzer III family.
About Mark (d111298pw) FROM: OKLAHOMA, UNITED STATES
I'm from the US, but have lived most of my adult life around the world due to my work.
I started building models when I was 6. Took a 30 break as other priorities took hold (work,family, etc..). Got back into it a number of years back building F1 kits (Ferrari only). When I got to India, the modell...
Though there have been plenty of other reviews of this kit, this one is the most complete one I've seen with all the options and pictures listed. Therefor, it is worthwhile for those who don't necessarily need hot-from-the-mold kits.
Though it would have been worthwhile if some mention had been made of other Pzkpfw III ausf L kits. (The venerable Gunze, Dragon's re-do of the Gunze and the new Dragon kit)
The best is probably the new Dragon kit with the two others behind this one so if talking Pzkpfw III ausf L it's fair to review what's old because we need new views of old stuff so we can compare it to the new stuff (cynical me: newer is not always better and there are some things in the new Dragon kits that most builders don't need? Do I need such detailed part break-downs of details I just don't care about or do I want to build a model?)
YES. Like others related, not everyone scrutinizes every brand new kit that makes it online. Can't tell you how many times I have come across a NEW kit in the forums and then found out it was reviewed years before. Sometimes interests shift and then one seeks out reviews on older subjects.
Scalemates has four reviews of this kit. Only one has pictures and they're honestly not as good as this one, and one review is barely 100 words! So this is a welcome addition.
So some of us do do these things and we're still stuck for a decent review.
Some us are stuck having to go to Google to find sprue and instruction pictures from hobbyshop sites and guessing our best. So Scalemates may answer some questions but not all for older kits.
Sometimes it barely points in the right direction for older kits.
And sadly I am not qualified to do reviews. I guesstimate too much and would rather work on my webcomics. Too many people finding fault with everything and debating angels dancing on the heads of pins to do model reviews. And I got sensitive feelings.
Thanks Mark!
Always nice to be reminded of what is out and about with some of these middle-aged kits. Wouldn't have thought twice about this one but now if I see it on a table at a show for a good (i.e., cheap!) price I just might bite. Could always use another quality kit on the 100 year stack!!
Cheers,
Rick


Comments