MiniArt has been issuing the different versions of the T-54 main battle tank over the last year or so; this time Im going to take a look at the 1951 version, the T-54-3. This plastic model - same as the previous ones- come in two versions: one with a full interior (well, reasonably full one), and one with a simplified interior, depending on the modellers preferences. Both models are very well detailed, and very complex (since essentially they are the same models with a couple of sprues added to the full version), so it really is up to the modeller to make a decision which one they would prefer.
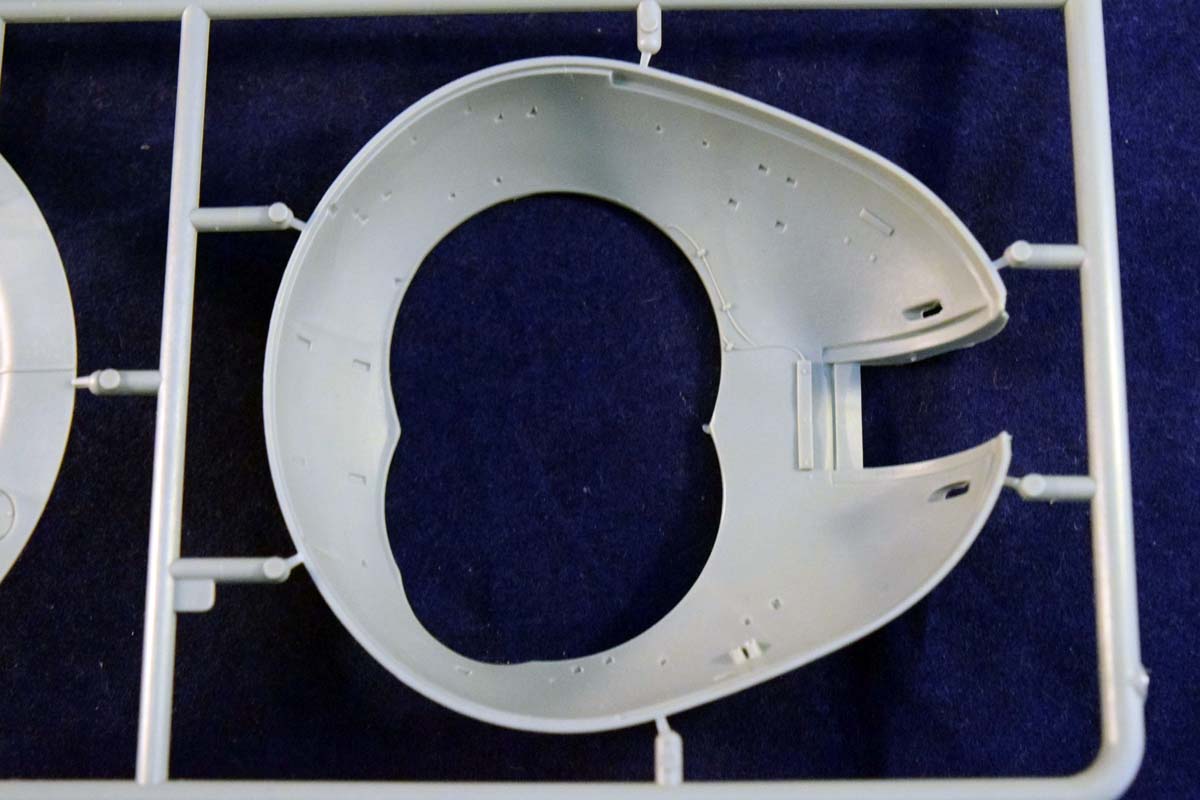
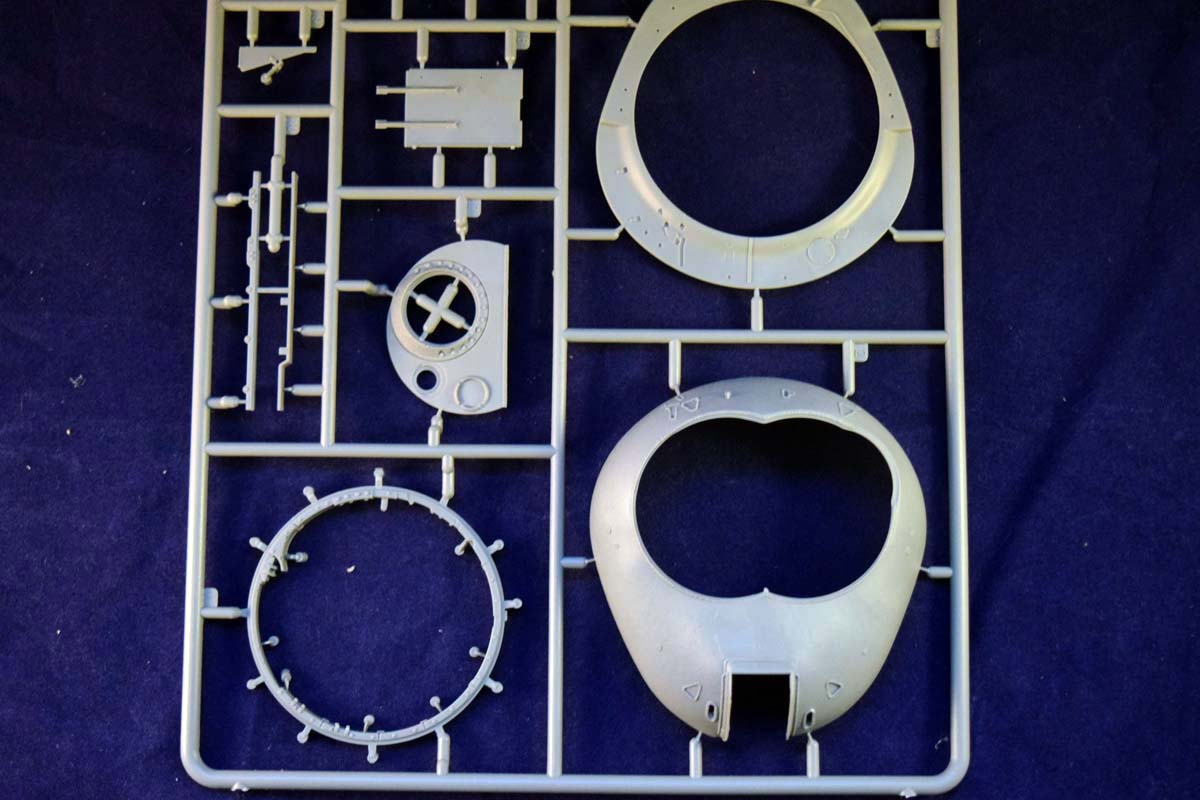
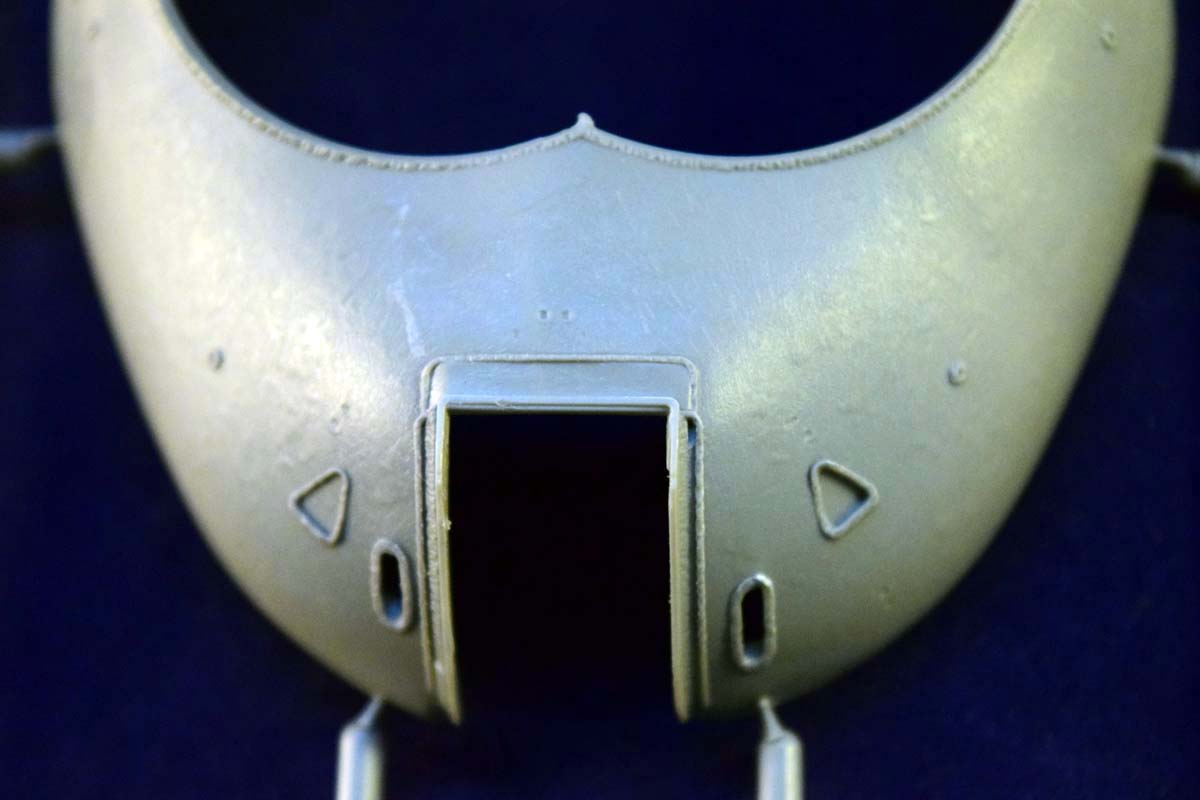
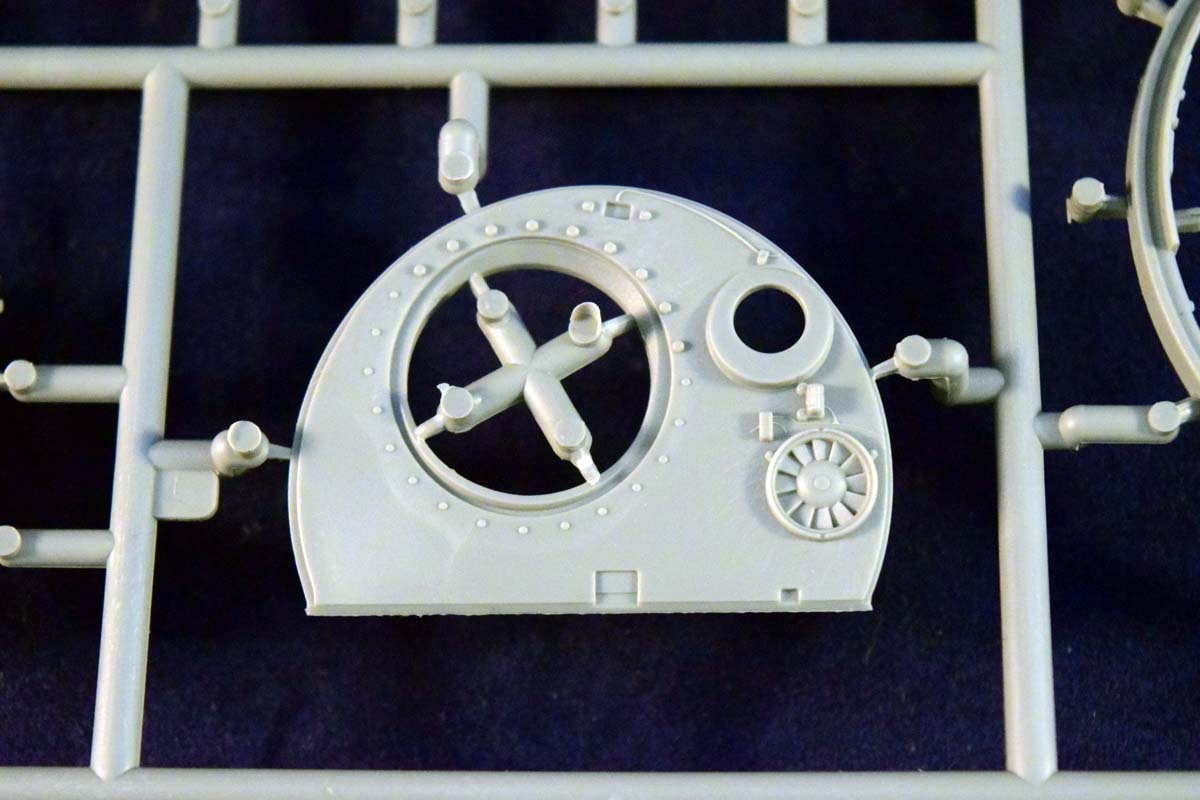
This vehicle was very similar to the previous version (T-54-2, or T-54 1949) except in two details: the characteristic dome shaped turret does not have the overhang that is present on the back of the turret of the T-54-2; and the tank received a new idler wheel. (Although you can quite frequently see tanks with mixed characteristics; there are quite a lot of historical photos of T-54-3s with early-style idlers.)
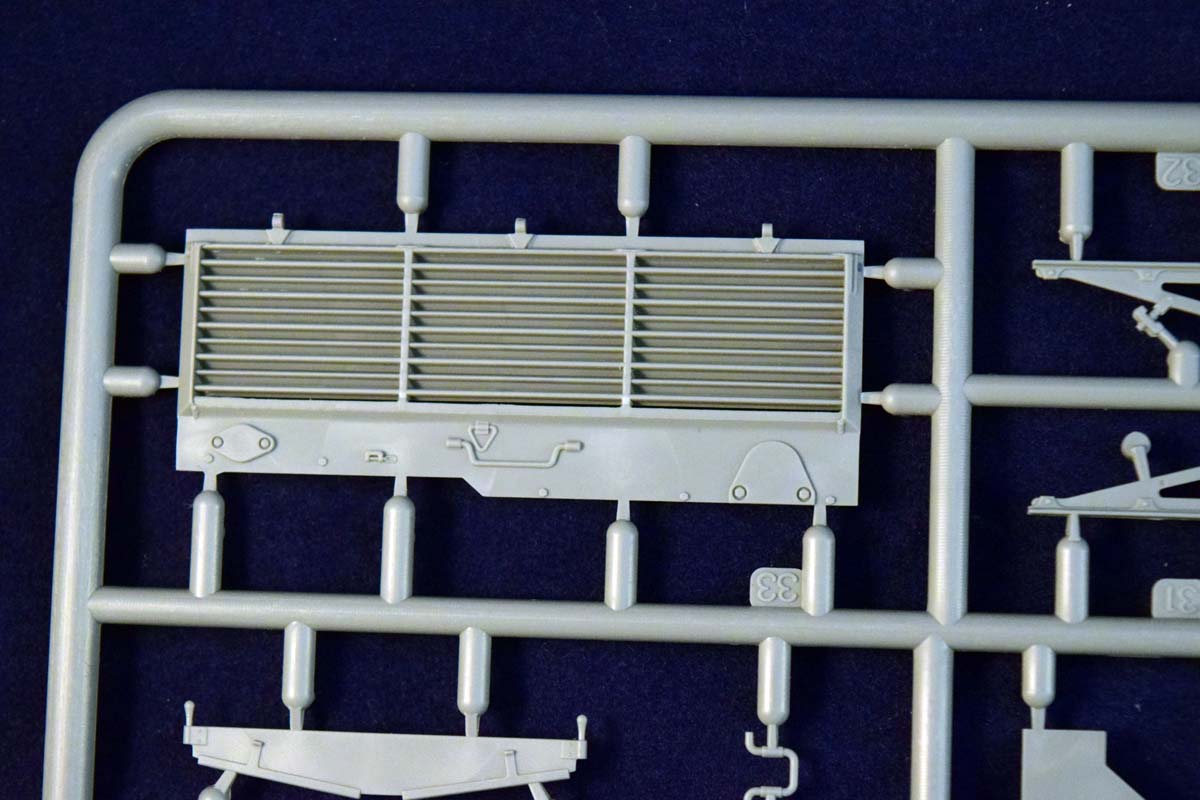
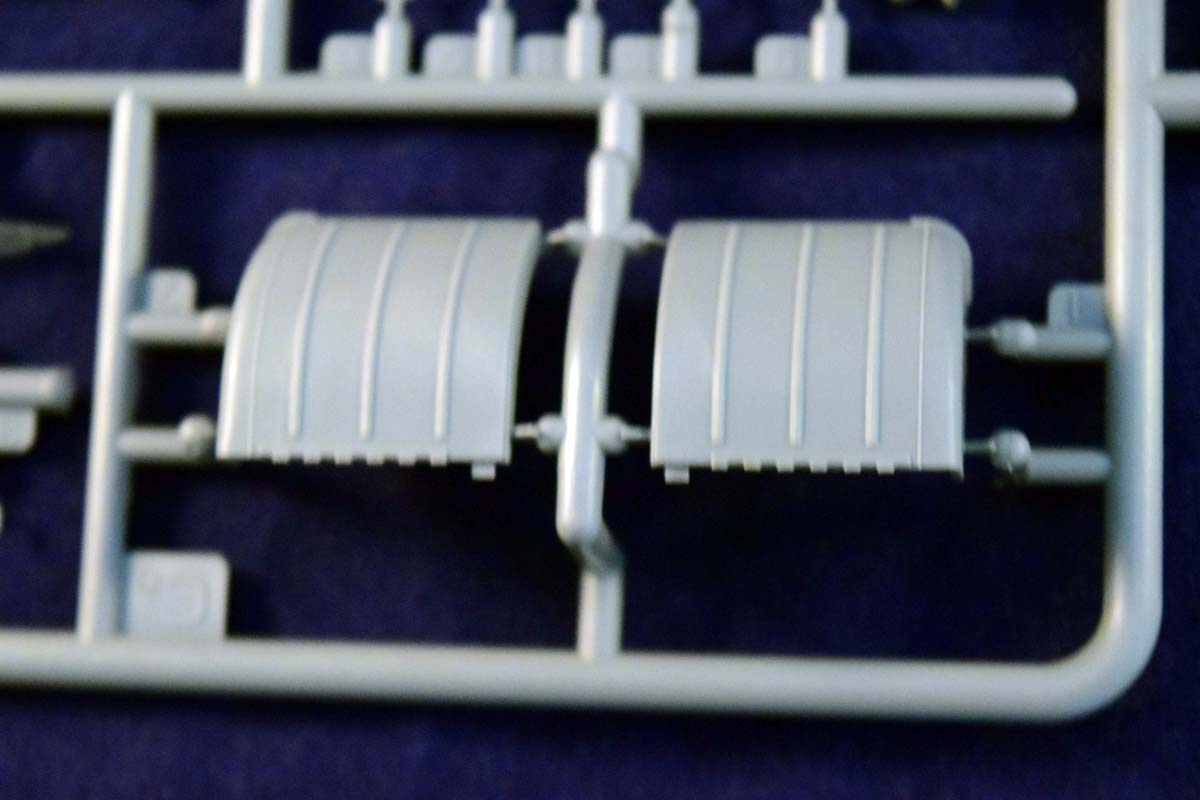
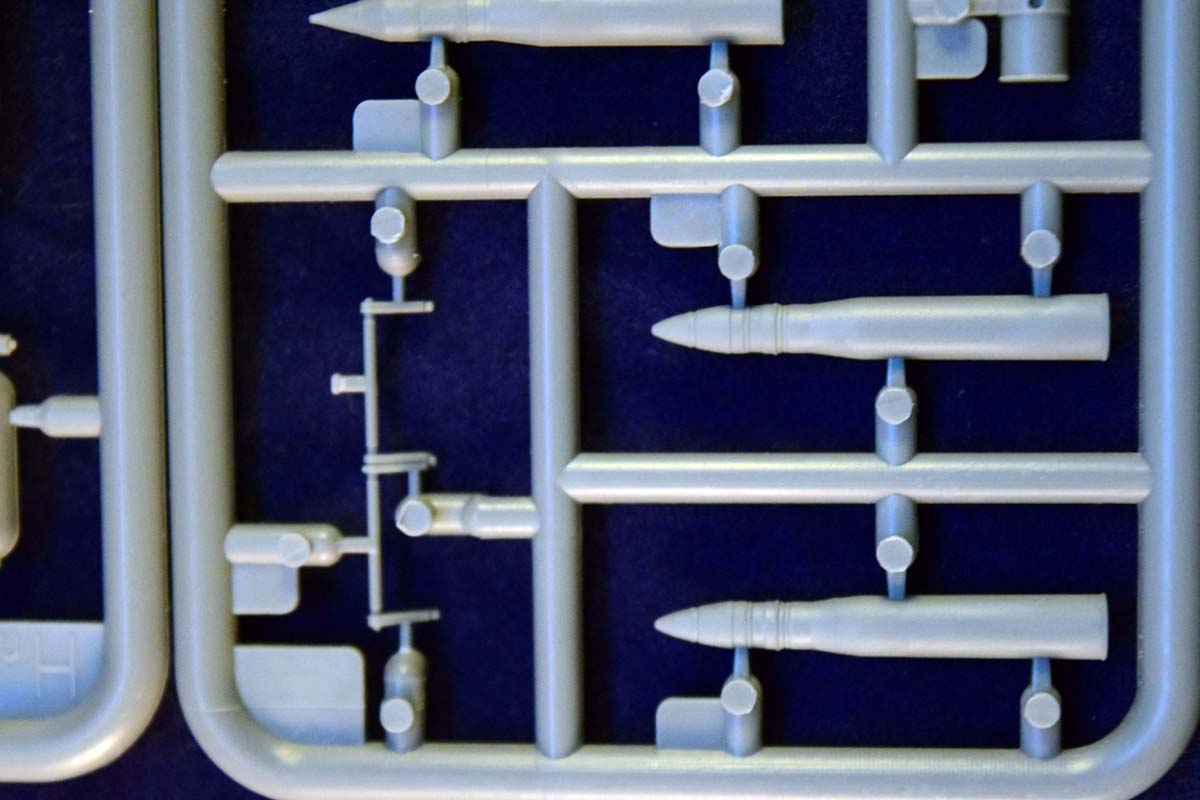
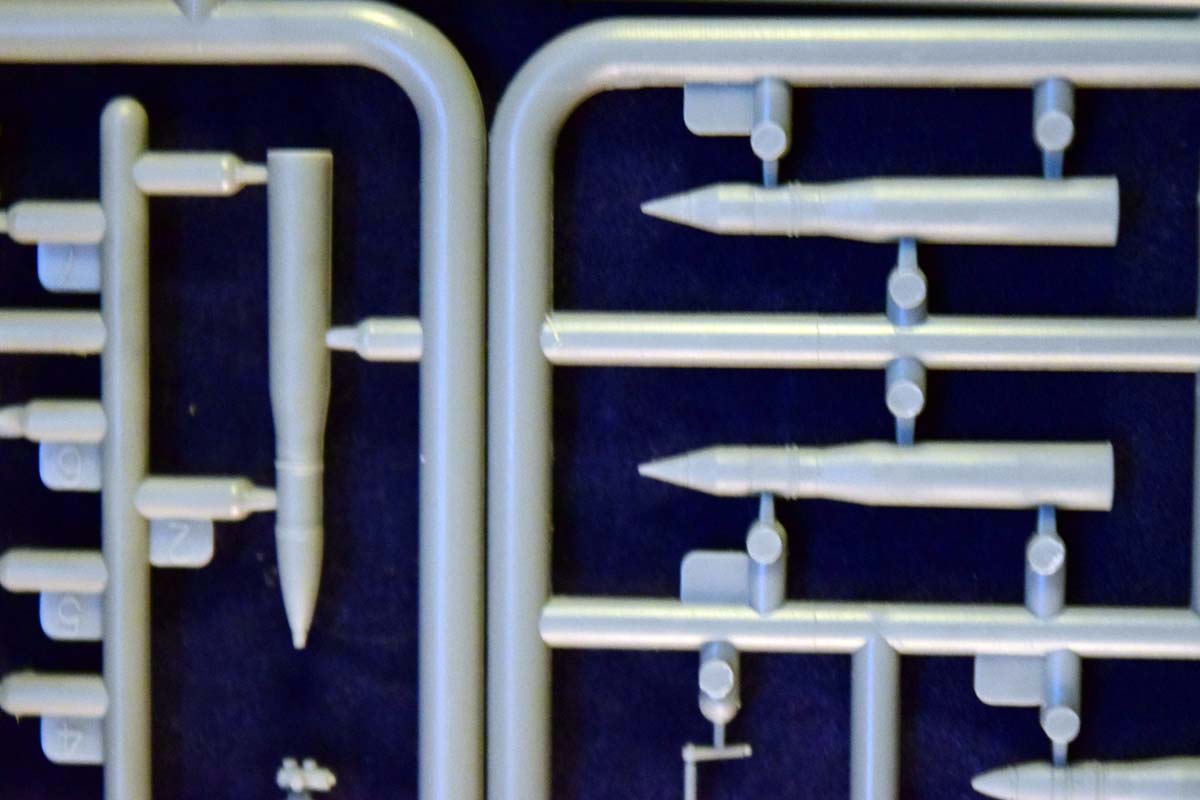
The rest of the features were shared with the previous version: the same 100mm gun without a fume extractor or muzzle brake, 2 welded fuel cells on rear of right fender, same tool zip box on front of each fender, two smoke discharger canisters on rear instead of fuel drums, two MK-4 periscopes on right and left of the turret top, no infrared or normal searchlights, early engine deck grilles with undivided radiator grille and rear grilles without strengthening ribs, a single headlight on the front, and webbed road wheels. Since the tank has been in service for so long, it is not uncommon to find photos of vehicles brought to different standards of upgrade: T-54-2 or -3 with starfish wheels (or even with both types), two headlights, IR headlight fittings, TPN-1 gunners sight instead of the MK-4 periscope, large counterweight on the gun barrel, etc. Fortunately (or unfortunately, depending on the point of view of the modeller), the combinations are endless. This either gives you an opportunity to take it as it comes, and not to worry about historical accuracy too much, or to sweat blood trying to figure out what the particular tank youre trying to model has in terms of upgrades
(I would like to give a shout out to the T-54 & T-55 Research Group on Facebook. The community was incredibly helpful, and the information collected there is a literal gold mine if you are interested in the tank.
I have reviewed several of these models before -both the interior versions and the simplified ones, so I will focus on the differences here mainly; most of what I wrote in those reviews will be valid for this tank as well. (In this respect the model has a certain analogy with the real tank as well: continuously evolving from the initial version.)
Please take a look at the build review of the T-54-1 version; a lot of it is very relevant to this model as well.
https://armorama.kitmaker.net/review/13082
Review
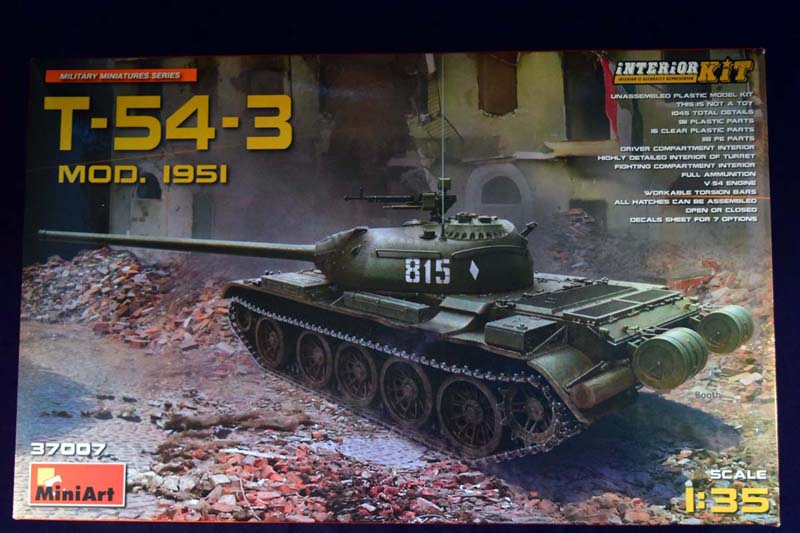
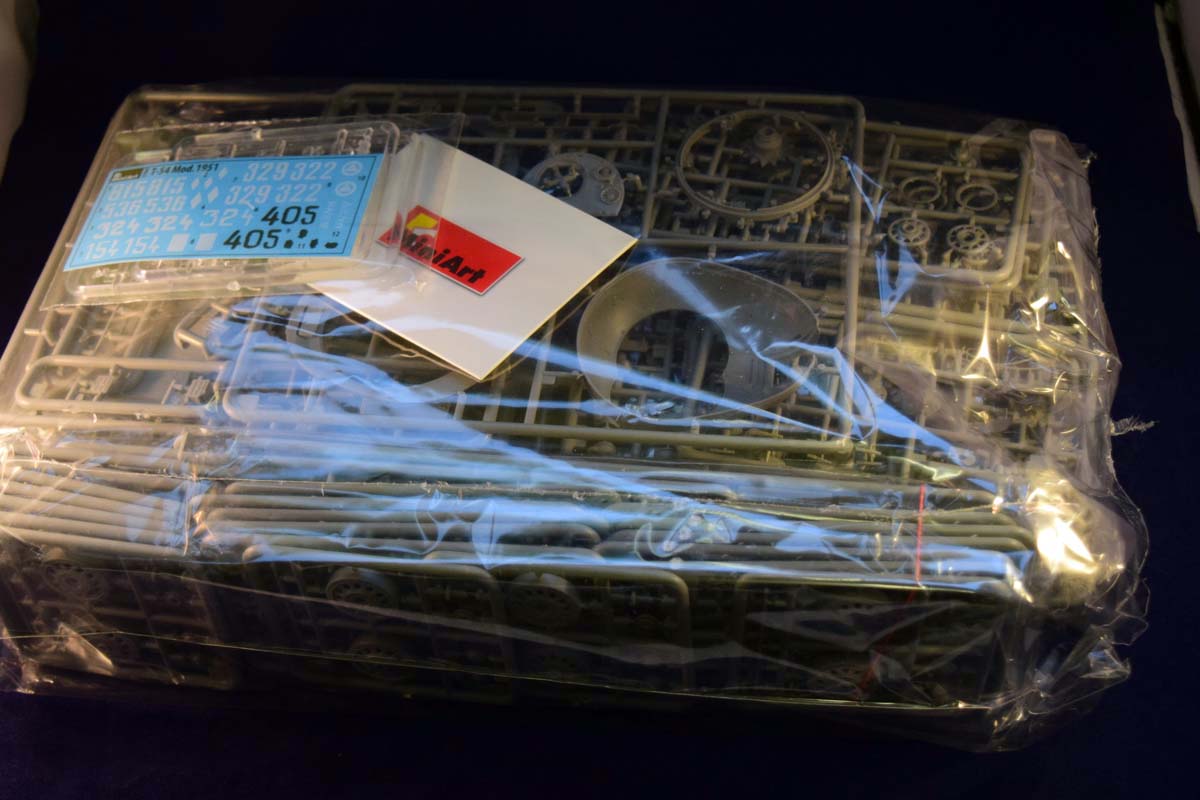
The model comes in the usual MiniArt box, filled to the brim with plastic. (Once you open the individual bags protecting the sprues, you will have difficulties fitting everything back in.) Everything is packed so tight, its probably quite unlikely for the parts to break in transit; I suspect its going to be a whole different matter once you unpack everything. The box art shows the tank in a ruined city environment; possibly in Budapest during the 1956 uprising.
The model is consisted of a total of 1045 parts, so lets just say its not a weekend project; however you do get something for your efforts. As I write this review -and prepare myself to build the kit- Im also building Tamiyas T-55 with a CMK interior, and I have to say the interior details by large are superior to the resin ones. I would say it might be worth using parts from the T-54B to upgrade the resin upgrade for the Tamiya kit
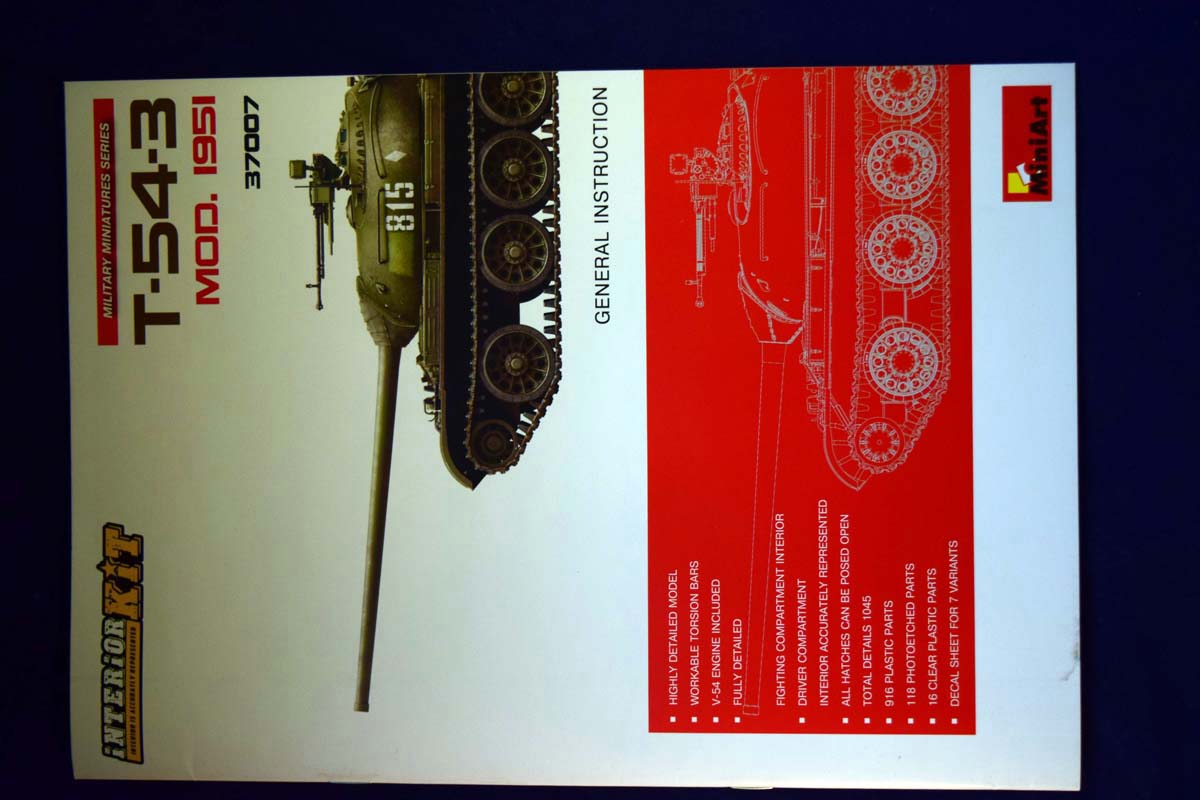
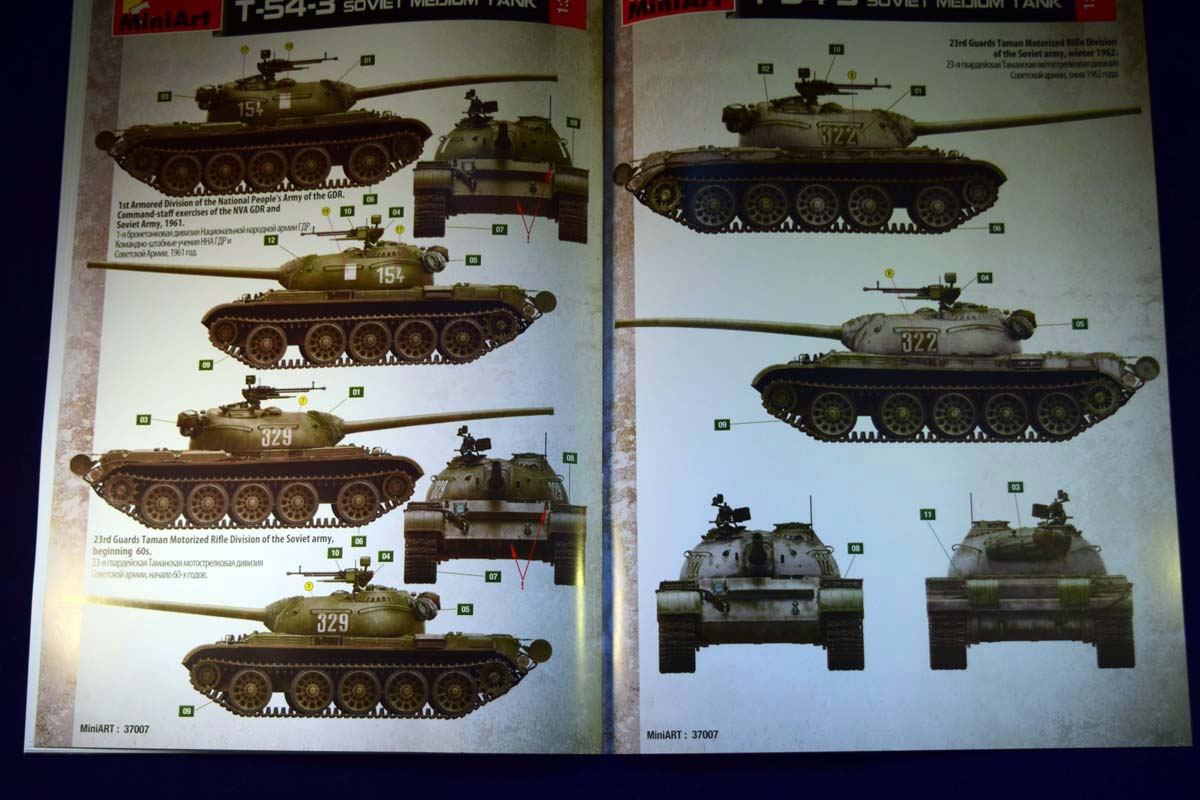
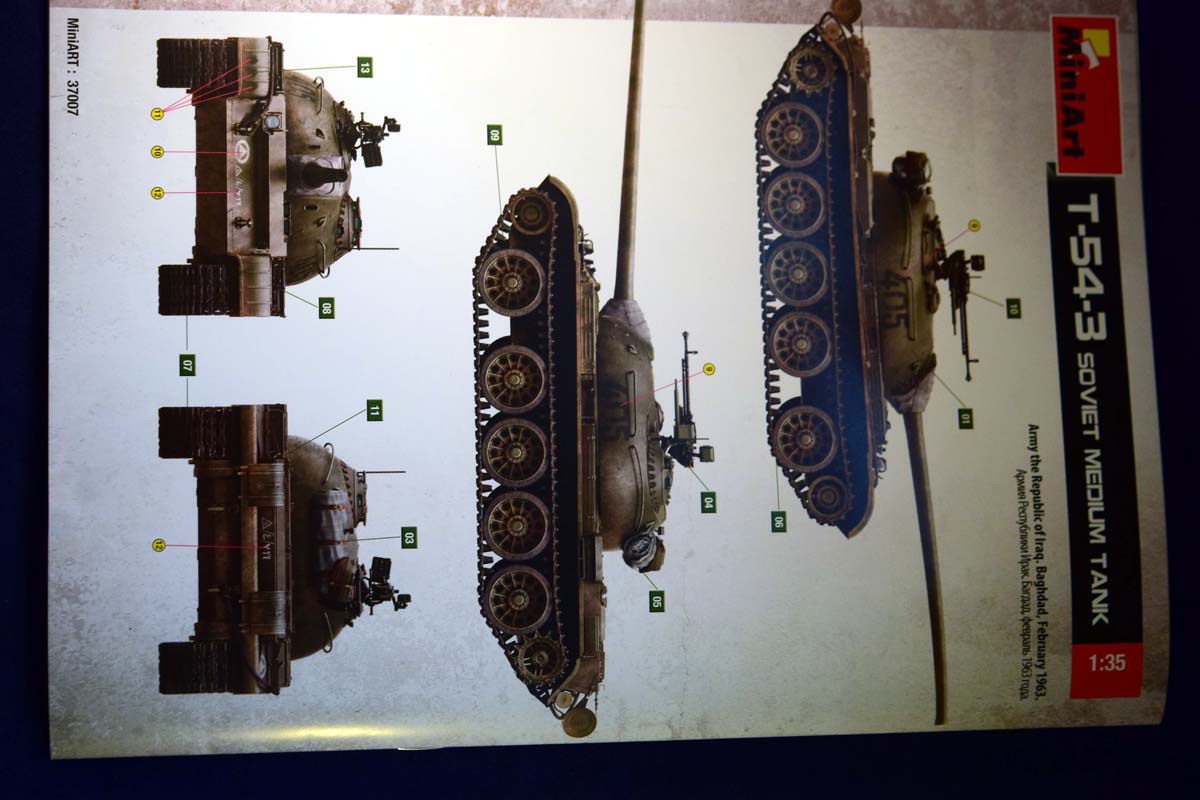
The instructions are also the typical -and very clear -MiniArt ones; colored where needed, black and white where it suffices. The colors are given in several paint codes (Mig Ammo, Humbrol, Testors, Vallejo, Mr Color), which is always useful. There are several options, but being a Cold War Russian tank, all of them are the same green (with whitewash in some cases). Out of the box you are given options to build Soviet, East German, and Iraqi versions from the 50s and 60s. (Three are especially appealing for me personally, as they depict tanks that were sent to Hungary during the 56 uprising.)
In the inside of the front page theres a set of rendered images of the model assembled, showing the different engine bay hatches open, which is quite useful if you decide to display them open. (The only thing, of course, is that apart from the transmission and engine the whole bay is empty, so you will need an aftermarket set to fill out.
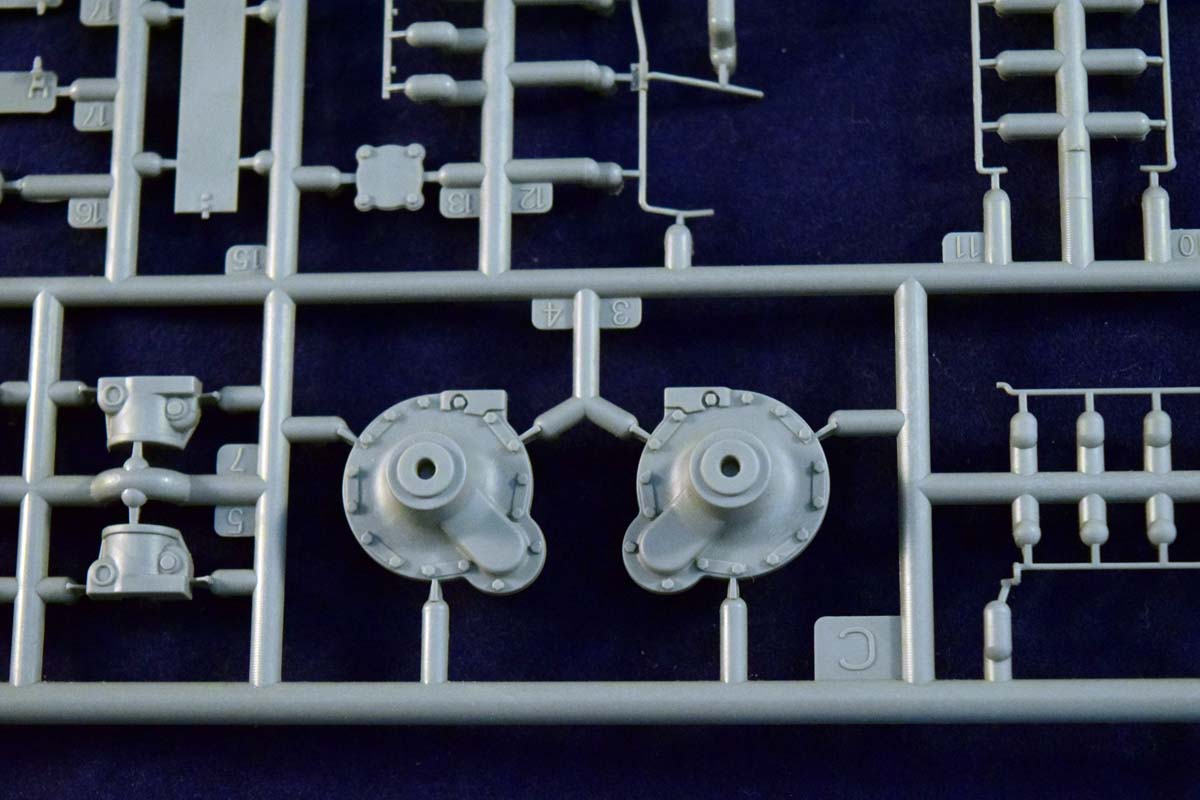
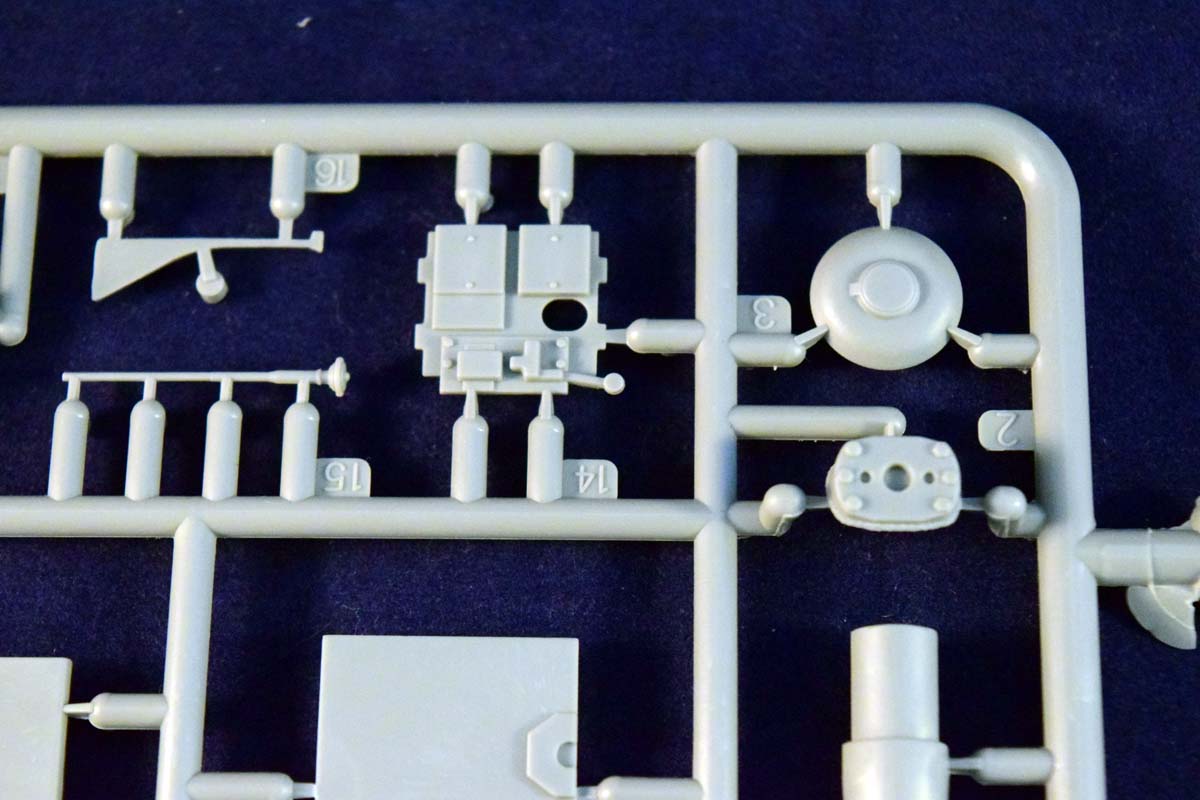
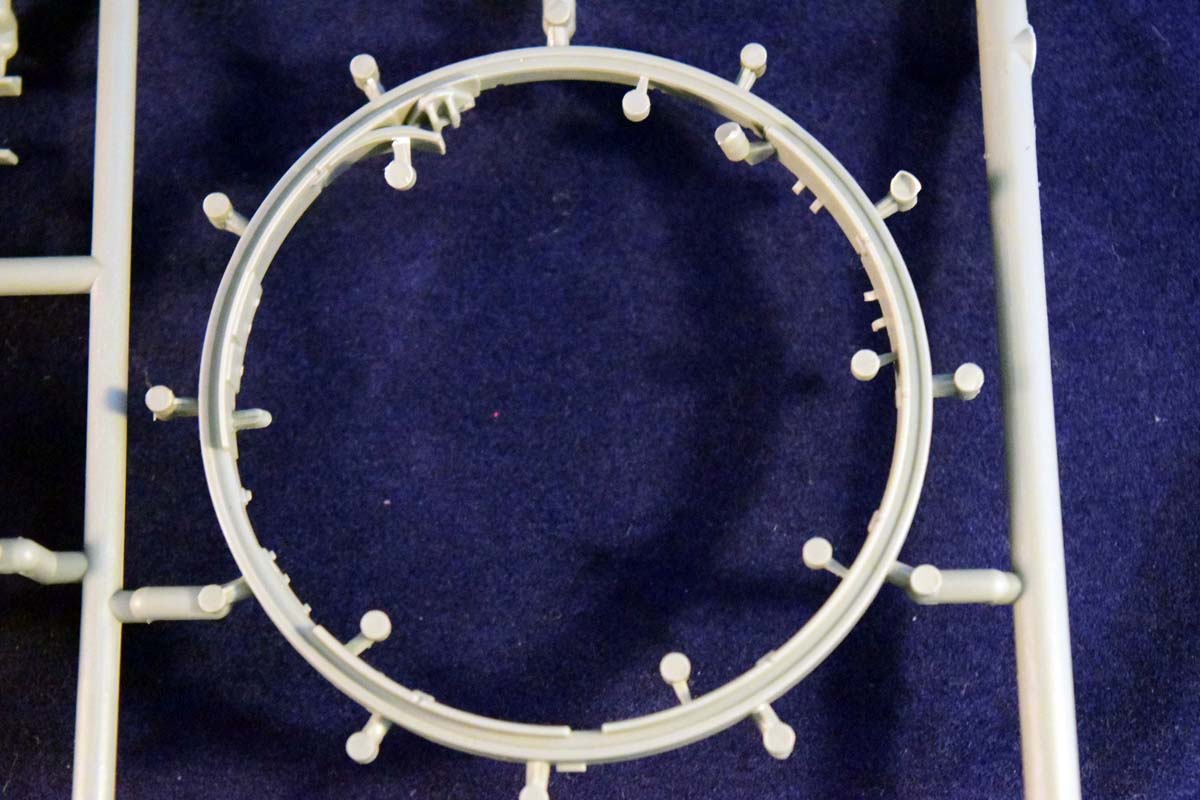
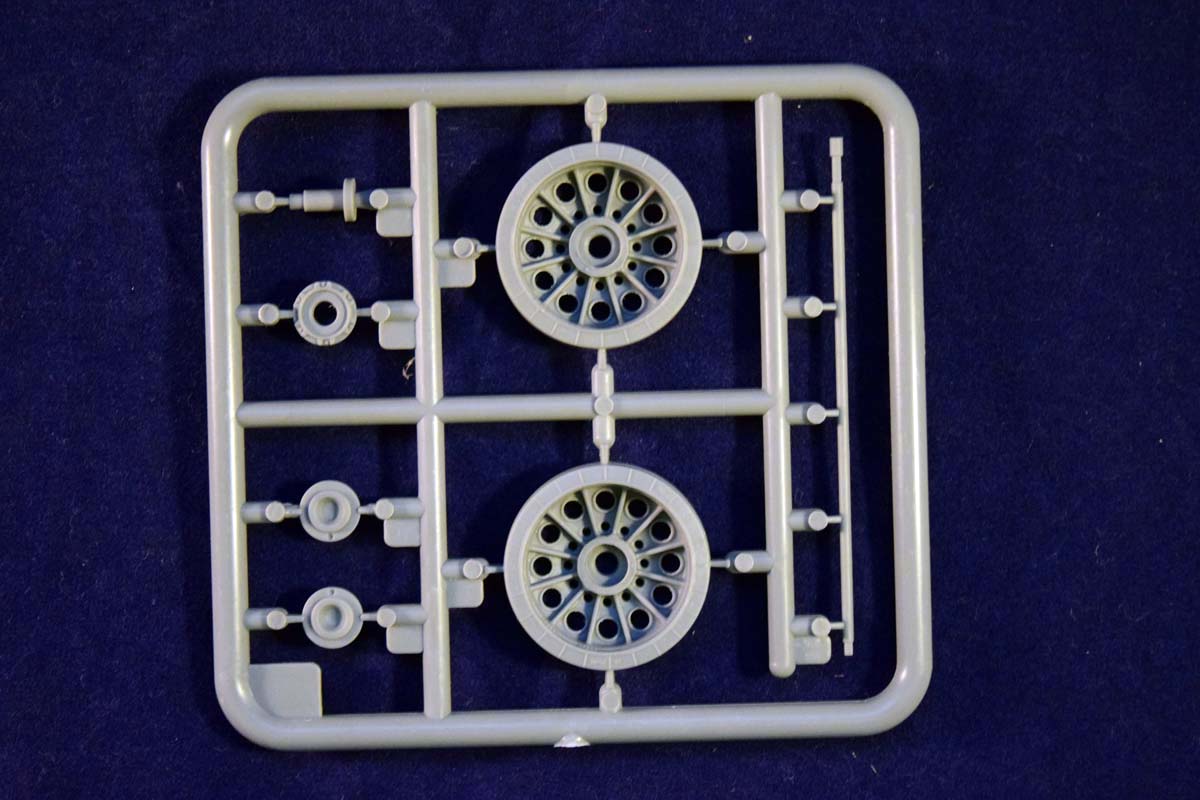
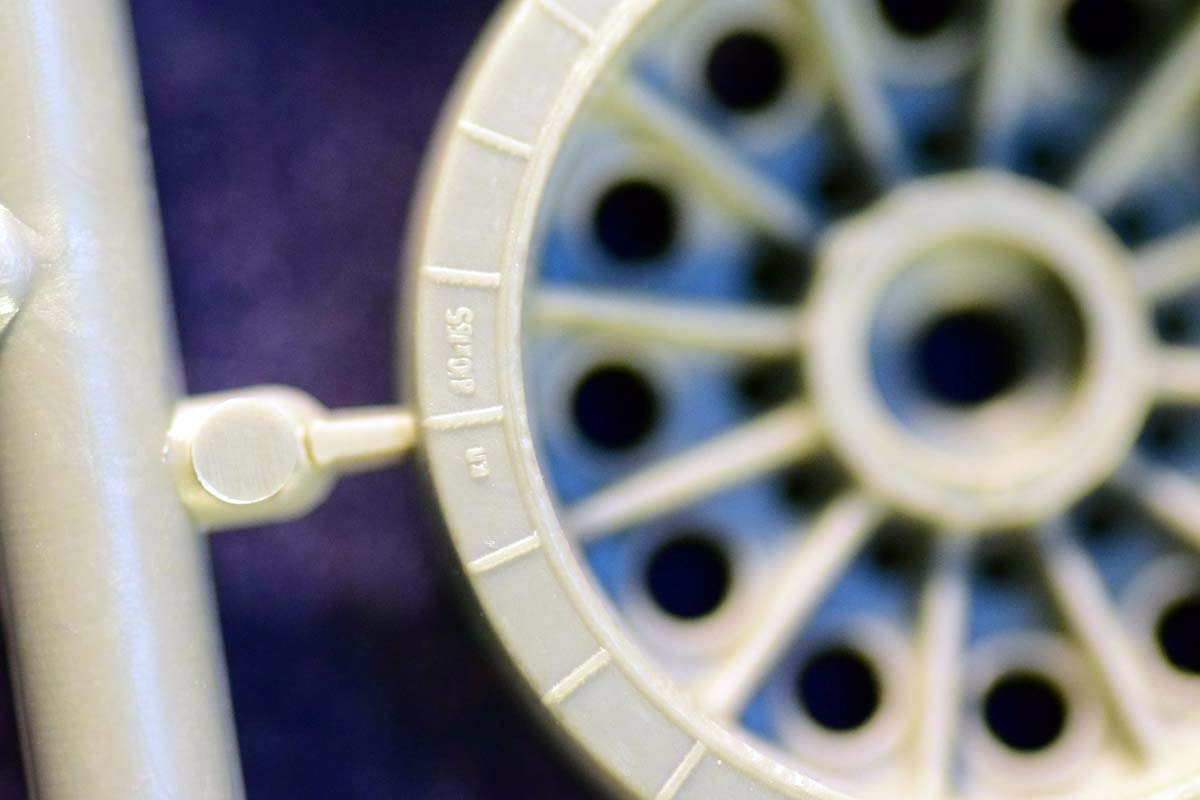
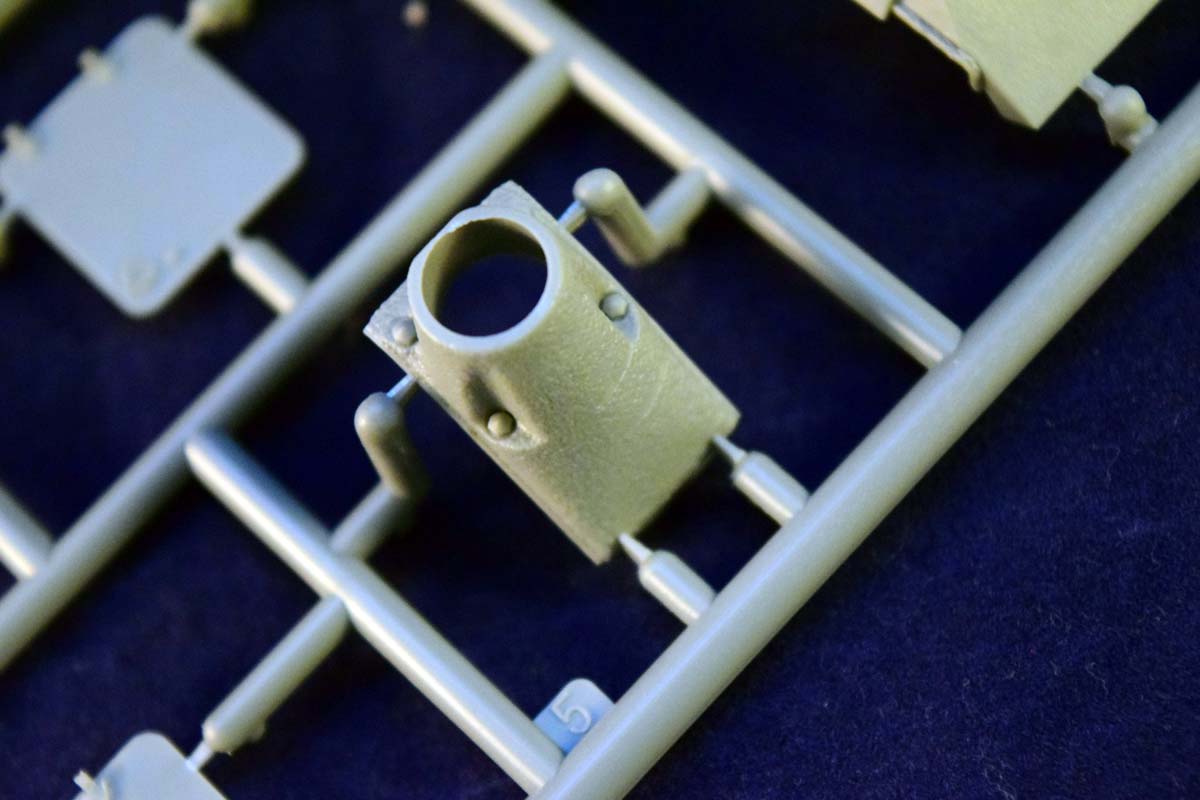
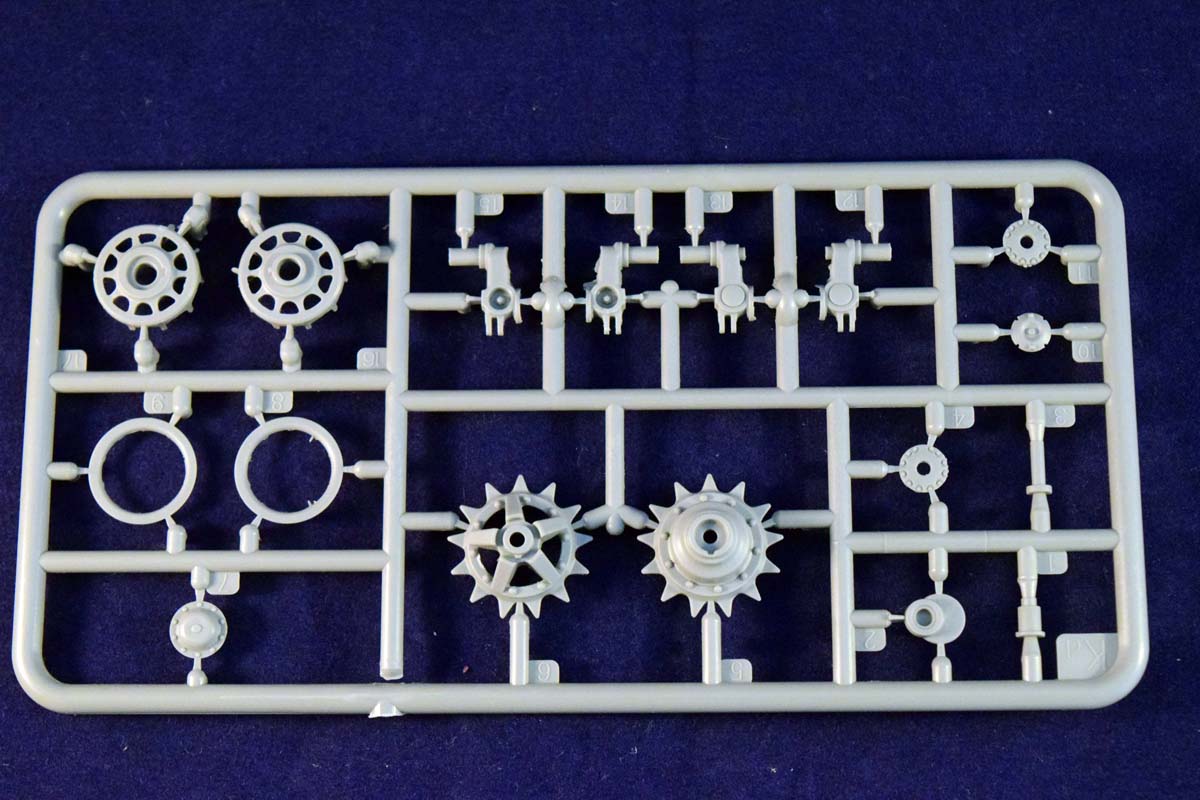
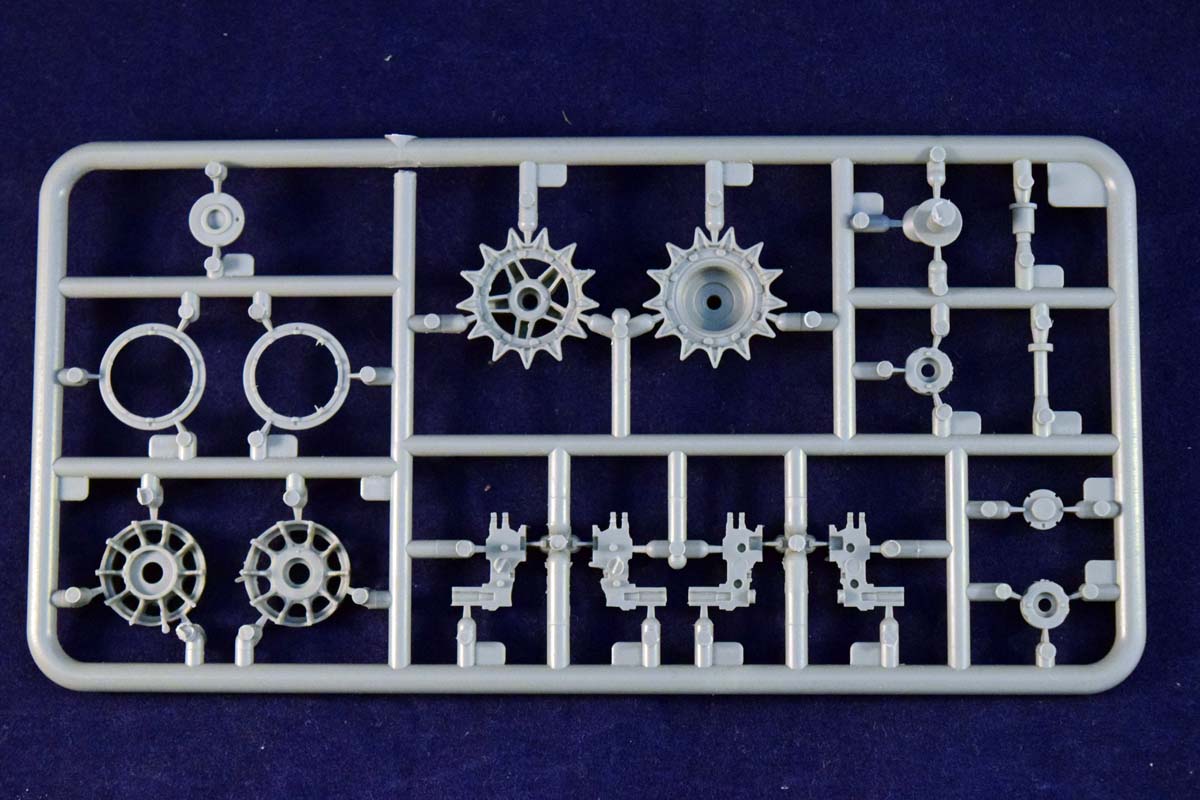
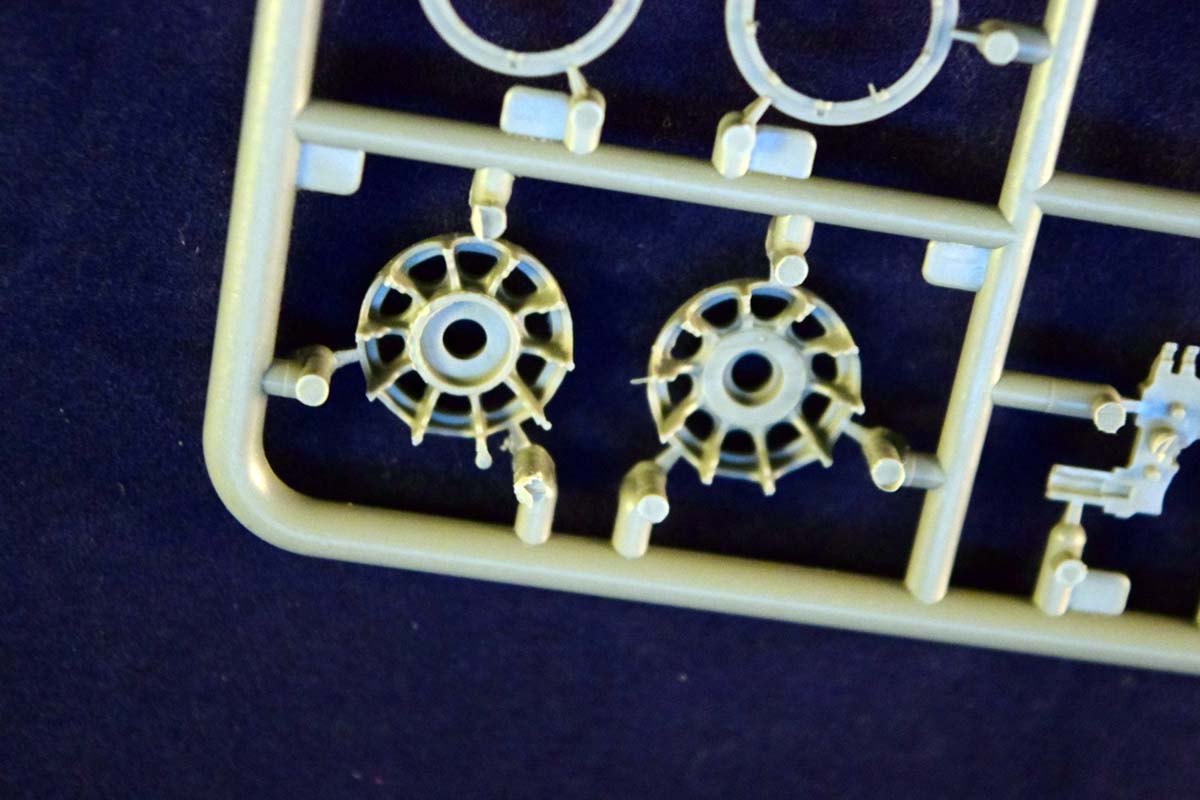
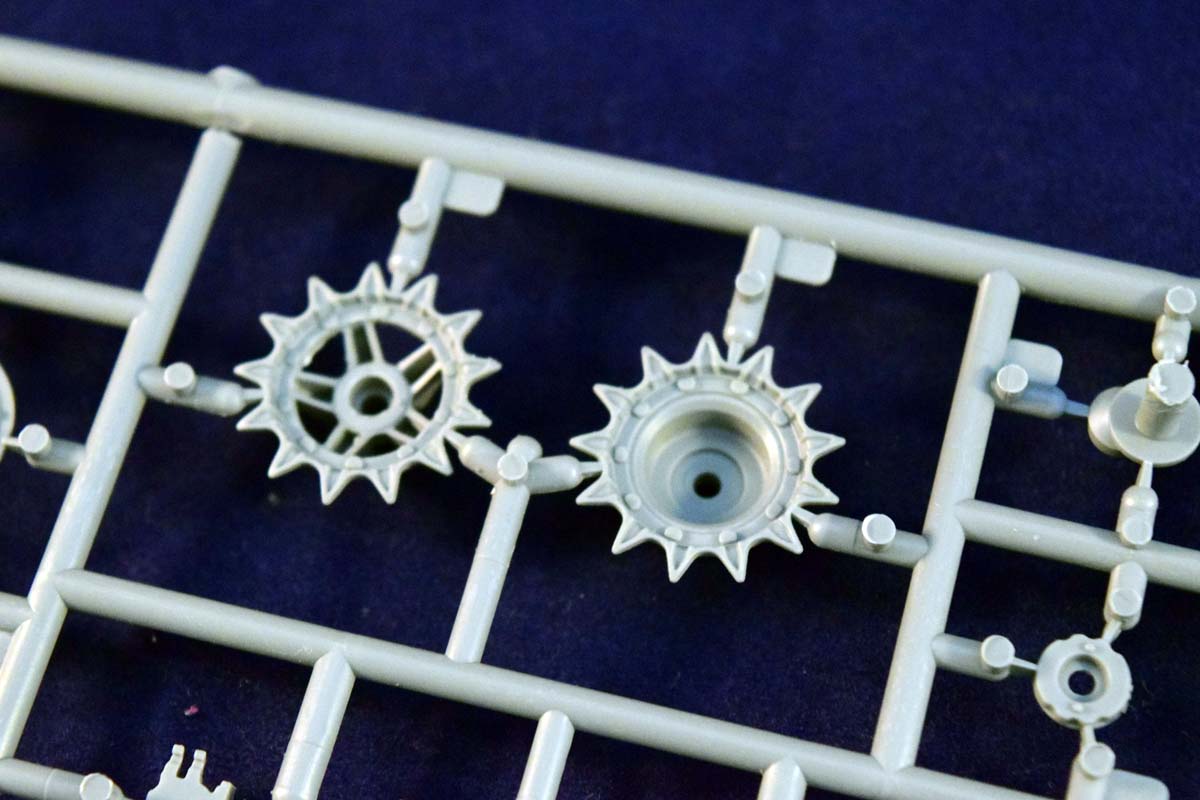
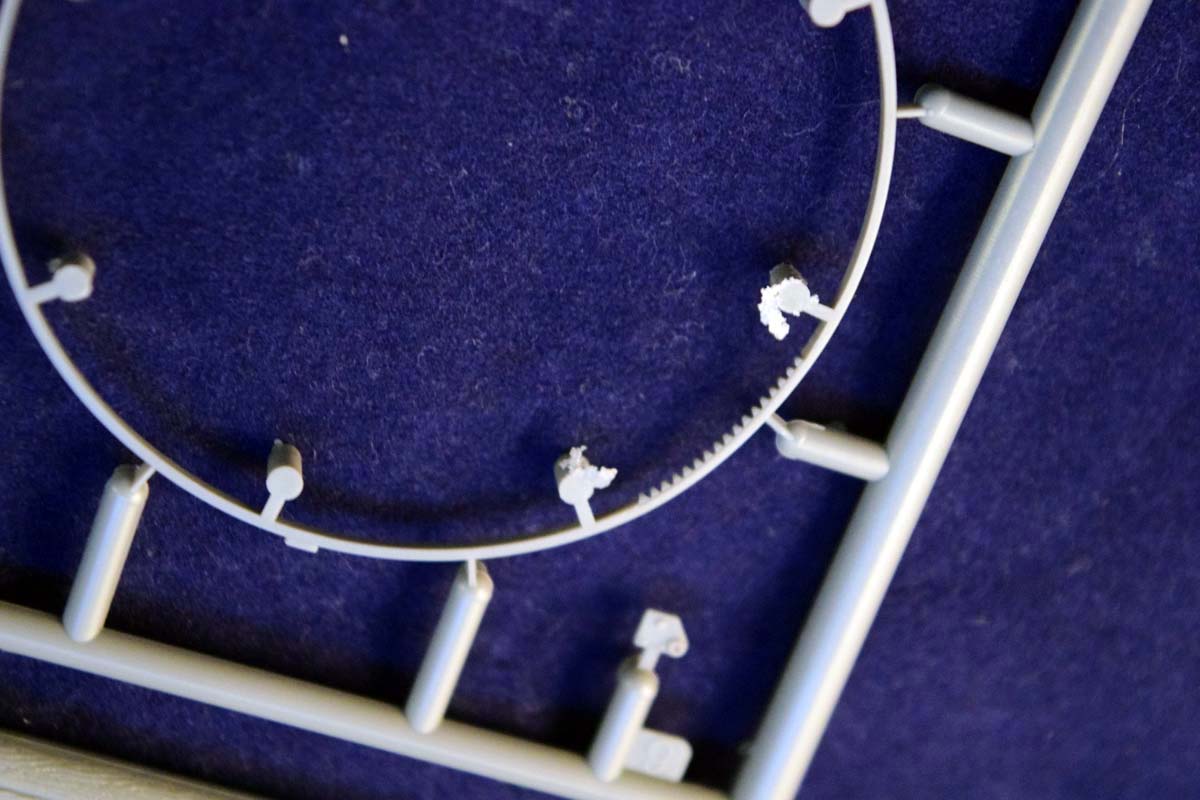
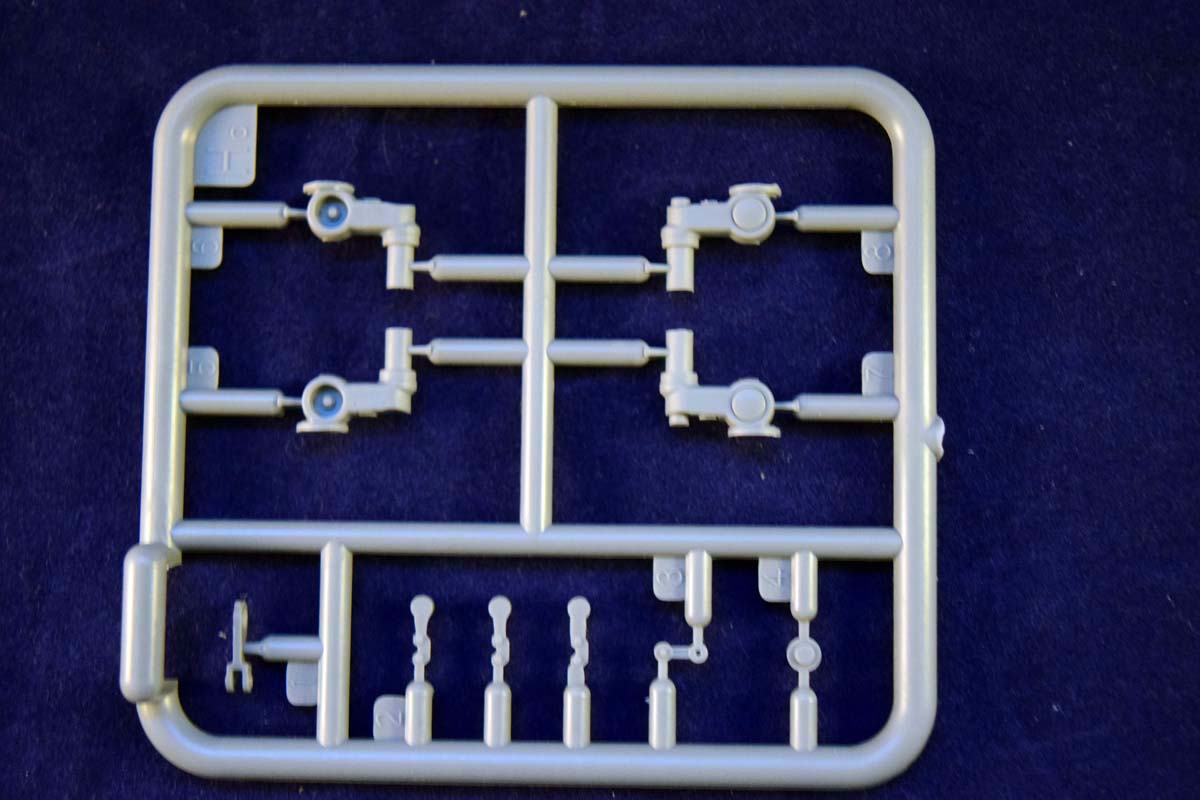
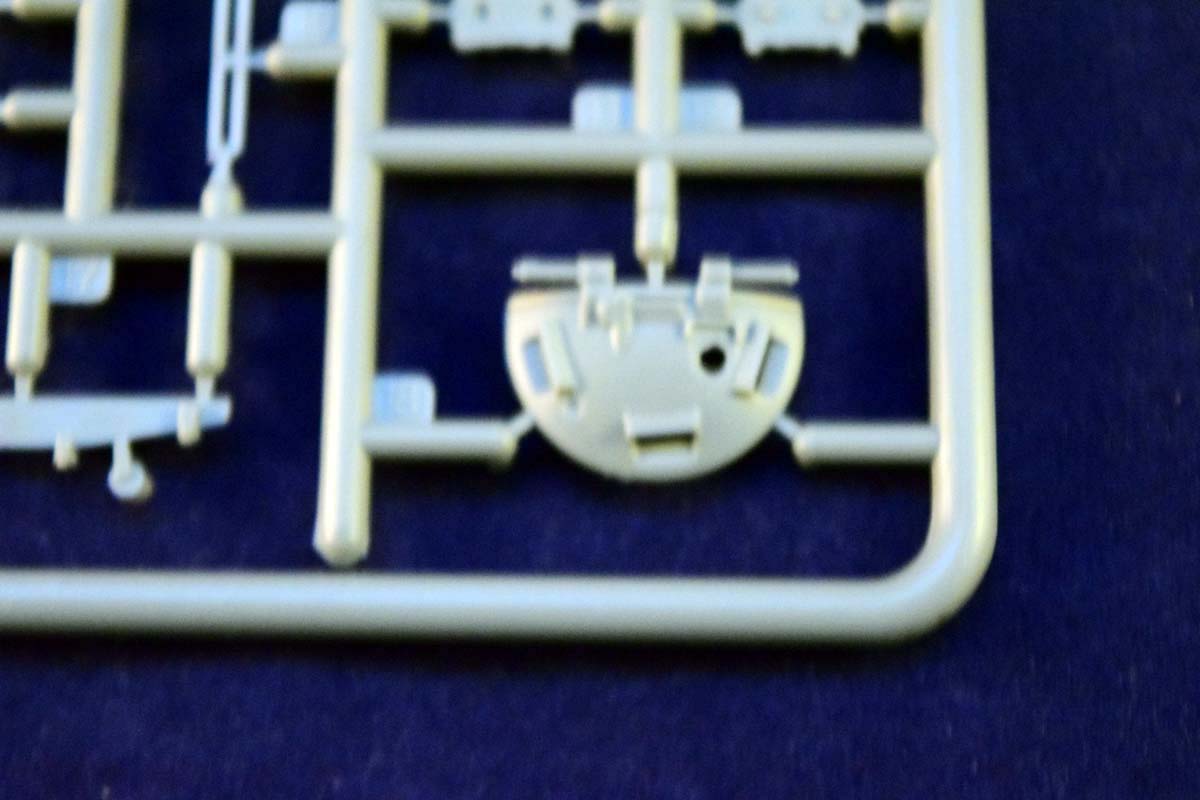
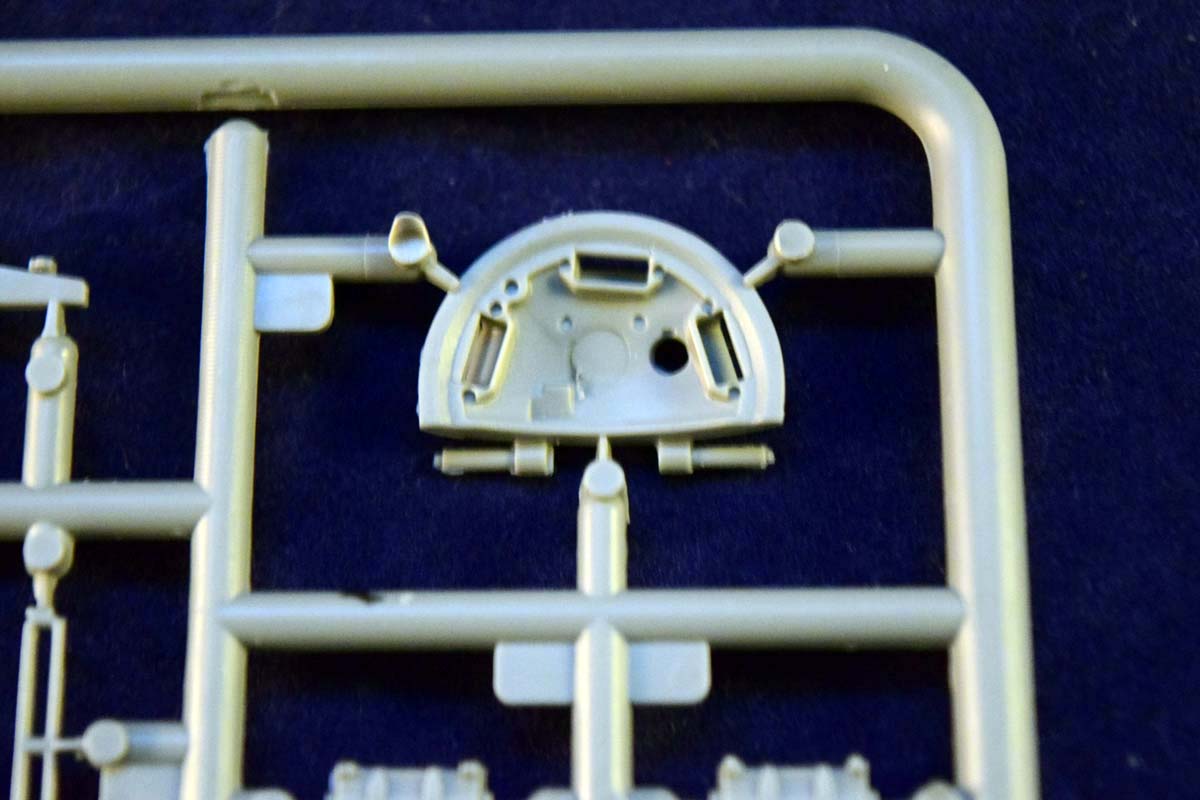
I have mentioned the idlers before; well, they supposed to have a late version. It seems like that there were not two, but three types of idlers, though. The T-54-1 definitely had a different one from the T-54-3; however, it also differed from the later T-55 idlers. It had an outer rim, which the T-55s (and modernized T-54s) lacks. See the photos of the MiniArt parts and the real thing:
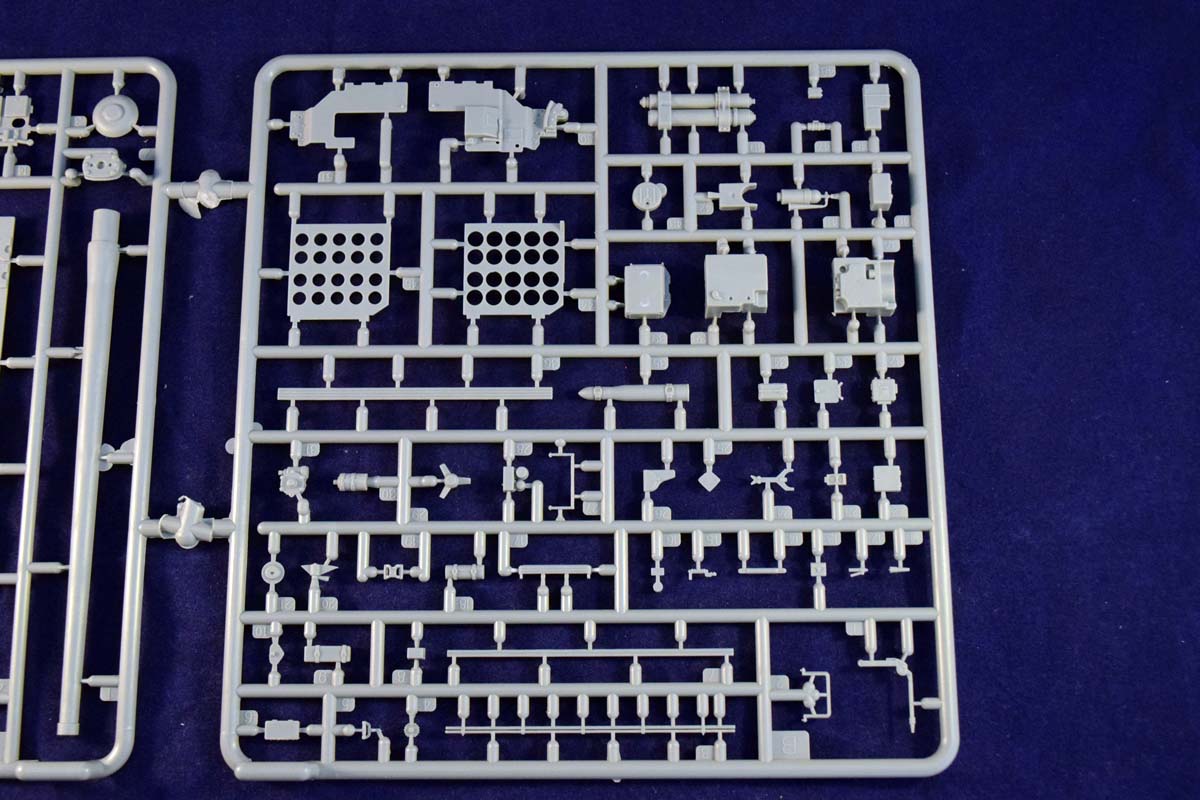
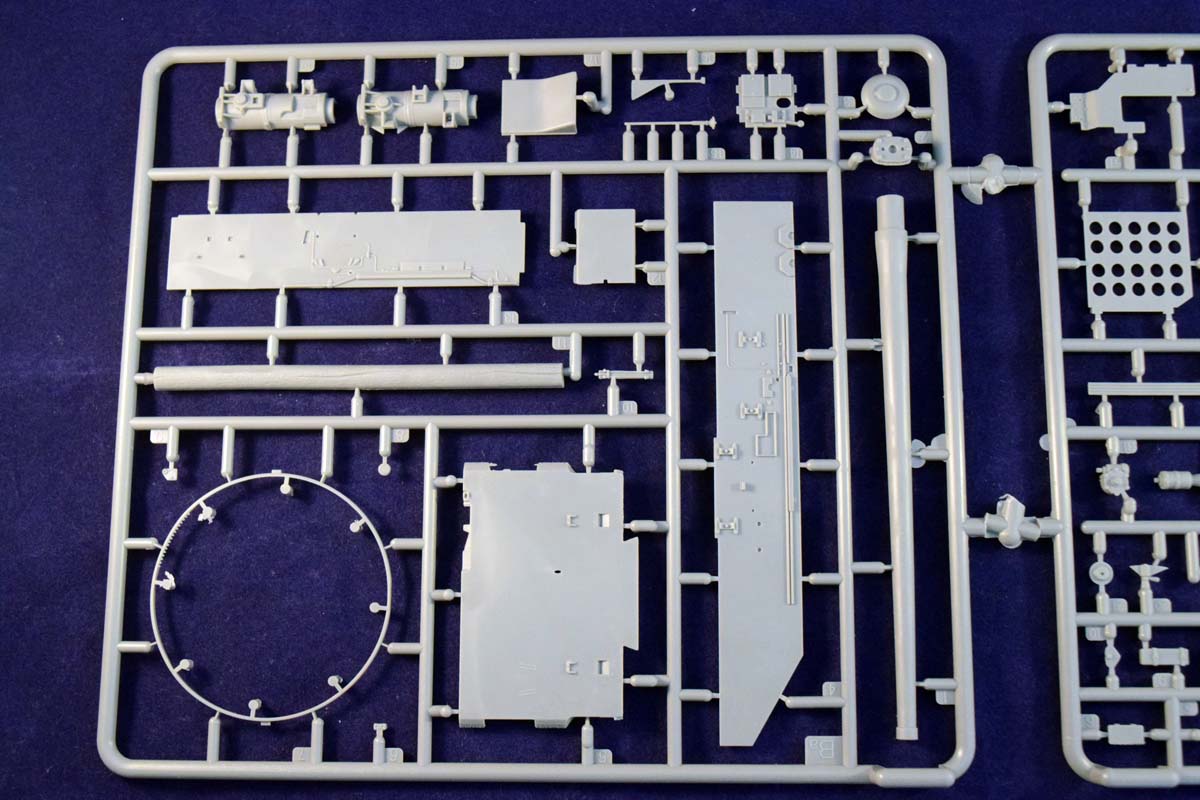
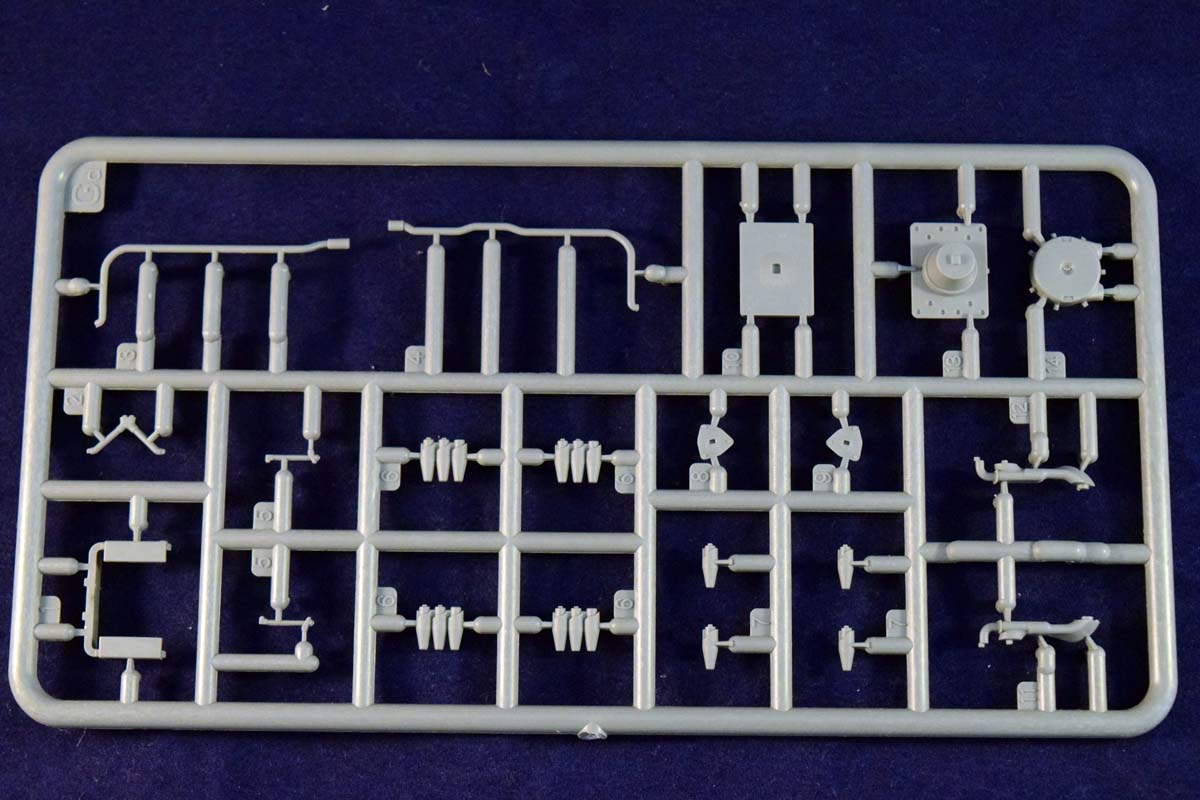
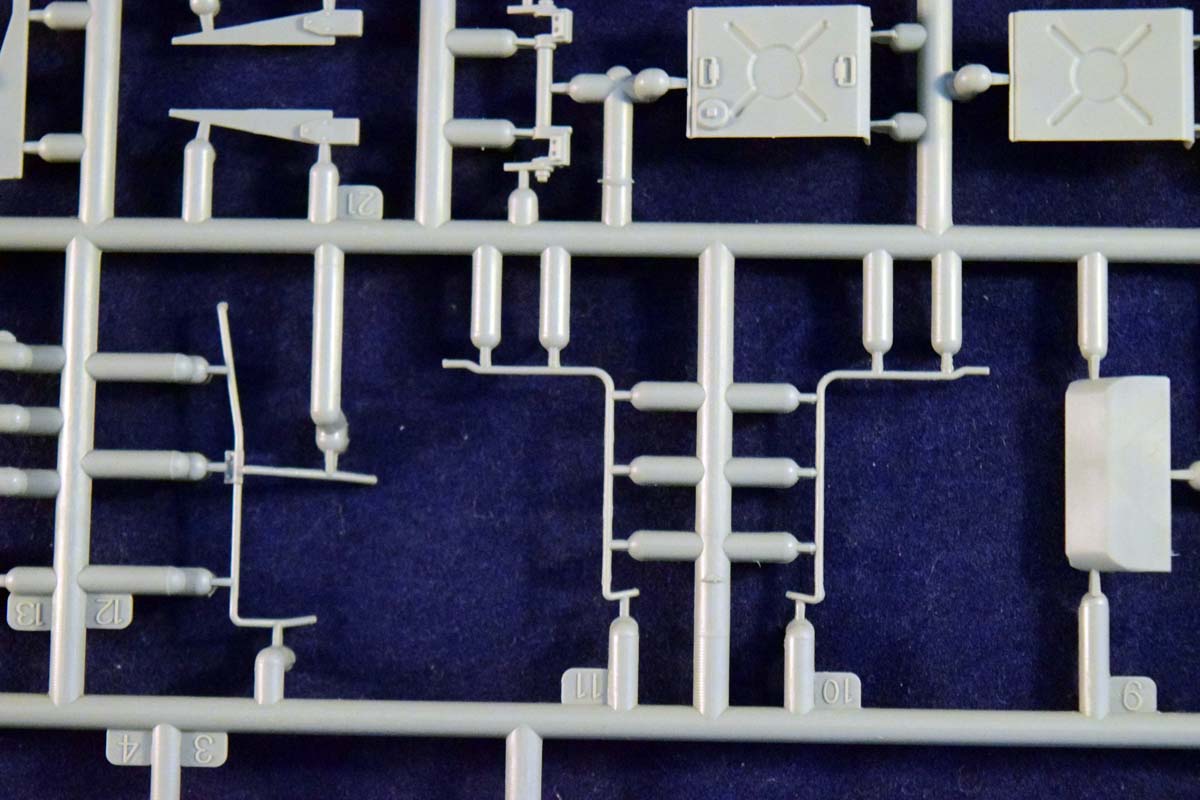
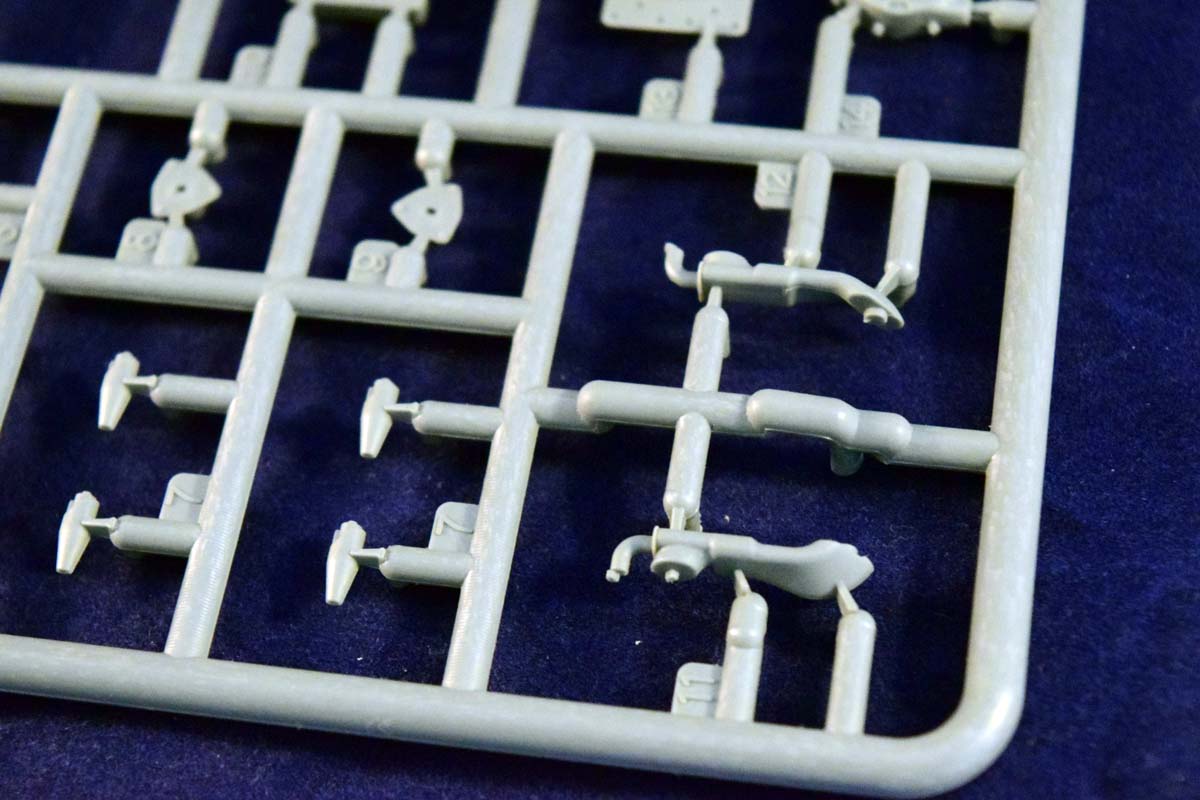
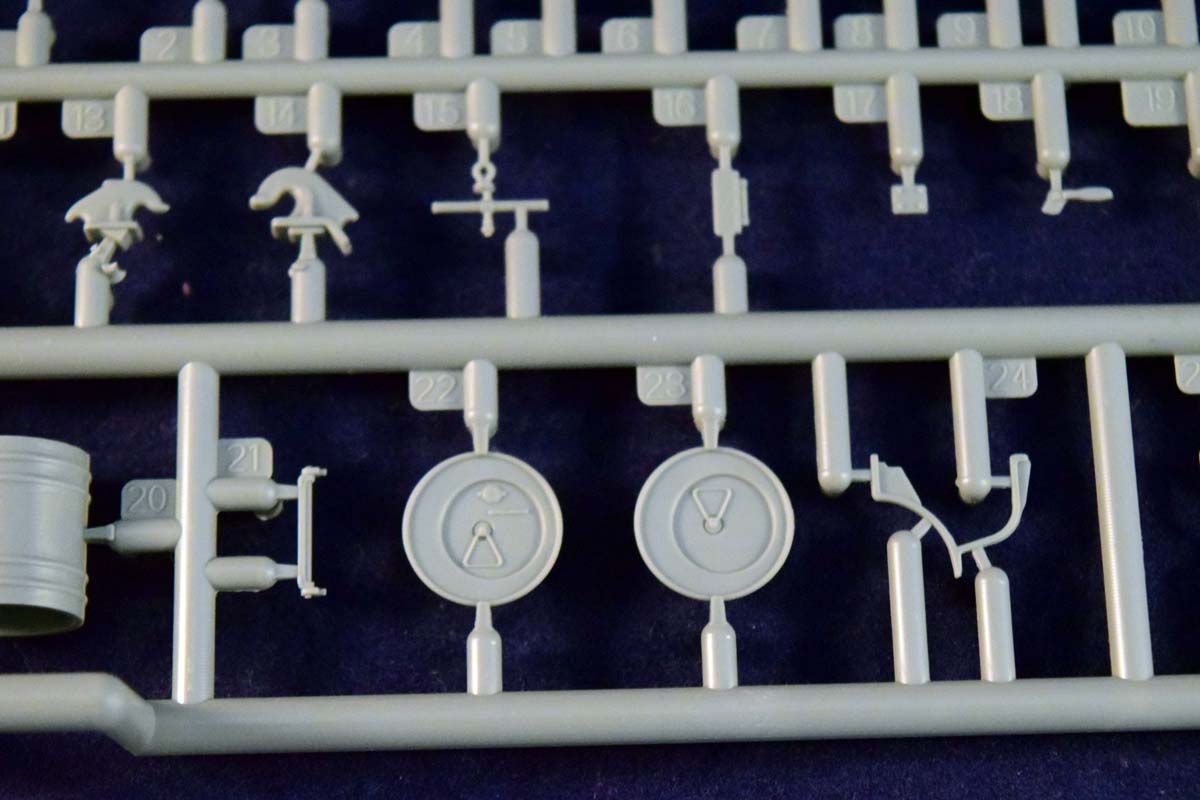
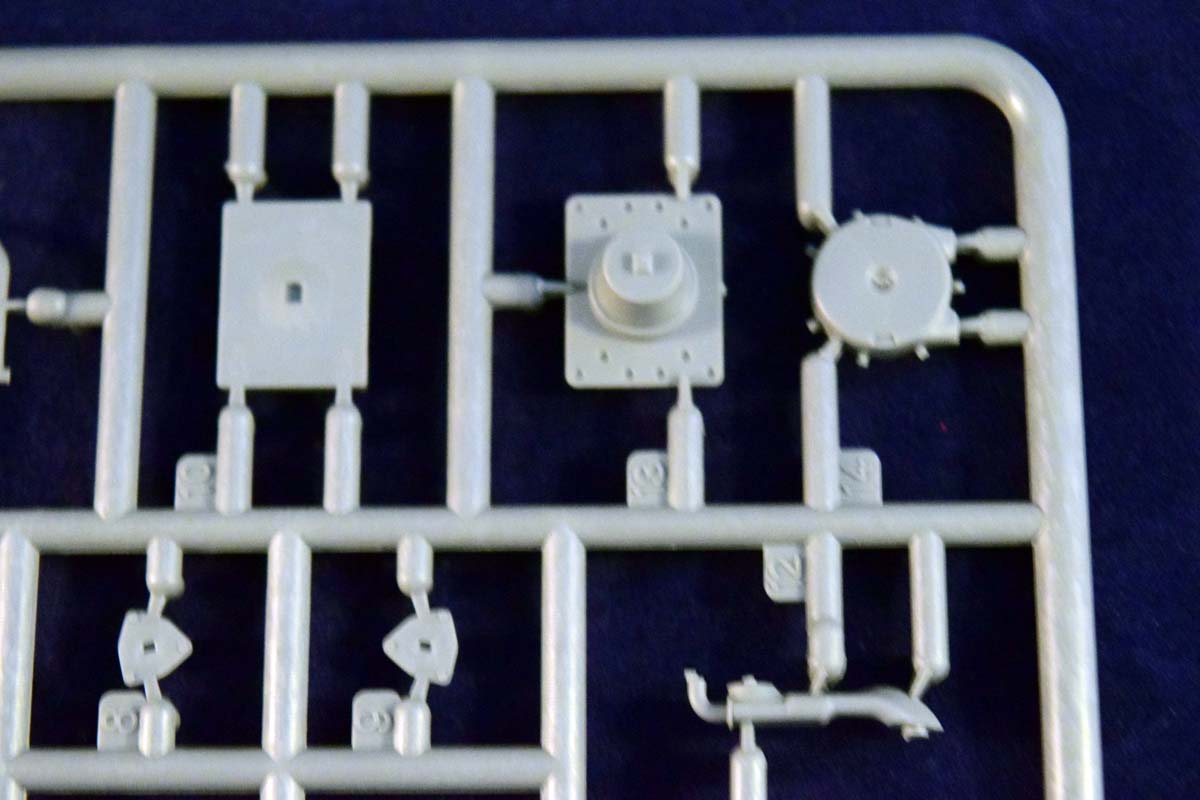
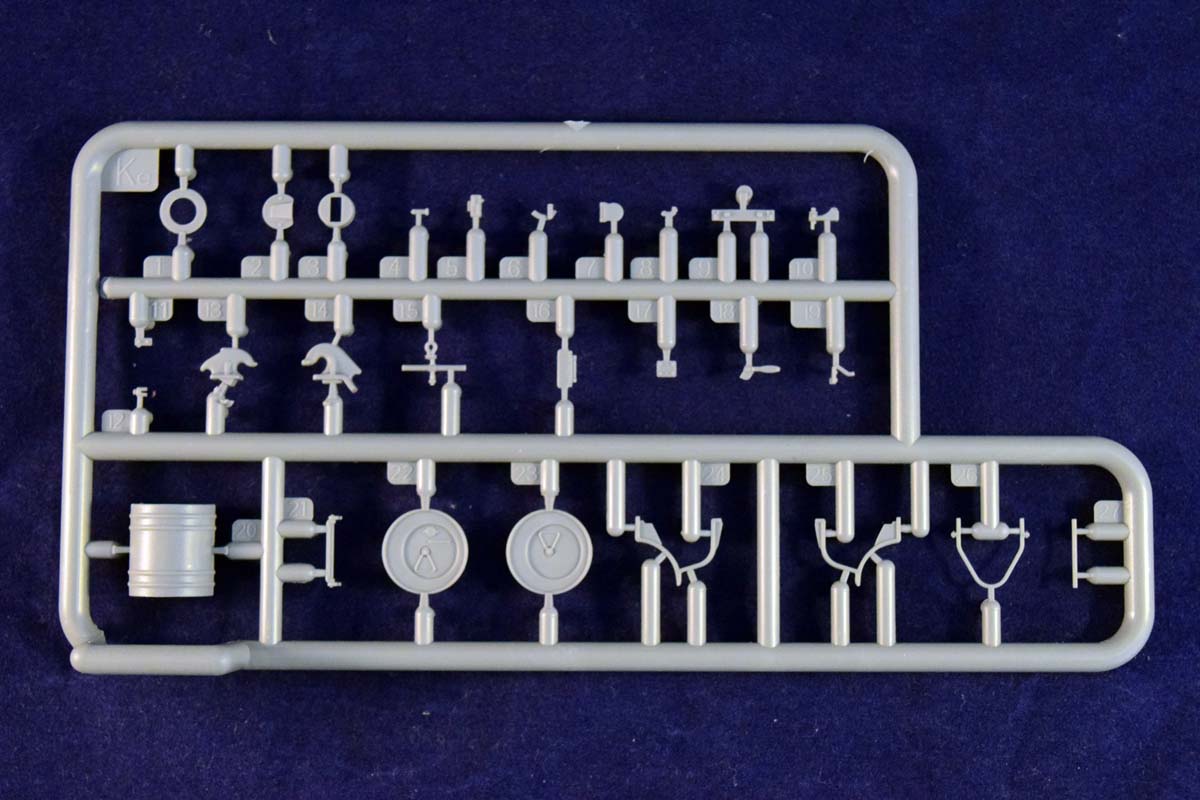
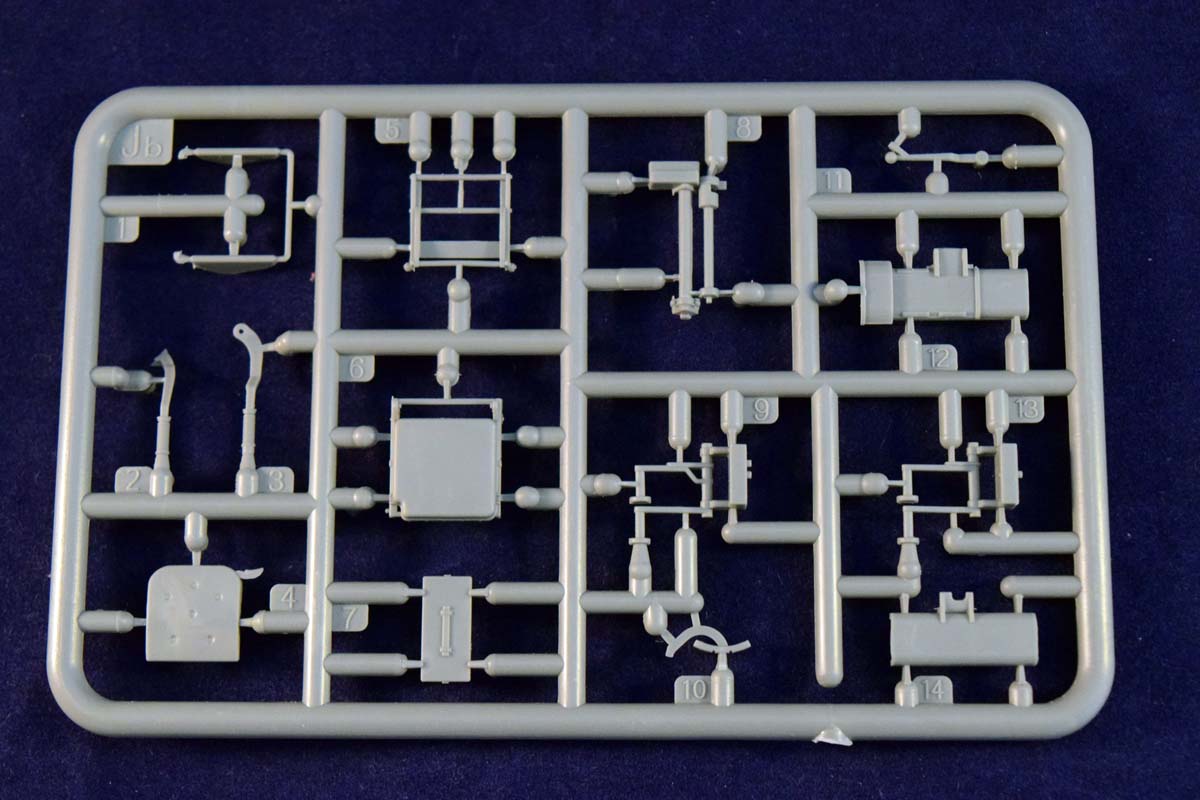
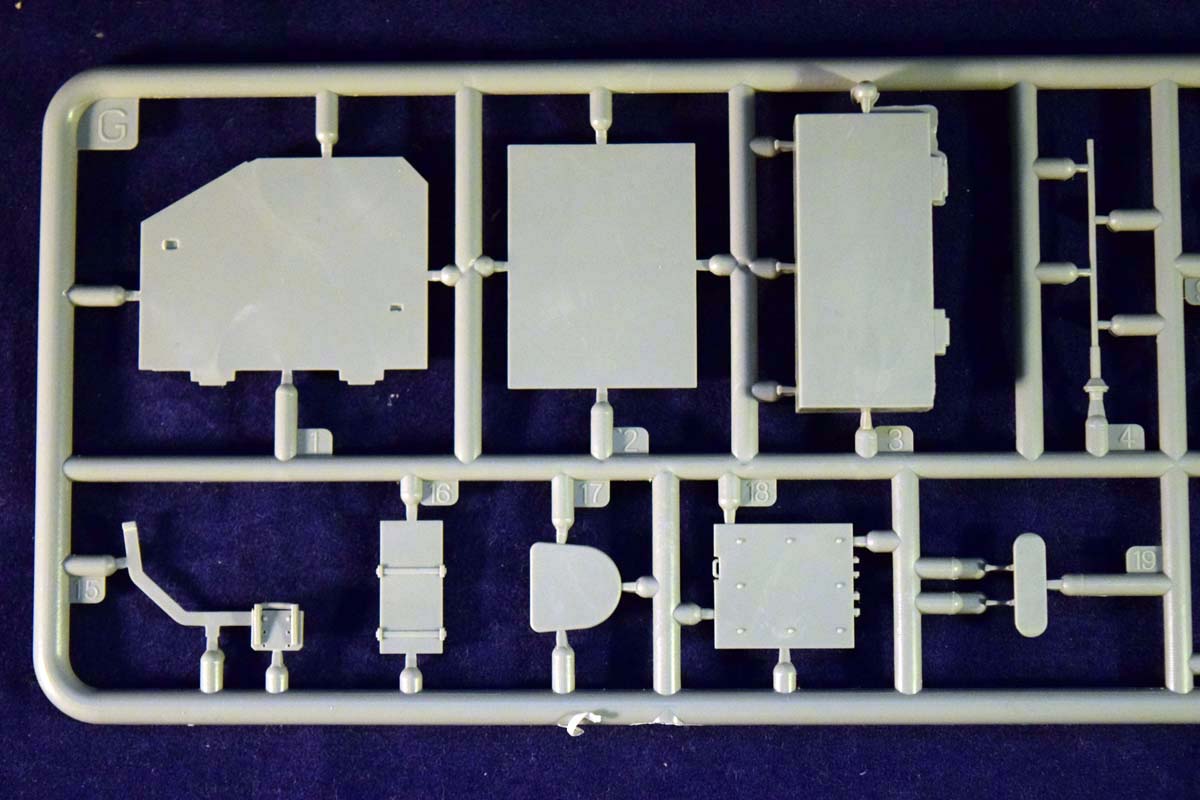
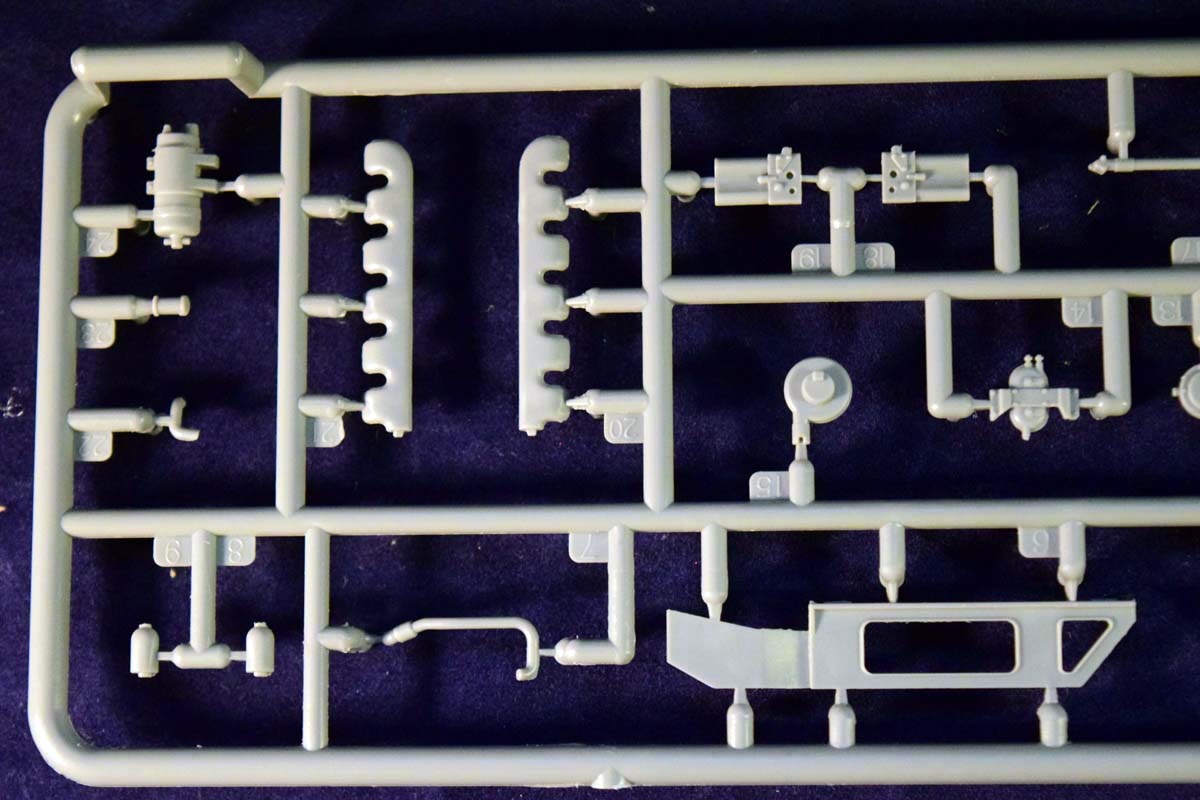
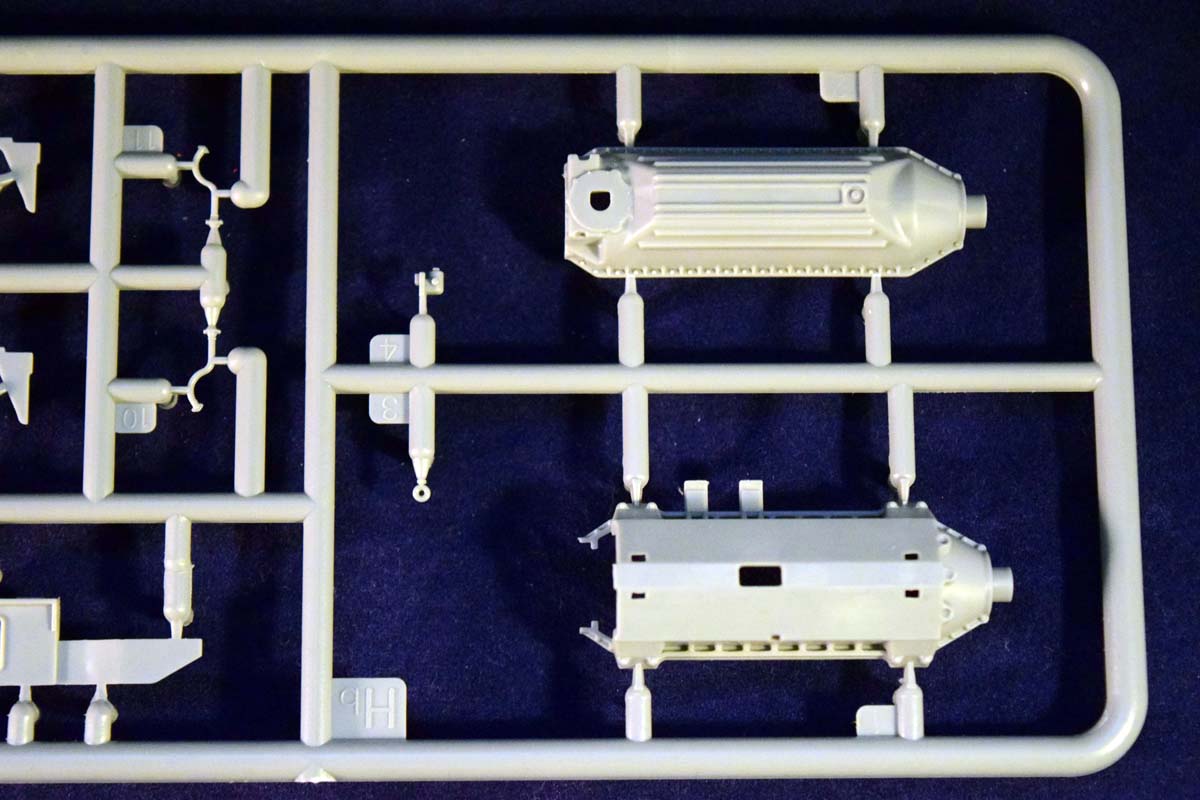
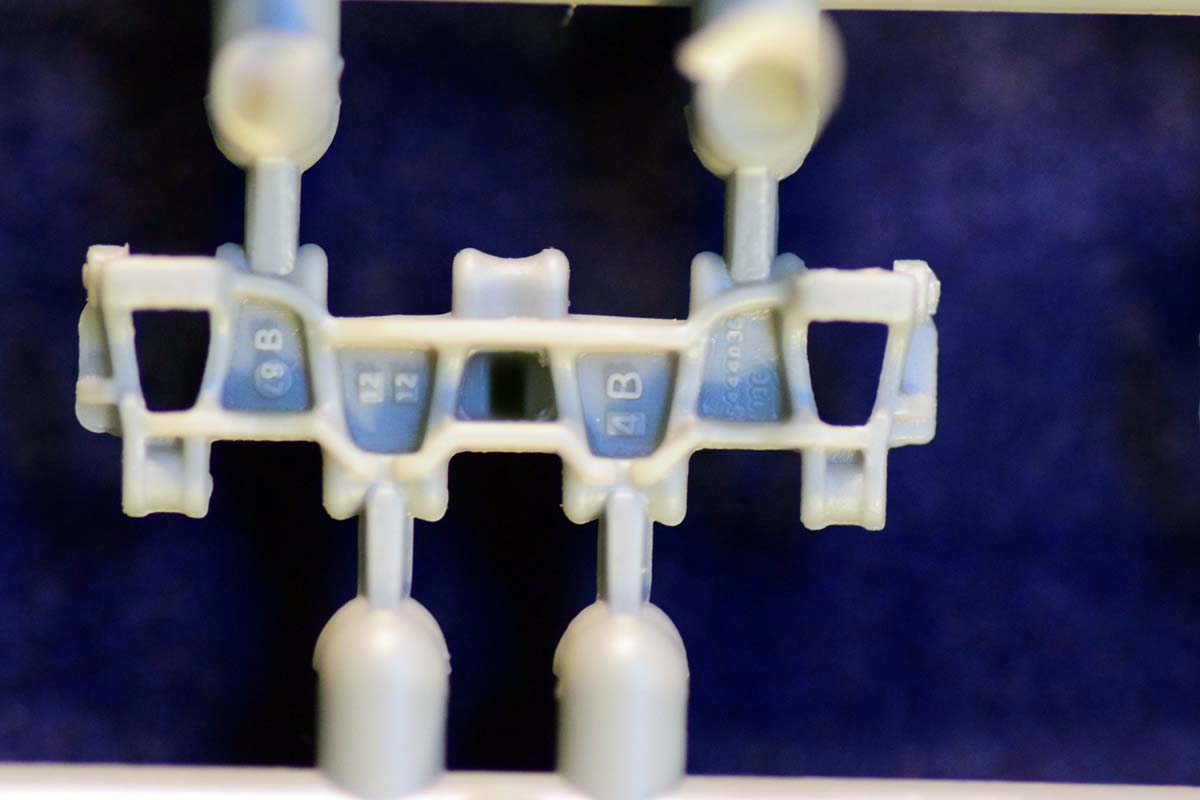
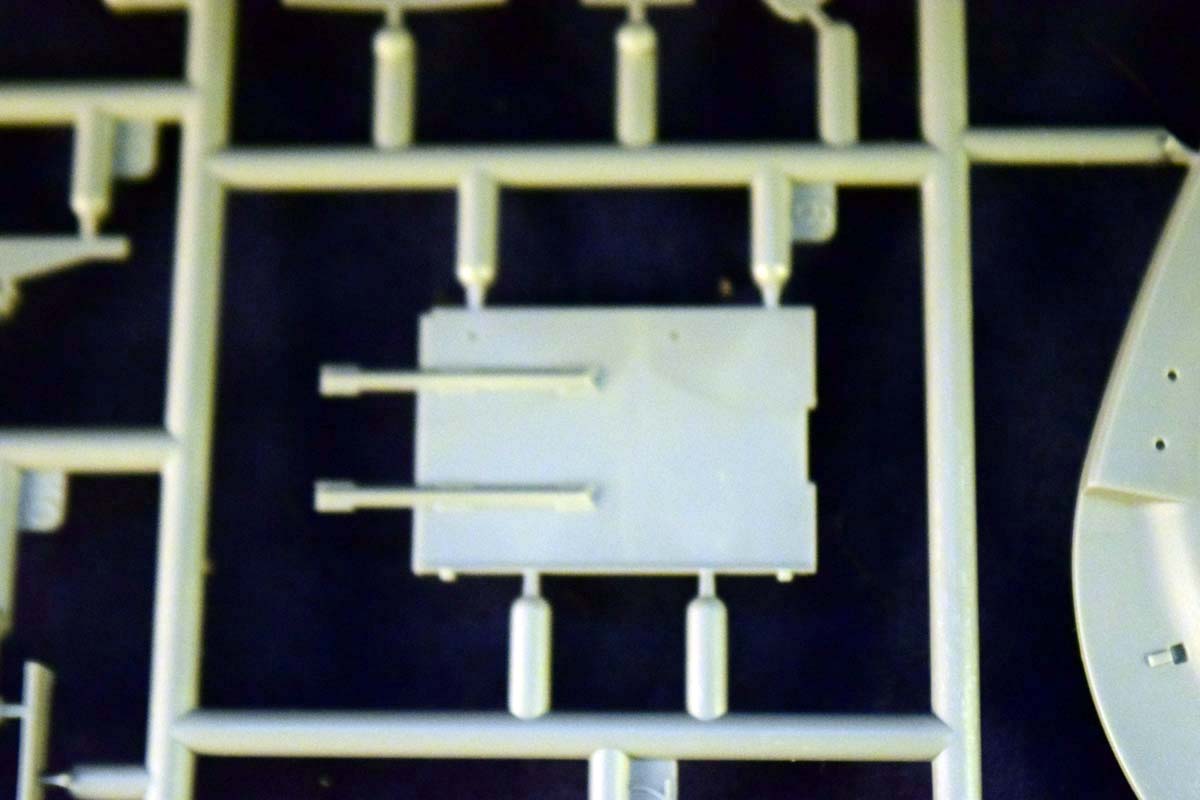
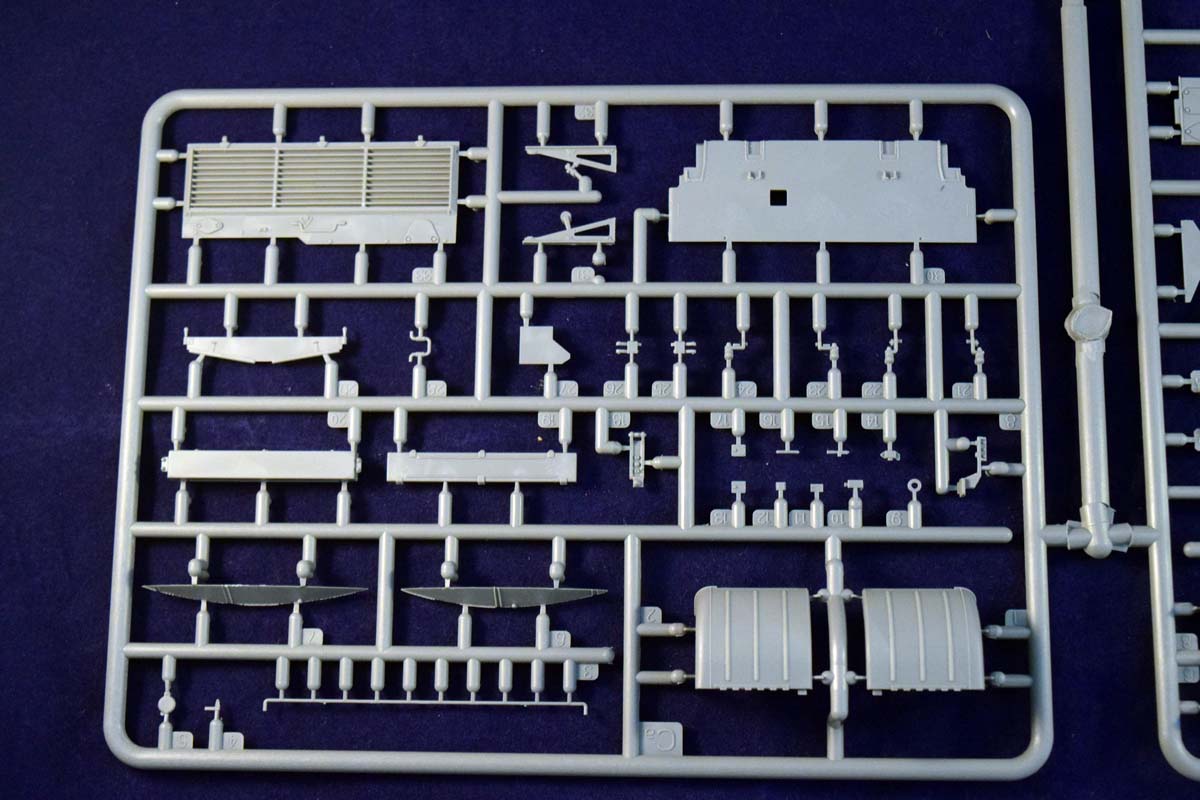
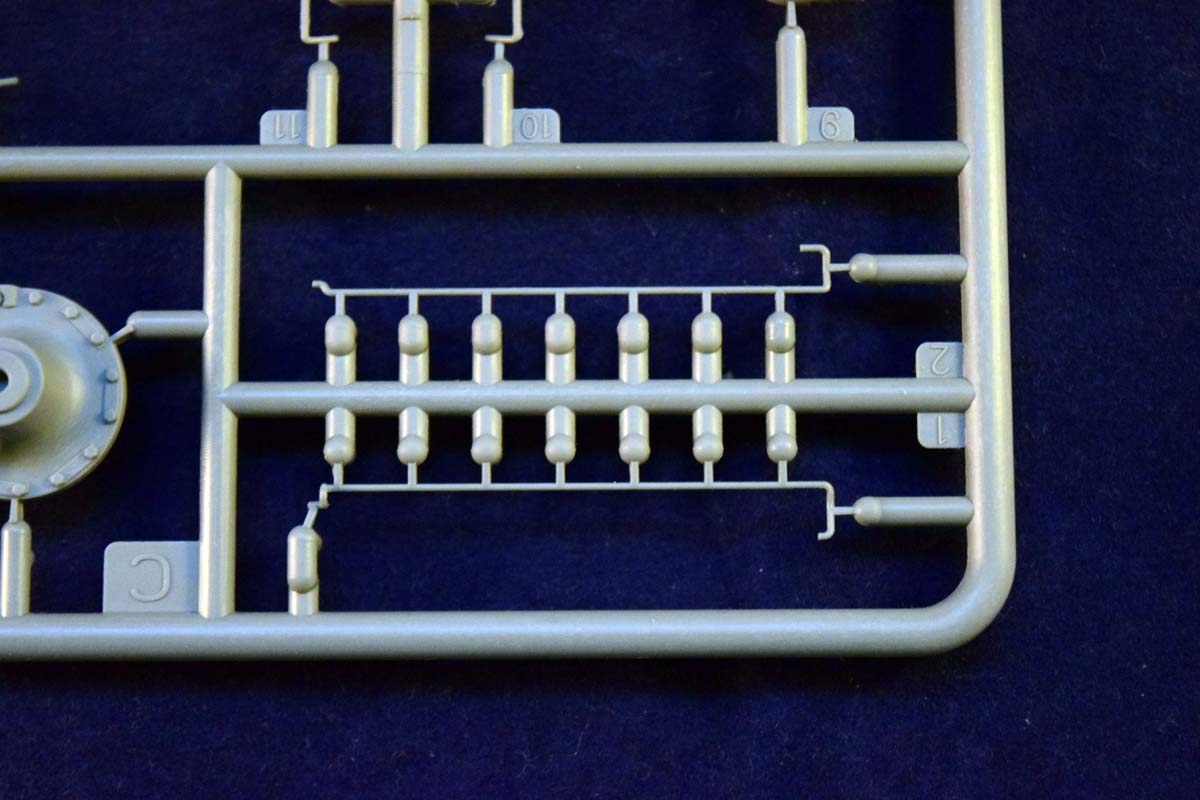
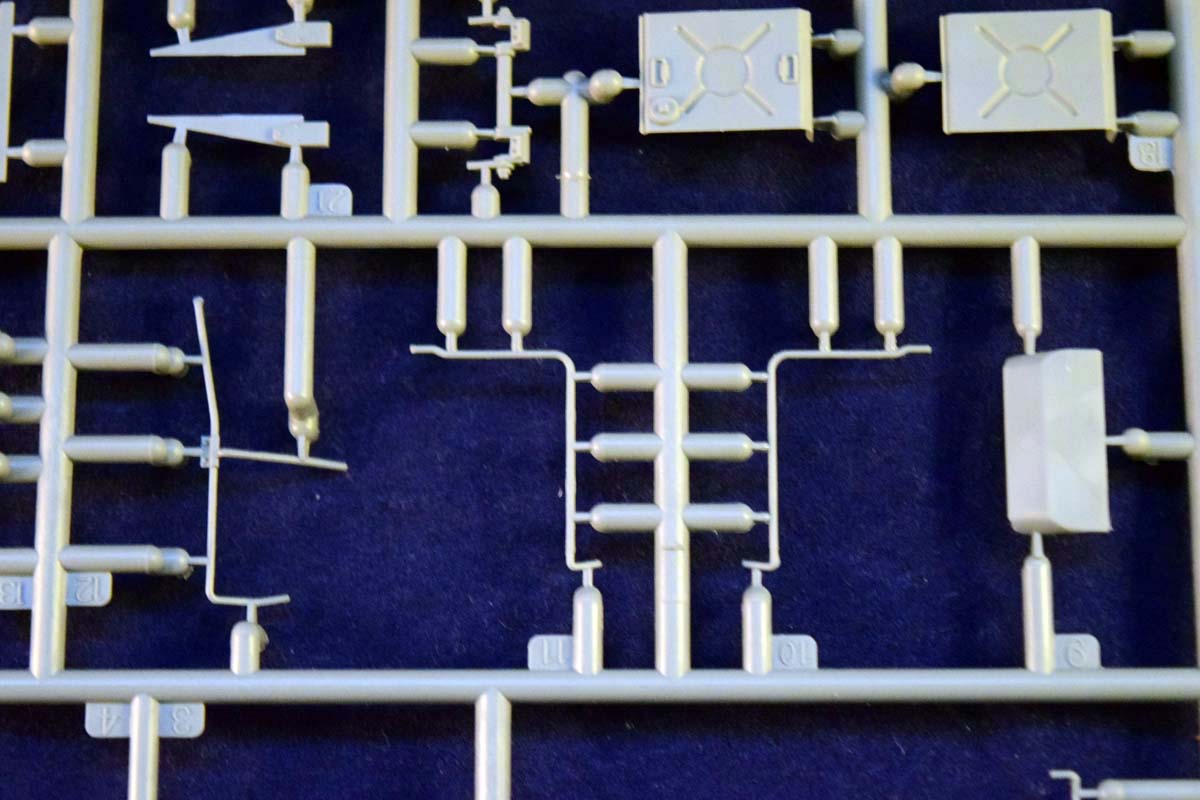
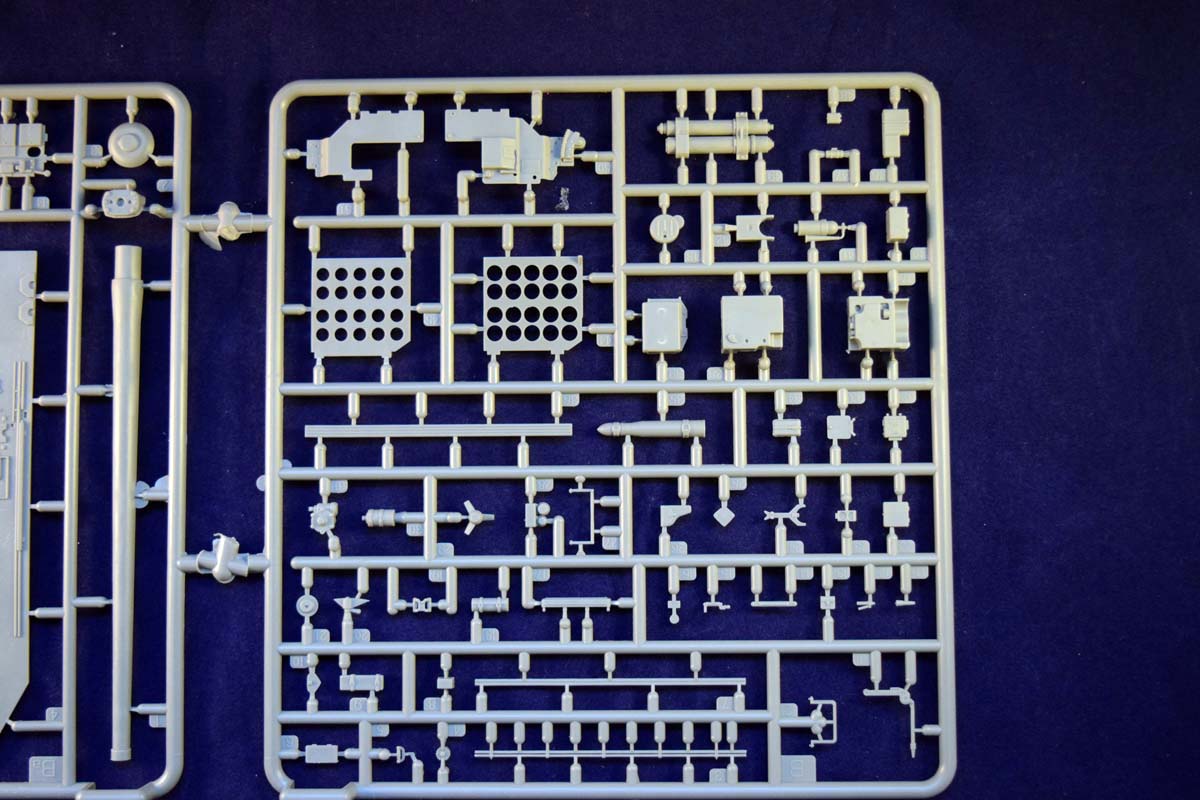
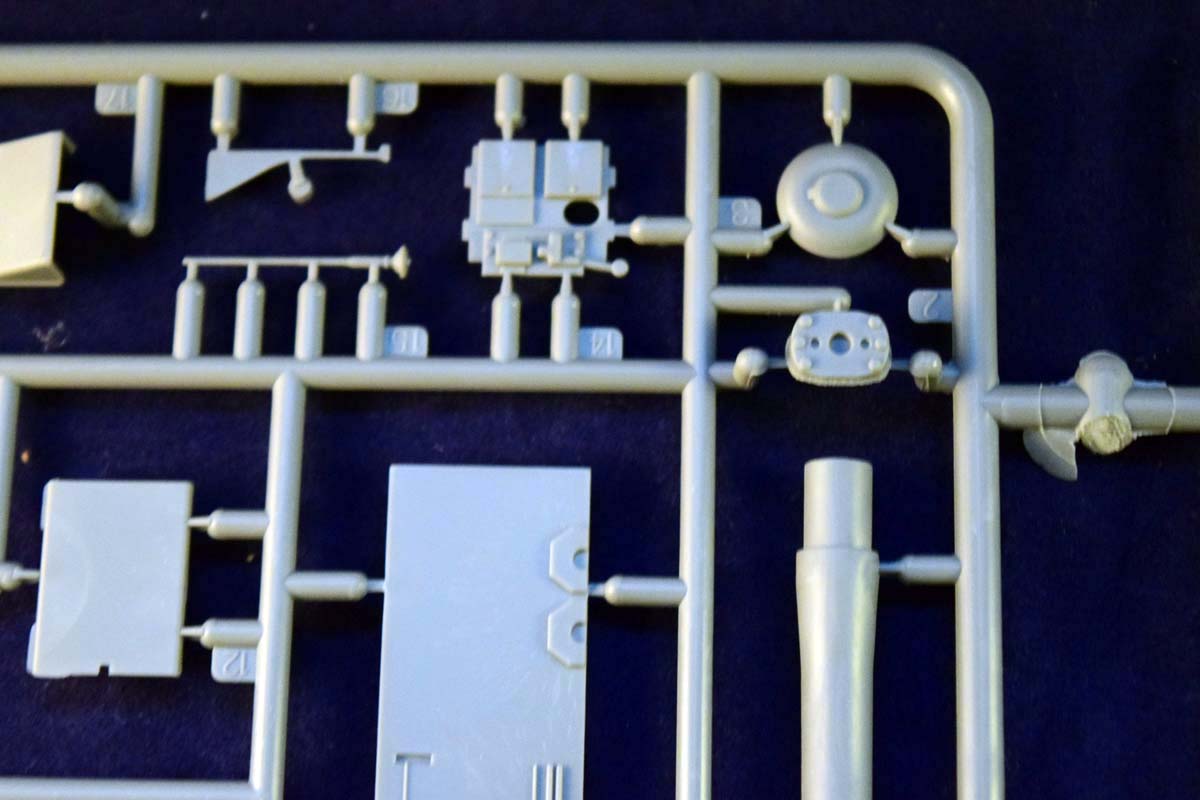
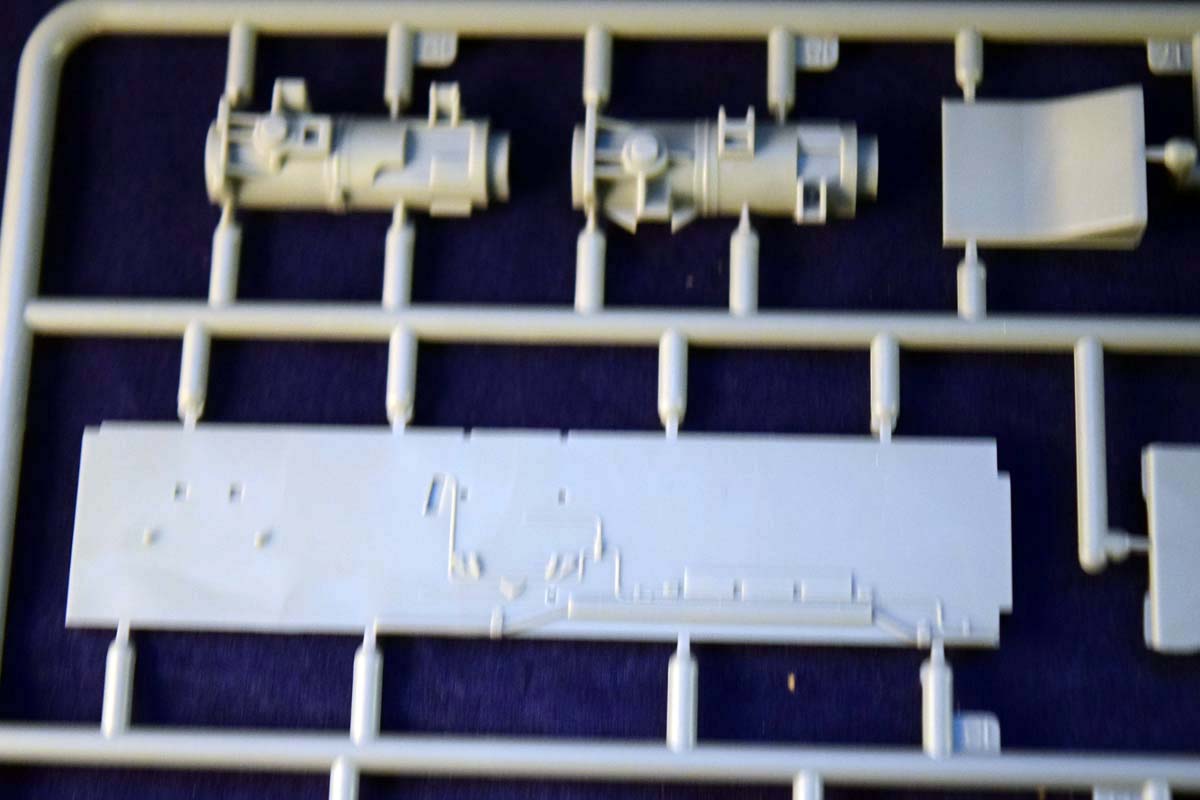
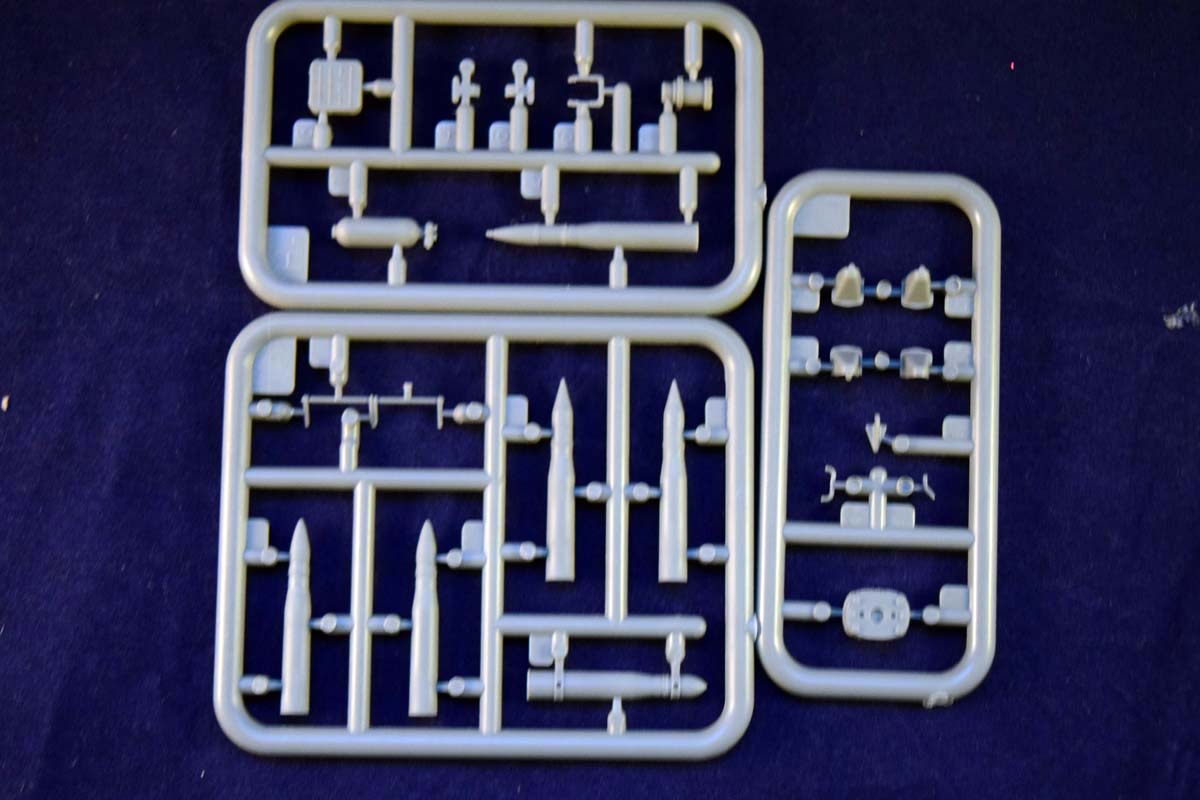
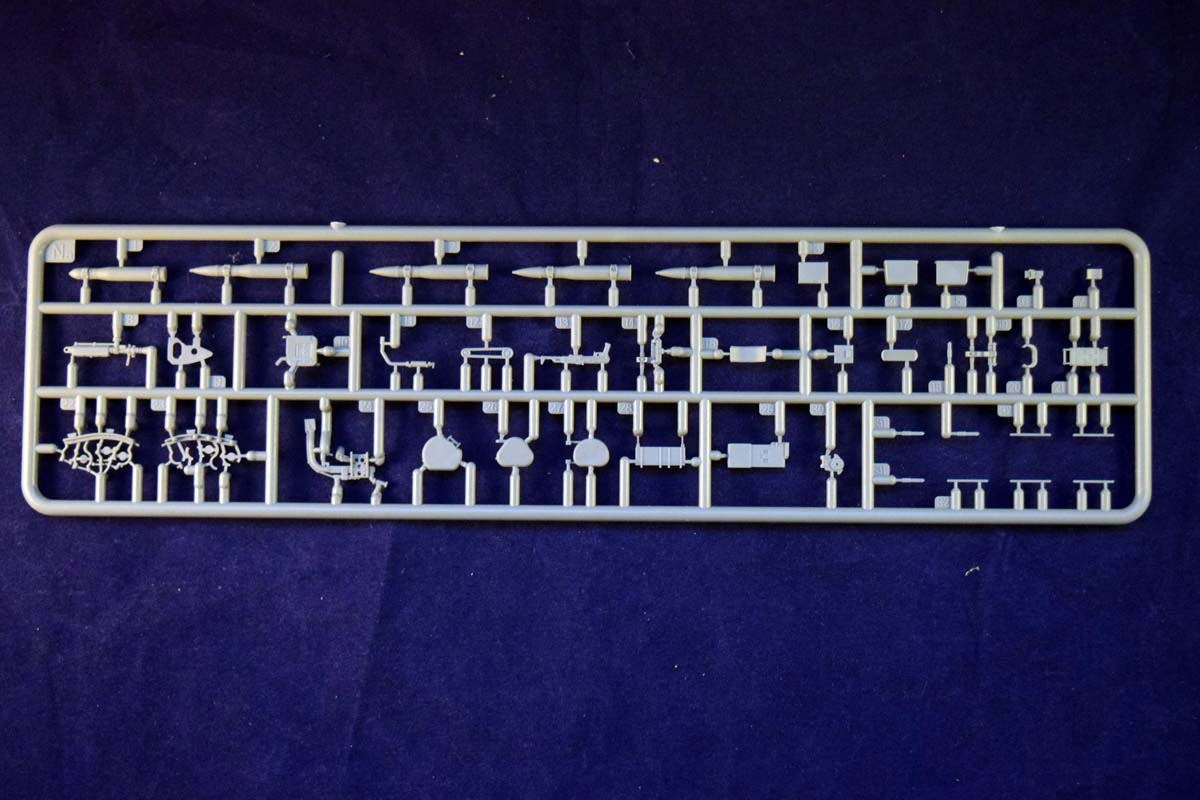
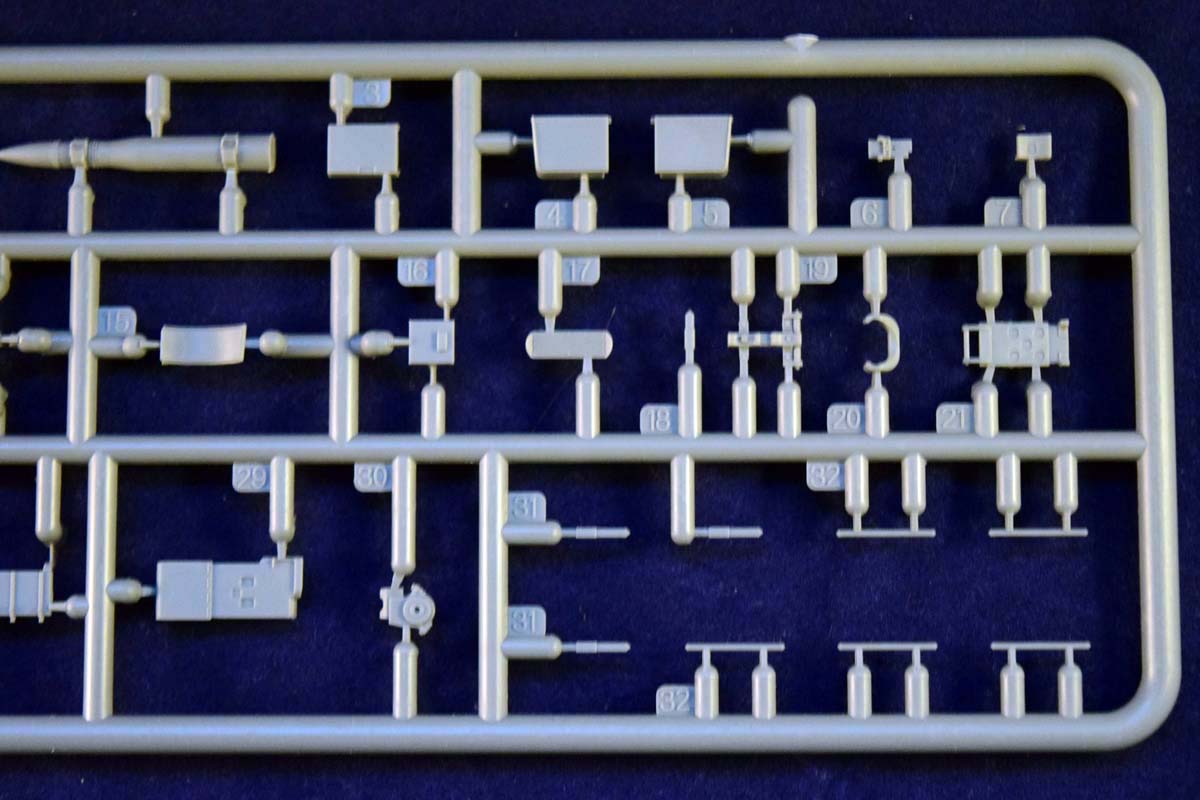
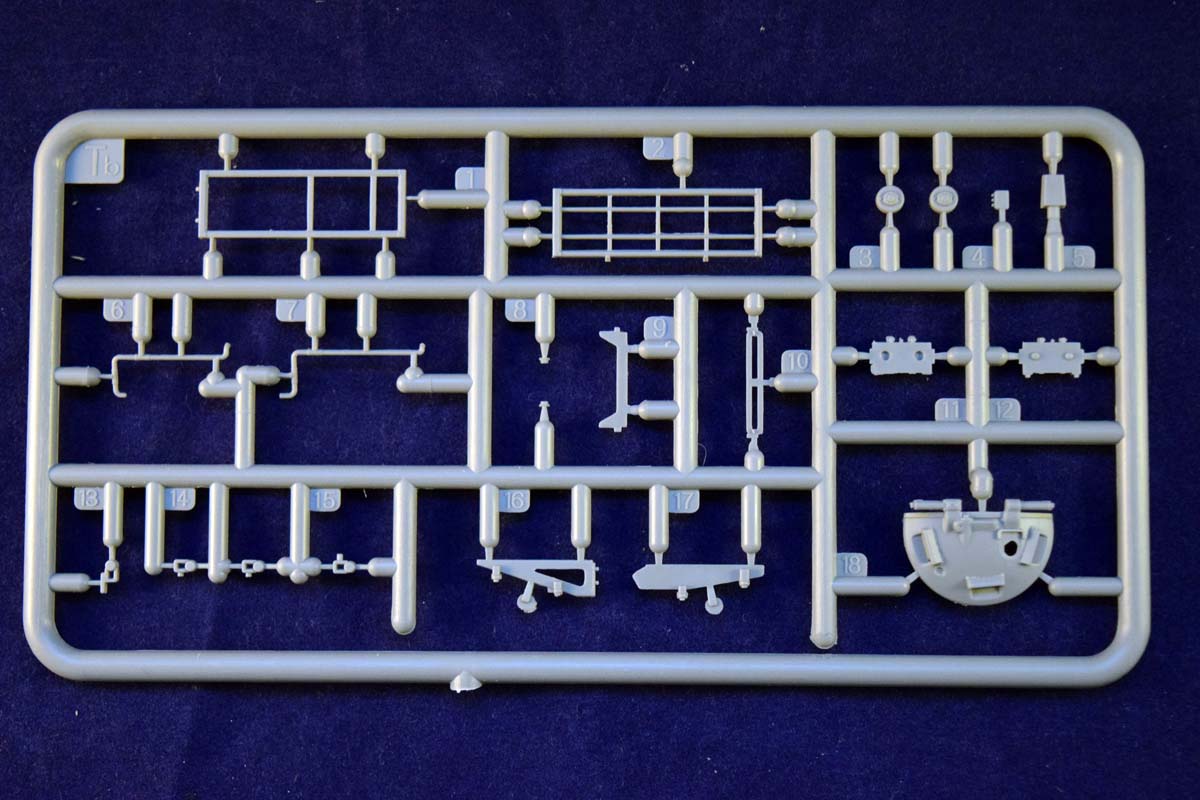
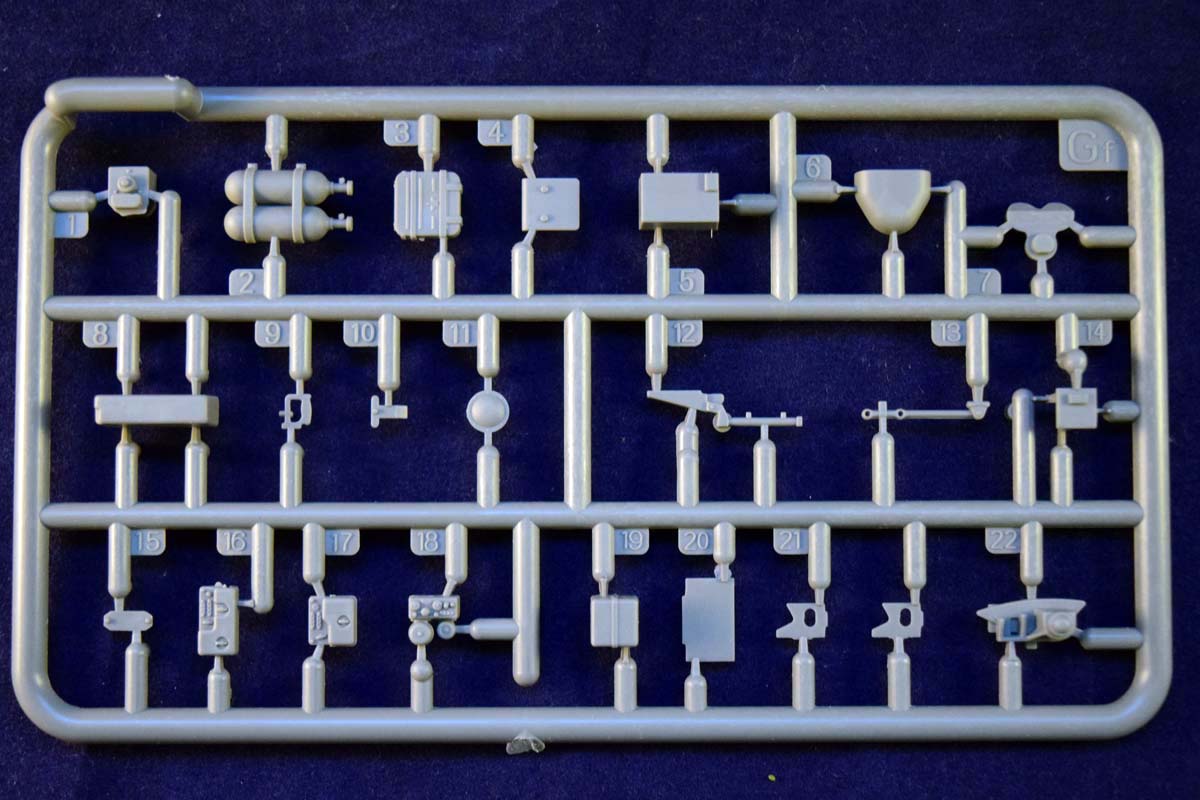
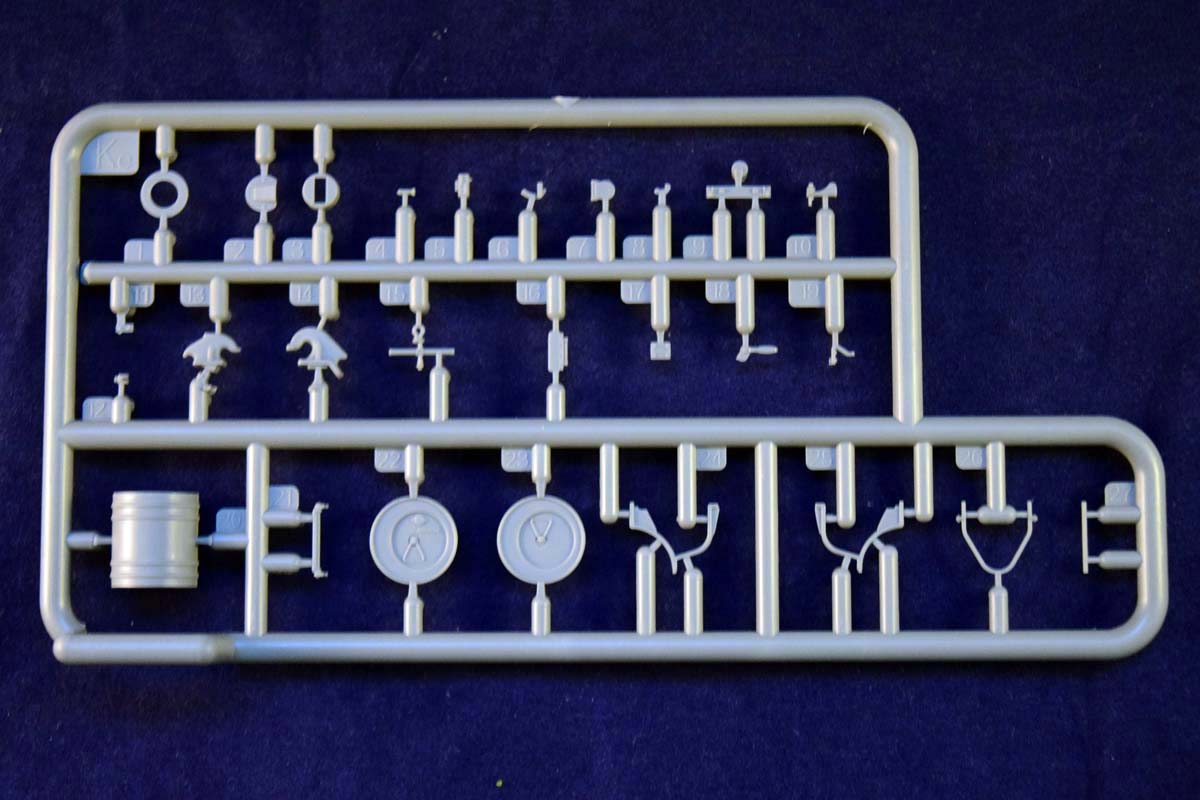
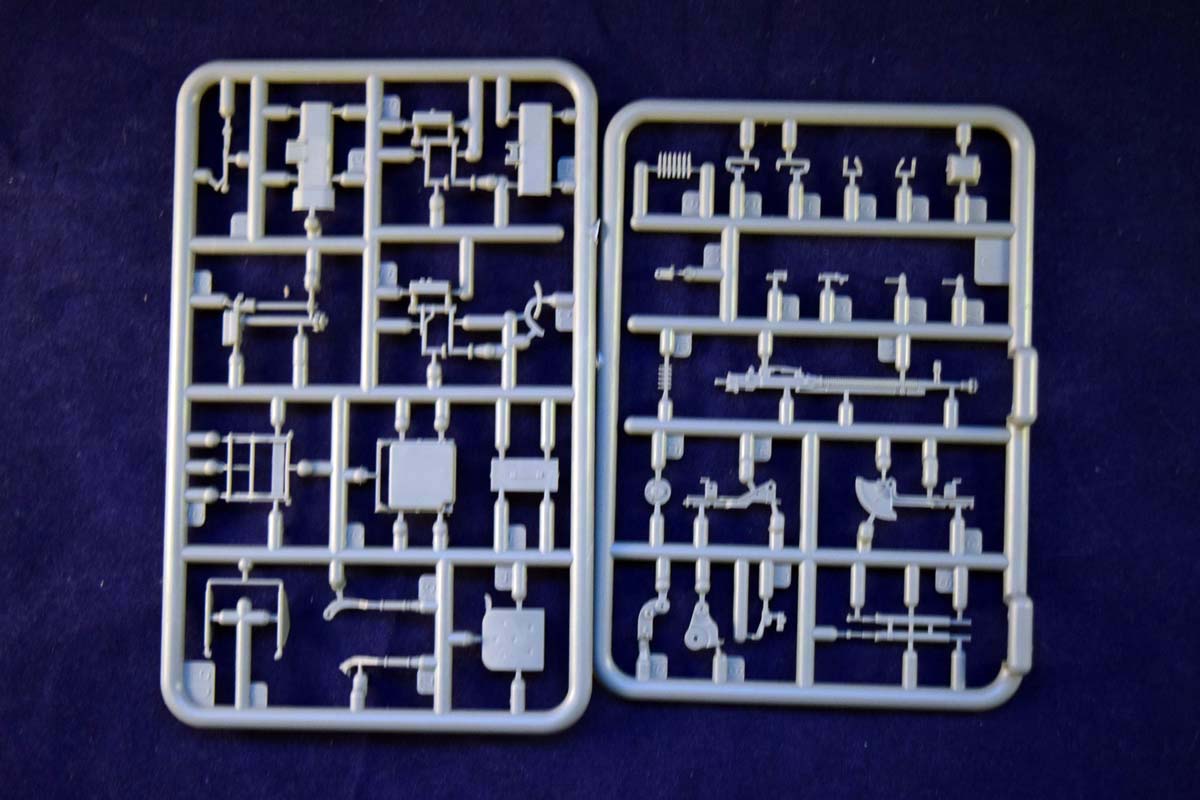
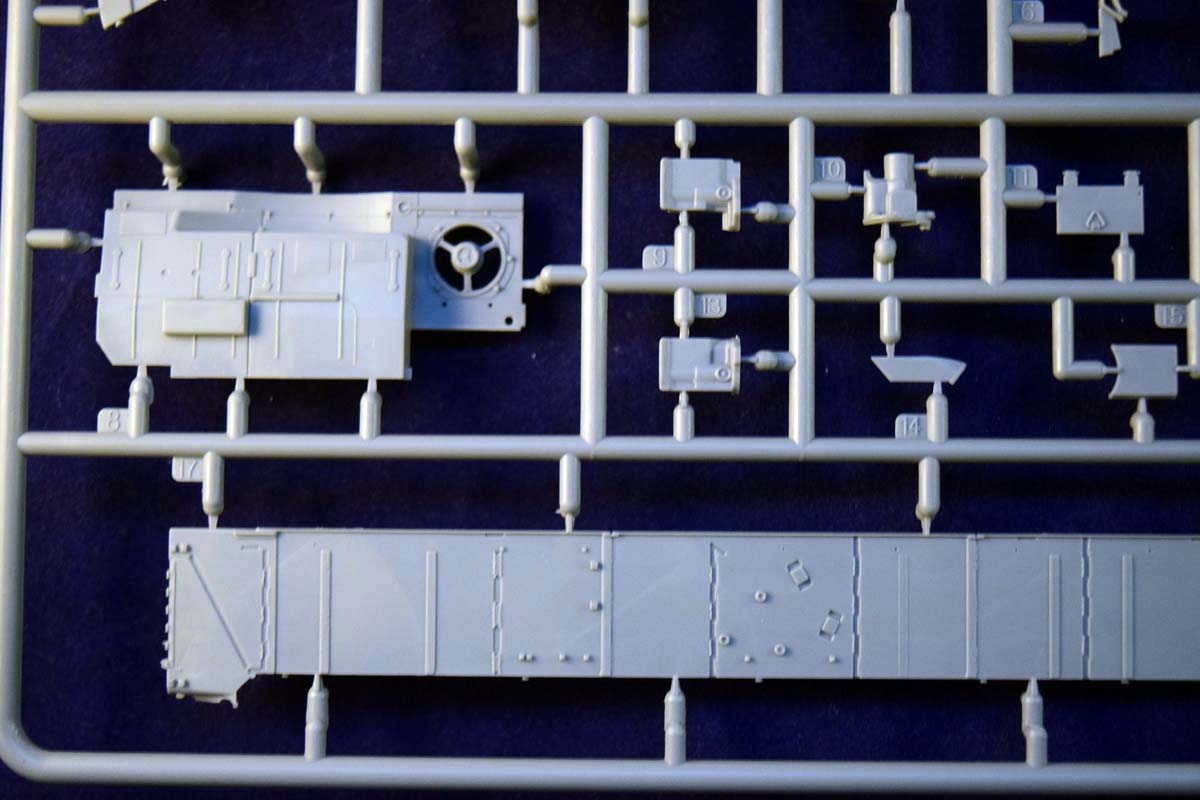
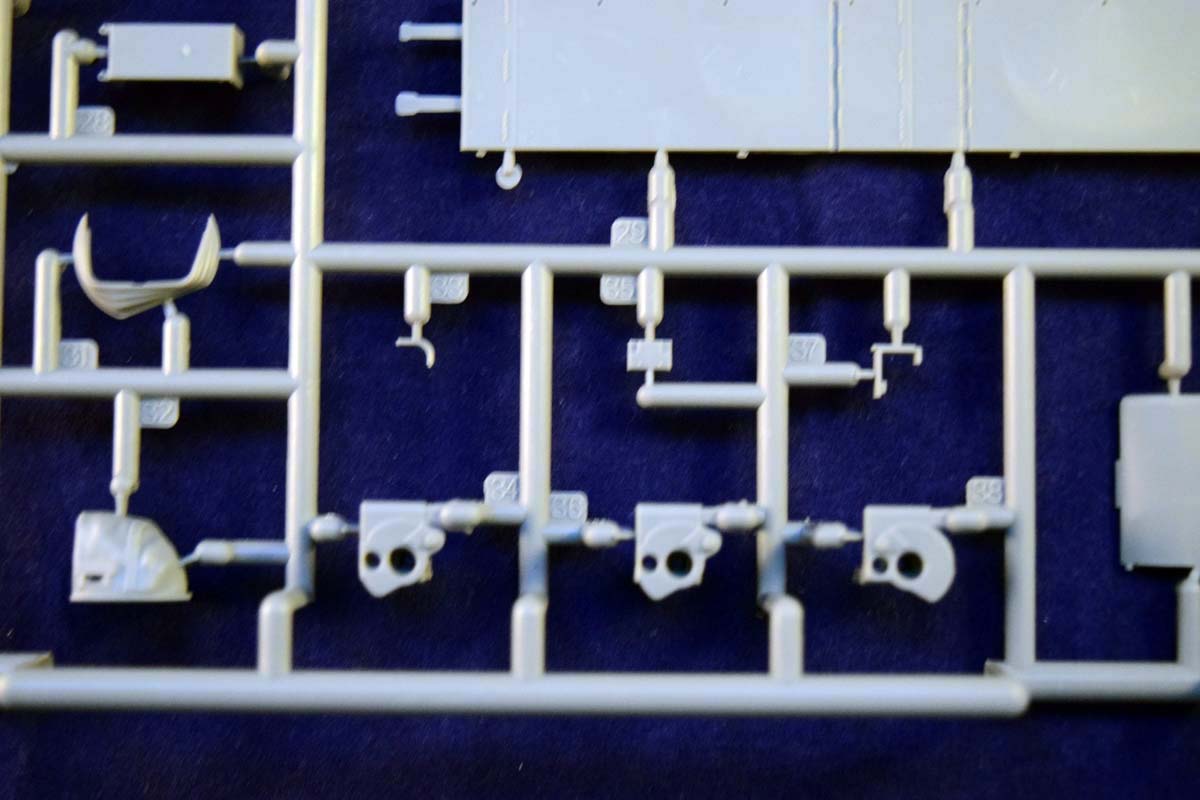
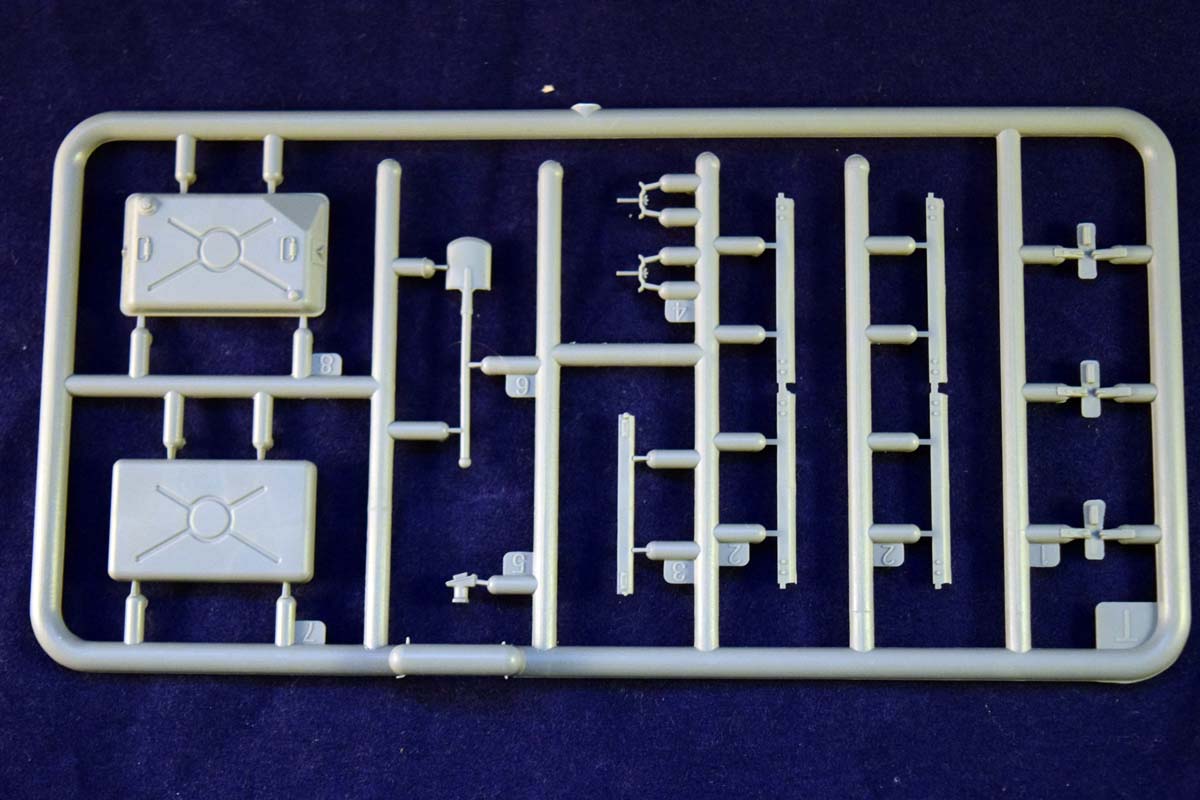
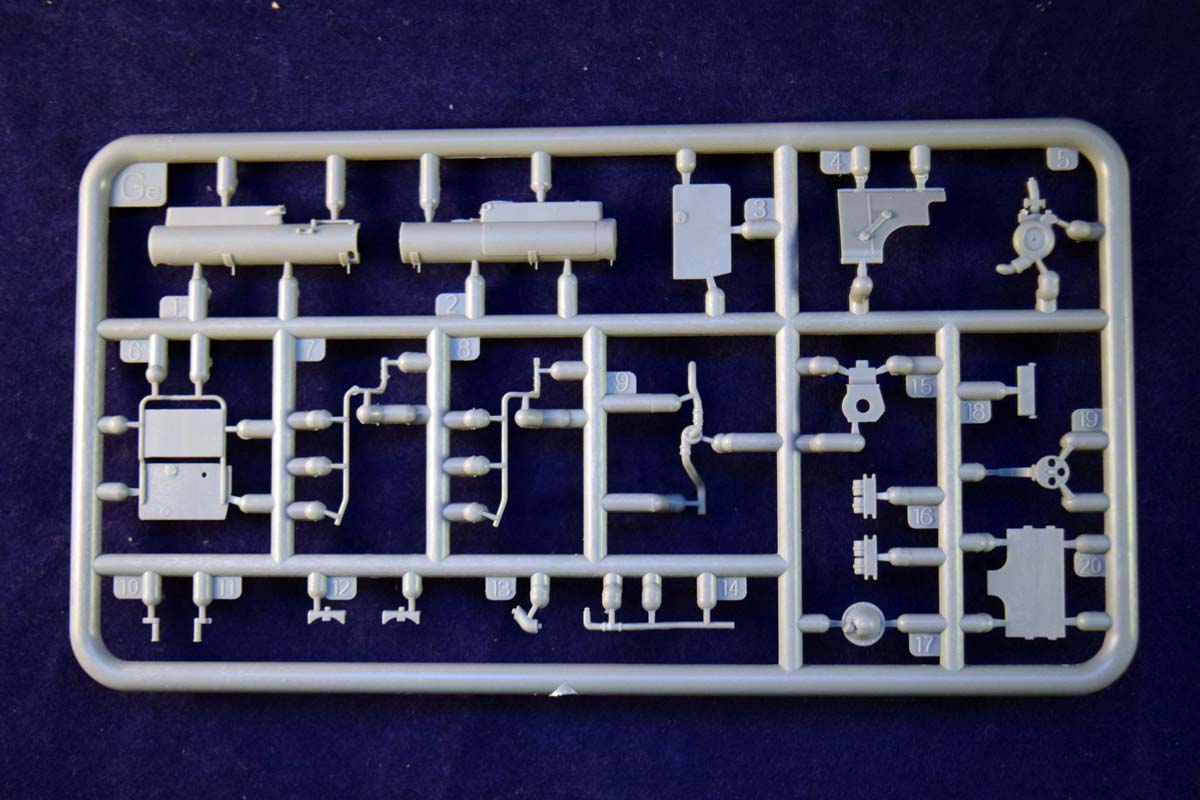
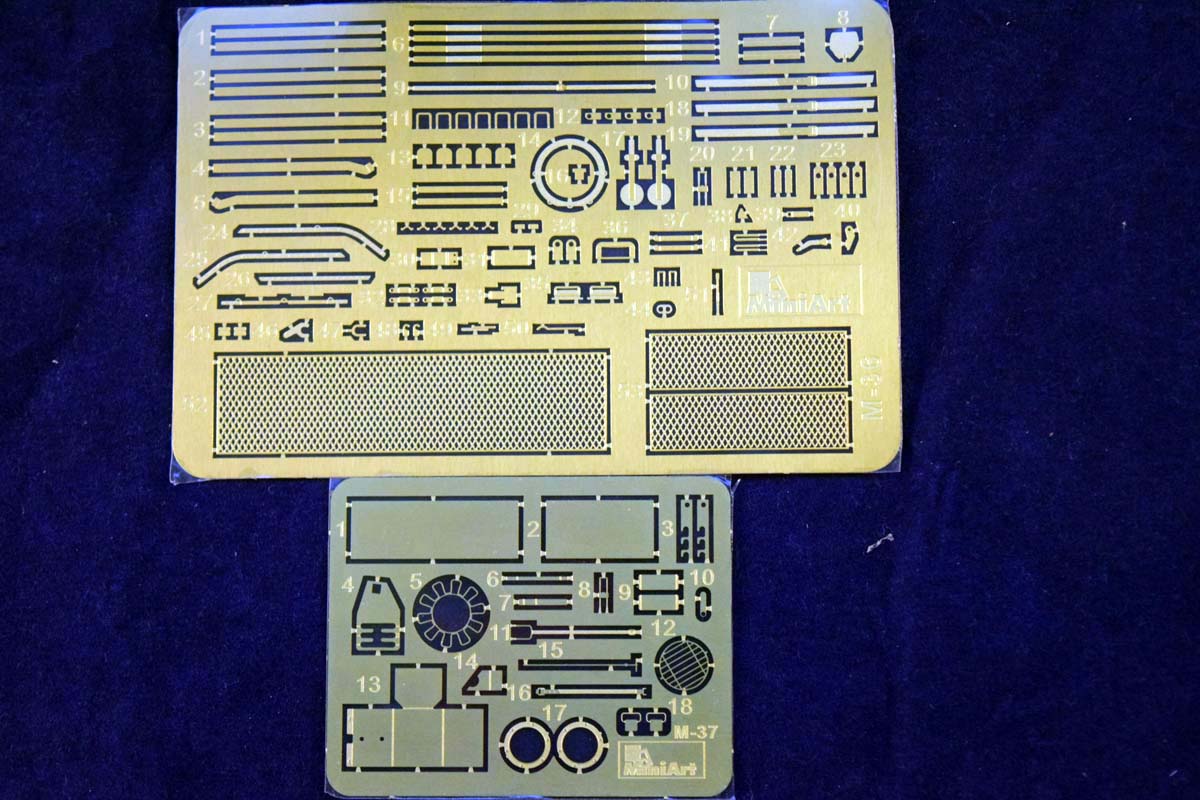
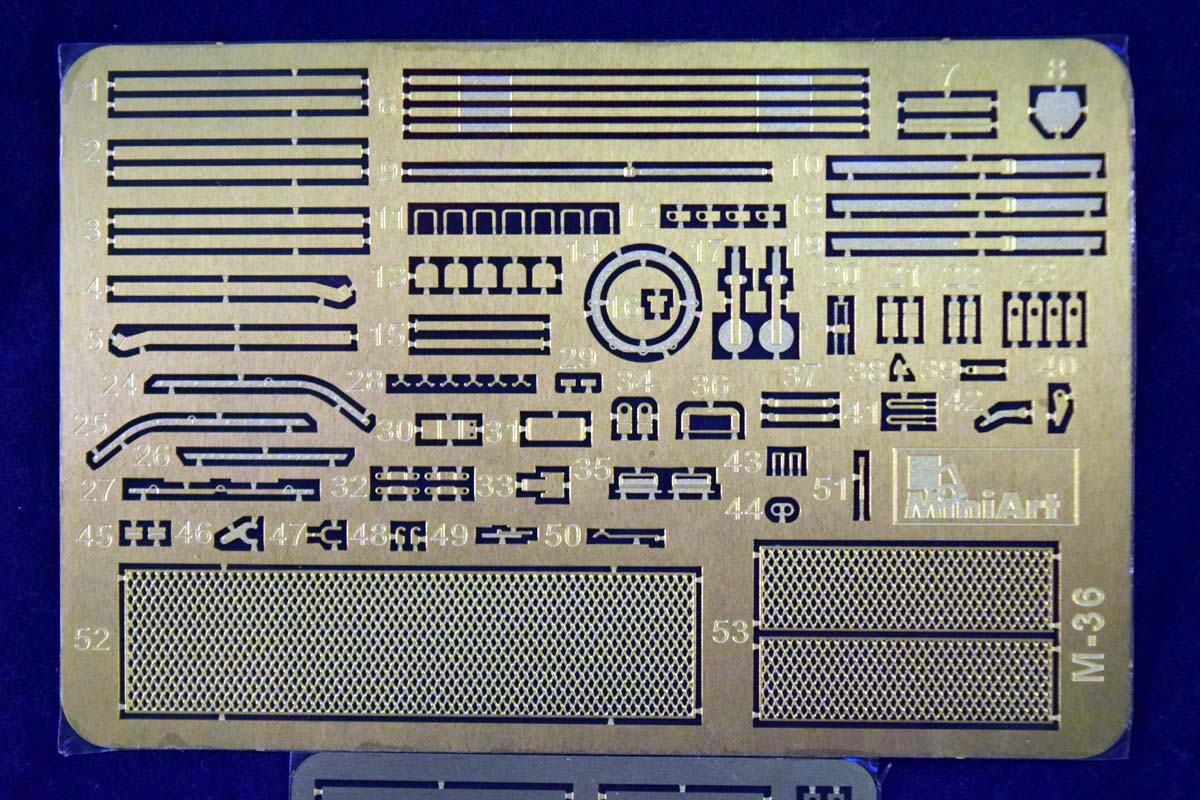
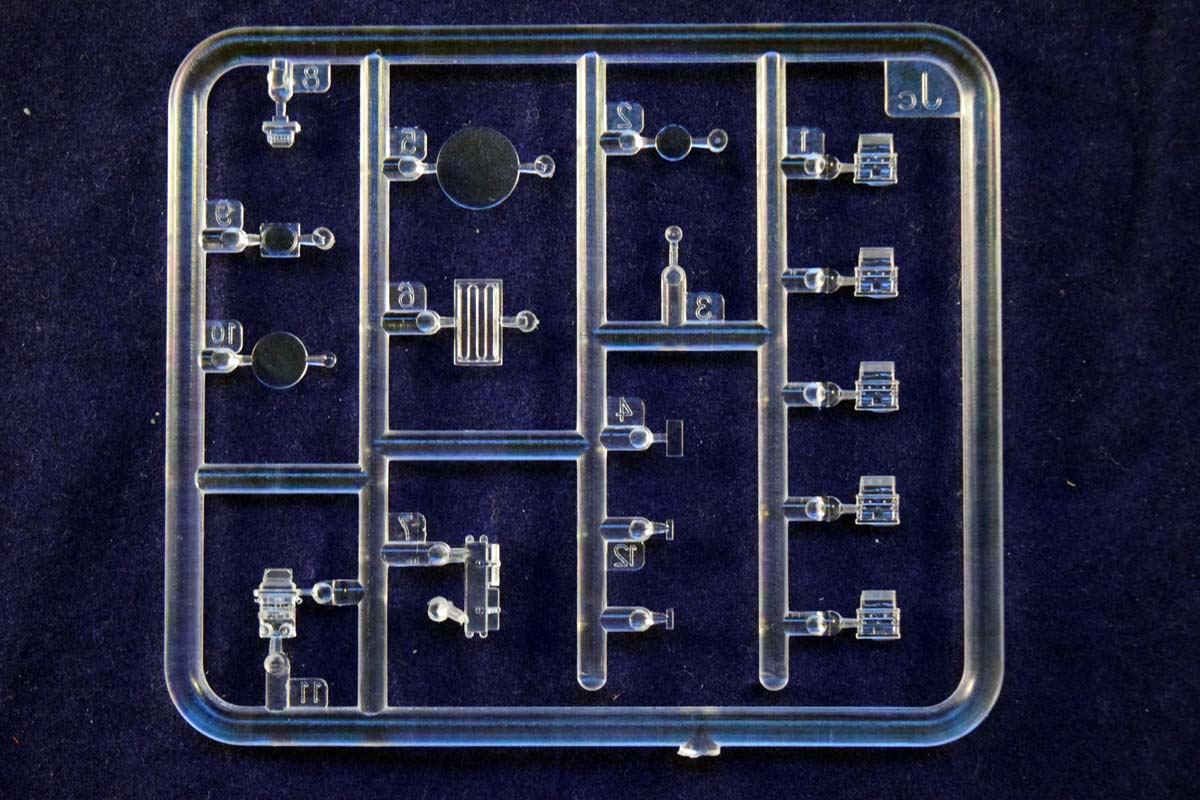
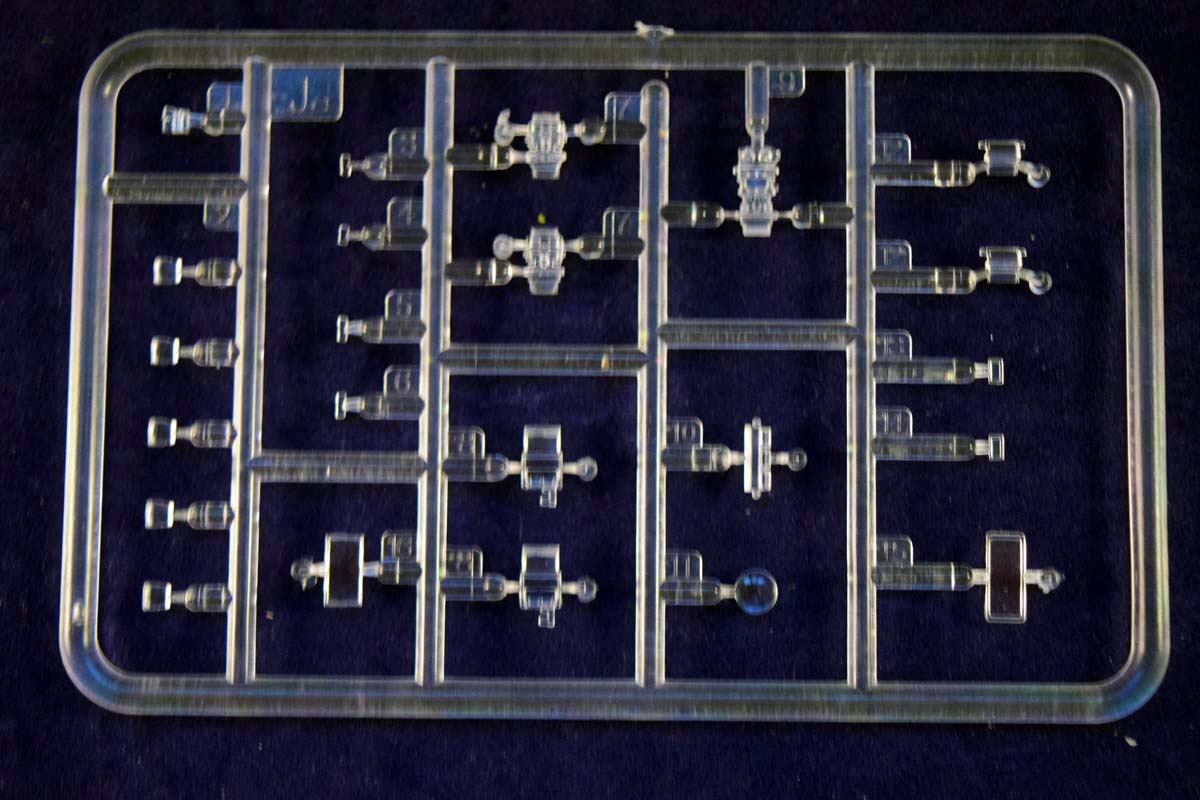
The sprues follow the usual mix-and-match philosophy by MiniArt: we have sprues that are common with other, earlier versions, mixed together with new ones which make this tank into a T-54-3 specifically. This also means there are a LOT of small sprues, and hunting for parts will be a constant exercise in patience during the build. The sprue layout pictures are invaluable in locating the appropriate sprues. Keep them at hand at all times
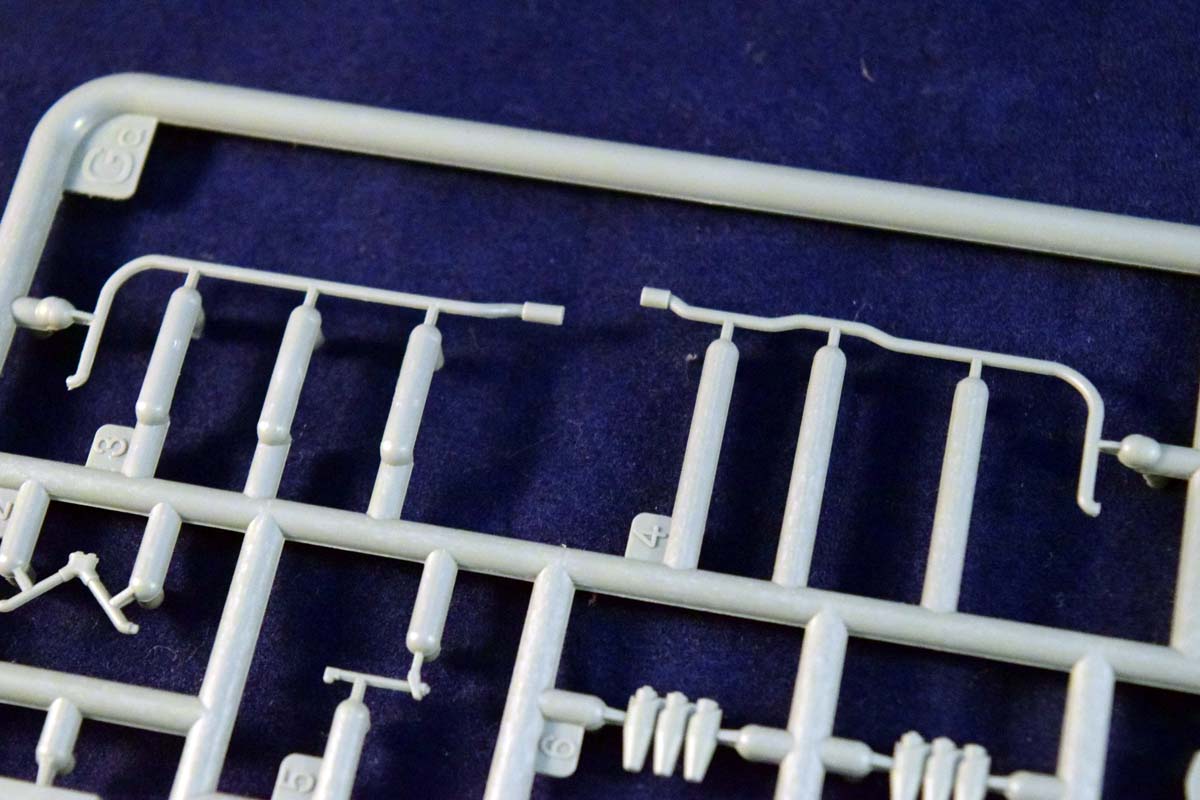
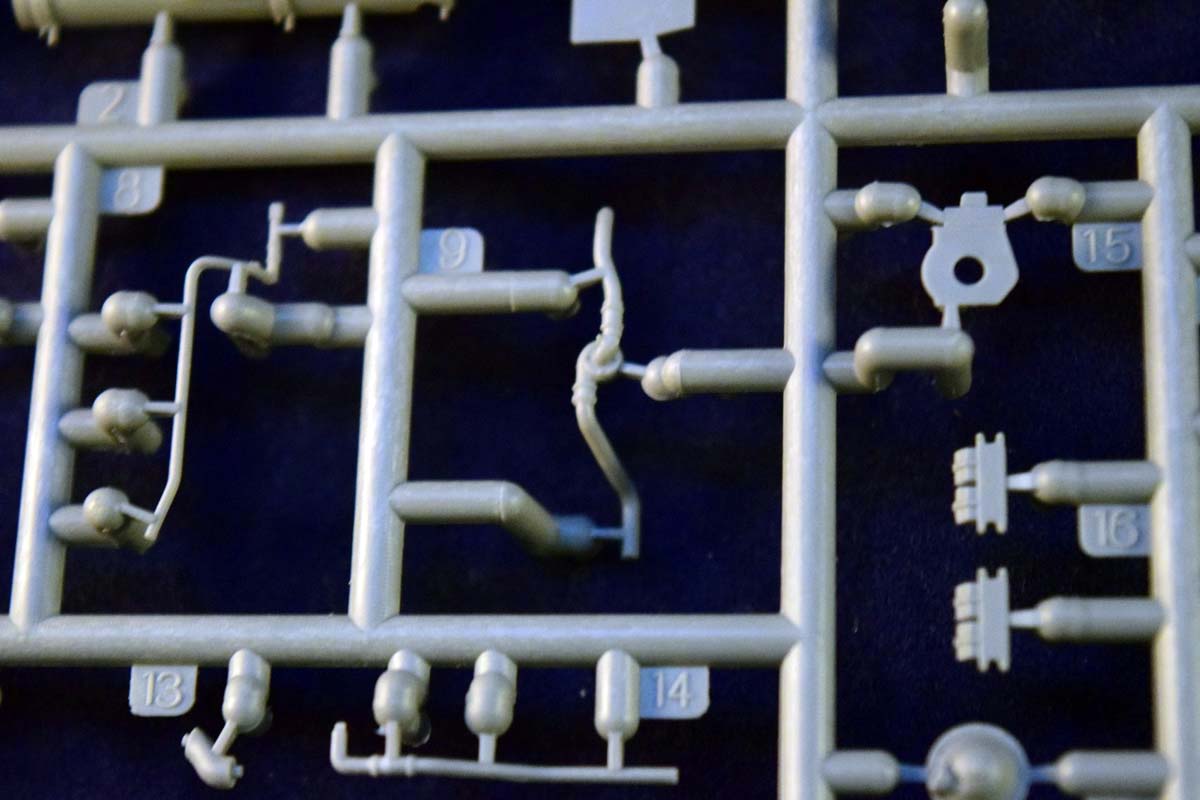
I would also mention that we still have some overly thin parts attached to the sprue with a lot of thick gates; most cases it would be easier just to use these as templates to fashion replacements from wire. The other issue is -as usual- the towing cable. Its given as a straight plastic part which in now way will look like a real, metal wire if you even manage to put it in place. You will most likely end up breaking it, so the best advice I can give is to simply use the ends and a (slightly longer) piece of picture hanging wire as a replacement. Otherwise you wont have much difficulties with the build if you are a moderately experienced modeller with a couple of tanks under your belt; it might be a daunting task for a beginner, though. (Theres a bewildering amount of small PE parts, for example, which can prove to be a challenge for even a seasoned veteran; I suspect leaving them out will not be very noticeable, though.)
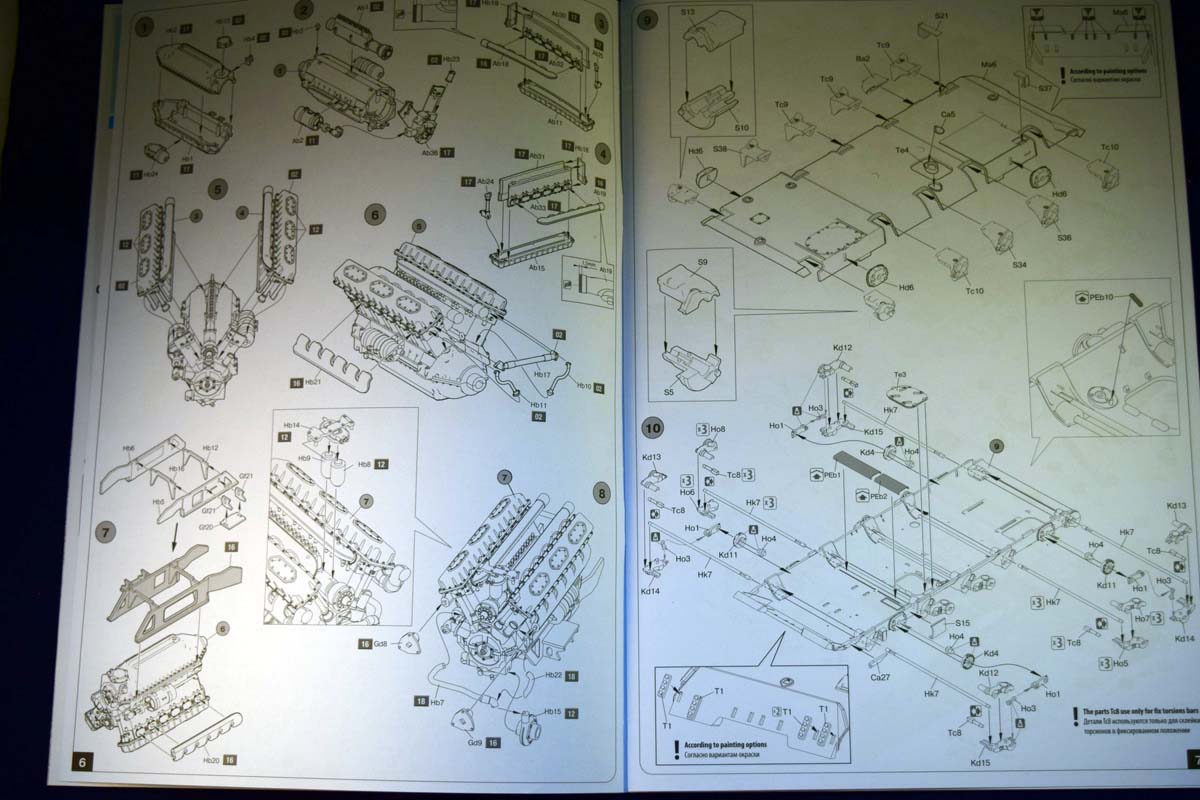
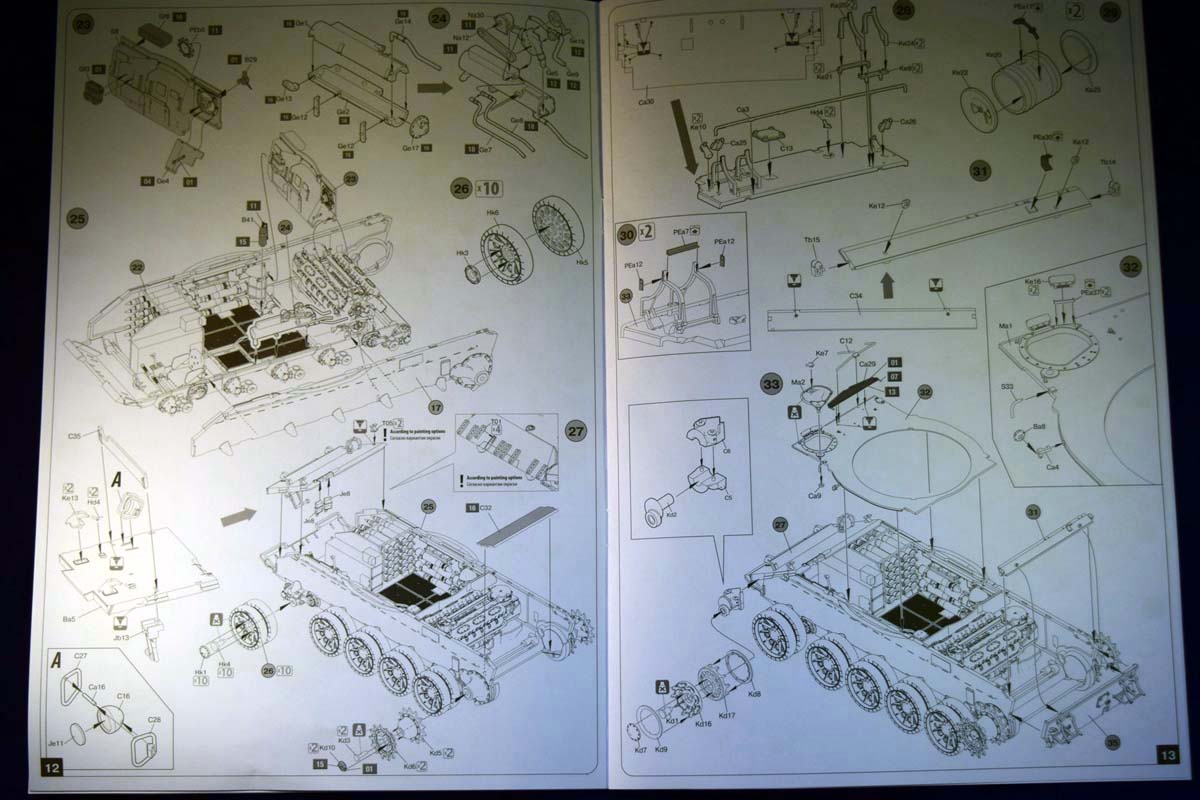
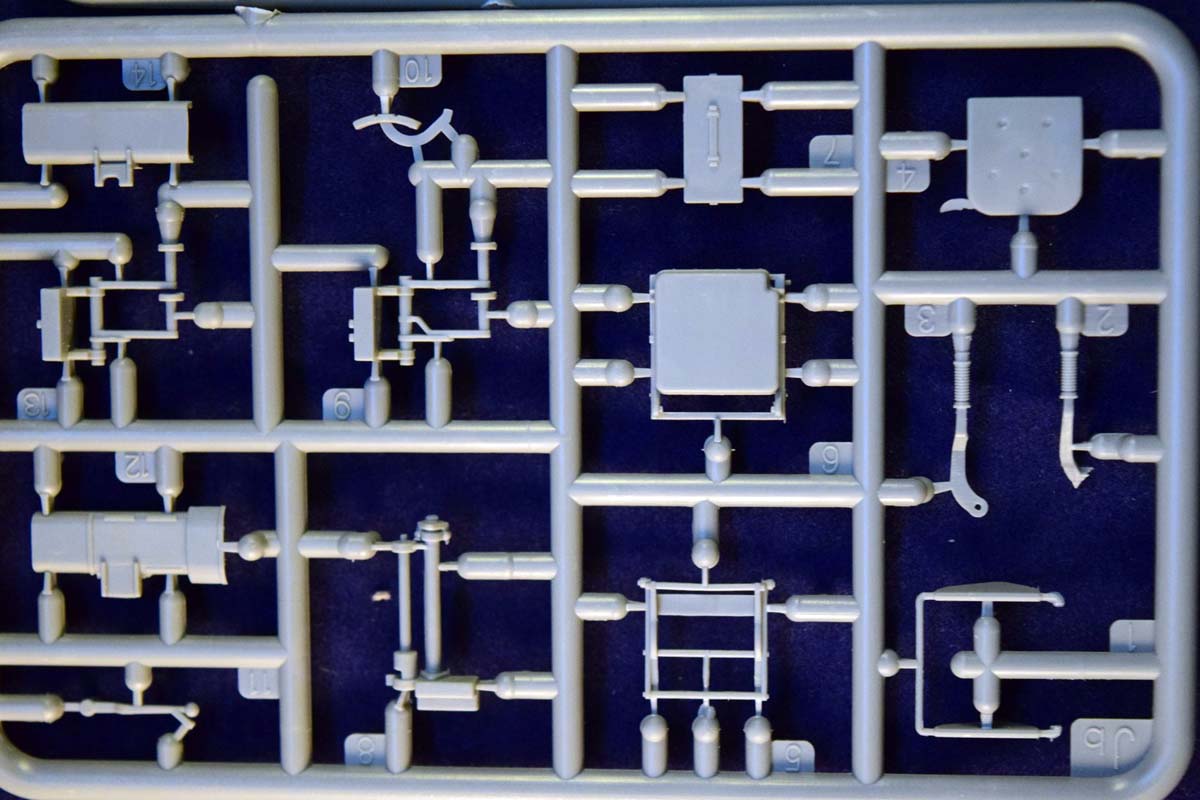
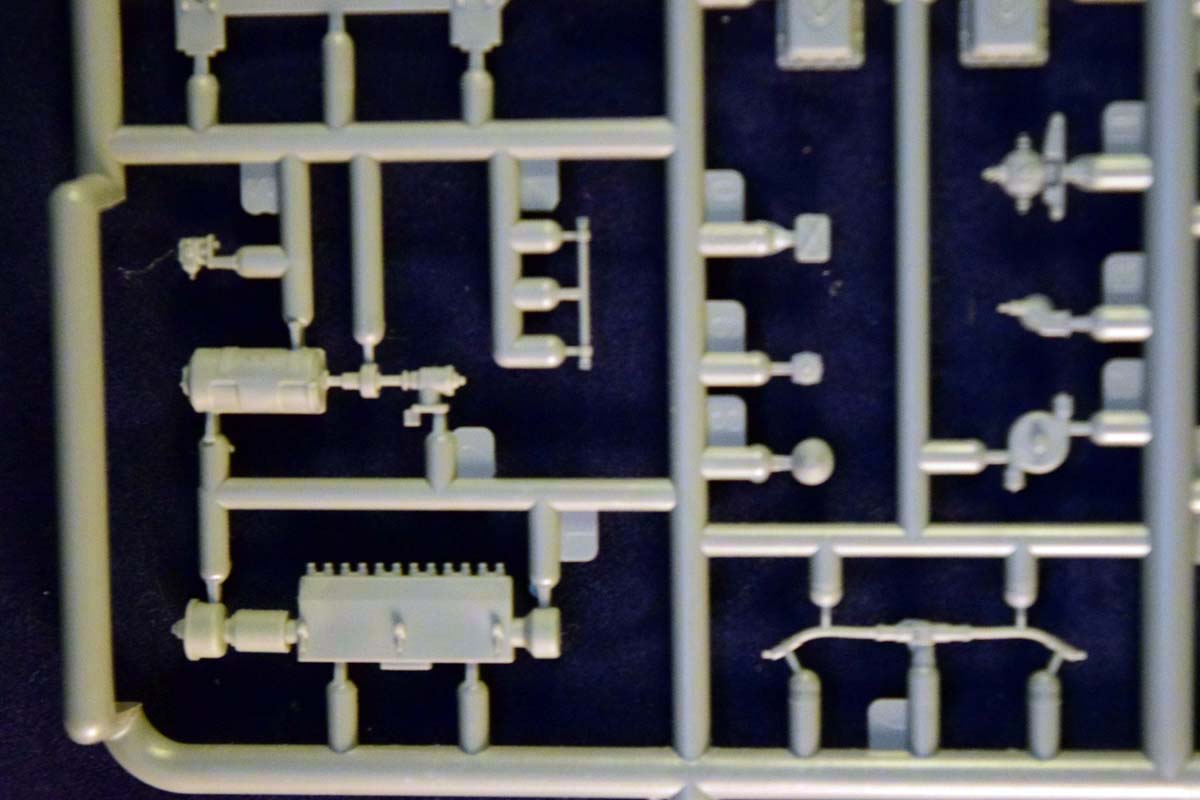
The first set of steps in the instructions detail the assembly of the engine. The engine is a small model in itself; its incredibly detailed- and much of it will be hidden once installed. Regardless, if you wish to display the engine, its worth looking at some reference photos, as adding the cables will make it into a really outstanding model of the real thing.
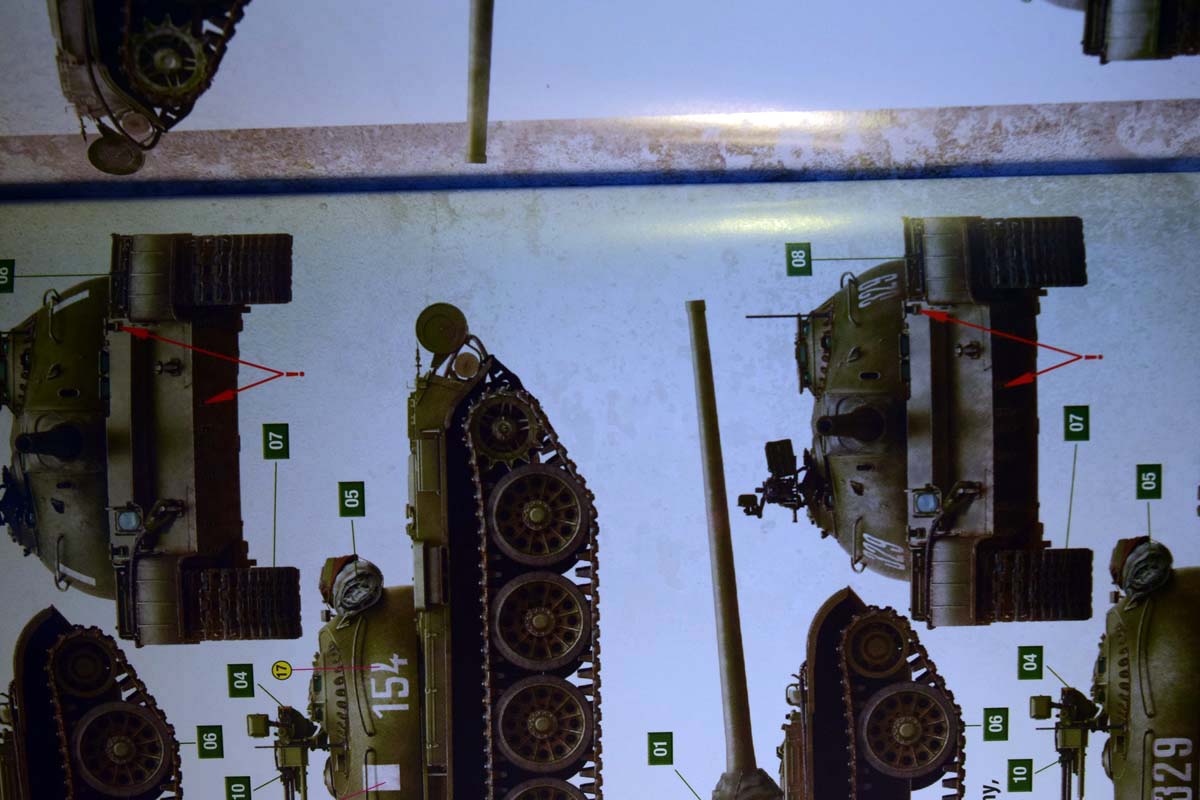
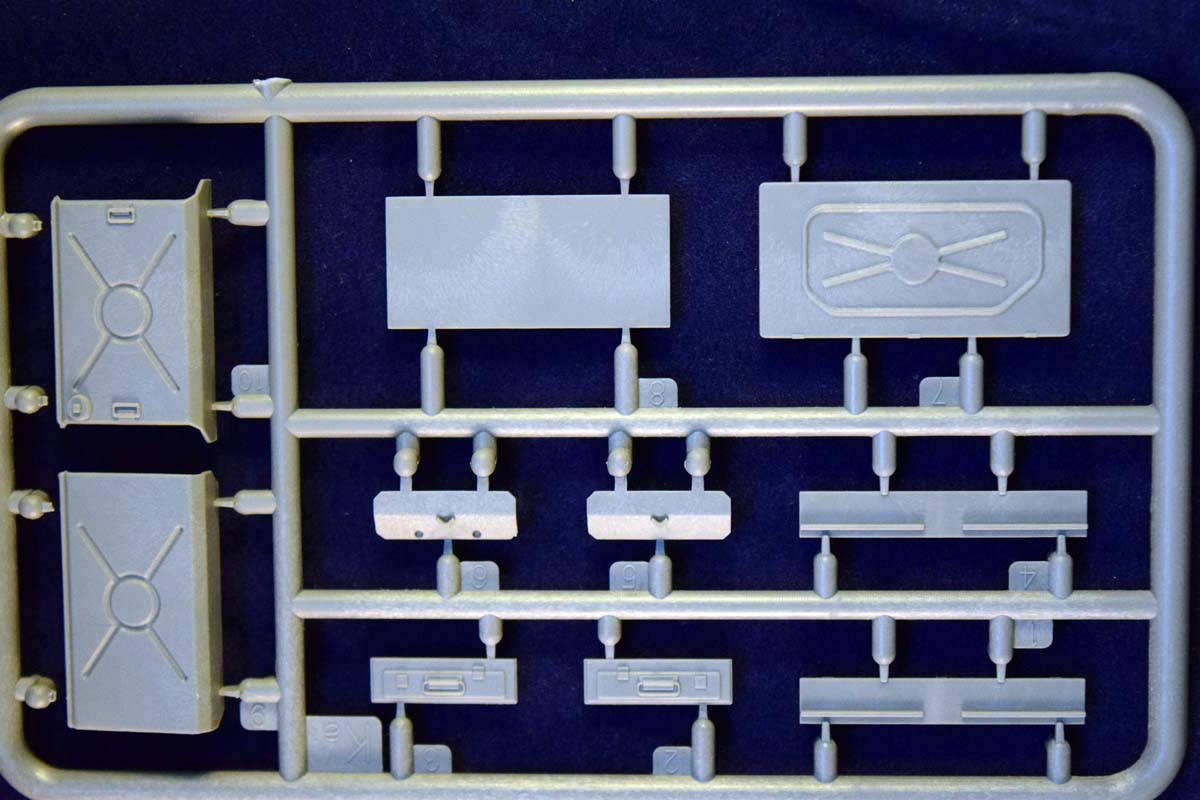
The next few steps detail the assembly of the workable torsion bar suspension and the bottom of the hull. This is where you will need to make your first decision, as you have an option to add the mounting points for the dozer/demining equipment to the lower front plate. (They are highlighted at the painting guide as well with red arrows on the particular versions that carried them.)
The inside of the hull is quite similar to the previous versions with some minor differences. The drivers compartment is somewhat sparse in detail; using historical photos it should be relatively easy to populate with switches and cables. There is no instrument panel for the driver included; this should be sitting on his right side. (The CMK drivers compartment interior might be used to beef up the model as it has a very nice colored PE one; although Im not sure how different the instrument panel was in the T-55A for which the resin set is made for.)
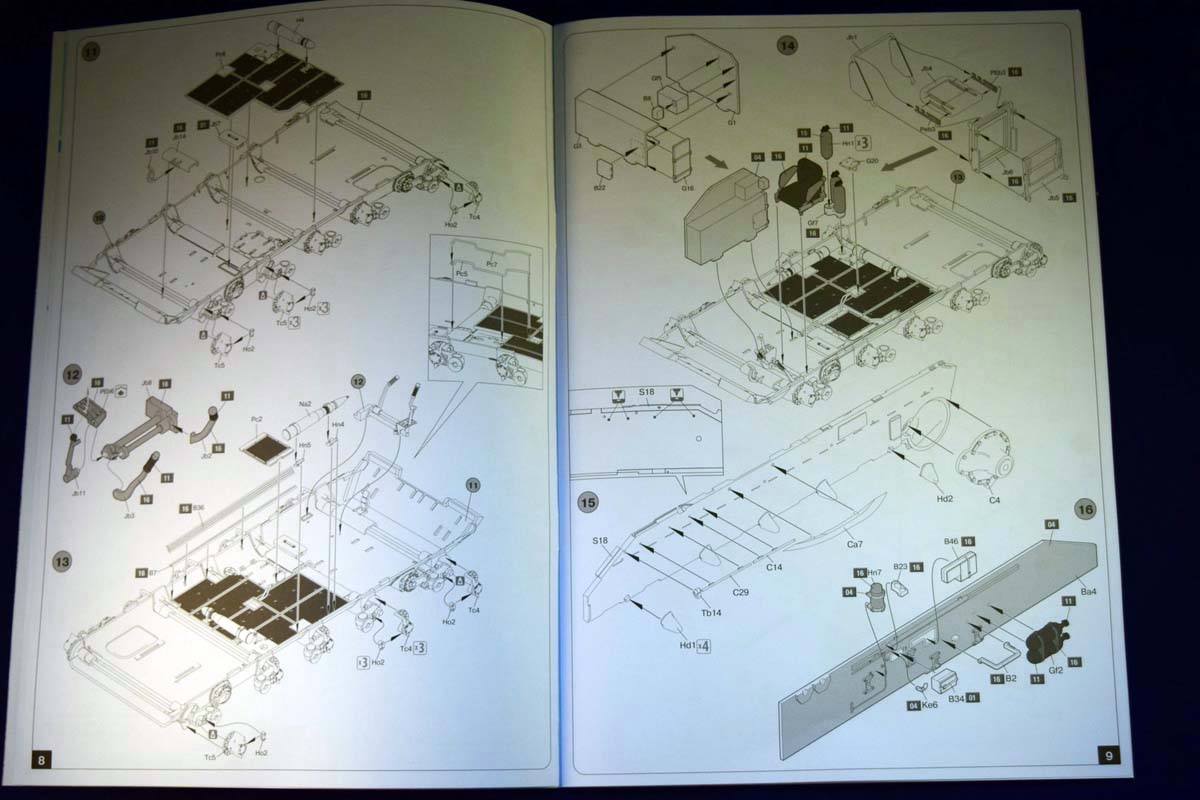
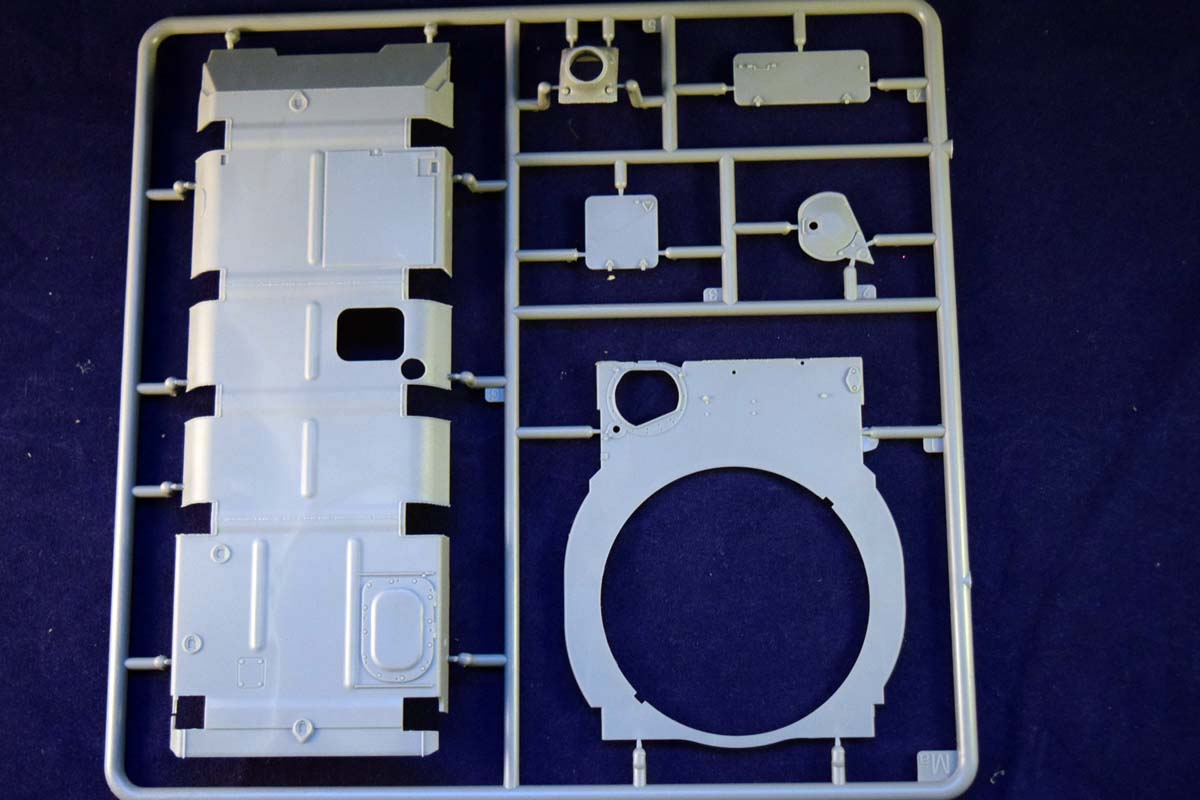
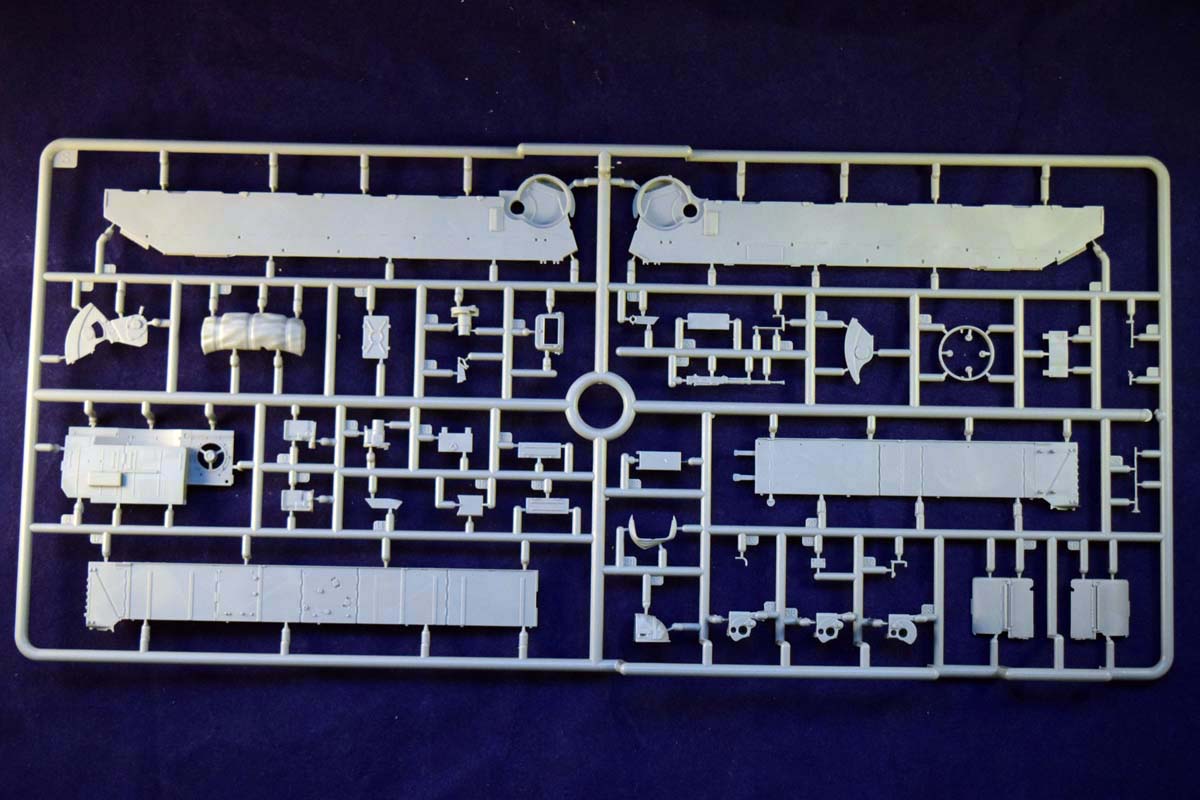
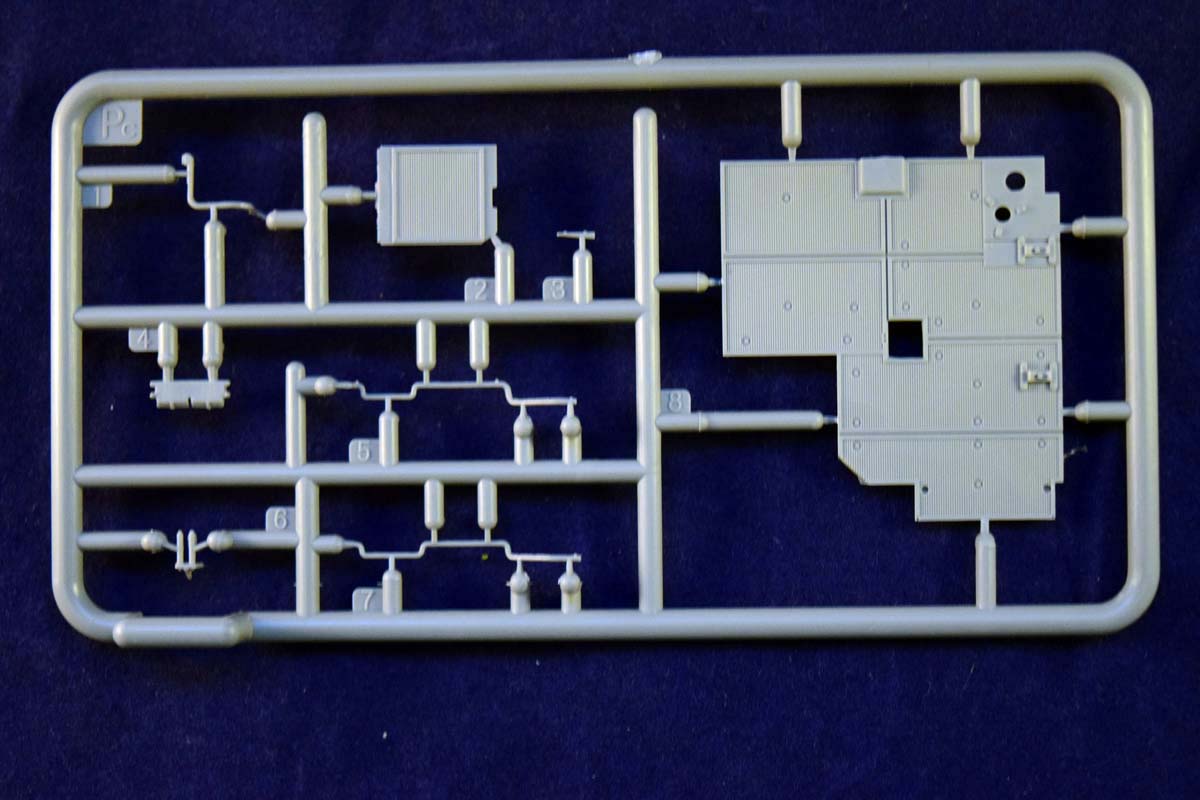
The hull is made up from several flat parts - as usual MiniArt does not to provide the usual tub for the lower hull. This makes assembly in a way more difficult (since more parts need to be aligned), but it also makes preparing the interior simpler, since you can finish painting and weathering the sides separately, before installing them. The fit is quite good, so there should be no problem with alignment. The upside of this design is that the sides can be much thinner than they would be with the traditional tub. As usual, accuracy and detail have their price.
Interestingly the transmission assembly only comes after the sides are done, and the engine is ready to be mounted inside the vehicle, at step 22. There is one additional thing in the interior which the T-54-1 did not have: the pre-heater unit for the engine coolant system (step 24). This looks much better detailed than the CMK resin version for the T-55A.
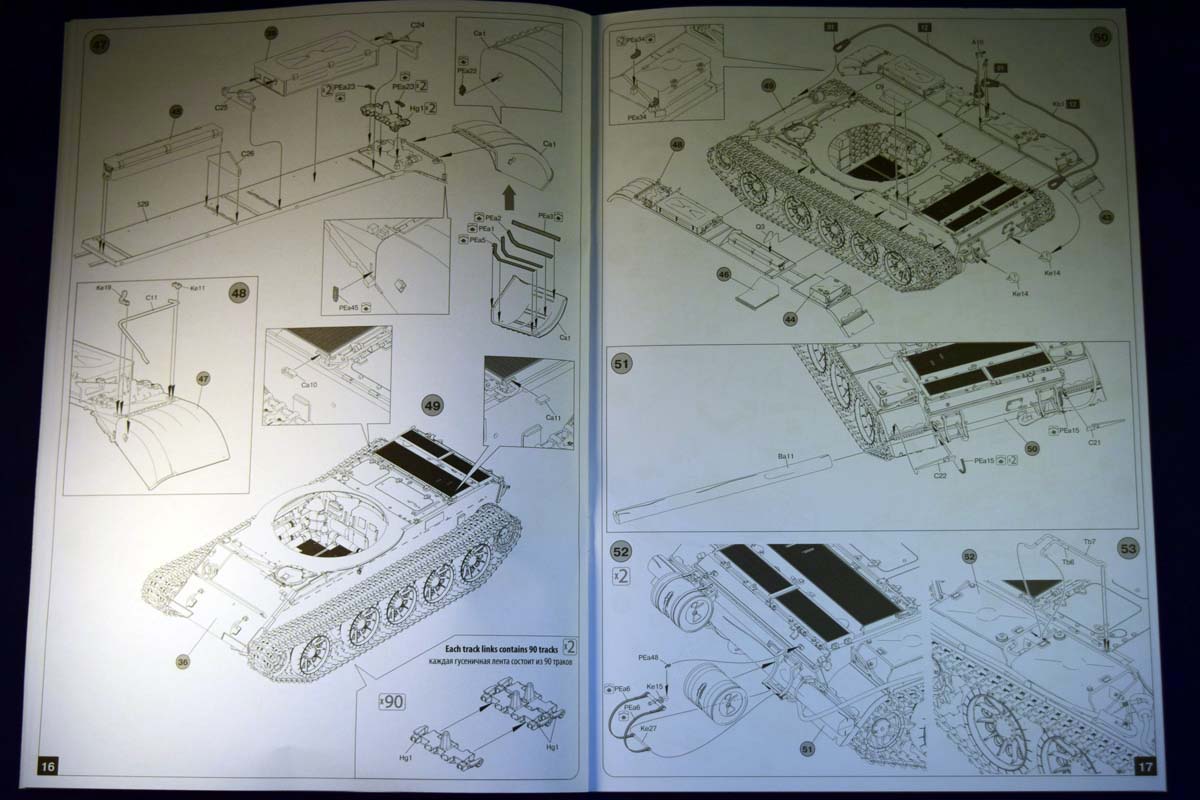
The lower hull with the running gear is finished over the next several steps, until we reach the fenders/mudguards at step 40. The external fuel tanks have the fuel lines installed, which is a nice addition, and very welcome after hours mulling over technical drawings when I tried to fashion these lines for the Tamiya T-55. The only issue is the thickness of the plastic parts; it might be better to use wire replacements. The un-ditching log is actually very well done, and very convincing; I usually replace it using actual wooden sticks, but in this case its a perfectly good part.
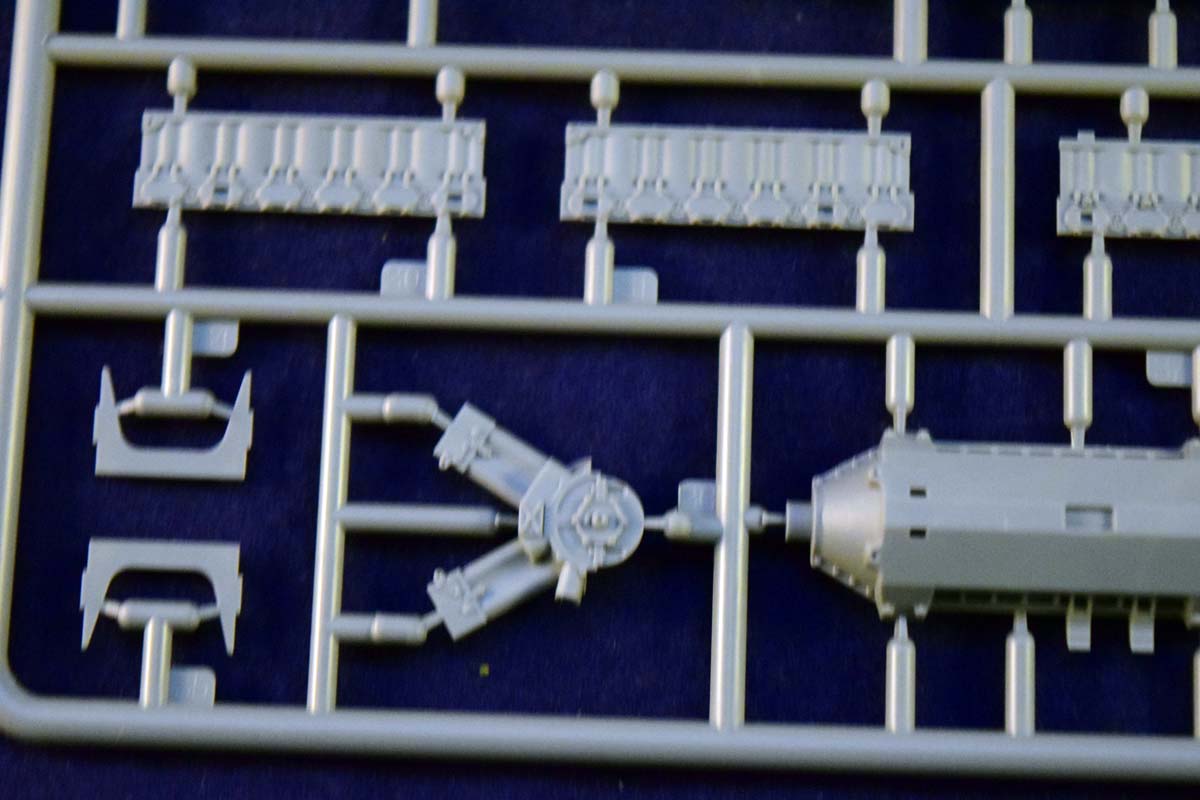
The tracks look great, and have very fine details - even the casting numbers are present. You will need 90 for each side (the real tank had 91 according to what Ive read), and to be honest the cleaning and assembly is probably the least favourite part of the building process. (But it has to be done if you build tanks, so theres that.) Dragon has spoiled me with their individual track links; it would be really, really great if we got the links already separate. (No real criticism; just a passing wish.)
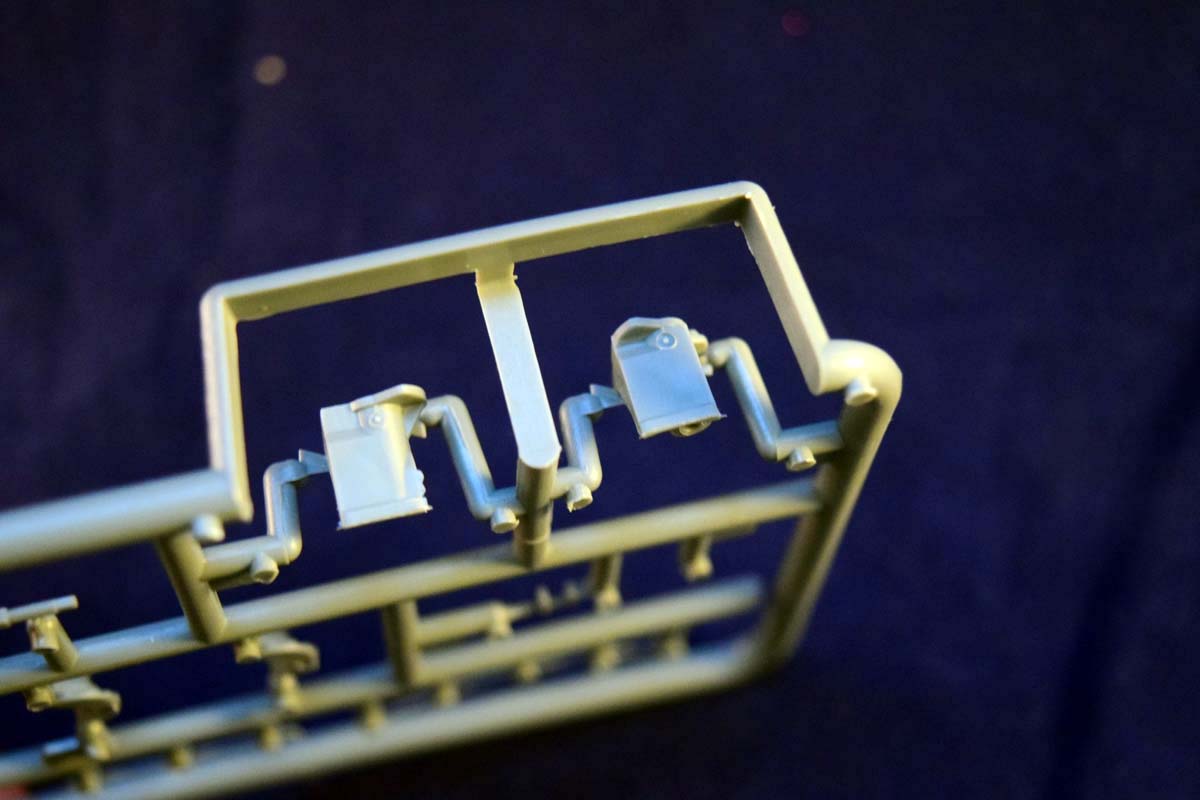
The smoke canisters are held in place with a true-to-life holding mechanism -which means itsy-bitsy PE and plastic parts. Be warned; they are not easy to assemble. (Experience with the T-54-1.)
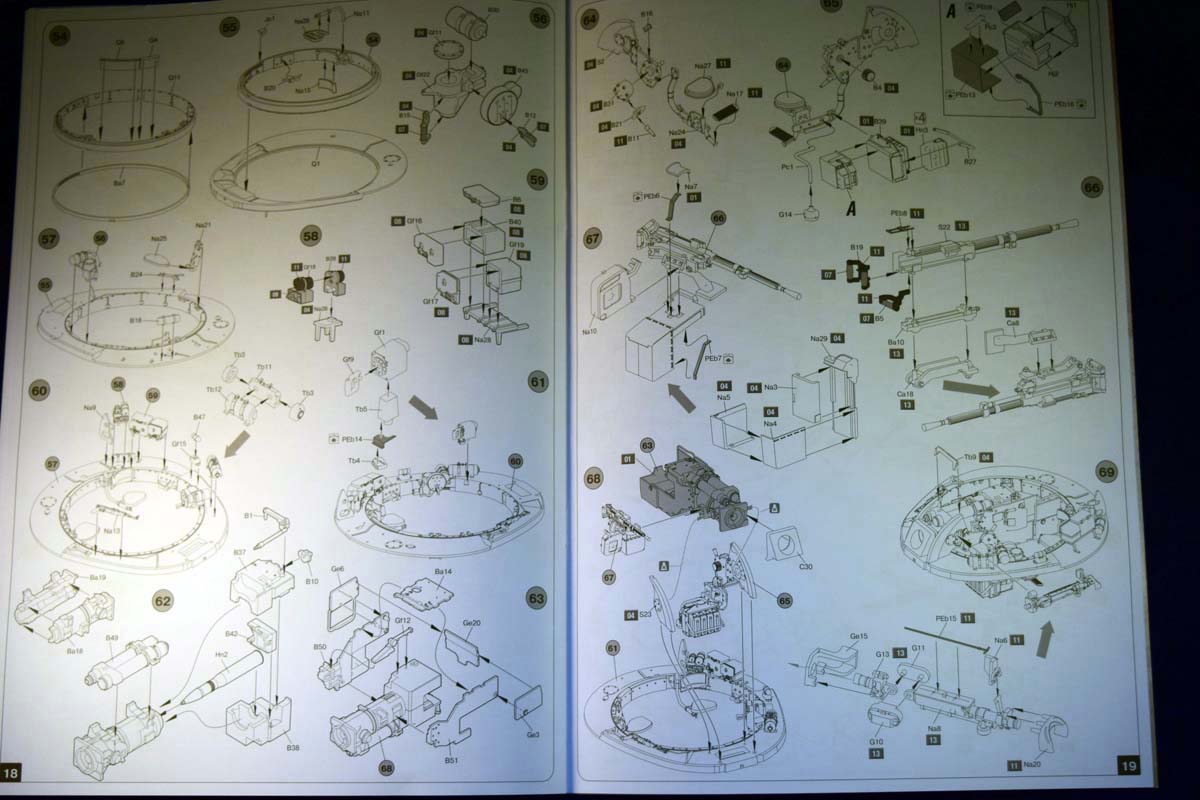
The turret interior is really buys: radios, controls, different switch boxes and ammunition stored everywhere constrict the available space considerably. The build is straightforward, though.
Theres an interesting point worth mentioning: parts Na21/25 make up the loaders seat. They can be depicted in folded down or folded up positions; the instructions dont say, but they could also be relocated to a different part of the turret ring (on the instructions at step 57 about a cm away to the left, onto a similar set of little pegs.)
The radio, the turret turning mechanism, the manual override, everything is just incredibly well presented; again the level of detail is much better than the resin AM set I am using now for the T-55.
The gun is also a very well done assembly. The internal travel lock (B1) is well presented; however there are not parts to fix it onto the turret roof should you wish to depict it in that position. The coaxial MG, the gunners seat, and the interior part of the gun are all very well detailed. Fixing the gun in place however is a tad difficult. (You have to make sure the seat assembly and part S23 hold the gun firmly in place without distortion while gluing them onto the turret ring.)
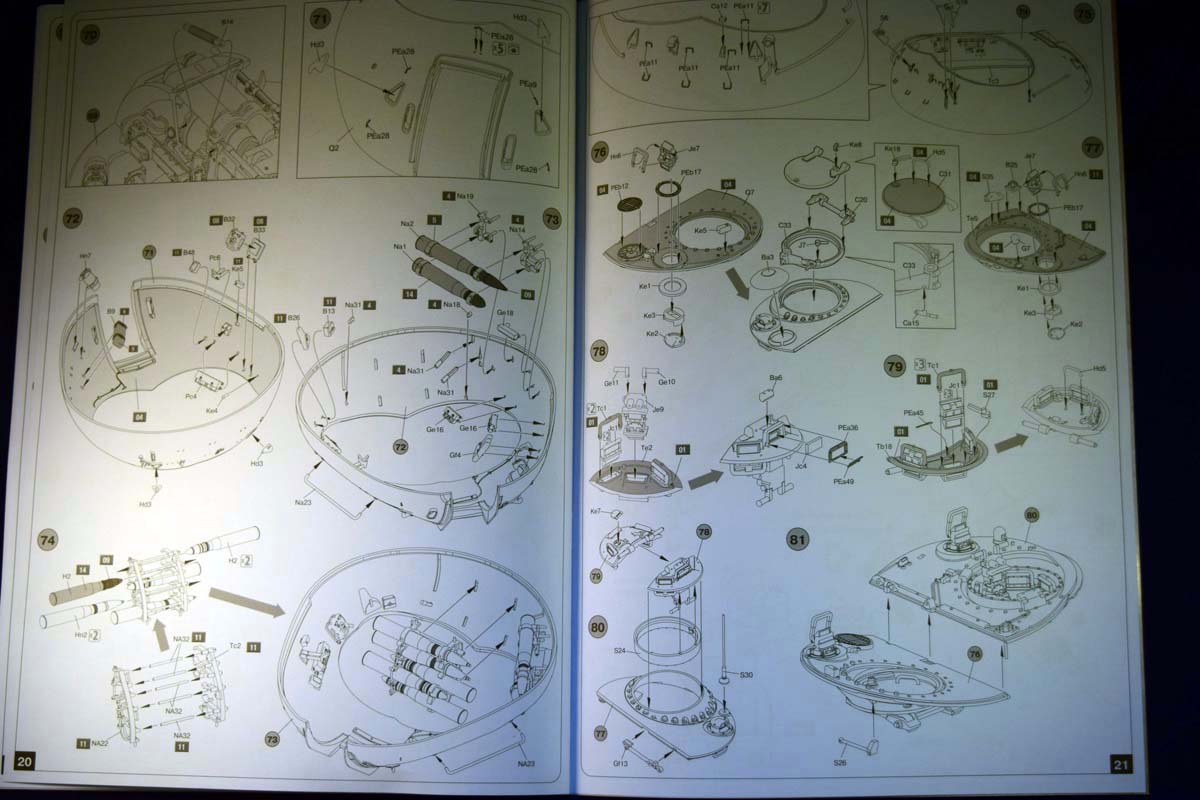
The interior of the top side of the turret is quite busy; unfortunately the instructions do not provide a guide about the different wires placed all over the interior. For this photos and videos will need to be used as references. (I found it very impressive that even the small handholds -Na31- around the turret were replicated.)
There is an elaborate ammo rack for the back of the turret, which, again, is somewhat difficult to assemble (step 74). I found it easier to first insert the rounds, and then glue the holding rack together; this way they could be aligned and glued easily. Since the parts are thin and delicate, be very, very careful when removing them from the sprues, and also pay attention while cleaning them.
On step 75 we attach the tie-down hooks onto the back of the turret. I would wait with all the exterior parts until the interior is finished as these can be easily broken off during handling; also I would use wire replacements as the PE parts are flat and not very realistic.
The DSHK gun is -again- a model on its own right. Its small, but has a LOT of parts -PE and plastic included. The frontal view is very useful in the assembly process, as it gives a good idea on the angle the ammo box should be in relation to the gun itself.
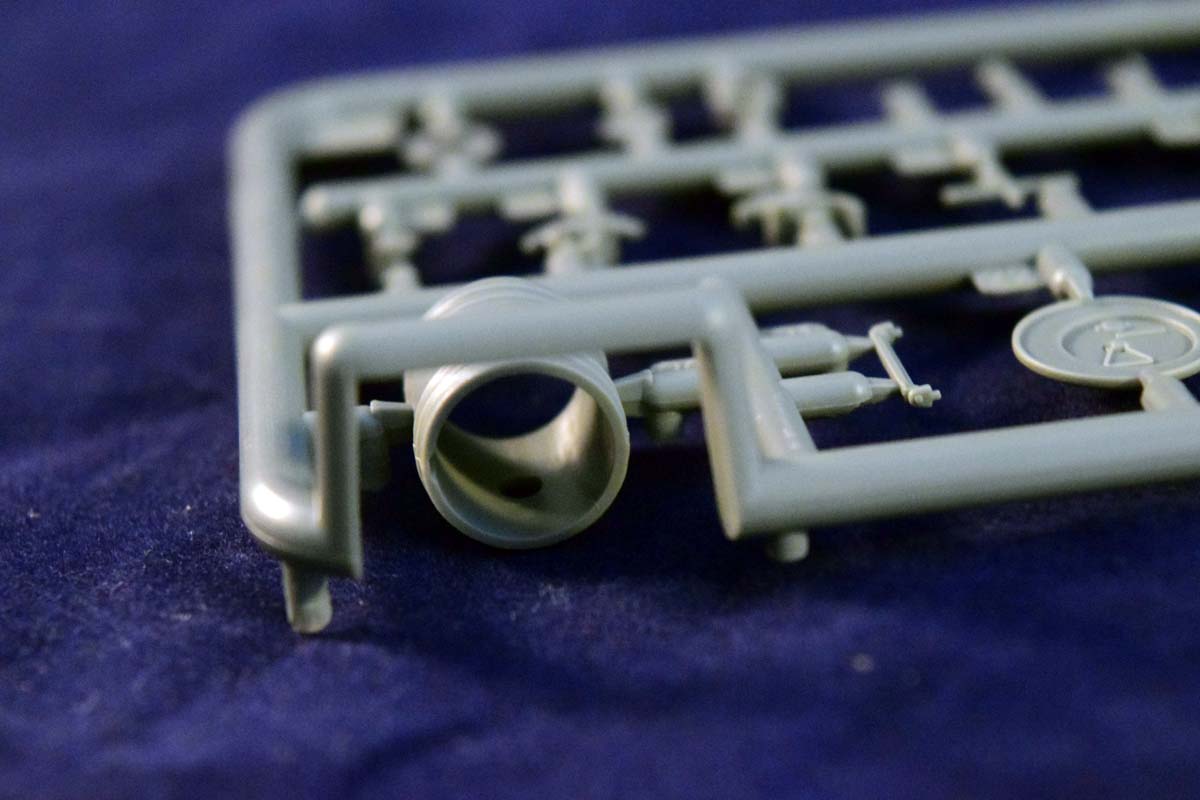
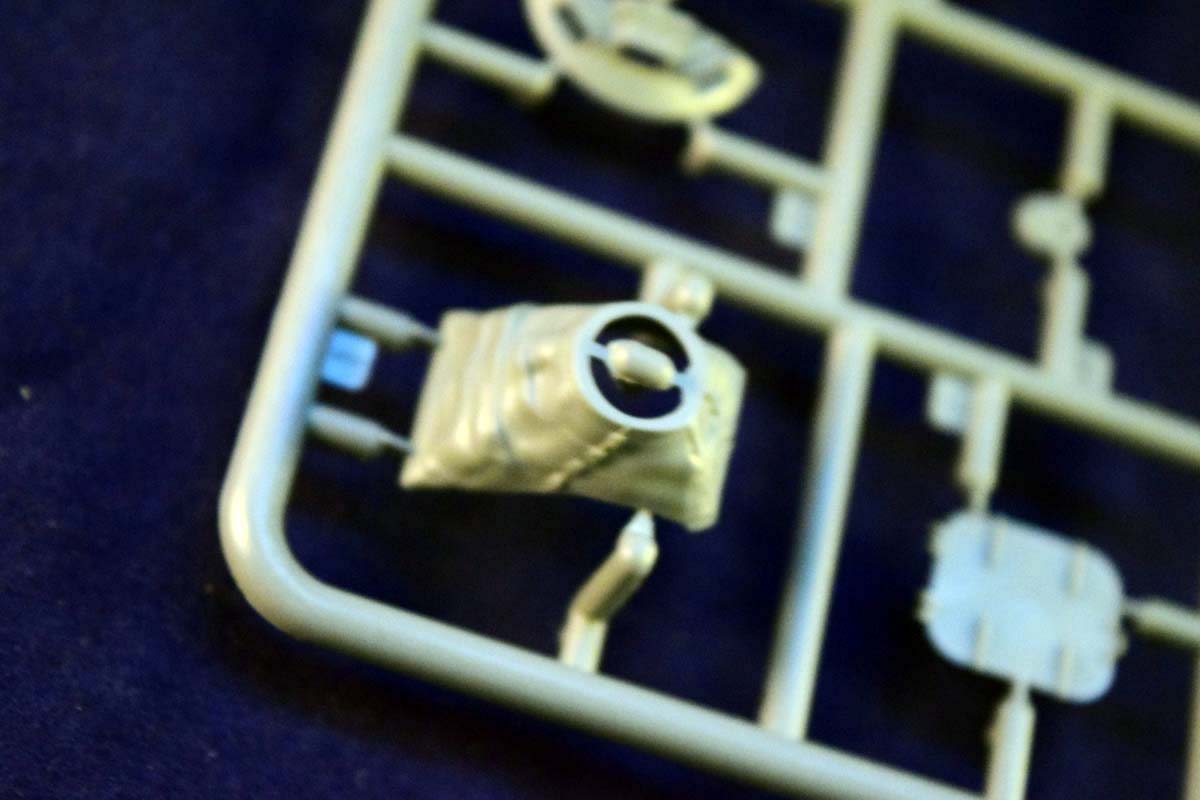
The gun tube is very nice; fortunately its a one-piece affair, so no need to try to glue two halves together (or to buy a metal one, which is my automatic reaction to the old-school two-piece barrels). The rolled-up tarp however is somewhat lacking. There are two versions for gun mantlet: one without and one with canvas cover.
Well, this is about it. The build is very similar to the T-54-1 and T-54-2 interior kit builds, so if you have experience with those, you know what youre into for this one. The model is accurate, very, very well detailed, but the assembly is long, and you pay for all the detail with tiny, hard to handle parts. The interior is a great addition, but you can argue most of it is hidden; while it is true if you build the tank as it is, there are an awful lot of opportunities depicting a knocked-out tank - which, considering its long history, is perfectly suitable in many environments. (Iraq-Iran war, the 56 uprising in Hungary, several African conflicts, and so on.)
Overall it is a very well done kit, but a very challenging one, too. It would be interesting to compare it to the Takom T-54 offerings with regards to detail and complexity.
SUMMARY
Highs: lots of interior details, very accurate model; rare subjectLows: very complex, lots of small and fragile partsVerdict: recommended for experienced modellers
I am a biologist by trade, and as a hobby I've been building scale models for the last twenty years. Recently I started to write reviews of the models I bought. These reviews are written from the point of view of an average model builder; hence the focus is on quality of the model, how easy it is to...


Comments