I have the opportunity to do another Tiger Model build/review, this time it is the Panhard VBL's big brother, the AMX-10RCR. Again, we have a "Cracking the Box" by Jim and an in-box review from Gino (HeavyArty). There is also a build blog by Olivier (pilote14), so again, I won't bore you with all the good and bad things with the kit although I will point out things that I noticed that hasn't been said already, if there is anything to make not about.
Review
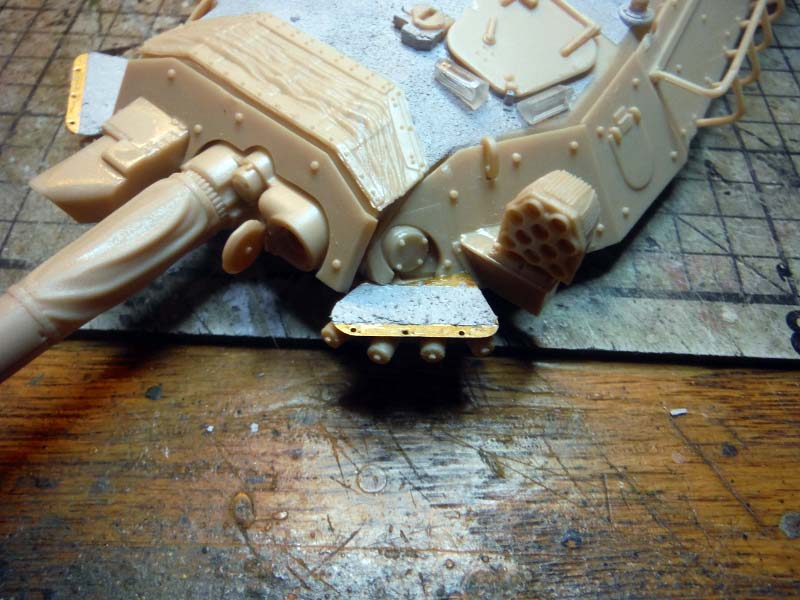
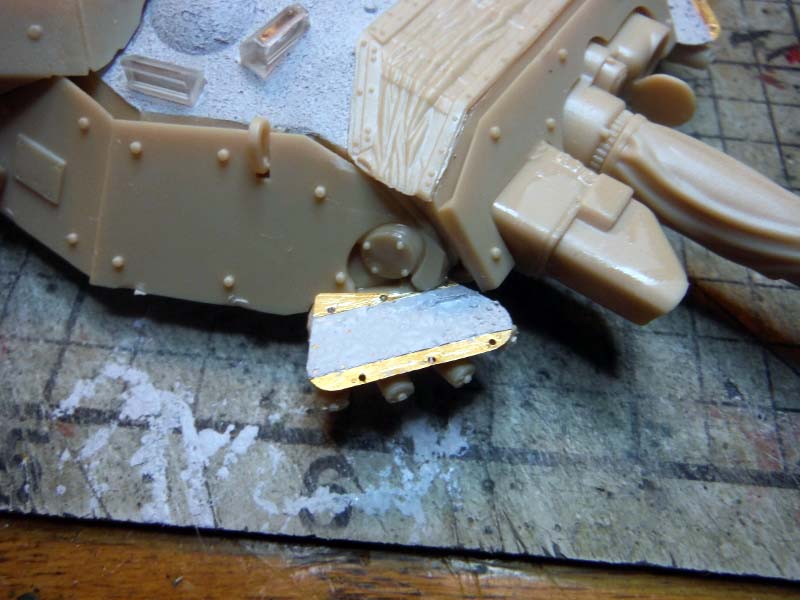
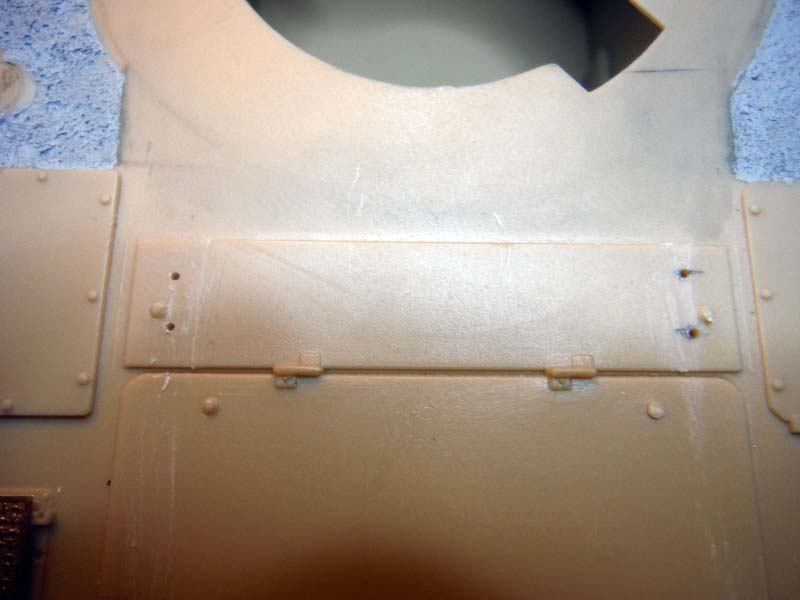
In step 2, it calls out to sand of some details which I guess are for the new version coming out, so I started there.
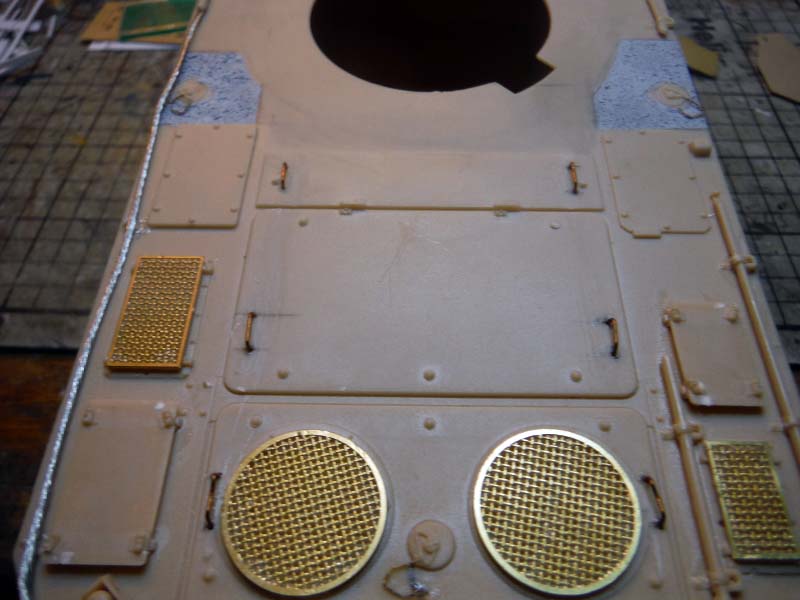
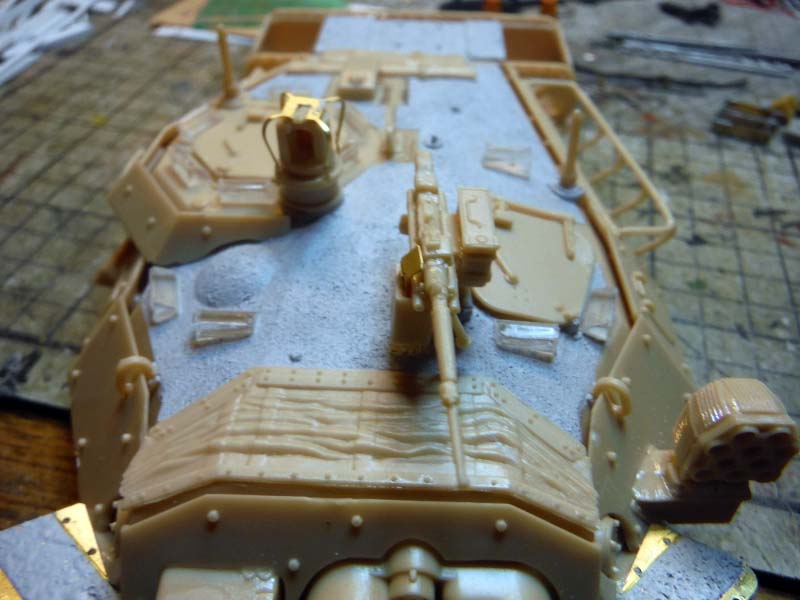
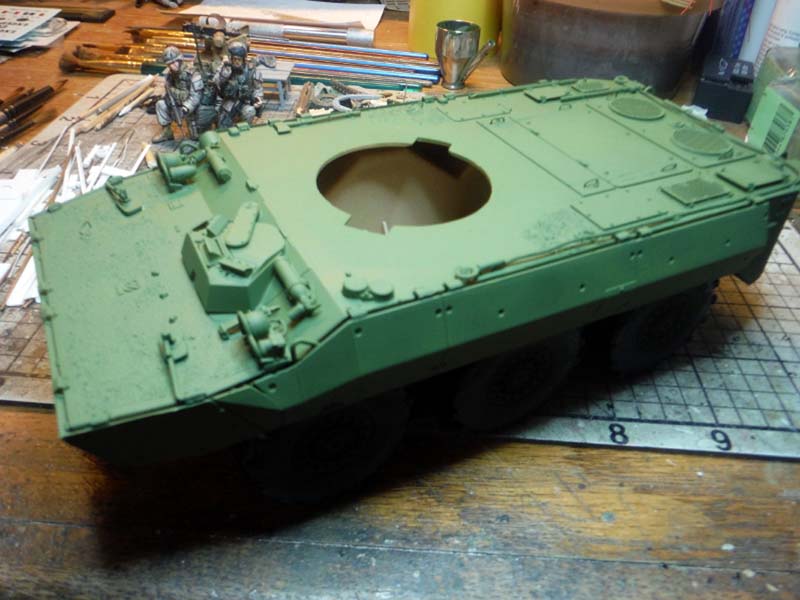
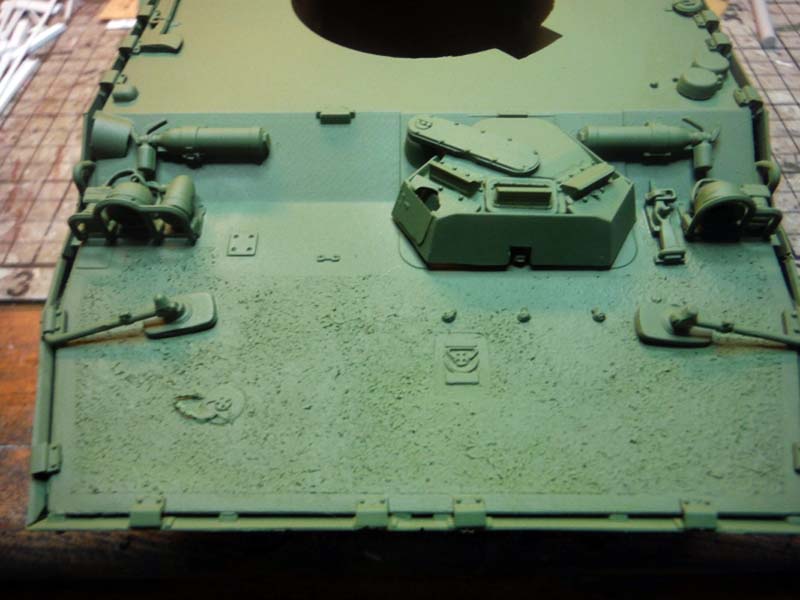
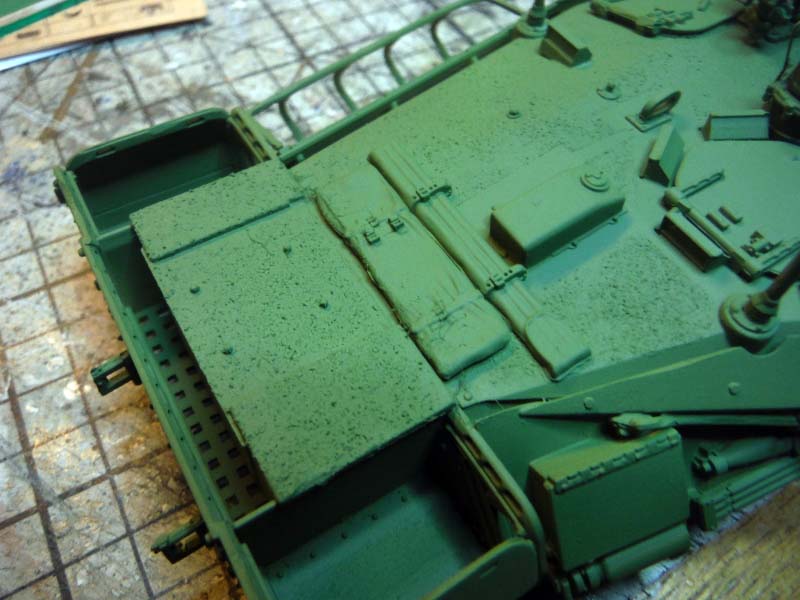
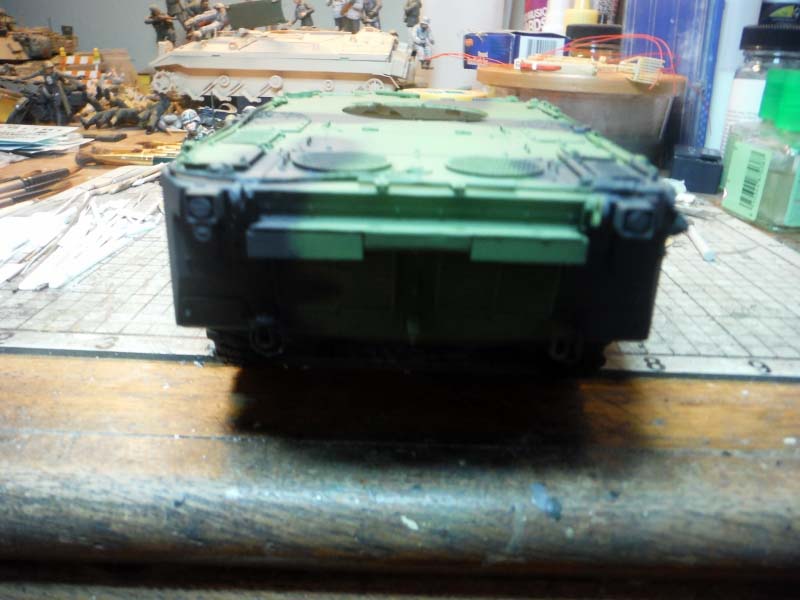
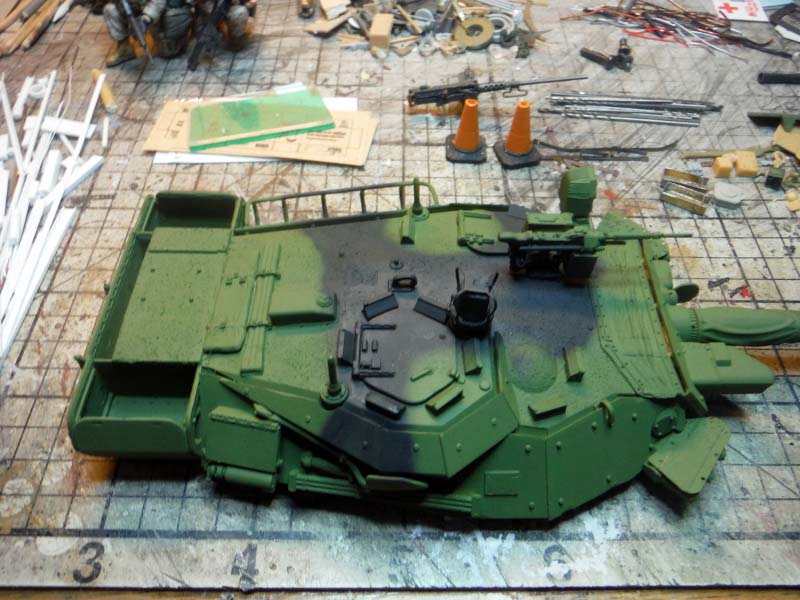
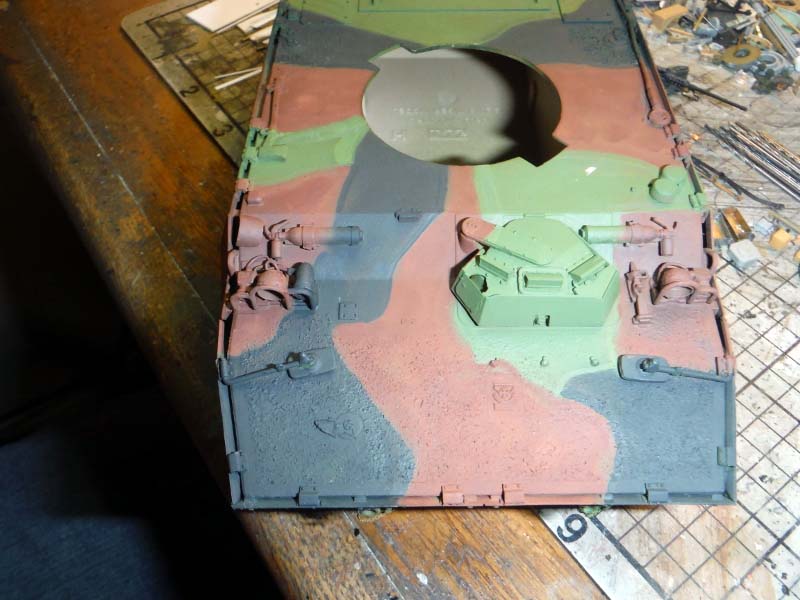
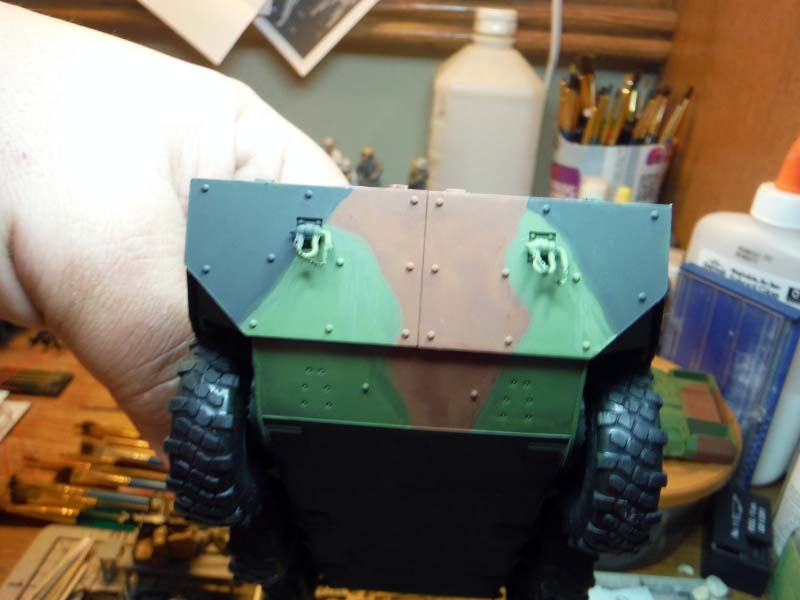
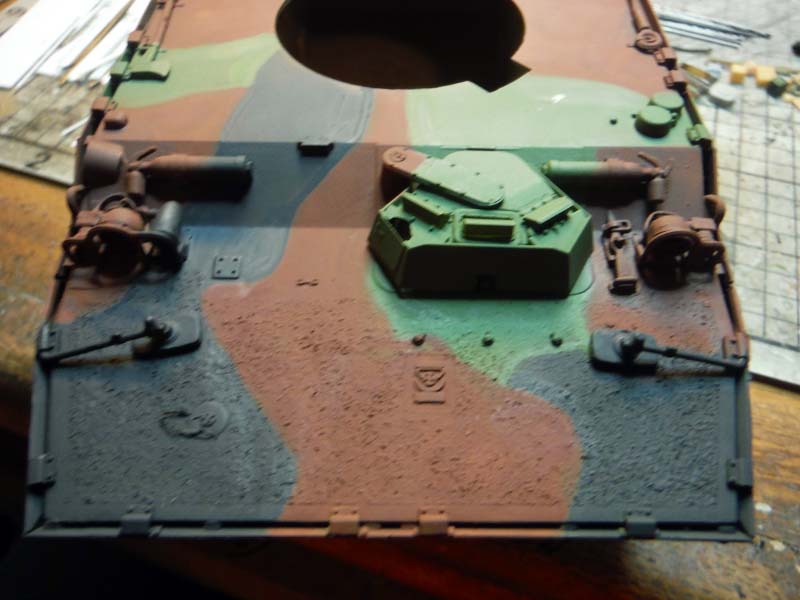
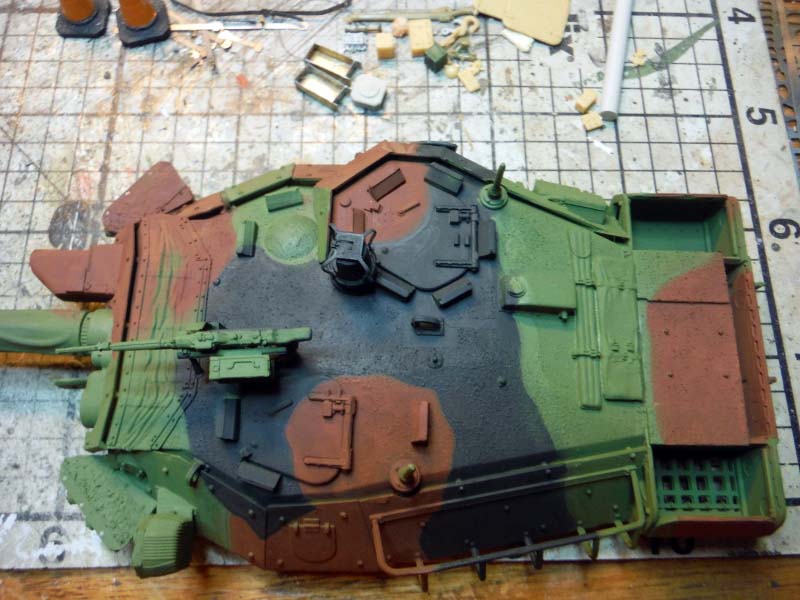
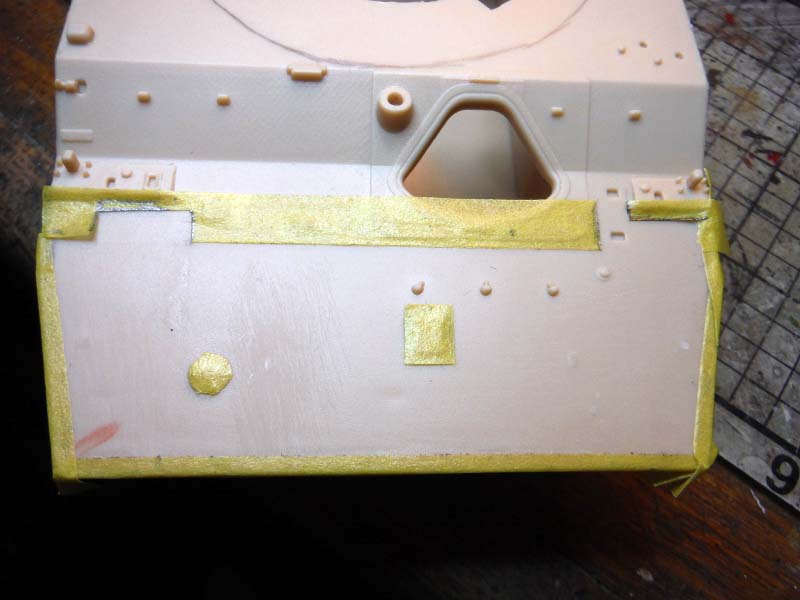
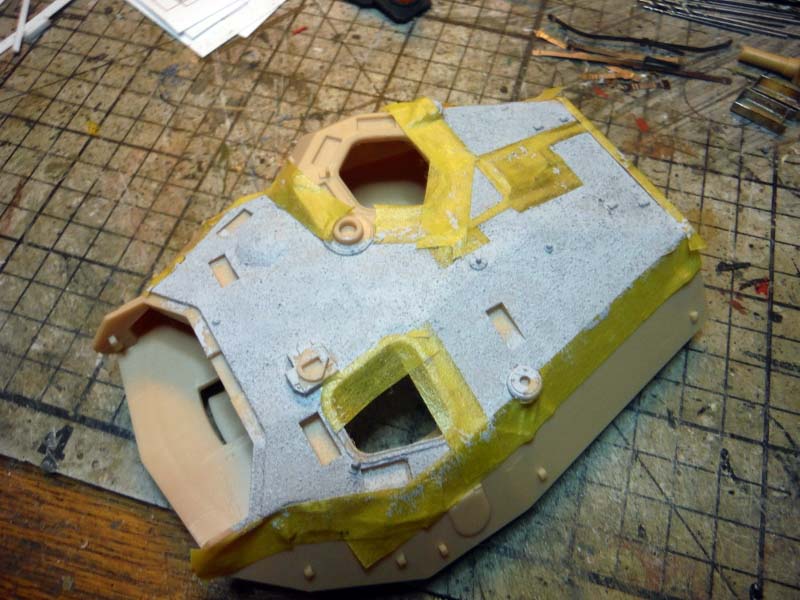
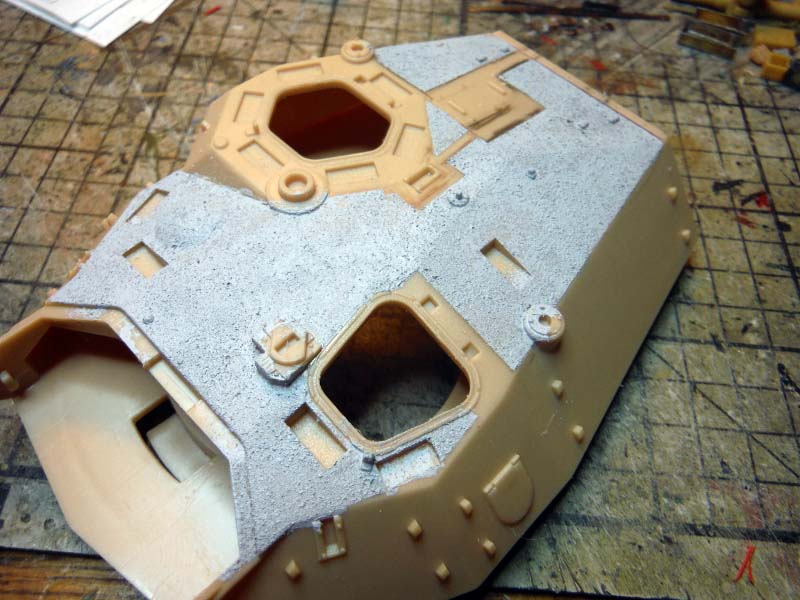
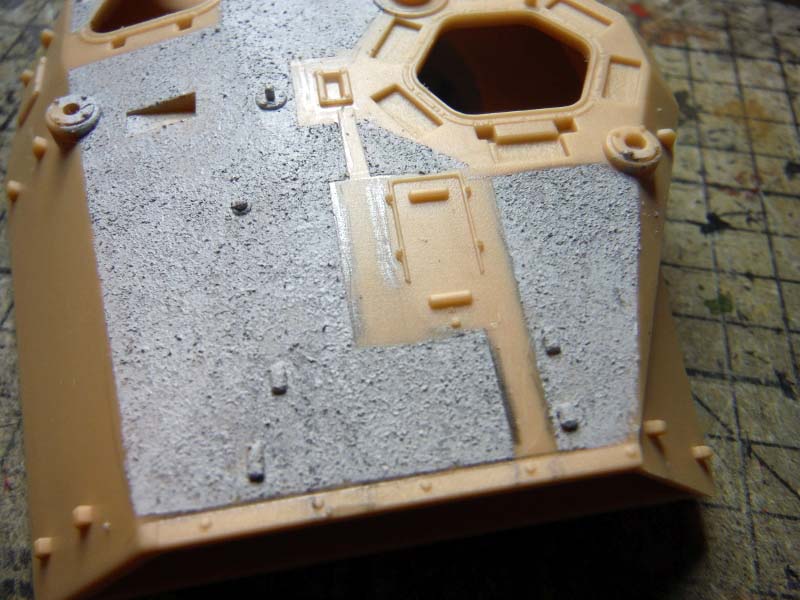
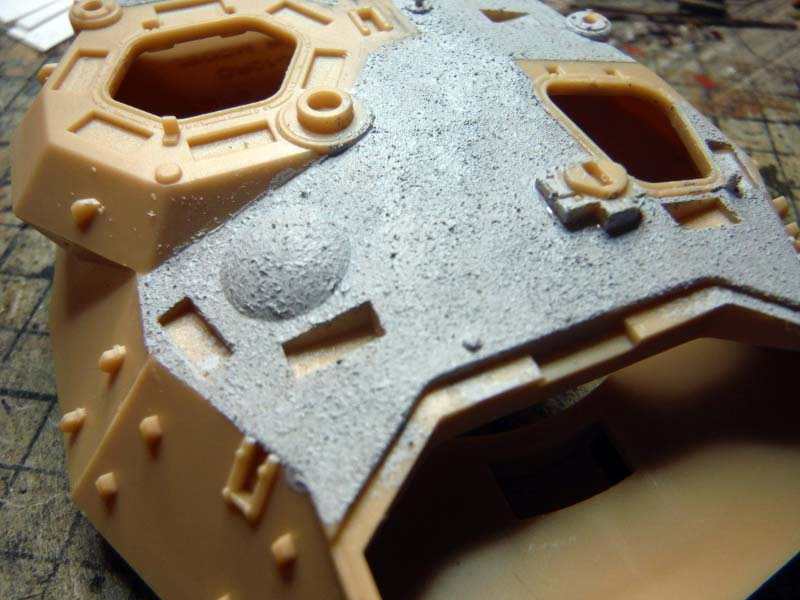
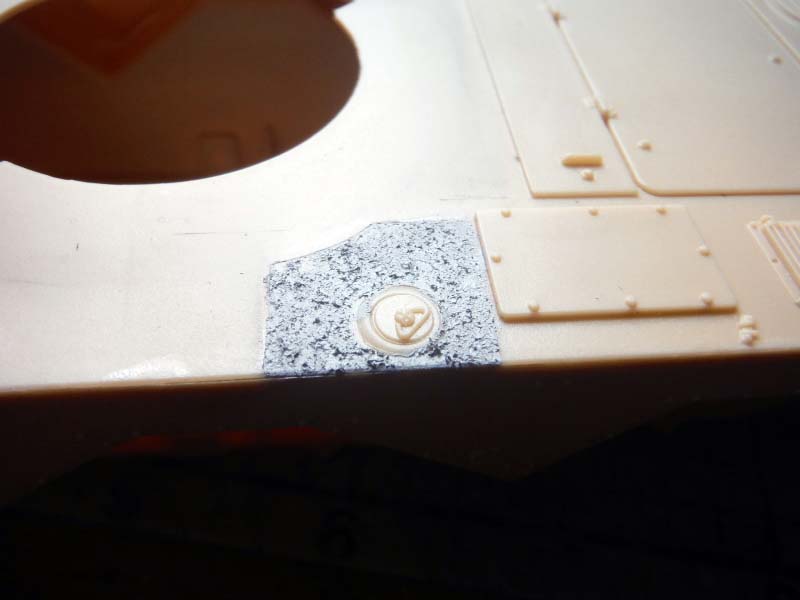
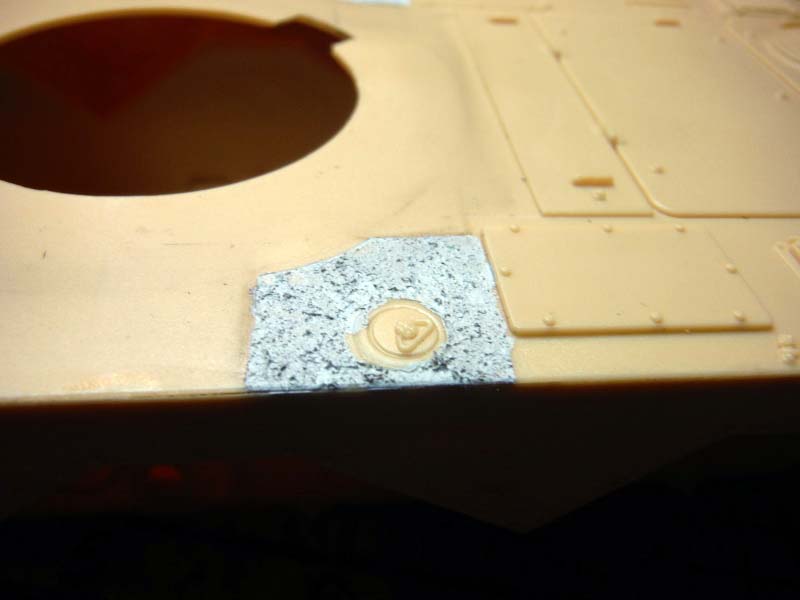
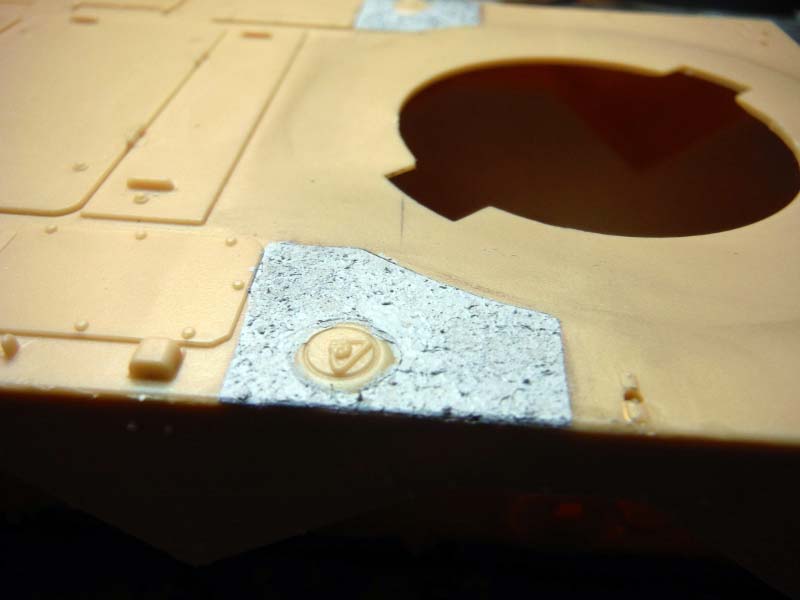
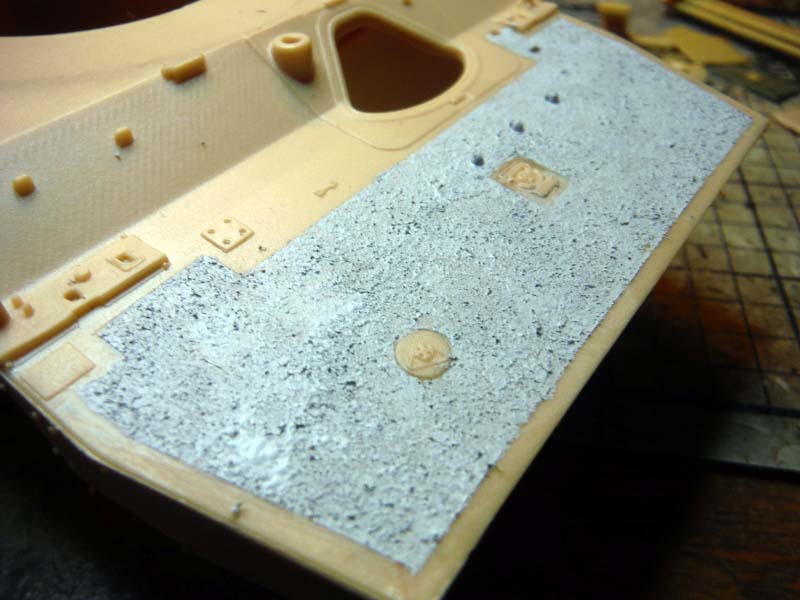
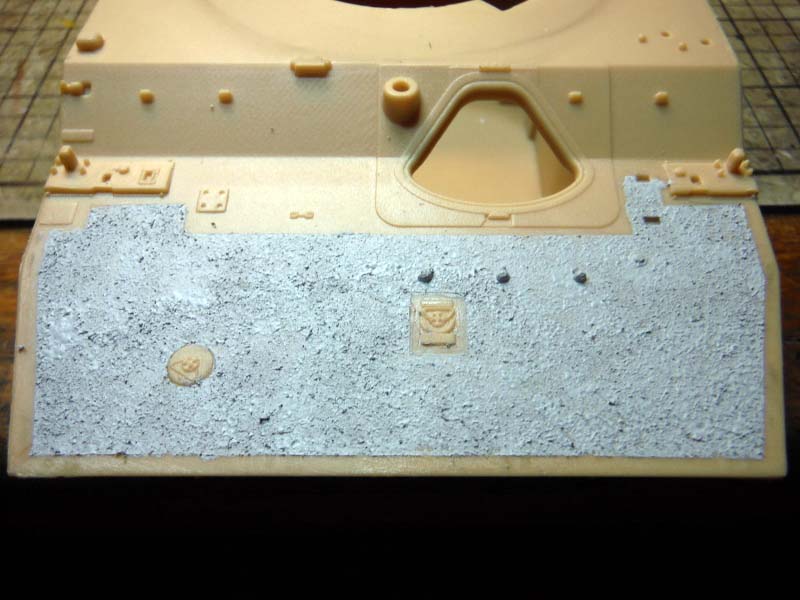
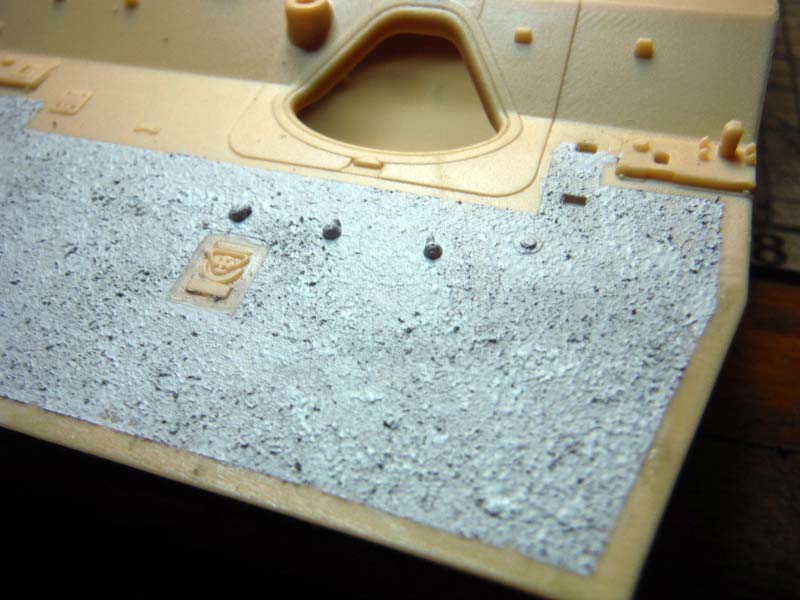
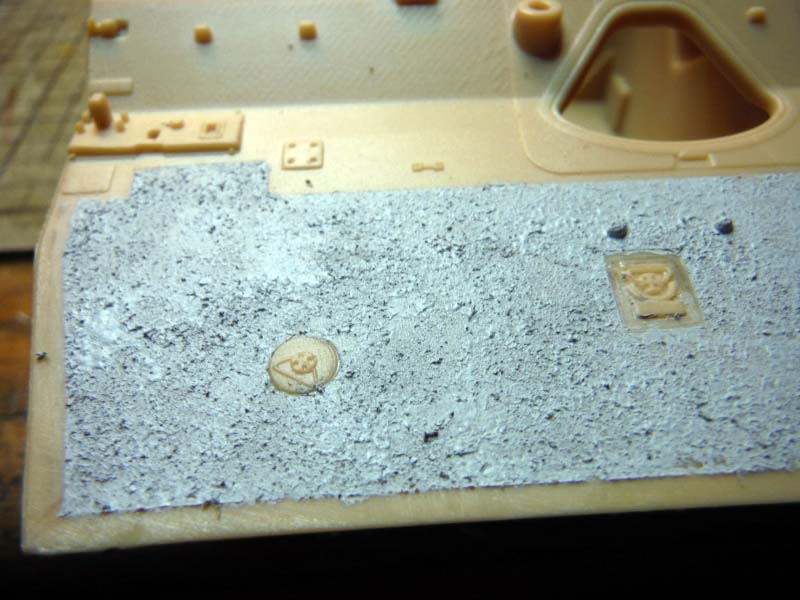
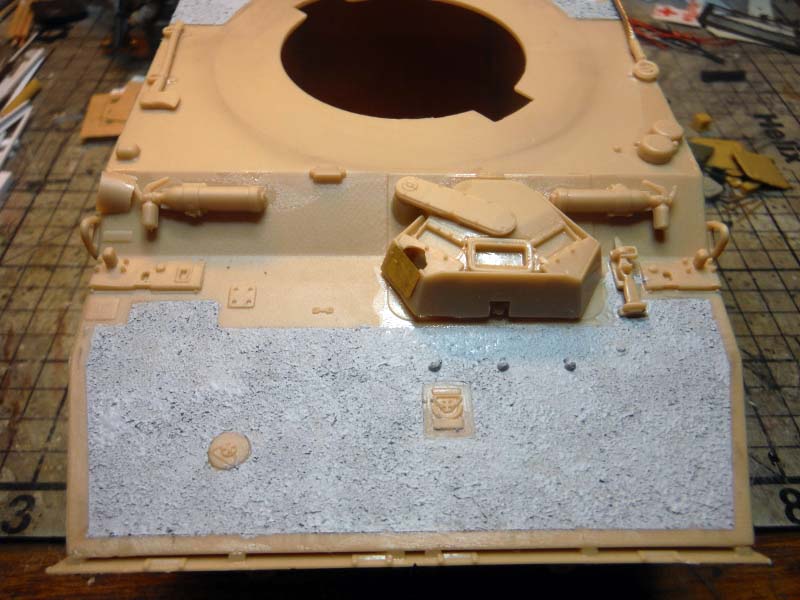
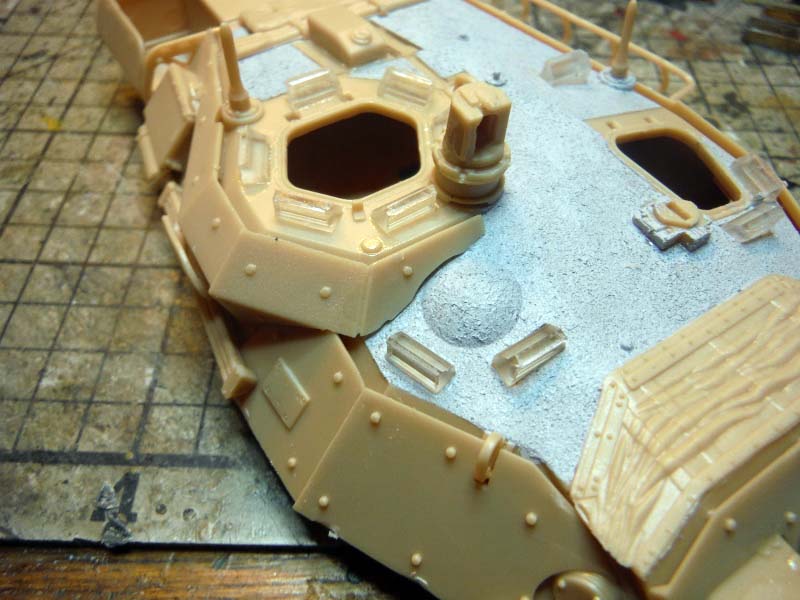
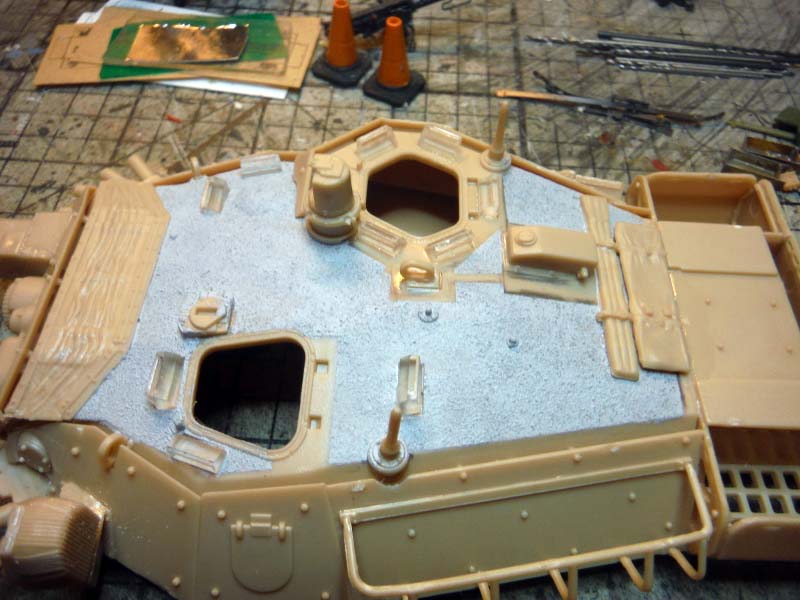
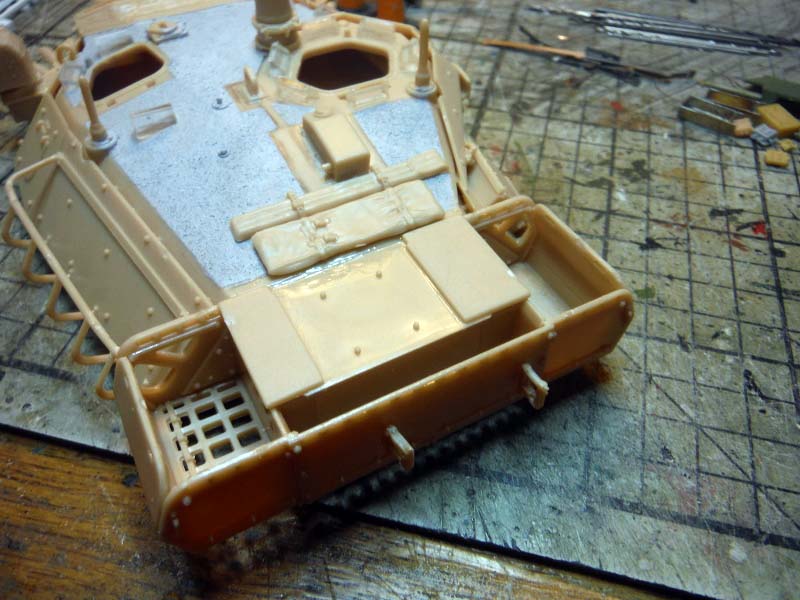
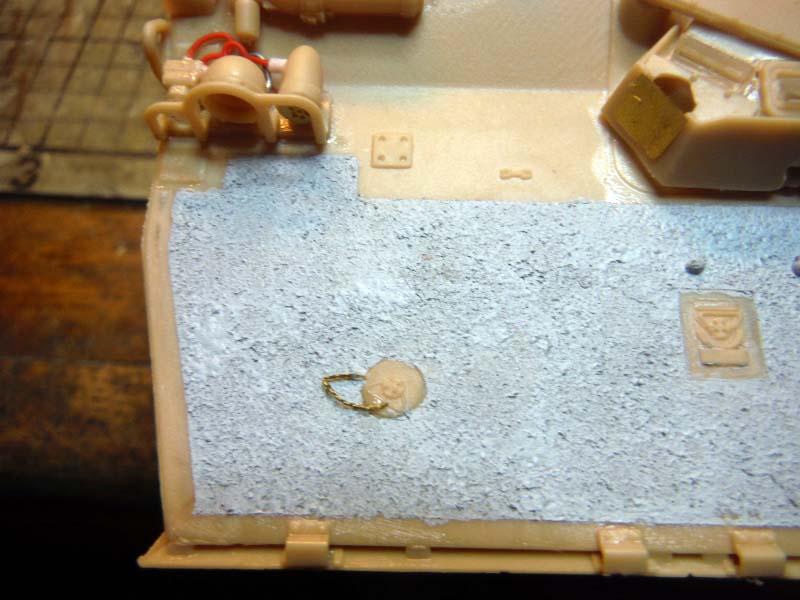
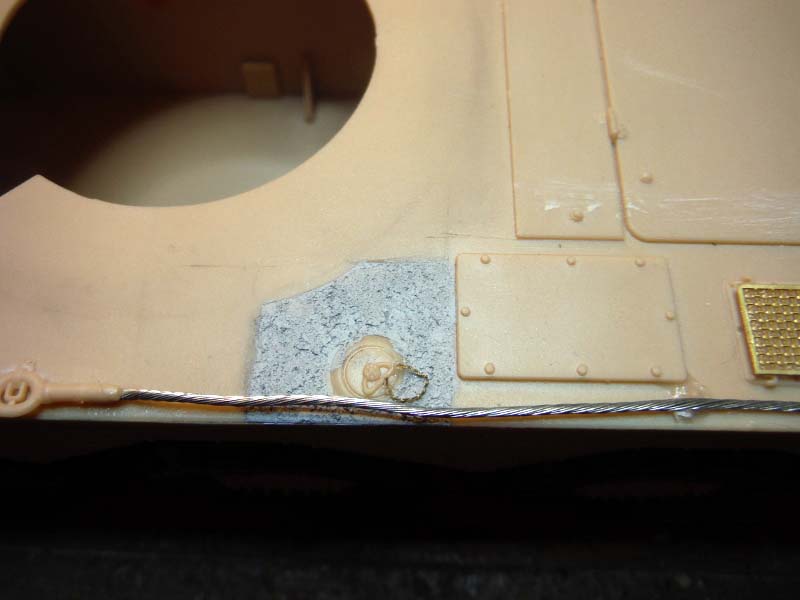
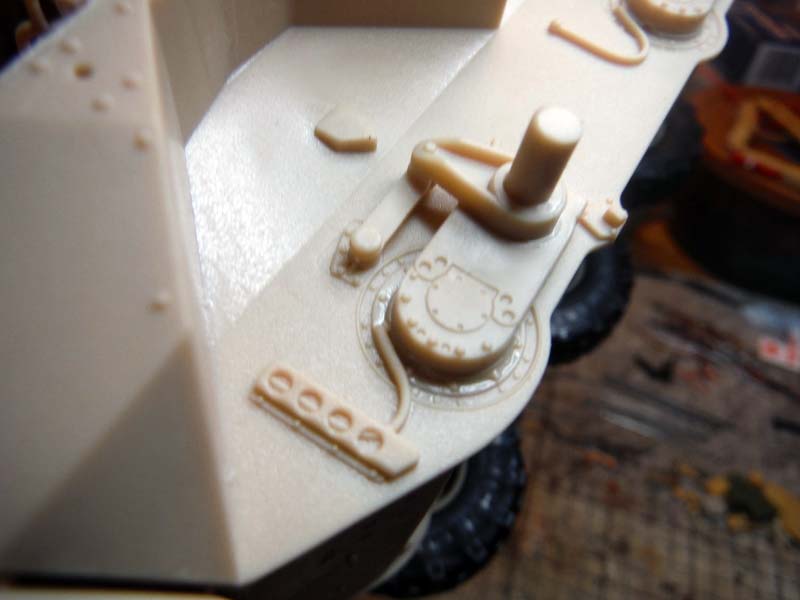
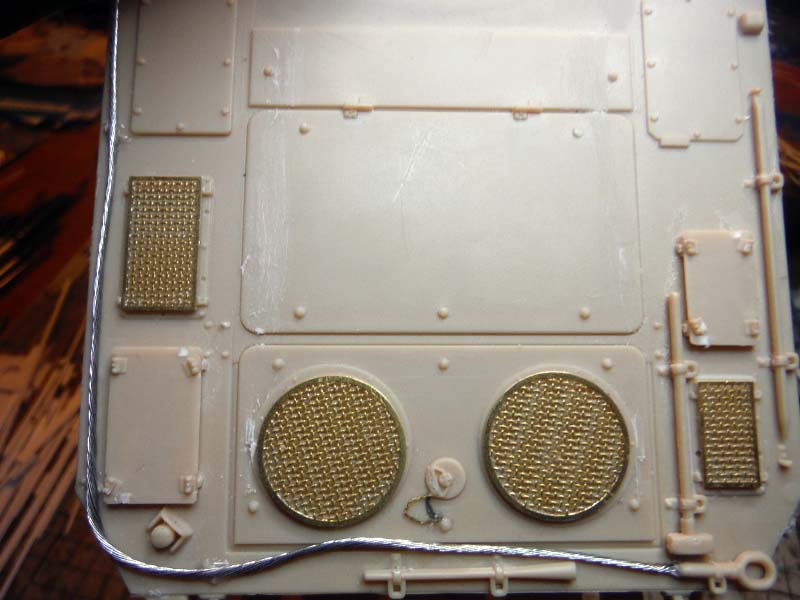
The real thing doesn't have much anti slip, say like the Abrams or Bradley has. According to reference pictures on Primeportal, the AMX-10RCR has anti slip only on the top surfaces of the turret, the 2 pieces covering the smoke grenade launchers, and 2 places on the hull, the front and around the fuel caps. With that said and done, I stayed with step 2 and put the basic hull together and moved on to step 11 and put the turret together. After putting the lower and upper hull and turret together, I used a pencil to draw in the anti-slip areas and then masked off the area with Tamiya rice tape. I used Mr. Surfacer 500 and a flat brush cut real short to stipple the Mr. Surfacer on. Some guys airbrush the Mr. Surfacer and some stipple it. I like to stipple it because it causes a rougher surface.
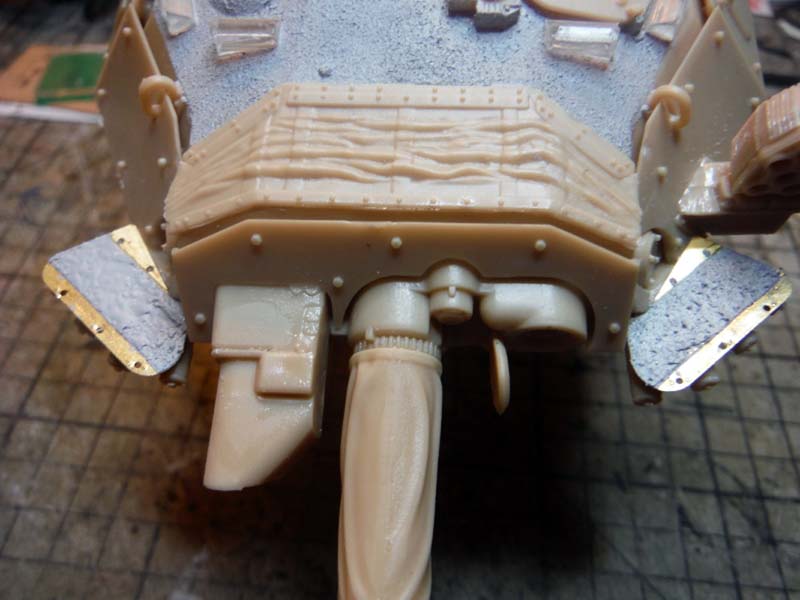
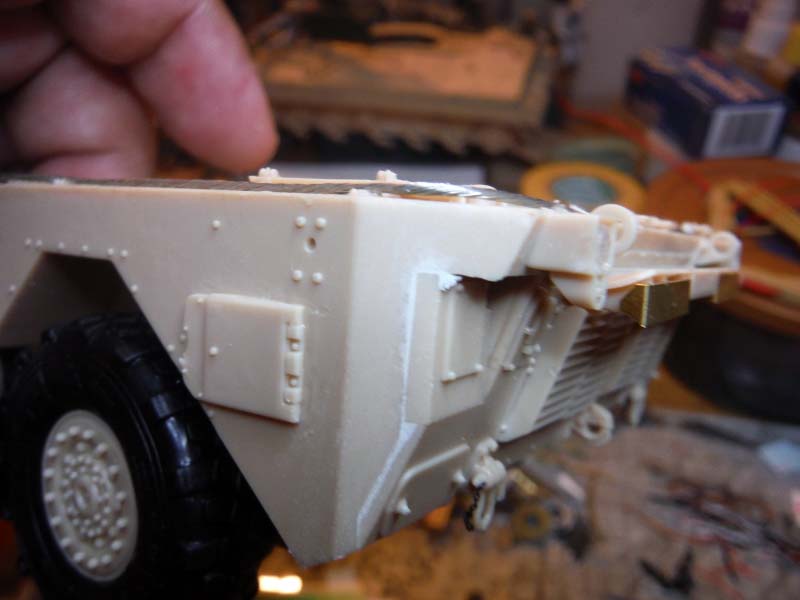
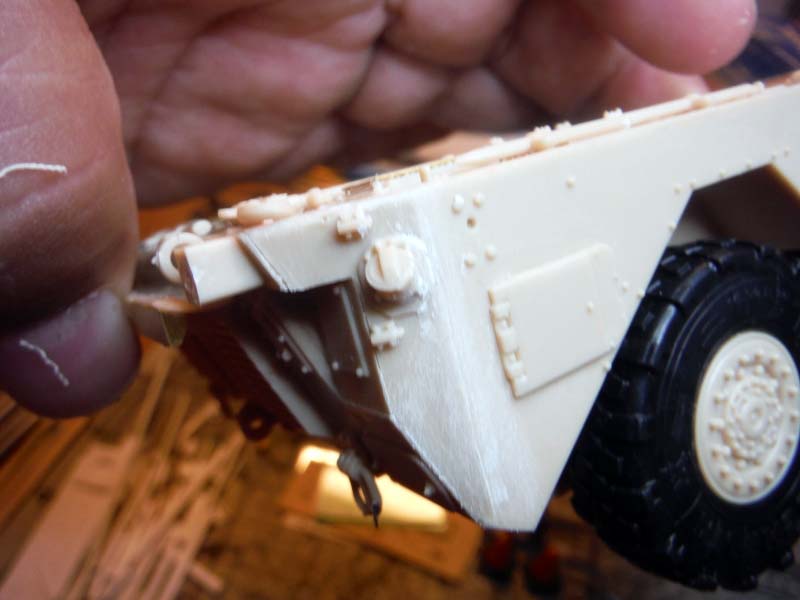
After the anti-slip was dry, I went back to step one and continued on with the build. In step 2 and 3 as the only place that needed filling with putty. Part A6 and the main hull needed filling and sanding. Part B9 also needs to be filled and sanded between the main hull and part A6.
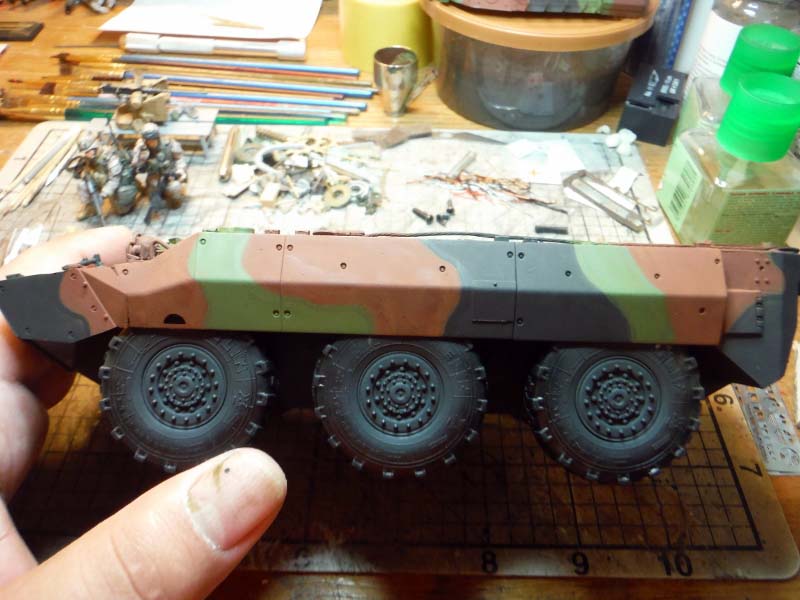
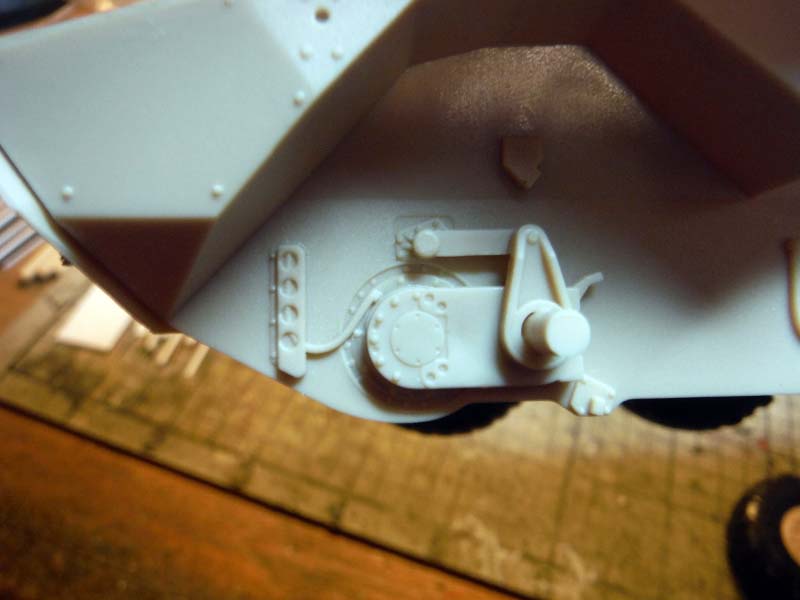
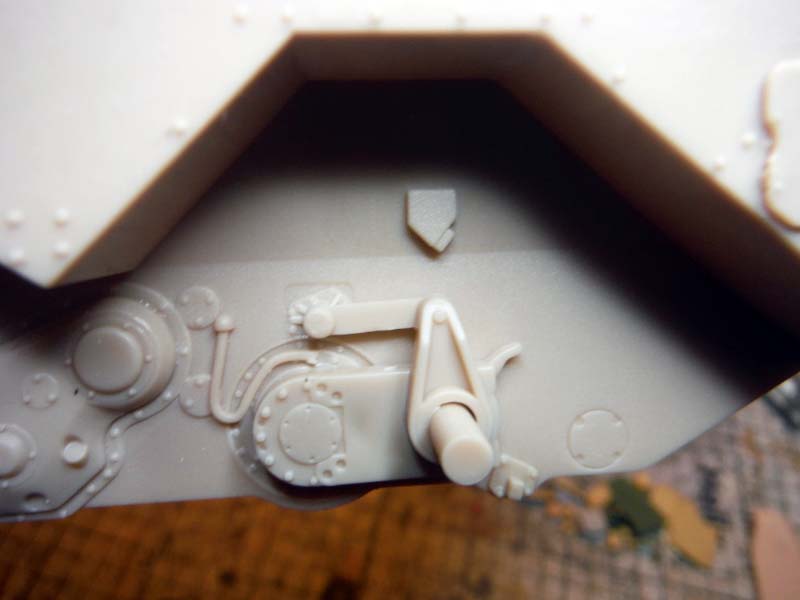
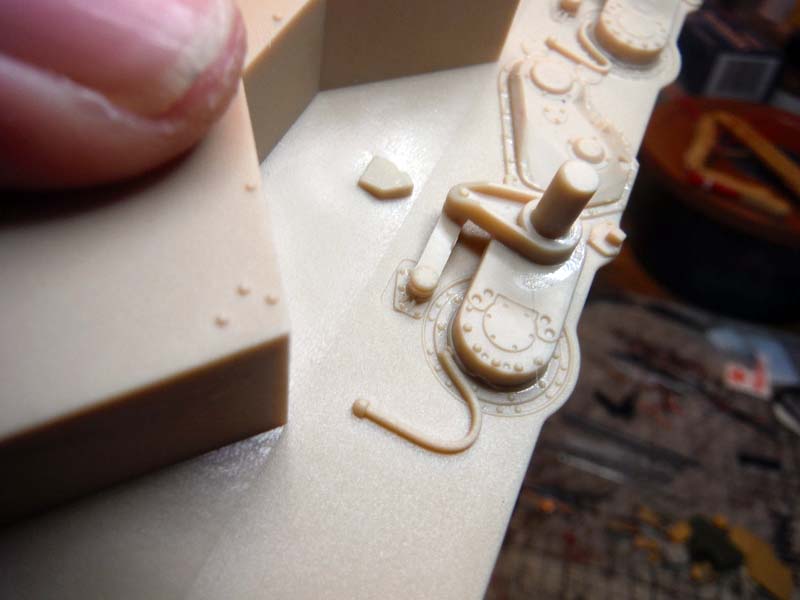
For you guys who go above and beyond that Out of the Box build, here is something I noticed that can be done to this kit. In Step 3 and 4, it has you attaching the axles for the wheels. On the real thing, each axle can elevate or depress. Even though the kit has the axles in one all level position, it wouldnt be that hard to elevate or depress each axle. Removing the notch on part C2 and C3 and separating the arm on part C4 will allow you to reposition all the axles.
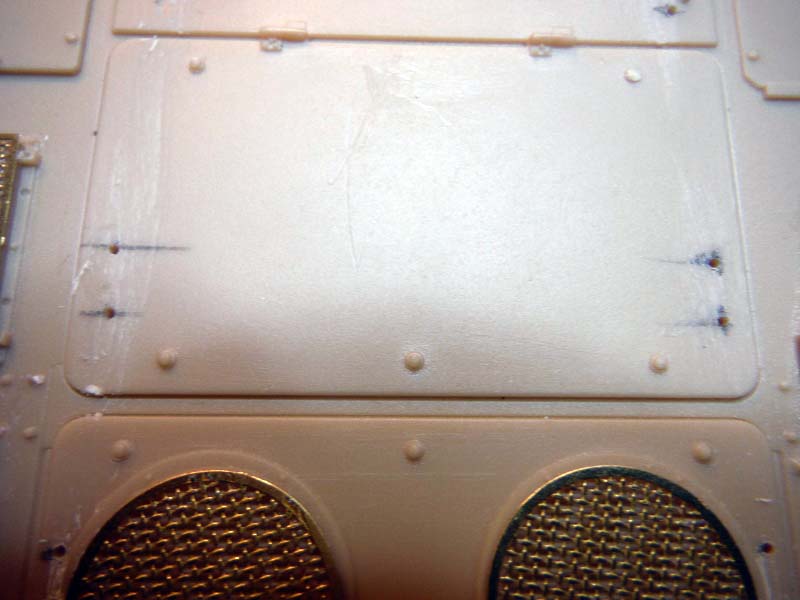
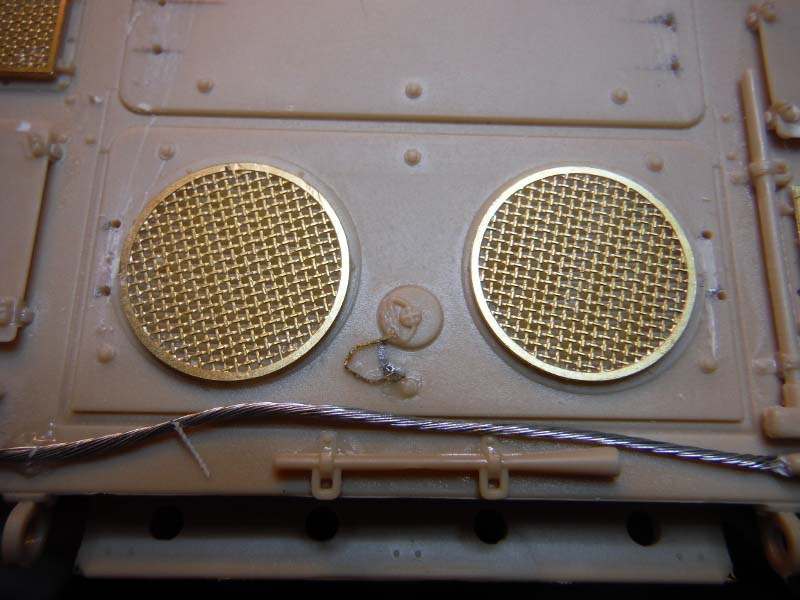
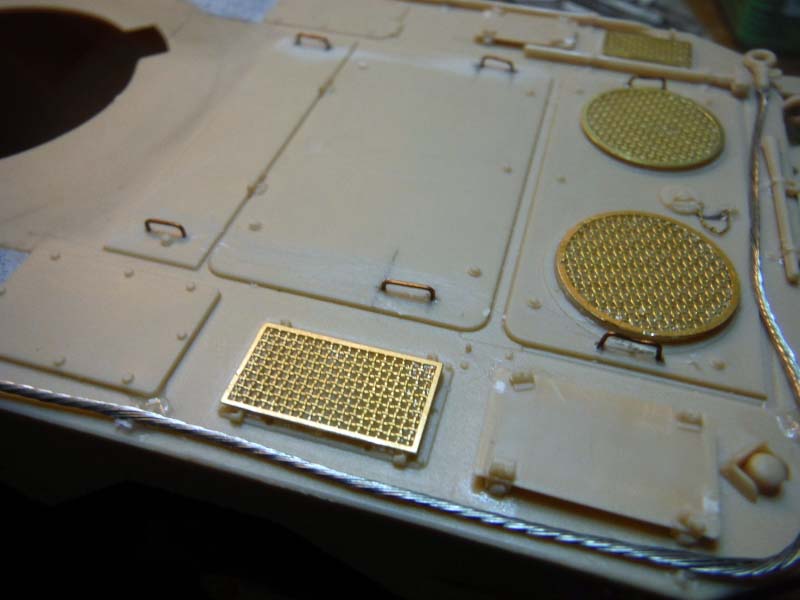
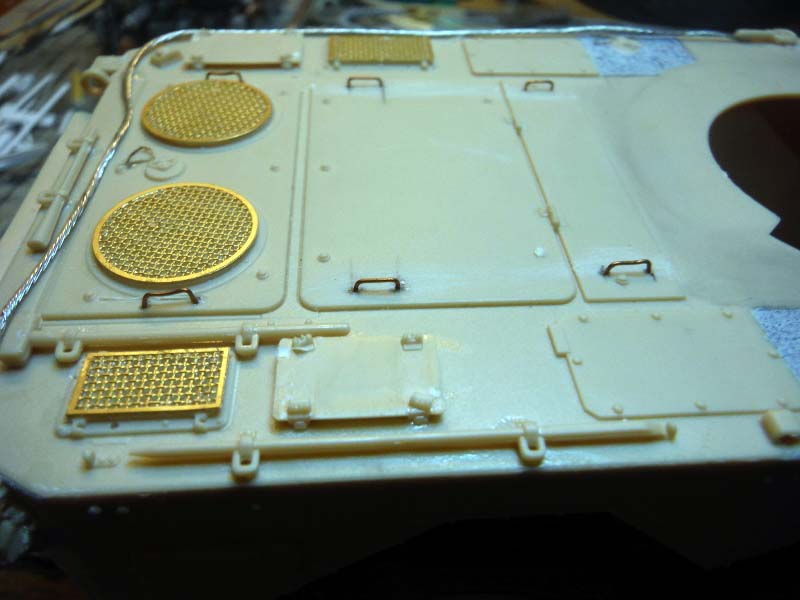
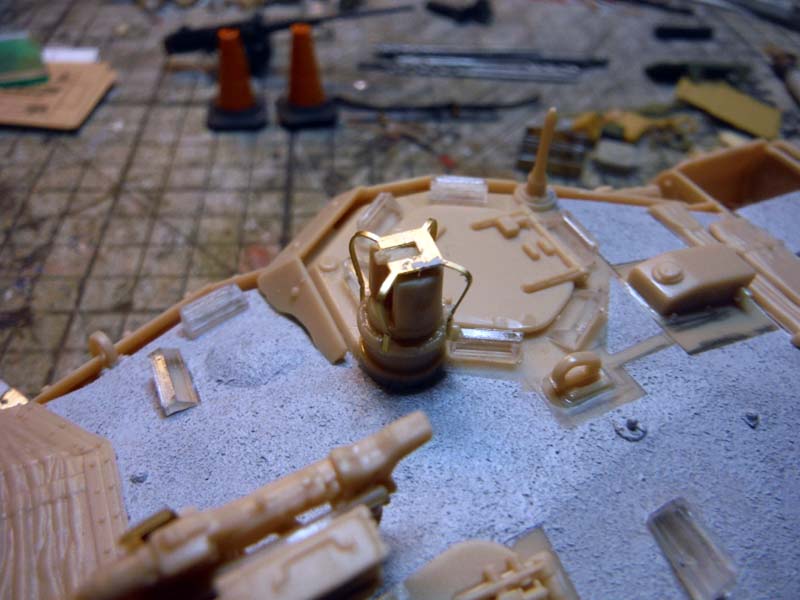
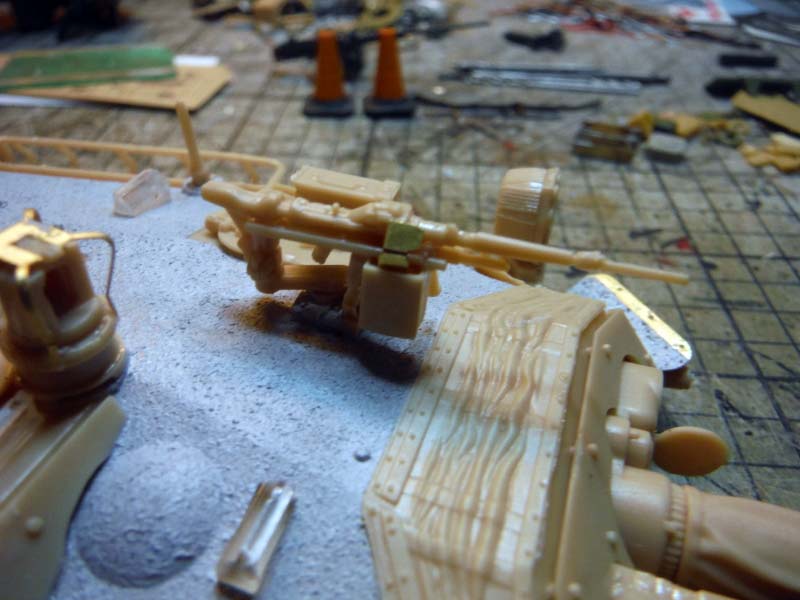
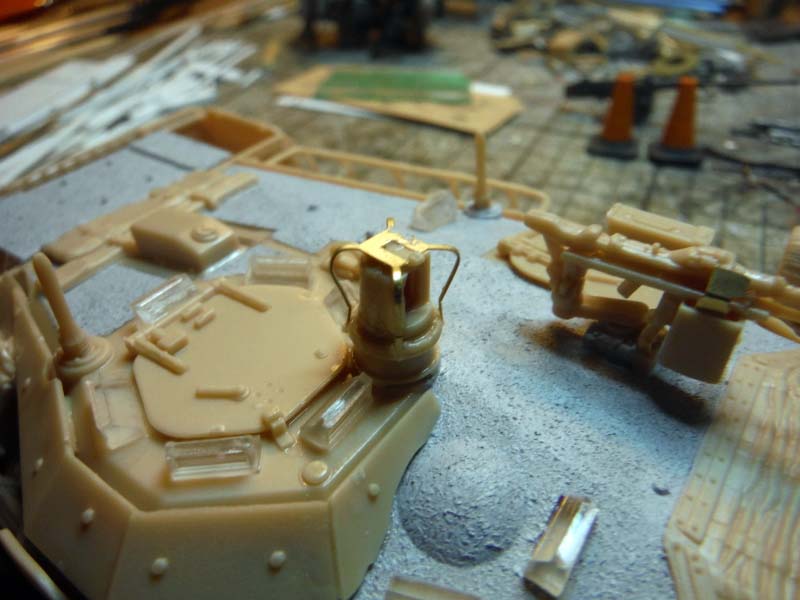
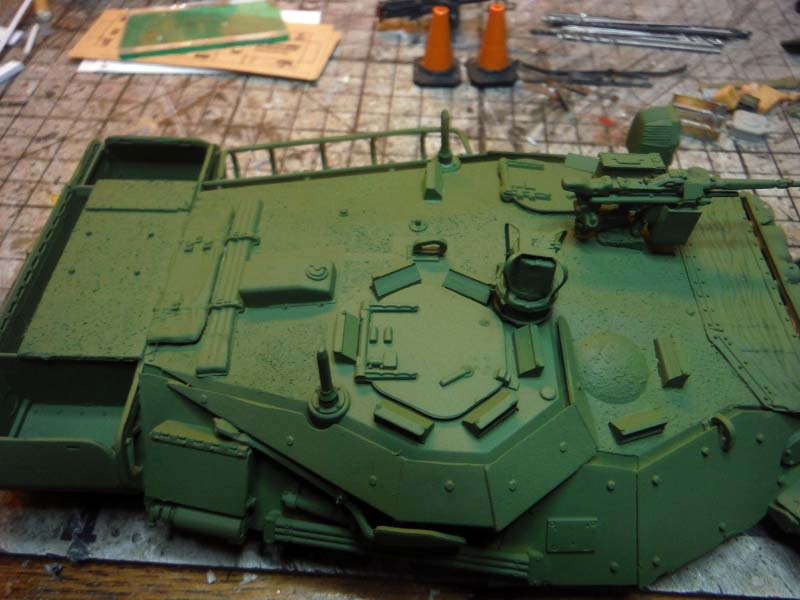
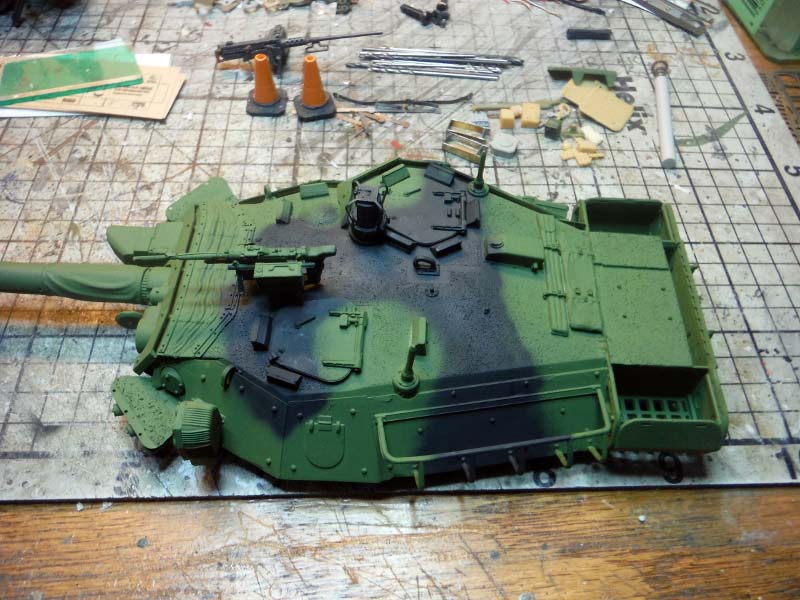
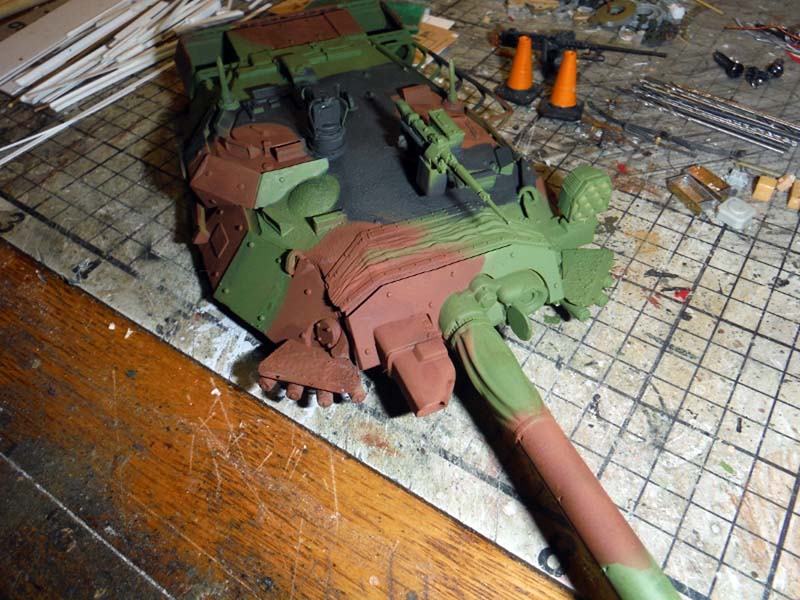
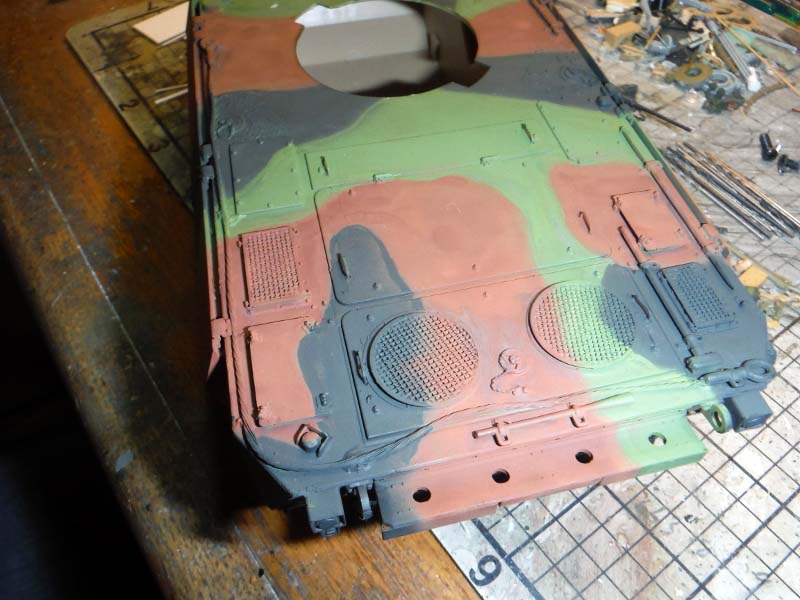
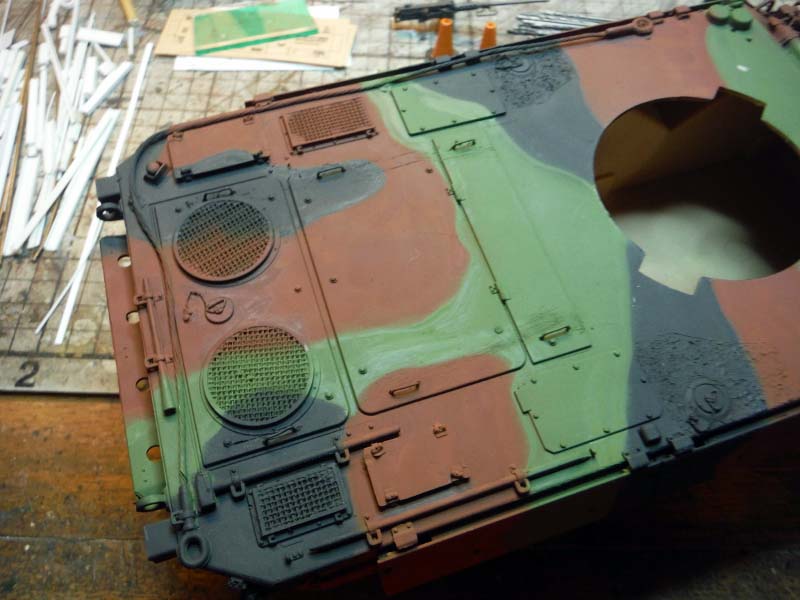
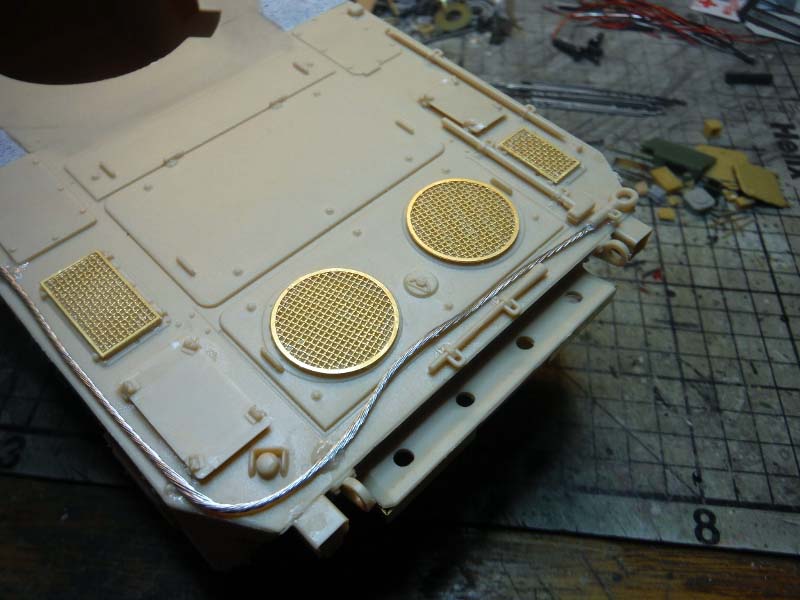
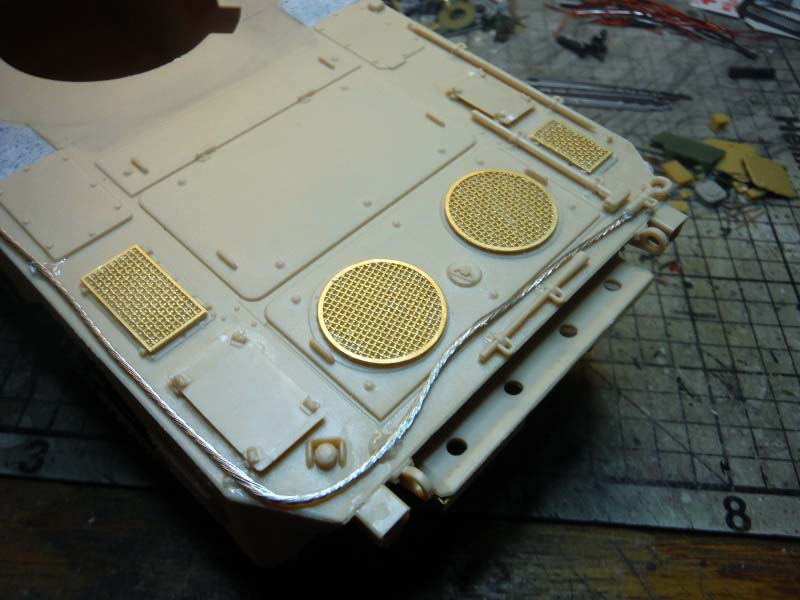
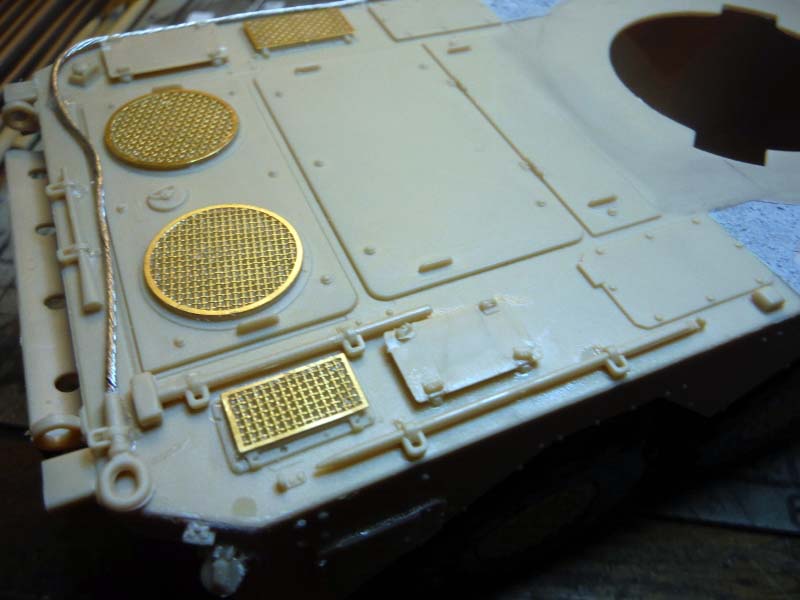
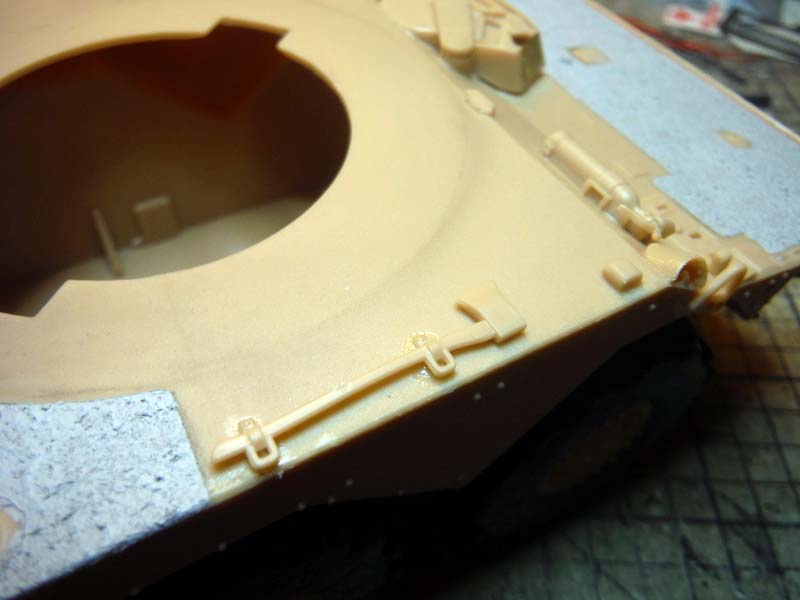
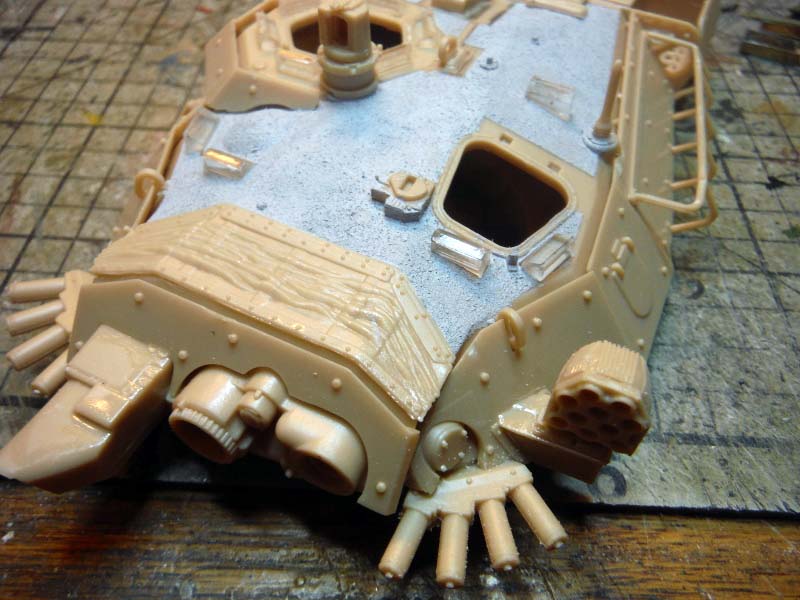
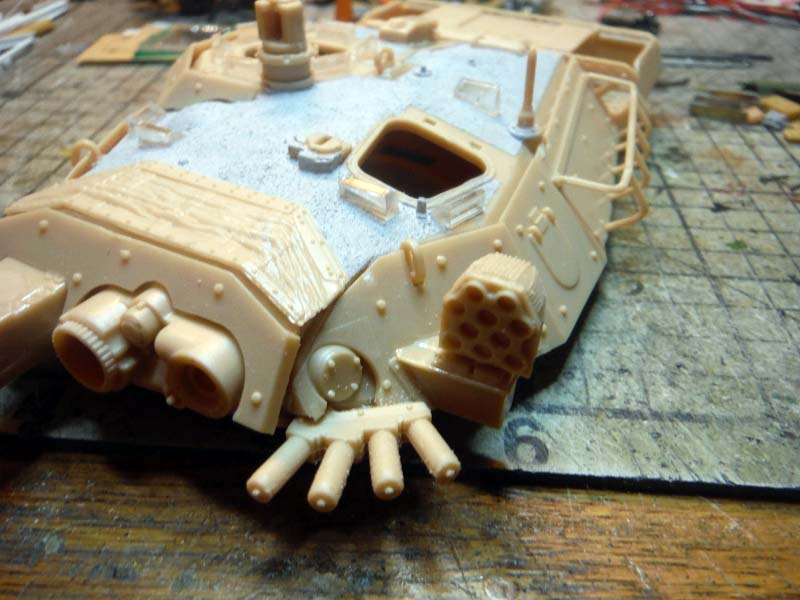
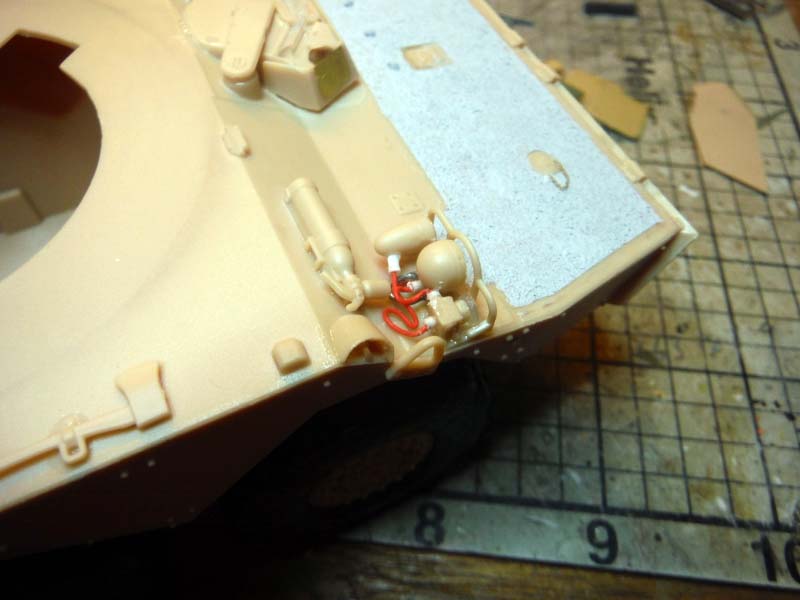
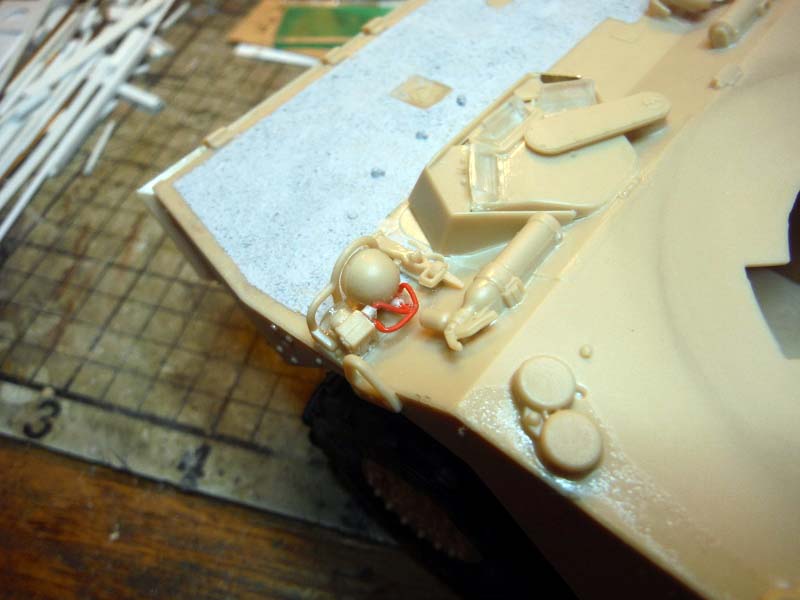
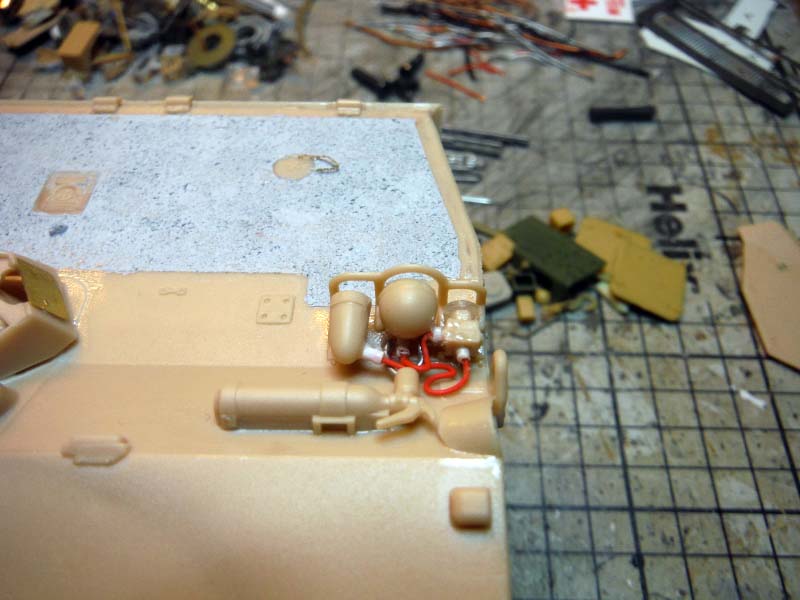
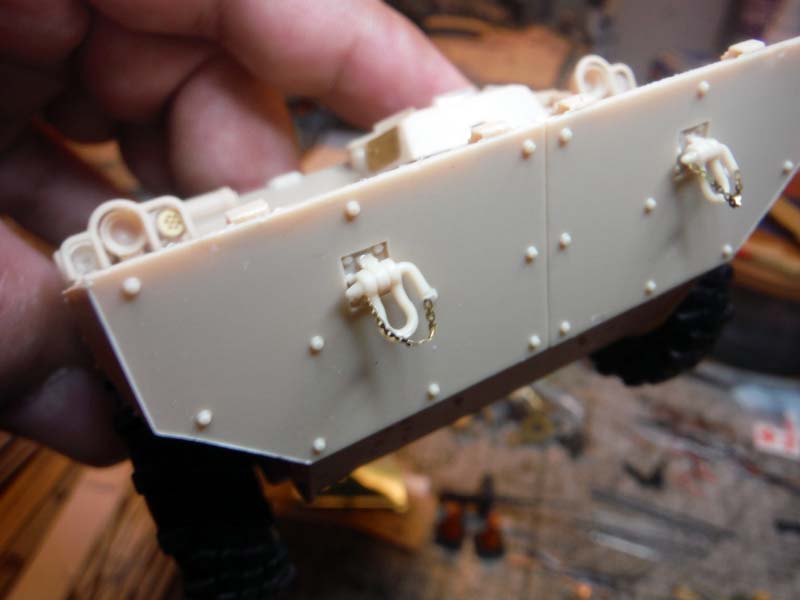
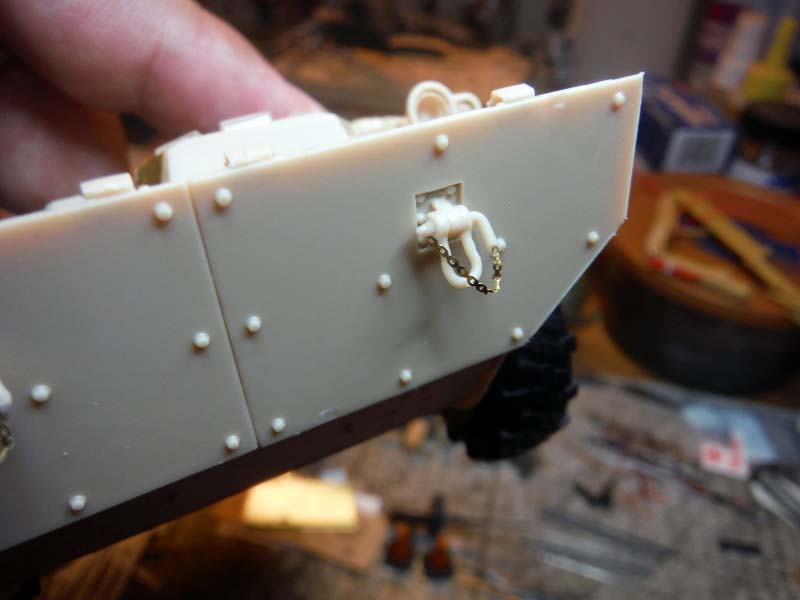
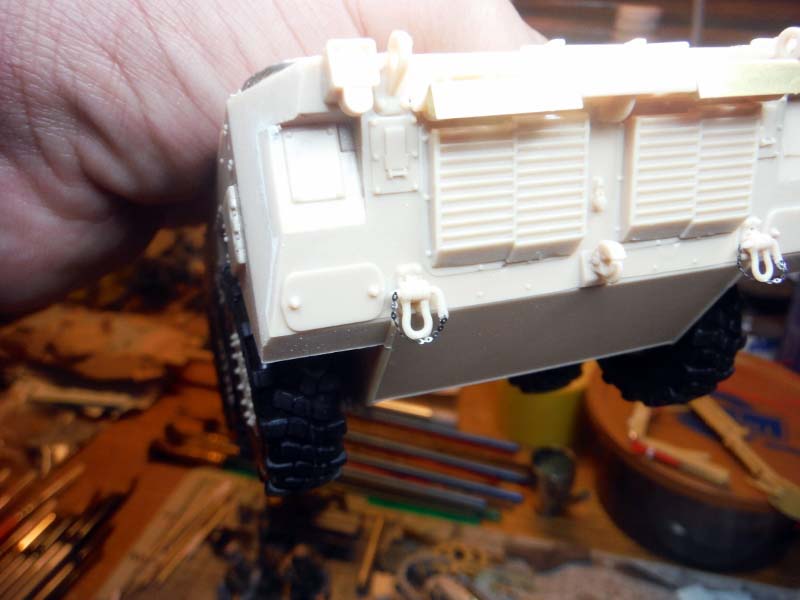
Looking at reference photos, there wasnt much I could see in the way of more detail that needed to be added. On part A14 there should or could be added 3 straps and strap loops. I chose not to add these because I didnt have anything good for buckles for the straps. I did though add the missing chains to all the filler caps, 4 in total, on the top of the hull. I also added the missing chains to the 4 towing shackles. I also added the cables for the headlight clusters up front of the hull. The last detail I added was the grab handles for the 3 engine covers on the back deck of the hull.
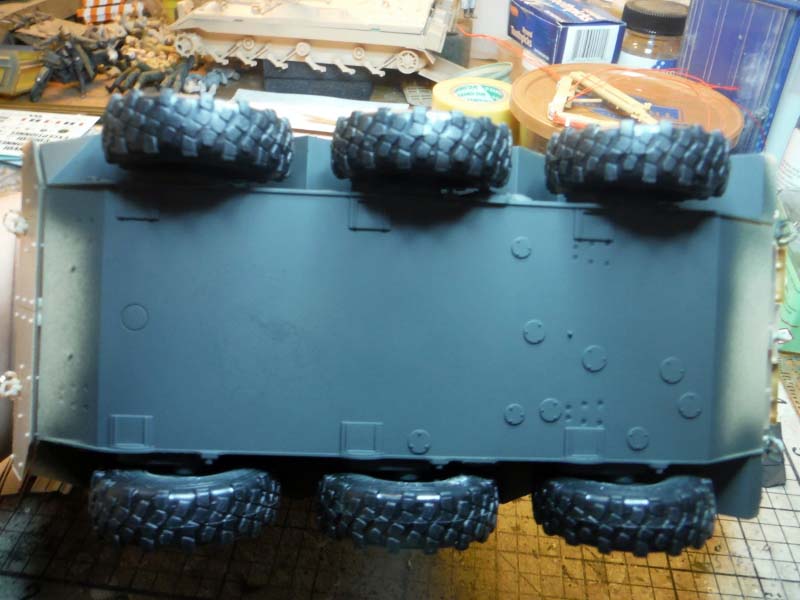
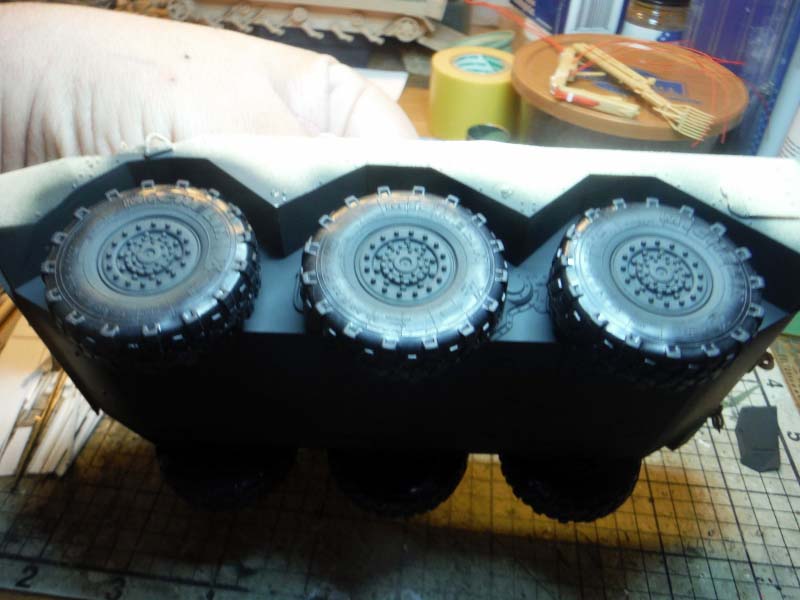
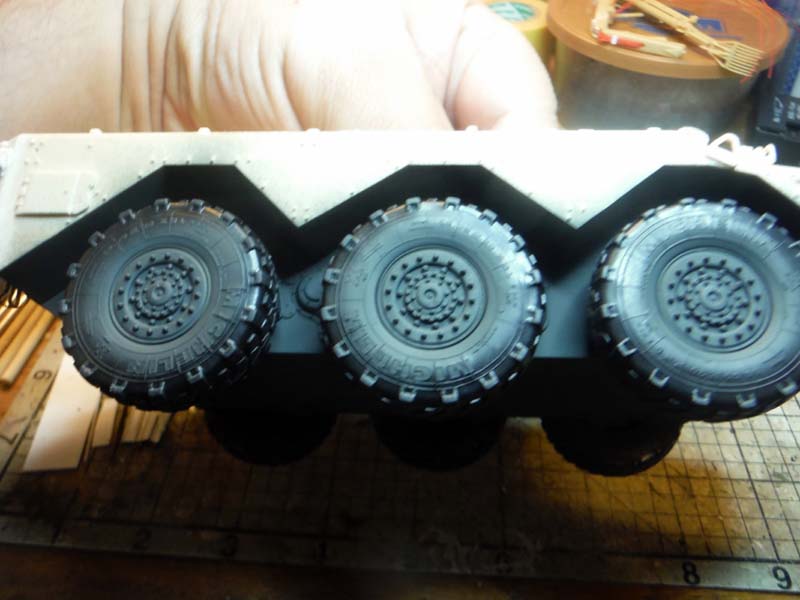
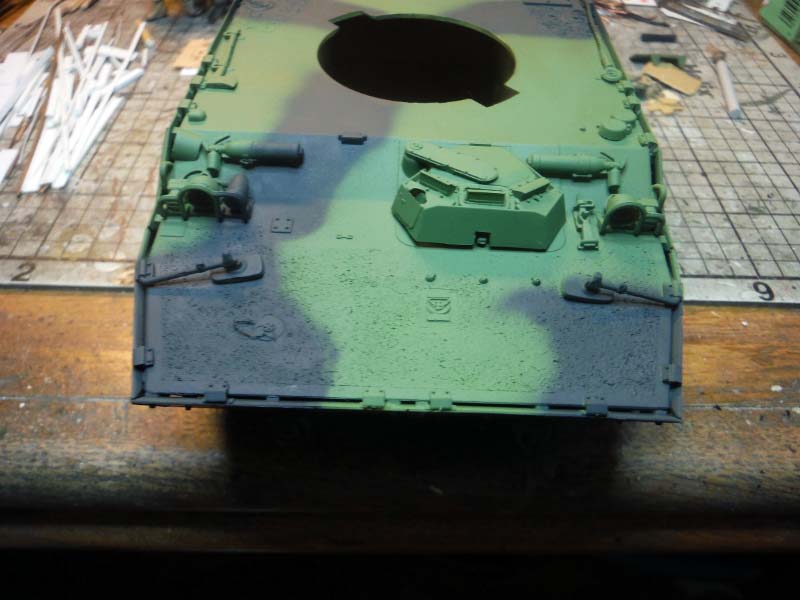
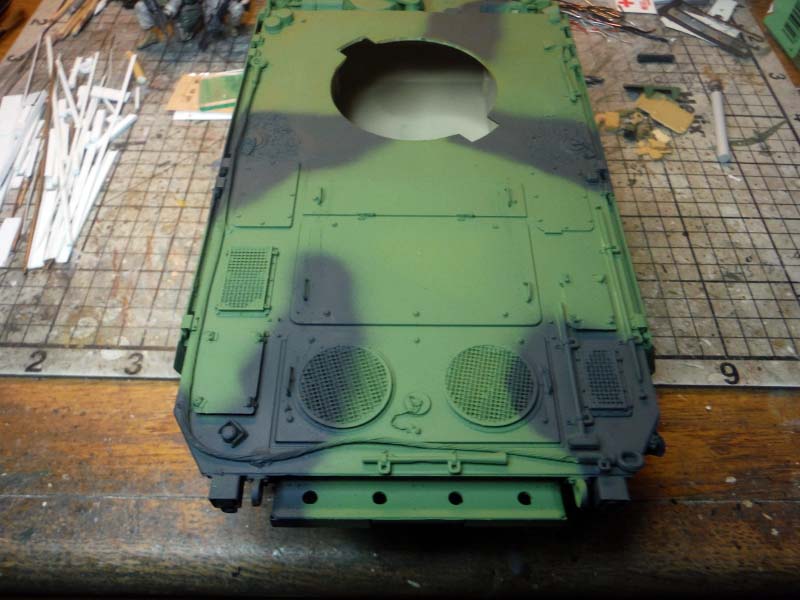
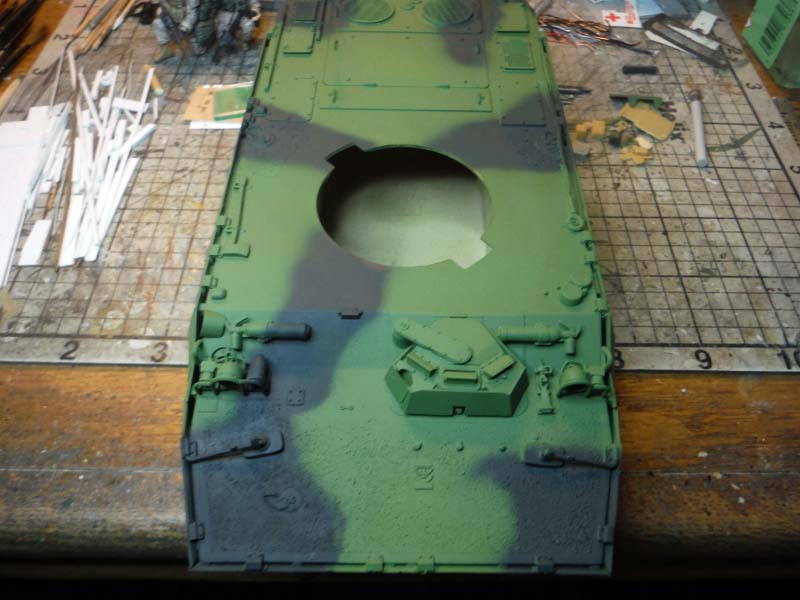
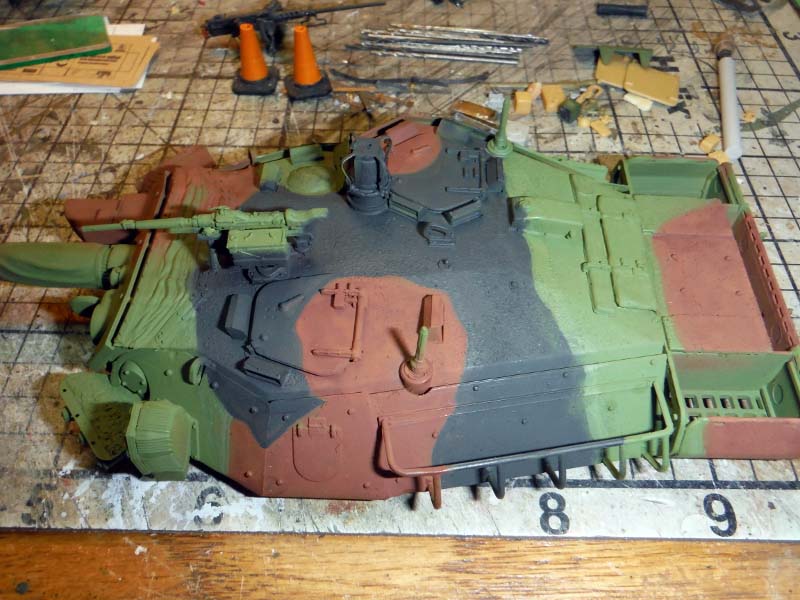
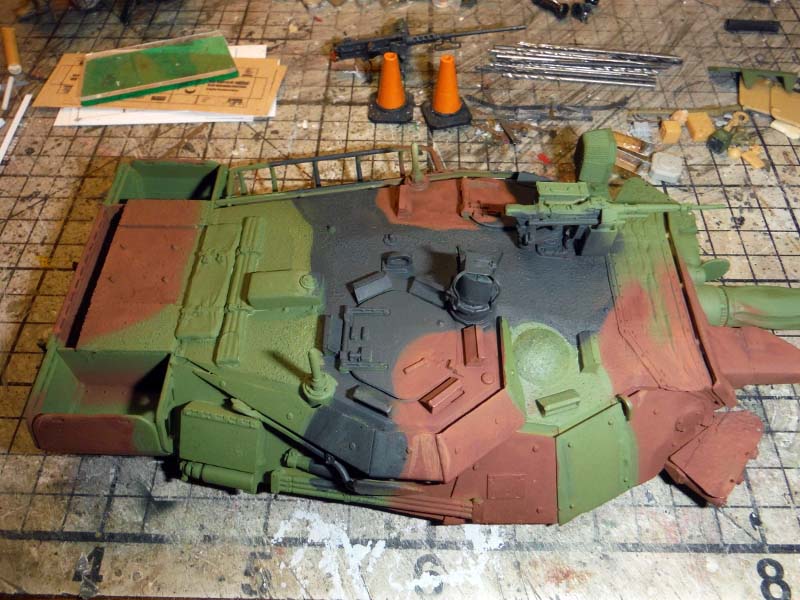
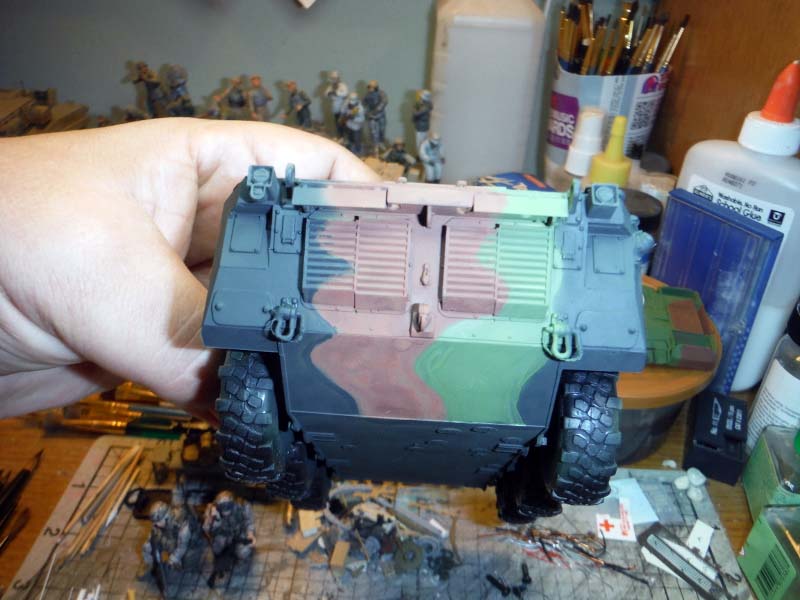
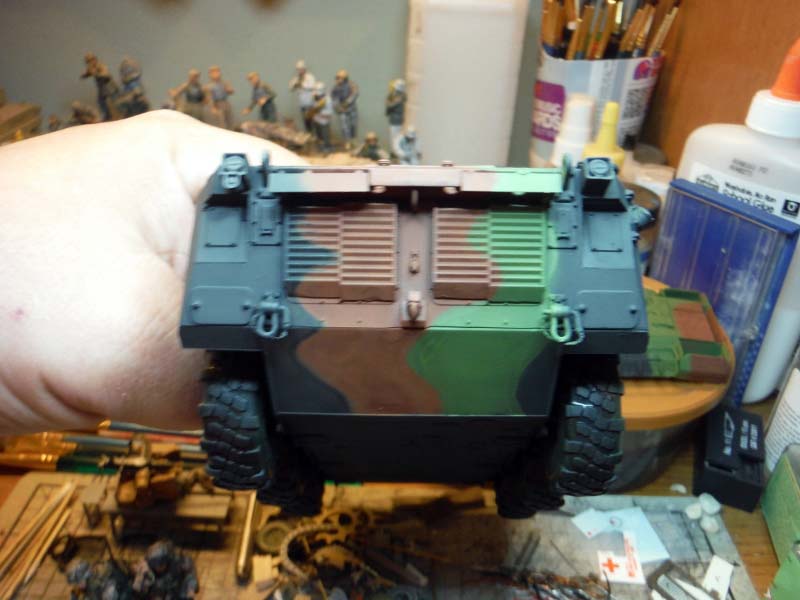
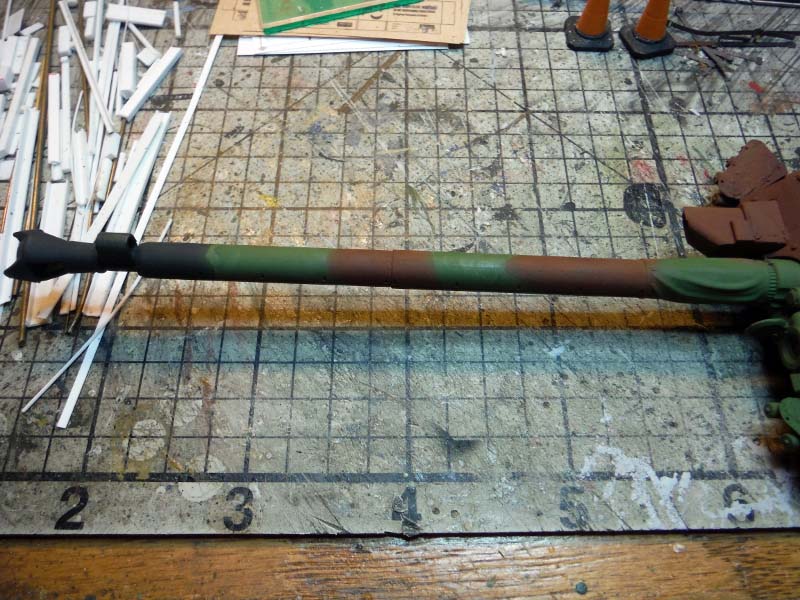
Painting was next. I started by using Tamiya NATO Black and painted the bottom of the hull and wheel wells so that the side armor can be added before the rest of the hull can be painted. After the wheels and side armor was attached, I gave the whole hull, minus the bottom, and the turret a coat of Tamiya NATO Green. Again, Tamiya NATO Black was used for the black stripes on the hull and turret. Finally, Tamiya NATO brown was used for the brown stripes on the hull and turret. Before I sealed the entire model with Future Floor Wax for decals, I brushed on a thin wash of Vallejo Flat Black to blend all 3 colors together. Clear coat and decals were added before picking out all the details like tools with Vallejo paints. I sealed the model with clear flat and when dried, I did a light dry brushing to pick out bolts and such, especially the anti-slip. Finally I added one for coat of clear flat and dusted the tires and lower hull with MIG Pigments.
Conclusion
With such a small parts count, Tiger Models AMX-10 RCR was still packed with lots of detail. Im pretty sure a lot more can be added to make this an even better looking model. Blast Models has already come out with an update set, which in my opinion is a nice addition.
SUMMARY
Highs: The majority of parts fit with out filling, and little sanding is needed. Lows: No anti-slip coating added.
Missing filler cap and towing shackle chains.Verdict: Packed with detail, this is a nice model and well worth buying.
Our Thanks to Tiger Model! This item was provided by them for the purpose of having it reviewed on this KitMaker Network site. If you would like your kit, book, or product reviewed, please contact us.
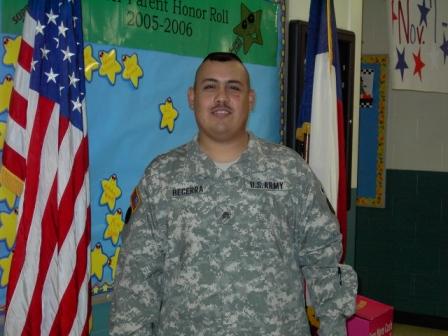
About Pete Becerra (Epi) FROM: TEXAS, UNITED STATES
I am 48 years of age. I have been modeling since I was around 8 years old. As you can see from my signature, I am retired from the US Army and Texas Army National Guard. I served 6 years in active duty from 1989 to 1995 and in 1998 I joined the Texas Army National Guard and been serving up unt...
Great job, Pete.
I was wondering, how do you deal with the clear vision blocks? Do you mask over the part that's supposed to be painted clear blue.. or do you just paint the whole thing with the rest of the vehicle and then paint the blue part.. maybe silver then clear blue over it?
Hisham
I decided to go the masking route... I don't think I want to do that again
Here it is after giving it the first coat of green.. Got some closeups on my FB page.
Hisham
Great work. I have Tiger Model's Brennus and I am very impressed with the kit so far One odd thing...all the copyrights on the instructions and kits say 2014.
Thank you, Jason.. I'm liking that Brennus, also! I guess they've been working on these kits for a while to have a bunch of them all lined to release.
Glad you like it, VAB75007... here is my FB page
Hisham
Maybe because of the settings.. I'll change the settings so anyone can see them.. I always thought that anyone can at least see the pics on any page
Hisham


Comments