Introduction
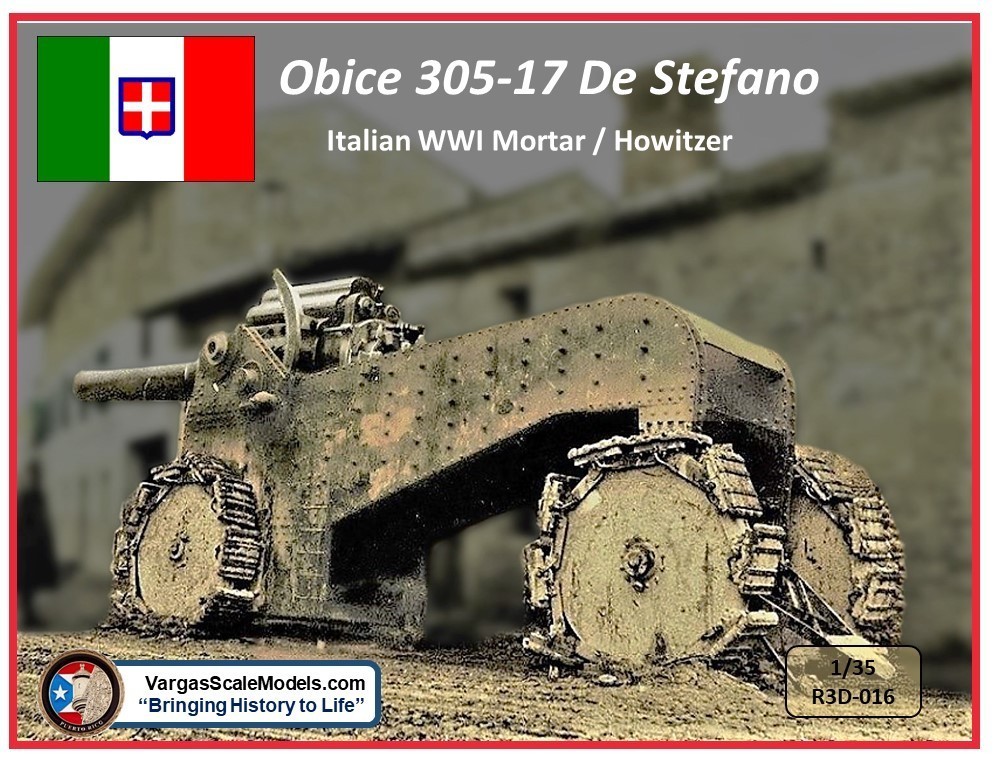
Before World War 1, the Allies had anticipated that the next conflict would be a war of movement and therefore relied upon light field pieces like the French 75 and the British 18 pounder. Once the Great War turned into trench warfare, their lack of heavy artillery forced them to improvise. The Italians dismounted their fixed 305mm (12 inch) coast artillery howitzers and mounted them on a unique De Stefano carriage. This massive howitzer and even more massive carriage were towed up into the Julian Alps to pummel Austrian positions.

Review
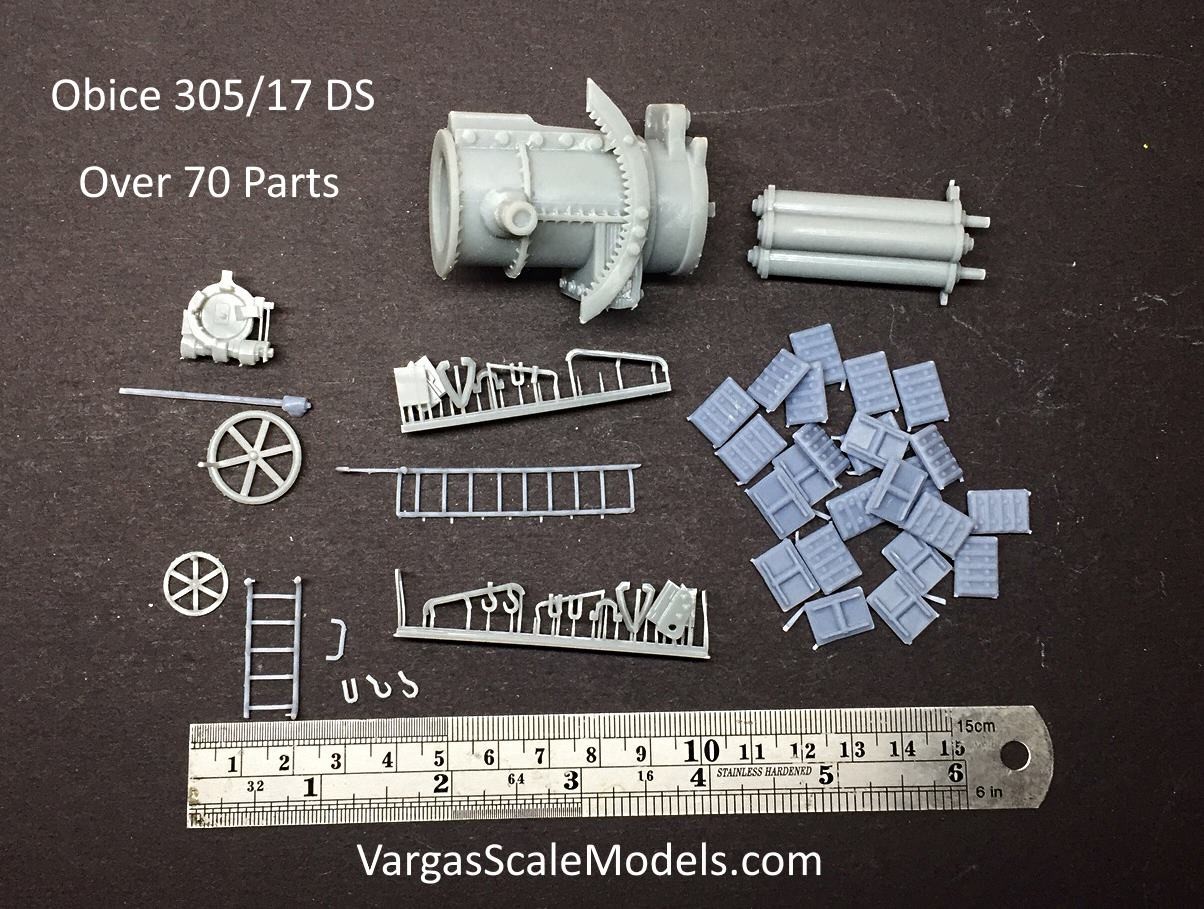
The kit is packaged in a sturdy corrugated cardboard flip top box. Inside are the instructions, and zip-lock bags over 70 3D printed resin parts cushioned in bubble wrap. The instructions are four pages double sided printed in color. They consist of CAD renderings with circles and arrows to highlight the assembly. There is no parts list or painting instructions.

As I have come to expect from Vargas, many of parts are very delicate and detailed. They are 3D printed with very tiny attachment points. With this enormous howitzer, there are also a number of large parts. The3D printing process allows a surprising amount of detail to be represented on a single large part that might require dozens of parts if molded in styrene. The parts require thorough cleaning with a toothbrush in hot soapy water to remove the waxy residue. I washed to parts three times to ensure that uncured resin and residue were completely removed. A couple of the very thin plates, and the delicate ladders showed some warpage. I taped these down to a metal ruler with blue painters’ tape and dipped them in very hot water for about a minute. I left them taped to the ruler until cool. This resolved the warpage. Some of the parts exhibit 3D print striations. These can be scraped or sanded. Once the parts are cleaned up, the assembly is trivial using CA glue. The parts fit is good. The instructions are minimal but adequate. Assembling the carriage is a bit tricky. I dry fit the entire carriage and clamped/taped everything firmly in place. Then I used my Glue Looper to apply extra thin CA to the joints and let capillary action do its magic.
The use of a sandable enamel primer is recommended for the3D printed parts. This helps the modeler in finding and removing the last of the 3D print striations. The model has a very high center of gravity and will tip over sideways during the painting and weathering process. After tipping it over the third time (and breaking off parts), I wired the model down to my painting tray until complete. I primed the entire model with Mr. Color 1500 Black Primer. This rattle can primer dries rapidly, is very thin, sticks well and is sandable. After using my airbrush and Tamiya flat black to reach the areas the rattle can missed, I used Tamiya XF2 White to pre-sun the upper areas and those getting a lot of sunlight while preserving the black in all of recesses and panel lines. After some research, I decided to use LifeColor UA 213 Grigio Verde Chiaro for the base color. I painted the wheel rims with Tamiya XF84dark iron followed by AK Interactive AK083 track wash and a light dry brush with Model Master steel. The carriage and gun were weathered with a dot filter of Winsor and Newton oils and streaked with AK Interactive AK 074 rain marks for NATO tanks, AK 012 Streaking Grime, and AK 013 Rust Streaks enamels. I also used Streaking Grime for a pin wash and highlighted the rivets and other details with a light dry brush of Winsor and Newton Yellow Ochre oil paint. After weathering and detail painting the carriage and gun were given a coat of Testor’s Dullcote. The brass details were painted with Vallejo brass and then rubbed lightly with a little AK Interactive AK460 true metal brass on a small cotton swab as a final touch.
Conclusion
This is an eye-catching and unique subject. The kit builds into an outstanding replica out of the box. It is more appropriate for experienced modelers. I highly recommend the kit and hope to see more new WW1 kits from Vargas. Vargas offers the kit for sale on eBay. Thanks to Vargas Scale Models for providing the review kit.

