

NATO Camouflage
6
Comments
Introduction
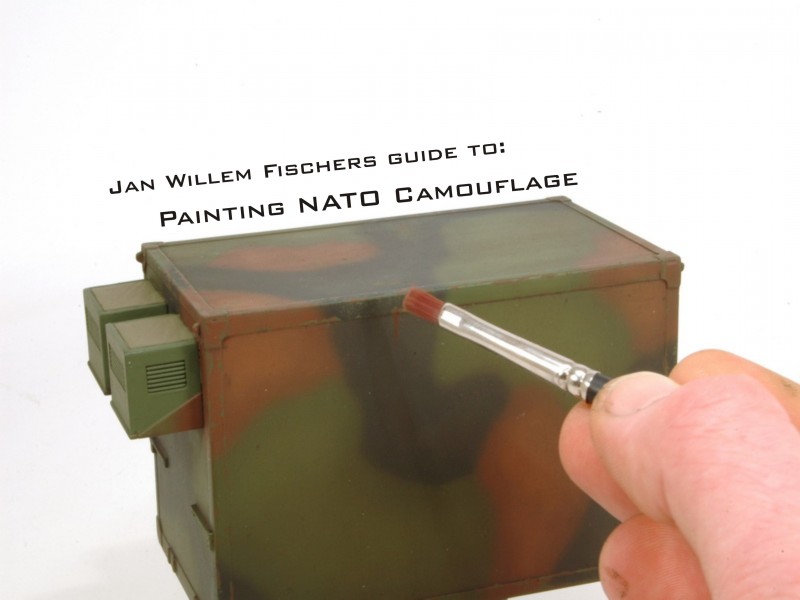
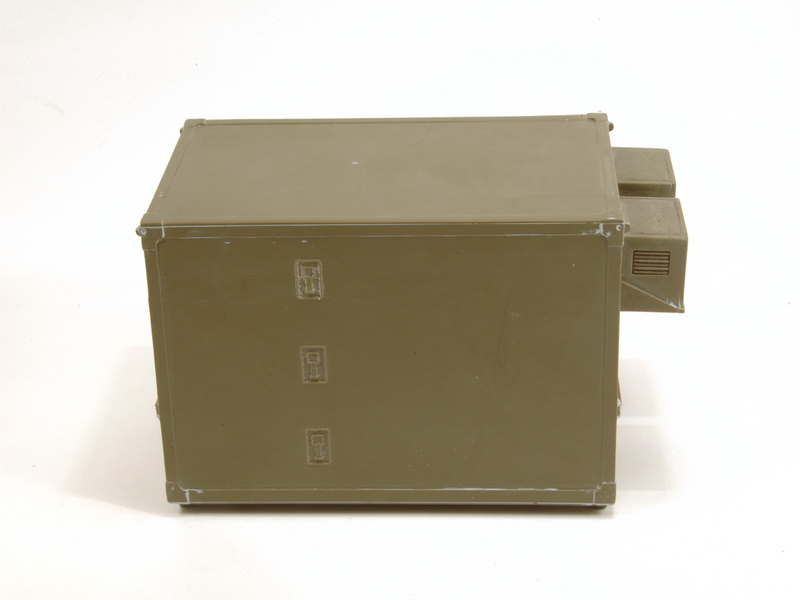
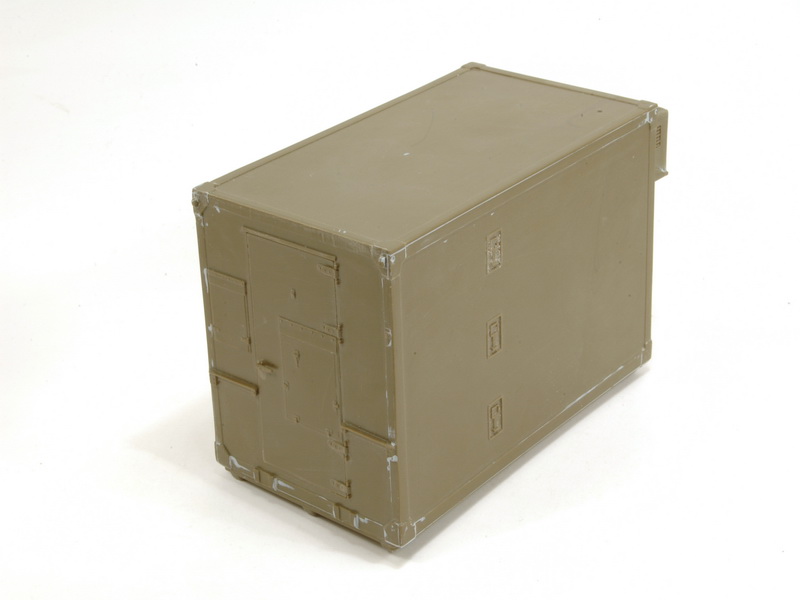
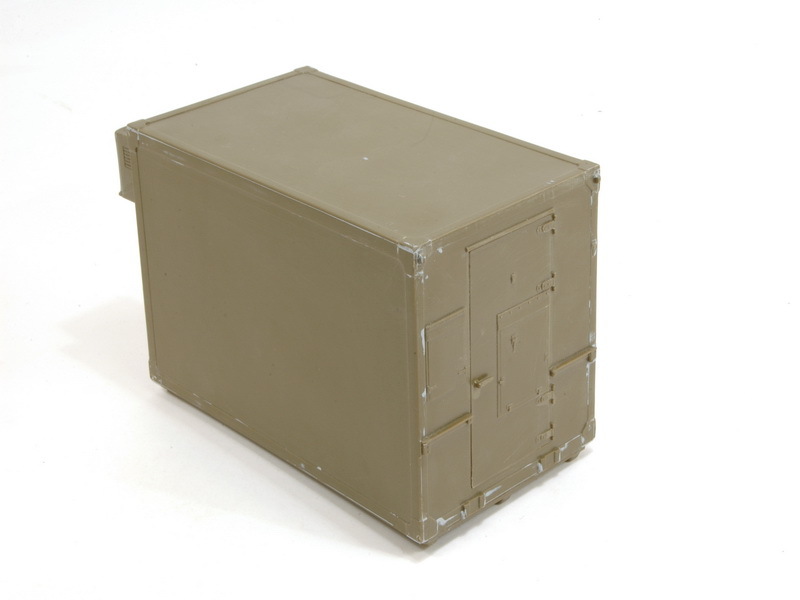
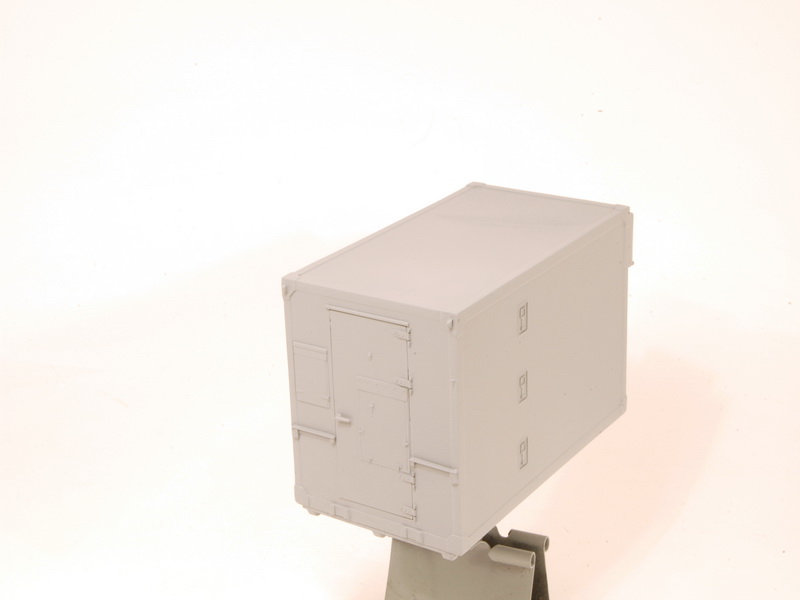
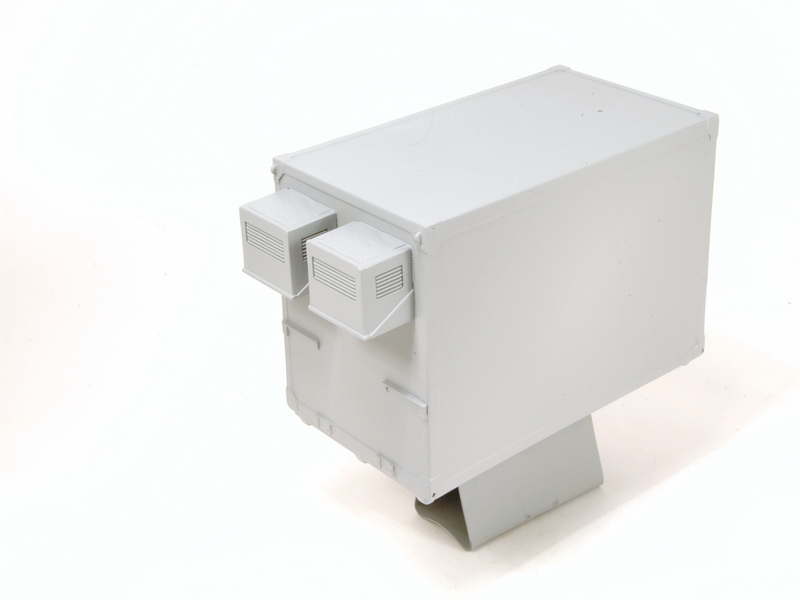
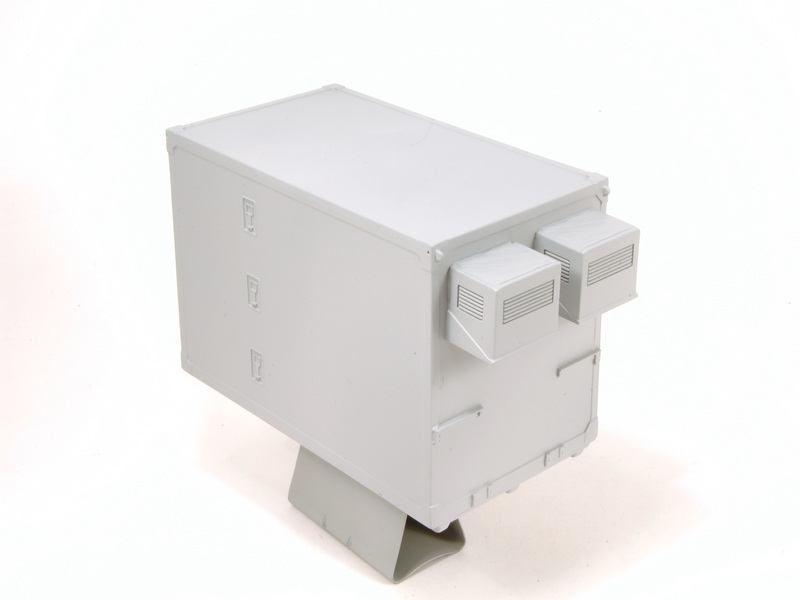
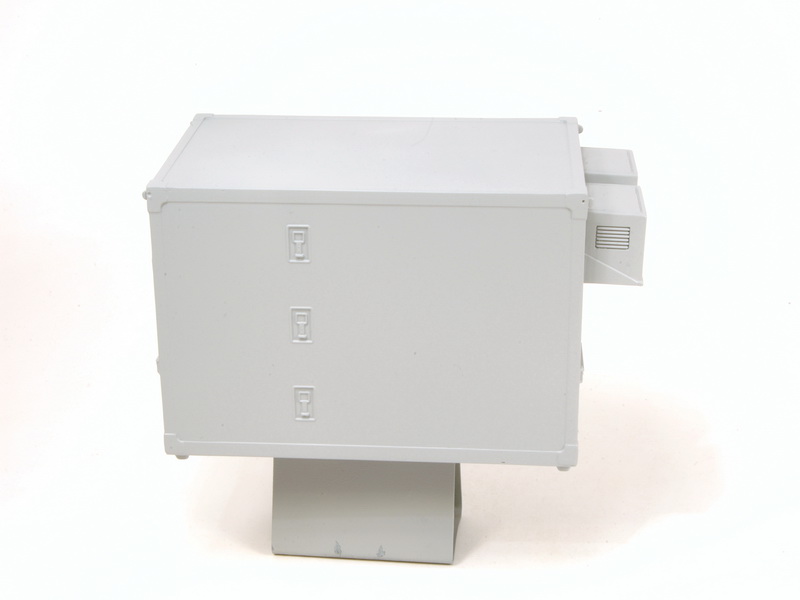
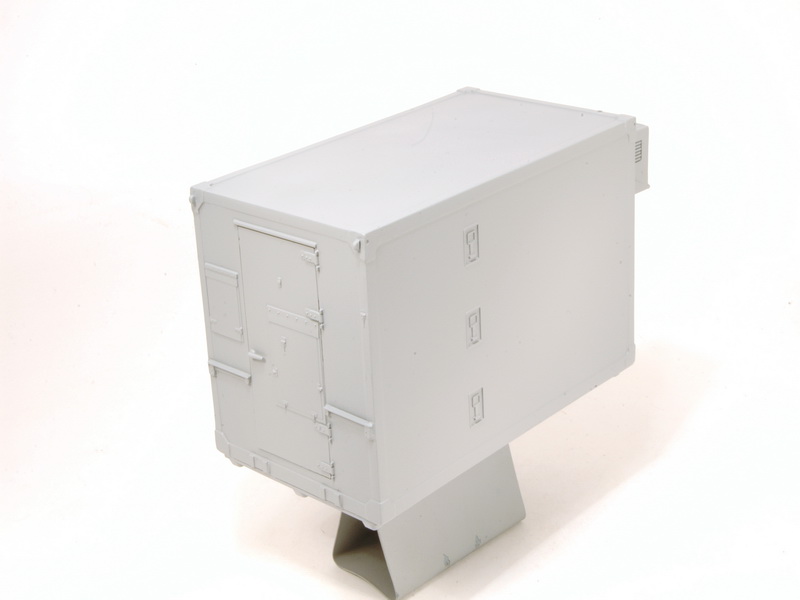
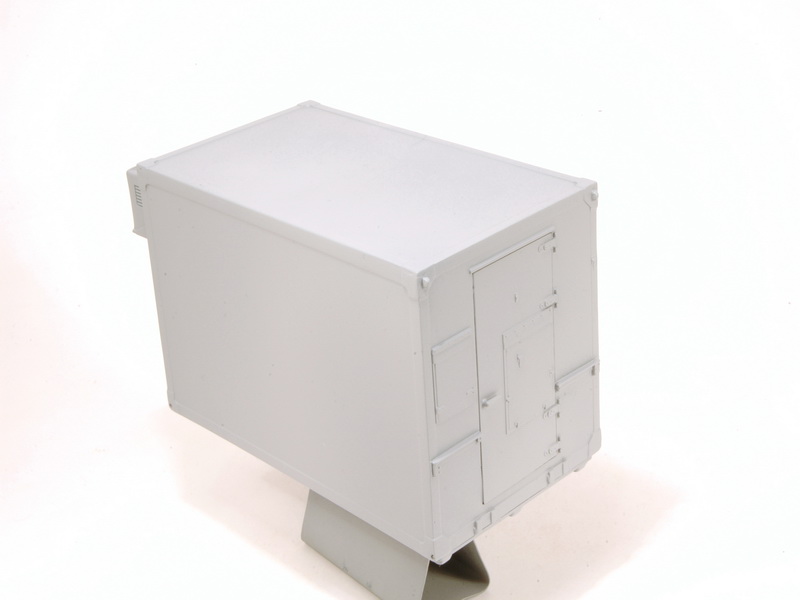
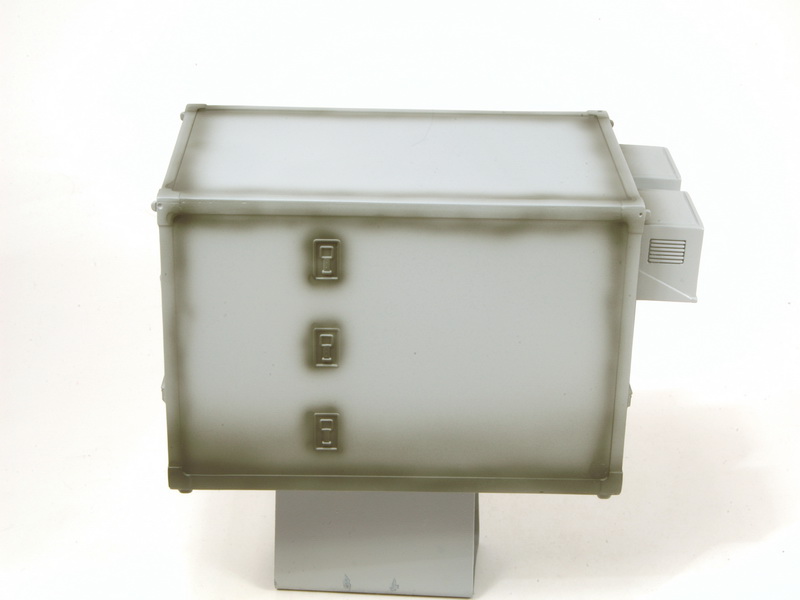
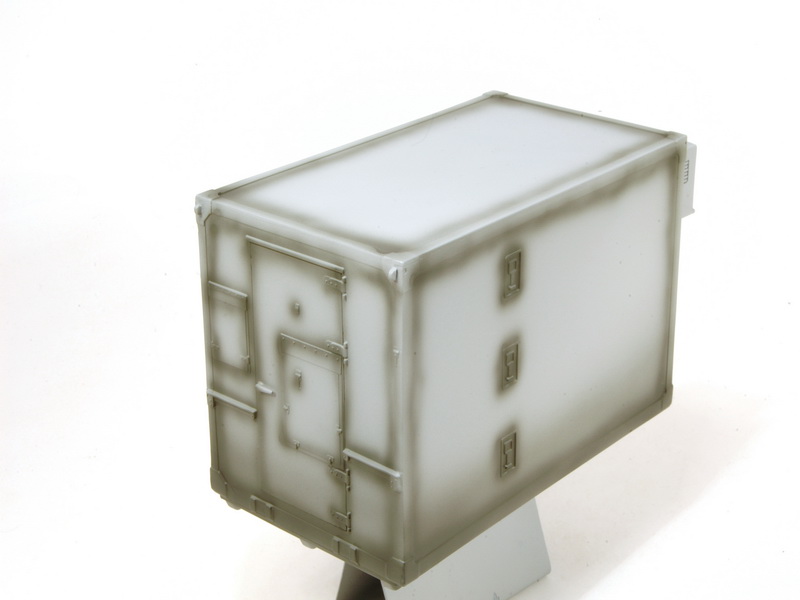
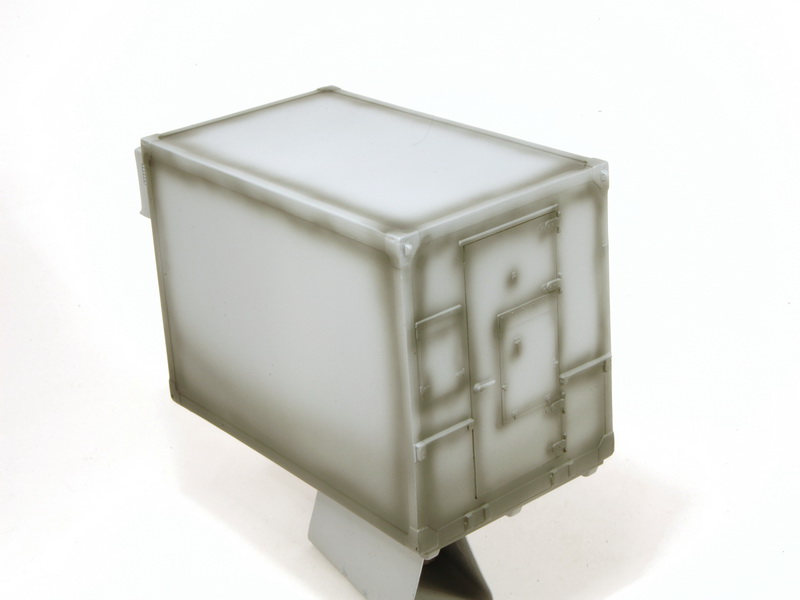
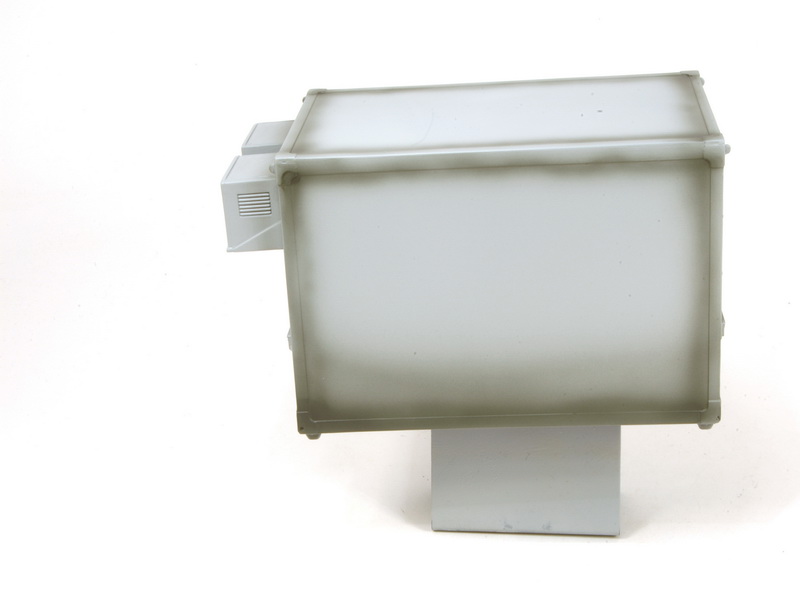
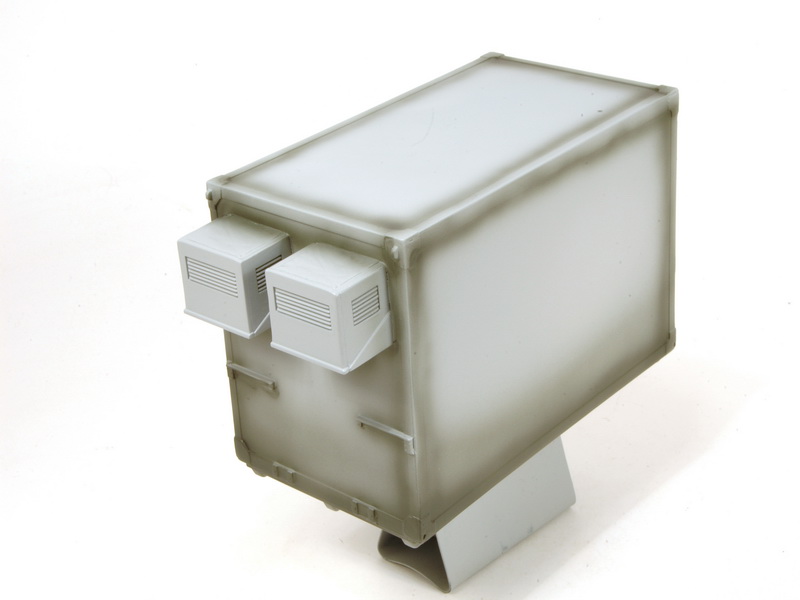
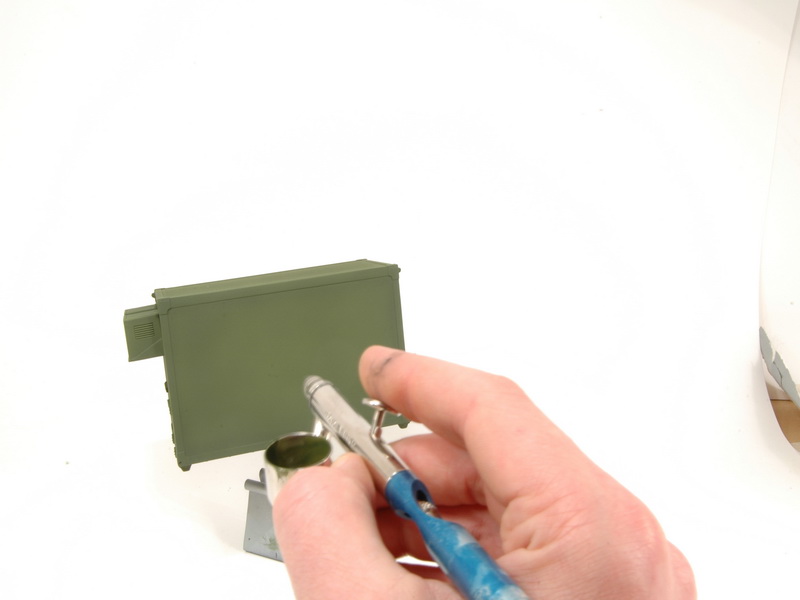
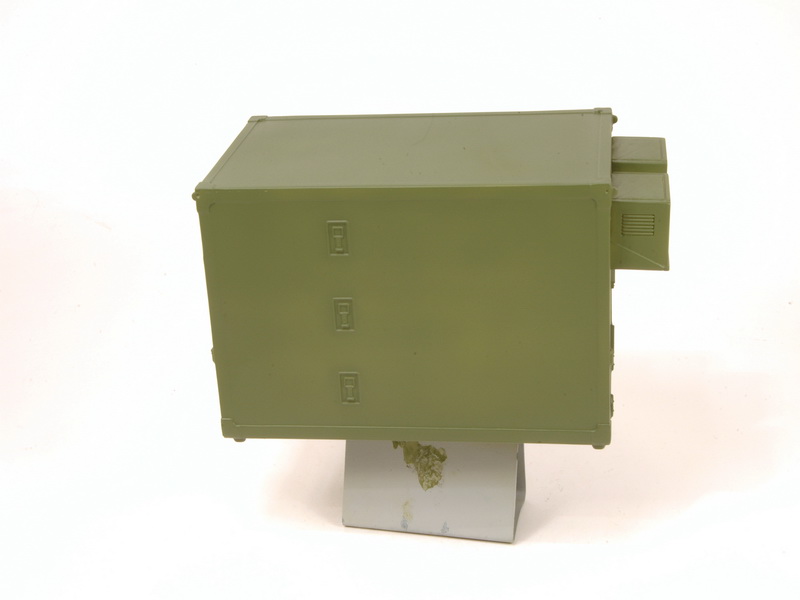
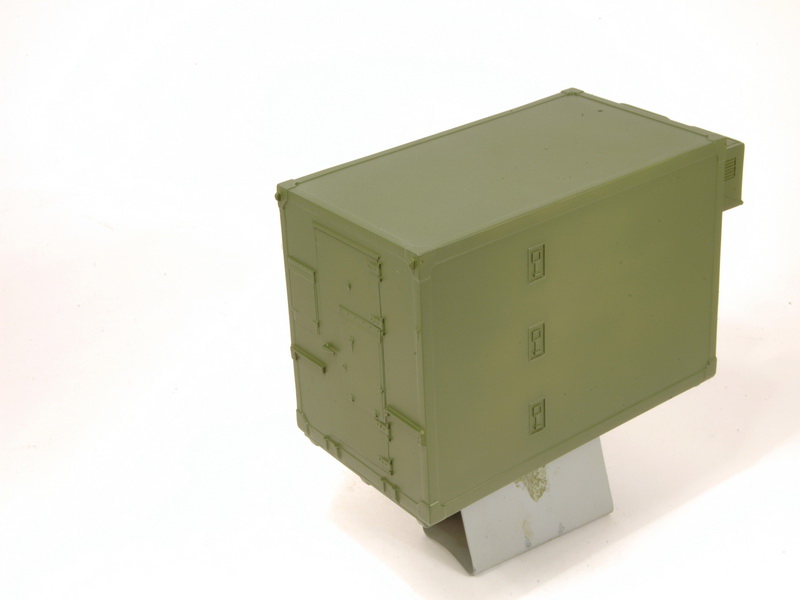
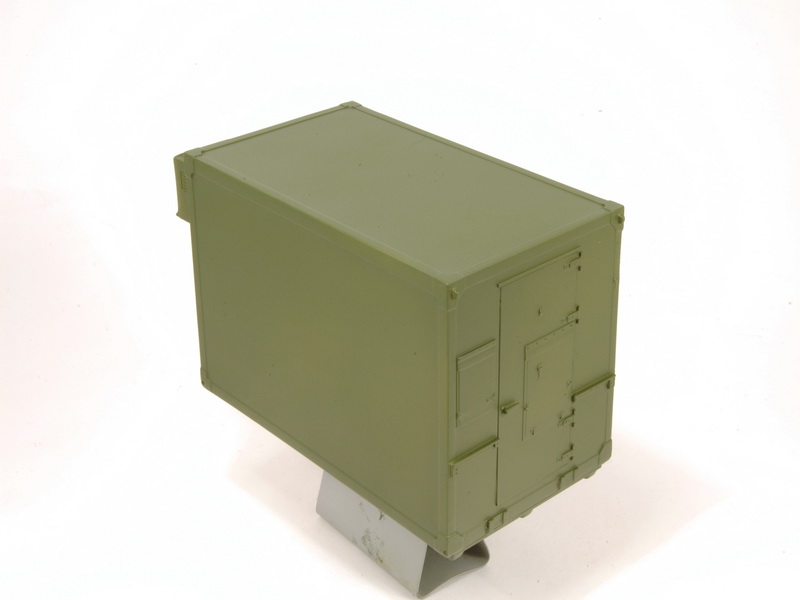
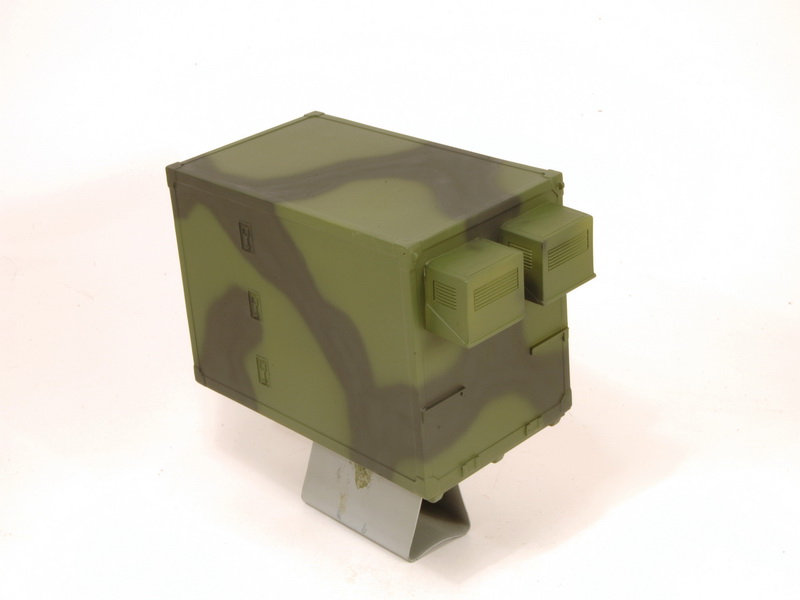
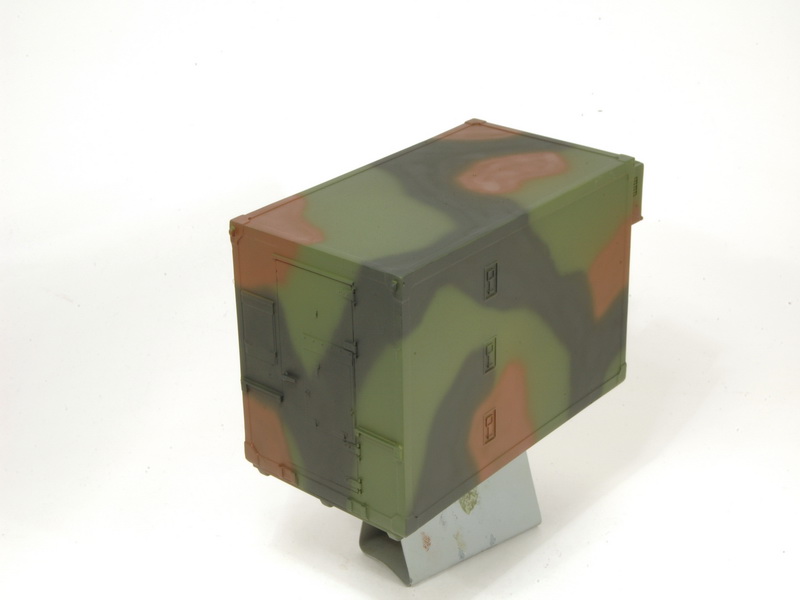
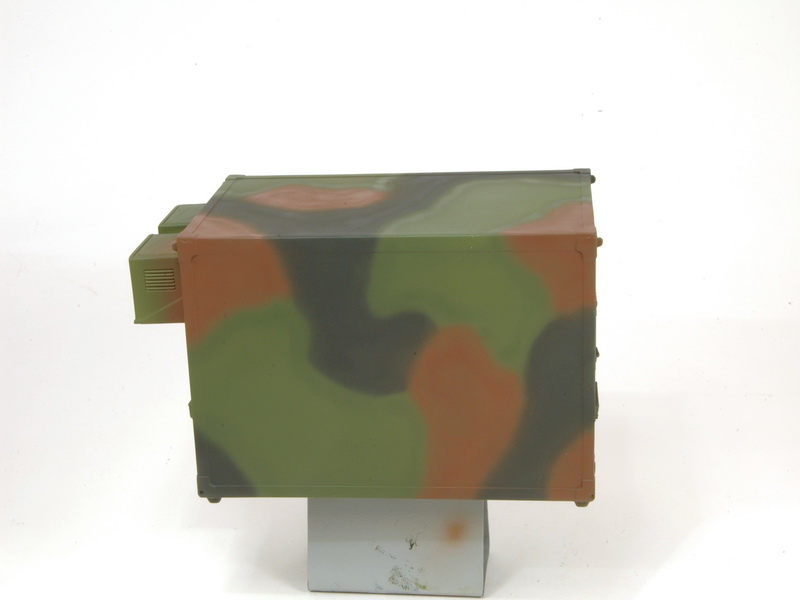
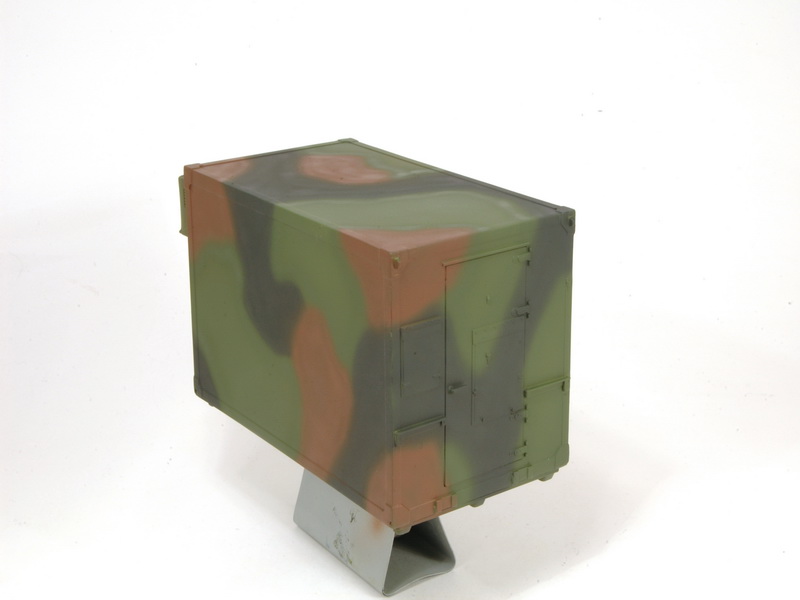
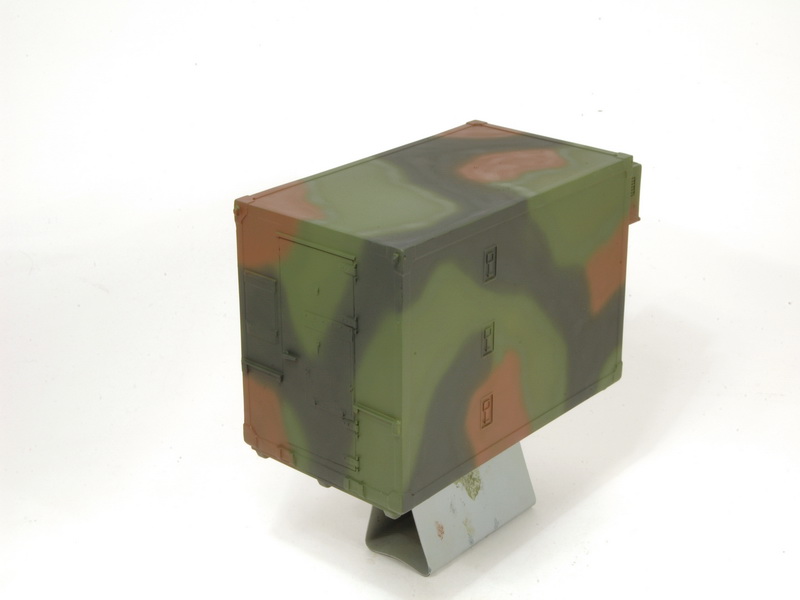
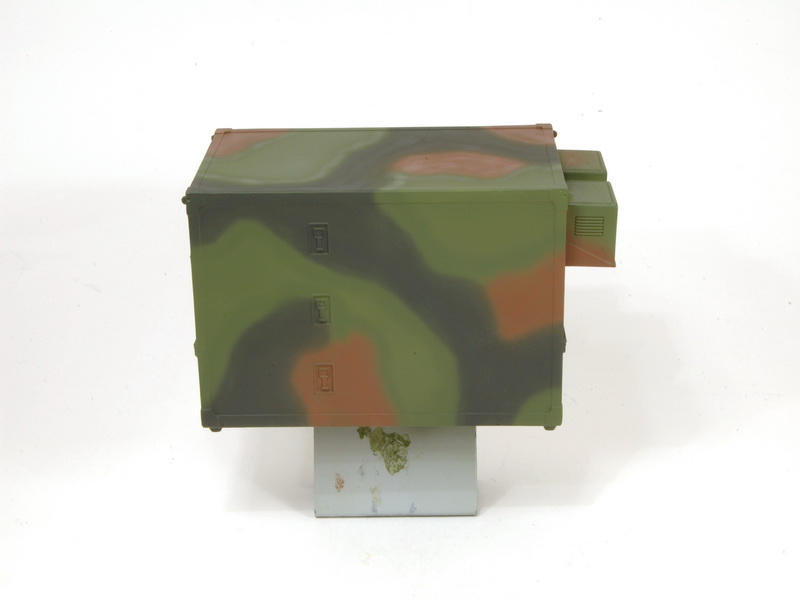
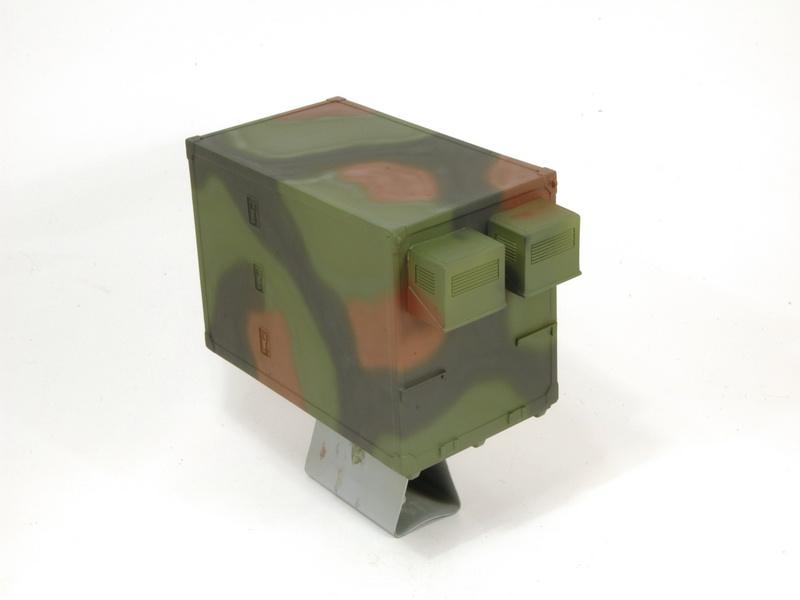
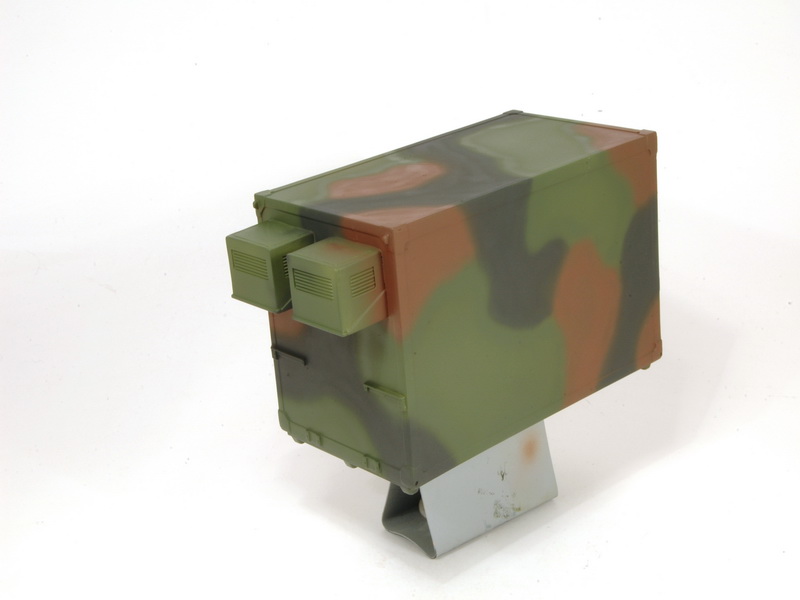
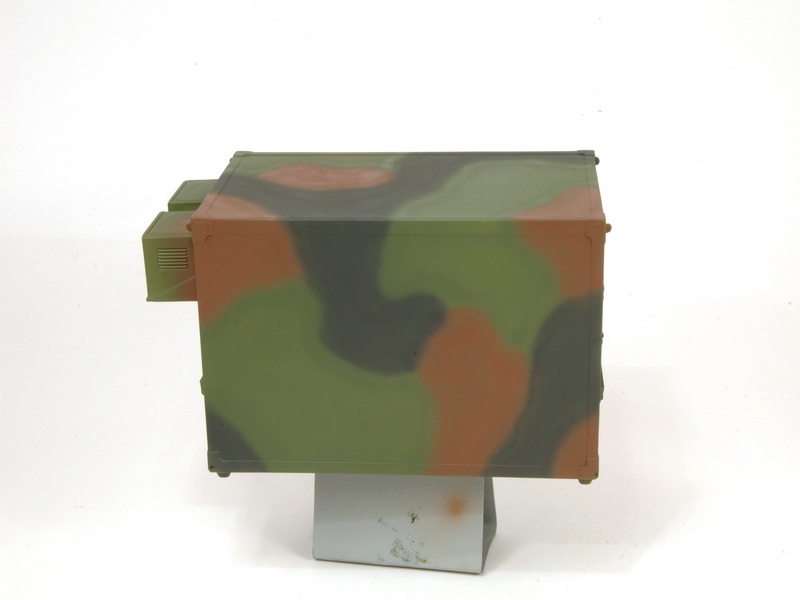
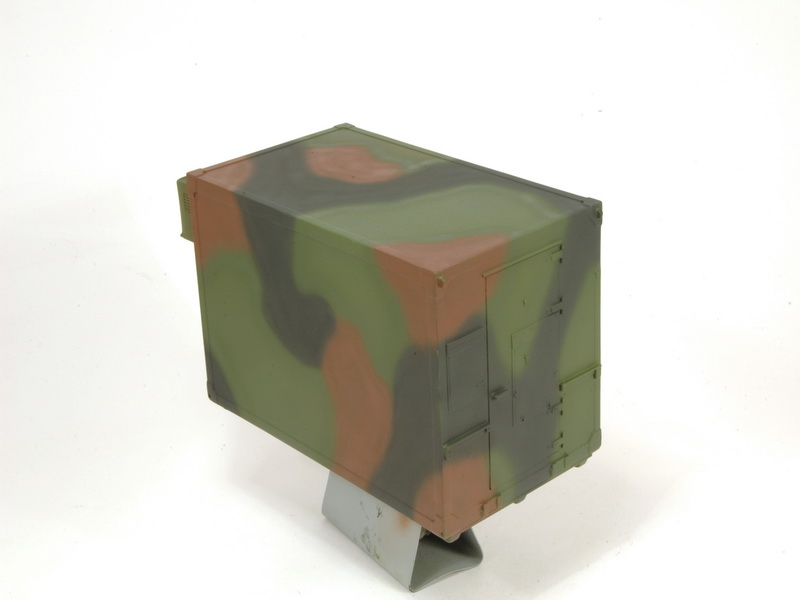
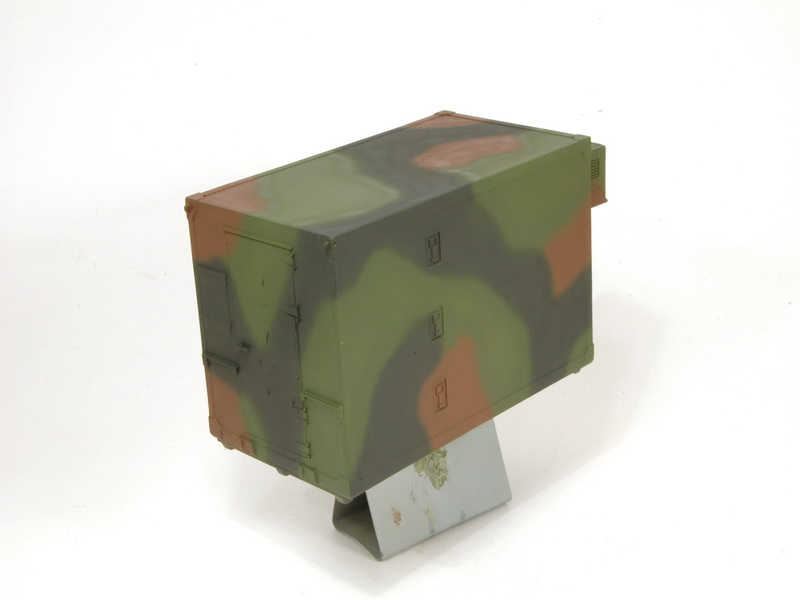
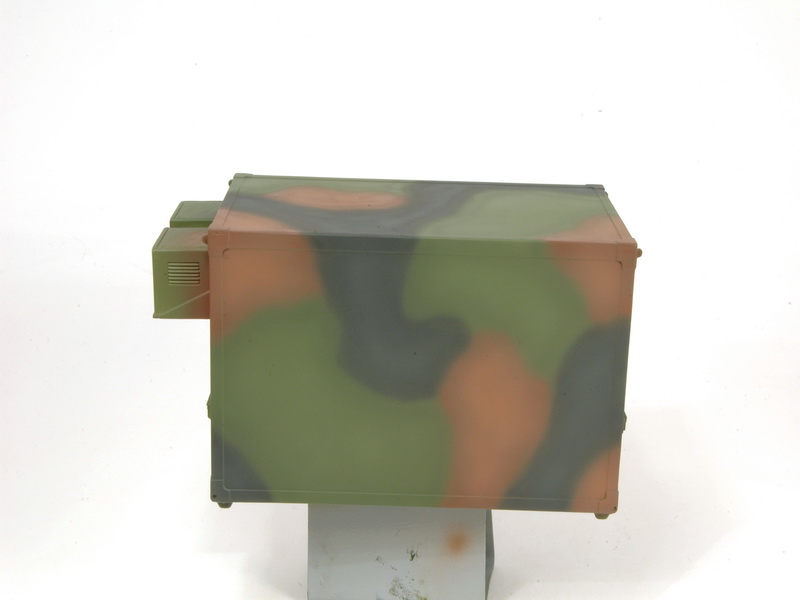
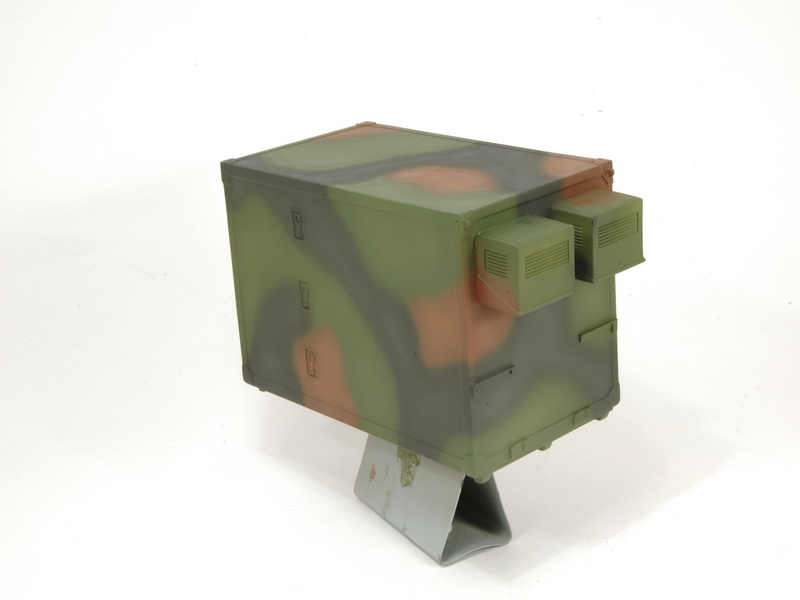
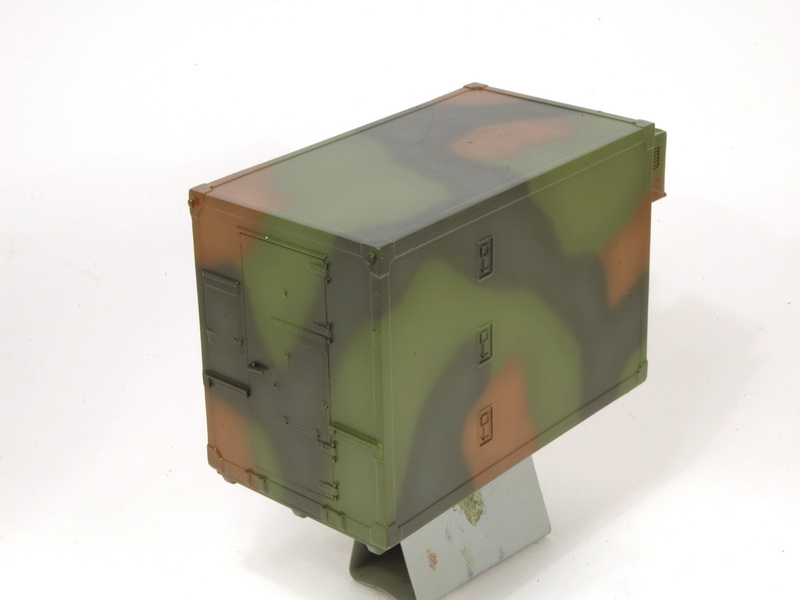
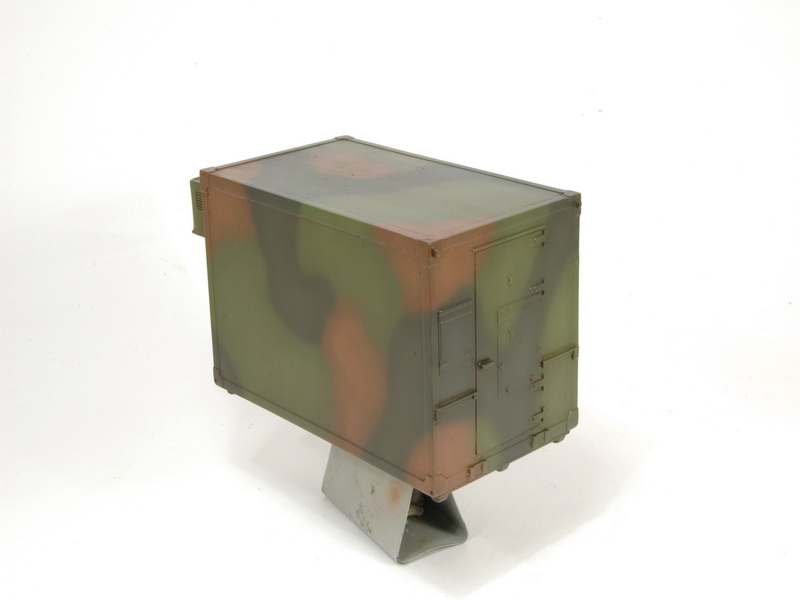
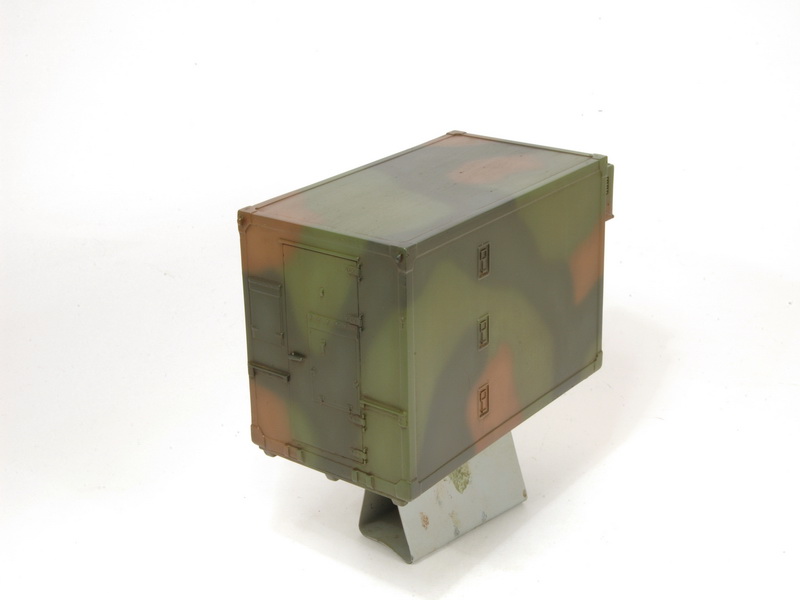
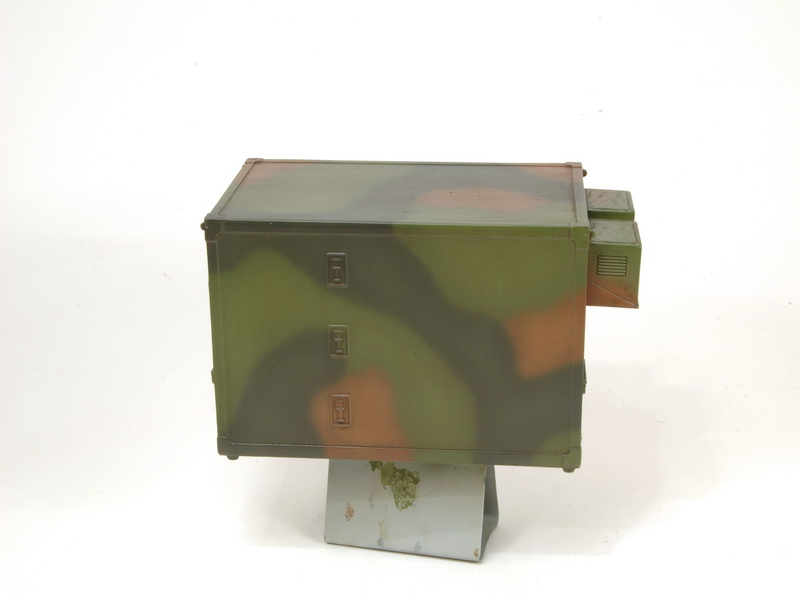
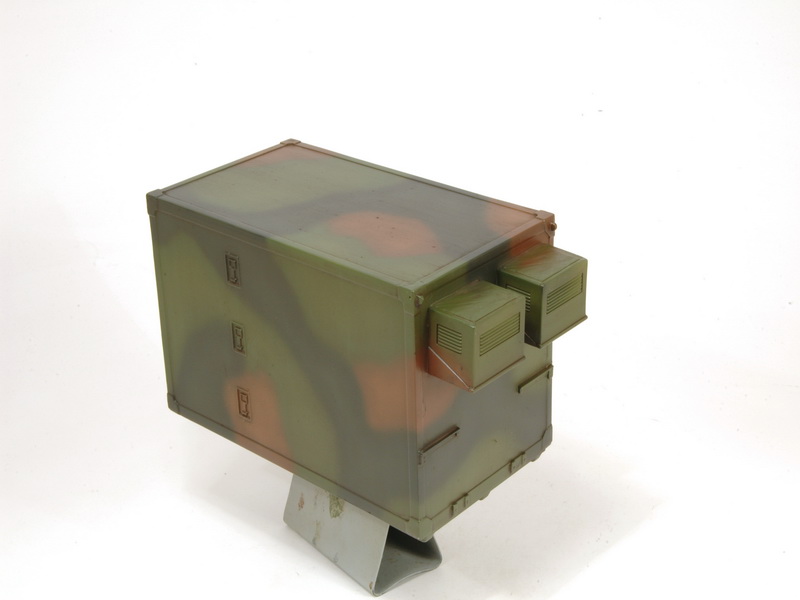
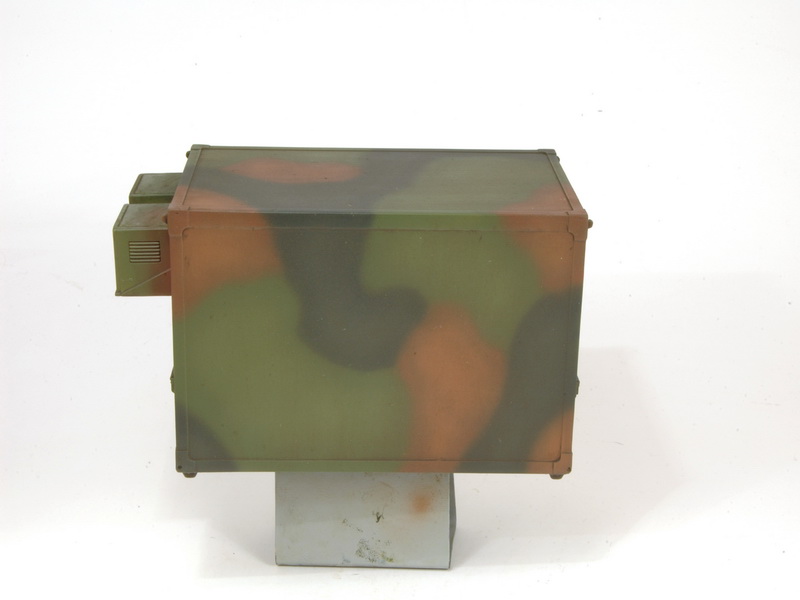
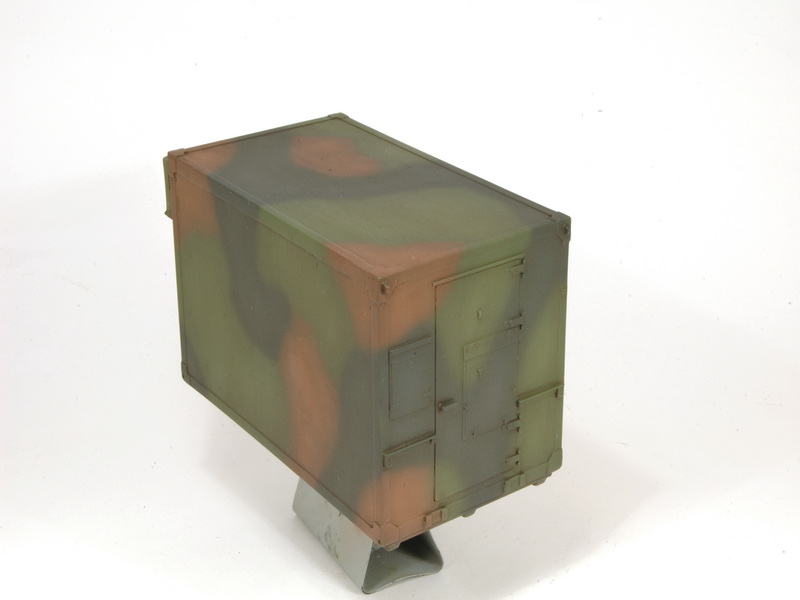
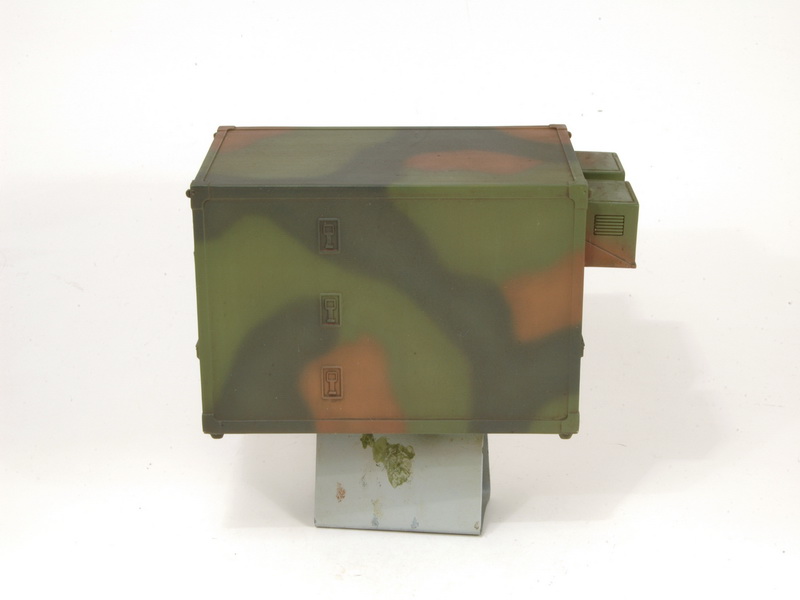
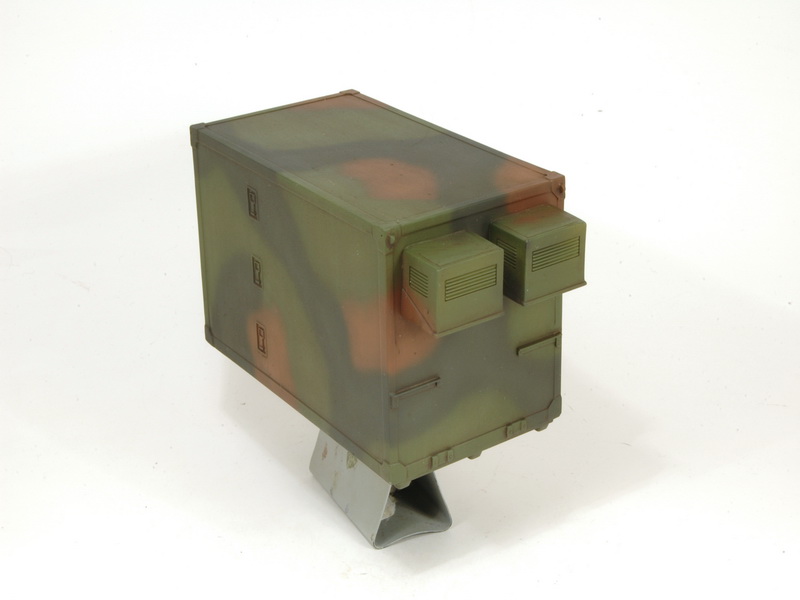
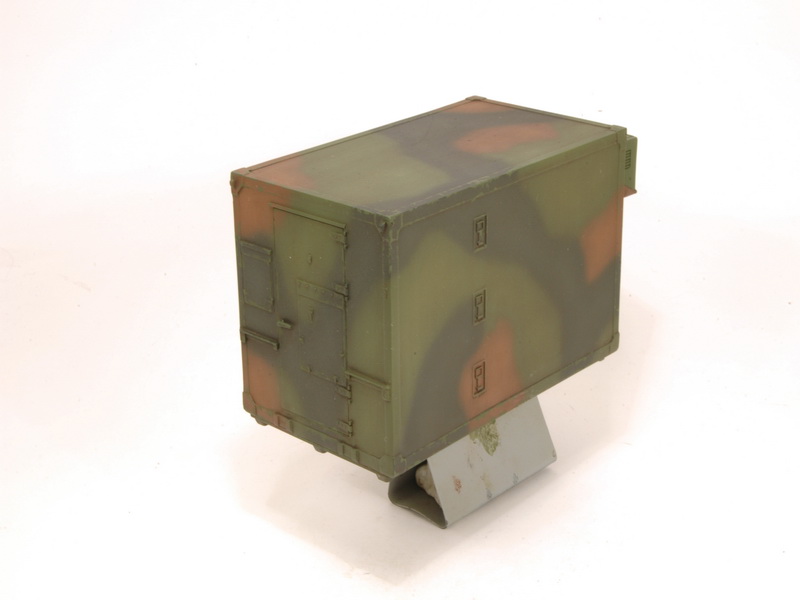
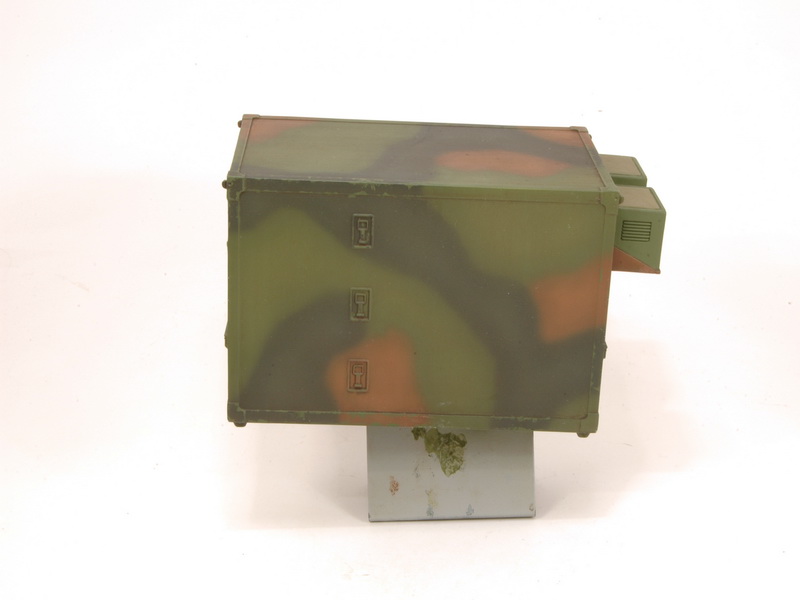
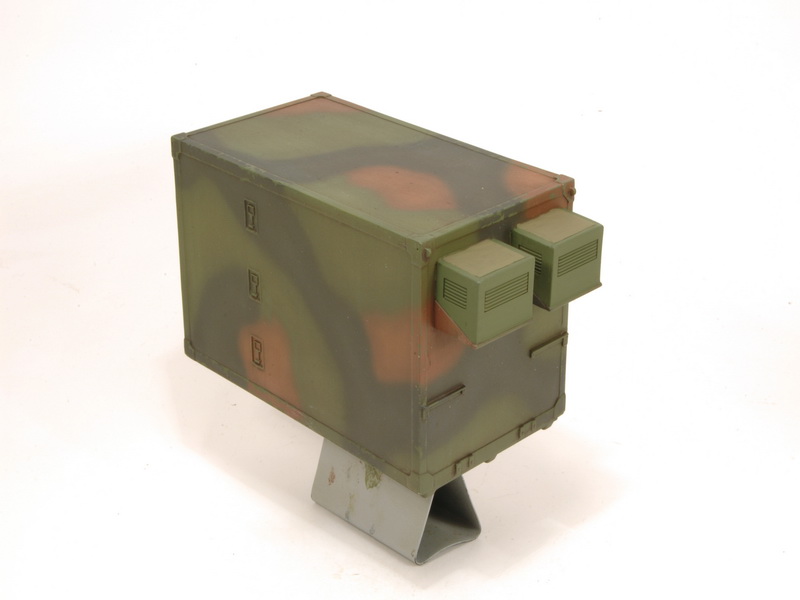
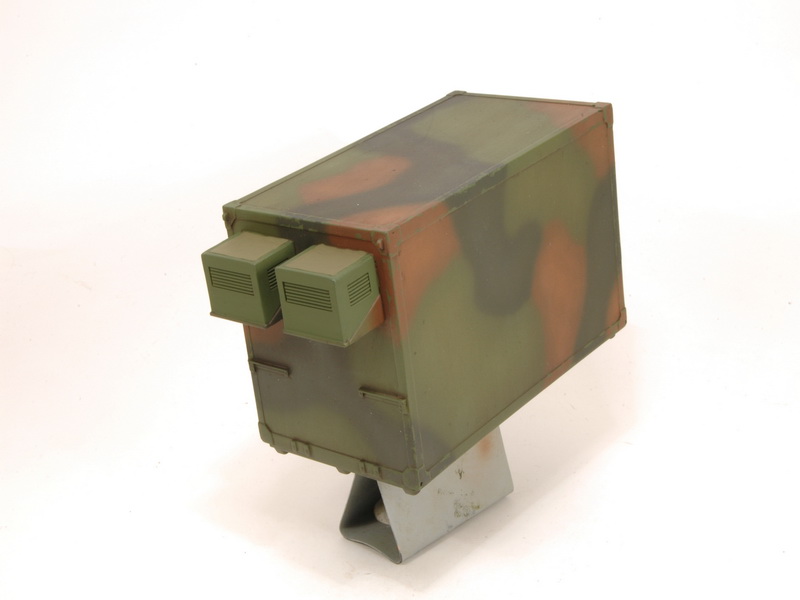
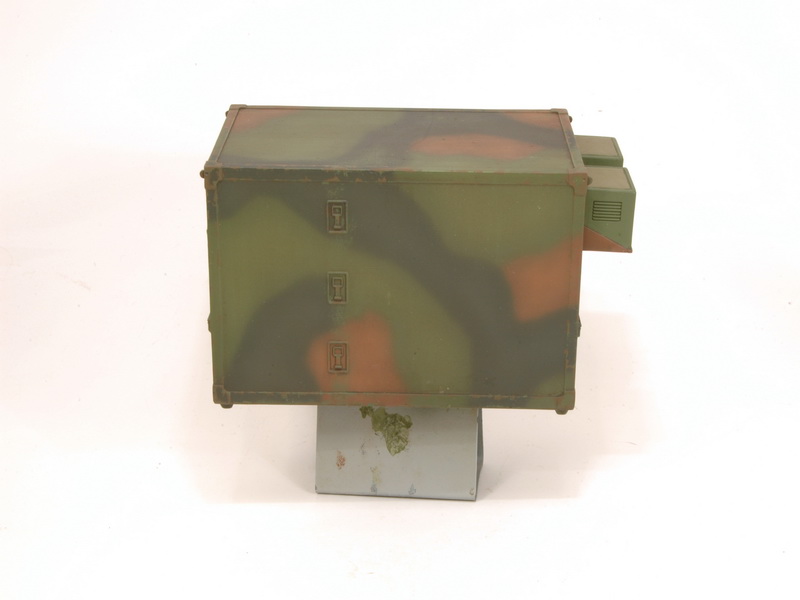
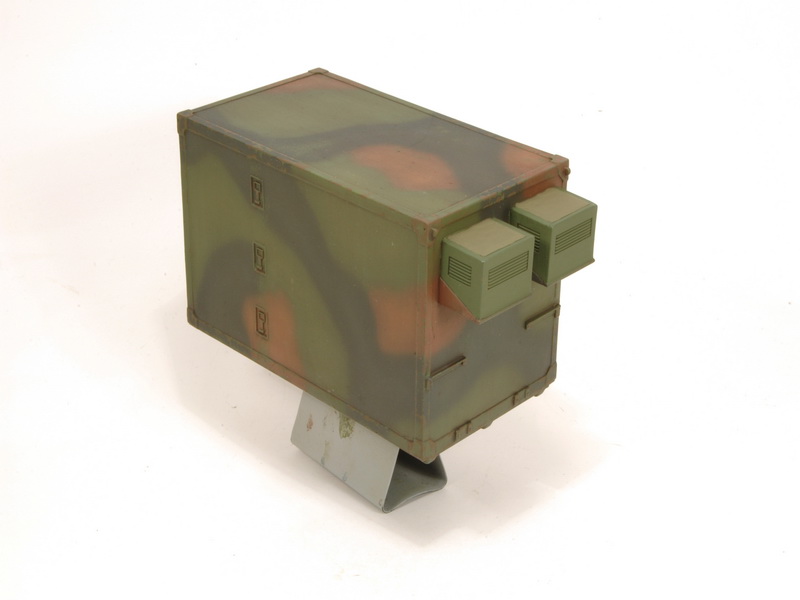
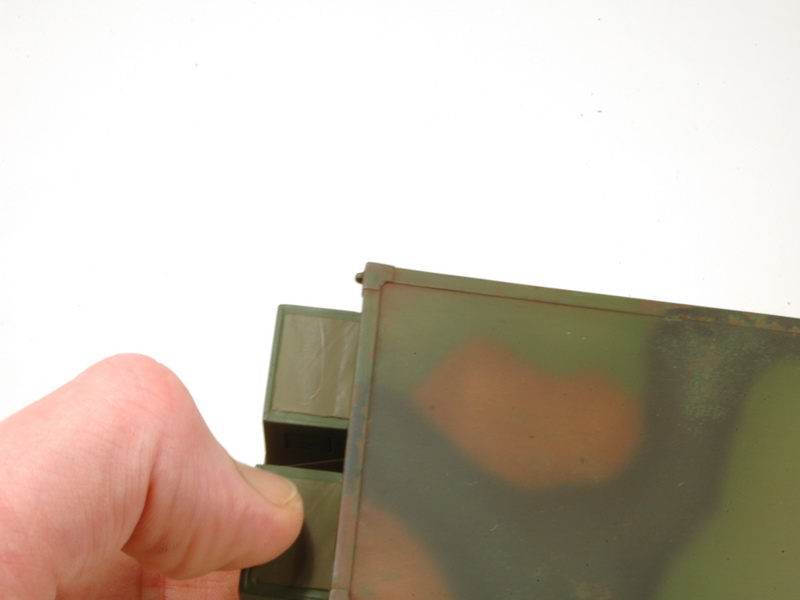
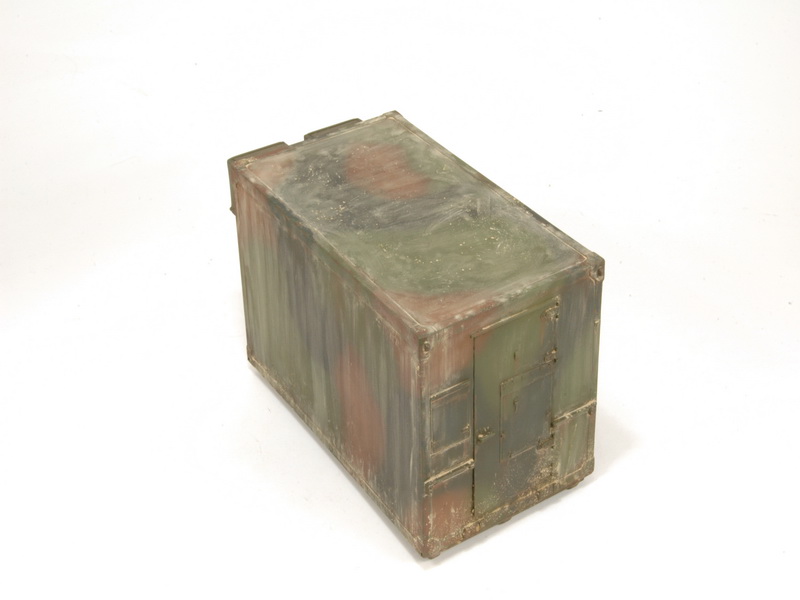
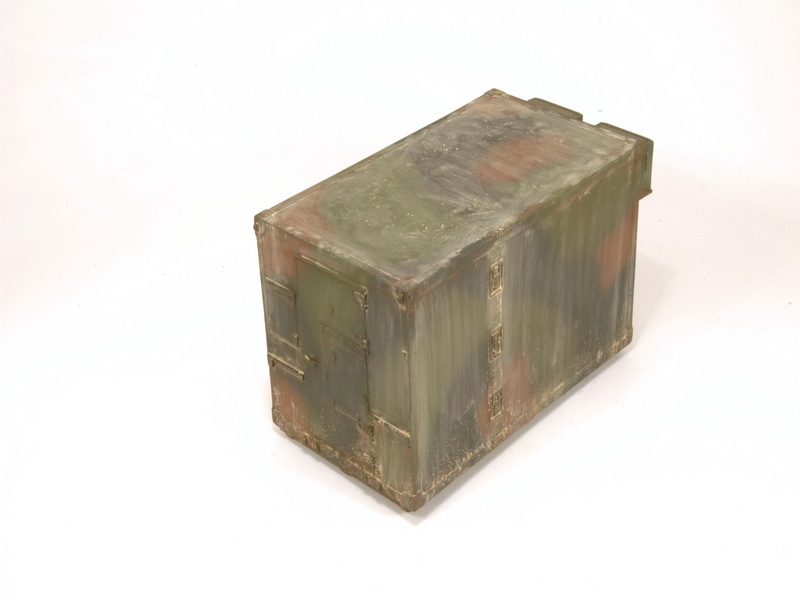
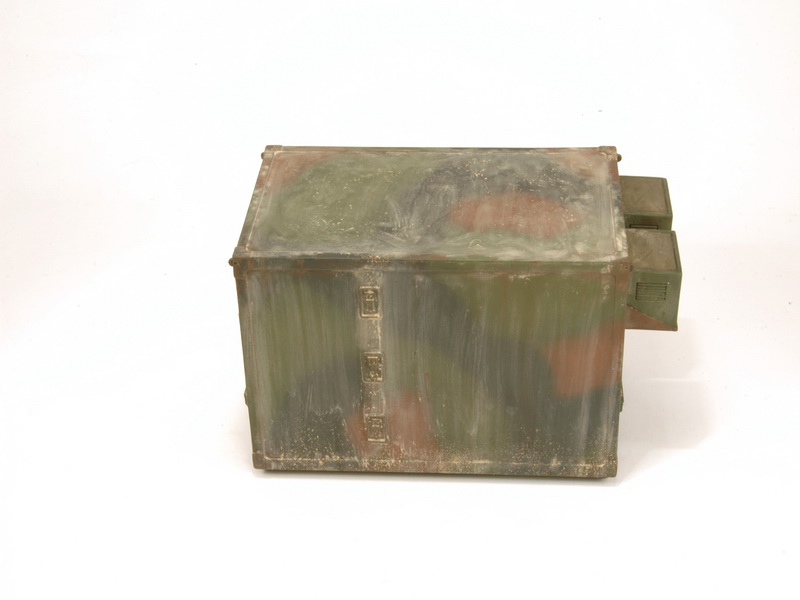
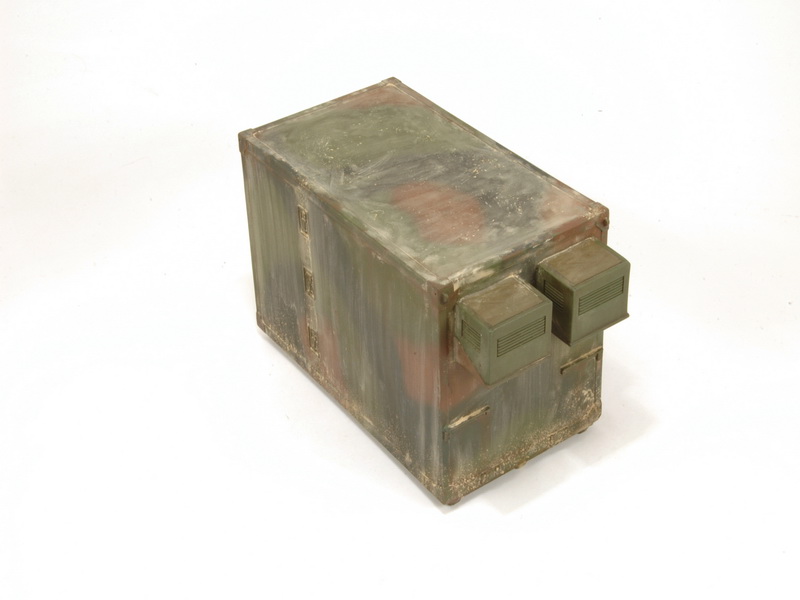
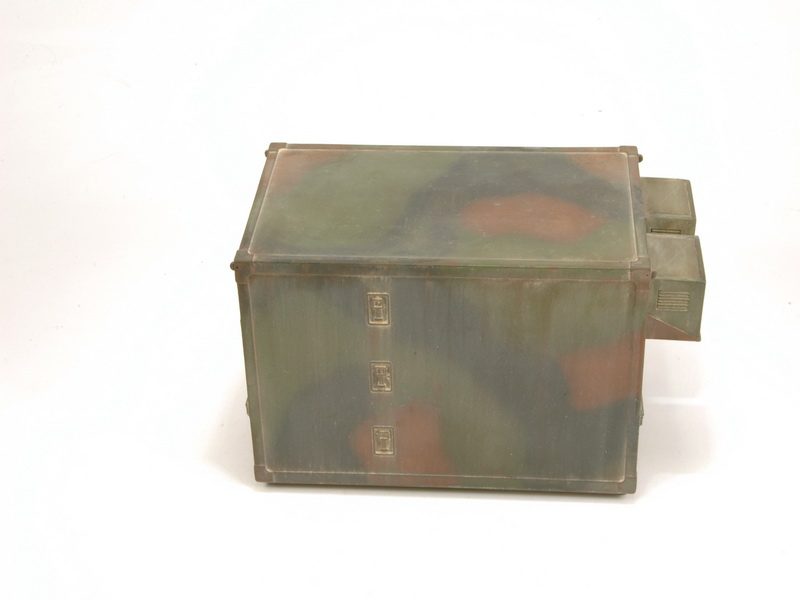
Airbrushing camouflage freehand my look like something that is difficult but with some practice and a few tips is something that is within everyones grasp. Let me start off with talking a bit about the paint and airbrush. I use a Revell Vario double action airbrush with the fine needle installed and the compressor is set to one bar. The paints used are from Tamiya. Thinning the paints is done with the Tamiya lacquer thinner. I use this as the lacquer thinner instead of the regular Tamiya paint thinner as this improves the airbrushing qualities of the paints. I dont have a fixed ratio for thinning the paint but a good indicator is when swirling the paint in a cup and it runs down the sides like skimmed milk it is at a right consistency. The combination of the low pressure setting and the thin paint mixture makes for a controllable combination. For this article I am using the Italeri 1/35 shelter to work one (photo 1 6).Preparing the model
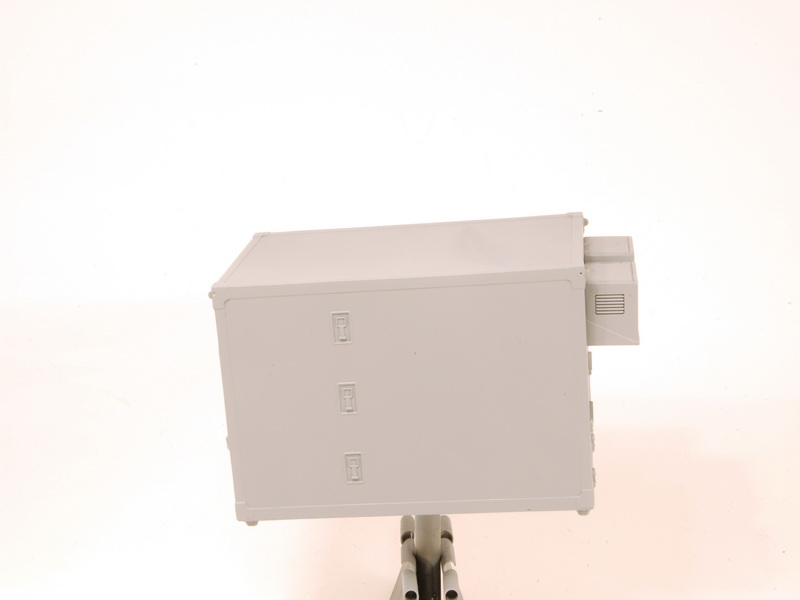
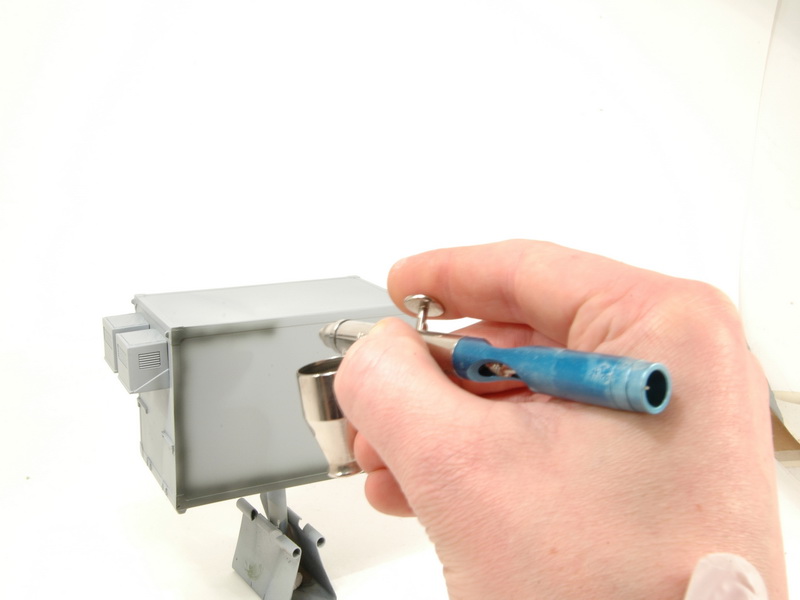
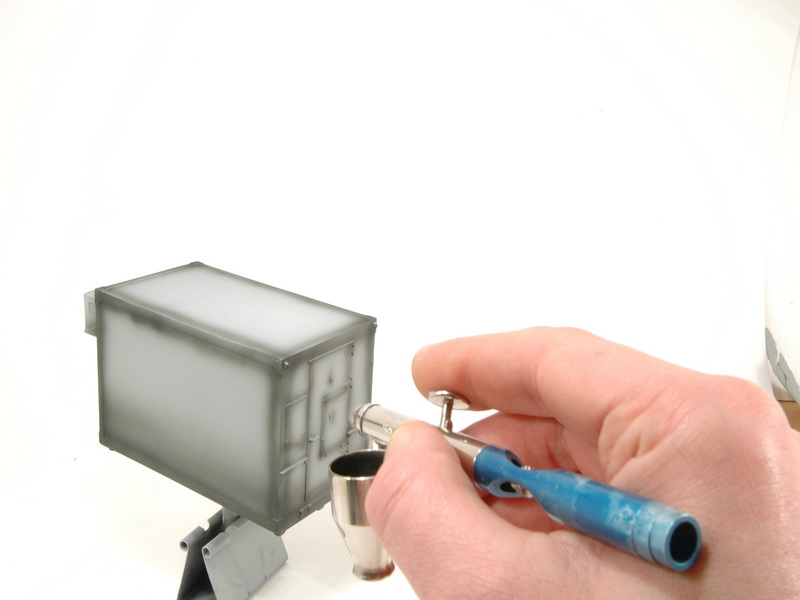
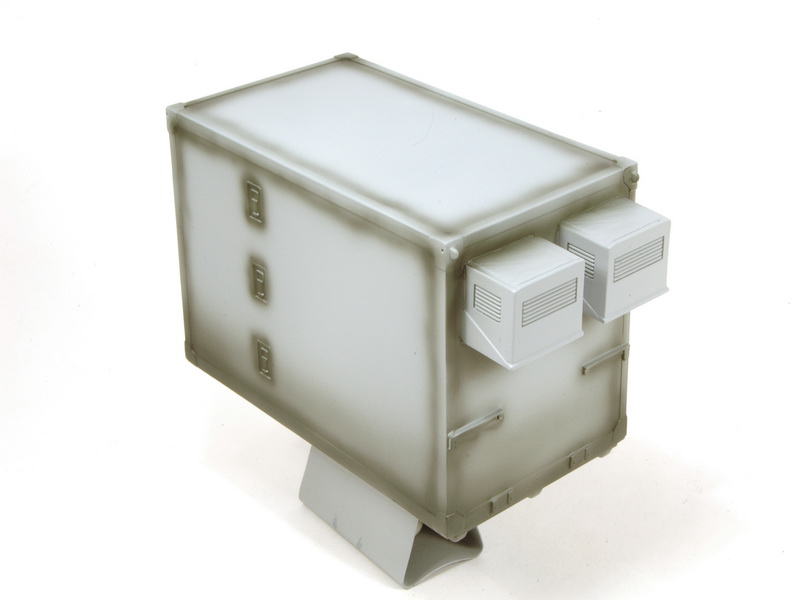
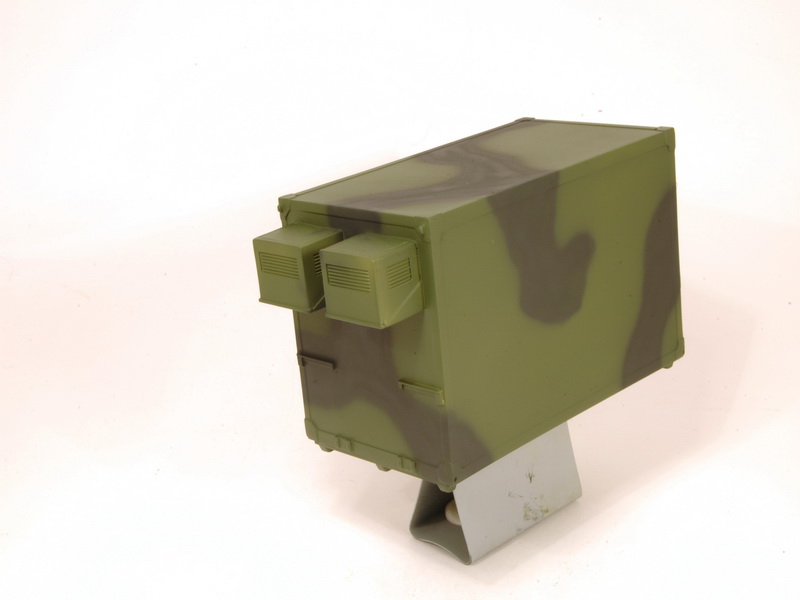
First I primed the model with gray car primer. This does three things. First it shows any mistakes made during construction like glue marks or seams that were not removed. Secondly it gives the paint a good surface to grab onto. And thirdly it is a good neutral base colour to start applying the paints (7 11). I start with the pre shading. This technique lends its self best to single coloured vehicles and is almost not noticeable on a multi coloured finish like this, but wanted to include it as it is a nice technique to know. This is a technique for creating a darkening effect of the base colour in the nooks and crannies and accentuating panel lines. It is simply applying some, in this case Tamiya black to those areas you want to have a forced shadow effect. I also added some pre shading to the bottom of the shelter (photo 12 14, 23 28).Base colors
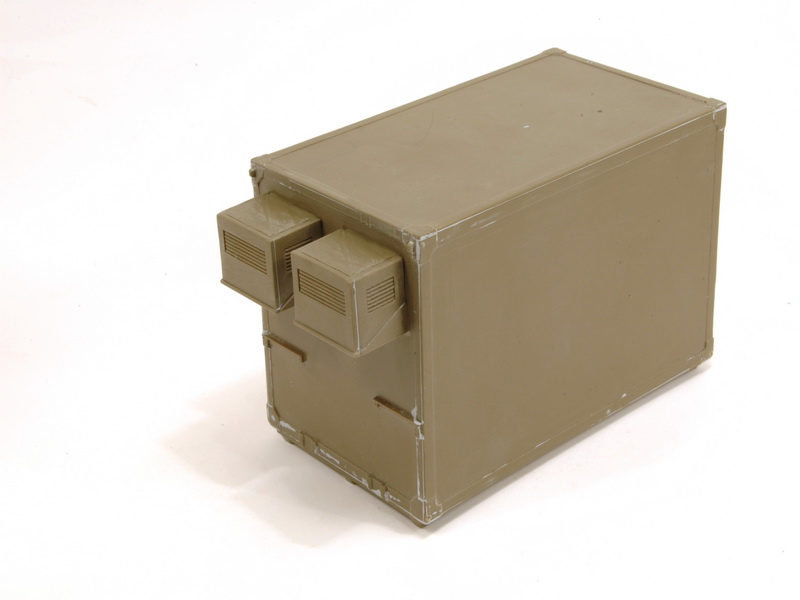
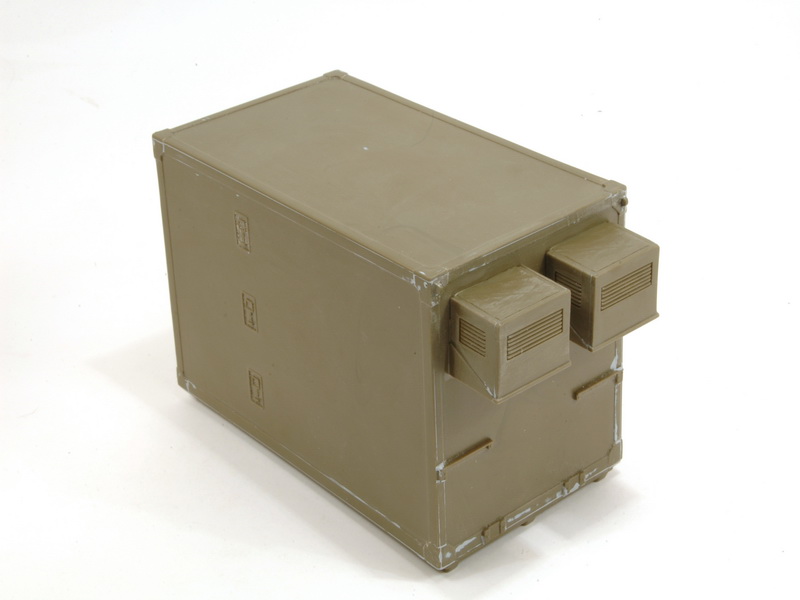
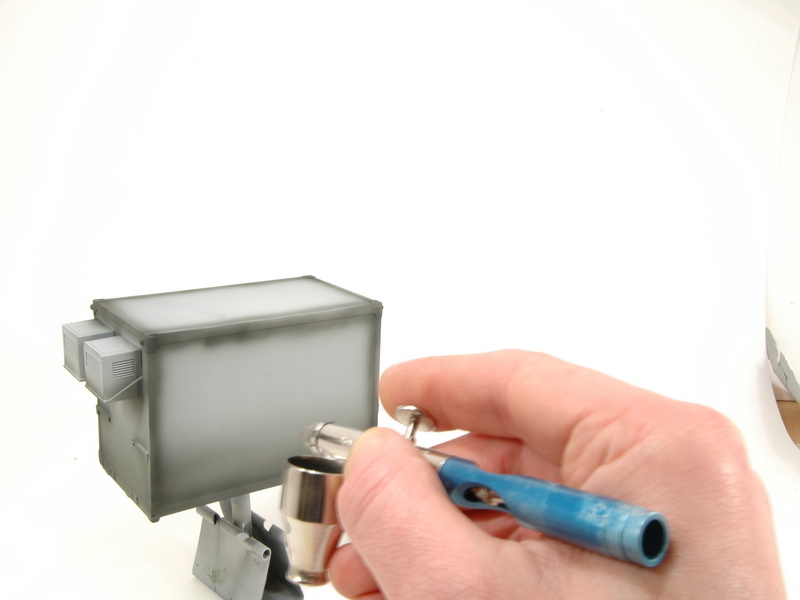
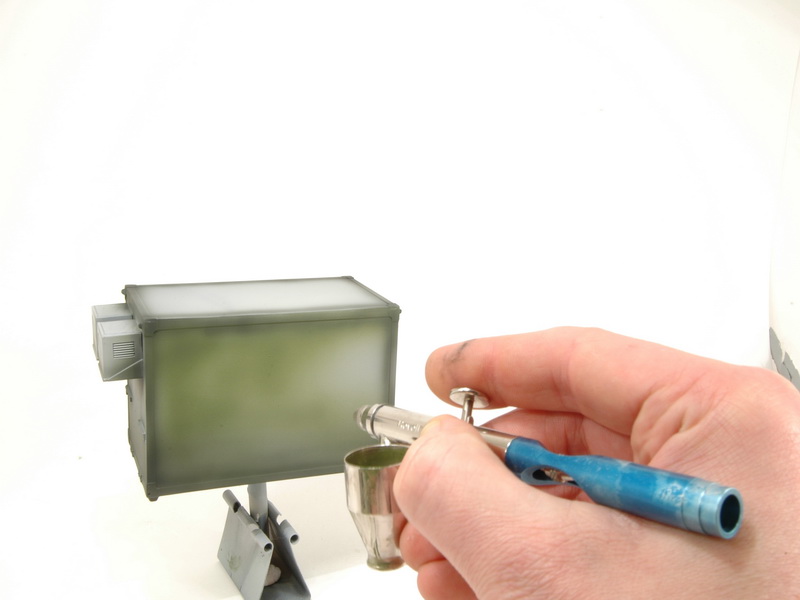
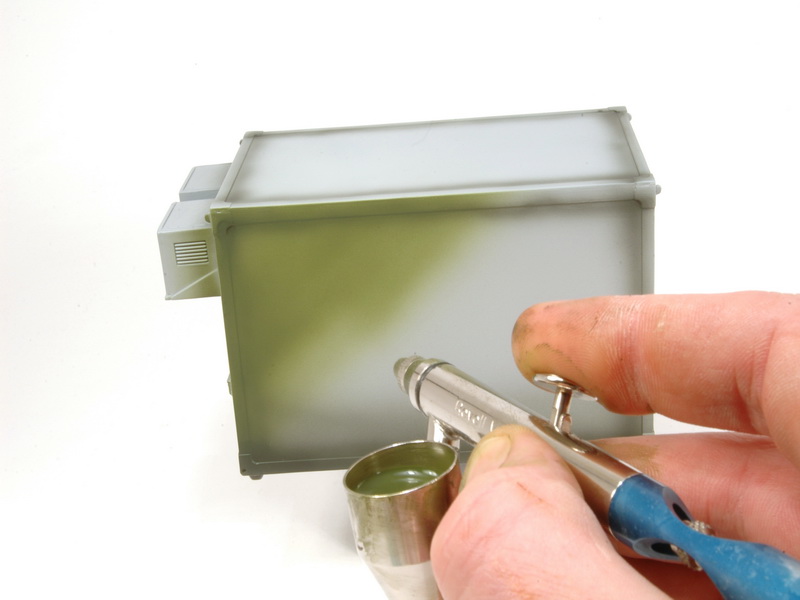
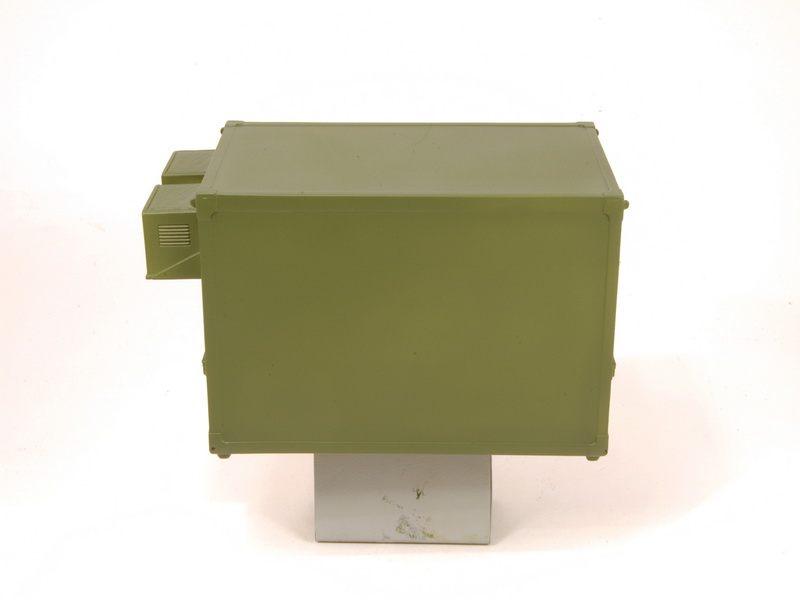
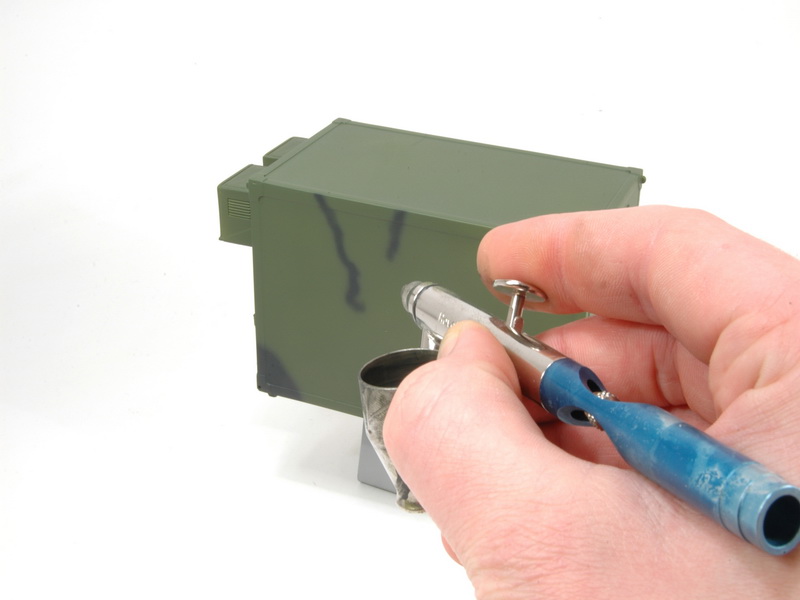
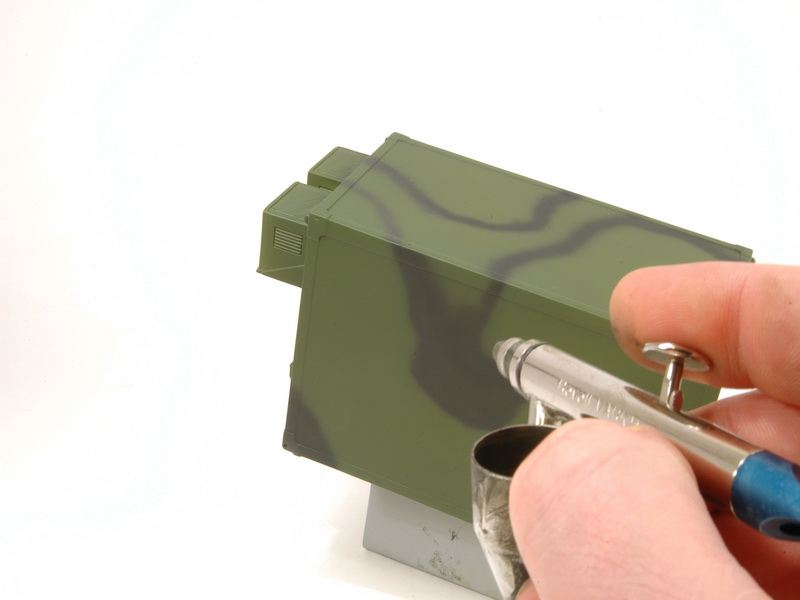
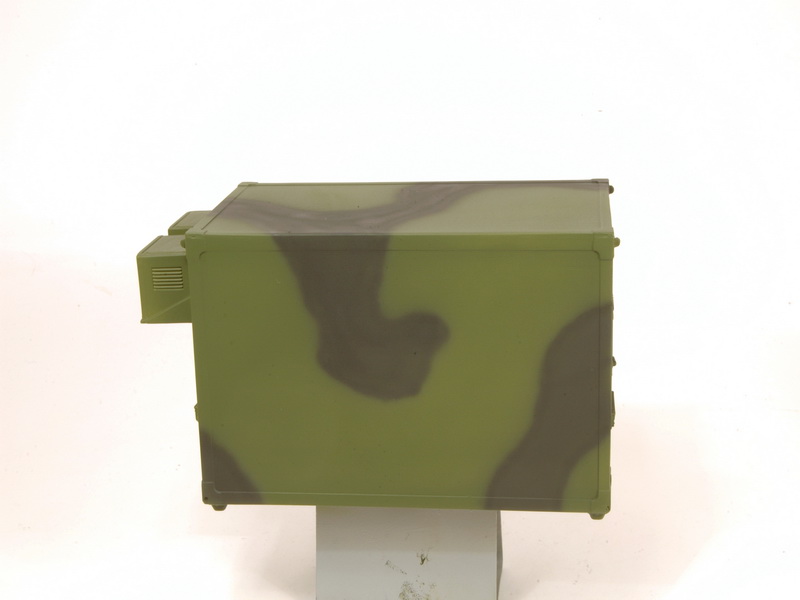
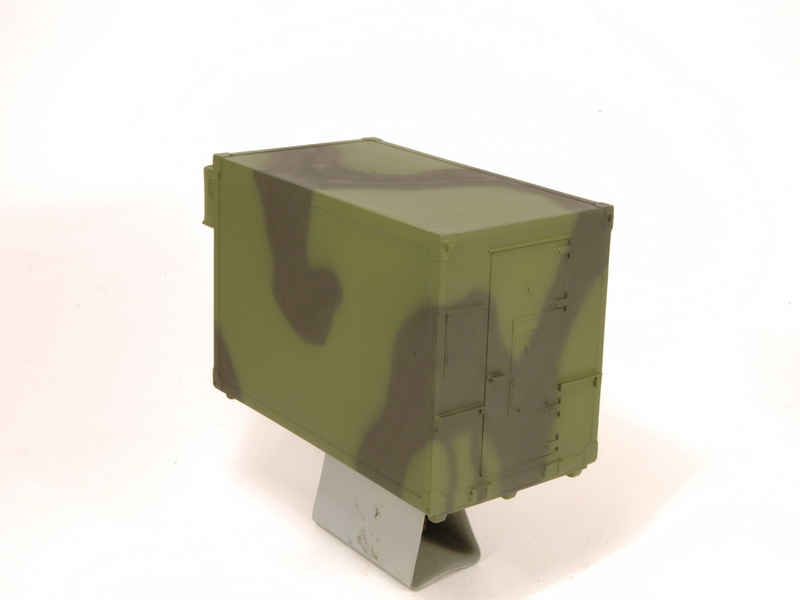
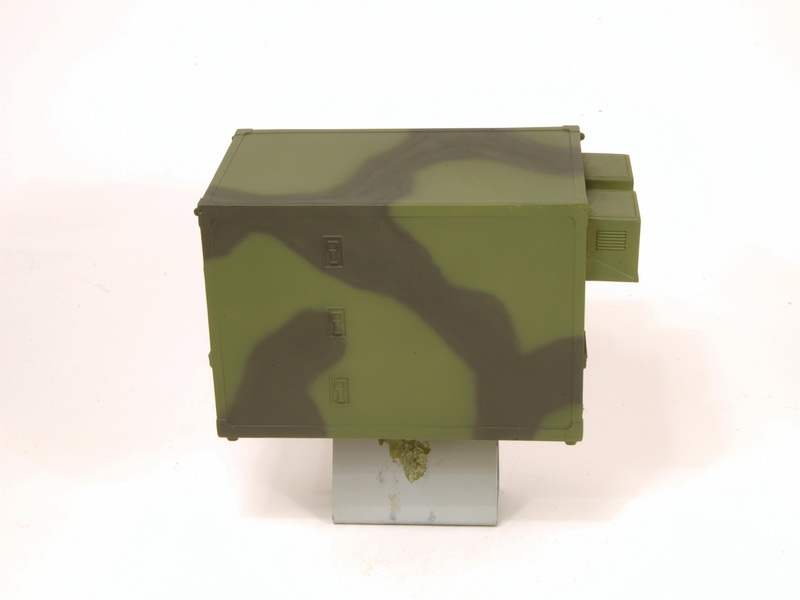
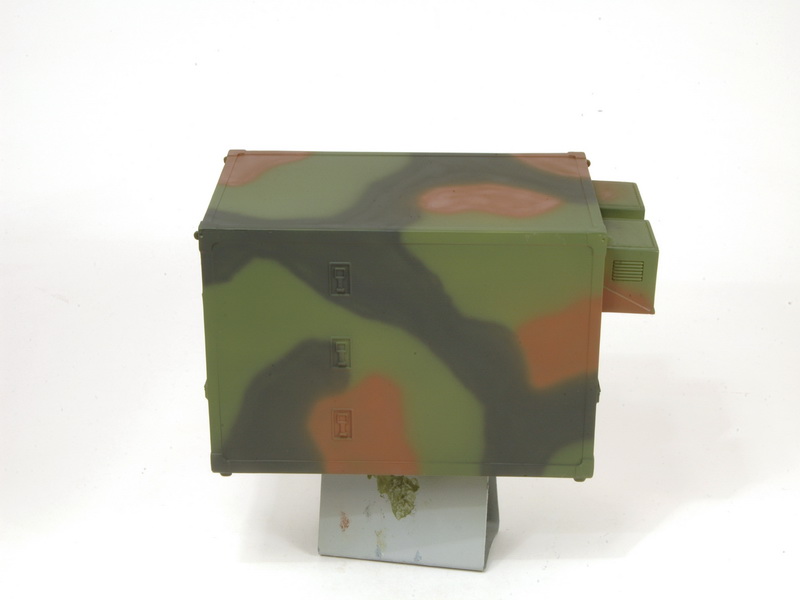
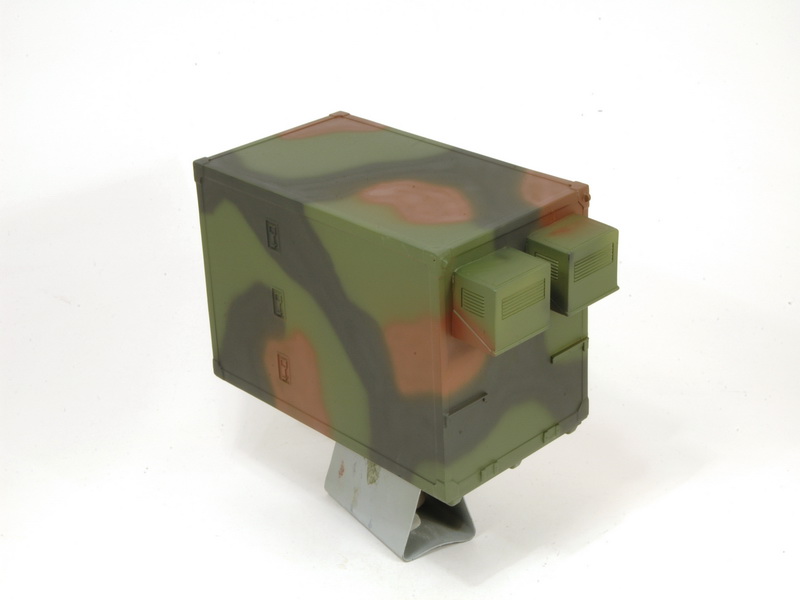
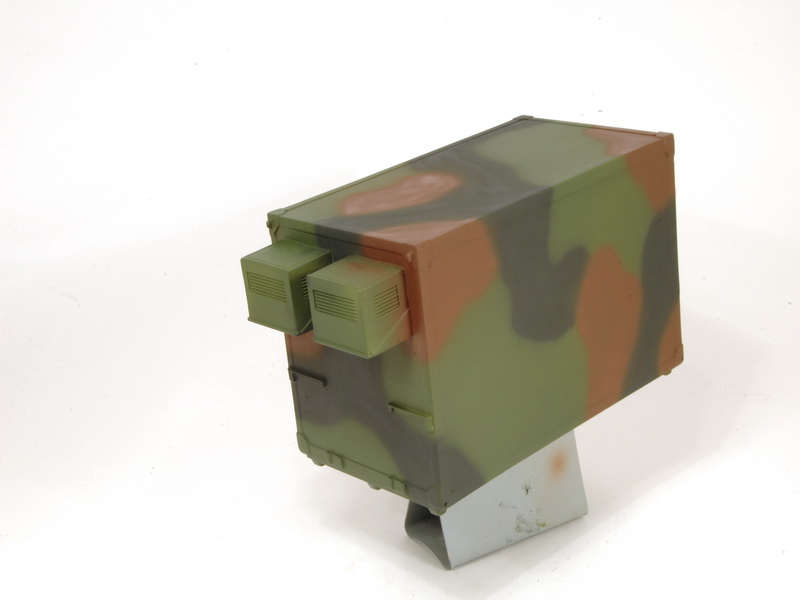
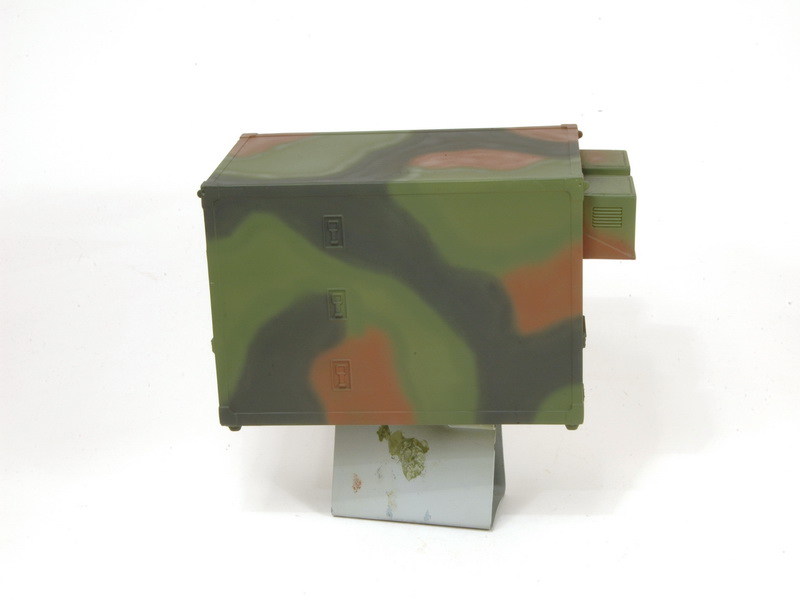
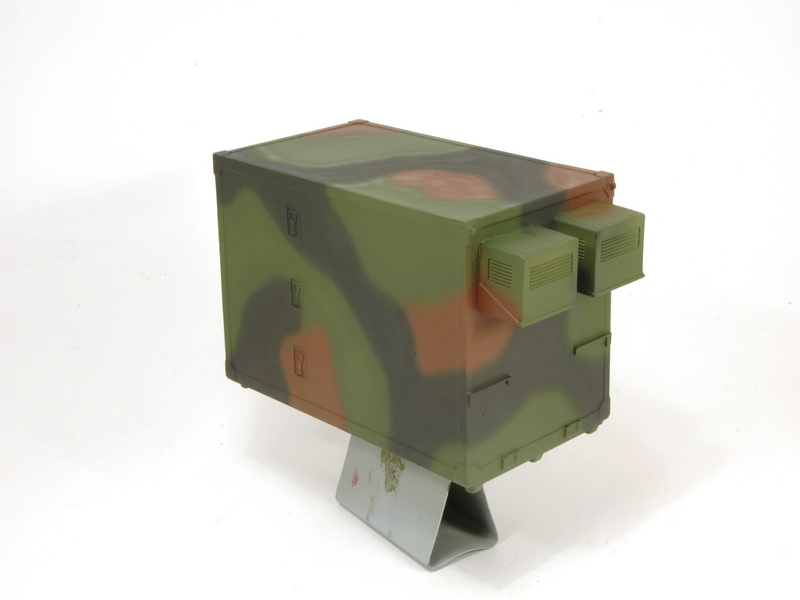
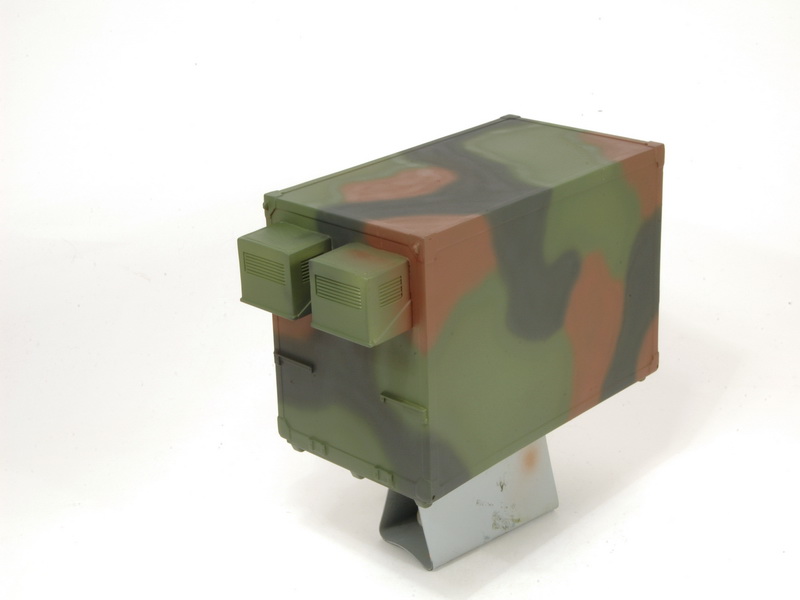
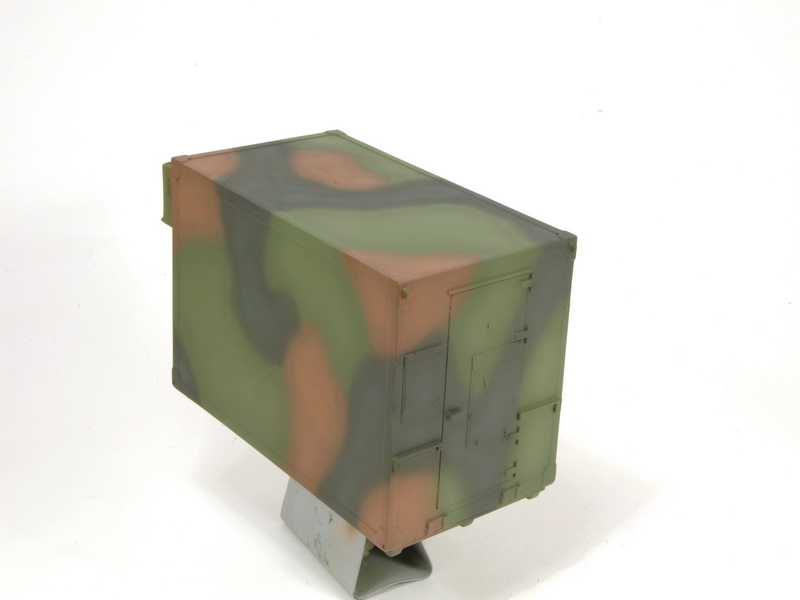
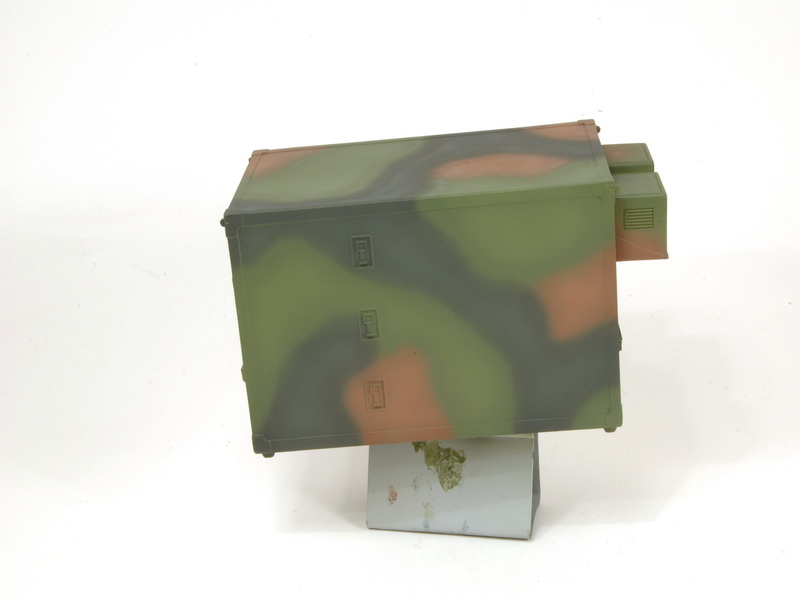
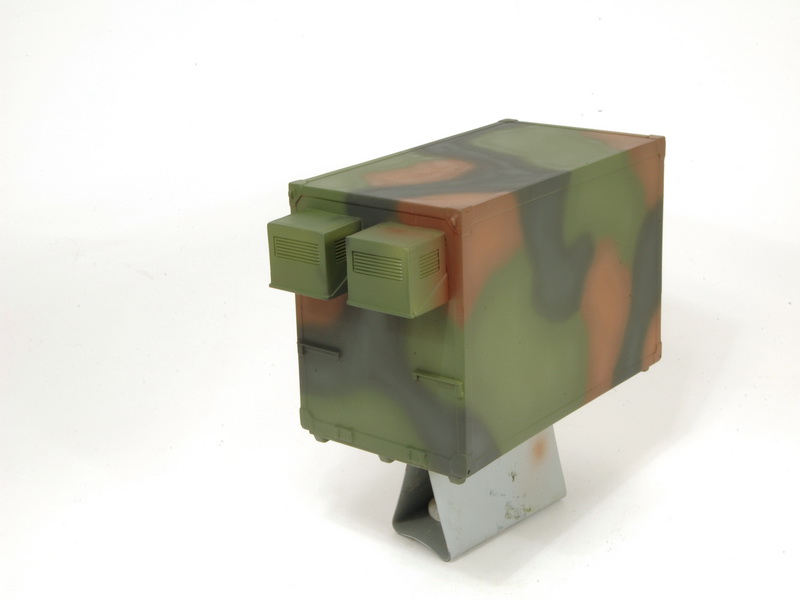
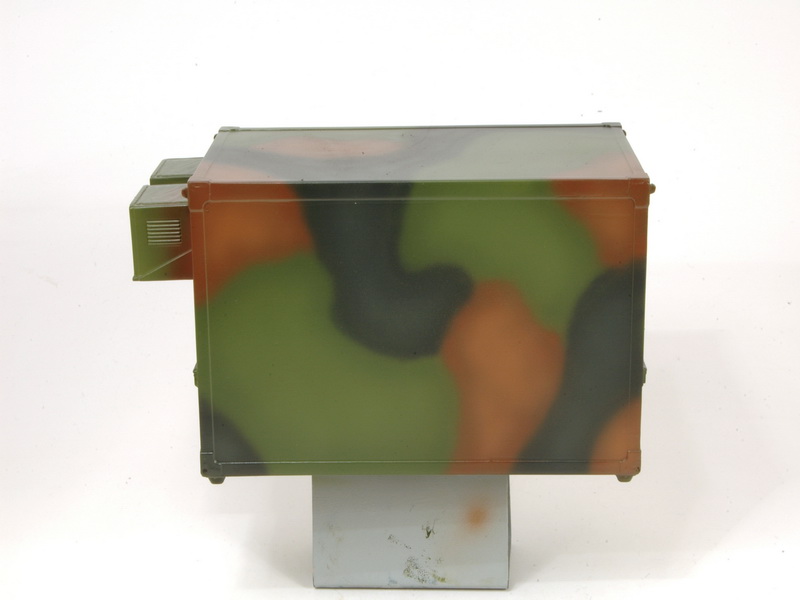
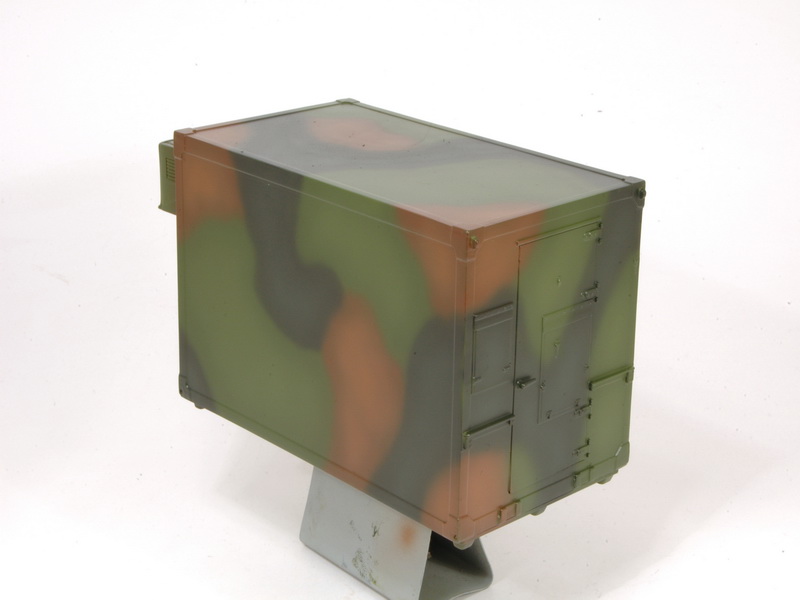
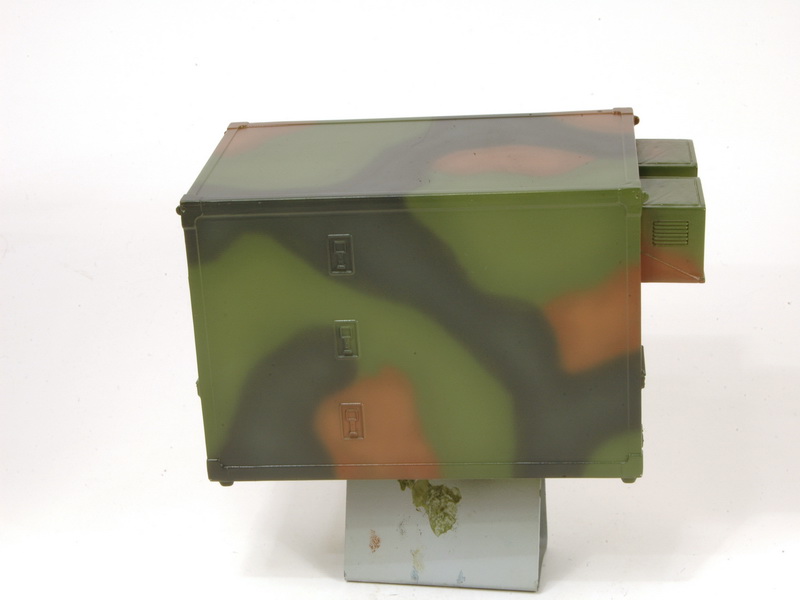
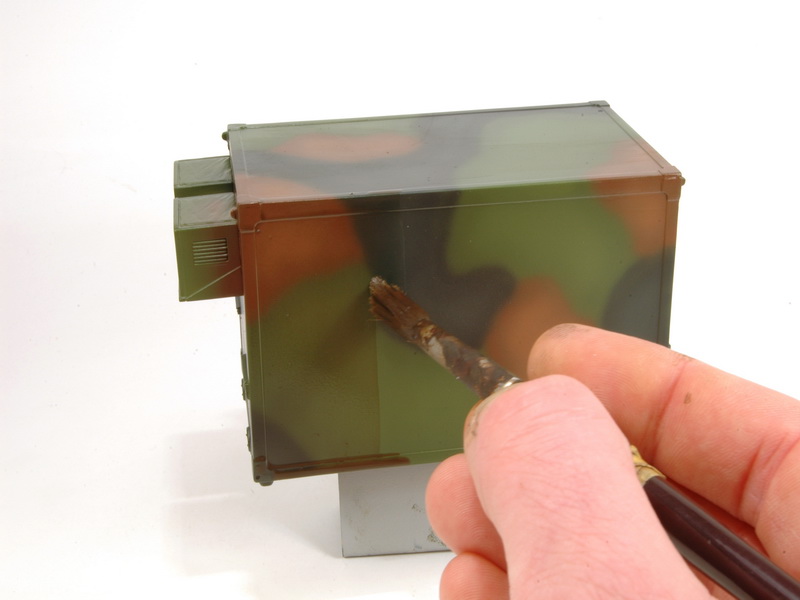
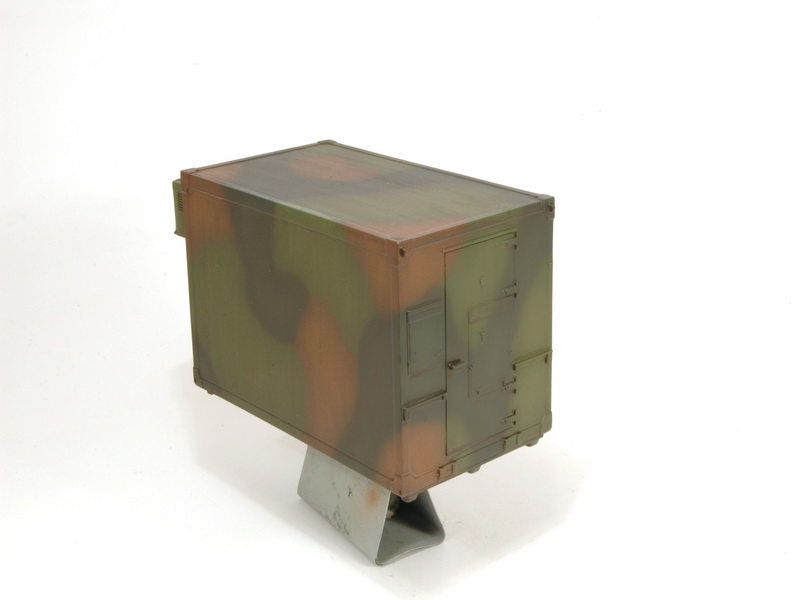
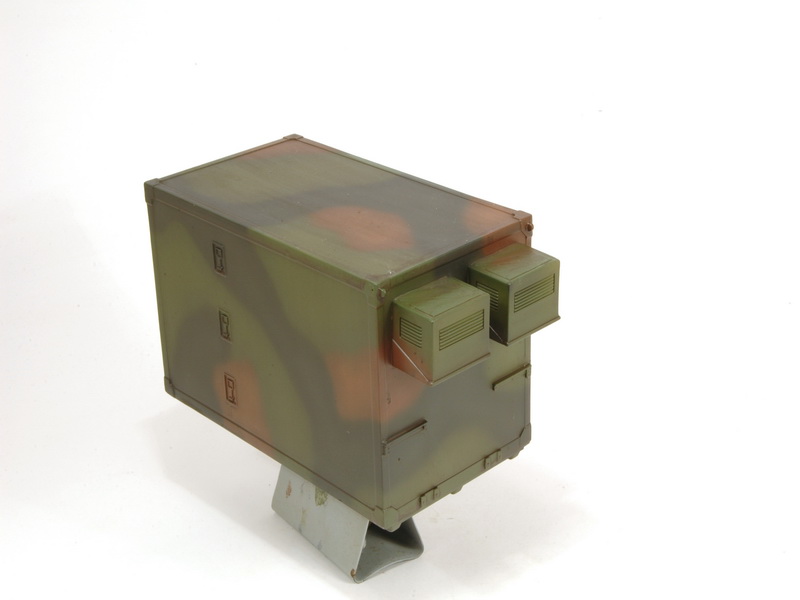
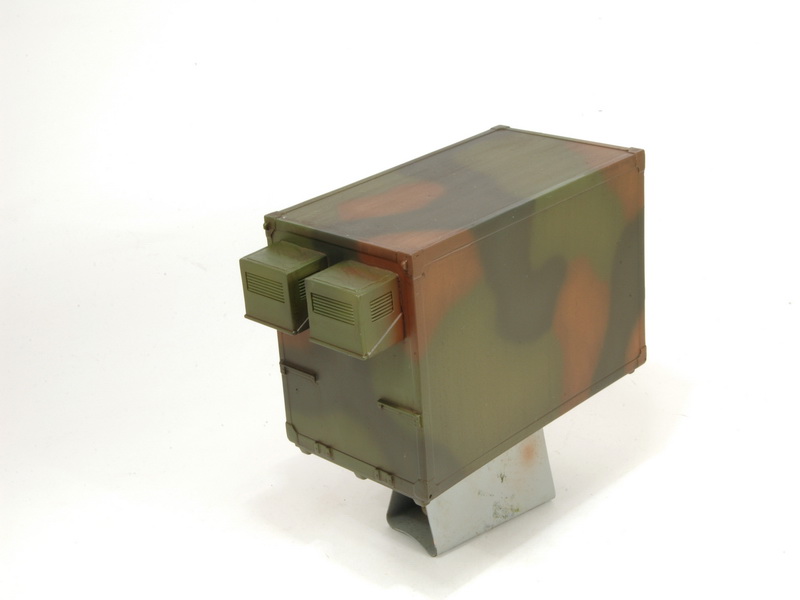
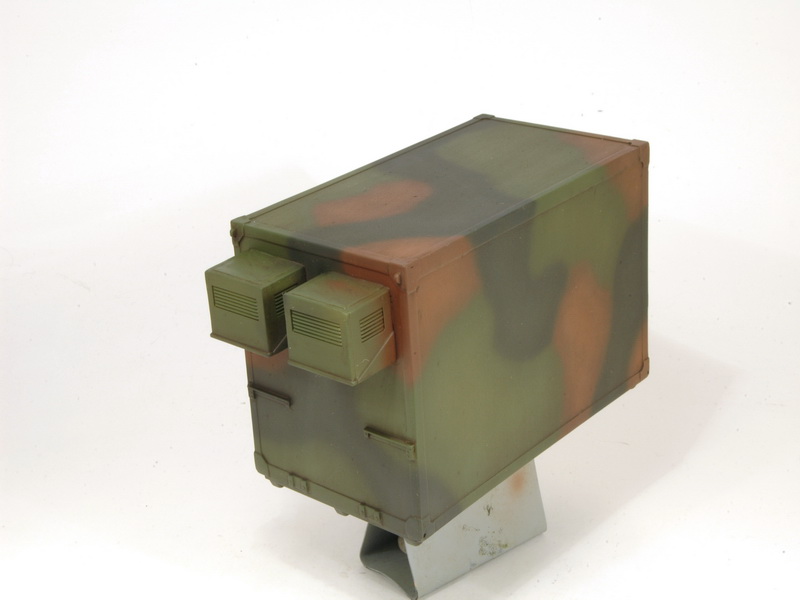
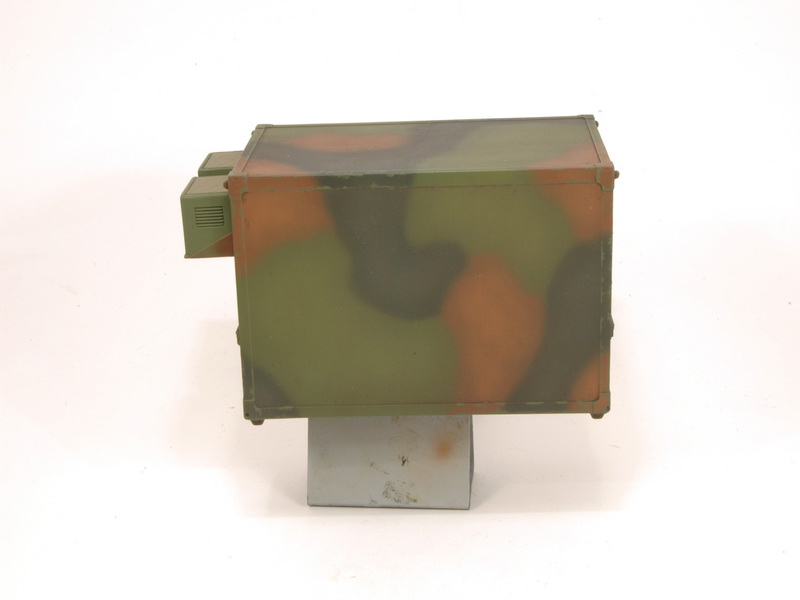
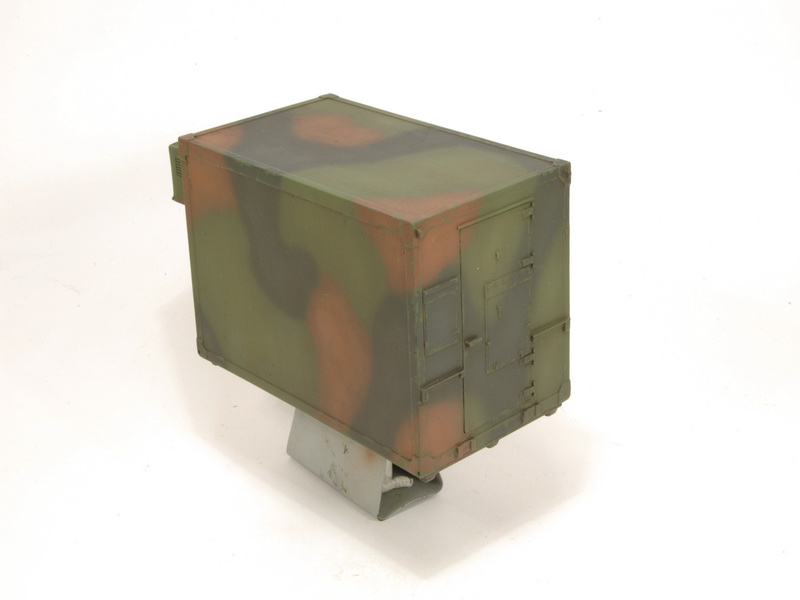
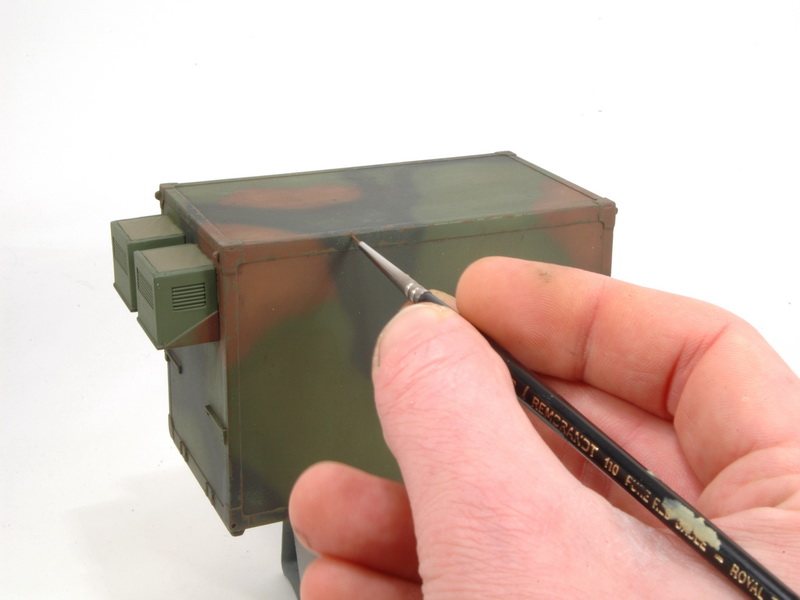
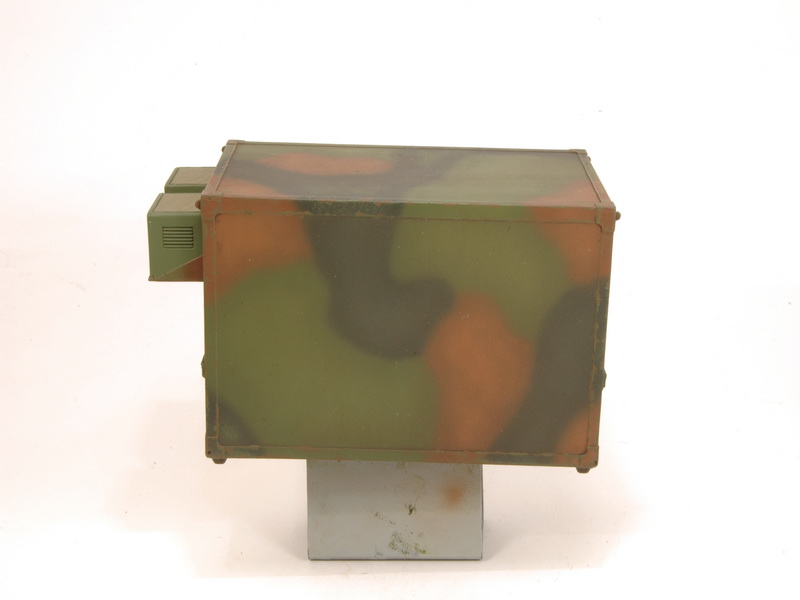
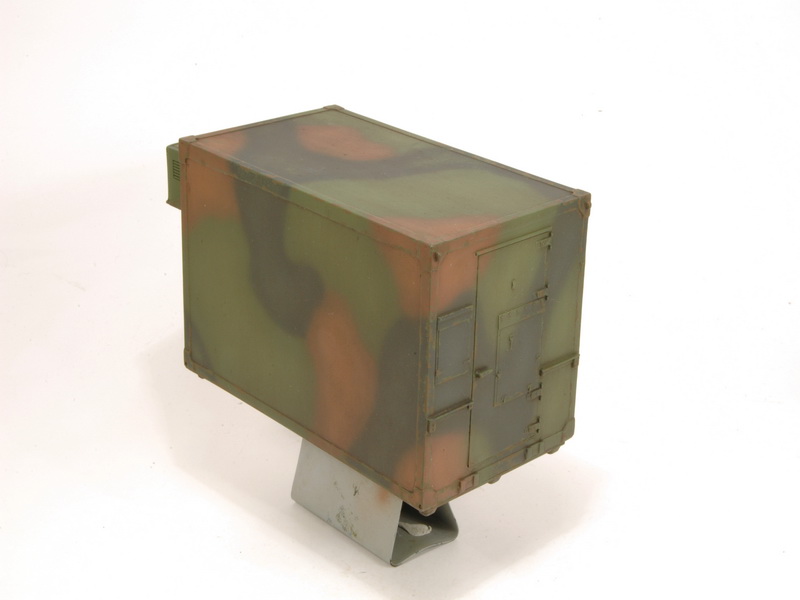
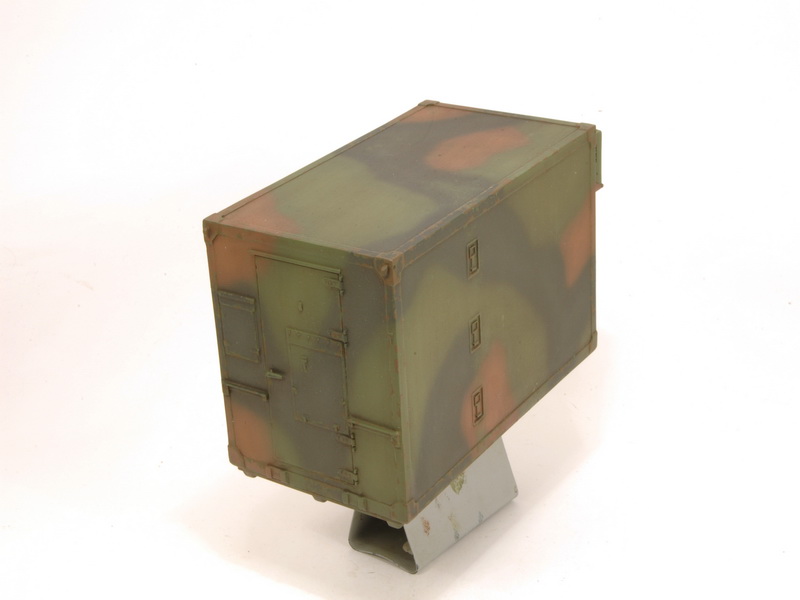
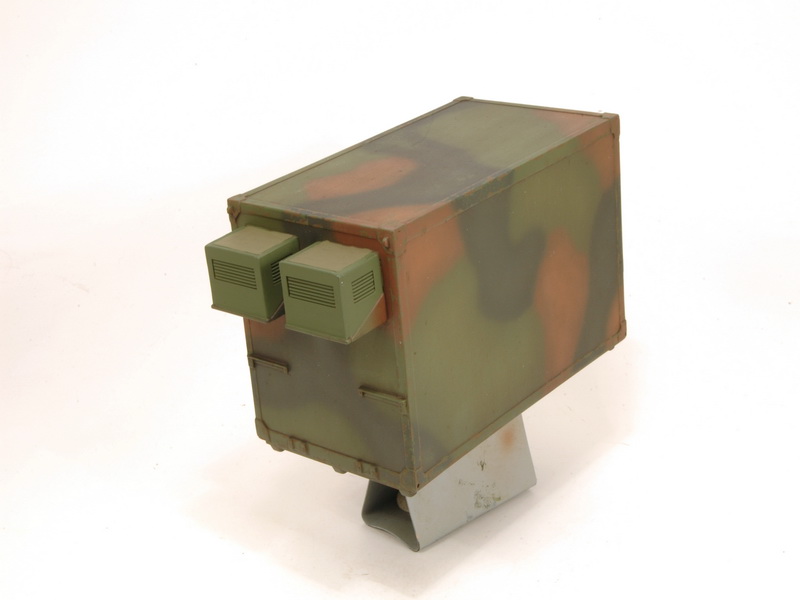
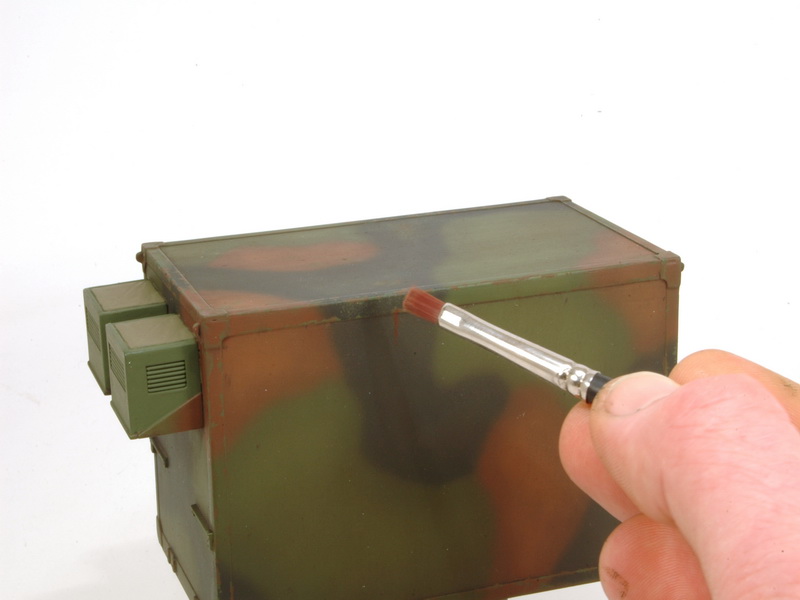
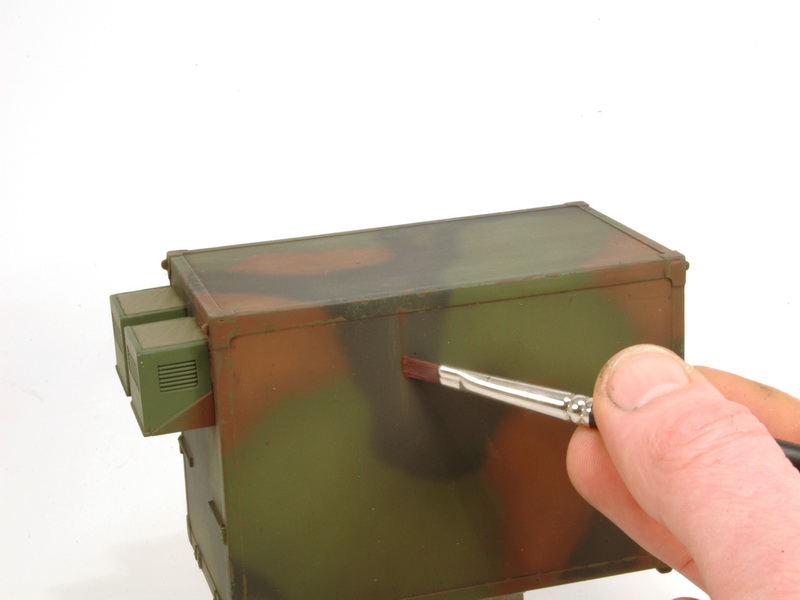
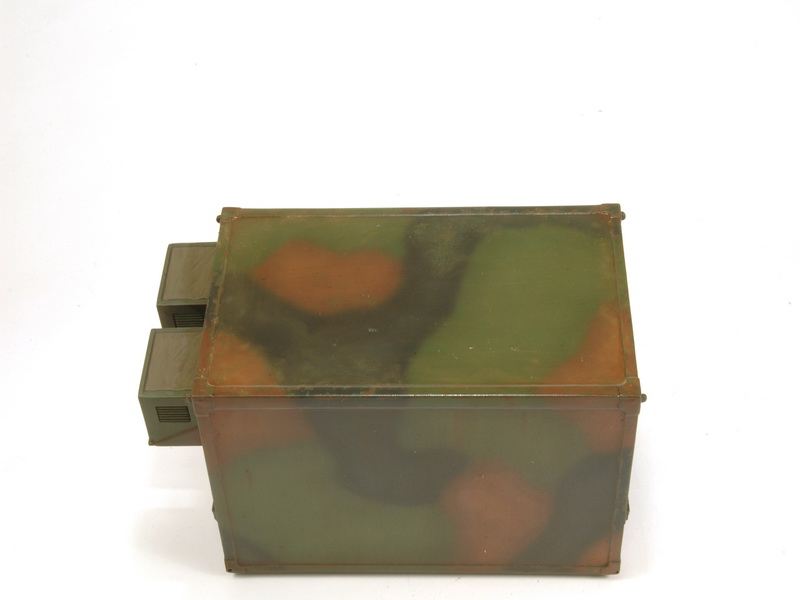
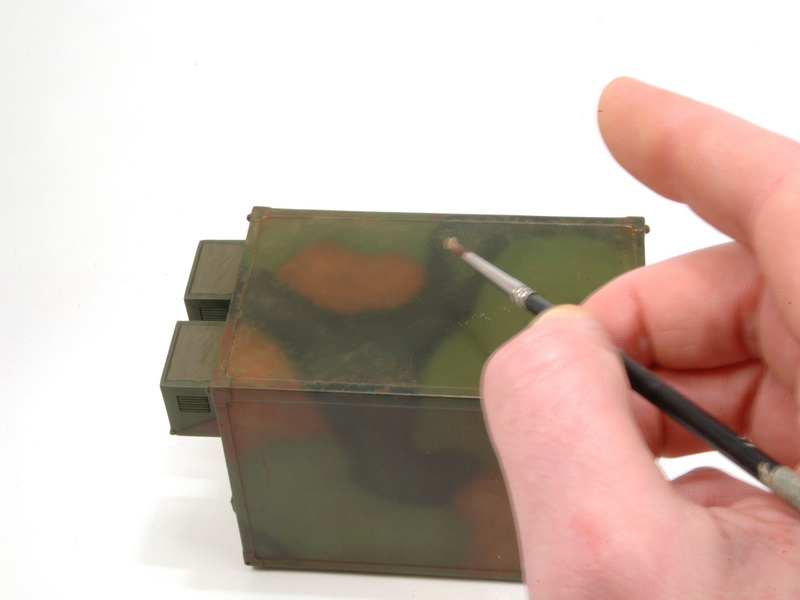
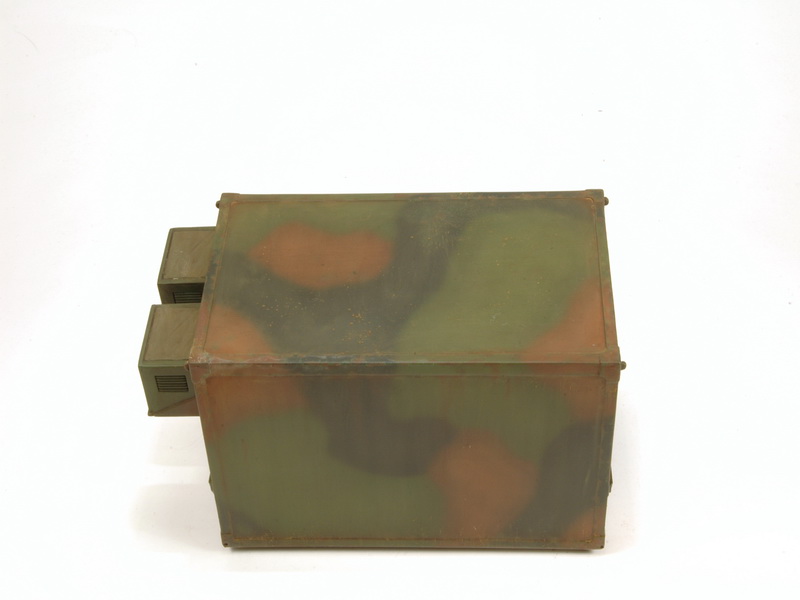
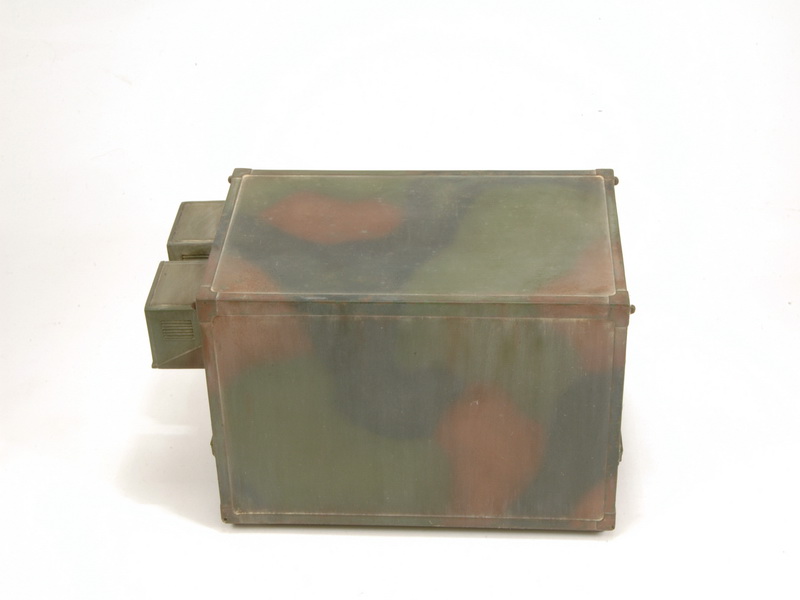
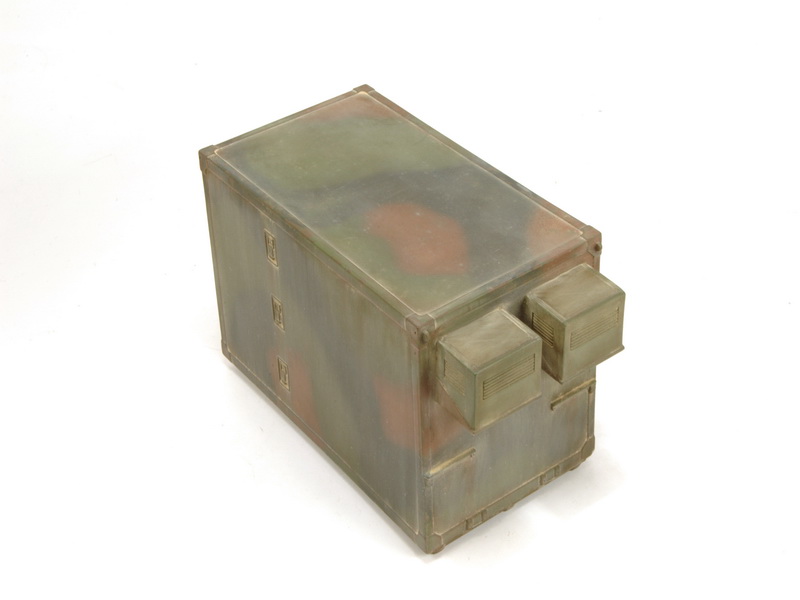
Tamiya NATO green was next. The paint is applied in thin layers over the model. When applying the paint for pre shading it is key to build up the paint around the black before covering the entire model until the pre shading is barely visible (photo 15, 16 29 35). With the base green on the first of the camouflage colours could be added. Each splotch is first outlined (photo 36). To fill in the colour it is built up from the sides in to minimize the amount of overspray (photo 37 38 39 44). The brown is then added in the same way (photo 45 50). No matter how carefully you work you will inevitably get overspray. This is simply removed by taking the appropriate colour and getting in close with the airbrush to clean up any of the overspray (photo 51 63). Now you are left with a camouflage scheme that is okay, but it can be enhanced further with some post shading. Every colour is lightened with a few drops of Tamiya flesh and is thinned even more until it looks more like tinted thinner. These are the applied to the centres of the colours and panels. This step enhances the panels and breaks up the monotone paint finish (photo 64 69). With the painting done I gave the model a clear coat in order to protect the paint (photo 70 75).Washes
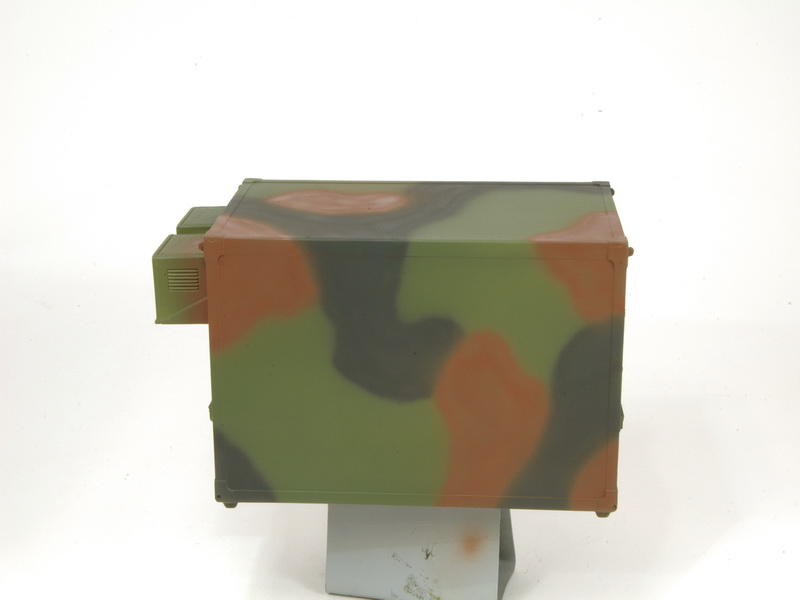
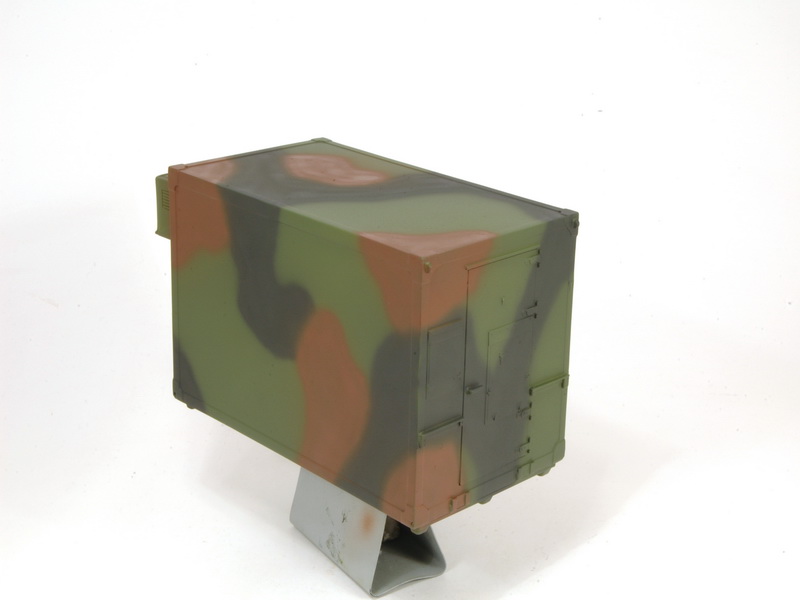
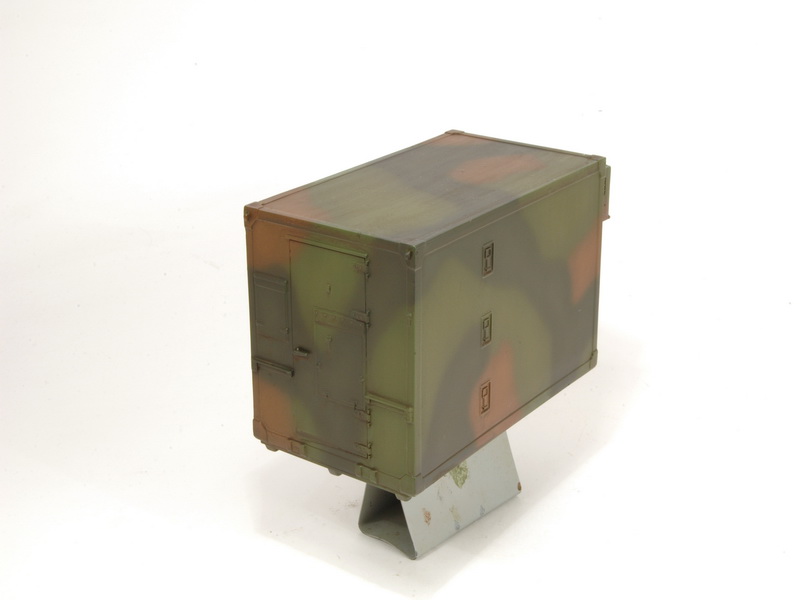
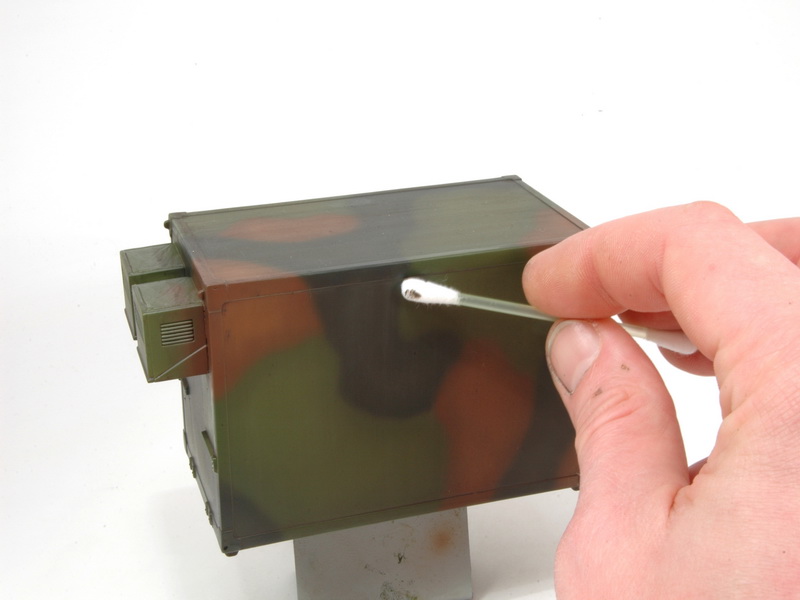
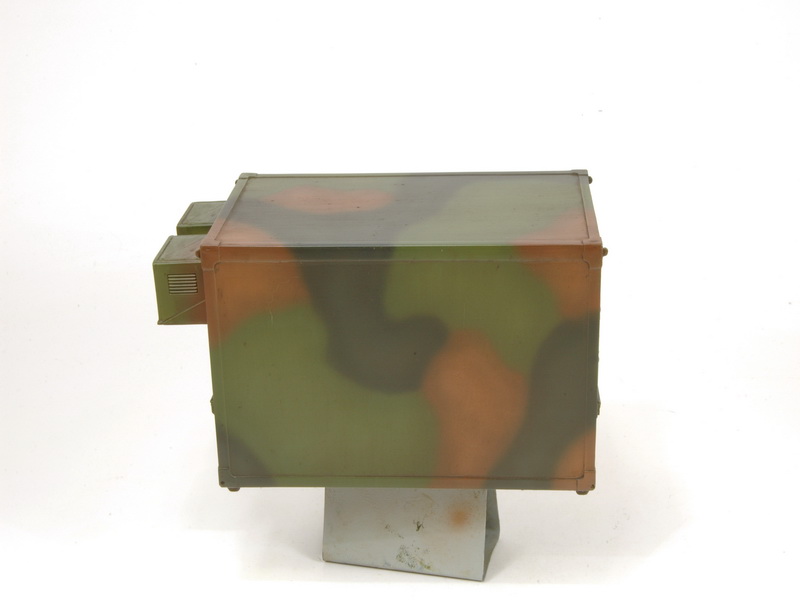
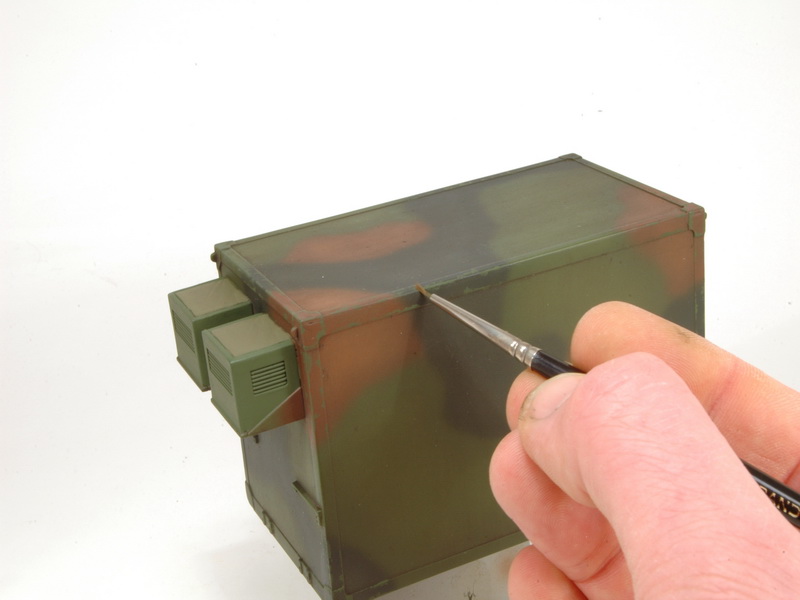
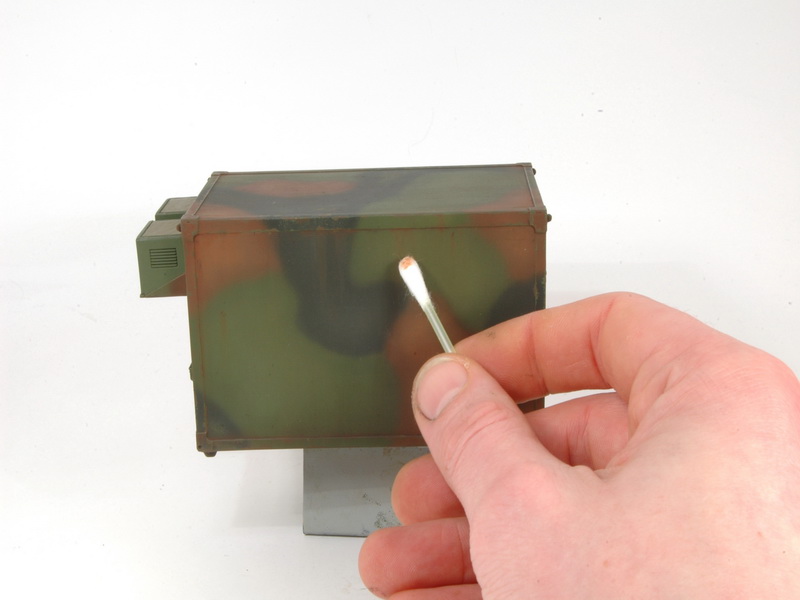
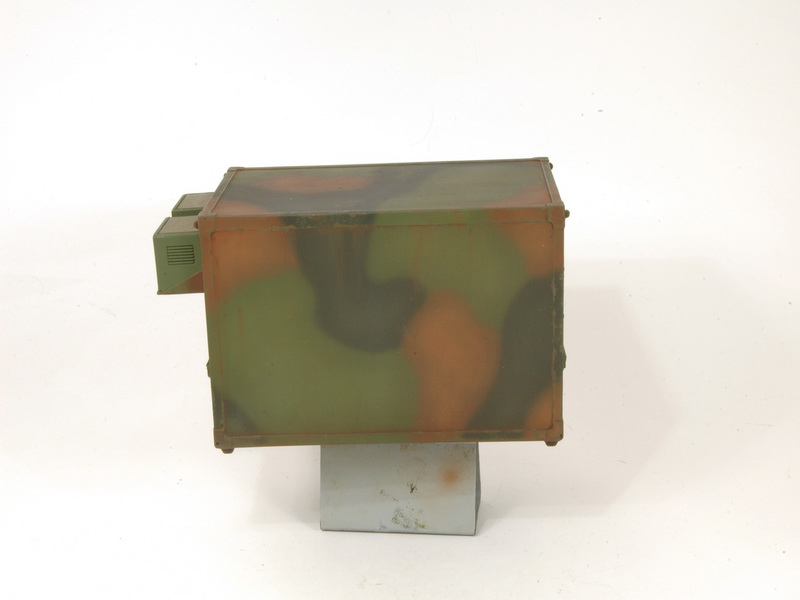
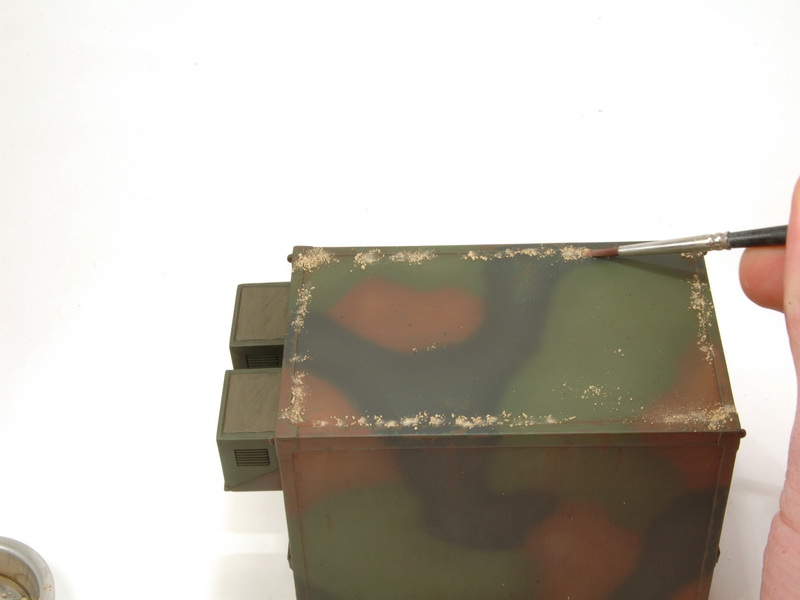
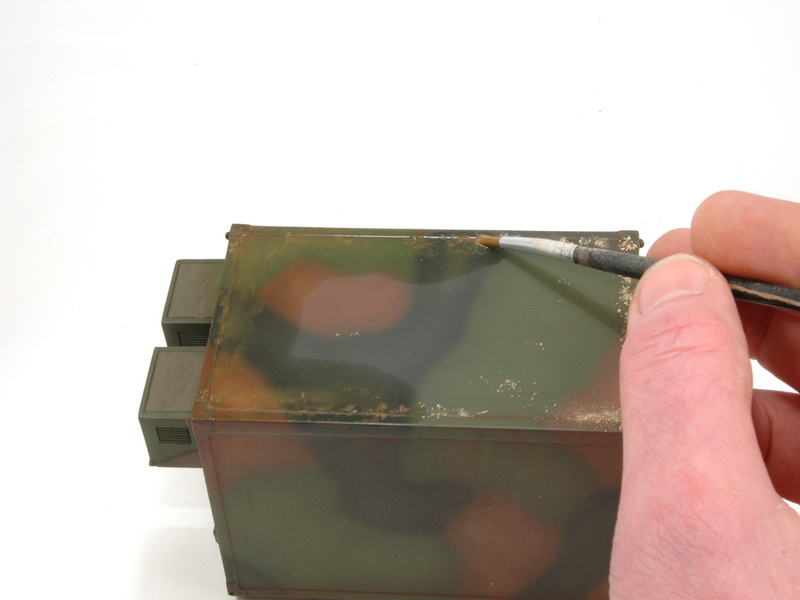
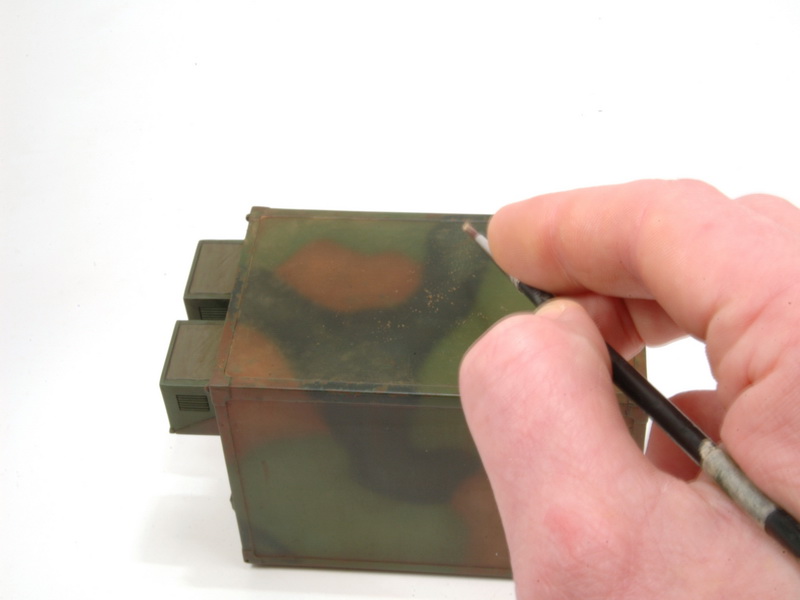
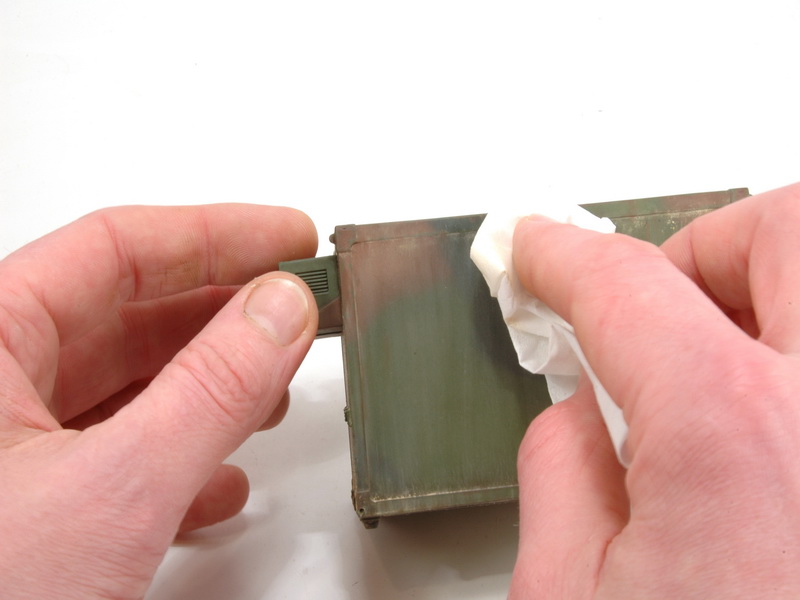
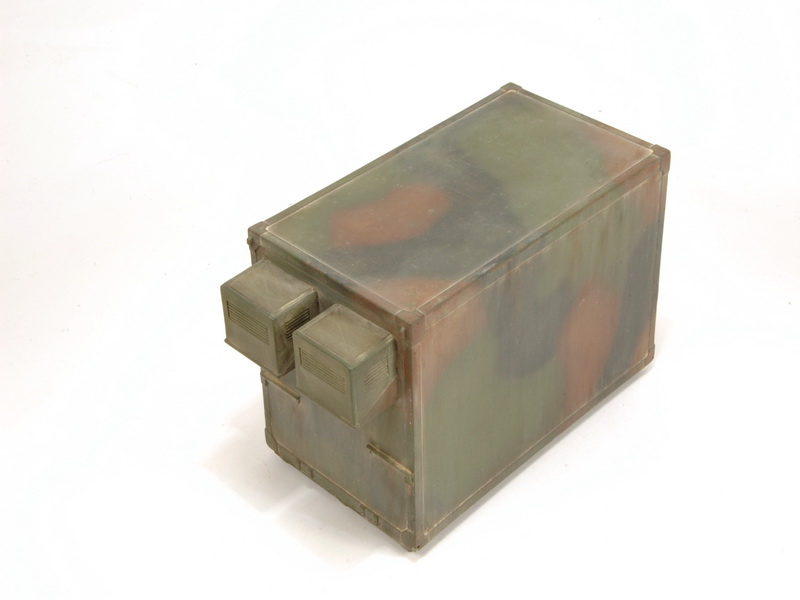
Up next is the wash. For this I use raw umber thinned with turpentine. The ratios I use vary depending on the colour of the model. In this case I used a relatively heavy wash because of the dark shades. A trick I use to see how heavy the wash is is to brush it over a coin. This will show how heavy it will accumulate around details. Using a large round brush I apply the wash to the model in down ward strokes (photo 76). Before setting the model aside to dry a little I do remove the excess wash that builds up at the base of the model (photo 77 82). When the model has dried for a few minutes it is time to start removing the excess wash from the model. Running a Q-tip over the sides from top to bottom the excess is removed and, depending on how much you remove can leave a subtle streaking effect (photo 83 89). The wash also gets rid of some of the sheen of the clear coat but to get a complete matt finish a dull coat is applied using Gunze h20 (photo 90 95).Chipping
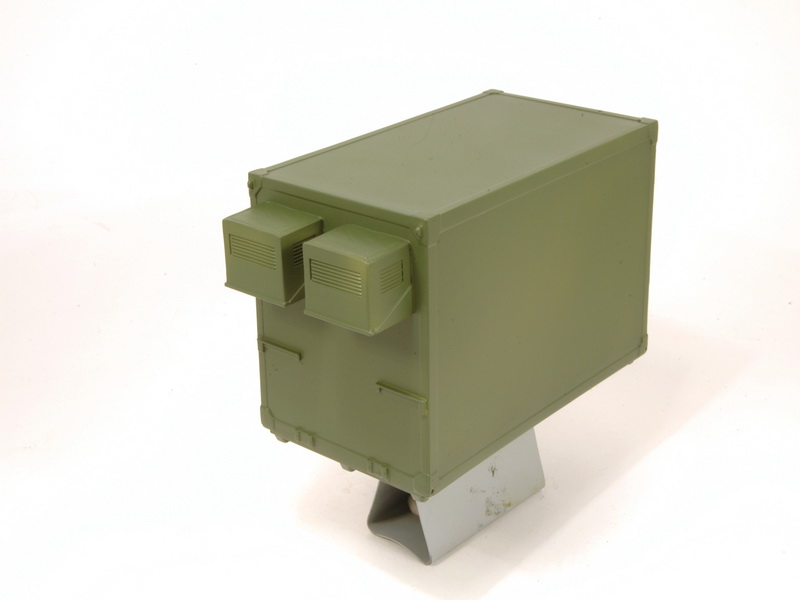
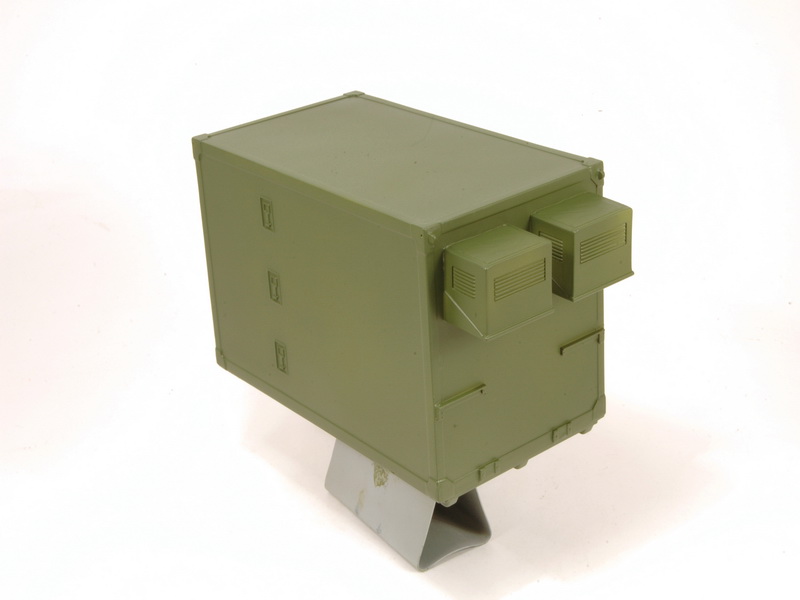
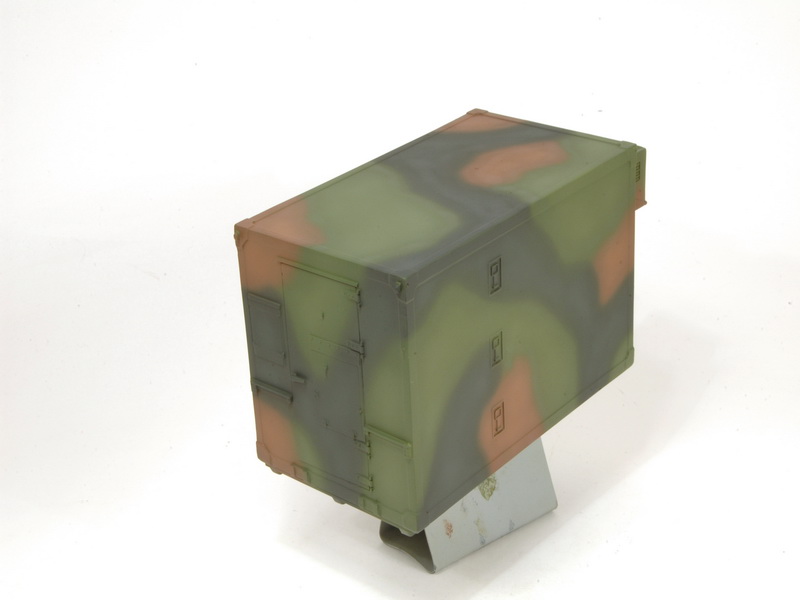
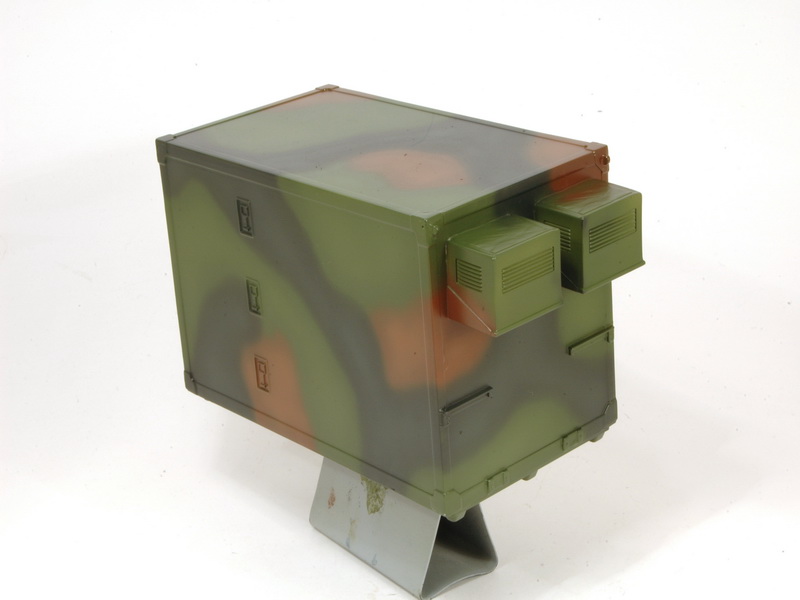
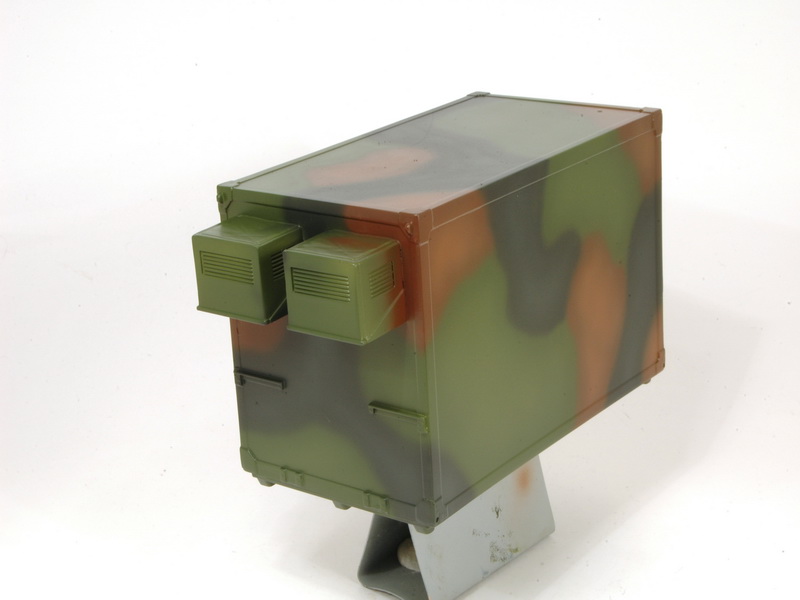
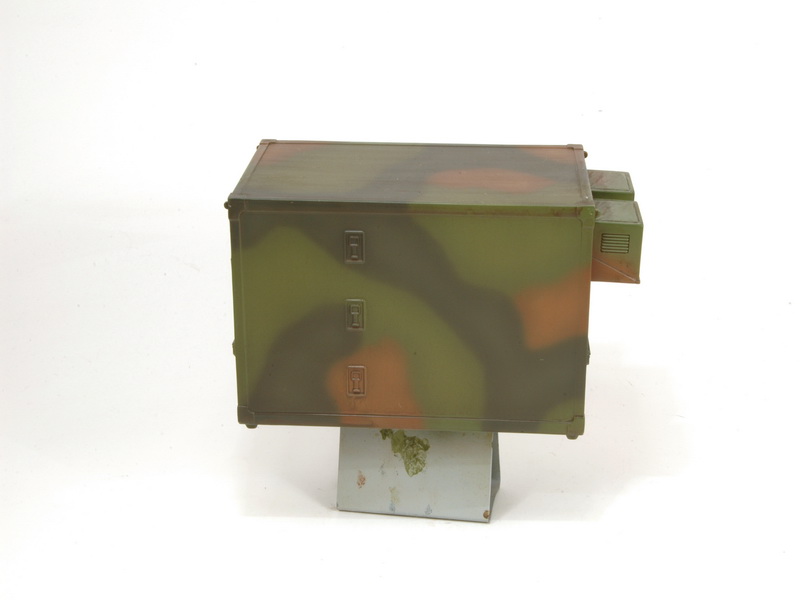
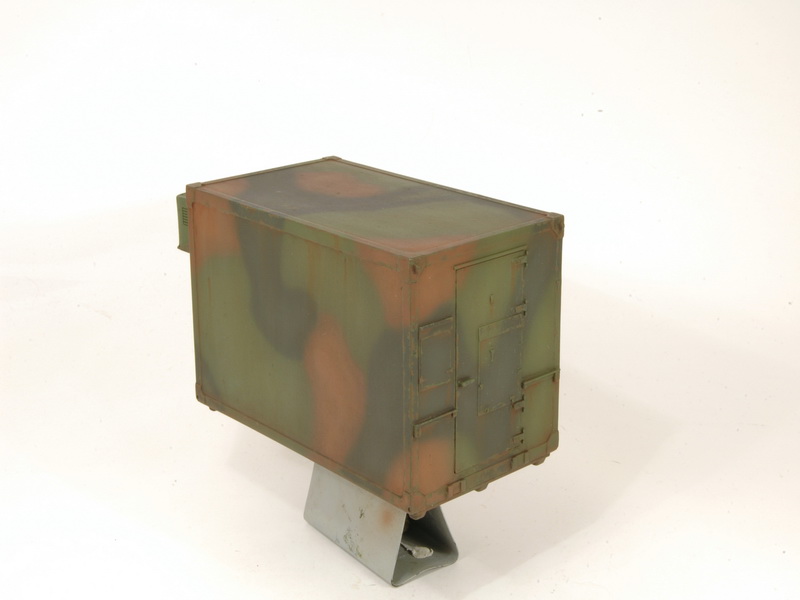
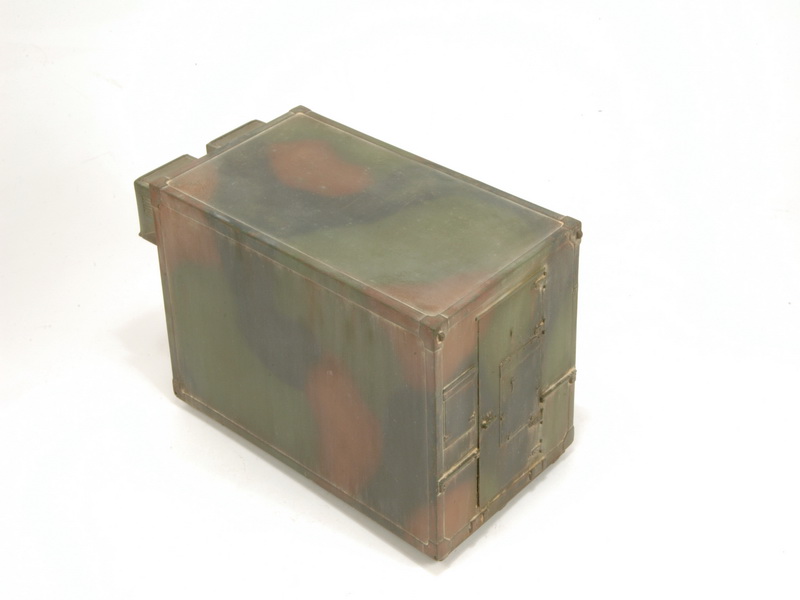
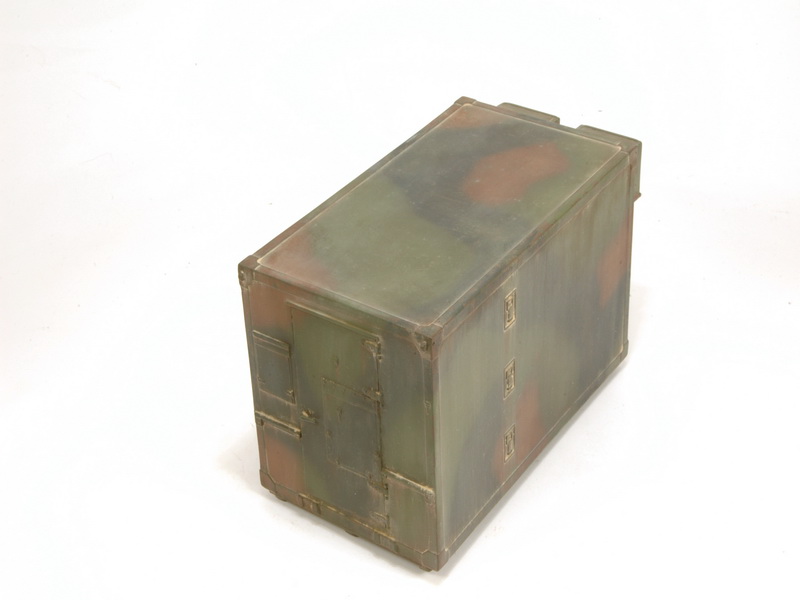
To add chipping I use Vallejo paints in this case reflective green. It is important to use a small brush and make sure you thin the paints for chipping. Here I started with adding the green chips (photo 96 102). Next the chips that have gone through the paint and exposed the metal and rusted over. For this I used chocolate brown and painted the chips to those areas that are prone to damage and to the centres of the green chips (photo 103 110).Rust
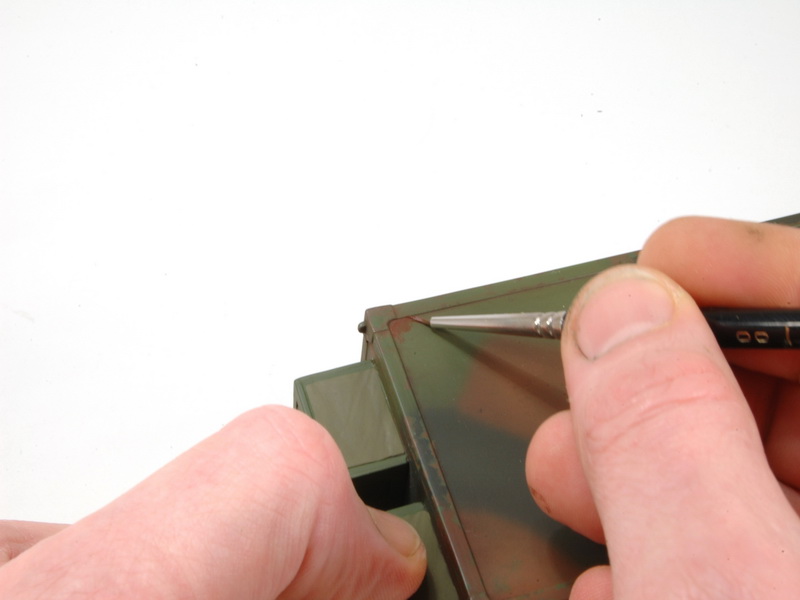
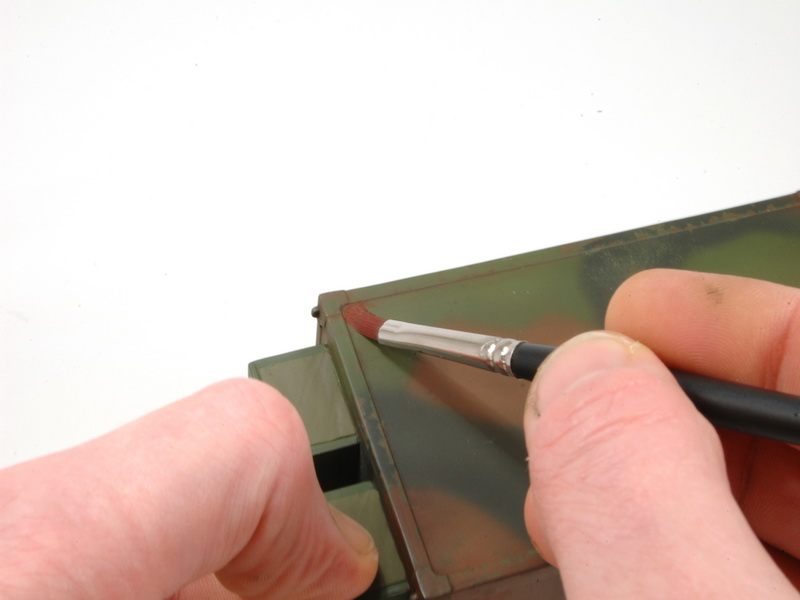
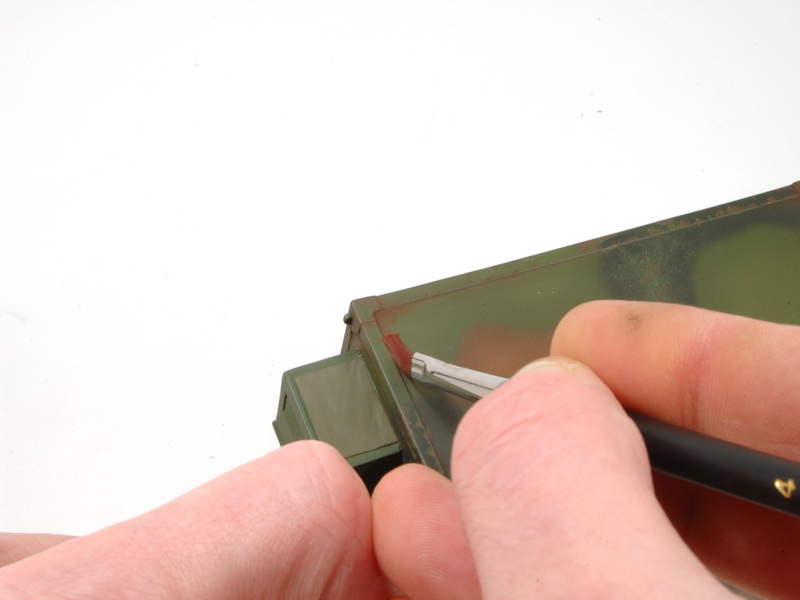
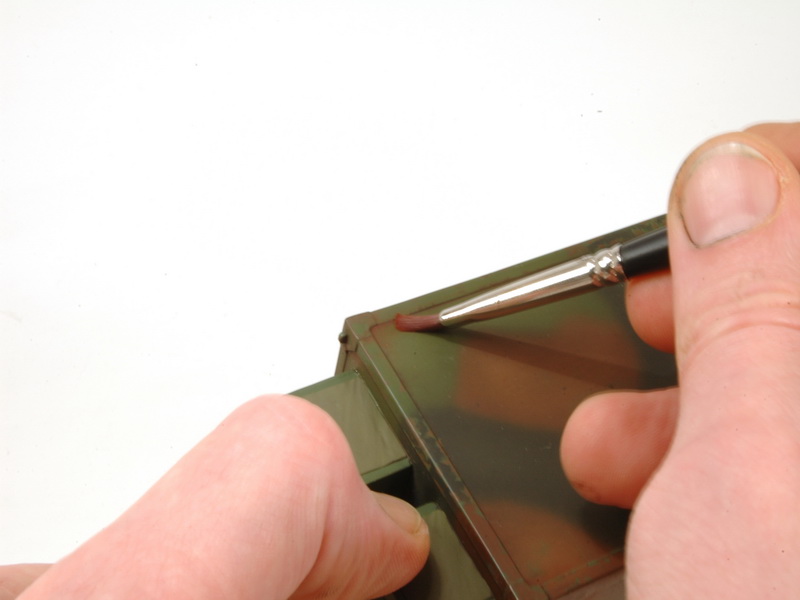
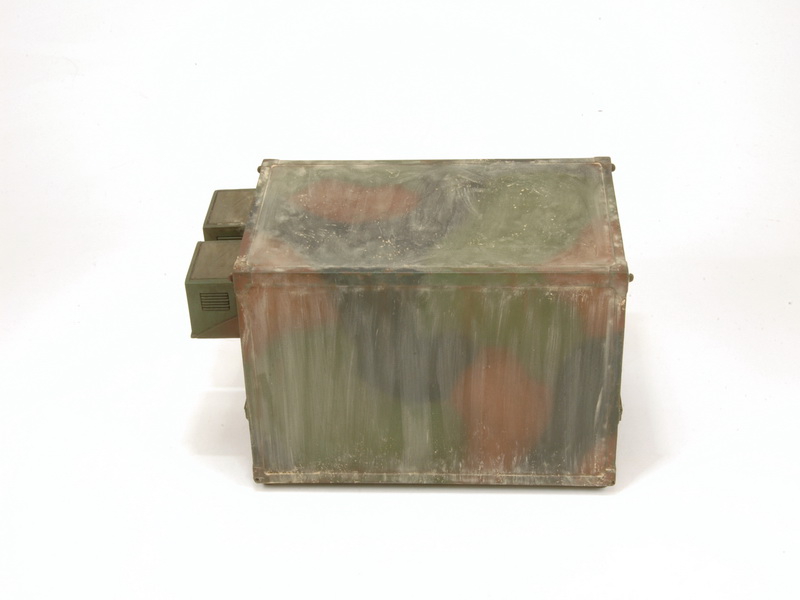
To make the rust streaks coming down from the chips I take burnt sienna oil paint and make a line running from the chip down. Then taking a flat brush moistened with turpentine and blend the streak. This can be done as much or as little as you want depending on the result you are going for (photo 111- 114). I the resulting streak is not what you want this is easily fixed by removing the offending streak with a Q-tip moisten with turpentine (Photo 115). (Streaking done, photos 116 121). To create rust stains on the horizontal surfaces I brush some of the burnt sienna into the corner and then using a clean flat brush bled it (Photo 122 126). With this stage done I set the model aside do dry before sealing the model again with a dull coat. This is done to protect the oil paint from the turpentine used to work with the pigments.Pigments
Pigment was placed on the model using a small round brush before starting to work it around using a round brush loaded with turpentine (photo 127 130). With the pigment dissolved and spread out I sprinkled some pigment randomly over the model to create some heavier dust spots (photo 131 133). The rest of the model got the same treatment except for moving the brush from top to bottom on the sides. After letting the model dry you are left with a model that does not look very appealing (photo 134 139). All that is needed is to blend the pigments. Here I used a tissue and a finger to blend and remove any excess pigment from the model. Again depending on the result you want remove as little or as much as you need (photo 140 146).Conclusion
This is certainly not the way to do it, but the way I do it and that gives me the results I want.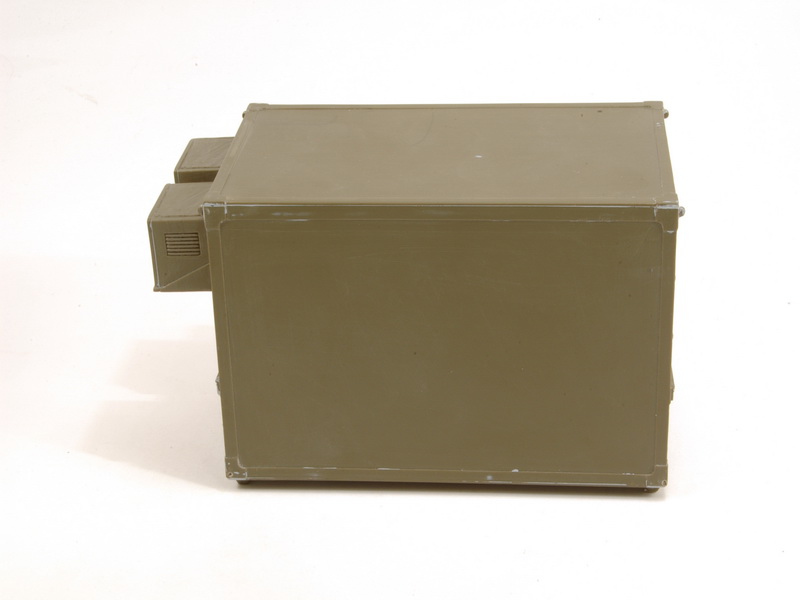


About the Author


FROM: GRONINGEN, NETHERLANDS
Hi, my name is Jan-Willem, I life in the Nederlands and I work for social securaty in the Netherlands. My interests are 1/35 middel eastern AFV as there is a nice mix of soviet en werstern armour but realy love IDF armor
Comments
Well done Jan! Another excellent "how to" article. Clearly written instructions, and plenty of photos to thoroughly document the process. You are getting very good at this =)
AUG 22, 2013 - 05:01 AM

Thanks for the well done Article, this is an are that I struggle in and I plan on using your tips. Again thanks a lot..
AUG 22, 2013 - 06:20 AM

Really great "how to" Articlewith excellent Photos and great paintjob. Looks very good and the weathering effects are great too. Thanks for sharing
AUG 22, 2013 - 08:11 PM

Thanks for sharing your method which by the way is mine as well but with not so brilliant results
I will certainly read your feature some more times to hope approaching your level.
Olivier
AUG 22, 2013 - 09:43 PM


Really nice article I hope mine comes out as good as yours. I never painted a NATO 3 color camouflage an this will help a lot when I paint my Abrams.
Happy modeling
NOV 02, 2013 - 02:57 PM
Copyright ©2021 by Jan-Willem Fischer. Images and/or videos also by copyright holder unless otherwise noted. The views and opinions expressed herein are solely the views and opinions of the authors and/or contributors to this Web site and do not necessarily represent the views and/or opinions of Armorama, KitMaker Network, or Silver Star Enterrpises. All rights reserved. Originally published on: 2013-08-22 12:40:12. Unique Reads: 29723

WEB HOSTING BY


Copyright ©2021 Armorama and Kitmaker Network, a subsidiary of Silver Star Enterprises
All Rights Reserved. Please read our Conditions of Use and Privacy Policy.
All Rights Reserved. Please read our Conditions of Use and Privacy Policy.