_GOTOBOTTOM
Armor/AFV
For discussions on tanks, artillery, jeeps, etc.
Review
RyeField: Panther Ausf. G Build
CMOT
Staff MemberEditor-in-Chief
ARMORAMA
Visit this Community
England - South West, United Kingdom
Joined: May 14, 2006
KitMaker: 10,954 posts
Armorama: 8,571 posts
Posted: Monday, August 27, 2018 - 12:57 AM UTC


Pete Becerra tackles the Panther Ausf. G with Clear Parts from Rye Field Model in 1/35th scale. Pete has provided a full build and finish of the model in this review.


Read the Review

If you have comments or questions please post them here.

Thanks!
Dinocamo
Visit this Community
Quebec, Canada
Joined: August 26, 2017
KitMaker: 91 posts
Armorama: 89 posts
Posted: Monday, August 27, 2018 - 03:42 AM UTC
Just a little typo, the other RFM kit is a Tiger, not King Tiger. RFM doesn't have King Tiger yet.
Epi
Visit this Community
Texas, United States
Joined: December 22, 2001
KitMaker: 3,586 posts
Armorama: 2,556 posts
Posted: Monday, August 27, 2018 - 03:51 AM UTC
Thanks for catching that typo Dinocamo, maybe Darren can fix that for me.
d111298pw
#456
Visit this Community
Oklahoma, United States
Joined: September 22, 2016
KitMaker: 654 posts
Armorama: 638 posts
Posted: Monday, August 27, 2018 - 06:31 PM UTC
Pete,
Fantastic build review. I've been waiting to read your comments before getting started on my build. Your end product looks amazing.
I will be adding your suggestions to my own notes as I try to figure out how to tackle this beast. One item to note is that if you use the steel roadwheel, in Step 31, there are two positions for the torsion bar. It needs to be glued in the lowest position so that you don't get that gap with the tracks. It should not be lined up with the other torsion bars as they dry. Just need to finish whats on my table before starting this one.
Kaktusas
Visit this Community
Vilnius, Lithuania
Joined: April 12, 2017
KitMaker: 196 posts
Armorama: 196 posts
Posted: Monday, August 27, 2018 - 10:23 PM UTC
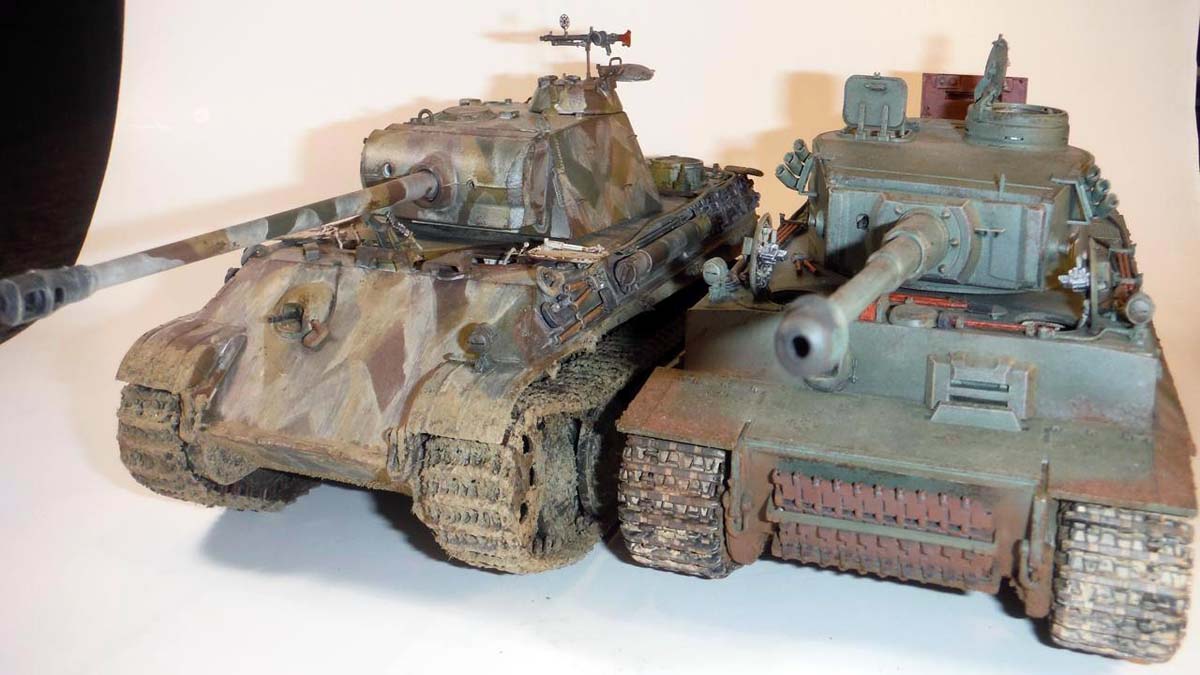
Great build review! One thing that slipped away, is some distorted pictures, especially top shot of panther + tiger.
I would also like to add about instructions. Everybody says it is important to study them, before cutting the sprues. While this is true, it is hard not to lose focus with 70+ steps. Similar story with errata, or suggested fixes to the model. While it is very good to have such information complied in review, its still too much information to remember when you start building your own. And fallowing instruction manual, plus 5 reviews or blogs while building the kit is plain overkill.
The answer to this would be marking out the instructions. Placing notes on the steps, what to do and what not, putting down shortcuts to the other steps, if some part is to be attached in earlier steps and so on. I will try to do this on my next build review, so modelers can print out revisited instructions, and build according to this, single source. You can also mark out what options/tools etc are correct/wrong for given version.
d111298pw
#456
Visit this Community
Oklahoma, United States
Joined: September 22, 2016
KitMaker: 654 posts
Armorama: 638 posts
Posted: Tuesday, August 28, 2018 - 12:09 AM UTC
Darius, That is exactly what I am doing with this kit. I have scanned and printed every page and I am making notes for every step and sub-step. This is a complex kit and the only way to keep from losing control is lots of pre-planning. I have easily spent more than 10 hours studying the instructions and making notes. The fruit of that labor ended up being the in-box review that was posted a few weeks back. Now, I will incorporate Peter's build experience into my notes. Once I pull the kit off the shelf to build, I'll spend several more hours studying the steps and my notes before I remove the first sprue from the box.
Kaktusas
Visit this Community
Vilnius, Lithuania
Joined: April 12, 2017
KitMaker: 196 posts
Armorama: 196 posts
Posted: Tuesday, August 28, 2018 - 01:41 AM UTC
Mark, that's what i usually do with most kits too. What i would love to do, is to print "revisited" instructions done by somebody else, who has already done it for review. Don't get me wrong, i love doing research work (there's lots of scientific work in my job), but i prefer studying history of exact vehicle I'm building, rather than instructions. Yes, you have to understand what you will be doing in next step, but there is no point to understand where you will put some microscopic part 50 steps later. That's engineers, who is doing instructions work. That's what makes the difference between good and great kit. If Takom panther i reviewed recently had instructions like Tamiya, it would be perfect kit for me. And now, kit is very good, but probably 20% of time to build it will be spent on instructions.
So scanned instructions with well laid out comments are worth the gold for me. And it doesn't really take so much more time for reviewer to do this. And it it much more informative than hundreds of pictures taken.
d111298pw
#456
Visit this Community
Oklahoma, United States
Joined: September 22, 2016
KitMaker: 654 posts
Armorama: 638 posts
Posted: Tuesday, August 28, 2018 - 03:15 AM UTC
Darius, I agree with you 100%
Taeuss
Visit this Community
Manitoba, Canada
Joined: January 03, 2016
KitMaker: 3,791 posts
Armorama: 3,778 posts
Posted: Tuesday, August 28, 2018 - 04:14 AM UTC
Really an impressive build and I'll be looking on as I build mine but I only had one question: as you had the transparent hull version why didn't you leave any areas open to reveal the insides? I'm not too thrilled personally with taking my kits apart to show the interiors so I was just wondering...?
Epi
Visit this Community
Texas, United States
Joined: December 22, 2001
KitMaker: 3,586 posts
Armorama: 2,556 posts
Posted: Thursday, August 30, 2018 - 11:19 AM UTC
I apologize about the pictures guys. The resize program that I used did something to the pictures. I had moved laptops and down loaded the same exact resize program, but I guess a setting or something was not right. Darren pointed it out to me and it is all fixed no, but unfortunately I don't have the originals anymore.

Frank, as you can see in the below pictures by Voyager Models, with all the stuff added to the sides, it is kind of hard to see inside. This is why I chose to paint the clear parts. Plus i was afraid to mess up the clear plastic with glue and also by removing stuff that needed to be removed in the version I built.


Taeuss
Visit this Community
Manitoba, Canada
Joined: January 03, 2016
KitMaker: 3,791 posts
Armorama: 3,778 posts
Posted: Saturday, September 01, 2018 - 02:39 AM UTC
Good enough reason. Then there's people like me who, in the absence of clear parts, pull out our Dremels and cut the tank open to show off the interiors. I think that I'll try hard to use the transparent parts where possible. Rye Field Models recently announced a new interior set for their Panthers that didn't come with one and -apparently- includes openings in the hull and turret to see the stuff. Cool.
 _GOTOTOP