M1A2 Abrams SEP V2 TUSK II Blog
CMOT
 Editor-in-Chief
England - South West, United Kingdom
Joined: May 14, 2006
KitMaker: 10,954 posts
Armorama: 8,571 posts
Posted: Thursday, March 08, 2018 - 11:36 PM UTC
Removed by original poster on 05/13/19 - 21:36:19 (GMT).
CMOT
Editor-in-Chief England - South West, United Kingdom
Joined: May 14, 2006
KitMaker: 10,954 posts
Armorama: 8,571 posts
Posted: Friday, March 09, 2018 - 01:46 AM UTC
Bamboo chopping board Matt.
Attica, Greece / Ελλάδα
Joined: June 12, 2015
KitMaker: 921 posts
Armorama: 919 posts
Posted: Friday, March 09, 2018 - 03:23 AM UTC
I will be following this with great interest. I think that the quality of the newest Academy Abrams kits is really nice and might deserve some more attention from modellers.
Texas, United States
Joined: December 22, 2001
KitMaker: 3,586 posts
Armorama: 2,556 posts
Posted: Friday, March 09, 2018 - 03:28 AM UTC
Darren, what color are you going for on this one, NATO or Desert? Also, I think it would be a good idea to compare it to my review/build of the first production of this kit.

Pete Becerra, Jr. SGT(RET)
HHC, 71st BfSB - TEXAS
HHB, 36th ID DIVARTY -TEXAS
B Co.(-), 949 FSB, 56th BCT, 36th ID - TEXAS
B Co., 324th FSB, 3rd Brigade, 24th INF DIV(MECH)
563rd ORD Co. - GERMANY
Michigan, United States
Joined: January 04, 2017
KitMaker: 128 posts
Armorama: 89 posts
Posted: Friday, March 09, 2018 - 04:05 AM UTC
Darren, I'll be following too. I built the kit when it was first released and built the Rye Field M1A2 afterwards. Overall, I feel the Academy kit is the way to go. It's cheaper, goes together easier, has lot's of optional parts, the only weak point was the tracks. I can't vouch for which one is more accurate but looking at both built up kits side by side, I just like the look of the Academy M1 over Rye Fields M1. I think I see a K2 in the near future. Happy Modeling, Mark
Michigan, United States
Joined: February 09, 2016
KitMaker: 80 posts
Armorama: 78 posts
Posted: Friday, March 09, 2018 - 06:16 AM UTC
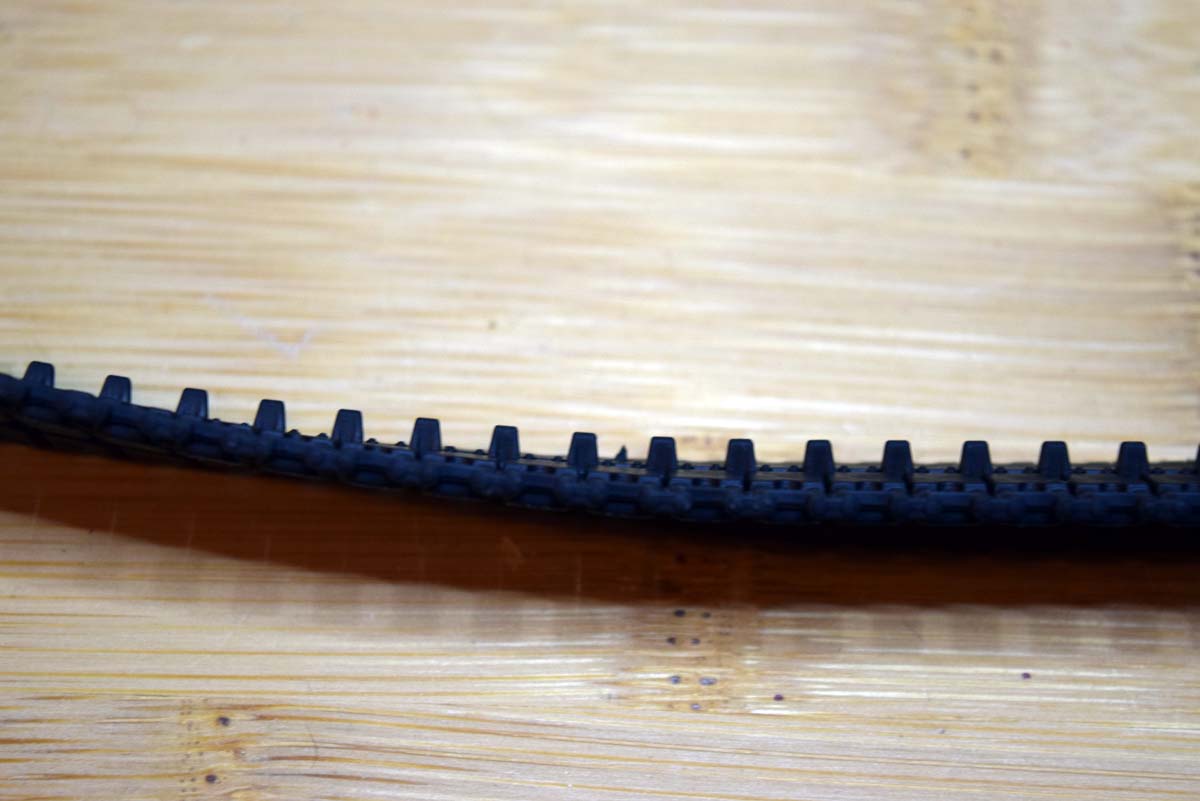
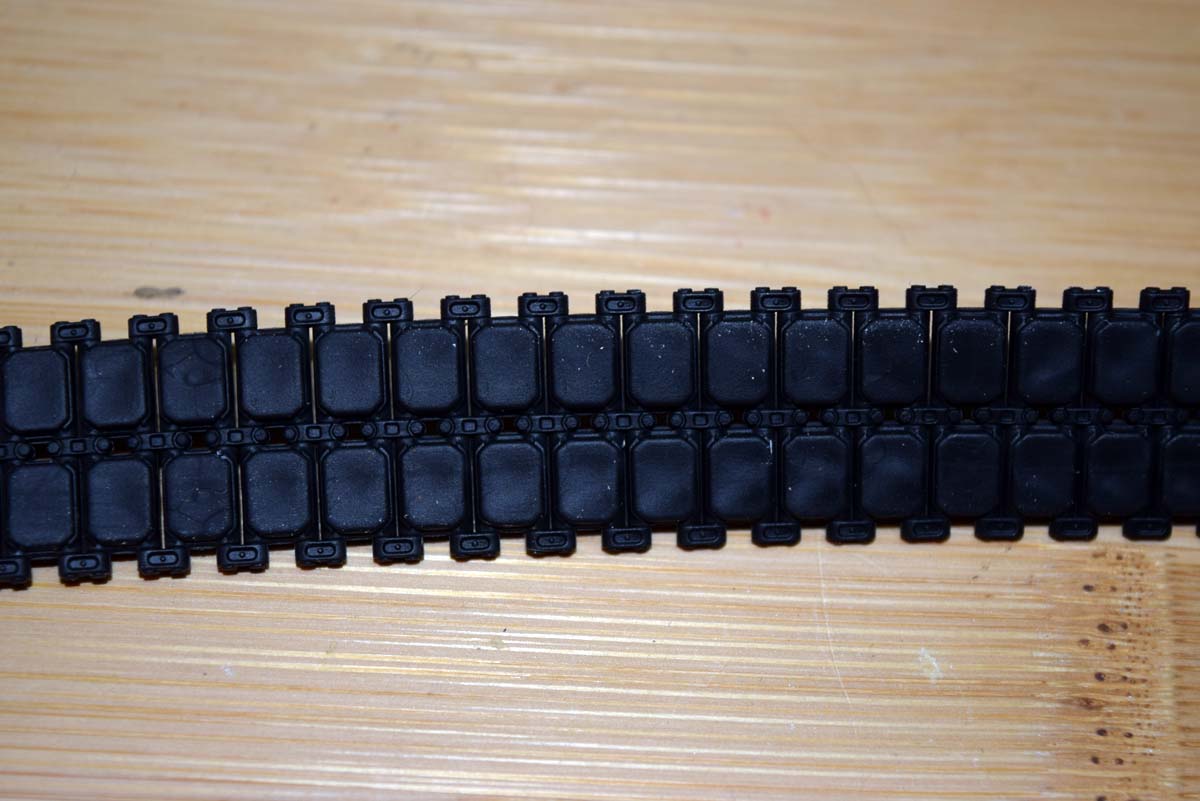
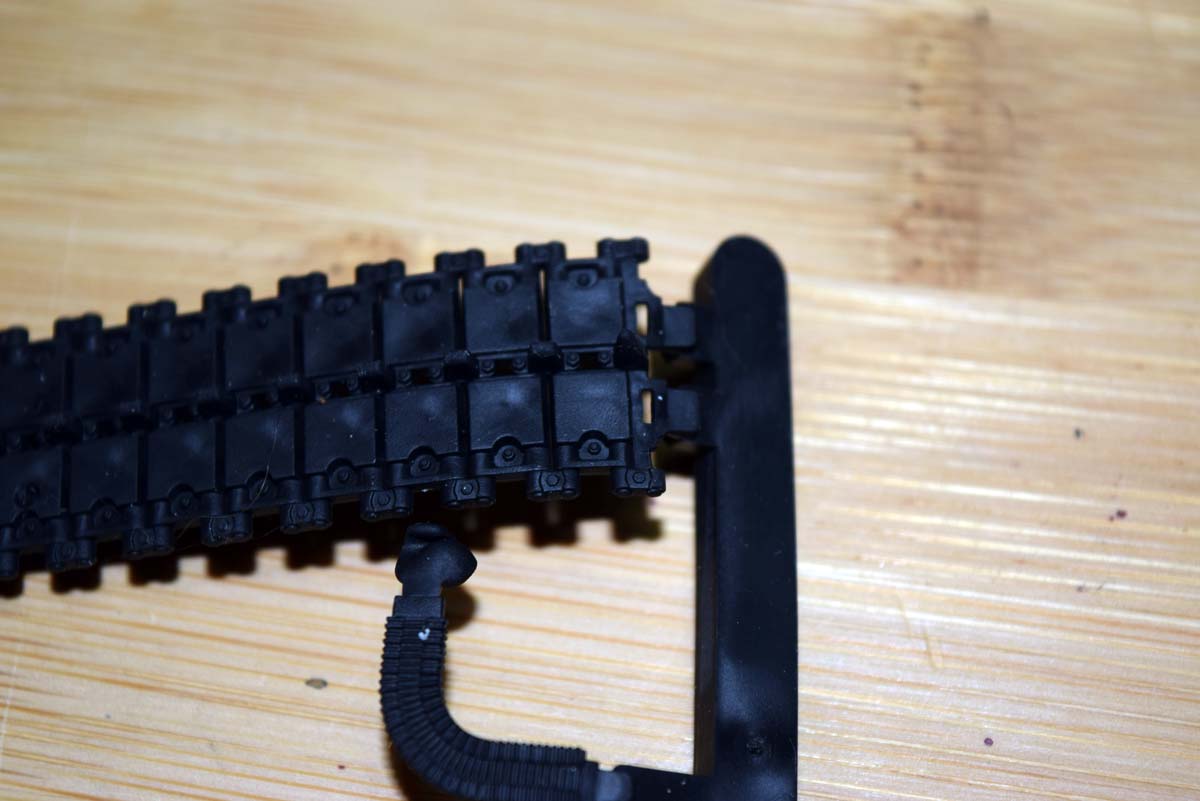
I look forward to your build. I bought a set of DEF Model tracks for mine, as I have the #13298 kit. They are inexpensive and beat out the kit ones. They are included in the new version of this kit (#13504).
CMOT
Editor-in-Chief England - South West, United Kingdom
Joined: May 14, 2006
KitMaker: 10,954 posts
Armorama: 8,571 posts
Posted: Friday, March 09, 2018 - 07:55 AM UTC
CMOT
Editor-in-Chief England - South West, United Kingdom
Joined: May 14, 2006
KitMaker: 10,954 posts
Armorama: 8,571 posts
Posted: Friday, March 09, 2018 - 08:09 AM UTC
Quoted Text
Darren, what color are you going for on this one, NATO or Desert? Also, I think it would be a good idea to compare it to my review/build of the first production of this kit.
I keep looking at the images you sent me, but I have the Legend stowage set for the Abrams and so I think it will end up as a desert finish. That Said bud I am thinking I like the idea of a tan tank with 3 colour cam net in the snow running around in Poland.
CMOT
Editor-in-Chief England - South West, United Kingdom
Joined: May 14, 2006
KitMaker: 10,954 posts
Armorama: 8,571 posts
Posted: Friday, March 09, 2018 - 08:11 AM UTC
Quoted Text
Darren, I'll be following too. I built the kit when it was first released and built the Rye Field M1A2 afterwards. Overall, I feel the Academy kit is the way to go. It's cheaper, goes together easier, has lot's of optional parts, the only weak point was the tracks. I can't vouch for which one is more accurate but looking at both built up kits side by side, I just like the look of the Academy M1 over Rye Fields M1. I think I see a K2 in the near future. Happy Modeling, Mark
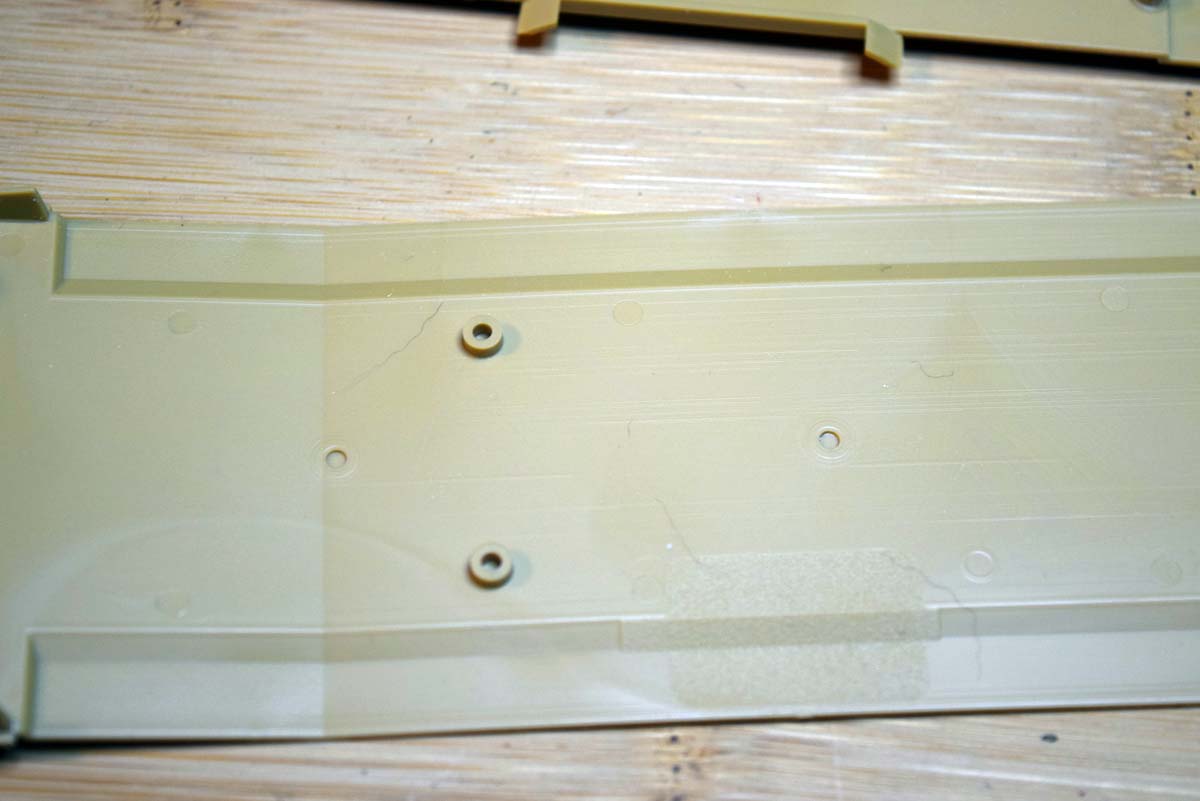
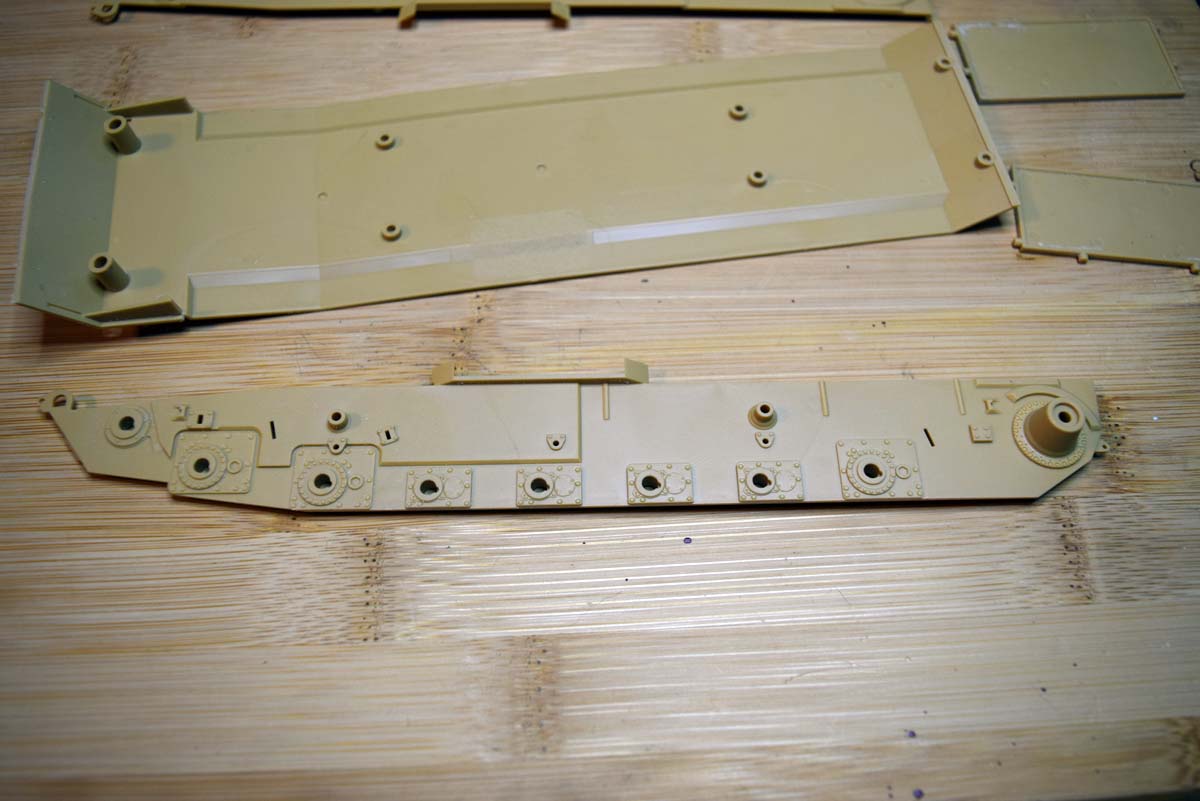
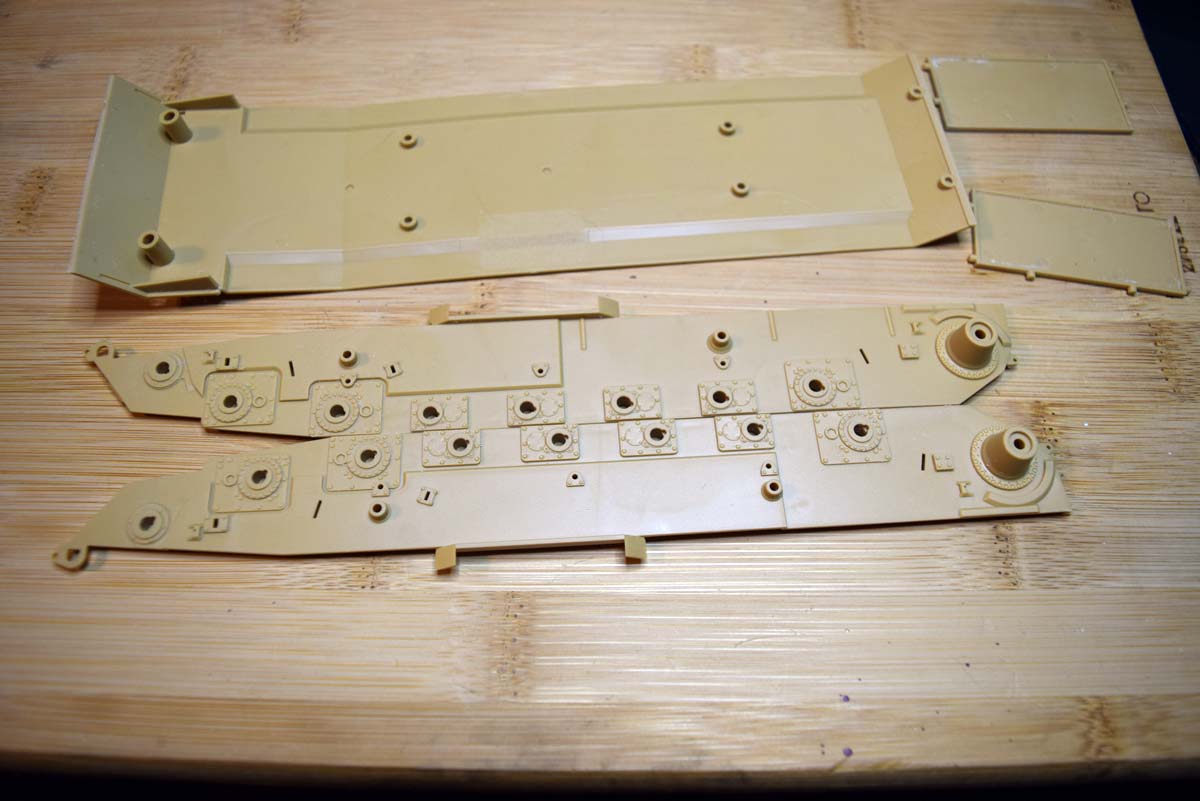
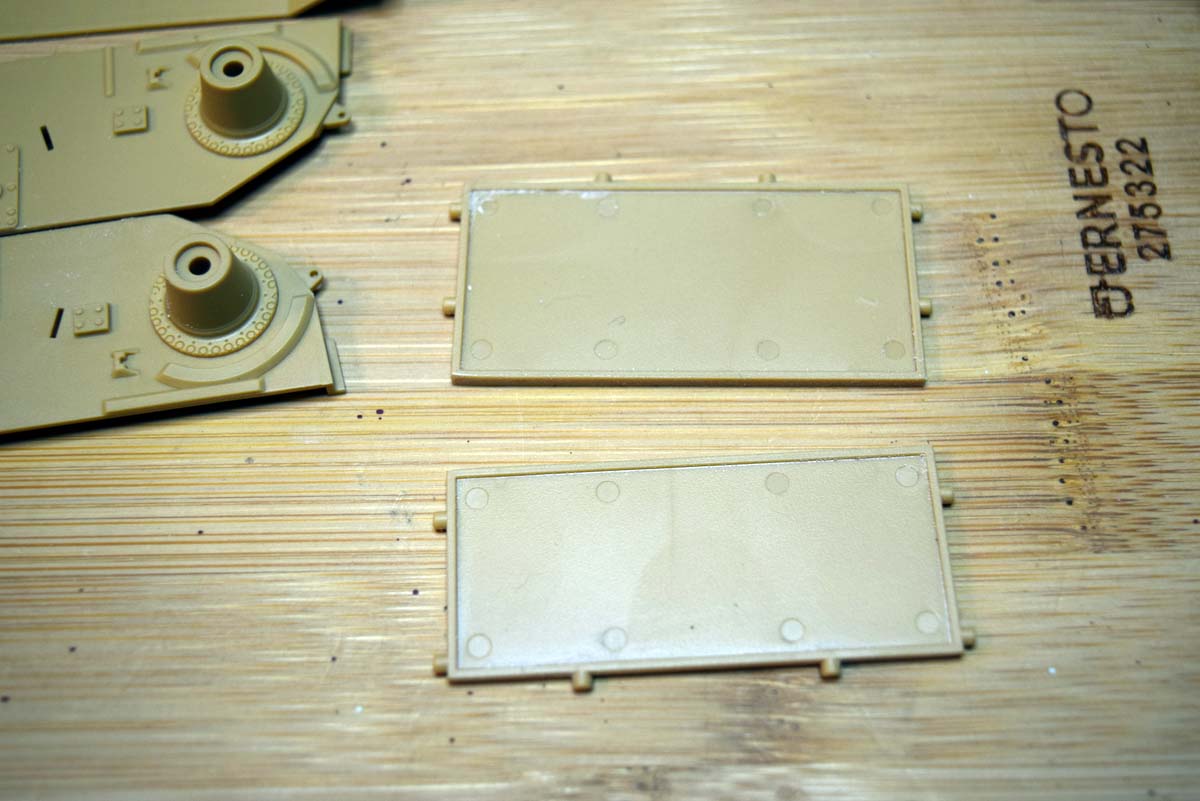
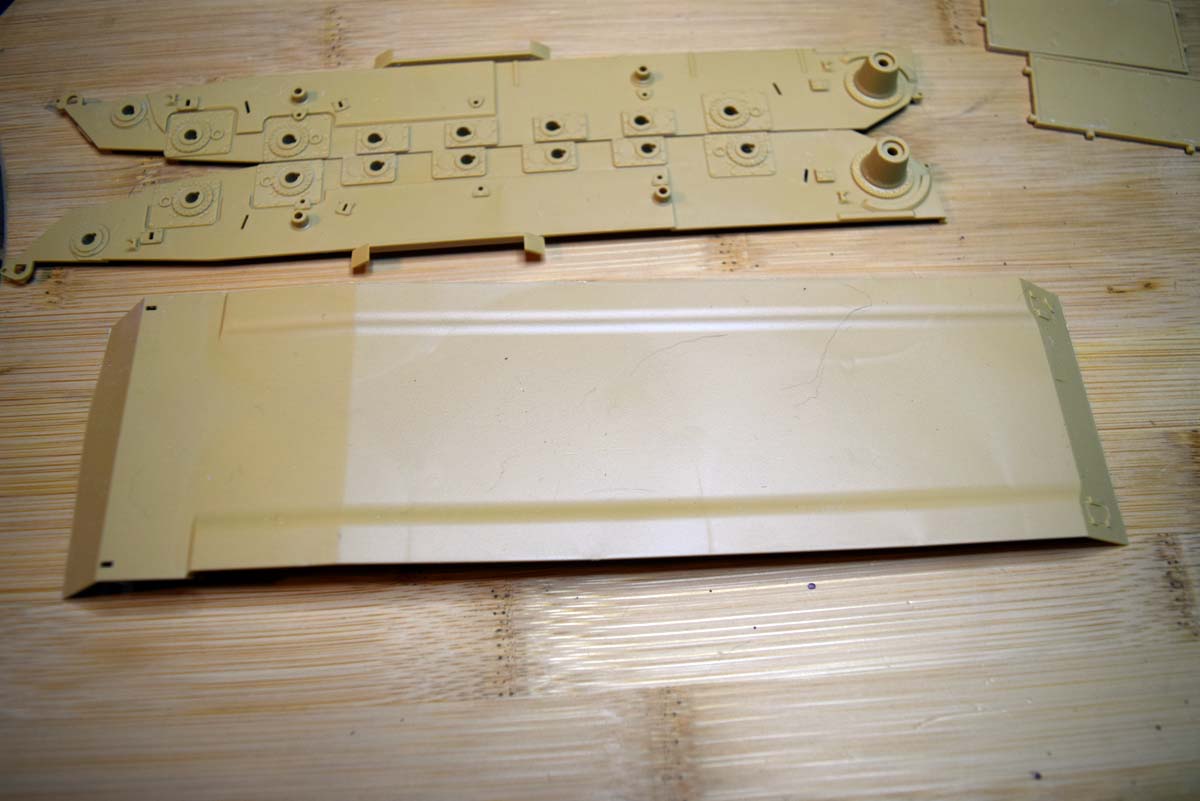
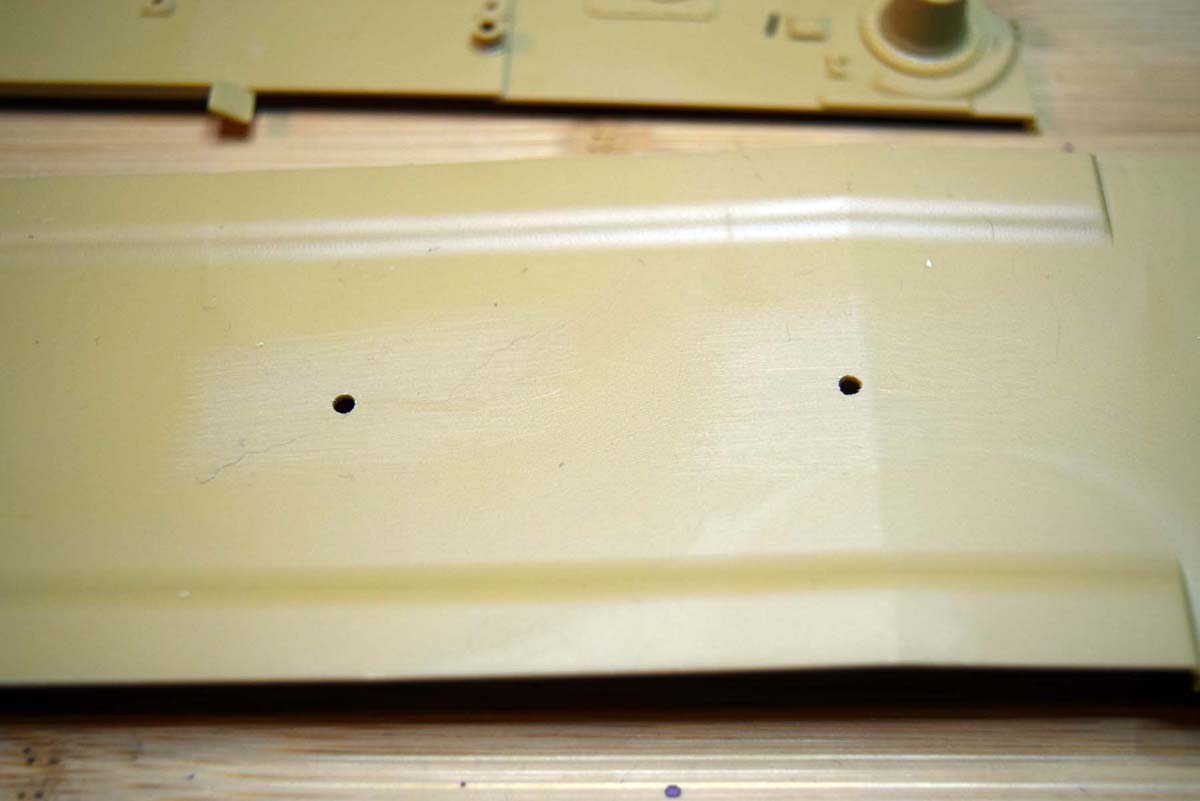
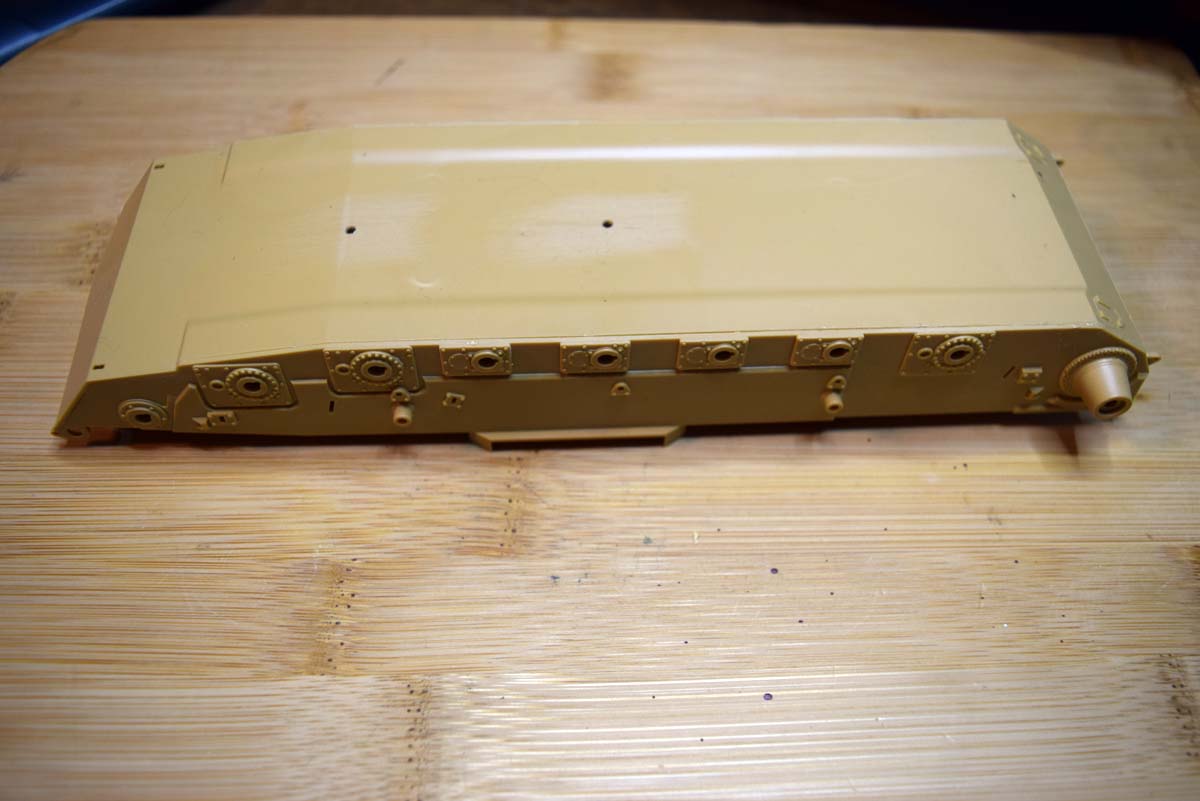
So far I like what I am seeing and have not encountered any major issues except one, I will be covering this issue soon.
CMOT
Editor-in-Chief England - South West, United Kingdom
Joined: May 14, 2006
KitMaker: 10,954 posts
Armorama: 8,571 posts
Posted: Friday, March 09, 2018 - 08:12 AM UTC
Quoted Text
I look forward to your build. I bought a set of DEF Model tracks for mine, as I have the #13298 kit. They are inexpensive and beat out the kit ones. They are included in the new version of this kit (#13504).
This one has those tracks in the box and I like them a lot other than assembly is a little tedious.
CMOT
Editor-in-Chief England - South West, United Kingdom
Joined: May 14, 2006
KitMaker: 10,954 posts
Armorama: 8,571 posts
Posted: Friday, March 09, 2018 - 08:12 AM UTC
Quoted Text
I will be following this with great interest. I think that the quality of the newest Academy Abrams kits is really nice and might deserve some more attention from modellers.
Glad to have you along for the ride Nikos.
Texas, United States
Joined: December 22, 2001
KitMaker: 3,586 posts
Armorama: 2,556 posts
Posted: Friday, March 09, 2018 - 10:30 AM UTC
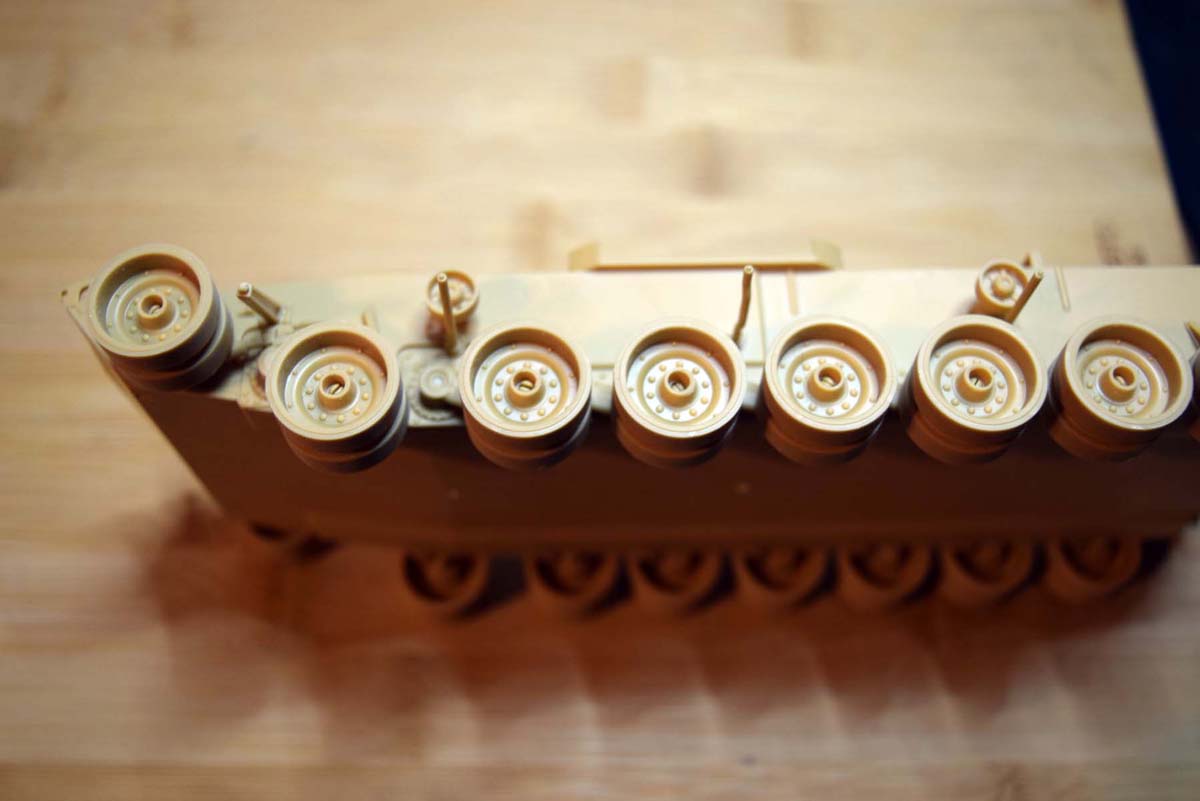
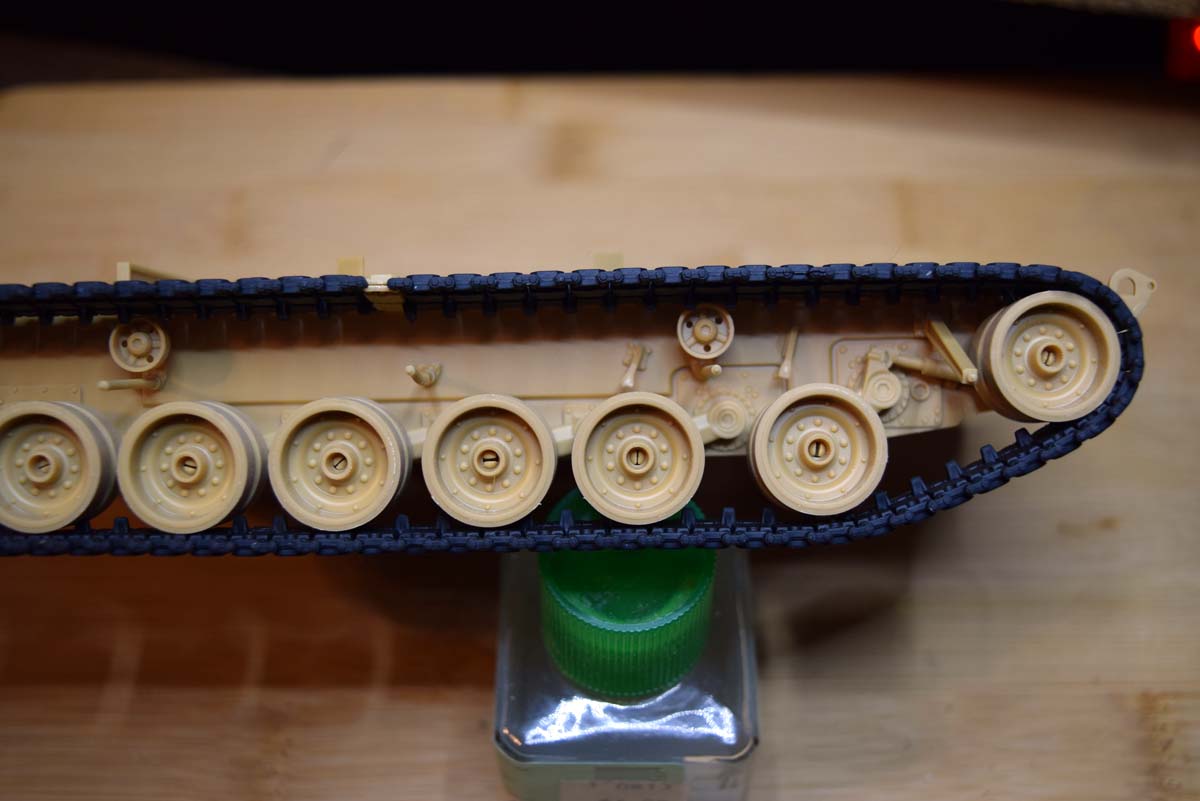
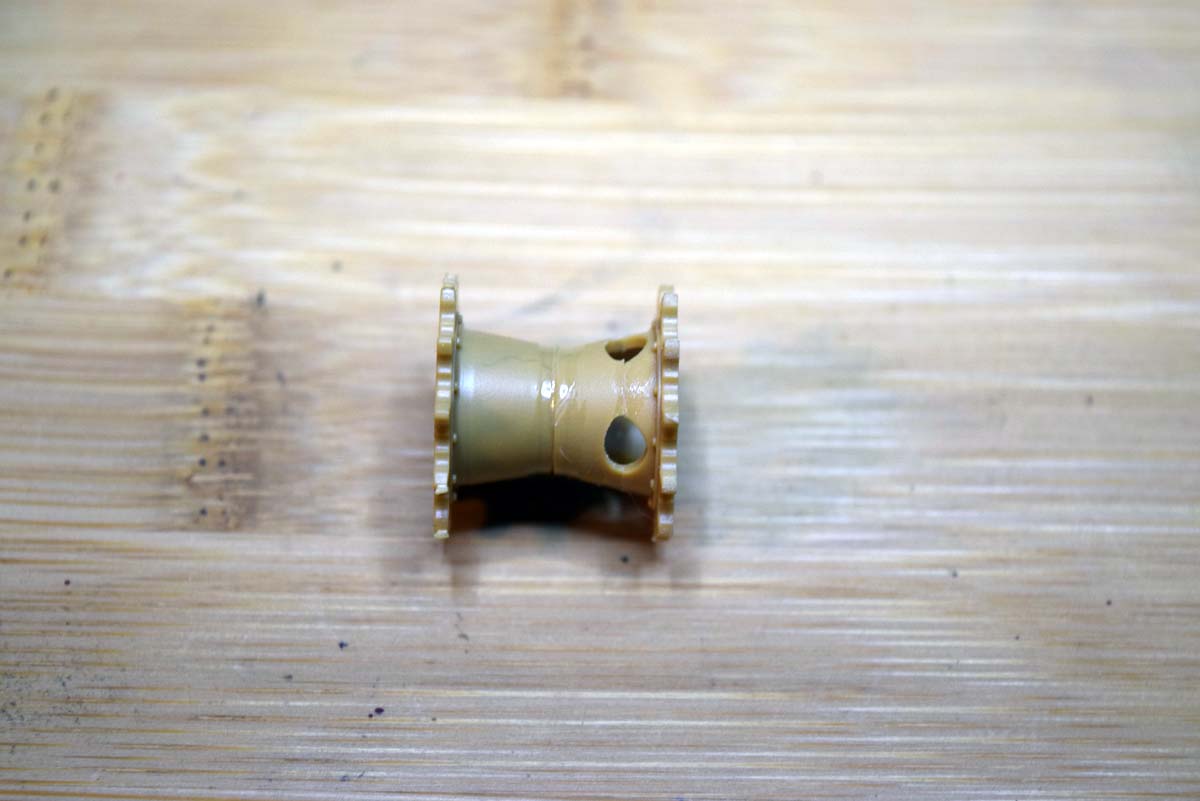
Darren, if I'm not mistaken and the kit has 99% of the same parts as the first addition, there are drive sprockets with the "lighting holes" in the box. Parts G3, G2, and G1 should be used for the sprockets.
As for painting, I was asking because if you were going to do a NATO 3 color tank, I would send you the AK paints that Jim sent me since I can't get to them just yet.
Pete Becerra, Jr. SGT(RET)
HHC, 71st BfSB - TEXAS
HHB, 36th ID DIVARTY -TEXAS
B Co.(-), 949 FSB, 56th BCT, 36th ID - TEXAS
B Co., 324th FSB, 3rd Brigade, 24th INF DIV(MECH)
563rd ORD Co. - GERMANY
CMOT
Editor-in-Chief England - South West, United Kingdom
Joined: May 14, 2006
KitMaker: 10,954 posts
Armorama: 8,571 posts
Posted: Friday, March 09, 2018 - 05:26 PM UTC
Quoted Text
Darren, if I'm not mistaken and the kit has 99% of the same parts as the first addition, there are drive sprockets with the "lighting holes" in the box. Parts G3, G2, and G1 should be used for the sprockets.
As for painting, I was asking because if you were going to do a NATO 3 color tank, I would send you the AK paints that Jim sent me since I can't get to them just yet.
I did think the wheels with the mud clearing holes were the way to go, but I could not find good reference to clarify the situation on this particular tank. I will make the change as you have suggested though.
CMOT
Editor-in-Chief England - South West, United Kingdom
Joined: May 14, 2006
KitMaker: 10,954 posts
Armorama: 8,571 posts
Posted: Friday, March 09, 2018 - 07:53 PM UTC
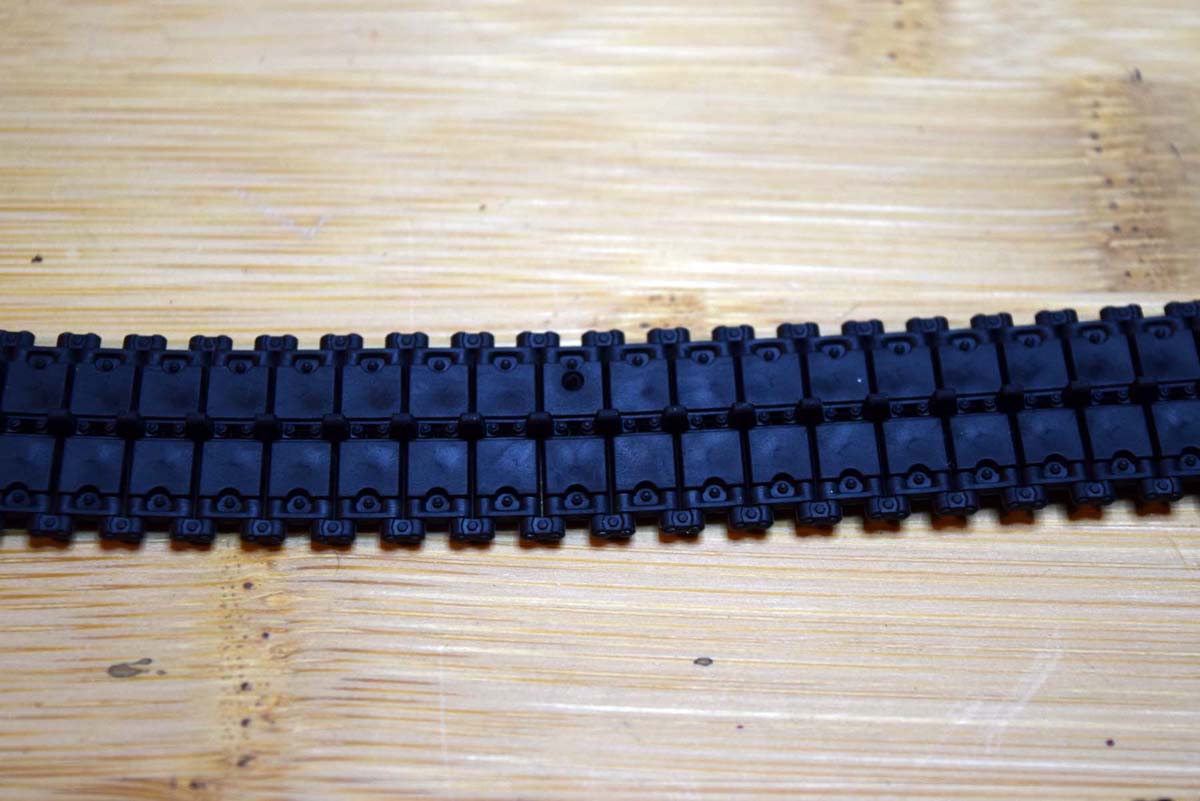
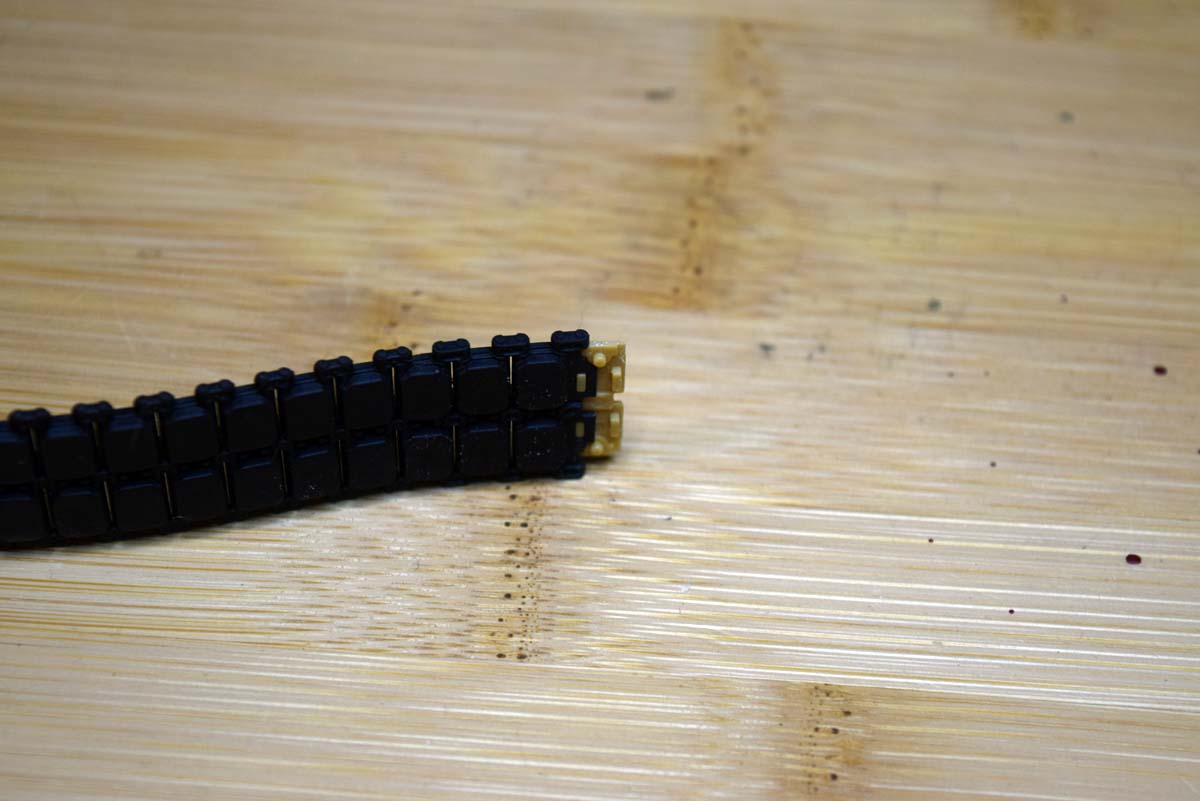
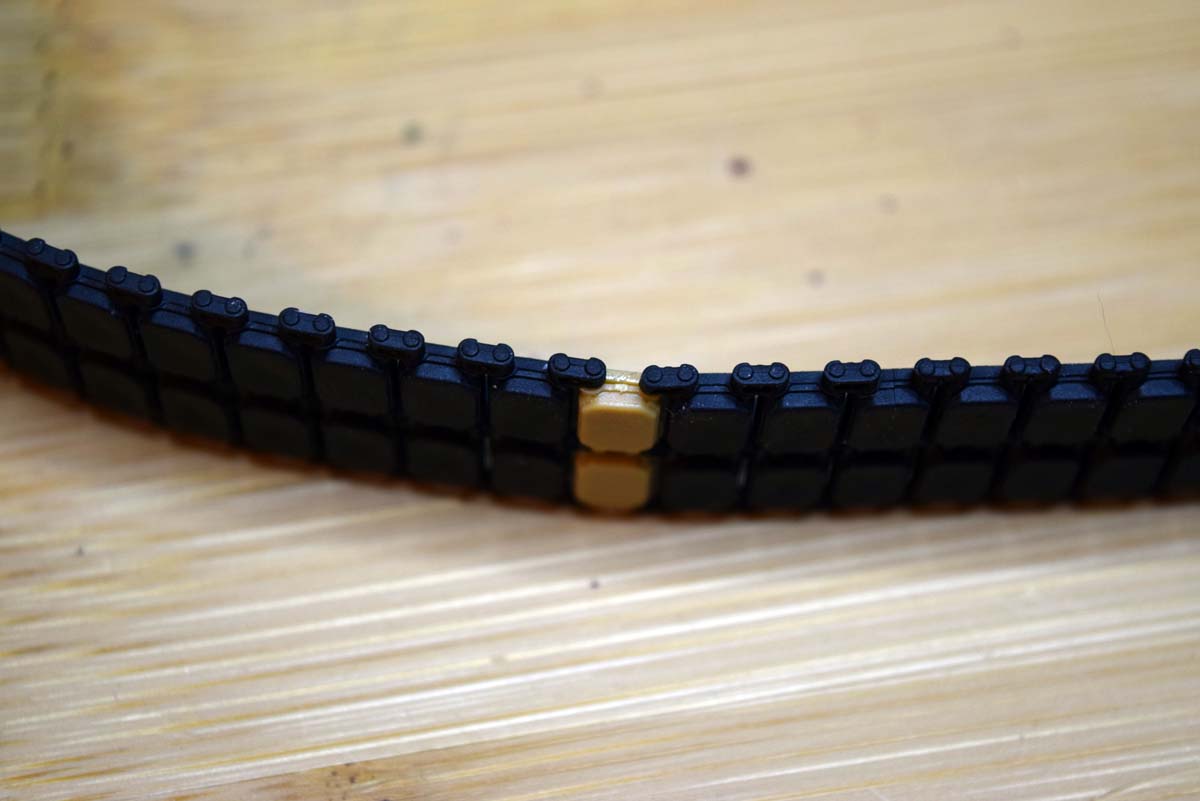
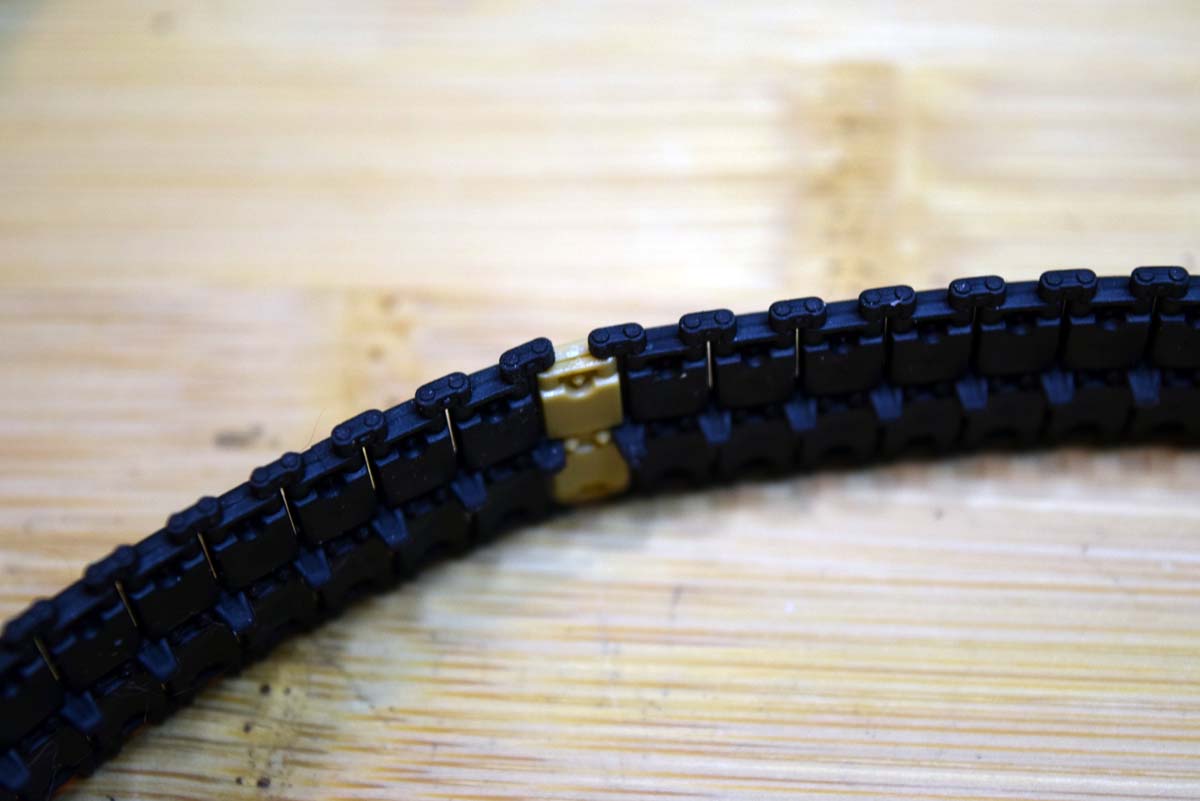
How many track links are there supposed to be on the Abrams. From what I am seeing it is 79 to 80 but an exact number would be nice.
Thank you in advance for any help you can provide.
Florida, United States
Joined: May 16, 2002
KitMaker: 17,694 posts
Armorama: 13,742 posts
Posted: Friday, March 09, 2018 - 08:30 PM UTC
Quoted Text
How many track links are there supposed to be on the Abrams. From what I am seeing it is 79 to 80 but an exact number would be nice.
Thank you in advance for any help you can provide.
Probably not the answer you want, but it depends, somewhere between 79-80. It depends on track wear; as the tracks loosen up, a link or two can be removed to tighten them. There is also a track adjustment that tightens them up using grease being inserted to move the idler wheel forward slightly.
As to the model, as many as it takes. The tracks usually are not that close to actual size and the number can vary as well.
Field Artillery --- The KING of BATTLE!!!
"People sleep peaceably in their beds at night only because rough men stand ready to do violence on their behalf." -- George Orwell
Showcase
CMOT
Editor-in-Chief England - South West, United Kingdom
Joined: May 14, 2006
KitMaker: 10,954 posts
Armorama: 8,571 posts
Posted: Friday, March 09, 2018 - 08:43 PM UTC
Thank you for the quick reply Gino
In this case then the model is impressive as 79 is tight and 80 is a little looser but still a good fit.
Texas, United States
Joined: December 22, 2001
KitMaker: 3,586 posts
Armorama: 2,556 posts
Posted: Friday, March 09, 2018 - 10:05 PM UTC
I take it then Darren that Academy didn't fix the error about not showing the drive sprocket with lightning holes in the instructions?
Pete Becerra, Jr. SGT(RET)
HHC, 71st BfSB - TEXAS
HHB, 36th ID DIVARTY -TEXAS
B Co.(-), 949 FSB, 56th BCT, 36th ID - TEXAS
B Co., 324th FSB, 3rd Brigade, 24th INF DIV(MECH)
563rd ORD Co. - GERMANY
CMOT
Editor-in-Chief England - South West, United Kingdom
Joined: May 14, 2006
KitMaker: 10,954 posts
Armorama: 8,571 posts
Posted: Friday, March 09, 2018 - 10:27 PM UTC
That is correct Pete they still show the solid version as the required one. I am curious as I thought they were to help prevent mud build up and to make removal of any build up easier. I note you refer to them as lightning holes as it to reduce weight.
CMOT
Editor-in-Chief England - South West, United Kingdom
Joined: May 14, 2006
KitMaker: 10,954 posts
Armorama: 8,571 posts
Posted: Friday, March 09, 2018 - 11:28 PM UTC
Removed by original poster on 05/13/19 - 21:36:44 (GMT).
Texas, United States
Joined: December 22, 2001
KitMaker: 3,586 posts
Armorama: 2,556 posts
Posted: Saturday, March 10, 2018 - 09:49 AM UTC
You Darren, I'm not sure why they call them "lightning holes?" But they do help with the mud, so you are right on that.
Pete Becerra, Jr. SGT(RET)
HHC, 71st BfSB - TEXAS
HHB, 36th ID DIVARTY -TEXAS
B Co.(-), 949 FSB, 56th BCT, 36th ID - TEXAS
B Co., 324th FSB, 3rd Brigade, 24th INF DIV(MECH)
563rd ORD Co. - GERMANY
CMOT
Editor-in-Chief England - South West, United Kingdom
Joined: May 14, 2006
KitMaker: 10,954 posts
Armorama: 8,571 posts
Posted: Saturday, March 10, 2018 - 04:29 PM UTC
CMOT
Editor-in-Chief England - South West, United Kingdom
Joined: May 14, 2006
KitMaker: 10,954 posts
Armorama: 8,571 posts
Posted: Saturday, March 10, 2018 - 04:31 PM UTC
The corrected drive wheel.
CMOT
Editor-in-Chief England - South West, United Kingdom
Joined: May 14, 2006
KitMaker: 10,954 posts
Armorama: 8,571 posts
Posted: Sunday, March 11, 2018 - 01:05 PM UTC