Campaigns: Completed Campaigns
Campaigns that are completed should be grouped here.
Hosted by Richard S.
The Workhorses Campaign
d6mst0
#453
Visit this Community
Texas, United States
Joined: August 28, 2016
KitMaker: 1,925 posts
Armorama: 601 posts
Posted: Tuesday, March 13, 2018 - 11:17 PM UTC

Quoted Text

1st in progress pic.


Those wheel assemblies always take the most time to complete. I just finished the ones for my M4 and it took me almost four hours to clean them up and get them assembled.

Those Asuka kits are awesome, very nice detail and fit.
27-1025
Visit this Community
North Carolina, United States
Joined: September 16, 2004
KitMaker: 1,281 posts
Armorama: 1,222 posts
Posted: Friday, March 16, 2018 - 05:58 AM UTC
and my second in-progress pics


d6mst0
#453
Visit this Community
Texas, United States
Joined: August 28, 2016
KitMaker: 1,925 posts
Armorama: 601 posts
Posted: Friday, March 16, 2018 - 07:08 AM UTC
Chris,

She is coming along nicely.
27-1025
Visit this Community
North Carolina, United States
Joined: September 16, 2004
KitMaker: 1,281 posts
Armorama: 1,222 posts
Posted: Friday, March 16, 2018 - 07:18 AM UTC

Quoted Text

Chris,

She is coming along nicely.


Thanks. Wanting to do something a little different from my usual Shermans.
Scipio2010
#401
Visit this Community
Washington, United States
Joined: December 08, 2013
KitMaker: 323 posts
Armorama: 221 posts
Posted: Saturday, March 17, 2018 - 12:22 AM UTC
Progress picture of my MK III, I have not even started on the M4A2 (76) yet.

27-1025
Visit this Community
North Carolina, United States
Joined: September 16, 2004
KitMaker: 1,281 posts
Armorama: 1,222 posts
Posted: Saturday, March 17, 2018 - 12:53 AM UTC

Quoted Text

Progress picture of my MK III, I have not even started on the M4A2 (76) yet.


That one is coming along very nicely.
petbat
Visit this Community
Queensland, Australia
Joined: August 06, 2005
KitMaker: 3,353 posts
Armorama: 3,121 posts
Posted: Saturday, March 17, 2018 - 01:23 AM UTC
Shawn and Chris, Nice work so far guys.
Bluestab
Visit this Community
South Carolina, United States
Joined: December 03, 2009
KitMaker: 2,160 posts
Armorama: 1,906 posts
Posted: Saturday, March 17, 2018 - 10:02 PM UTC
I started my Academy M4a3 (76mm) Battle of the Bulge.

The kit comes in OD styrene. It centers around a core set of parts for whatever their initial Sherman kit was...then they have added extra sprues for differing versions. It's not to the extent of a Dragon kit...yet. There are some part redundancies so make sure you check parts numbers.

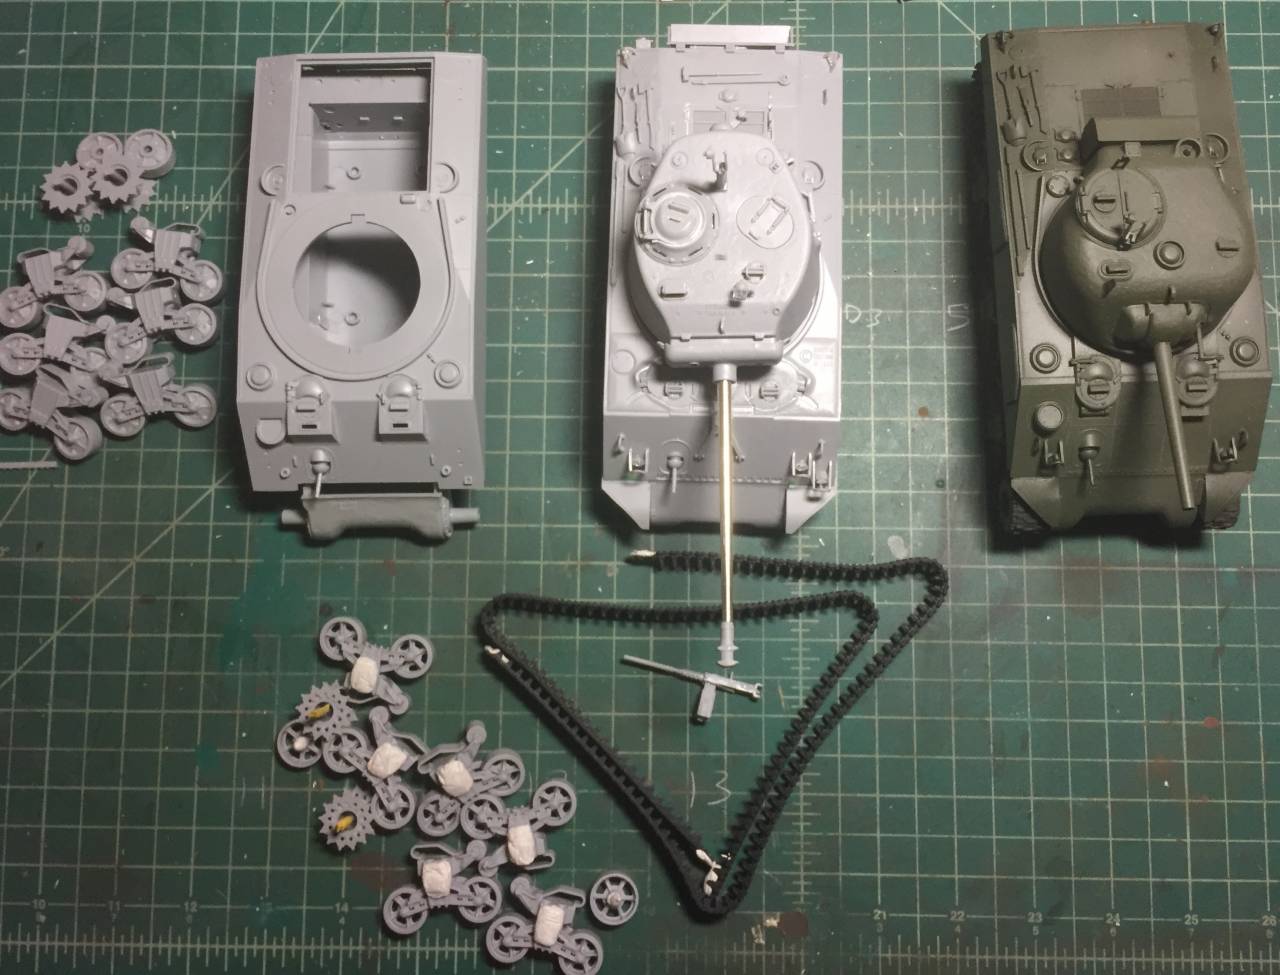
We start with the VVSS suspension. Assembly is pretty typical. Academy did include the late-late housings for the VVSS. They are on a new sprue (R). Road-wheels are two-piece with one side fitting in to the other. They are keyed so make sure they are seated before the cement sets up.
Drive sprockets and idlers are two-piece variety and go together well.
workhorse-sherman_01

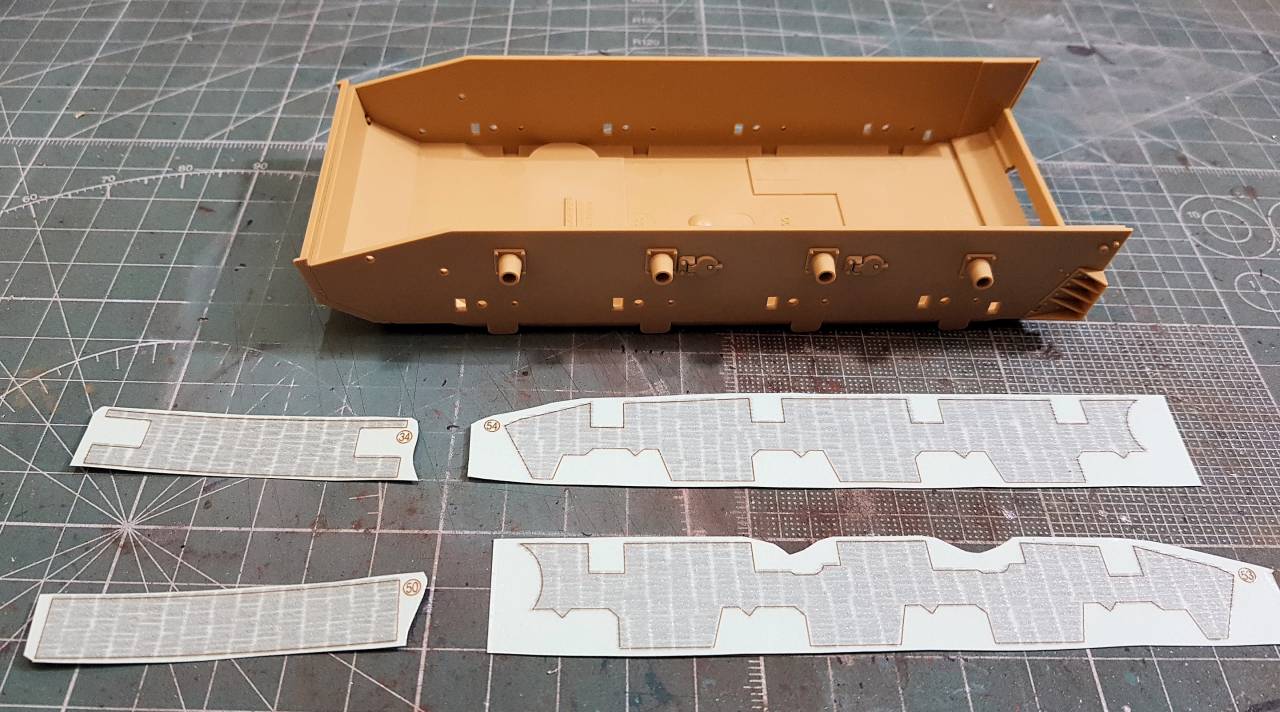
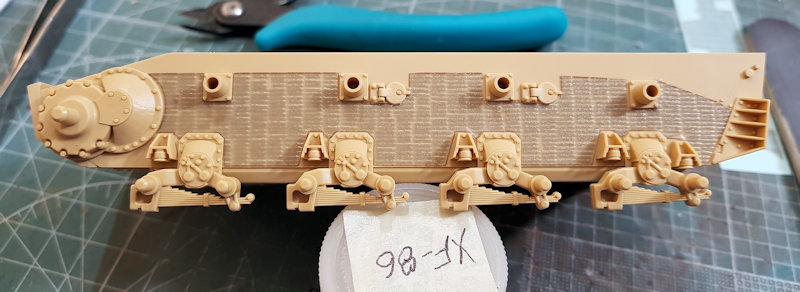
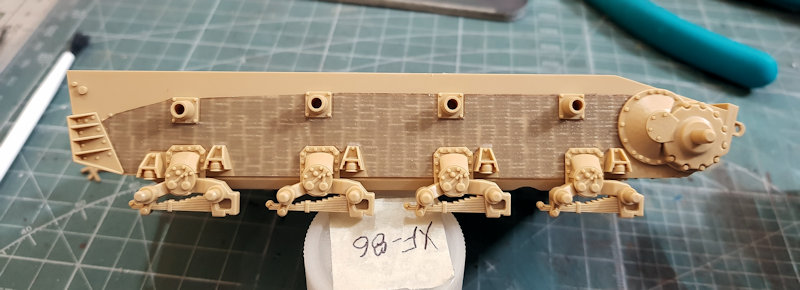
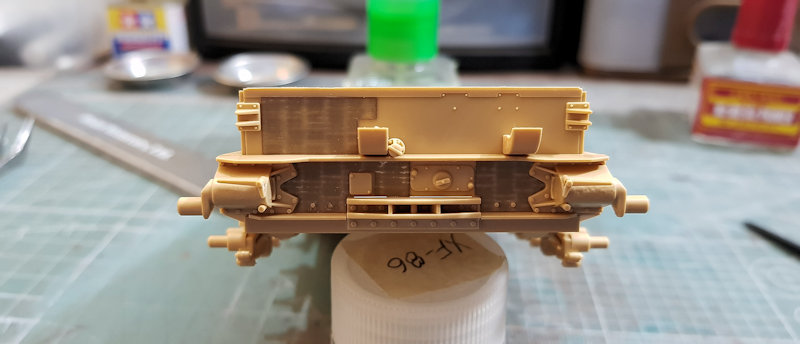
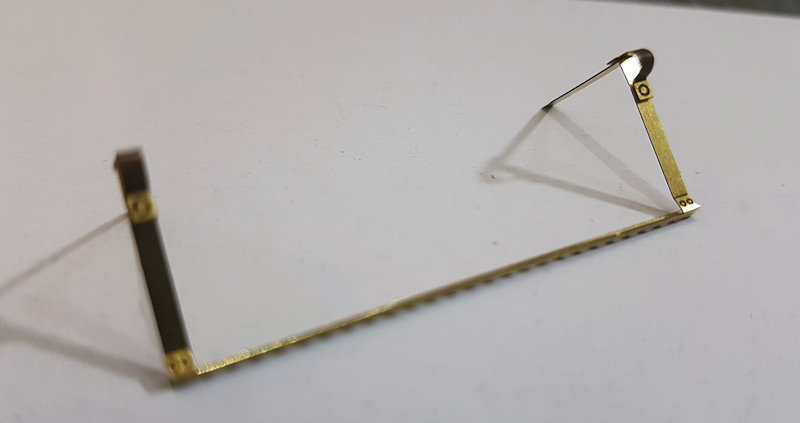
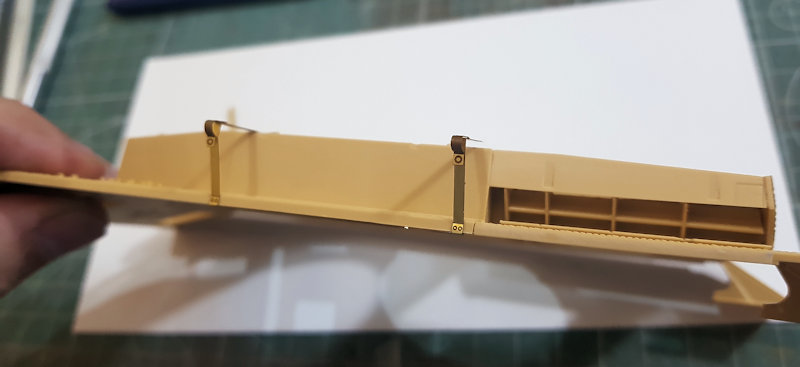
Body tub is one-piece. It's the same one they use for their HVSS versions so don't forget to shave off the raised location lines for the HVSS suspension assemblies. Add the drive sprocket mounts to the front and sponson overhangs to the rear. Rear plate needs the exhaust, hitch, and idler extensions. One of mine is backwards in that picture, but has been corrected.
workhorse-sherman_02

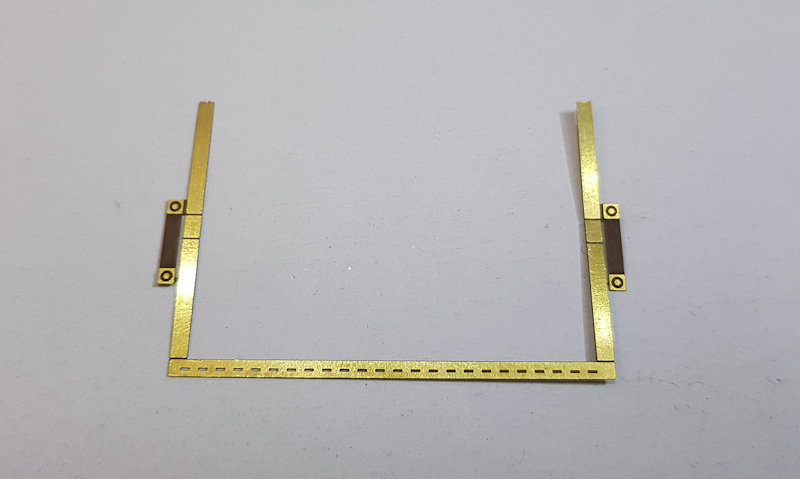
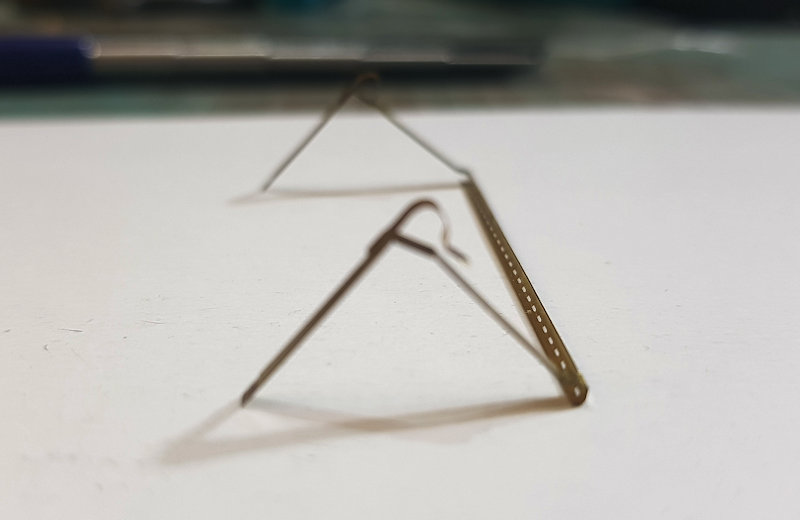
Upper hull...front. Assembly is pretty typical for a Sherman kit. The kit comes with PE and styrene light and horn guards. I went with the styrene but will probably change to the PE light guards. The styrene ones are too thick. Academy has their front hull periscopes separate. Most kits tend to have these molded closed. Driver and co-driver hatches were left off until after painting. Fuel cas are separate. Some will need modifications...remove the rod thingies...which is noted in the instructions.
workhorse-sherman_03

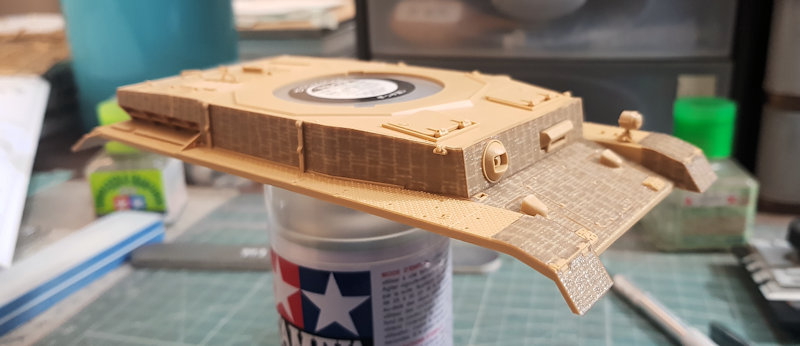
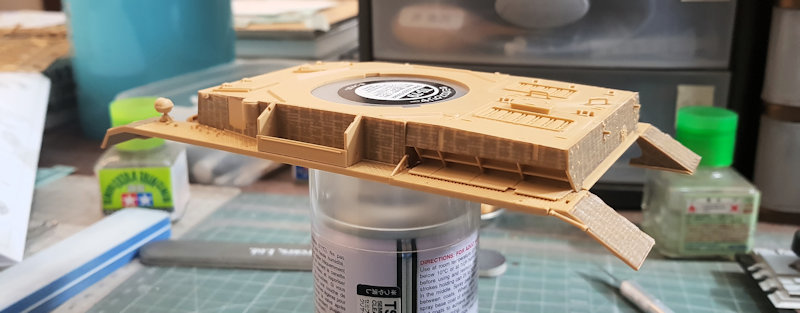
Upper hull ...rear.Engine deck is open so they can swap out hatches for different versions. No PE guards provided for rear lights. I left off the pioneer tools until after paint. No locator marks are give so you'll have to eyeball them.
One issue I had was with the rear exhaust grating. Mine was not wide enough and I had to fill the gaps in with styrene strips.
workhorse-sherman_04
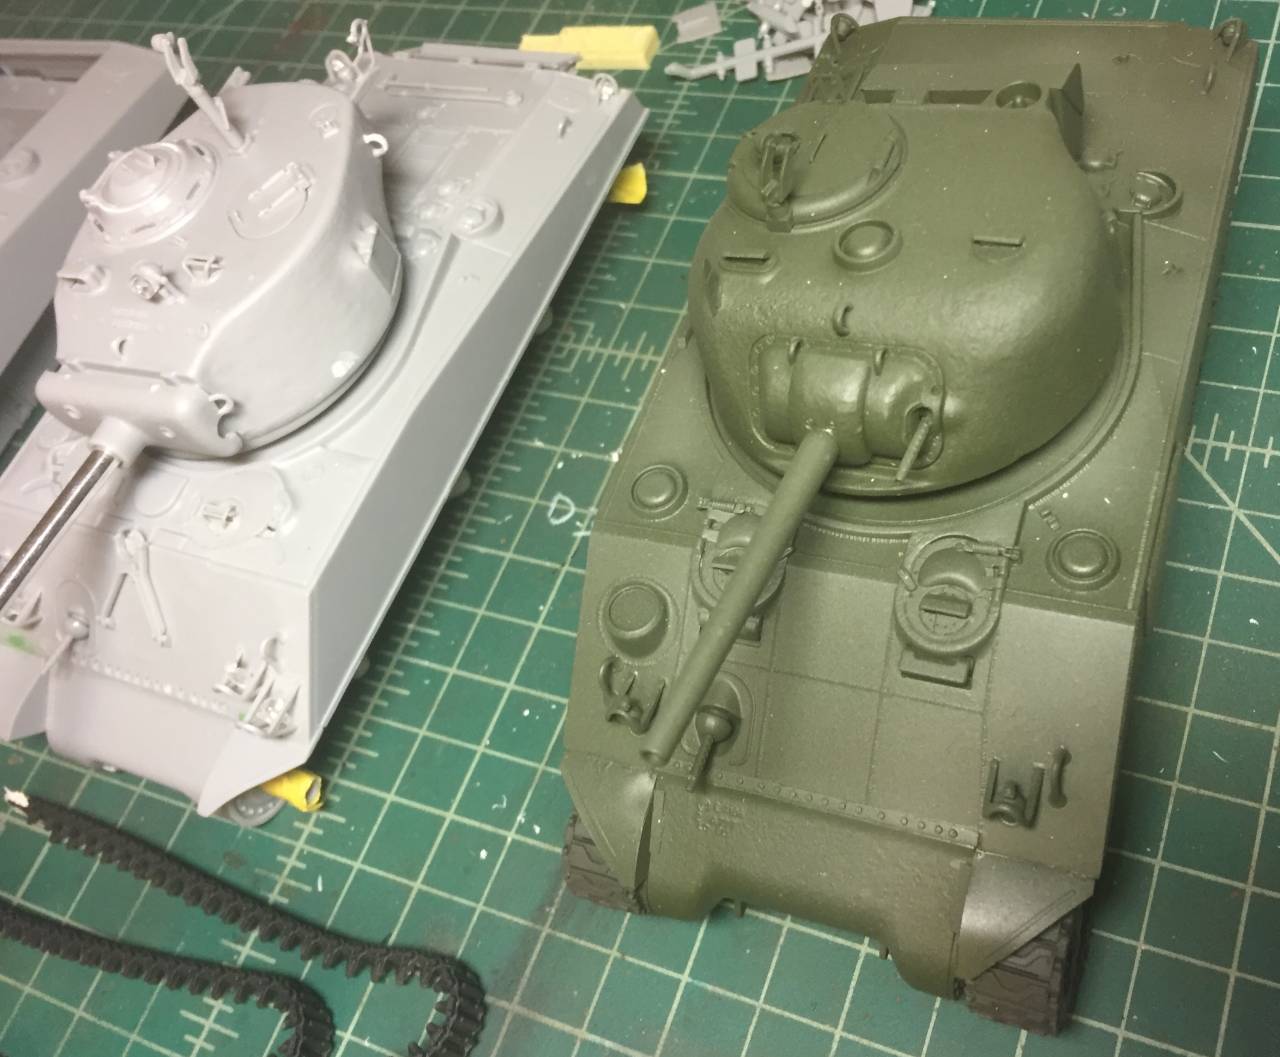
Moving on to the turret. Again, the assembly is pretty typical. They send an optional muzlebrake, which is not for this period Sherman. I'm assuming there's a late war/Korean War M4a3e8 version out there or in the works. I have built the 105mm version with the dozer blade so the parts are there.
Anyway, the hatches are position-able and periscopes are individually molded. I usually leave hatches off for painting but the loader's hatch is a bit fiddly with the springs. Commander's hatch is not cemented on.
workhorse-sherman_05

Rear view of the turret. Again, pretty typical assembly. Soem of the details are over-engineered but they went together okay. The rear extension mounts for the MG (stowed) need their molded-on mounts cut to be replaced with better ones provided by the kit.
Another thing, Academy made the turret rings tabs at 90 degrees so if the turret is at 12 or 6 o'clock it'll just lift off. They included replacement tabs so you can cut off the originals and replace them. The replacements do not fit right. I left them off and, in hindsight, would have left the originals on. These Sherman turret rings are a bit of a mess...a product of the "versatility" they have tried to go with to offer so many versions.
workhorse-sherman_06

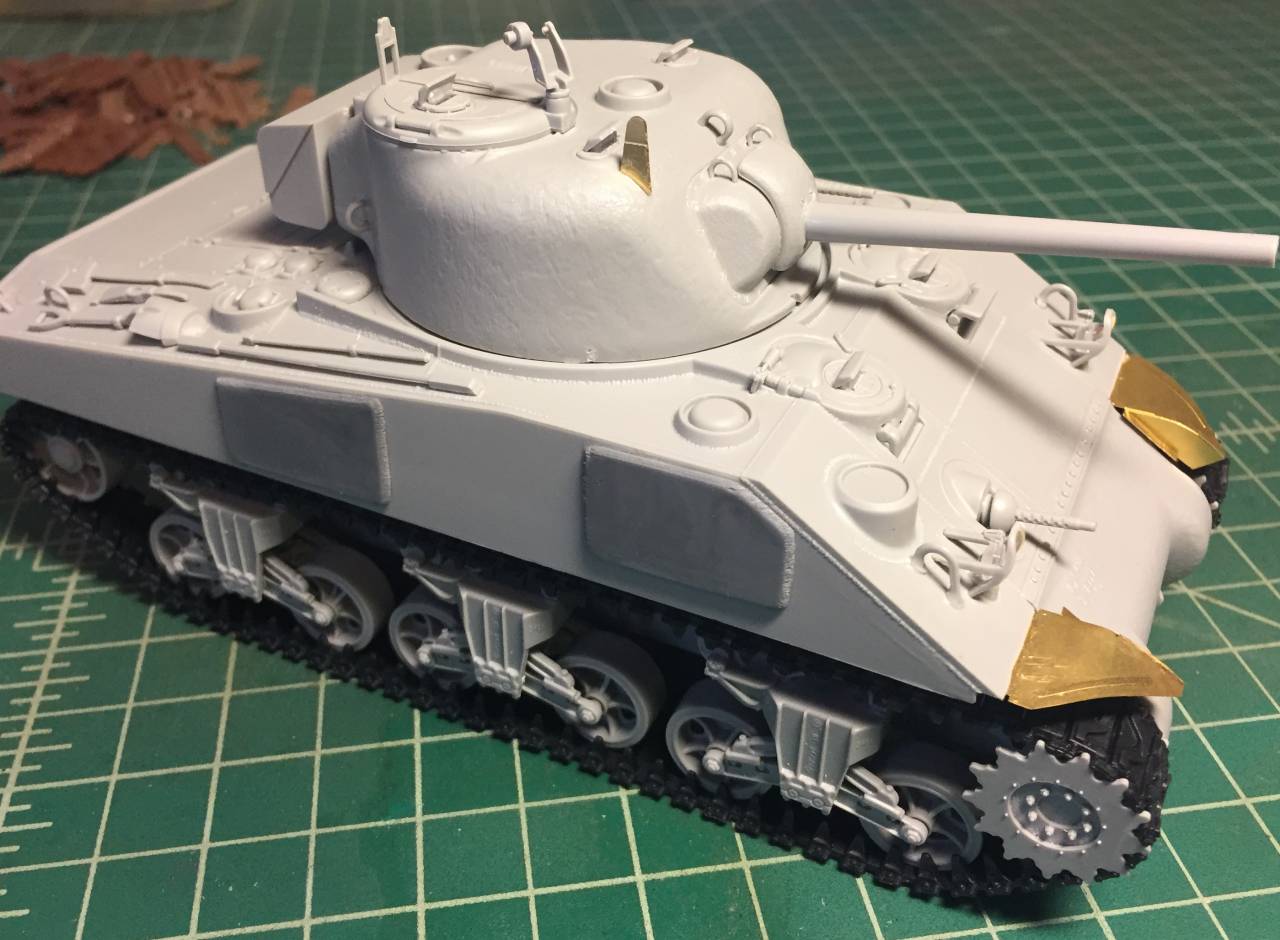
Assembly basically done with suspension added. I really had not expected to get this far this quickly. I'll shelve this one for a bit before painting. I have several OD kits under construction so I'll wait to spray their base coats all at one sitting.
workhorse-sherman_07

workhorse-sherman_08

The Academy Shermans are not bad. They are pretty typical, average kits. They have some options you won't get in Tamiya and Italeri's older Shermans. Their multi-version aspect can lead to some issues with fit and part identification. Like their M36B1 (90mm turret on a M4a3 chassis). The turret won't fit and requires some hefty cutting to enlarge the ring. That's Academy trying to squeeze out a M36B1 without retooling parts like the turret ring. You have to be a bit careful with them.
d6mst0
#453
Visit this Community
Texas, United States
Joined: August 28, 2016
KitMaker: 1,925 posts
Armorama: 601 posts
Posted: Saturday, March 17, 2018 - 11:49 PM UTC
Alex,

Thanks for the review on your Academy Sherman build. I have a similar kit so this was most helpful as I now what to expect when I take it on.

Mark
Kaktusas
Visit this Community
Vilnius, Lithuania
Joined: April 12, 2017
KitMaker: 196 posts
Armorama: 196 posts
Posted: Sunday, March 18, 2018 - 12:04 PM UTC
Time to check in:
Removed by original poster on 03/19/18 - 14:34:04 (GMT).
d111298pw
#456
Visit this Community
Oklahoma, United States
Joined: September 22, 2016
KitMaker: 654 posts
Armorama: 638 posts
Posted: Saturday, March 24, 2018 - 01:12 AM UTC
My traveling is finally done and I can get my build started.

First, apply metal primer to the PE sheets.


Next, start applying the zimmerit to the chassis.

d111298pw
#456
Visit this Community
Oklahoma, United States
Joined: September 22, 2016
KitMaker: 654 posts
Armorama: 638 posts
Posted: Saturday, March 24, 2018 - 10:03 AM UTC
Chassis zimmerit is complete.


Next, fun with road wheels and return rollers
SGTJKJ
#041
Visit this Community
Kobenhavn, Denmark
Joined: July 20, 2006
KitMaker: 10,069 posts
Armorama: 4,677 posts
Posted: Saturday, March 24, 2018 - 07:12 PM UTC
I am going to enter with the Tamiya Pz. IV.

More to follow

d111298pw
#456
Visit this Community
Oklahoma, United States
Joined: September 22, 2016
KitMaker: 654 posts
Armorama: 638 posts
Posted: Saturday, March 24, 2018 - 07:43 PM UTC
Road wheels have been primed. While they are drying, I went ahead and started on the superstructure. Zimmerit has been applied.


Starting to fold the PE hangers for the schurzen.


Test fit


d6mst0
#453
Visit this Community
Texas, United States
Joined: August 28, 2016
KitMaker: 1,925 posts
Armorama: 601 posts
Posted: Saturday, March 24, 2018 - 08:04 PM UTC
Mark,

Really nice work with that Zimmerit.

Mark
Scipio2010
#401
Visit this Community
Washington, United States
Joined: December 08, 2013
KitMaker: 323 posts
Armorama: 221 posts
Posted: Saturday, March 24, 2018 - 09:35 PM UTC
I painted the basecoat on the MK. III Sherman, and used a little modulation on the more exposed surfaces.

Ive completed the M4A2 (76) and have the sub assemblies ready for priming and painting.

Since I had some momentum on these Sherman builds, I decided to start working on the M4A2 Sherman 'Tarawa' kit.


Removed by original poster on 03/25/18 - 18:02:12 (GMT).
RobinNilsson
Staff MemberTOS Moderator
KITMAKER NETWORK
Visit this Community
Stockholm, Sweden
Joined: November 29, 2006
KitMaker: 6,693 posts
Armorama: 5,562 posts
Posted: Saturday, March 24, 2018 - 11:11 PM UTC
All the nice work presented so far is giving me a bad conscience for not having started yet .....
/ Robin
Conrad86
Visit this Community
United Kingdom
Joined: January 01, 2018
KitMaker: 25 posts
Armorama: 25 posts
Posted: Saturday, March 24, 2018 - 11:14 PM UTC
Built and primed. Went together fine, but does feel a little unrefined in places. Tracks are poor, will be replacing with miniart indy link set.

McRunty
#491
Visit this Community
Missouri, United States
Joined: April 06, 2016
KitMaker: 602 posts
Armorama: 191 posts
Posted: Sunday, March 25, 2018 - 12:40 AM UTC
Basecoat is down and wheels are on. I used Ammo from Mig's Russian Green. I haven't used this brand of paint before and I have to say I am delighted by how good it was. Went down smooth and easy. No clogs, splutters or streaking from the airbrush.

The only thing I am unhappy with is it looks like I got some CA on some of the rear engine grill which blocked up some holes. I will be looking for a needle or something thin enough to unblock these.


McRunty
#491
Visit this Community
Missouri, United States
Joined: April 06, 2016
KitMaker: 602 posts
Armorama: 191 posts
Posted: Sunday, March 25, 2018 - 12:43 AM UTC

Quoted Text

Built and primed. Went together fine, but does feel a little unrefined in places. Tracks are poor, will be replacing with miniart indy link set.


Looking good Conrad. I am interested to see the 2 different kits compare when done.
Removed by original poster on 03/26/18 - 16:53:54 (GMT).
Removed by original poster on 03/26/18 - 16:58:58 (GMT).
Soojet
Visit this Community
Ohio, United States
Joined: March 22, 2018
KitMaker: 22 posts
Armorama: 20 posts
Posted: Sunday, March 25, 2018 - 09:59 PM UTC
Hi everyone! I've just joined the campaign, albeit a little late. I will be building the Panzer IV Asuf D. from Dragon. I've been a lurker on Armorama for while, this is my first campaign.