It was SOP for C Company to replace the troop seats with wooden box seats that each crew made in order to organize their ammo and equipment. They were covered with vinyl seat covers. Here is a photo of my friend Bill Rambow performing maintenance on his .50 where a good view of the seats is presented.

And here they are in 1/35 scale.

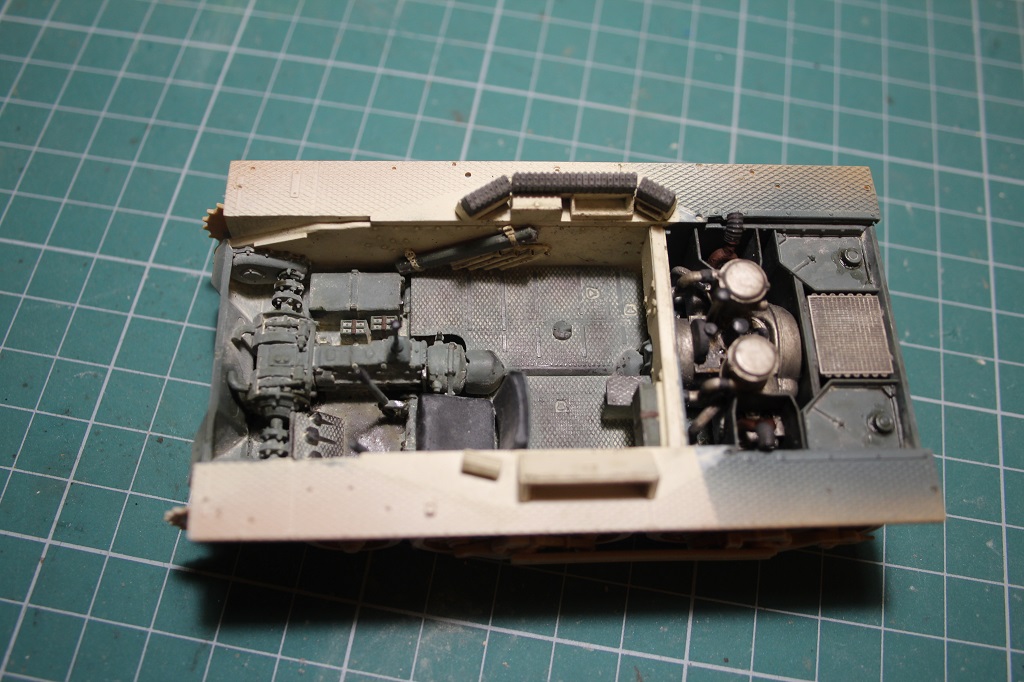
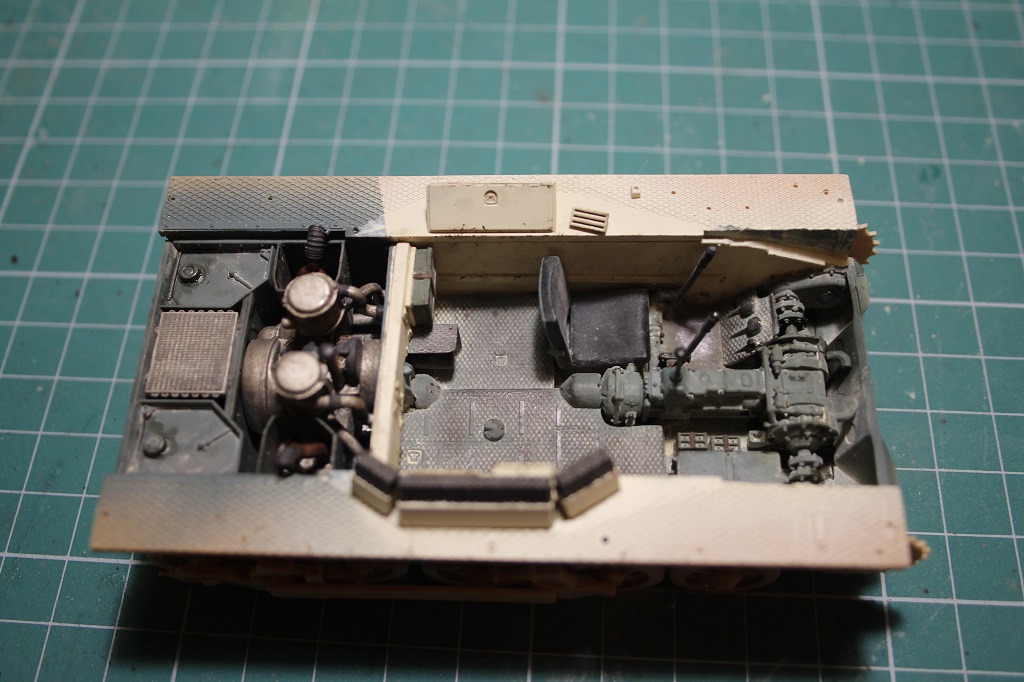
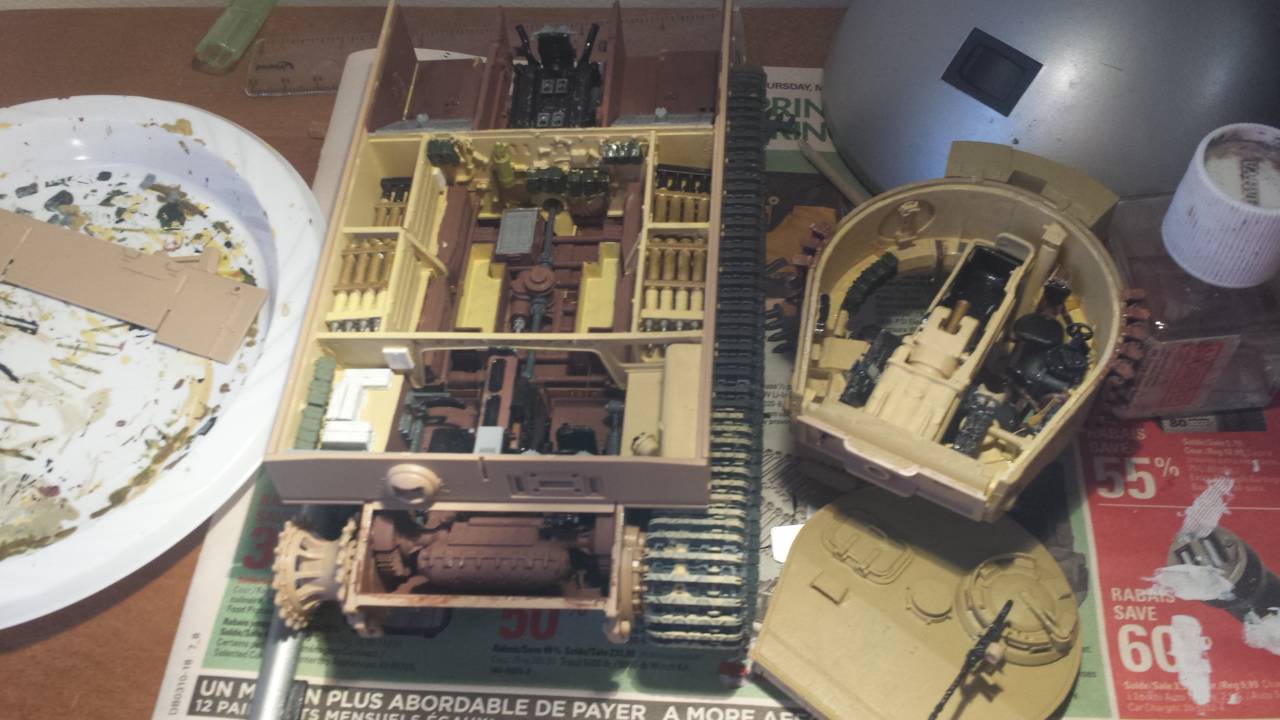
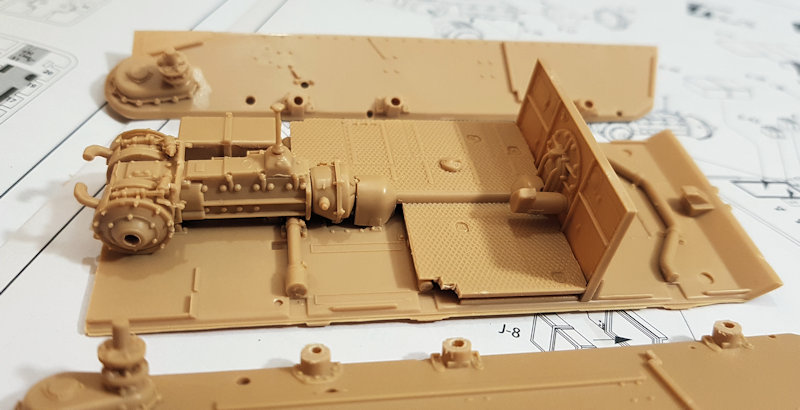
I have pictures of all of the various stages of loading out this model, but I will spare y'all the boredom and space by just showing you how the interior looks so far. This unit did not sandbag the floors at this point of time. Their ammo is organized in the box seats, so there are only a few cans out in the open. Others will be on the top deck. Their personal effects were carried in used ammo cans and their clothing, etc were carried in WP or laundry bags. I made those from Magic Sculpt. The other items are from Mec Models, Bravo 6, Armand Bayardi, Duplicata, and others. The magazines are issues from 1967 and the centerfold on the front of the fuel tank is from December 1966 ( a favorite Playmate of one of the crew members) in order to maintain continuity of the time period that this model is representing.


I am going to have a guy sitting in the crew compartment reading a magazine and airing out his feet. The figure will be a conversion of a Bravo 6 figure from the Delta Blues set. The figure's right front was flat where the guitar was supposed to go, but since he is not going to be playing a guitar, I built that area up with Magic Sculpt and sculpted in the top pocket.


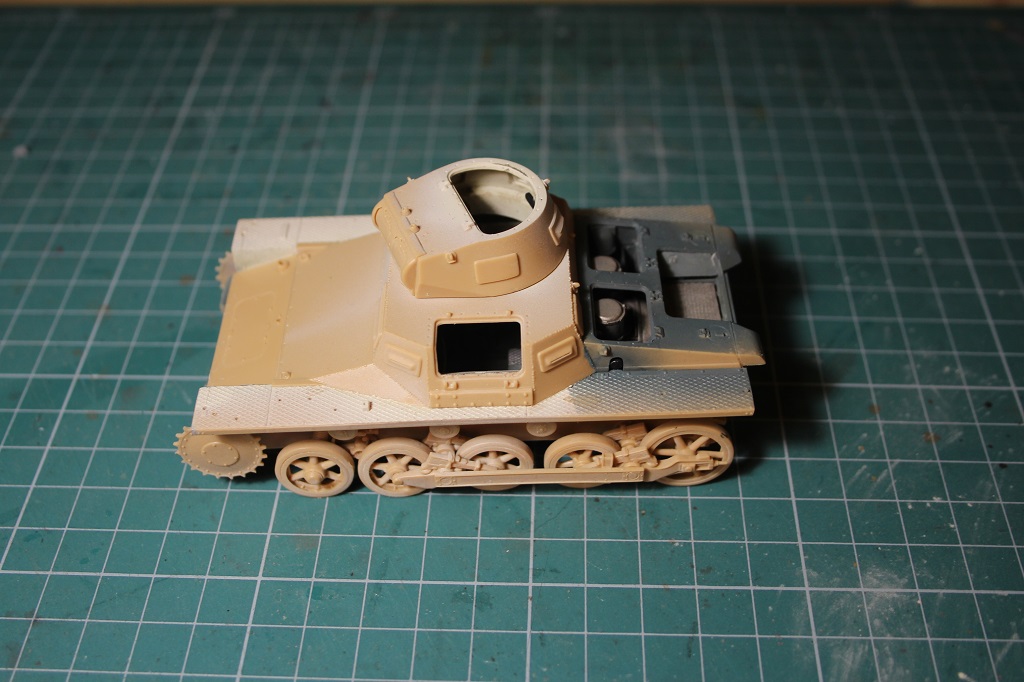
Since HARASSMENT has the rail of the track shrouds still attached to the sides of the vehicle, I cut the rails off of the kit-supplied track shrouds and glued them in place. I then heated up the rails with a hair dryer so I could replicate the dents and bends that were made in the rails while busting brush in the jungle. In hindsight I should have done this before I glued them onto the hull, but they came out close enough.


That's is so far. I plan on doing more this weekend.
Thanks for looking.
Cheers,
James


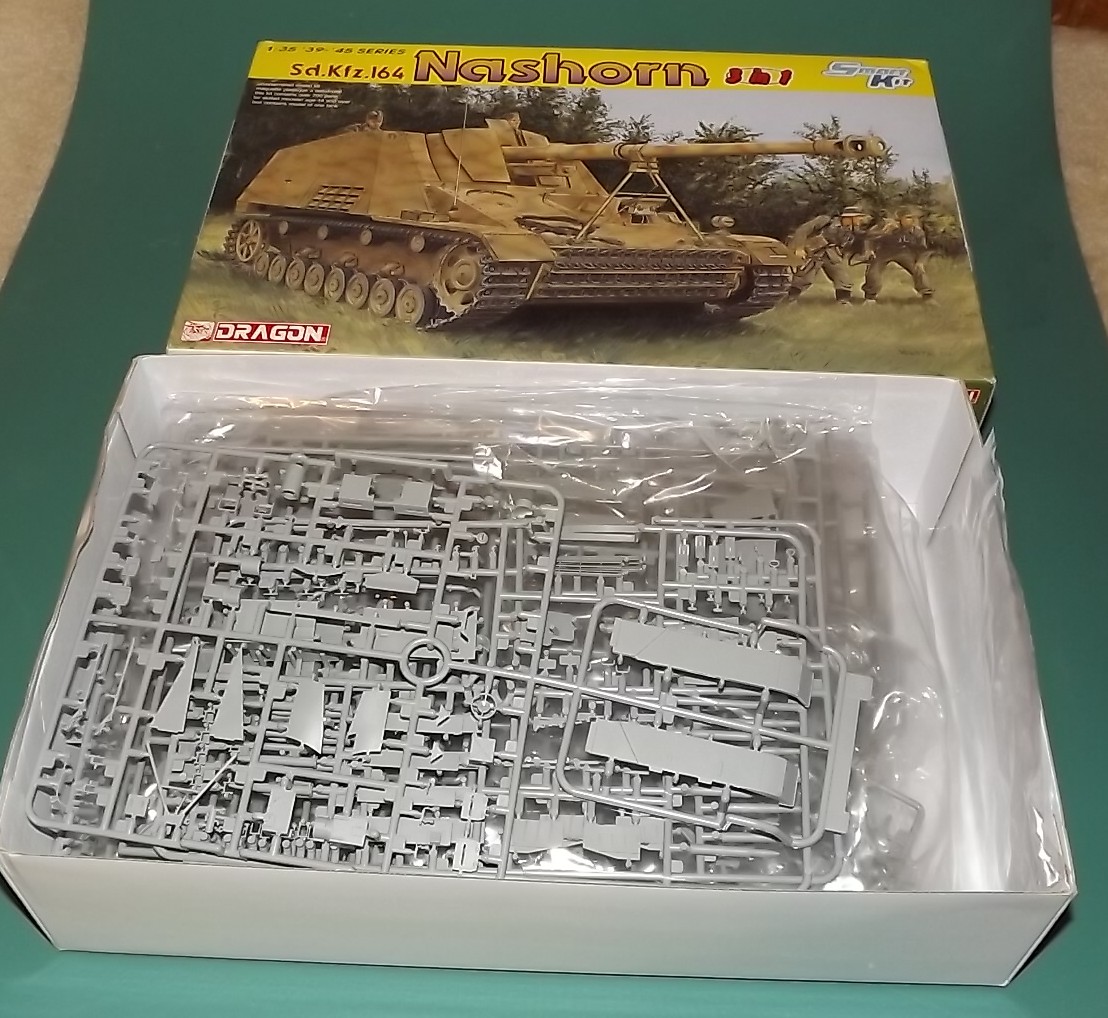
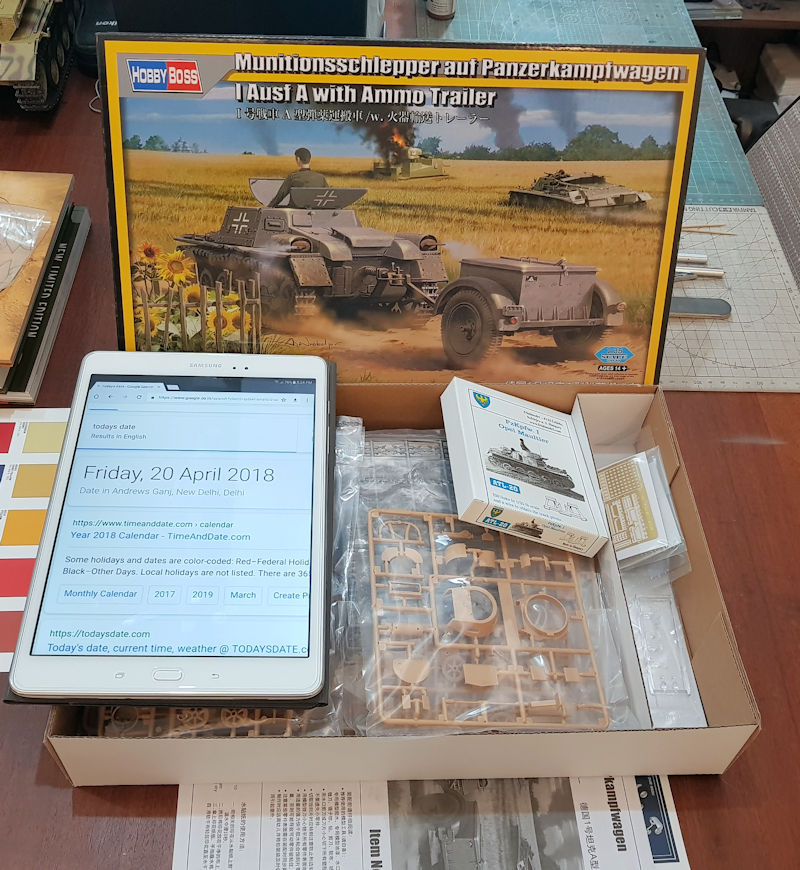
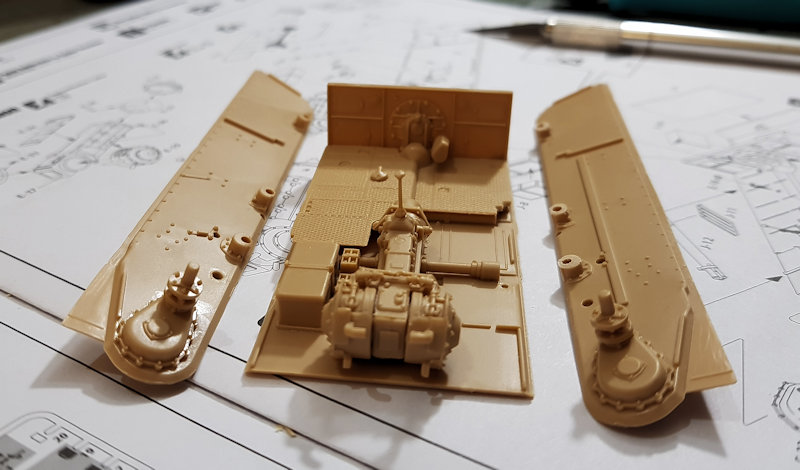
 Here is my starting picture.