_GOTOBOTTOM
Armor/AFV: Modern Armor
Modern armor in general.
Hosted by Darren Baker
Takom T-55AMV building blog
Hederstierna
#247
Visit this Community
Nordjylland, Denmark
Joined: January 03, 2008
KitMaker: 1,102 posts
Armorama: 1,018 posts
Posted: Thursday, May 26, 2016 - 05:25 PM UTC
Hi all
Just recieved Takom's new T-55AMV and I'll be doing my very first Building blog ever, so please be gentle
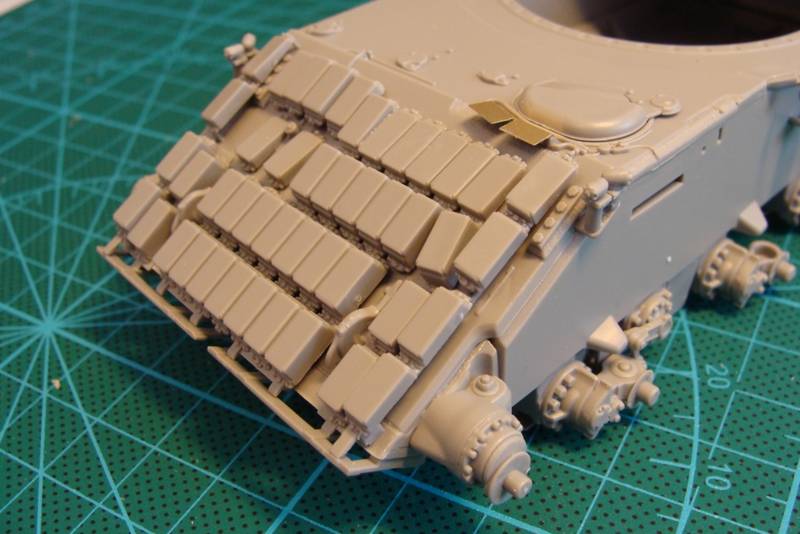
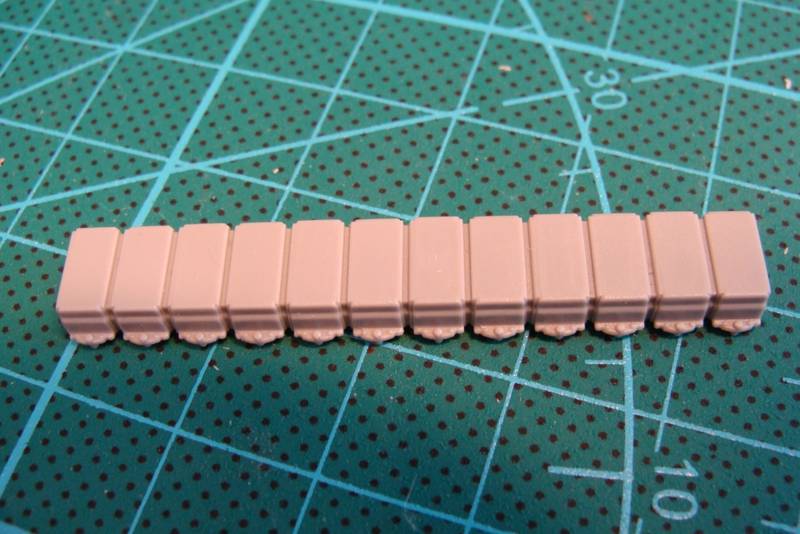
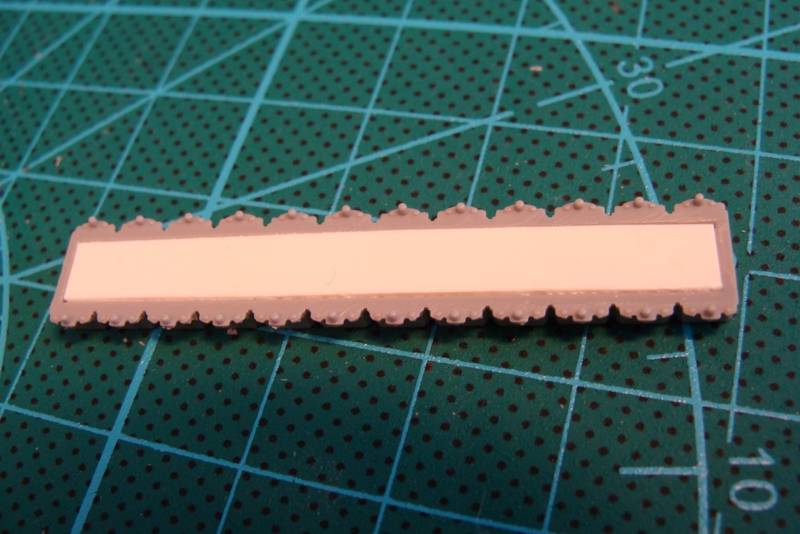
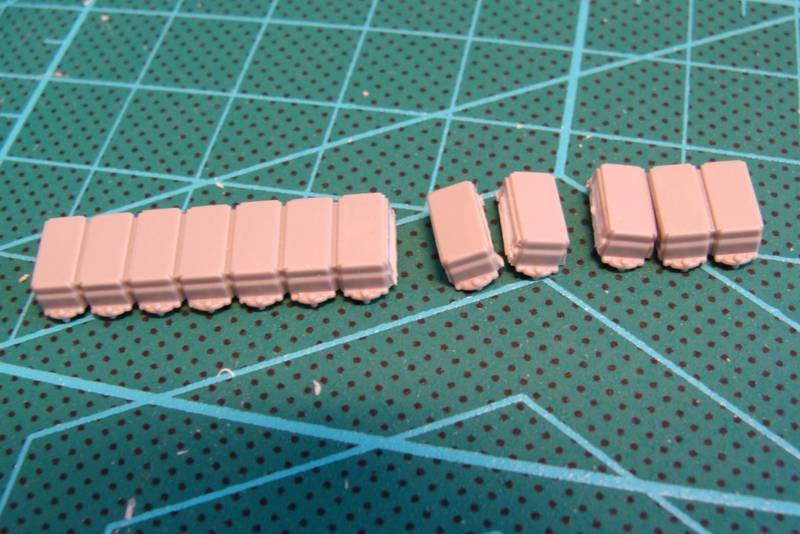
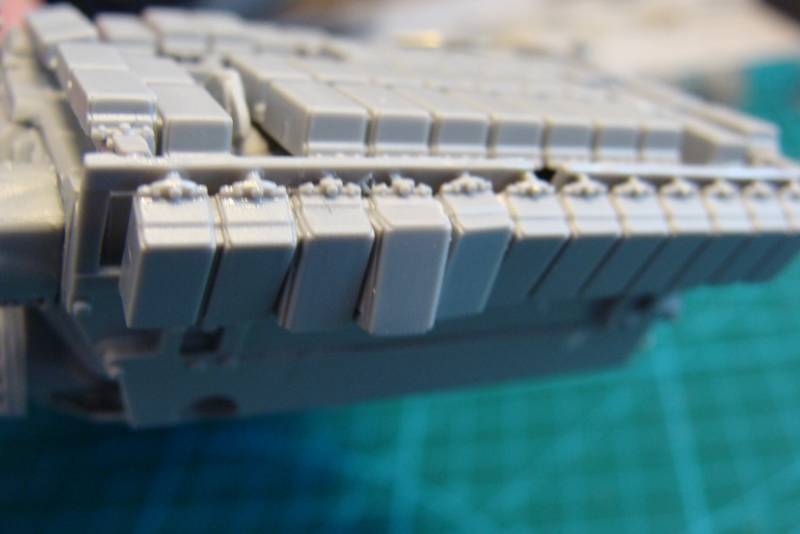
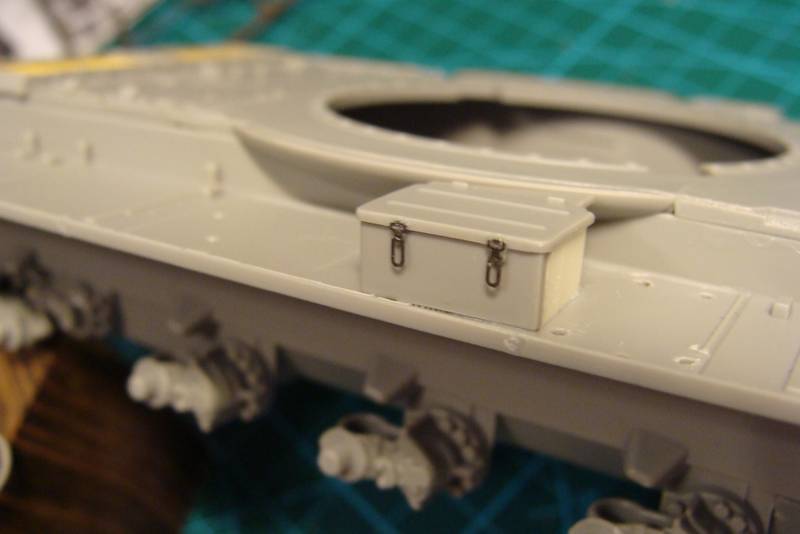
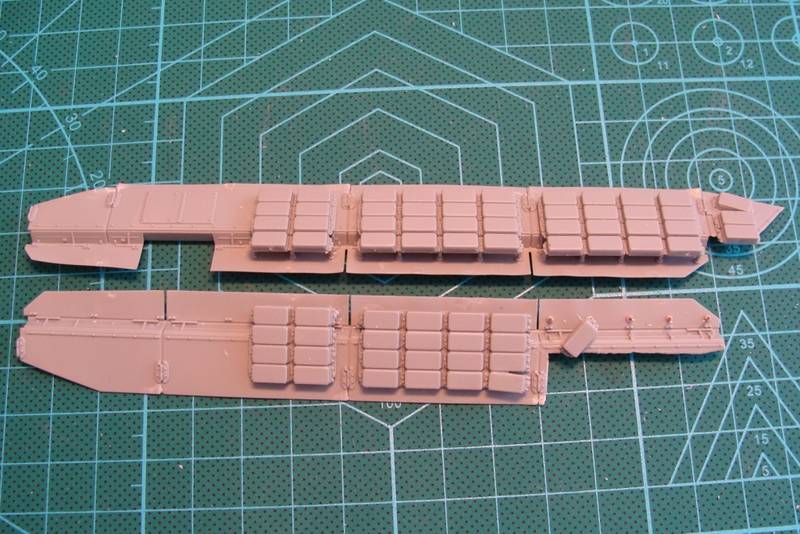
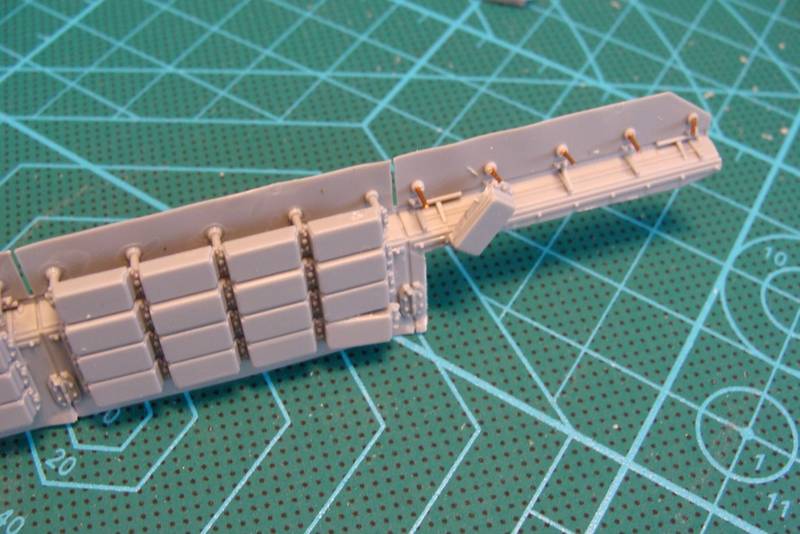
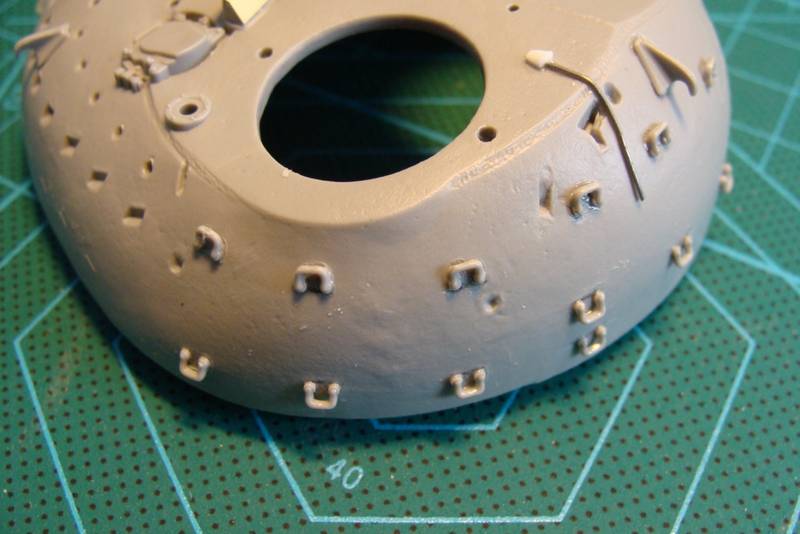
The kit looks very nice, and the box seems to be loaded with styrene. Skimming through the sprues, it really looks like a very well detailed kit, with lots of crisp details.
Ahh!! There's nothing like the smell of newly molded styrene in the evening... It smells like.... Hobbytime!

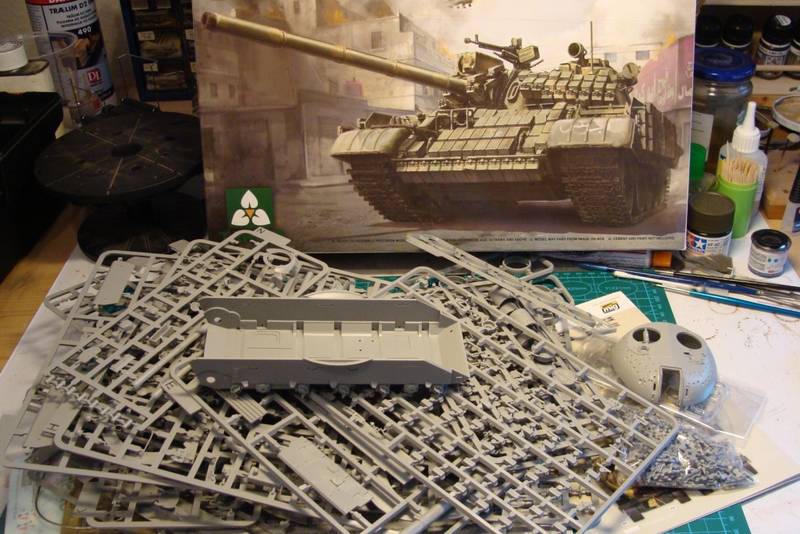
Well, let's get cracking.
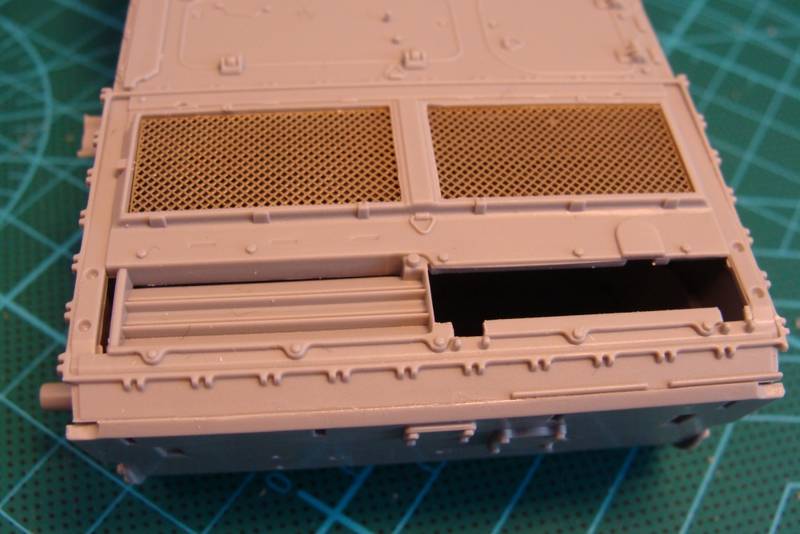
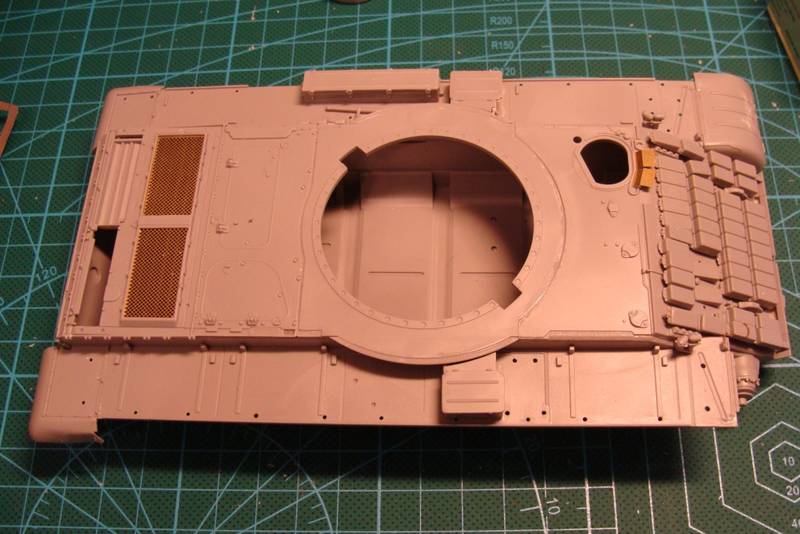
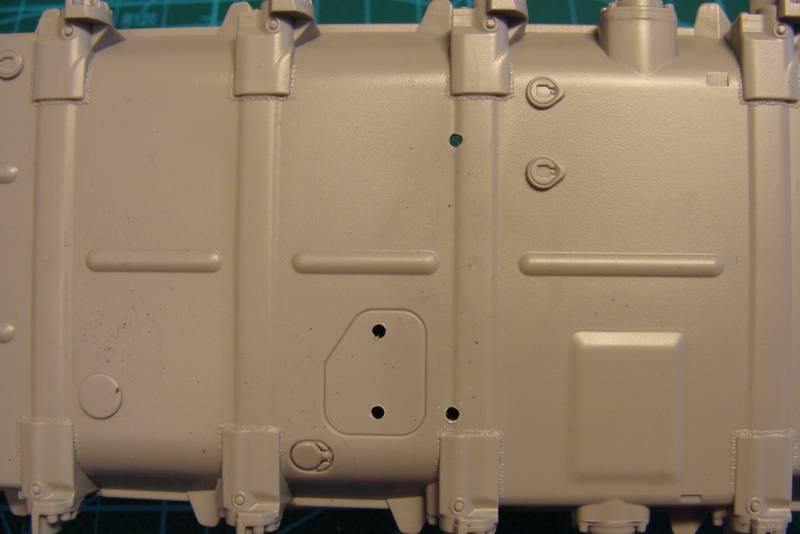
As usual the build starts with the lower hull, which is beatifully molded in one piece. You have to drill out some holes in the bottom to fit the armor reinforcement on the frontpart of the belly.
A small warning has to be given at this early stage; the styrene of this kit is a bit on the soft side, so beware of this, when using your newly bladed knife.

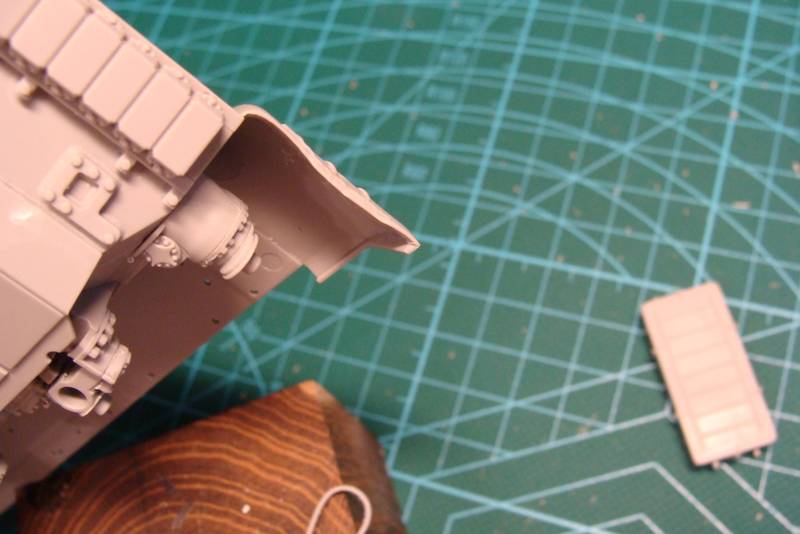
The add on belly armor and final drives goes in place with no problems at all.

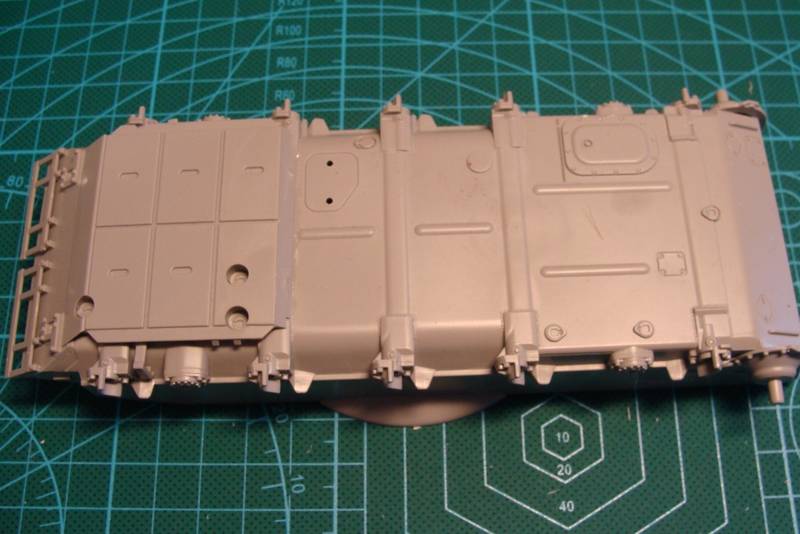
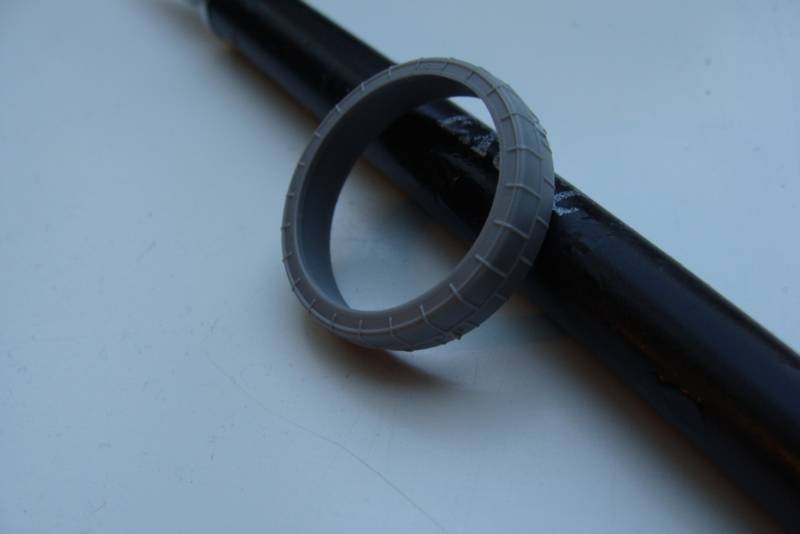
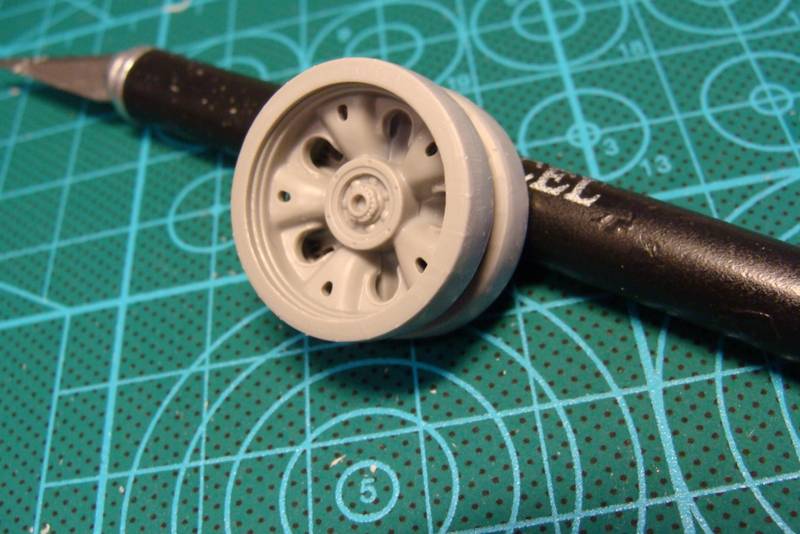
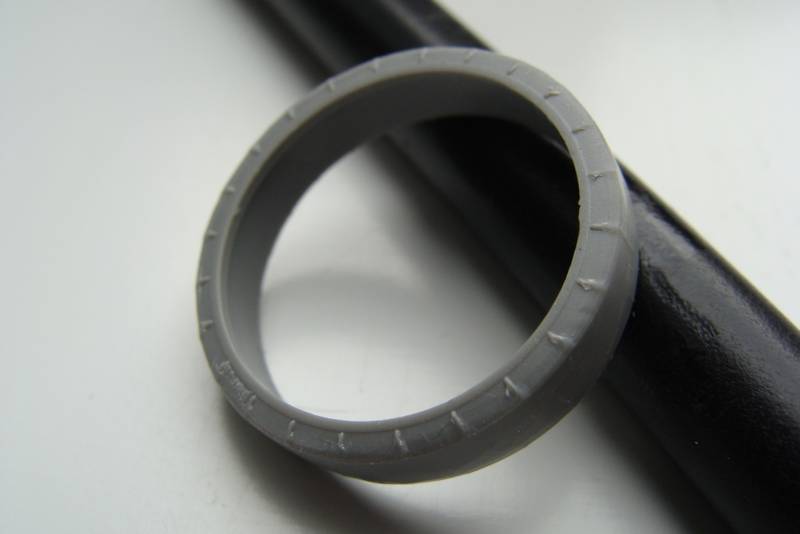
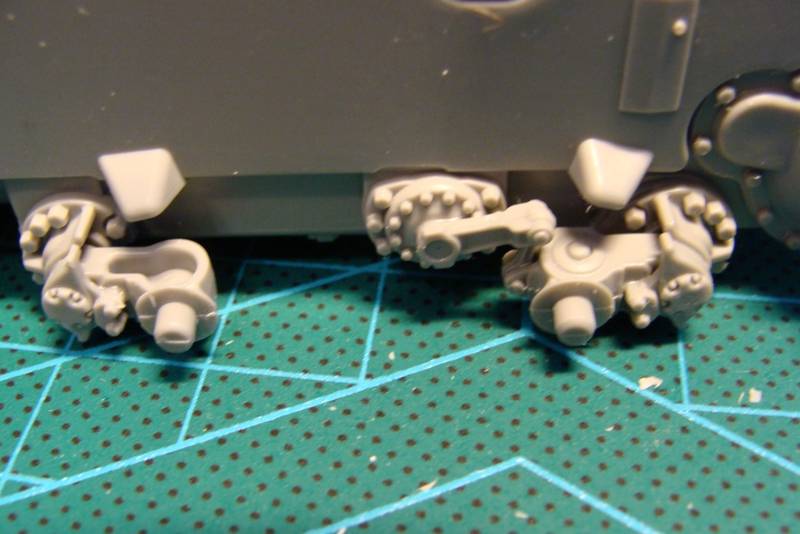
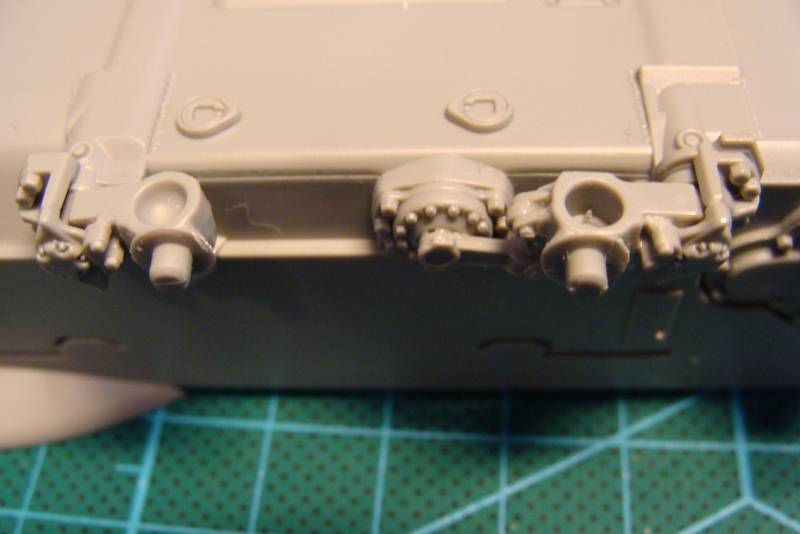
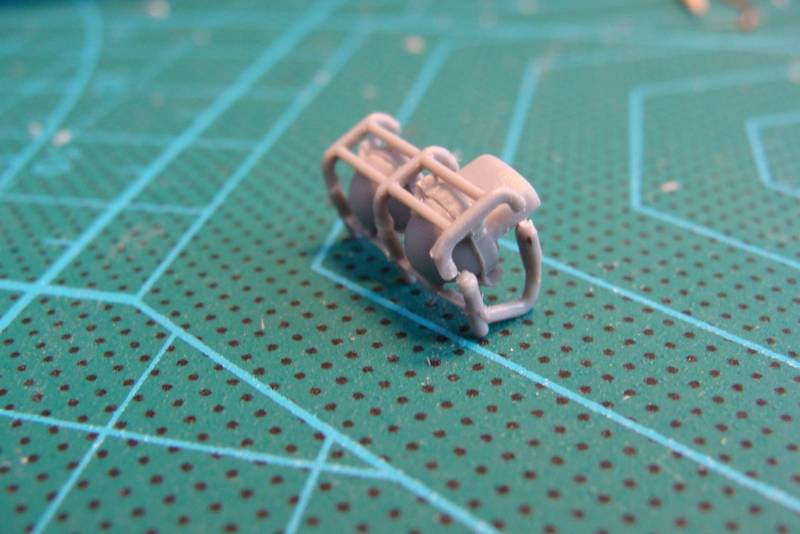
The drive sprockets and idler Wheels are a straight foreward buid, but do be careful to get the alignment of the sprockets right before the glue settles.

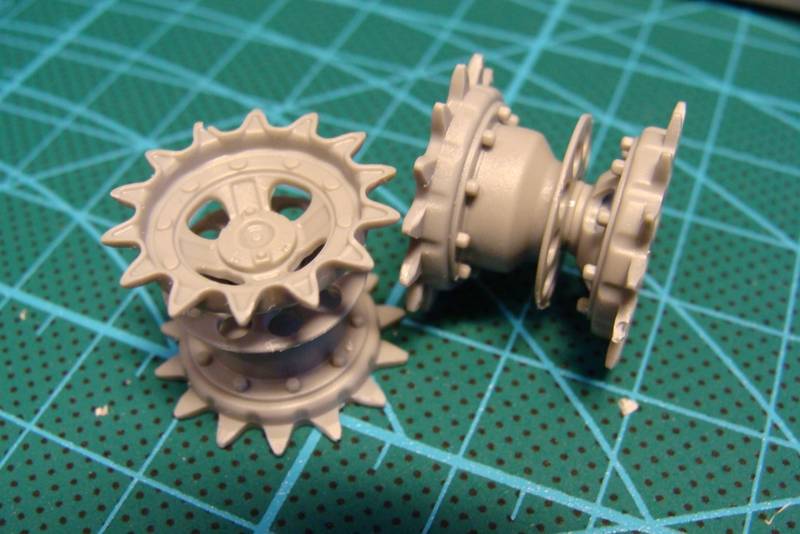
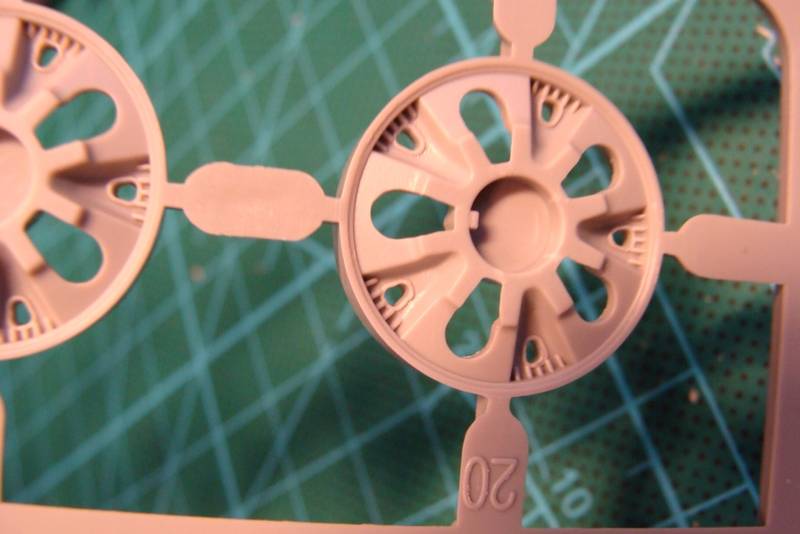
The idler Wheels has an excellent feature; it has some great ball bearing details under the hub, if you want to either do a maintainence scene or it simply have been lost in action.


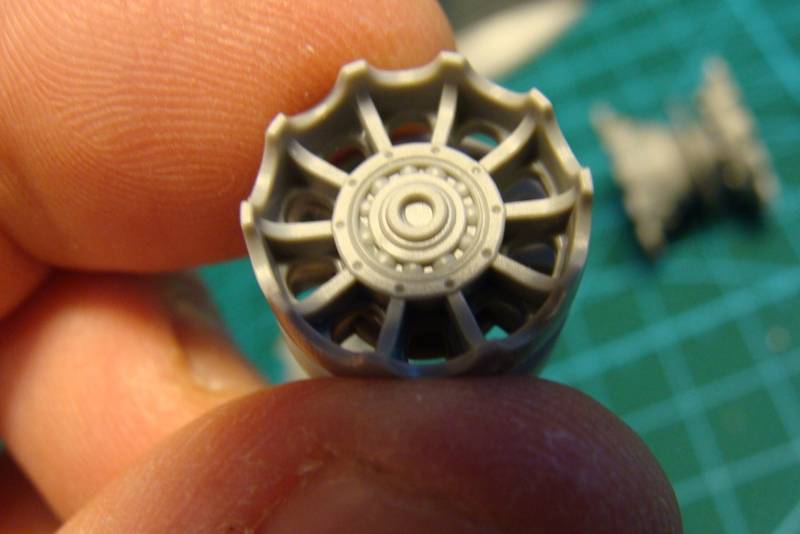
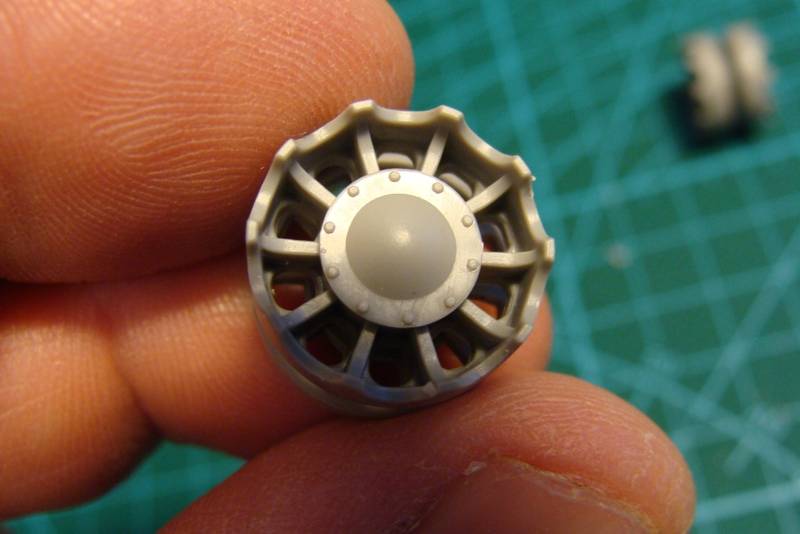
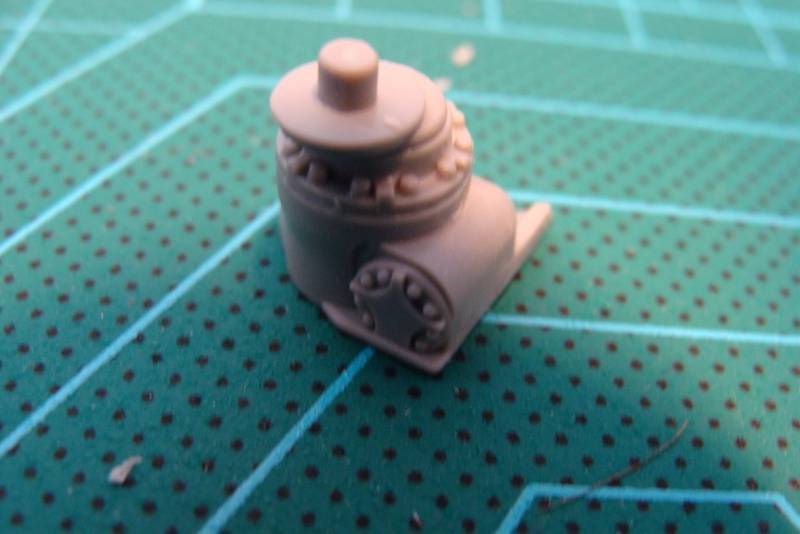
The idler Wheel Mount is also greatly detailed on all sides.

Well, enough for now. I'll return with more soon.
Please do ask if there's something in this blog, which don't make sence, and I'll try to explain it, if I can.
Jacob
Thirian24
Visit this Community
Oklahoma, United States
Joined: September 30, 2015
KitMaker: 2,493 posts
Armorama: 2,344 posts
Posted: Thursday, May 26, 2016 - 05:35 PM UTC
Jacob,

Thank you for doing this as I am very interested in this kit.
Hisham
Visit this Community
Al Qahirah, Egypt / لعربية
Joined: July 23, 2004
KitMaker: 6,856 posts
Armorama: 6,363 posts
Posted: Thursday, May 26, 2016 - 06:55 PM UTC
I have this kit in my stash.. and I plan to start on it next, after I finish the TM Nagmachon... if I can ever get some modelling time in

Will be watching with interest

Hisham
panamadan
Visit this Community
Minnesota, United States
Joined: July 20, 2004
KitMaker: 1,513 posts
Armorama: 1,449 posts
Posted: Thursday, May 26, 2016 - 09:12 PM UTC
I'll be watching too.
Dan
Removed by original poster on 05/13/19 - 22:53:42 (GMT).
davidg
Visit this Community
Ontario, Canada
Joined: December 28, 2007
KitMaker: 47 posts
Armorama: 44 posts
Posted: Friday, May 27, 2016 - 07:25 AM UTC
I am on step 31 in my build and so far it is a nice build. Plastic is soft and get rid of headlight guard as there is no way of putting reactive armour under it as stated in t'he instructions. Also I am at a loss in step 31 as it calls for part L2 in IR light const. There is no L sprue and I cannot seem to find the part on any of the others. Maybe I am missing it but maybe others doing this build will find it and let me know. I love the external fuel lines, they save a lot of time and frustration. Some filler needed here and there but not much. Also the tires are separate but they do have the rim of the metal part of the wheel on them. It is very subtle, the detail here is very soft and may requIre a steady hand to paint.
jasegreene
Visit this Community
Florida, United States
Joined: October 21, 2013
KitMaker: 751 posts
Armorama: 751 posts
Posted: Friday, May 27, 2016 - 12:29 PM UTC
Just to look at the detail it is just so amazing.When I was a child there was some toy company that had a motto,"just like the real thing,only smaller" it just reminds me of that.
Pyretto
Visit this Community
Sweden
Joined: February 13, 2016
KitMaker: 3 posts
Armorama: 3 posts
Posted: Friday, May 27, 2016 - 01:24 PM UTC
I've always wondered when these mistakes is to be found of the modeler, have'nt the company test built it?
Hederstierna
#247
Visit this Community
Nordjylland, Denmark
Joined: January 03, 2008
KitMaker: 1,102 posts
Armorama: 1,018 posts
Posted: Friday, May 27, 2016 - 05:38 PM UTC
Thanks for the intrest of the blog, it's been very helpful already. Especially the road Wheels have been a concern of mine, because the rubber has these ribbs molded onto them, and I've only been able to find a couple of Pictures of vehicles with this feature. I had originally planned to simply remove all of them, but then Dave wrote about the tiny steel rim on the outside, which was also molded on these parts.

Unfortunatly he's right, and even more unfortunatly, I've already removed these parts on the first pair of wheels

BUT everything is not lost yet, because during my search on the internet, I found a couple of Pictures, where the rubber seems to cover this outer steel rim. So I'm thinking, that these two road Wheels are of another batch and has been used as replacements due to damage on the original ones. Hope this is as cunning as I think it is
The rest of the rubber tires will keep the ribbs on the sides and have them removed on the surface due to natural Wear and tear.

The road Wheel itself is excellent molded, with great details even on the inside, which really can't be seen once assembled.

The road Wheel arms are also quite detailed, and Again, these great Things will be very hard to spot on the finished model.
Be aware, though, that Takom has added a correction slip for this stage of assembly.


Also do be very careful to get the alignment of the road Wheel arms straight, so you won't get the floating Wheels when assembled.
Jacob
davidg
Visit this Community
Ontario, Canada
Joined: December 28, 2007
KitMaker: 47 posts
Armorama: 44 posts
Posted: Saturday, May 28, 2016 - 12:38 AM UTC
Update. I found a small correction notice in my box, stuck in corner upside down, anyway it says part L2 is not used. H1 connects directly to H33. Also shows placement of H22/H23 on gun cover but I had already figured that one out.
Hederstierna
#247
Visit this Community
Nordjylland, Denmark
Joined: January 03, 2008
KitMaker: 1,102 posts
Armorama: 1,018 posts
Posted: Saturday, May 28, 2016 - 08:18 PM UTC
Todays Work covers the assembly of the top hull and frontal armor. No real biggie, but this part come in three pieces, so be careful it sits to dry on an even surface.
on the engine deck Takom has provided some nice looking PE mesh.

The frontal armor has to be covered with ERA Blocks, reactive armor, and I've never built any AFV with these on, so I'm very excited about the outcome.


There's a row of ERA Blocks on the downward sloped frontal armor, and I want to do some light damage on some of these, so this build will stand out just a Little bit. In Pictures, it often shows that some of these ERA Blocks are losening or even fallen off.
I filled the part with White plastic card, so that they wouldn't look hollow and so they were easier to cut, without damaging them too much.
Then I simply glued them on with the single Blocks hanging a bit Loose from the bottom mounting. I actually think it looks real cool, and I really can't believe how easy it was.


Jacob
Hederstierna
#247
Visit this Community
Nordjylland, Denmark
Joined: January 03, 2008
KitMaker: 1,102 posts
Armorama: 1,018 posts
Posted: Wednesday, June 01, 2016 - 05:21 PM UTC
Here's the latest Progress from last night.
I assembled and fitted the track guards, which was very straight forward.

Since I'm planning for a very used and abused AFV build, I did a Little fender bending, using an old pair of pliers, and carefully bended the left front mud guard, to create some damage.

I'm going to leave the right mud guard off, as it has been lost during action.

Also the front piece of the rubber skirt will be removed, when I get to that point of the Construction.
The stowrage boxes on the track guards have really bad molded details for clasps, so I decided to use some PE from my spare box, which would at least give some kind of detail to this part.

The two smaller boxes on the front end of the track guard are molded open on one of the sides, which is visible once the other parts are fitted, so I made up the missing sides using plastic Card.

Jacob
Hederstierna
#247
Visit this Community
Nordjylland, Denmark
Joined: January 03, 2008
KitMaker: 1,102 posts
Armorama: 1,018 posts
Posted: Saturday, June 04, 2016 - 08:32 PM UTC
this time I've really hit a snare. I've read about the issues about the Cage around the head ligths, and I was a Little kean on how this was going to be. I really did try to assemble it, because I thought it must be posible, but it wasn't
The fit is absolutely crap, and after several attempts it turned out real bad, and I simply threw it away.


I had to construct a new Cage, and I made it up of copper wiring, which was soldered and super glued together. I think it turned out quite ok.


Jacob
Armored76
Visit this Community
Bayern, Germany
Joined: September 30, 2013
KitMaker: 1,615 posts
Armorama: 1,500 posts
Posted: Sunday, June 05, 2016 - 11:40 AM UTC
Nice cage and great progress overall! I'll be following this with interest as I would like to build one of my own one day.
Hederstierna
#247
Visit this Community
Nordjylland, Denmark
Joined: January 03, 2008
KitMaker: 1,102 posts
Armorama: 1,018 posts
Posted: Monday, June 06, 2016 - 11:33 PM UTC
Here's the Cage fitted with both had lights.

The rubber side skirts are excellent molded with some very nice and crisp details. They are cast ultra thin along the edges, so they look in the right scale.


Jacob
Hederstierna
#247
Visit this Community
Nordjylland, Denmark
Joined: January 03, 2008
KitMaker: 1,102 posts
Armorama: 1,018 posts
Posted: Tuesday, June 07, 2016 - 07:01 PM UTC
The ERA Blocks fit the side skirts perfectly. They are made up in sections, which are very easy to clean up and glue to the skirt.

As said before I've decided to depict my T-55 as a rather worned vehicle, with the right front fender missing. To go with this damage, I've removed the front part of the rubber side skirt, leaving the upper ERA blocks attachment rods in place, with a single block partly remaining.


Takom has added a great detail in providing the pipelines for the fuel tanks. These really adds to the realism of the build.

Jacob
Hederstierna
#247
Visit this Community
Nordjylland, Denmark
Joined: January 03, 2008
KitMaker: 1,102 posts
Armorama: 1,018 posts
Posted: Wednesday, June 08, 2016 - 08:27 PM UTC
The finished engine deck has got some nice PE.

On the rear end there's located an unditching log, which is comon practice of Russian AFV's. The part Takom is providing is kind of rough and hasn't got very much detail to it.

I've chosen to scratch build a rather different kind of unditching device, which consist of three pipes held together by some heavy steel cable. The idea is to create something which would be made in the field, out of materials that could be found in an urban area.

I must admit, that I've absolutely no photographic evidence, that such a thing has ever been done in real life, but I think it looks cool, and hey, it's just a hobby, which for me leaves room for some artistic licence once in a while

Jacob
Grindcore
Visit this Community
New York, United States
Joined: September 23, 2006
KitMaker: 389 posts
Armorama: 358 posts
Posted: Wednesday, June 08, 2016 - 08:45 PM UTC


I like the idea of the pipes and cable, like you said, something found easily in that enviorment, probably some steel girder would work too.
jasegreene
Visit this Community
Florida, United States
Joined: October 21, 2013
KitMaker: 751 posts
Armorama: 751 posts
Posted: Wednesday, June 08, 2016 - 10:37 PM UTC
If you look around online you bound to find a photo of a T-55 like it.
Hederstierna
#247
Visit this Community
Nordjylland, Denmark
Joined: January 03, 2008
KitMaker: 1,102 posts
Armorama: 1,018 posts
Posted: Thursday, June 09, 2016 - 08:50 PM UTC
Jason: I've roamed around the internet, but I've not been able to find a simular unditching device, but you can point me in the right direction, I'll be very happy.
Thank you
Jacob
Hederstierna
#247
Visit this Community
Nordjylland, Denmark
Joined: January 03, 2008
KitMaker: 1,102 posts
Armorama: 1,018 posts
Posted: Thursday, June 09, 2016 - 08:58 PM UTC
Now it's turret time.
I've decided to assemble the upper and lower turret part to begin with, while this might be a bit fiddly once all the small parts and ERA Blocks are glued in place. I'm sure some of them are bound to break off during such an assembly on a later stage.
Iremoved the molded on cables, and exchanged them with soldering wiring insted. The originals are very fine molded, but I like the real round ones made from wire.


Jacob
Hederstierna
#247
Visit this Community
Nordjylland, Denmark
Joined: January 03, 2008
KitMaker: 1,102 posts
Armorama: 1,018 posts
Posted: Friday, June 10, 2016 - 07:04 PM UTC
The latest Construction on the turret.
I decided to use some copper wire for the handles on the turret sides, which I personally think looks nicer than the ones in styrene.

I also added the gun mantle cover, which comes in a very soft styrene material. I'm a bit worried about using such parts, because I'm affraid it will misbehave, when I use oils in the painting process. But it really looks excellent and was very easy to use.

Like on the hull, the turret is covered in ERA Blocks for that extra protection. These Blocks are mounted on brackets, which comes in two pieces. Due to the rounded shape of the turret, every single part is a Little differnet than the other, so you really have to just construct one Mount at a time. It's quite time consuming, and much care is to be talken to get them all set right.


Jacob
Hisham
Visit this Community
Al Qahirah, Egypt / لعربية
Joined: July 23, 2004
KitMaker: 6,856 posts
Armorama: 6,363 posts
Posted: Friday, June 10, 2016 - 09:10 PM UTC
Nice job, Jacob.. have you decided what paint scheme you're going to do? I want to do one of the cammo schemes when I build mine, but I don't know how to get the paint in between all those added armor blocks to make the border lines between the colors look right.. All the ones I've seen on FB so far are in just sand color

Hisham
Thirian24
Visit this Community
Oklahoma, United States
Joined: September 30, 2015
KitMaker: 2,493 posts
Armorama: 2,344 posts
Posted: Friday, June 10, 2016 - 11:13 PM UTC
Hisham,

The build I seen, he left off the era blocks and painted the area. Then he added the era blocks on.
Hisham
Visit this Community
Al Qahirah, Egypt / لعربية
Joined: July 23, 2004
KitMaker: 6,856 posts
Armorama: 6,363 posts
Posted: Friday, June 10, 2016 - 11:42 PM UTC
I guess it would need to be done is stages... so, first paint the area underneath the blocks in cammo colors.. then attach the blocks and try to spray them to match the cammo lines that are underneath on the turret surface itself? Well, I can't think of an easier way of doing it.

If somebody comes up with an easier, or more practical way, please share it

Hisham
 _GOTOTOP