Quoted Text
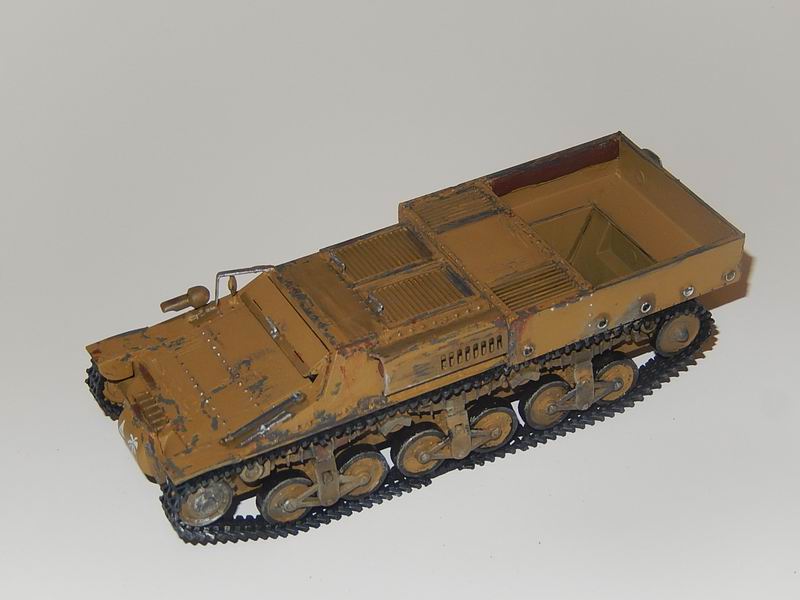
The light colour on the edges, is that silver? If so, then it is too much and ocassionally used in the wrong places. The road wheels have rubber tires, so the edges shuold not be solver (if that is what it is). The tires shld be a tad greyer (could be the photo, of course). The handles shuold bnot be silver, but rather have the well-used portions in a burnished graphite (i.e. pencil lead) to show ues. The Basic paint on the Afrika Korps vehicles was pretty sturdy, so there is not much bere metal showing through, but the desert paint added over the dark grey was much less durable, therefore most chipping and wear should expose the grey. If that _is_ grey I'm seeing where you are chipping, then that's just right.
You are doing a reasonable amount of weathering, but I don't see enough dust to indicate desert use. The tracks should be a burnished metal colour all over with dust/dirt packed into the crevasses ( a desert sand coloured wash is good for this).
The exposed leaf springs should be either burnished pretty bright on teh contact surfaces or greasy and dusty.
Streaking and some variation itn eh colouors would eb good as it seems a tad monochrome (but again, that could be the photo).
From a build point of view, I can't see any seams, but make sure the road wheels are all aligned and that they all sit on the base (whatever it works out to be) with no wheels riding off the ground. The tracks are a bit too tight for dead track and need some sag between the return rolers. NOt necessarily a lot, but at least some.
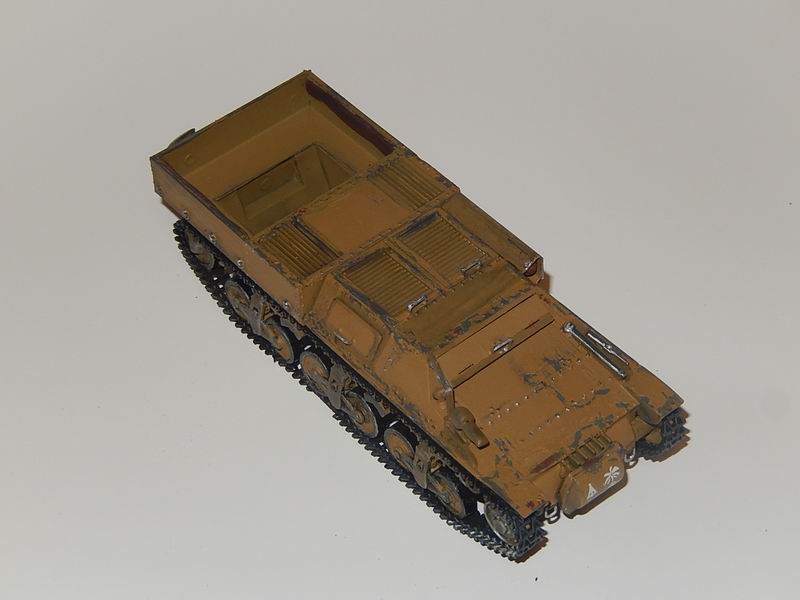
Is a cargo going in the bed? If not I can see some knock-out pin marks on the interior that should be removed and then repainted. If you are leaving the bed open, there has to be some structure in there, I believe. It's not just flat pieces of metal, I don't think.
Just some thoughts.
HTH
Paul
Hi Paul,
THANKS so much for your feedback, really appreciated.
The light color of the handles is definitely metallic gray, maybe hilighted by the camera flash, but I fully agree to modify the well-used portions in a burnished graphite, which is much more realistic.
Yes, I confirm the gray visible after chipping of the Sand Yellow is the ''original'' panzergrau, so it should be ok. But I will adjust the painting of tracks according to your suggestion.
The tracks are a bit too tight: this is a problem, I know, because the lenght of the single-piece track from the kit is definitely too short. So I cannot give the right sag.
Actually I don't know how to improve. I'll think about...
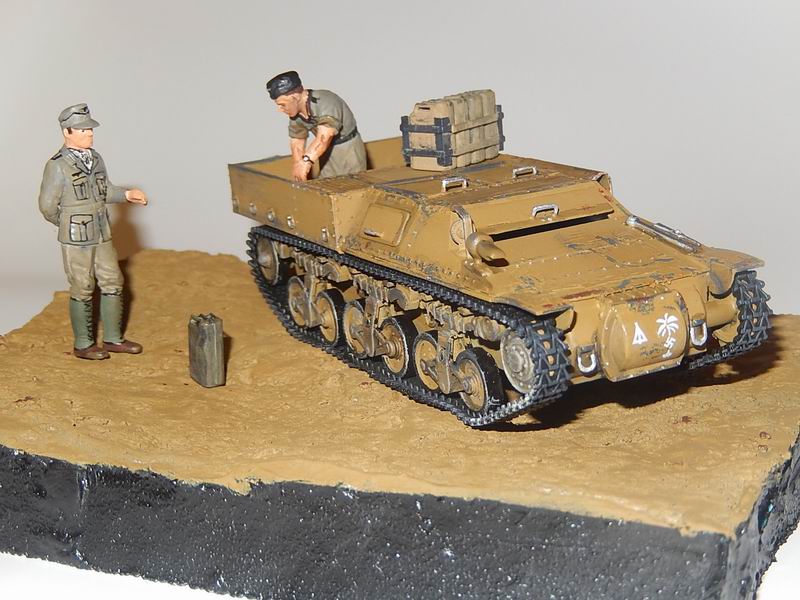
Cargo space: I'll put some stuff inside to give more life. I'm checking some pictures to have the right informations...
So; I have some job for the next available night at workbench