Special Forces GMV Afghanistan
Maki
 Senior Editor
Croatia Hrvatska
Joined: February 13, 2002
KitMaker: 5,579 posts
Armorama: 2,988 posts
Posted: Sunday, August 09, 2015 - 07:56 PM UTC
Thanks for the feedback guys!
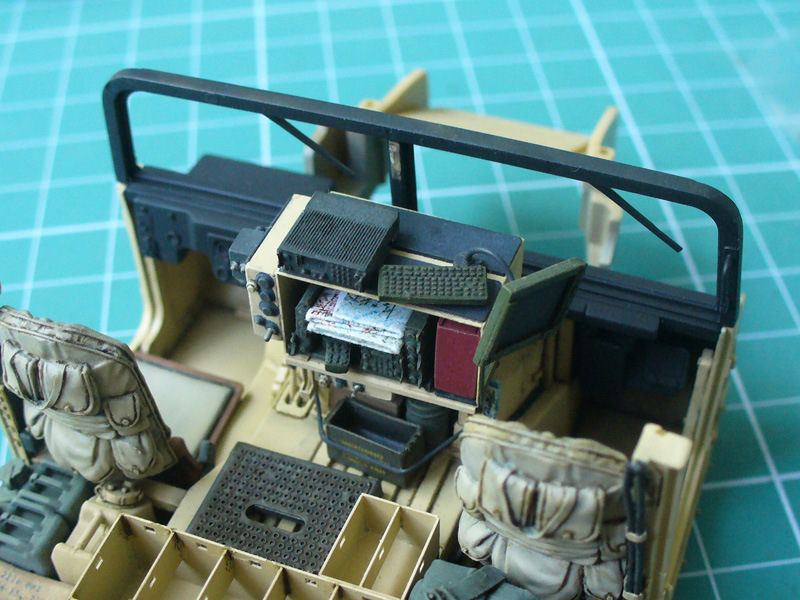
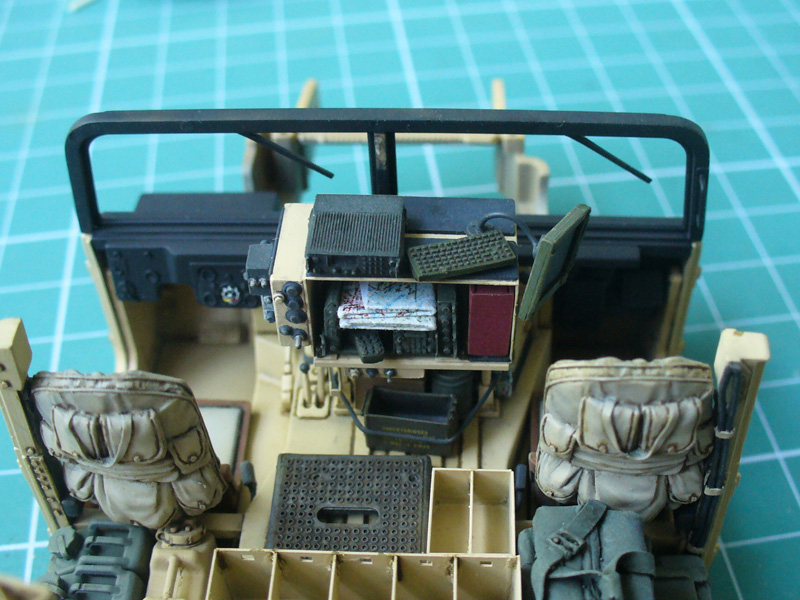
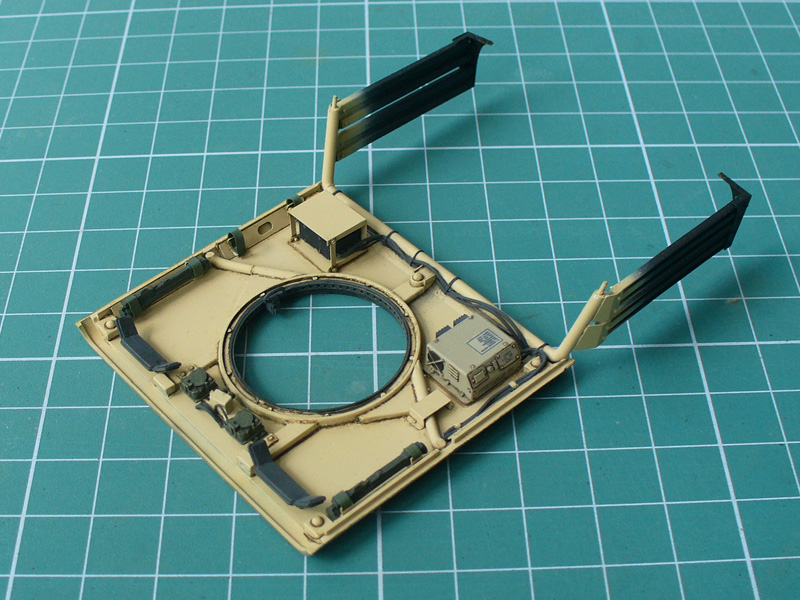
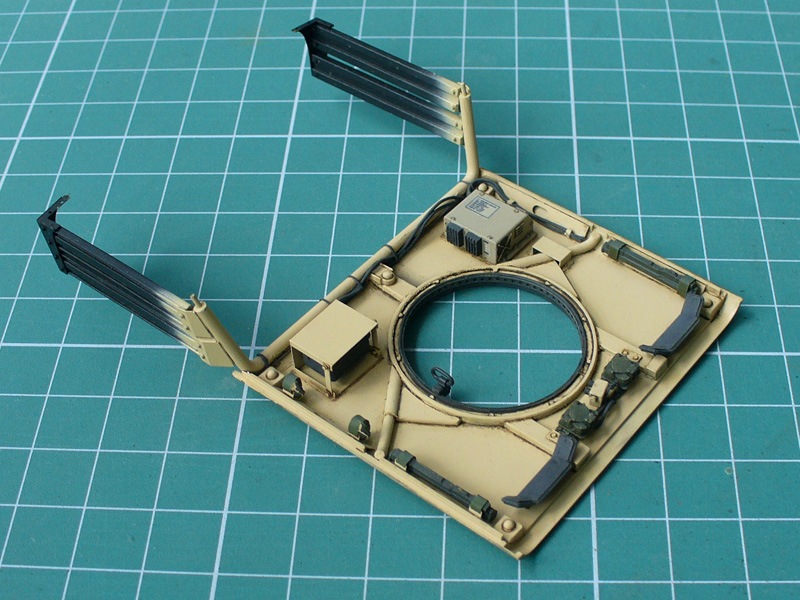
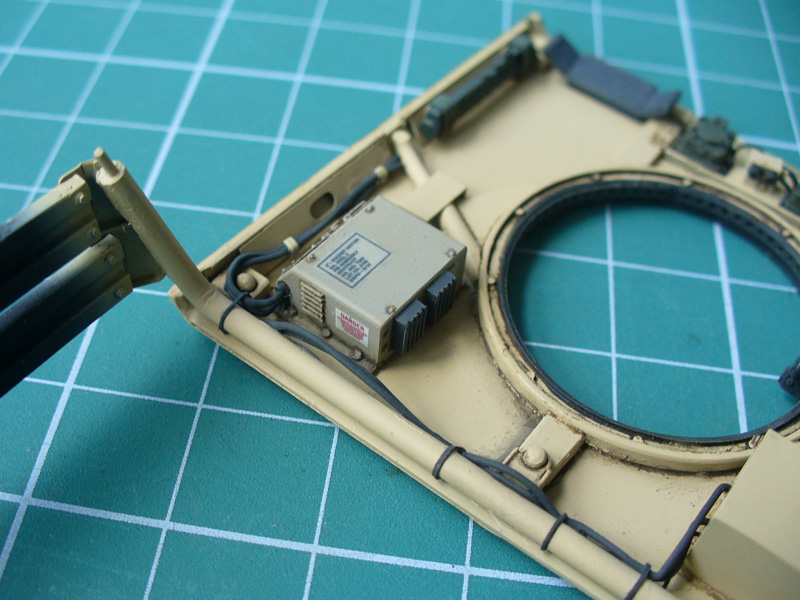
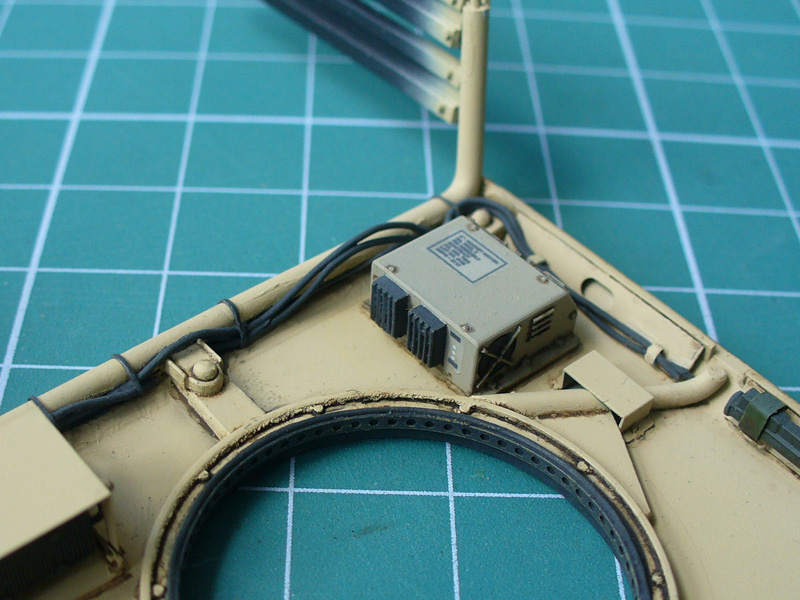
A bit more work done on the roof underside... At first I didn't want to go into much trouble here as most of the undeside just isn't visible. One step at a time and I ended up going all the way with the details plus the wiring. It still needs the gunner's sling.
Cheers,
Mario
Moscow, Russia
Joined: April 27, 2015
KitMaker: 130 posts
Armorama: 130 posts
Posted: Monday, August 10, 2015 - 03:23 PM UTC
Very good work! The end result should be extremely effective


#065
Missouri, United States
Joined: March 30, 2002
KitMaker: 2,605 posts
Armorama: 1,814 posts
Posted: Monday, August 10, 2015 - 06:33 PM UTC
Beautiful details on the roof interior.
IPMS # 41155
Current Campaigns:
Skåne, Sweden
Joined: May 14, 2010
KitMaker: 749 posts
Armorama: 743 posts
Posted: Wednesday, August 12, 2015 - 04:06 PM UTC
Stunning work Mario! The interior detailing and painting looks fantastic.
United Kingdom
Joined: August 30, 2014
KitMaker: 331 posts
Armorama: 112 posts
Posted: Thursday, August 13, 2015 - 09:11 PM UTC
This is SO COOL

Graywolf
Senior Editor Izmir, Turkey / Türkçe
Joined: December 01, 2001
KitMaker: 6,405 posts
Armorama: 1,850 posts
Posted: Thursday, August 20, 2015 - 03:28 PM UTC
Great details on the roof Bro.
Gauteng, South Africa
Joined: July 03, 2015
KitMaker: 280 posts
Armorama: 135 posts
Posted: Thursday, August 20, 2015 - 04:16 PM UTC
Awesome work Mario!!
I hope I can [one day] get close to the level of skill I'm seeing here - maybe I should stop buying kits and just watch as the Masters of Styrene go about their business.
Regards,
Kobus
France
Joined: February 20, 2012
KitMaker: 1,932 posts
Armorama: 1,907 posts
Posted: Thursday, August 20, 2015 - 09:44 PM UTC
You could represent a GMV in repair to take advantage of all the details at the end of the assembly.
Maki
Senior Editor Croatia Hrvatska
Joined: February 13, 2002
KitMaker: 5,579 posts
Armorama: 2,988 posts
Posted: Tuesday, August 25, 2015 - 10:02 PM UTC
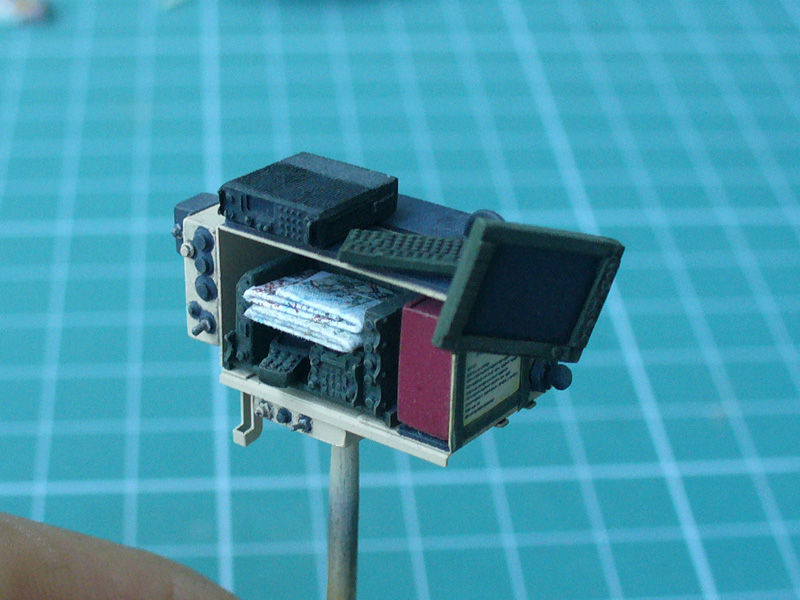
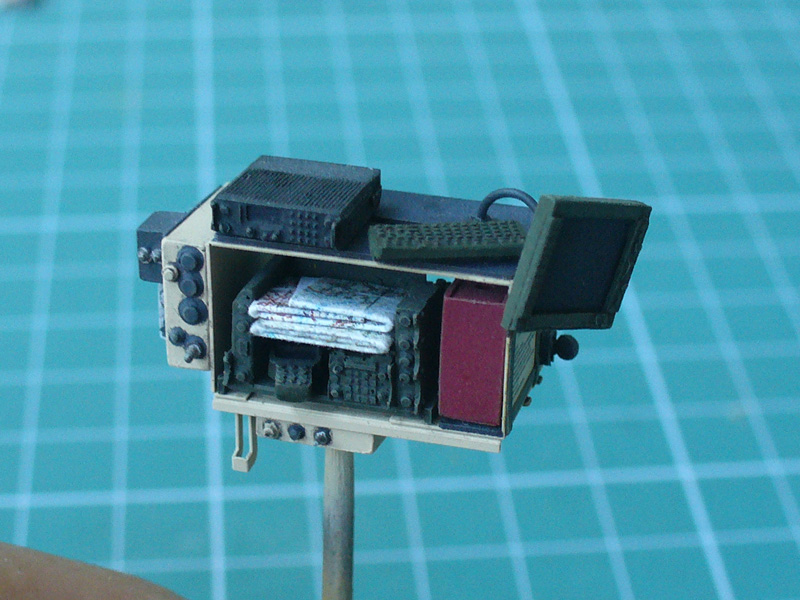
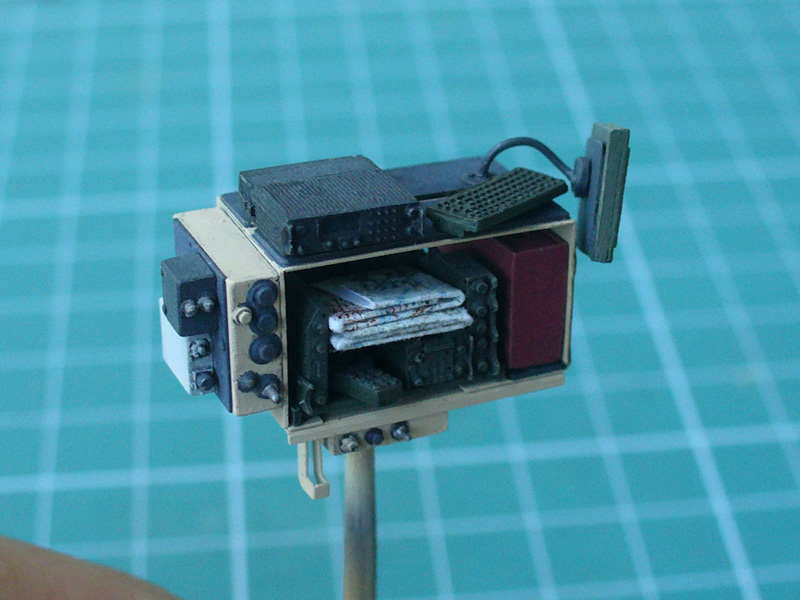
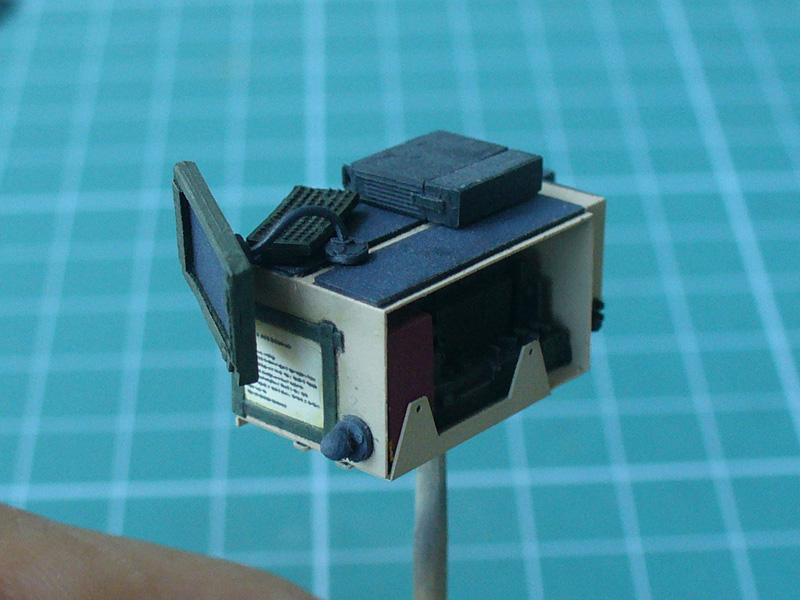
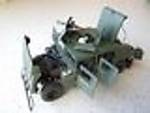
Thank you guys for your comments. I did some work on the radio... I'm mixing several comm sets from Pro Art (and some styrene as well) to get the setup I'm after. This is how it looks now:
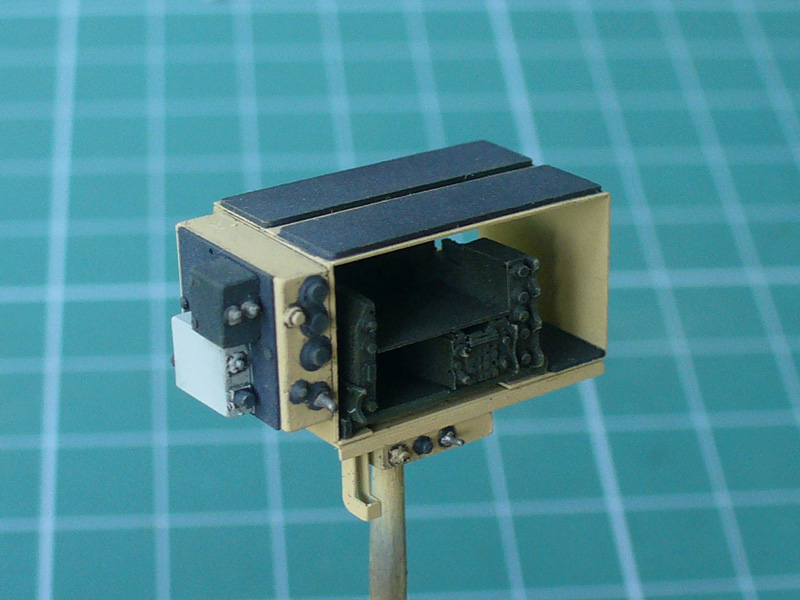
With number of additional goodies painted, and many other still unpainted:

So far so good,
Mario
#192
Kentucky, United States
Joined: November 25, 2009
KitMaker: 1,383 posts
Armorama: 1,281 posts
Posted: Tuesday, August 25, 2015 - 11:20 PM UTC
Looking great. I like your paper maps!
Pennsylvania, United States
Joined: May 09, 2009
KitMaker: 561 posts
Armorama: 553 posts
Posted: Wednesday, August 26, 2015 - 12:24 AM UTC
Mario,
the paintwork on your radio rack is crazy good ! Did you somehow mask it to paint the black panels and switch bases ?
Sean
#450
California, United States
Joined: July 19, 2015
KitMaker: 672 posts
Armorama: 668 posts
Posted: Wednesday, August 26, 2015 - 03:43 AM UTC
Mario, where did you get the placards you are using inside the model? Your painting technique is beautiful, your finish on the small details is flawless. Thanks for posting such great in-process photos.

"Pray for peace but prepare for violence"
- Me
"The only thing necessary for the triumph of evil is for good men to do nothing"
- Edmund Burke
#384
Nevada, United States
Joined: August 23, 2005
KitMaker: 1,426 posts
Armorama: 1,316 posts
Posted: Wednesday, August 26, 2015 - 05:07 AM UTC
Some of the best Comms I've seen on a model, great job. (And I'm an old Commo guy)


Maki
Senior Editor Croatia Hrvatska
Joined: February 13, 2002
KitMaker: 5,579 posts
Armorama: 2,988 posts
Posted: Wednesday, August 26, 2015 - 12:12 PM UTC
Thanks for following this build guys.
Sean, radio rack was airbrushed, except for the switches and buttons which were brush painted. I did try to mask and airbrush those as well, but failed miserably.
Eric, the placards are taken from various spare decal sheets, and some I printed myself.
James, thanks. The comm system is one of the biggest challenges to get right in scale. I still have a long way to go here.
Mario
Kildare, Ireland
Joined: November 21, 2007
KitMaker: 3,212 posts
Armorama: 2,807 posts
Posted: Wednesday, August 26, 2015 - 03:28 PM UTC
Maki
Senior Editor Croatia Hrvatska
Joined: February 13, 2002
KitMaker: 5,579 posts
Armorama: 2,988 posts
Posted: Monday, August 31, 2015 - 01:37 AM UTC
Ontario, Canada
Joined: August 05, 2003
KitMaker: 1,698 posts
Armorama: 1,563 posts
Posted: Monday, August 31, 2015 - 11:44 PM UTC
great eye for the details Mario!
Why plan when you can react?
Maki
Senior Editor Croatia Hrvatska
Joined: February 13, 2002
KitMaker: 5,579 posts
Armorama: 2,988 posts
Posted: Tuesday, September 01, 2015 - 02:07 AM UTC
Thanks Graeme, I appreciate it.
Mario
#362
California, United States
Joined: December 01, 2013
KitMaker: 1,661 posts
Armorama: 1,202 posts
Posted: Tuesday, September 01, 2015 - 11:53 AM UTC
Hi Mario - beautiful work, great to watch! Looking forward to updates
Cheers
Nick
Graywolf
Senior Editor Izmir, Turkey / Türkçe
Joined: December 01, 2001
KitMaker: 6,405 posts
Armorama: 1,850 posts
Posted: Tuesday, September 01, 2015 - 12:15 PM UTC
Very nice detailing Bro. Following is great pleasure for me.
Wojewodztwo Slaskie, Poland
Joined: February 18, 2007
KitMaker: 978 posts
Armorama: 977 posts
Posted: Tuesday, September 01, 2015 - 12:37 PM UTC
Very 'clean' painting, nice detailing. Yes, it's pleasure to watch. Can't wait to see whole interior finished.
Moscow, Russia
Joined: April 27, 2015
KitMaker: 130 posts
Armorama: 130 posts
Posted: Tuesday, September 01, 2015 - 04:57 PM UTC
Perfection! Painting convey the texture of real materials! Radio set - every touch of the brush as a sniper shot!

Maki
Senior Editor Croatia Hrvatska
Joined: February 13, 2002
KitMaker: 5,579 posts
Armorama: 2,988 posts
Posted: Saturday, September 19, 2015 - 04:02 PM UTC
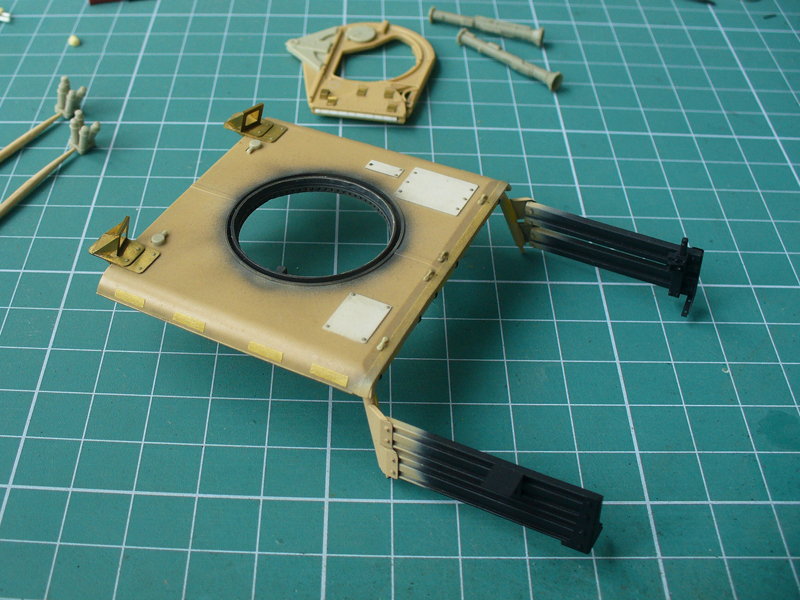
Thanks for the comments guys. After a nice summer period and a lot of free time for modeling, real life is again getting in the way of the hobby. Here is some progress on the roof and the roof hatch...

Cheers,
Mario
United Kingdom
Joined: August 30, 2014
KitMaker: 331 posts
Armorama: 112 posts
Posted: Saturday, September 19, 2015 - 05:06 PM UTC
What are those 4 long thin pieces on the side edge of the roof are they photo etch or tamiya masking tape?
Hope you find time to model over winter, im usually the other way round and have time to model in winter, unless i get drunk in the holidays.. that wouldnt work out so well
Good luck with this build, its awesome to watch it coming to shape and how you build/paint it, so cool.
Bob
South Carolina, United States
Joined: January 23, 2008
KitMaker: 1,240 posts
Armorama: 1,192 posts
Posted: Saturday, September 19, 2015 - 06:07 PM UTC
I love this Mario, really great work Sir.Keith...
AMPS Member, certified field judge & Always something on the workbench!