The Sonderkraftfahrzeug or Sd.Kfz. 234 Panzerspähwagen was an improved version of the earlier Sd.Kfz. 231. The development began in 1940, and the 234/4 was the last of the Sd.Kfz. 234 variants. It housed a 75 mm PaK 40/46 gun and an MG 42 in an open-topped superstructure. The vehicle was produced between December 1944 and March 1945, though only 89 ever left the production line. Hitler personally approved this project, and like the Sd.Kfz. 251/22, it was meant as a more-efficient way of providing mobility to the excellent PaK 40 anti-tank gun. The Sd.Kfz. 234/4 had good maneuverability, however the gun had limited traverse and elevation, and the vehicle only held 12 rounds of ammunition for its main gun.
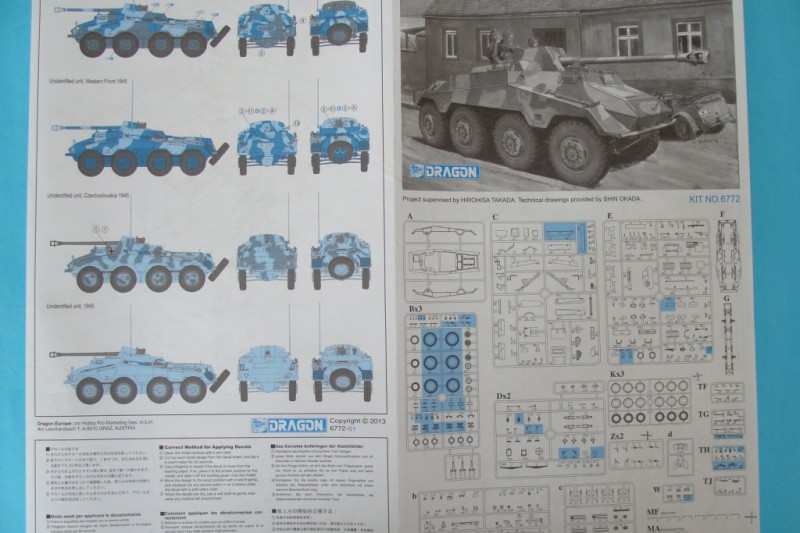
Kit contents
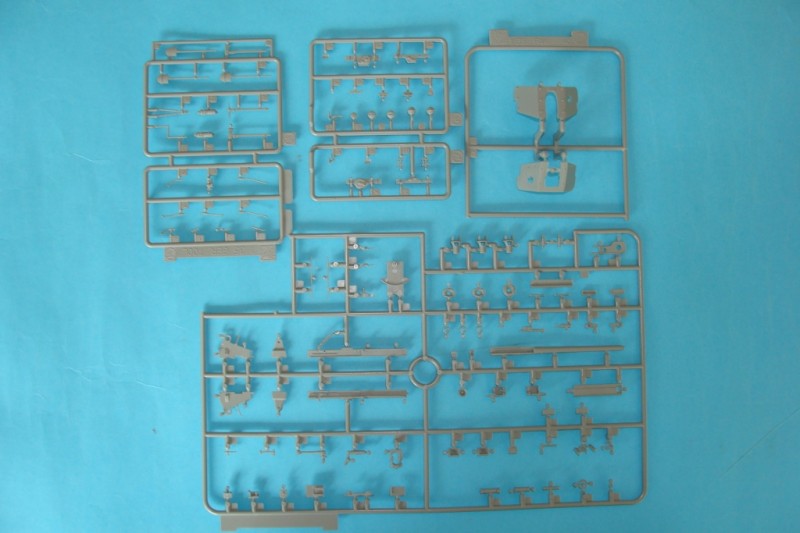
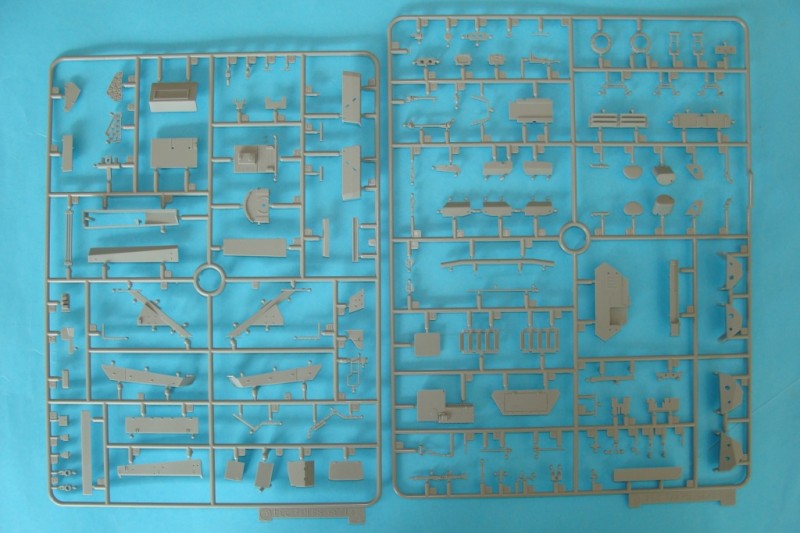
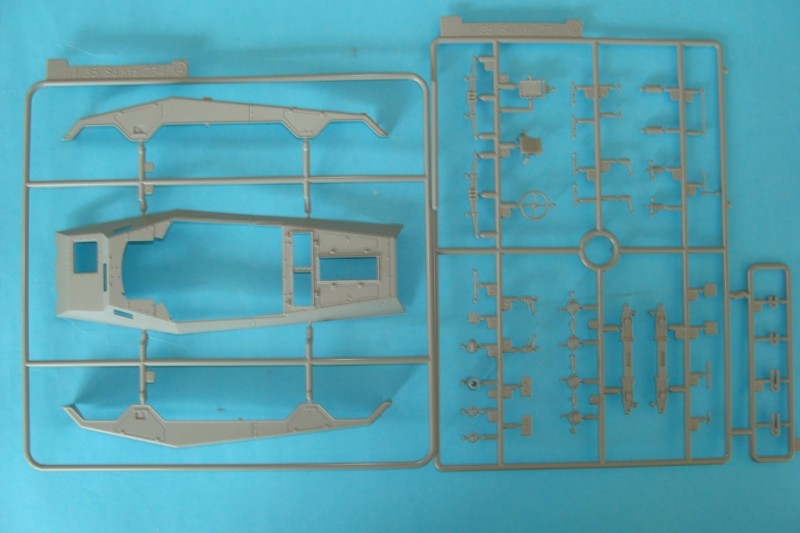
The Dragon kit comes in the familiar box, with a good-looking picture of the vehicle on the front by Ron Volstad. On the back and sides of the box, theres some of the great features of the kit. Inside are over 530 parts, including the following:
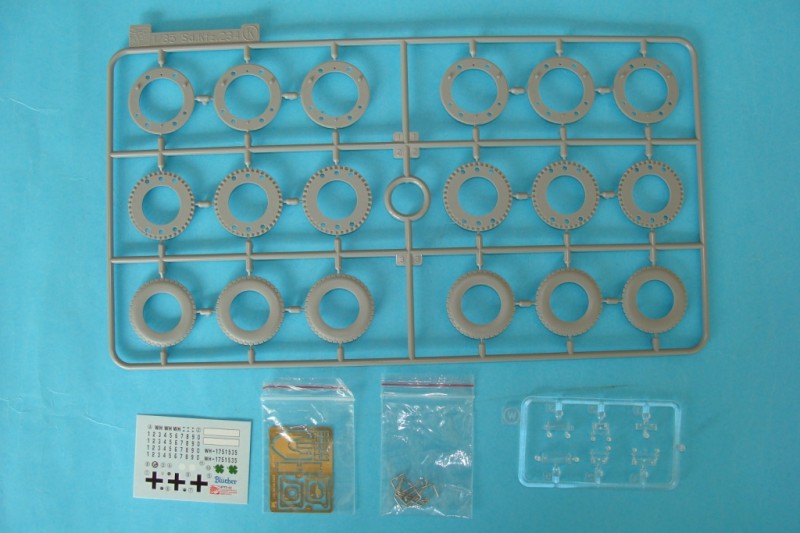
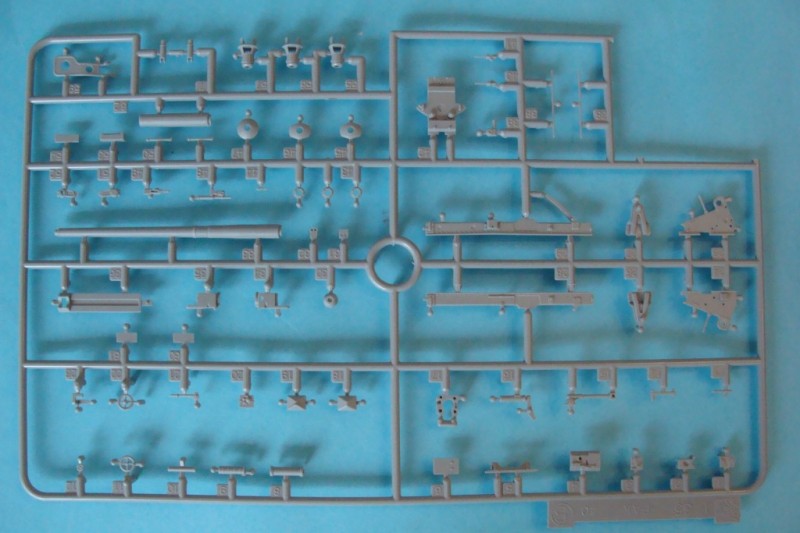
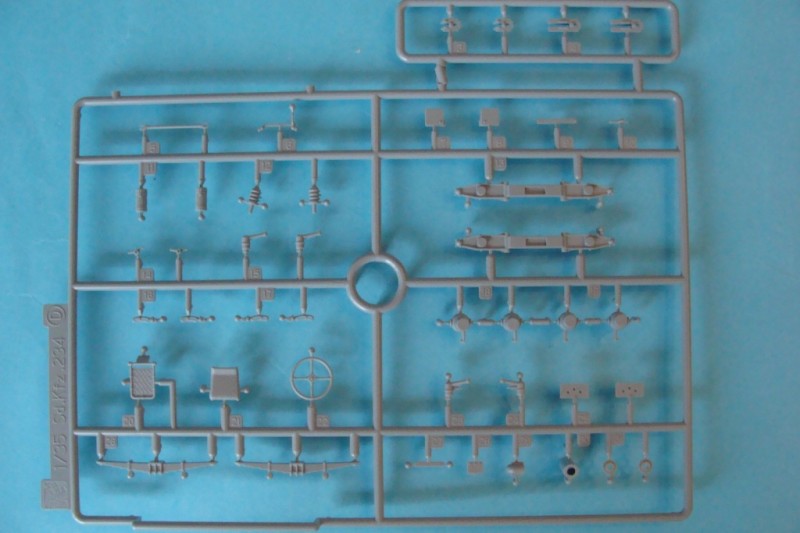
20 sprues molded in light grey styrene
1 sprue molded in clear styrene
1 slide molded hull bottom
1 slide molded under carriage
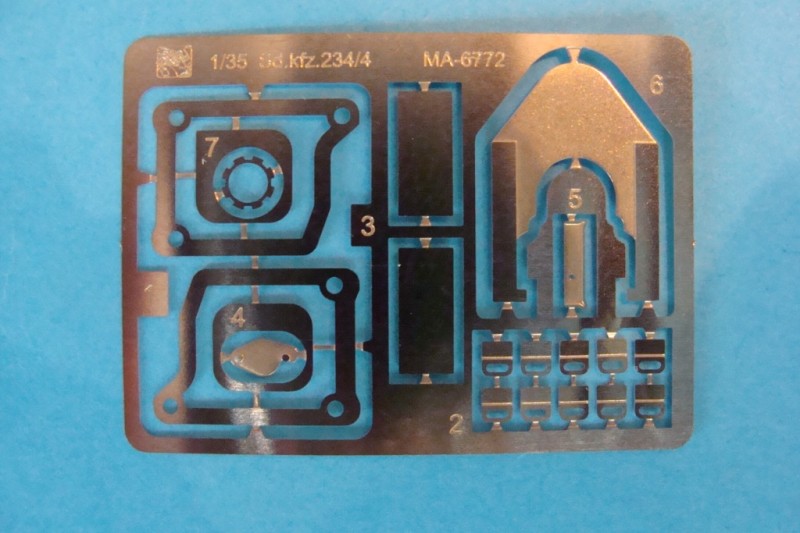
1 small fret of PE
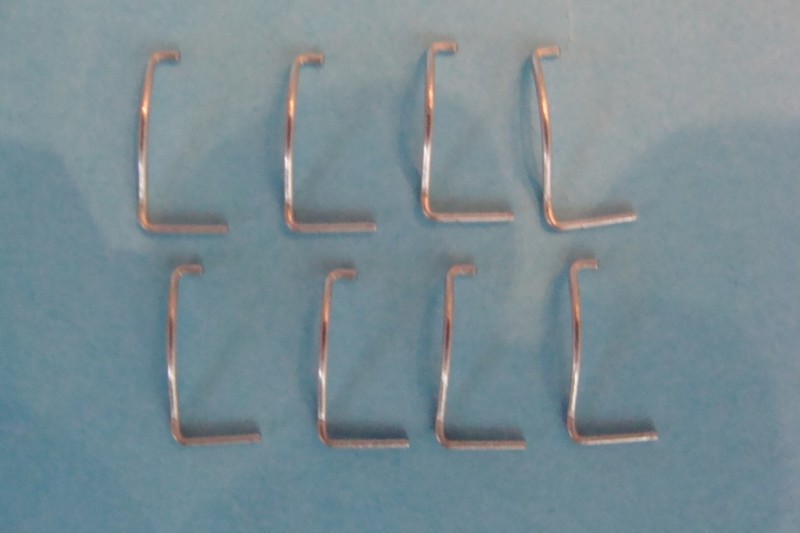
1 small plastic bag with 8 pre bended brake fluid lines
1 small decal sheet
1 instruction booklet (not in color)
the review
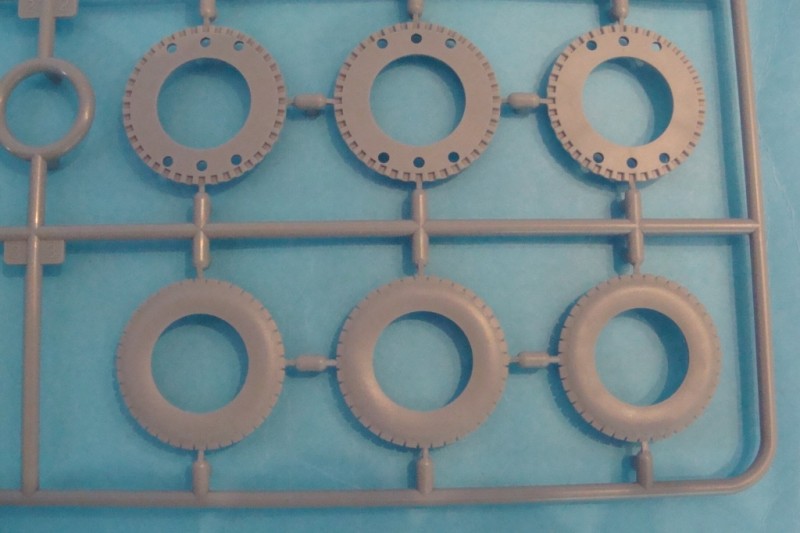
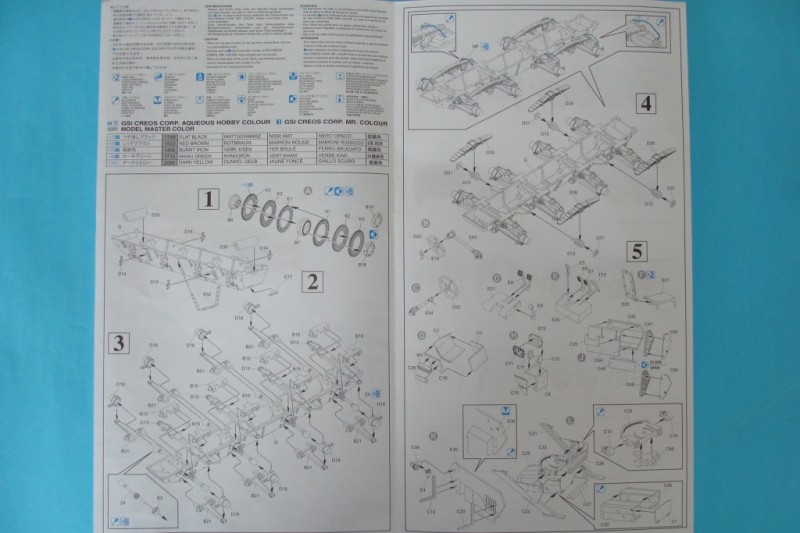
The construction starts off with the assembly of the wheels and the lower hull. Dragon has provided two kinds of wheels for the vehicle: the older ones, where the tires come in two halves, and the new ones, which are made up by no less than 9 pieces. The tires are made up by 6 slices each. The kit also provides two options for hubs, which is kind of nice.
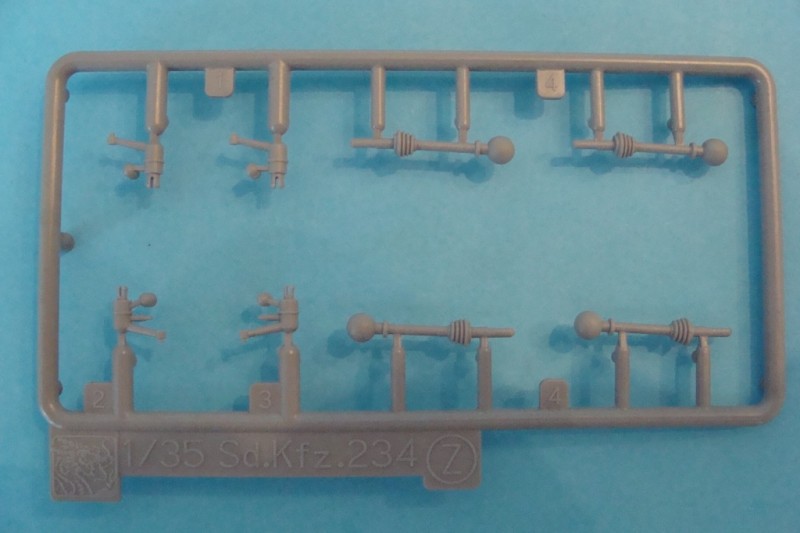
The suspension and steering is a complex assembly, but once done it really looks great. Dragon even provides pre bend metal wires for brake fluid tubes, which is a fine detail. Using the parts from the new Z sprue, the wheels can be adjusted to different positions, and personally I think the vehicle looks more realistic when the wheels are turned a bit, so this is a feature I really like.
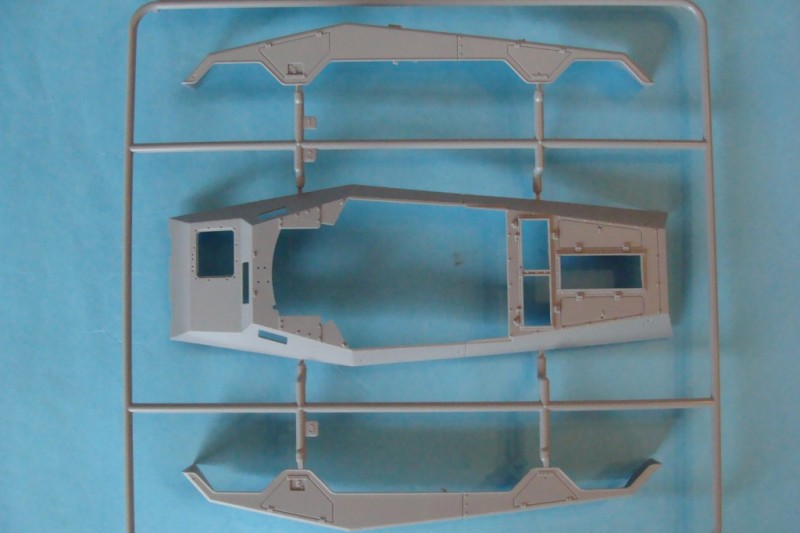
Next the assembly jumps to the interior of the lower chassis and the gun mount for the PaK 40. When all of this is installed, the suspension hull part is attached to the lower chassis, and the last of the steering is completed. In my opinion, I would choose to assemble the interior after I attached the suspension part and the lower chassis, but that is just my humble opinion. I do know that I would break off some of the smaller parts in the process, so it makes better sense to assemble things in two stages.
Anyway, the interior assembly is pretty straightforward, and it features lots of small and crisp details. I would probably add some wiring here and there, which can be seen in real photos of 234a, especially from the radio and the antenna mount. The ammo bin can be open or closed, but I think its kind of strange that if left open, its completely full of shells. Why not leave a couple of shells out? It would be more realistic, especially if doing a fighting scene. I know its nitpicking, but I think it would look more cool.
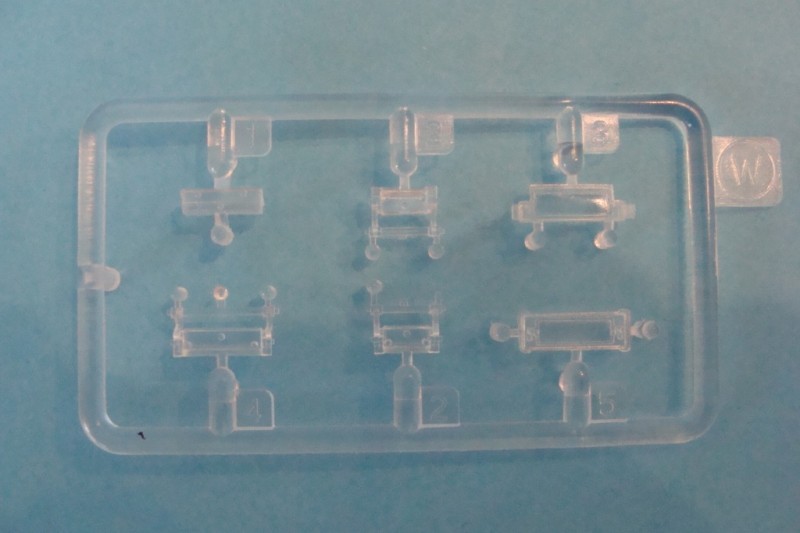
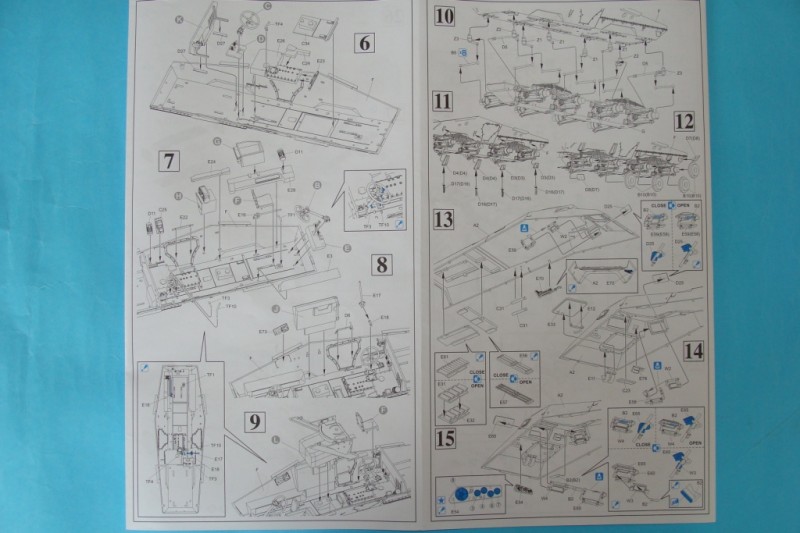
Steps 13-15 are the assembling of the interior of the upper hull. Again Dragon has provided lots of great details and options. The vision ports can be built open or closed, and the armored glass parts are made from clear styrene. The engine deck ventilation louvers can be assembled open or closed, which is a nice detail, and the instrument panel comes with some lifelike decals, which adds to the realism. One really has to look very carefully to catch all this detail, but its there.
Next is the completion of the hull. It would be a wise move to finish the interior painting before assembling the upper and lower parts. It will be downright impossible to reach all the details once the hull is put together. If you are careful with the amount of glue, the glue line at the assembly areas will not show on the inside. Also, glue on the protective side and rear armor of the fighting compartment before painting the upper hull part, as this will make the masking-off much easier when painting the exterior.
The storage lockers or side bins in the fenders have some nicel-detailed hatches, but they are molded shut. It would really have been sweet if these were made separate, so one could choose to leave them open. This would have added to the realism on the kit. The front bumper section is pretty straightforward, and is in standard Dragon quality.
On the rear end, you can choose to mount a spare wheel, or just leave the empty mount. The spare wheel is in same high quality as the other road wheels, and here you also can choose from two different hubs as pointed out already. The mufflers can be assembled with the exhaust pipe bending either inward or outward.
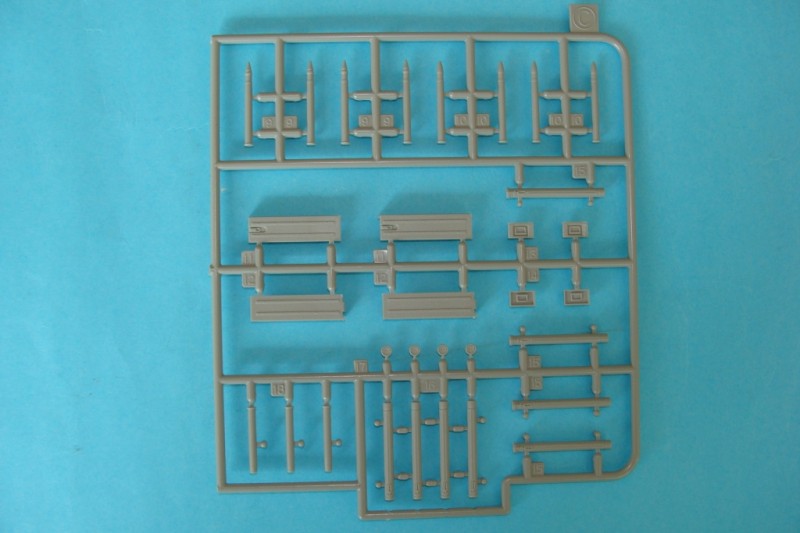
Tools and Jerry cans are high quality. The Jerry cans come with the PE middle part, making them stand out from Dragons older production cans. The only thing I find a bit odd is the lack of Dragons 2nd Generation tools with the small handles molded on the tool holders. Lifting hooks come both in molded styrene and PE, and Dragon has been farsighted enough to provide some extra ones in PE since these suckers are minute, and are certain to go Pling from the tweezers into the great carpet monster. Good thinking, Dragon.
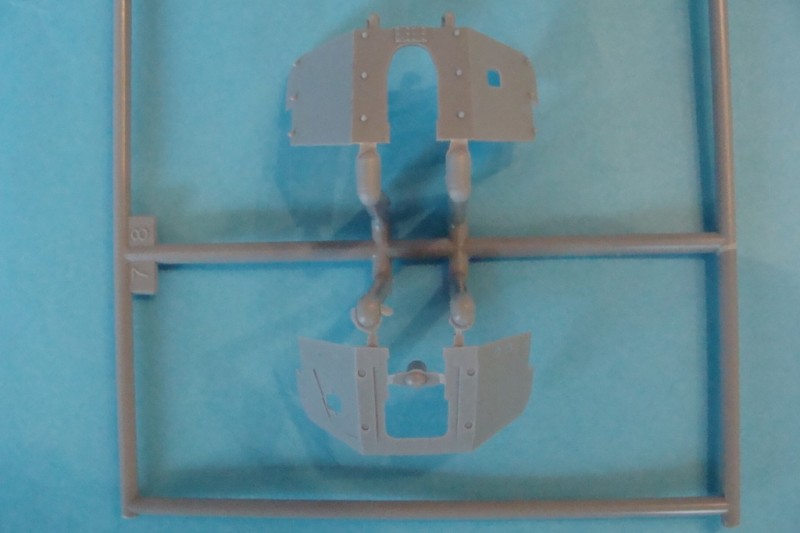
Next up is the gun assembly: Dragon gives you some options here as well. There are actually three different muzzle brakes to choose from, and the highly detailed gun breech can be left open or closed. The MG 42 is unfortunately not from Dragons 2nd Generation range, but from their older production. Still nice details, though.
The gun shield is very fine and thinly-molded, and features some crisp details. Some PE plates are to be sandwiched between the two shield parts. One might want to paint the gun and the shield separately, since some of the inner places between the two parts will be very hard to reach. And for an added bonus, Dragon has provided a sprue with some spare ammunition, spent shell cases, a stowage box and tubes, which can be open or closed. This adds to the realism of the kit.
In the final assembly the gun, wheels and antenna is mounted.
Painting and markings
Unidentified unit, Prague 1945
Unidentified unit, Western front 1945
Unidentified unit, Czechoslovakia 1945
Unidentified unit, 1945
Conclusion
This is a very nice kit, but something does bother me: it is supposed to be a Premium edition kit, and yes, Dragon gives us some really nice new wheels, which can be positioned as turning, and the pre-bent metal brake fluid lines are a well thought-out detail.
BUT why has Dragon removed parts like the turned metal barrel, the brass width indicators and reduced the PE that was included in their older Sd.Kfz. 234/4 (kit #6221)? This makes absolutely no sense at all. These are items which normally find their way into Dragon Premium editions kits. And since they are already produced for the older kit, why remove them? Sorry Dragon, but this is not a wise move.
SUMMARY
Highs: Some newly-designed, highly-detailed wheels and pre-bent metal brake fluid lines.Lows: The absence of a turned metal barrel, brass width indicators and PE, all of which were present in the earlier kit.Verdict: A very well-detailed model of a cool vehicle. It might even tempt soft skin builders.
Our Thanks to Dragon USA! This item was provided by them for the purpose of having it reviewed on this KitMaker Network site. If you would like your kit, book, or product reviewed, please contact us.
Hi Jacob ...So I guess I'm better off with my old kit and the upgrade kit that was available way back when the first kit came out ..Seems all the new stuff was in the upgrade..
Thanks for the review ..I was wondering what they had done to make this a Premium kit ..You saved me some money..
Rick
PS... this is a great kit and if you don't have the first kit ..BUY IT!
Nice and informative review, Jacob!
Sounds to me like the D has indeed maybe drifted away a bit by leaving those previously-included parts out of this "premium" edition! And I was just about to plunk down some money to get one of these... Saved by the review bell, I guess.
Looks like it is indeed a cool kit, and the art-work is quite Volstad-stellar, but it doesn't seem to actually take things much beyond the earlier edition. And, at least right now, these things do not come cheap. Seeing as I have a couple of those, with the turned metal barrels, etc.... and the update kit along-side... I'll "make do" and do a bit of fiddling to get those wheels turned. It can be done. And adding those brake lines (and some suspension travel-limiter straps, too) is not too difficult. More challenging will be to make those hull-side access hatches open... But I do have some plan for that!
Cheers!
Bob
I have done the old kit, and at the time it was perfect build, fitting, detailing, great extras.
Honestly I think it might be better to get the old kit, if you're planning on getting this version of the 234.


Comments