Introduction
Step with me into the way back machine, back to the heady days of 2006, when Dragon released their Marder II kit to worldwide fanfare, huge parades, and UN resolutions praising their work. Okay, maybe not quite that heady, but I think you get the picture, the old 6262 kit of the Marder II was a darn good effort; sure there were a few naysayers about, but only a small handful as the most of us were thrilled with the new release which was light years ahead of Tamiyas 1970s version.
Fast forward to today and Dragon has one upped themselves with a new release of the Marder II; this one is marked/marketed as a mid-production version of the Sd. Kfz. 131 in order to distinguish it from the earlier release but in truth they are both mid-production versions. Im always mindful of the fact that the terms such as mid-production are for the most part inventions of modelers to differentiate various details when during the actual production runs no such terms existed; details changed as manufacturers were able to make small changes short of retooling the entire assembly process in order to meet updated development. So, what we have here is a Marder II with features that would identify it has having been produced sometime during the middle of the production run, pretty much what we had before.
So if all that is true, why change and box a new kit? Well, probably an equal dose of plain old marketing and a desire to make an even better kit than before. I would say that Dragon has succeeded in both areas. This kit is better than the old one, not light years ahead like the first release in relationship to the Tamiya kit, but certainly incrementally ahead.
Contents
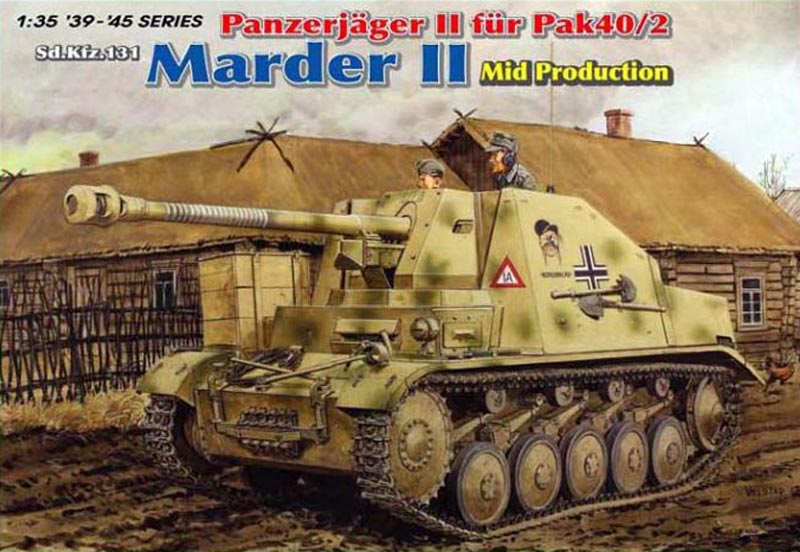
Remember, the Marder II is a smaller sized vehicle so dont be shocked when you open the box and find that it all fits comfortably inside the standard slip top box rather than the oft seen box that is stuffed chock-a-block with parts. The box top is graced with an exceptional illustration by Ron Volstad showing what is perhaps the most famous Marder II of all (a legacy of the Tamiya kit?) moving through a Russian village. Inside the box you will find;
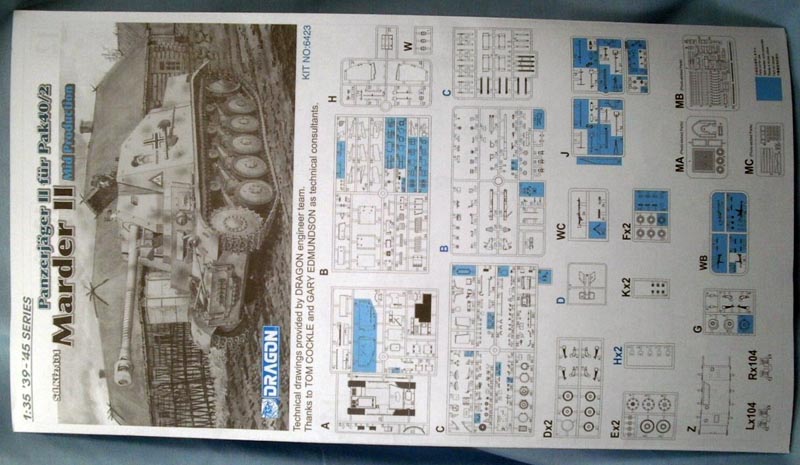
- 8 panel instructions in the typical Dragon style
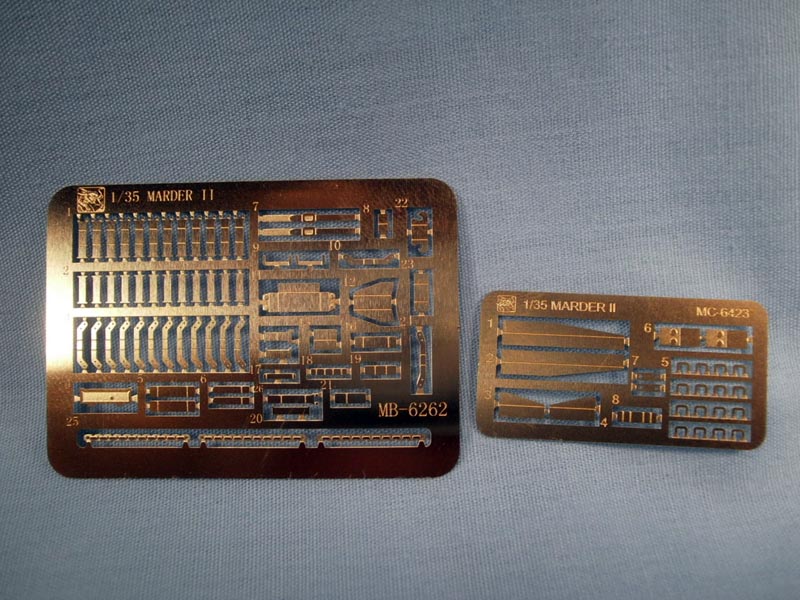
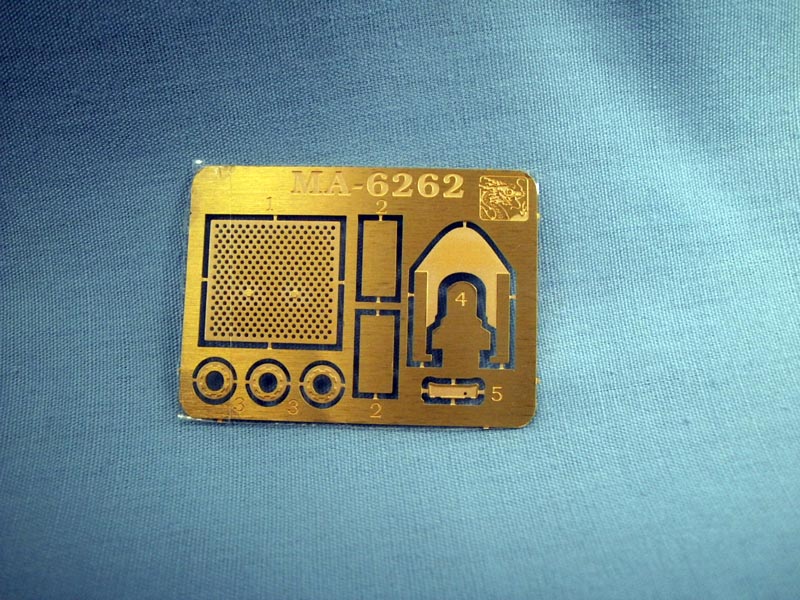
- 3 small photo-etched frets
- One smallish decal sheet with markings for four vehicles
- Two bags of MagiTrack, one bag for the left track, the other for the right.
- One small clear sprue with three periscopes.
- 13 light gray sprues of varying size.
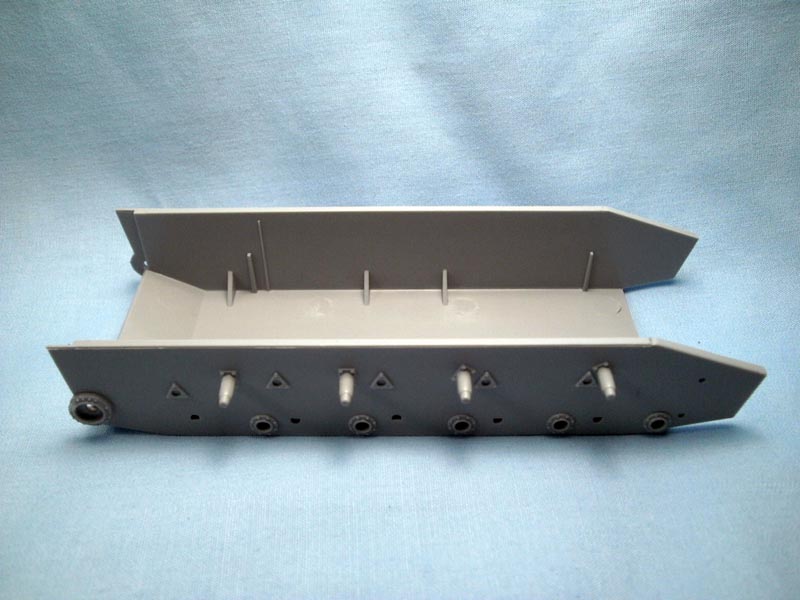
- One lower hull tub in light gray plastic.
Review
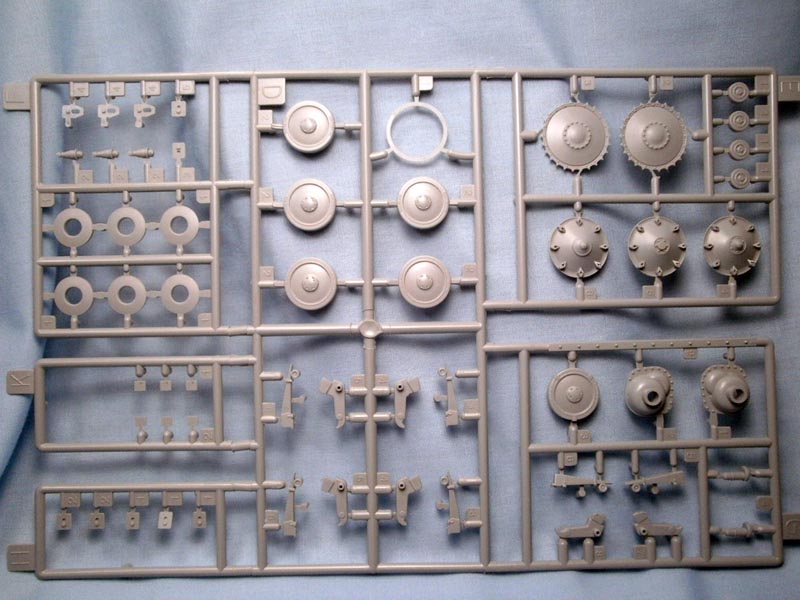
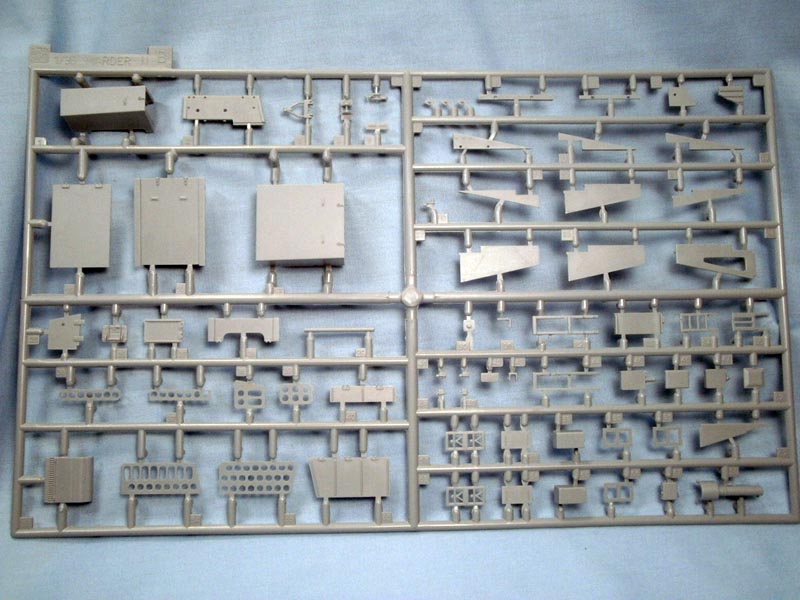
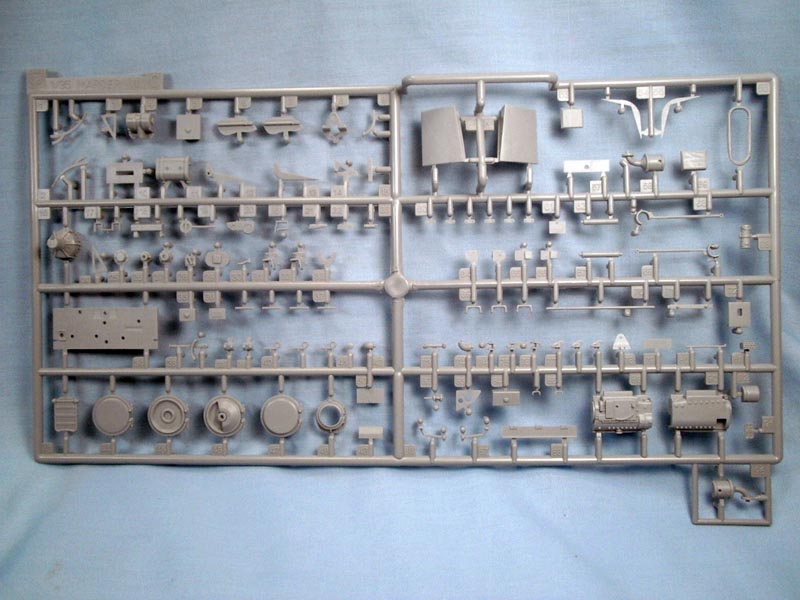
The kit is just exactly what you would expect from a modern Dragon kit; namely, it is completely flash free, no sink marks, and no ejector pin marks that would be seen after construction, minimal mold seams, and just enough of those little nodules of plastic to keep you happy. Lets take a quick run through the steps of the instructions and I will try to call out what you will find as well as what is new with this kit.
Step One
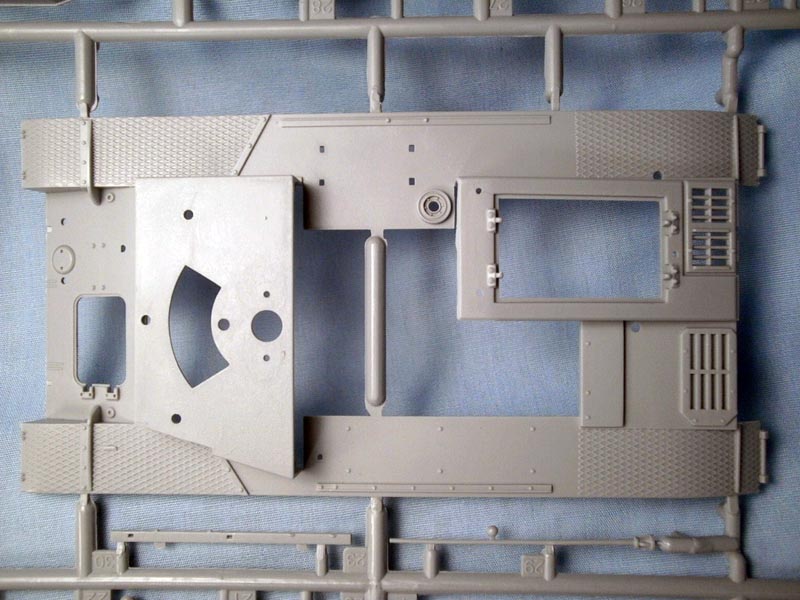
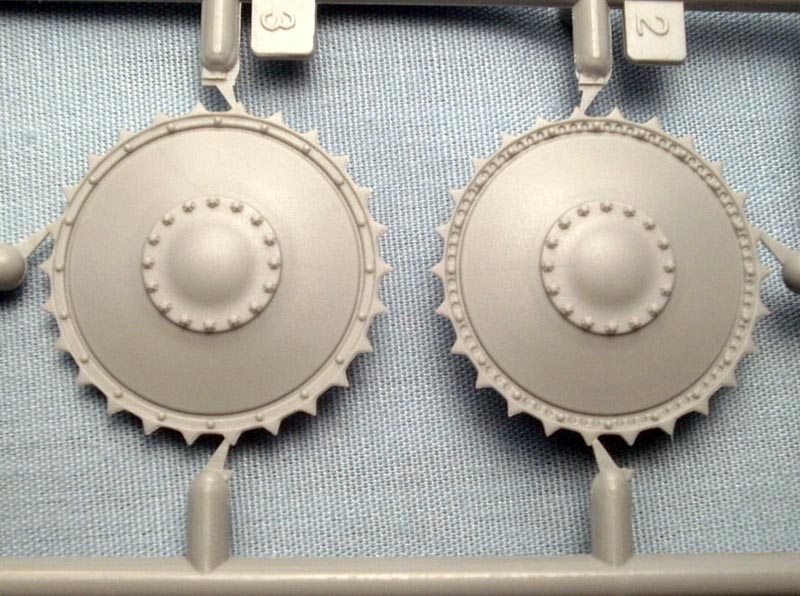
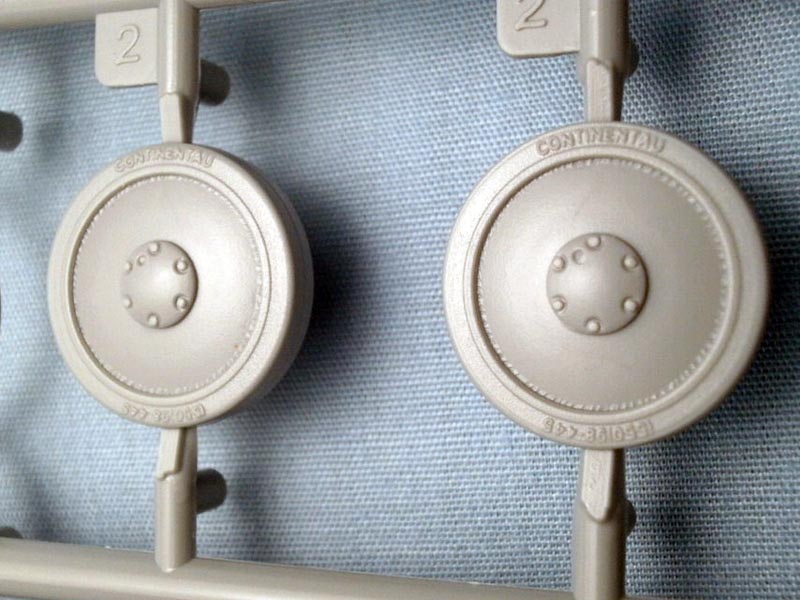
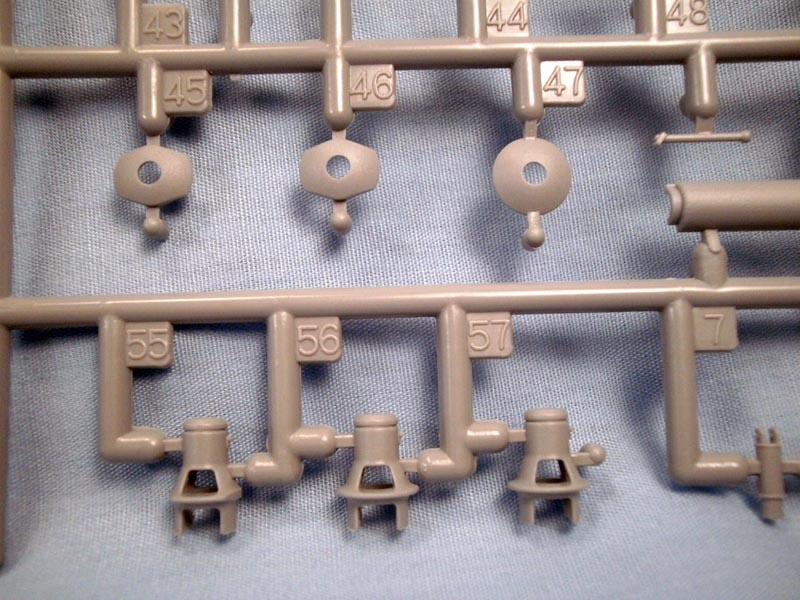
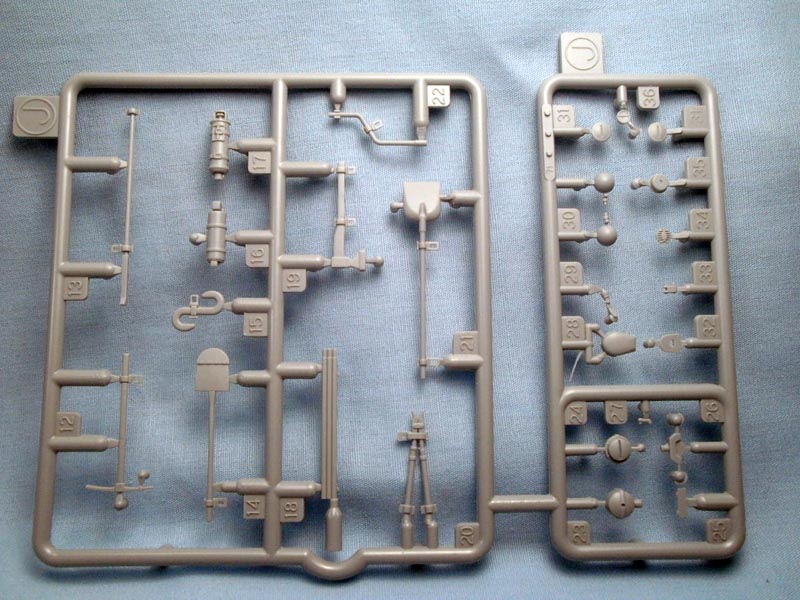
The first step is a busy one that deals with the construction of the lower half of the model, suspension, road wheels, idlers and sprockets, rear hull plate with muffler, convoy lights, towing pintle and so forth. This is pretty much exactly the same as earlier kit with one notable exception, the drive sprockets have been corrected to provide 26 teeth on either of the two options for the sprocket now rather than the earlier incorrect 25 tooth sprocket. I am not sure how that will affect the fit of the track, I have heard differing opinions as to fit, and you may need to jiggle them about a bit to gain a positive fit. The earlier kit had some excellent work around the road wheels, fine weld detail, manufacturers logo of CONTINENTAU, but we all know the easy fix on that little issue.
Step Two to Four
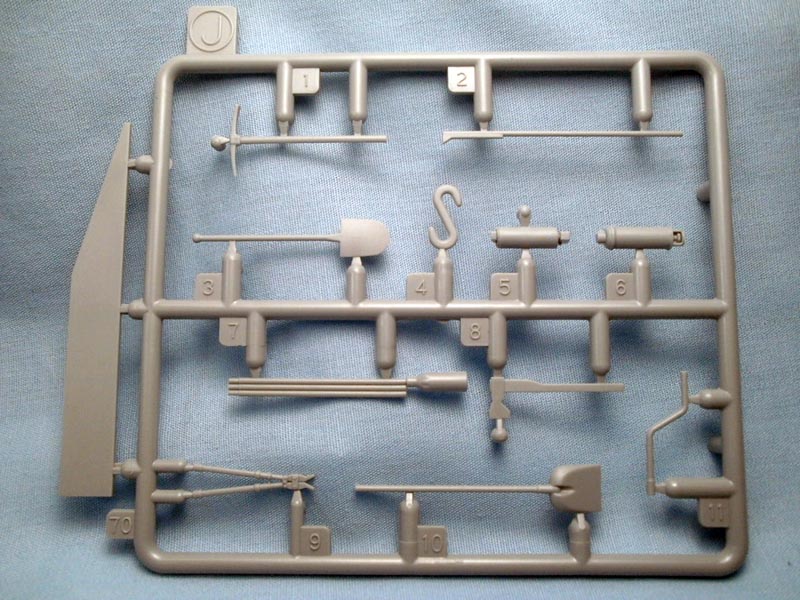
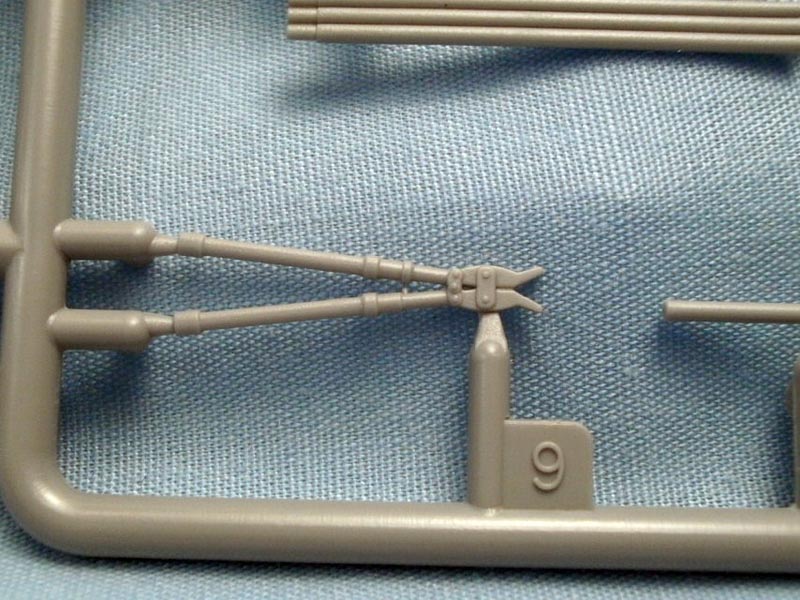
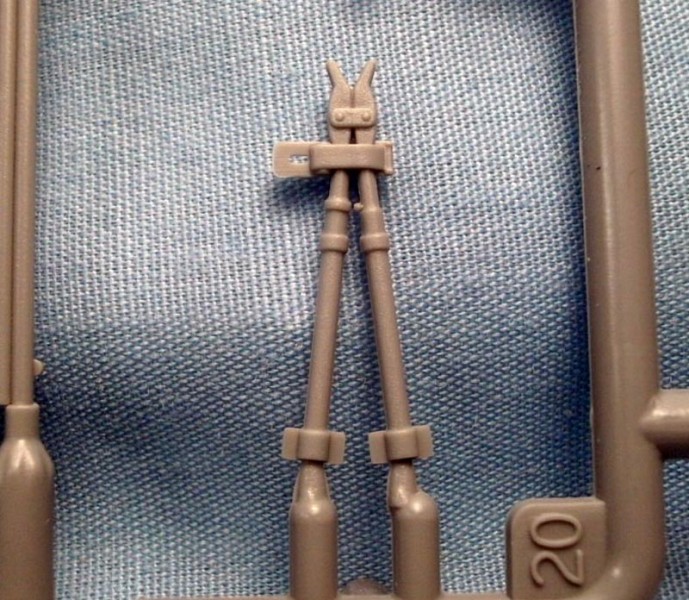
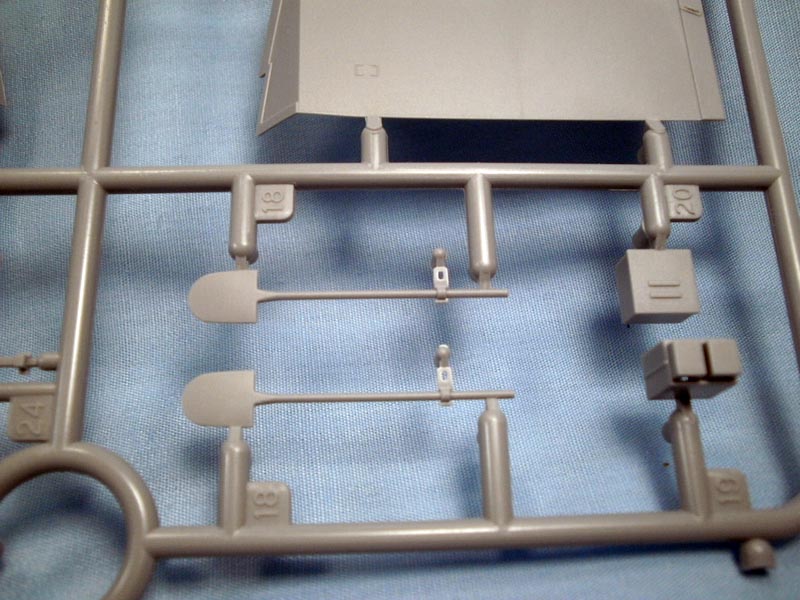
these Steps have you construct the very nice forward drivers compartment and the vehicles transmission. This looks to be exactly the same as the first iteration of the kit, however, by no means should you take it mean that it will be a letdown. Contrary, the interior of the kit is one of the high points of the model. You are given a very nice transmission that is built using 14 parts just to give an idea on the level of detail here. The drivers station is also well done, highly detailed with shifters, pedals, and instrument panels. It wouldnt be a Dragon kit without quirky instructions; no exception here as in the middle of step three you need to construct the shovel and pick axe with tool clasps out of photo-etch. Not really sure why this needs to be done while you are mucking about with the interior, but it doesnt hurt.
Step Five
Step five takes us back outside with the construction of the tiny, handed, MagiTrack. 99 to a side but they are colored in slightly different shades of grey (only two shades, not fifty!) You also get to add the front mud flaps which are molded separately for added detail. Also, the lower front hull gets some work here as well; spare track and holder, and extra detail for the final drive covers. The spare track holder arrangement all consists of parts that are new to this version of the kit.
Step Six to Nine
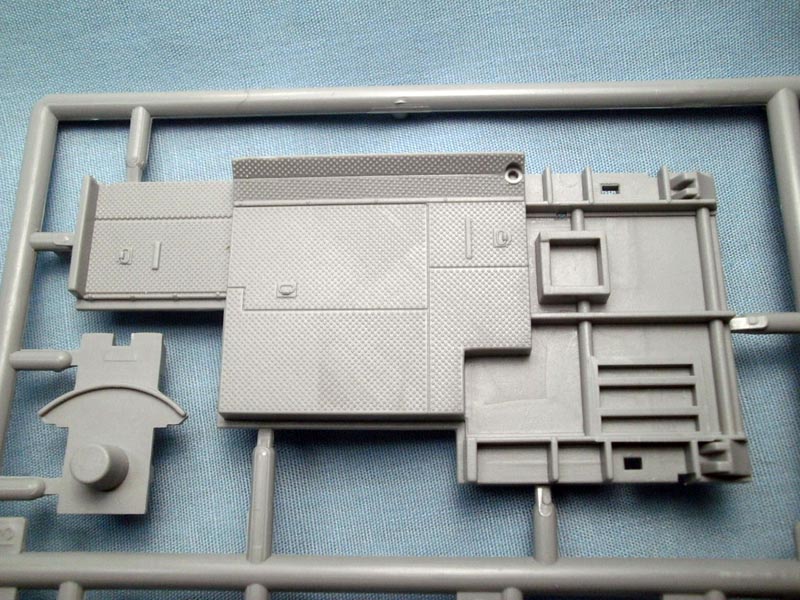
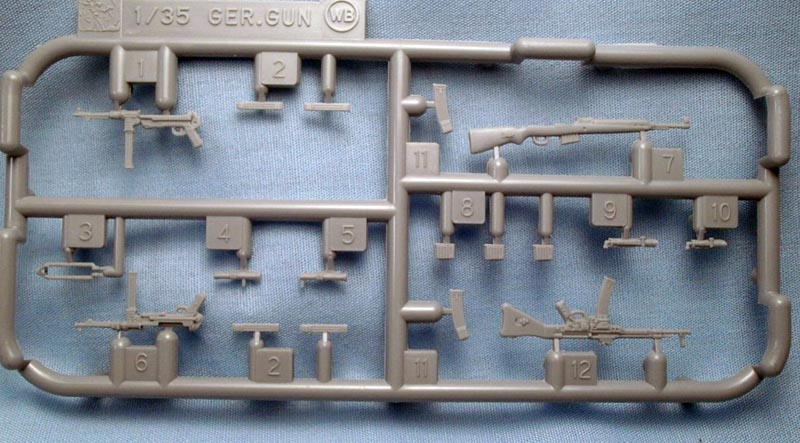
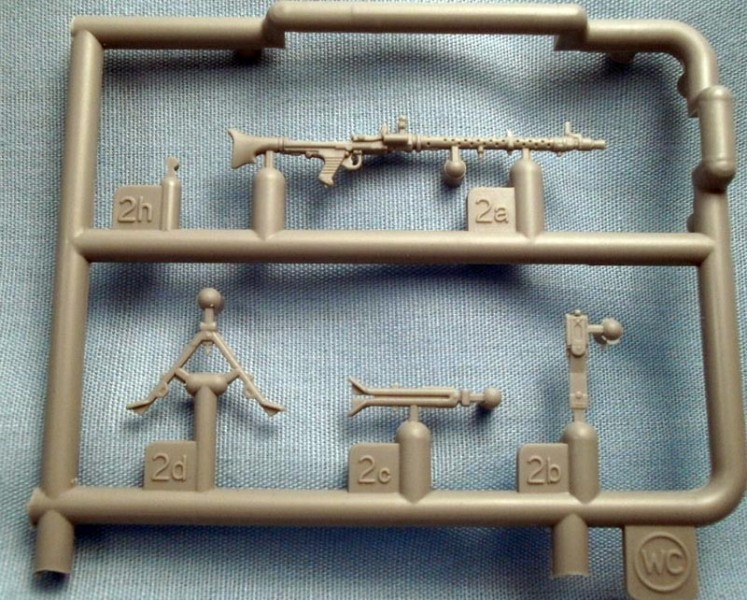
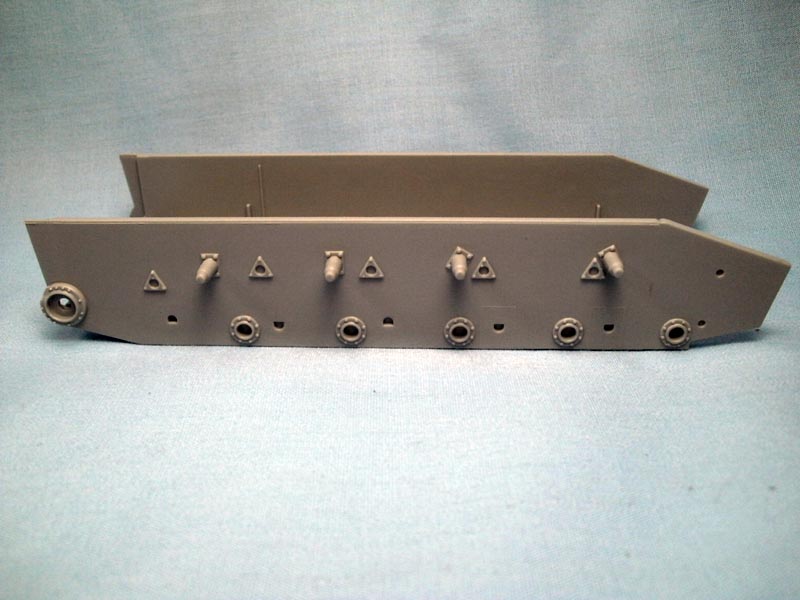
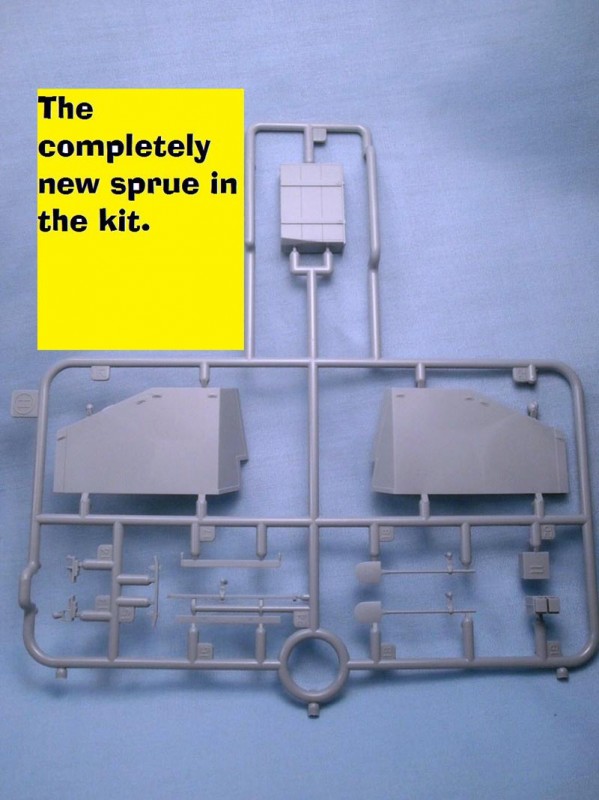
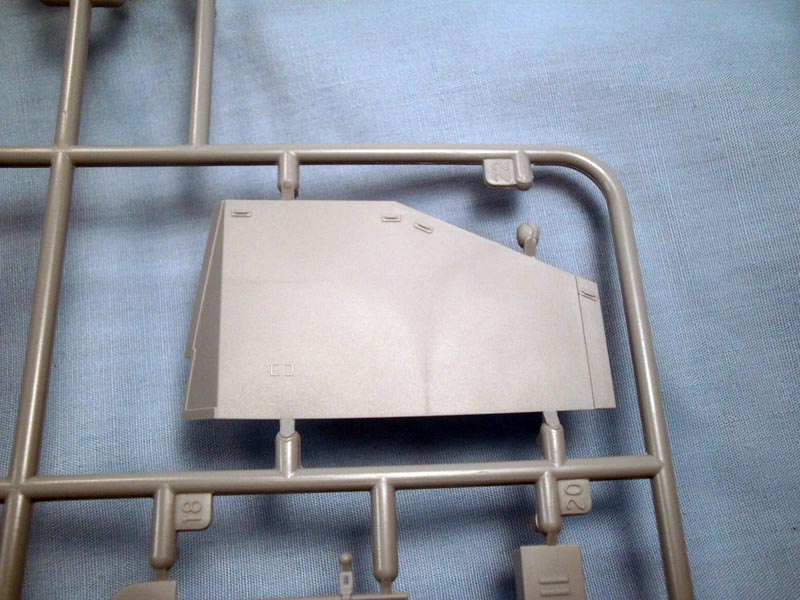
These steps take you back inside, this time focusing on the fighting compartment while also fleshing out the drivers station with the upper hull mounted vision ports as well as instrumentation and the partial bulkhead. In the fighting compartment itself you add the lower hull bulkheads and details. This is where you will also see a change from the earlier kit; you have new side armor panels for the vehicle. The new side panels are much nicer, only about 1/3 as thick as their predecessors and much closer to a true scale thickness. The overly large locating holes have been removed along with a small change in the bolted end flanges as well, overall a much nicer appearance with the new parts. The rest of the interior looks really nice, more than sufficiently busy with MG-34 stowage, crew weapons, periscopes, fire extinguisher, and spares bins that can be opened or closed (with equipment inside, not just an empty box) as you see fit. The only change with the new version is a couple of small storage bins, one with what I am guessing may be spare vision blocks and the other; who knows?
Step Ten
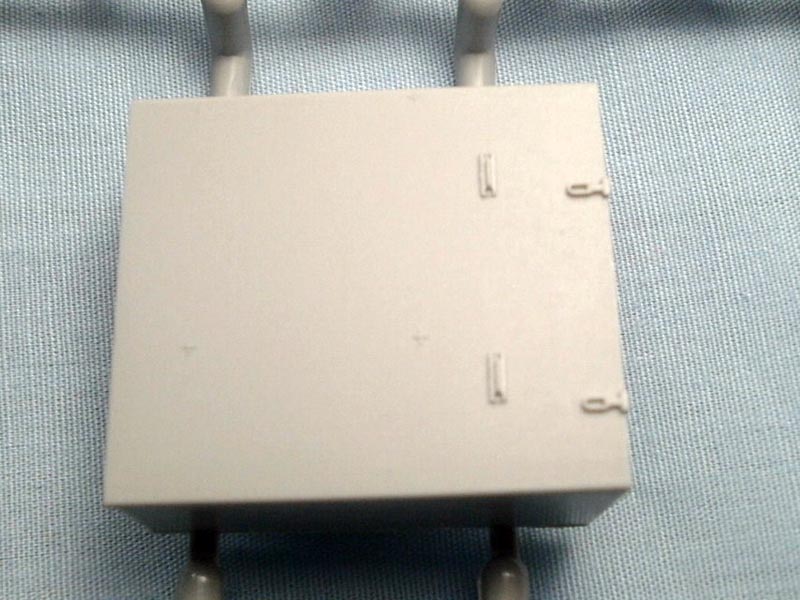
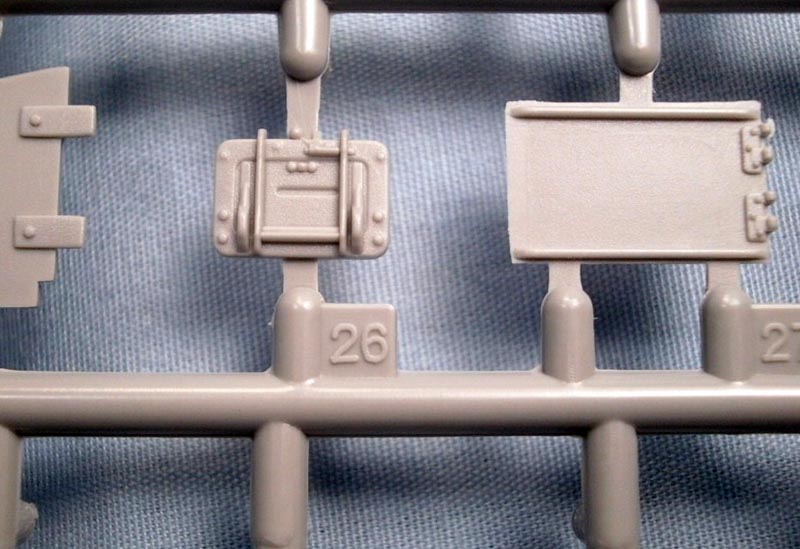
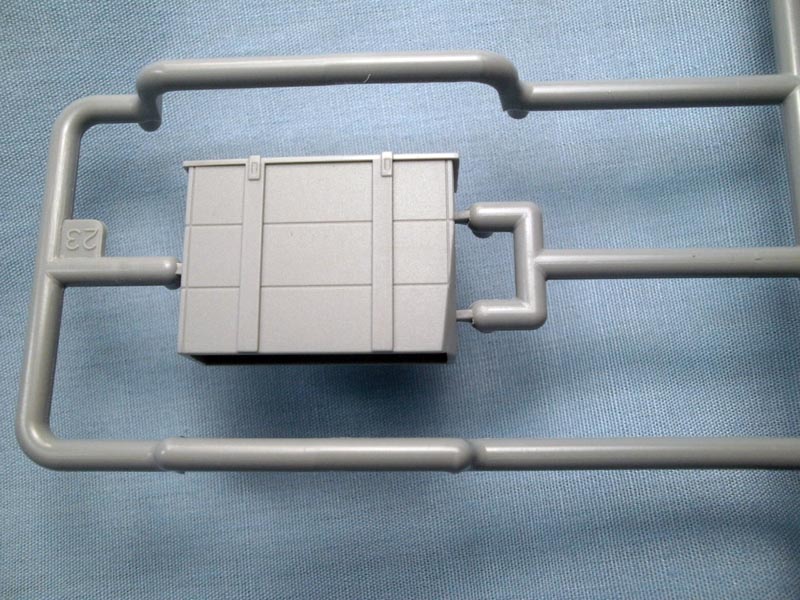
This step puts the side armor panels in place and adds details to the front upper hull with the gun travel lock, positional drivers vision port, lights, siren, and other small details. This is where you add the aforementioned pioneer tools to the outside fighting compartment upper side walls. No locating holes, just a general idea. You do get to choose between photo-etched tool clamps or plastic clamps already molded in place for the suite of pioneer tools. It is during this step that the large, rectangular, wooden box is added to the front right fender. I believe this detail is only appropriate for Coal Thief, marking option number one. Not quite sure, but Ill toss this out anyway, some photos I have seen seem to suggest that this box doesnt quite sit straight up and down but instead leans a good bit to the right away from the centerline. Check you references on this one.
Steps Eleven and Twelve
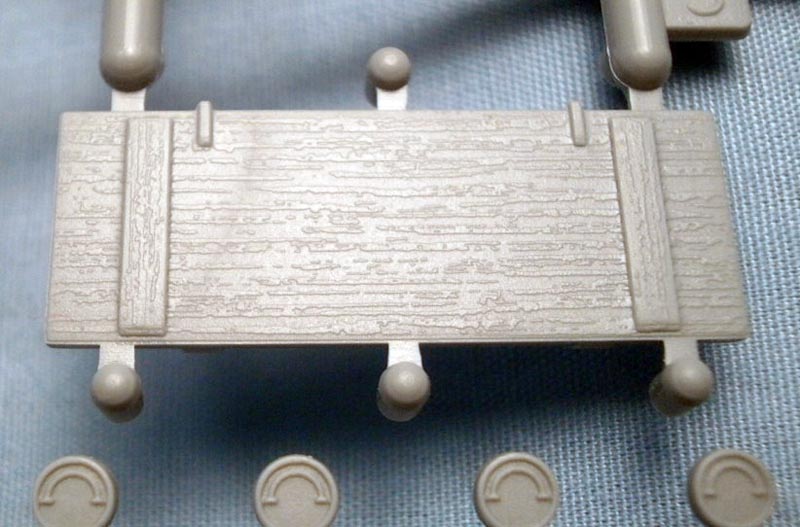
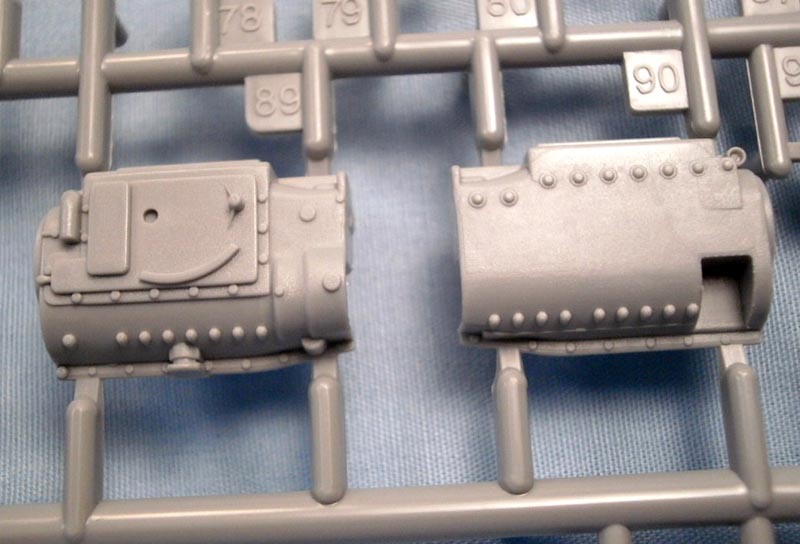
These two steps have you put together those three rear ammo storage bins. These are all carryovers from the initial kit but are still some very nice pieces. All three can be modeled open or closed; if opened they provide complete interior detail with several rounds that can be stowed as well. It all provides a very convincing and detailed look regardless of how they are displayed. Going a bit out of order now but sticking with the gun and ammo, step nineteen has you building up the two provided wooden ammo crates. The wood grain on the crates may be a bit overdone, looks more like old fence boards, but a little work with a sanding stick can knock it down a bit. The kit provides 21 different shells, casings, and packing tubes along with two ammo crates but sadly the decal sheet with the markings for the ammo and the crates has not been included in this kit.
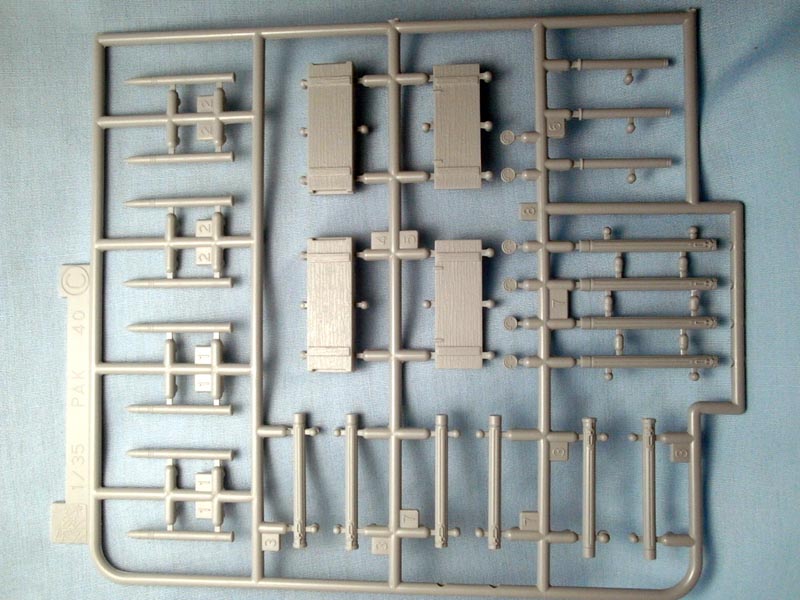
Steps Thirteen to Fifteen
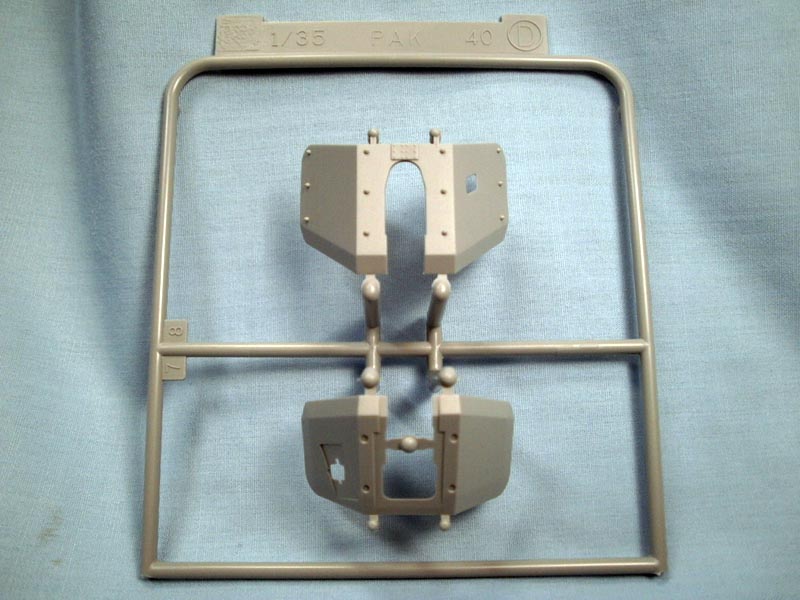
Moving on to the business end of the Marder, these steps deal with the construction of the Pak 40 anti-tank gun. The parts for the gun come from the earlier release of the PaK 40 with the Heer gun crew, kit #6249. It builds up into a very nice representation of the gun, the breech can be modeled opened or closed. Like the previous kits of this gun it comes with three choices for the muzzle brake. The gun shields are very nice and appear to be a bit thinner than before, but dont hold me to that as I am comparing it to a built-up example that sits on my shelf as a small vignette of the gun under a tree, so it is hard to see as well as I might like. The main gun is only provided in plastic, the aluminum example has gone away in this version of the kit.
Steps Sixteen to Eighteen
Steps sixteen, seventeen, and eighteen construct the gun main gun shield and attach it to the gun itself. The gun shield is a superlative two piece affair of space armor that looks remarkable, and properly, thin in profile. The gun shield has several bits of detail, bins and such, to give it that busy look, photo-etch sliding ports for the gunners sight, and a positional periscope that has been molded in clear plastic. Finally add those triangular armored fillets to the sides of the gun shield and you are ready to put it all together.
Steps Nineteen to Twenty-One
With the end in sight now we head to the final three steps in the instructions, step nineteen we already looked at, it builds up the wooden ammo crates which can be displayed at your discretion. The last two steps mate the subassemblies of the gun into the fighting compartment and then the upper hull to the lower hull. With all that accomplished you will find yourself with a finished Marder II, slightly different from the earlier kit and a bit improved as well.
Painting and Decals
You probably want to paint the kit and apply some decals so you arent done quite yet. You have four marking options, the first, and arguably the most famous, is for the 3rd Pz. Jg. Abt. 561 in Russia during 1943. This the Coal Thief vehicle, named after the central character from a propaganda campaign in Germany about conservation of scarce resources. This guy was so popular they even had a board game that featured him; sounds like a fun evening for the whole family! Besides that choice in the dark yellow with green mottled camouflage spots you also have a 543 Pz. Jg. Abt. vehicle attached to the 3rd Panzer Division also on the Eastern Front in 1942 that is in the dark gray scheme. Besides those two you also have a pair of unidentified unit vehicles from 1943 and 1944 respectively, both stationed on the Eastern Front.
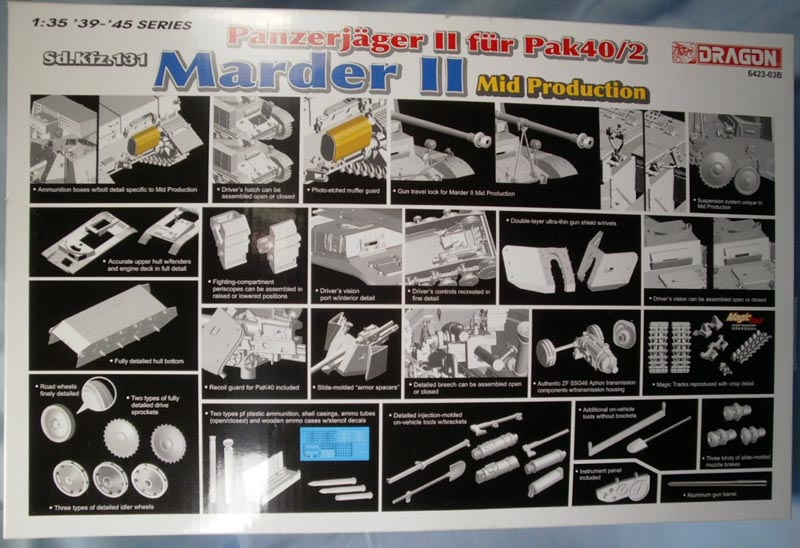
Addendum: Be aware that the back of the box is also a throwback to the original 6262 kit and still shows that the kit includes an aluminum barrel and the decal sheet for the ammo stenciling. Neither of these features is actually included in the new kit.
Conclusion
This is a really nice model, state of the art molding throughout, no flash, nicely detailed gun, corrected drive sprockets, and more than adequate interior spaces, whats not to love here? This newest release is even a bit better than the first with improved side walls and the parts to create the iconic version of the vehicle. You do lose the aluminum barrel and a few other small metal bits as well as the decals for the ammo but I think the changes and improvements more than outweigh the deletions. Clearly, this will be a popular kit for those who have modeling interests that run to the Eastern Front or German armored vehicles as well as those just looking for a well done, well detailed, state of the art model.


Comments