Introduction
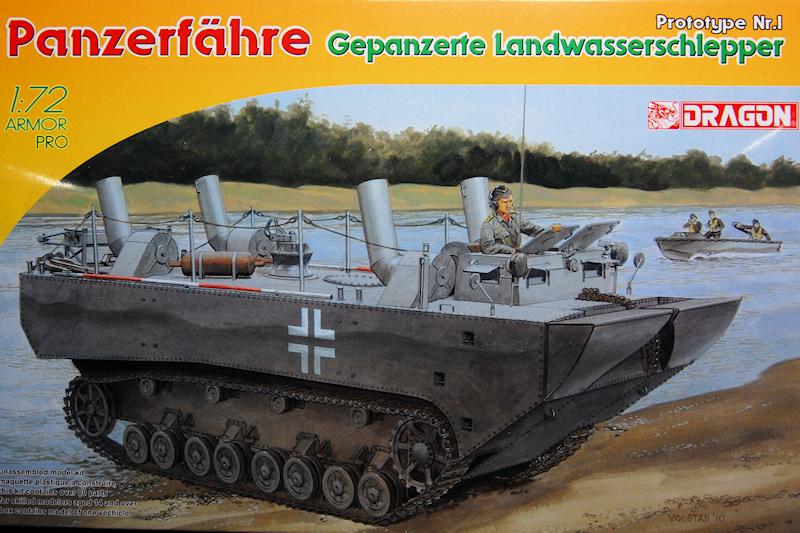
In 2010 Dragon released a 1/35 scale kit of the Panzerfähre (Tank Ferry) and at the end of 2012 followed up with a 1/72 scale version. Many will be familiar with the rather odd looking Landwasserschlepper, produced by Rheinmetall-Borsig, that strongly resembled a tug boat on tracks, complete with portholes, a funnel, windscreen wipers, rope bumpers and a boat shaped prow, which served on the Eastern Front and in North Africa. That LWS was unarmoured however, and Magirus received an order for an armoured replacement in 1941, the intention obviously being to enable river crossings to be undertaken under enemy fire without the immediate need for combat engineers to construct a bridge.
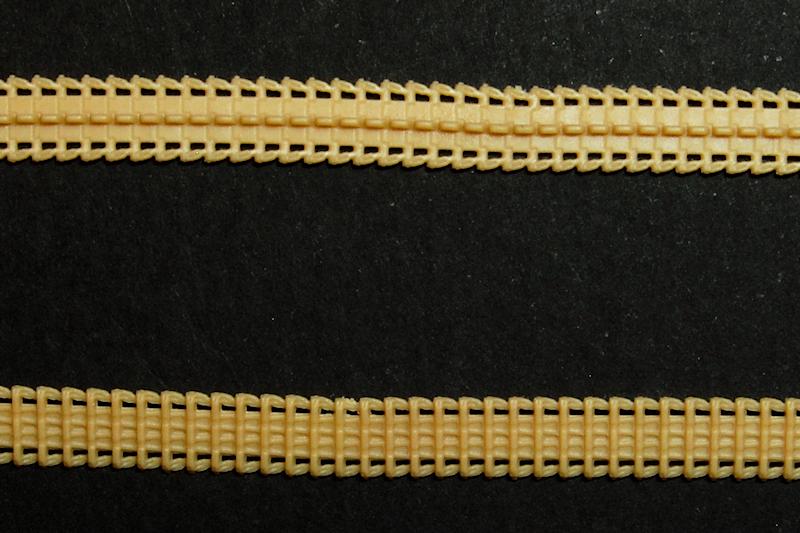
Rather than reusing the apparently unique tracks and suspension of the LWS, the replacement Panzerfähre was based on PzKpfw IV Ausf F running gear, but with an all new superstructure. Unlike the LWS, the Panzerfähre did not appear to have troop carrying as part of its main function, rather it seems to have been intended to transport equipment only, either by towing a floating trailer from the bank into the water, or to propel a raft, capable of carrying a tank, fixed between a pair of Panzerfähren. (To get a good idea of the set-up, check out the video in the references, after youve finished reading this, naturally.) The raft was held in place by means of two large roller chains, like bicycle or cam drive chains, which flexed only in two directions, the intention being that the raft would be held level by the chains, while allowing a degree of flexibility in the attachment. Two prototype vehicles were produced and trials carried out with both of these arrangements, but it would appear that the set up was too unstable, and the idea was never carried into production.
What you get
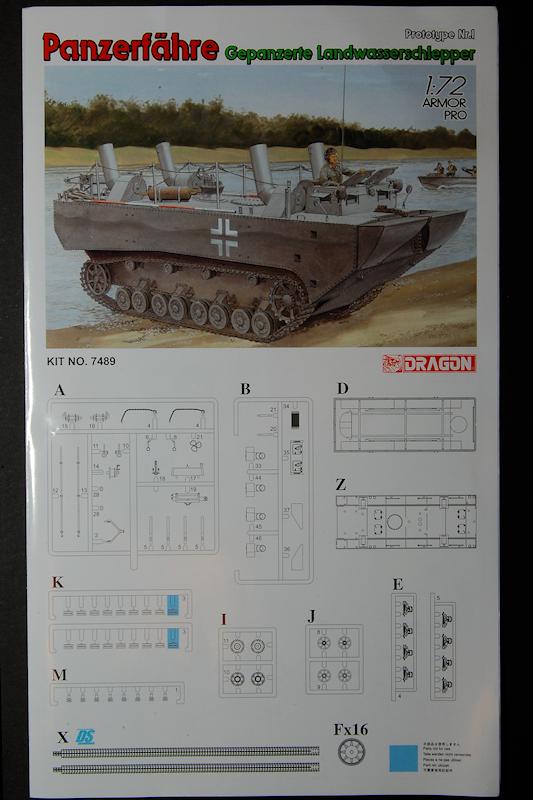
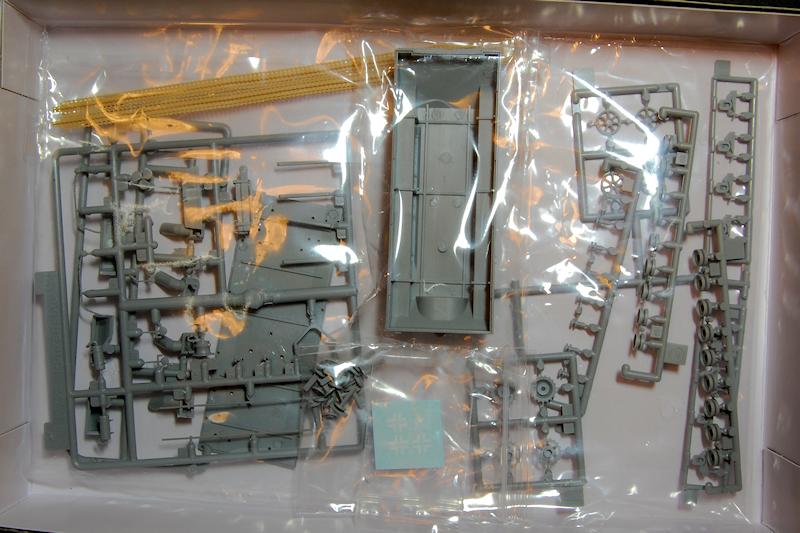
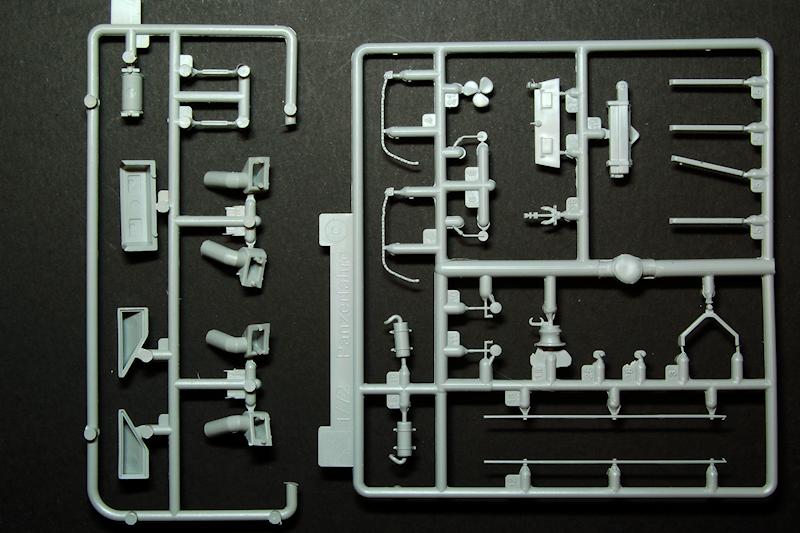
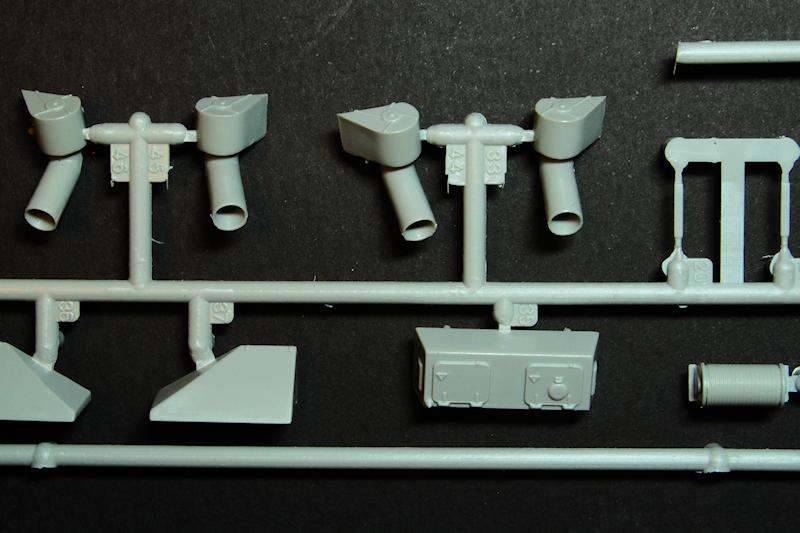
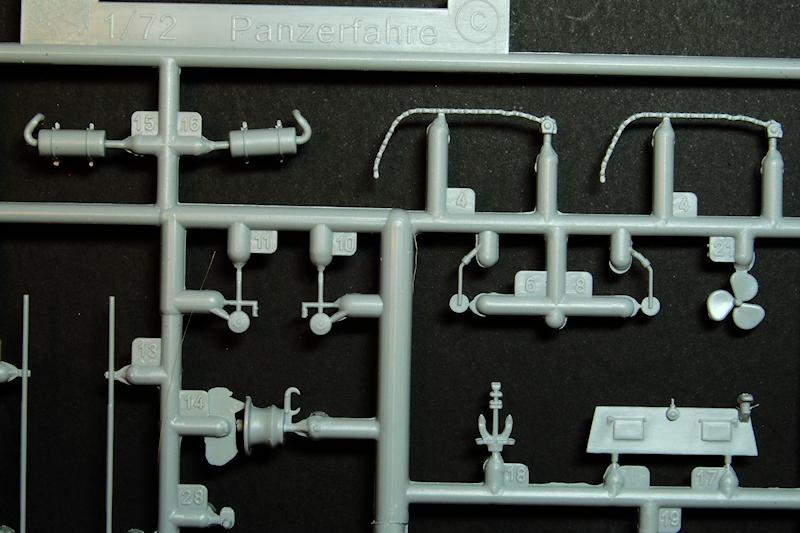
A big box for a 1/72 scale tank kit carries the same Ron Volstad painting used on the 1/35 scale version. Inside are ten numbered sprues and components, first the specifically Panzerfähre parts: sprue A has the smaller deck details while sprue B has the larger vents and the bow sponsons, part D is the one piece hull, and Z is the deck.
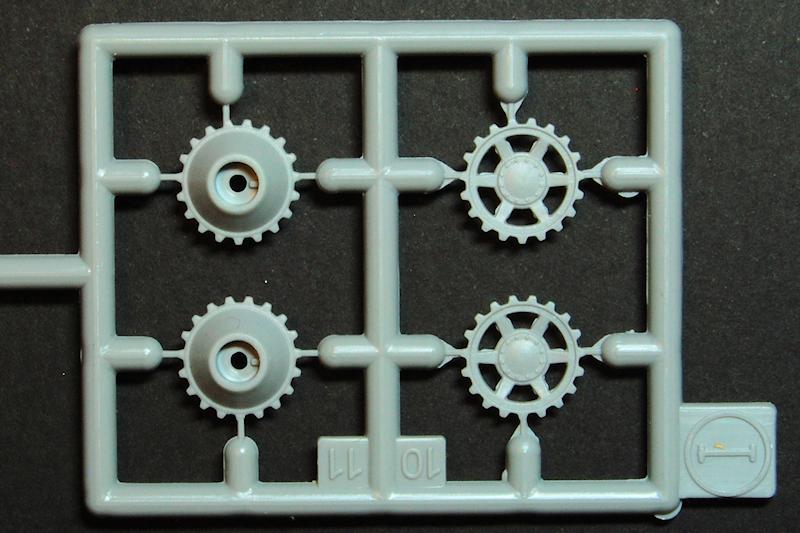
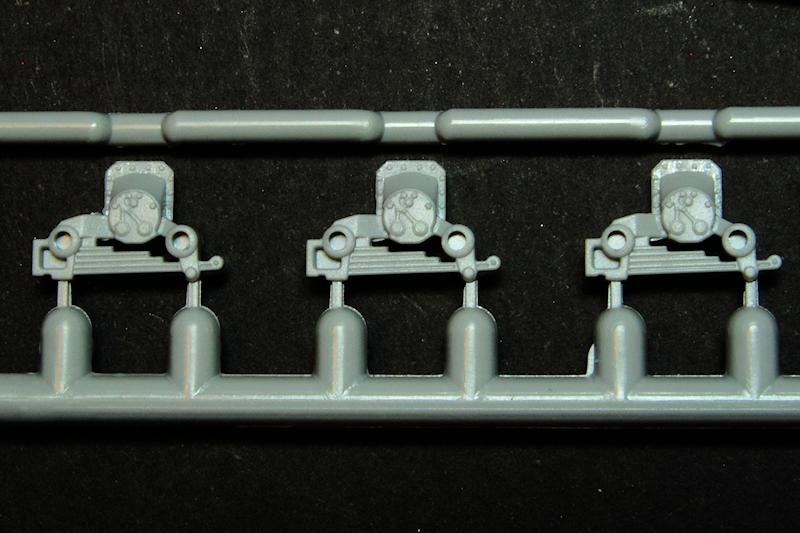
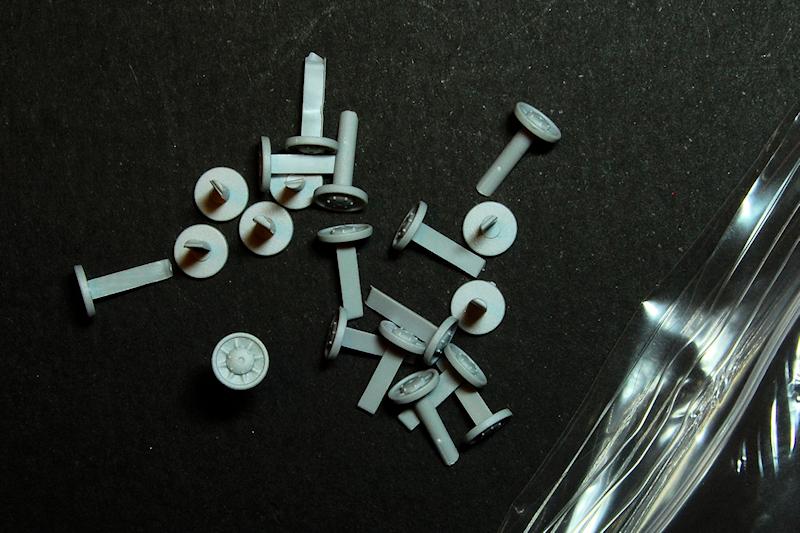
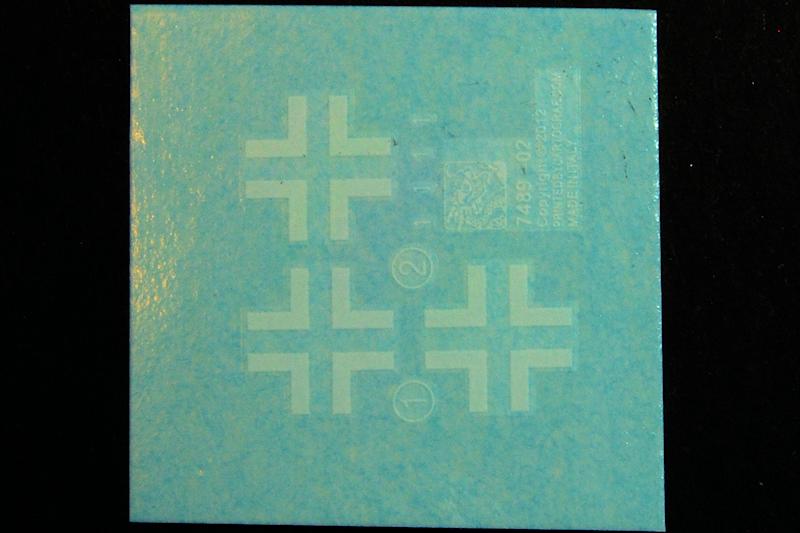
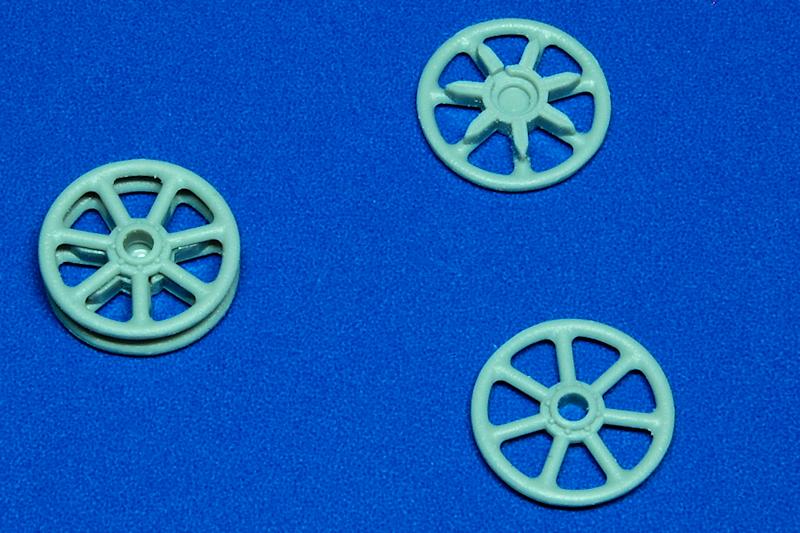
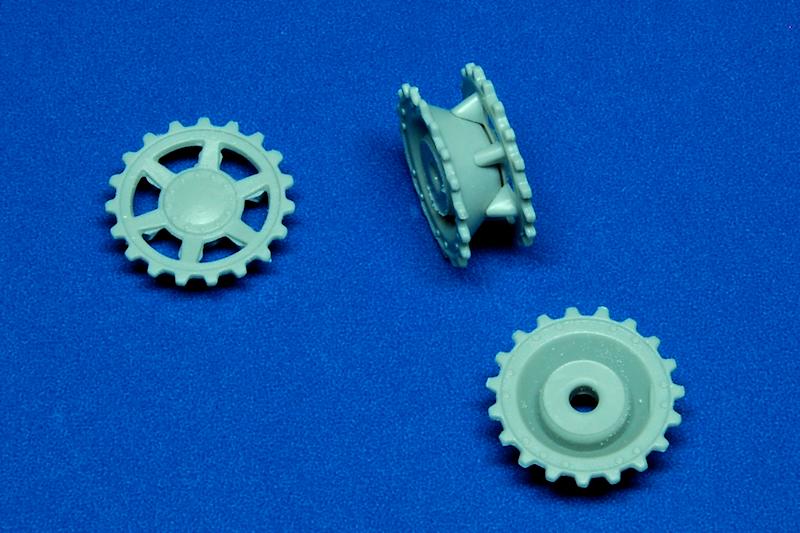
The remaining parts look to be the same as other Dragon PzKpfw IV kits, for example the F2(G) kit: sprue E is the suspension bogie frames, F is a bag of 16 loose road wheel hubs, I the sprockets, J the idlers, K the road wheels / tyres, and M the return rollers. Theres also DS tracks and a simple decal sheet of three white crosses.
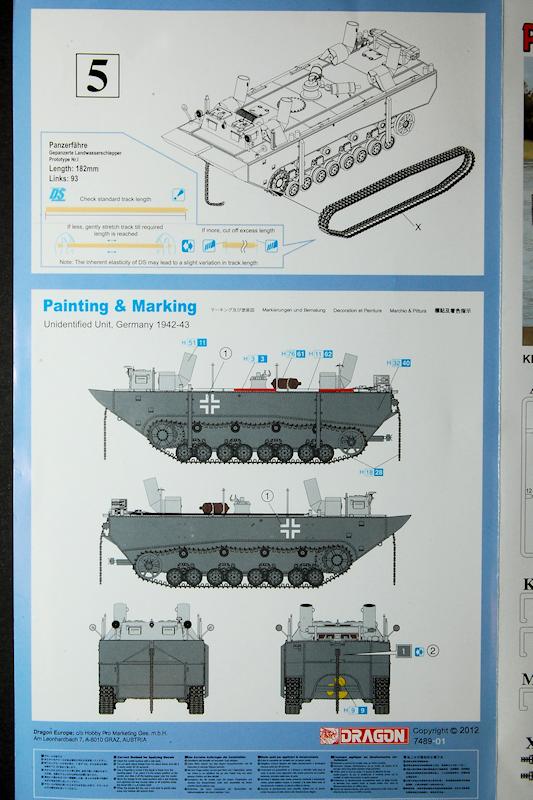
Unlike the PzKpfw IV F2 kits 167 parts, the Panzerfähre only has around 92 parts. Instructions are correspondingly fairly simple with only five quite sparse steps to completion. Since were dealing with a prototype theres no finishing options as such rather the standard single scheme of dark grey hull, with pale, gull grey deck.
Construction
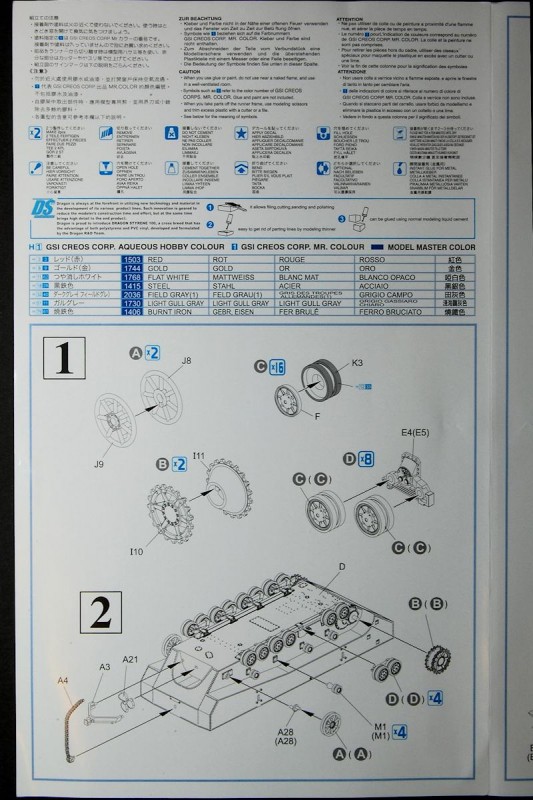
The instructions start off with building all the wheels, which you dont really want to do; the idea of the road wheels being separated into a wheel / tyre unit and a hub cap type cover is clearly to allow them to be painted separately and then put together; neither do we want to attach them to the suspension units just yet. Instead I build just idlers and sprockets, then put to one side to set.
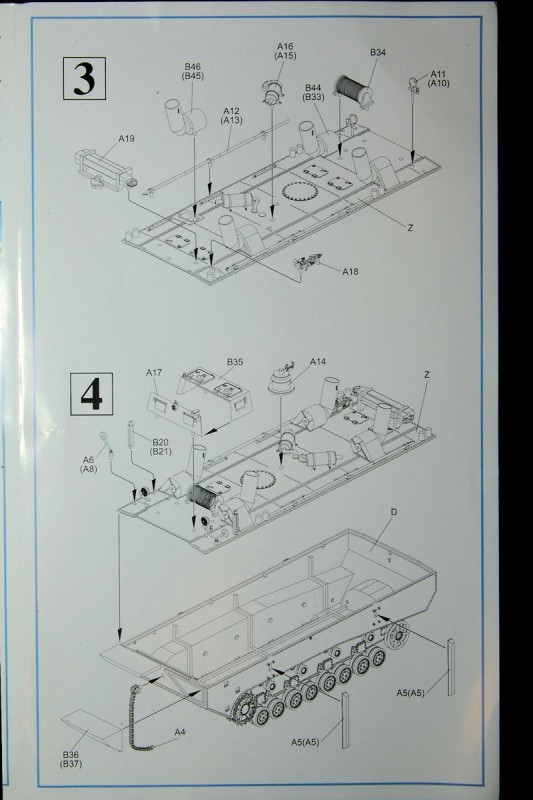
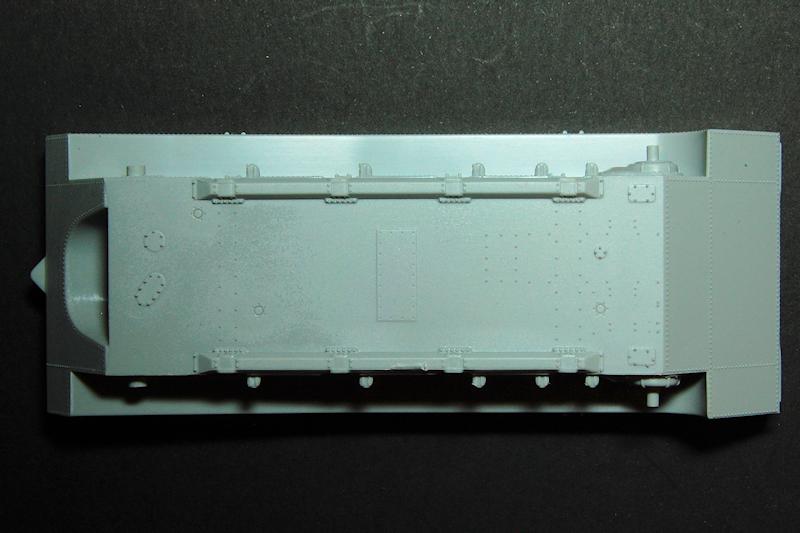
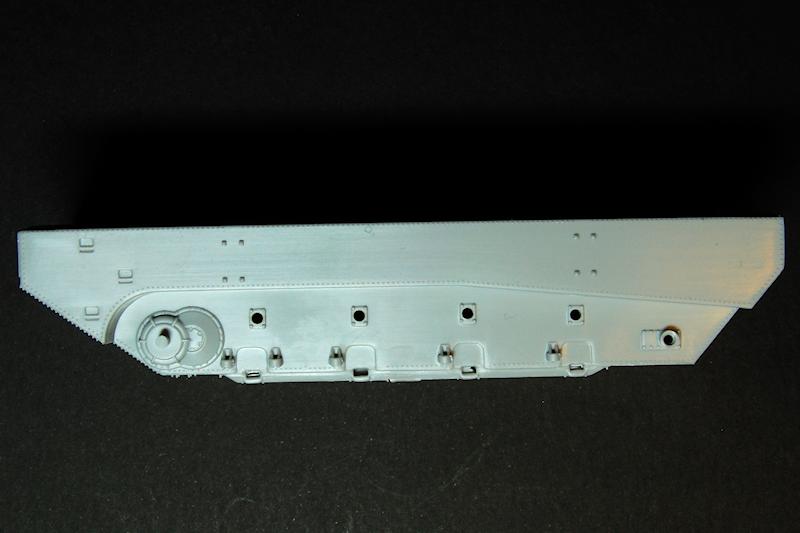
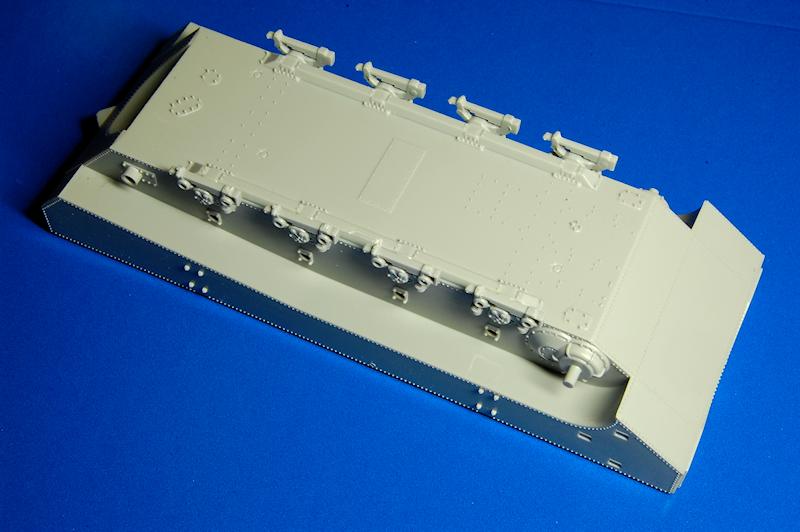
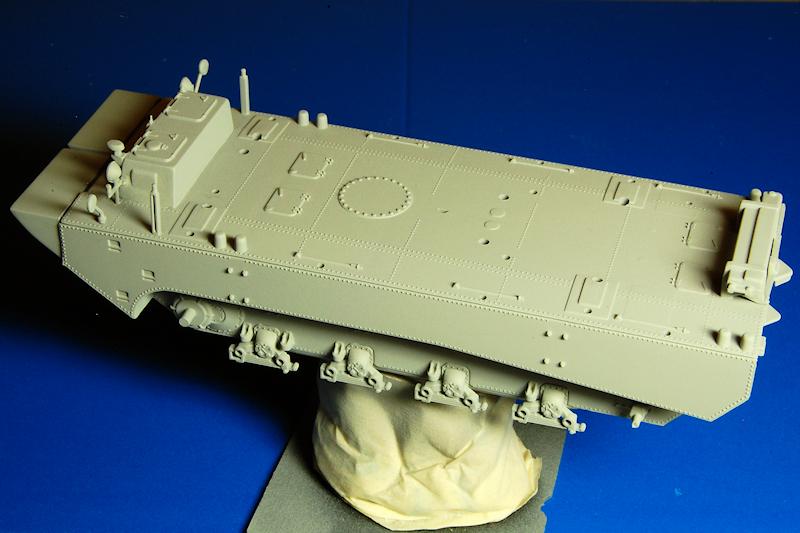
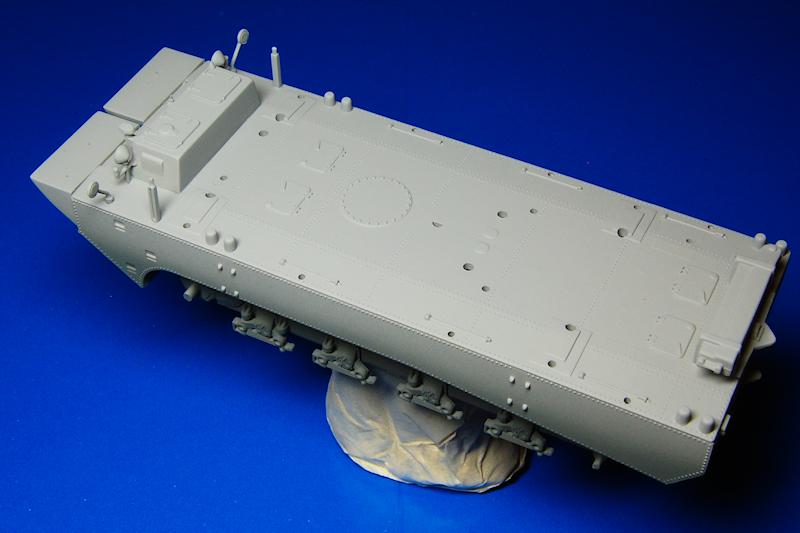
The hull, which is a really impressively large single slide moulded piece, requires almost no clean up; the point at which it was attached to its runner is on the edge just between the centre pair of bogies and that did require a bit of filing. Then I stick the six suspension units to the hull. Here is one of the slightly unclear instructions: the bogies are illustrated once, and labelled E4(E5), but of course E4 and E5 are mirror images of each other, not identical, and you should look quite carefully to make sure youre putting the correct one on the correct side of the hull (
and I dont see why they cant simply say which is which
) Otherwise, thats the lower hull done for now. (Photo 29)
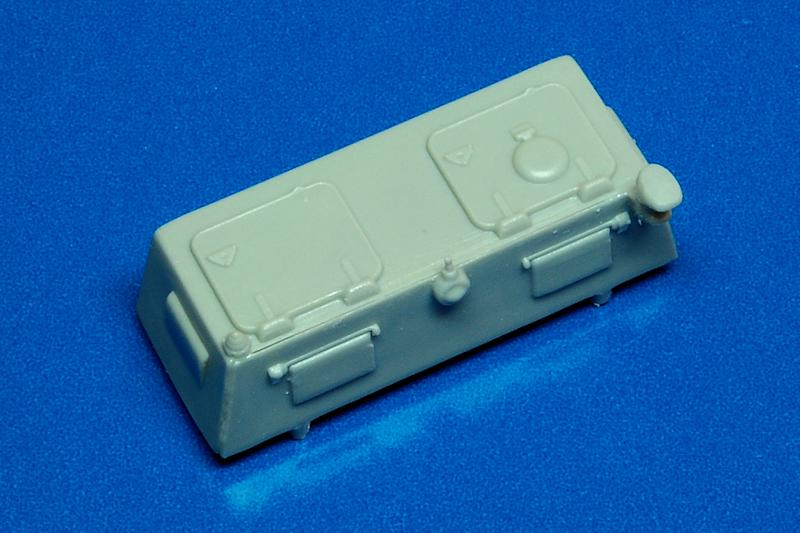
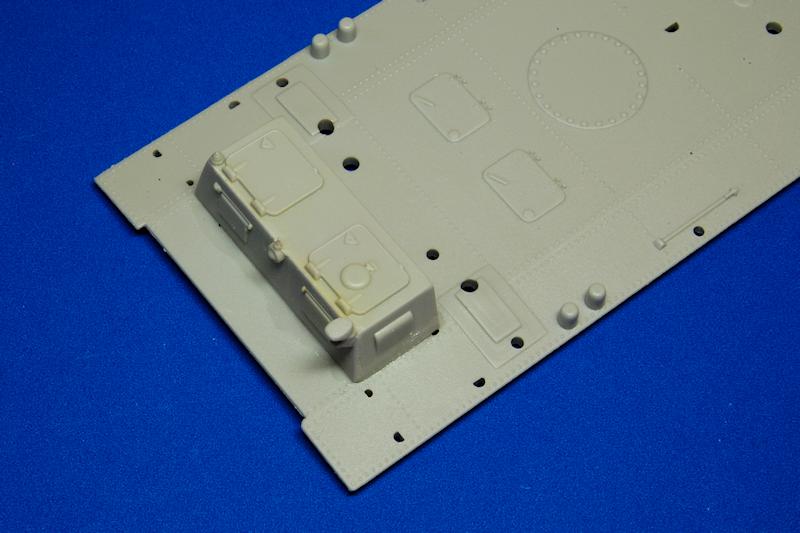
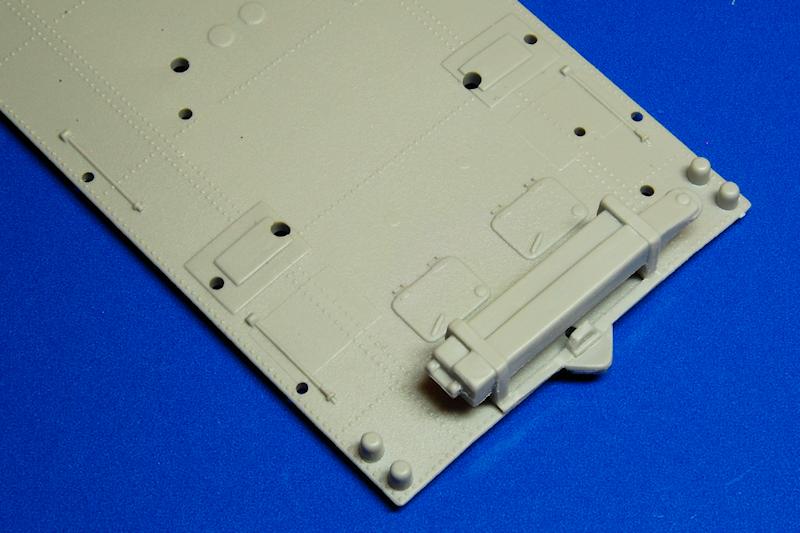
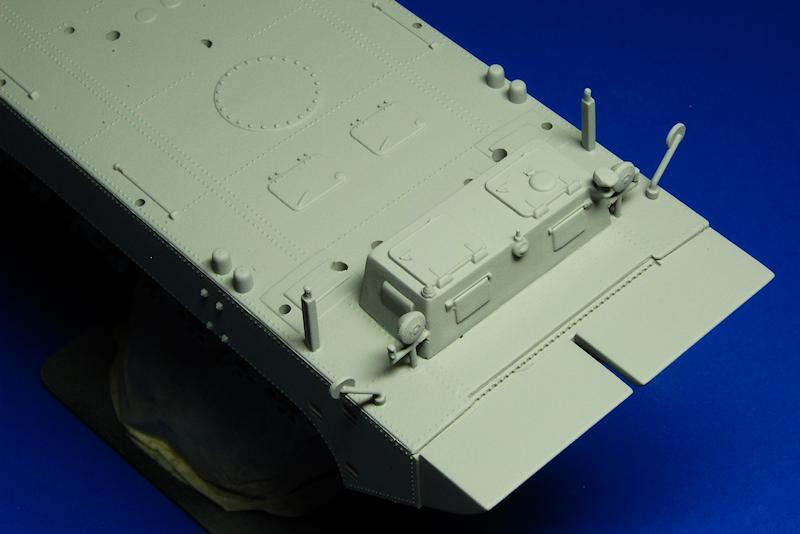
The upper hull, or the deck, is one big flat rectangle covered in tiny perfect rivets and locating holes to take the deck details. Because I wanted to paint some of these details separately, for now I just attach the rectangular crane installation from step 3, then go straight to step 4; here the boxy crew cab is constructed from just two parts plus a Notek lamp (photo 35), then attached to the deck. (Photo 38, 39) Look out for a tiny detail that sticks up from the front of the cab, it would be very easy to destroy it. While the deck is very nicely moulded, one misgiving that I have is the number, and especially the size of, some of the locating holes; some are just too big and not filled or covered by the part they locate, and this was one of the causes of the need to apply a little filler around the base of the cab, visible in photo 41. They could be filled in of course, but then theres all that rivet detail to avoid sanding down.
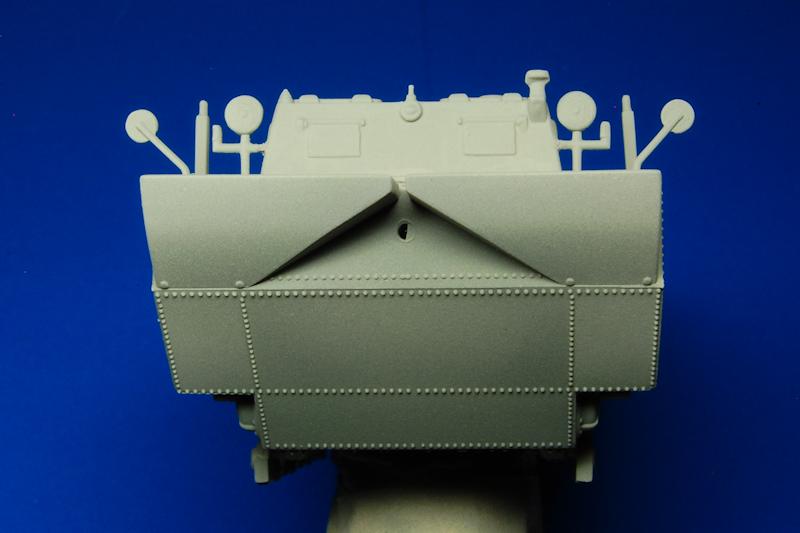
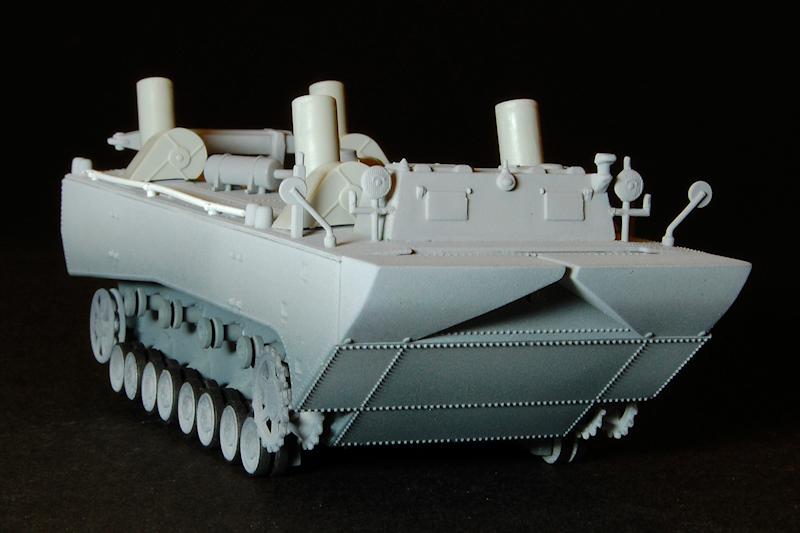
So with just those two big sturdy details on top, I glue deck to hull. Just a little sanding is required to ensure the jointing surfaces are smooth, but this is such a square hull and such a flat deck that its just like putting a lid on a box. The only challenge is to ensure that the narrow groove that runs just between the deck and the hull is kept clean of cement and isnt interrupted by any stray particles or smears of plastic and glue. (Photo 41) Once set, the two flotation sponsons (photo 40) are added to the bow.
With that done I add the smaller details that I want to include under the primer paint, so the drivers mirrors, headlamps, and a pair of post things either side of the cab (foldable width indicators?) are all attached.
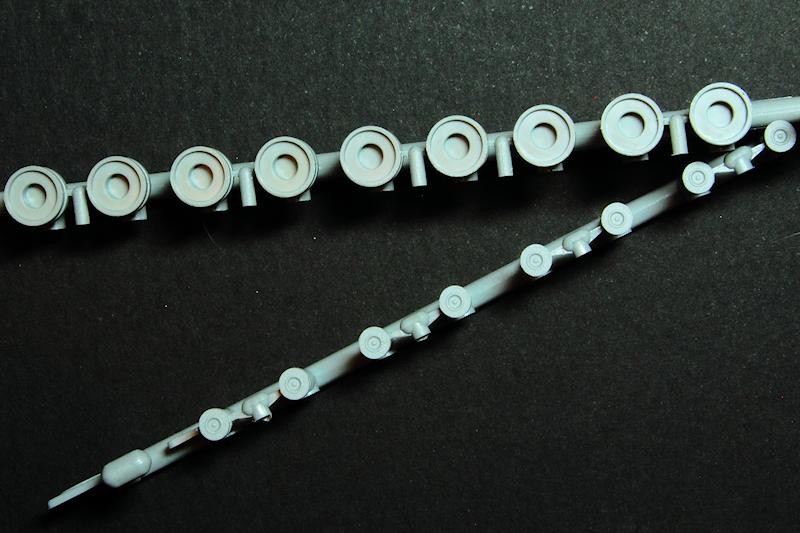
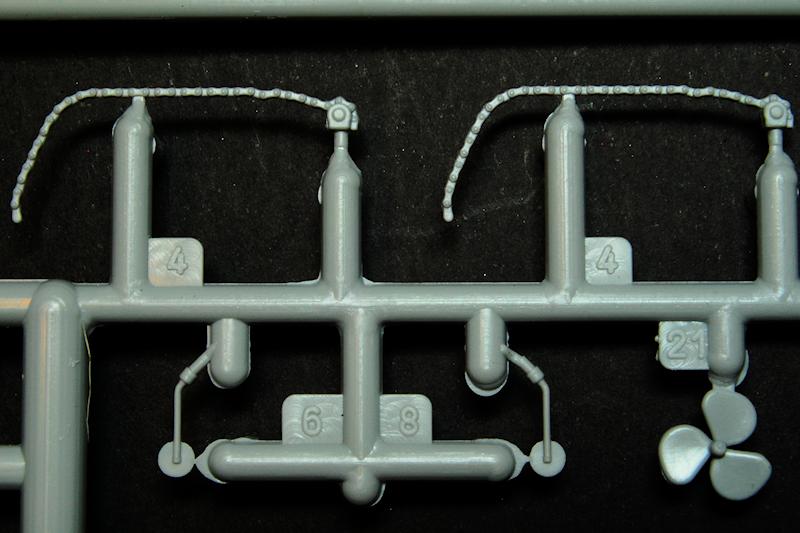
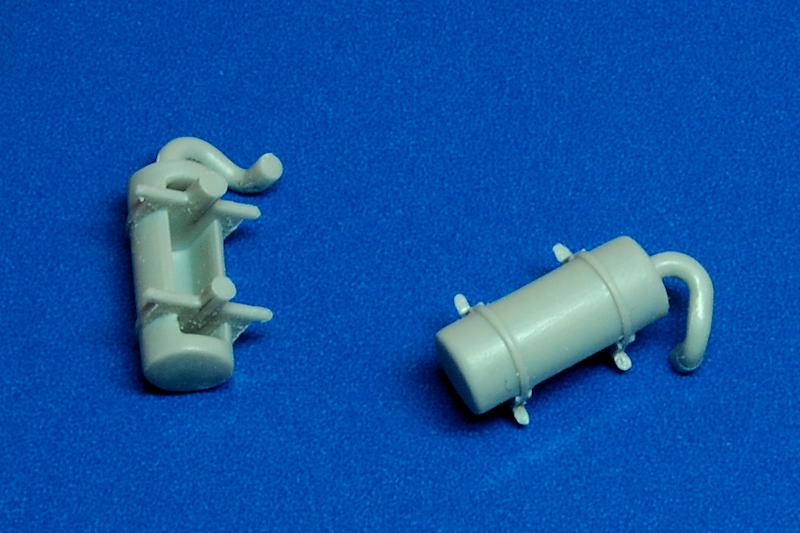
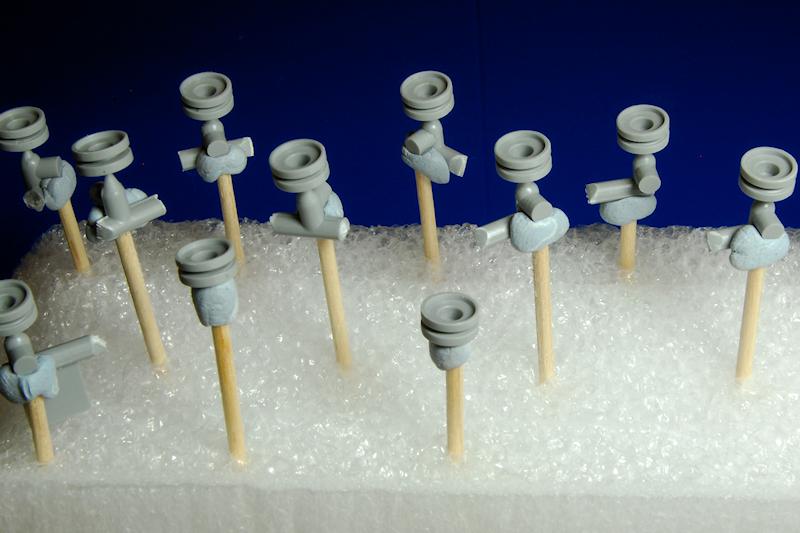
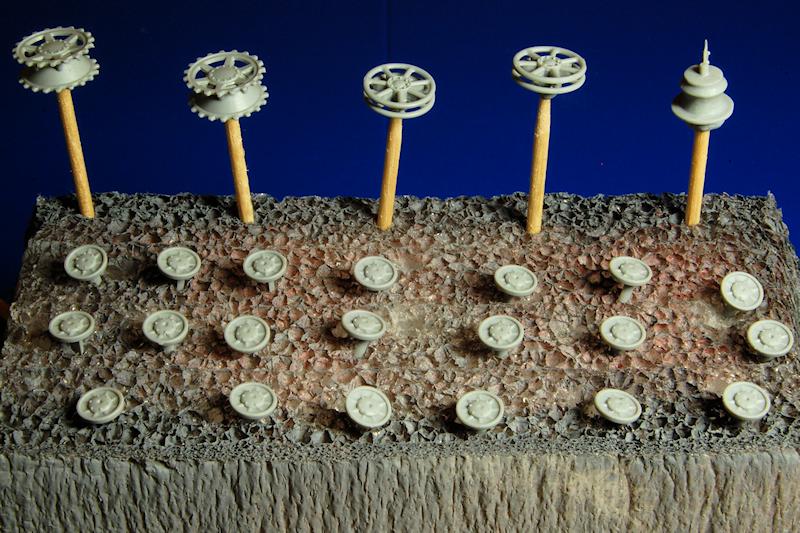
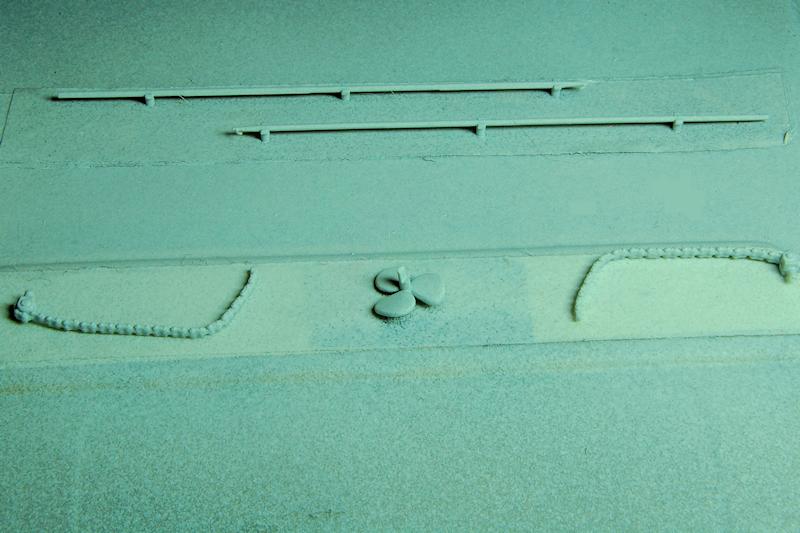
Meanwhile, everything else has been removed from the sprues, and prepared for a coat of primer. For those not familiar with these Dragon PzKpfw IV running gear components (as I wasnt) its advisable leave the road wheels and return rollers on their sprues while painting. The road wheels just need some small interconnecting sprue removed from between them, then the last sprue attachment point is the axle itself, which is where the glue will go, so once any mould lines are removed, each sprue / wheel unit is separated then attached to a cocktail stick (photo 43). The return rollers just need to be cleaned up, but left on the sprue, and the road wheel caps are just pushed into a piece of foam using their tiny sprues like a thumb tack point. (Photo 44) The bow and aft chains, the screw propeller and the pair of boat hooks all go on double sided tape. Everything is then primed in grey, except the tyres which are sprayed black.
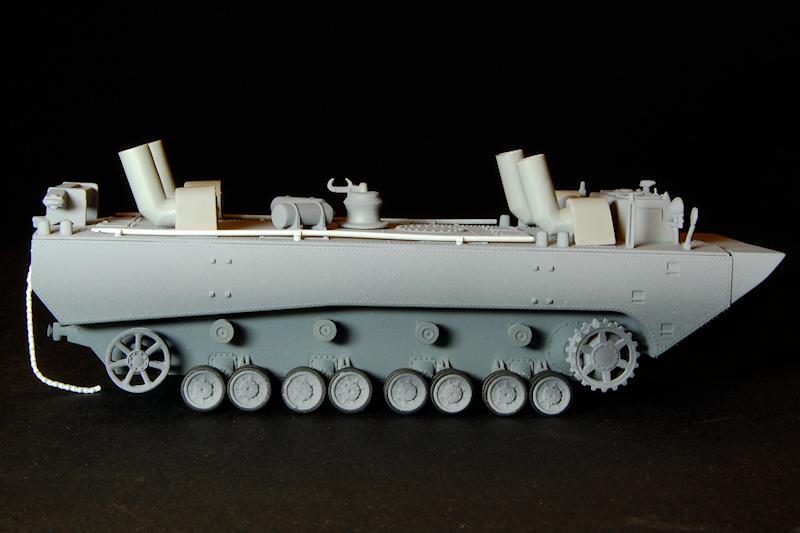
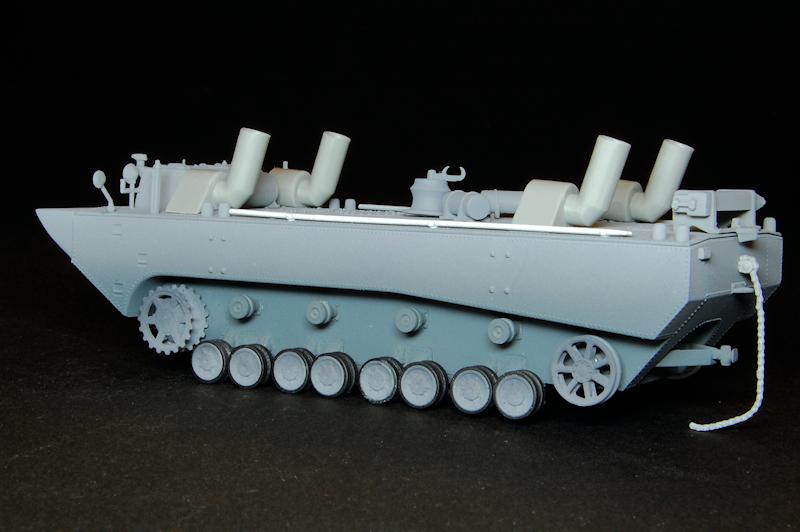
Due to the big flat surfaces on each side of this craft, and the plain grey colour scheme, I overlay some Tamiya NATO Black, then some German Grey so that the surfaces graduate from dark at the bottom to lighter at the top, a basic colour modulation, if you will. (Photos 49 51)
So once this basic grey painting is done, I attach the tyres to their hub caps, then carefully assemble them, along with the sprockets, idlers and rollers, to the hull. Care is needed to get all these wheels lined up nice and straight and even, and keep them that way while they set; each side is done on successive evenings, resting the model on a piece of foam so as not to knock off the wing mirrors. Careful and patient
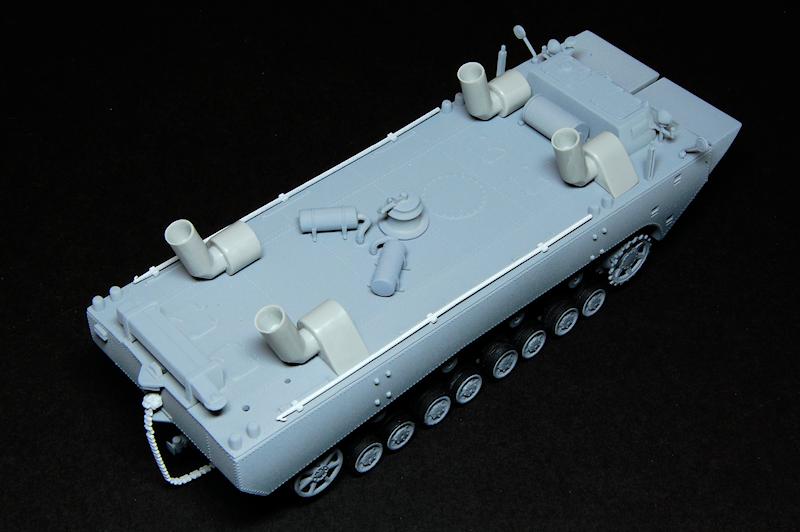
There are four girder type bars, of which the instructions show two to be fitted, that locate vertically between the four pins visible on the front and rear of each side; these are the bars to which the tank carrying raft would be attached, so if you had two kits, youd attach these as a mirror image. I chose to leave mine off as they seem to be detachable on the real thing, so why not?
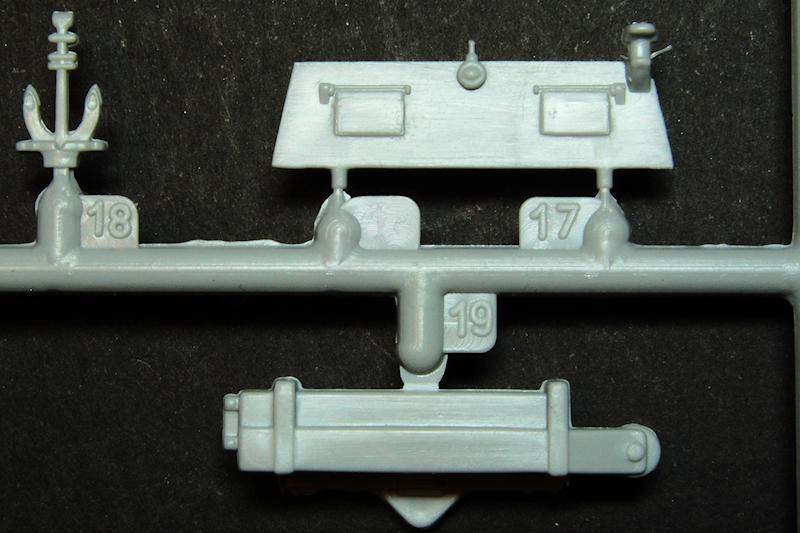
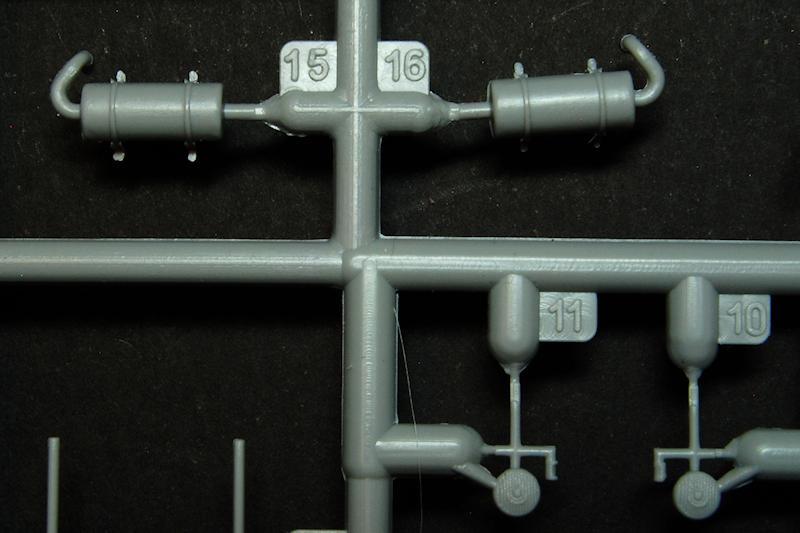
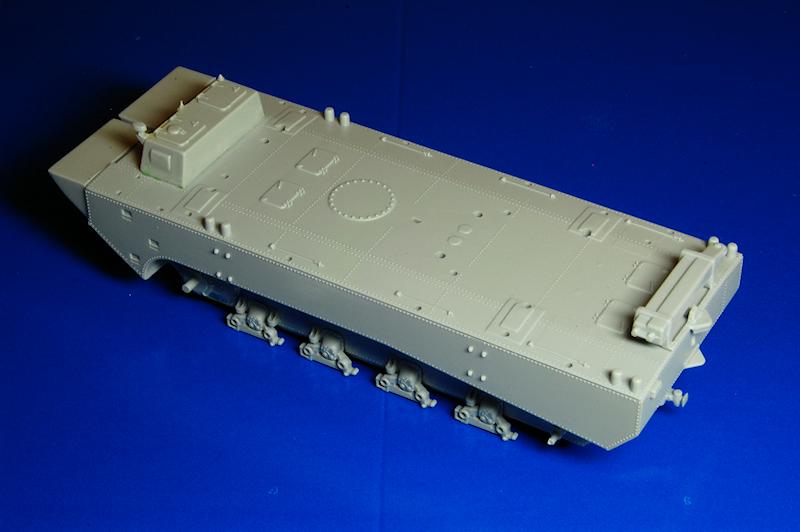
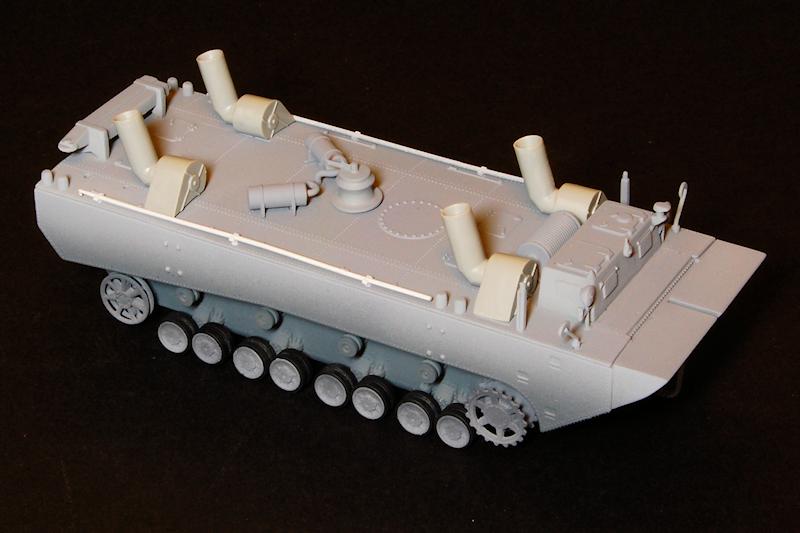
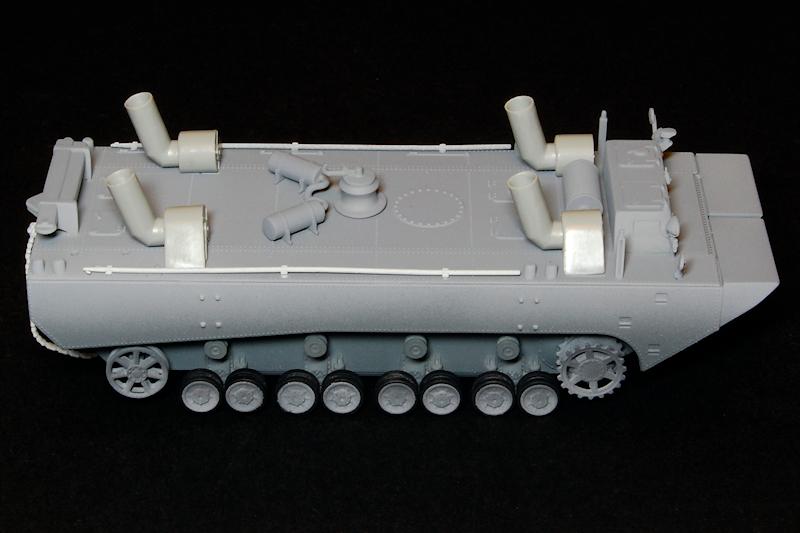
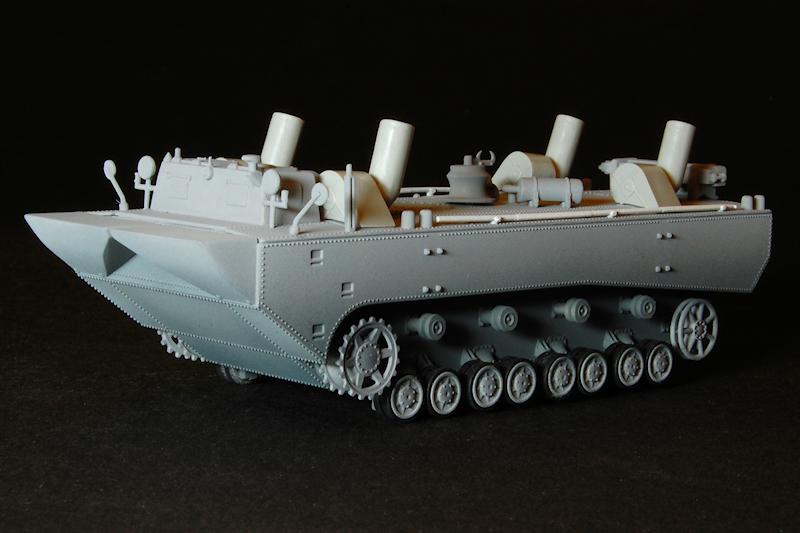
All of the remaining photos show the funnel type vents, the exhaust pipes, the boat hooks, drum winch, capstan winch and chains just resting in place, unglued. The only missing detail on the deck is the anchor which is still attached to a piece of sprue for painting, but otherwise, that is more or less as it would look, with only the tracks to add, the deck details to paint, then, obviously decals and weathering and so on.
conclusion
This is an interesting kit, and provides something a bit different from the more usual tanks and armoured cars. At 11.5cm long, with its four big air intakes, its an impressive looking 1/72 model the body is longer than a King Tiger while the relatively low number of parts and the very straightforward construction, make it a simple and quick build. The big flat grey surfaces do, I think, call out for some paint effects, and the semi-nautical nature of the vehicle will perhaps stimulate some thinking about how to weather it.
Its also interesting from the point of view of how Dragon have executed the kit. The PzKpfw IV running gear was obviously designed to enable quicker and easier clean up and painting, and its not just the components that have been employed in this kit, but this same concept has been taken forward and developed further. There are of course good and bad aspects to this: several parts have been moulded in one piece which might have been broken down into several. Obviously more parts means more clean up and construction time, but it may also mean more flexibility and detail. A couple of examples: part A19 is the crane on the rear deck, moulded as a single piece (photo 32); it seems to me that two compromises have been made to enable this moulding, one is the simplification of detail, the other is the quite noticeable flash and mould lines present on the piece as this quite complex shape is moulded in the middle of the sprue. On the simplification, the vertical supports should be open with X shaped cross braces and be considerably thinner in section.
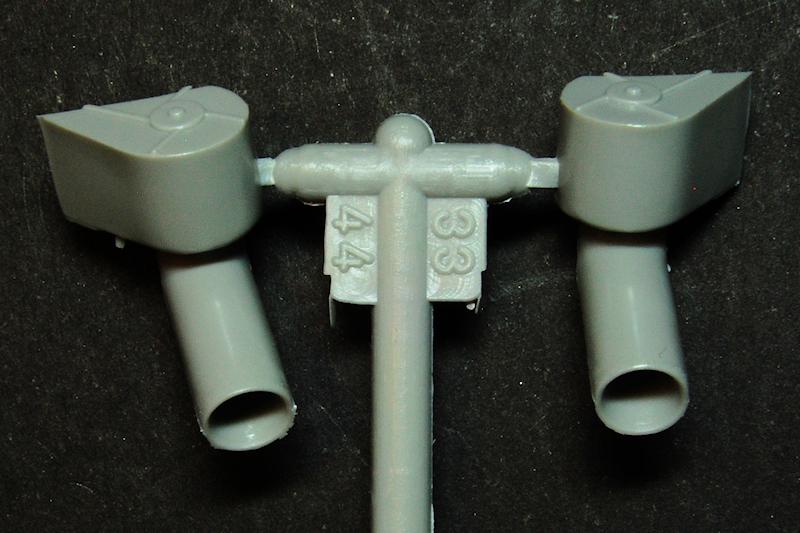
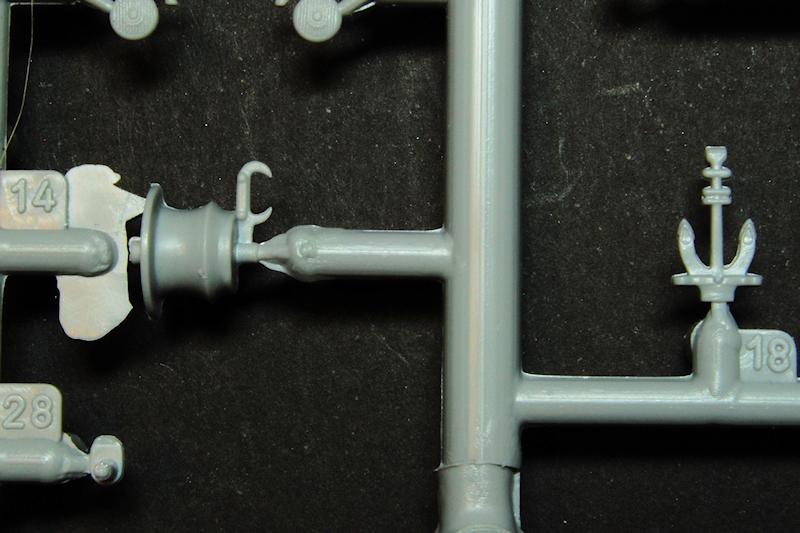
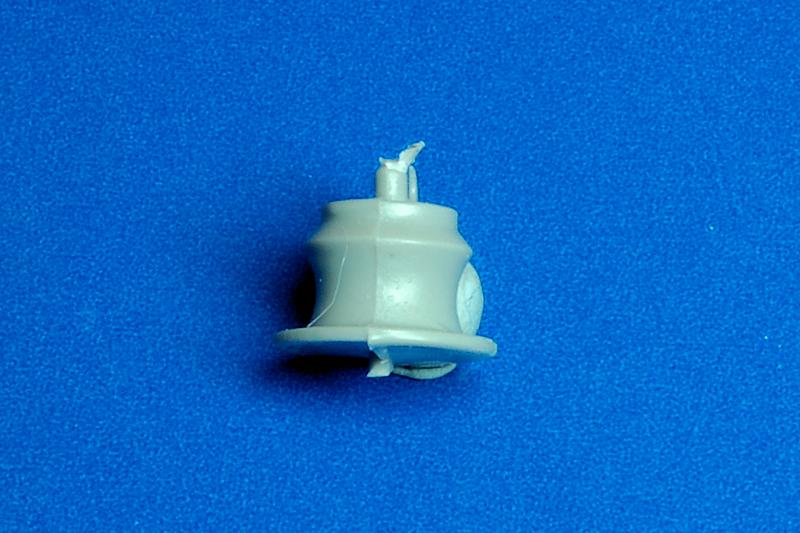
Another example is the four air intakes, one of the really salient details to give the model its unique look; these are again moulded in one piece, and quite a good job has been made of getting the tubes to be fairly well hollowed out, and commendably thin. The issue here is that on the real thing, these vents could be folded in towards each other so that they lie down on the deck; it seems to me that by moulding the tube separately from the base, this folding option would have been easily achievable, and possibly the tube may have had a more bottomless appearance when viewed down the opening. I think the photos show that one or two of the other components also feature fairly heavy moulding lines, such as the capstan winch, part A14 (photo 33) and the drum winch B34 (photo 37) which takes a bit of care to clean up due to the need to avoid damage to the moulded cabling.
As is common, I suppose, it would also have been nice to be allowed the options to have the crew hatches and vision flaps open, and then there is the matter of the folding railings and cables that should line both sides of the deck, and which are illustrated in the painting guide and box art, but are totally absent from the kit. The posts would be relatively easy to scratch from rod, though youd need to find a way to represent the eyes where the lines attach.
Unusually for Dragon, other than lacking clarity in a few places, the instructions are almost error free: they failed to include the black tyre paint in the paint chart (some crime!) and fortunately the holes that are illustrated to allow the fixing of the raft supports to the hull side dont actually exist on the kit. I could have done with a bit of clarification as to whether the headlamp brackets are meant to make contact with the drivers cab walls or not; I assume they do, but oddly the instructions have you attach the delicate lamps to the deck first, then the cab goes right in between them in the next stage, which, if you think about it, just doesnt make sense.
Ive nitpicked a bit, but really this is a very nice kit, and makes an unusual addition to a braille scale collection; if you want the greater level of detail I guess you might go for the bigger scale version, but then again, theres opportunity here for small scale detailers to have a go at improvement and end up with something special. I have little doubt that Dragon will at some point be offering the raft to go with a pair of these.
References
Encyclopedia of German Tanks of World War Two by Hilary Doyle and Peter Chamberlain, Technical Editor Thomas L Jentz (A&AP)
www.panzerbaer.de: Panzerfähre (Microsoft translated page from the German.)
You Tube video of two R/C Panzerfähren and raft carrying a PzKpfw IV across a pond by ModellbauWerner.


Comments