introduction
Does anyone know the number of Pz IV based vehicles that
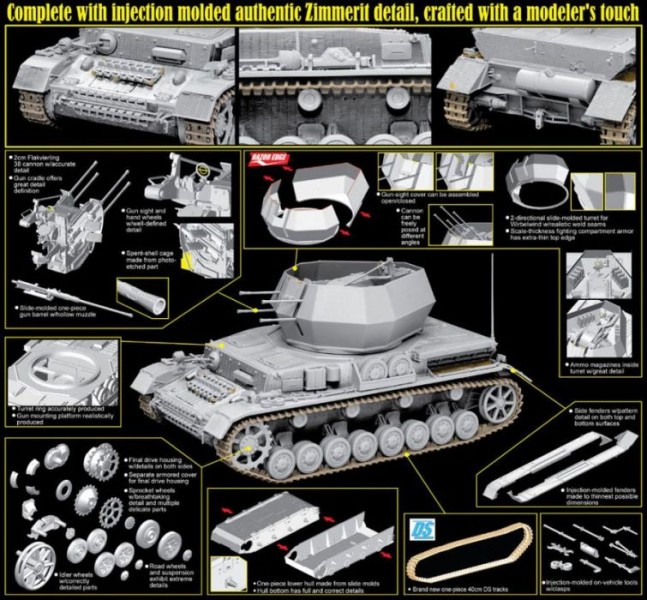
Dragon has actually produced for modelers? I am going to hazard a guess that the number is something north of fifty. And now they have added another, the Flakpanzer IV Ausf. G Wirbelwind, Early Production w/Zimmerit, anti-aircraft vehicle. Sure to make the enemies of flying things everywhere happy, this is the third in the series of different Wirbelwinds that Dragon has kitted out.
Im no more than a potted expert on the Wirbelwind, if even that, but I do know that not very many of these vehicles were ever produced, totaling only around 100 or so. One famous example is still preserved at CFB Borden, but it is without zimmerit. Despite that one example, a goodly number of these carried the zimmerit paste as most (all?) Wirbelwinds were built on damaged and repaired hulls in early 1944, on G or H hulls which would have been zimmerited previously.
Contents
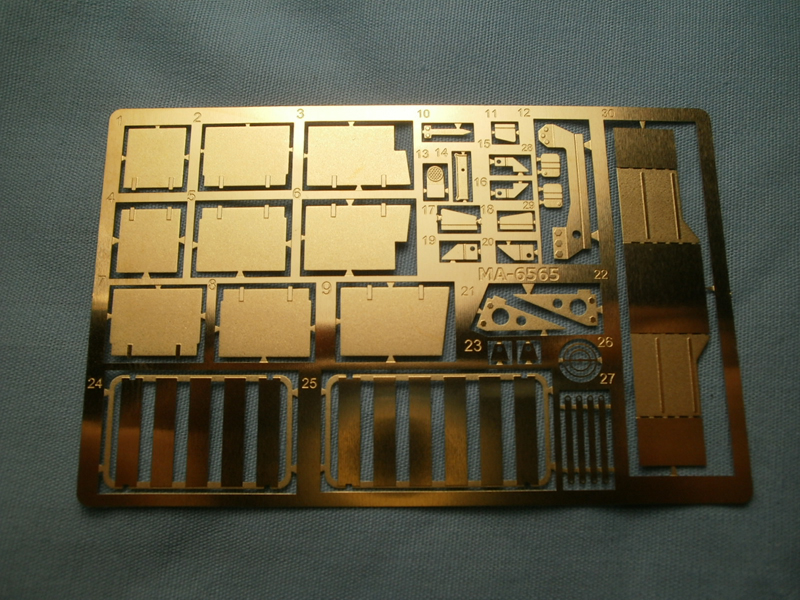
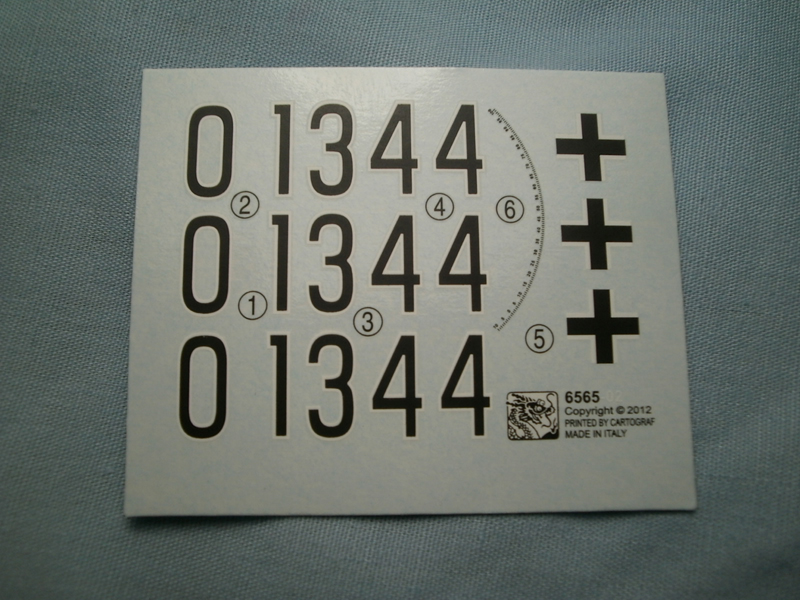
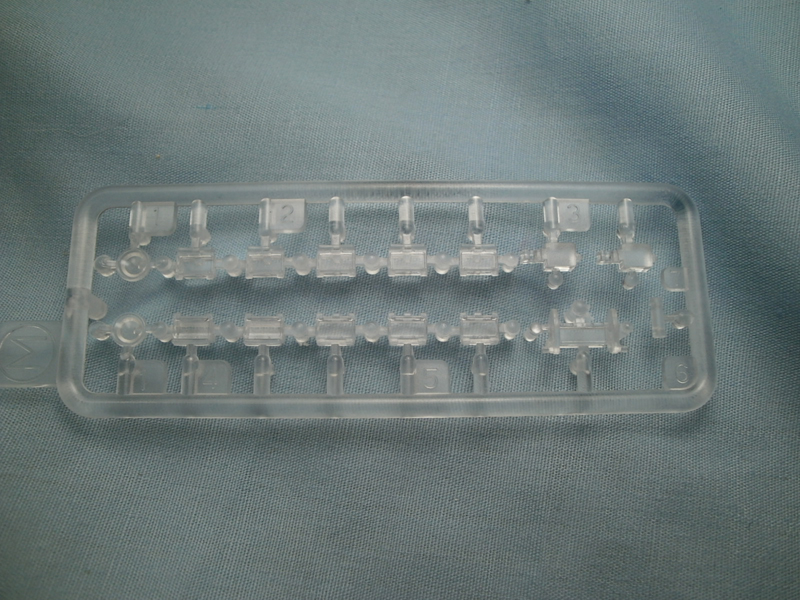
Inside the box you get a whole lot of parts; hey, its a Dragon kit, what else would you expect. A quick count gives me 26 plastic sprues in Dragons typical light gray plastic, one clear sprue, a small bag of magic tracks for the spare tracks, two lengths of DS plastic tracks, a photo-etch fret, a small length of braided wire, a small decal sheet, a typical fold out set of instructions, and a small instruction addendum.
the kit
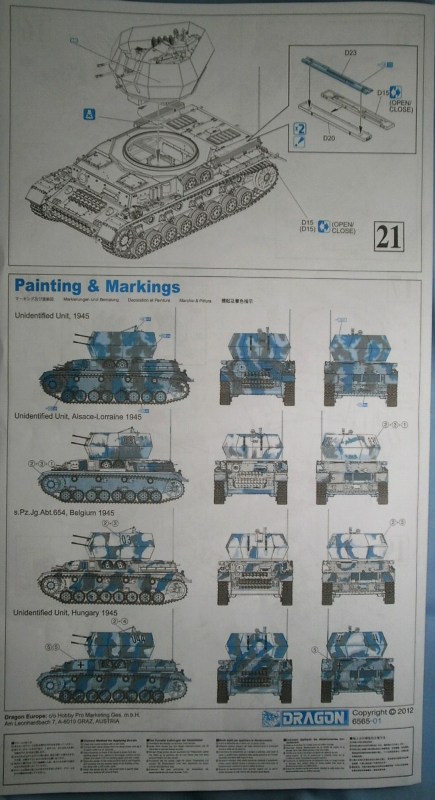
A quick look at the parts map on the first page of the instruction sheet tells you that Dragons policy of using off the shelf moldings is clearly in evidence as it appears that about 30-40% of the plastic parts will end up in the spares bin; just an added bonus with this kit. The instructions are divided into 21 sections not including the marking and painting step which gives you four choices for marking options; all from 1945, an unidentified unit, another unidentified from Alsace-Lorraine, one from s.Pz.Jg.Abt. 654 in Belgium, and another unidentified from Hungary (boy, that unidentified guy sure gets around). They are typical Dragon style instructions so go slow and be sure about the sequence so as not to end up with a nasty surprise.
Not too many options for different parts were evident in the instructions, the one noteworthy exception is the choice of the Notek or the Bosch headlamp, the instructions dont call out which is correct for any of the marking options, about the only help you get is that the silhouette images for the painting and marking all show Notek lights fitted. Not sure how accurate that is, even for old Mr. Unidentified unit, of course a photo of the vehicle you are modeling is your best bet.
A Walk Through the Instructions:
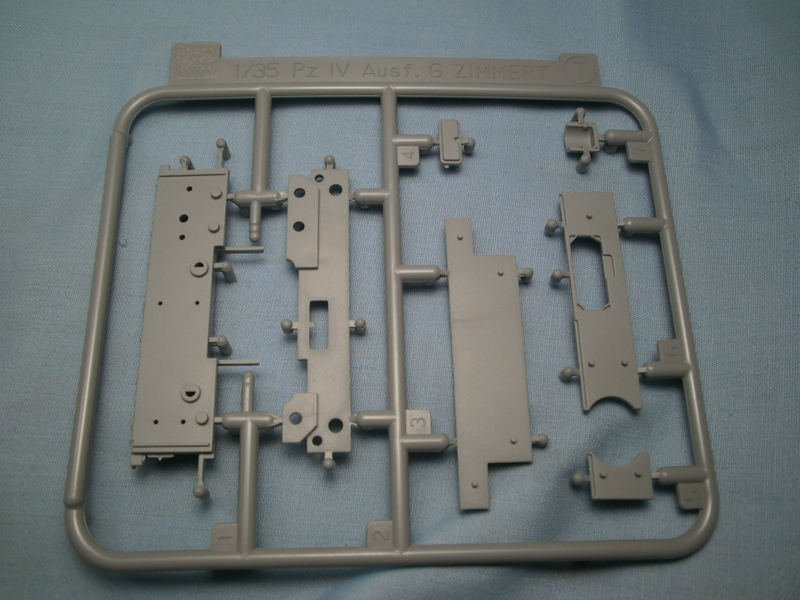
The first thing I noticed was that a few of the sprues are mismarked on the parts map, not a real big deal but a bit of a head scratcher. Sprue B (blue) is actually a sprue S from the Brummbar, which may explain the B. Sprue Zs (there are two) are actually marked as sprue T, which is not to be confused with the real sprue T, which is also marked with a T, so you get four T sprues but only two of them are supposed to be, the other two are supposed to be Z. Are you confused yet? Take your time; remember they are Dragon instructions so a few things may be a bit off, and have a Sharpie around to label them correctly if you think it will help!
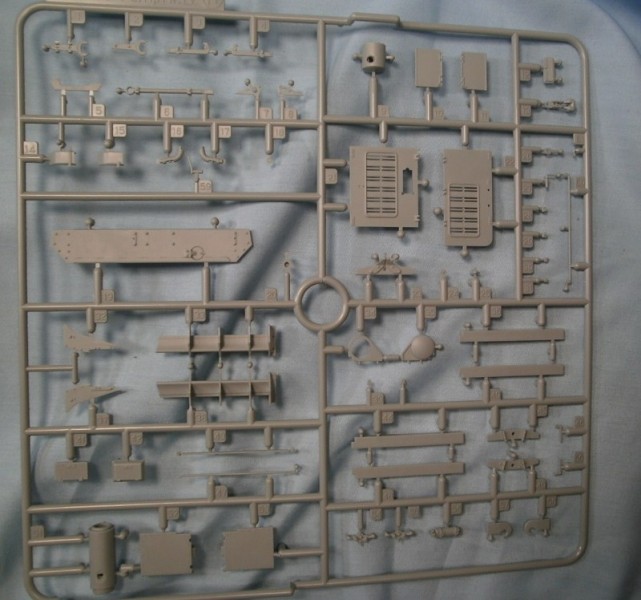
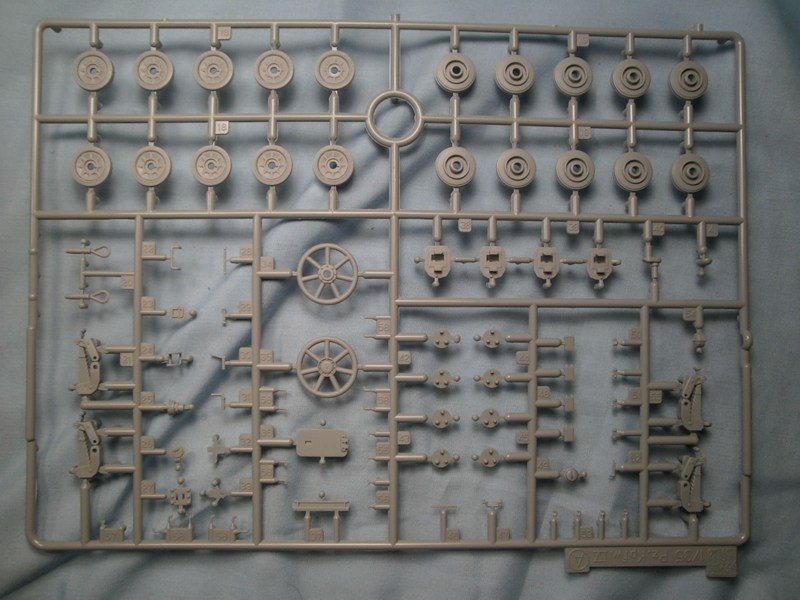
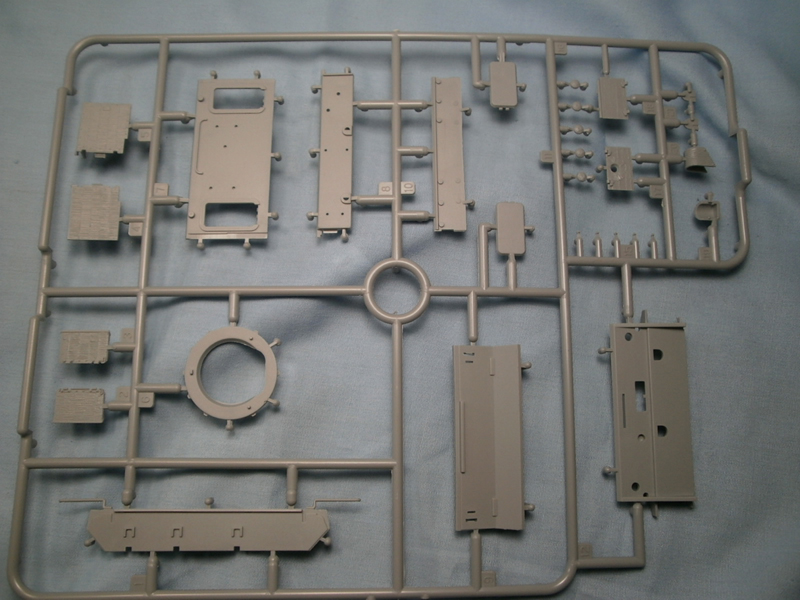
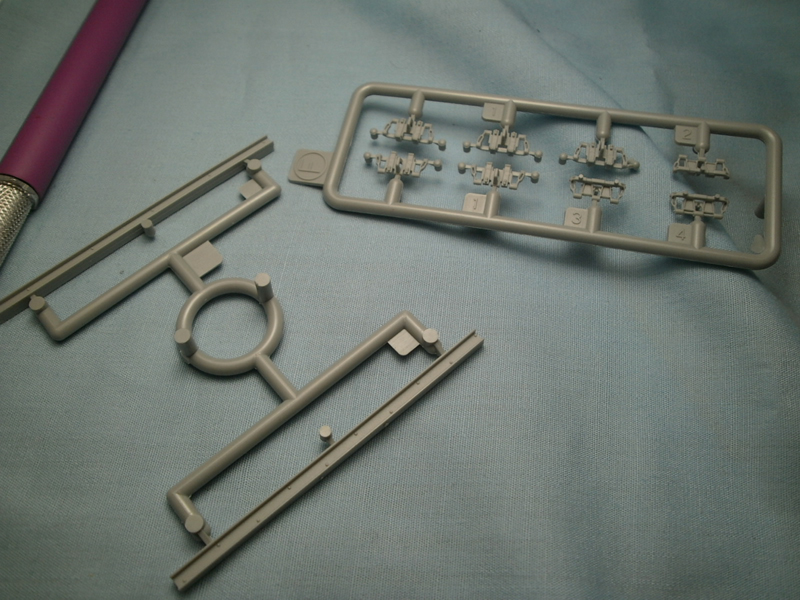
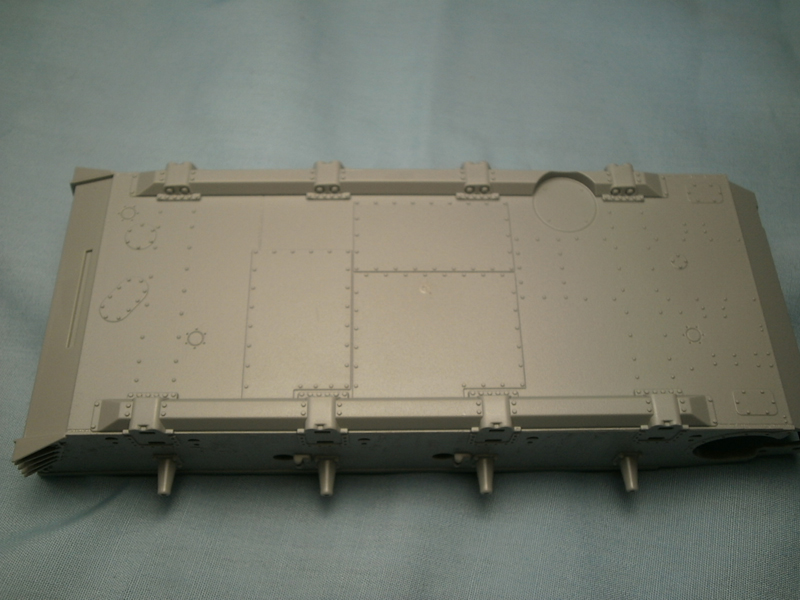
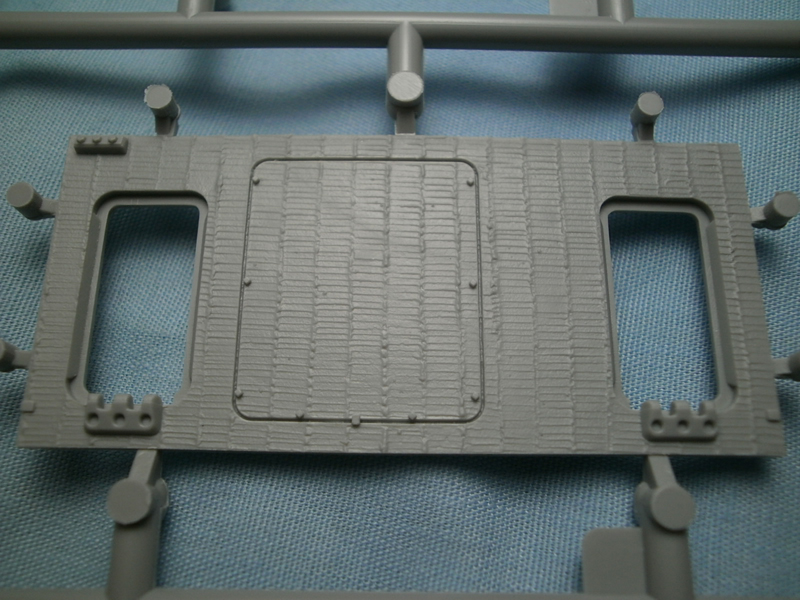
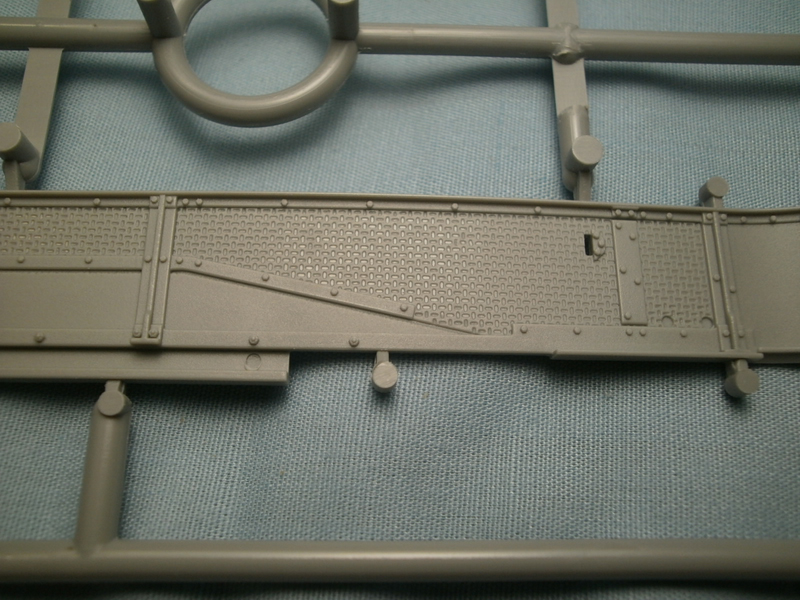
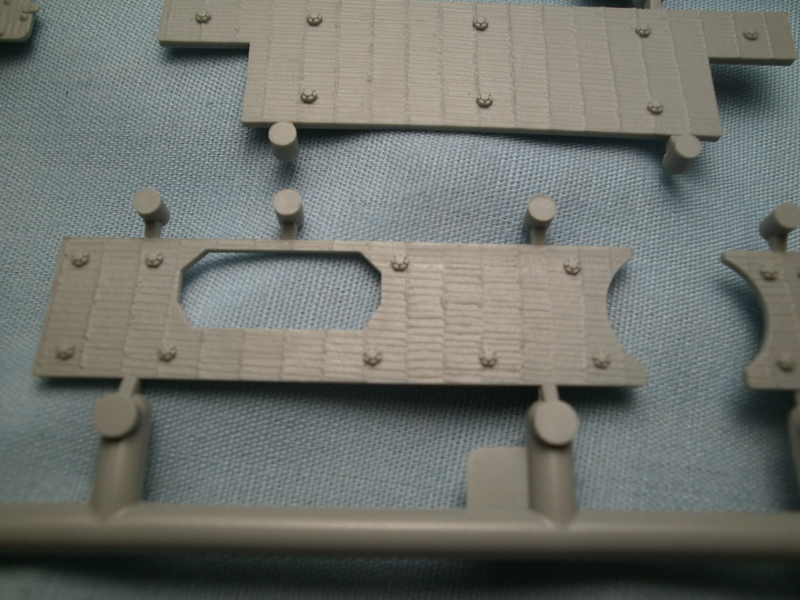
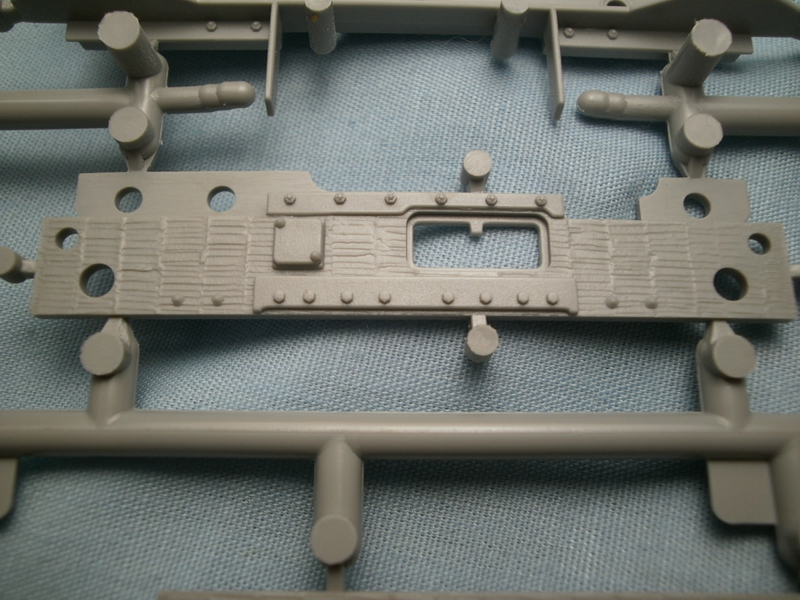
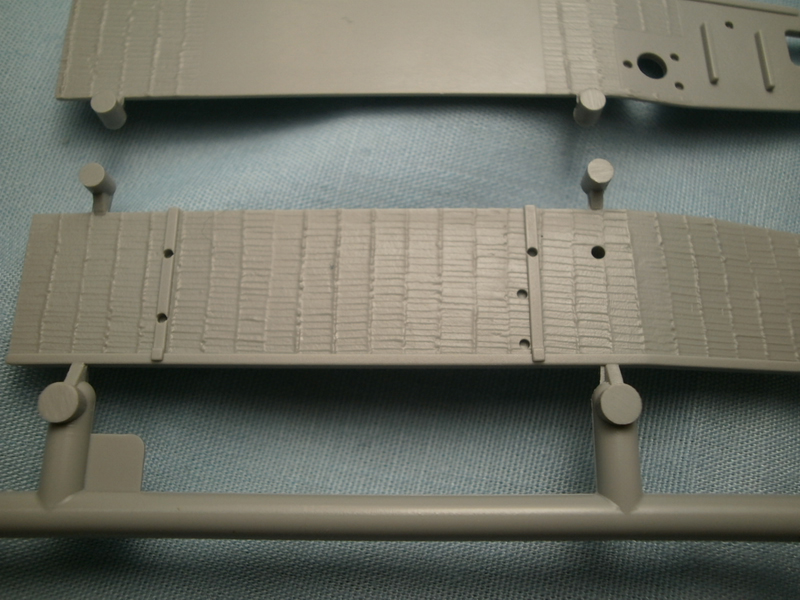
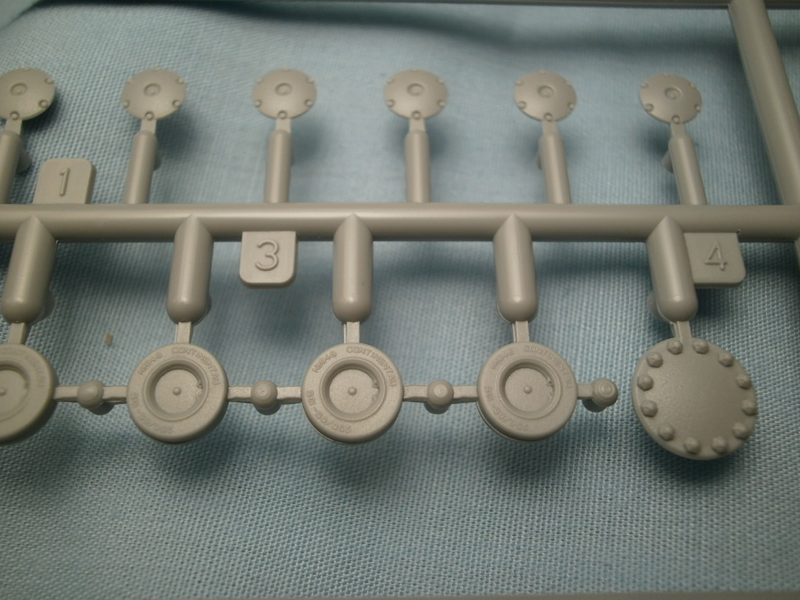
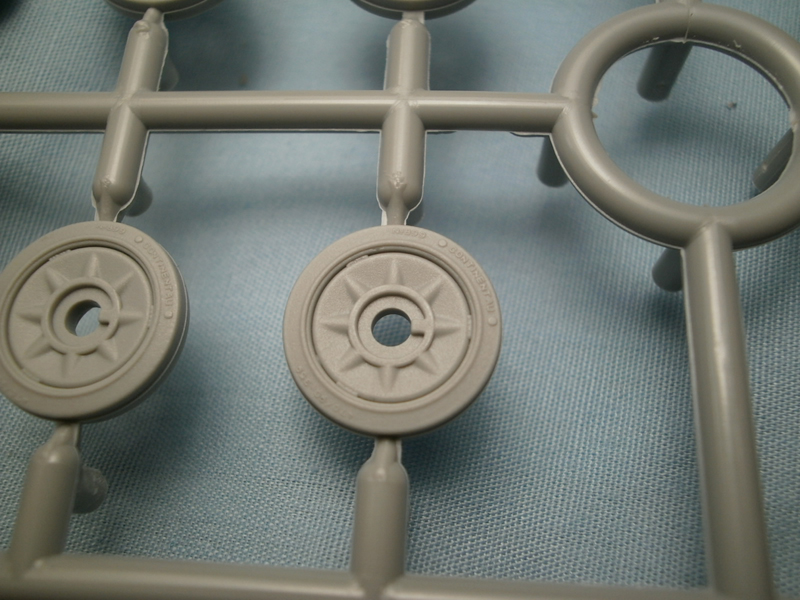
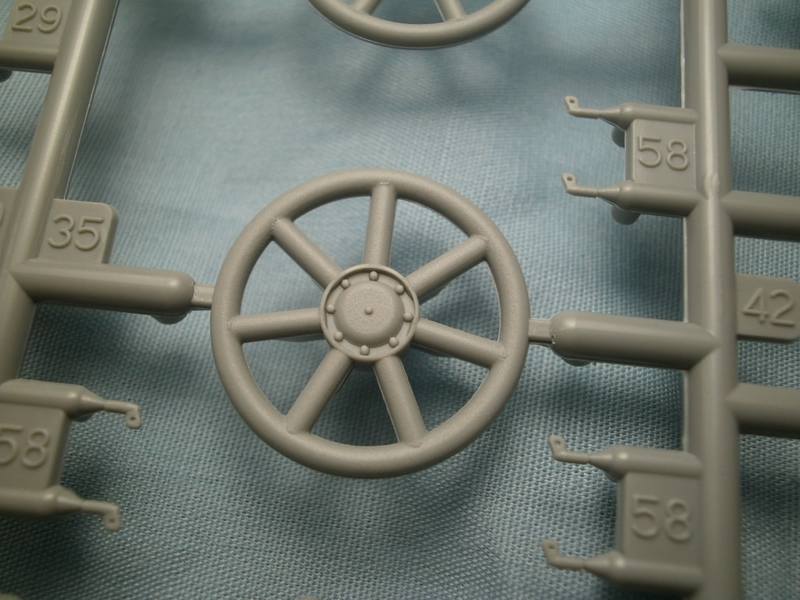
Steps one, two, and three are all about the lower hull. The application of the zimmerit on the lower hull is very well done, subtle and with a strong appearance of application by hand. I think this is the same hull as the earlier H model gun tank with zimmerit (6300) or maybe the Brummbar. At any rate the remainder is well done, nice four part final drive covers, separate rubber bumps for the separate parts for the bump stops, wider wheels with separate and correct hubs. The wheels and tires are all one piece affairs with the manufacturers logo and sizing embossed.
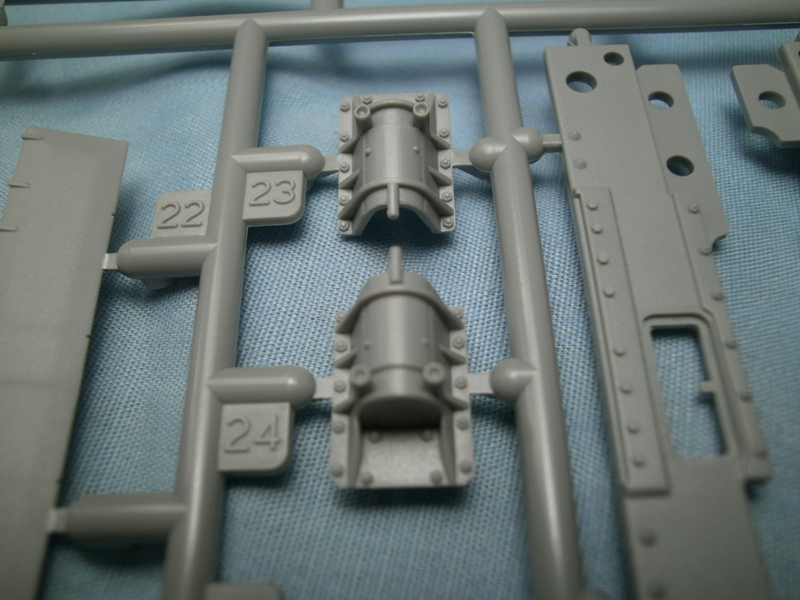
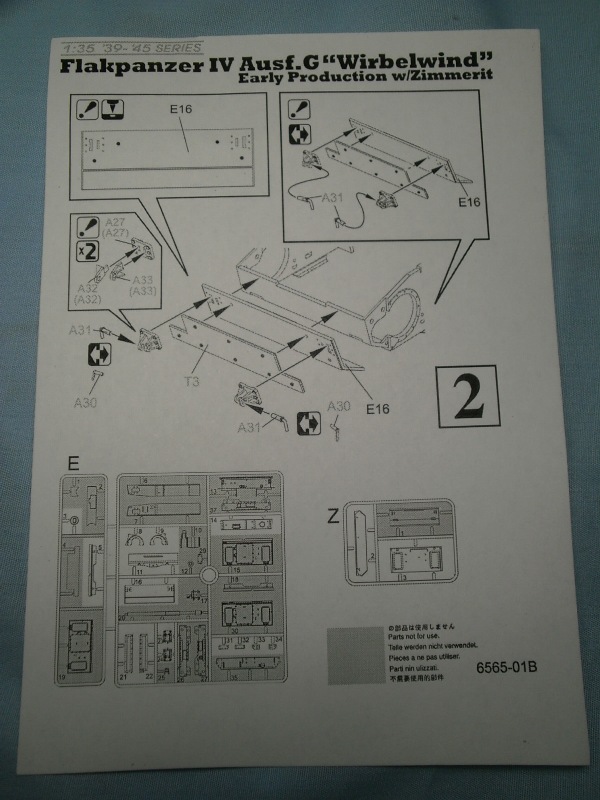
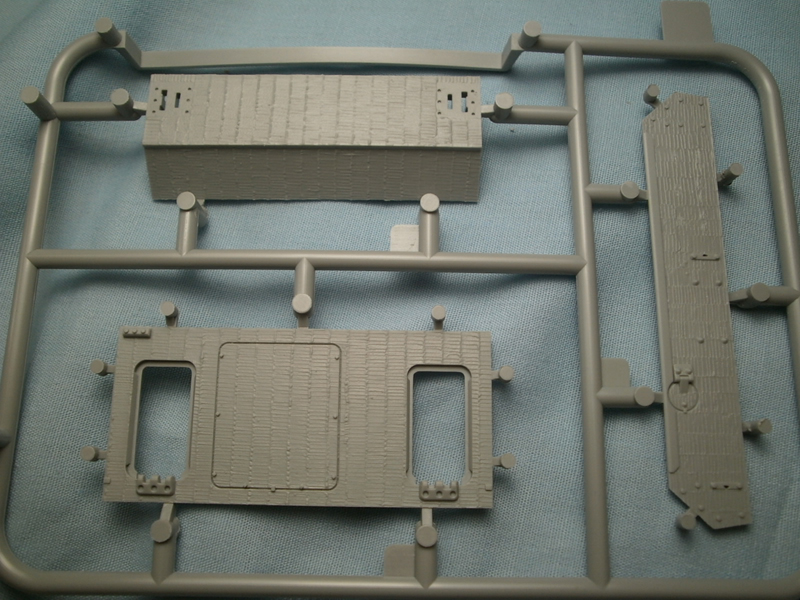
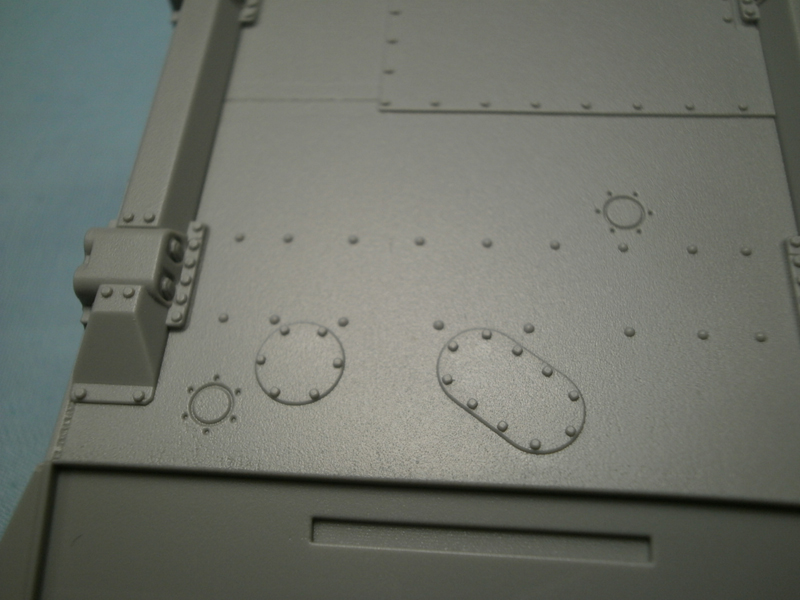
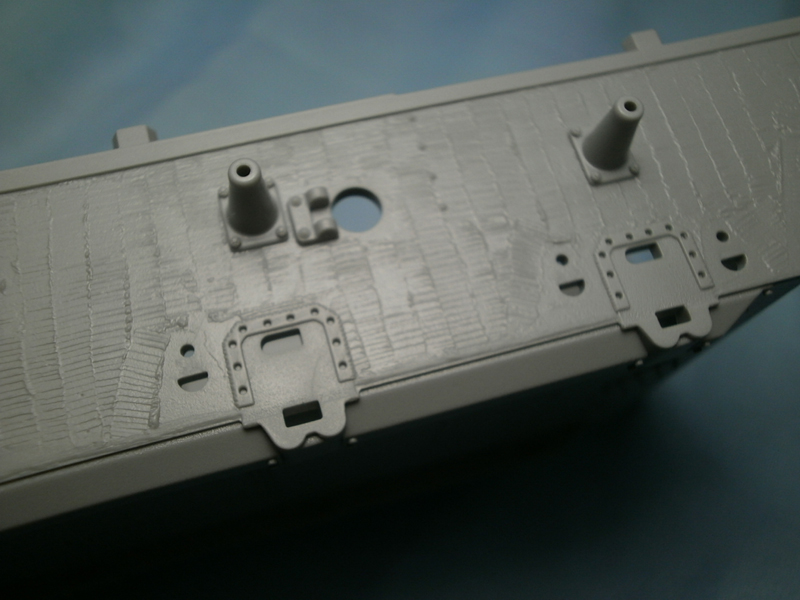
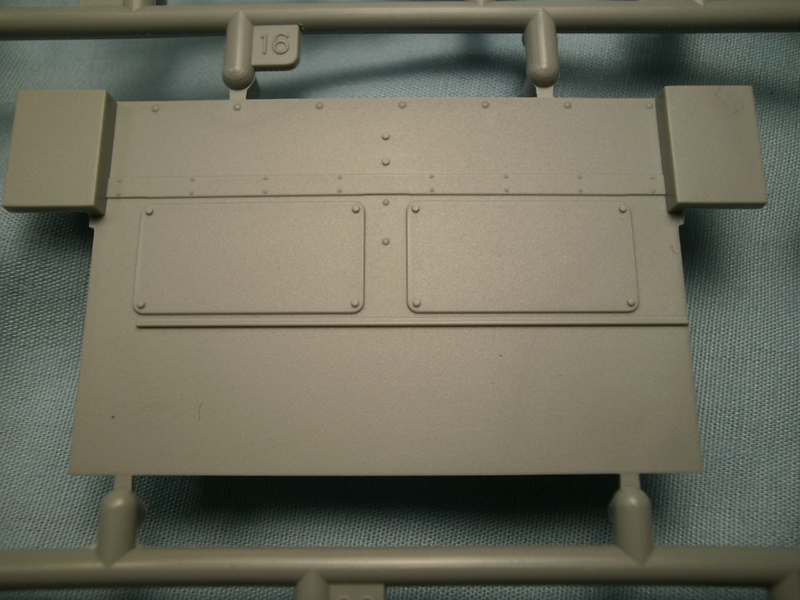
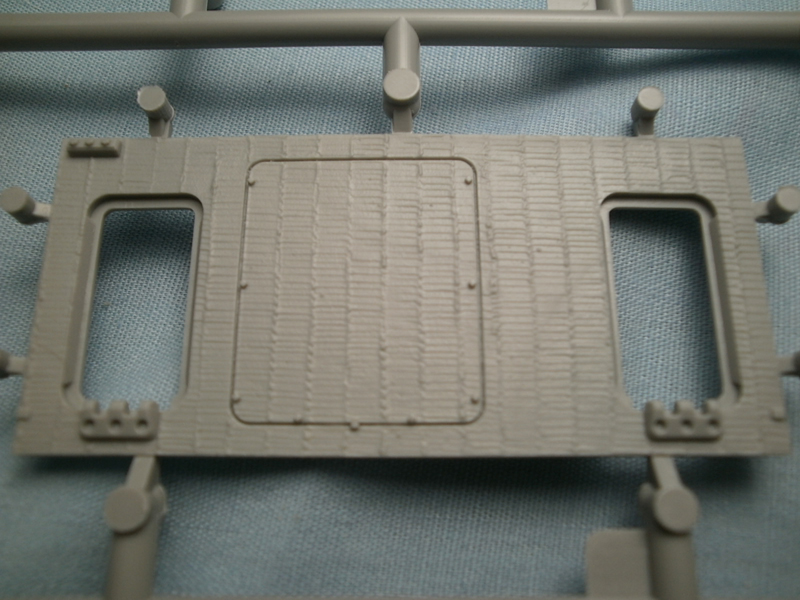
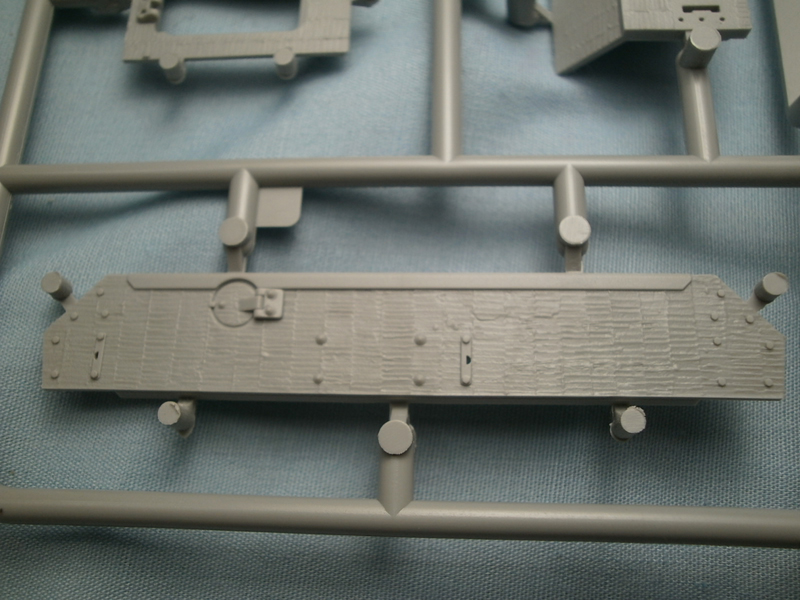
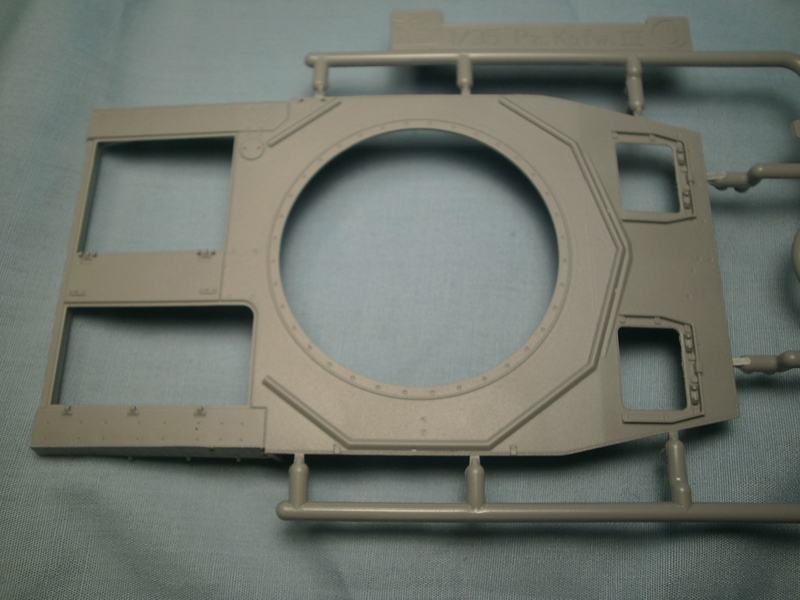
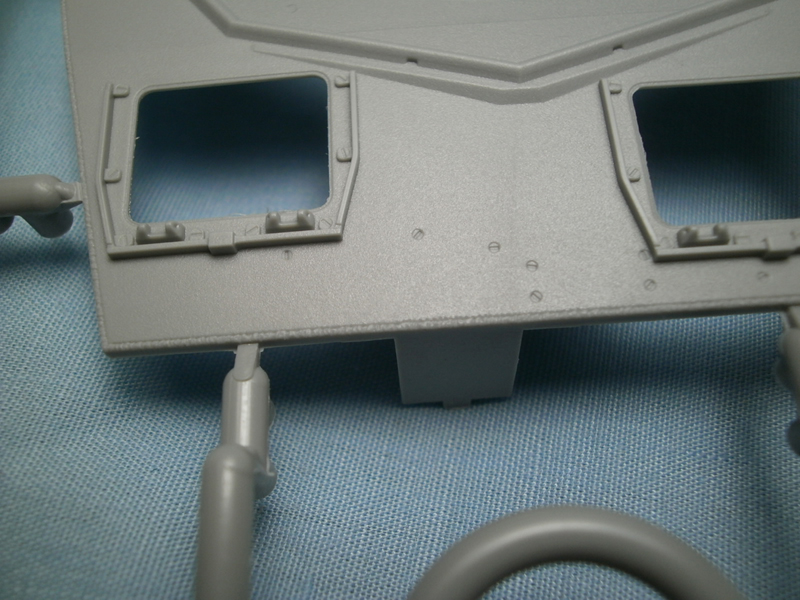
Step four deals with the rear hull. You have three different versions of the towing pintle arrangement, a nine piece muffler assembly as well as the idler wheel tensioning housings. Step five sends you back up front with the upper hull facing with the excellent hull MG and the attendant ball mounting. Zimmerit here looks great, again just enough off to appear hand applied. This step also puts the front glacis plate into play, separate brake and transmission access hatches and your choice of photo-etch or plastic brackets to hold the spare tracks. Step six puts together everything from the glacis plate down to the bottom of the hull. You may want to leave the idler axle swinging free until you install the track in order to adjust the tension.
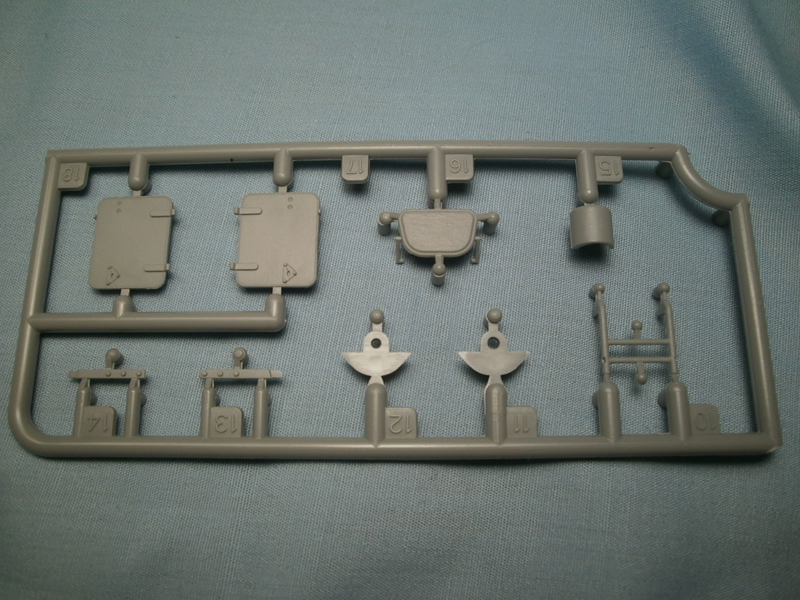
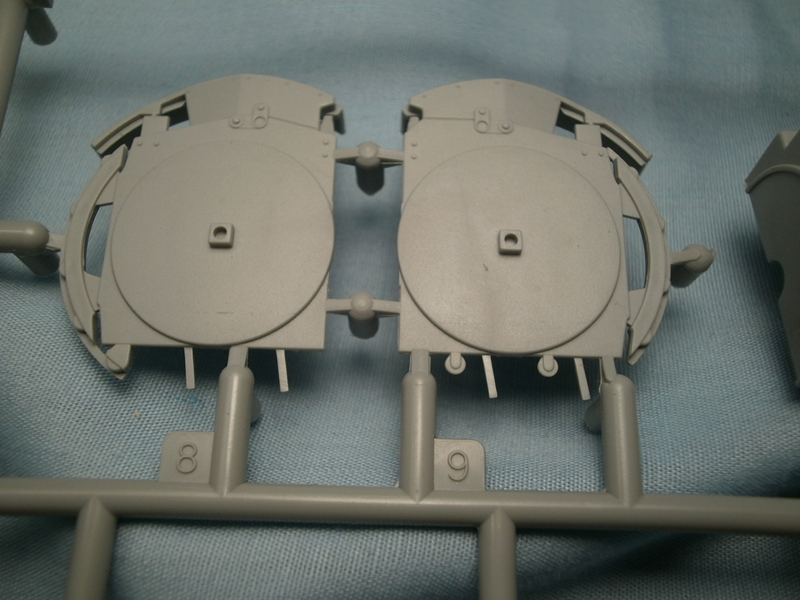
Step seven gets to the beginning of the business end of the Wirbelwind. The instructions have you adding the fenders and mud flaps as well as either the Bosch or Notek driving lamp. This is also where you start into the fighting compartment, adding the floor, the three part base for the flak gun and some bracing forward and along the hull sides. Step eight and nine are for working on the upper hull sides, mainly installing the side vision blocks and armored covers as well as the shovel and jack block. Set them all aside to dry until step eleven when you install them onto the upper hull.
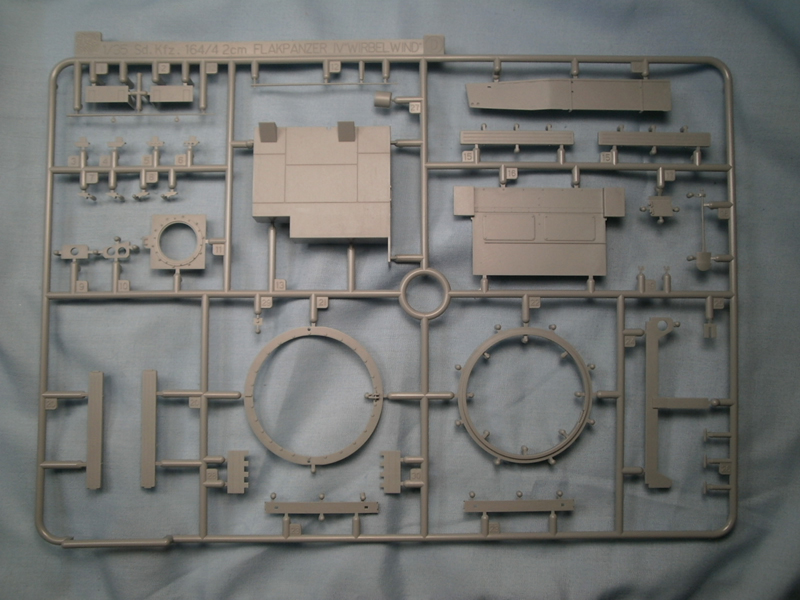
Step ten is upper rear hull territory, engine air intakes and the like. All very well done with some nice photo-etch for the inner grates to combine with the plastic parts for a very nice look. The side mounted engine air cooling intakes are also nicely done and feature photo-etched covers. I believe all of these parts and assemblies have all been seen prior in earlier renditions of the Pz. IV H. Step eleven puts all the upper hull panels together and attaches it to the hull.
Step twelve and thirteen are intended for you to install all of the pioneer tools that are attached to the tops of the fenders. Again, these are all parts that have been used before. However, that is not to say that they are of poor quality, indeed exactly the opposite, all finely molded with clamps and retaining clasps molded in place. Also, this is where you add the spare wheel holder, fire extinguisher, antennae and station keeping light plus a few more spare track links.
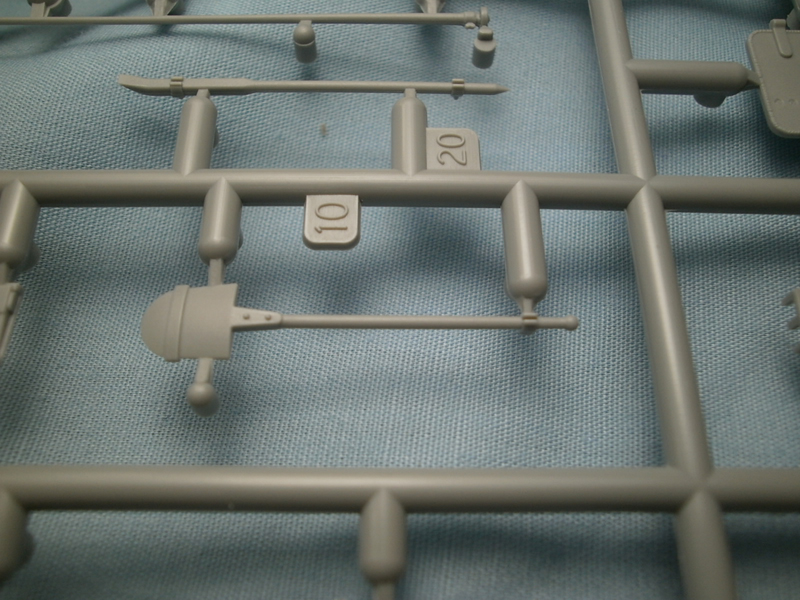
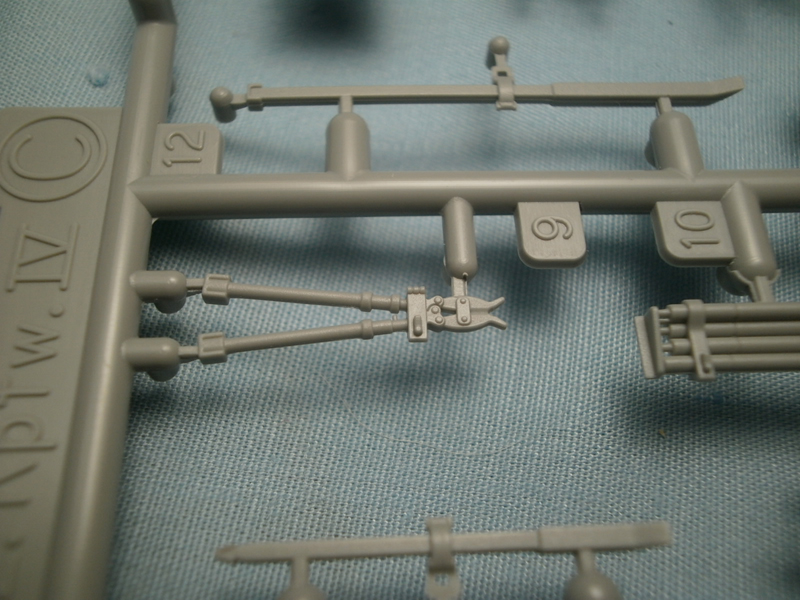
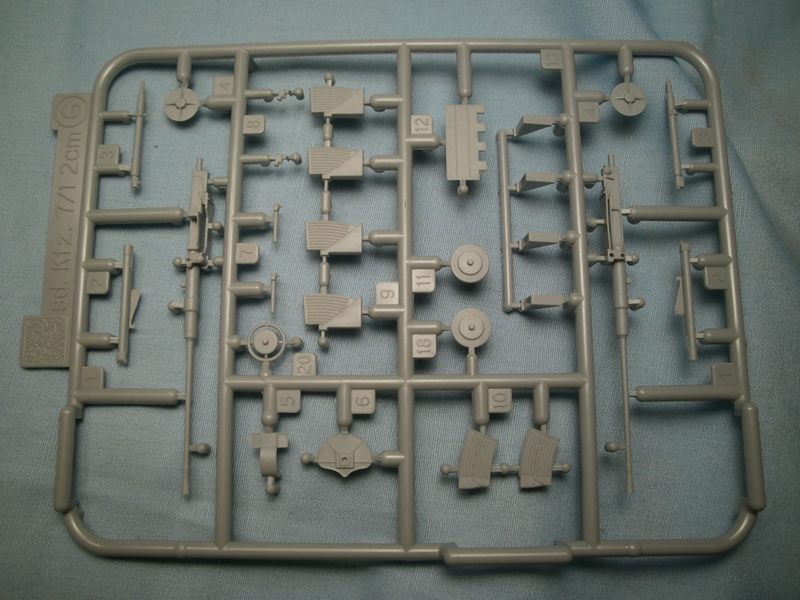
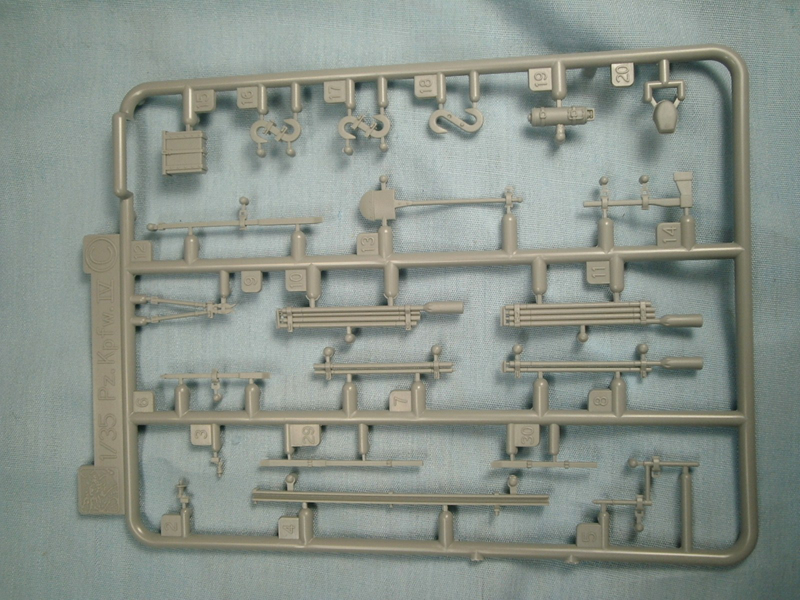
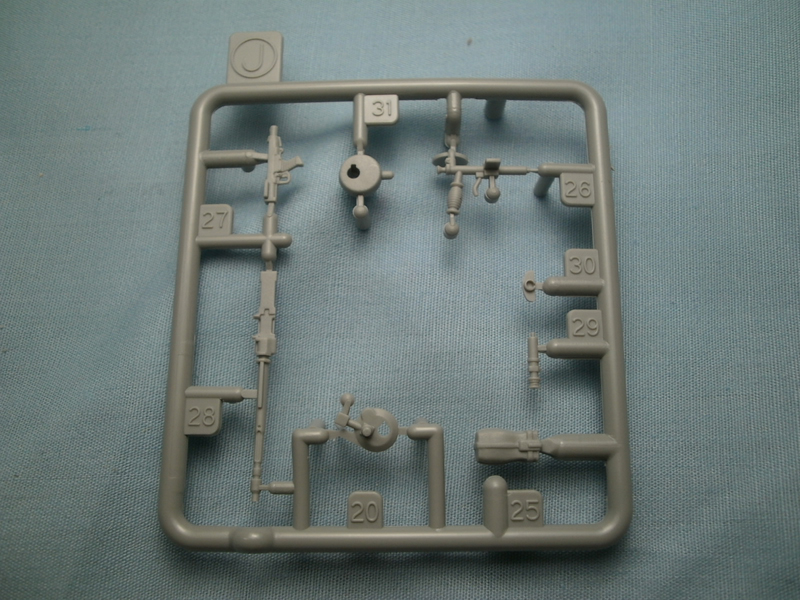
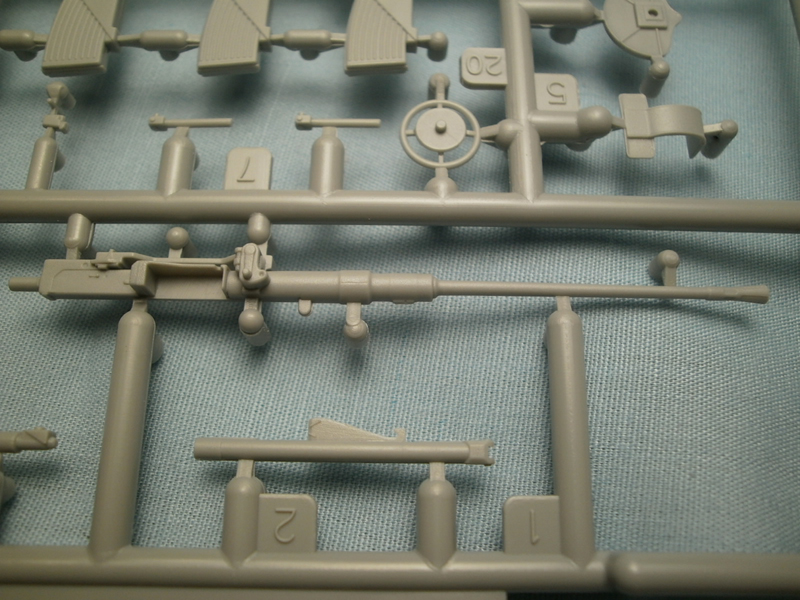
Steps fourteen, fifteen, and sixteen are all devoted to the construction of the Flak 38 gun. This is the same gun from the earlier Sd. Kfz 7/1 kit that Bill Cross reviewed a few years ago (
Sd. Kfz 7/1 review) . I would agree with Bill that the assembly is very well done; the guns themselves are all molded with opened muzzles. The flash suppressors look great under my Opti-visor but my camera wont get that close to give a proper photo. Be aware that the side vents on the suppressors are not quite open so you may want to find some replacement barrels done in brass, but I think I will stick with the kit part as a bit of dark wash on the part should bring out all the detail you would want. The rest of the gun is superlative, very fine detail everywhere you look, traverse wheels, spare magazine holders, and gun sights.
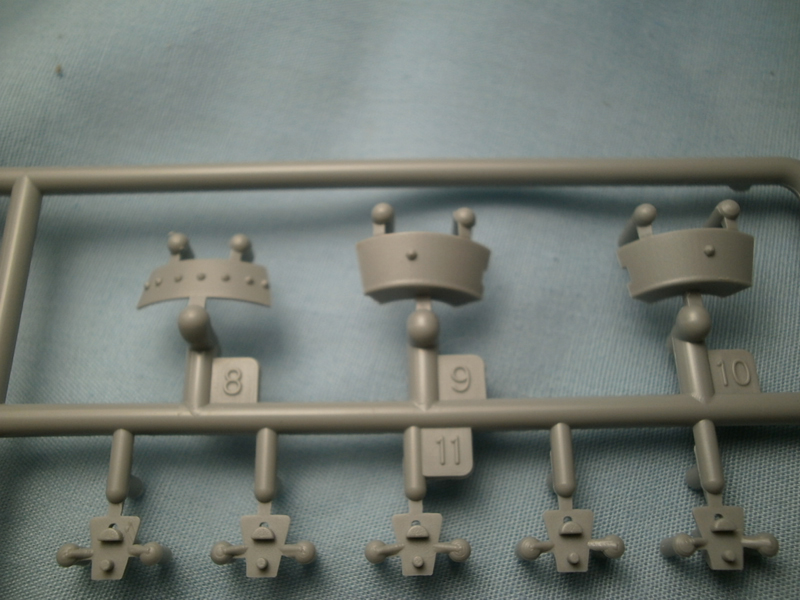
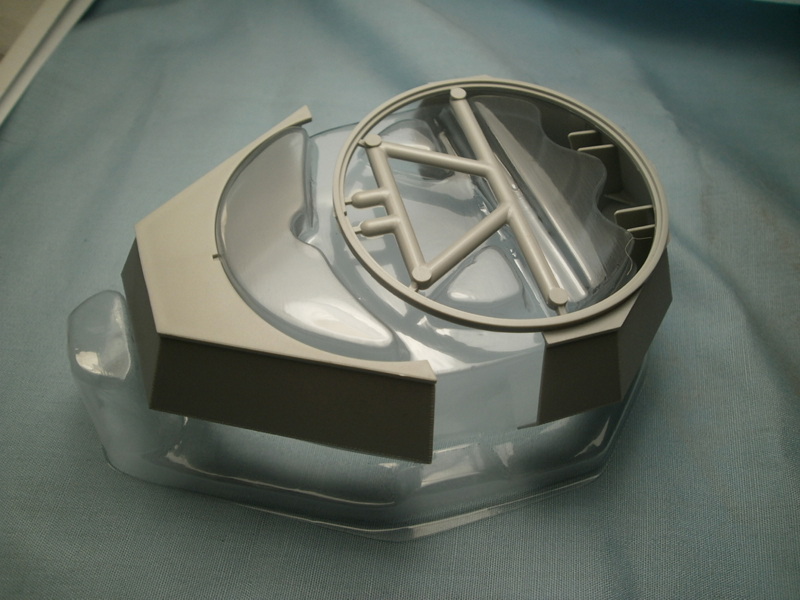
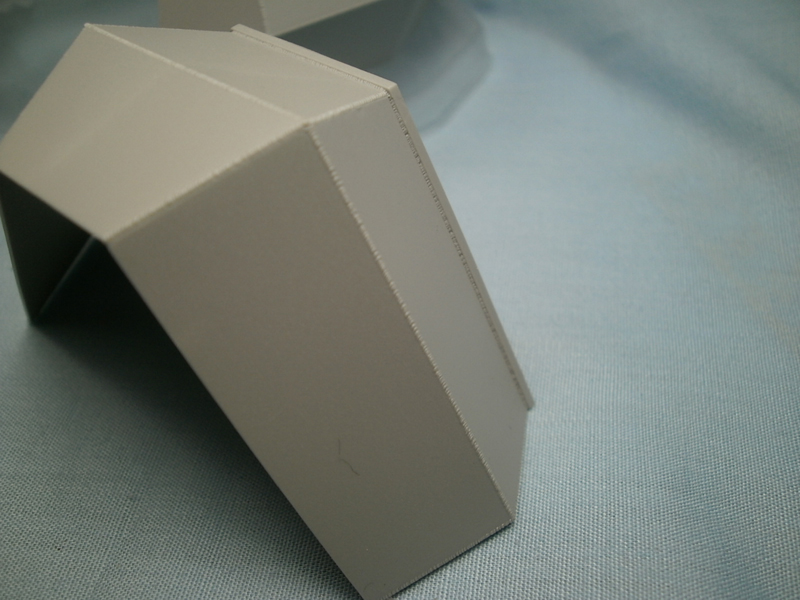
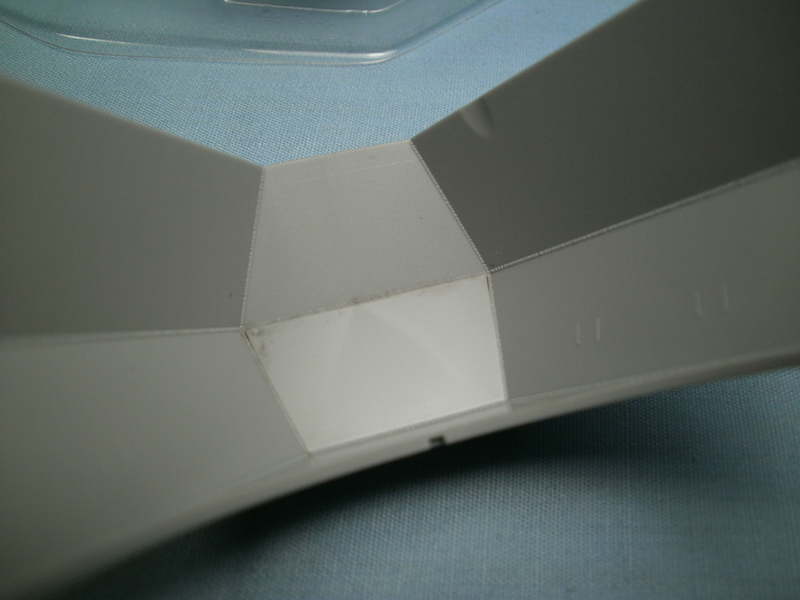
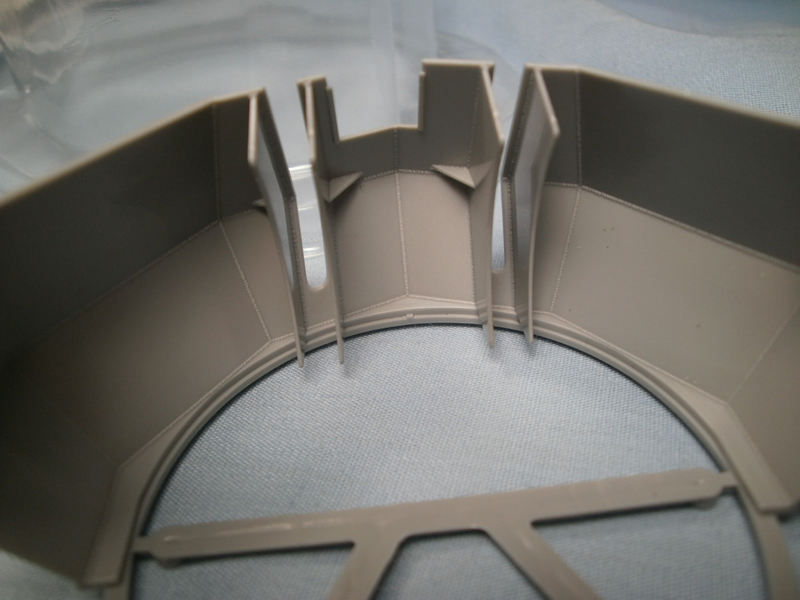
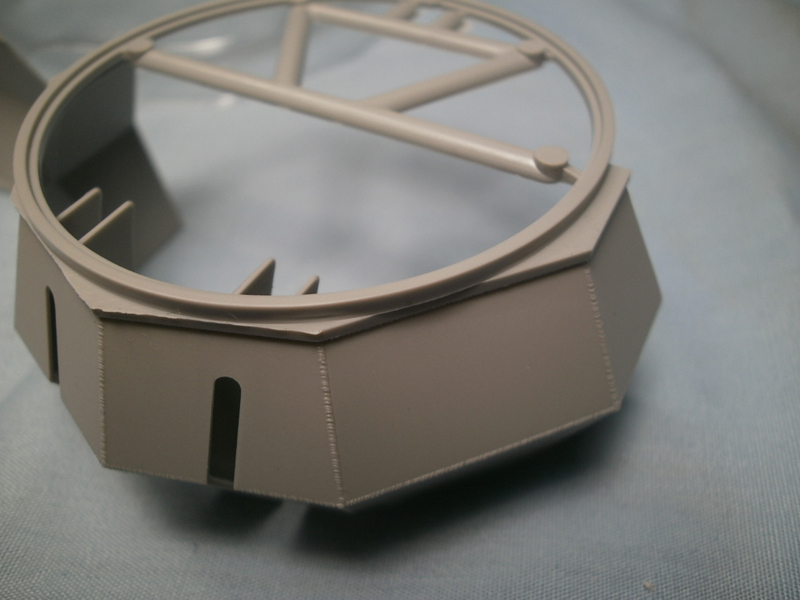
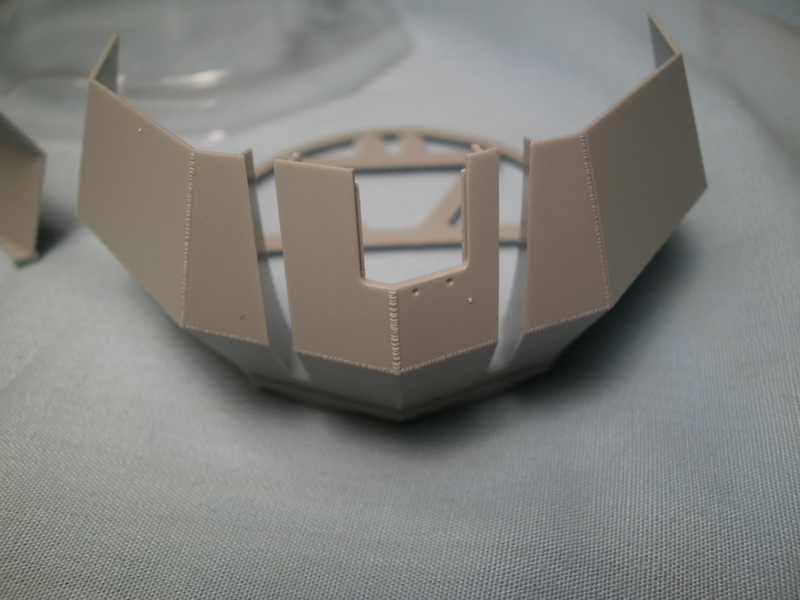
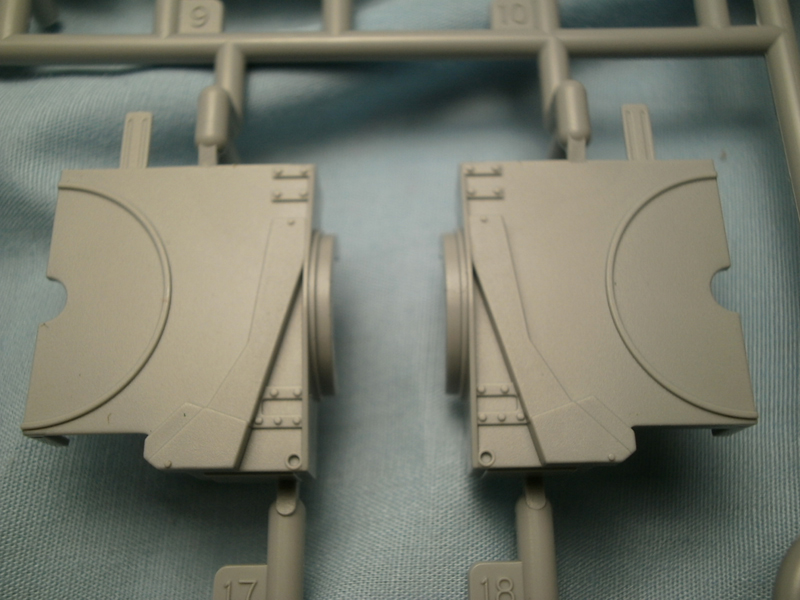
Step seventeen and eighteen put the turret together. It is a two piece affair with the join running along a panel joint to make it even better. The weld detail is great both inside and outside on the turret. Dragon packages the whole affair in a clear plastic carrier that helps to keep it safe until you can get it assembled. The turret edges are convincingly thin, so much so that Dragon calls it Razor Edge molding. It probably couldnt tackle my five oclock shadow but it is satisfyingly thin! Spare ammo magazines racks, the turret race, flap for the sight which can be modeled open or closed and the loaders seat finishes of the interior and the turret. The magazine racks hold sixteen magazines but the kit only supplies eight, if you have some in the spares bin you might want to use them here.
Steps nineteen and twenty very carefully put the gun assembly into the turret and adds the spent shell collector bin. The bin is made of photo-etch and is attached up from the bottom of the turret. Now youre almost done, carefully seat the turret into the upper hull and add the spare barrel stowage bin. You can model the spare barrel bin as either open or closed, although open looks much cooler with the two spare barrels molded in.
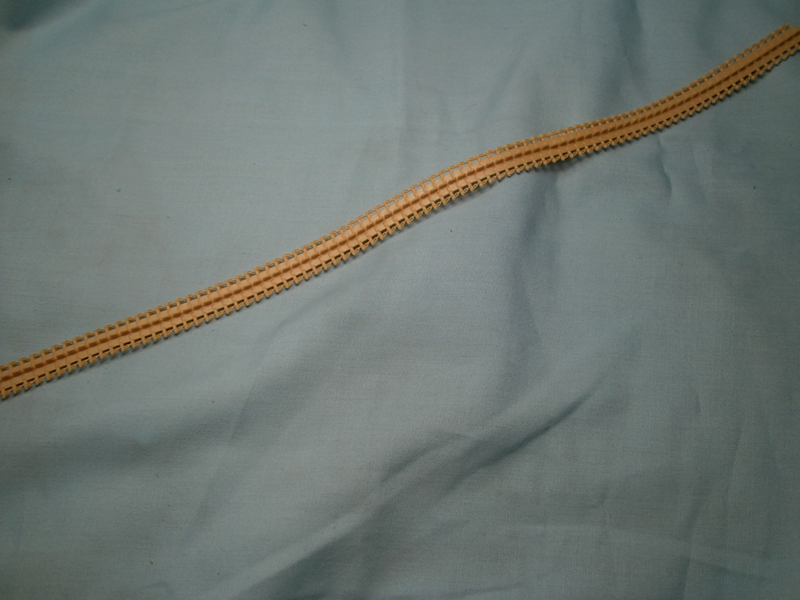
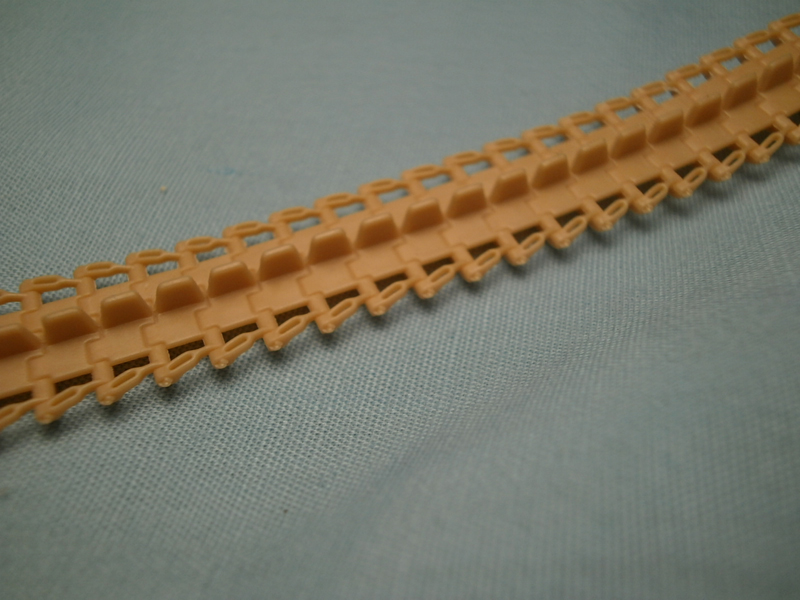
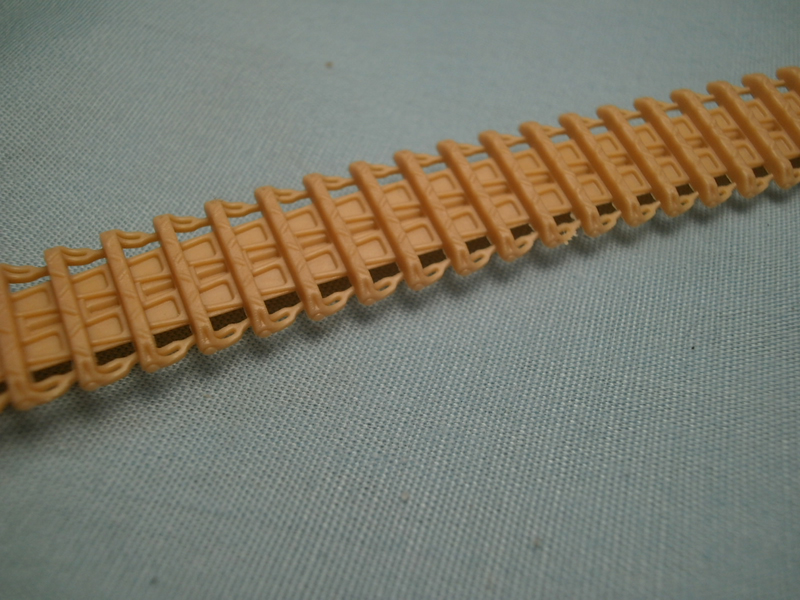
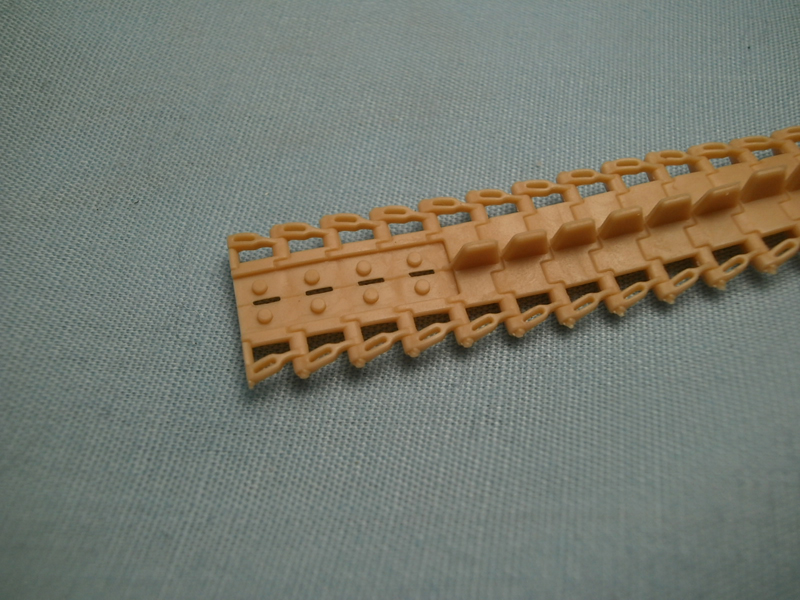
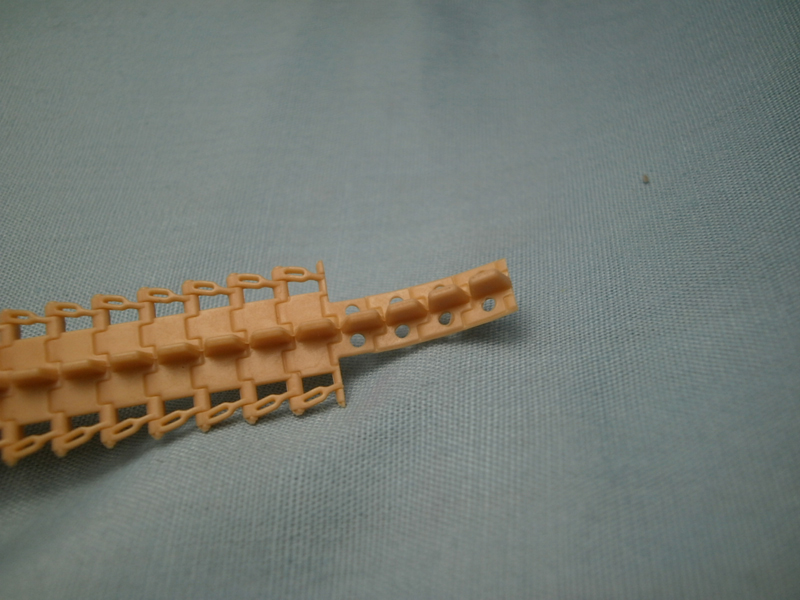
The only thing not specifically called out is the addition of the tracks. Even though they are the DS variety and not Magic tracks they magically appear on the tank after step seven and are there forever after. Some folks will like the ease of the DS tracks, others will wistfully wish for the Magic tracks and the ability to easily model the sag while some would replace either with a set of metal tracks. Choose your own path friendly scale modeler, choose your own path; just be sure to enjoy the journey!
Conclusion
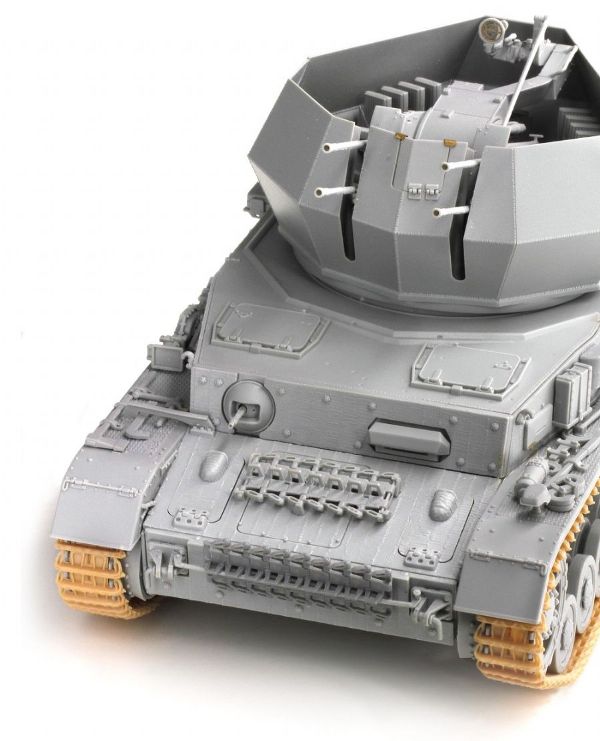
With the addition of this kit Dragon is taking another step toward giving modelers the opportunity to model even more of the Pz IV family. You will find this to be a superlative looking kit. The fine, crisp detail is evident throughout and the zimmerit application is first rate. I dont know if anything but a few of the front and side panels are new moldings for this kit specifically, however having everything in one box is going to be a huge bonus for the average modeler.


Comments