introduction
After requests from the German army in 1932 for a 8-man personnel carrier that could tow field weapons came the development of the Zugkraftwagen 1t (Sd.Kfz. 10). This would later serve as the basis for the SdKfz 250 Half Tracks. The prototypes rolled off the line in 1934 and production would follow starting in 1937, ending in 1944. Around 14,000 of these prime movers were manufactured through WWII. The SdKfz 10 saw service in all theaters of combat from the Eastern and Western Fronts to Africa.
Contents
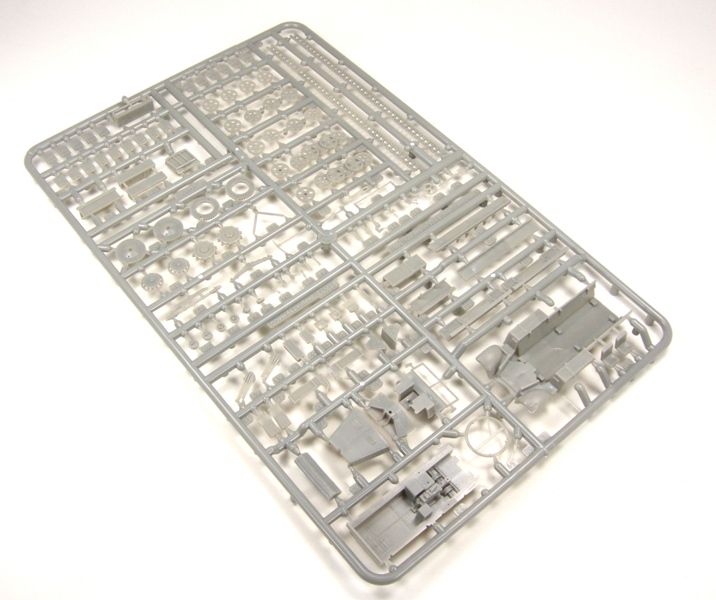
Sprue Tree 101 plastic molded parts
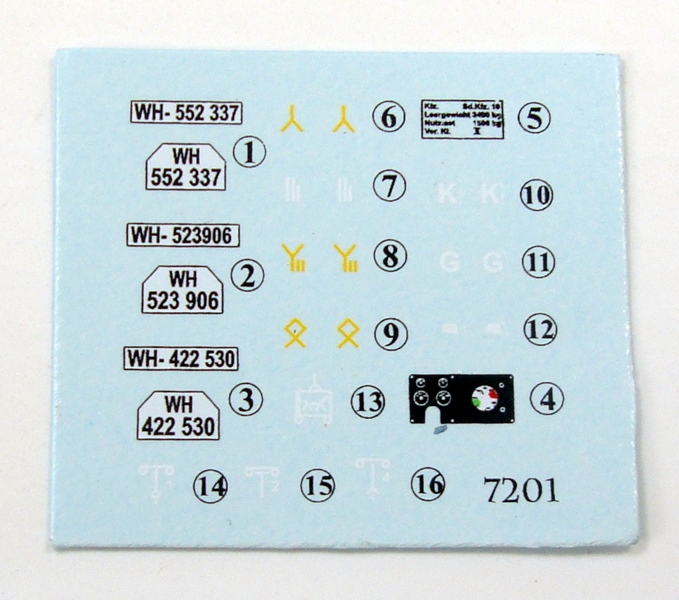
Decal Sheet for 3 different depictions
Clear piece of Acetate (windscreen)
4 page set of instructions
Paining Index is located on the rear of the box
The Kit
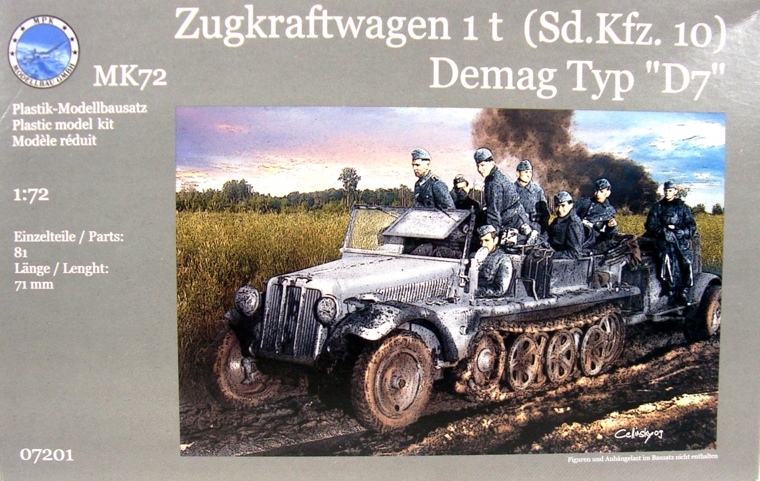
The Zugkraftwagen 1t (Sd.Kfz. 10) Demag Typ D7 from
MPK Modellbau (MK72) comes in a sturdy end opening box. The entire kit is self contained onto on sprue. The box boasts 81 parts to this kit. The Sprue contains 101 parts. After construction of this kit I found there are 4 parts on the sprue that are extra and can only assume these would be used on the second version, the Zugkraftwagen 1t (Sd.Kfz. 10) Demag Typ D7 DAK.
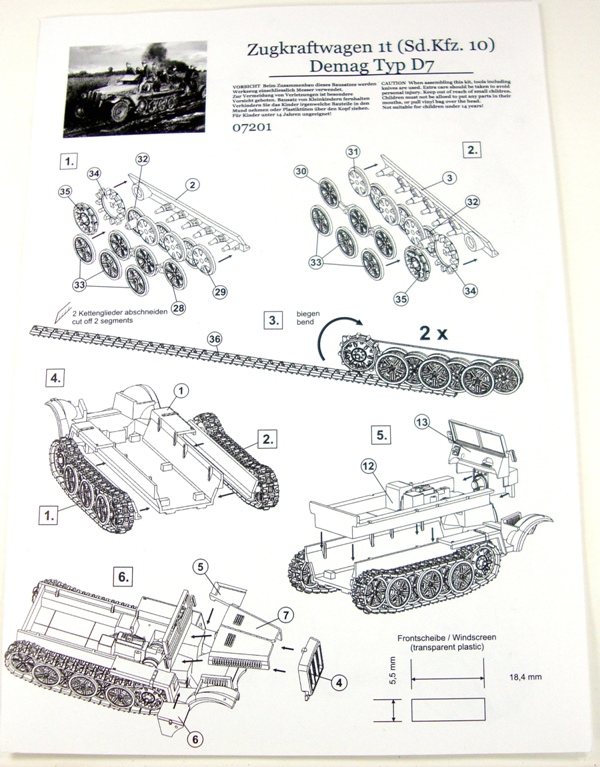
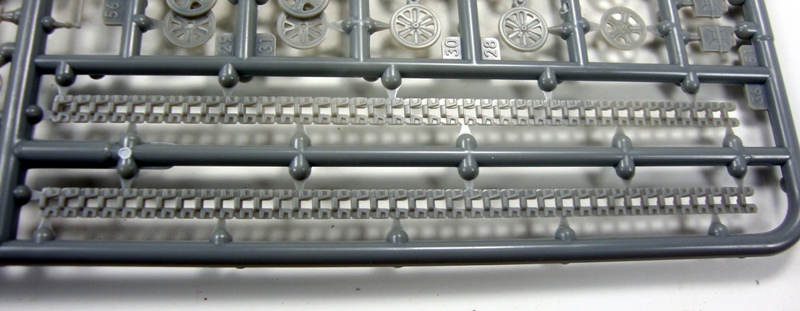
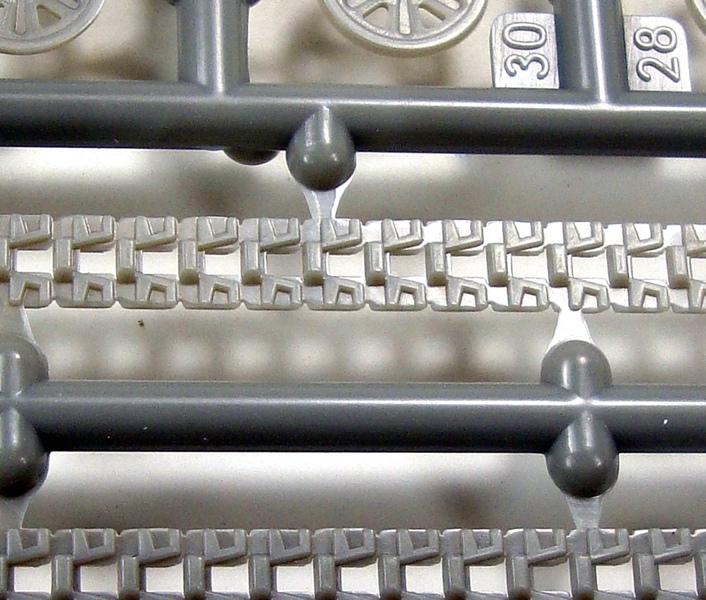
After a quick glance at the parts tree a few parts jump right out at you. First being the tracks. These Flex-Tracks are a one-piece molded set of tracks for this vehicle. They are an exceptionally nice addition to the kit. In this scale, individual links would be far too complex and tedious to construct and the old-style bandies would not do this kit justice. Simply cut the tracks out, remove two links from each track, bend around the road wheels and that is it. For this particular style of track this is the best option I have seen for track construction.
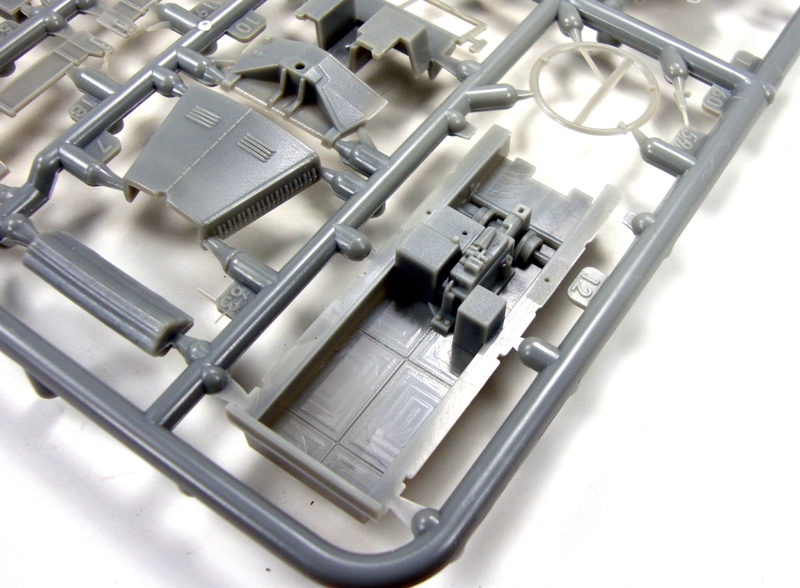
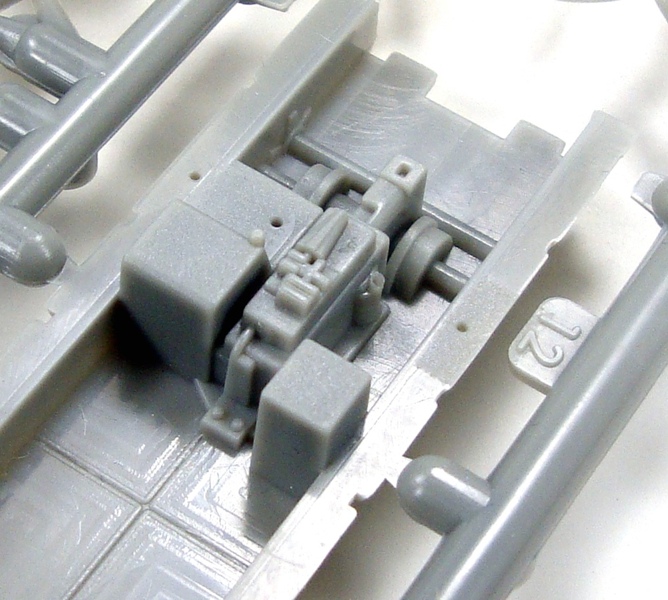
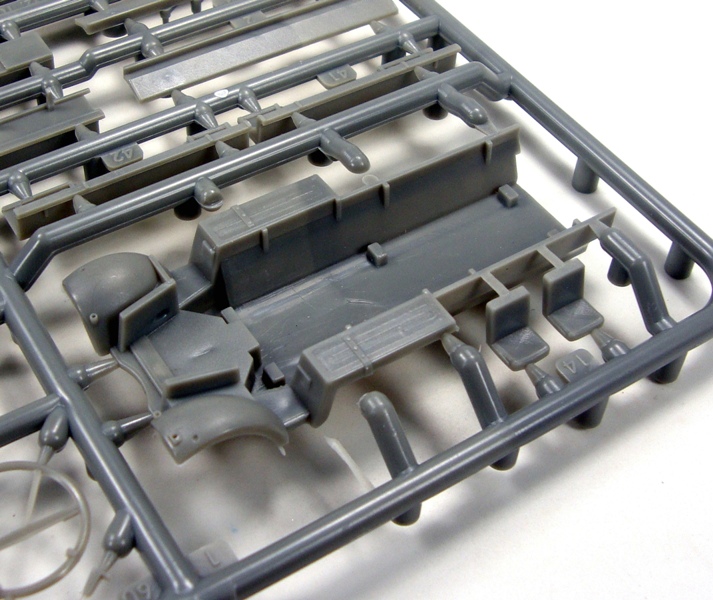
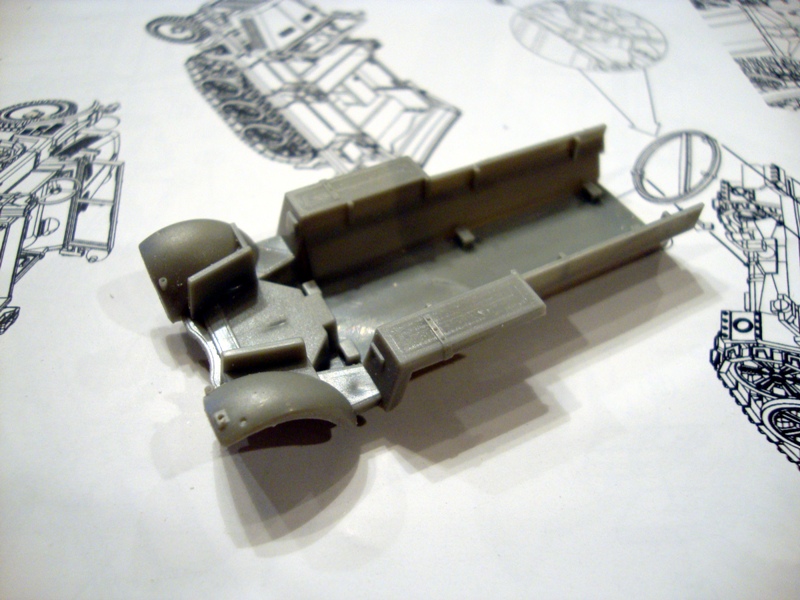
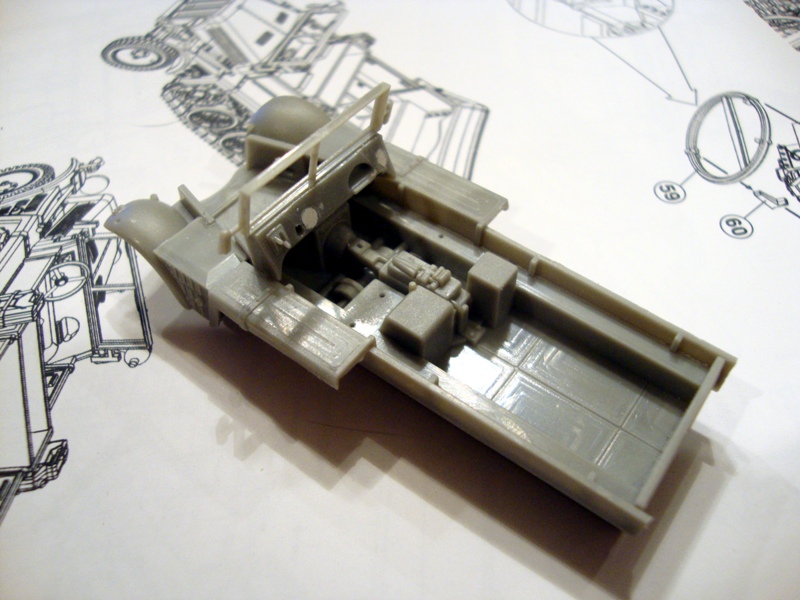
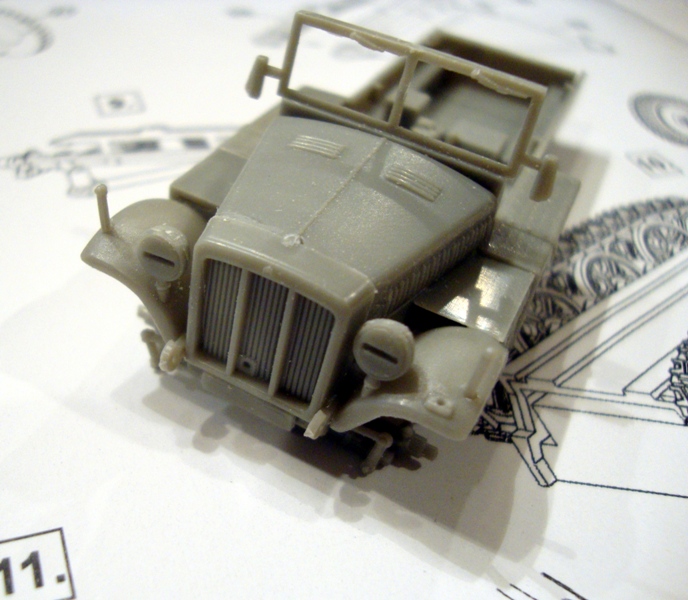
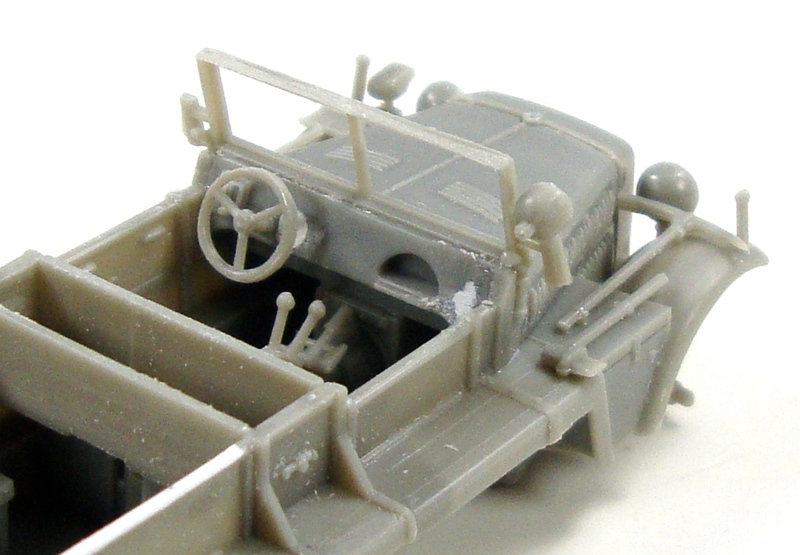
Looking over the rest of the kit, the chassis, hood and grill are modeled very nicely, with crisp, clean details. The chassis comes with the transmission section, located between the drivers and passengers seats, is molded in place. I feel this is a great feature as the details are really good on this part but eliminates a number of unneeded parts ending in the same result, but, with less frustration.
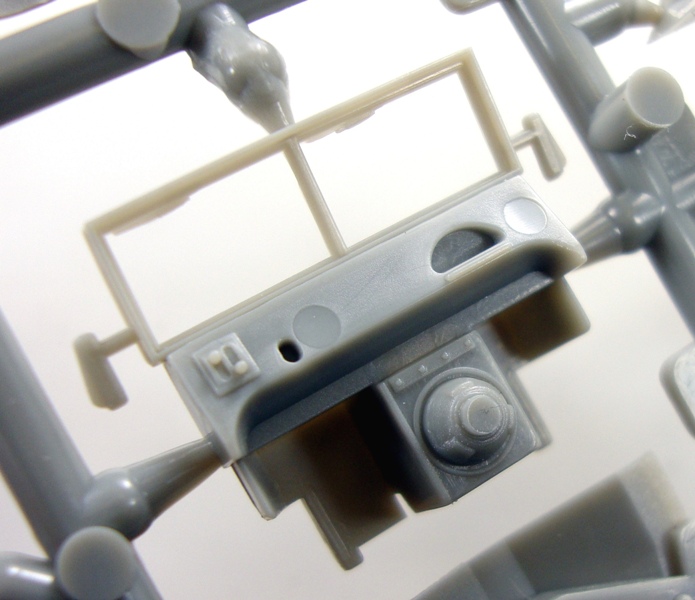
The windscreen, dashboard and cowl for the engine compartment are complete in one part. The dashboard is void of molded instruments. This could have had some molded dials added to enhance the look, but the decal supplied, and in this scale, is sufficient. I noticed there are two ejector pin marks located on the dashboard. These can be eliminated rather easily with some filler and a quick sanding. I would suggest that you do this prior to installing this part into the chassis, as it will be far easier to sand this area not installed.
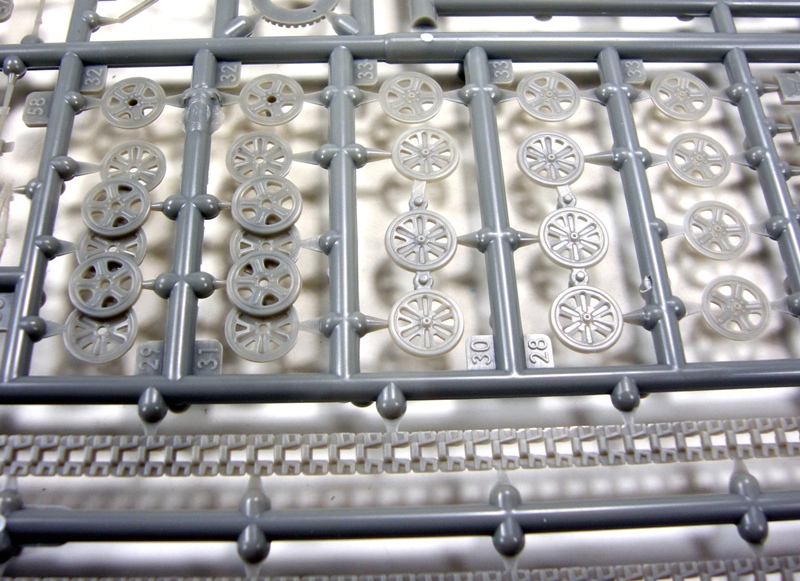
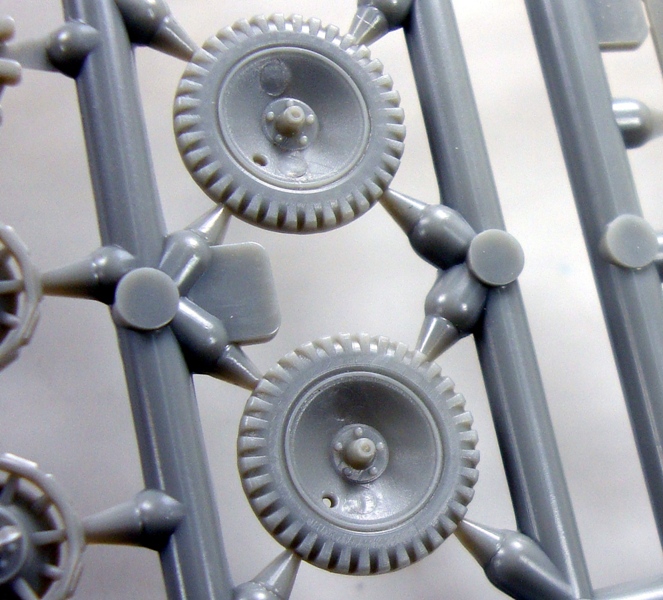
Another area that will need attention is the front wheels. Both rims have two ejector pin marks which need to be carefully sanded, as to not disturb the delicate pattern of the lug-bolts and nuts.
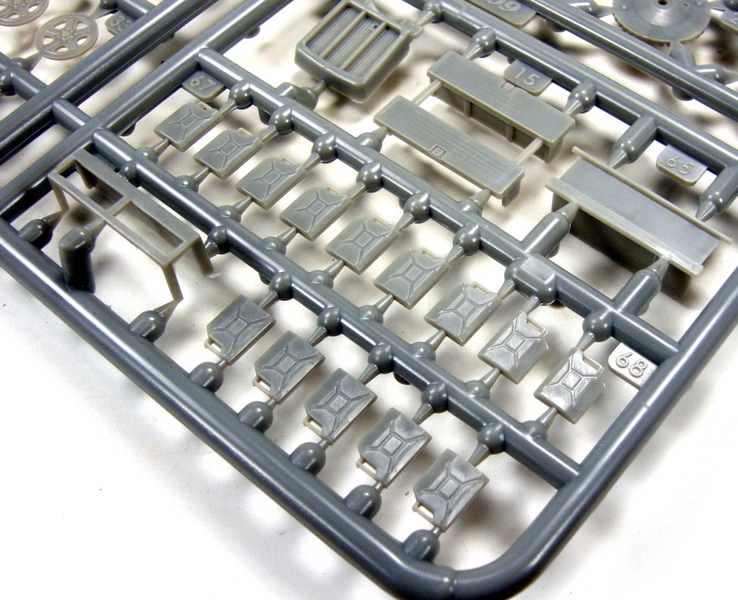
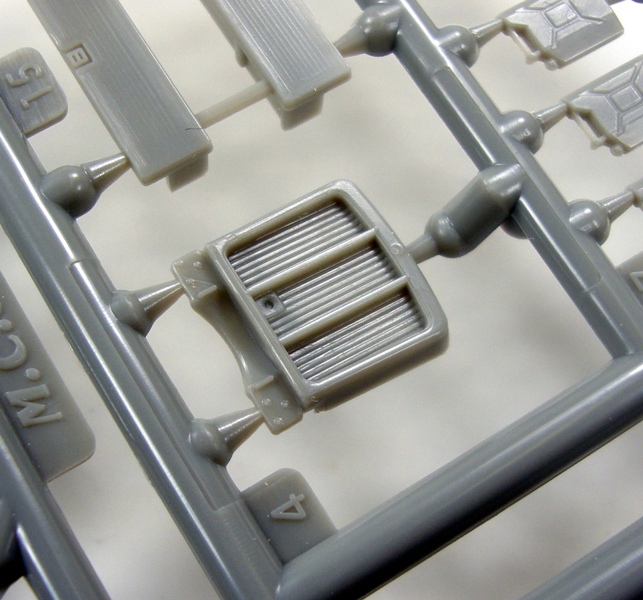
The final thing I noticed on the sprue is the inclusion of 10 Jerry Cans. These are two piece molded cans with nice detail. All of these do not need to be constructed but having the option is great and the addition to the spares box even better sometimes.
Construction
The instructions for this kit is laid out in 19 easy to follow black and white drawings spread out over 4 pages. As long as you follow these instructions step by step you should be able to construct this vehicle with little to no problems at all. This is a small vehicle in 1:1 scale, so, in 1:72 there are many parts that are extremely tiny and very delicate. Take your time removing the parts from the tree and it would be a good idea to have some double backed tape or reversed masking tape handy to hold the parts secure to your workspace while constructing. The suspension is extremely small and a bit quirky to install, but again, follow the direction and take your time and it goes together with little effort.
In step 6 of the instructions it shows the installation of the grill, part #4. Be careful removing this part as the sprue tree is connected on one side exactly where the radiator cap is located. This detail is needed to accurately represent the real vehicle. If this cannot be saved, it is easily replaced with some small styrene rod stock.
In step 12, the instructions show the installation of part 64, the searchlight. I chose to drill this part out. I will end up painting the inside silver and use some Krystal Klear to fill it afterwards giving this a more true-to-life look. There is another option on this kit. MPK has supplied a set of headlights without the night covers on them. Parts #39, both are hollow already. With the exception of a small bump on the backside of the searchlight, these are virtually the same light. Exchanging one of these lights with the searchlight would eliminate the careful drilling out of the light.
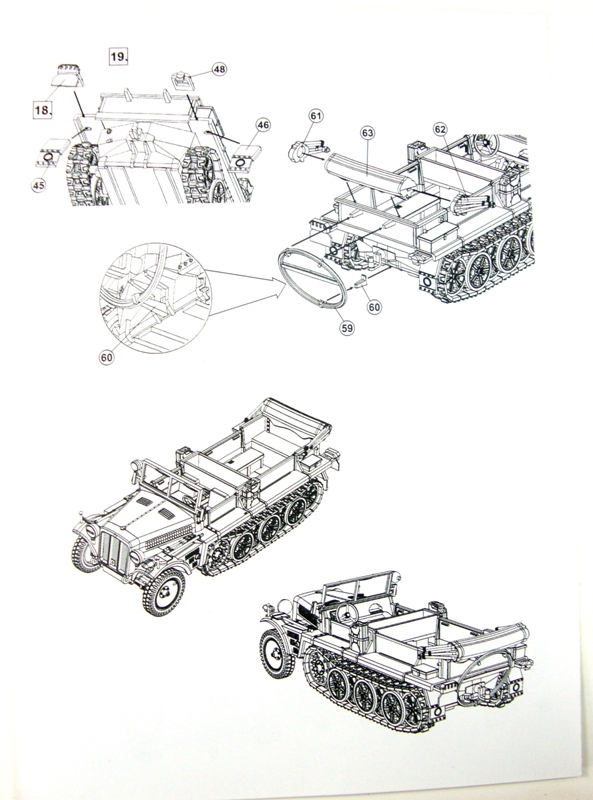
Before beginning step 16 in the instructions, have a close look at parts #41 and #42. The inside panels on each of these parts has two ejector pin marks that need to be sanded out before installation.
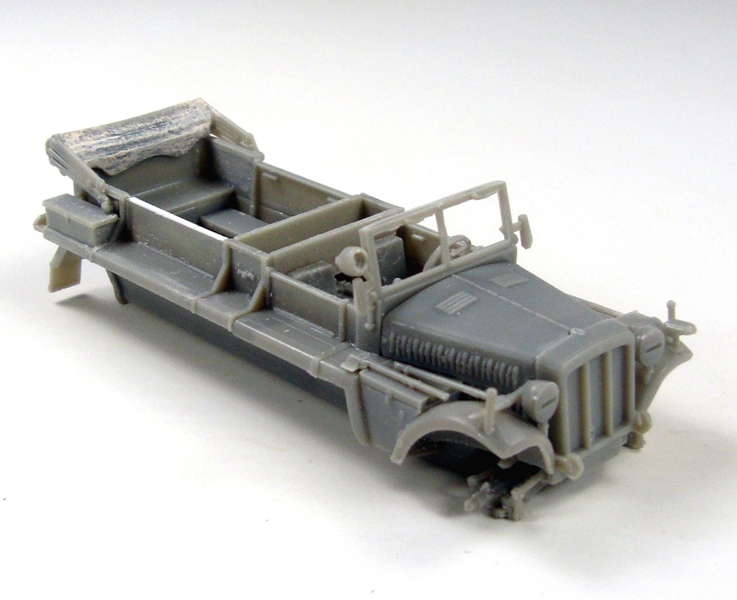
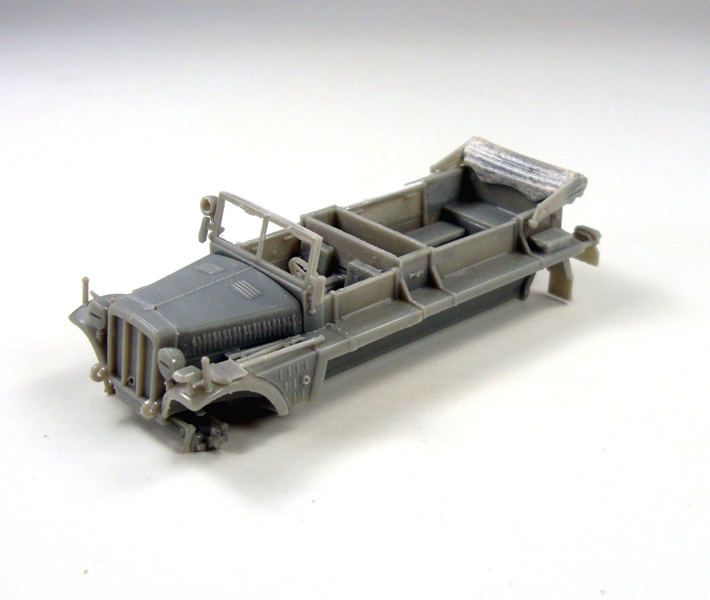
After some inspection from various walk around pictures of this vehicle, one addition I chose to make to this kit is a top rail to one of the rear compartment side walls. Part #42 seems to be missing the top molded rail of the center section of the side wall. I simply cut a small strip off some thin styrene sheet stock, glued in place and gave a quick sanding.
Finally, after putting the kit together as far as I could before painting, I decided to add a little texture to the folded canopy as well as the driver and passenger seats.
This is a quick building, fun kit. I found little flash and mold seams, but there are a few. These are easy to remove with fine sandpaper or needle file. I chose to leave the entire track and track wheel section separate from the main part of the vehicle for painting reasons. However, I feel you could construct the entire model and paint with little difficulty. You may wish to leave the steering wheel off until the decal for the dashboard in installed as this is a tight space and would most certainly ease the struggle in placement.
Conclusion
I feel this is a great little kit with nice details throughout. The construction is straightforward and simple as long as you take your time and follow the instructions. Be careful removing the parts from the trees and double check the parts for mold seams and pin marks. The price may seem higher than some other 1:72 scale kits but is made up for in the finely molded parts.
A
Build log has been started in the forums.


Comments