This is the third Opel Blitz Omnibus kit I have reviewed here. As such, some of the detail in this review will match that of the first kit review.
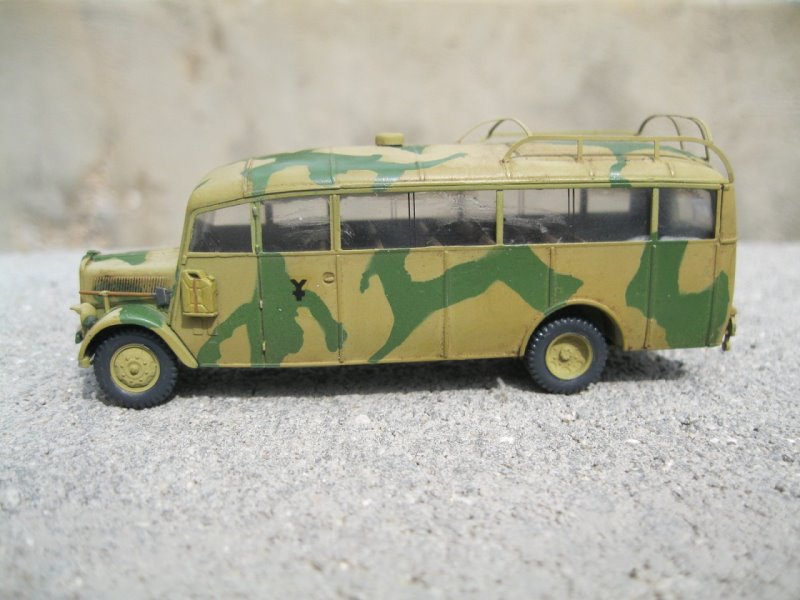
The Opel 3.6-47 Omnibus was a combination of the Opel Blitz, with the 75hp 3.6 liter engine, on a lengthened chassis of 4.7 meters (approx), mated with a sheet metal body manufactured by Ludewig. The bus could carry 30 passengers and tow 4,000kg. Standardized in 1939 as the W39, the bus was quickly pressed into service as the invasion of Poland had already begun. Production continued until 1943, with 2880 vehicles of the early design version produced. Later version vehicles had a boxier structure made of pressed wood.
The bus was used for military purposes as an officer transport, and modified for use as an ambulance, mobile command post, radio vehicle, bakery, laundromat, mobile workshop and telephone exchange. It served on all fronts during the war. For example, the photo of the Polish surrender ceremony was taken inside of an Opel Omnibus.
The Kit
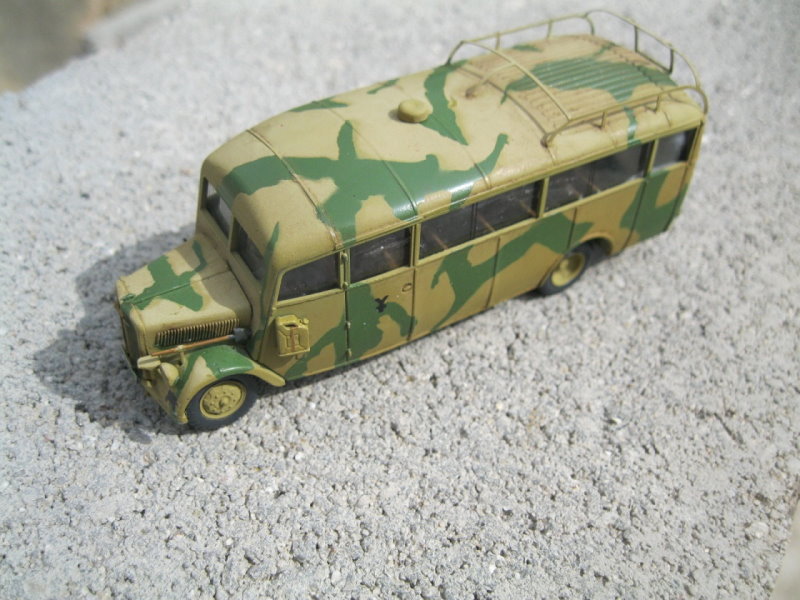
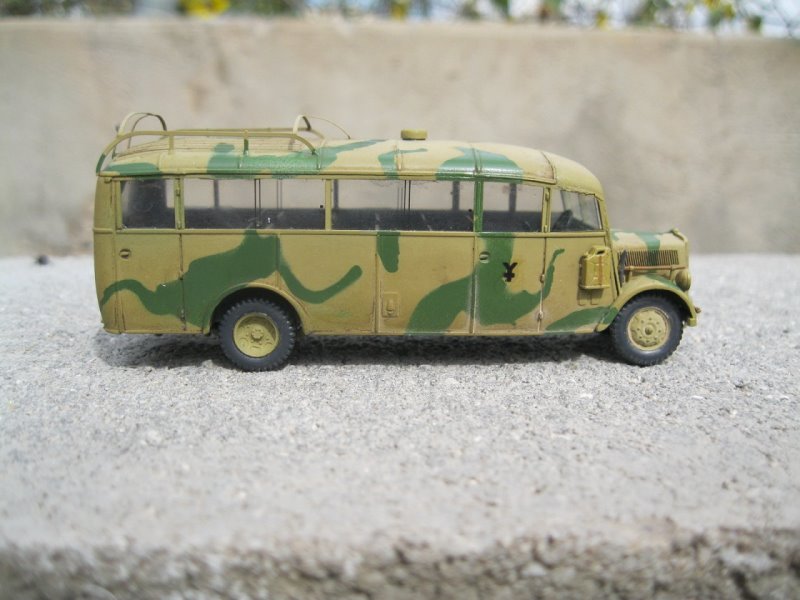
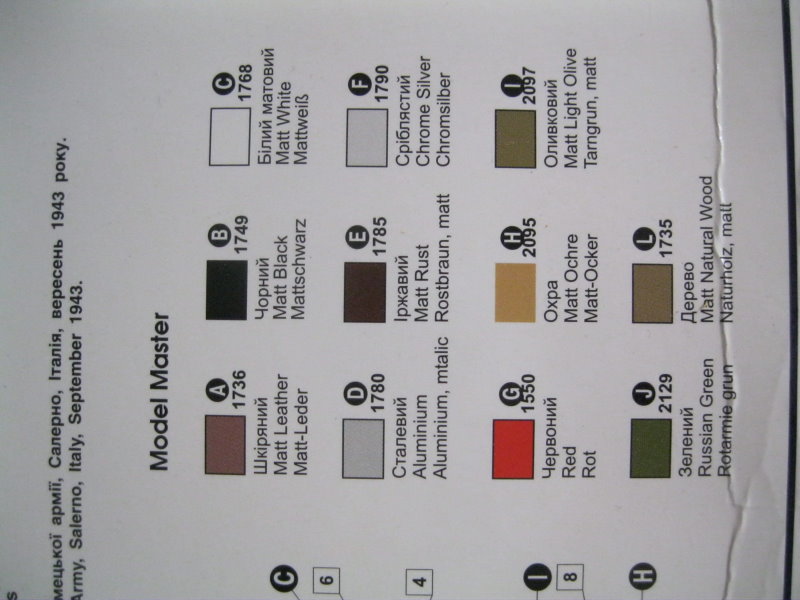
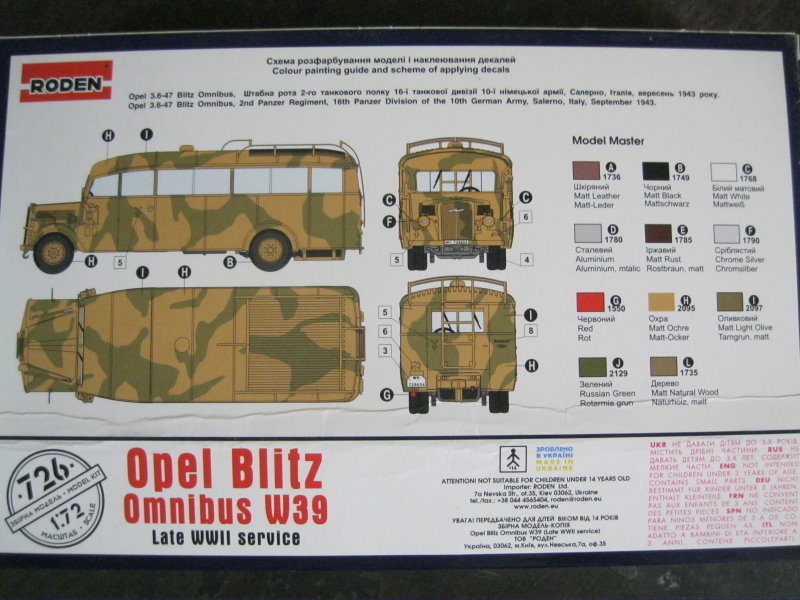
The kit comes in a small, end opening box with Roden's typical active artwork on the front. This shows an omnibus heading away from explosions in the background as a group of P-38 lightnings fly overhead. The rear of the box features all around views of the bus from the cover, in two tone camouflage of olive green over ochre yellow. This vehicle was from the 2nd panzer regiment, 16th panzer division, 10th German army at Salerno, Italy, in September 1943. A color paint chart is included along side the drawings with paint numbers provided for the Testors Model Masters enamel range.
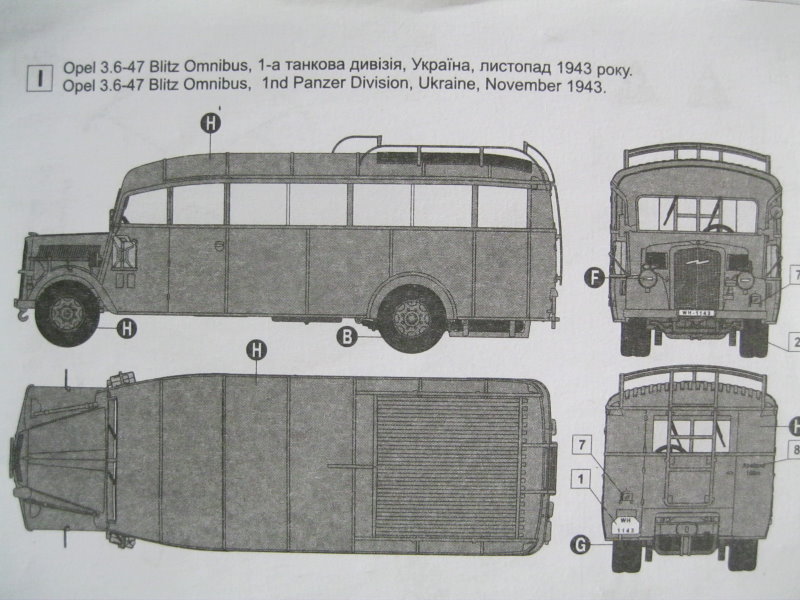
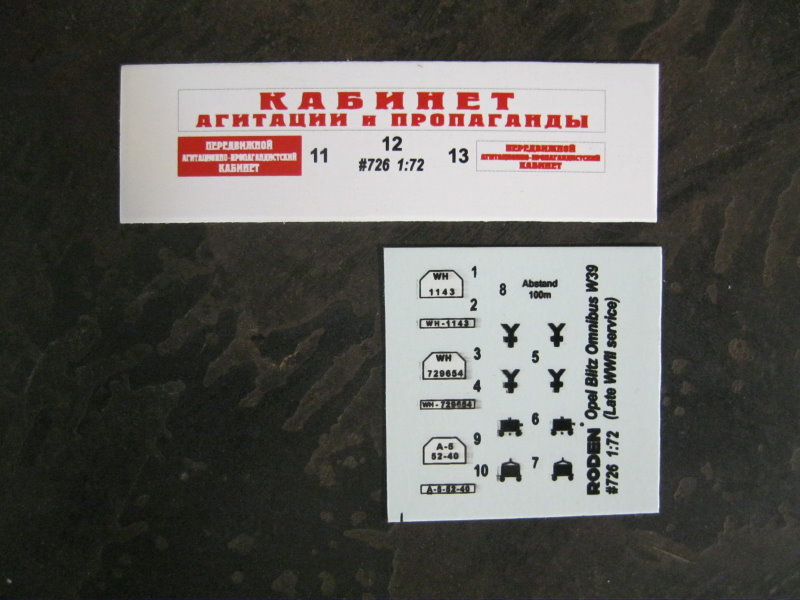
Inside the box there are 6 plastic sprues packaged in clear wrap, one small etch fret and a clear plastic sheet. The instructions are provided in a very small booklet form with vehicle history on the front page, the color chart repeated and a sprue layout on the next two pages, and the entire construction played out on 21 steps on four pages. The instructions are line drawings and are generally well laid out. On the last page there are two more vehicle profiles, the first for a vehicle from the 1st panzer division, Ukraine, November 1943, vehicle in overal ochre yellow, and a captured vehicle in use by the Red Army, 1st Ukranian Front, summer 1944, in propoganda service, in overall Russian green. Decals are provided for all three vehicles and there are paper cutouts for the propaganda banners on the third vehicle.
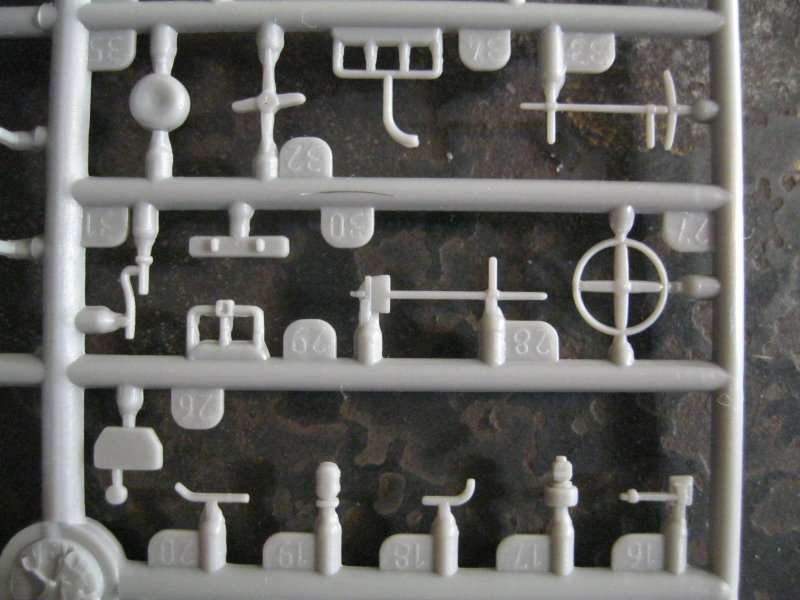
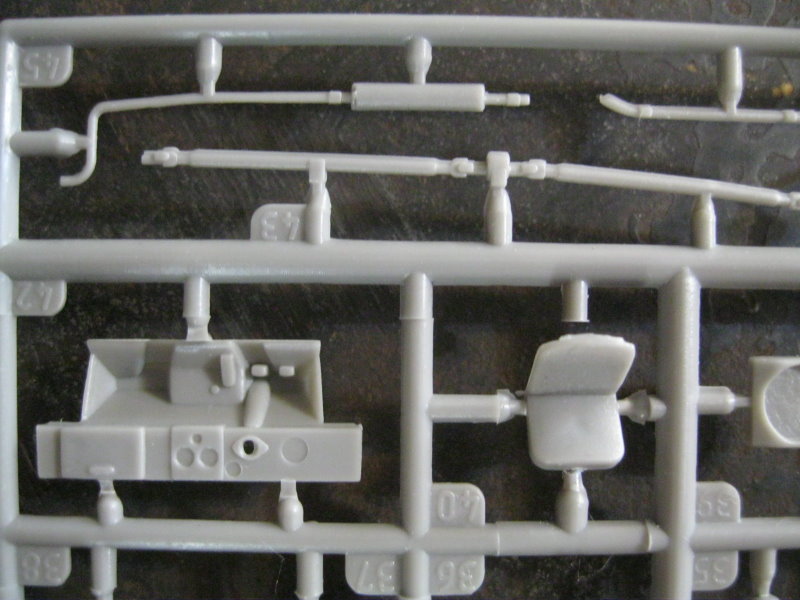
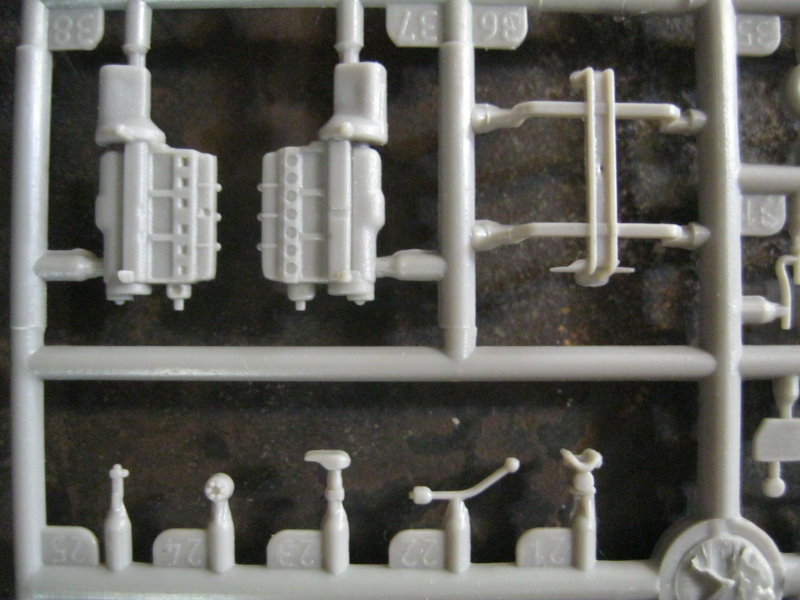
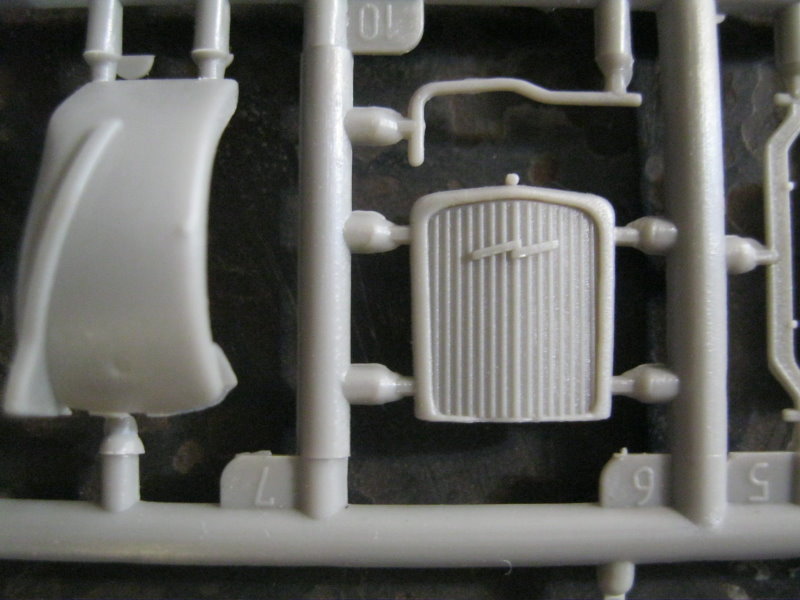
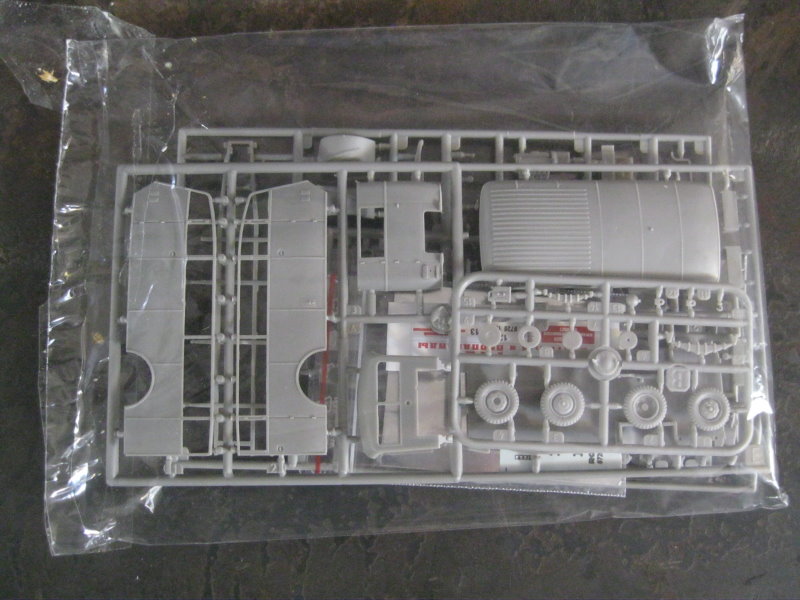
Sprues
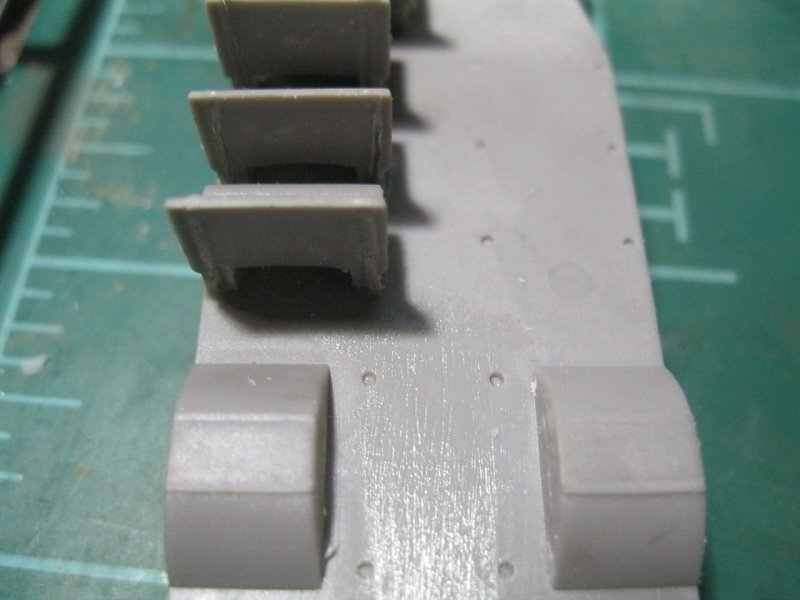
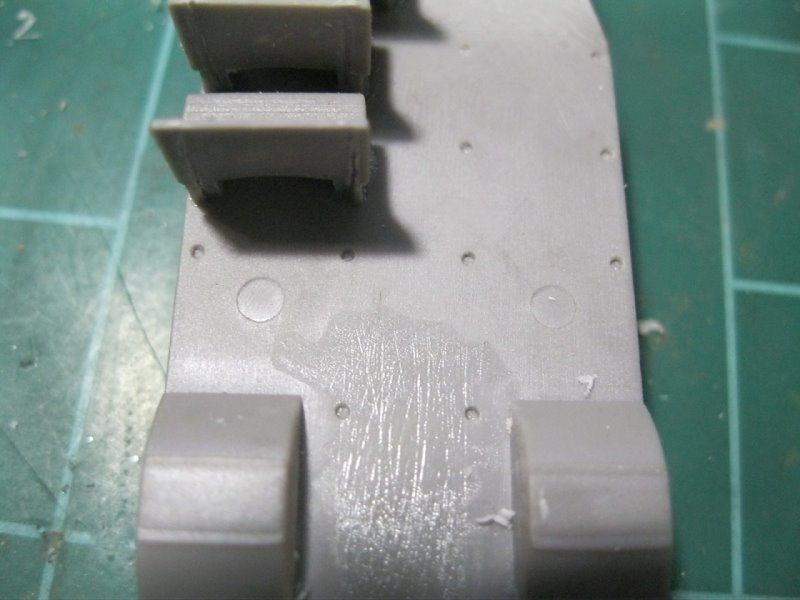
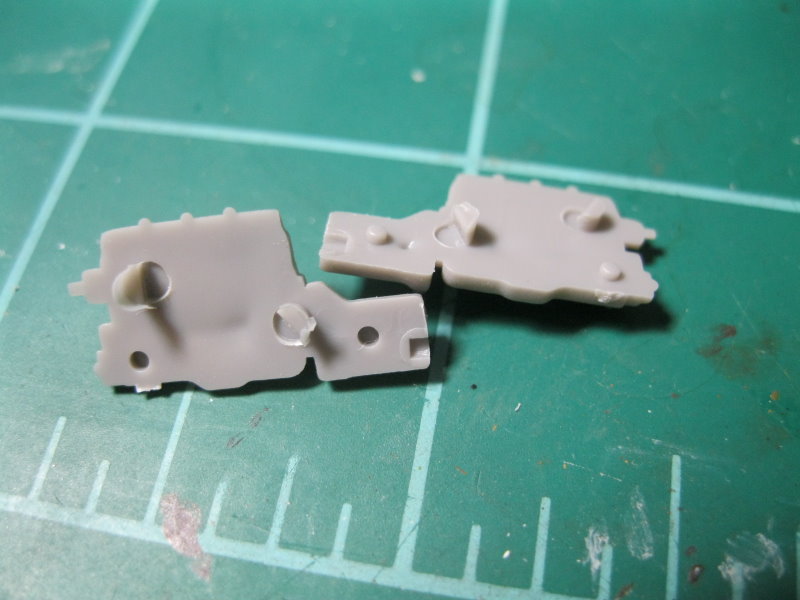
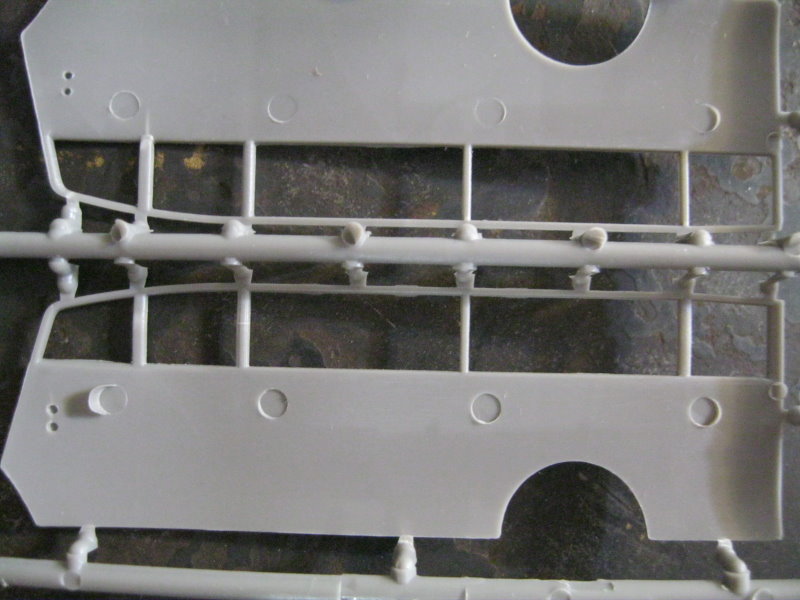
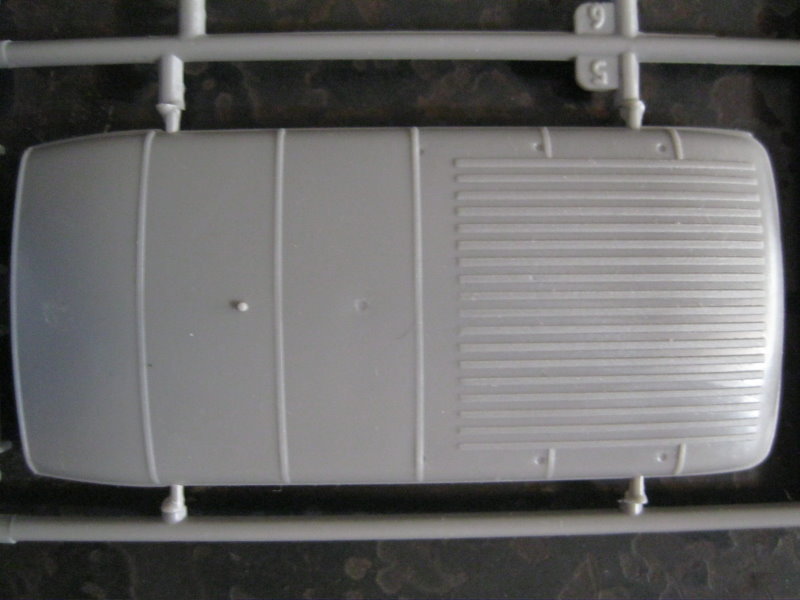
The sprues are generally well laid out. Flash is present on all the same parts as with the first two kits, but is easily removed. There are some mold seams to contend with, and also some significant pour plugs to be removed.
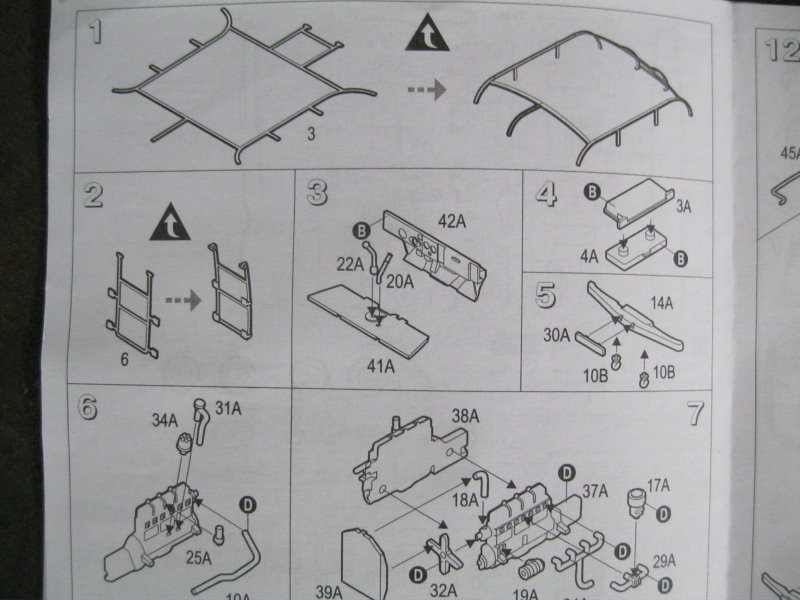
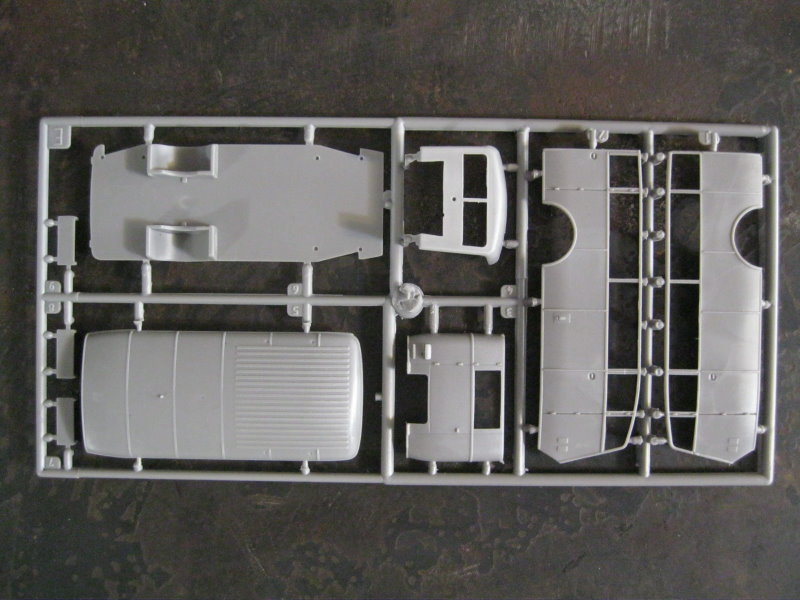
Sprue A has the engine, frame, drive train, dash and firewall and engine compartment.
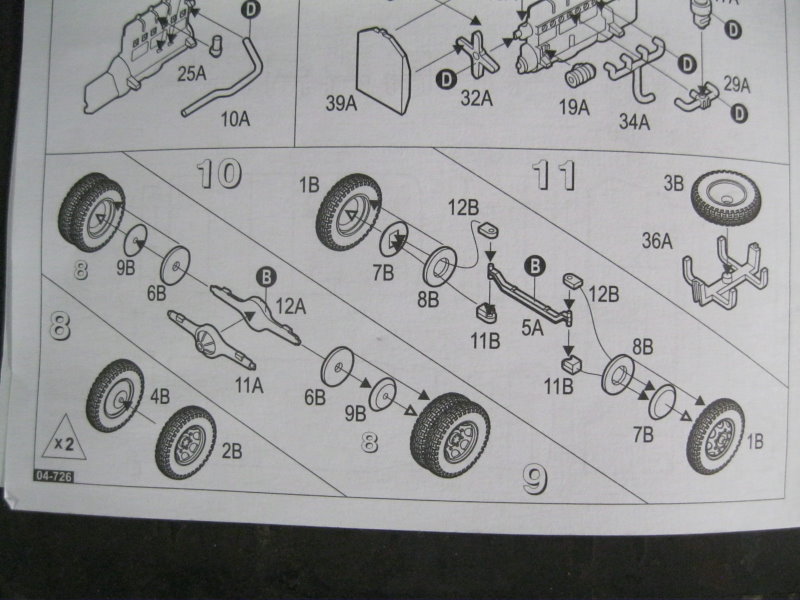
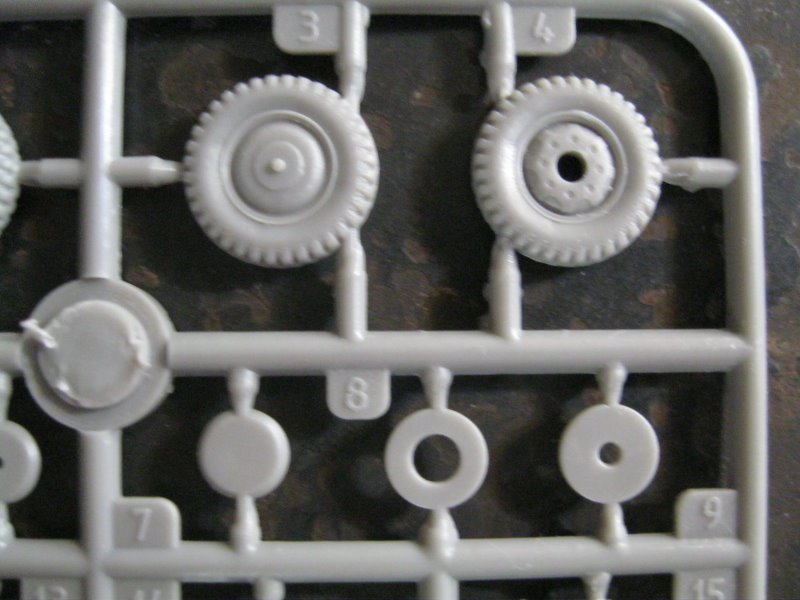
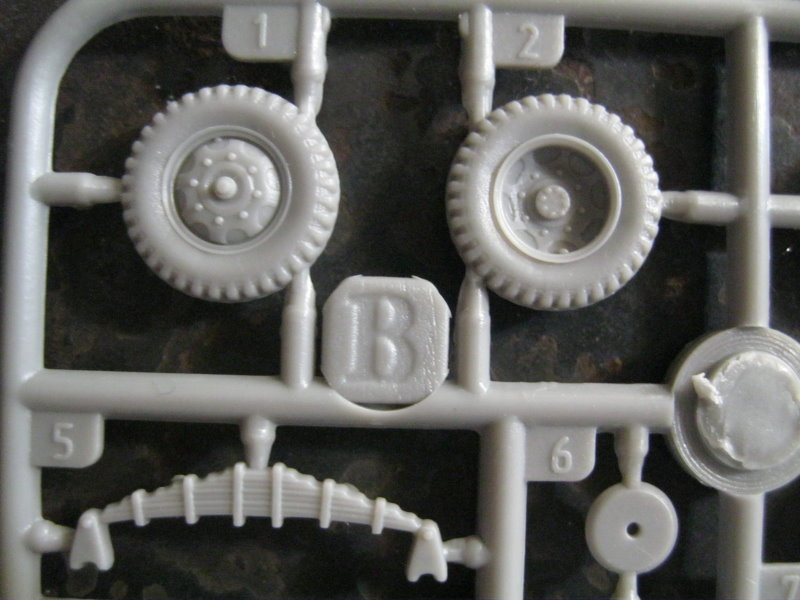
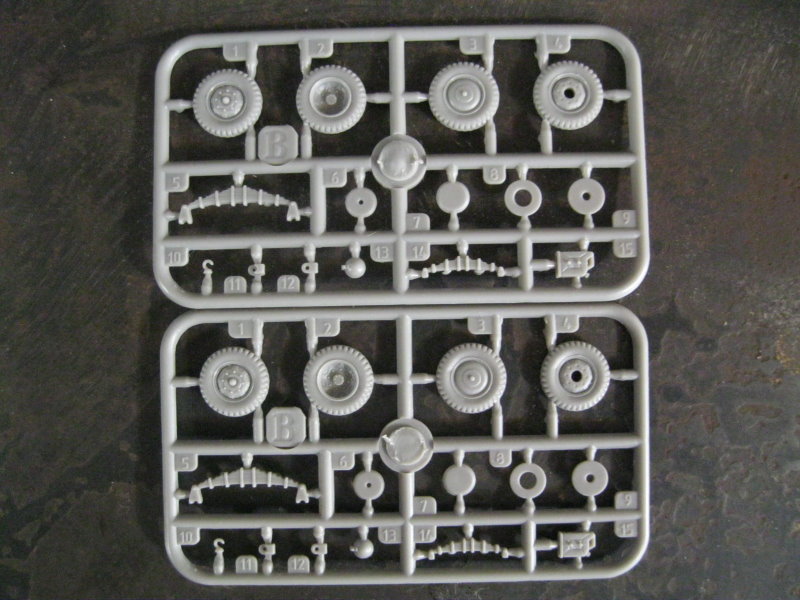
Sprue B, x2, wheels, leaf springs (detailed on one side only) head lights and fuel cans.
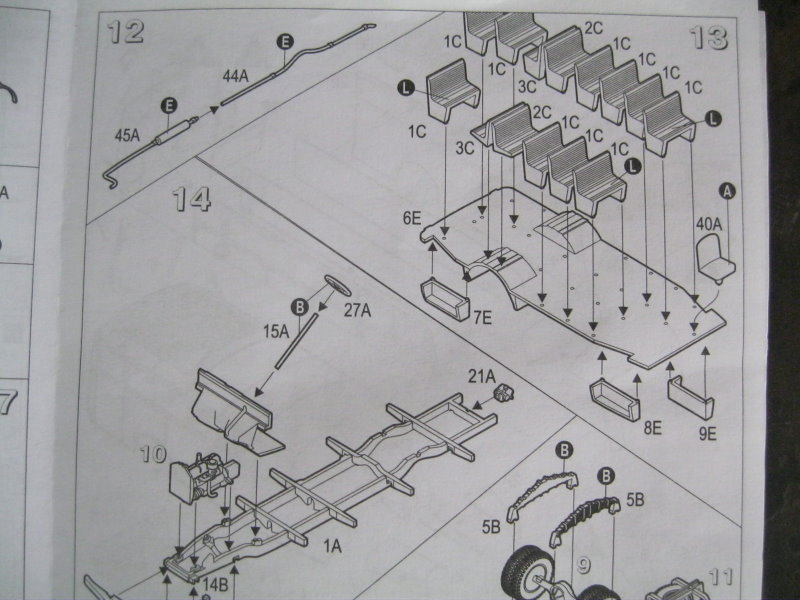
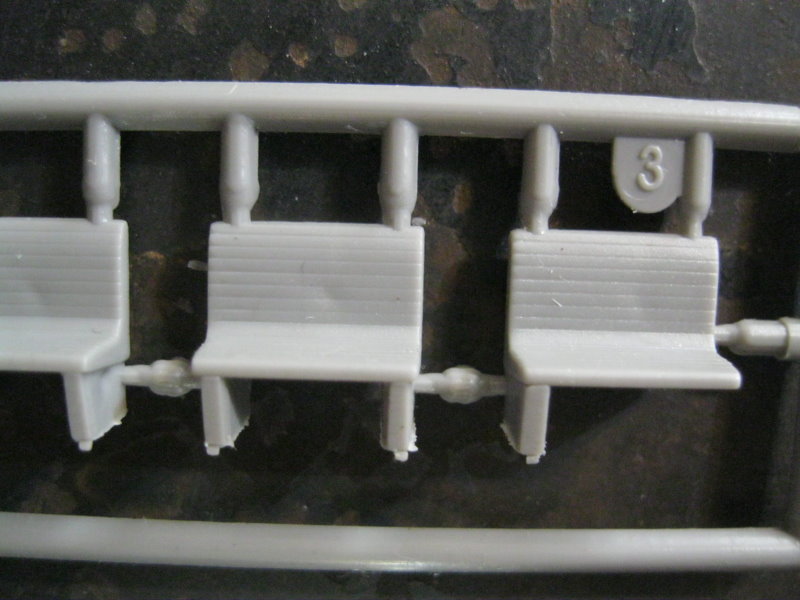
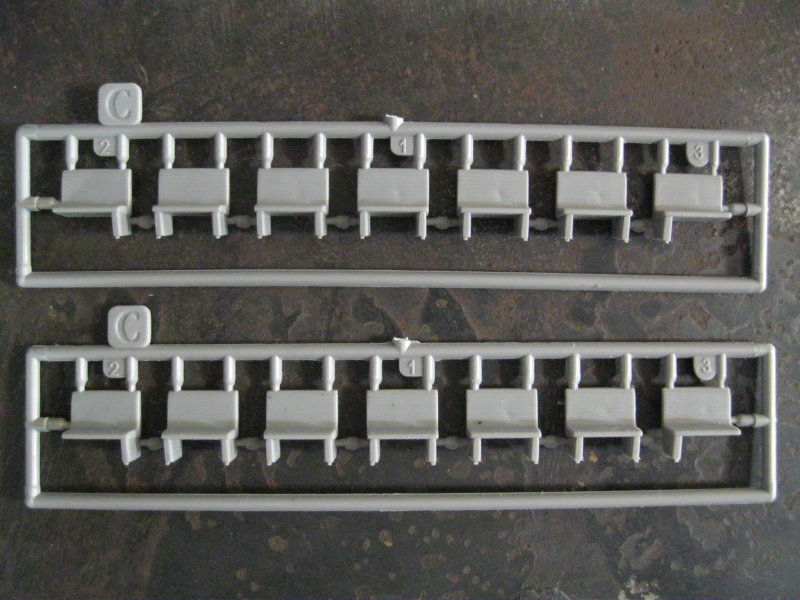
Sprue C, x2, bench seats.
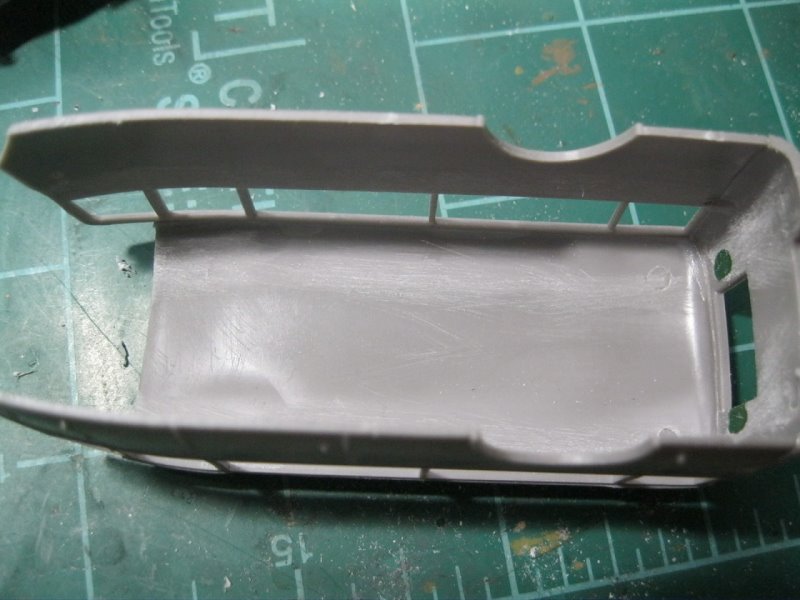
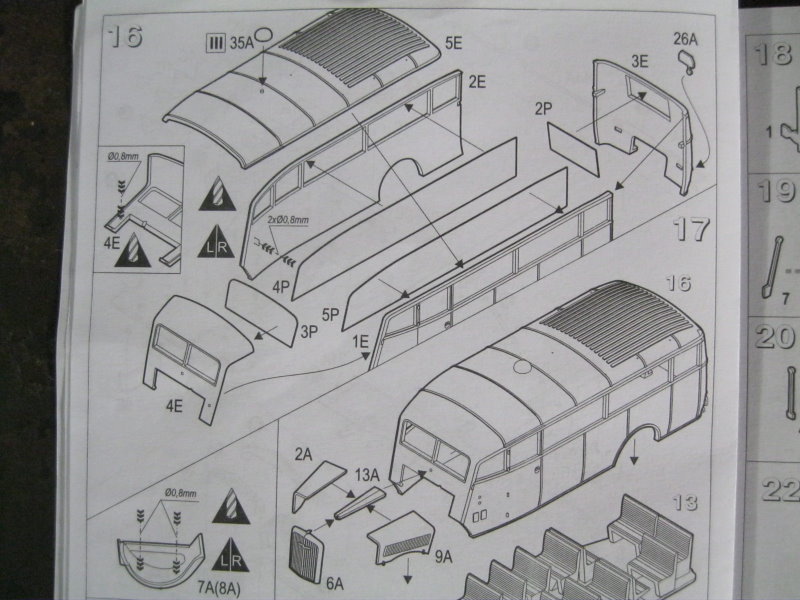
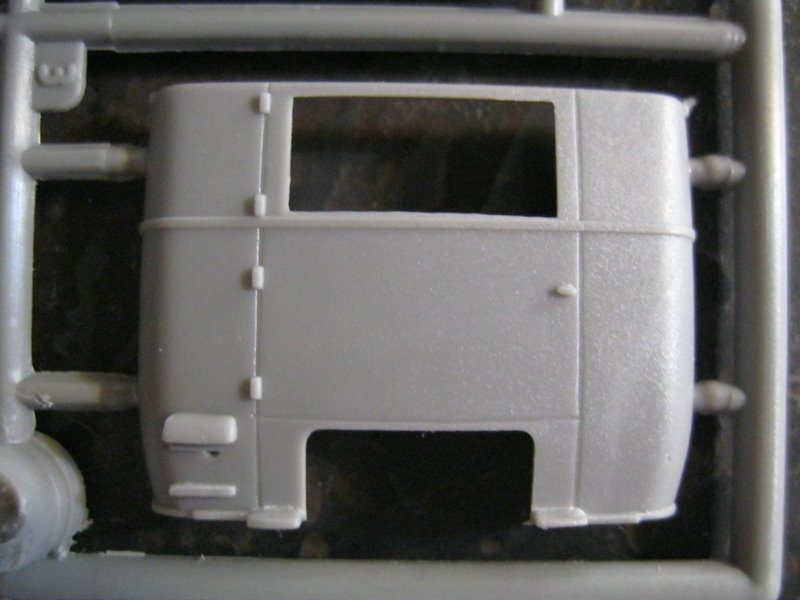
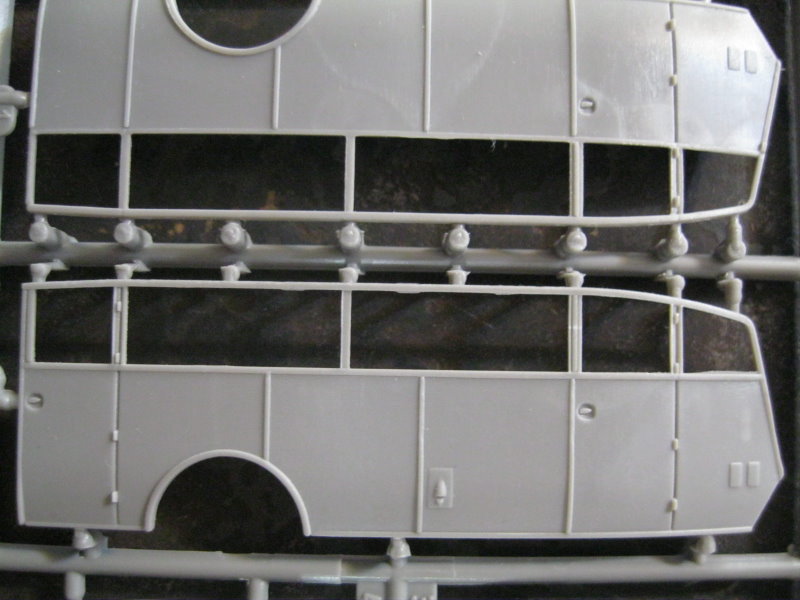
Sprue E has the interior floor and body panels, and steps for the entryways.
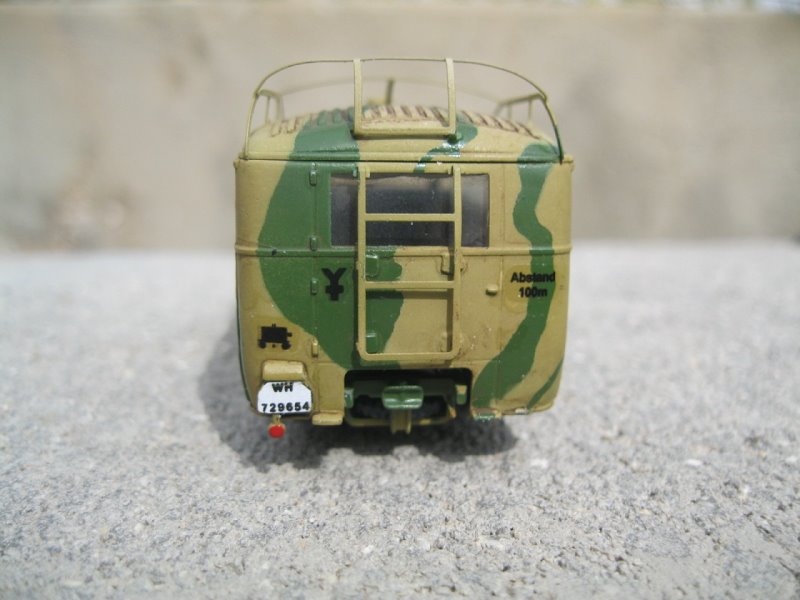
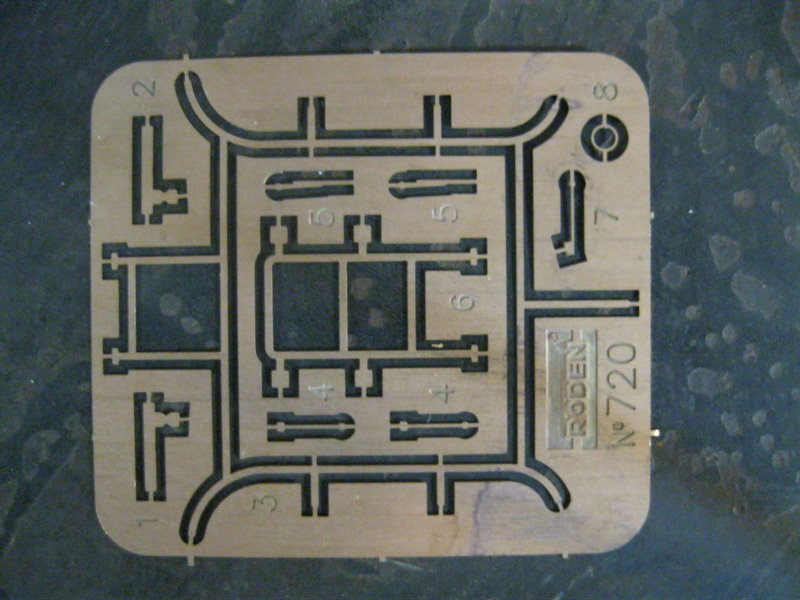
The etch fret has the roof rack, rear ladder, rear view mirrors, width indicator poles and wiper blades. The fret is made of what appears to be copper and is harder than brass to cut.
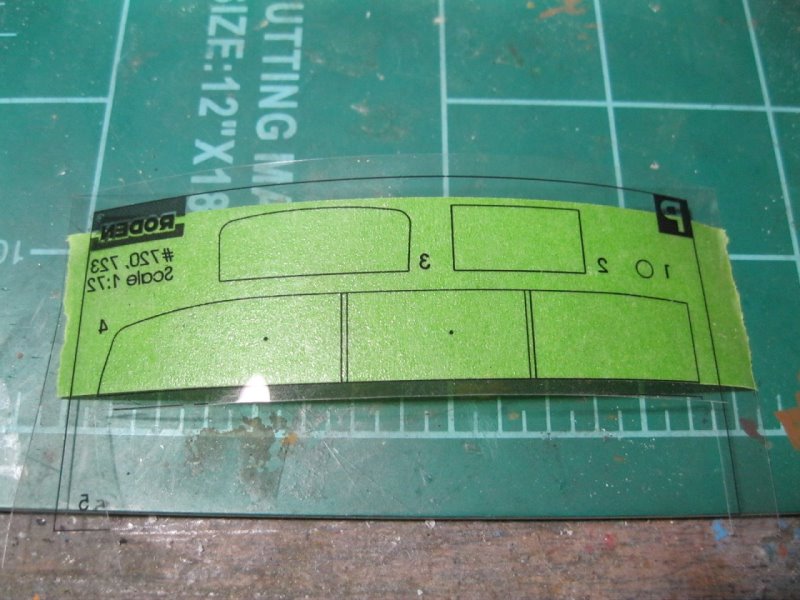
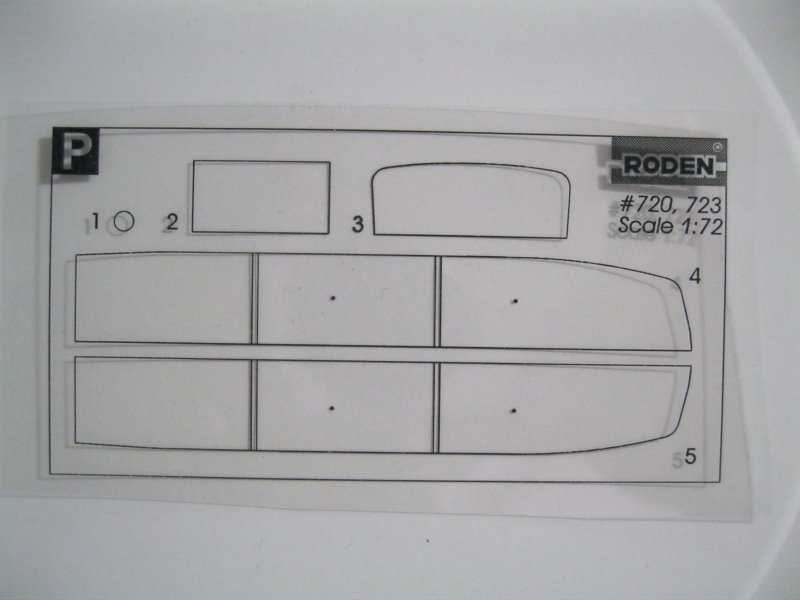
The windows are on a clear film sheet and are printed on the surface.
The decals are printed on thick carrier film and the printing appears heavy. Unit and divisional markings are solid rather than outline as shown on the box art and drawings.
Construction
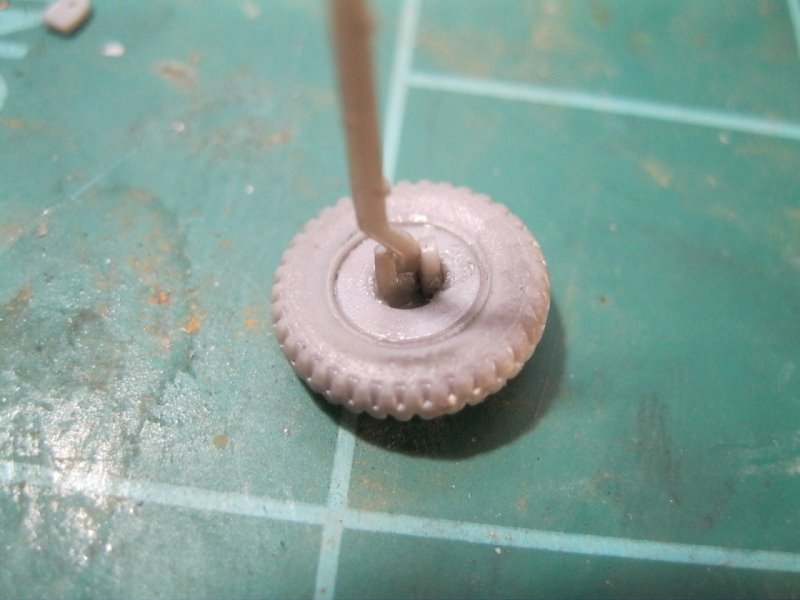
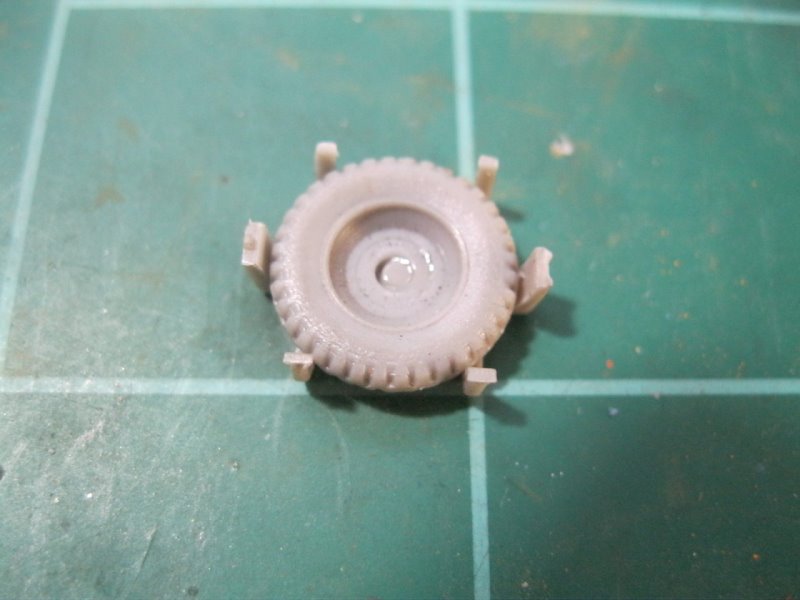
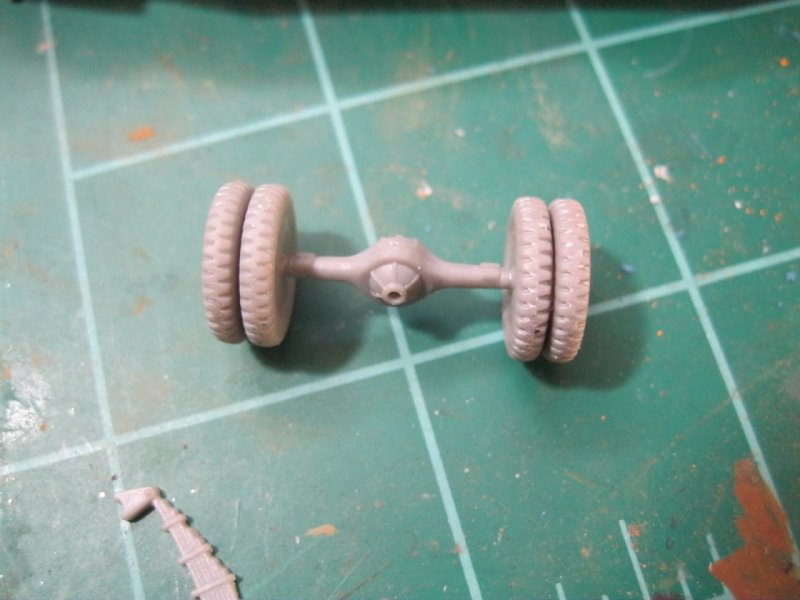
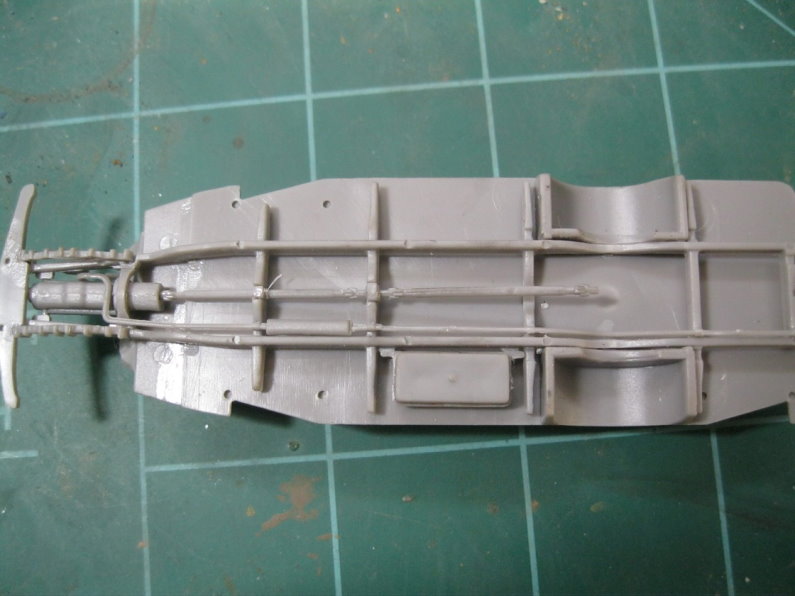
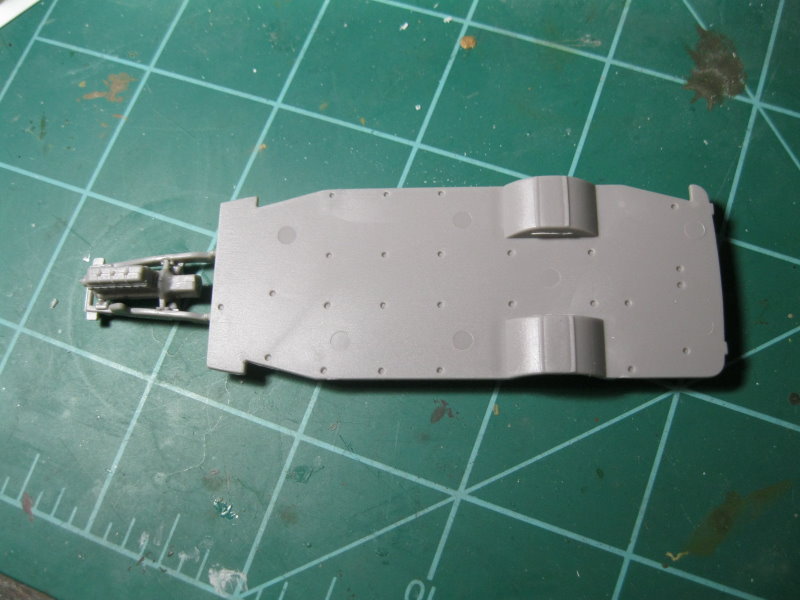
Based on my experience building the first two kits, I decided to deviate from the instructions a little. I started by building the basic engine assembly with only the exhaust attached. I then placed the engine on the frame and added the driver's floor and dash, followed by the passenger compartment floor. I did this so everything would line up and fit properly, and I intended to leave the engine covered up. I then assembled the suspension/drive train and added the exhaust. On step 8, the two rear wheels should be parts 2B and 3B. The spare tire should be part 4B. The instructions have 3B and 4B transposed. The front wheel assembly is a little tricky as it is positionable. I had to open the holes on the hinge points, parts 11B and 12B. I also had to drill out the rear wheels to fit to the rear axle properly, and then drill out the axle to accept the drive shaft.
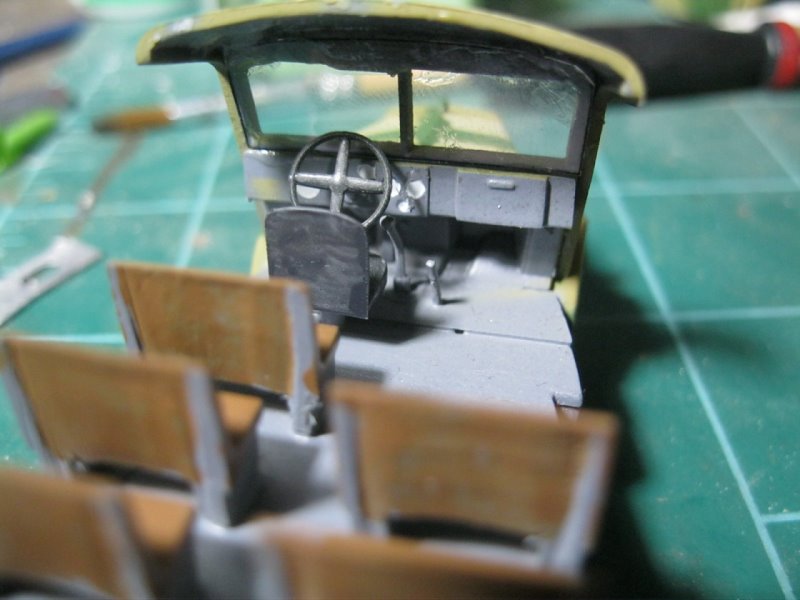
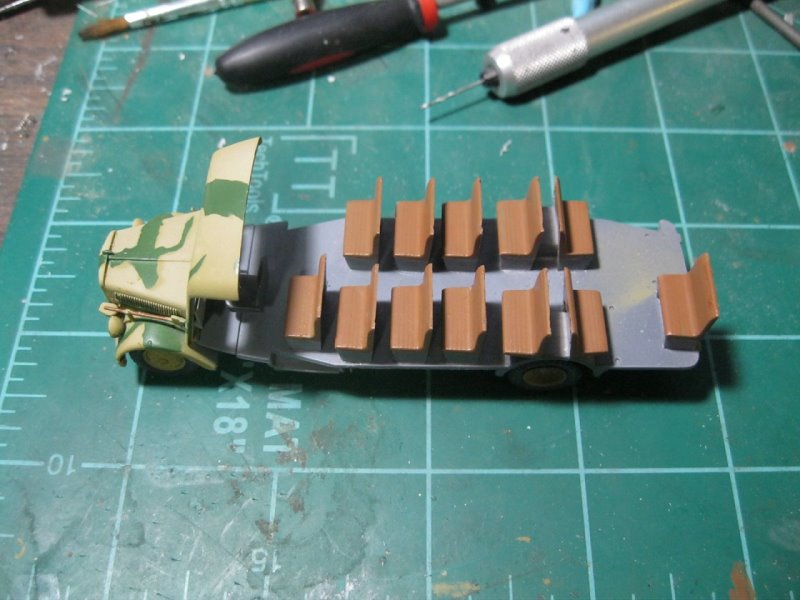
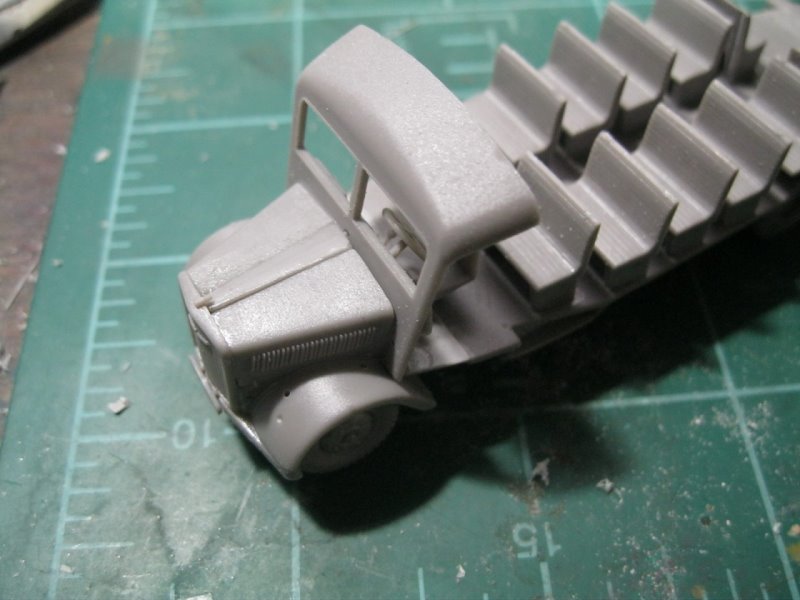
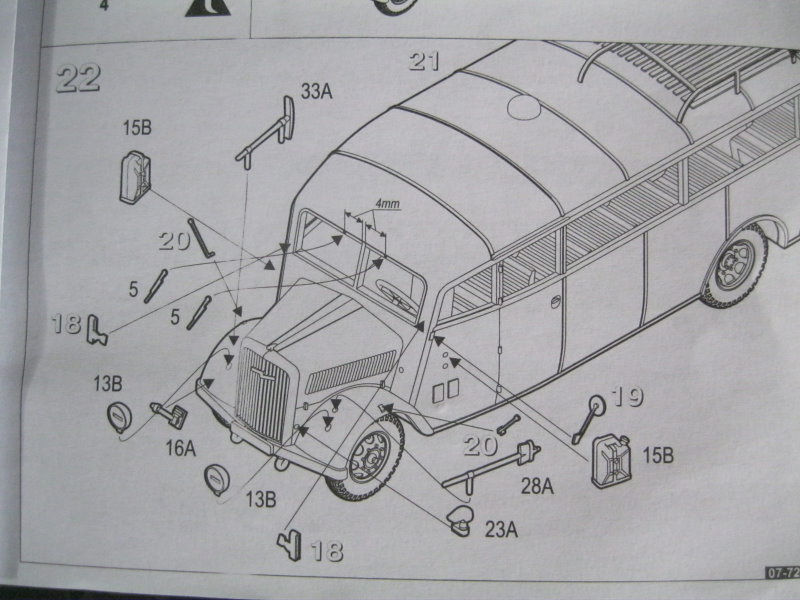
I completed the driver's compartment and added part 4E, the front body/windshield section. I also added the bench seats to the passenger compartment. Each seat has a large pour plug on the rear that needs to be removed. I opted to file down the center area, leaving the edges raised to simulate the seat frame, although none of this is really visible from the outside once the kit is finished. I then complted the hood (or bonnet) and fenders, attaching these to the body front. I chose this assemby process to make sure all these parts fit properly.
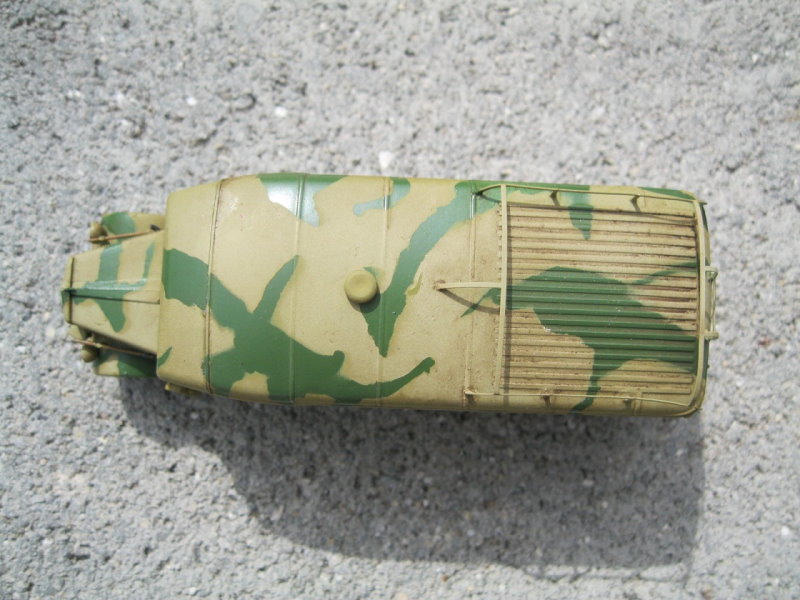
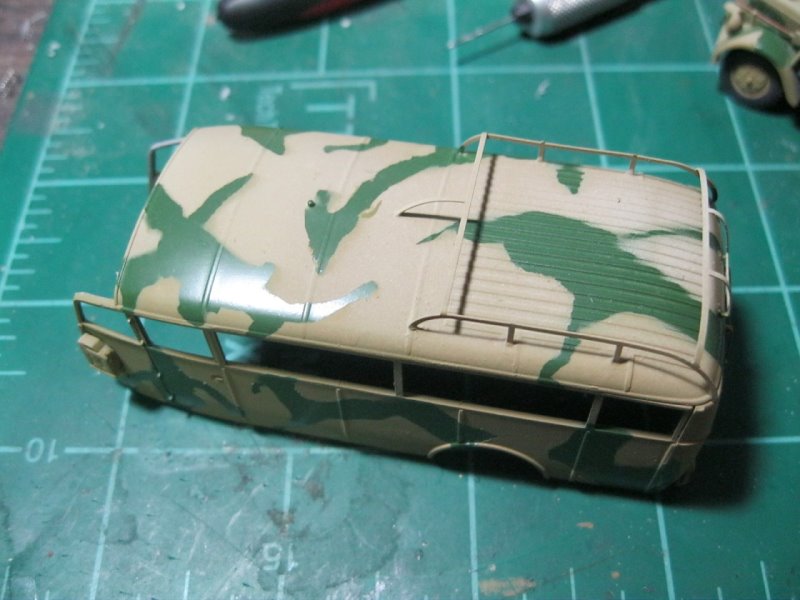
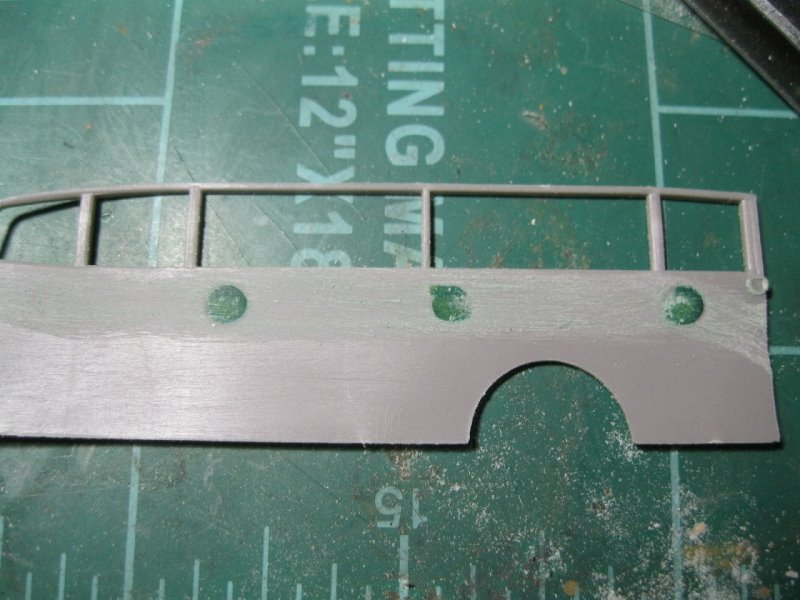
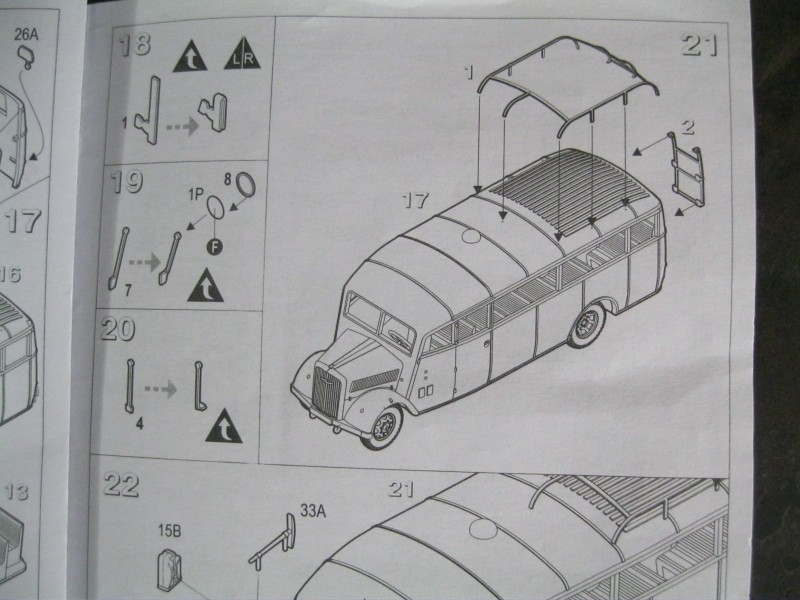
I assembled the rest of the main body, sanding down the sides and adding some putty to fill the ejector pin marks. I cut out one window section to test for fit and make sure everything lined up. Once the body was set I then test fit with the body and front section. I then formed the etch ladder and roof rack. To position the roof rack, I drilled holes at the attachment points (small indentations on the roof section) to help with the fit, and then used odorless CA glue to attach the rack. The metal etch is fairly stiff and annealing the parts is really important as otherwise they won't bend cleanly.
At this point I painted the chassis section dark gray using my own mix of Badger Modelflex paints I had received for review. I then painted the benches rail brown from the same paint line. Dial faces were painted an ivory white. I taped off the windows, assembled the body sections and painted them, again with the Modelflex paint, medium green. I used poster tac putty to mark out the camouflage pattern of the first vehicle marking option and then added a coat of Tamiya dark yellow, adding some white to fade the upper surfaces.
Once the paint was dry, I separated the two body sections. I put masking tape on the plastic sheet to better see the outlines of the windows, cut each window out and carefully attached them with CA glue (not carefully enough as I managed to muck up the left hand side windows). When attaching the body with the windows in place, make sure they are securely down on the lower edge as they will catch on the seats. I placed the body section and carefully glued it in place. There is a small gap to fill on the right hand side, but it was not a major issue.
As I mentioned above, the decals are thick and the carrier film extends quite a ways away from the markings. They are solid rather than an outline.
Decals and Painting
I used the kit decals as part of the reivew and had to trim the edges of the license plates and the fender markings to get them snug. Also, I tried MicroSol first, which had no effect at all on the decals. Walthers SolvaSet worked much better. I added a quick wash of burnt sienna to add a little depth and when dry the kit was packed for moving.
Conclusion
I really like these Roden buses. They are very different from the typical subject and make for a nice break. I really would like to see these in 1/35 one day, but these little kits will work out nicely.
I have noticed with Roden plastic that a little glue works, a lot doesn't. This is a builder issue and not a kit issue. There is some flash and clean up, and the decals are heavy and lack detail and definition. The kits are also inexpensive, with a list price of around $19.00 US, but available for much lower, and as I just said, make for a nice change of pace. I still recommend them, just for the fun of building.
M
SUMMARY
Highs: Unique subject matter, very good price. Lows: Some flash and mold seam issues to clean up. Fit of some parts isn't great.Verdict: A great little kit that is worth the time to build.
Our Thanks to Roden! This item was provided by them for the purpose of having it reviewed on this KitMaker Network site. If you would like your kit, book, or product reviewed, please contact us.
About Russ Amott (russamotto) FROM: UTAH, UNITED STATES
I got back into the hobby a few years back, and wanted to find ways to improve, which is how I found this site. Since joining Armorama I have improved tremendously by learning from others here, and have actually finished a couple of kits. I model to relax and have fun, but always look to improve. ...
Hi Russ, I was trying to work out the difference between the plastic involved between this one and the Opel 3.6-47 Omnibus by looking at that review, and I couldn't get it... is it just the decals, or is there actually a different sprue somewhere? You mention the body being different, but maybe it's just too subtle for me to see in the photos.
Cheers, Matthew
It is the same kit with new decals. All the sprues are the same, right down to the flash. I wonder if they will try to produce a late body style at some point. They were squared off and I believe made of plywood.


Comments