The MERCEDES BENZ 170 V Cabriolet B was manufactured from 1936 1942. The type B had an extended passenger compartment with two seat rows. Styling was very innovative as was the company's choice of engine, a small efficient 4-cylinder petrol unit that could achieve a combined 21 mpg and a top speed of 68 mph. It was a rear wheel drive car that had a manual 4 speed transmission and drum brakes all around. The car was fitted with prominent metal disc wheels that were often painted to match the color of the bodywork. The 170 V's interior was nicely fitted with a steering wheel built on a company-logo shaped frame and leather upholstery. Approximately 8068 cars of this version were produced by Mercedes Benz.
Contents
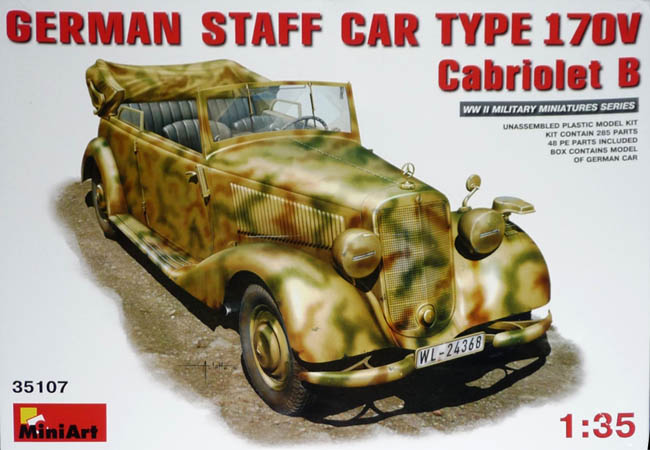
This kit is MiniArts 3rd addition to its line of Type 170 V automobiles and offers the modeler the convertible version, using several sprues that are from the other two kits. The difference is that this kit provides the different parts required to build the Cabriolet B version which was a longer, convertible edition. It comes in a standard tray and lid-type box that has a sturdier bottom than the top, which has an artistic rendition of a camouflaged version of a German Staff Car for the cover art.
Upon opening the box there were several plastic bags containing all the sprues that are molded in light gray plastic, and a small cardboard box that contains the vehicles body.
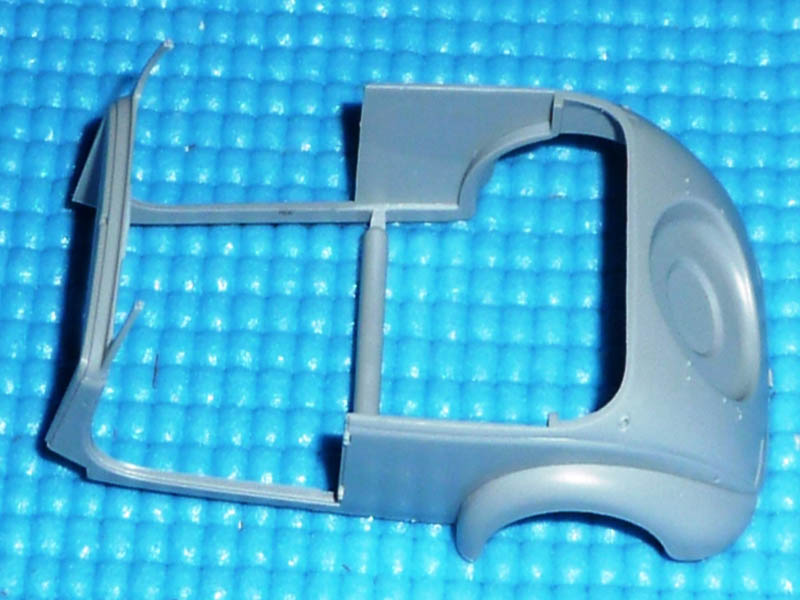
Sprue A was the largest of all of the sprues and held the lower body, most of the chassis parts and the back seat. This Sprue is the same as the two previous kits.
Sprue B contained the engine parts and some chassis parts. Some of these pieces are extremely small and will require some great care during the build process. This Sprue is also the same Sprue B as the two previous kits.
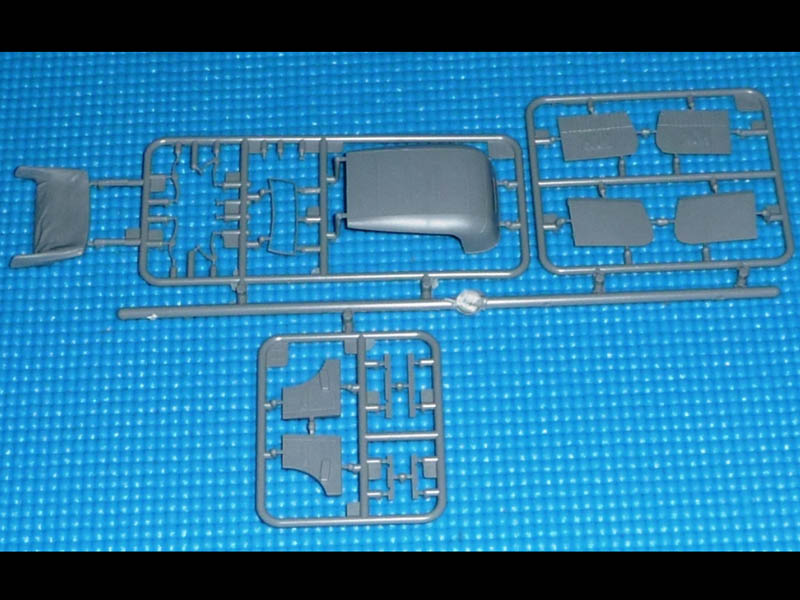
Sprue C contains only four pieces of the inner and outer door panels. This sprue differs from the other two kits as there is no window frame for this version.
There are two Sprue Ds, which hold the front seats and some more really small pieces that most likely wont be visible once paint is applied. These sprues are also in the previous kits.
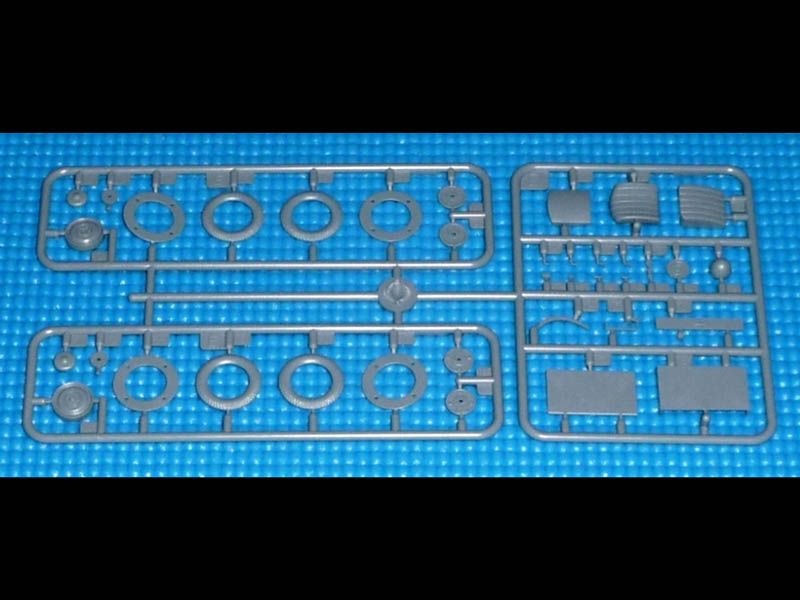
There are 5 Sprue Es which contain the 6 pieces to make the tires. Again, these are in the other kits and are the last of the plastic sprues taken from the other kits.
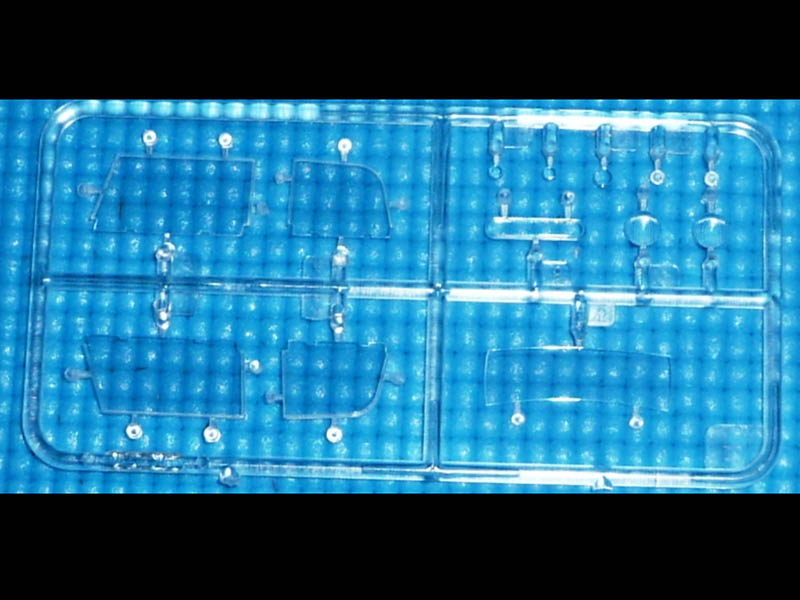
Sprue F is the molded in clear plastic and contains the windows and the light lenses.
The Instruction booklet lists the one-piece body as G which was in a small white cardboard box.
Sprue H is more interior panels.
Sprue J is the two different roofs that are options. The modeler has the choice to built the roof open or in the closed position.
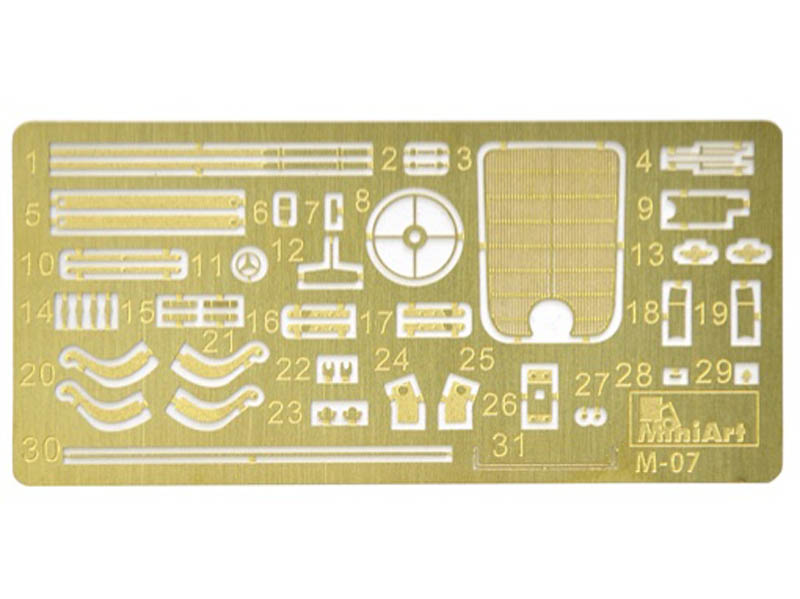
The kit also included a fret of PE that has 31 parts on it. It appears that these PE parts are mandatory for the build as there are no plastic options to use in place of the PE.
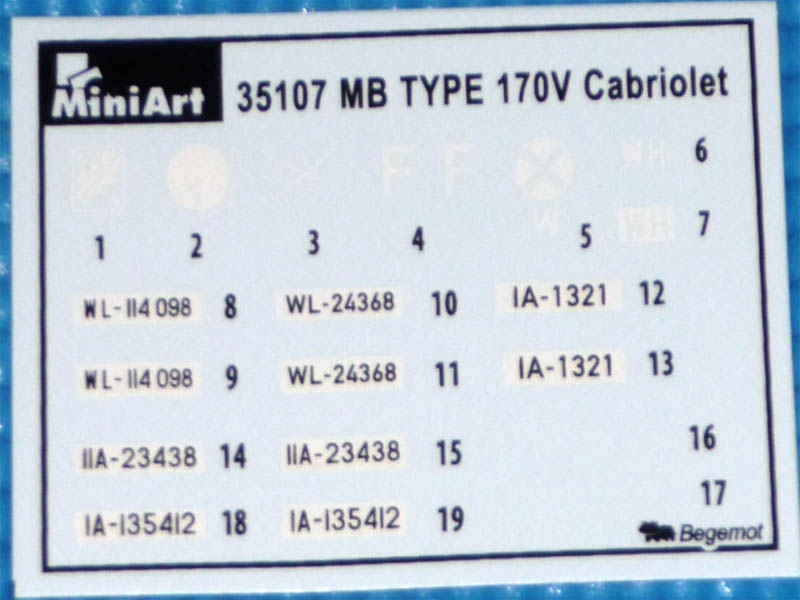
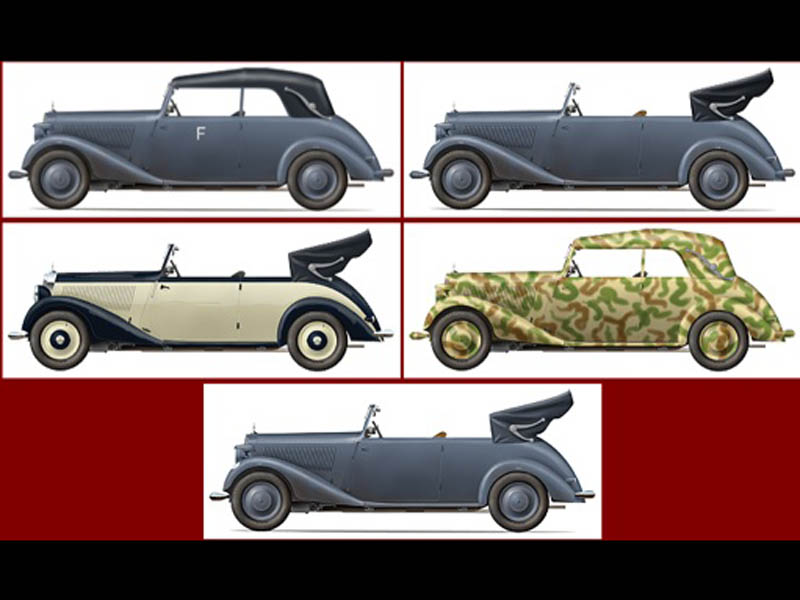
The decal sheet provides markings for four different military vehicles and one civilian vehicle.
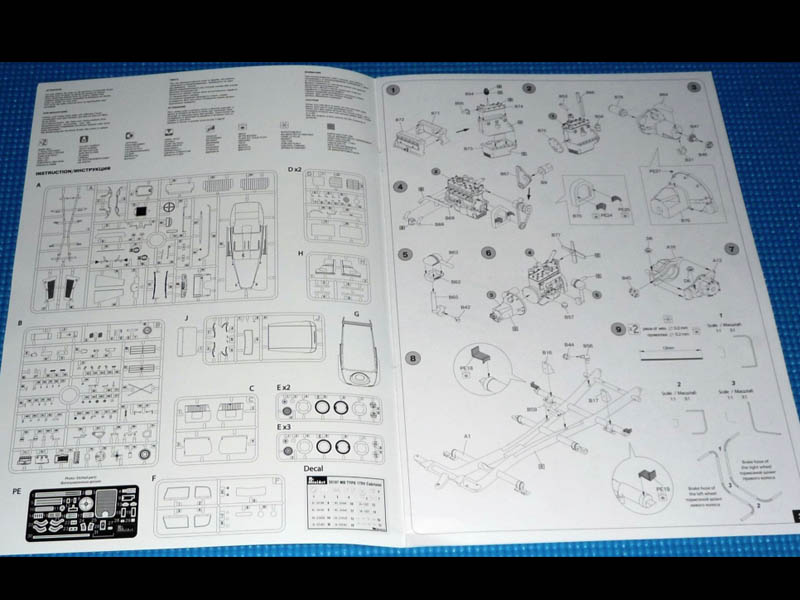
Instruction Booklet
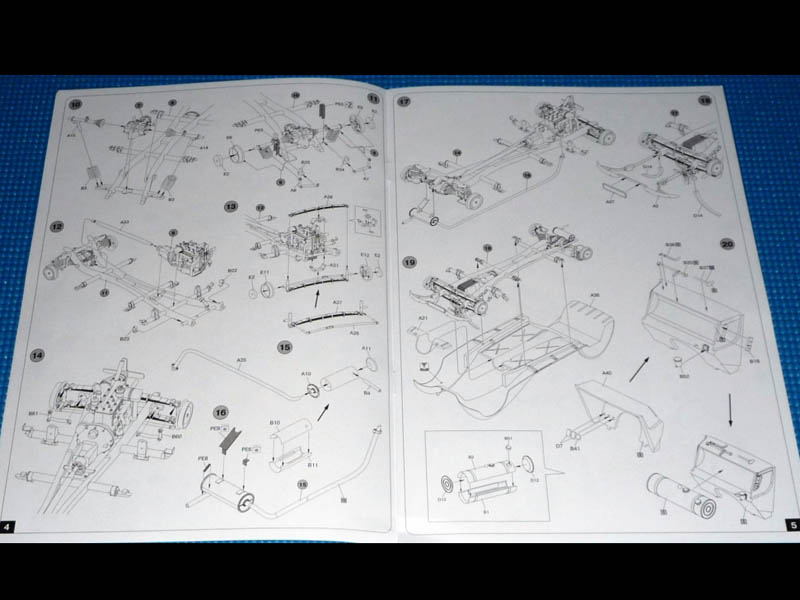
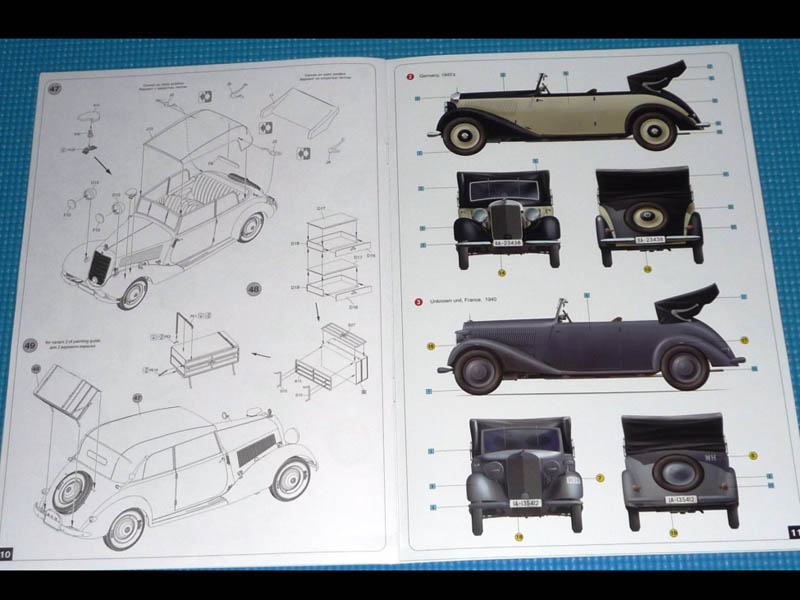
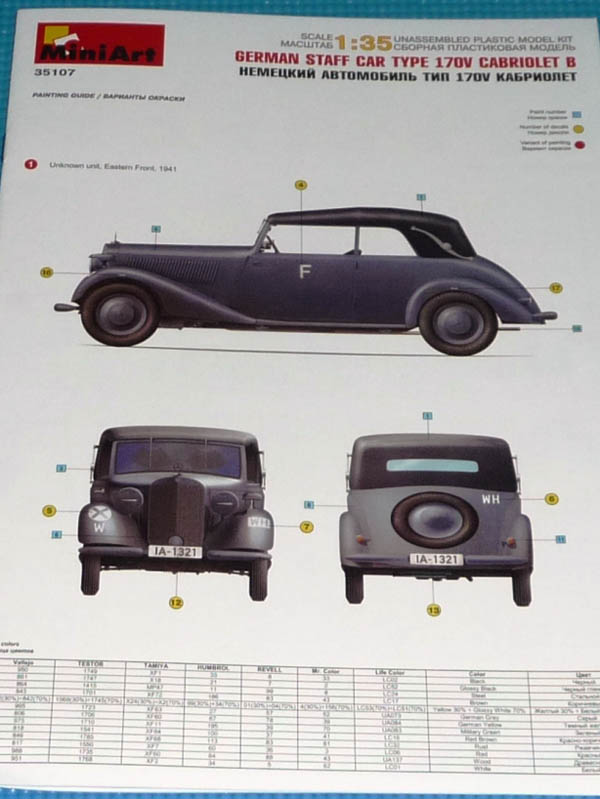
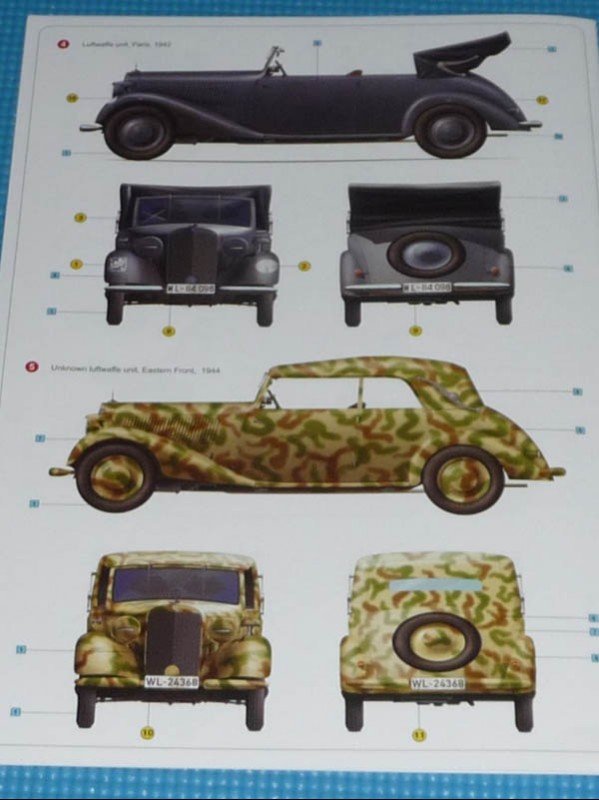
The instructions come as a large 12-page booklet that has the front and back cover on color glossy paper. The instructions are divided into 49 well-detailed steps that are clear and easy to follow. Additionally, there are 14 steps that are provided for sub-assemblies to the main numbered steps, which makes for some very readable instructions. They also provide a color painting and marking guide for 5 different vehicle paint schemes, and a colors chart for the following paint brands: Mr. Color, Vallejo, Testors, Tamiya, Humbrol, Revell, Life Color and just a listing of colors.
The Review
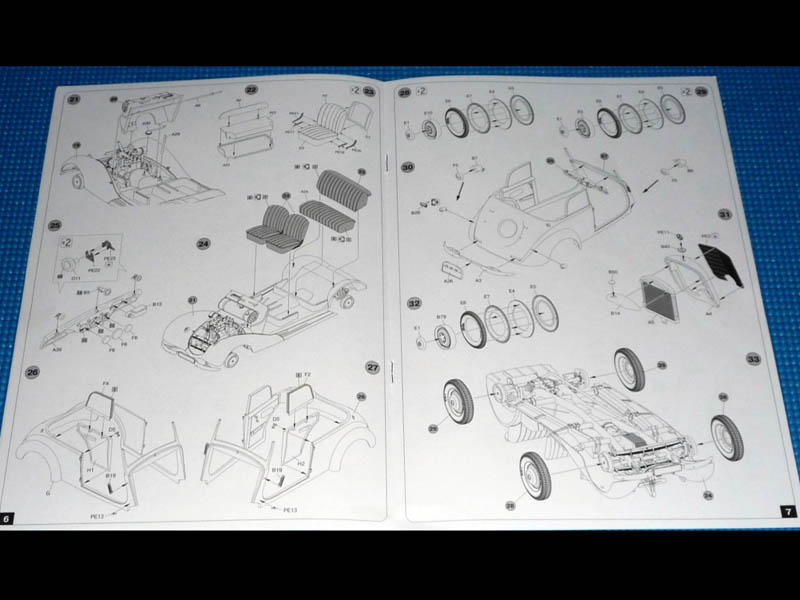
A quick look at the parts will show that this is no kit for the novice. There are some parts that are smaller than the tip of my needle-nose tweezers, which will result in a superbly detailed build. The first six steps deal with the engine and transmission and include the use of 28 parts all together. That makes for a more detailed engine then the 1/24 scale hotrod kits that I built as a kid. Steps 7 thru 18 are all dictated to the chassis with step 9 showing five sub-steps to make two brake lines out of wire. The wire is not included with the kit and the sub-steps are a little confusing at first look but when you get to step 11, which shows the installation of the brake lines, you will see how the brake lines should appear when properly bent. Steps 19 thru 24 depict the fitting of the chassis to the floor pan, the fire wall and the seats. With the cars base built the remaining steps are for the assembly of all the other body parts, which includes doors and interior panels, front grill, bumpers, engine covers and the tires. Steps 28, 29, and 32 are all steps to assemble the five six-piece tires. Although the tire parts remain the same the rim part-numbers change, and even though they all look the same there must be some difference.
There are some optional steps that allow the modeler to build the vehicle with engine covers open to display that 28-piece highly detailed engine. This starts at step 35, which require the installation of the engine cover latches and continues into step 39. This is a little confusing here as it is hard to tell where to place parts B31 and PE 14 because they are shown being used in both step 35 and 39.
Step 40 addresses the option of the front windows in the up or down position, but there is no option for the rear side windows to be installed in the down position. Steps 26 and 27 both call for the two rear side windows up. Additionally, being that this vehicle is a convertible; the modeler can build it with the top open (my choice to show the detailed interior), or with the top closed. Step 48 and 49 are for the construction and installation of a two-drawer trunk that can be mounted on the rear over the spare tire if you were building a civilian version of the vehicle.
[Editors note: In his controversial autobiography, Panzer Commander, Hans Von Luck talks about the convertible Mercedes 170 he took with him through France and later into Russia it was his own civilian car apparently ]
Conclusion
It would appear that MiniArt goes to great lengths to design and produce a model that is as accurate as possible. With that being said this is a highly detailed kit that is not recommended for the novice builder as even the side of the box states for modelers age 14 and older. However, if you are an experienced builder and a fan of this type of vehicle this kit will build up into a very impressive kit.
SUMMARY
Highs: Photo-Etch grill and a very detailed kit, easy to follow instructions with five painting options and eight color references.Lows: No plastic parts to replace the Photo-Etch parts which make using the Photo-Etch mandatory.Verdict: A very detailed kit that nicely rounds out the trio of Type 170V vehicle that are offered by MiniArt.
Our Thanks to Dragon USA! This item was provided by them for the purpose of having it reviewed on this KitMaker Network site. If you would like your kit, book, or product reviewed, please contact us.
As a child I built mostly autos and truck models and what ever came from the Revell Model of the month club. Later on I switched to military planes in jr. high school. When I started to work several jobs and didn't have the time to build. I completely left the hobby around 1982. In 2008 I got back ...


Comments