The Opel 3.6-47 Omnibus was a combination of the Opel Blitz, with the 75hp 3.6 liter engine, on a lengthened chassis of 4.7 meters (approx), mated with a sheet metal body manufactured by Ludewig. The bus could carry 30 passengers and tow 4,000kg. Standardized in 1939, the bus was quickly pressed into service as the invasion of Poland had already begun. Production continued until 1943, with 2880 vehicles of the early design version produced. Later version vehicles had a boxier structure made of pressed wood.
The bus was used for military purposes as an officer transport, and modified for use as an ambulance, mobile command post, radio vehicle, bakery, laundromat, mobile workshop and telephone exchange. It served on all fronts during the war. The photo of the Polish surrender ceremony was taken inside of an Opel omnibus.
the kit
Following on their previous release of the passenger carrying Omnibus, Roden have now released a new staff command vehicle variant with new interior.
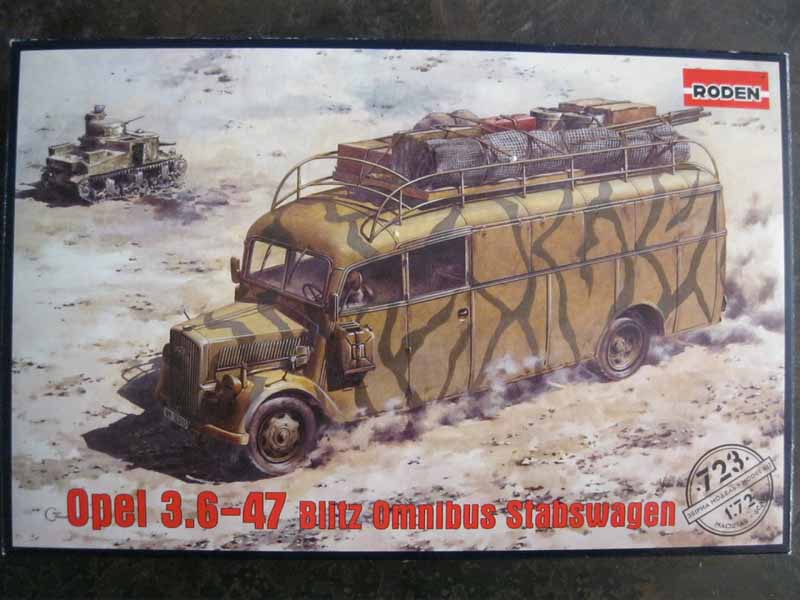
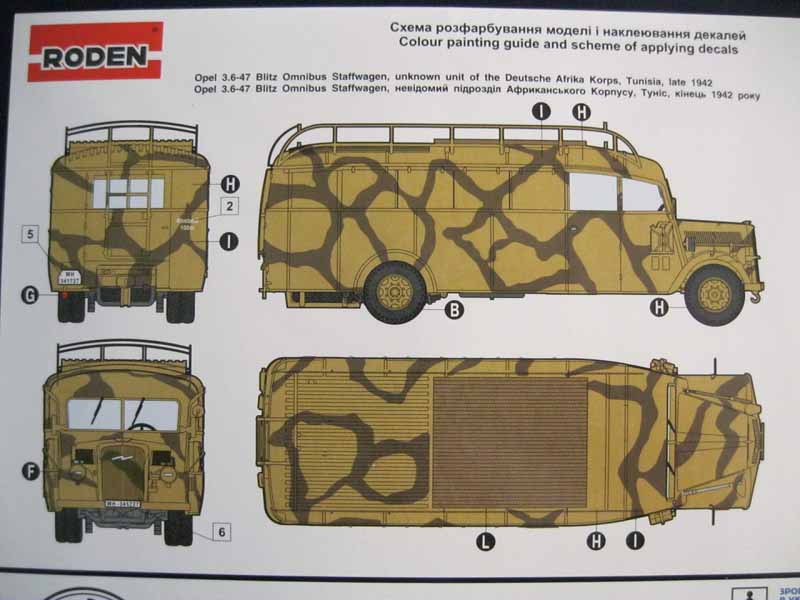
The kit comes in a small, end opening box. Box top artwork depicts a vehicle attached to the Afrika Korps in 1942, with a multi view painting guide on the rear of the box. Inside are the same sprues from the previous release, reviewed here https://armorama.kitmaker.net/review/6974 with a new F sprue for the office furniture, and a new photo etch fret with the extended roof rack and external covers for the windows.
the contents
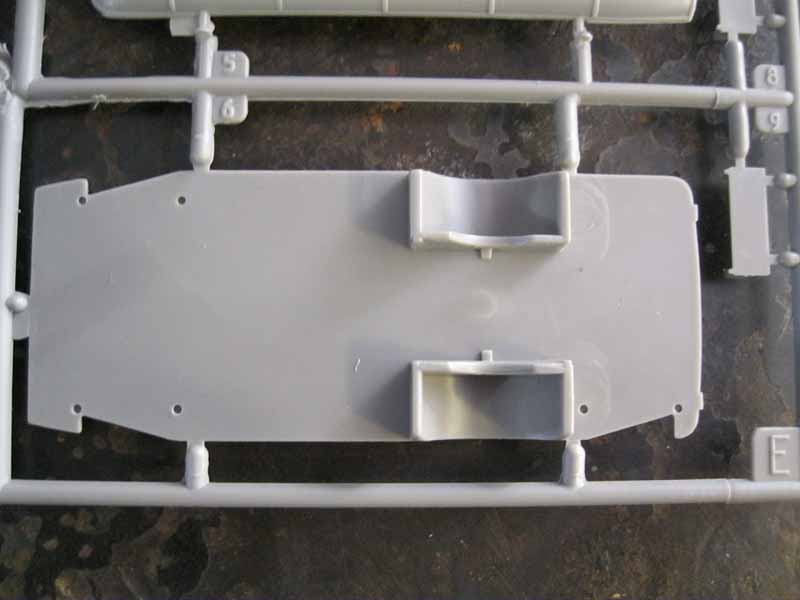
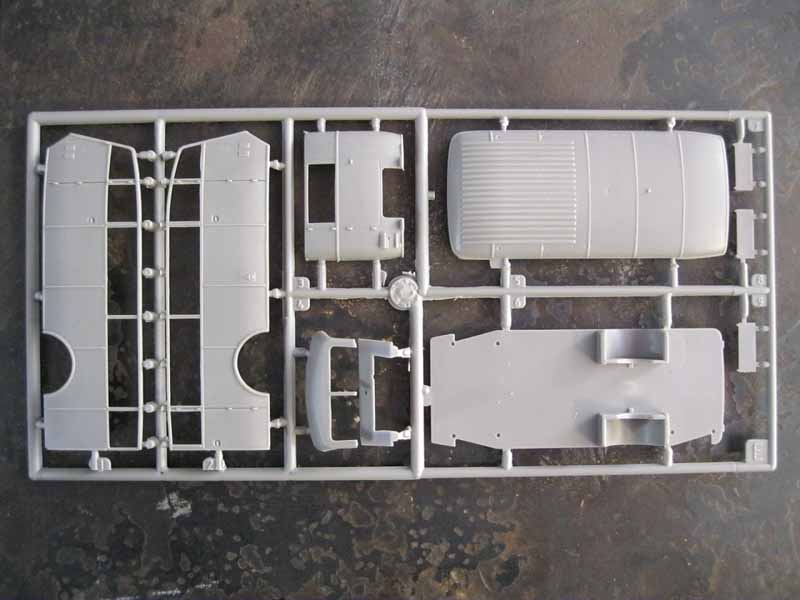
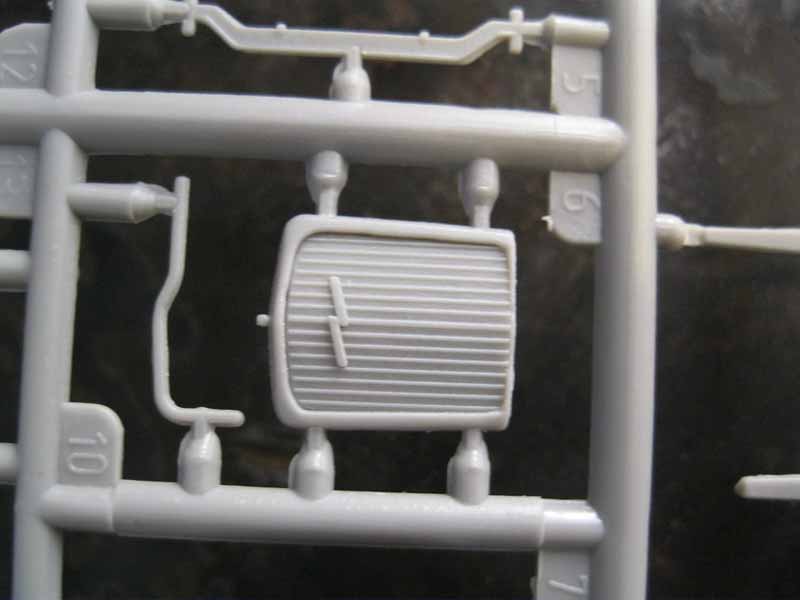
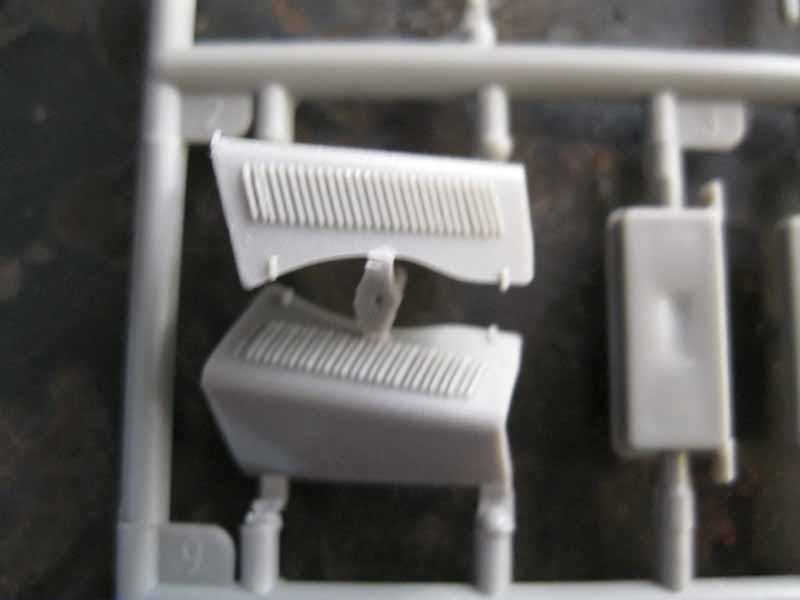
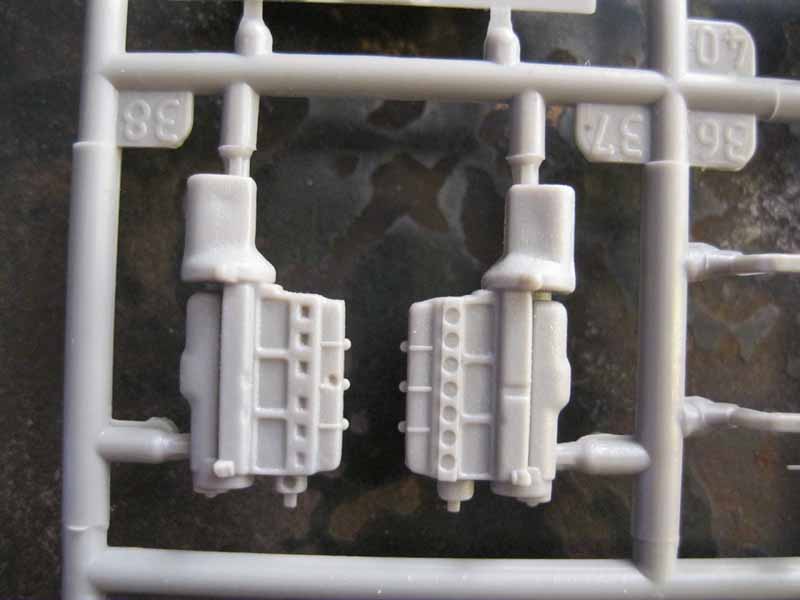
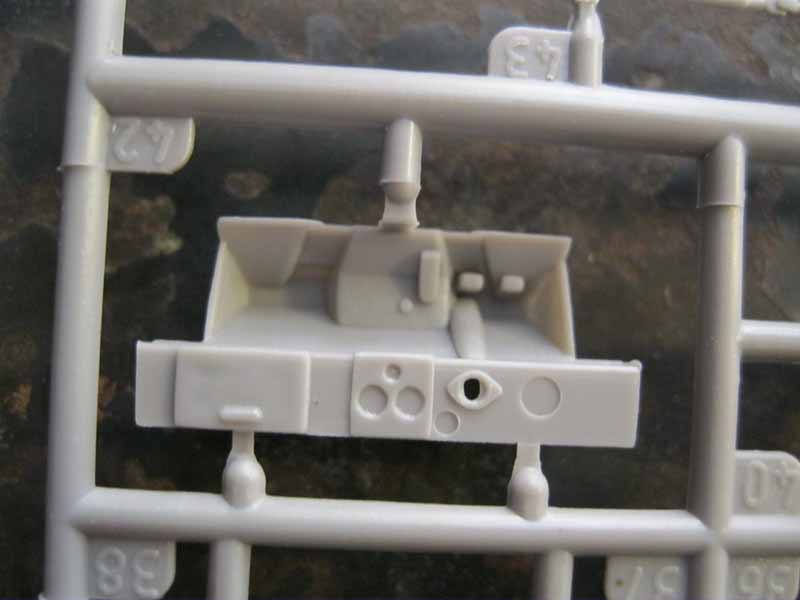
A sprue, which holds the chassis frame, engine and suspension assembly, firewall and drive compartment, radiator grille with the Opel logo plate, engine louvers and delicate drive and exhaust pipe.
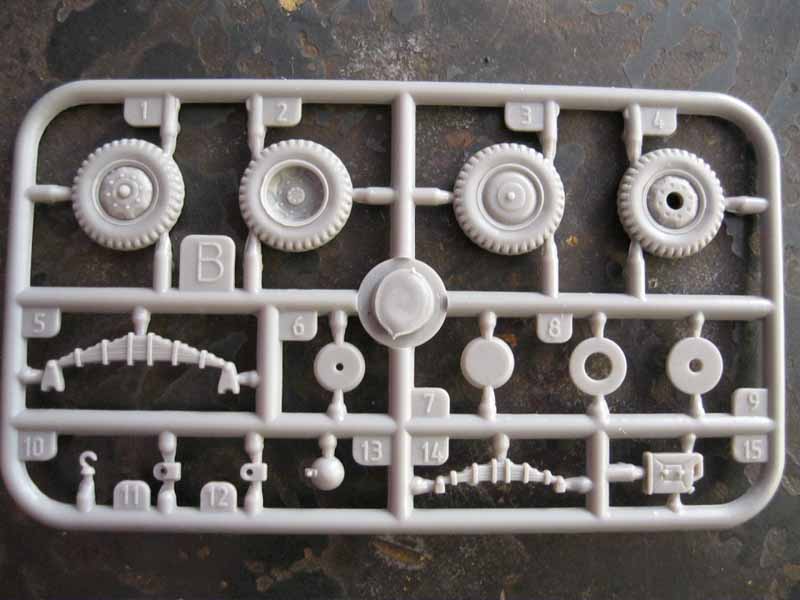
B sprue X2, wheels and spring suspension.
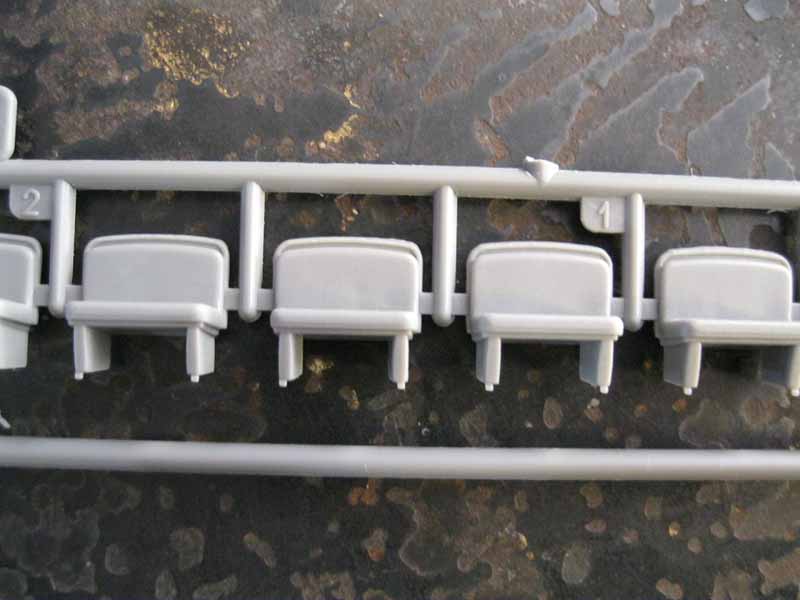
D sprue, bench seats, of which two are used.
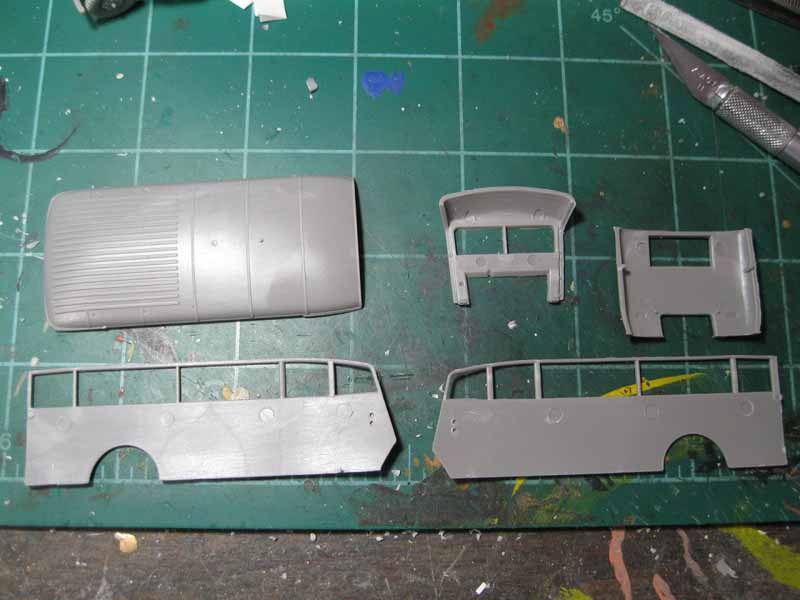
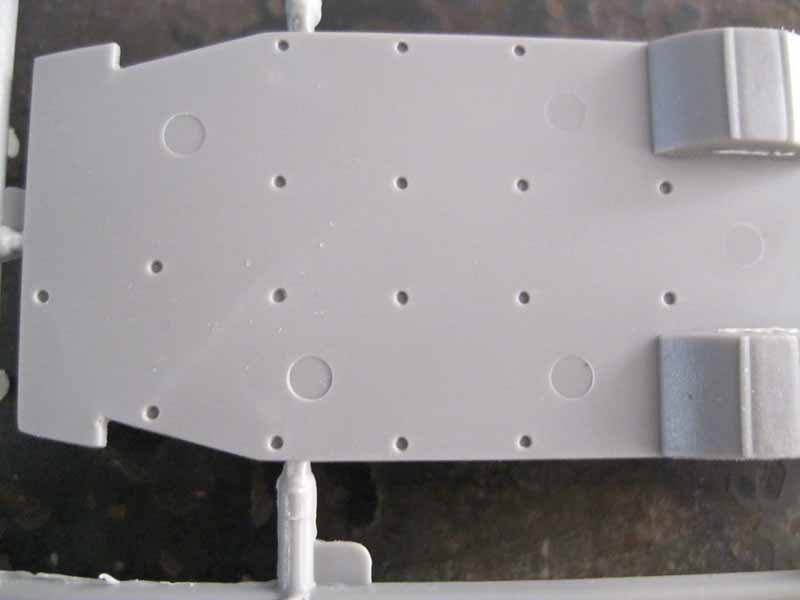
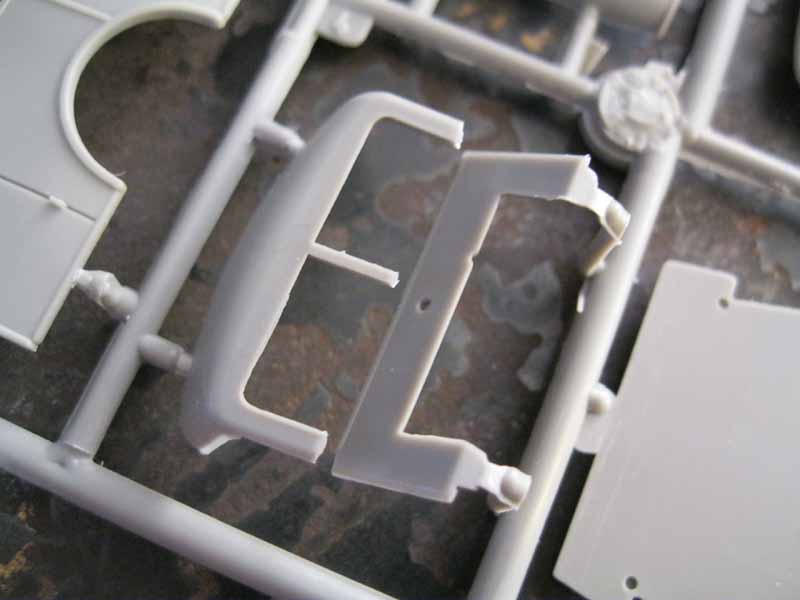
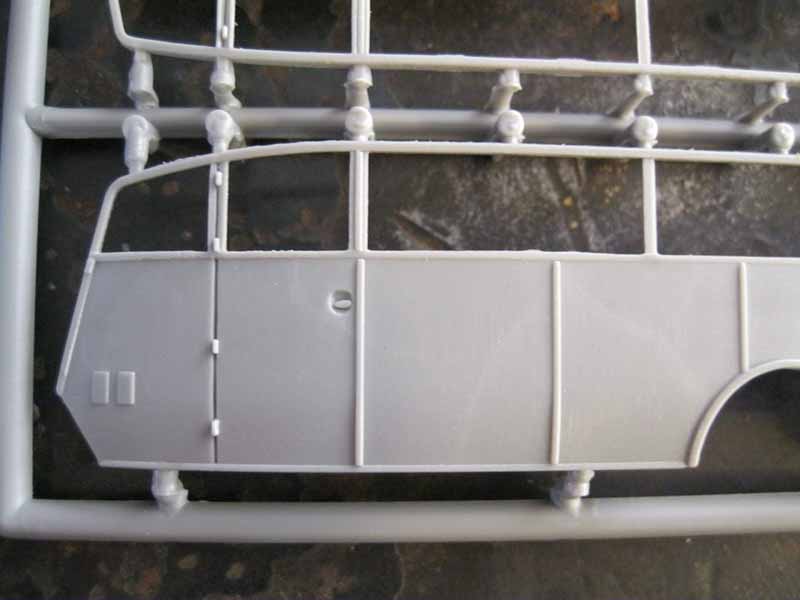
E sprue, separate body panels for the bus, including sides, front and rear, top and interior floor.
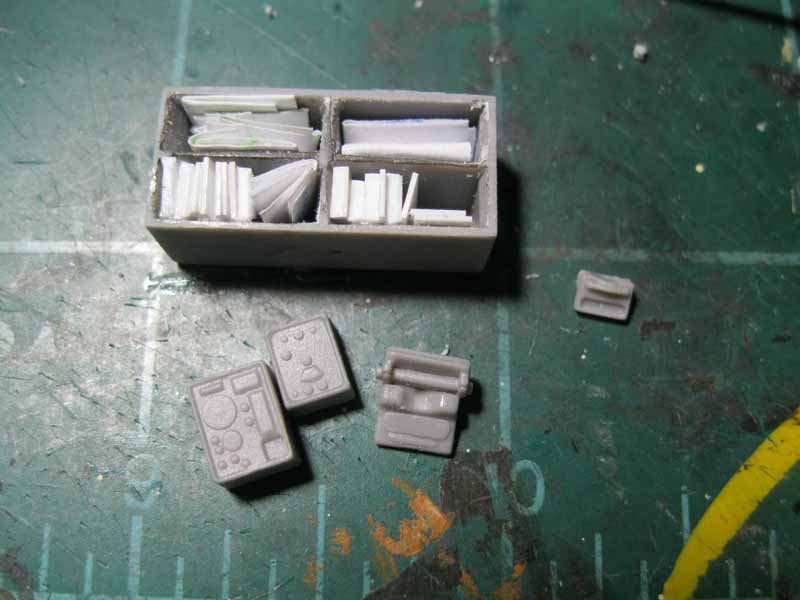
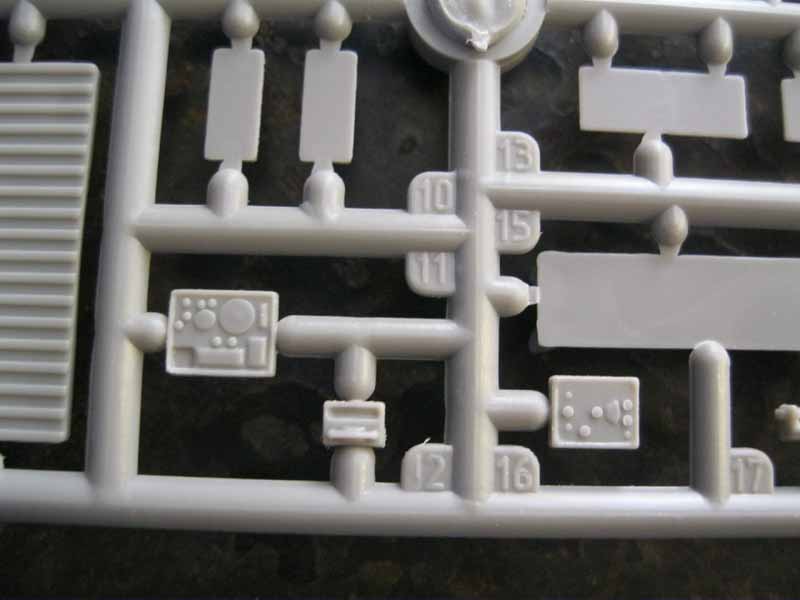
F sprue, new to this kit, with chairs, tables, shelves, tool box, bench, typewriter and phone. Also, a second cargo "deck" section for mounting on the roof.
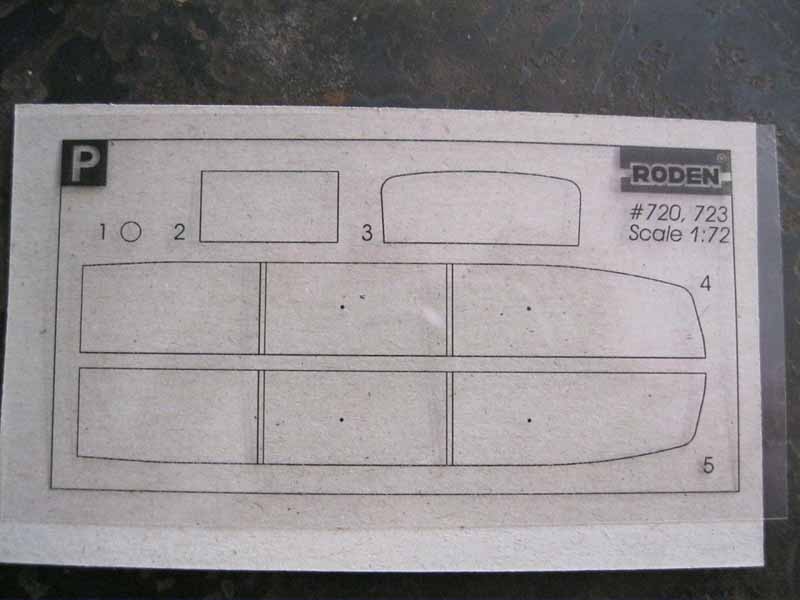
Part P is an acetate sheet with the windows printed on the surface.
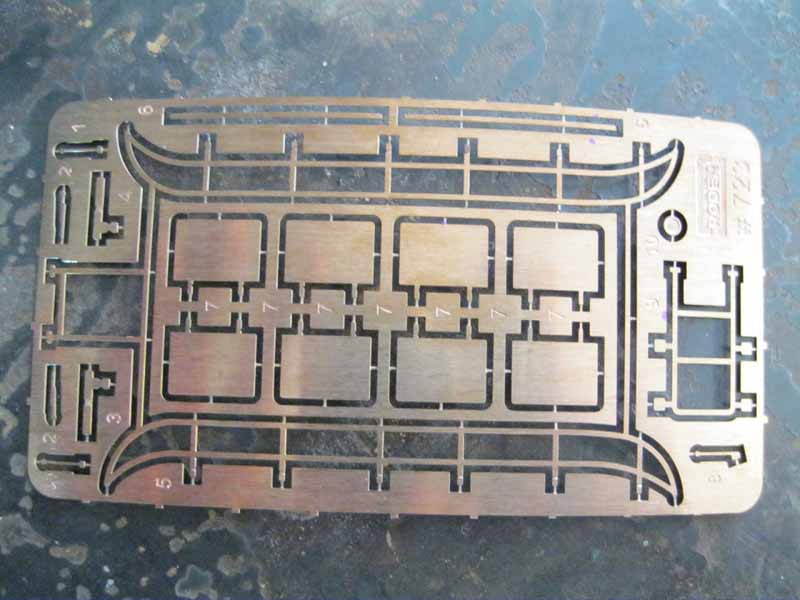
Etch sheet with the roof rack, window covers, rear ladder, mirrors, wiper blades and width indicators.
parts
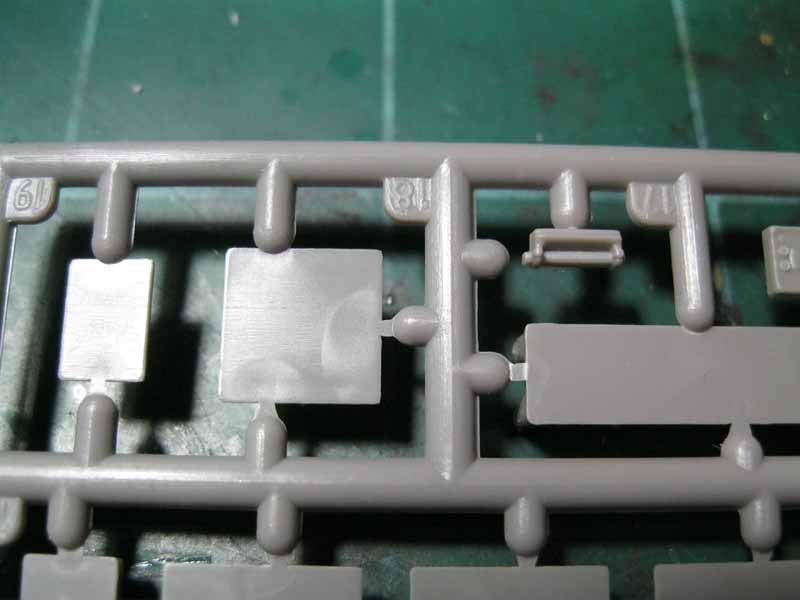
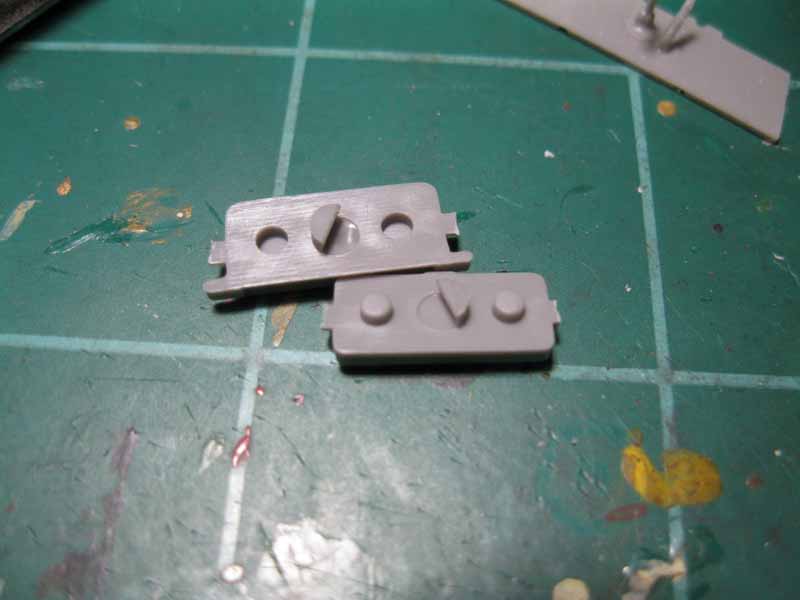
Quality of the plastic moulding is generally good. There are a few minor sink marks that can be easily filled, and some minor flash. The biggest challenge will be parts removal as the attachment points are frequently very thick, and clean up of the mould seam lines which on some parts are quite pronounced. There are some large pour plugs on several parts that will need to be removed as well. There was also one broken part in my kit, from the shipping process. This was the cab section for the front of the bus. It was easily repaired and was not a defect with the kit.
The etch parts are copper, somewhat thick, but were more easily removed from the fret than with the previous release.
The acetate windows are nice for scale thickness and careful trimming will be required to get them out and installed. I found them to be slightly over sized as printed. For me they attached best with odourless super glue, which is also vapourless.
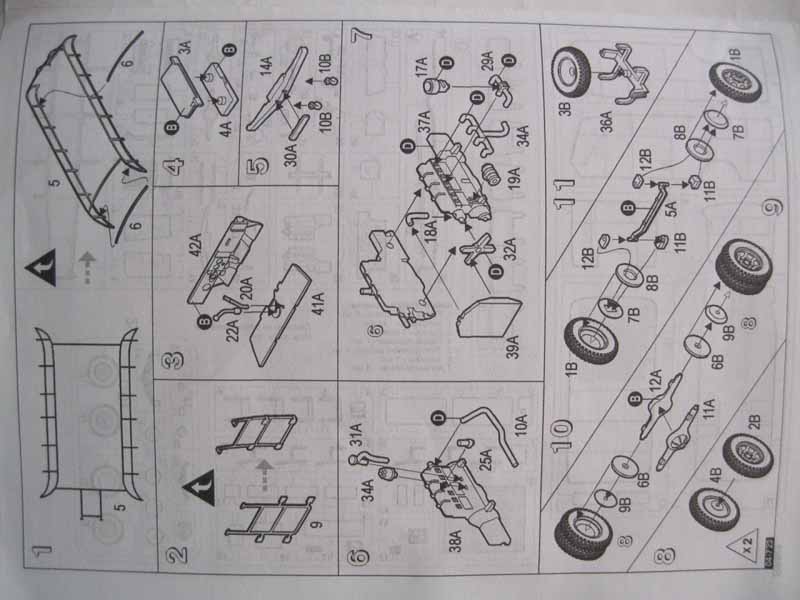
instructions
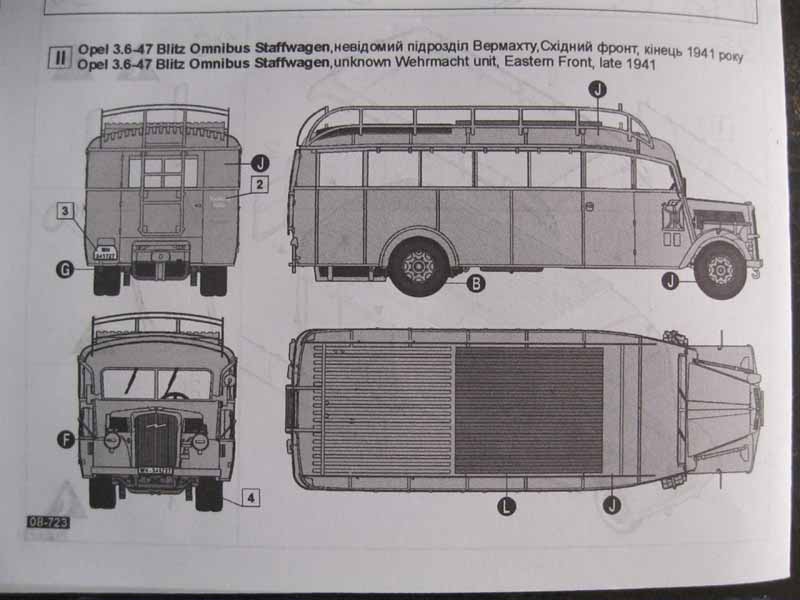
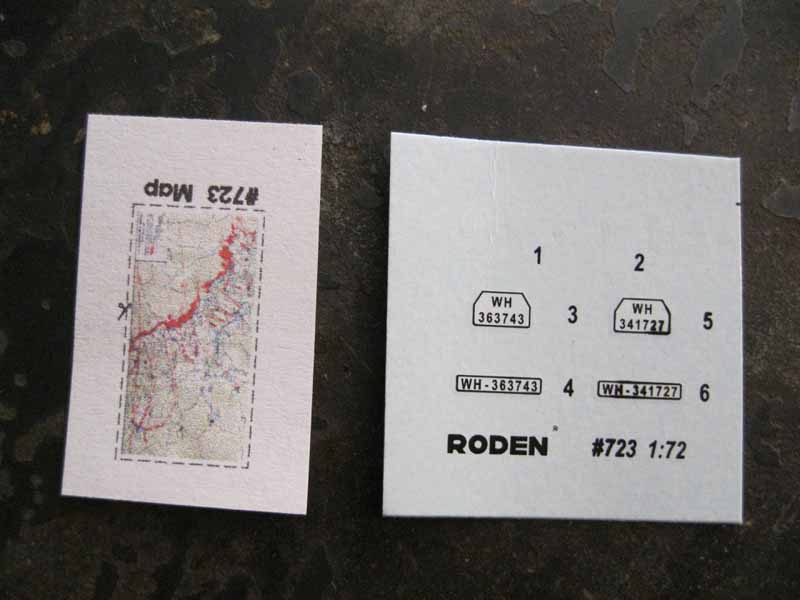
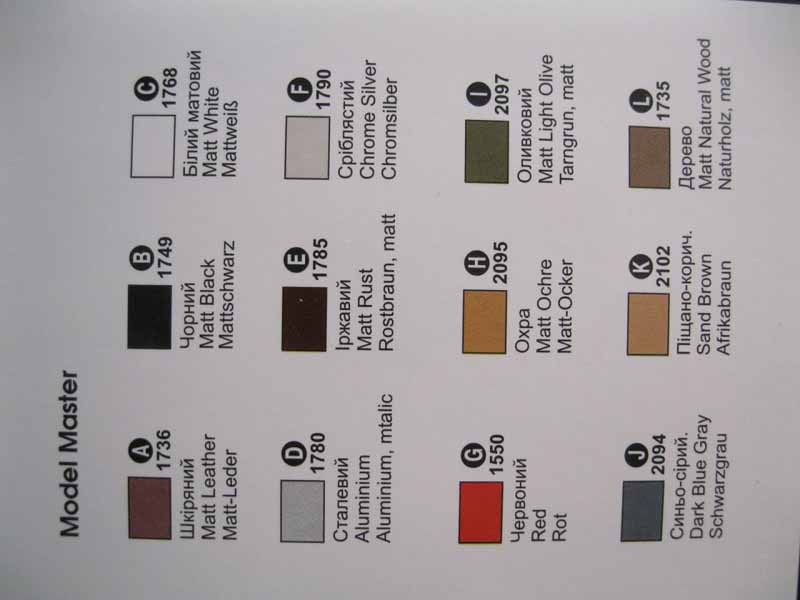
The instructions are in booklet style, with construction called out in 29 steps. The instructions are generally very good and clear. The only error I found was in assembly of the engine, step 6, where the distributor is labelled 34A, but is actually 24A. A painting guide is included with the instructions in black and white, and in full colour on the box rear. Two vehicles are depicted, the first from an unknown unit, Eastern Front, late 1941, in overall dark gray, and the second, from the box top, in Afrika mustard with dark green bands, from the Afrika Korps, 1942. A small decal sheet with license placard markings for both vehicles is included.
construction
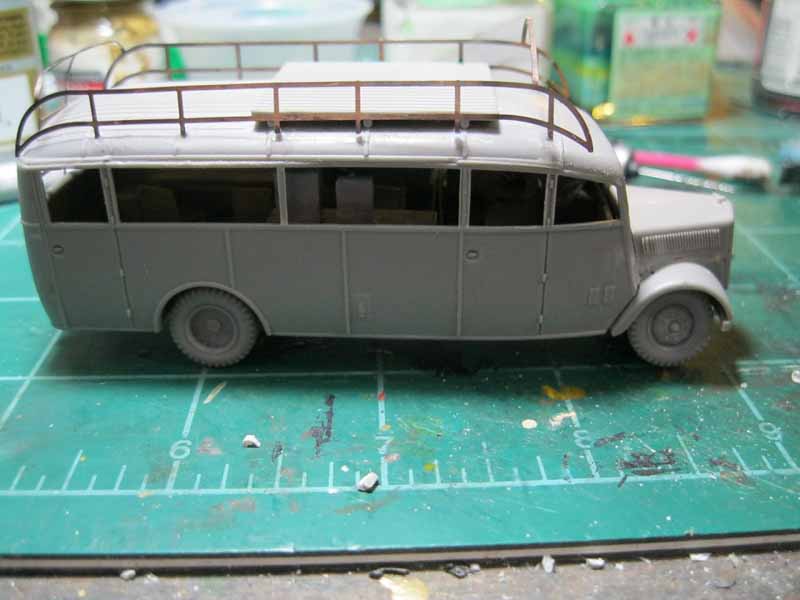
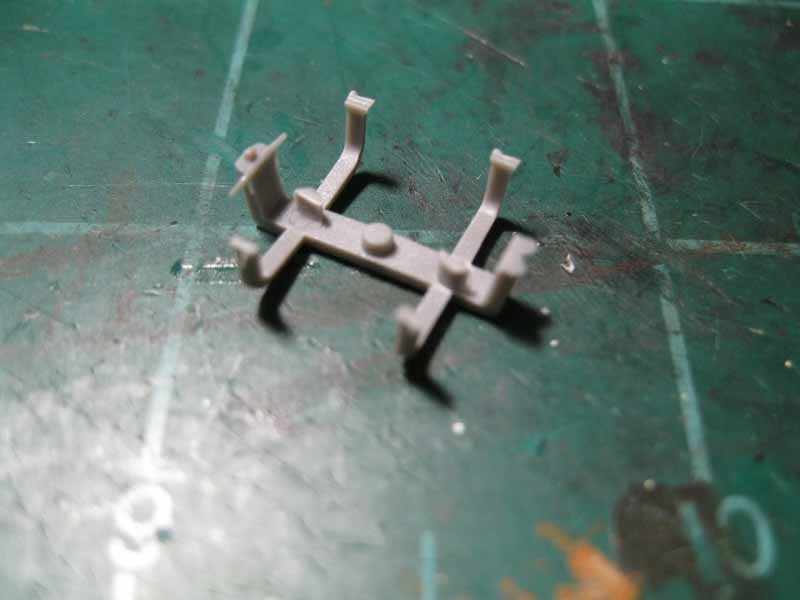
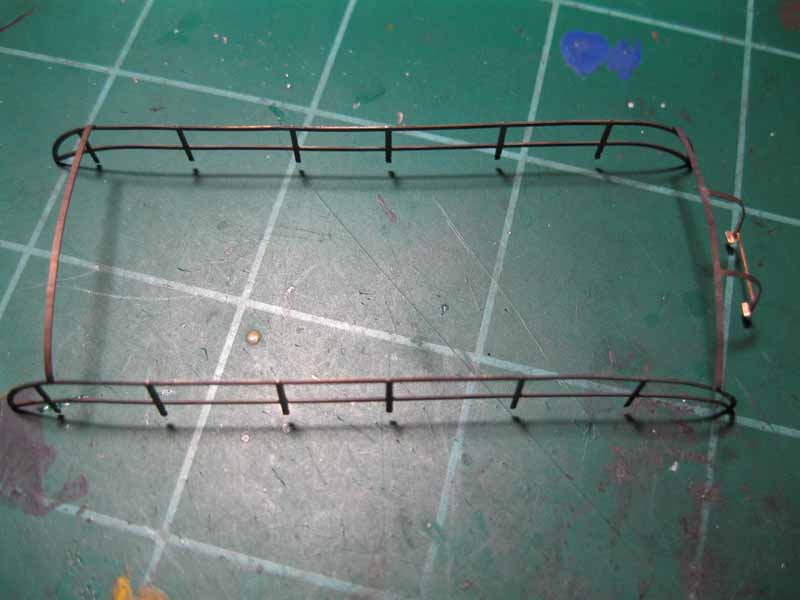
Construction of this kit begins with folding the roof rack. This is best done later in construction so you can measure it on the roof as you make the bends, but I followed the instructions for the build. Once the main frame is bent into shape there are two cross members that are to be placed directly below the two cross members of the main assembly. The two parts to be added are not the same width as the main frame assembly. I would have preferred it the other way around, with the lower cross member as part of the one piece frame and the upper braces added afterwards. This would keep the frame from flexing when positioned on the kit. As it was, I waited to add the lower cross members until I placed the cargo rack on the bus rooftop.
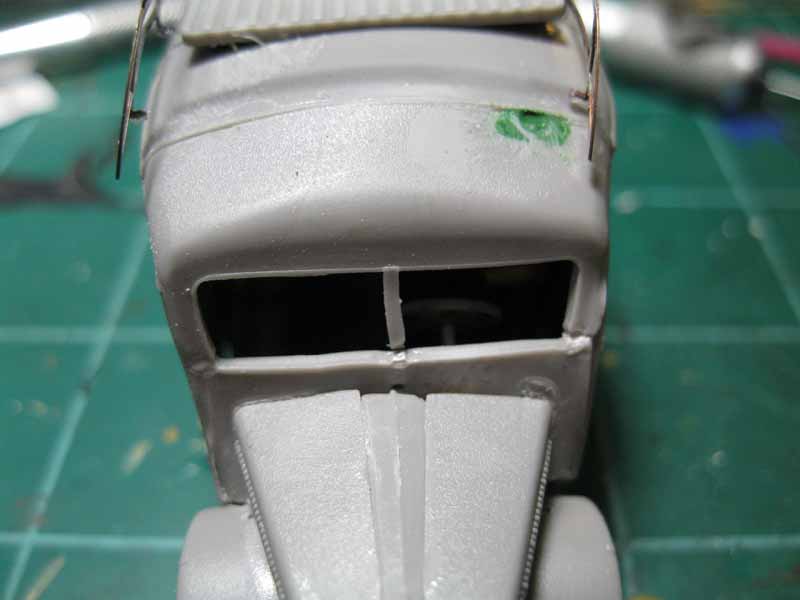
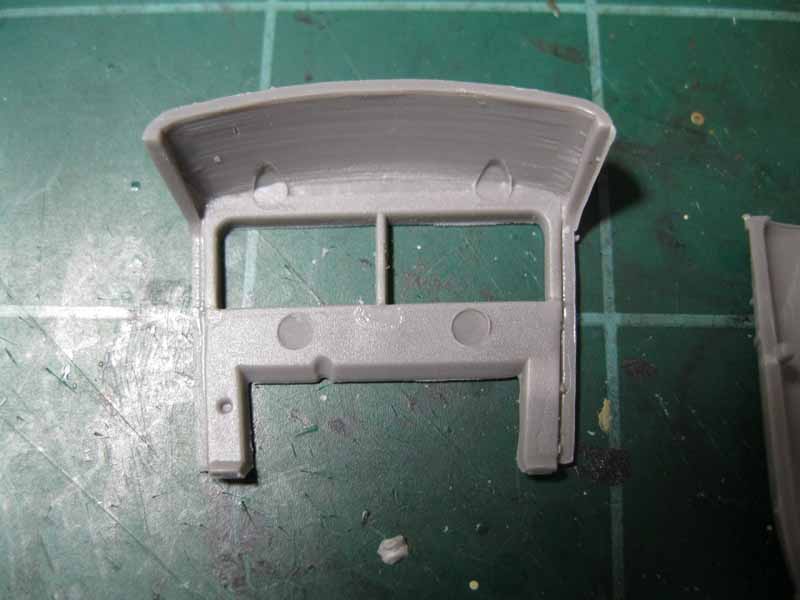
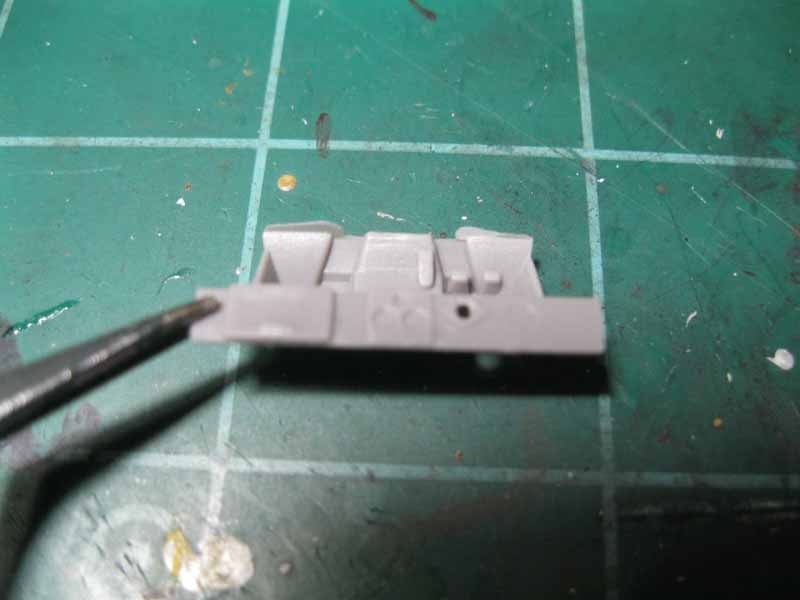
Steps 3-7 cover assembly of the cab, fuel tank, front bumper and very detailed engine. Placing the firewall on the cab floor is somewhat of a best guess as there is no clear placement. The dashboard features dials, foot pedals and a glove box, all very nicely done, and unfortunately nearly invisible once the kit is completed. The engine is also quite complete but the engine louvres are much too thick to really show it off. There is an aftermarket etch set that would allow a better scale representation of this from NH Detail, if you want to show things off. If not, you can decide just how much of the engine, if any, you want to build. If you do build the engine, part 17A, the air filter, will not fit under the closed louvers.
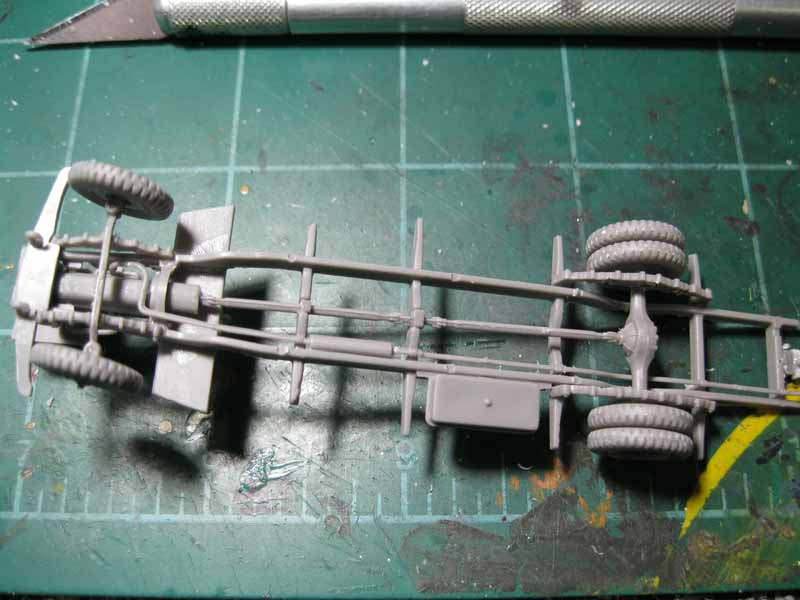
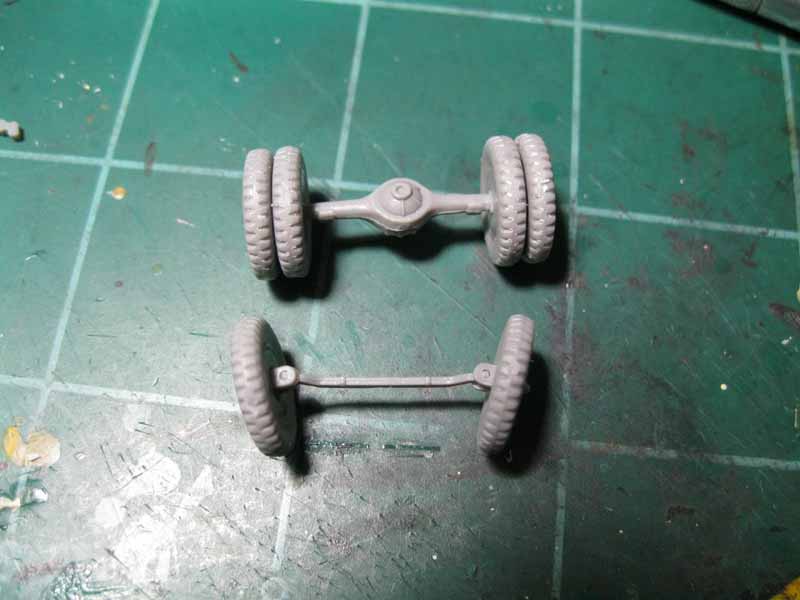
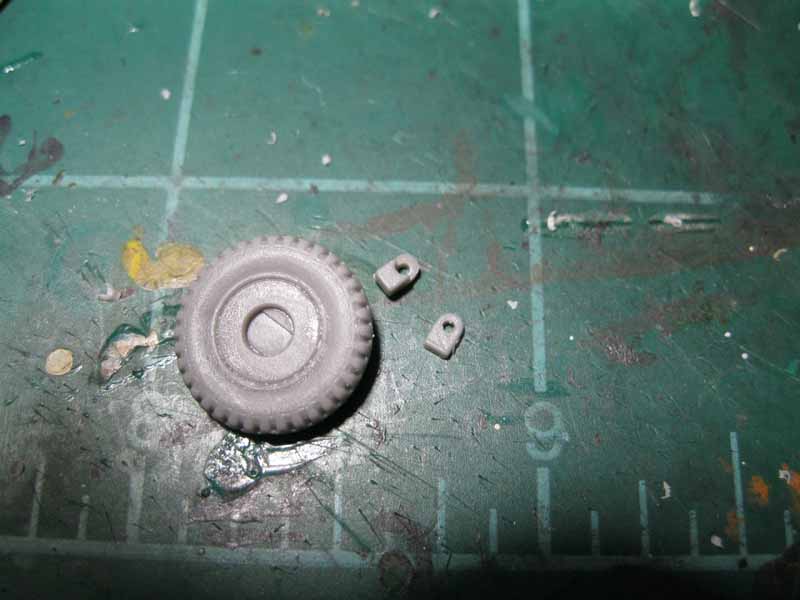
Steps 10 and 11 cover assembly of the wheels and suspension. There are no locator pins to attach the dual rear wheels so you will have to use care to make sure they are even. There is a small locator pin to attach the wheels sets to the rear axle which is very delicate. The front wheels can be built to be pose able, but there is no steering linkage so to get the wheels aligned they will have to be fixed into position. The spare wheel fits in the bracket if the centre nub is reduced.
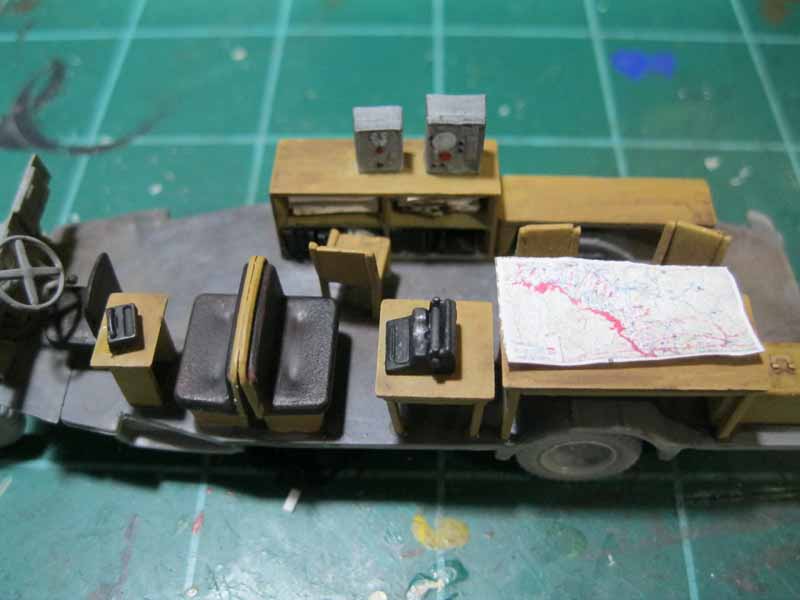
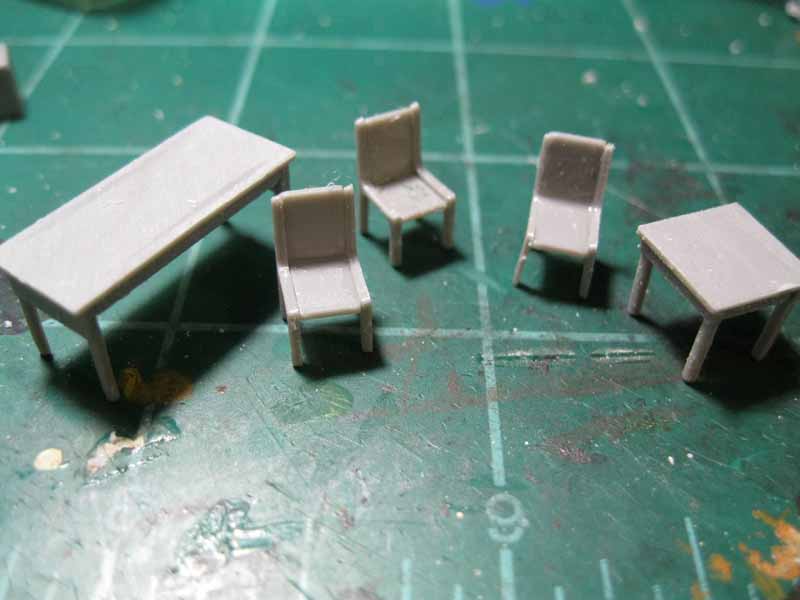
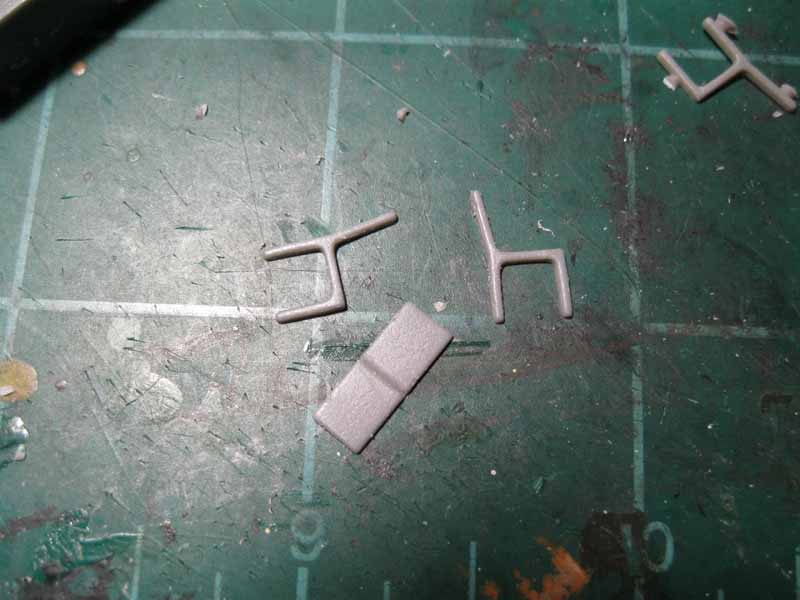
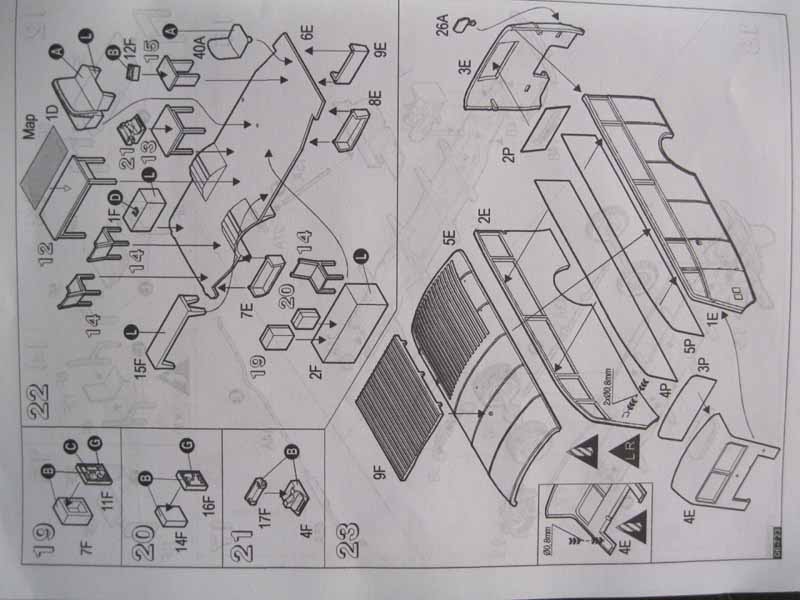
Steps 12-15 cover assembly of the furniture for the interior. Three tables have the top section and two separate ends for the legs. The chairs are a single piece that you bend, then glue the one piece leg and back brace on. The legs for the tables and chairs are squared on one side and slightly rounded on the other, from the moulding process. I had to sand down the table tops to get them flat, which also gave them a little bit of texture.
Steps 16-18 are the assembly of the lower chassis. The engine, cab floor, steering wheel, leaf springs and wheel assemblies all go in place. I had to drill out the openings for the axle a little to get the drive shaft to fit properly. The leaf springs have detail on only one side, but in this scale it will be difficult to see the other side unless you pick the model up and really look. The instructions show to assemble the two exhaust sections first, but I added the first section, then once it was in place I added the second half, to get it to line up and remain in one piece.
Steps 19-22 show assembly of the radios, typewriter and placement of all the interior items. A look at step 24 shows everything in place for a better placement guide. The book shelf is a little thick, so I tried to thin down the face and then added some books and papers, just to fill in the void.
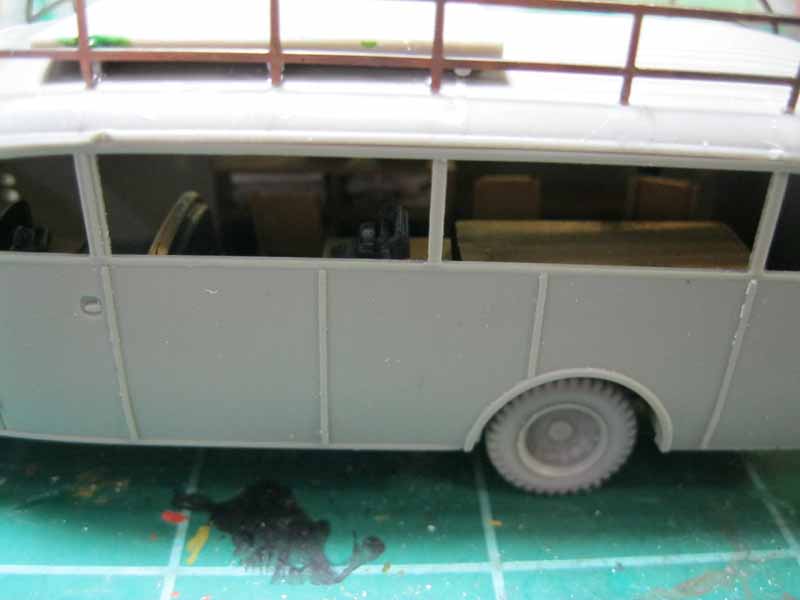
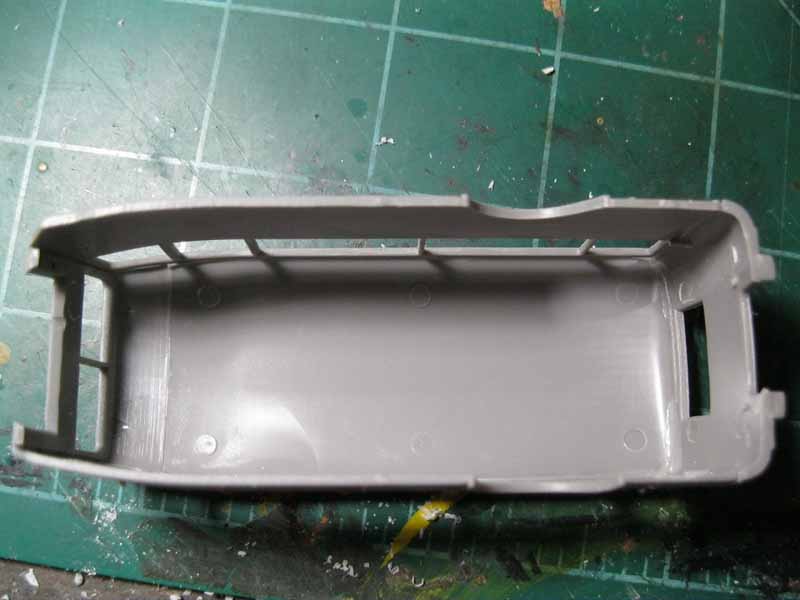
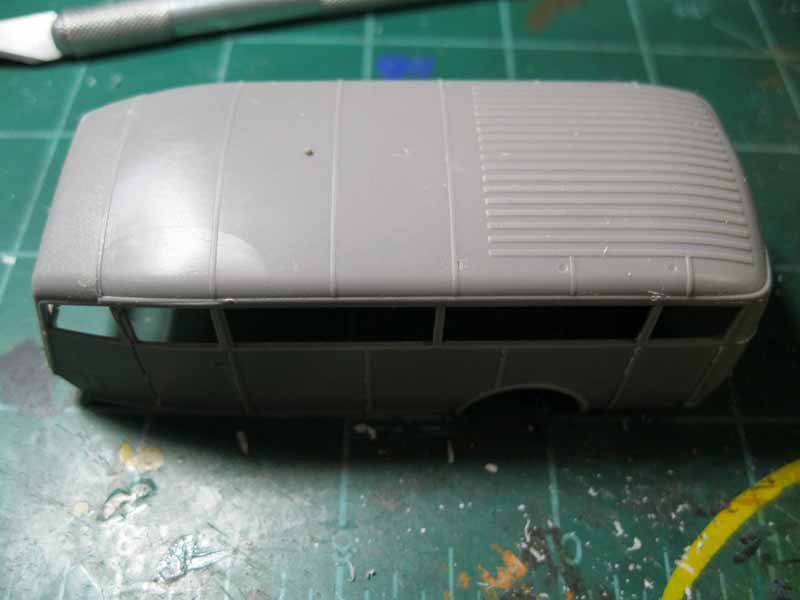
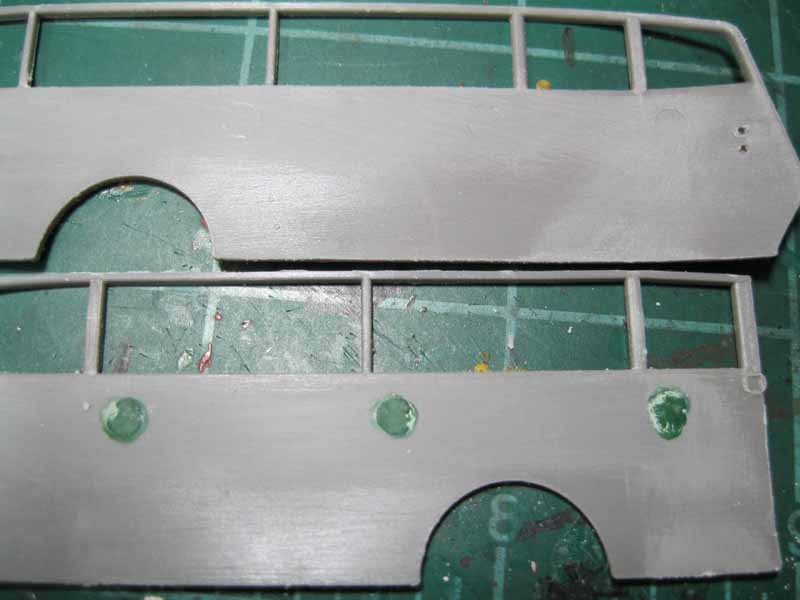
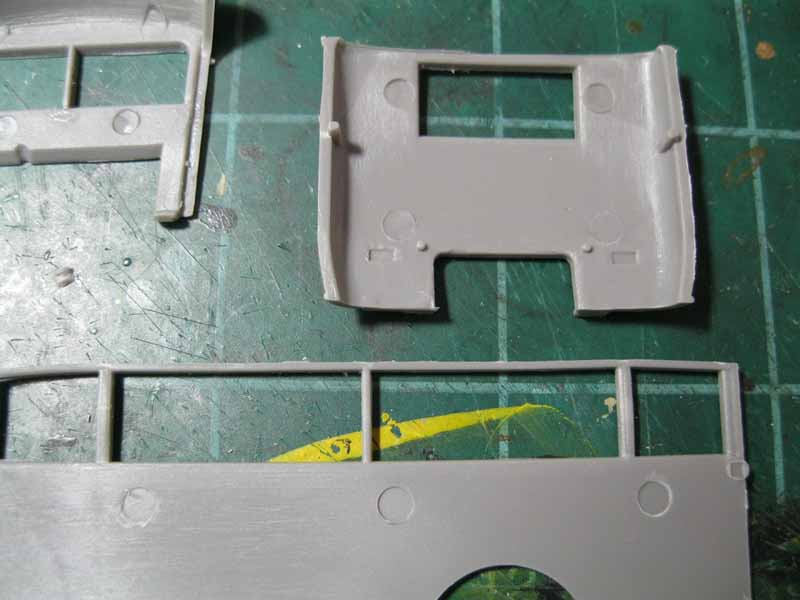
Step 23 is the assembly of the body. The separate panels allow for good detail, and everything goes together quite well. There were some sink marks on the interior that I filled in, and I didn't add the windows at this point as I wanted to paint it first.
Step 24 is the installation of the interior to the chassis, and the body over that. I painted the interior and worked on placing the roof rack to the body, just to see where it would fit. Don't attach it until you have permanently attached the bus body to the frame, as it will take a little flexing to get it in place and that will knock the roof rack off, or damage it.
Steps 25-29 would have been to attach the rack to the completed model, add the etch mirrors and width indicators, tools and jerry cans to the exterior and finish painting. Unfortunately I had a minor disaster. While I was at work the lamp on my desk was turned on and dropped or lowered onto the kit. The heat from the lamp caused some damage to the cab section of the bus body, shrinking it on the driver's side and severely warping the firewall area. This is no fault of the kit. It is taking some time to fix and as a result I have not posted completed pictures of the model.
In spite of this issue, the build was fairly straight forward. This kit requires some care in building, as parts don't just fall together, and is not for a novice builder, but it isn't too difficult. As is, out of the box, it makes a very nice model. The open nature of the body construction will allow a super detailer to add curtains and interior baskets along the windows, or place wiring with the radios and phone. With the etch aftermarket set the engine can be shown off. With supreme care you could open up the doors. No stowage is included, but aftermarket or scratch built items can easily fill up the roof rack. From discussion on the various modelling sites, this appears to be quite a popular subject, and deservedly so.
conclusion
Aside from some flash and sink marks, the only issue I could see is the roof rack. The actual rack was tubular steel. The etch set is flat and quite prominent. Based on the moulding of the exhaust pipe and other details, I think Roden could have moulded the roof rack in plastic, giving it the correct round shape. Again, if you have the skill, you will probably want to scratch out a new rack from either stock styrene rod or stretched sprue.
Again, I think this is a great little kit and an excellent subject that fans of larger scales wish they could get. Retail price is suggested at $19.98 US, but online prices ran as low as $10.99 before shipping, so shop around.
SUMMARY
Highs: Excellent subject. The kit includes a nice, detailed interior. Lows: Etch roof rack looks flat, heavy. Some sink marks and flash, and thick attachment points. Verdict: I think this is a very nice model kit, and a great choice for soft skin fans.
Our Thanks to Roden! This item was provided by them for the purpose of having it reviewed on this KitMaker Network site. If you would like your kit, book, or product reviewed, please contact us.
About Russ Amott (russamotto) FROM: UTAH, UNITED STATES
I got back into the hobby a few years back, and wanted to find ways to improve, which is how I found this site. Since joining Armorama I have improved tremendously by learning from others here, and have actually finished a couple of kits. I model to relax and have fun, but always look to improve. ...
Russ,
While not a subject that would generally interest me, your review made me think about possibly trying this one. It is very concise and detailed and I must say that the interior and how you built/finished it is very impressive.
Cheers,
Jan
Thanks for getting this up Russ! I managed to source an old vacuform conversion kit in 1/35 some time ago, but I've been hesitant to build it. This looks like it will be a lot more fun to build.
Thank you, Stephen.
Jeremy, you can join the campaign to get this in 1/35. I sent an e-mail to Roden asking for it. If you get this one, I think you will like it.


Comments