introduction
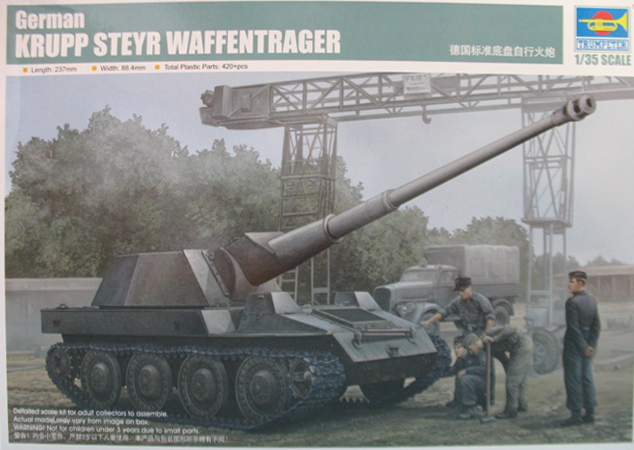
Trumpeter continues their series of Waffentragers with this one sporting some serious firepower in the form of the 8.8cm Pak 43 L/71. Unlike some of these weapons carriers, this one was actually built as a prototype in 1944.
These various weapons carriers were originally designed to not only be able to dismount the armament but to also carry all related equipment to do so onboard. The later versions were designed to have the dismounting equipment (davit crane) and miscellaneous components carried separately to cut down on weight and complexity of design.
overview
Packed in a slip top box with artwork being an artist's rendition of a period photo. A quick note on the box itself; Trumpeter has scaled this down considerably in comparison to their other kits, to a mere 12" x 8.5". I'm sure this makes shipping less costly for them, and for us it's much easier to work with on the bench, although I gave it a second look to make sure it wasn't 1/48 scale...so don't pass it over at your LHS. The lid states that the kit contains 420 pieces, although more than 180 of those are the track links.
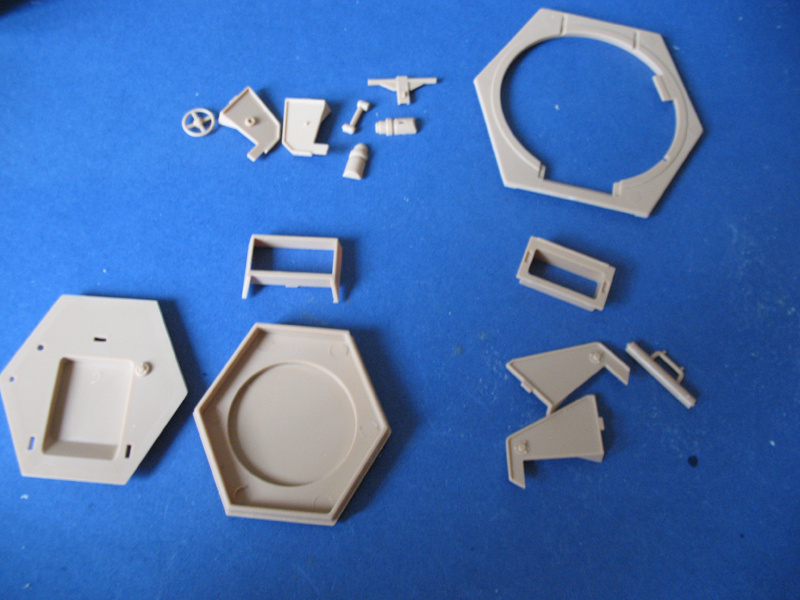
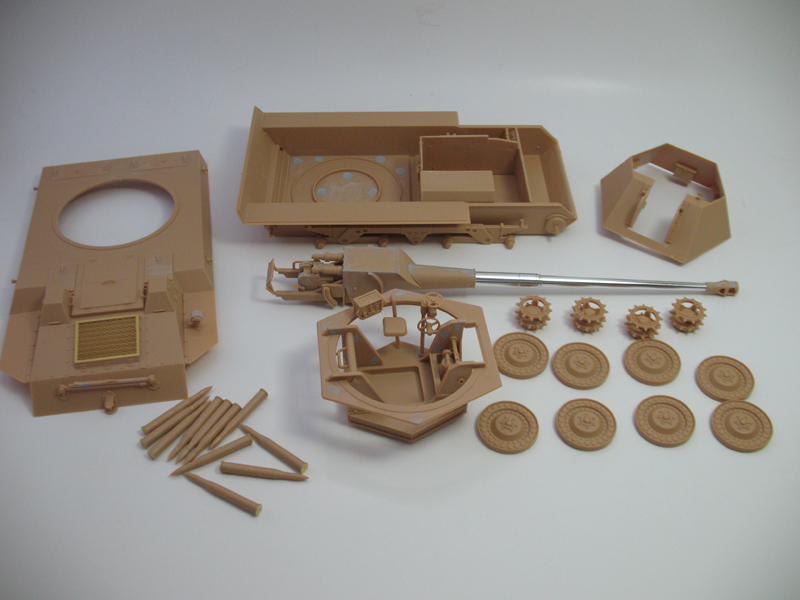
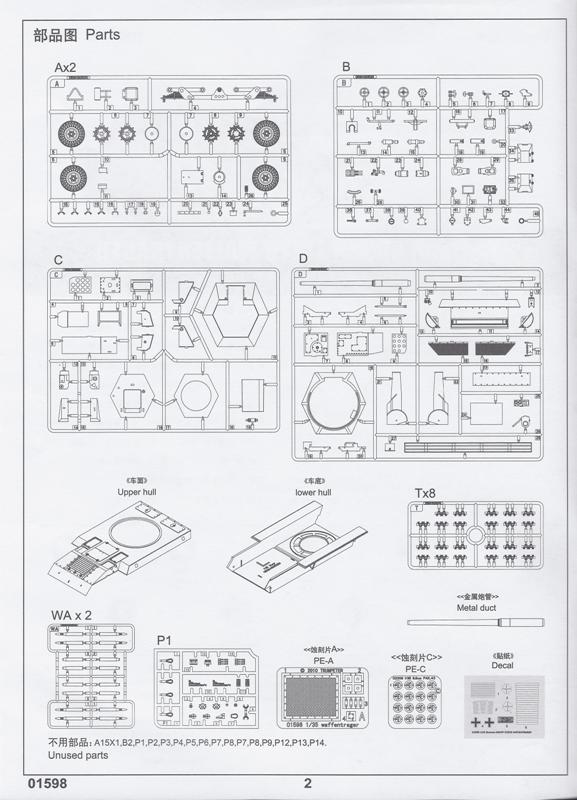
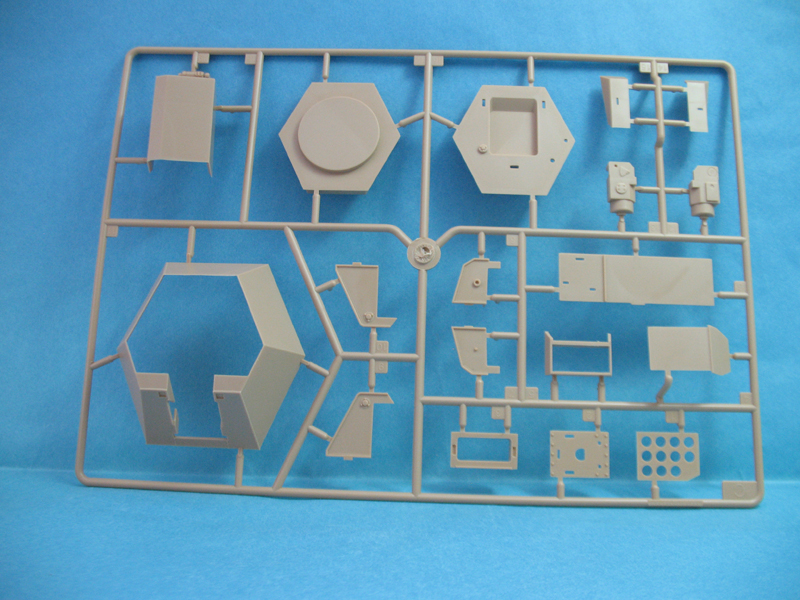
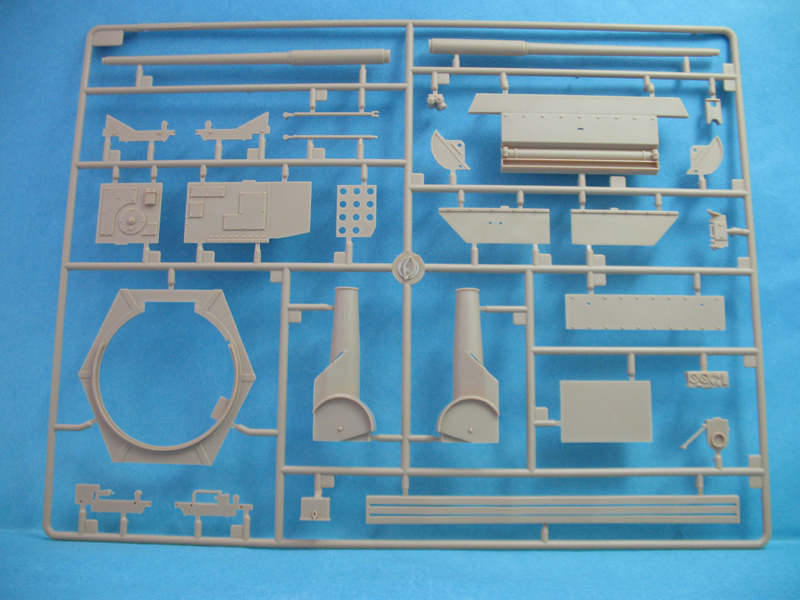
Packed inside are:
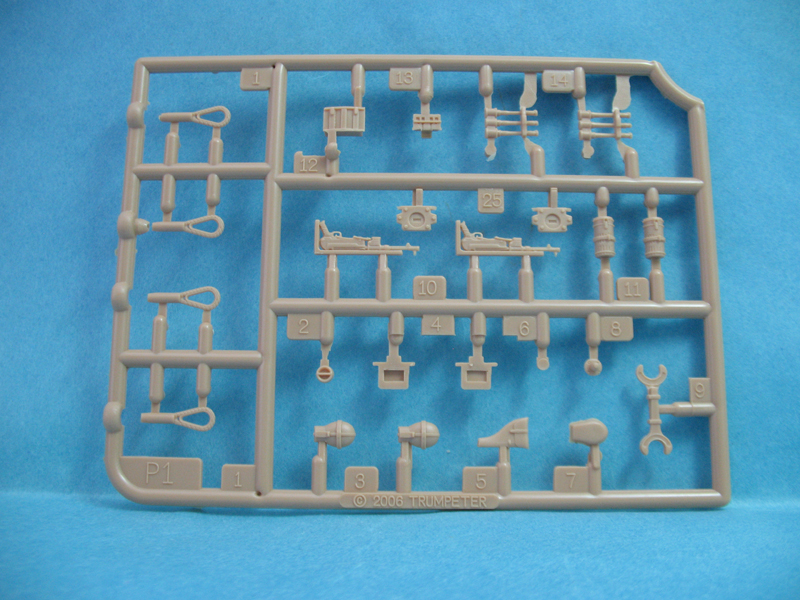
8 Tan sprues
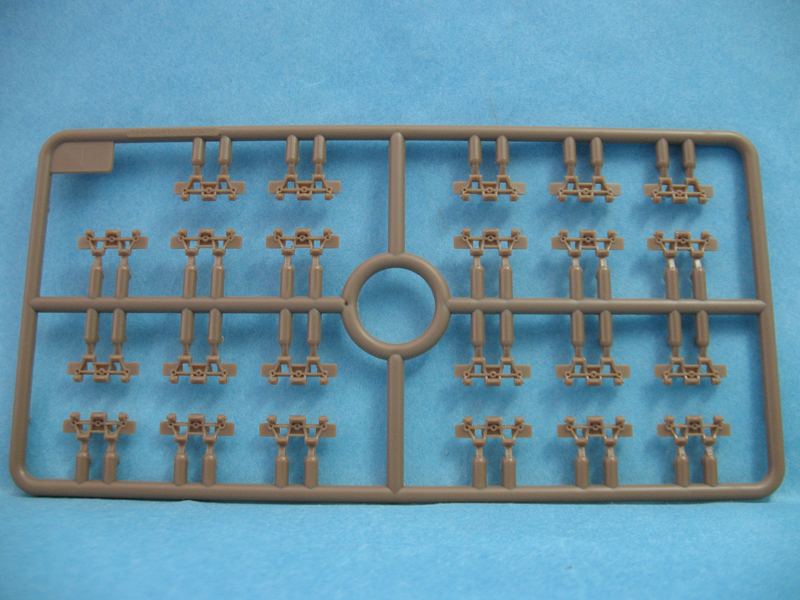
8 Brown sprues of indy links
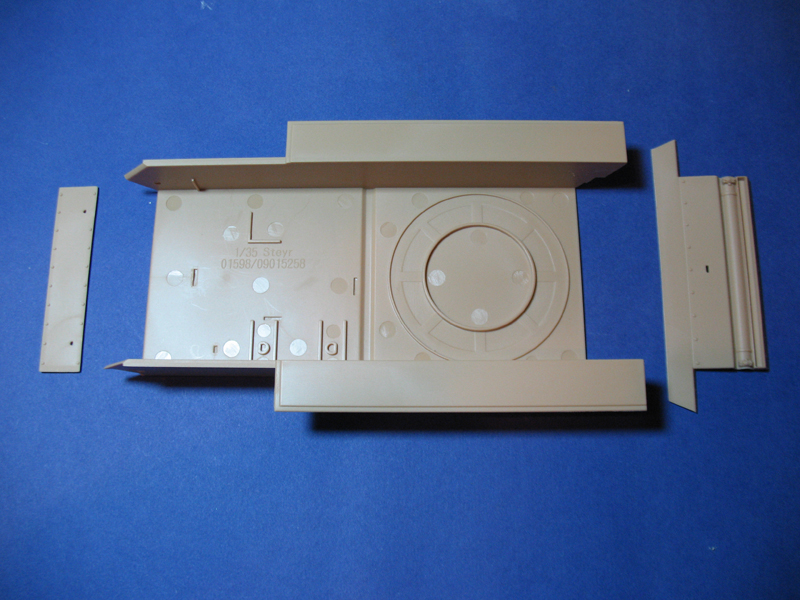
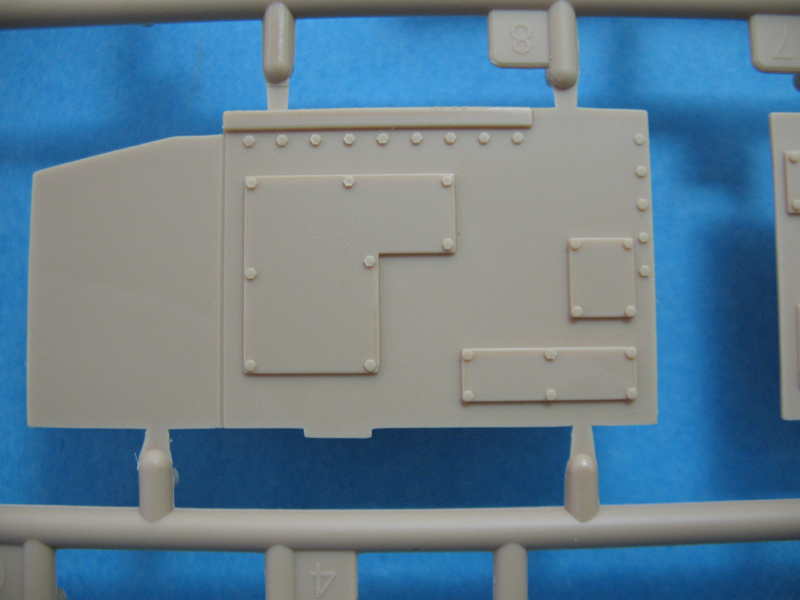
Upper & lower hull
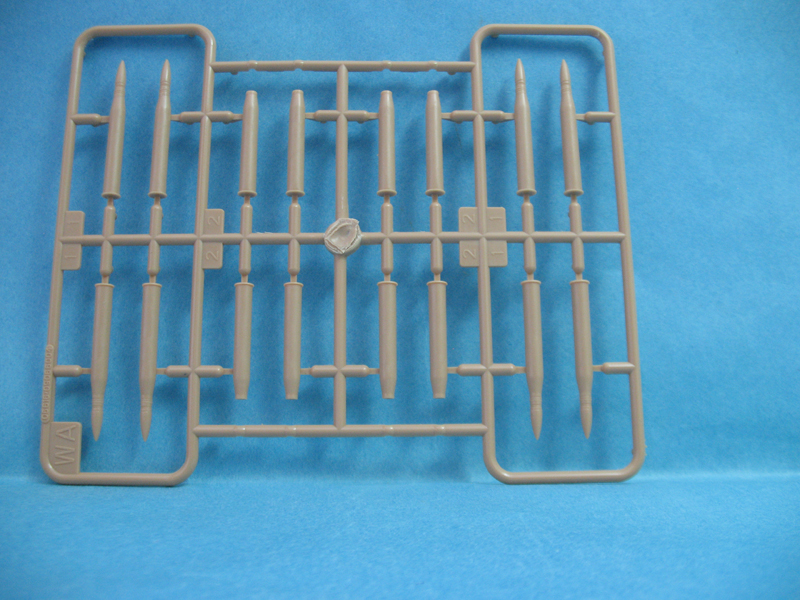
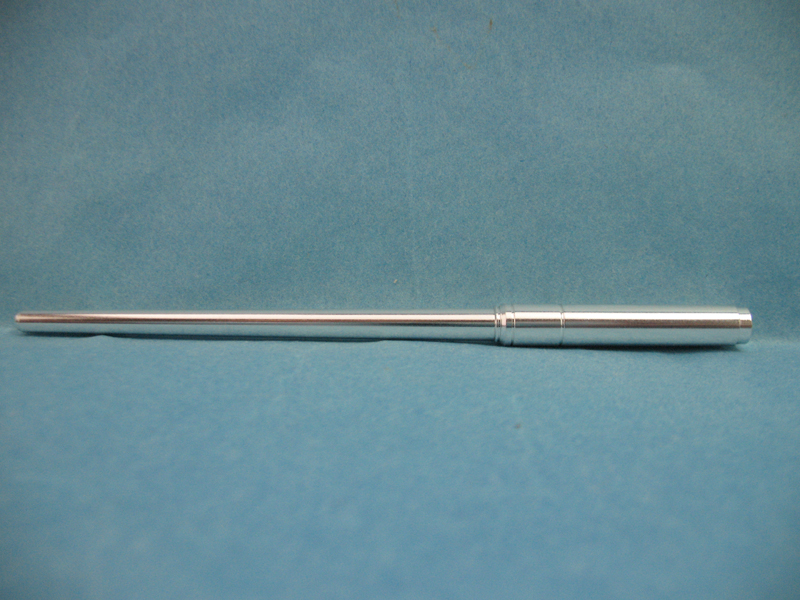
Metal barrel
2 small PE frets
Decal sheet
Instructions
Color painting/marking guide
The instructions are contained within 12 pages and span 16 construction steps using a line drawing/exploded view style, with none of the steps appearing overcomplicated.
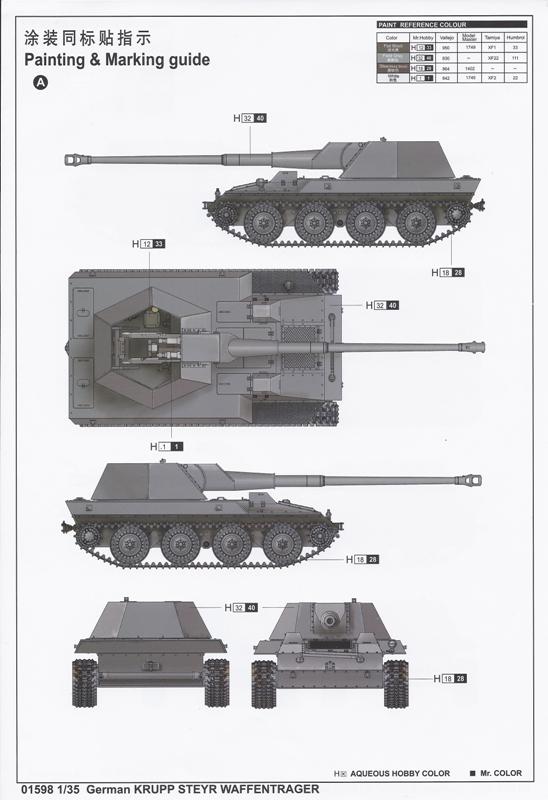
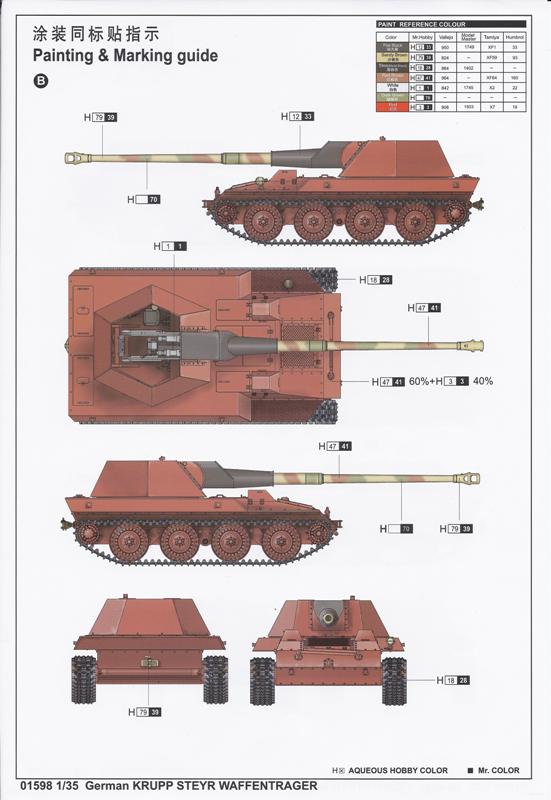
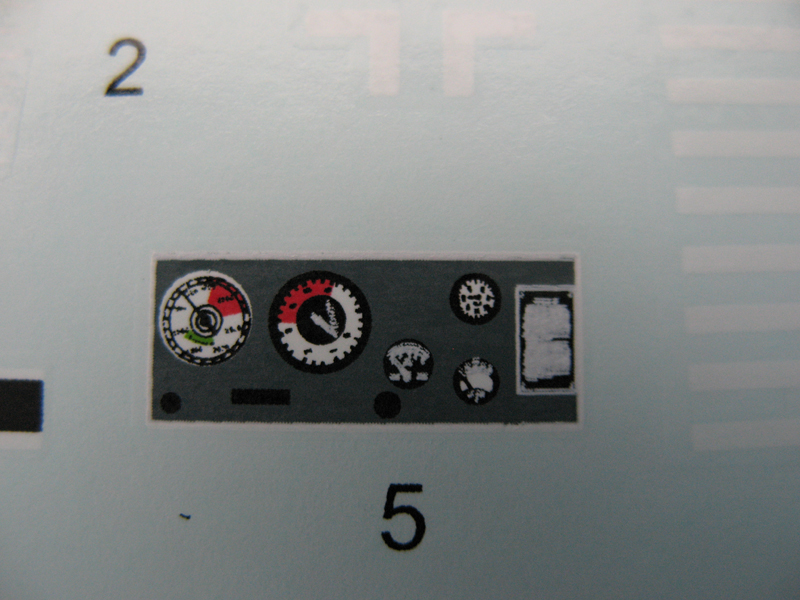
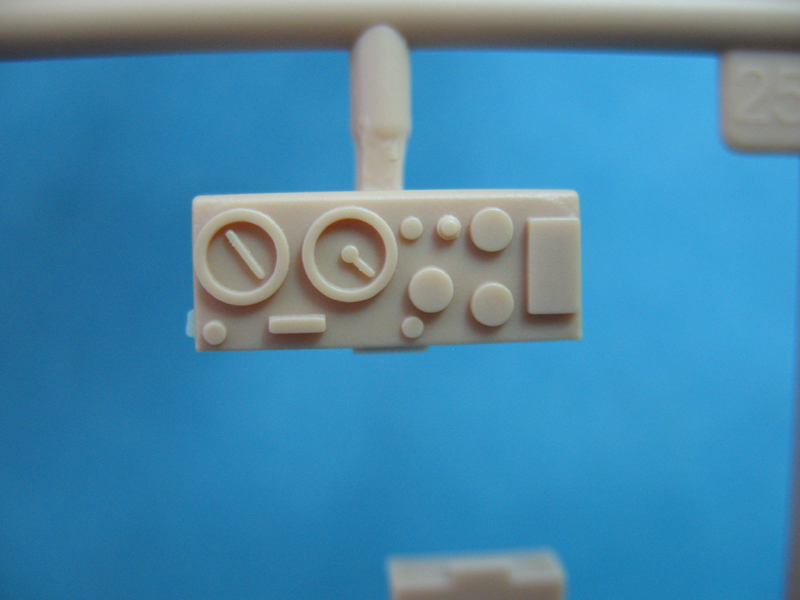
The 2 sided painting guide provides one scheme in basic panzer gray with the other in red oxide primer with a tri-color camo barrel (which may mimic period photos available). Decal placement isn't shown, and being a prototype much can be left to the individual modeler on painting/marking schemes. Oddly enough, a decal for the dashboard is included, although the gauge faces are molded in.
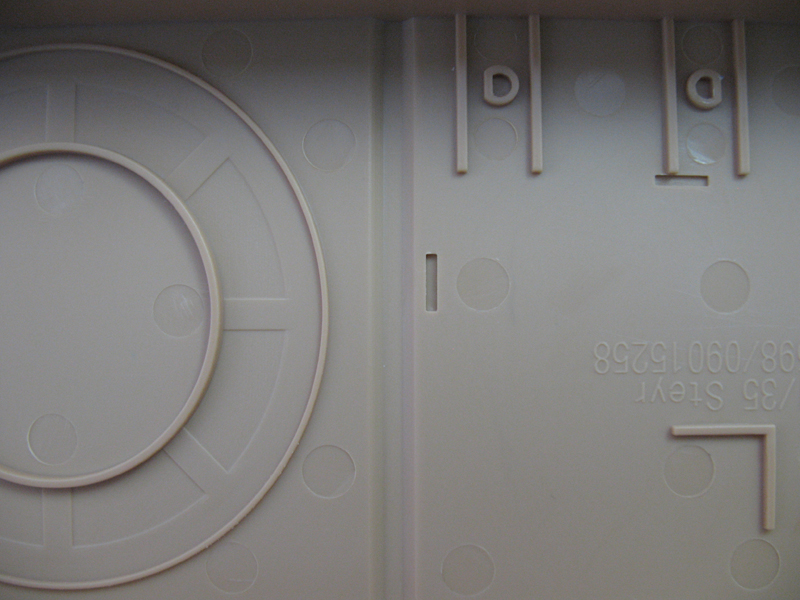
Overall, molding looks very good with a minimum of flash and mold seams. Some sprue connection points are overly large, but this is offset by the reduced number of sprue attachments and the simplicity of the kit. On the down side are the large pin marks in places that will be seen on the finished model, so some filling or sanding will be needed on those.
Details look good on areas that are easily viewed, although absent in the harder to see areas such as under the track guards, inner roadwheels, and hull bottom.
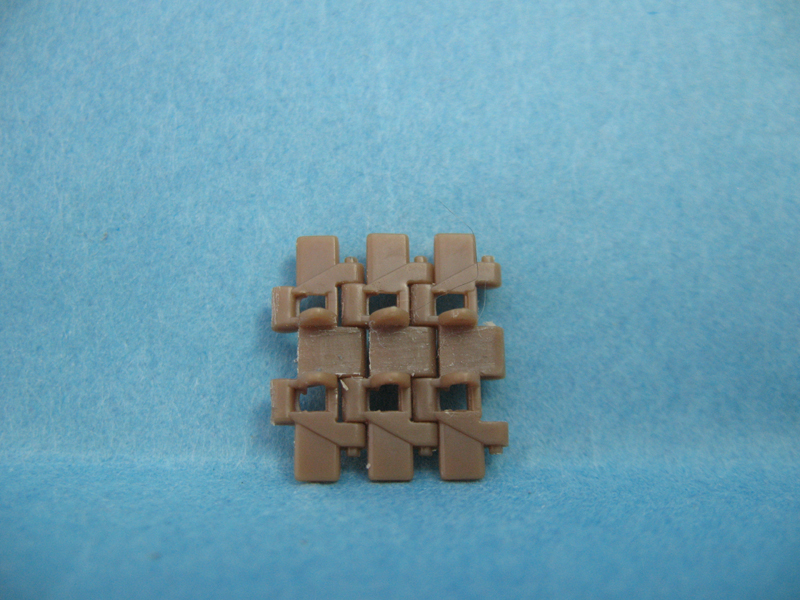
The tracks appear to be a beefed-up version of the RSO tracks. Each track link has two connection points, a raised pin mark and a slight seam line to clean up. With my quick test of them, these are some of the finest kit included indy links I've worked with. Clean up was fairly easy and the links click together tight enough to hold them in place without chasing them all around the workbench. They will still need to be glued together, of course. Trumpeter once again includes a jig to form the track sag if you choose to go that route.
the build
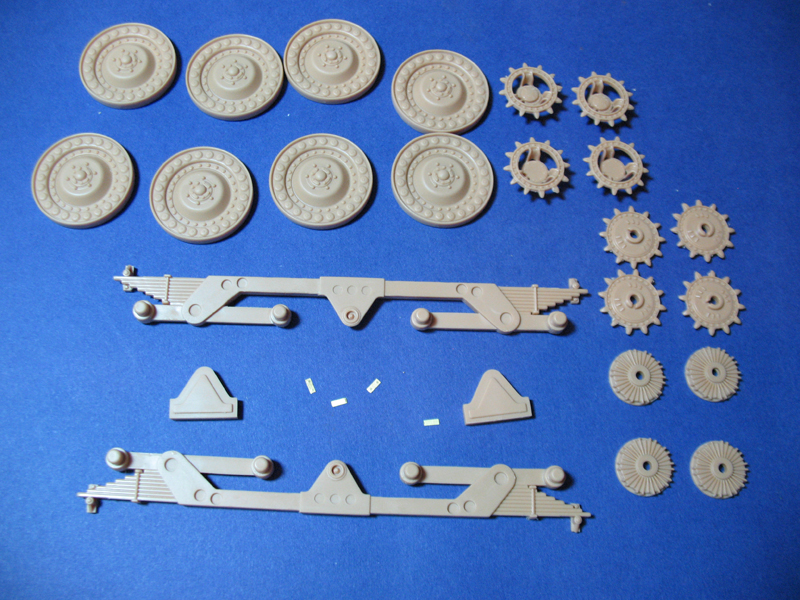
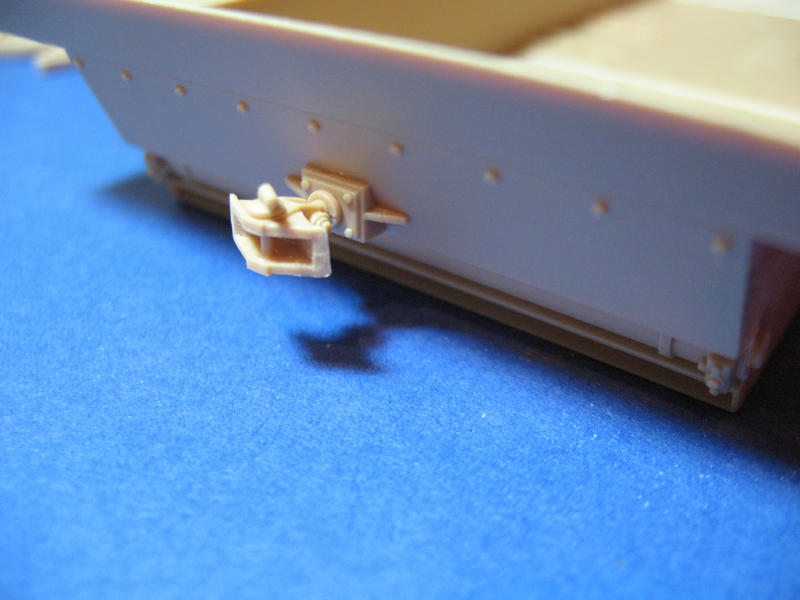
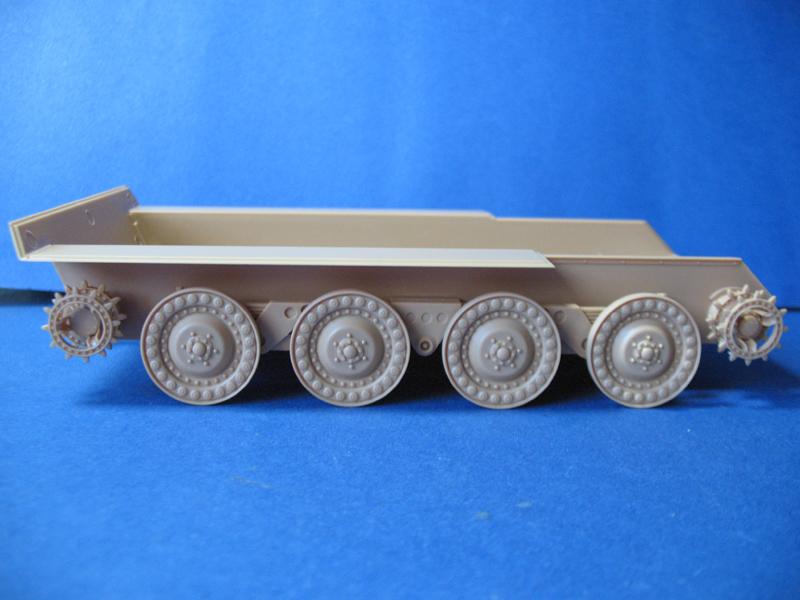
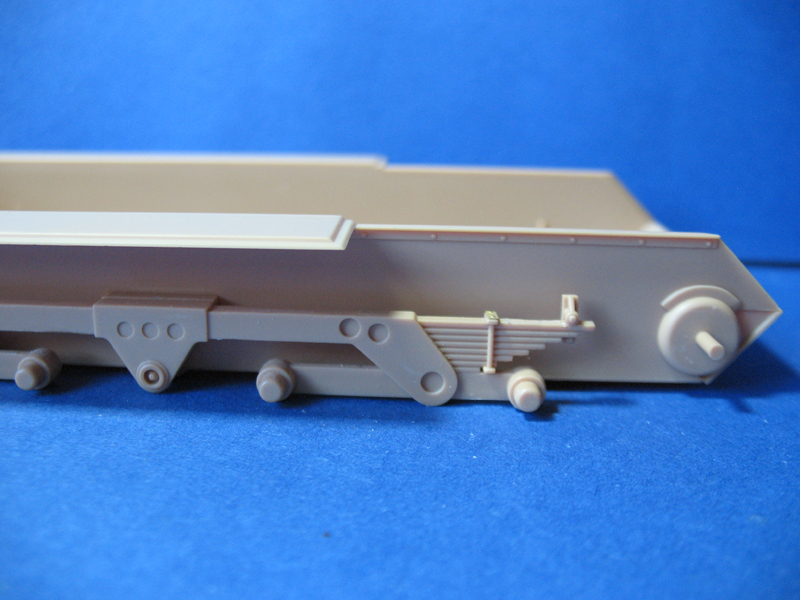
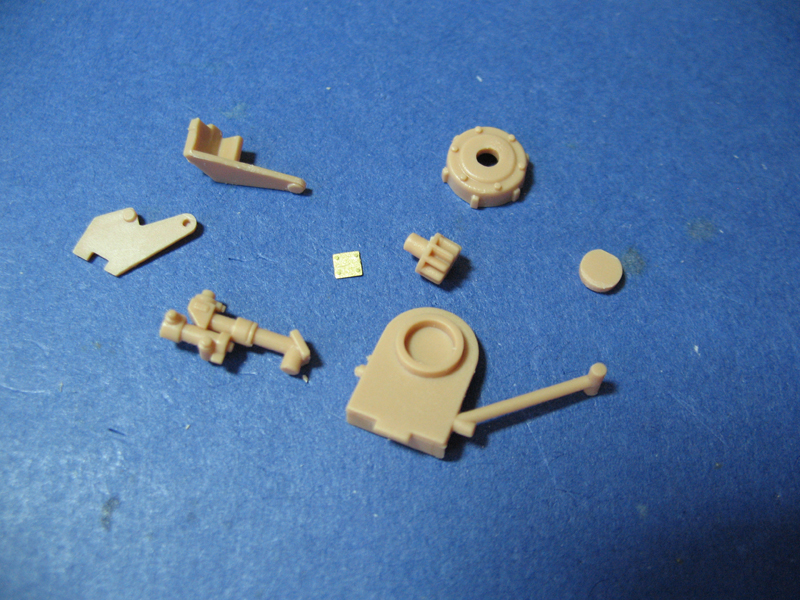
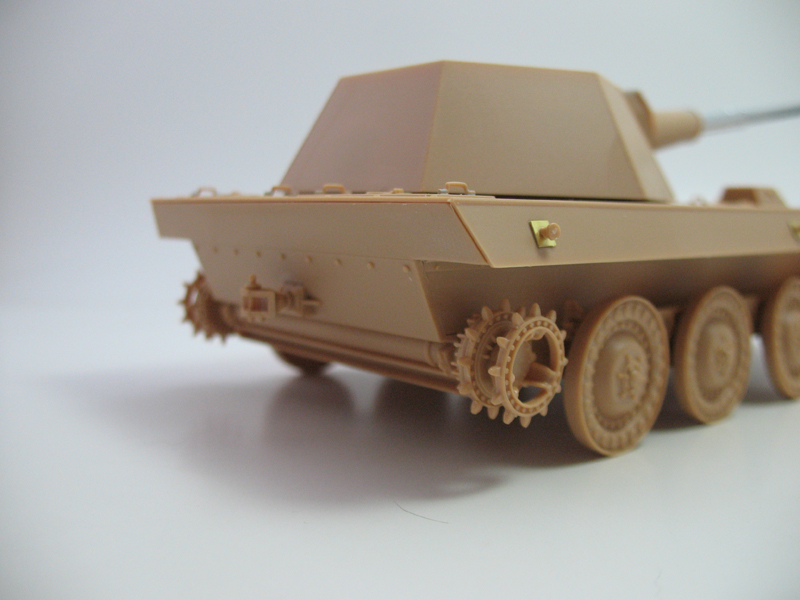
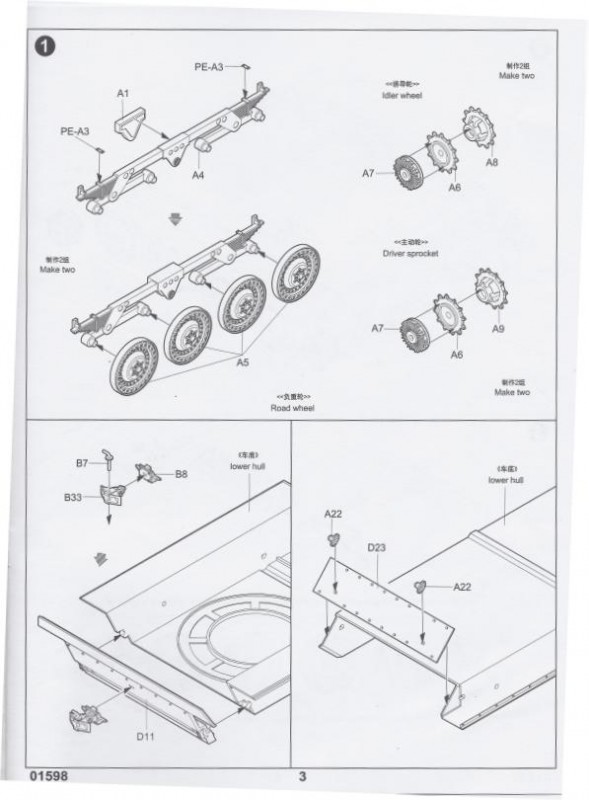
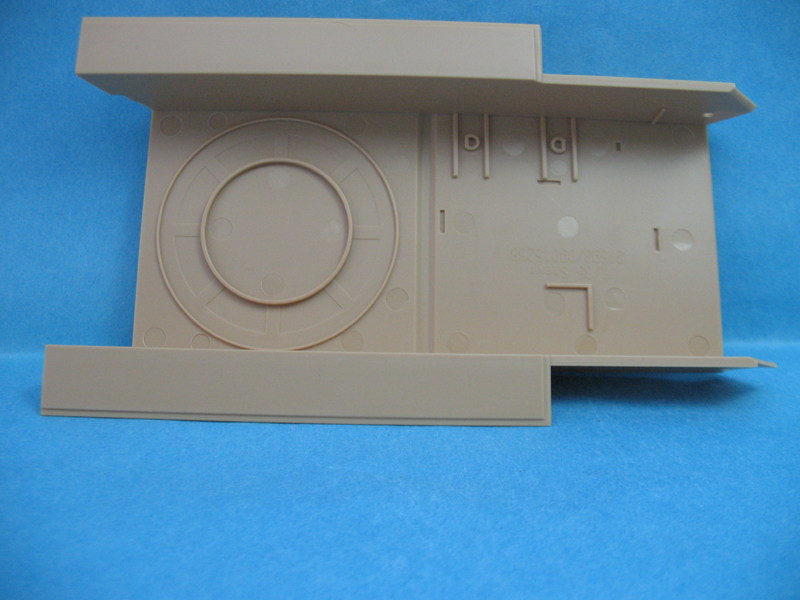
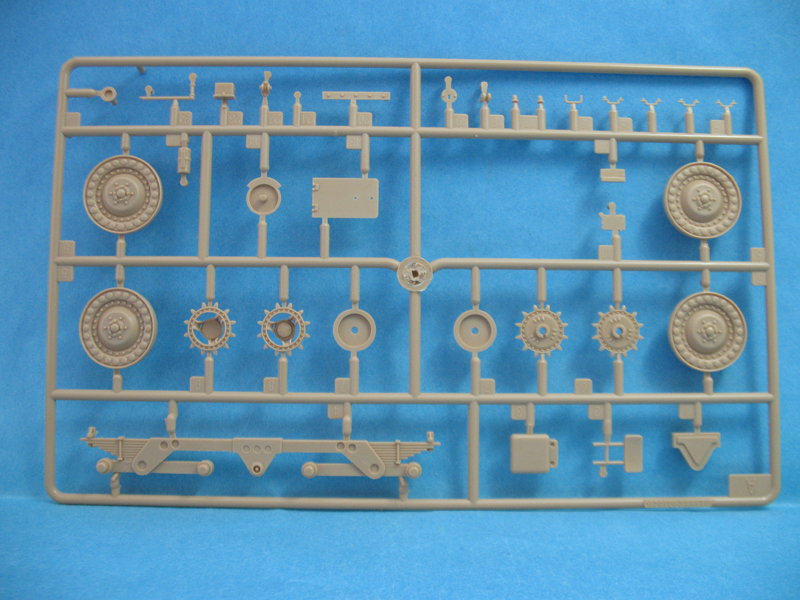
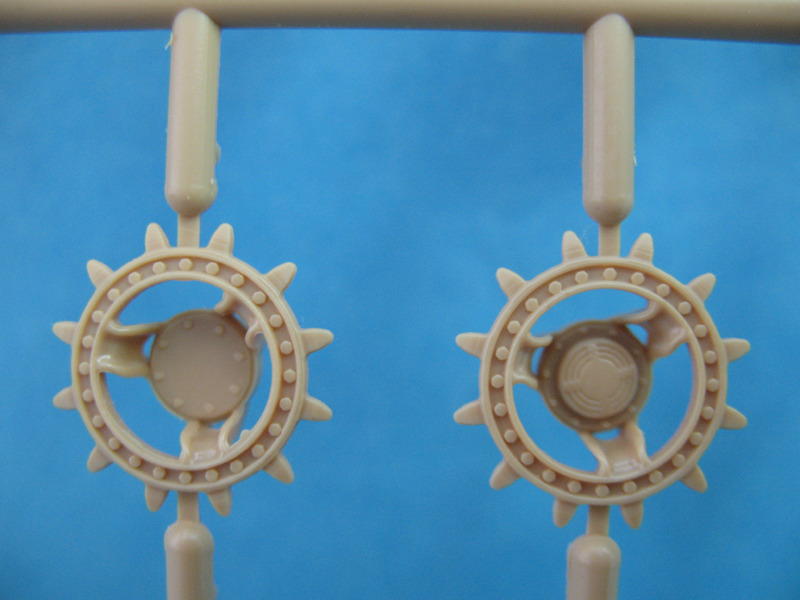
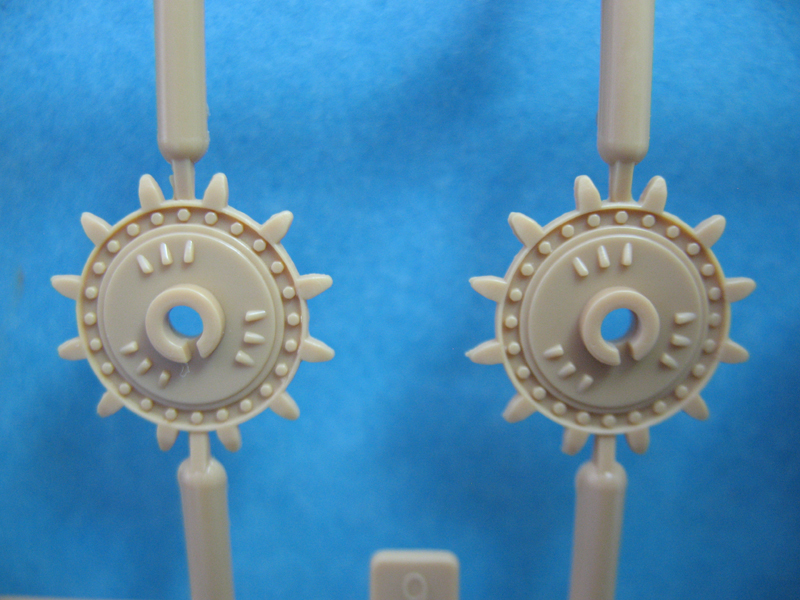
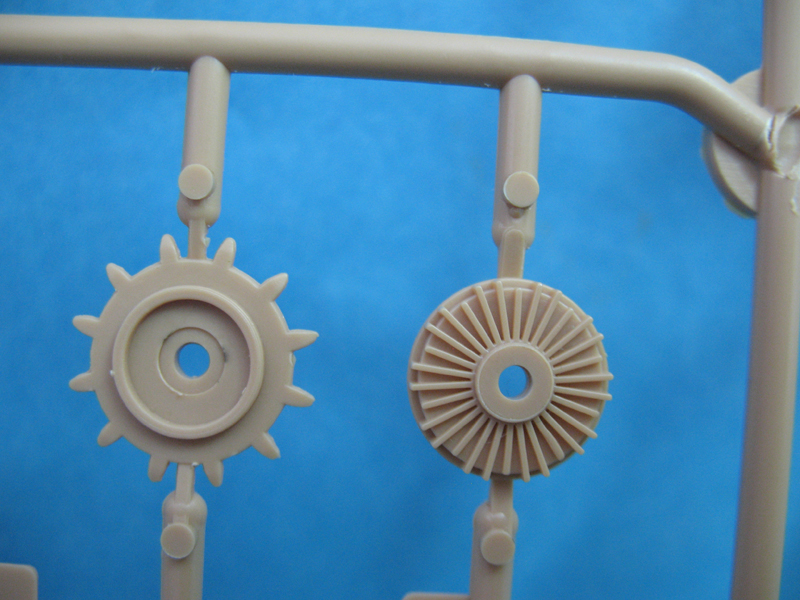
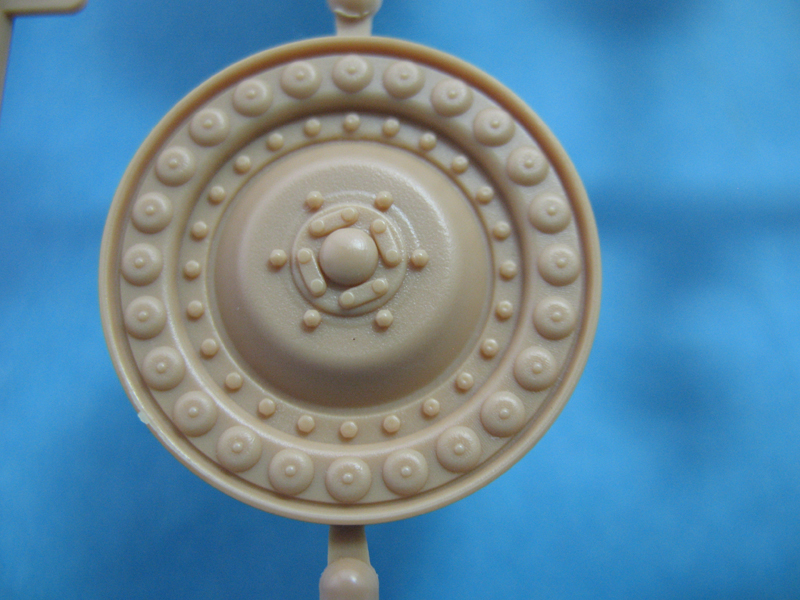
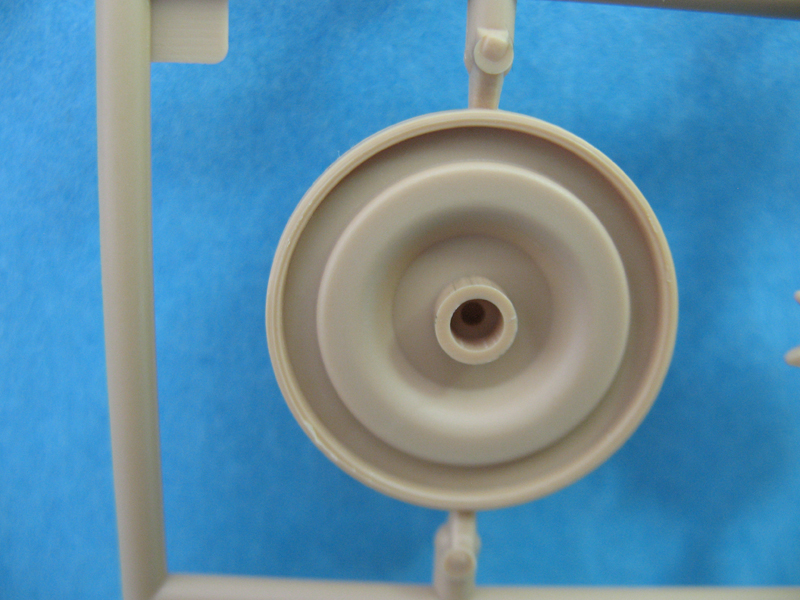
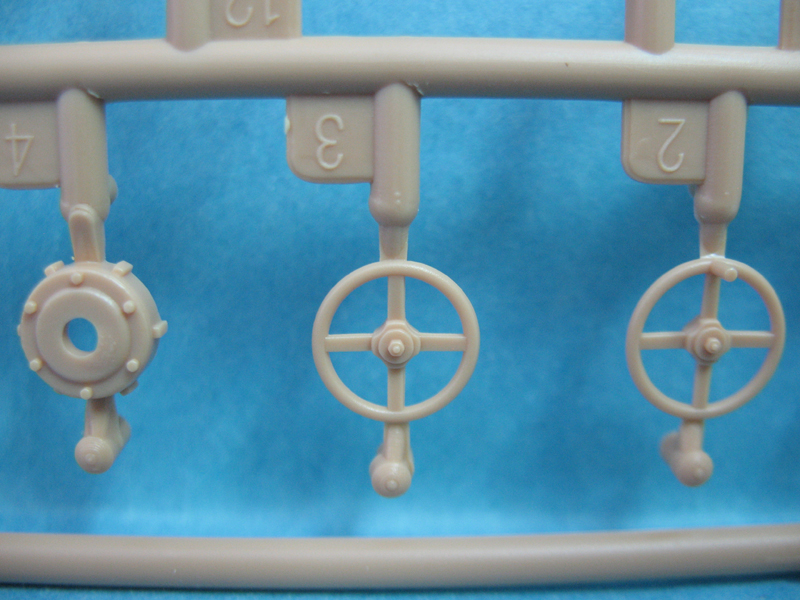
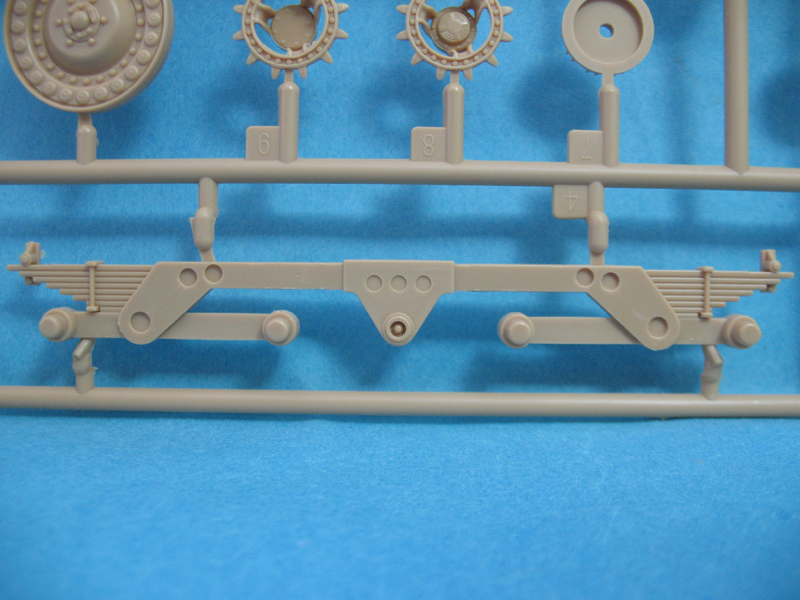
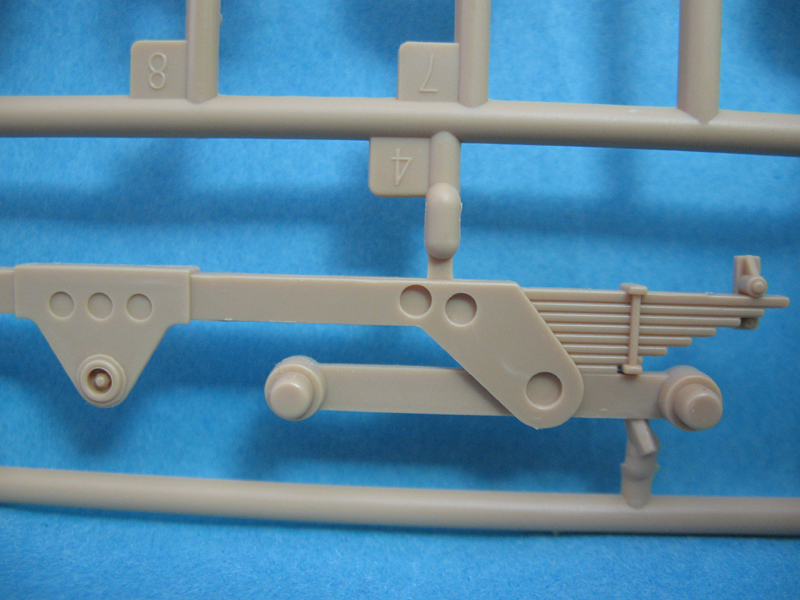
Step 1 is broken down into three sections; running gear/suspension, front lower hull and rear lower hull. Not a lot to assemble here and most of the time will be spent on cleaning up the parts. The drive and idler sprockets are based on the RSO, although the Steyr logo isn't embossed on them and the idlers have a deeper dish to them. The roadwheels are a tight friction fit so these were left unglued for painting but serve well to make sure everything is level when attaching the suspension system later on. There are four small PE parts to be attached to the suspension, these details, I'm sure, could have been molded on the styrene parts but it's good to add a bit of PE once in awhile for variety. The lower hull needed a minimum of cleanup, although there are some large pin marks to deal with. The front and rear plates are attached with their respective tow points and hitch.
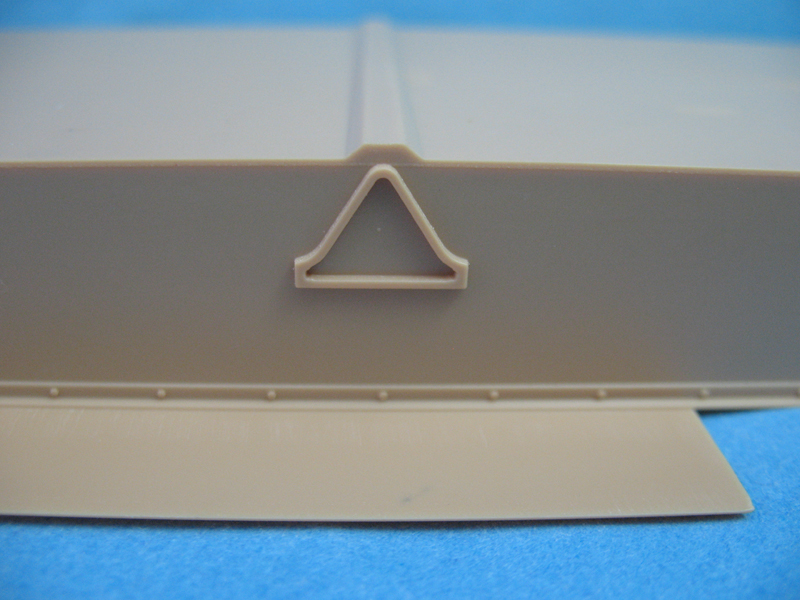
Step 2 has the front and rear axles attached along with the suspension/roadwheel assembly. Again, the roadwheels were left on to make sure everything was sitting pretty. This assembly only has a glue point as a triangular section in the center, so make sure it bonds well to support the weight. The sprockets are a very loose fit on the axles, and neither the drive or idler are adjustable. Probably best to mount one and leave the other free to turn until the tracks are on.
Step 3 assembles the track links, which the instructions call for 82 per side, and a jig to obtain track sag is included. I'll build the tracks after painting, with the only issue I see is getting the sprockets aligned correctly.
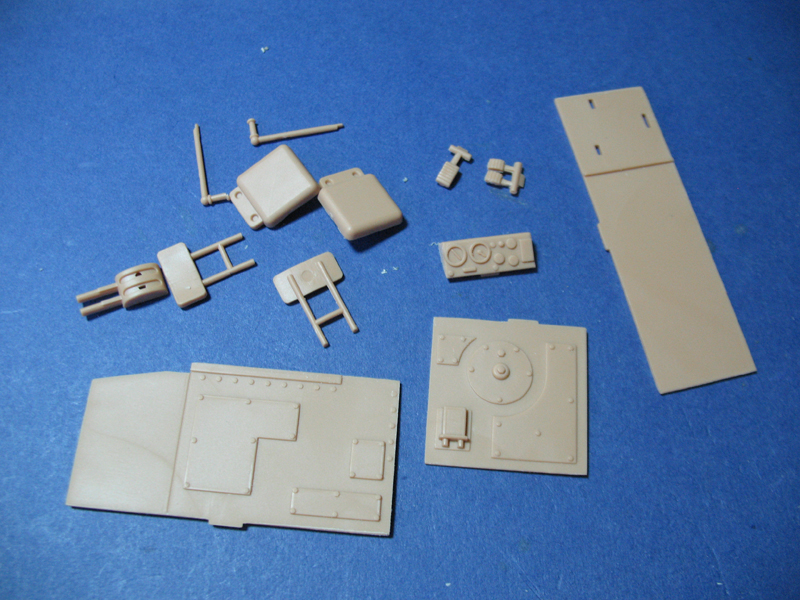
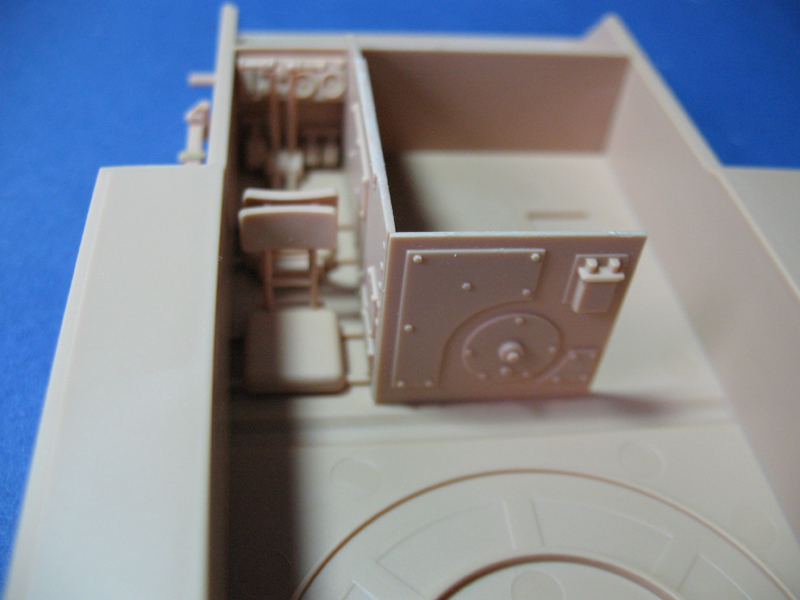
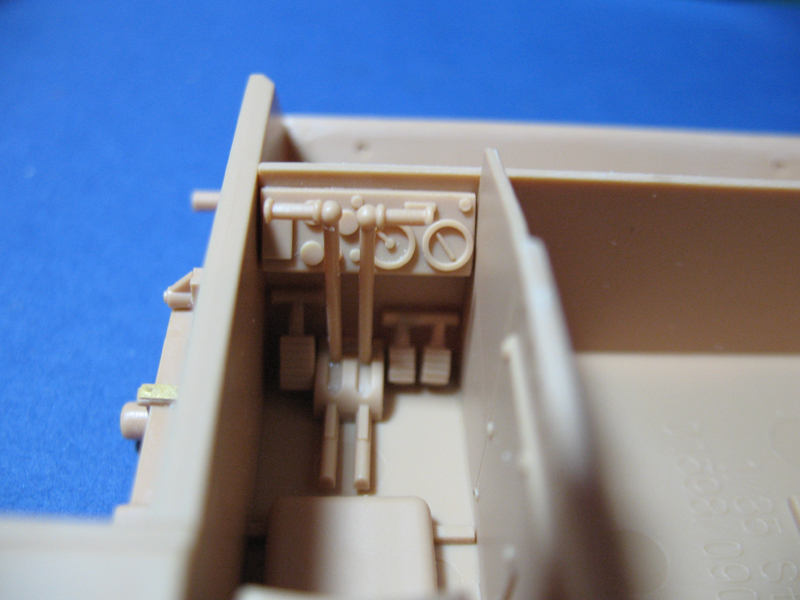
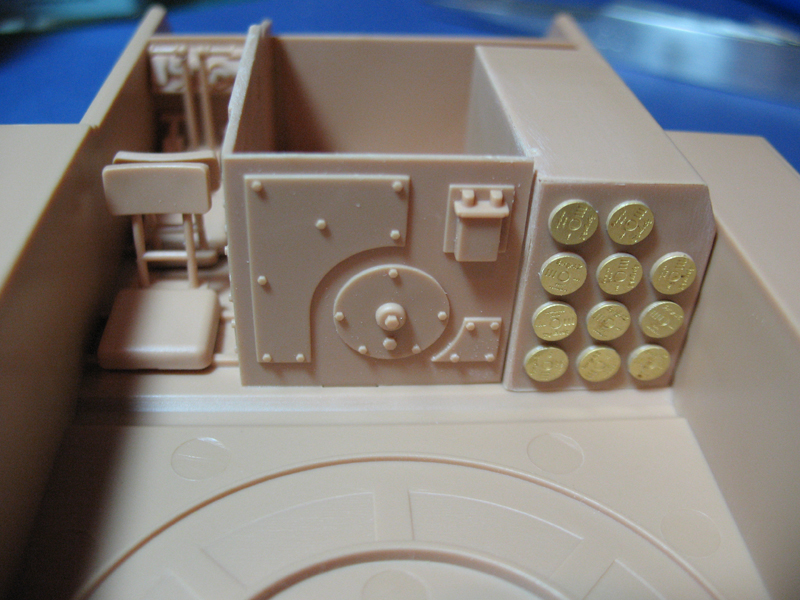
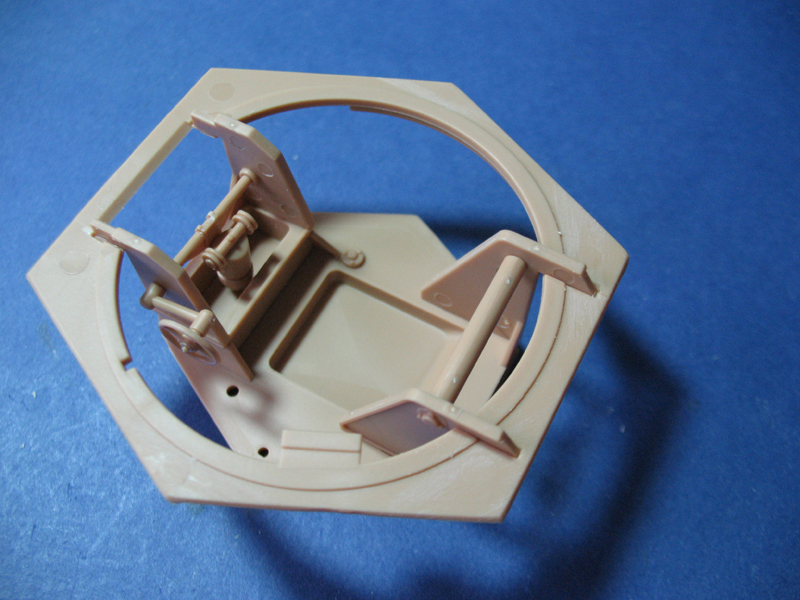
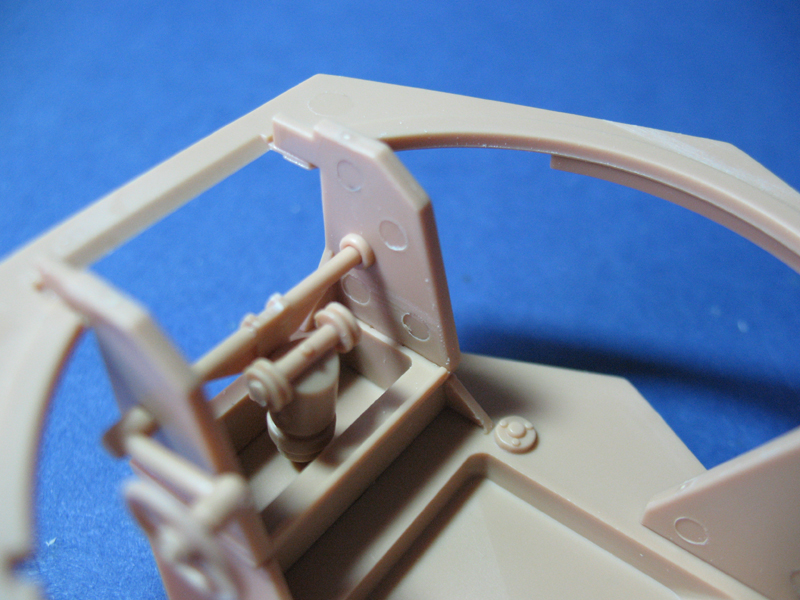
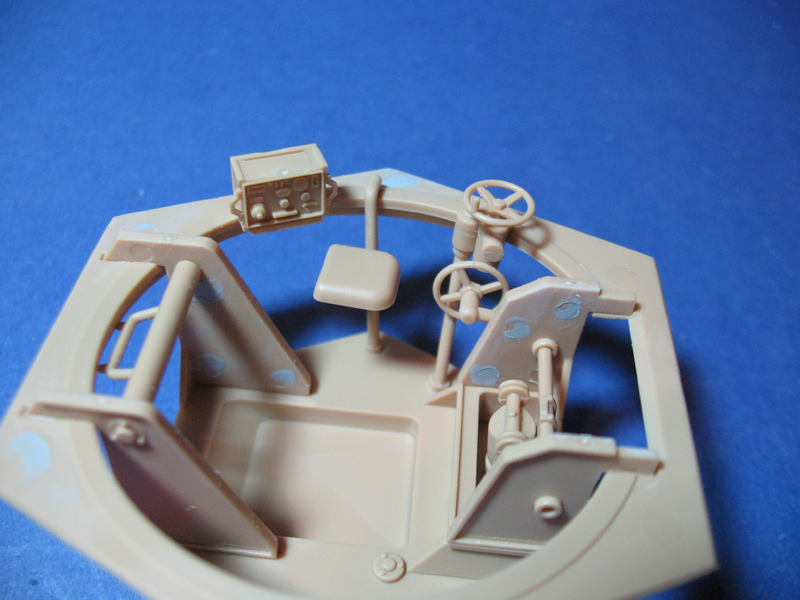
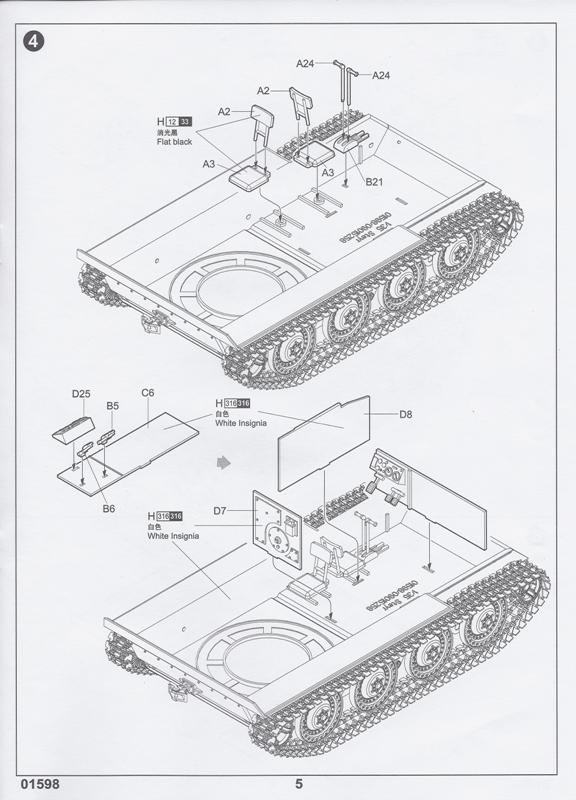
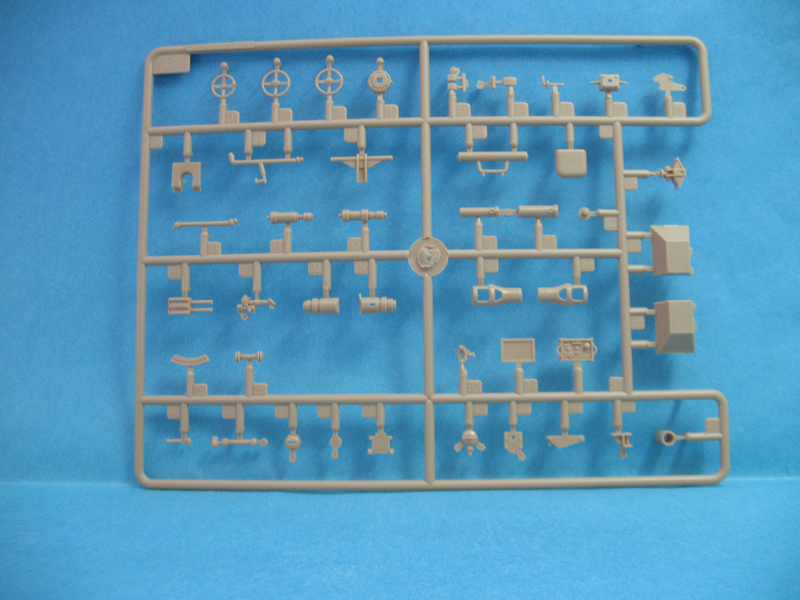
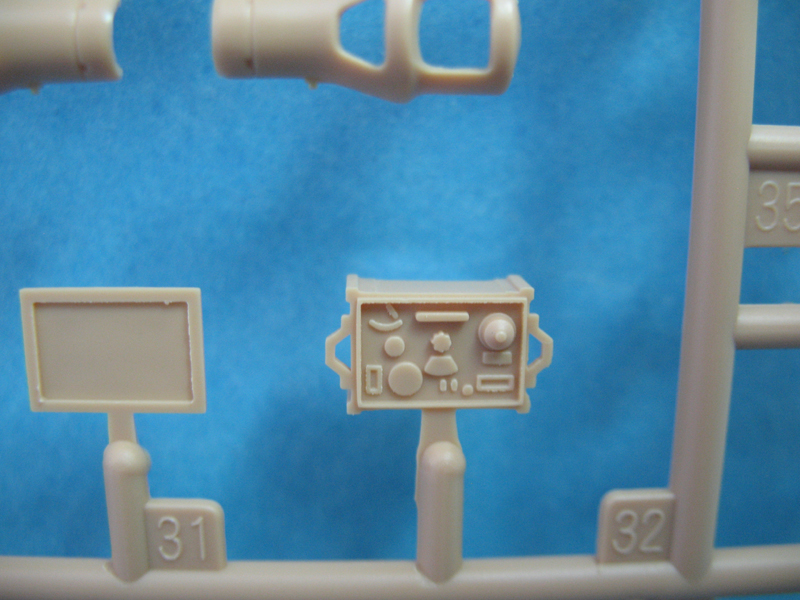
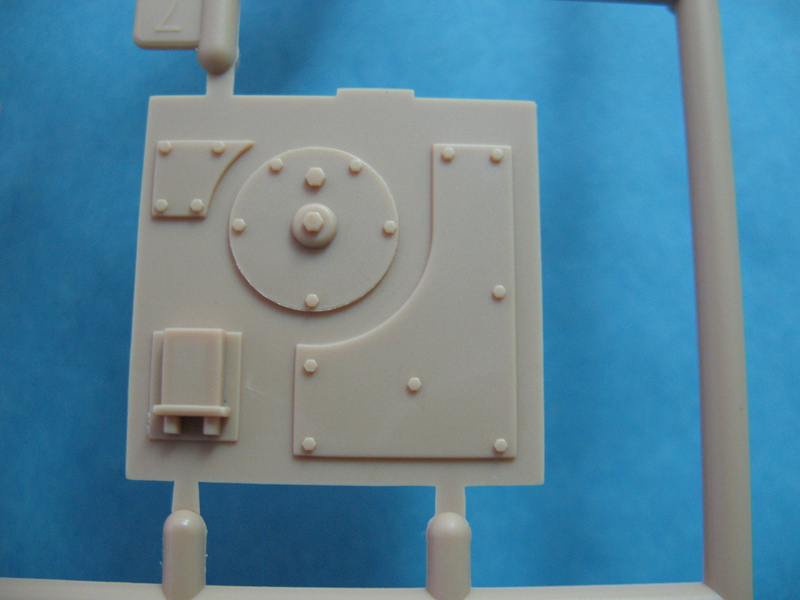
Step 4 constructs the interior of the drivers compartment, what little of it there is. A couple of simplified seats, gauge cluster, clunky foot pedals and a decent firewall. Most of this won't be visible when everything is together, just the rear facing seat and the firewall. Parts fit was good and no problems as of yet.
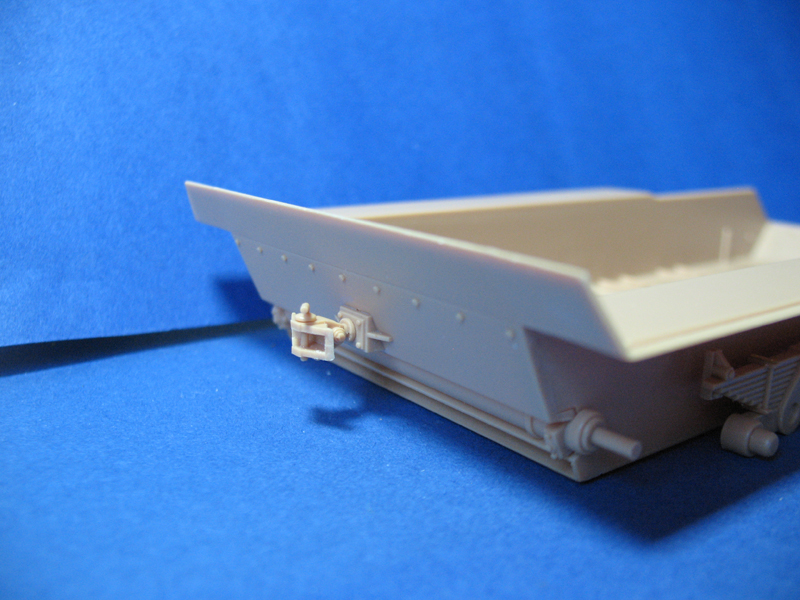
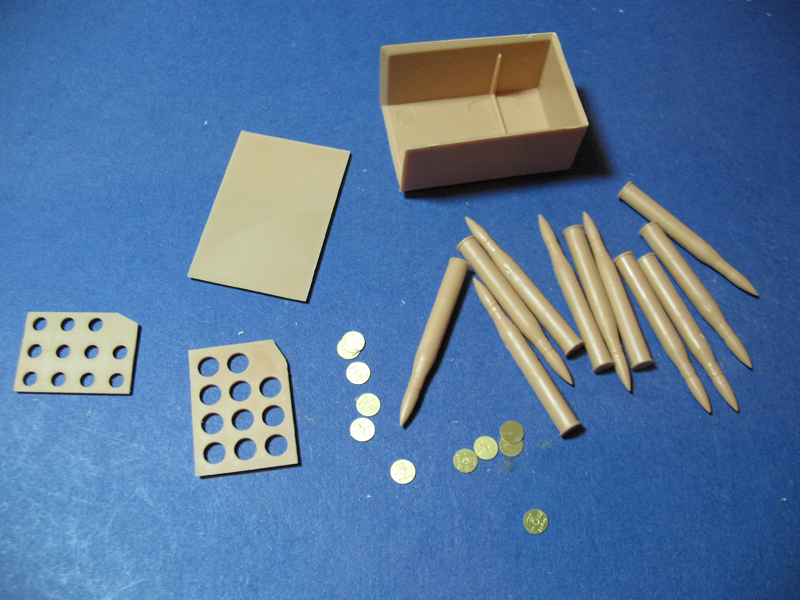
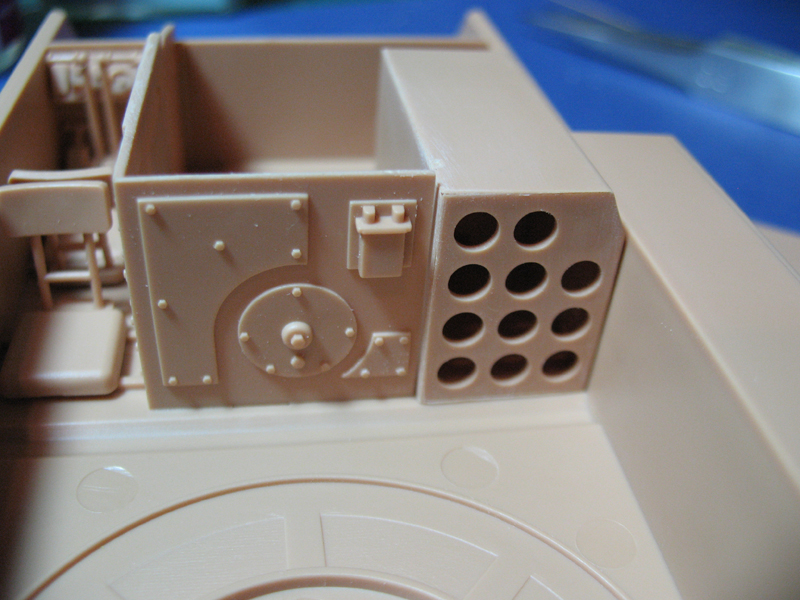
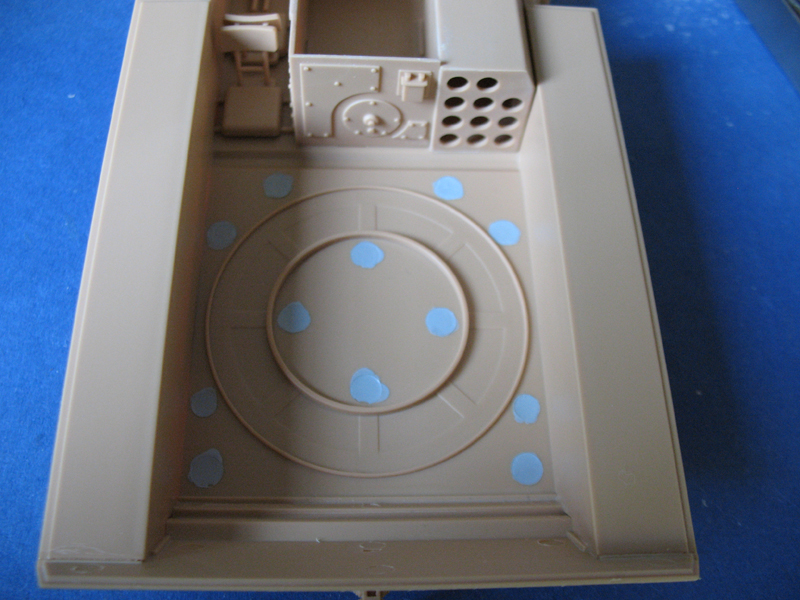
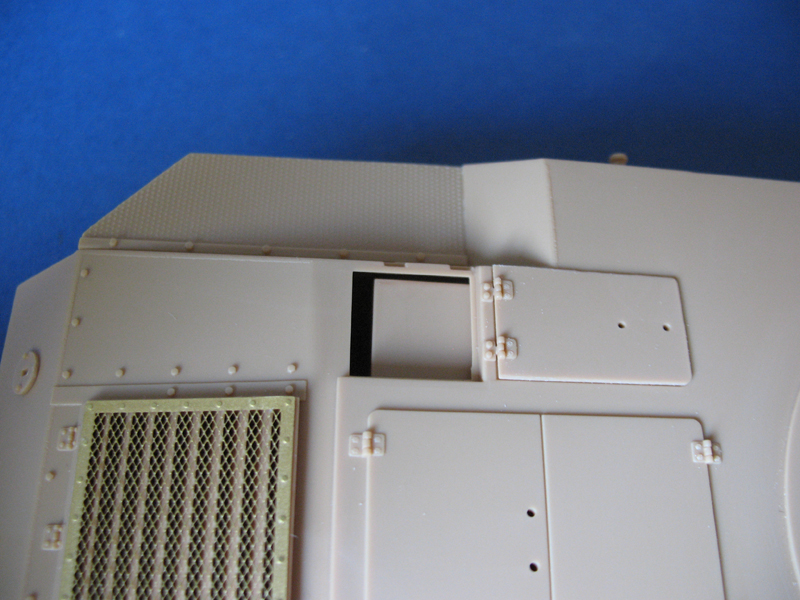
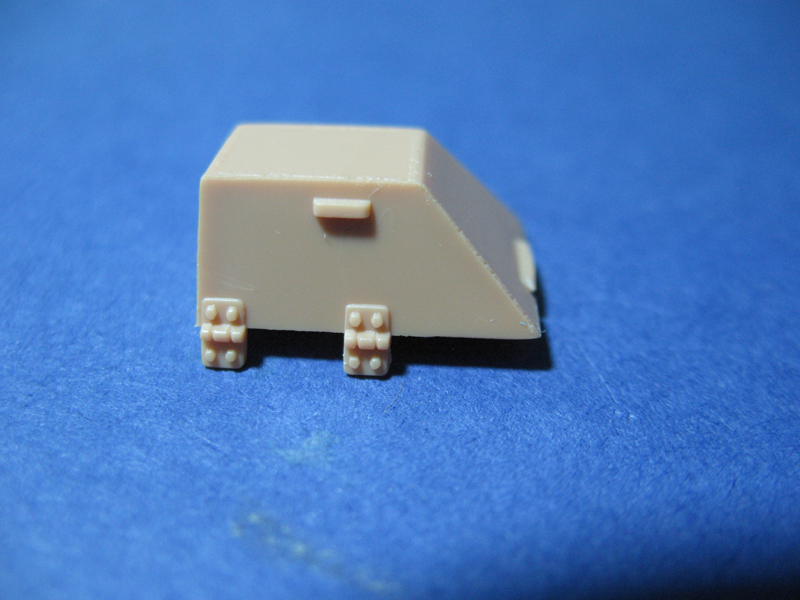
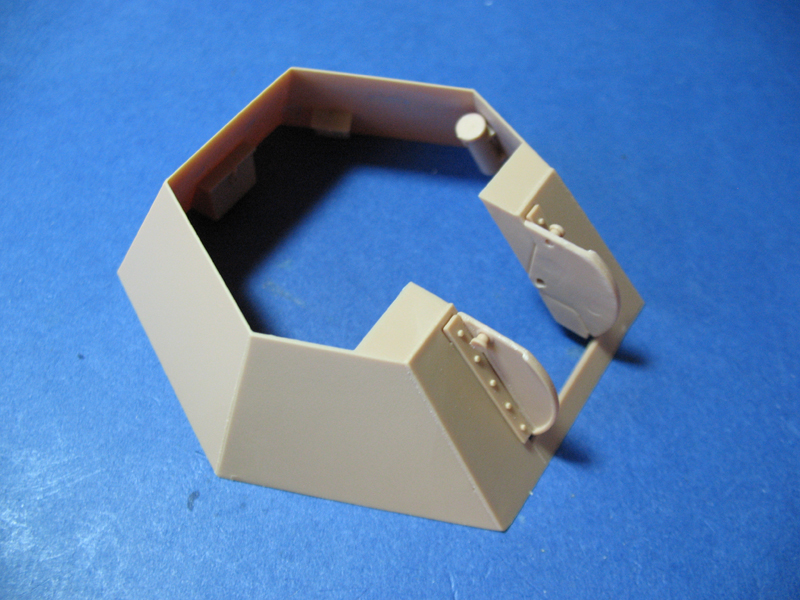
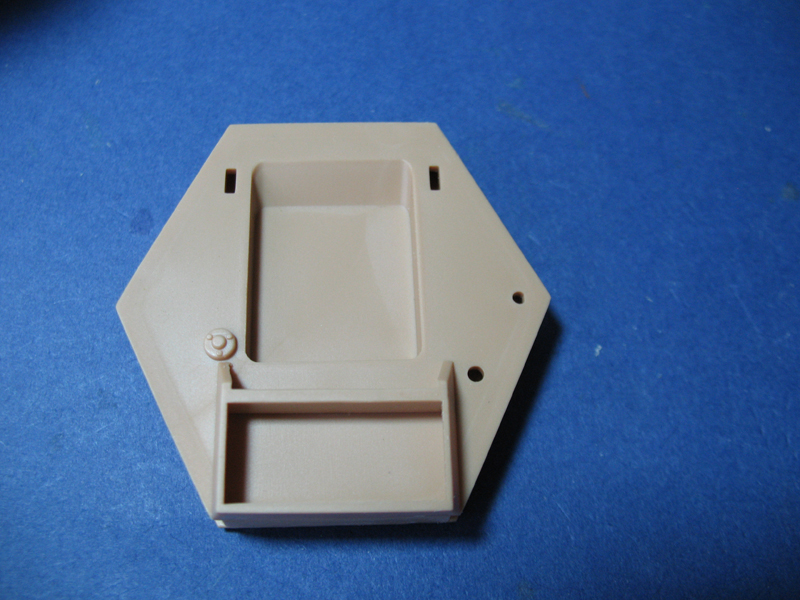
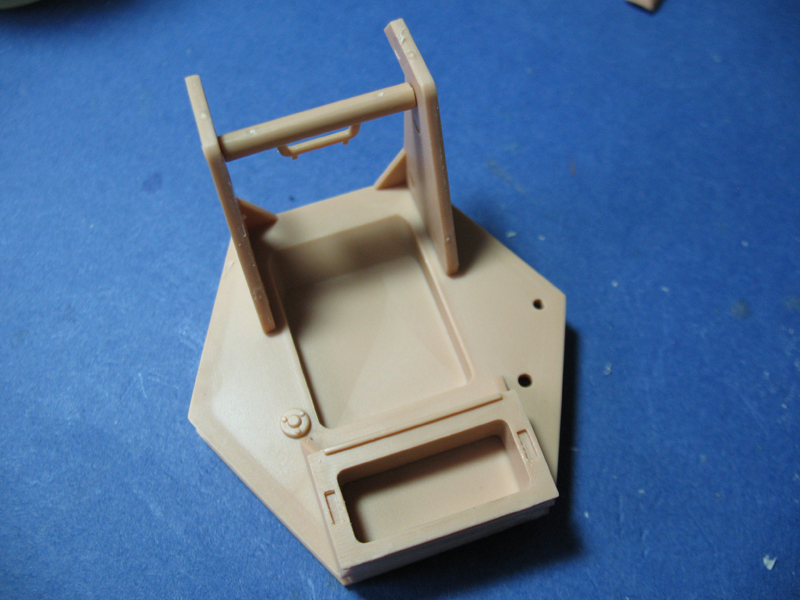
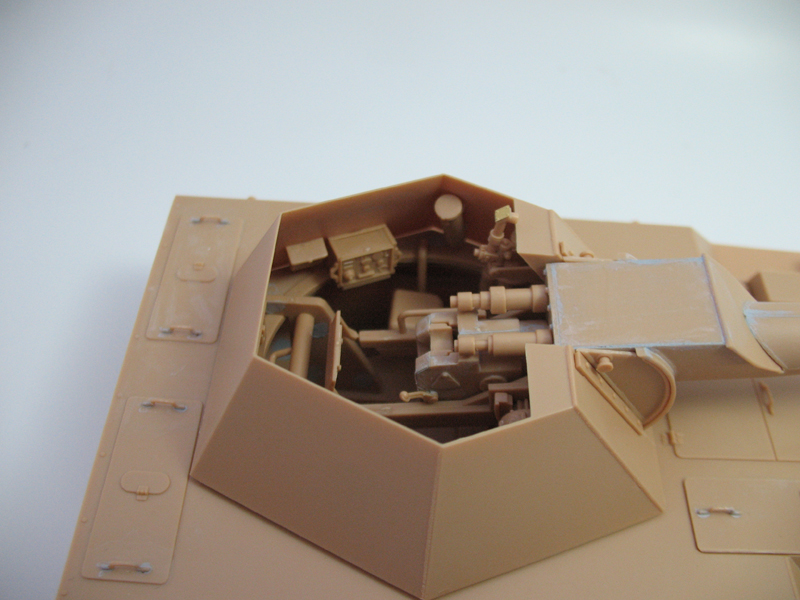
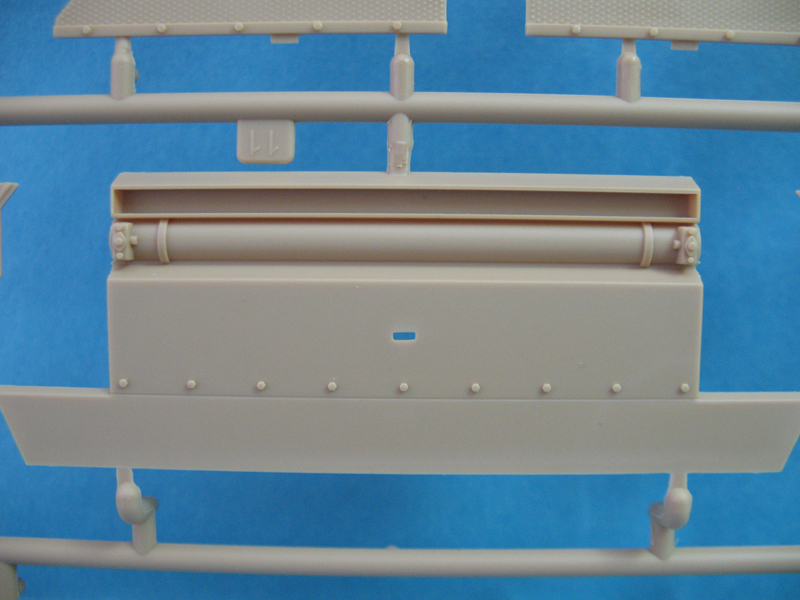
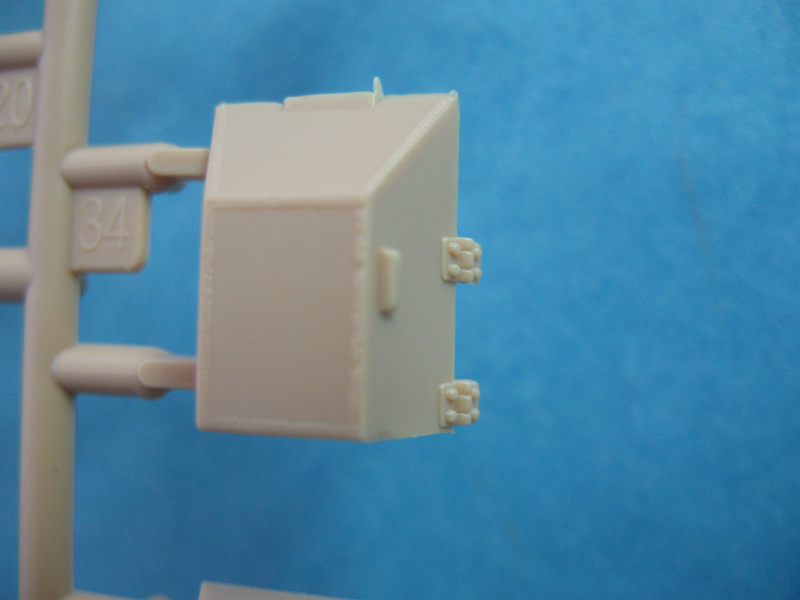
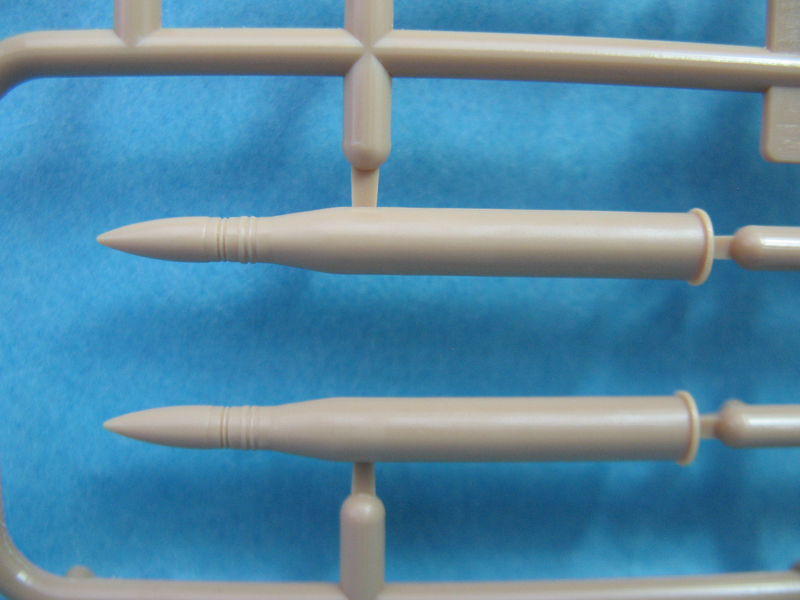
Step 5 is one area where I'm sure trumpeter guessed at, and deals with the ammo storage. An eleven round box is built up and placed on the right hand side, directly under the armored hood and rectangular hatch of the upper hull making those two points of entry/egress unusable. Separate styrene ammo rounds can be placed in the box giving some variety of showing it full, empty or anywhere in-between. PE ends are provided for the ammo, with enough for some extra full or empty rounds that are included in the kit. I've started to fill the pin marks as seen in the images (the center ones will be covered by the casemate assembly), which finishes the lower hull.
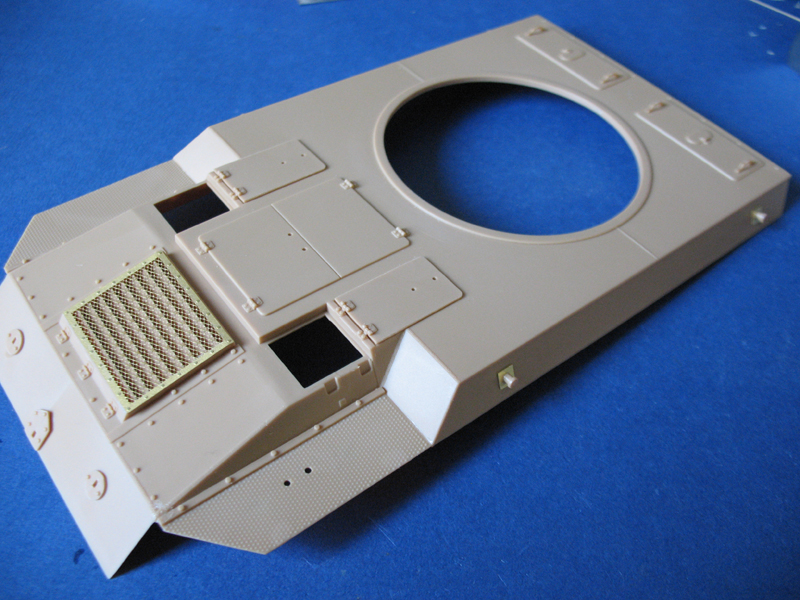
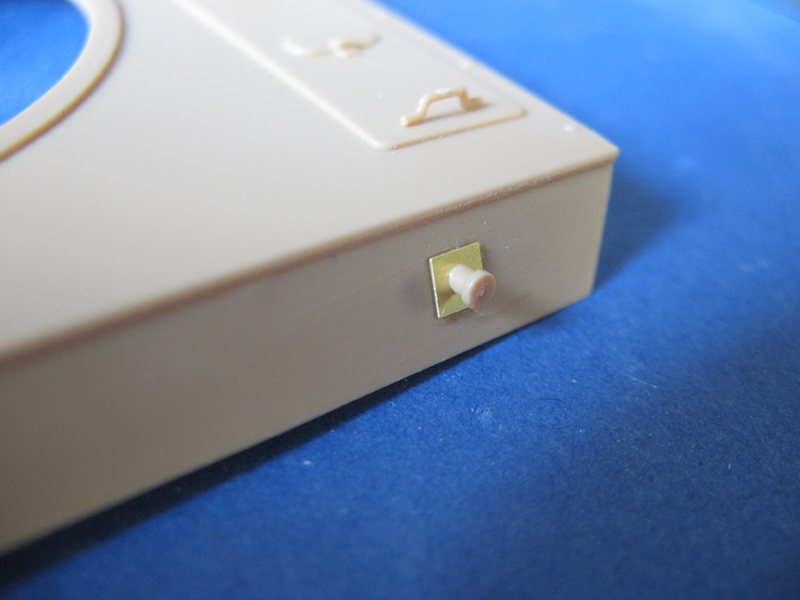
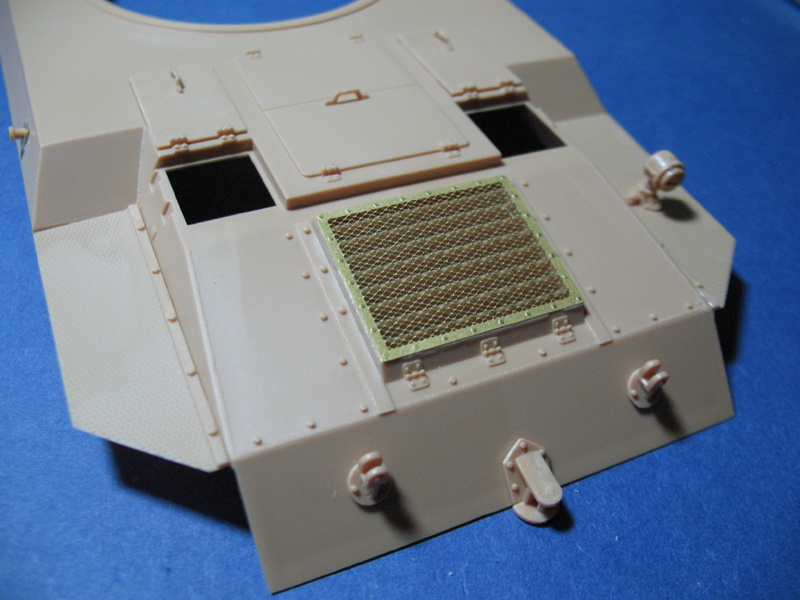
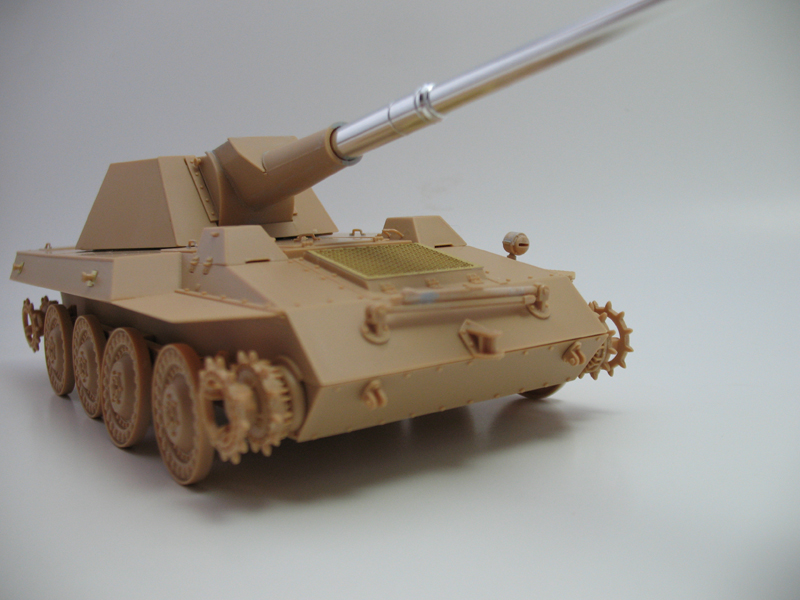
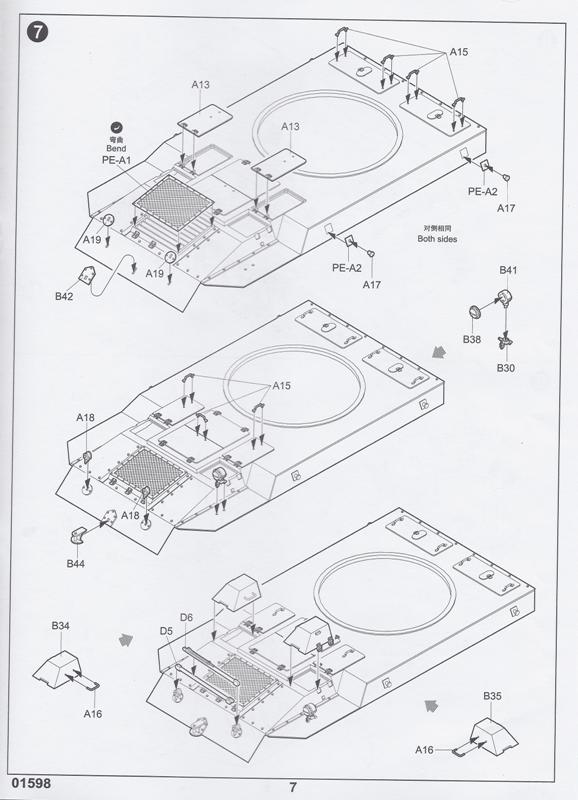
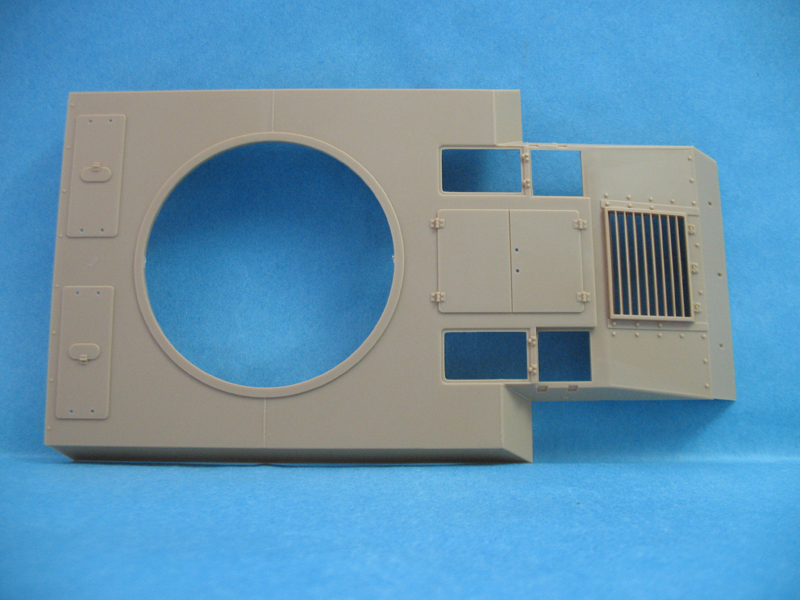
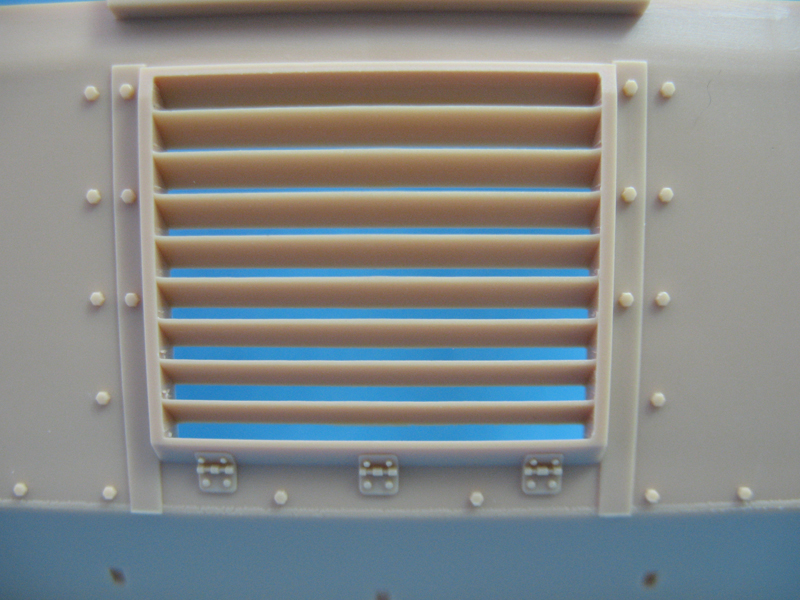
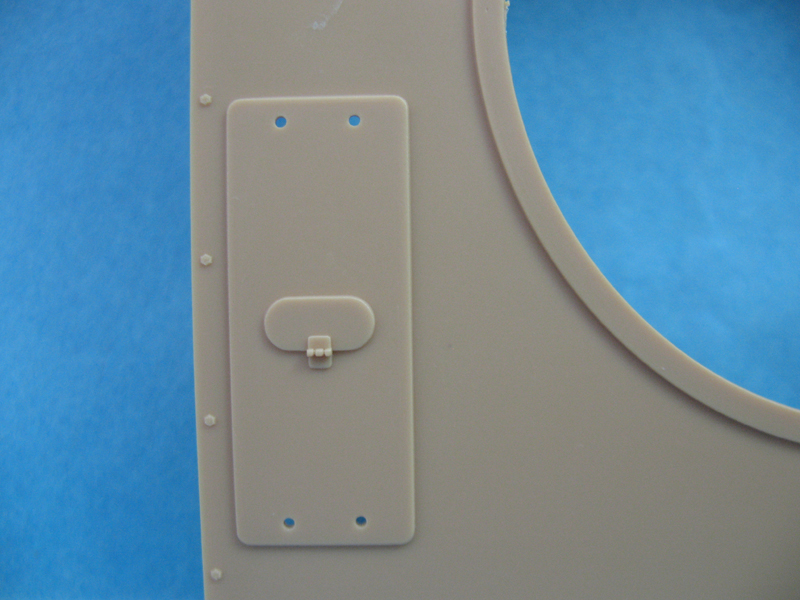
Steps 6 & 7 concentrate on the upper hull, with step 6 merely attaching the forward track guards. Step 7 is divided into 3 sections adding the hatches, handles and supports for the outriggers (I'm guessing here). A PE intake screen is attached which requires a slight bend at the top, this is the only PE part in the kit that requires bending and it can be done with any straight edge. The armored hoods have the hinges molded on complete, so posing these in the open position isn't possible without some surgery. The rectangular hatches can be left open, although the right hand side will only show the top of the previously mounted ammo rack. My first issue with the kit occurred here as the base for the light (part B30) crumbled between my fingers...either I had my Wheaties that morning or it was a bad cast.
Step 8 mounts the upper and lower hulls together, which I'll leave undone until the interior painting is complete.
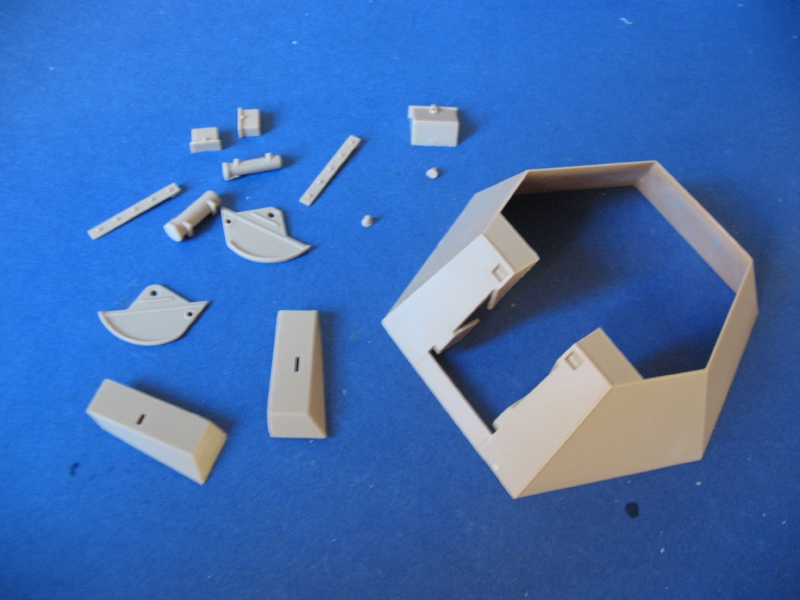
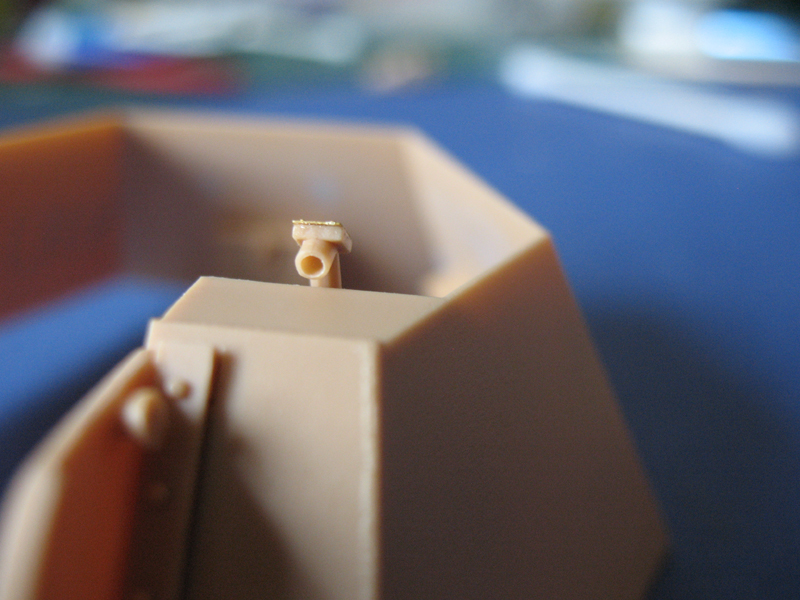
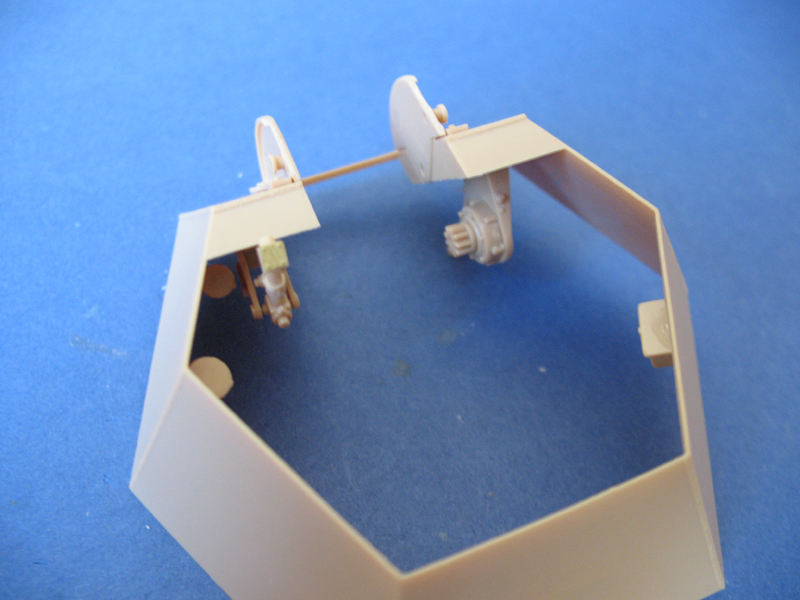
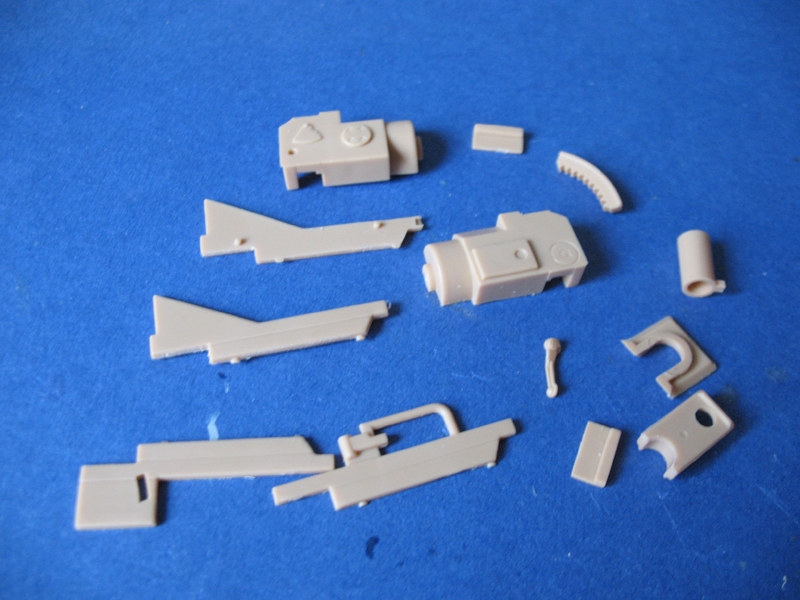
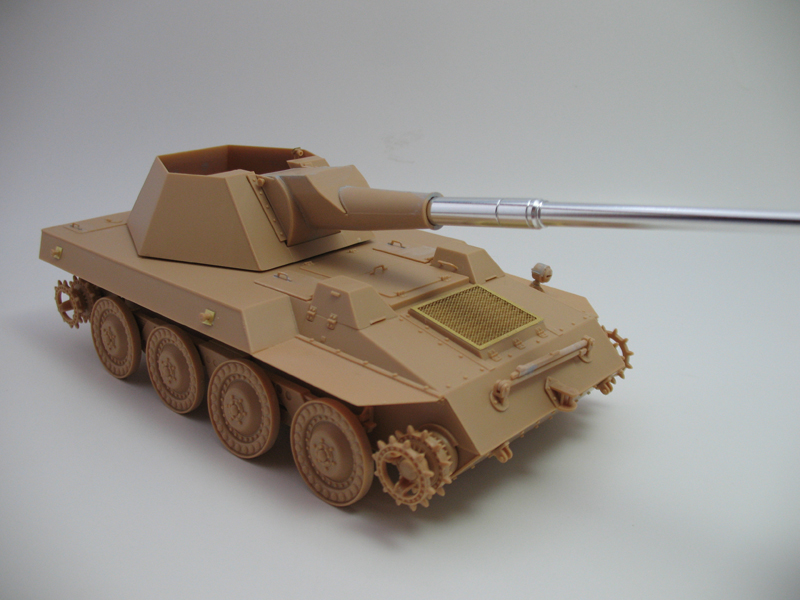
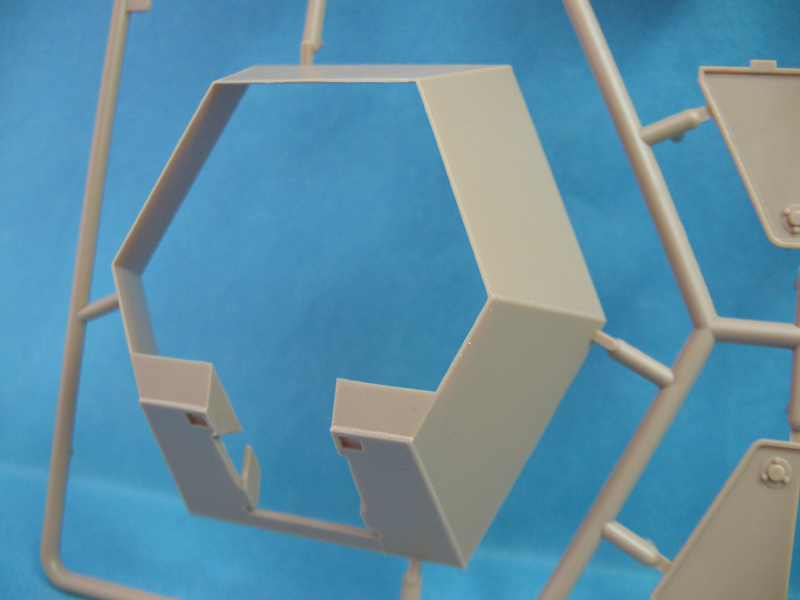
Steps 9 & 10 cover the upper turret/casemate area. Miscellaneous crew items along with storage cases are added here along with the gun elevation mechanism. The periscope is movable and looks much better drilled out. Much of this area is most likely speculation on Trumpeters part, so add or move what looks good to you.
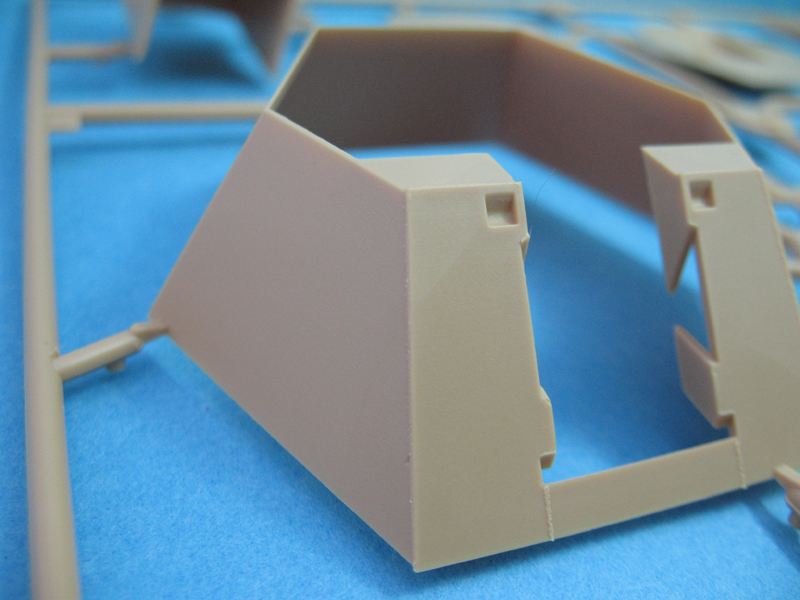
Steps 11 & 12 have us working on the lower turret, the part fit was very good although there is a ton of ejector marks to deal with. As with the previous releases in this series a radio is included, although no inclusion, nor mention, of an antenna. Adding one, if desired, shouldn't pose too much of a problem.
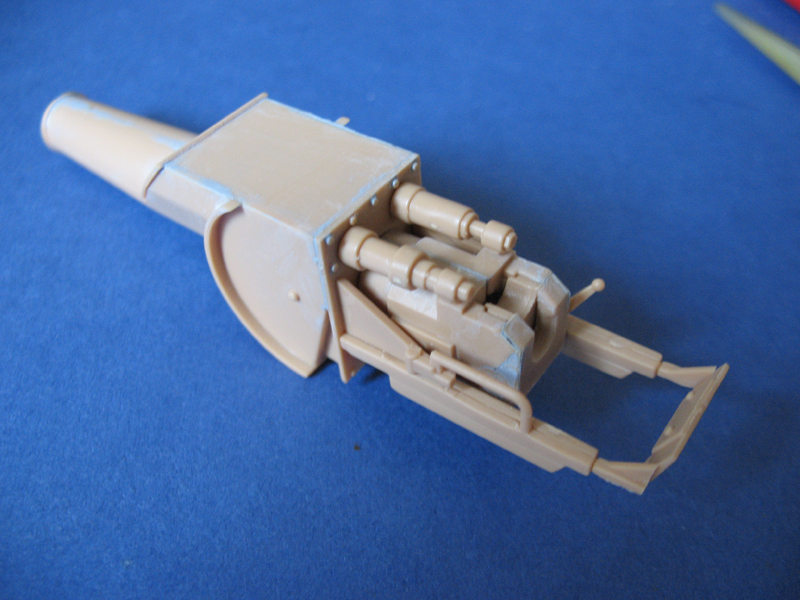
Steps 13, 14 & 15 construct the '88' beginning with the mantlet. Part fit was good and only needed some Tamiya Liquid Primer to fill the seams. At the breech I ran into the 'crumbling styrene syndrome' again, but this time on the C sprue with parts C12 & 13, hopefully just a one-off issue with my kit. After gluing all the small pieces back together I filled in the cracks with filler.
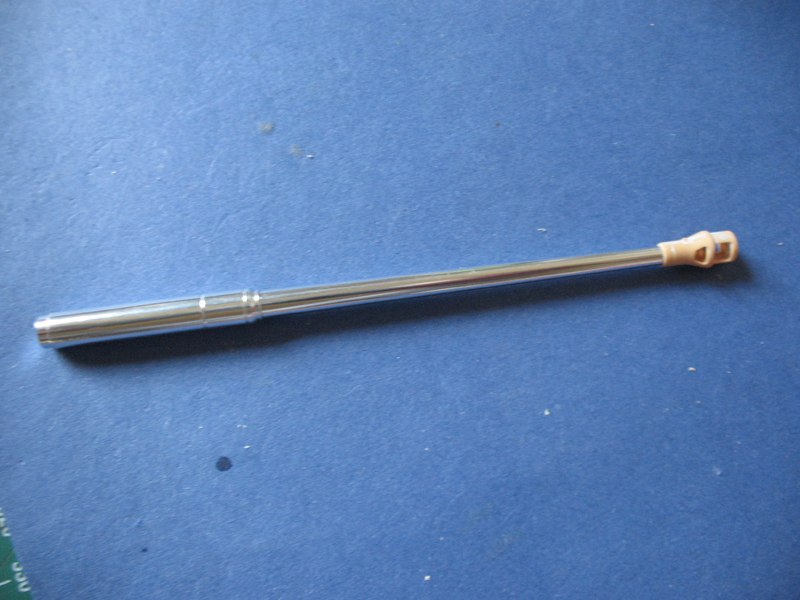
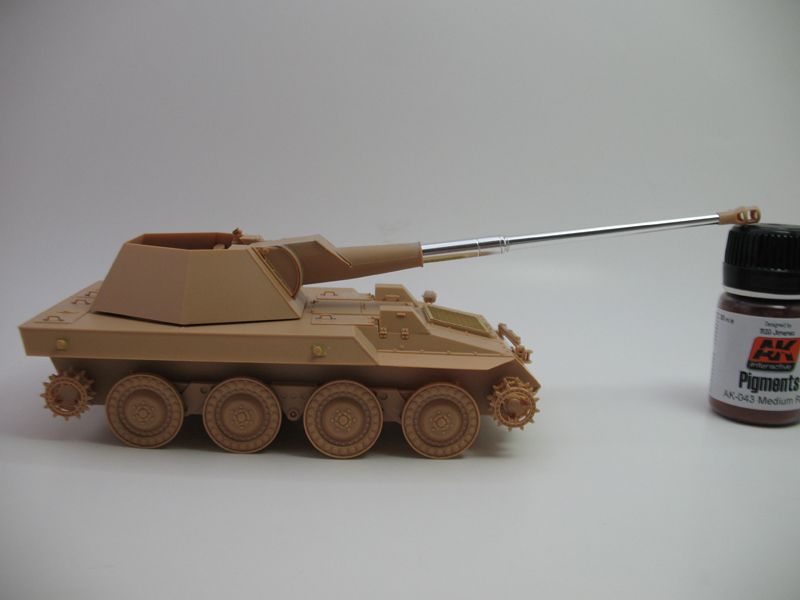
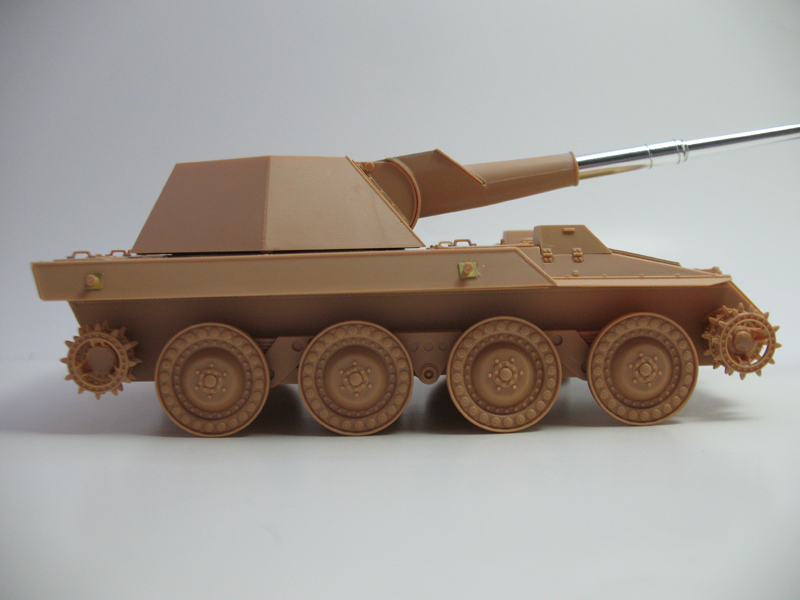
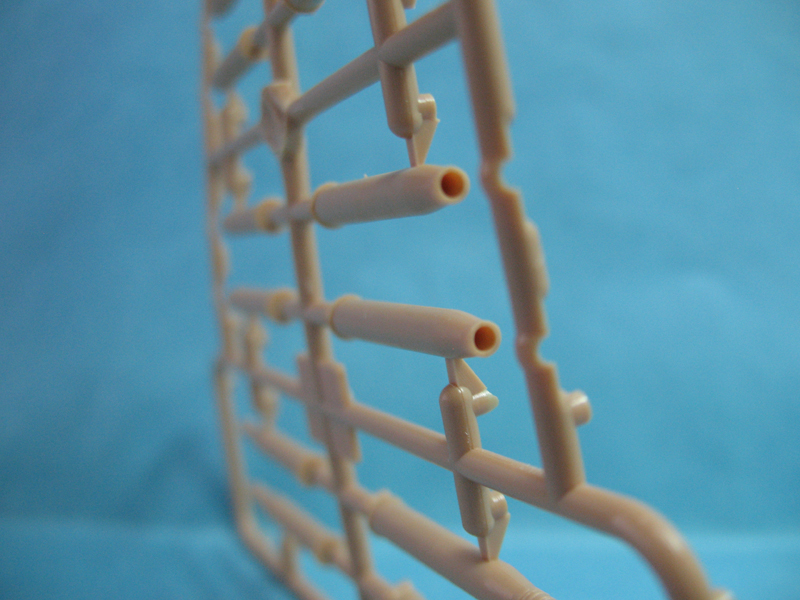
A choice of a metal barrel or two-piece styrene (no-brainer there), although a 2-piece muzzle brake will need to be worked on to appear seamless. Finally, all these sub-assemblies are joined together. Make sure the breech is lined up straight as there is some play here. By carefully spreading the casemate walls apart the gun assembly can be fitted in. With the weight and length of the barrel (and no travel lock) the gun most likely will need to be glued into its final position.
Step 16, finishes the build off by attaching the upper and lower turret assemblies together. Again, this will be left apart until the painting is completed.
conclusion
This has been one of the most enjoyable builds I've had in awhile, and it is one cool looking vehicle when complete. Construction was fairly simple and part fit was very good requiring minor filling. The defective parts are the first time I've run into poorly mixed styrene and hopefully is rarer than a short shot, although I'm more concerned since it was on two separate sprues. The ejector marks, although excessive, are easy to deal with and I've come to expect them with Trumpeter's kits.
Reference:
Panzers 35(t) and 38(t) and their Variants by Walter J. Spielberger
Other Armorama reviews in this series:
Krupp/Ardelt Waffentrager 10.5cm leFH-18
Krupp/Ardelt Waffenträger 88mm Pak-43


Comments