Dragon has come up with yet another "variant" of the infamous Royal Tiger that apparently came off the assembly lines in the last month or two of WWII. I wont go into detail about the history of this tank as most modelers are familiar with it.
Contents
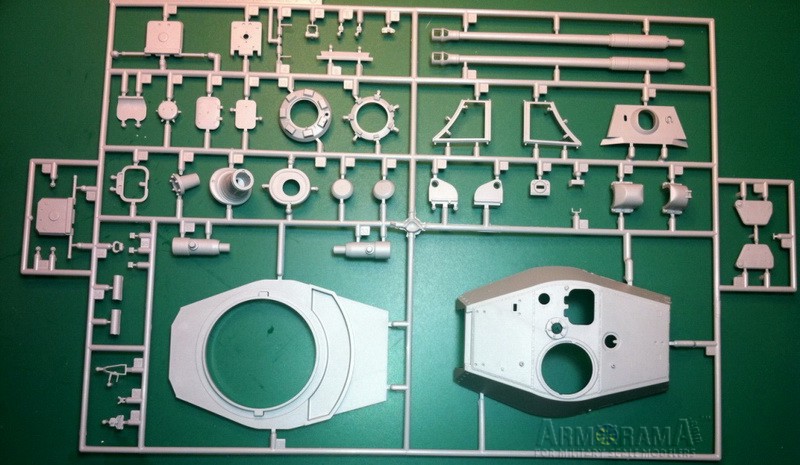
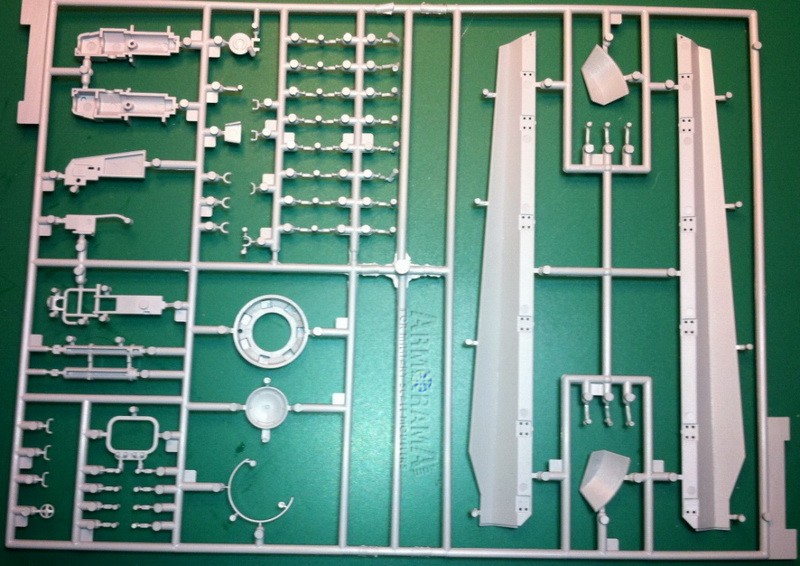
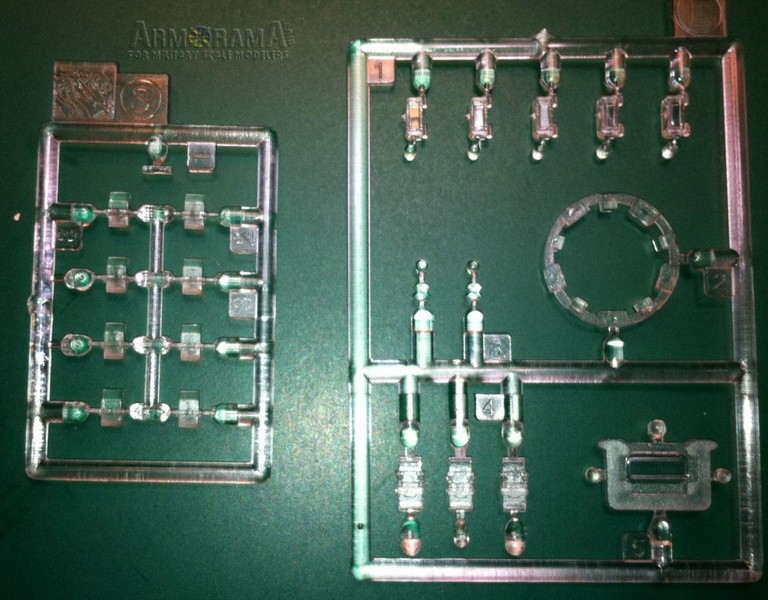
This multimedia kit of the last production Tiger II tank consists of well over 900 parts with 270 of those to make up the transport tracks. Also included are two sprues of clear parts (periscopes), 3 PE frets (1 larger, 2 very small), two sizes of braided wire for the track changing cables and tow cables, a turned aluminum barrel, a small decal sheet and, of course the instruction sheet. One note on the instructions; for some odd reason, DML has regressed to the photo type instructions of old; but this time in black & white, and not on the glossy type paper as before. This format shows some parts already in position on the photographed kit and can be difficult at times to determine the exact location of some parts.
Ax2 Tiger II drive wheels
Bx2 Tiger II hull fittings and exhausts
C Tiger II hatches and hull fittings (early kit parts)
D Tiger II upper hull and fittings, bow tow mounts
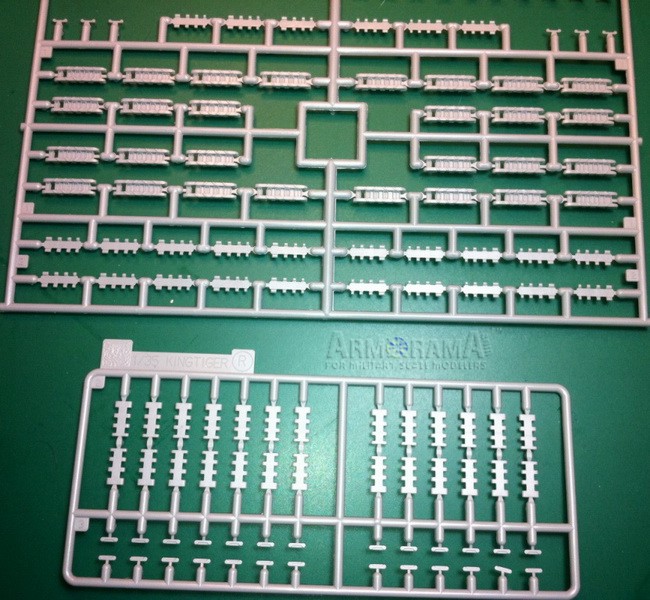
Ex4 Panther - transport tracks
Gx3 Tiger II standard (Normal Type) steel wheels, road wheel arms
I Tiger II lower hull
J MG34 machine gun and fittings
K Tiger II fenders and fittings
L Clear styrene
N Tiger II cupola and turret fittings
Tiger II Henschel turret base and fittings
P Tiger II (H) Late - drivers, mantlet, details
Rx4 Tiger II track center pads
S Clear styrene
T Twisted steel wire - light
U Cupola base
W Twisted steel wire - heavy
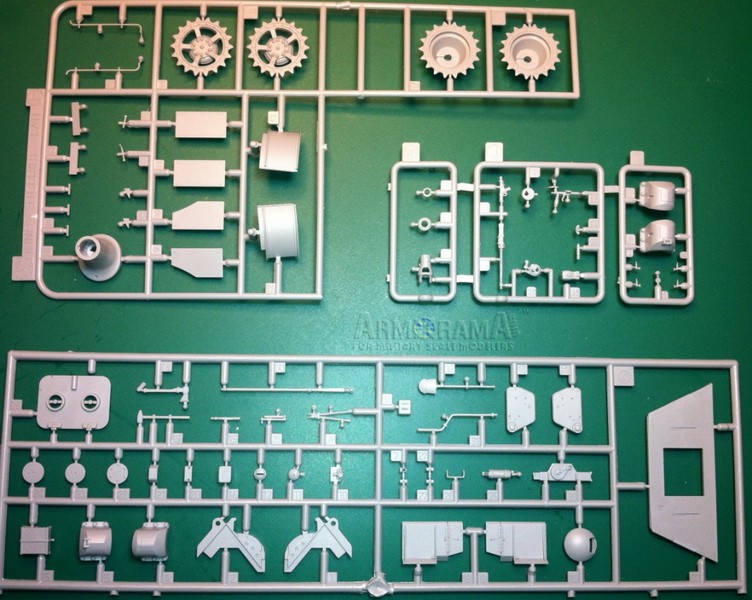
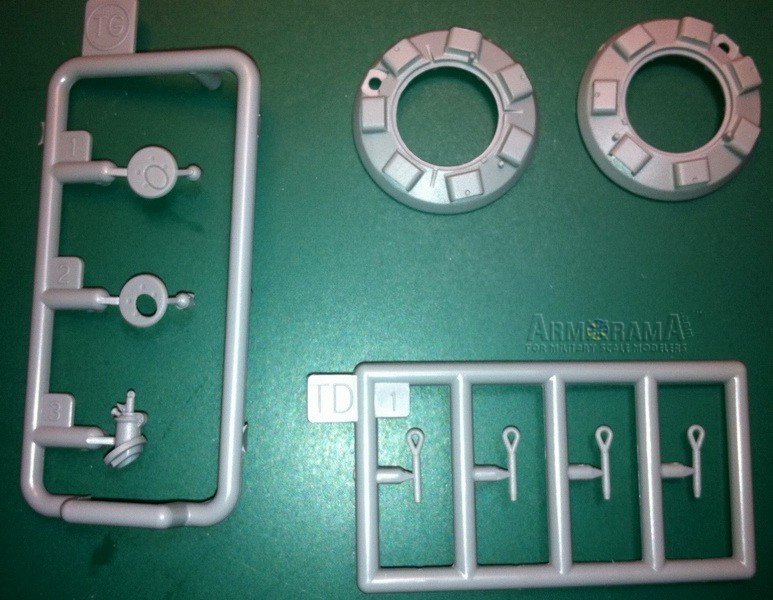
TD4 Track installation cable heads
TF German tools - 8.8 cm muzzle brake
TG German tools - close-in defense weapon
TH German tools - lock mechanism
TJ German tools - turret cupola MG ring mount
TL Exhaust bases and details
TK German tools - glacis ball mount
MA Etched brass
MB Aluminum turned barrel
MC Etched brass
MD Etched brass
Construction
Construction is divided into 19 steps with numerous sub-assemblies and begins with the suspension.
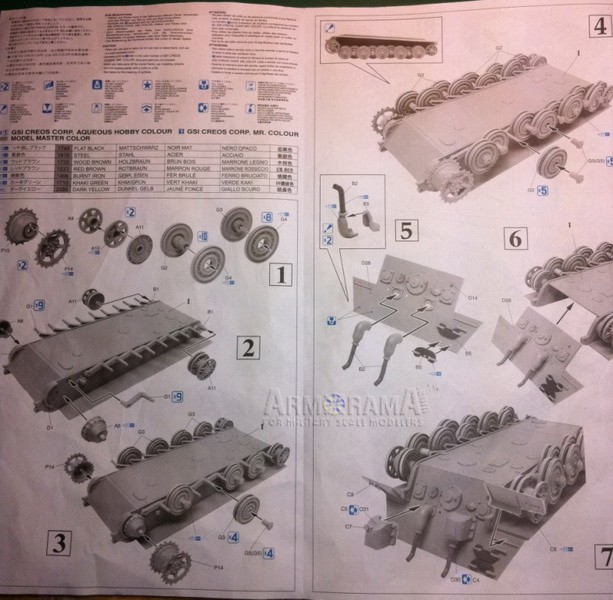
Lower Hull (steps 1-7)
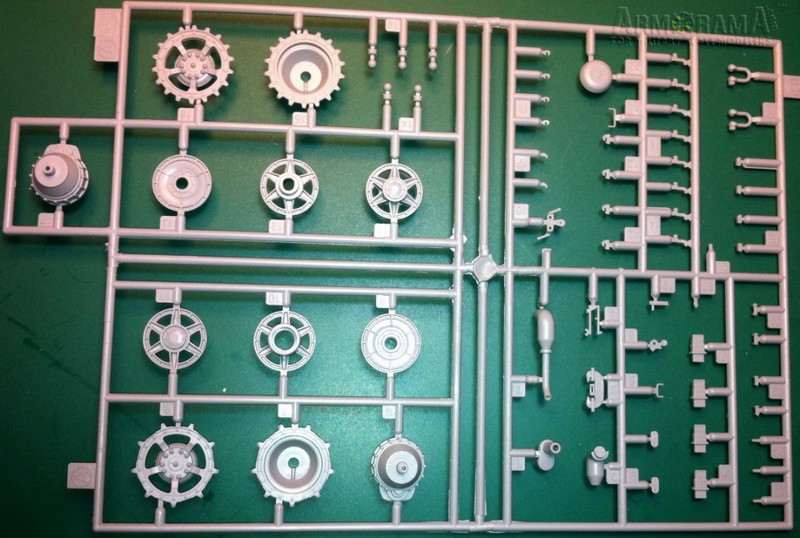
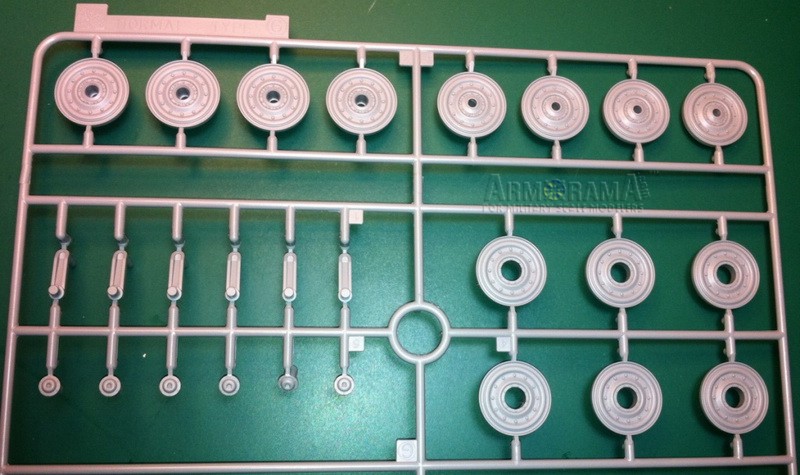
The drive sprockets are the correct 18 tooth type, as seen on last production models and are also new moldings. The older sprockets are present; as well as the 9 tooth version, both marked as "not used". There are also two types of idler wheels (1 set marked as not used) but both appear appropriate to this variant, so check your references. The road wheels are in two parts each and are very well detailed with only the usual attachment point clean-up required. The separate suspension arms attach to the usual tub type lower hull, but do not include the interior torsion bars as seen on other DML Tiger kits.
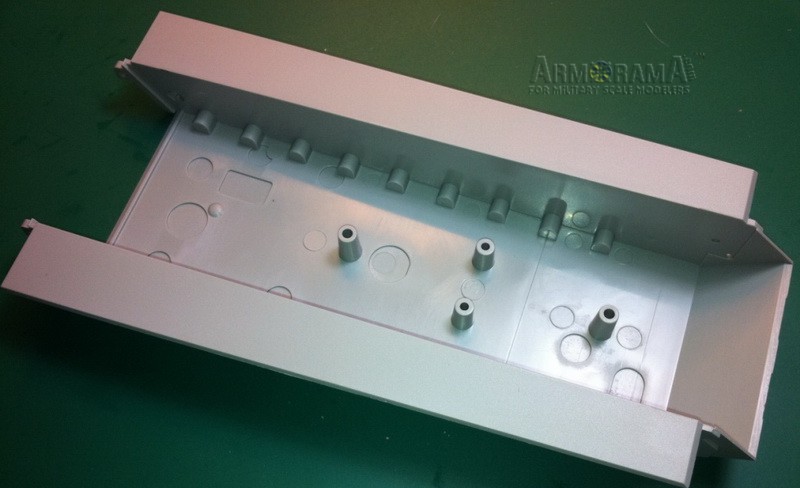
Steps 5-7 complete the lower hull with the assembly of the separate rear hull wall which includes two types of optional armored exhaust covers.
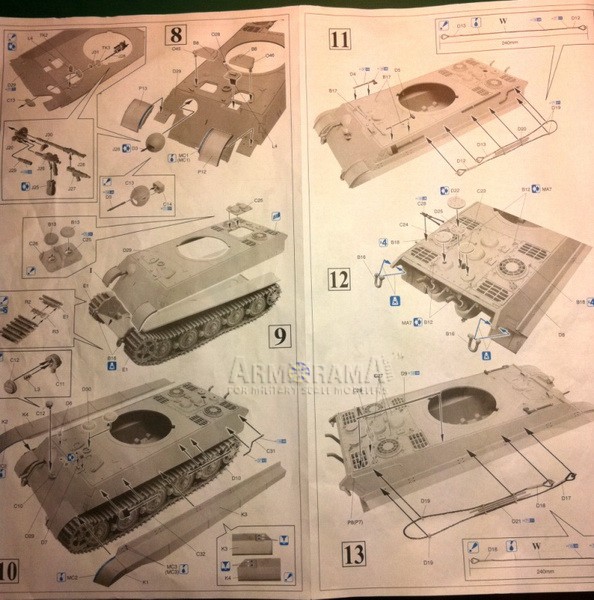
Upper Hull (steps 8-14)
Assembly now switches to the upper hull with nice weld detail which includes the late type of reinforced front mudguards (separate parts w/PE re-enforcement parts for good detail), a slide molded ball MG & mount (Interior MG & fittings too!) with the barrel already bored or an optional hull MG w/o interior details and hull crew hatches and drivers episcope with clear part. The engine deck hatch is a separate part that can be modeled open or closed. The OVM tools are nicely detailed with clasps. Also included are the tow cables provided as braided wire with plastic ends and PE engine deck screens for added detail. One possible error on the instructions has parts B13 (armored carburetor covers) attached to the engine deck hatch. The references I have show the forward cover as a more flat part to allow clearance for the turret traverse. Examining other DML kits instructions, show part B13 as the forward cover and part D23 as the rear cover. Im not sure which is correct, but both parts are included in the kit and maybe should have been shown as optional? There is also another type of armored cover (part D31) which I cannot find anywhere in the instructions and is possibly yet another type of option, so check your references for which parts to use. At this point the tracks are to be assembled before the upper hull is attached to the lower hull. The tracks provided are the transport type and I believe are the same as those provided in the DML/CH Panther II kit. Each link is made up of 3 pieces: a main kink, a "bridge link" and an end connector. The bridge links appear new for this kit and are well detailed as they are not the typical "flat" bridge links which are marked as "not used". To say the least, these will be a bit tedious cleaning up and assembling each link but, appear very accurate to my reference photos. Also of note is the instructions are not clear on which side the end connectors should face (inner or outer). I think the end connectors should face the inner (hull) side, but Im not positive, so check your references.
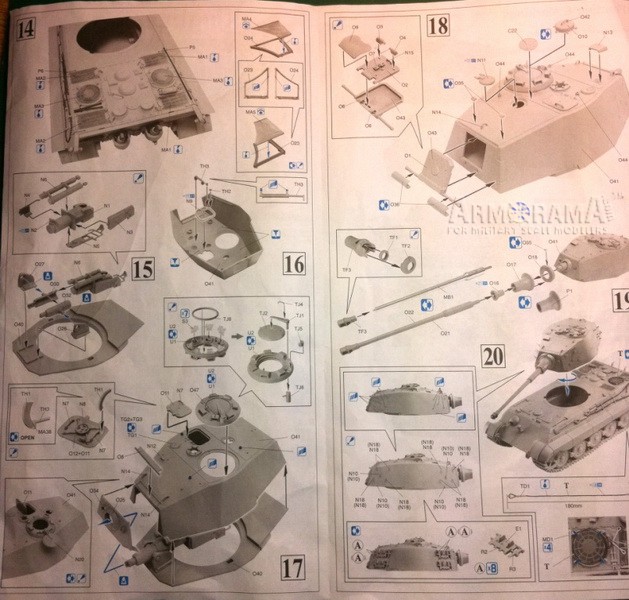
Turret (steps 15-19)
Construction of the turret begins with a basic interior 8.8cm KwK gun. Two types of cupola are provided (a third marked as "not used"), one with the rain drainage channels and one without, so check your references if you are modeling a specific vehicle. In addition, the commanders hatch cover appears that it can be assembled as operable. Clear parts are provided for the episcopes and a separate part for the brow pad. The loaders hatch has excellent interior detail including the bar mechanism and can be modeled open/closed. The only other interior detail is the "close defense" weapon which can be modeled open or closed as well. Other fittings added to the turret include the armored exhaust fan cover (2 types provided), loaders episcope armored cover (curiously, no mention of adding the loaders episcope but is provided as a clear part) and a well detailed rear escape hatch with optional armored hinge covers with interior details and can be modeled open/closed. Final assembly of the turret includes two optional mantlet types and either the aluminum barrel with a very nice slide molded late type muzzle break consisting of 3 parts or the old type 2 half piece barrel that will require the seam to be removed. I think the aluminum barrel w/separate muzzle break is a no-brainer for the best detail. The instructions have you remove the faint attachment points for the spare track hangers on the turret sides. You are then to position the track hangers without any way of determining where they go; then you can hang the optional spare track of the transport type, as there are no full size track links provided in the kit. Personally Ive never seen transport tracks hung from the turrets of Tiger IIs but they may have been? Finally, as if there werent enough options in this kit, you have another braided wire cable w/plastic ends to wrap around some PE holders around the left rear exhaust cover. Ive never seen this on a Tiger, but Im not exactly an expert either.
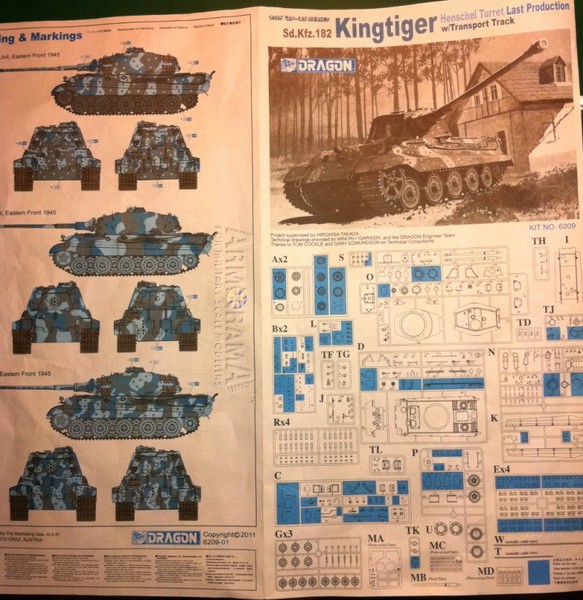
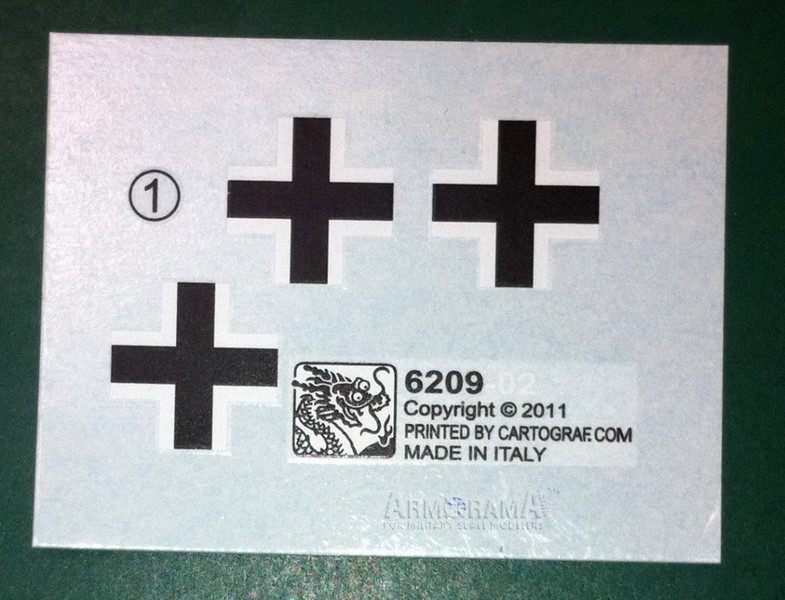
Markings
The decal sheet provided in the kit only includes three Balkankreuz (German crosses) with none of them being used on the three painting options on the instruction sheet. The three options include:
Unidentified Unit, Eastern Front 1945. Painted in the standard three tone ambush scheme,
Unidentified Unit, Eastern Front 1945, Standard Three tone scheme,
3 Company, s.Pz. Abt. 511, Eastern Front 1945, Also painted in the three tone ambush scheme.
Conclusion
Fans of German armor will be very happy with this kit which I believe is the ninth Tiger II kit released by DML. The tracks may be tedious to build and the instructions may be confusing in places with possible errors, this will build into a very nice replica of a Tiger II of the last production run right out of the box. Details of the kit are very nicely done and the quality of molding is quite superior, as usual from DML. There is, as always, room for improvement and there are plenty of aftermarket items to go haywire with.
Definitely two thumbs up from this modeler.
References
Der Panzer-Kampfwagen Tiger und Seine Abarten by Walter J. Spielberger & Hilary L Doyle, Motorbuch Verlag
Sd.Kfz.182 Pz.Kpfw.VI Tiger Ausf.B Königstiger, Vol. 2; by W. Trojca
Schwere Panzerkampfwagen, by T. Jentz and H. Doyle; Panzer Tracts No.6
Germanys Tiger Tanks, by T. Jentz and H. Doyle; VK45.02 to Tiger II; Schiffer
Tigers in Combat I, by W. Schneider; Stackpole Books
Tigers in Combat II, by W. Schneider; Stackpole Books
Tiger; Squadron Armor in Action No.27, by B. Culver
The Tiger Tanks, by B. Perrett; Osprey Vanguard No.20
Kingtiger Heavy Tank 1942-1945, by T. Jentz & H. Doyle; Osprey New Vanguard No.1
SUMMARY
Highs: Details of the last production variant very well rendered with numerous options and multimedia parts.Lows: Instructions of the photo type with possible errors & confusion with options.Verdict: Another great kit, even if there are 8 others produced by DML.
Our Thanks to Dragon USA! This item was provided by them for the purpose of having it reviewed on this KitMaker Network site. If you would like your kit, book, or product reviewed, please contact us.
About Cpt. C. Sosebee, USA (Ret (csosus) FROM: TEXAS, UNITED STATES
Back into modeling after almost 26 years in the US Army as enlisted and as an officer. Over those years, I've collected quite a library of military history books, vehicle references and quite a few kits too. I only build 1/35 WWII, any nationality. Currently my modeling skills aren't really that ...
Good review and GREAT pictures as well. I don't have any (and never have built one) King Tiger kits in my stash to build but if I were to get one this would be the one, just because of this look inside.
Thanks!
~ Jeff
Review is really good. Can't say the same thing about the kit (beside the tracks). For any modeller who knows a bit of the Tiger II story and available kits will see that this kit is a quite of a let down. What DML did here was to throw into the box the transport tracks (ok that's the positive point), PE bits strengthen the front mudguards and clear periscopes (anyway a quite number of people over paint them...). I won't go into details what is missing in this kit so we can really call it last production.
It's not a bad kit but it's just almost the same as most others non zimmerited DML TII kits. So at least you really want to get those transport tracks I would advise two buy one of the older ktis (like 6254, 6232) for almost half the price and spend the money you save on an aftermarket set of PE or AM tracks.
my 3 cents
spit
Funny you should mention those two kits, Pawel. I'm using those two to build a TII Final/Last/End of the line, at the moment. I paid $40 for both of them.
Funny you should mention those two kits, Pawel. I'm using those two to build a TII Final/Last/End of the line, at the moment. I paid $40 for both of them.[/quote]
I said one but with other AM bits


Comments