In the German High Commands unending quest to wring the last drop of use out of every weapons system available the 15cm SIG 33 field gun was mated to the Panzer I chassis in time for the invasion of France. The combination proved to be ultimately unsuccessful due to the twin failings of an overtaxed chassis and the incredibly tall silhouette of the vehicle. In an attempt to improve the basic concept the gun was mounted to a Panzer II chassis which remained problematic until the chassis was lengthened another two feet necessitating the addition of a sixth road wheel and widened by thirteen inches. This allowed the gun to sit lower and gave the crew a bit more operating room.
The resulting vehicle, the Bison II, provided limited protection for the crew with a relatively thin set of armored plates to the front and very short sides with an open top throughout the entire fighting compartment. Only twelve vehicles were ever built and these were shipped to North Africa in early 1942. They were formed into two heavy self propelled gun companies, but ultimately all twelve, along with the bulk of the Afrika Korps, were destroyed by the end of the campaign in 1943.
contents
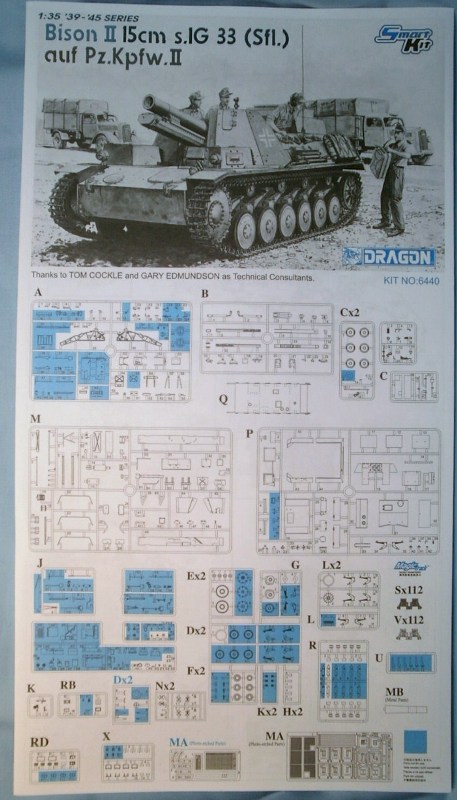
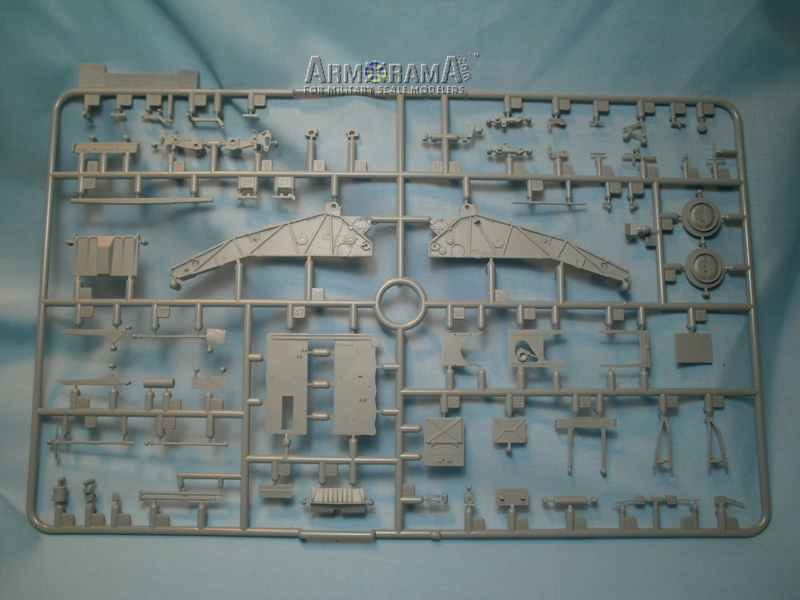
That the kit is a Dragon production Smart Kit is very evident from the moment you open the box. Stuffed full of plastic with the now ubiquitous goodies card right on top as the first thing you see. By my count there are:
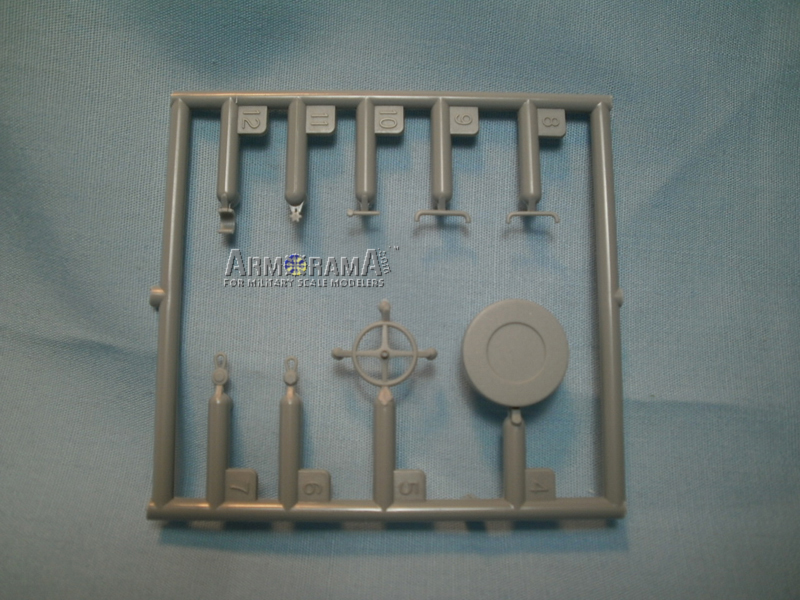
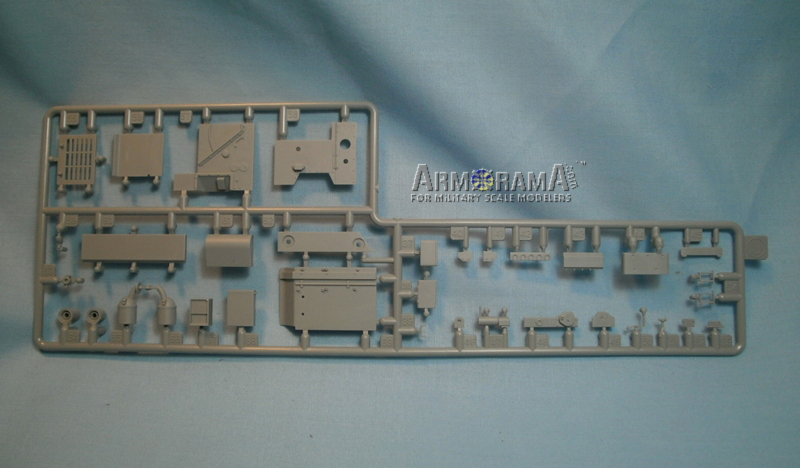
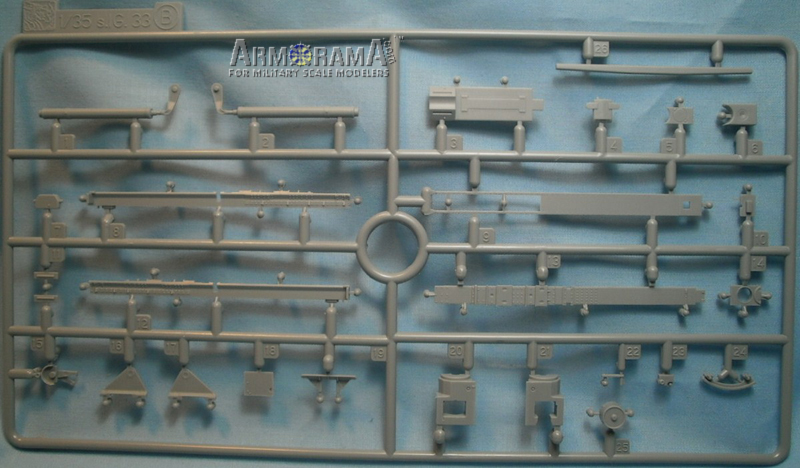
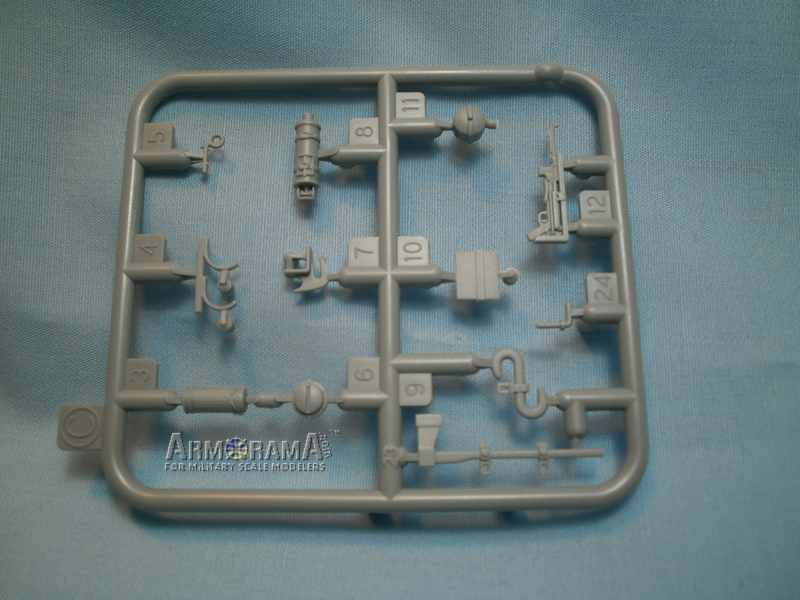
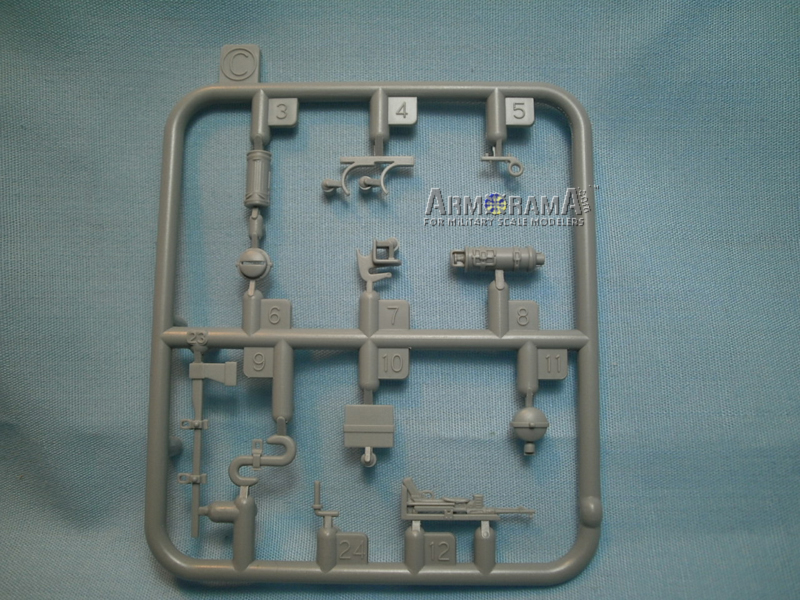
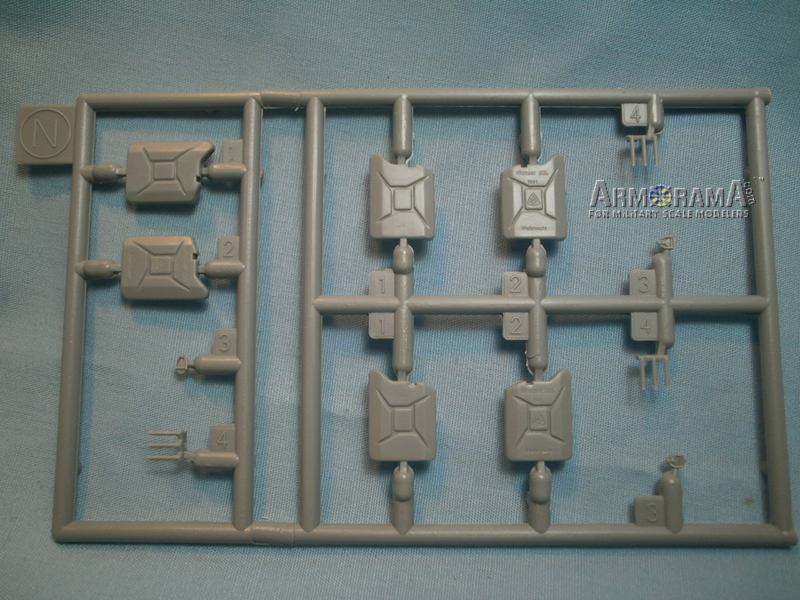
29 sprues of plastic in light gray,
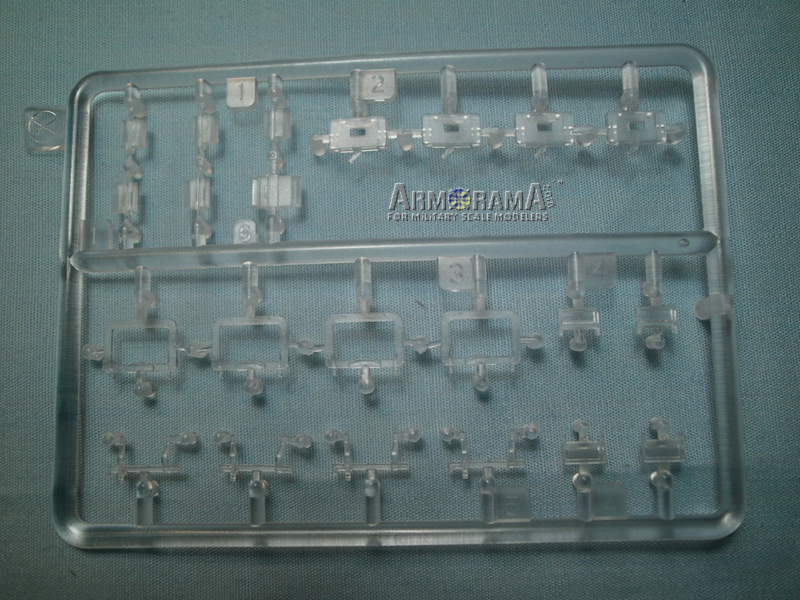
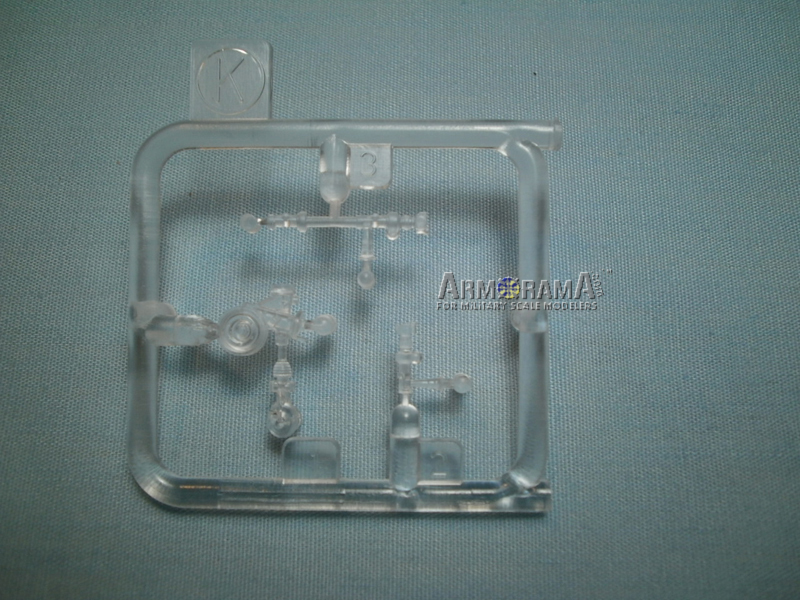
2 in clear,
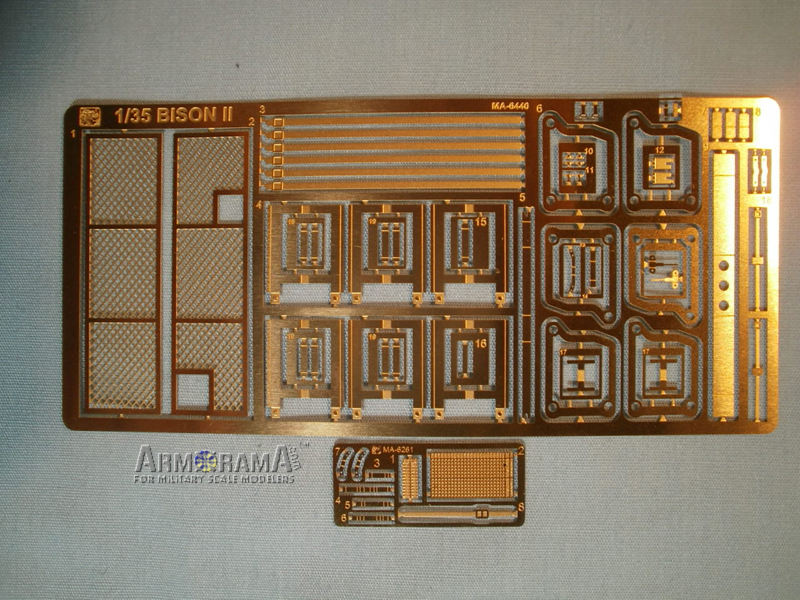
2 photo-etch sheets,
two bags of handed Magic Tracks,
one metal barrel,
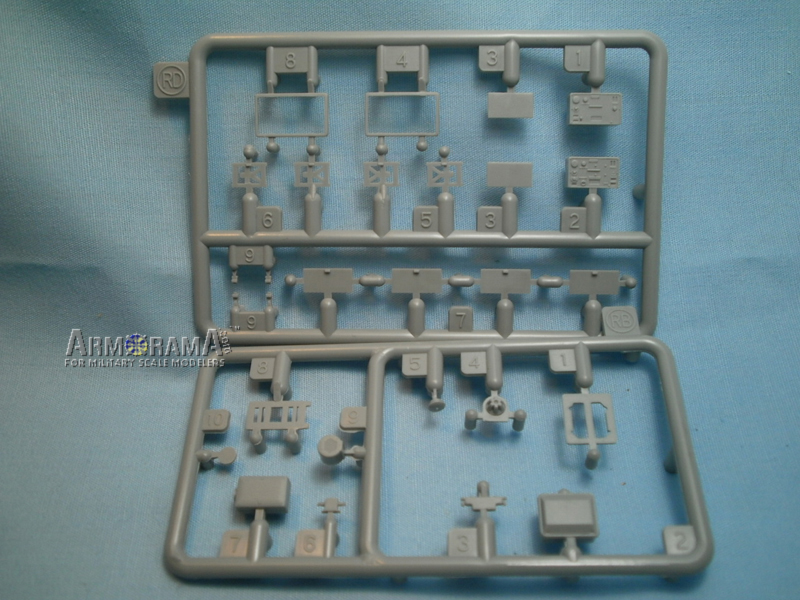
a small decal sheet,
and a Dragon style set of instructions.
The part that has me scratching my head more than normal is Dragons inclusion of one sprue with absolutely no parts at all that are used for the build. Thanks Dragon!
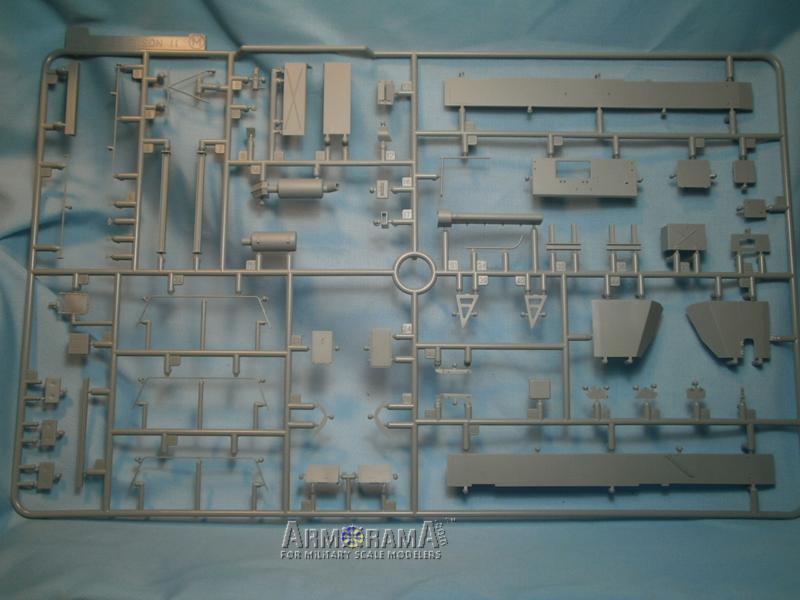
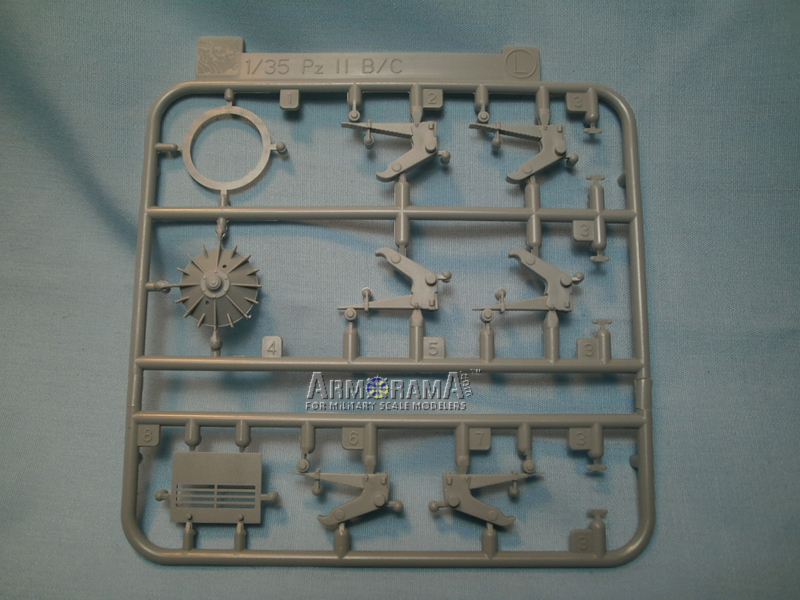
The lineage of the kit is clear as it shares a boatload of parts with the earlier Panzer II release of the Ausf B, C, and F, as well as the earlier releases of the SIG 33 gun in its various guises as a stand-alone field gun or a vehicle mounted effort. Beyond that are the ever present German gas and water cans as well as on board equipment and radios which have been seen in numerous kits in the past. The vehicle does require some new moldings and Dragon has accomplished that with two large sprues unique to the Bison II that provide for the superstructure, gun shields, and various bits for the interior of the kit.
Review
I really enjoyed the way Darren Baker (CMOT) did the recent review of the Dragon Pz IV J and I have decided to do the same with this kit.
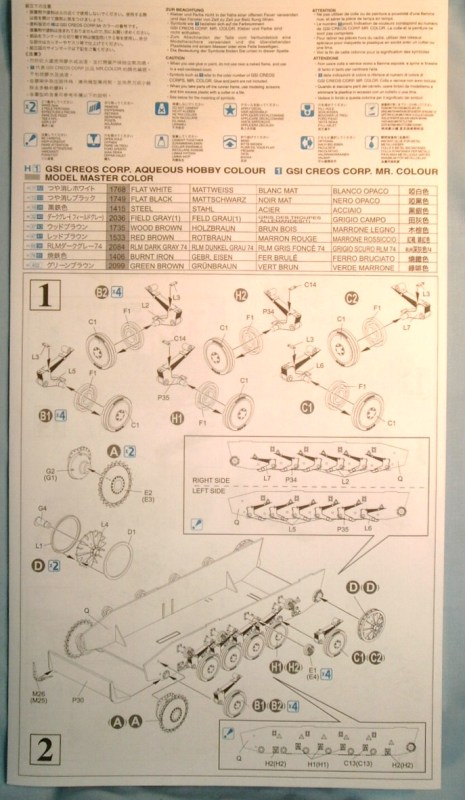
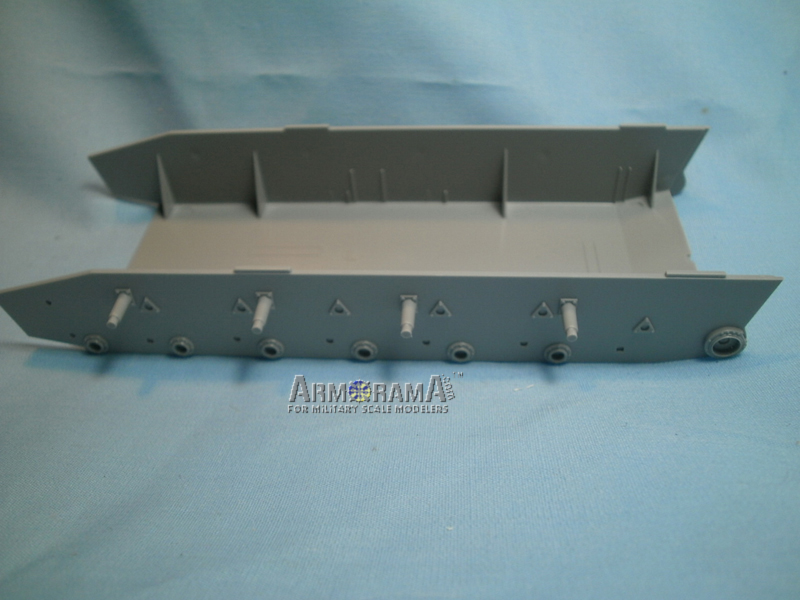
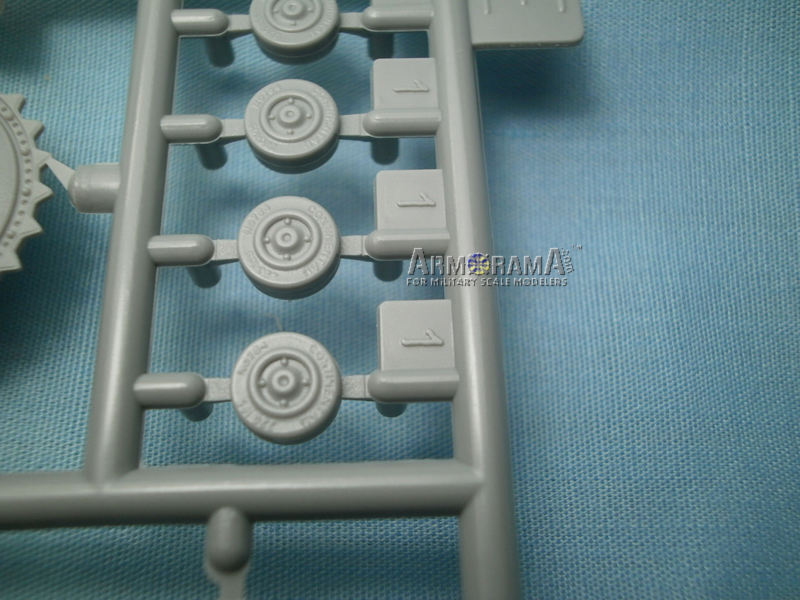
The first two steps deal with the running gear, sans tracks, of the vehicle. It is a bit more complicated than first blush would lead you to believe, as the kit has six different suspension arms that need to be placed correctly for everything to come together at the end. Best advice; go slowly and dry fit before you put glue to plastic. Thankfully, idler wheel and drive sprocket are pretty straightforward.
Step three installs the rear plate, mainly using new parts with a few fittings from earlier kits thrown in for good measure. Step four begins with the interior, with some side wall detail, a rear fire wall, the radio operators station, and the support for the gun. They provide a side view so that you can see how it is all supposed to sit when finished.
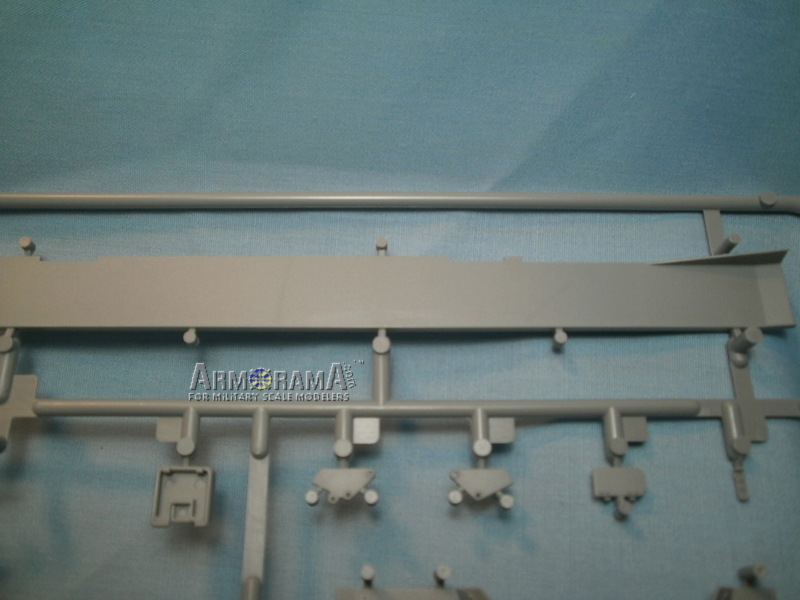
Steps five and six begin with the front upper hull. Again, mostly new parts for this area excepting the smaller fittings that were ever-present on German vehicles such as lights and sirens. The weld detail on these boxy structures is very well done and should look really nice with a bit of detail painting. The very nice fenders are attached at this point as well, wouldnt do to fail to note that there are no pesky ejection pin marks above or below on the fenders; way to go Dragon!
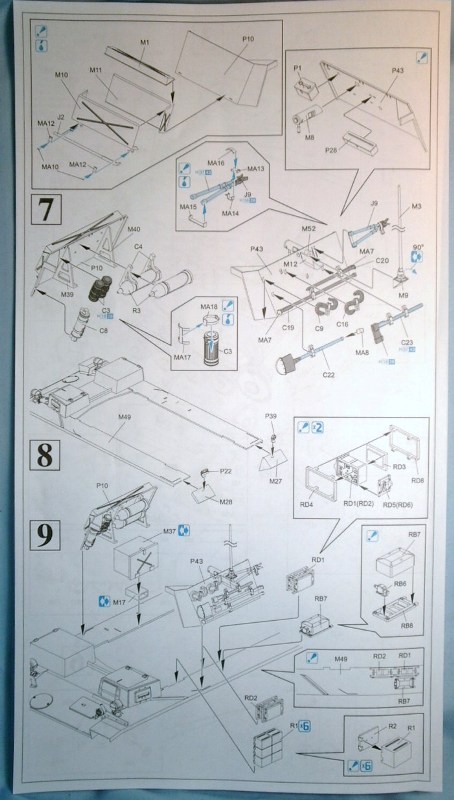
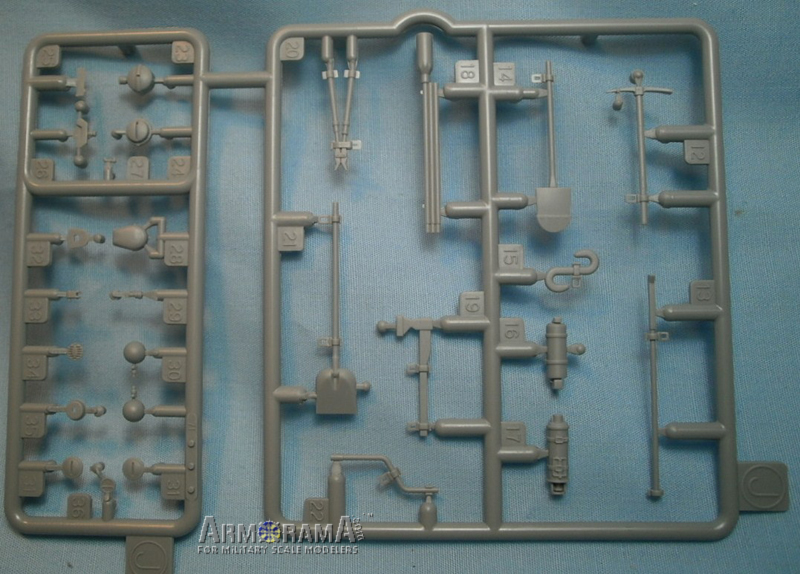
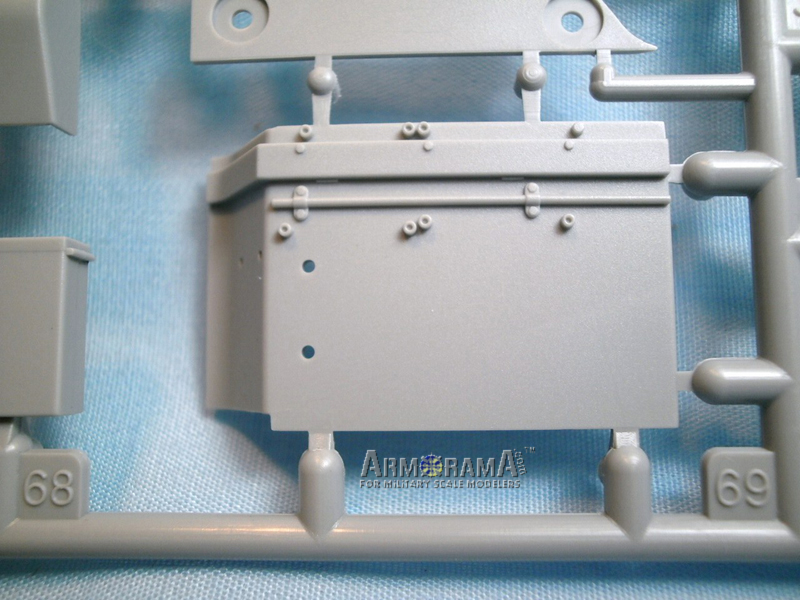
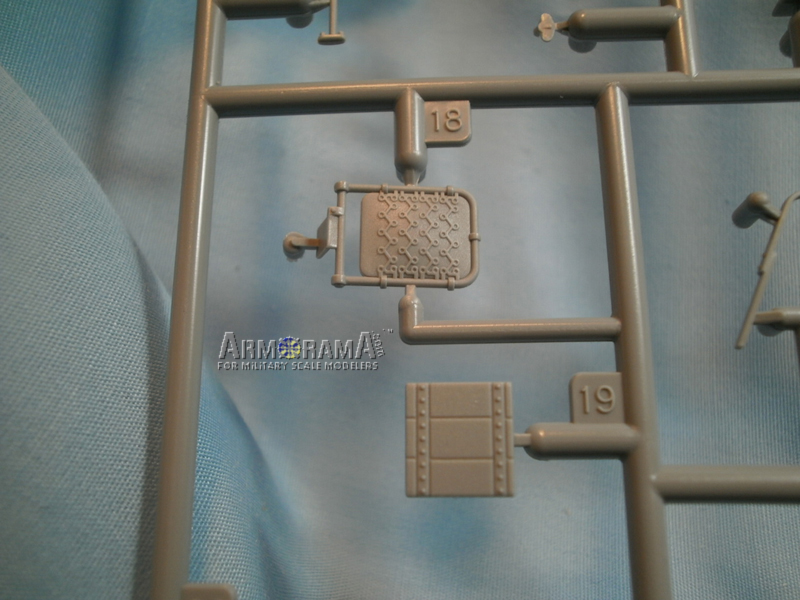
Steps seven, eight, and nine get real busy. They deal with the both side walls, interior and exterior, and their subsequent attachment to the upper hull and fenders. There is a lot going on here, so once again take your time. Everything is very well molded and is a combination of recycled parts and new pieces for this kit. Dont get me wrong, just because it is the same part used on an earlier Dragon release doesnt mean it isnt well done, that is not at all the case, just wanted to let you know what youre getting here. For the most part, exterior pieces like tools, extinguishers, and the like have been seen before and are all added at this point while structural pieces are newly molded for this kit. The numerous storage boxes are all new molds as well, and again are all well done, some of the hinge and latch detail could be improved with a bit of photo-etch if you have it around. Also, step nine finishes of the well done radio suite of the vehicle.
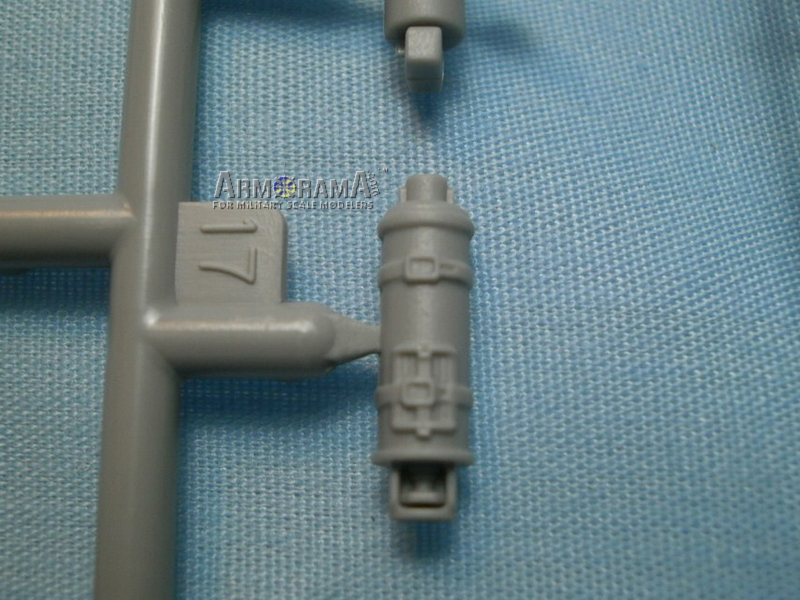
Steps ten and eleven builds up the rear engine deck with the excellent jack and new muffler attached. The kit provides the option of having the engine intake doors opened or closed, but with the very nice pieces of photo-etch screen for the interior I dont know why you would want to model them closed. Step twelve deals with the constructions of the six gas cans that festooned the exterior rear engine side walls.
Step thirteen puts a few finishing touches to the rear engine deck structure. It is here that you will encounter a bit of a head scratcher. Into the area directly above the engine was a ammunition storage area for eight rounds of ammo, Dragon has molded six rounds in place complete with the clips to secure them, the other two, presumably empty, have been molded blanked off rather than drilled out. It looks like you have three options here; one, paint the area black so it looks hollow, I am doubtful as to how effective this will be, second, source a couple of spare rounds, drill out the hole and insert your spares. This option would necessitate redoing the retaining clips as well, it could be done but it seems like a lot of extra work. Thirdly, and I think the most effective, is to drill out the two offending holes completely and add a piece of tubing to the back of the piece. Paint the interior of the tube (I may actually just use a piece of straw) flat black and you should be good to go. Finally, step fourteen puts all the rear deck pieces together with just a few additions like fire extinguishers and photo-etch latch detail for the more prominent storage boxes on the rear deck.
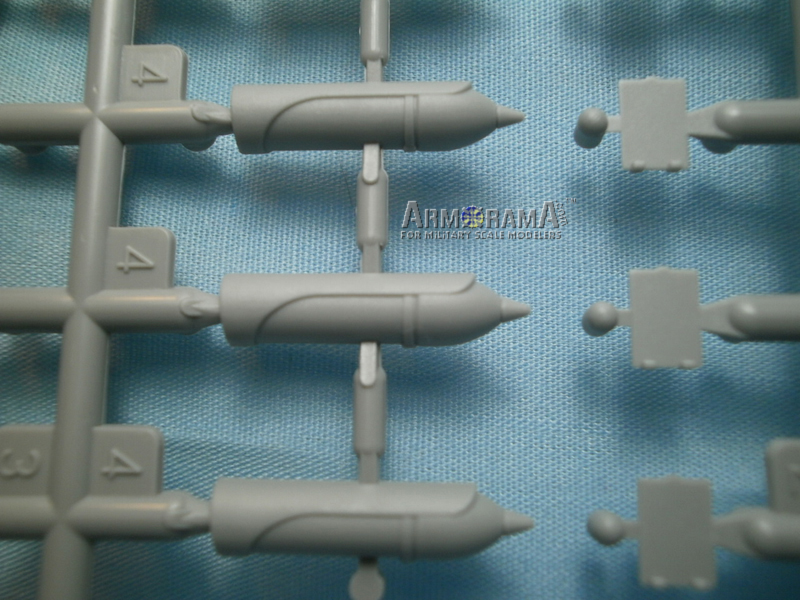
Steps fifteen through nineteen all deal with the construction of the gun. What a beauty, if you like rivet detail this is the gun for you! Everything here is very well molded, not quite as fine as some of the more recent offerings from AFV Club that I have seen or built, but nonetheless very nicely done. The aluminum gun is first-rate, very delicate rifling that enhances the overall look. It should build up into a superb replica.
Step twenty puts the gun and the gun shield together. The gun shield is a purpose molded part for this vehicle only, of course. It is very well done, pleasingly thin throughout, no beveled edges to give the appearance of a thin molding, it simply is a thin molding, youve got to love this new slide molding technology, or whatever it is, that brought us to the current level of detail and scale accuracy. Love the range and data card done in photo-etch for the inside of the gun shield, just that little extra bit of detail that makes this one stand out from the crowd.
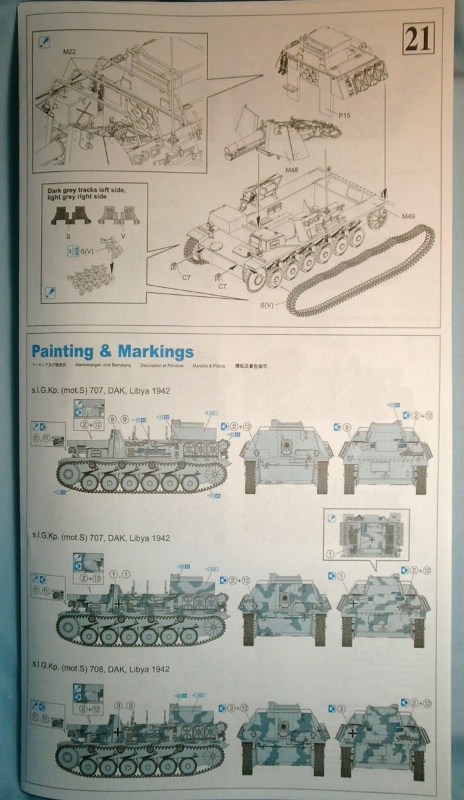
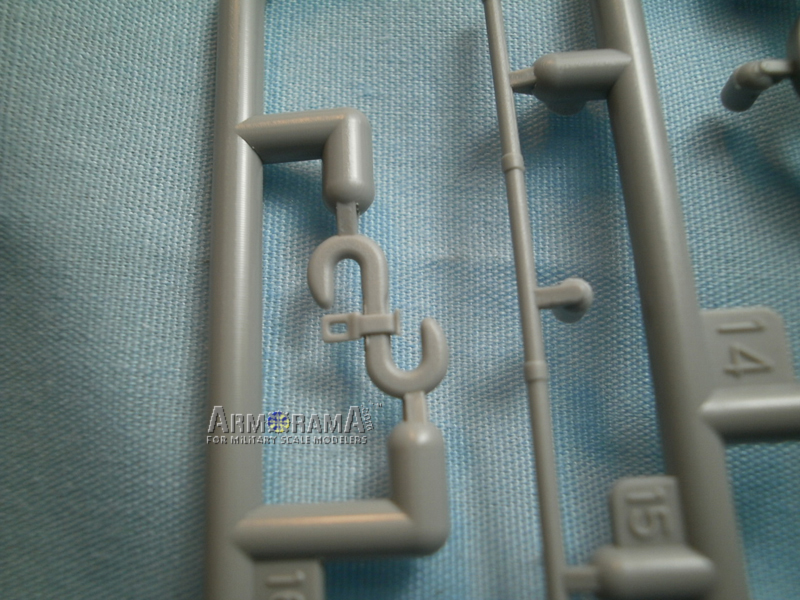
Finally, step twenty-one, the last step for the construction of this beast. This one has you add the Magic tracks to the running gear, a couple of supports for a canvas style cover (although Im guessing thats what these are pieces are for it, seems pretty obvious) and mating the gun assembly and rear engine deck superstructure to the vehicle itself.
And now a final word on construction; Dragon says that these tracks are handed, okay I get it, and that the dark grey is for the left side and the light gray is for the right side, and, yes, I am getting a little gray myself around the edges and the old eyes arent what they used to be, but; I cant discern a bit of difference between the two bags of tracks. Maybe Dragon was just intending to color one set a bit darker, or maybe what I have is a pre-production run, but in any case just be aware that the tracks are handed left and right but they may not be colored much differently from one to the other.
Paint and markings are for seven different vehicles, five from the Afrika Korps and two unknown units from inside Germany. Clearly, these two unidentified units are from before they were shipped south as none of them ever made it home again. As far as painting this one goes I would recommend that you paint it in stages and sub-assemblies. Interiors are always tricky to paint at best and it is the only way I know to get everything painted up the way it deserves.
conclusion
And there you have it! Another winner from Dragon who will clearly not relent until every single vehicle type fielded, or even thought of, by the German armed forces of World War II has been produced in plastic!
SUMMARY
Highs: Stuffed full of great detail. Practically everything in this kit screams quality. Sure to be very popular with modelers everywhere. Lows: Instructions are very busy. Some odd details as noted in the ammo storage area. Verdict: Another winner from Dragon! Sure to be well received.
Our Thanks to Dragon USA! This item was provided by them for the purpose of having it reviewed on this KitMaker Network site. If you would like your kit, book, or product reviewed, please contact us.
About Rick Cooper (clovis899) FROM: CALIFORNIA, UNITED STATES
I have been modeling for about 30 years now. Once upon a time in another century I owned my own hobby shop; way more work than it was worth. I tip my opti-visor to those who make a real living at it. Mainly build armor these days but I keep working at figures, planes and the occasional ship.
Dave,
That might just be the answer to the question. It certainly makes a logical chain of events, captured war stocks left behind, pulled out and used by Egypt, passed on to the Soviets. Someone, somewhere must have a picture of the beast. Sooner or later it will turn up!
Rick
Pawel, that's true. I am building this kit now and the tracks do not fit the sprocket!!! So, one should consider buing aftermarket tracks or find old dragon 25-teeth sprockets.
2 Important Notes:
1 - newer versions of this kit have DS tracks, so be careful when ordering online (I'm not sure if the box info was changed, but I've seen both)
2 - They include the same bags of tracks that come with regular Panzer II's. Because the Bison II had an extended chassis and 1 extra road wheel, you don't get enough tracks for the whole vehicle.
This is a well known issue. Someone suggested to use racks from the marder III kit but the ones I have (Marder 3 M) do not have them. I used the Eduard PE set, it also adds some more interior fittings.


Comments