introduction
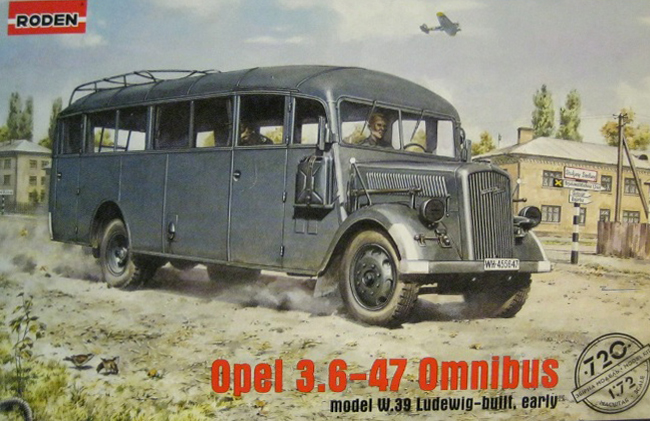
The Opel 3.6-47 Omnibus was a combination of the Opel Blitz, with the 75hp 3.6 liter engine, on a lengthened chassis of 4.7 meters (approx), mated with a sheet metal body manufactured by Ludewig. The bus could carry 30 passengers and tow 4,000kg. Standardized in 1939, the bus was quickly pressed into service as the invasion of Poland had already begun. Production continued until 1943, with 2880 vehicles of the early design version produced. Later version vehicles had a boxier structure made of pressed wood.
The bus was used for military purposes as an officer transport, and modified for use as an ambulance, mobile command post, radio vehicle, bakery, laundromat, mobile workshop and telephone exchange. It served on all fronts during the war. The photo of the Polish surrender ceremony was taken inside of an Opel omnibus.
A very handy website full of good reference photos and information can be found here at:
Pietvanhees .
the kit
Until I received this kit for review, I had never heard of the Opel 3.6-47 Omnibus. It is not the usual modeling topic, but when I opened the kit, I liked it.
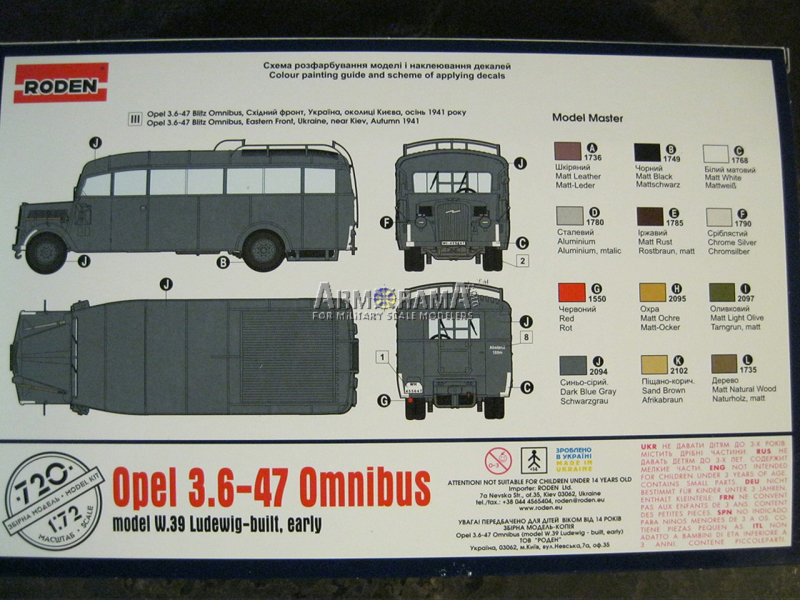
The box is small, end opening, and shows artwork of the bus on the front, with a multi view presentation of a vehicle from the Eastern Front in overall dark gray. The paint guide is also shown on the back.
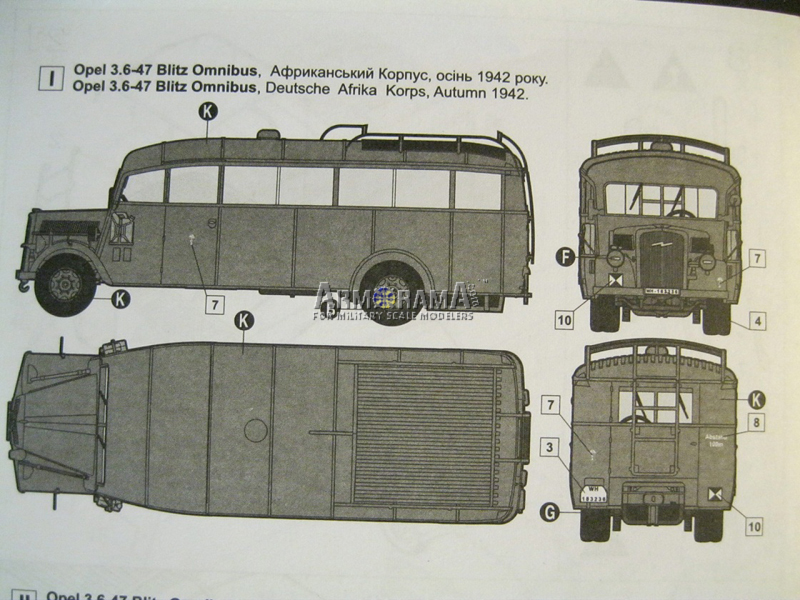
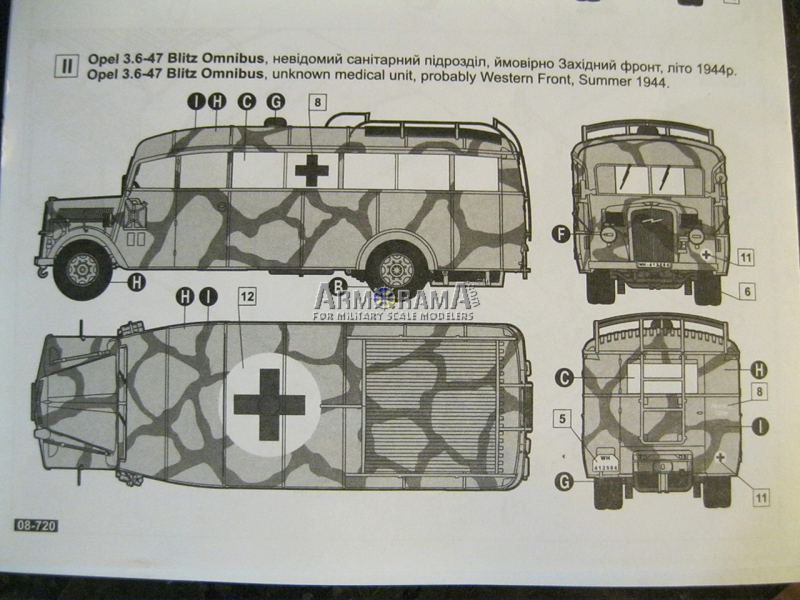
Inside the box are 6 clear plastic sprues, a metal etch sheet and a piece of clear plastic sheet with the windows printed on. A small instruction booklet with line drawings for the assembly is included, along with a small decal sheet. On the rear of the instruction booklet are two more multi image views for two vehicles, one with the Afrika Corps, autumn 1942, in sand yellow, and the other with an unknown medical unit, probably Western Front, summer 1944, olive green pattern over dark yellow.
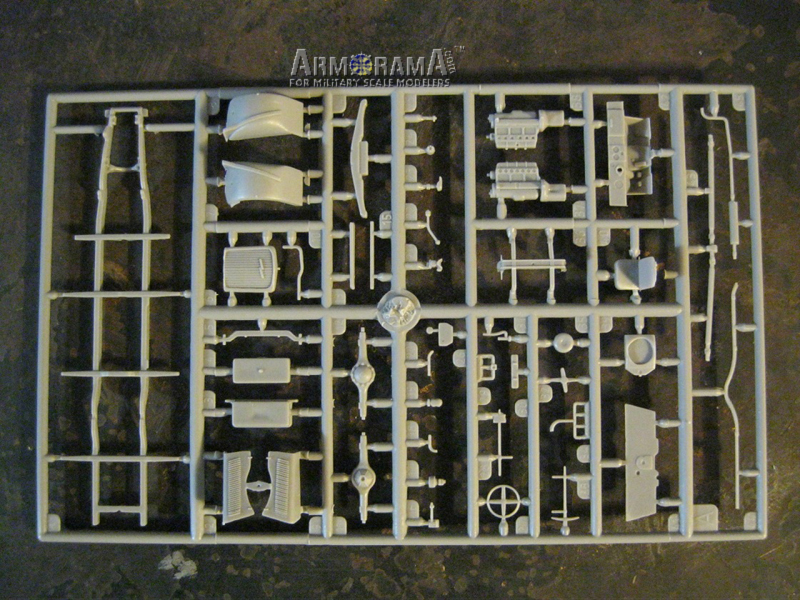
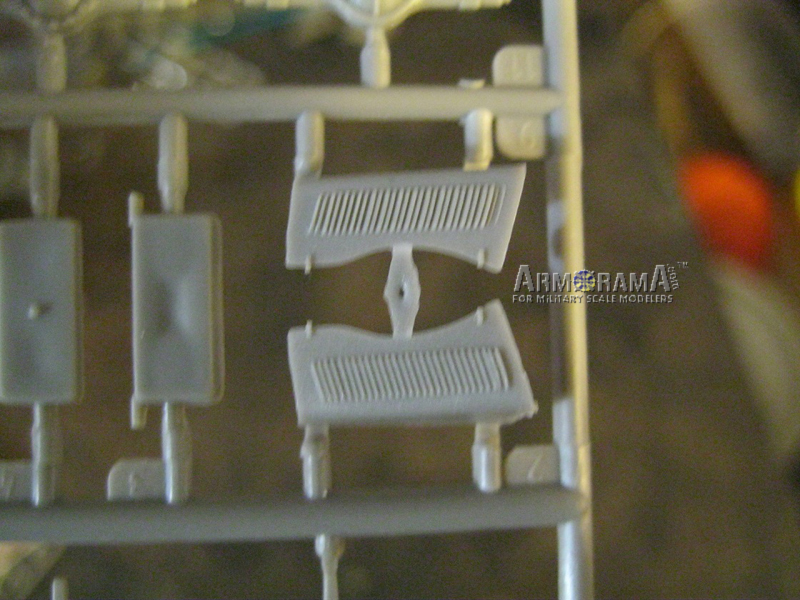
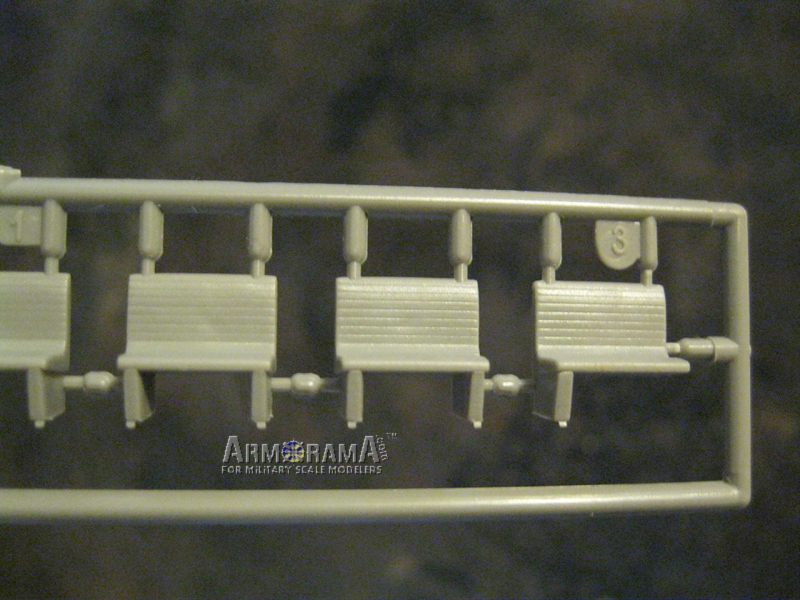
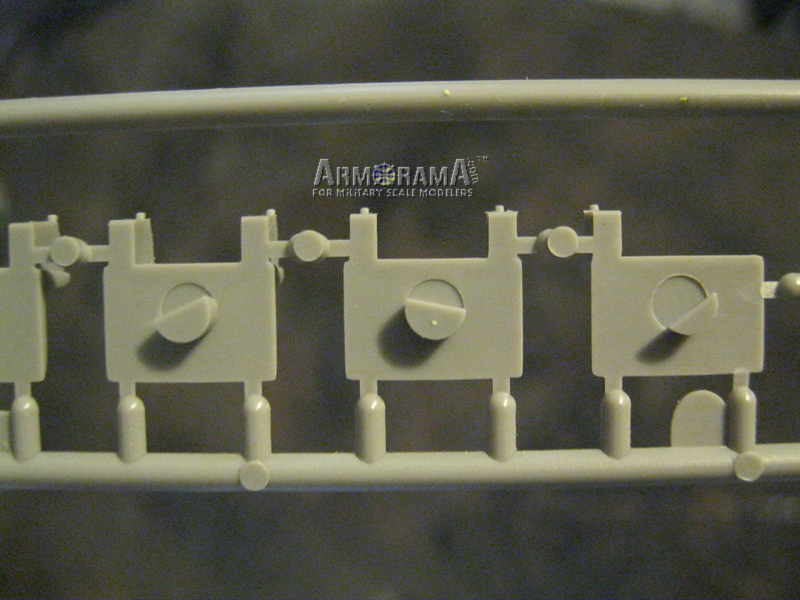
The plastic sprues show generally good molding detail with a lot of small parts. Sprue attachment points are mostly small but tight against the sprue side. Mold seams were heavy on many parts, some flash was present and there are several prominent ejector marks and ejector towers on the seat backs.
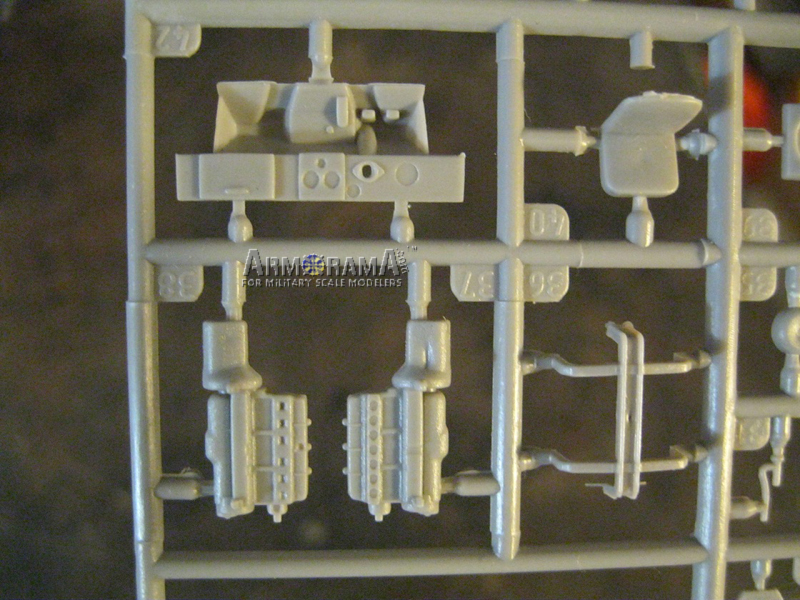
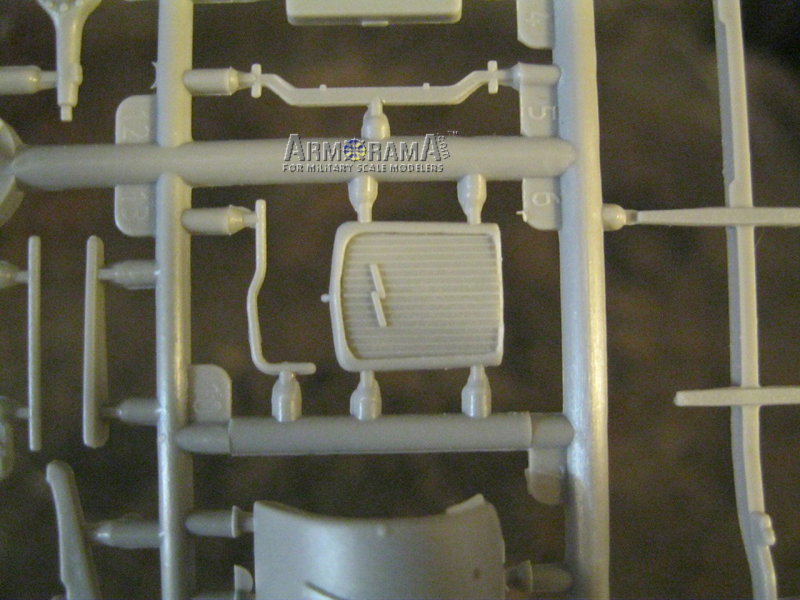
Sprue A has mostly engine and chassis parts.
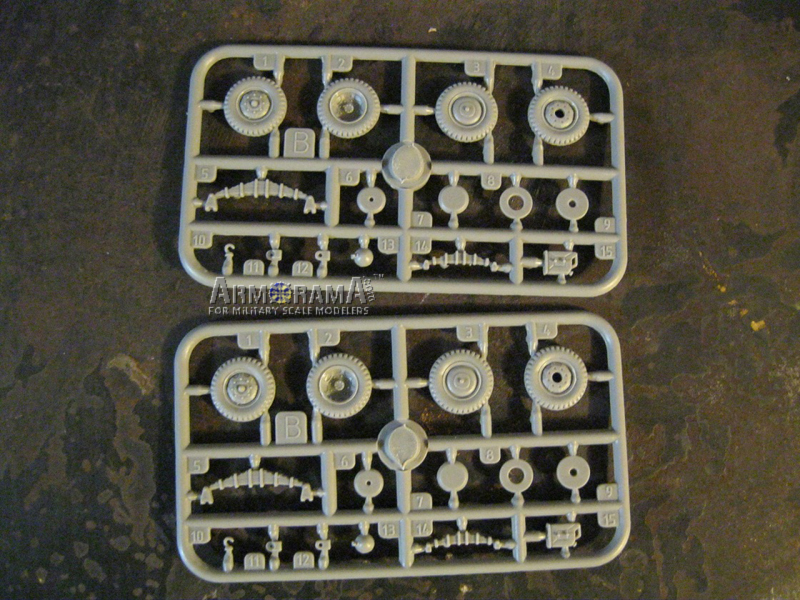
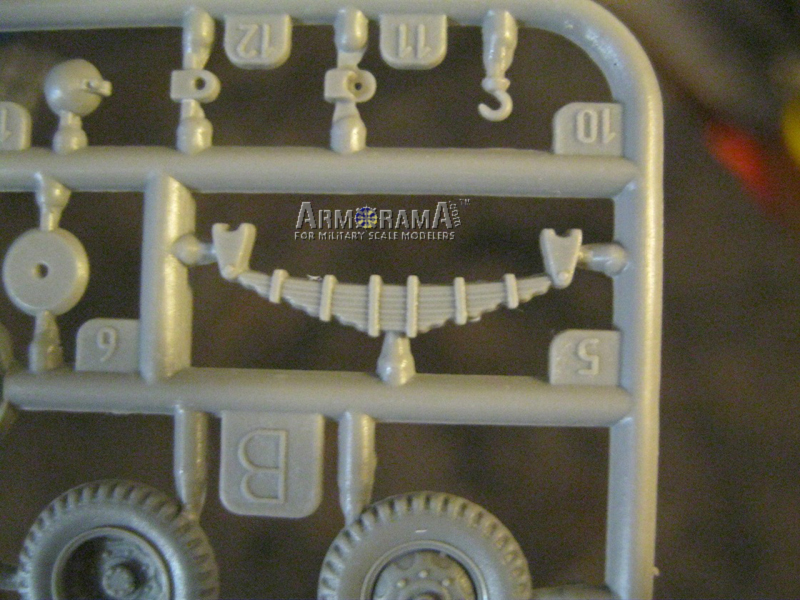
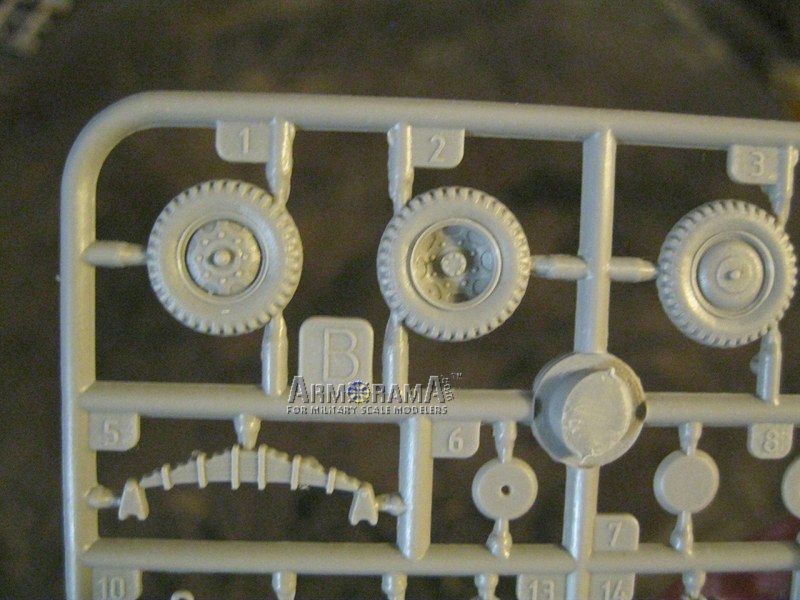
Sprue B (X2) has wheels, leaf springs and small body attachments.
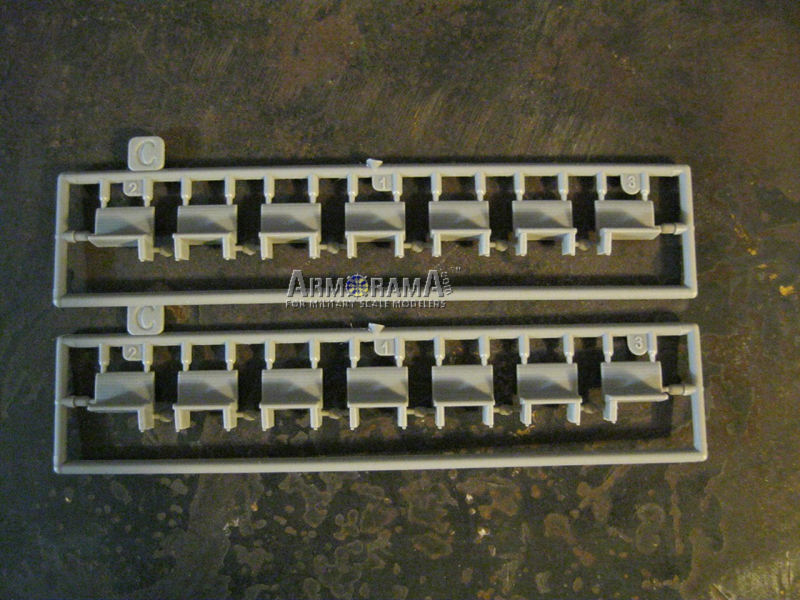
Sprue C (X2) has the seats, with wood slats molded on the surface.
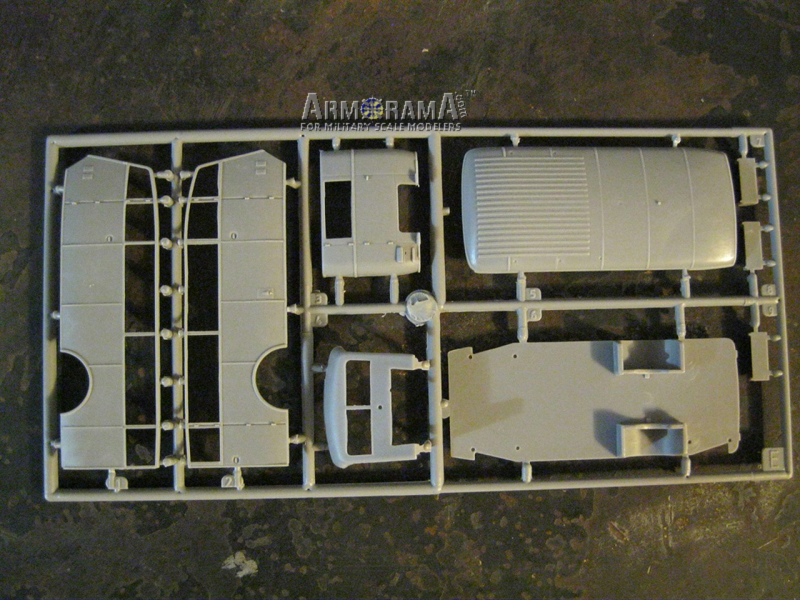
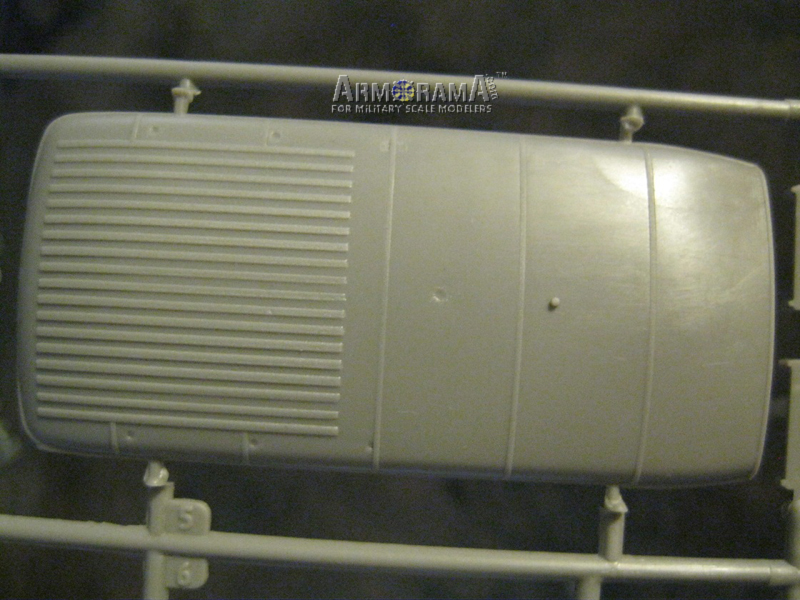
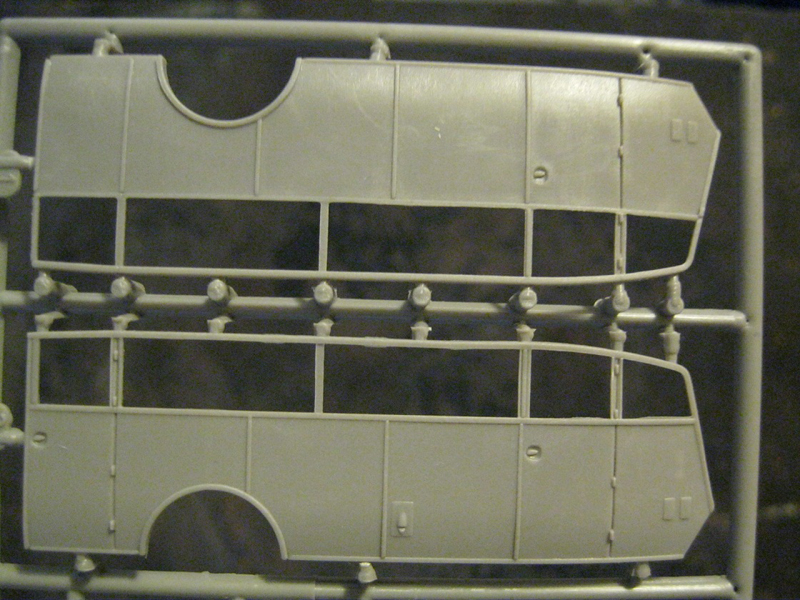
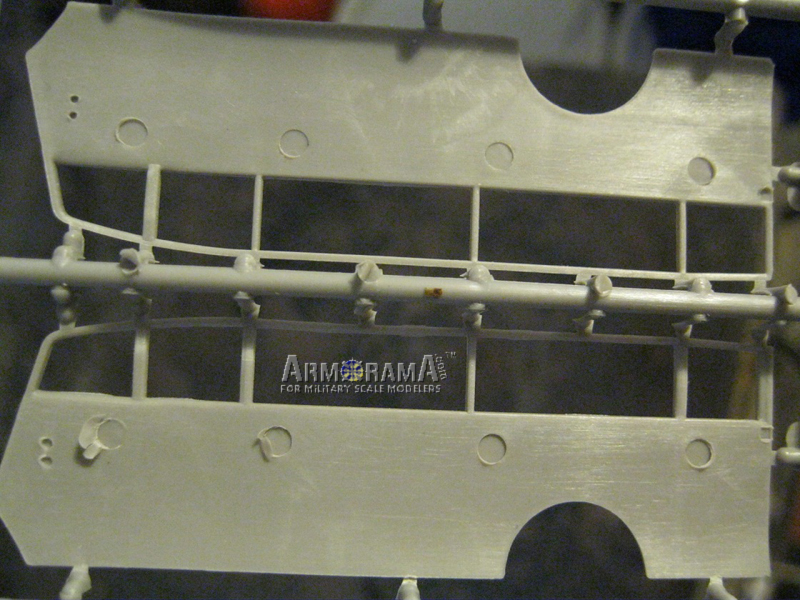
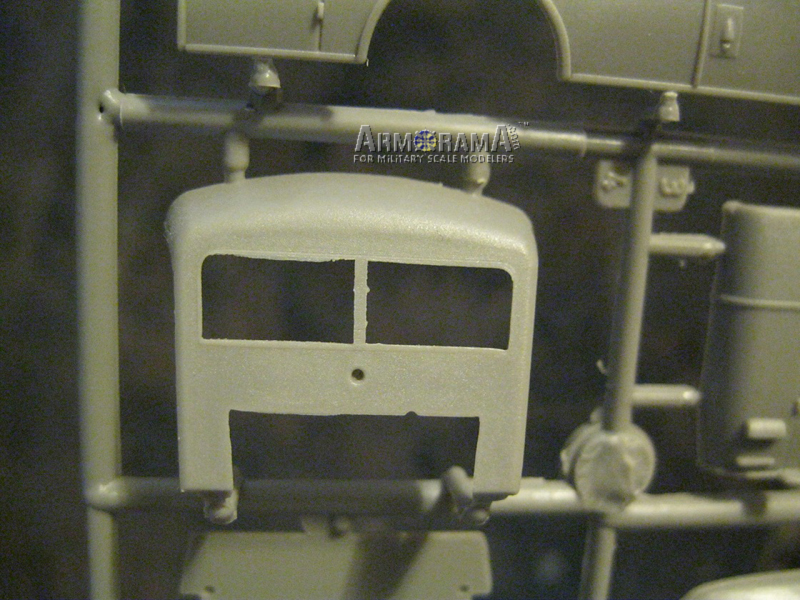
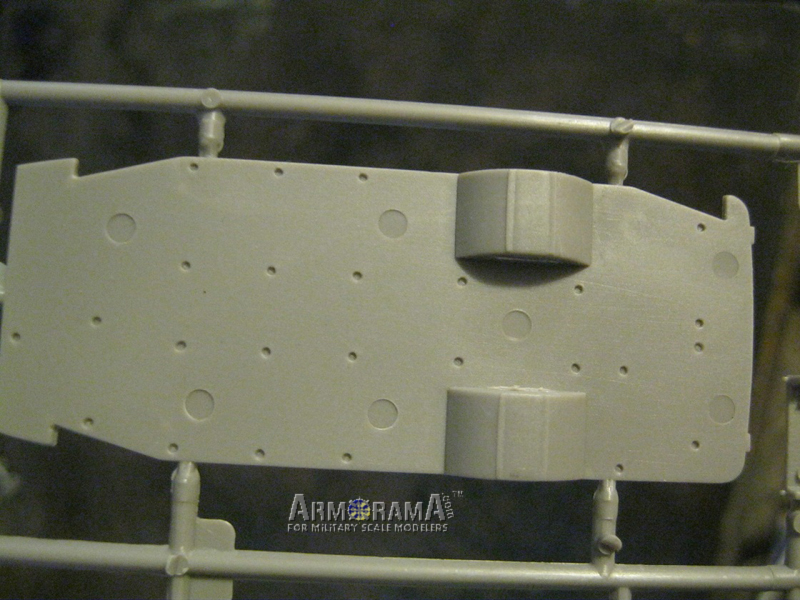
Sprue E is the body and inner floor.
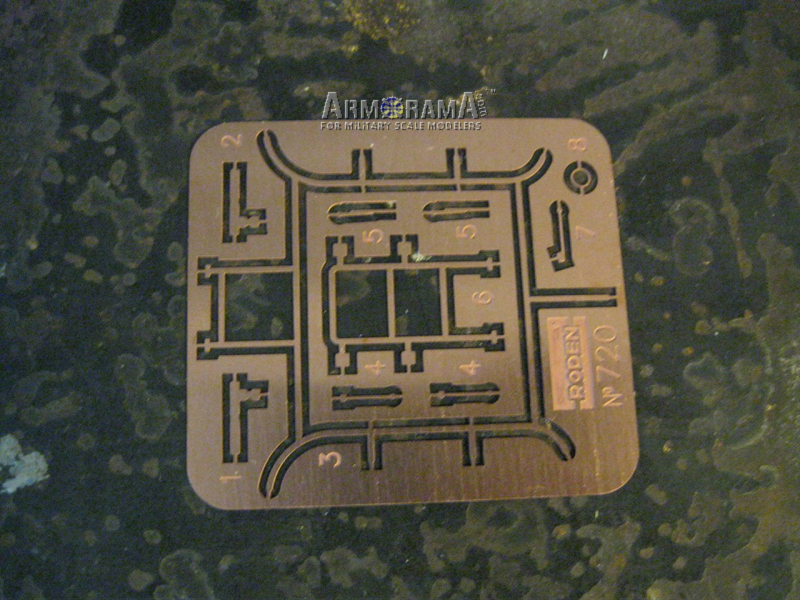
The metal etch fret appears to be of copper. The parts are clearly defined but the metal is hard and was more difficult to cut to separate the parts.
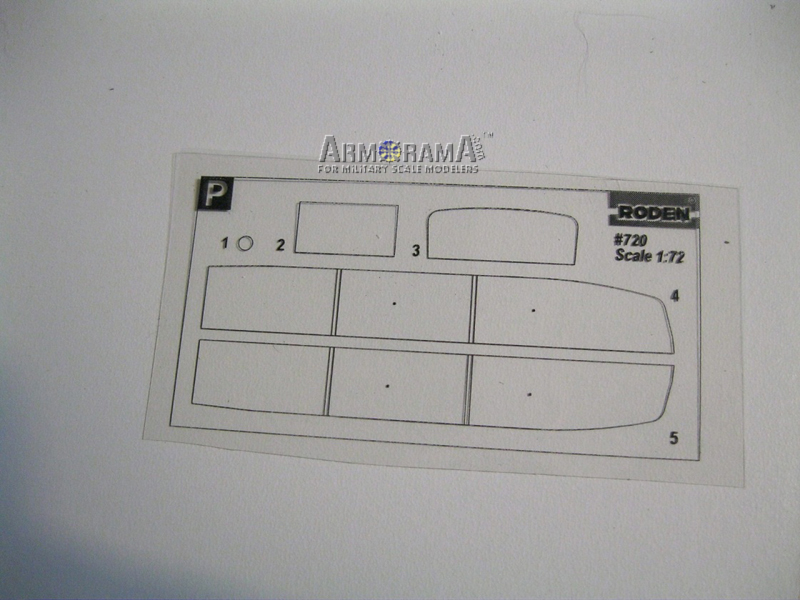
The window part has the side windows printed as a single piece, with the dividers for the sliding panes printed on the surface. There is also a small part for the mirror.
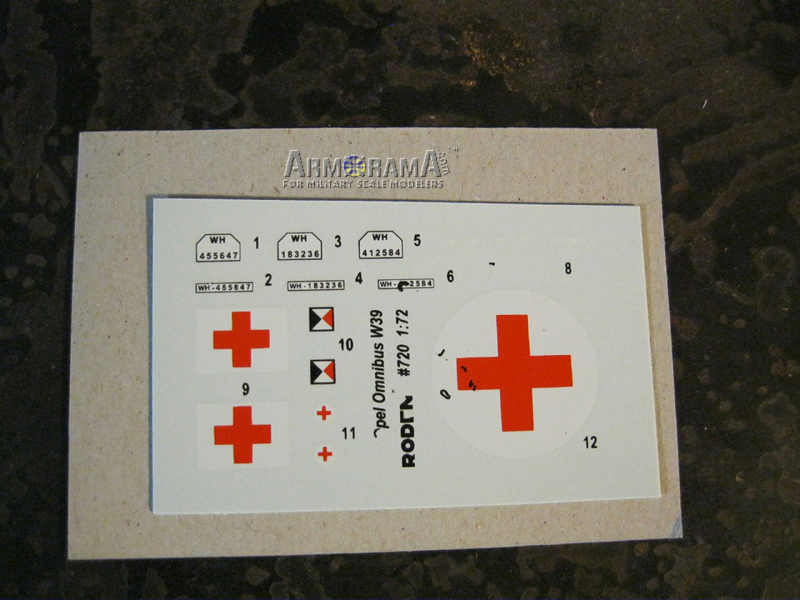
The decals were clear and printed on register. A few of the decal letters had come off but the decals themselves did not look damaged.
the build
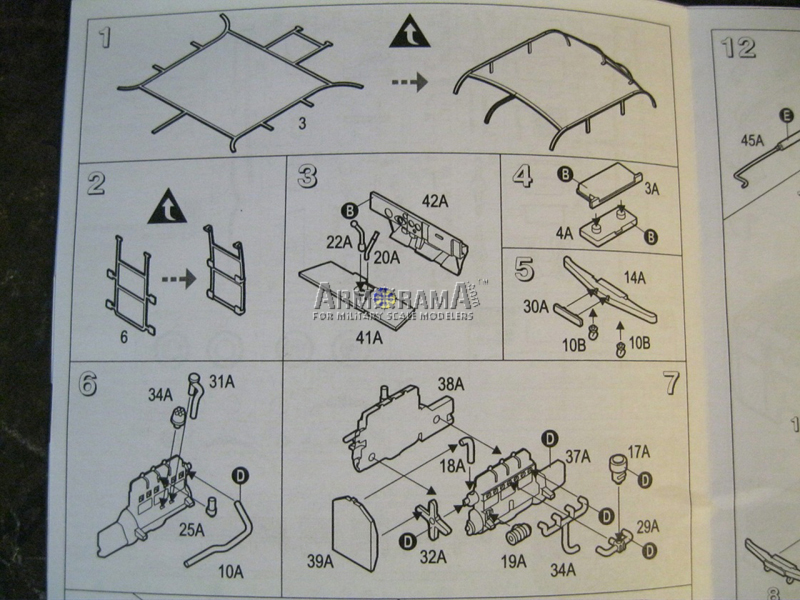
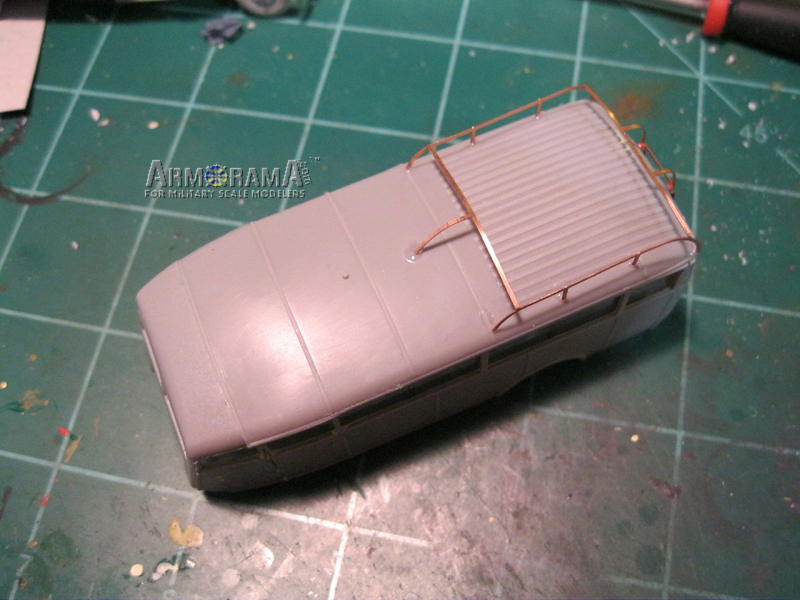
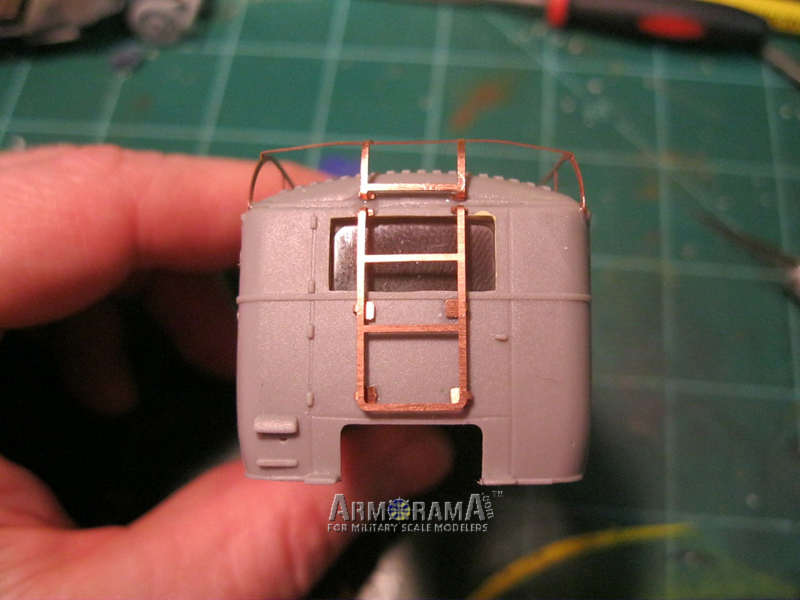
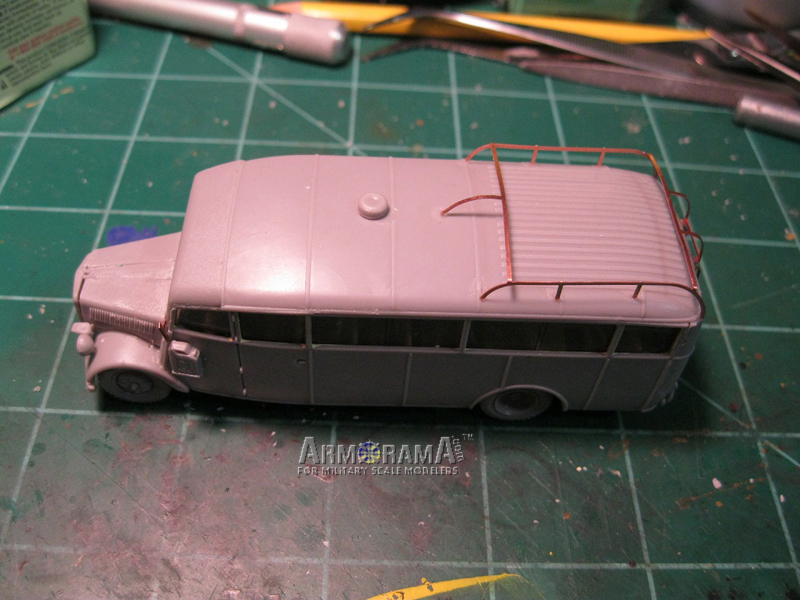
Construction begins with folding the etch parts for the carry rack and rear ladder. The carry rack is a little fiddly as it does not fold straight. You will have to bend each corner separately and carefully shape the cross bars. It may be easier to wait until the vehicle is completed and the shape the part to the vehicle top.
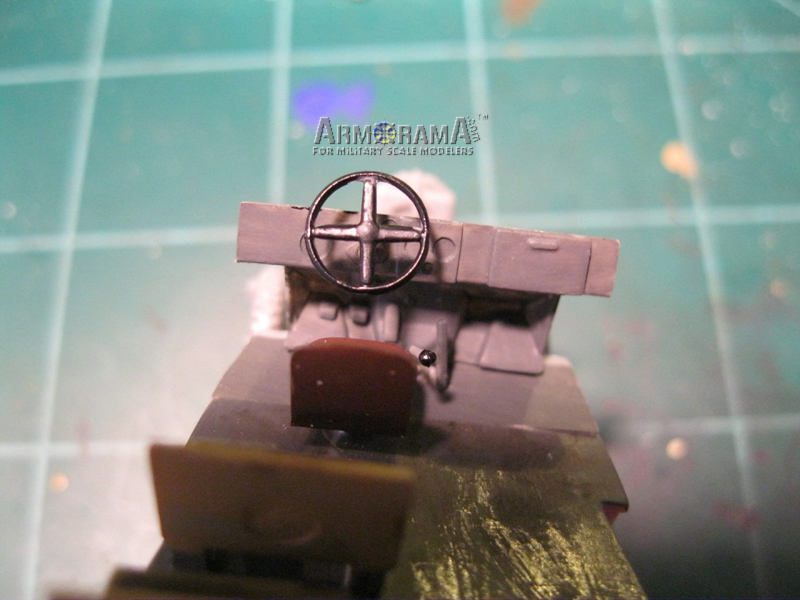
Beginning with the firewall/dashboard to the front floor, I discovered that, for the most part, there is no clear indication of where parts actually attach. All throughout the assembly, there will be many instances where placement is approximate, based on how well you judge what the instructions tell you. Steps 3, 4, and 5 cover assembly of the cab interior, fuel tank and front bumper.
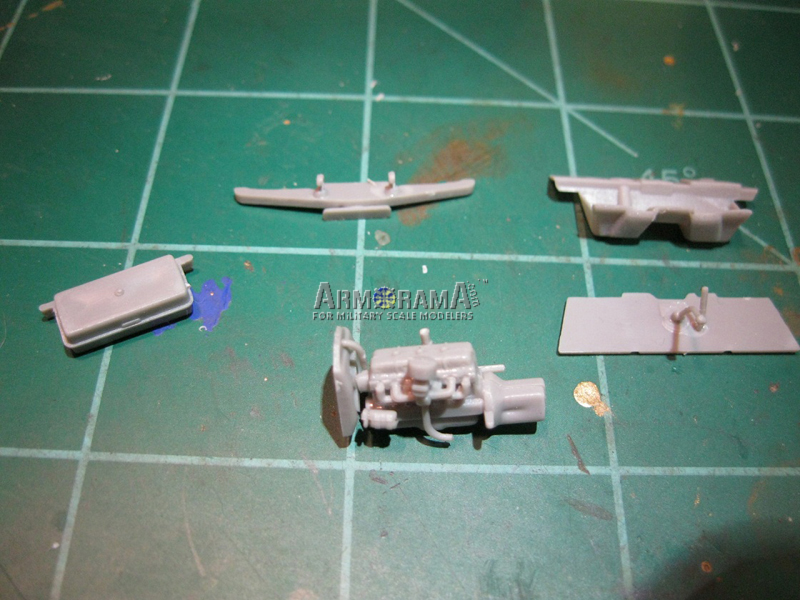
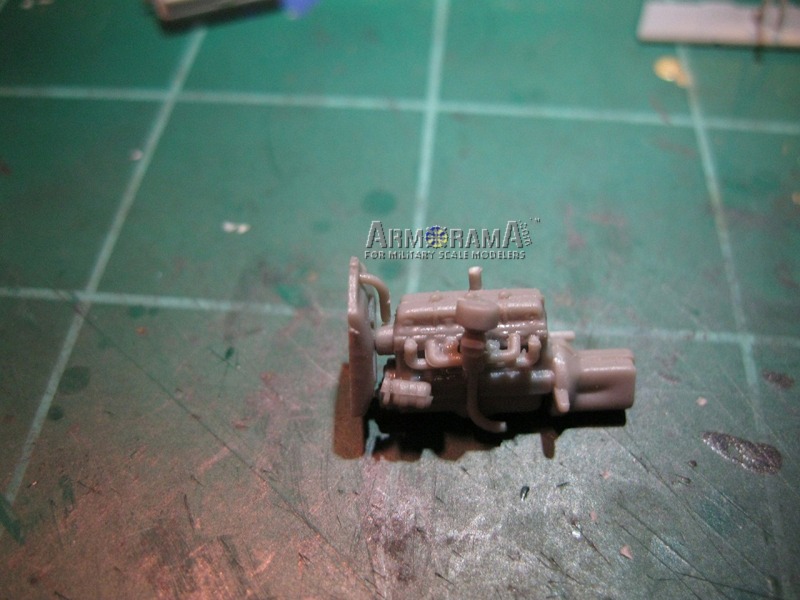
Steps 6 and 7 cover detailed assembly of the engine. There are many small parts. The radiator is glued directly to the fan, and you may wish to wait until the engine is mounted to the chassis. The engine half, part A38, is not identified in step 6, and the distributor is miss-numbered, being part A24, not A34 as indicated.
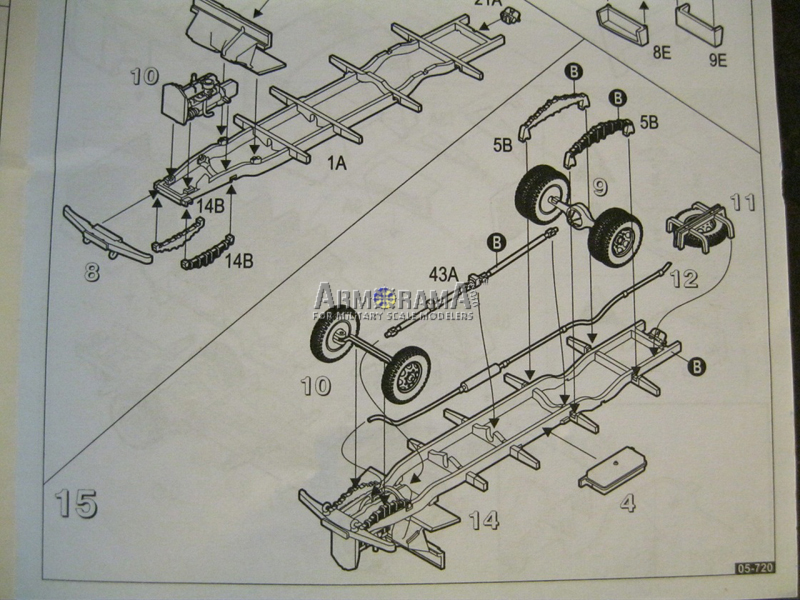
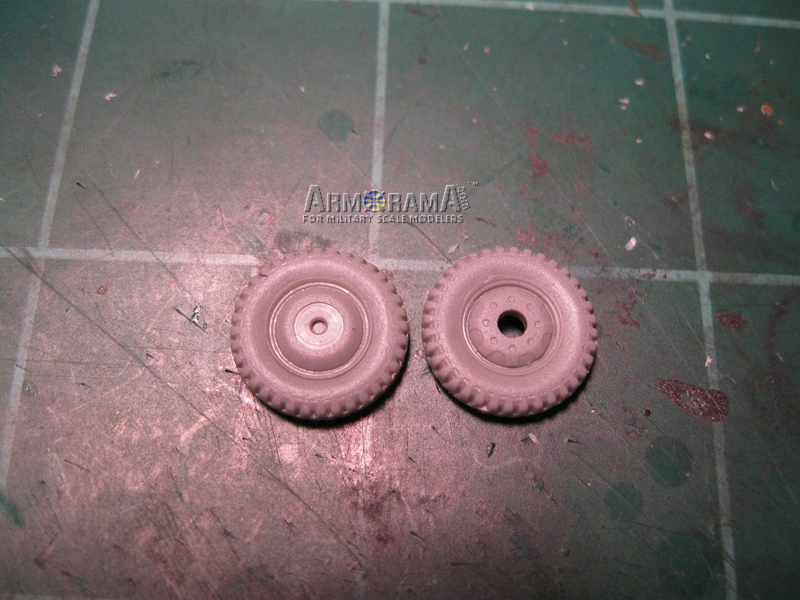
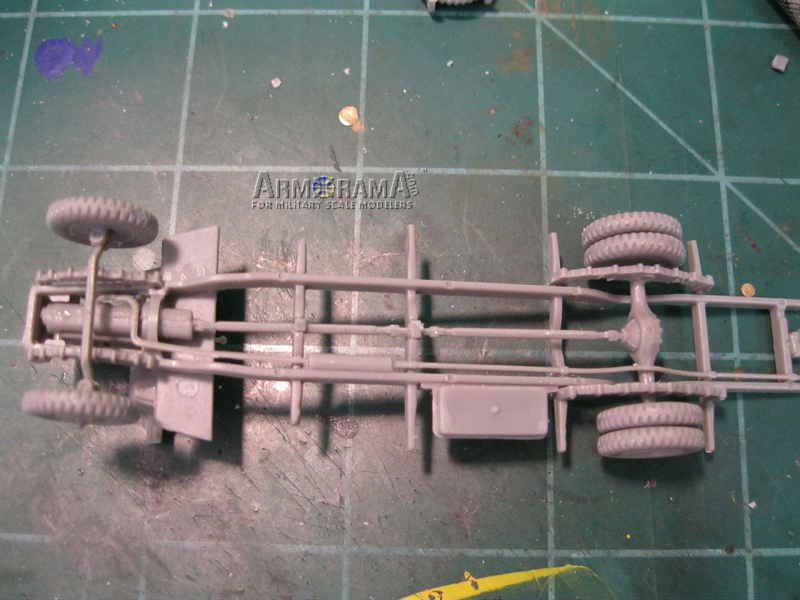
Steps 8-11 cover assembly of the wheels and axle assemblies. The dual rear wheels mate as well as you can get them to line up. Then the inner brakes are attached, with 6B into the wheel, then 9B, and not the reverse as is shown in the instructions. Attachment of the axle to the wheel is done on a miniscule point and care will be needed to get the wheels to line up.
The multi part front suspension could leave the wheels pose-able, but again, the parts are very small. The first challenge will be to get these wheels to line up properly as well. The spare wheel goes into a bracket frame. There is a large knob on the inside of the basket that will have to be trimmed down to get the spare wheel to fit under the frame.
Step 12 is the exhaust assembly. It was easier for me to wait until the engine was in place on the chassis and then mount the muffler and exhaust pipe.
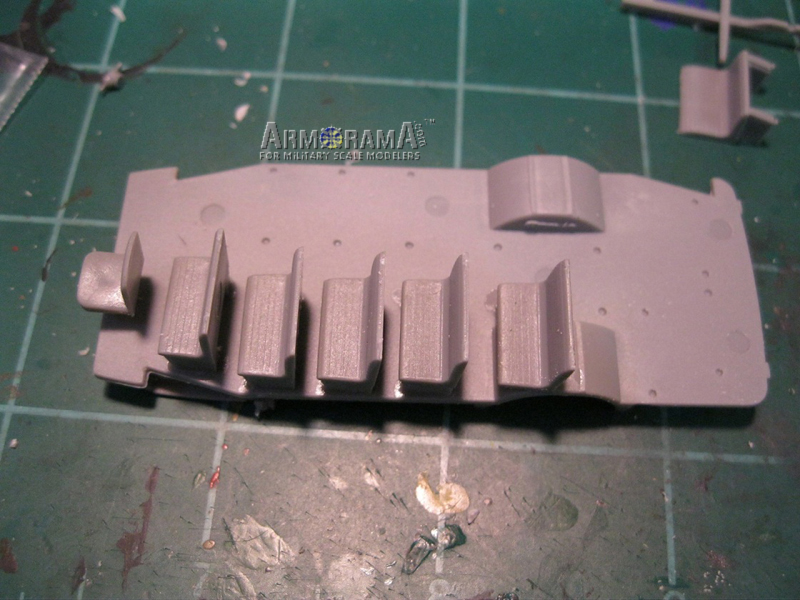
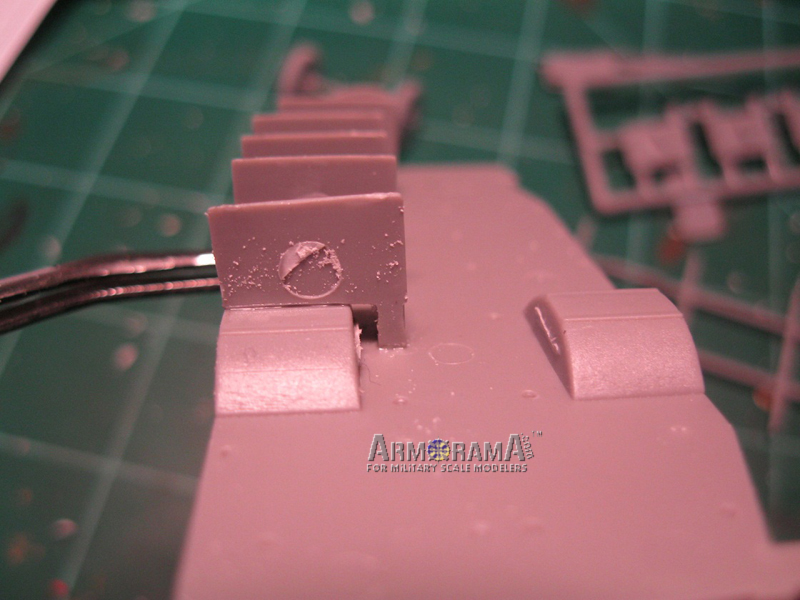
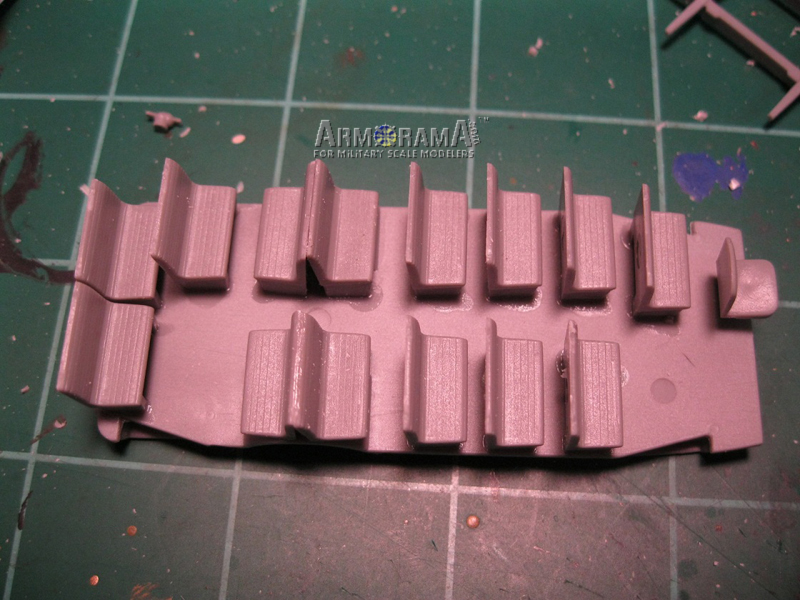
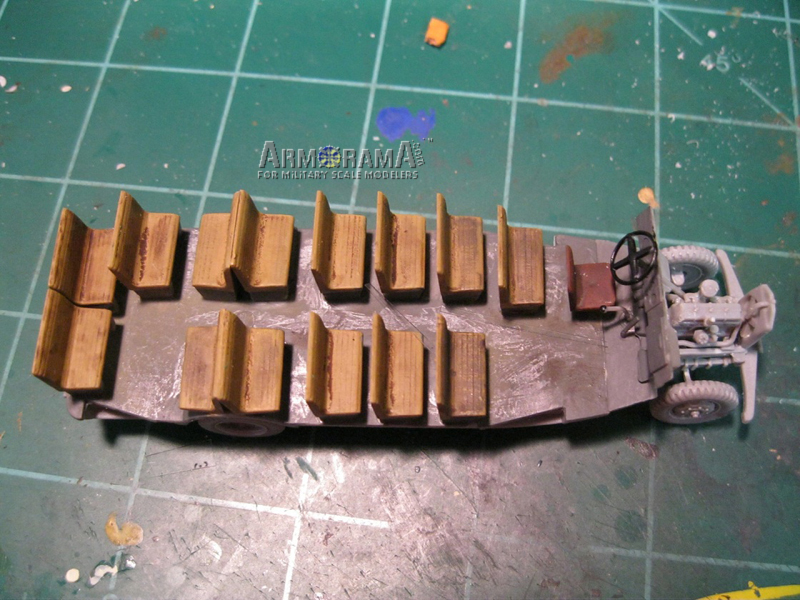
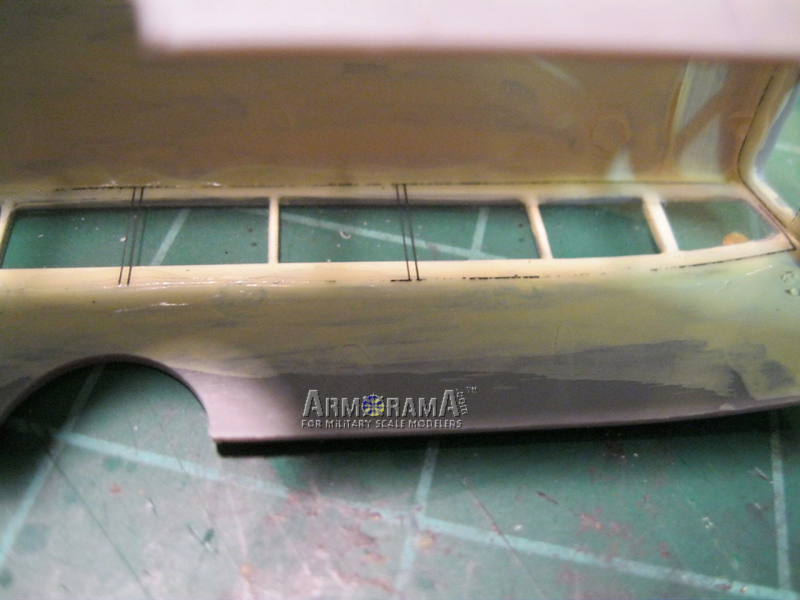
Step 13 places the seats on the floor of the vehicle. The seats that go over the wheel wells had to be sanded slightly to get them to sit straight. Mine were sanded down a bit too far. Once assembled, I painted the interior portion as it will be sealed up inside the body.
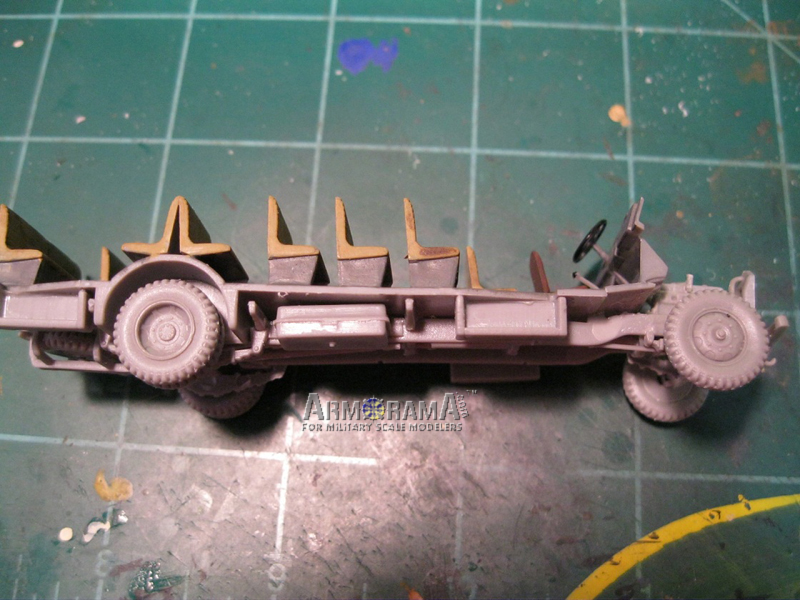
Steps 14 and 15 add the engine, suspension and bumper to the chassis. Placement was tricky. I recommend waiting to place the cab floor until after the main body floor is in place. The leaf springs only have detail on the outside, but considering the size of the parts, it will be hard to see the inner surface area. Also, once the wheel/axle assemblies are in place be very gentle as the tiny attachment points are very fragile. It may be easier to attach the passenger compartment floor and then do the suspension.
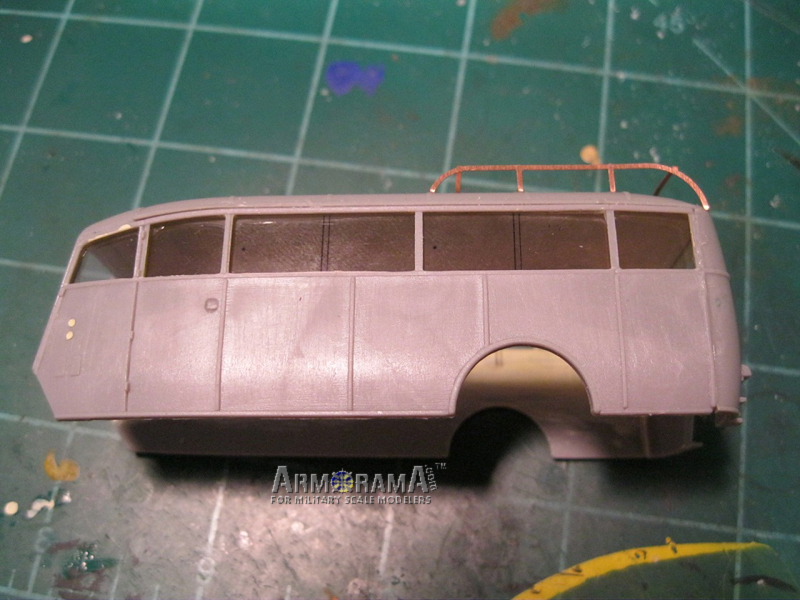
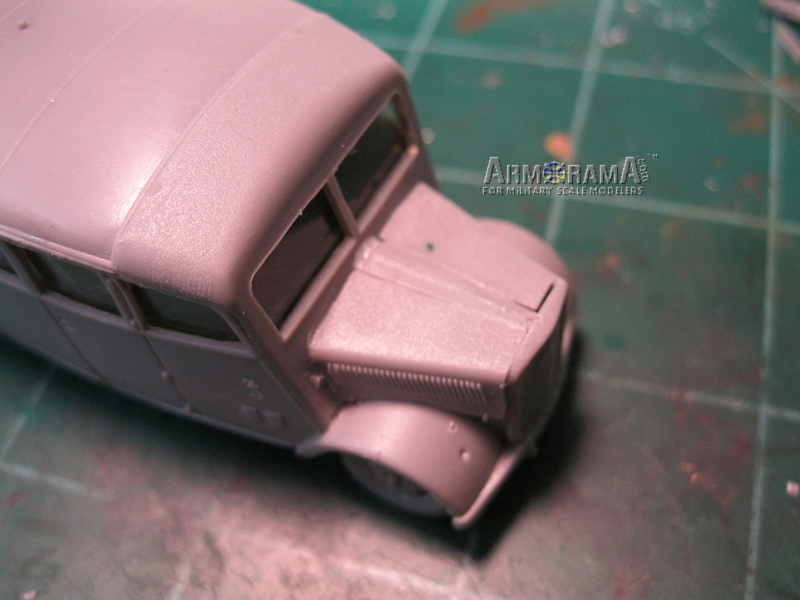
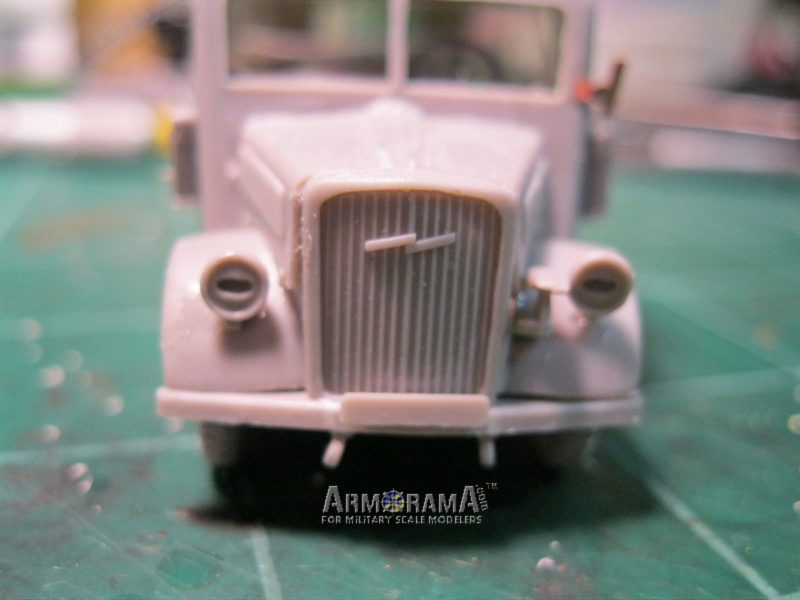
Steps 16 and 17 are assembly of the body and attachment to the chassis. The body parts go together easily, but you may wish to paint them and then attach the windows before assembling all of the parts. There are large ejector pin marks on the inner walls, but they are hidden by the seats and probably won't be noticed. The tricky part will be assembly of the hood/bonnet. Fit is, again, very tricky. I tried to assemble the radiator grille and center frame support to the firewall, then place the fenders, and once it was set place the side louvers. The radiator grille ended up slightly crooked and as a result there were some large gaps in the completed assembly. I didn't want to force things back into place for fear of destroying the kit.
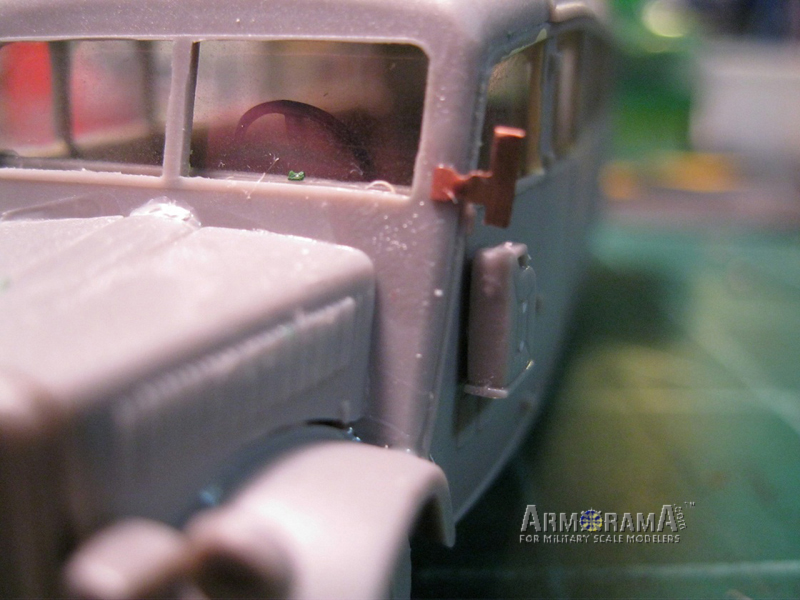
Steps 18-22 cover the tiny accessory attachments to the vehicle, including rear view mirrors, tools, lights and fuel cans, wiper blades and the cargo rack and rear ladder. I added the larger parts but left of the tiny bits that I am prone to knocking off and losing until the exterior is painted.
conclusion
The kit assembly was a lot more complicated than I had expected. There was a lot of clean up on the parts, and some guessing as to the exact location of a few parts. Fit was fair for most of the assembly. My botched assembly of the hood didn't help things. In spite of the kit and self induced issues, I really like the model. I really wish this were available in plastic in other versions. Maybe
Roden will follow up with more offerings. After seeing what is possible, I would like to see it in a larger scale as well. Kit quality is, in my opinion, significantly offset by the subject.


Comments