Introduction
The German army employed a vast plethora of vehicles to move men and material from place to place during the Second World War. Some of those vehicles were well known while others were more than a bit obscure. One of the more well known movers and shakers for the Wehrmacht was the Opel Blitz. The Opel Blitz name was something of a generic moniker, attached to virtually all the trucks that Opel produced from the early 1930s until the mid 1970s.
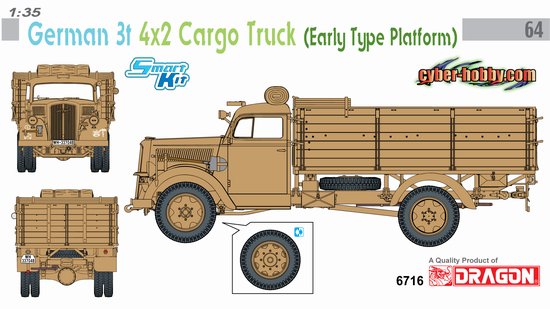
The subject of this review is the second
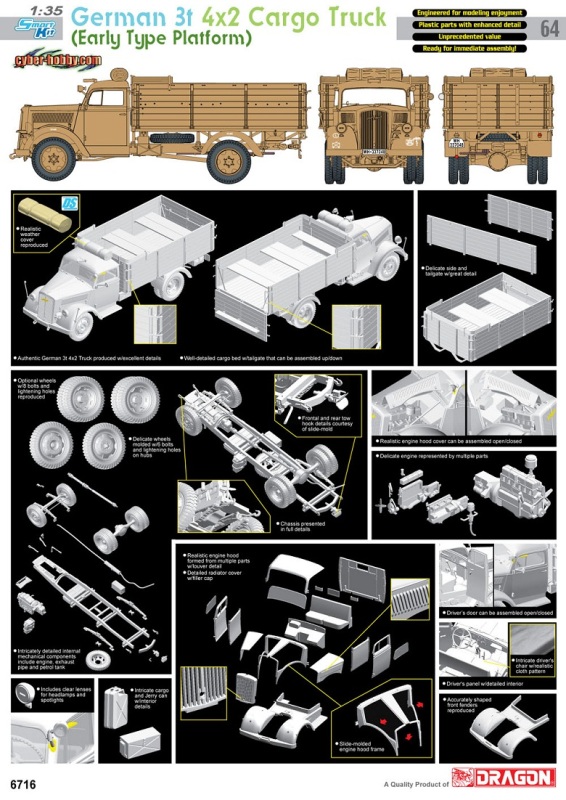
Cyber Hobby kit of the Opel Blitz 3 ton 4 X 2; this one sports the early pattern cargo body. All that being said, if you would rather the later type cargo body, the kit includes those pieces as well, choices are good! For those of you that are soft skin aficionados, this is specifically the Opel 3ton 3.6-36 Sd. Kfz 305.
building the kit
The kit is packaged in the standard kit box, nothing special there. The inside of the box is what we are interested in anyway, ten sprues of various sizes in light gray with slide mold efficiency and finesse throughout. According to Cyber Hobby you get 279 plastic parts, but dont hold me to that, its not like I actually counted them! An additional sprue of clear parts for the lights, windows, etc, is included along with a photo-etch fret, dont go crazy it isnt that extensive. Also, decals for seven different vehicles and masks for the side windows and windshield are included plus, of course, your basic Dragon style instructions. Almost forgot, you get a rolled tarp molded in the DS100 material for the top of the cab.
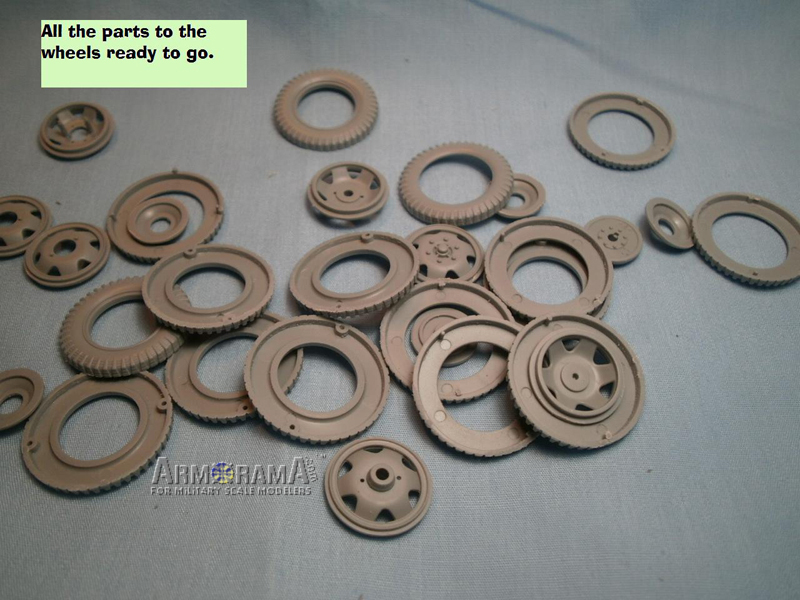
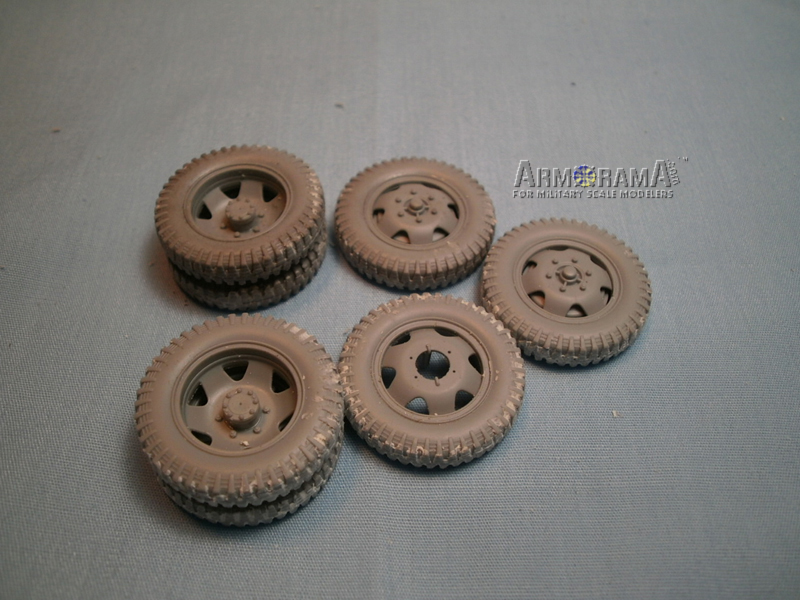
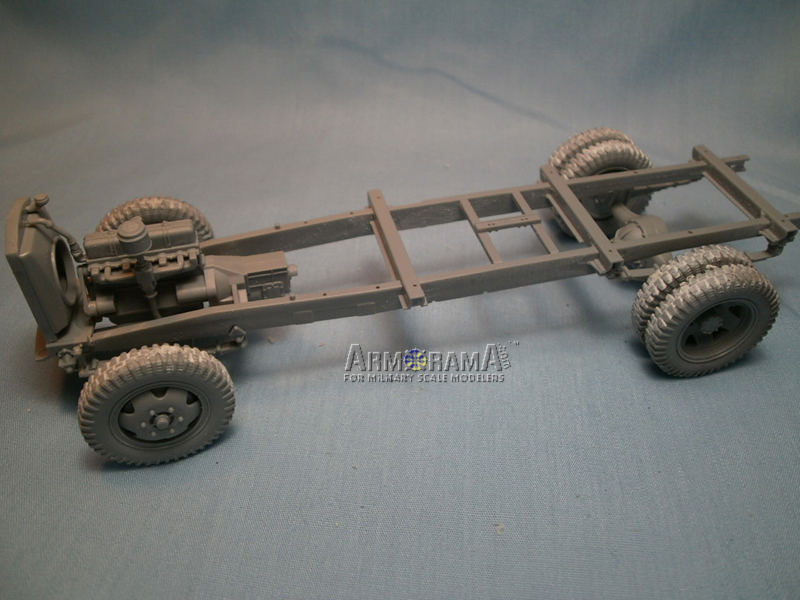
The build of this kit is pretty straightforward, no surprises that I could see. The sequence is fairly standard but I will try to explain each step in a little more detail than the photos may convey. Step one is the cleanup and building of the seven wheels; two singles for the front, a pair of duals for the rear, and the one spare. You have the choice of a 6 bolt pattern and an 8 bolt pattern. I think the 8 bolt is the earliest version and the simplified 6 bolt is a bit later. As I was building a vehicle from the 4th Motorized Infantry Regiment during the summer of 1941 I went with the later 6 bolt pattern. The wheels themselves are constructed using the sandwich method but do leave an annoying seam that must be dealt with. I finished them off with a bit of Vallejo putty to eliminate the seam and set them aside to dry.
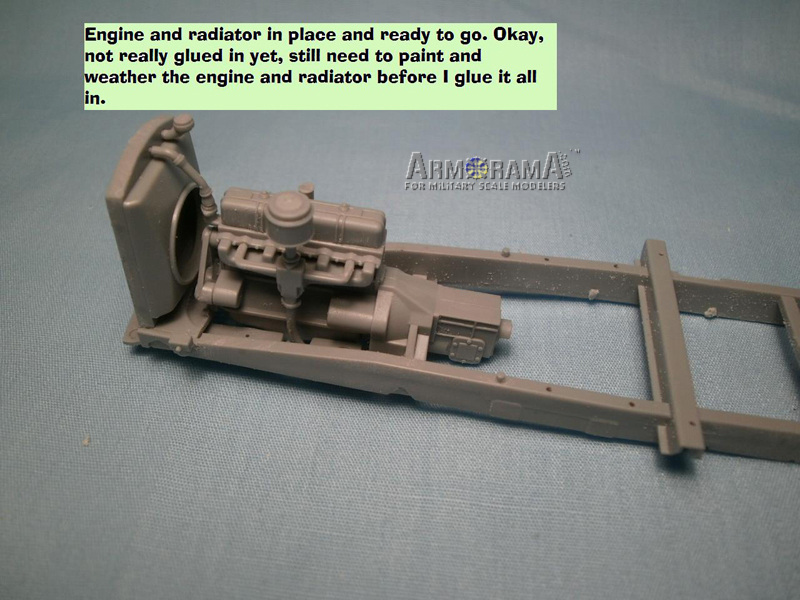
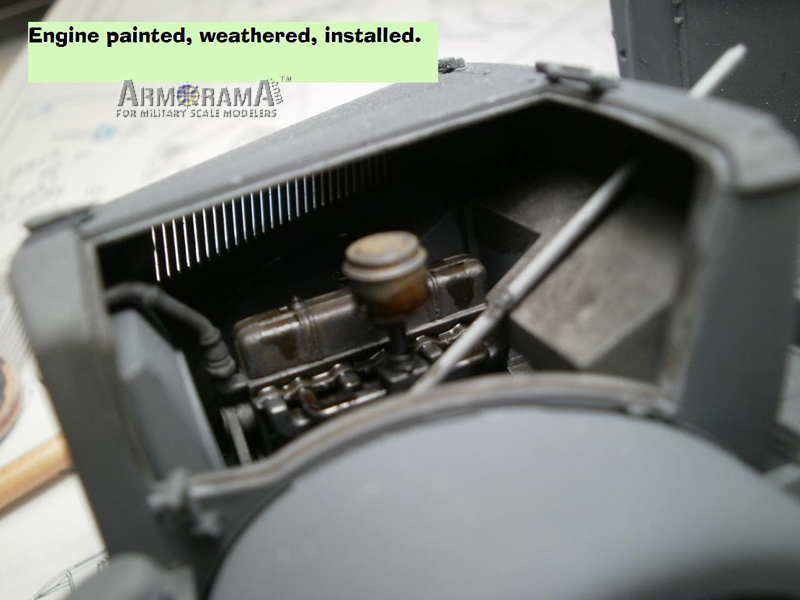
Step two and three dealt with the engine. The kit provides a nice 6 cylinder Opel engine with a fair degree of detail, radiator and radiator shroud, fan belts, oil filler, etc. As the front hood can be displayed opened to varying degrees or completely closed what you do with the engine may be different than what I did. I knew that I would be displaying the model with only one of the hood panels up and built, painted, and weathered accordingly. The final step is in the mounting of the engine and the addition of the under frame details; hooks and siren (horn?).
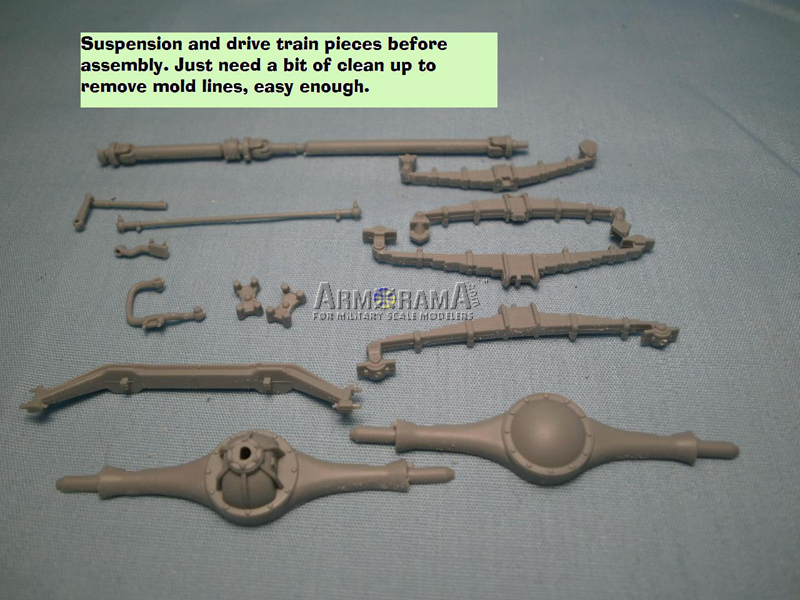
Step four was the attachment of the front leaf spring and axle assembly to the frame alone with its attendant steering assembly. The steering is non-working but can be tweaked a bit to give a slight turn of the wheels just to add a bit of visual interest. The leaf springs are particularly well done, some of the nicest I have seen, of course the problem is that they are, for the most part, seldom seen being up underneath, but hey they are nice!
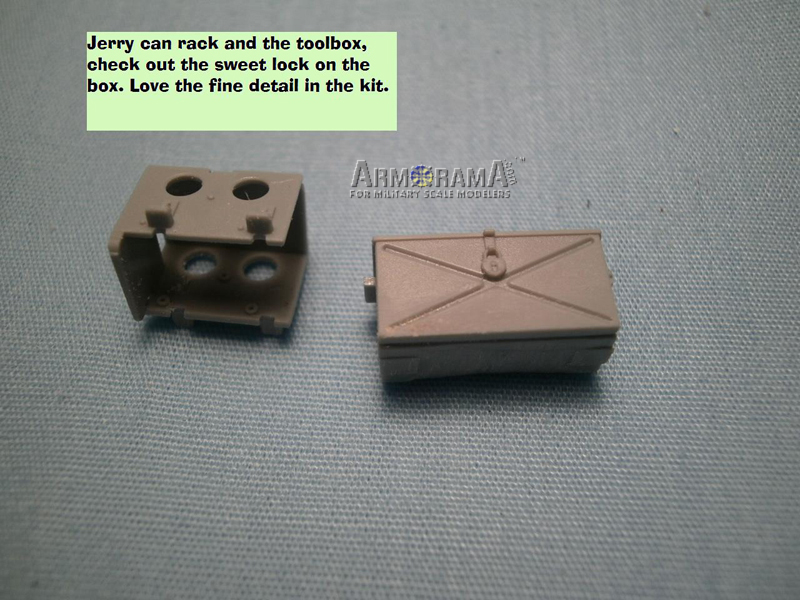
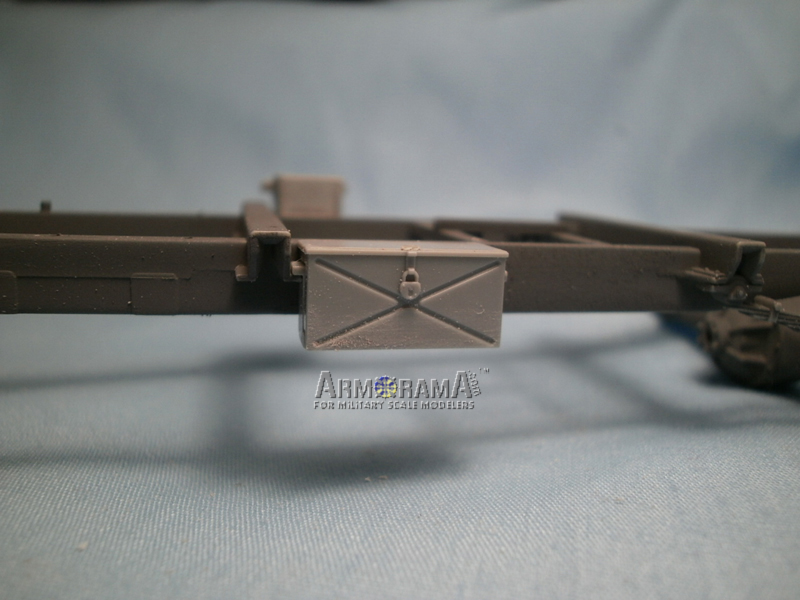
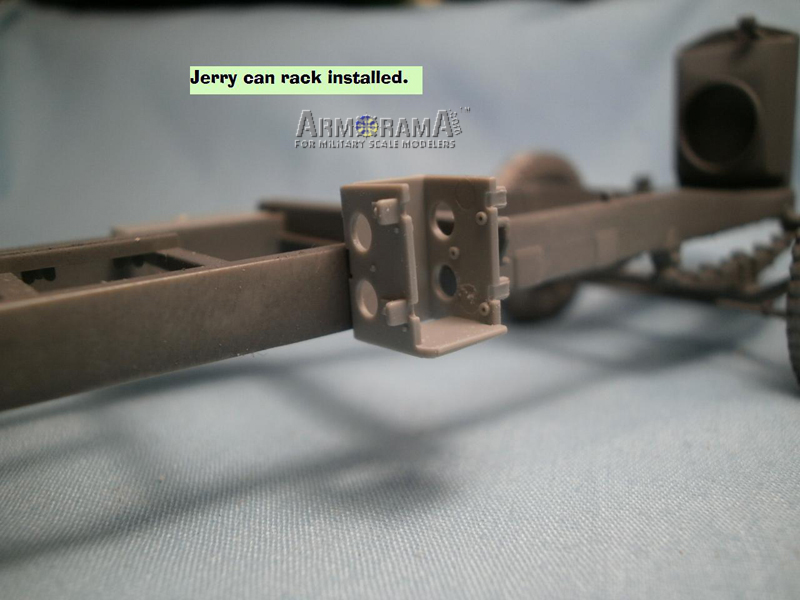
Step four morphs easily into step five which is the addition of the drive shaft, rear axle differential, rear spring assembly, exhaust and muffler, etc. You also add the rear hooks, the jerry can rack, as well as the towing attachment assembly and spare tire. I left the tire and the exhaust off until the end for painting purposes. The exhaust assembly is a long, delicate piece with several molding nodes that need to be cleaned up, take care that you dont snap this piece in the cleanup process. I like the way that they have the drive shaft attach, it slots into a hole on the transmission end and lays a half round on the other end where it mates up with another half round attachment at the engine, no more flexing it into two holes as is so common on other kits. One issue I ran into later that you may find at this stage was the attachment of the spare wheel, the attachment points are so understated that it is difficult to get enough glue on the part to get it to hold.
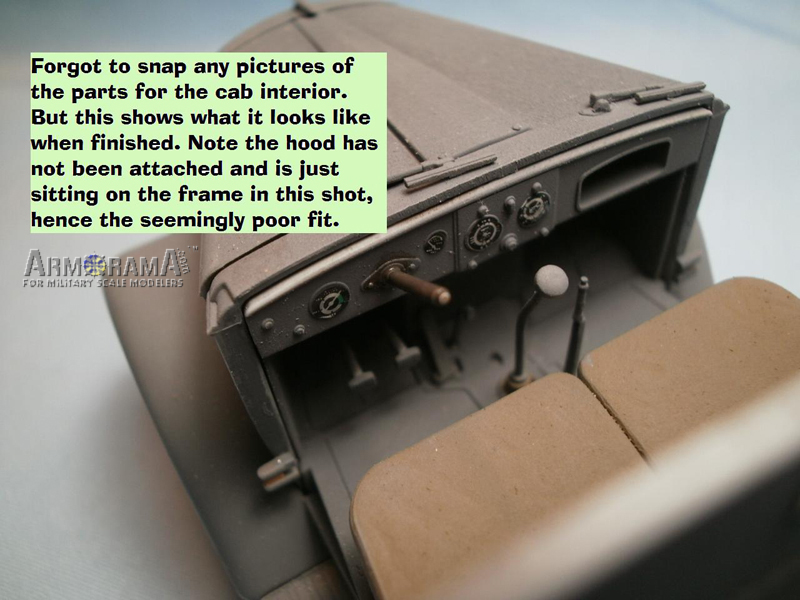
Next we shift gears, okay cheesy pun I know, into the cab area. Step seven puts the dashboard, floor pedals, as well as the gear and brake levers all into the front assembly that consists of the front fenders and the floor of the cab. This fender/floor piece is molded as one piece and is very well done with only small knockout marks to be filled (or not, I didnt as they are all up underneath were no one will be allowed to peek!). The dashboard is one of my favorite pieces to the kit, the instruments are all provided as decals, and bless Cyber Hobbys little heart as the instrument faces are smooth, no raised detail requiring a fight with the decal attempting to get them to snuggle down tightly and each instrument is provided for with an individual decal.
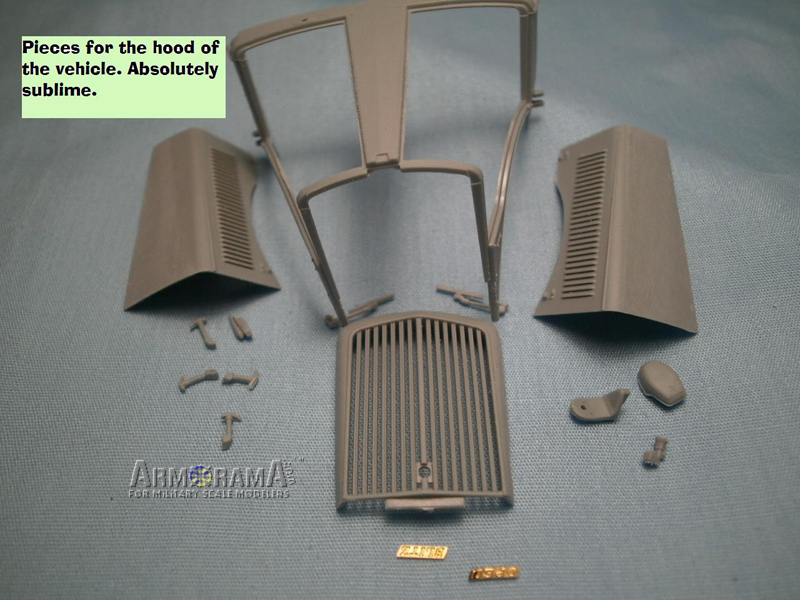
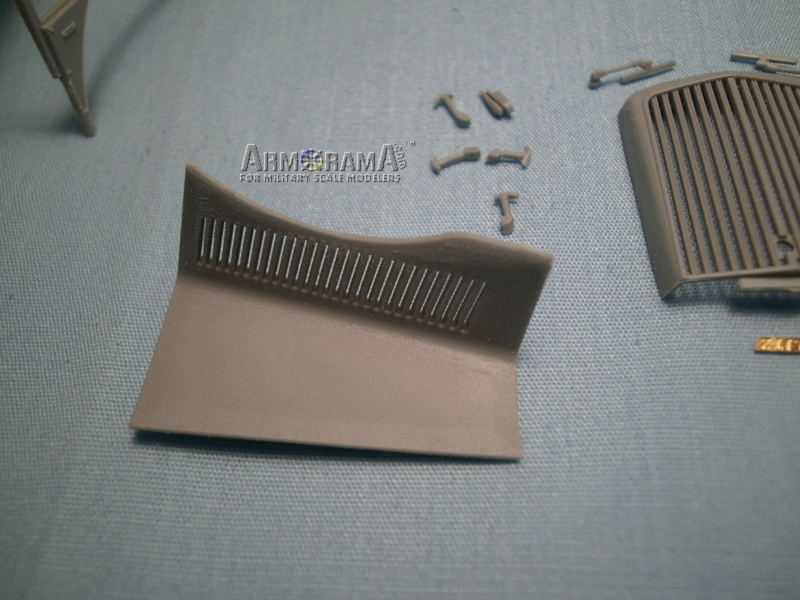
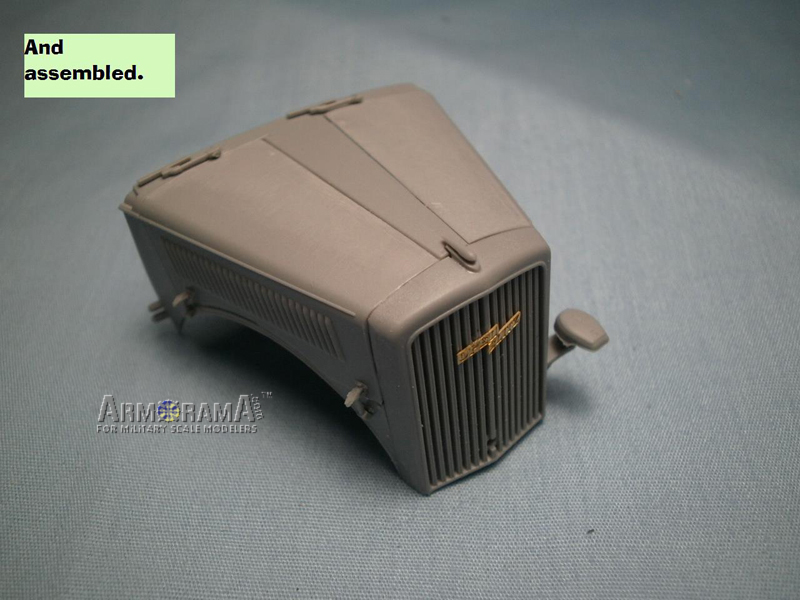
Next comes step seven and a half (because it is one of those pull out window instructions that sit between two others), which has you putting the hood (bonnet) together. Cyber Hobby provides a frame for the two hood side pieces to attach to along with the front radiator grill. The side panels are things of beauty, the engine louvers are all molded open, some of the more delicate, and effective, moldings in the entire kit. The hood latches are very delicate and a bit of a pain to clean up, but actually hold the side panels down. I have built kits in the past that have included hood latches which were little more than T shaped affairs that glued to the side of the hood in order to suggest a hood latch, not so with these little guys. The Notek light is well done but suffers from the fairly common problem of having a plastic mounting that is so delicate that the slightest tweak will weaken and eventually cause it to fail. I wish some manufacturer would do some of these parts that have high stress areas in brass for superior strength.
On to step eight which provides for attaching what you just did with the cab onto the chassis. At this point you add the fairly pointless gas tank. Hidden up under the seat, with no provision for the seat to pivot, only visible from directly underneath, but hey, YOU know its there, right! Whats a minute or two of clean up weighed in the balance of the sacred name of accuracy anyway! Also, the rear wall of the cab is added at this point, the only part that really had any knockout pins that needed filling, not too bad considering what kits from the past looked like.
Next we put the doors together, another well done area. Inner door facing, crank window handles, interior and exterior door handles, and some weird wedge shaped thingy for the top of the window done up in photo etch. Okay, call me slow, but what the heck is that little brass thing anyway? If you know, please share with the rest of us. Along with the door comes the roof of the cab, the whole thing fit so well that I never needed any glue on the doors at all, a nice tight fit unto the hinges and a near perfect fit into the door opening, just what you would hope for.
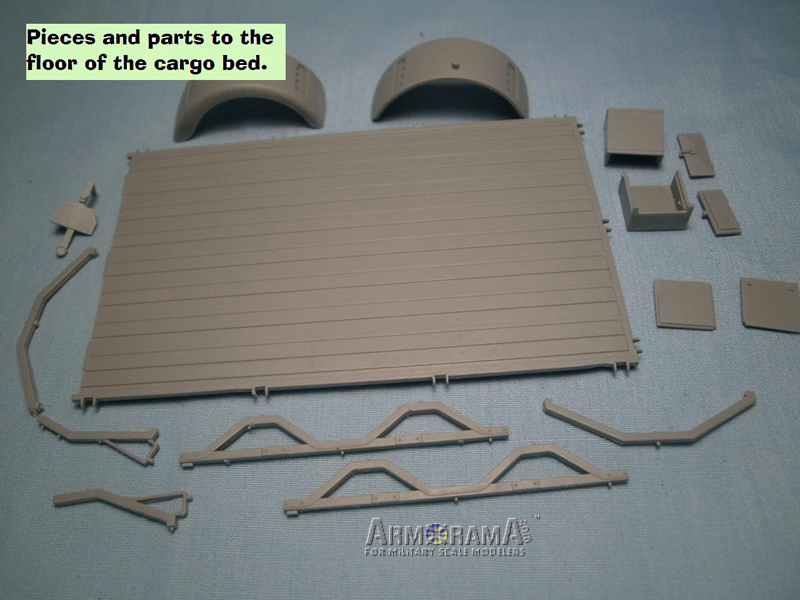
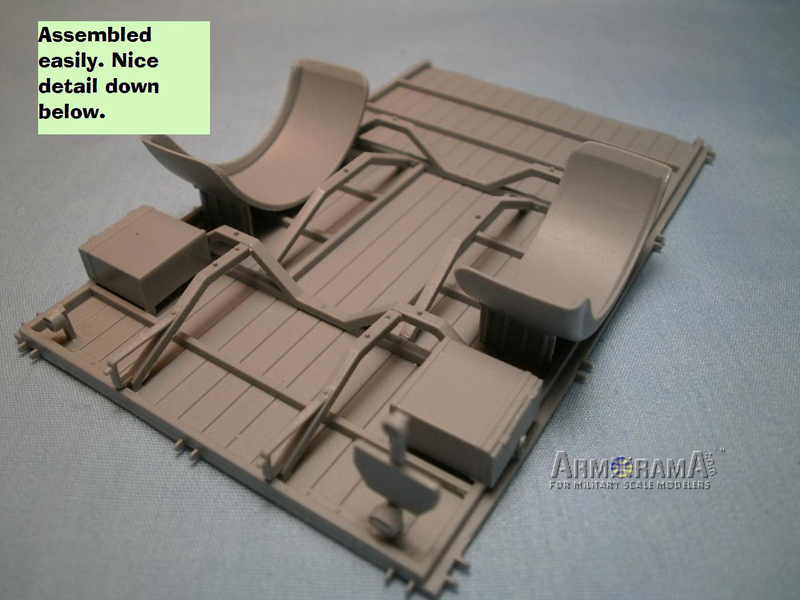
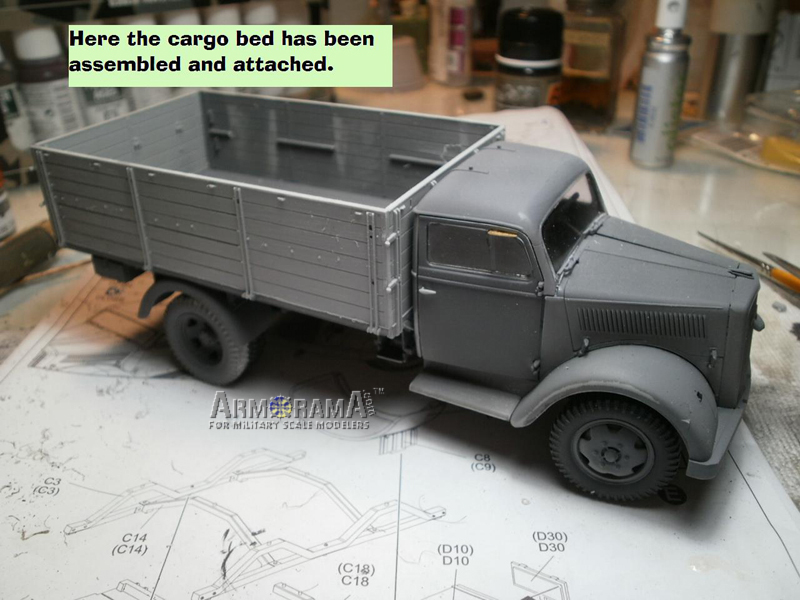
After that we move onto the rear cargo box, the kit comes with parts for the early and late style beds, the difference between them is the later style has two of the horizontal rails extended with the use of a metal strakes, the early bed is not extended. I opted for the early style bed. The fit again was superb, I know it sounds a bit repetitious but the engineering throughout the kit is top notch. The under frame for the platform consists of six pieces that hold the whole thing up off the vehicle frame. The underside was finished off with the addition of the two rear storage boxes as well as the reflectors, taillight, rear fenders, and registration plate. Flip it over and youre ready for the side panels.
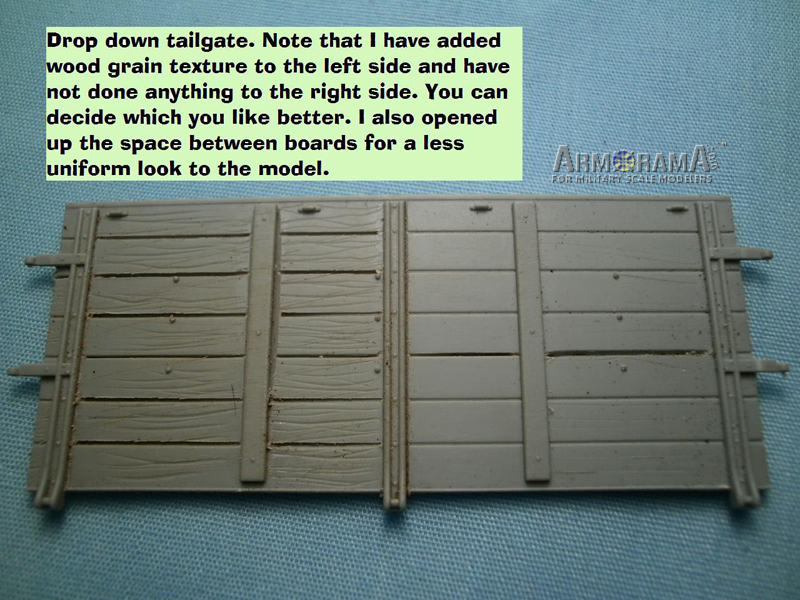
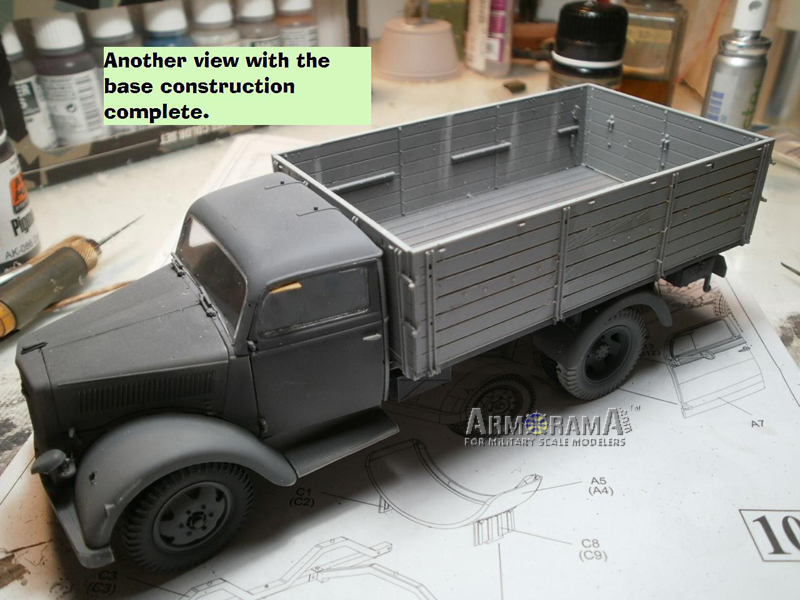
The side panels are nicely detailed with several separate pieces for additional detail. You will need to be careful with the locking latches for the drop down sides. They are delicate and easy to break or lose to an inadvertent tweezers launch. The inside of the cargo box is a bit Spartan, just like the real thing, a couple of braces and some planking for seats and thats about it. Cyber Hobby did not mold in any wood grain effects, so if you like that look you will need to add your own. I added some just for visual effect, it worked out well almost everywhere, a close look at the photos and you can probably pick out where I got a little heavy handed.
The last thing to add to the cargo area is the set of stowed support braces for the canvas cover. These are well done but it would have been nice if Cyber Hobby had included a set of braces in case you wanted to make a canvas cover, it should be an easy conversion for the slightly more adventurous amongst us.
Onto the final step, adding those last few, delicate, pieces to the cab area. A very well done drivers spotlight, headlights, front registration plate, and a couple of driver knows poles and your set to start painting and decaling. I added the DS100 tarp after everything was done, I wouldnt mind replacing this piece later on down the road as I still have a hard time dealing with the seam on vinyl parts, you may have a better technique than mine (which consists mostly of grumbling about it).
I shot a couple of coats of Floquil panzer gray, a thin coat or two of Vallejo satin and got ready to tackle the decals. The kit offers markings for seven different vehicles, five Afrika Korps trucks, and one from the invasion of France, and the one I went with as mentioned above, the vehicle from Grossdeutschland during the invasion of Russia. I had an ulterior motive in mind in choosing the plain vanilla gray vehicle, I had the new set from AK Interactive for weathering panzer gray vehicles and I wanted to give them a test drive, you can see the results here:
Weathering Set.
Add a few worn areas here and there and a coat of dust and it is ready to assume its spot on the shelf.
Conclusion
Okay, this may not have been the Opel that everyone was hoping for, but it is a very, very well done kit. Everything fits superbly, the level of detail is stunning, and the instructions are fairly easy to follow, with a good number of marking options. I think Cyber Hobby has done a first rate job with this kit, and now that they have molded a couple of these things maybe they will extend their run with a fuel tanker version or perhaps an ambulance. Heres to hoping!


Comments